When you click on links to various merchants on this site and make a purchase, this can result in this site earning a commission. Affiliate programs and affiliations include, but are not limited to, the eBay Partner Network.
Hi Joe. Thanks for tuning in about this project. I too have had zero experience with "stamping" metal into any particular shape. I have however had some experience with forming metal into different shapes, such as I hope to be able to do here. You should notice that I haven't ever used the word "stamp" in this thread, but rather the word "form" which I have used as both a noun and a verb. I will not be stamping the end results of this project, (if any at all), but will be forming them by something more like "pressing" them with a hydraulic press. The main difference is probably not only in the amount of force involved, but in the time it takes to reach the final result.
If I were going to do any kind of stamp these forms or dies would probably need to be made out of hardened steel rather than the heavy aluminum I am using. Even my dies or forms will be subject to enough force to change their shapes without my use of some heavy steel plates to back up the process. The main difference in the processes has to do with work hardness. Work hardness, I have found, is not immediate, but rather occurs with a tiny bit of delay such as maybe only a second or at most 2 or 3. When the work piece is stamped, like BAM, it will form fully to the stamping dies before the work hardness sets in. With my process I am going to be limited because even though I think each phase of the form pressing will be fairly quick, it is going to be several seconds and work hardness is going to set in along the way which will limit my ability to get all of the detail formed into the work pieces that I have designed. It will depend on the ability of my 50 ton press to form the metal even though it is getting harder than from the start.
I think that is what the factory might have run into in making the original belly pans. They call them "Protection Plates" in the parts manual, but plate metal only starts at or above 1/8th inch thickness. The original aluminum pans measure only .040 inch thick; and the details formed in the pans are somewhat vague, so to say. I think that they found that their original plan to use a heavier material (probably not as heave as actual plate) just would not form with their dies, so they worked down to the thinner material. I may find myself doing the same thing. Too, I don't think the originals were stamped, but rather formed by pressing like I am going to try. I think to justify the cost of stamping dies they would have had to make multiple thousands of them rather that the several hundred involved with the 928.
I am developing my forming dies to form 1/16th inch thick aluminum and I am going to use one of the commercial aluminum alloys that can be formed to sharp angles without breaking. The real question for me now is just how much can the alloy be stretched before rupturing. Too, as discussed above, just how much tendency does this alloy have to work harden since it is considered non-hardenable. If I find that I cannot fully form with 1/16th material (.063") I will go to ,050" and if necessary then to .040". Before I go there, however, I will be trying 18 gauge stainless steel and that is just under .050" thick. That too will work harden some but may still be formable to the full extent of my dies. I guess I can also adjust further down with the stainless to about 20 gauge, but based on the thoughts which started me in the venture, the desire for these pans is for something heavier than the originals.
Last edited by Jerry Feather; 05-13-2020 at 11:14 AM.
I forgot to answer your other question, Joe, regarding the forming process and the shape of the material to start with. These pans finish out overall all about 12 inches wide front to back and I think 35 inches wide at the front top corners. At some point I might be able to figure out exactly what the metal to be formed should be shaped like to eliminate the need to trim it, but I doubt that I will ever go there. I'll start with a piece of metal about 13 by 48 and bend the ends roughly to shape to fit into the dies and then first form the basically flat middle then form each end one at a time. Then I 'll have a half inch more or less all around to trim off which I'll be doing in my band saw (with aluminum) and I don't know what with if I end up in stainless steel. Then I'll hand grind the final edges to near finish and final finish by hand with a file and maybe sand paper.
Interesting. Thanks. My limited understanding is that real 'stamping' is done in a 'press' manner. "BAM" style stuff is usually forging, not sheetmetal stamping. "BAM" style with sheetmetal would be more likely to tear it than press out the shape (again, very limited understanding, could easily be waaaaaay off on this).
I know about work-hardening (a bit), and to be a bit clear(er), My thoughts about multi-step process would be to do it 'sectionally'. That is, form one area in one step (say the middle, with the ribs & alternator bulge) and then maybe the edge/side 'flip ups' in a second. Trying to form the same area in two steps would not work unless you annealled the piece between steps.
And I realize that it would take a lot of trial & error to get it to the point that you could cut out the shape accurately enough that it would press out the finished product without trimming.
Hi again, Joe. Your comments are well taken by me and pretty much on point about the process I anticipate for these pans. I also see them/you as kind of being my "straight man" which gives me the opportunity to respond with more about what I anticipate about the final process(s). As to the forming process, maybe "bam" is not quite the correct expression about the stamping process, but I see it more as a kind of Ka-Chunk! I have seen it on the How Its Made channel and it is much quicker than what I'll be doing with my press. As to the pressing what I plan is much as you suggest in terms of the sequence.
In the design and development process, in my mind mostly, I started with what I envisioned as the end process and worked backwards with what I think it will take to get there. I actually do the same kind of mental exercise in many of my cases at the office where someone might be consulting me about a particular matter that is going to litigation. I find myself listening to the problem and the facts and then my mind usually puts me in front of the Jury thinking about what I might be telling them in my closing argument, then I work backwards from there to figure out what it will take, in terms of evidence and testimony, to get there. Here I have done the same thing. So, the end process has actually remained the same throughout this development, with only minor refinements along the way.
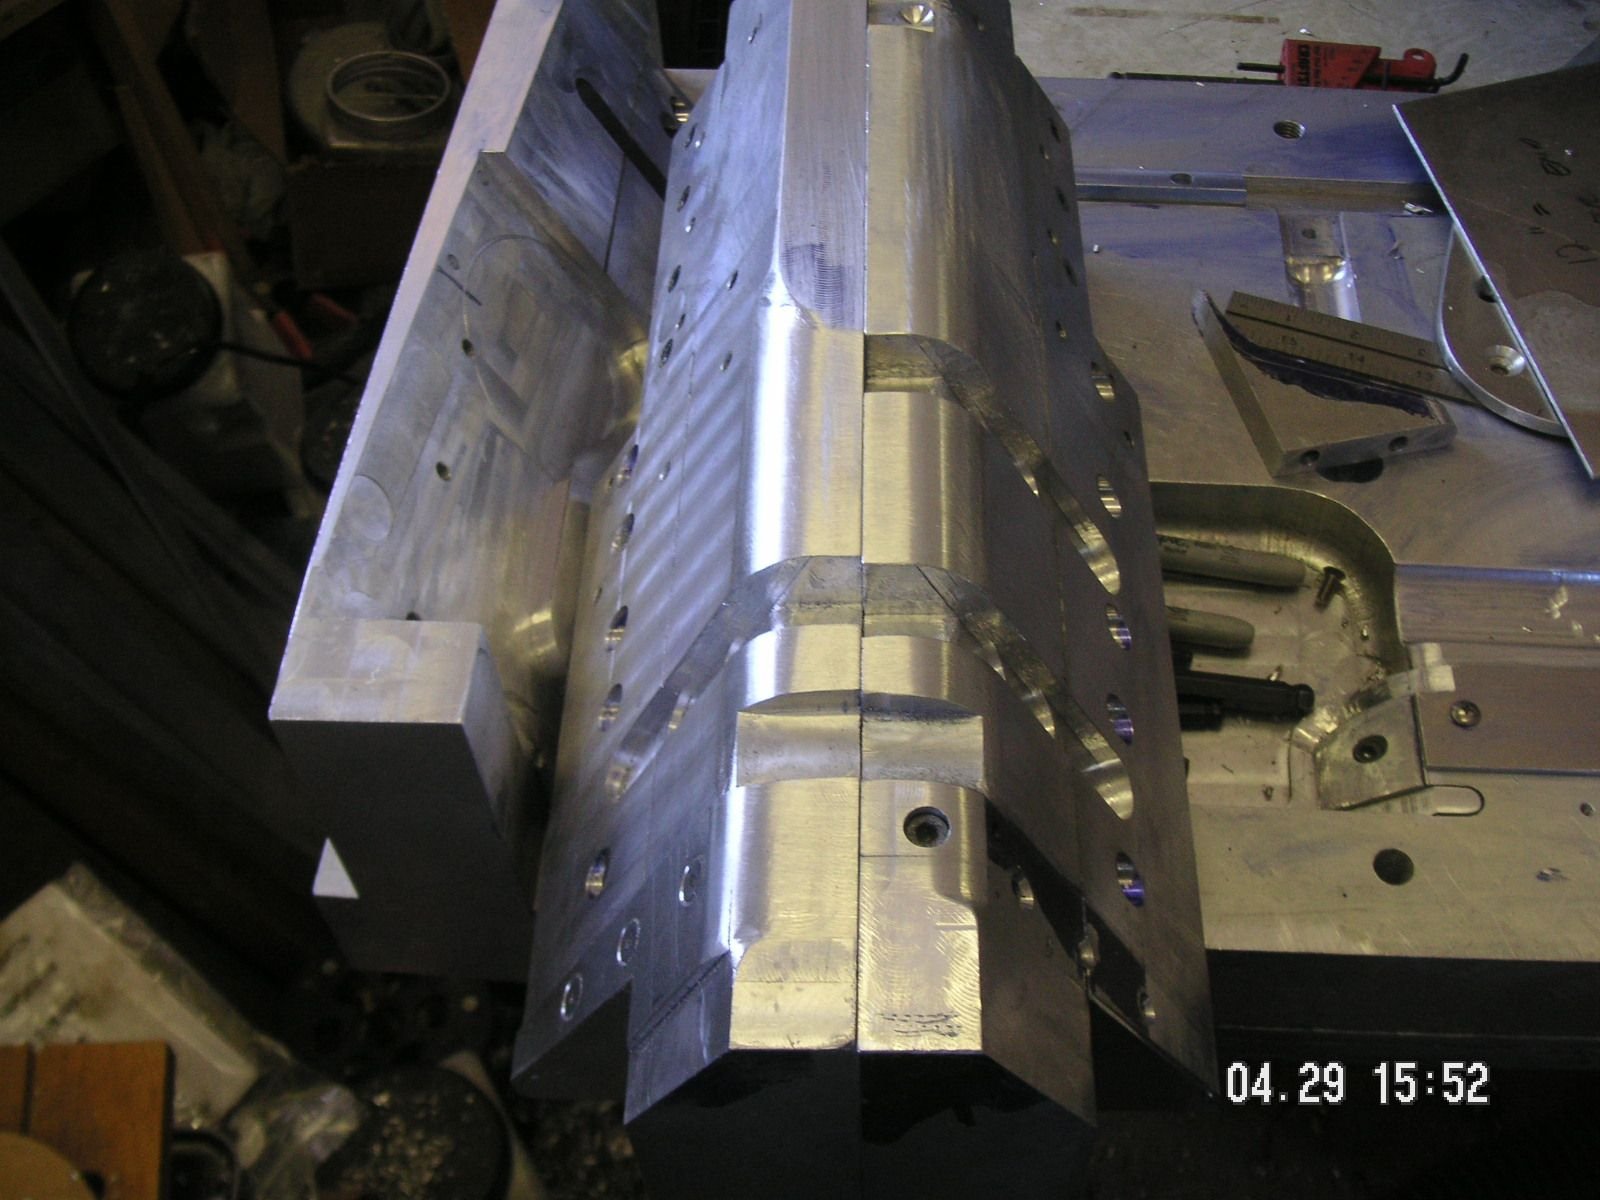
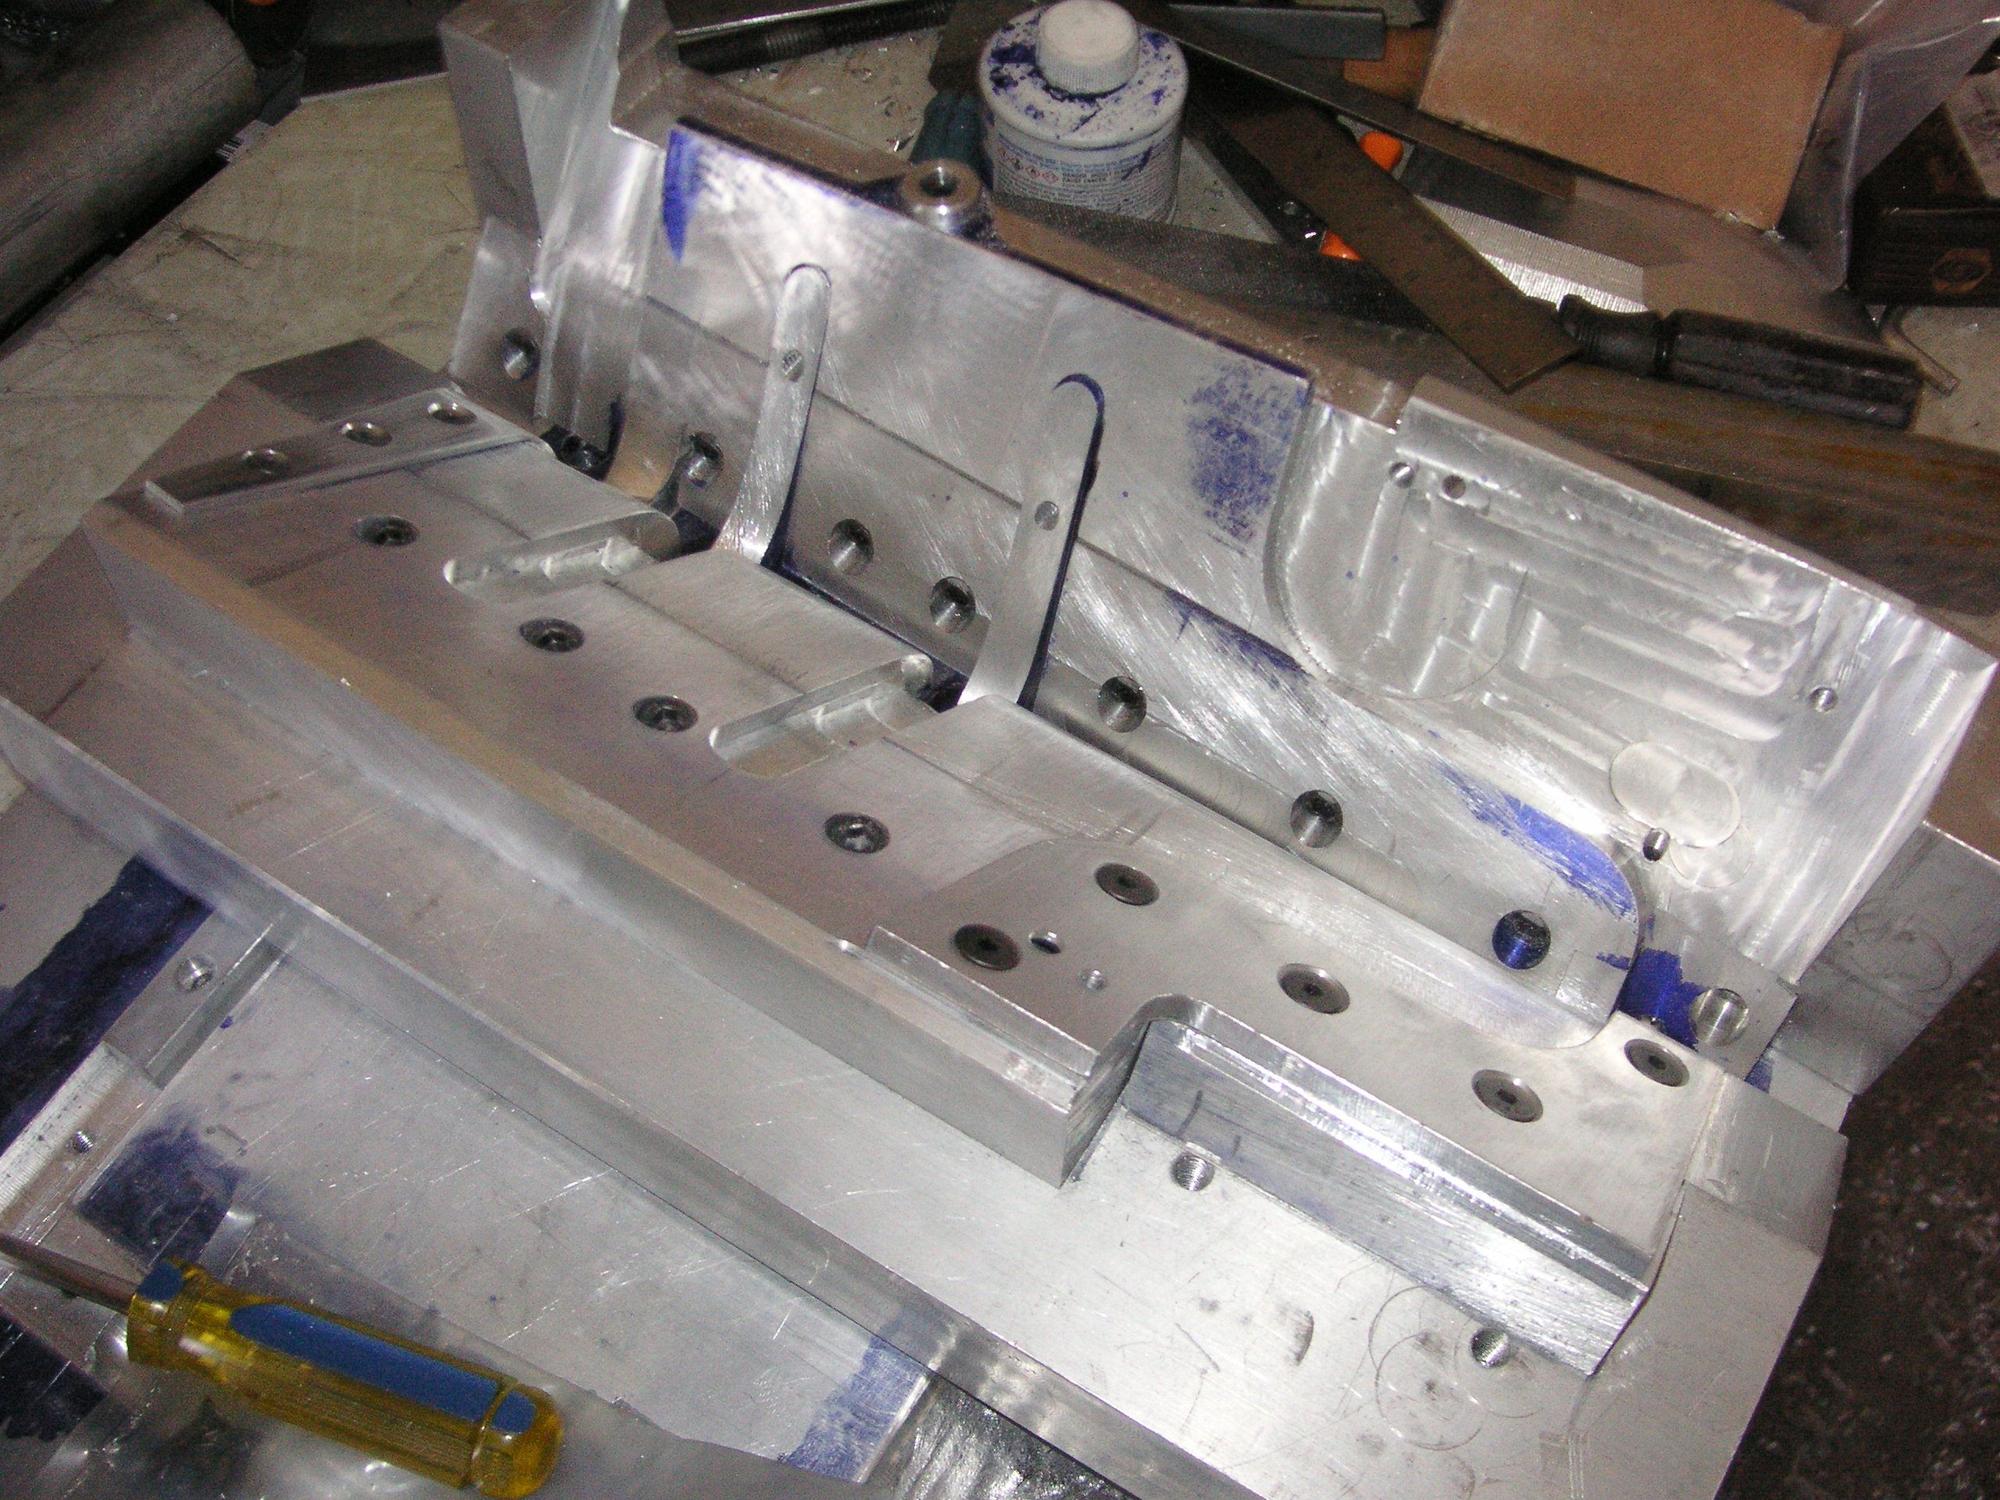
When you boil down all the stuff I have been posting about how I am making things for this project, you will find that I have made a base plate and two outer end plates, and they will be bolted together and likely stay that way. Then I have made a fairly large flat center plate which will form the ribs, stringers, downward bulges, and front and back edges all at the same time. That will take place with the workpiece metal for the complete pan in place. When the center of the pan is fully formed and the center plate is bolted down to hold it all in place I'll put the male end forms that I am also making, in place (if they are not already roughly in place) and then one at a time press them downward and a bit back to form the ends or sides of the pan. Then the trick might be how to get the male end forms out of the whole setup since I think they are going to tend to get wedged into place. If necessary, I think I will be able to unbolt the outer end forms to release it all.
As to your comments about the trimming of the final formed workpieces, I think you are correct in that it would take a lot of trial and error to get the original flat material trimmed to exactly the shape of the final formed piece without final trimming. Too, to some extent the waste that will need to be trimmed off at the end is actually necessary in the forming process. In some cases the waste needs to be there to get the material to correctly form, particularly around the edges, or some of them. When and if we ever get to see a final result of this project, I think we will be able to see what I mean. As an example of what I am talking about, if you have done much with forming metal, such as in a sheet metal brake, you can surmise that if you want to form a piece of fairly heavy sheet metal to have a 1/8th inch 90 degree folded edge that is nearly impossible to form by itself. When you set it up in the brake and try to fold it the brake will usually simply push the 1/8th inch back under the hold-down rather then bend it. What you find you need to do is to allow extra material like about a half inch or so and then fold that at the fold line, then trim it off to the 1/8th inch folded edge you want. The extra material used to make the fold is waste but it was necessary to make the fold needed.
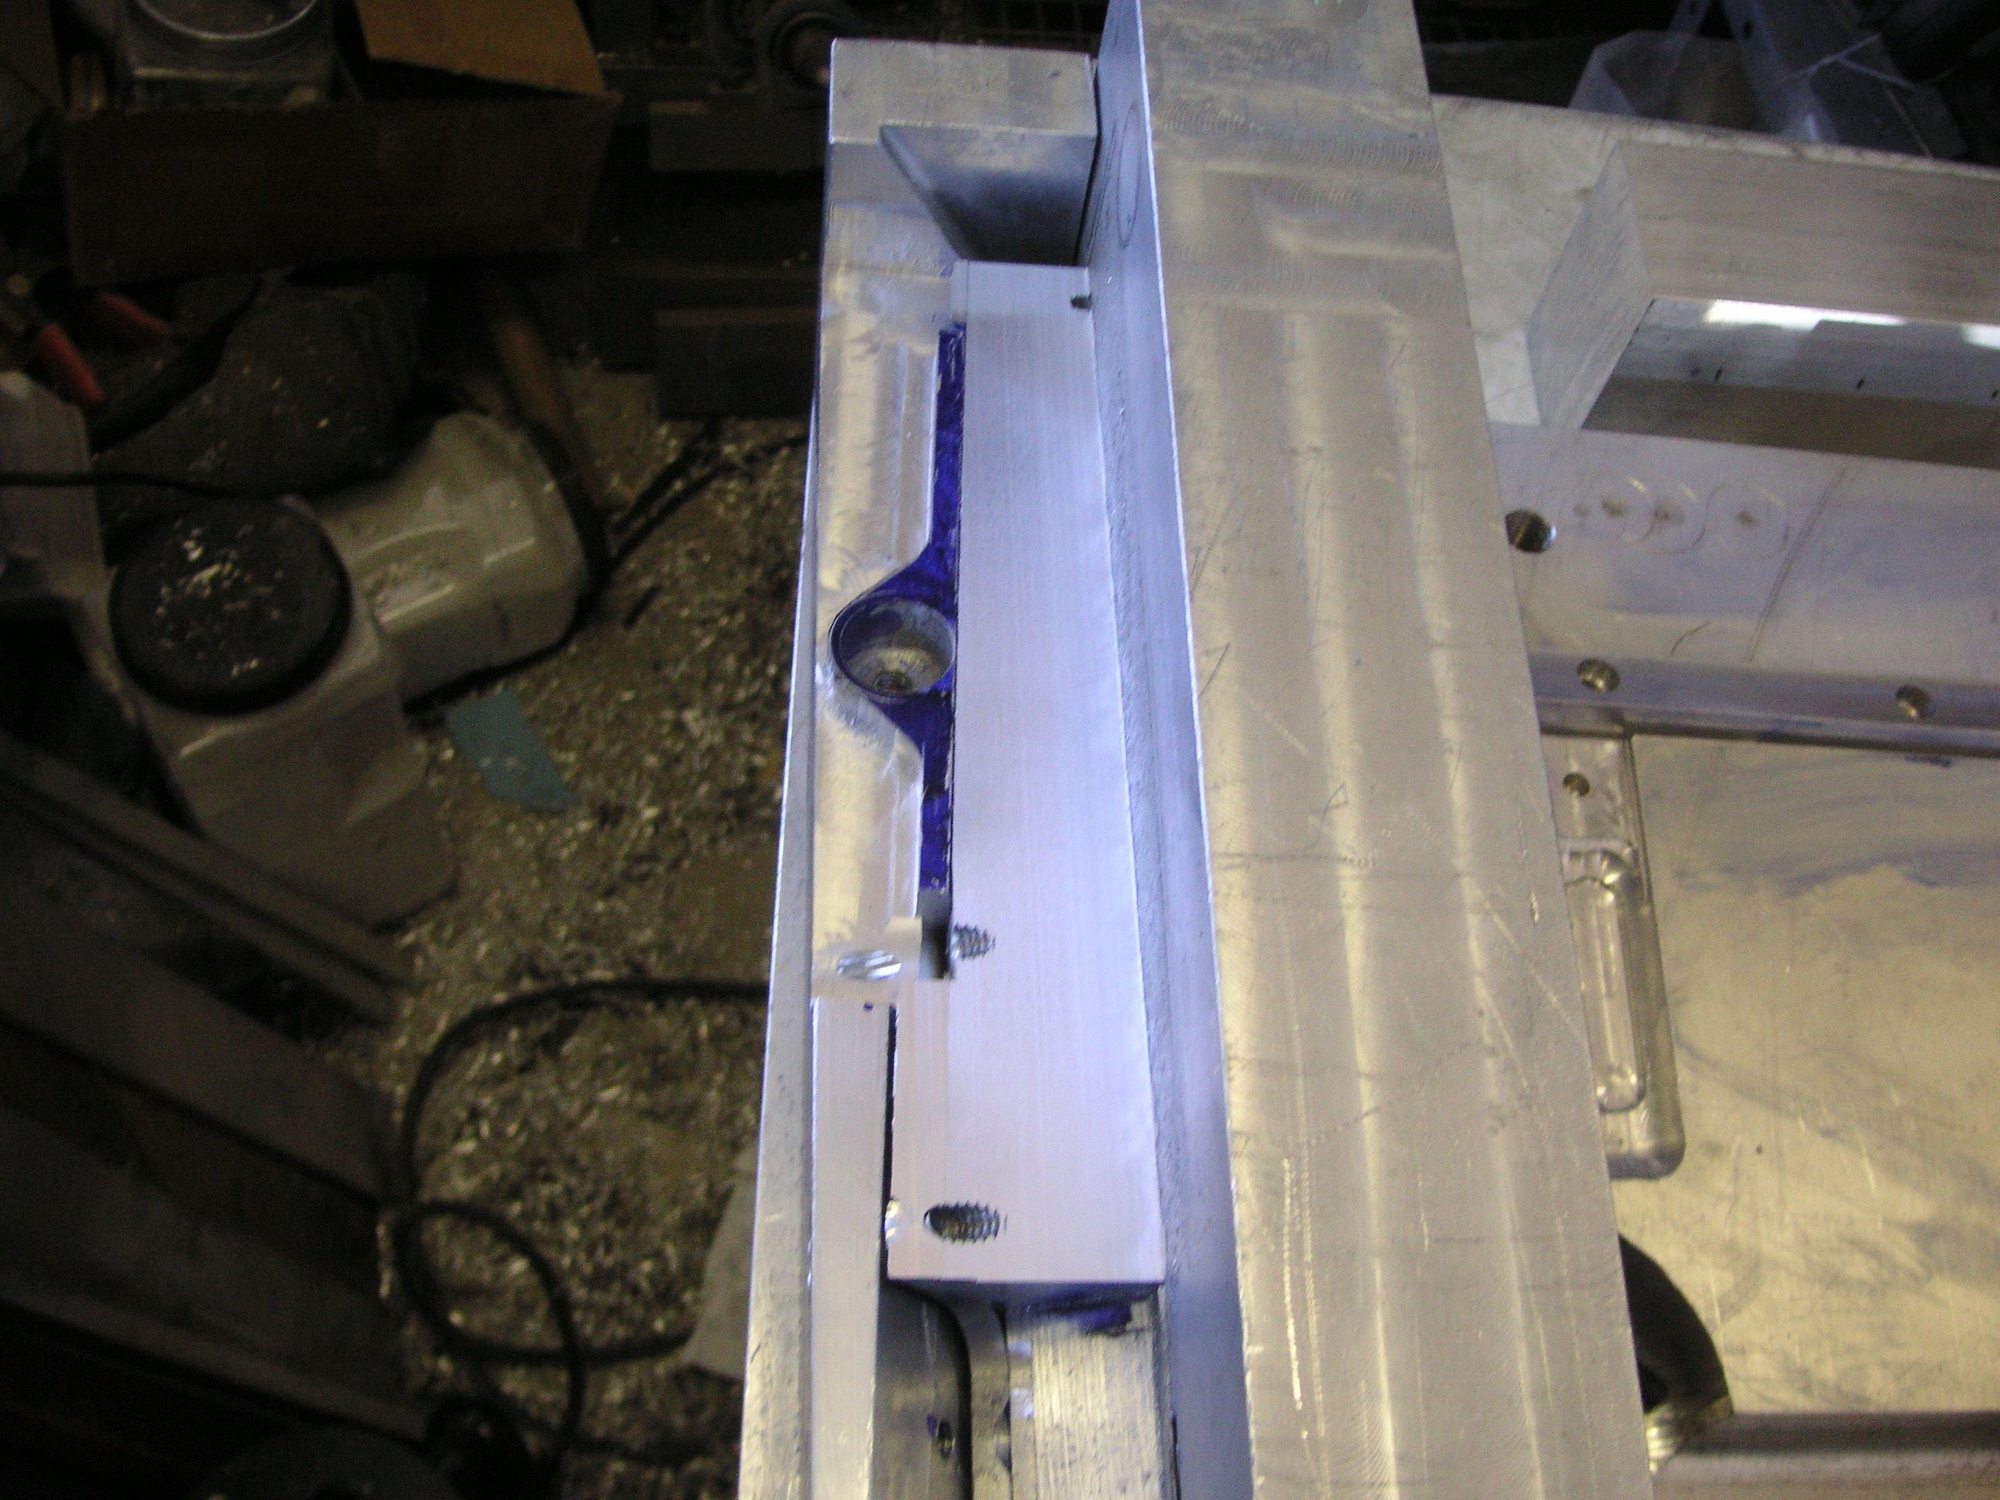
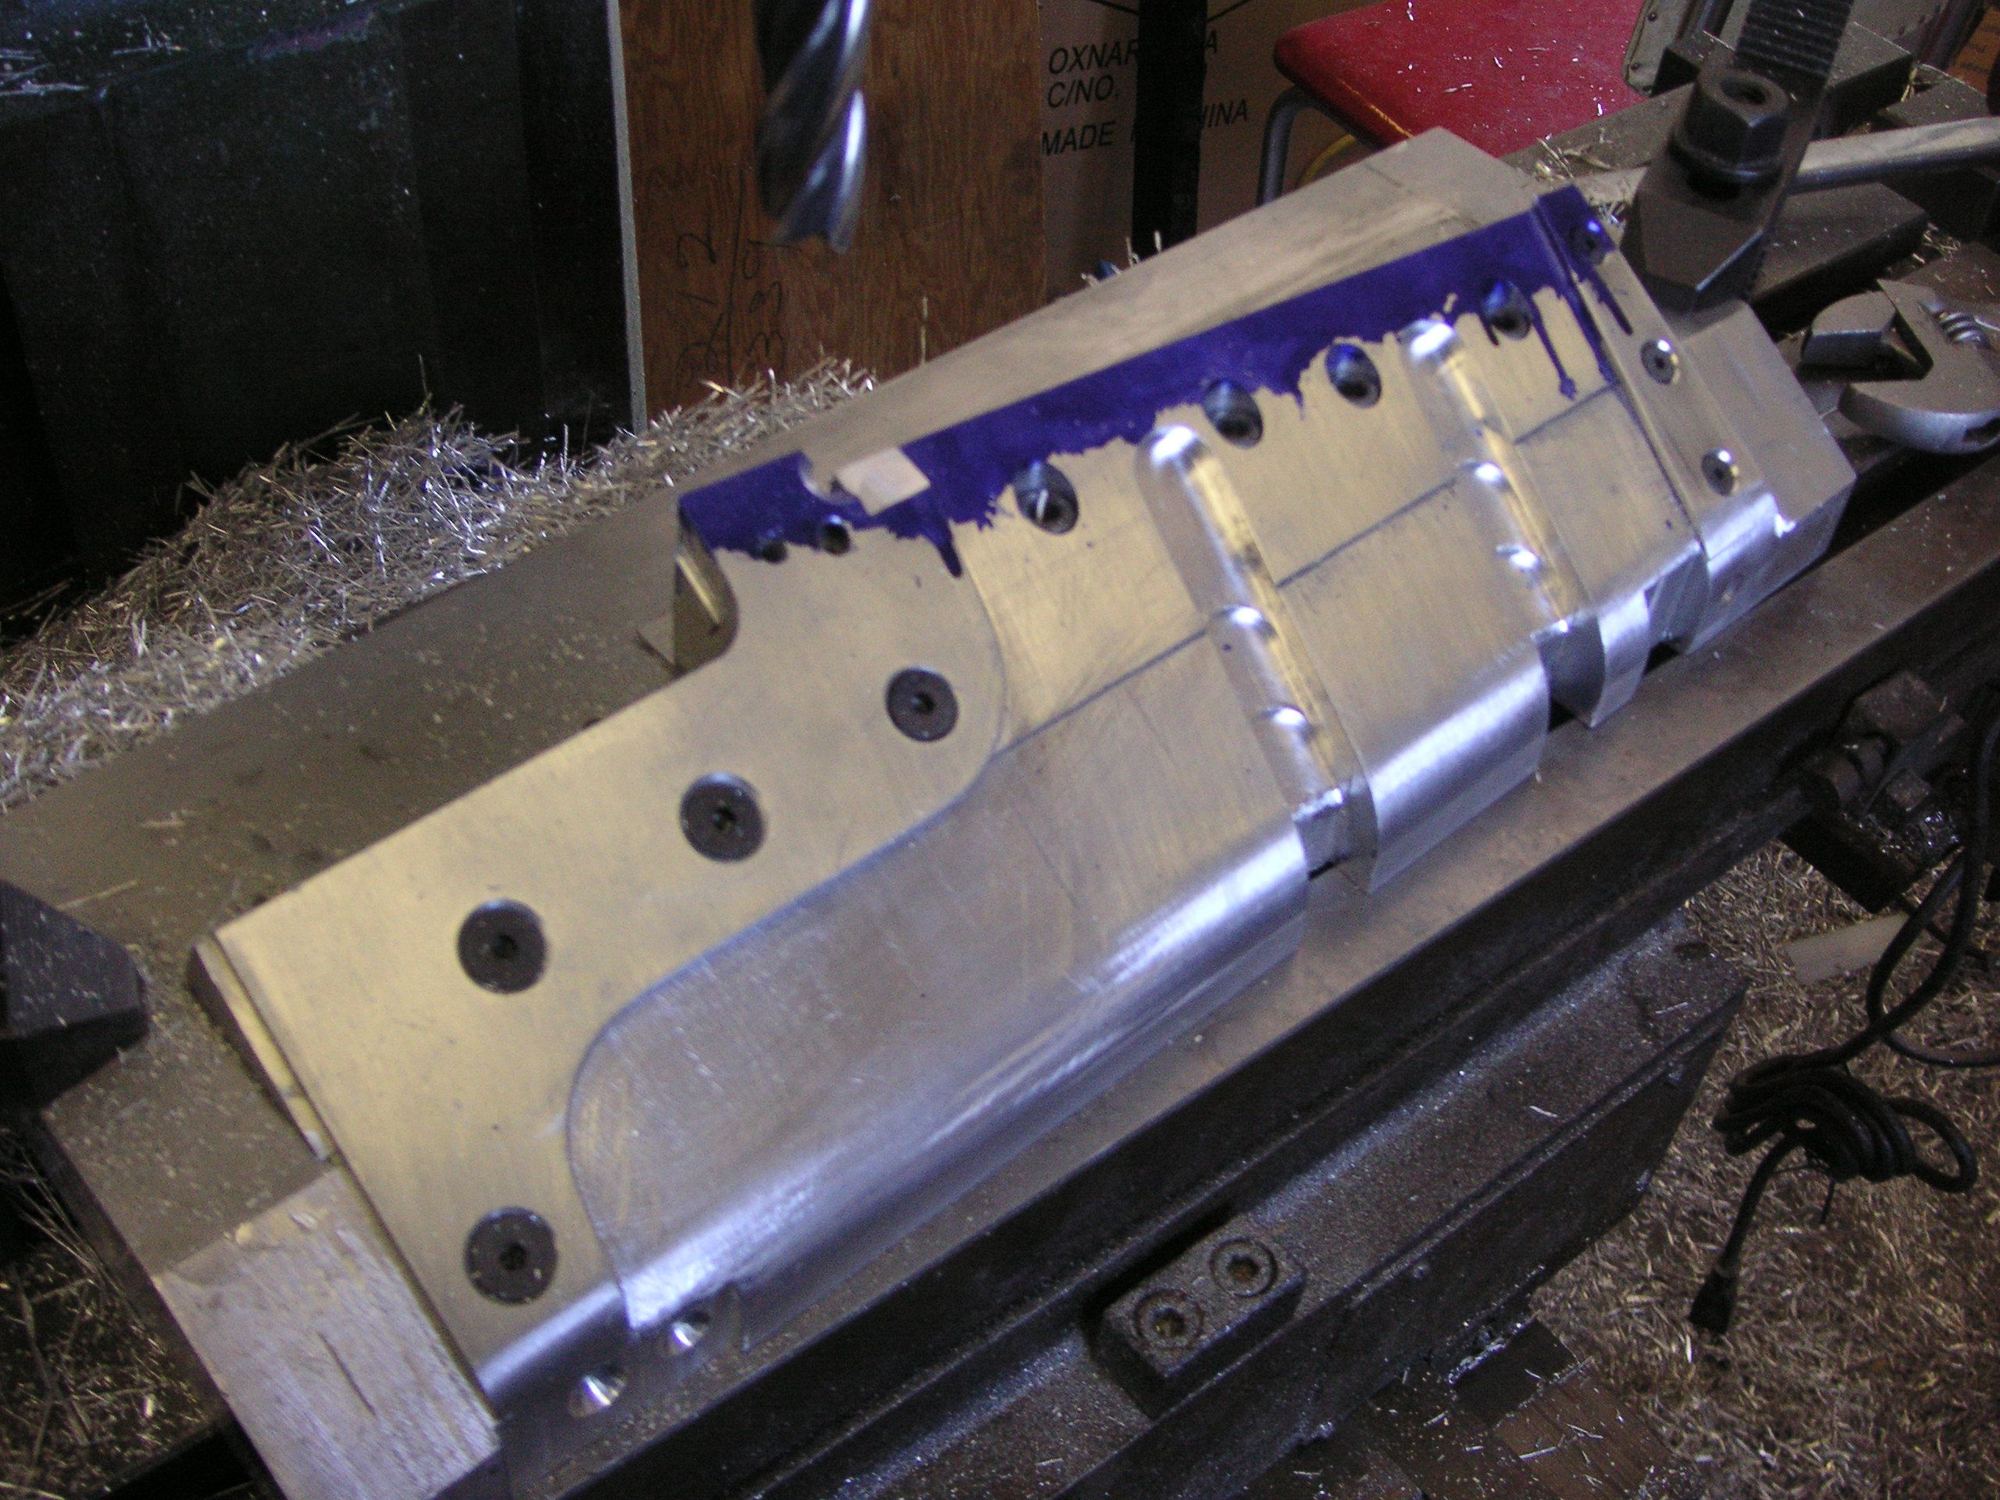
As to progress, I got the slot cut in the left male form for the corner brace yesterday, but forgot to take my camera out. I'll next round some of its bottom edge and then set the whole think up so I can locate the guide bars on both male end forms. With that, I'll then need only to figure out how to make the addition to the forms to form the tops of the sides. Oh, one other thing I need to do is make one more piece to go on the face of the end form on the left side to form the front edge of the sides. I had forgotten that before, and then remembered it/them while sitting here looking at the picture of what I thought was near the final shape of the male form.
Last edited by Jerry Feather; 05-13-2020 at 11:08 AM.
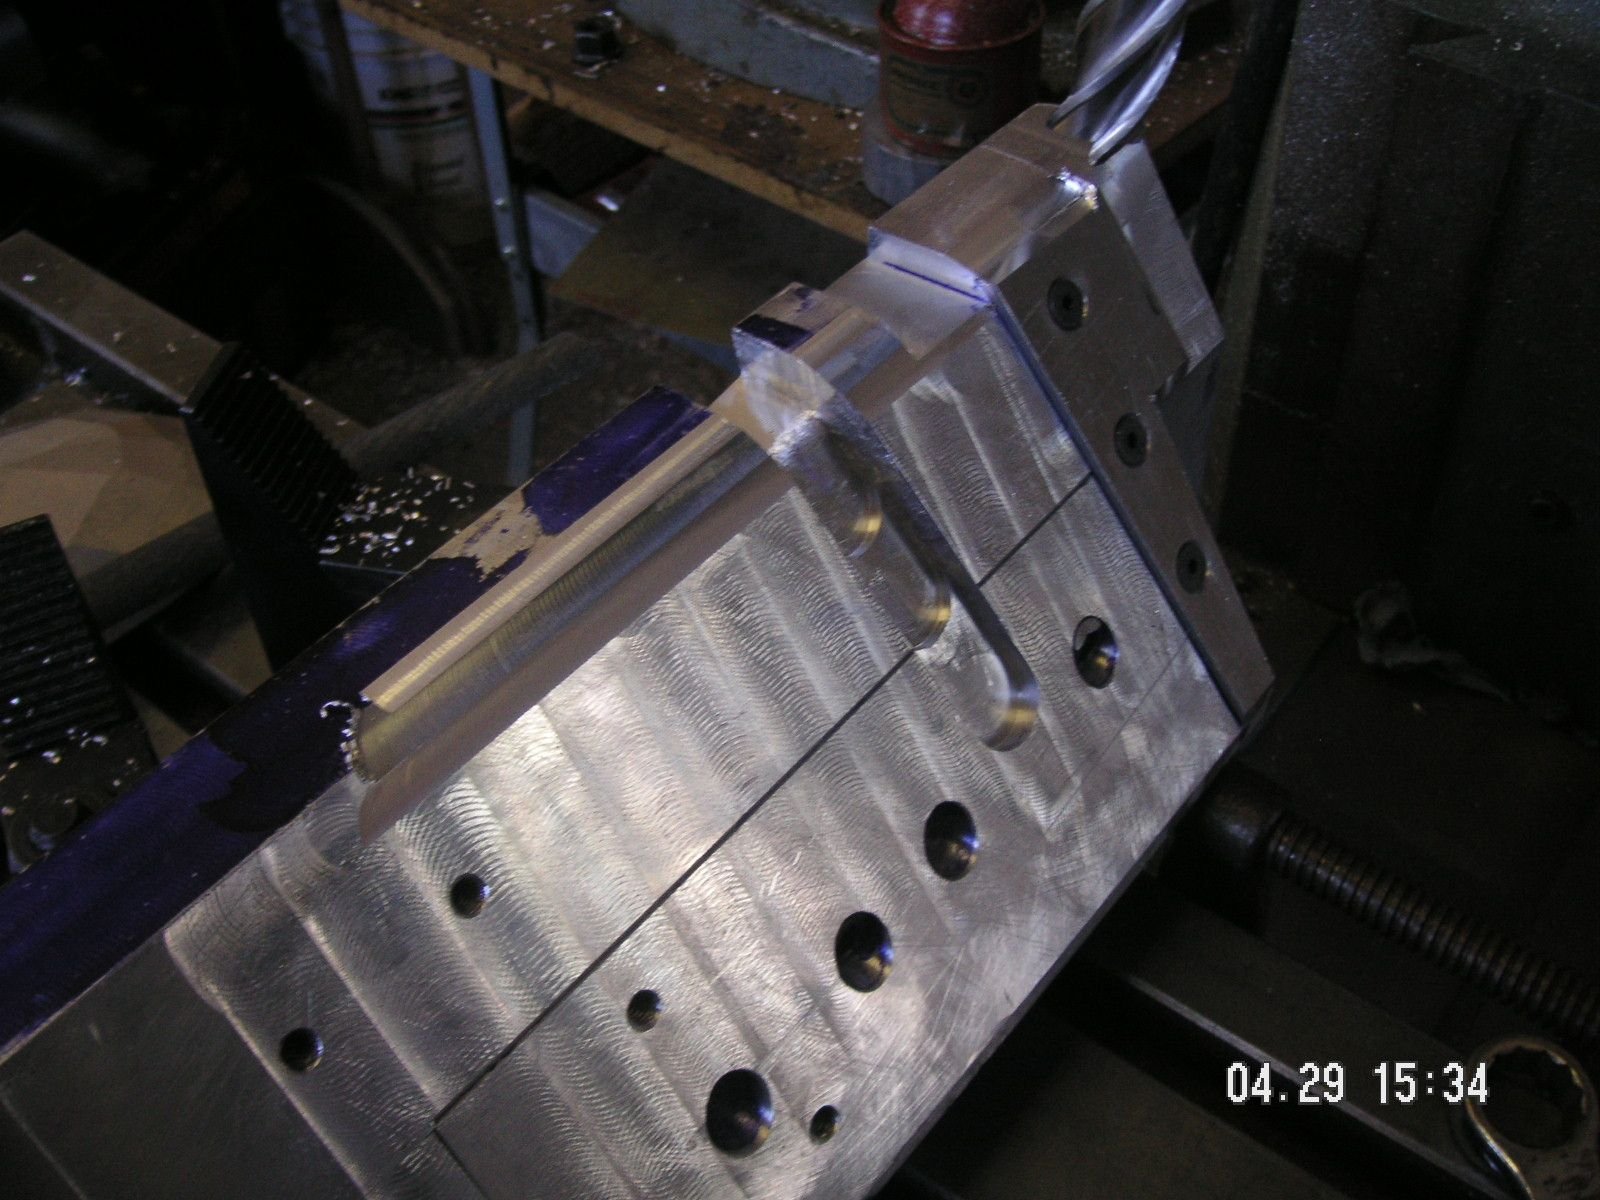
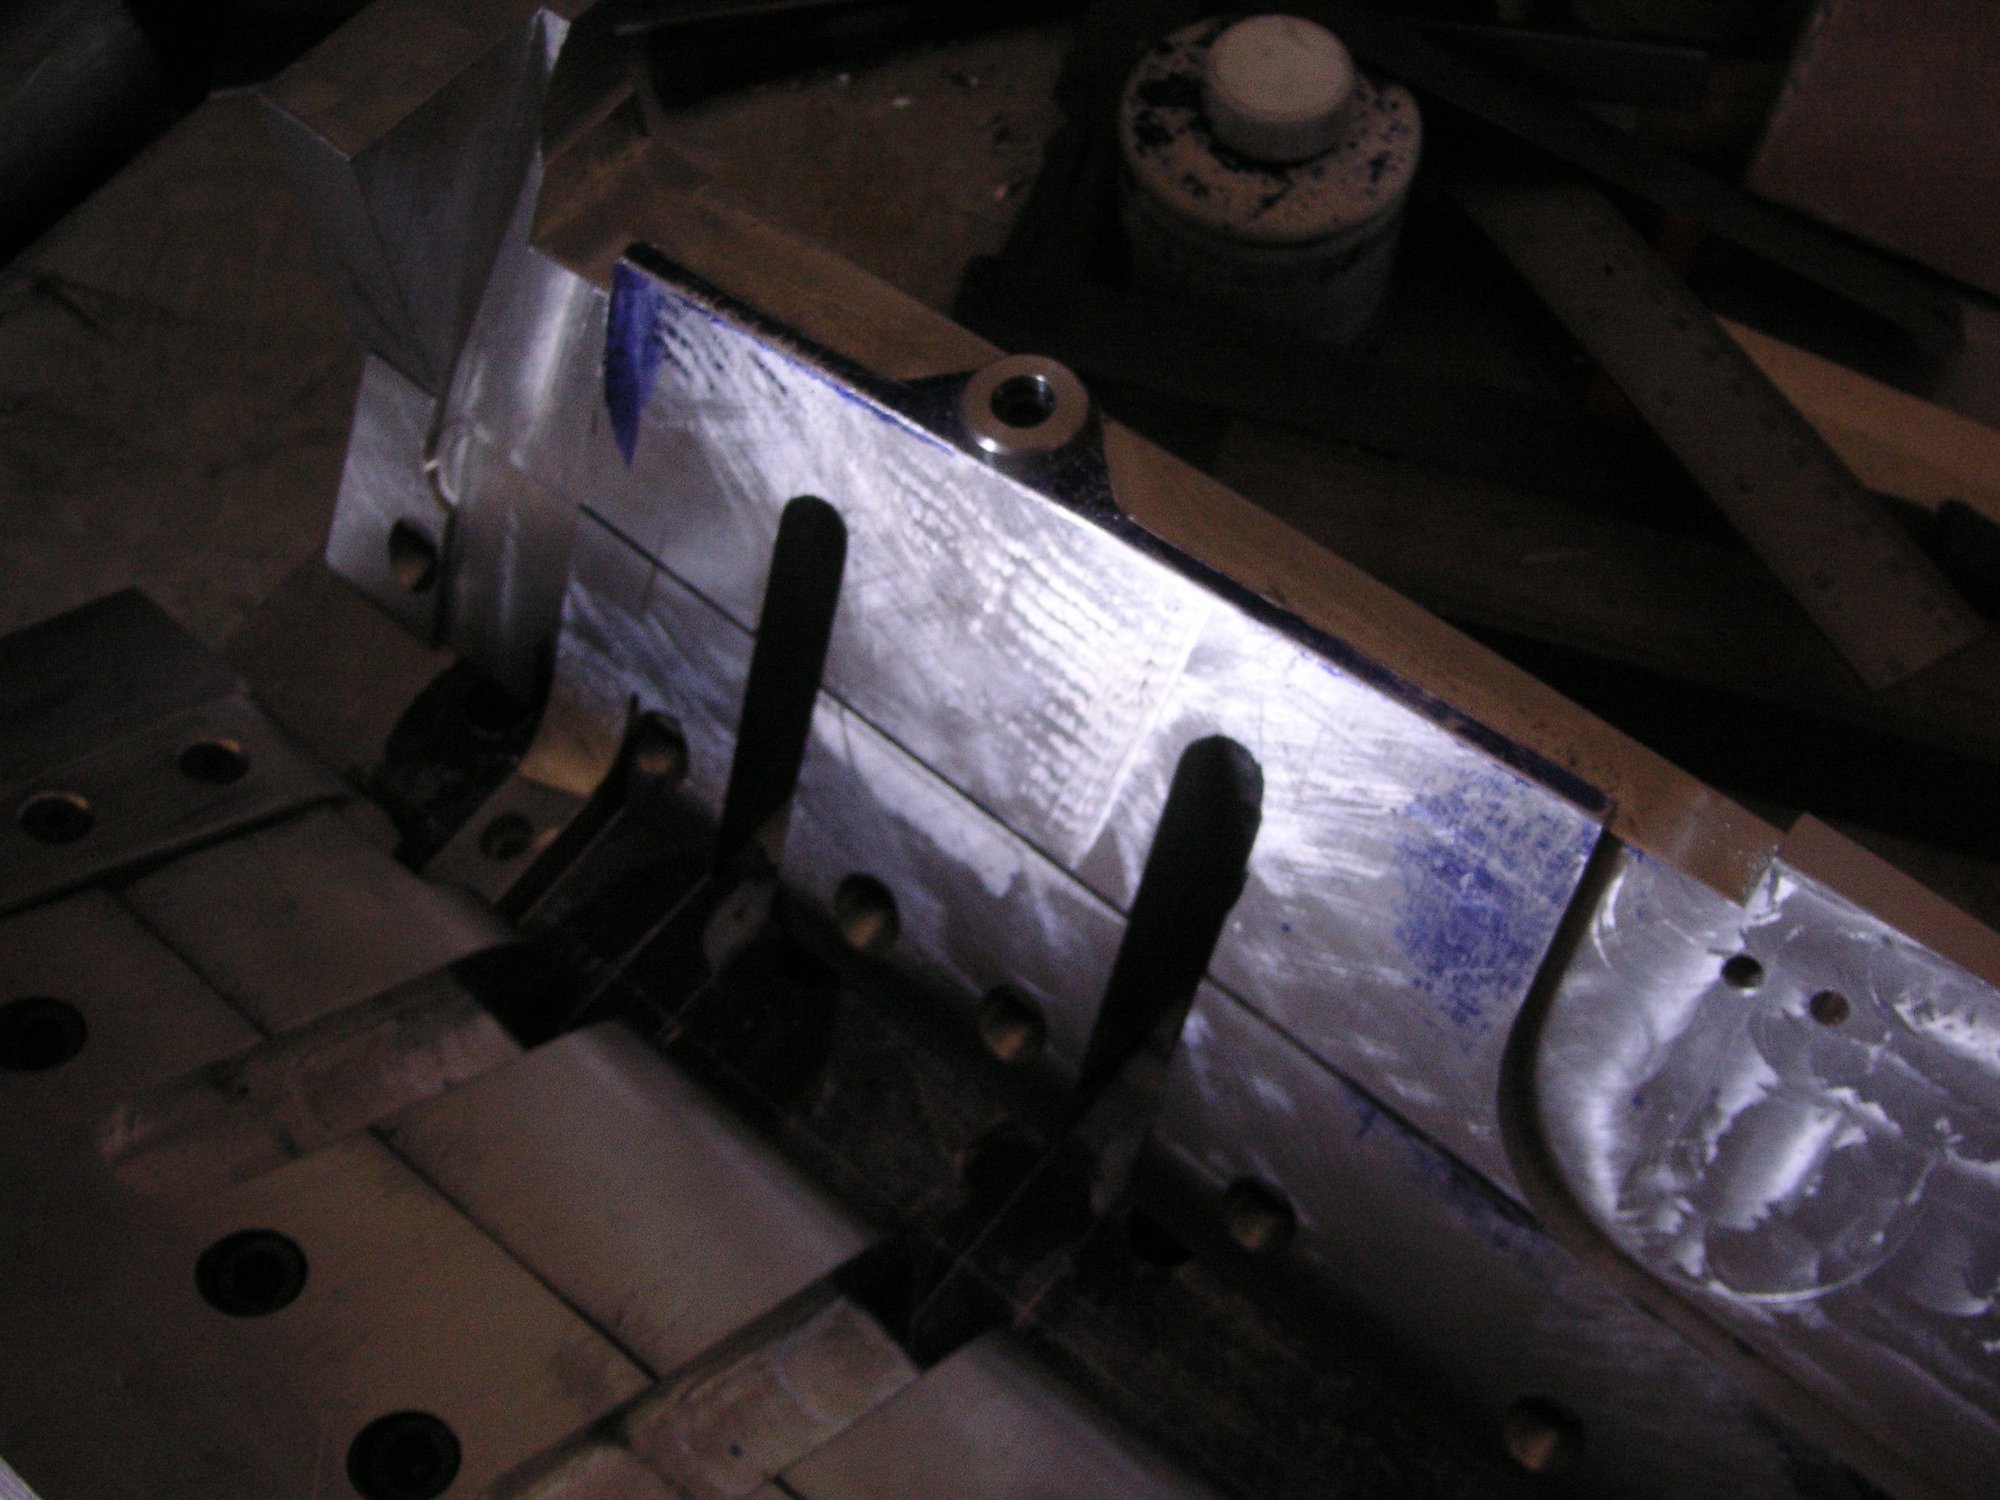
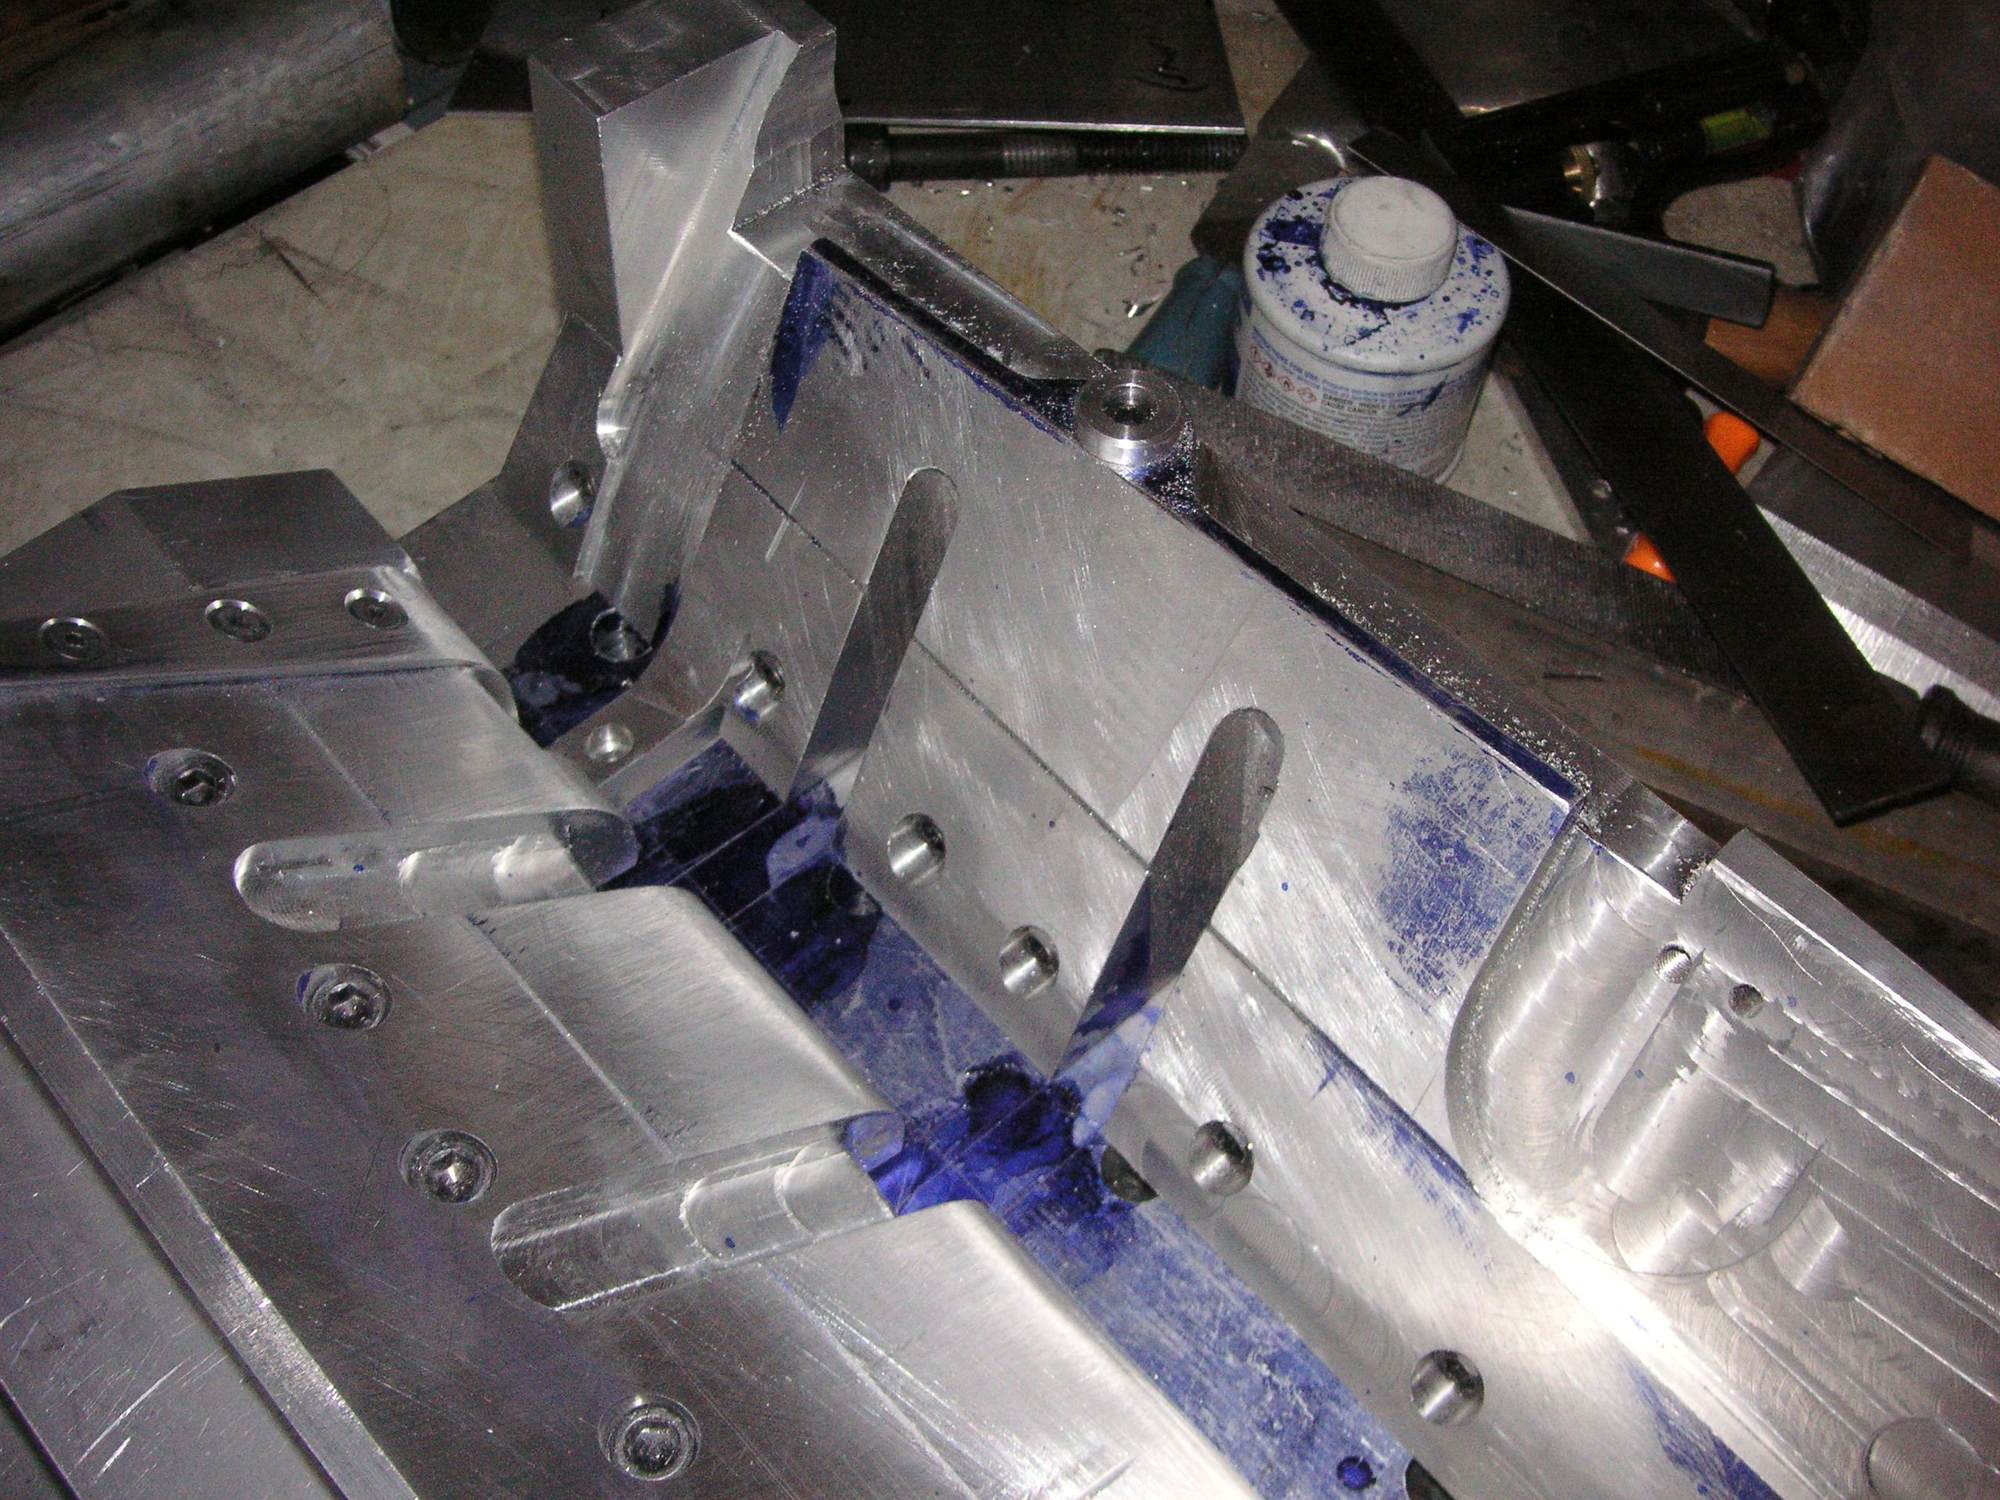
OK, I rounded part of the bottom of the left side male form and have its little extra piece fabbed and installed. Now I need to put most of it together on my work table and locate the guide bars on the sides of the two male end forms.
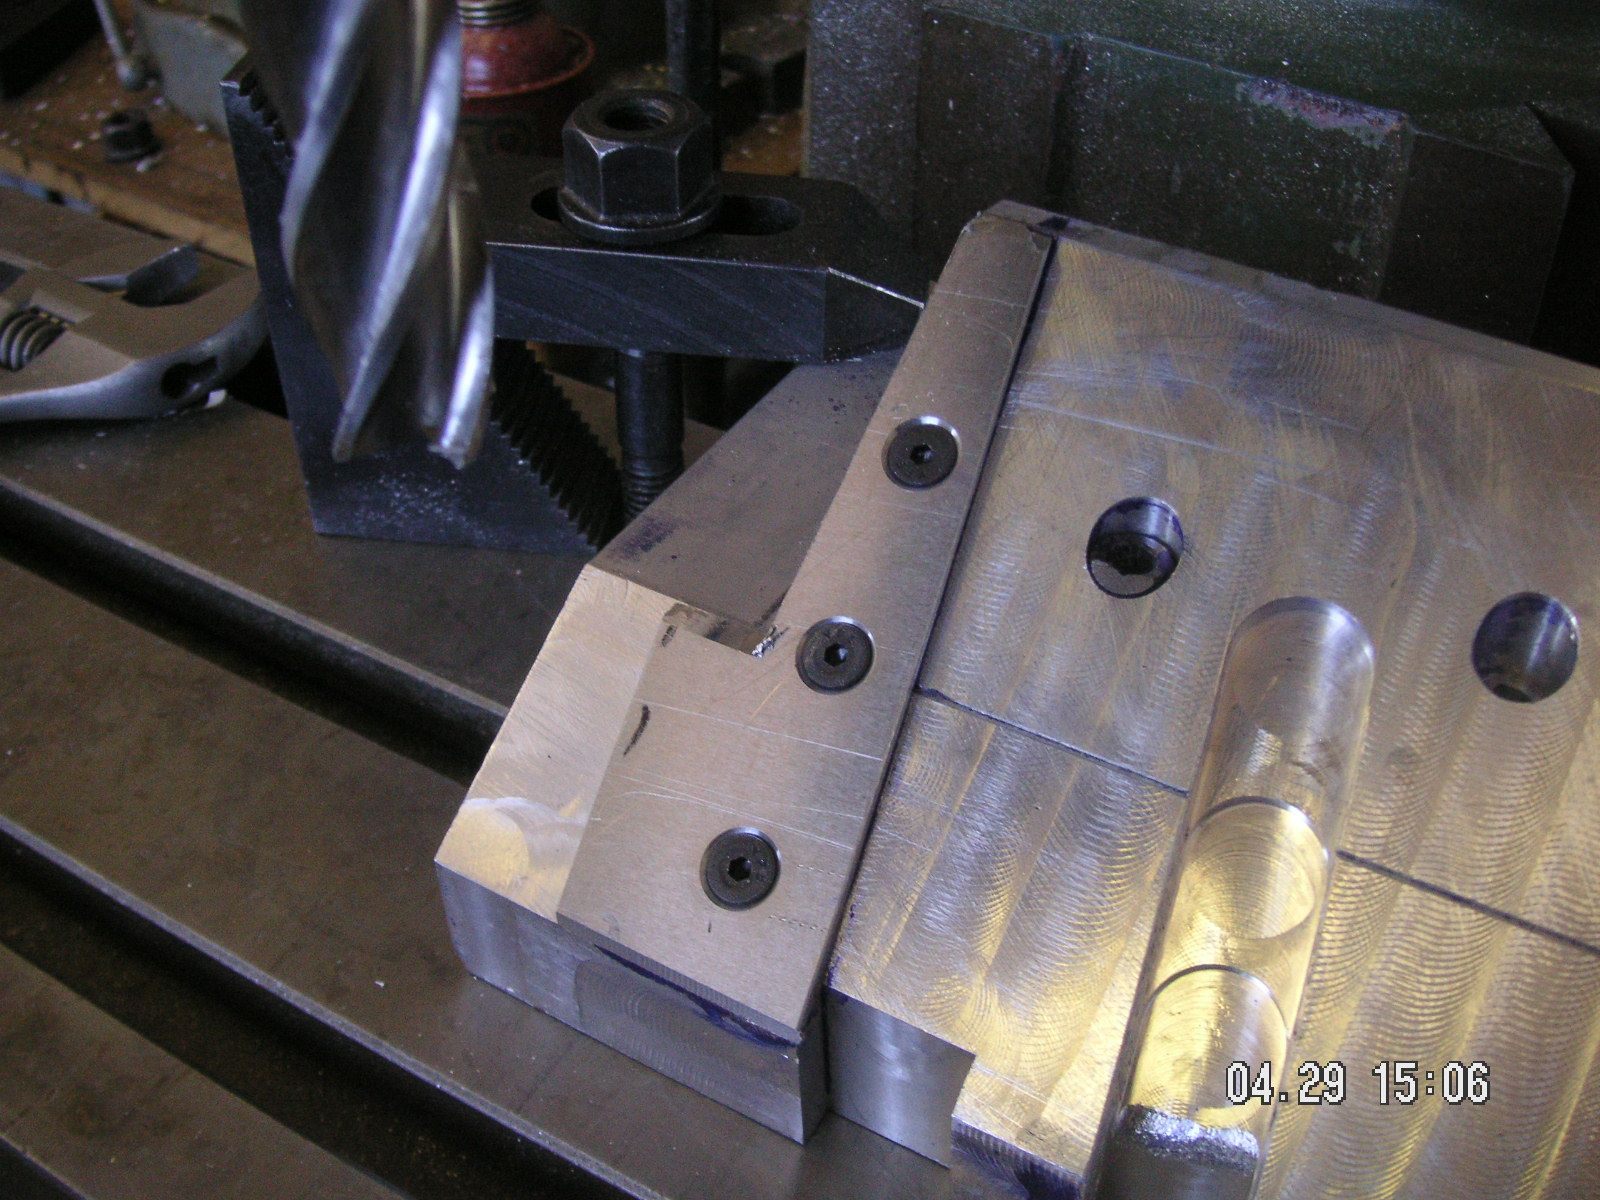
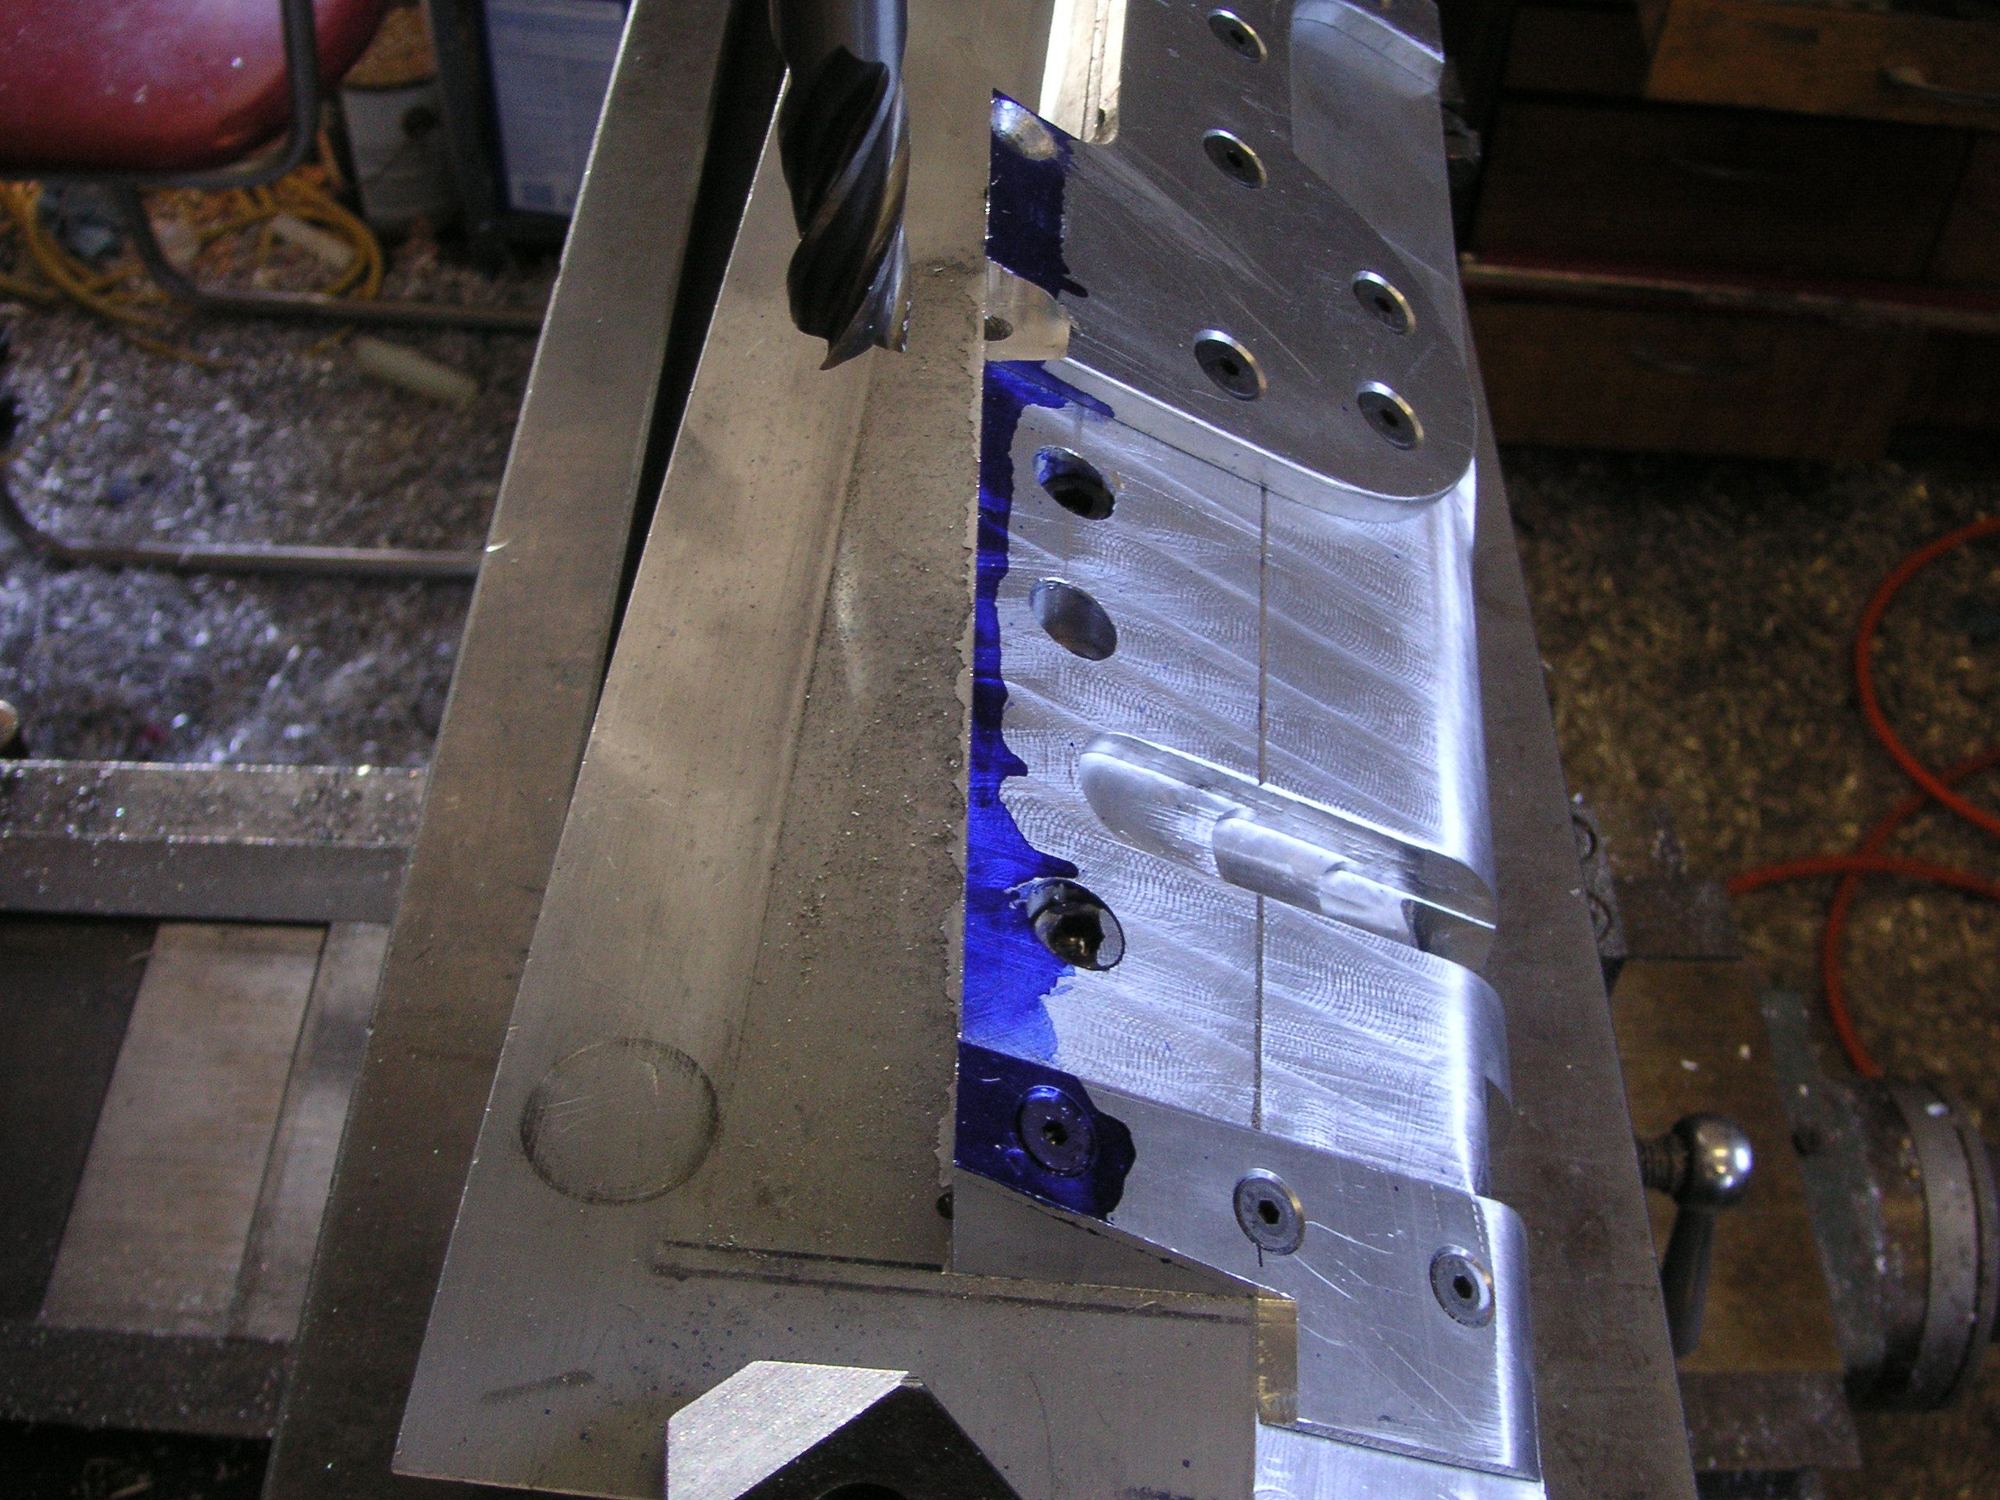
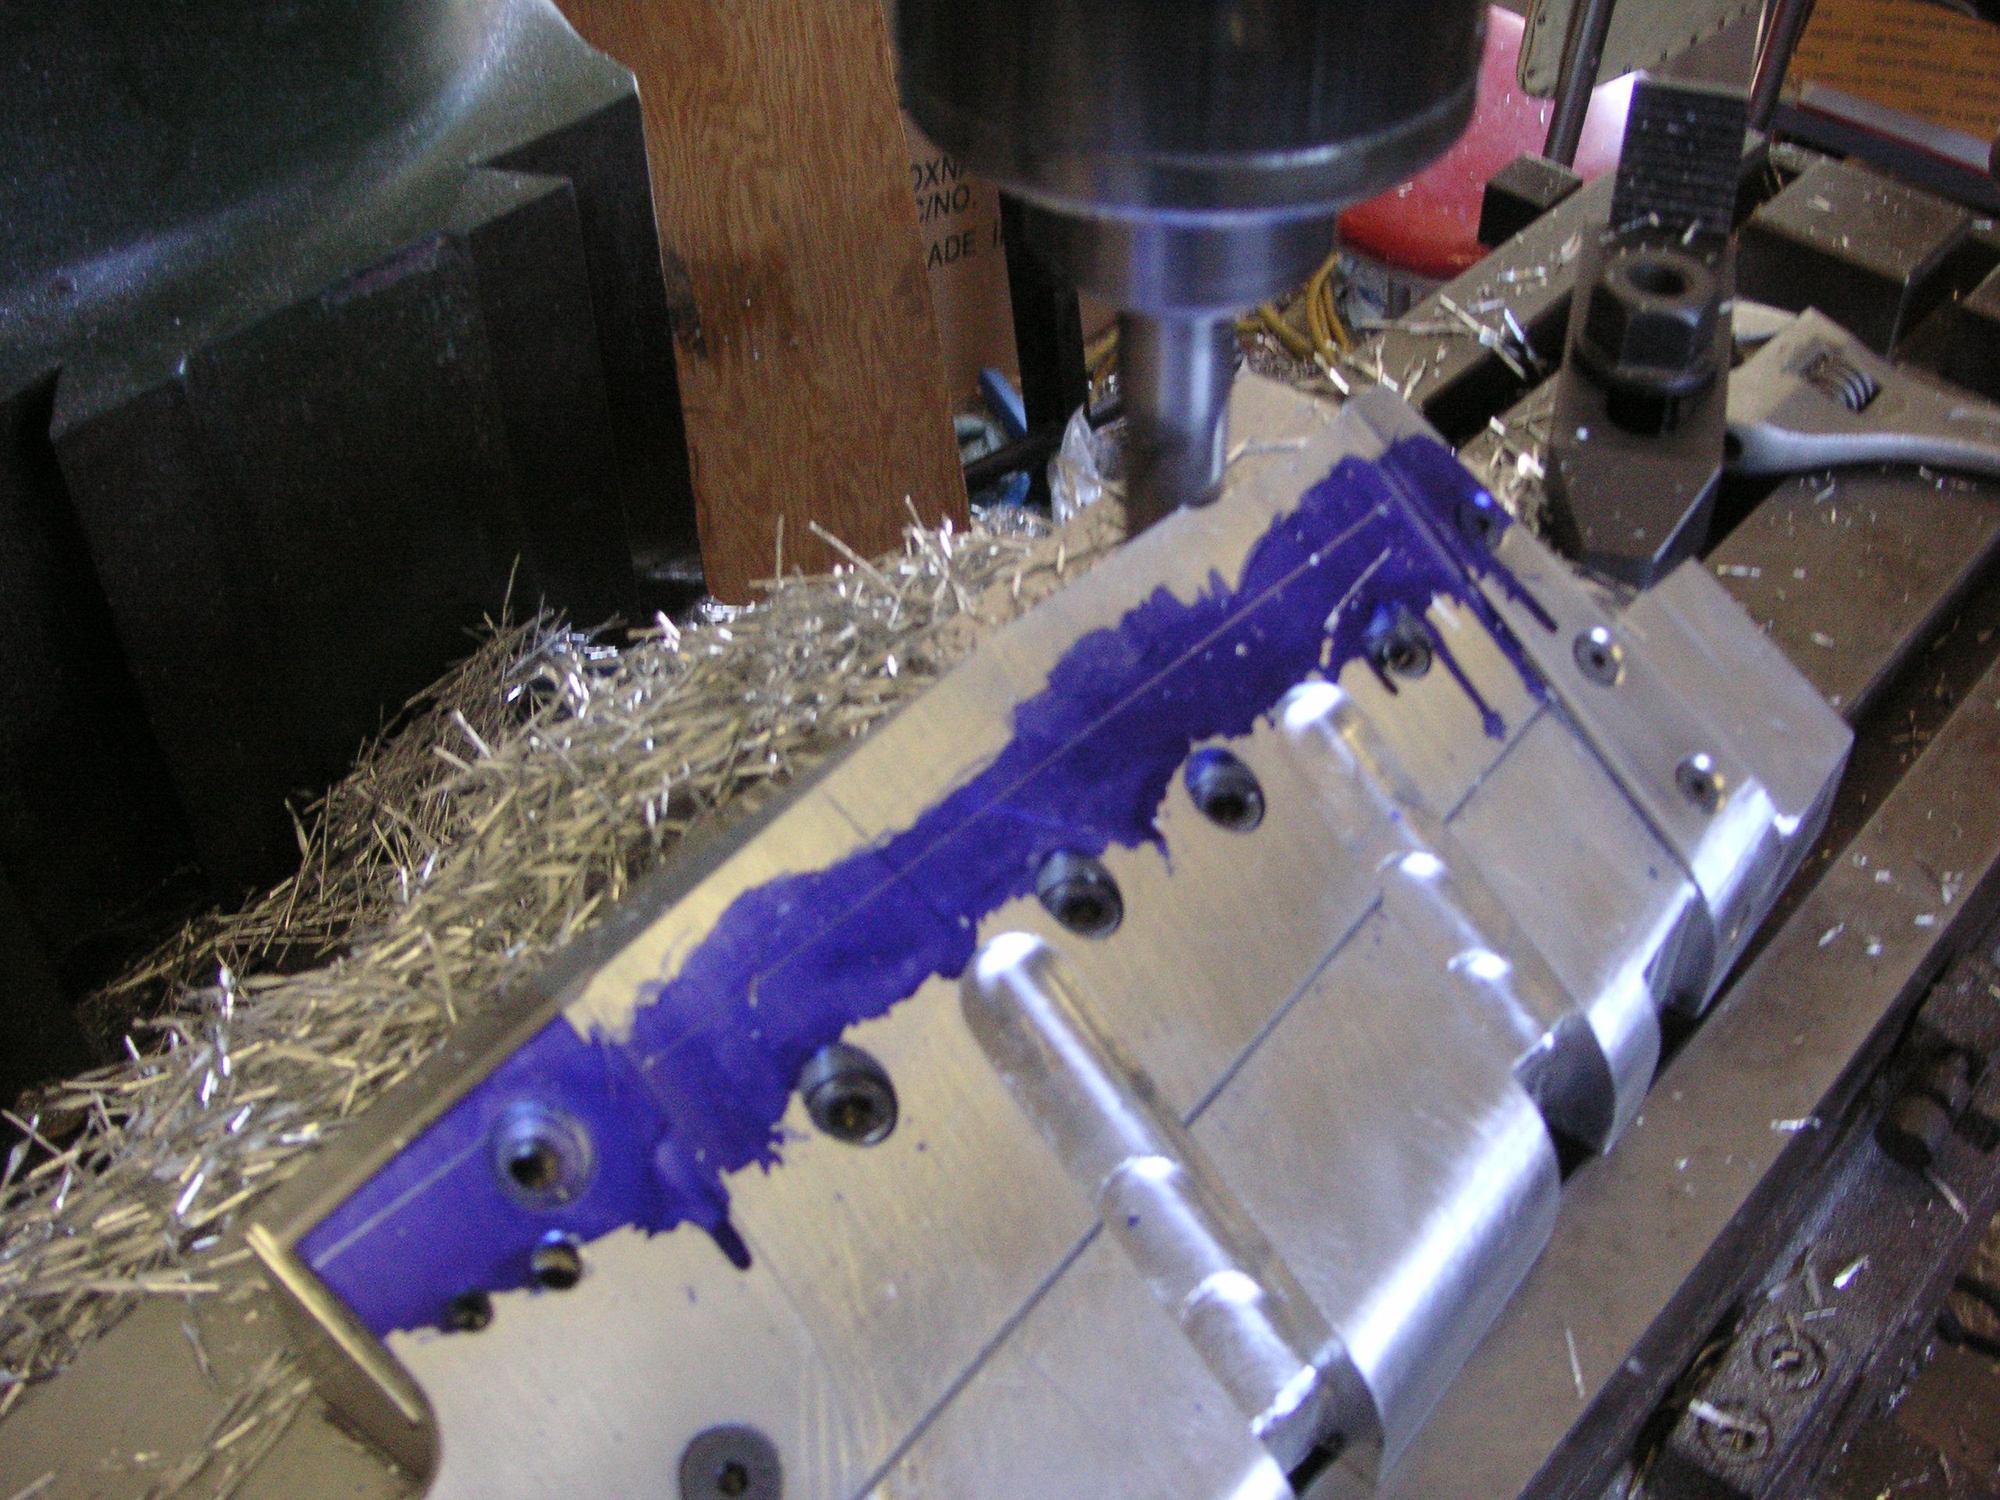
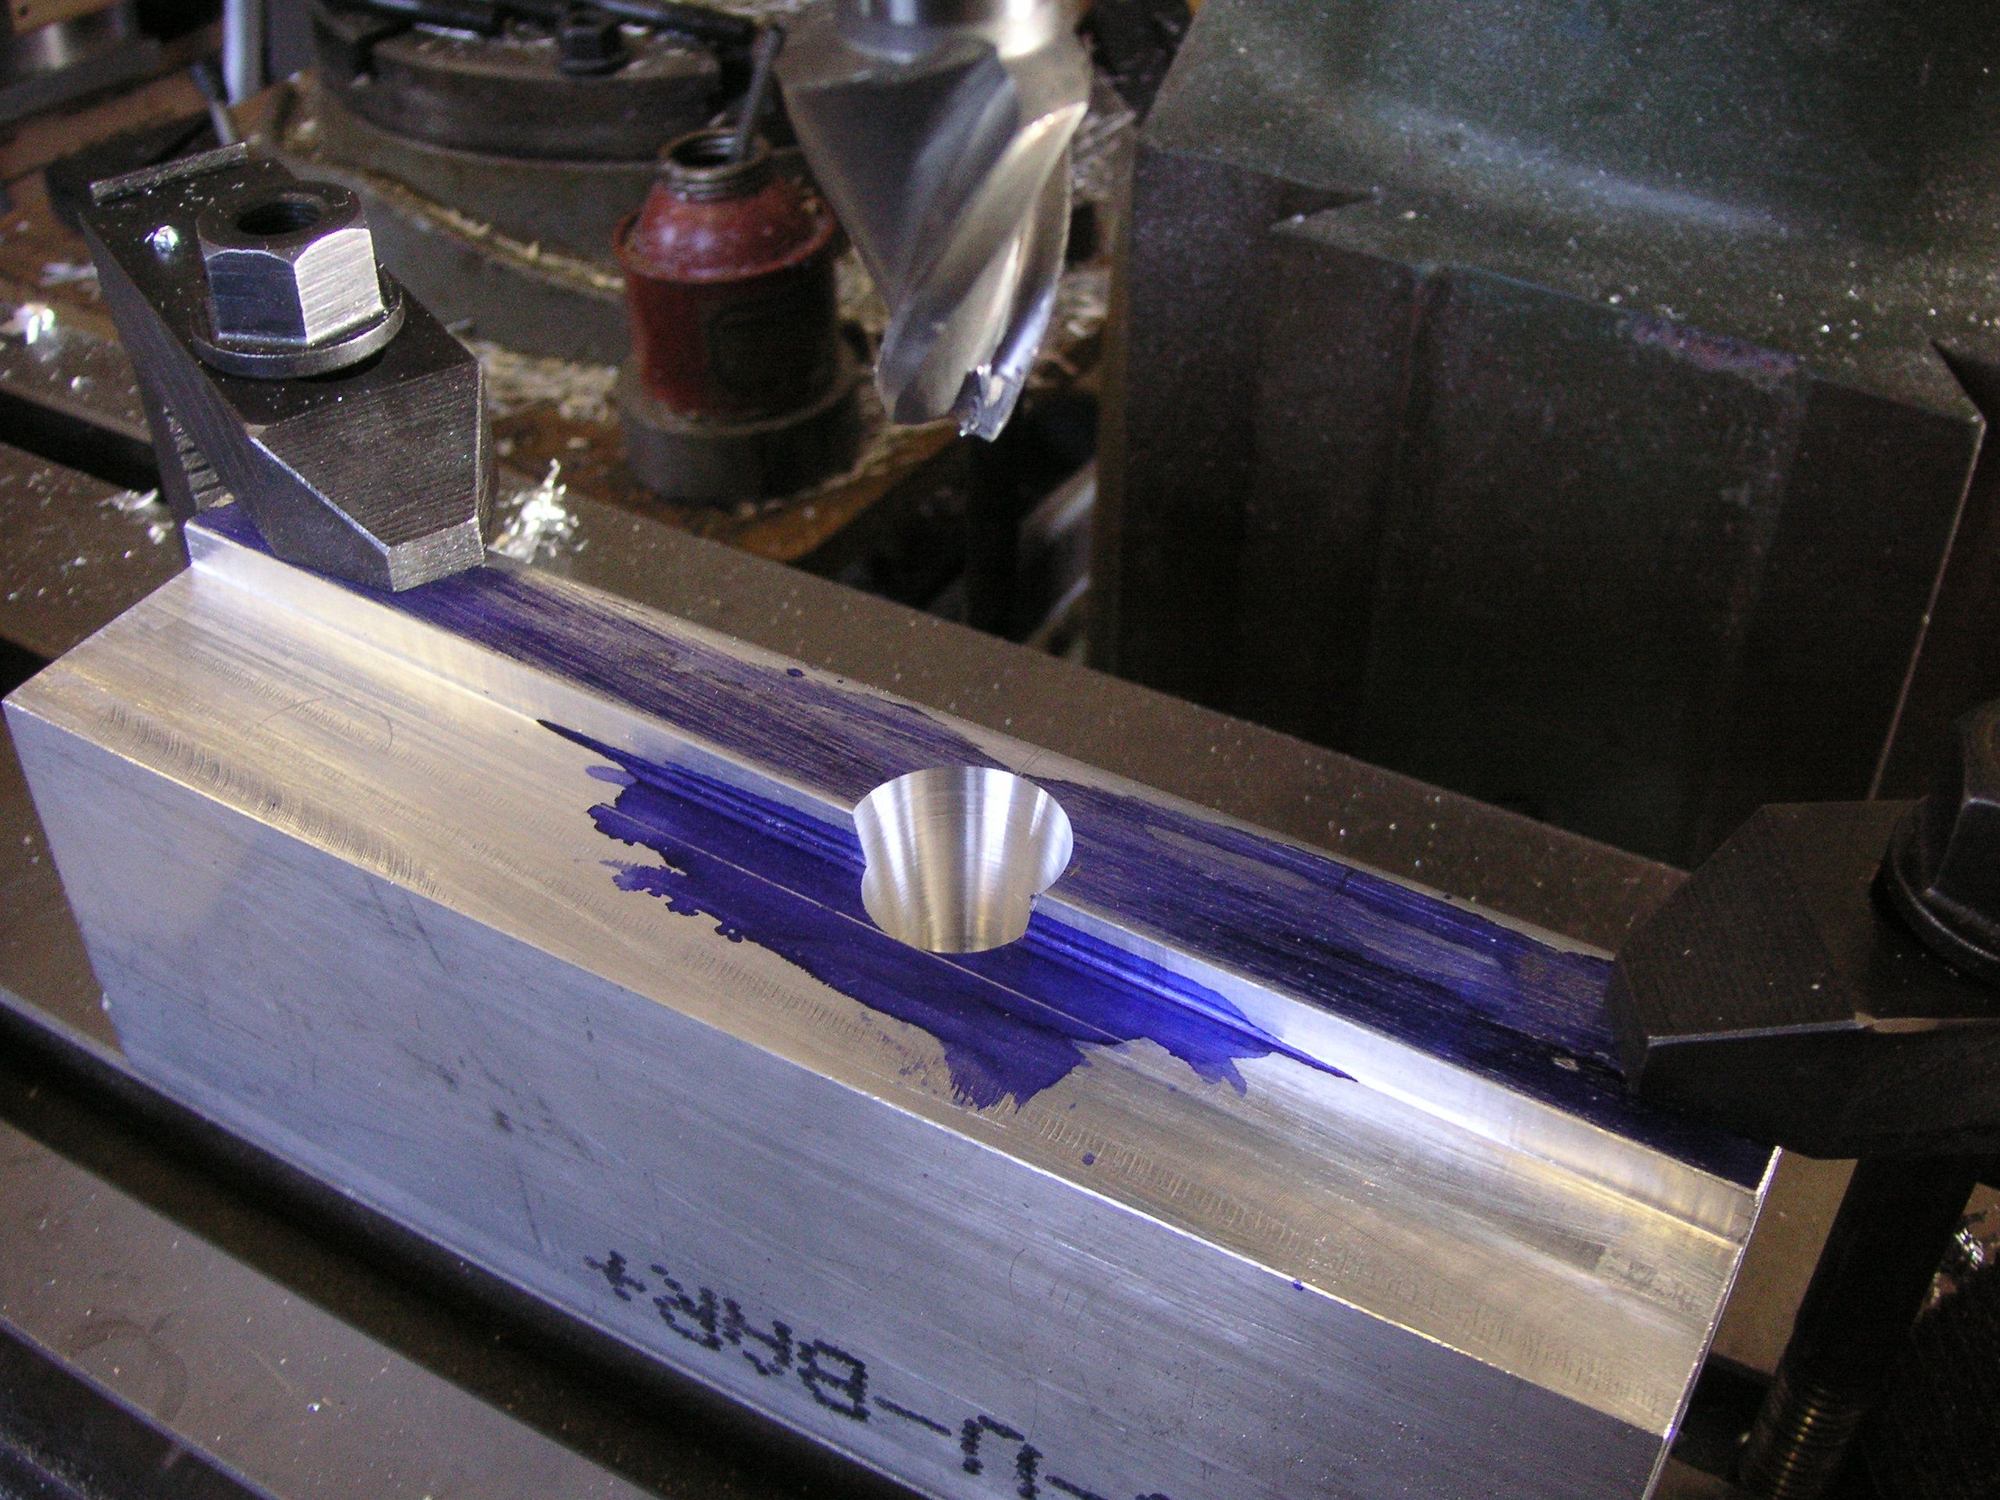
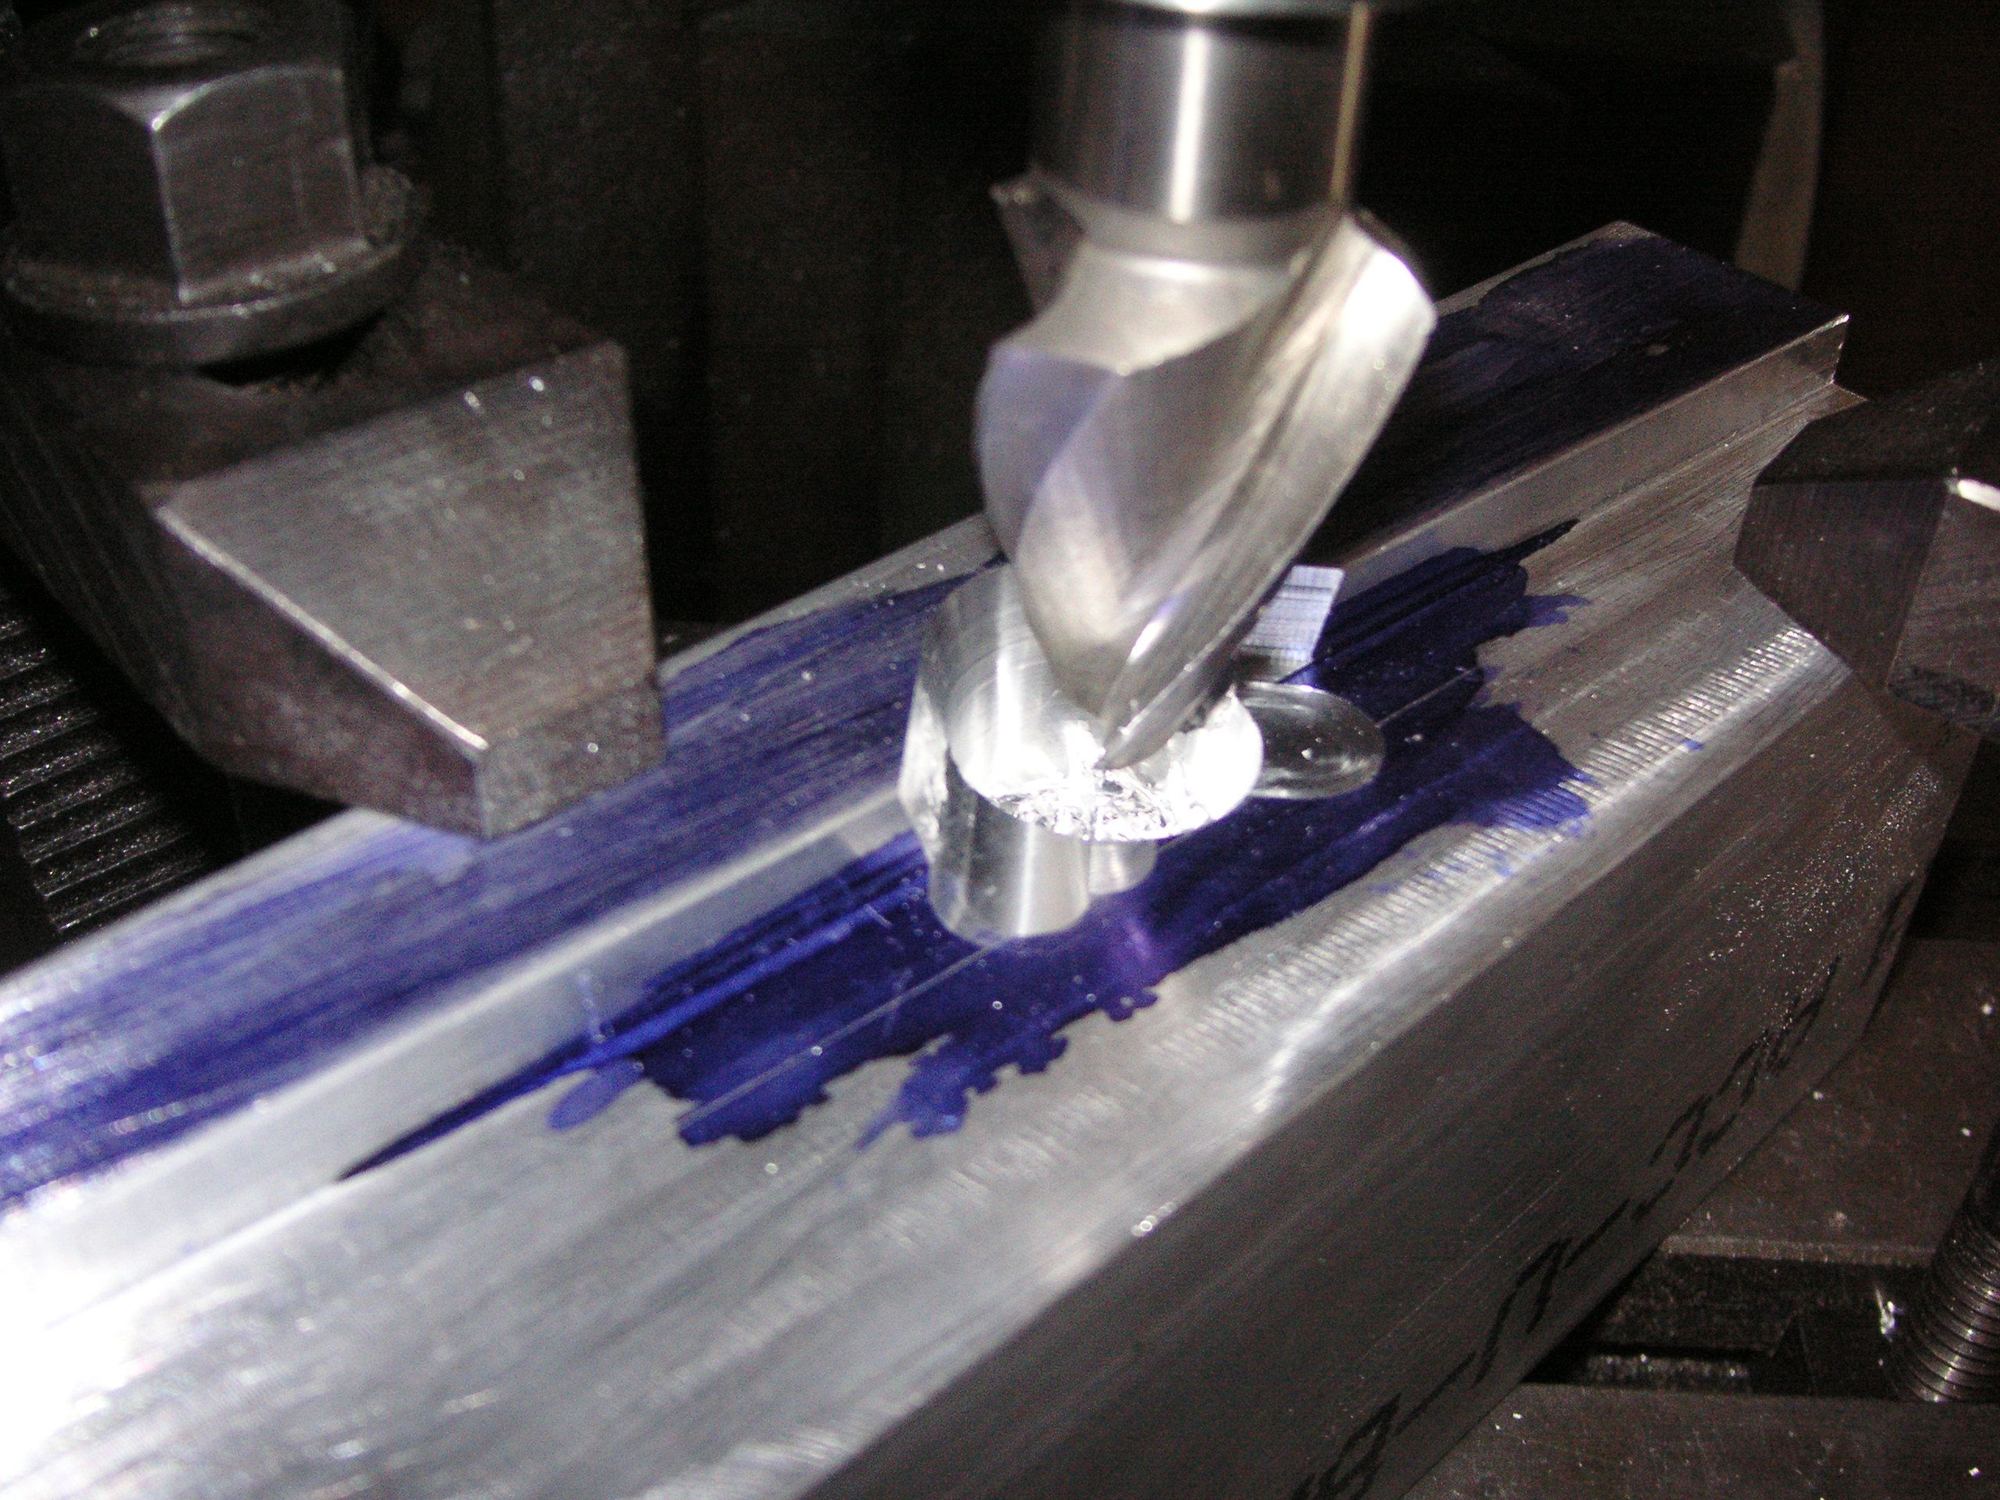
This picture shows the rounding of part of the left form because the alternator bulge take care of the rounding toward the rear of the left side of the pan. Herre is the process of milling the rounded bottom before finishing by hand with a file. This is the finished piece to form the front edge on the left side. This is the rough piece placed for the frnt edge finish before milling to remove the waste around three of the edges. The left side here is the finished edge for the form.
I am going to be absent for a couple of days on this thread since I have to go to Reno to pick up an interesting S4 that I bought recently on eBay. Talk to you when I get back.
I lost the text and a few of the pictures, so I'll try again. I didn't get anything done yesterday since I had to rest up from my Reno trip. I did put in a few hours today working on the tops of the outer end forms. The little round thing you see is what will form the top mounting points.
I think I have finally figured out how I want to complete the positive forms for the tops of the sides of the belly pans. I picked up a couple of chunks of aluminum this afternoon to work the next form pieces up with. After I get the guide bars fabricated and installed on the male forms I'll be able to work up these last two pieces. Then, after quite a bit of finish work on the forms to soften the edges and such, I'll be ready to try to form a belly pan. Stay tuned. I found a bottle of Merlot I had forgotten about, so I guess I wont be out in the shop this afternoon.
In my mind I have been doing these last two pieces for the tops of the sides of the pan and today I made the major cuts to the form pieces as they are/were, and then started the two pieces that will form the tops. I still have some minor cuts to make to form around the top mounting points, but I decided to take a break first.
Last edited by Jerry Feather; 05-12-2020 at 11:28 AM.
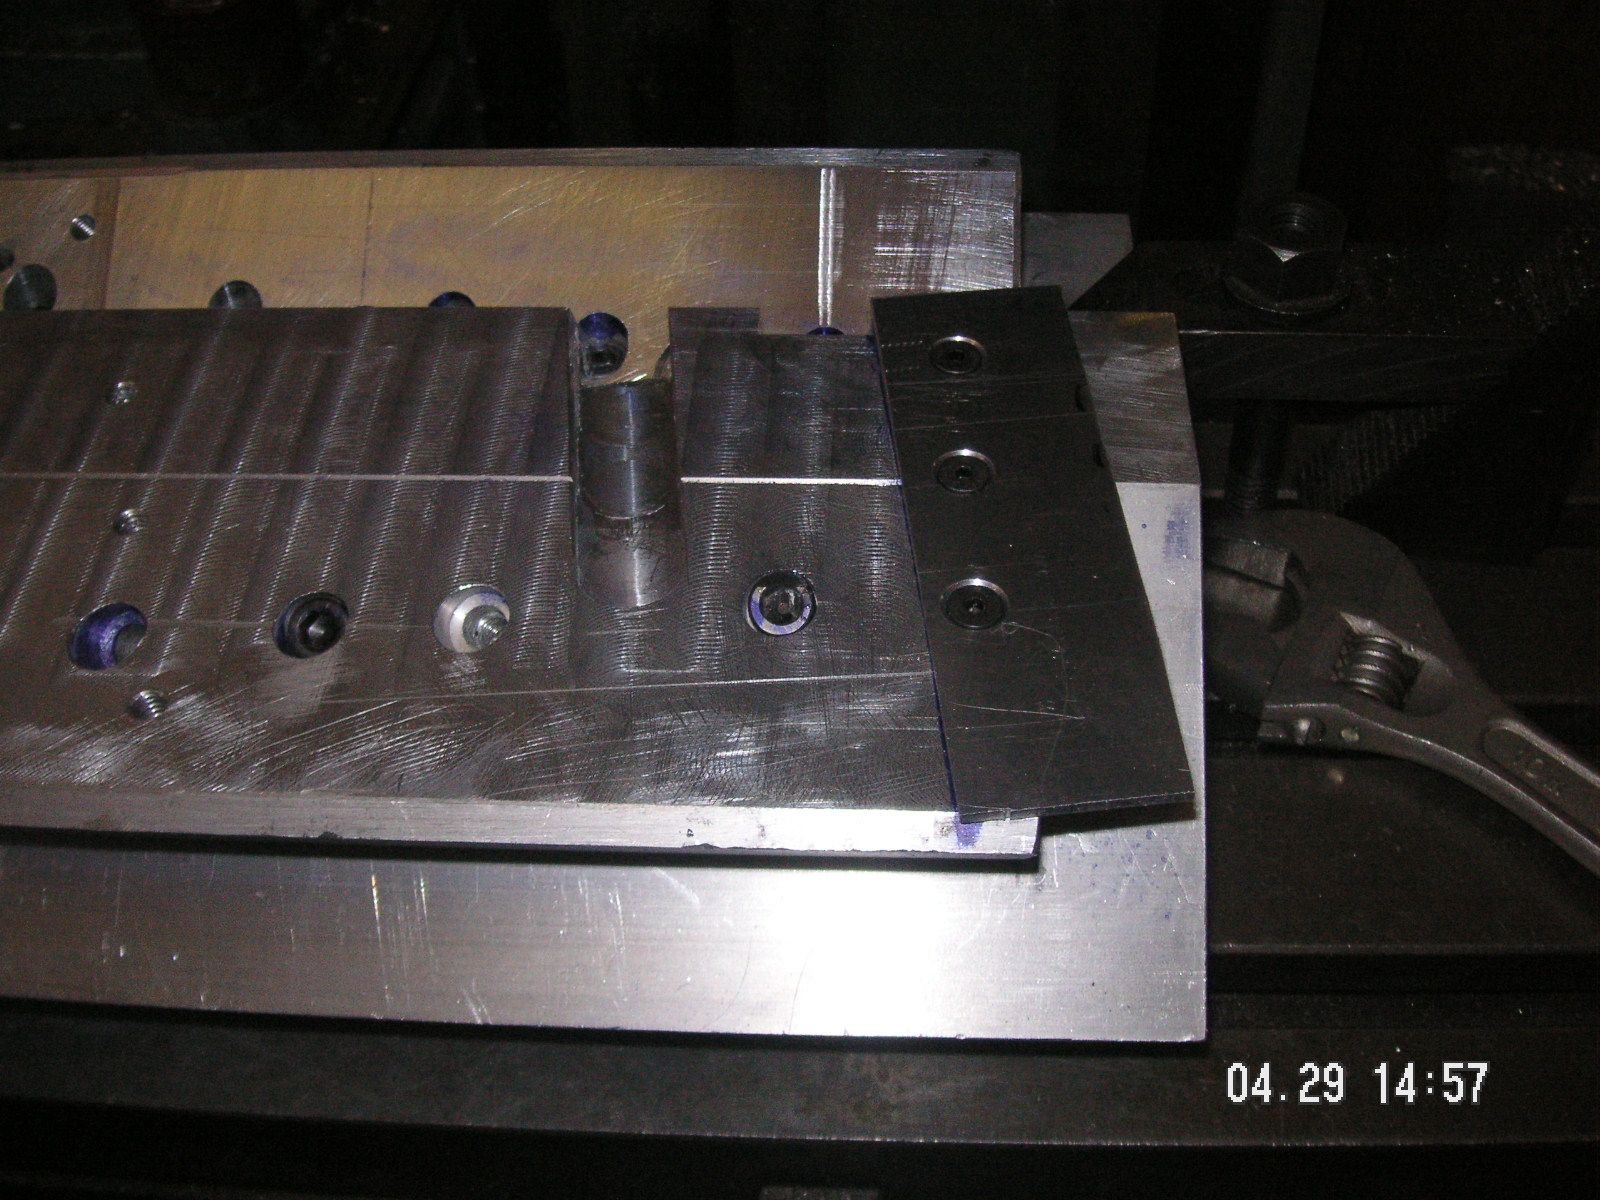
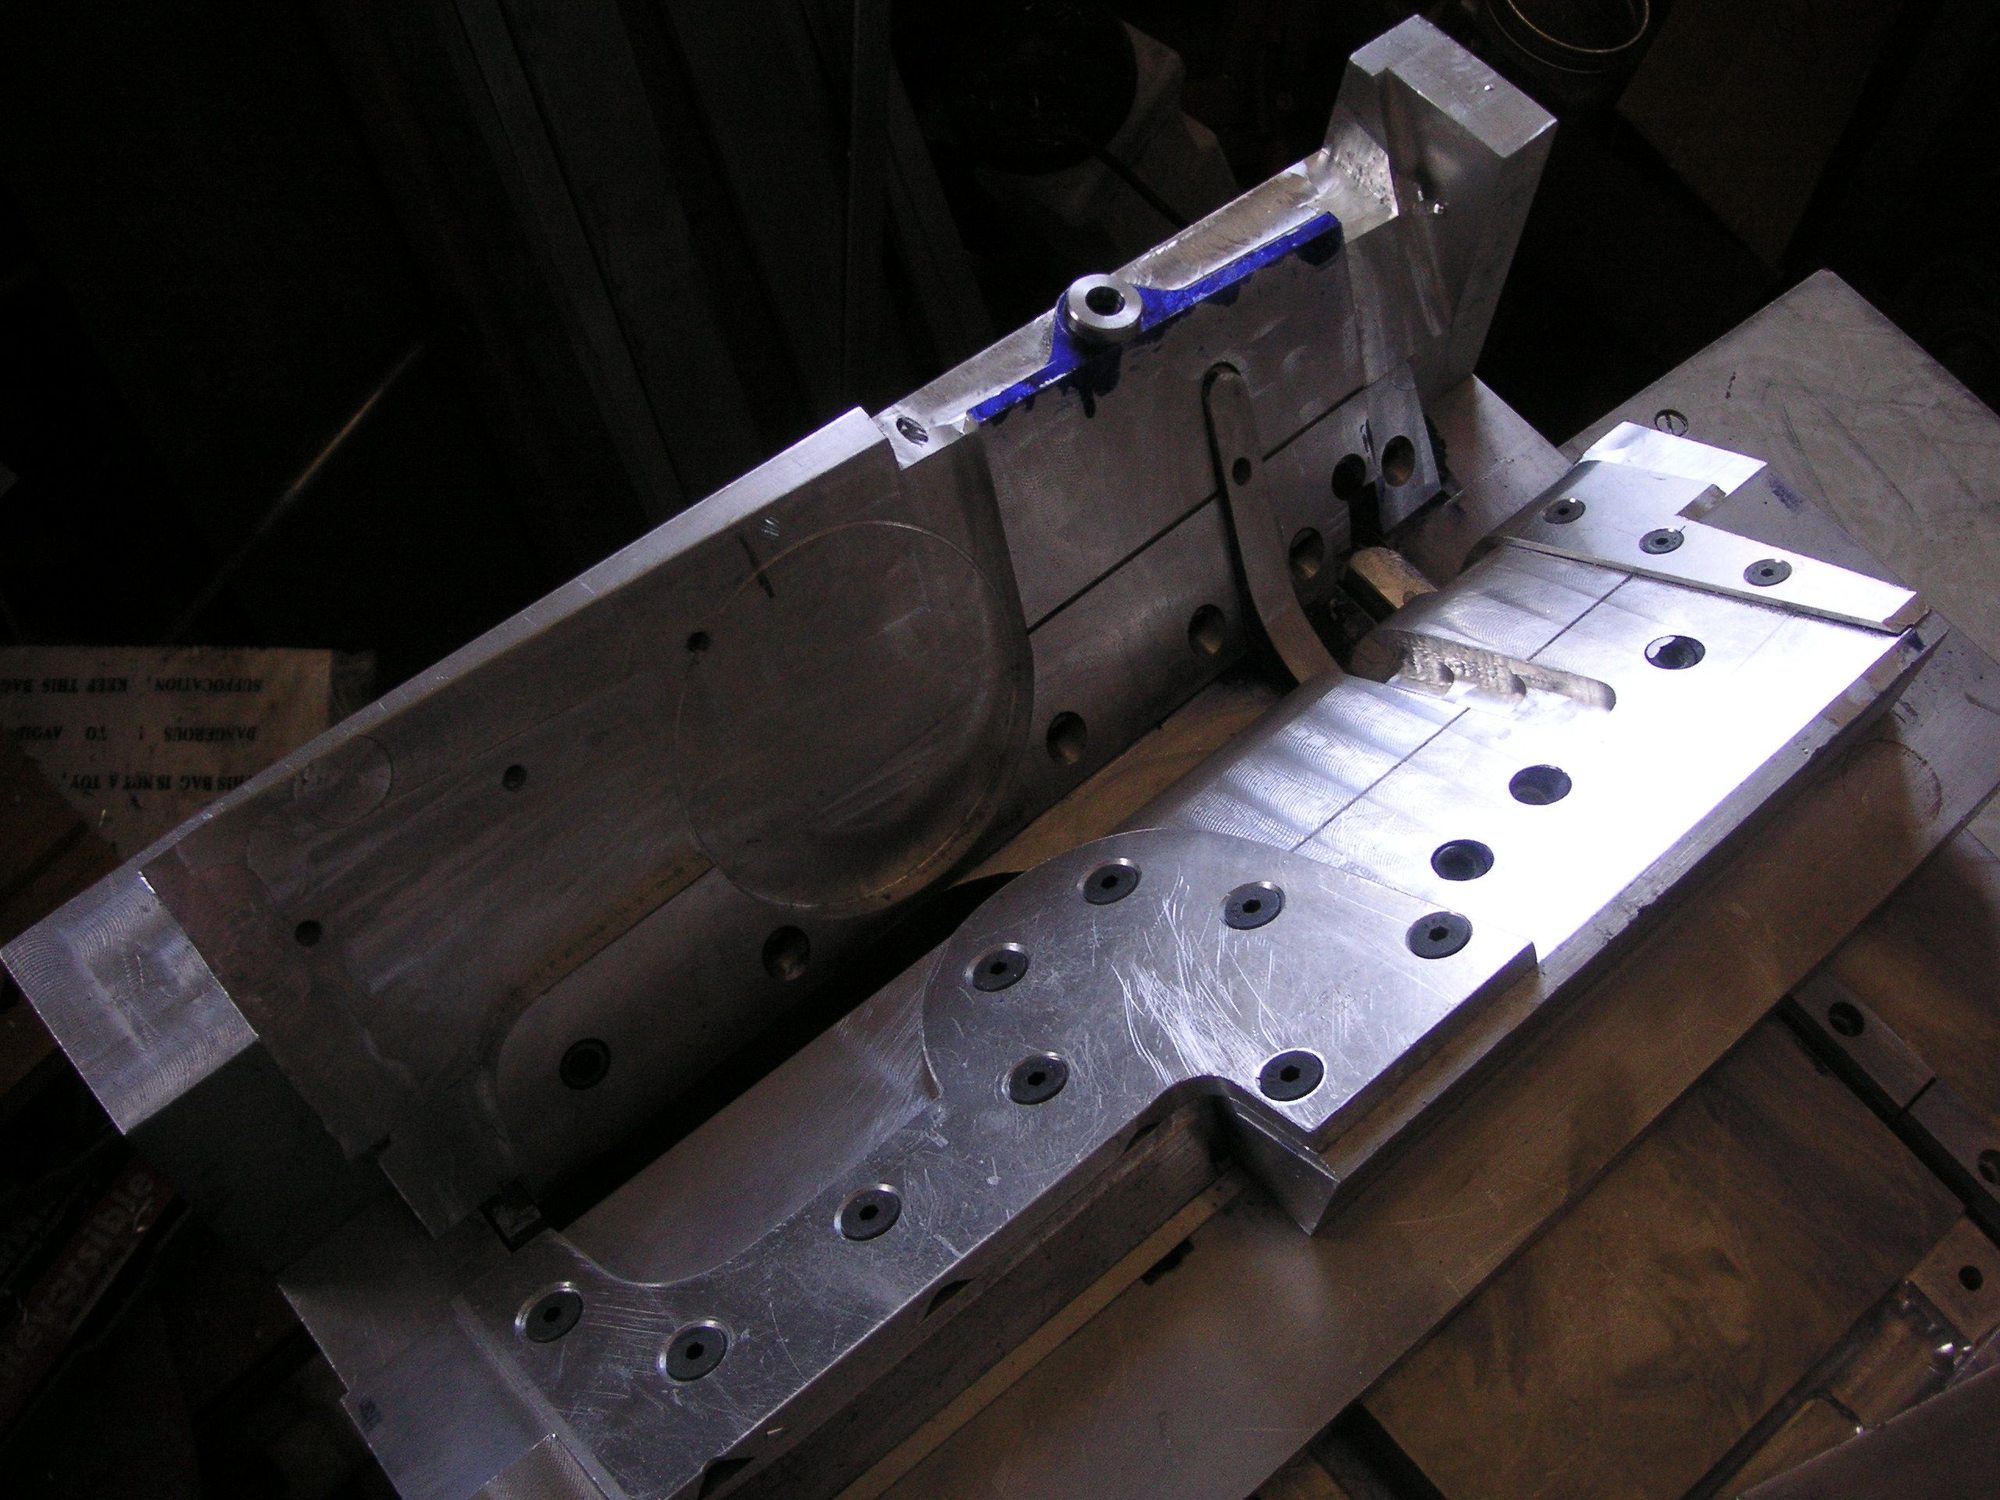
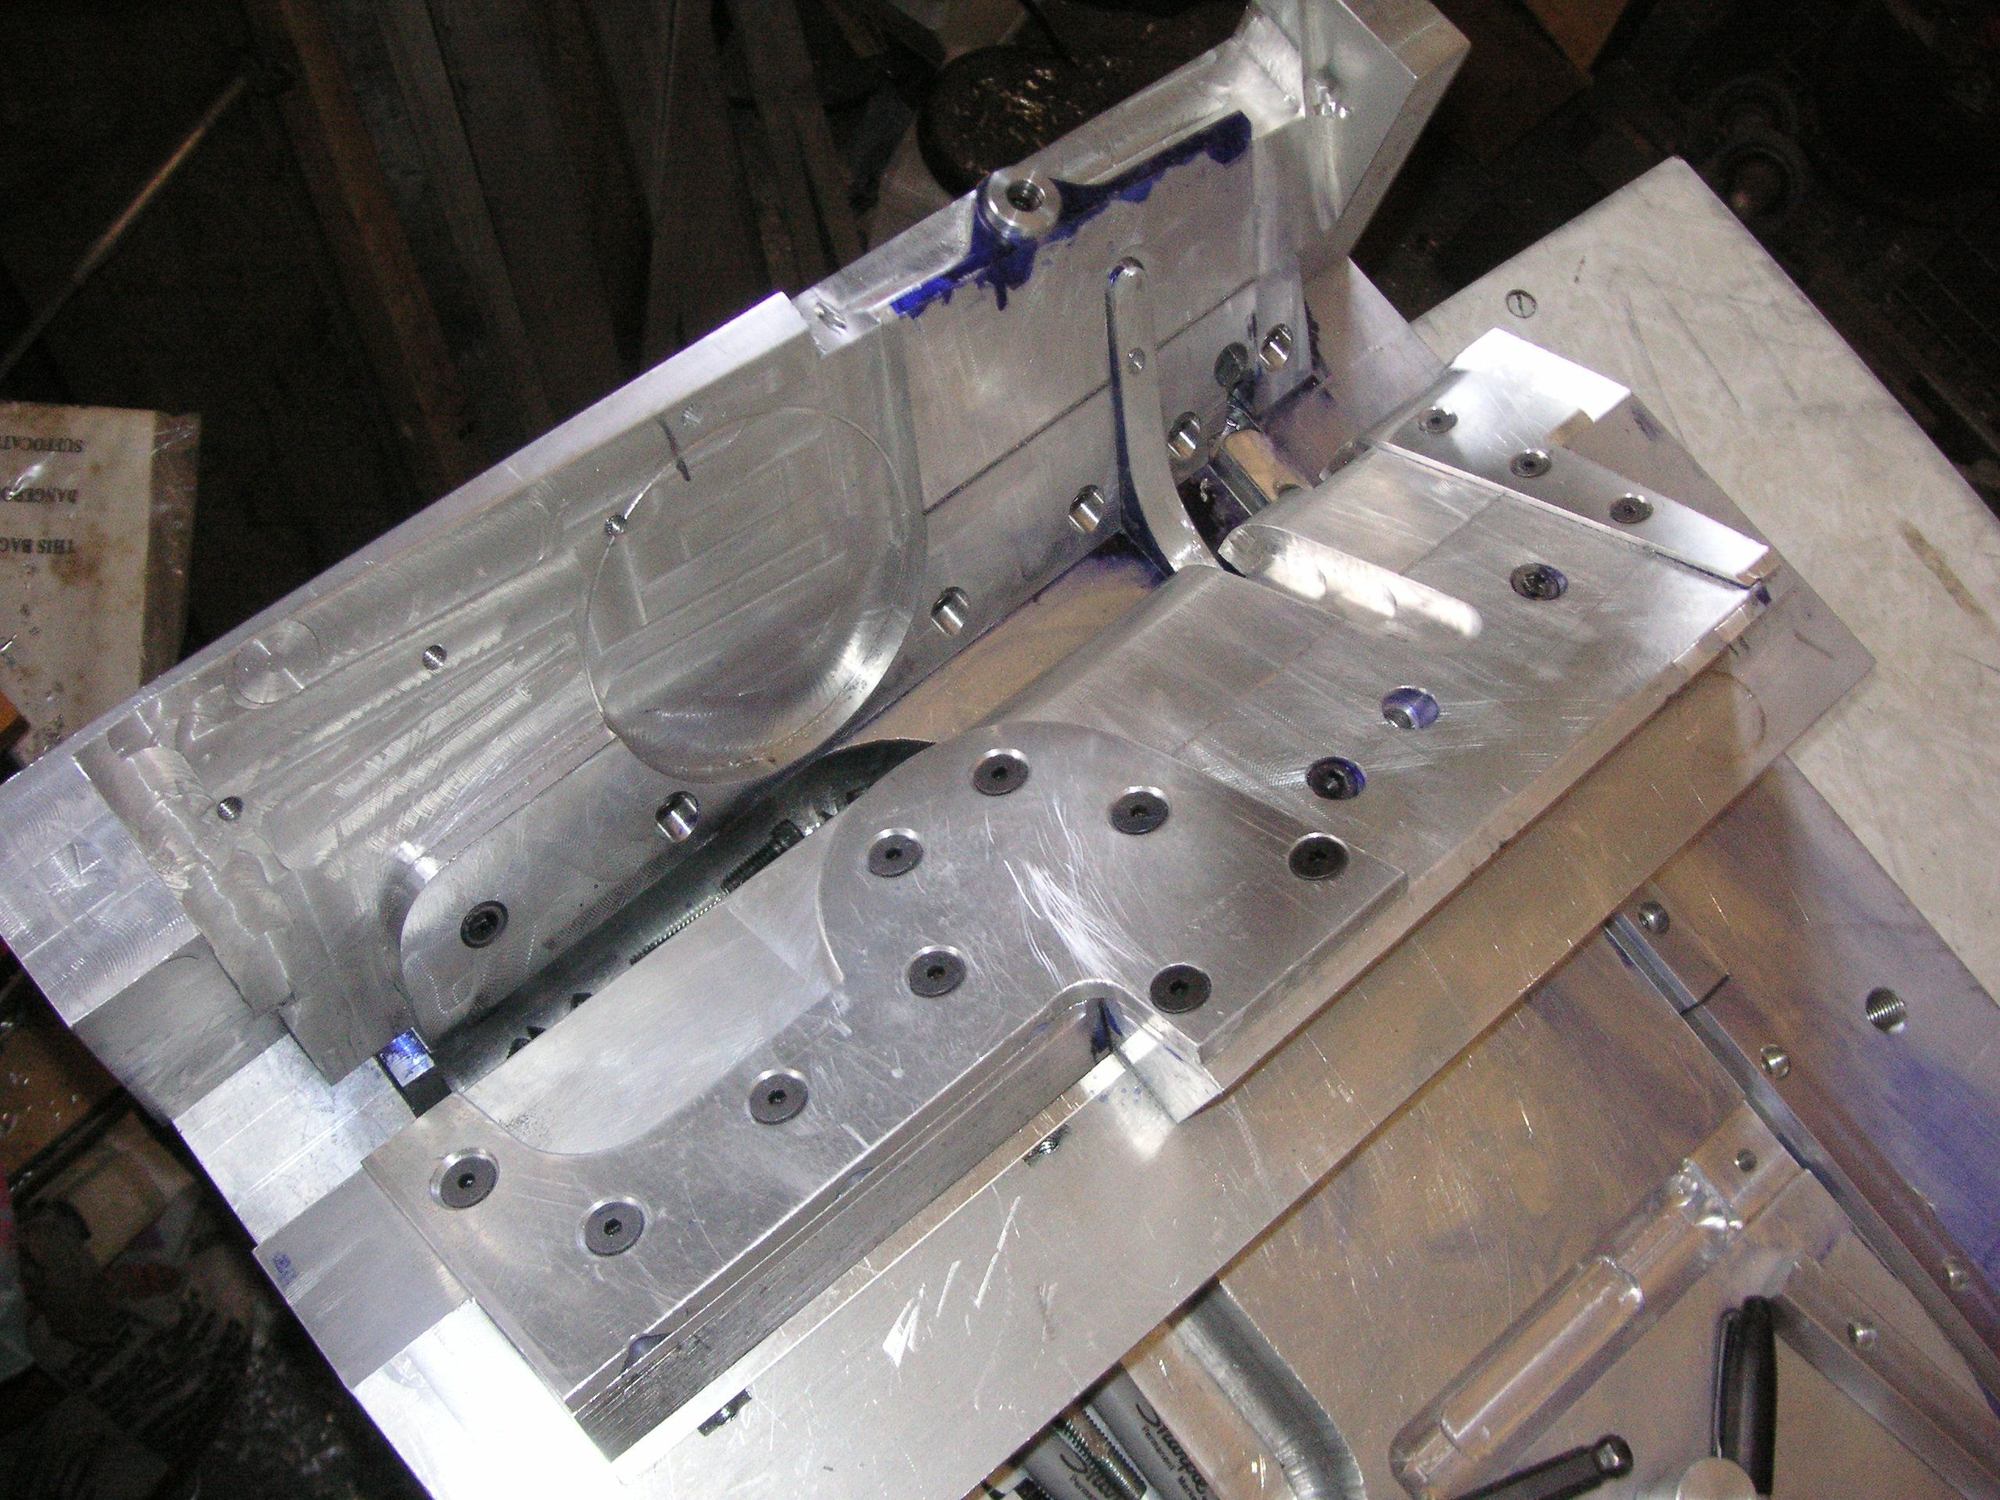
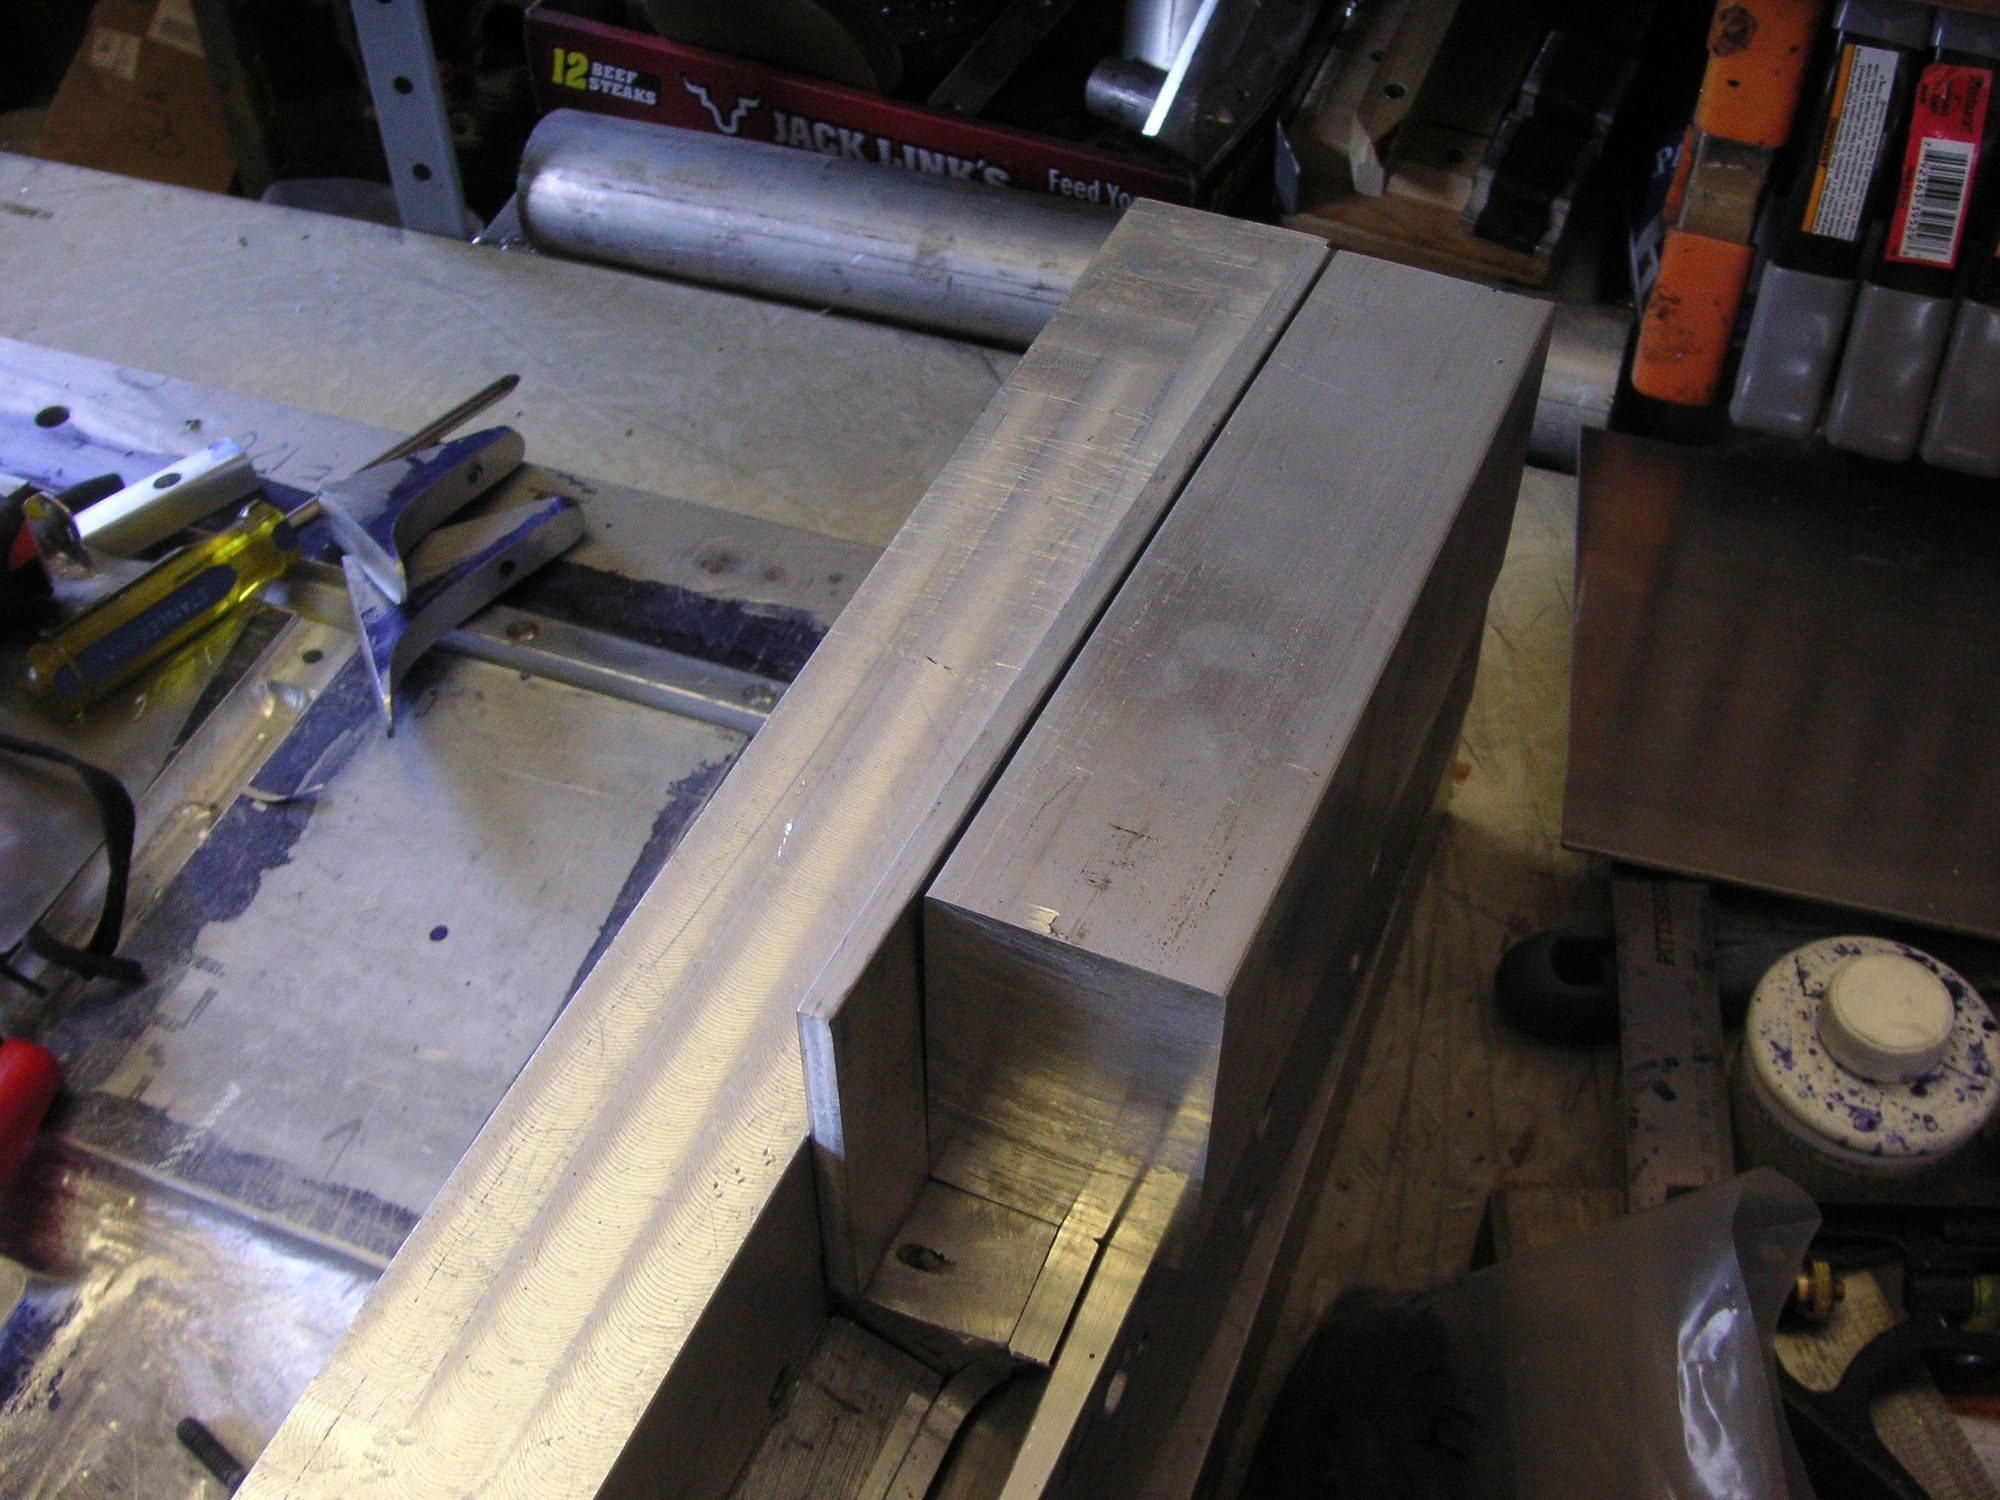
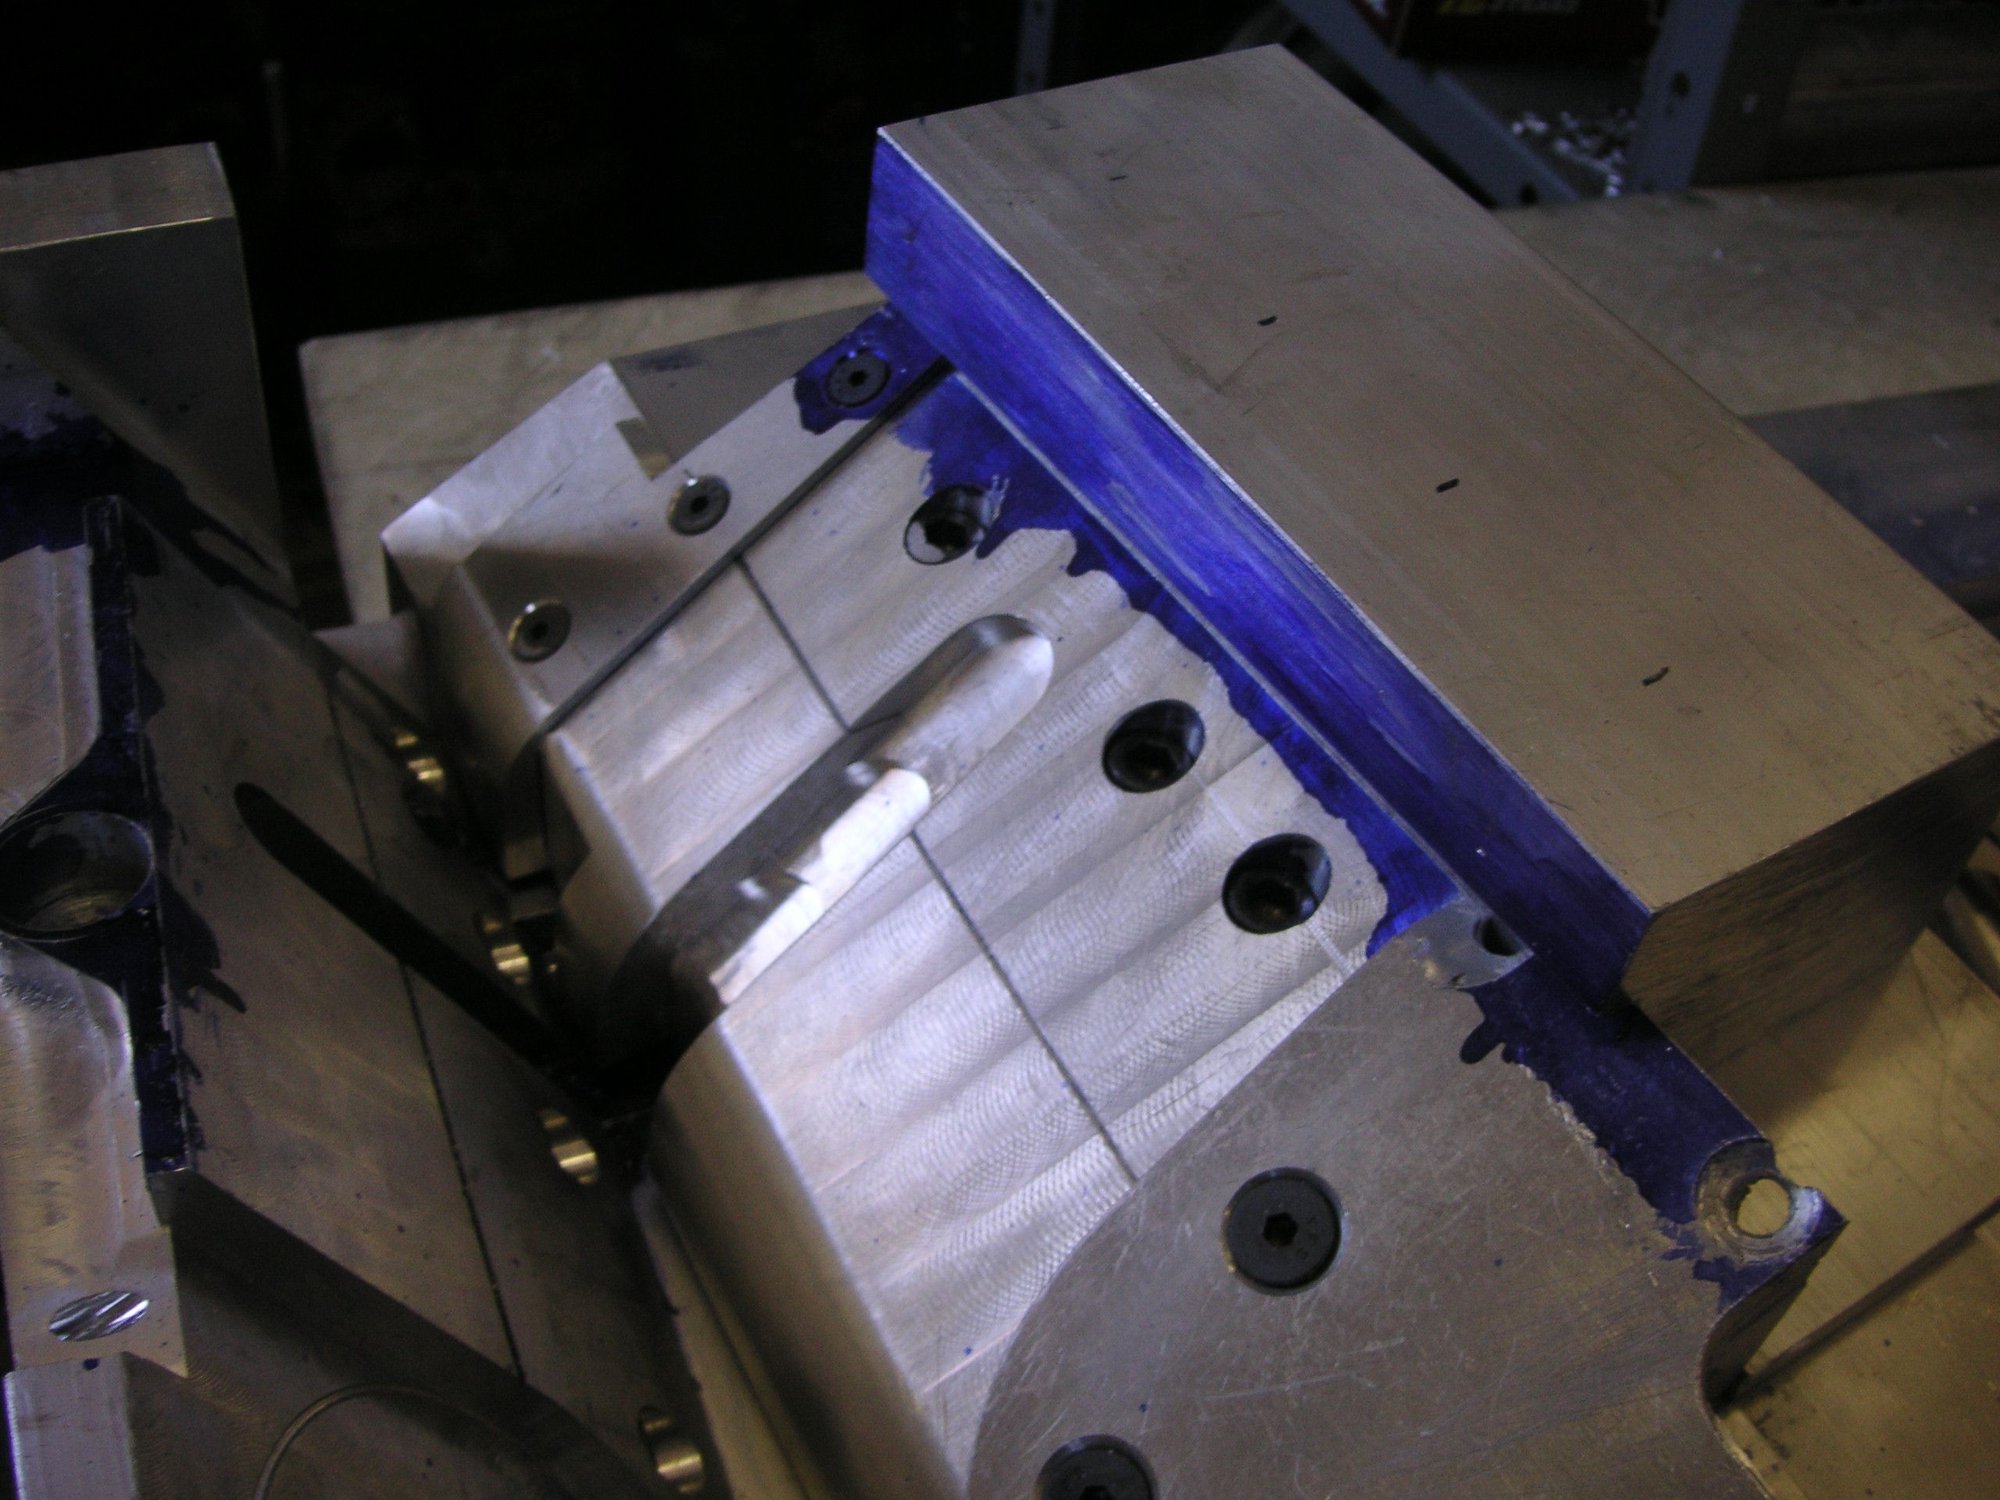
You can see in the pictures above that I have a quarter inch plate in between the last form block and the basic male end form block. The reason for that is that I need to have a little more meat in the last block outboard of the top mounting point. By spacing this last block of metal out a bit it gives me the meat I need so that there will be less of a tendency for the form to deform there over time.
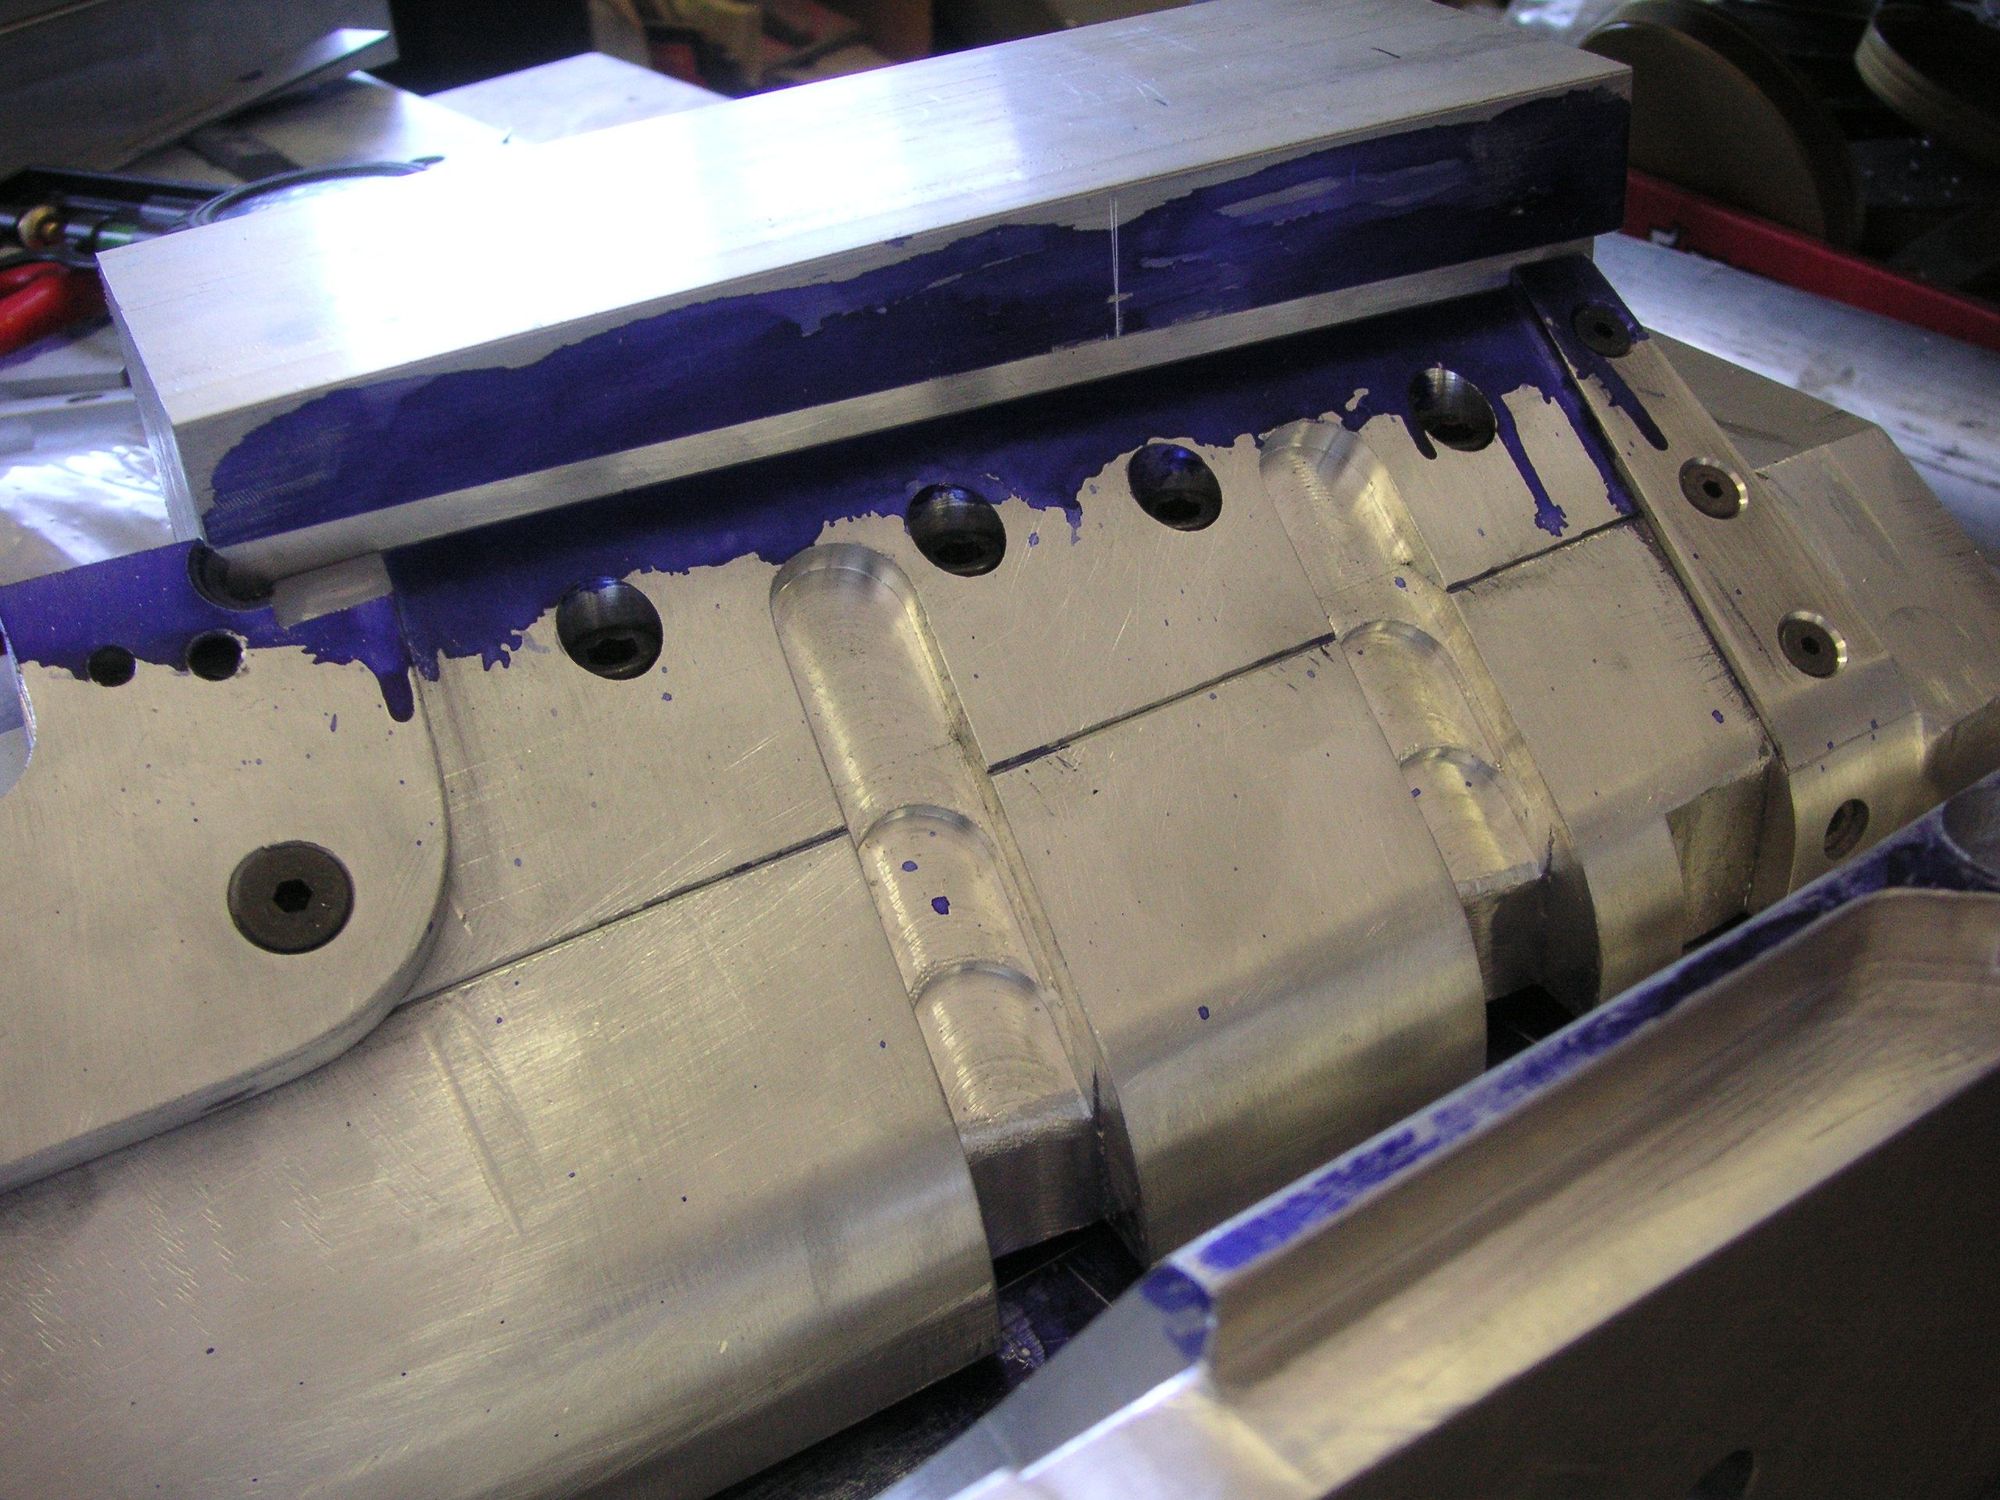
Another thing you might wonder about it that the tops of these blocks is kind of random. Actually when I get all the pieces ready to form I'll then mill the tops all off flush so that I can use a steel plate to move back and forth as needed along the tops to push these end forms into place. Otherwise, the form pieces basically bolted to the outer face of the male form block will be forming mostly against shear forces on the bolts holding the pieces in place rather than down force from the top to the bottom. In fact I'll be fashioning a block above the rear of each side to do the same with the tail end of each side of the pan for the same purpose.
Last edited by Jerry Feather; 05-13-2020 at 10:48 AM.
I think I have the correct shape of the form pieces to make the tops of the sides. Now I need to get them mounted to the male forms for the ends and then I still need to put the whole thing together on the work table and locate and mount the guide bars. I hope to get that all completed this week and then I'll see about putting my press into service.


 04-27-2020, 10:54 AM