When you click on links to various merchants on this site and make a purchase, this can result in this site earning a commission. Affiliate programs and affiliations include, but are not limited to, the eBay Partner Network.
I'm in need of some opinions from the group on the condition of the the clutch components on my early '78. The drain plug hole on the lower clutch cover was uncovered until I caught the issue just after I purchased the car. I'm in the process of swapping the transmission and getting the torque tube rebuilt, so I've now got the lower clutch cover removed and can see "what lies beneath." The pushrod to the slave looks pretty brown, though it's not pitted. There was zero lube on the pushrod where it meets the clutch fork arm.
Also, it looks like the starter ring gear, pressure plate, clutch fork, and other associated components also have this brown patina/corrosion. My typical OCD says to replace it all, but I'm not sure if that's the most prudent course of action if it isn't needed. What say you?
FWIW, I will be replacing the pilot bearing and throw-out bearing no matter what.
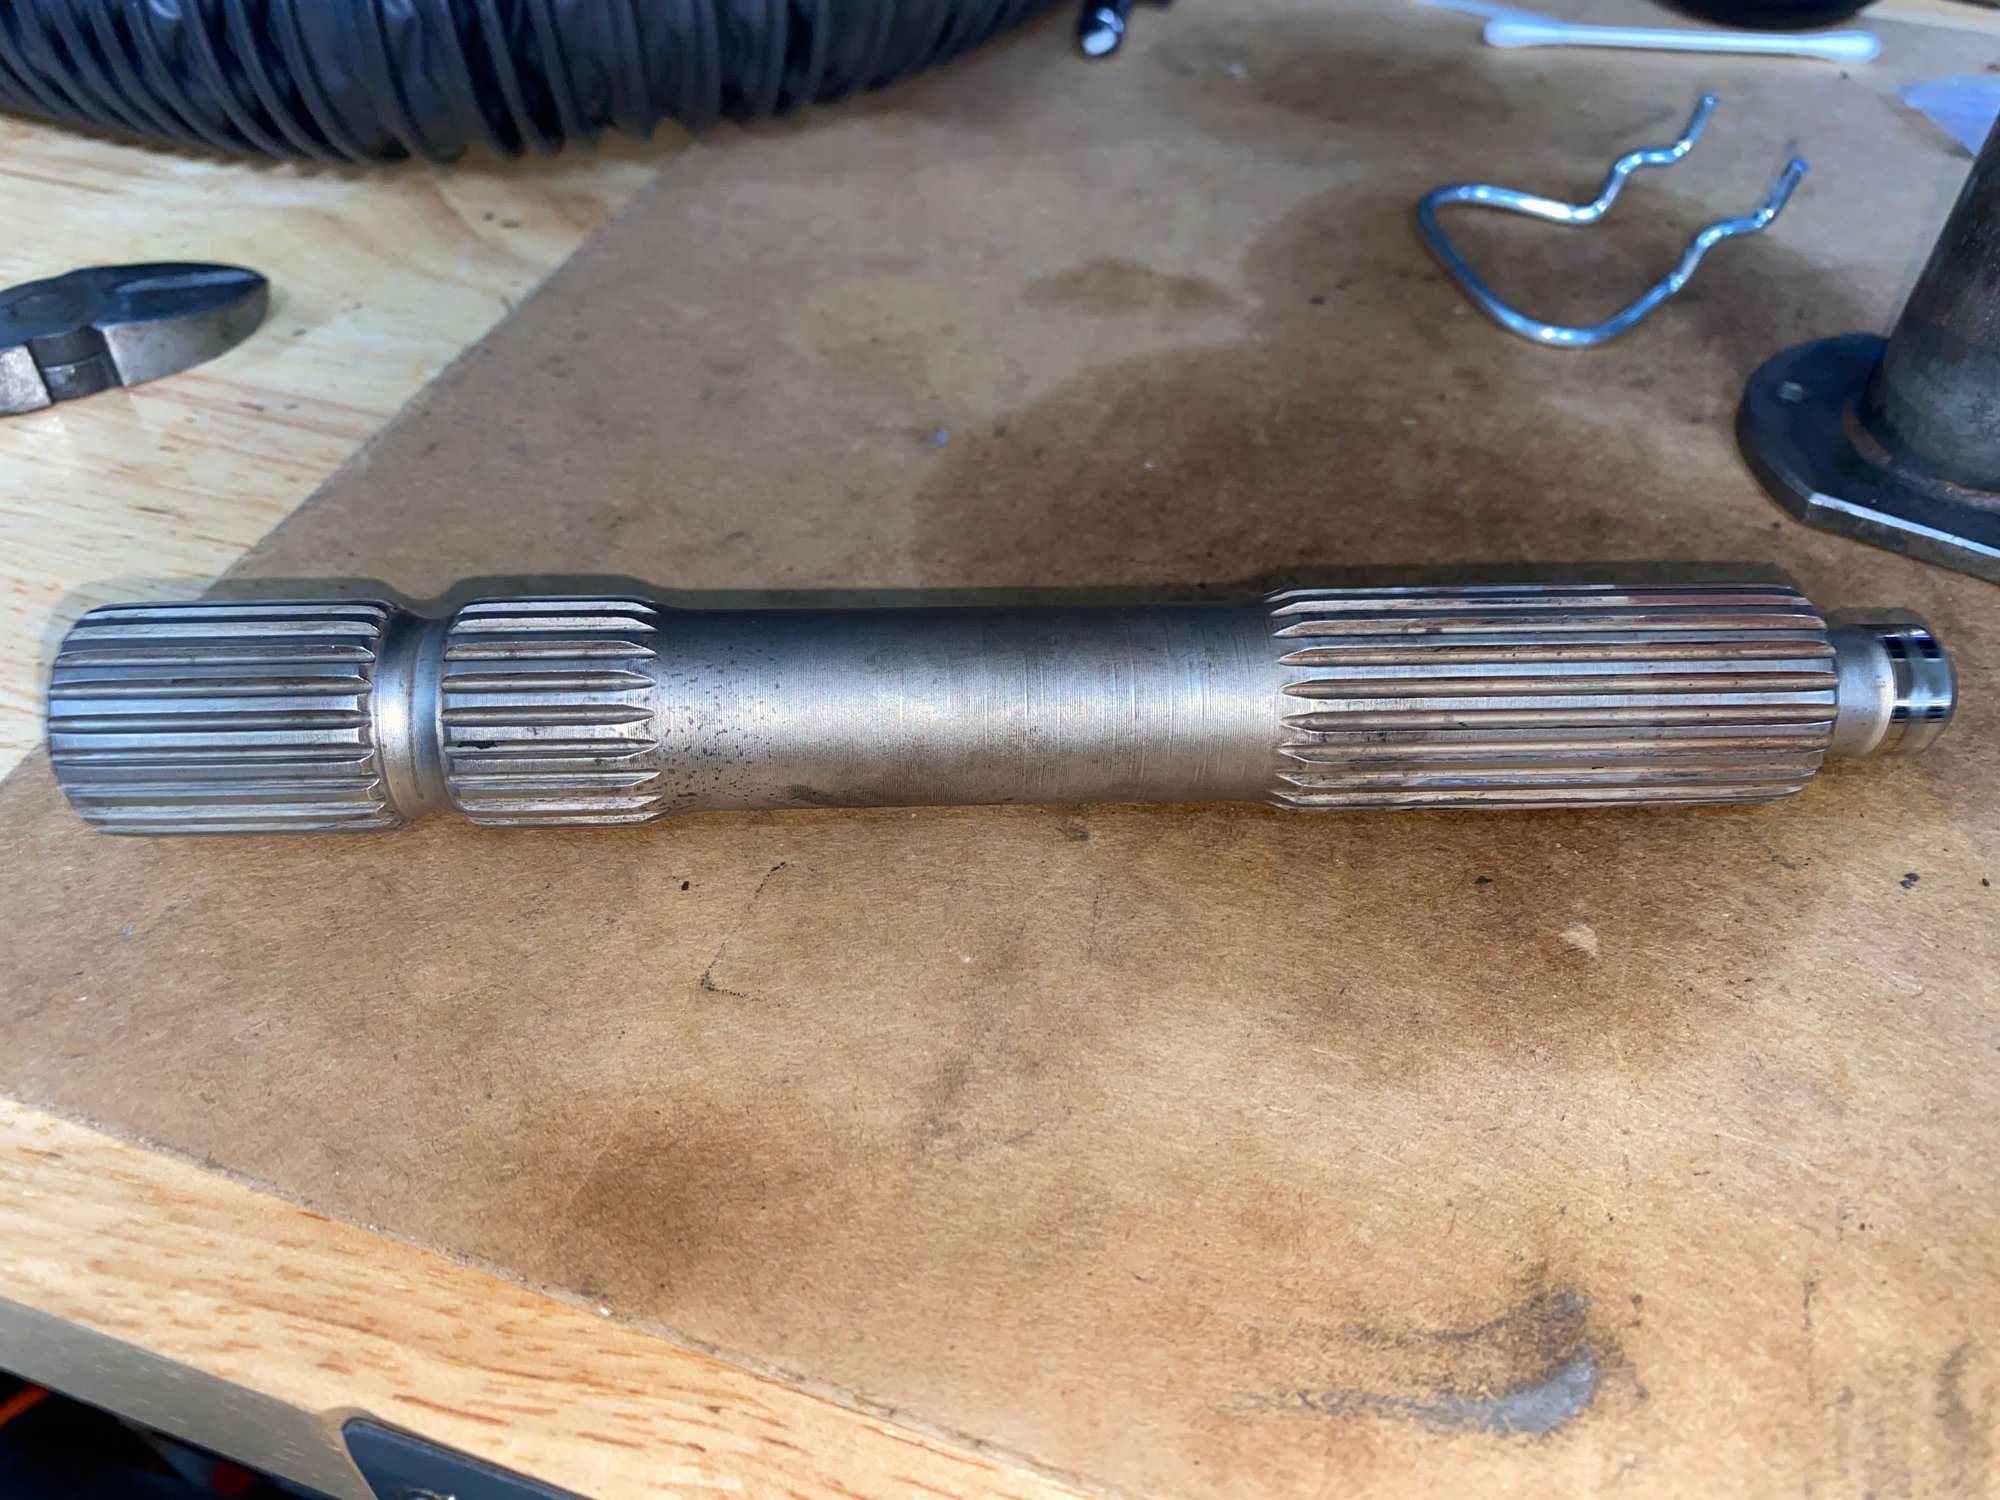
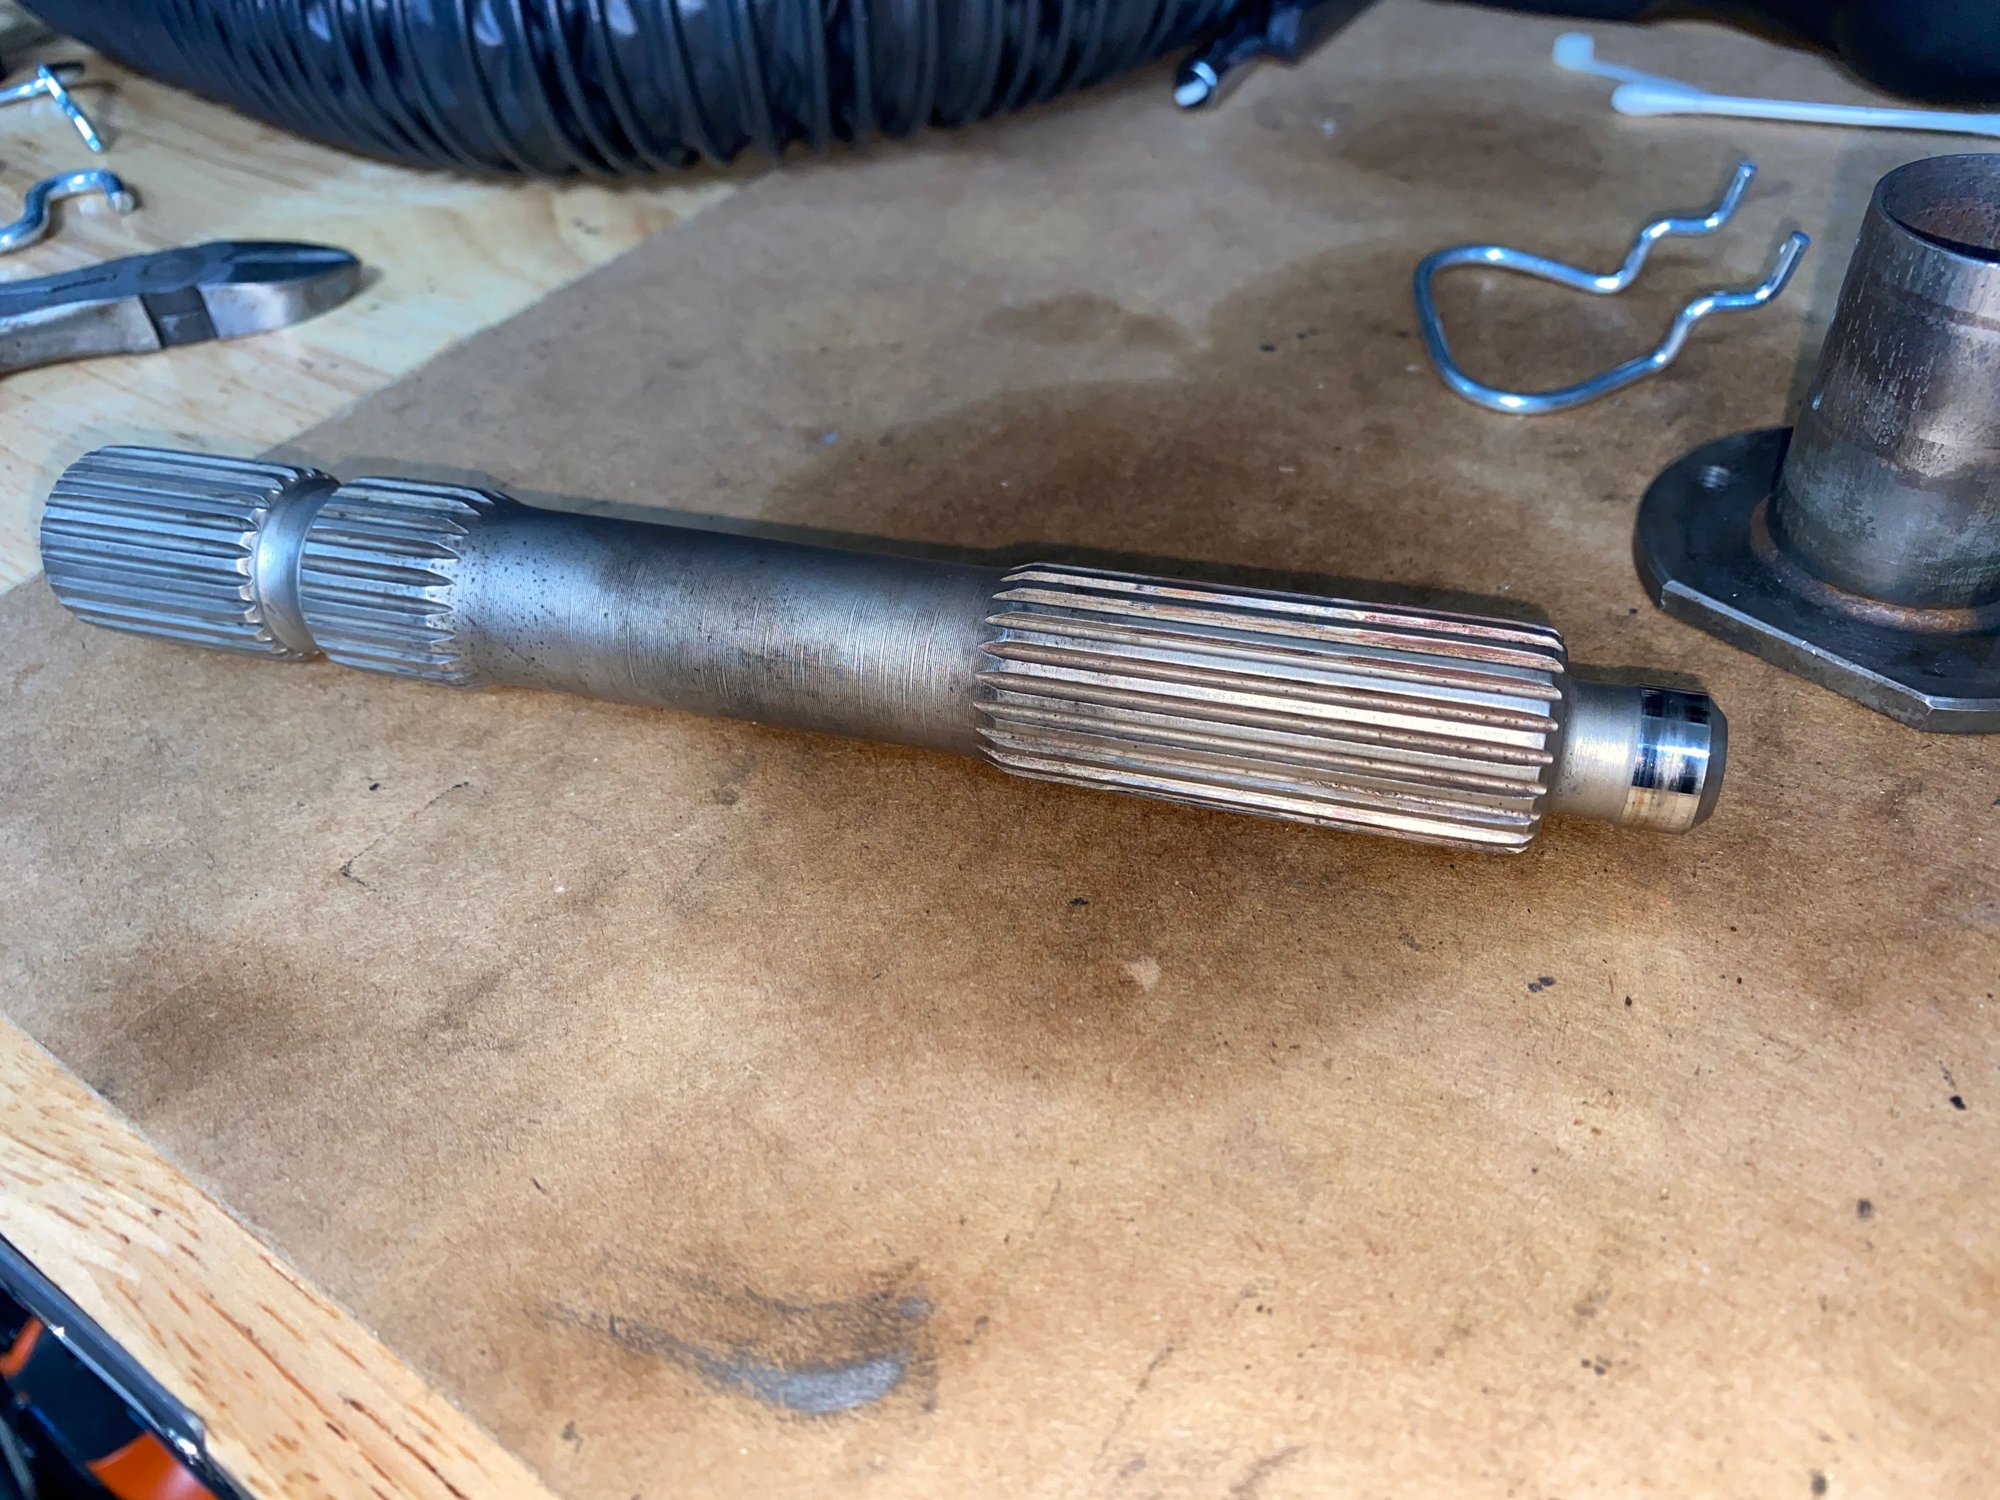
I don't see any reason to replace those parts due to surface rust. If you want you can clean them up and paint some bits. The paint may satisfy the ocd, but will likely not last. If you want channel your ocd towards the useful, pull the whole thing down and inspect and clean all the parts. In addition to the throwout bearing and the pilot bearing have a real hard look at the splines on the stub shaft. I have found a new stub shaft makes a big difference as if there is any wear on the splines the discs can hang up and not fully dis-engage.
Fortunately, this is one of the easiest cars to pull the clutch out of.
Something else has me stumped. The WSM states that there should be 4mm of clearance under the tabs, and various internet guides state 3mm. But my car only has about 1.75mm of space.
Does that mean it was previously installed incorrectly? And if so, can I just lever a screwdriver on the underside of the tab to raise it up to 4mm and then insert the U spacers?
Last edited by islaTurbine; 12-20-2019 at 08:30 PM.
Something else has me stumped. The WSM states that there should be 4mm of clearance under the tabs, and various internet guides state 3mm. But may car only has about 1.75mm of space.
Does that mean it was previously installed incorrectly? And if so, can I just lever a screwdriver on the underside of the tab to raise it up to 4mm and then insert the U spacers?
I think that tight clearance means the discs are pretty worn, unfortunately. Those "tabs" are attached to the pressure plate, and as the pressure plate gets closer to the flywheel (i.e. as the discs get thinner) then the clearance under the tabs gets smaller.
With the release arm still in place on the upper ball-fitting, get a pry-bar under the lower end (between clutch-housing and release-arm) and lift the release arm away from the clutch-housing (i.e. operate the clutch with the pry-bar). That will pull the pressure plate away from the discs and increase that gap. Shove in your 4mm U-spacer (e.g. a bent nail), release, rotate, repeat.
Without the U-spacers the release-arm gets trapped and can't be moved, and you can't get the clutch pack out of the housing.
For the life of me I can�t get the clutch to move aft (towards the rear of the car). I also don�t really have anything to pry against, which is maybe a characteristic of an OB car due to the different lower clutch cover design? Maybe I�m just a weakling...
do as Jim suggested ,
need a long prybar,
pry on the area thats where the pushrod inserts and then on the edge of the pressure plate ,
a good amount of pressure is required to move it.
cut some wire shims 3 of them so when you pry ,
those T pins will be pushed to the back,
then the shim will fit into the area.
this will hold the clutch in a released position making it easier to remove the release arm from the top pivot,
. and after the clutch is out making it easier to remove the throw out bearing locking collar
NOTE dont pry so hard that you push the car off the jack stands
Find something that fits that gap. A bit tight would be best.
I agree with Jim that the gap is small because the friction discs are worn out. But I THINK you can get away the clutch out with the gap that's there.
Alternate suggestion: A ratchet strap or small come-along. One end hooked onto the release arm, other end on a substantial part of the car towards the back. Use that to get the clutch released.
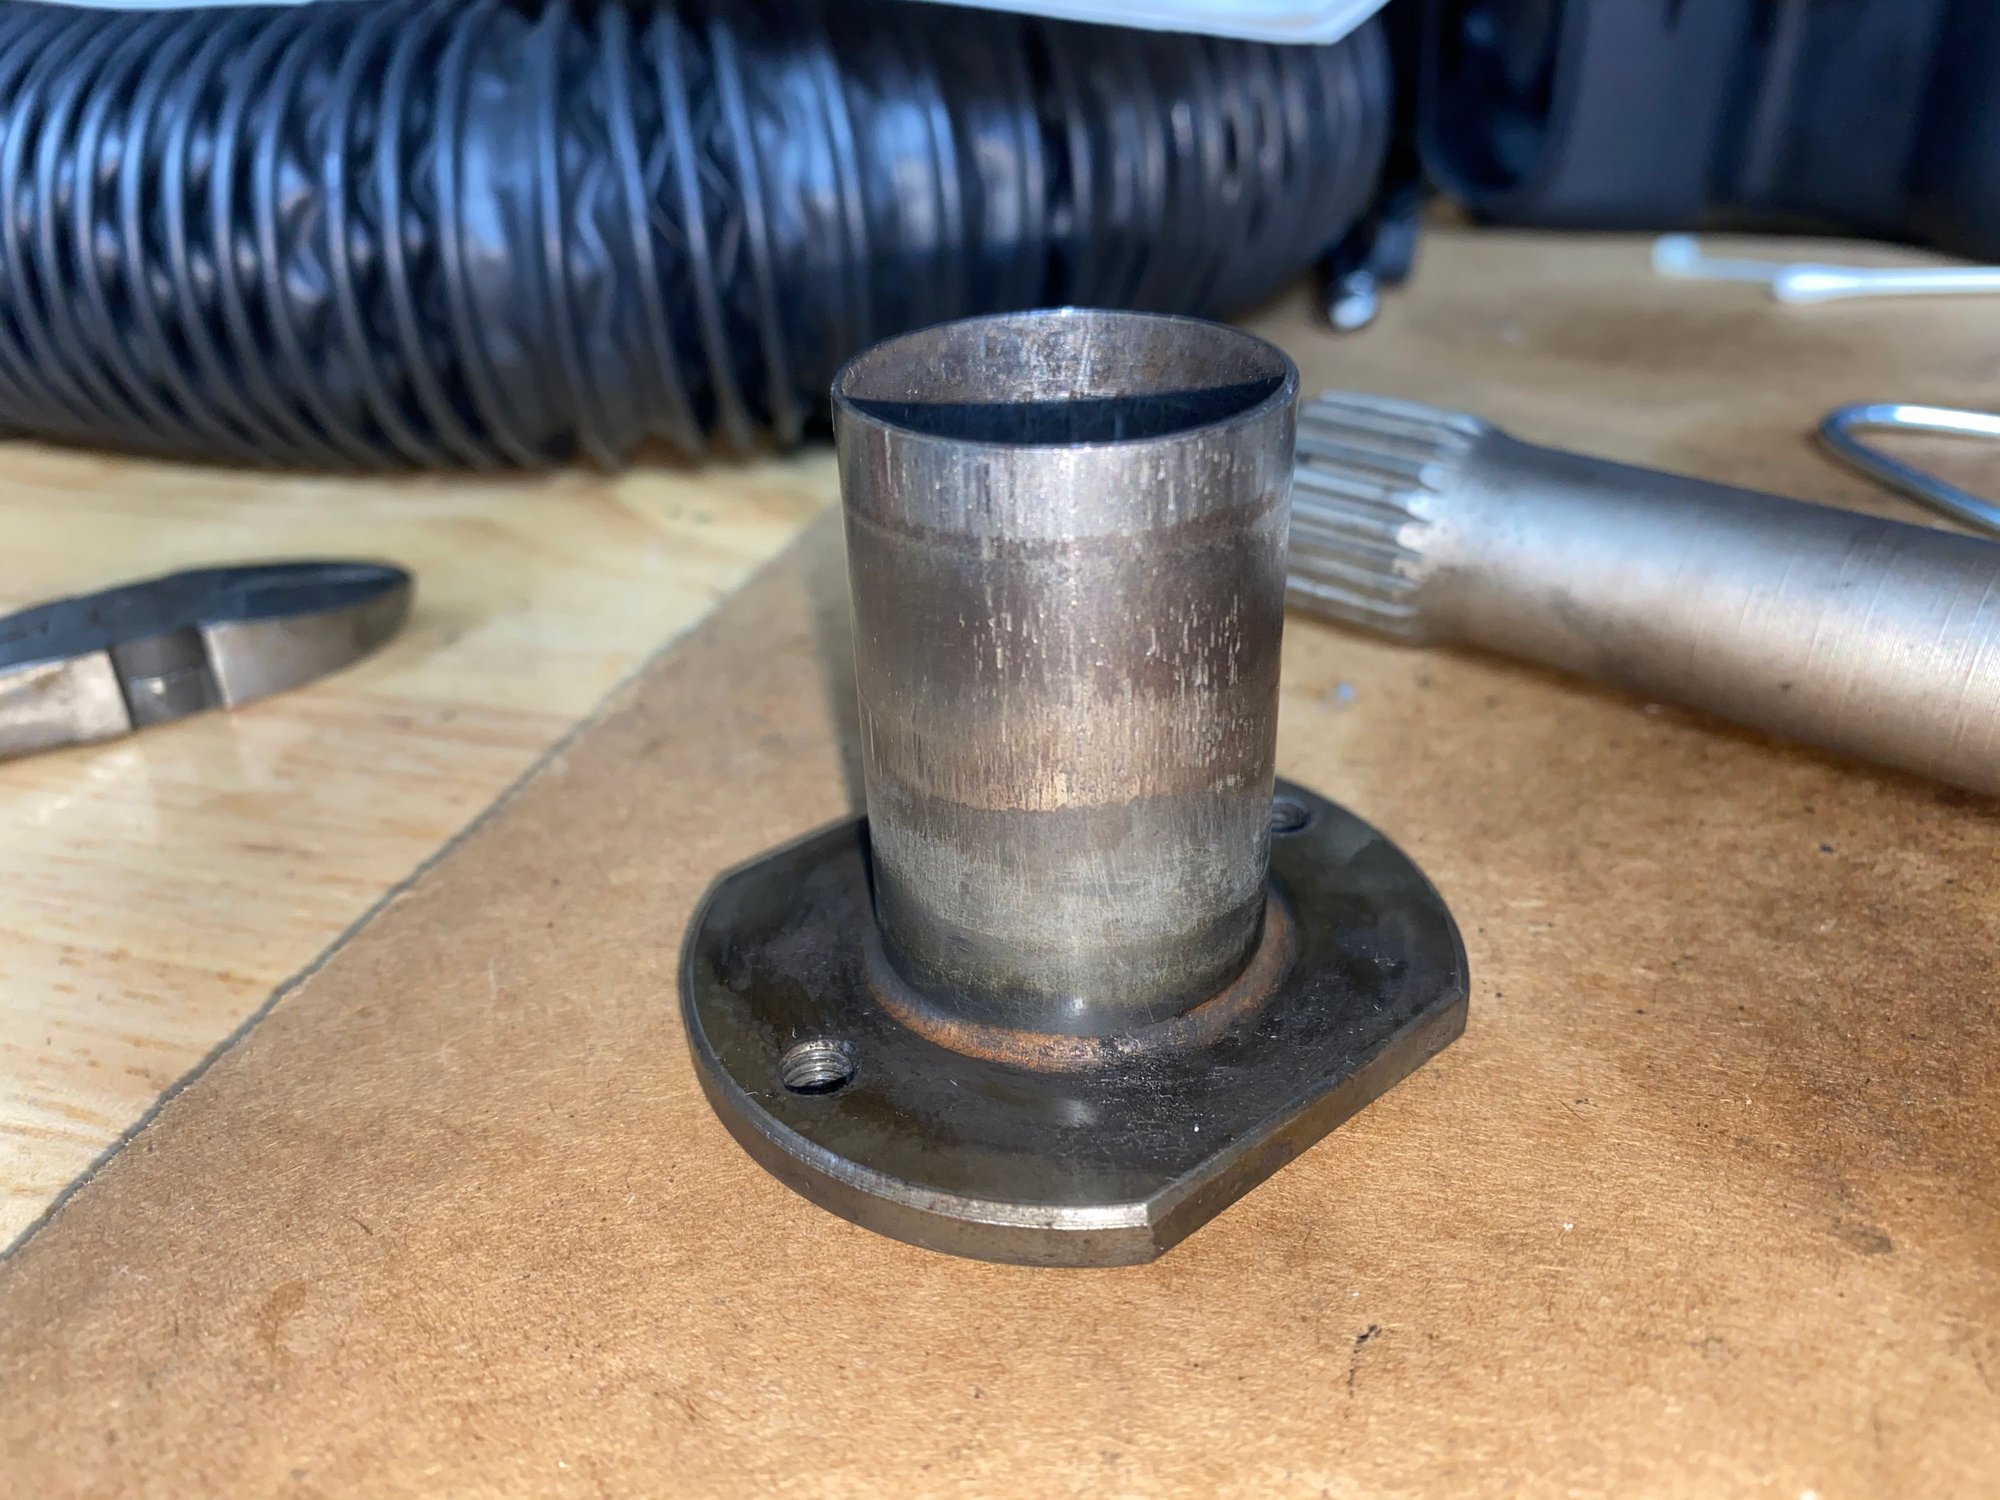
In a couple of those pictures, it ooks like the guide tube might be pretty worn and grooved. That will also prevent smooth clutch operation and is another part to consider for replacement when you have it out and apart.
On the metal shims for the pressure pins, I used a bench grinder to angle the open ends of the u-shaped spacers. Then you only need to get the tips started and can tap them in with a hammer while prying a bit on the opposite side against the flywheel
There were some major important changes made after the "early" cars were made. There's a good review of the different pieces. what parts work with what, which pieces are no longer available, and what you will need to update, in the workshop manual.
You will want/need to read this and figure out what pieces you actually have.
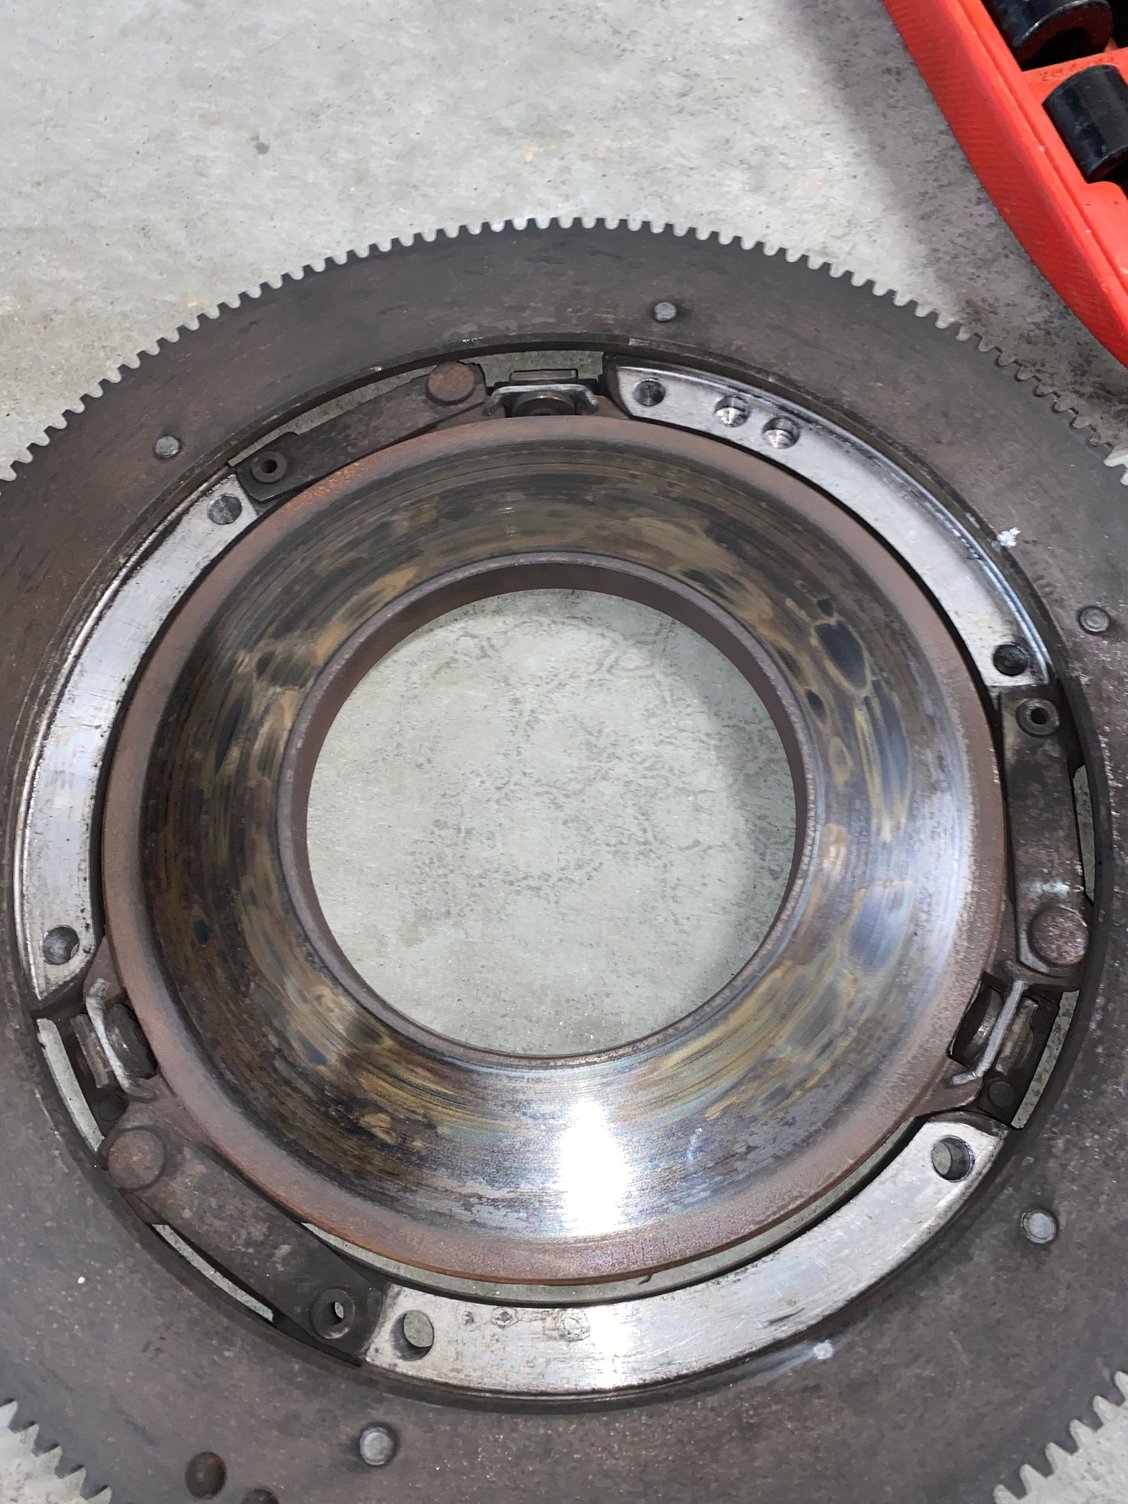
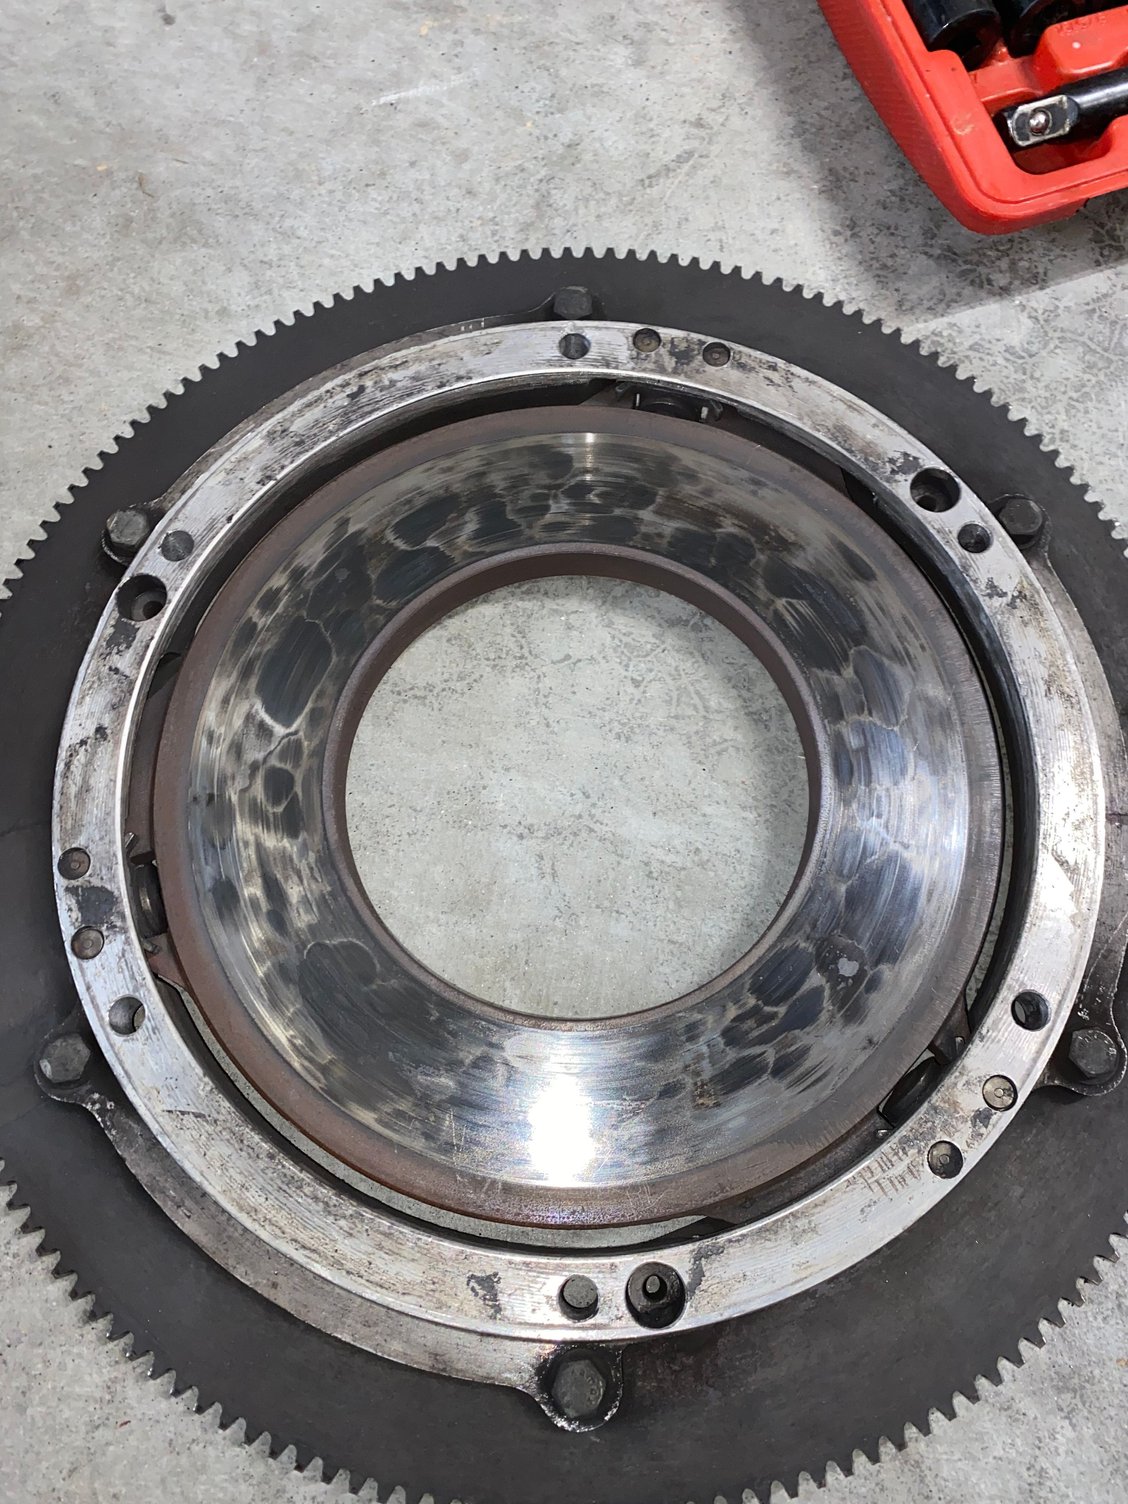
Clutch is out. It�s an original diameter-centered intermediate plate with �12/77� stamped on the ring gear. The car has a build date of 1/78.
Someone here correct me but I think it all looks toast. Hot spots on the pressure plate, intermediate plate and the flywheel. Clutch I measures ~7mm in thickness, Clutch II measured ~6.5mm. The throwout bearing tube doesn�t look great either.
I think my intermediate shaft looks ok but I�ll take any feedback on that as well.


 12-20-2019, 02:18 PM