When you click on links to various merchants on this site and make a purchase, this can result in this site earning a commission. Affiliate programs and affiliations include, but are not limited to, the eBay Partner Network.
Hmmm. Looking again now those are not the stock early car motor mounts and that looks like the modified cross brace with removable center section. So, not sure what your best procedure will be. I will say, though, that I do not feel like the early mounts hold up, so you are in a good position in that respect.
I thought the point of the removable center was to pull the engine without disconnecting the motor mounts, right?
I thought the point of the removable cross member center was to allow access to the motor mounts and bottom of the engine stuff without having to screw with the suspension mounts.
I recognize that 3-piece cross-member as one of ours. We do not make that product anymore. After you have lowered the steering rack, you can remove the 4 allen-head bolts and drop out the center section, making oil pan removal very simple without messing with your suspension or changing the front end alignment. It was great for racers who like to slip in a new set of rod bearings from the bottom after each season or two
Won't help you any during an engine removal. Leave it assembled as-is and follow regular instructions for engine R&R. Remember, your motor mounts are late-model style, not the 78/79 style. That conversion took place when the 3-piece cross member went in.
It still looks like there are 4 large bolts that will allow the motor to come out without messing with the steering stuff at all or the motor mounts either. The mounts seem to be attached to some brackets and then those brackets are attached to the motor by the 4 bolts.
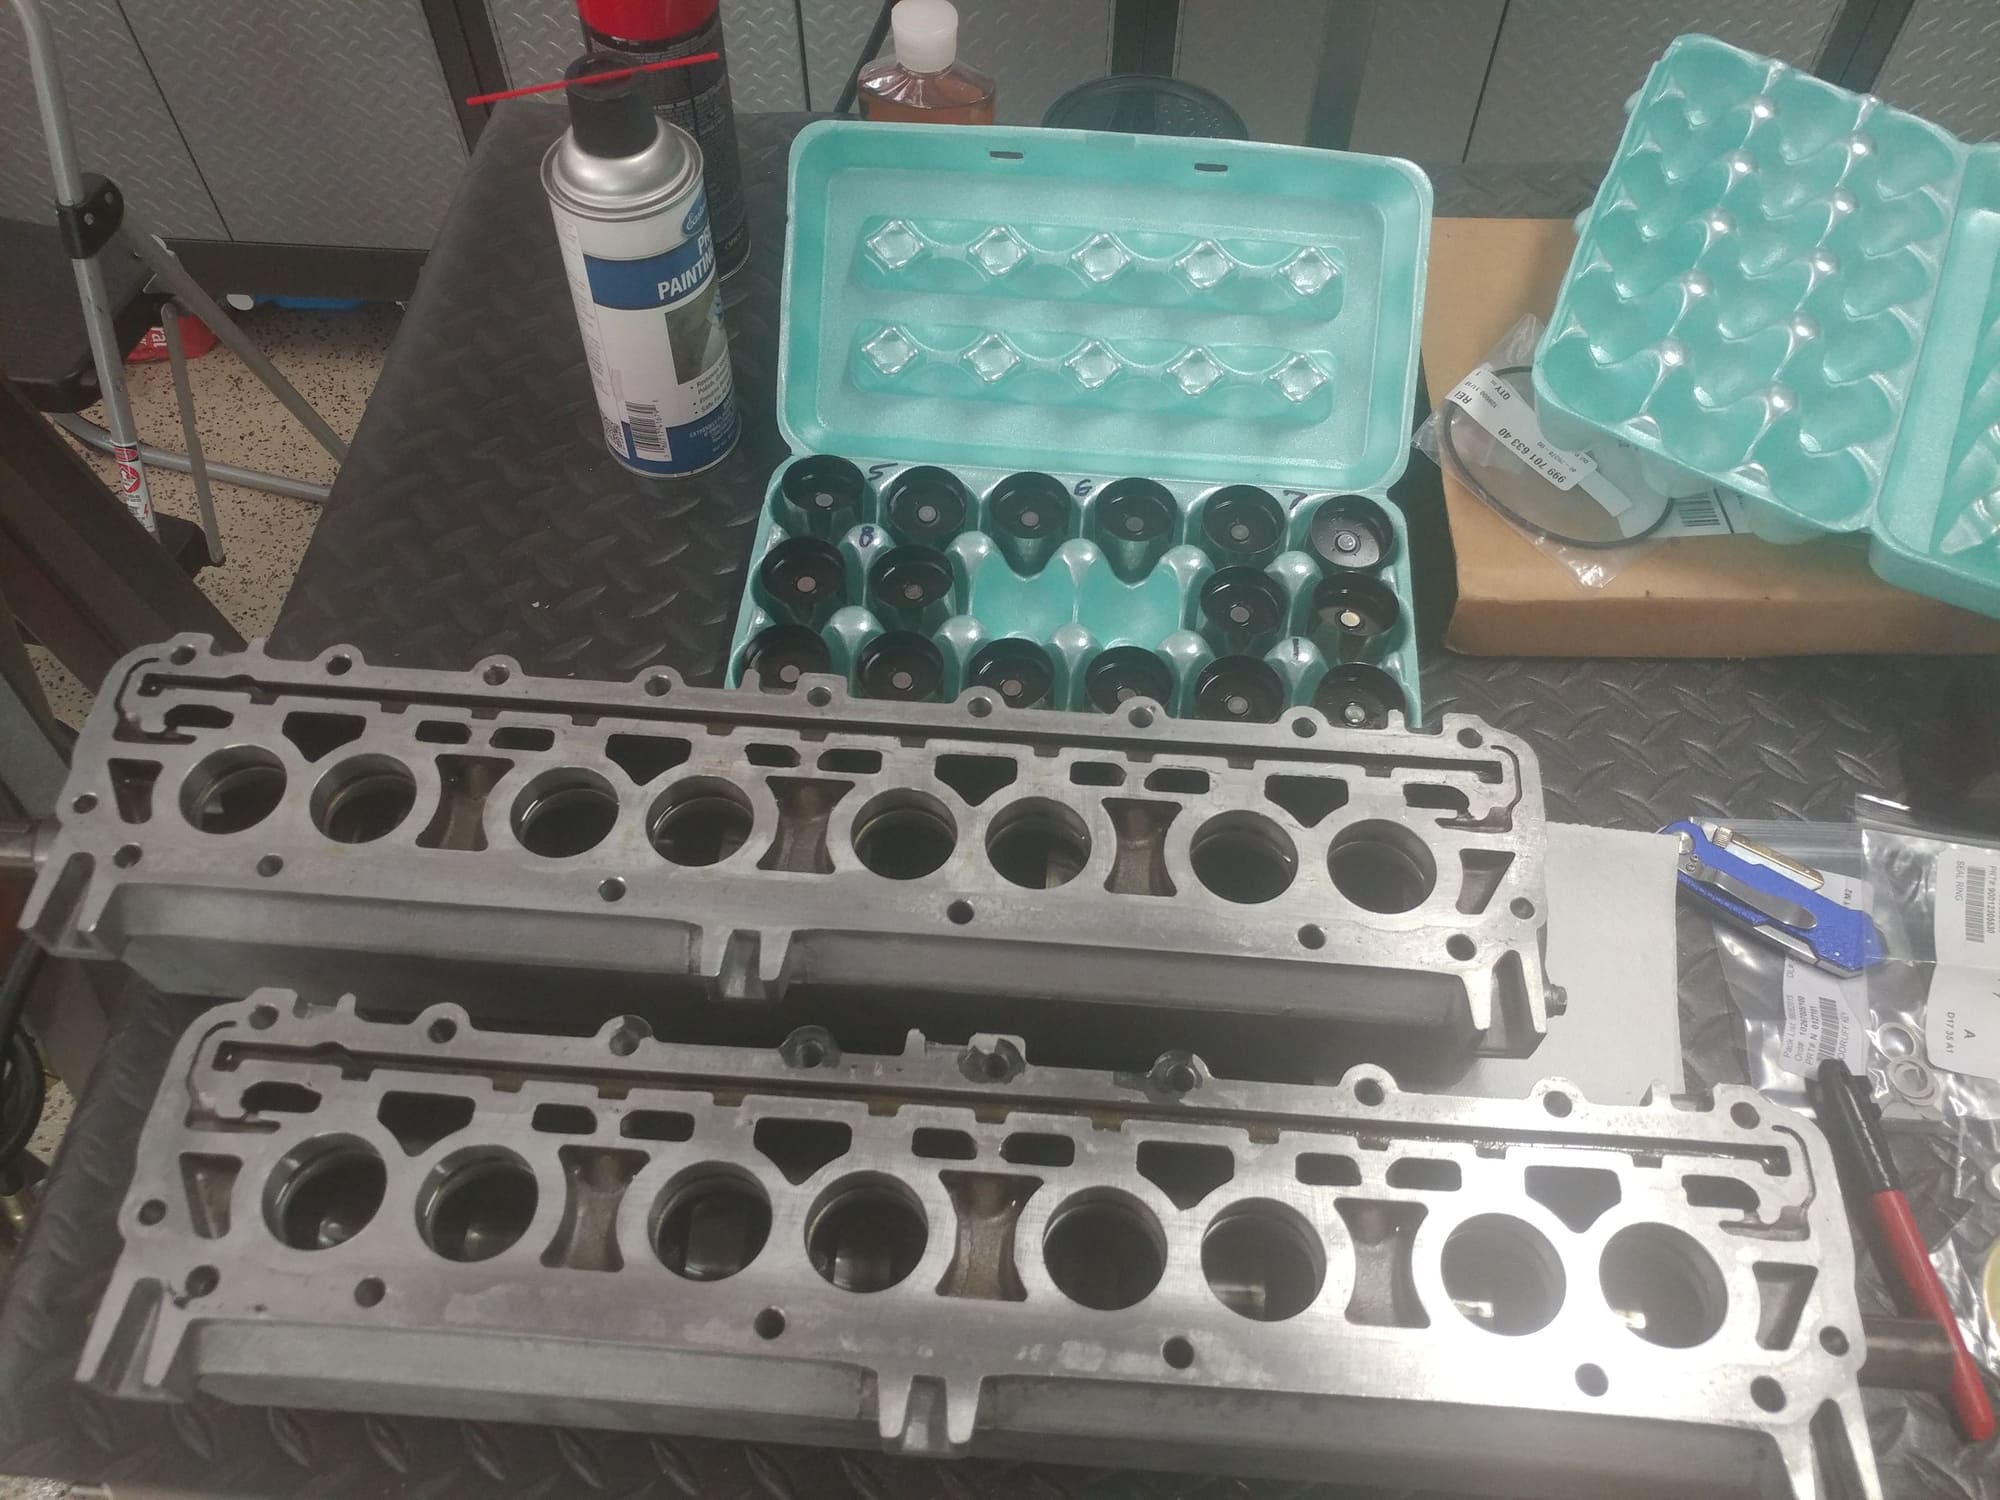
Pulled the Cam Towers from the New Motor today to get them cleaned up (90 degree razor blade method then the parts washer) and have everything put together to go off to powdercoat. Even managed to get both sides off without dropping any of the cam followers / lifters. The motor looks to be in very nice shape below the cam towers - surfaces look good without pitting. I'll take a look inside the cylinders with a boroscope before I put things together.
Here's today's photo set
Cam Tower From End with Cap
Both Cam Towers - Followers removed and stored safely - before the surfaces were cleaned up
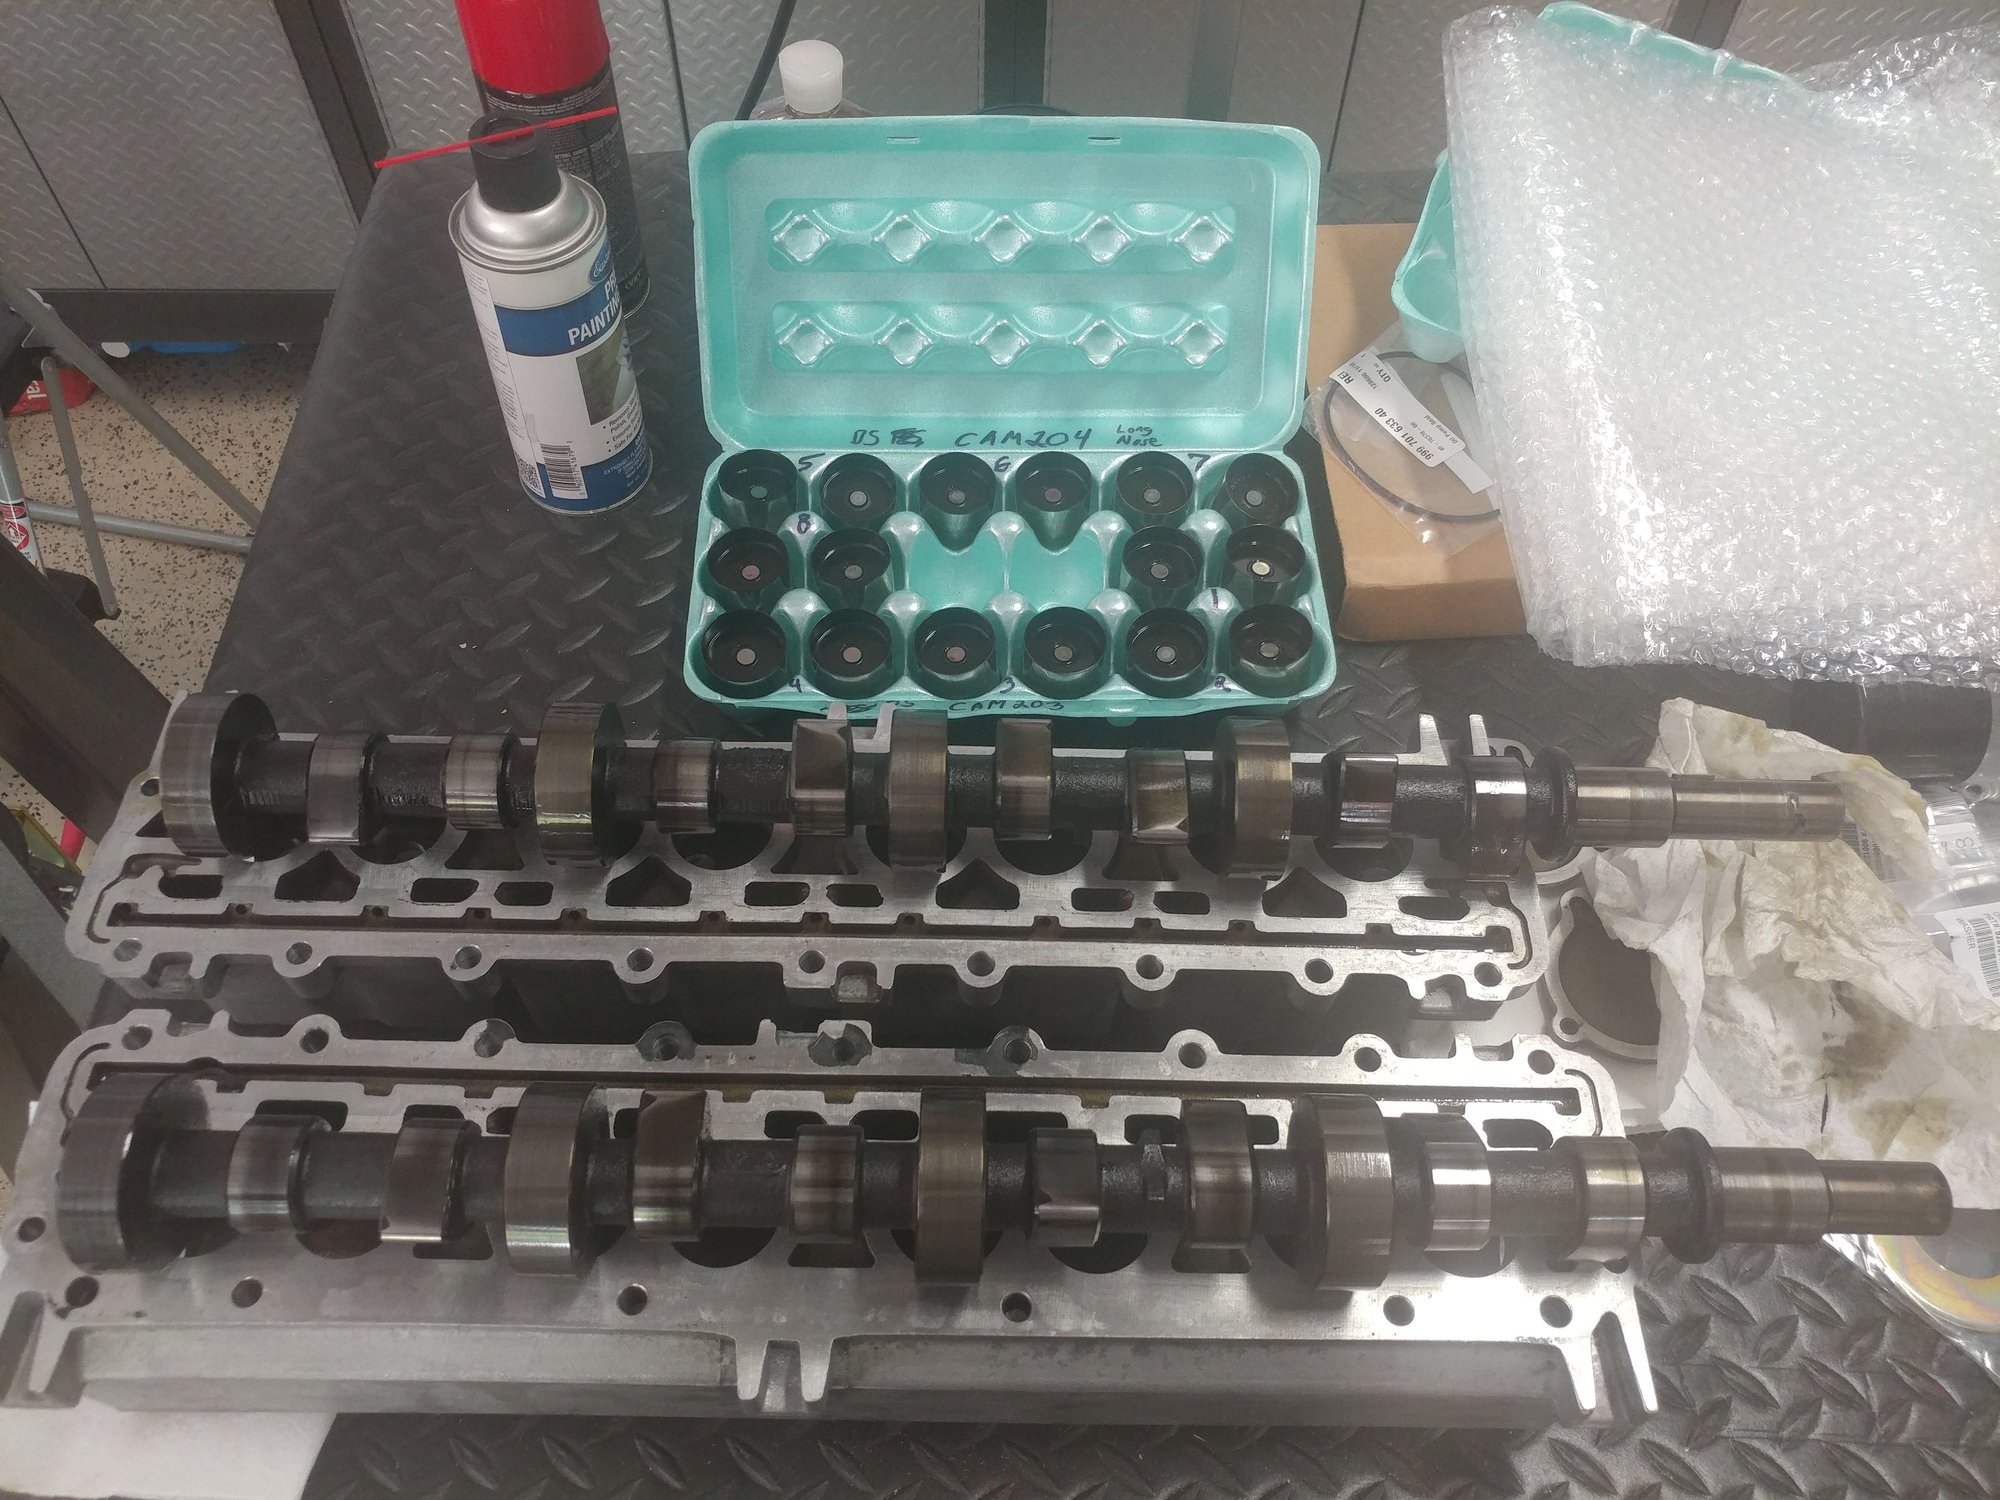
Cams out - planning to use the ones from my old motor instead for better lift & duration
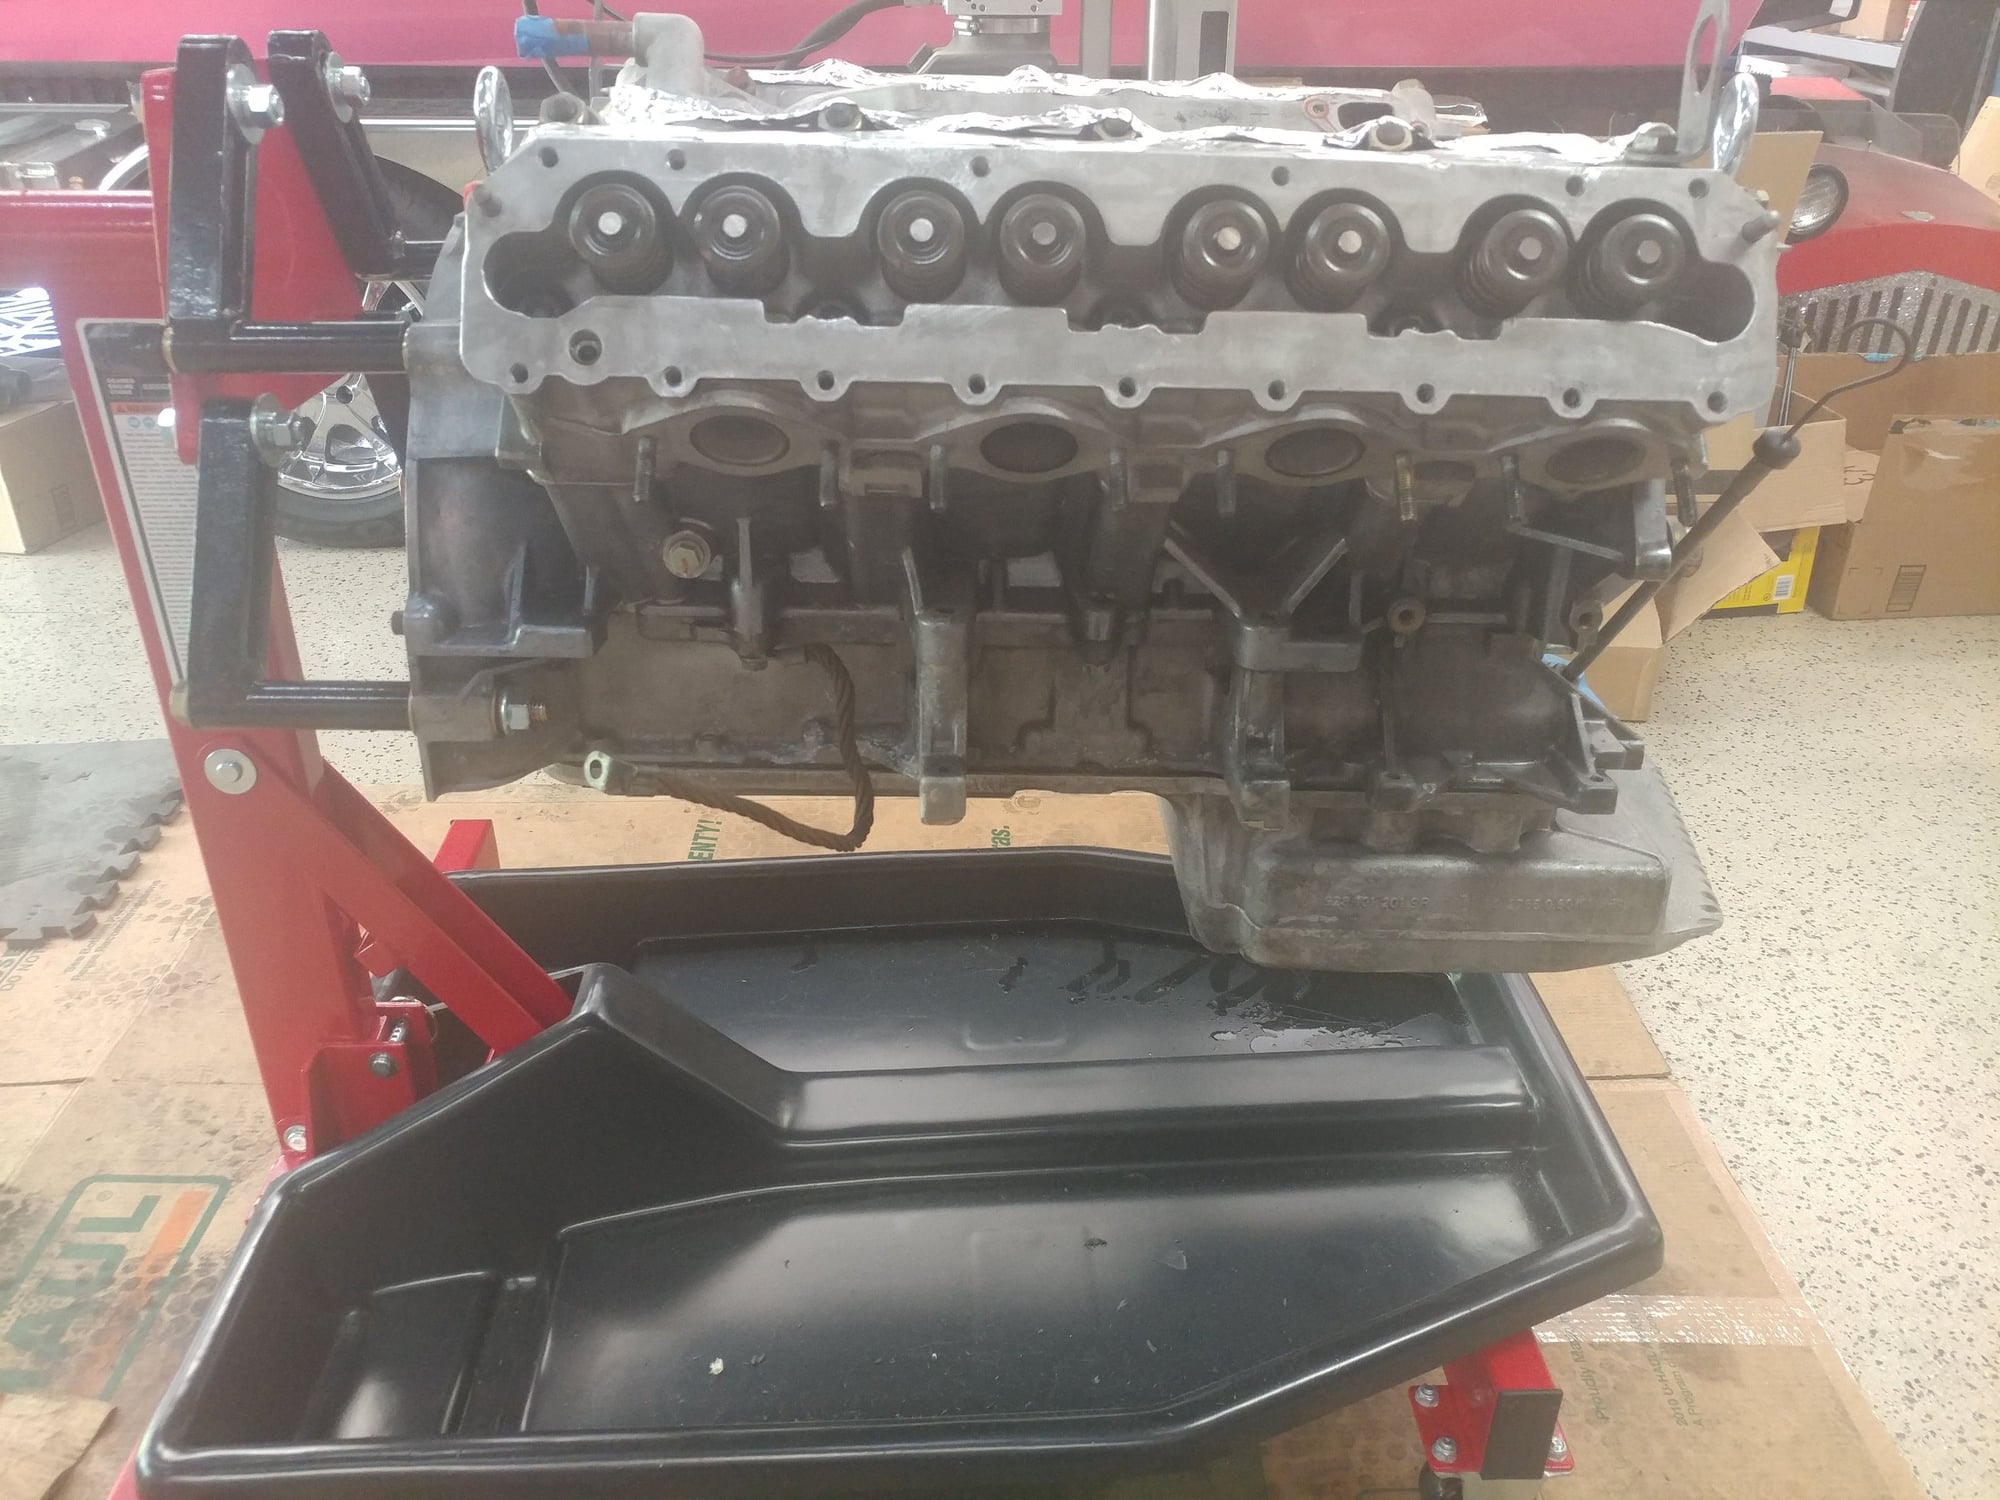
Engine with cam towers removed - you can see the flecks of old gasket material that was scraped off in the catch tray
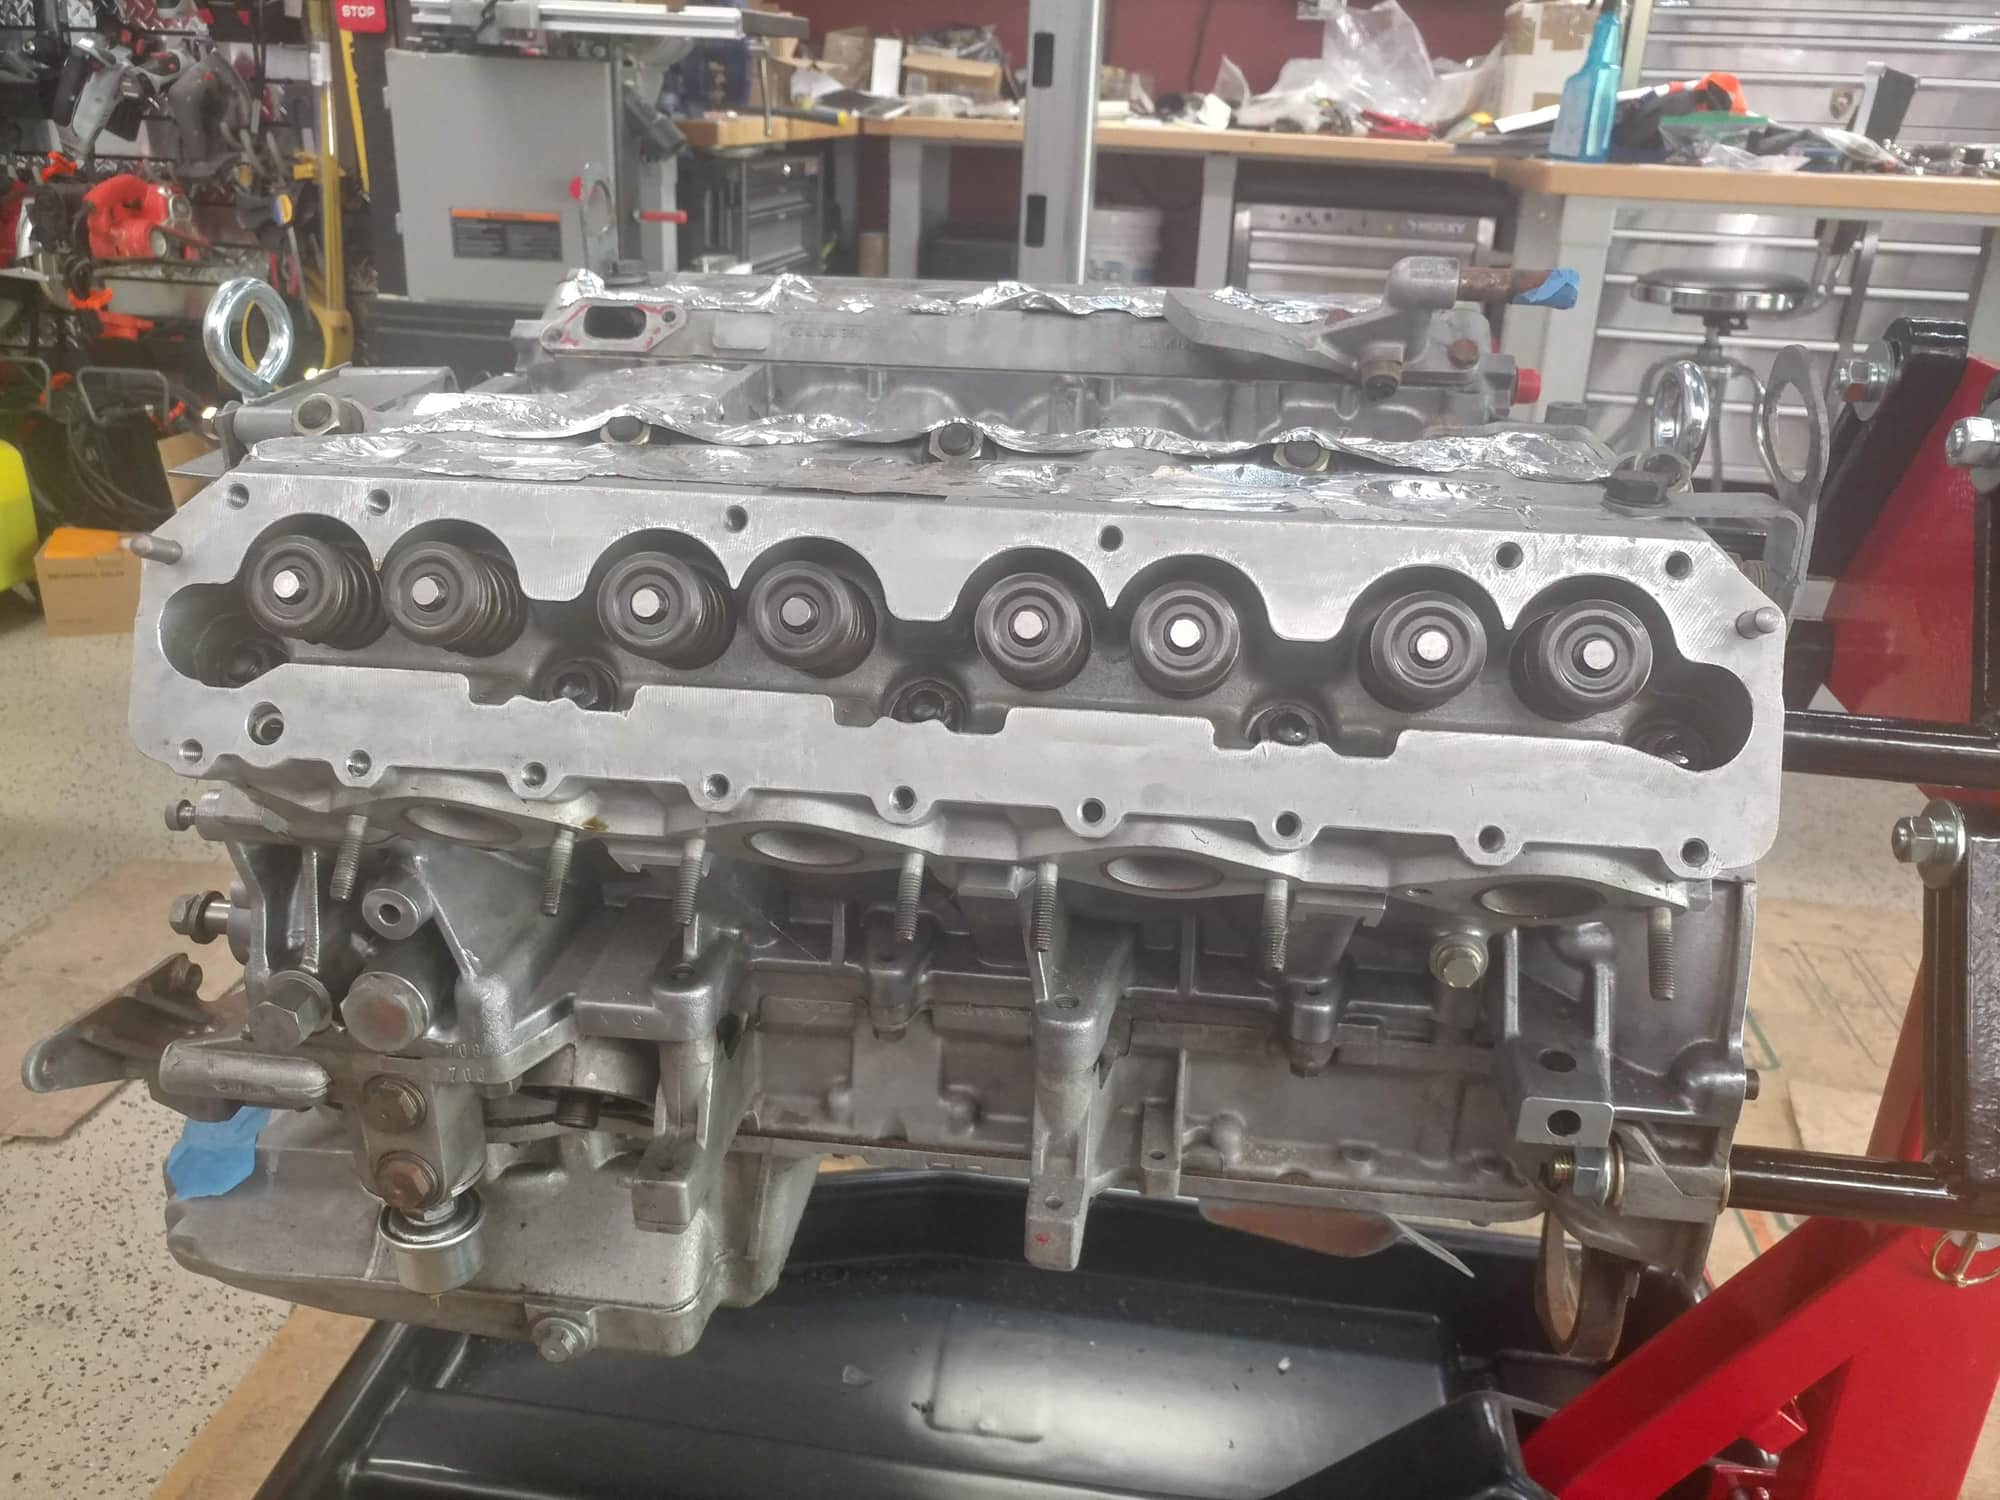
Close-up of Engine on stand (other side) with cam tower removed
Once I finished all of that - reconfigured the garage for summer - boat is out and lift moved to the other bay for later trailer storage. Now I don't have to move the 914 out in order to be able to lower the 928 for ground work. Now that the engine is open with the cam towers removed, I bagged it to keep pollen and other contaminants out of it until the parts come back from powdercoat and I can put it back together and seal it up again.
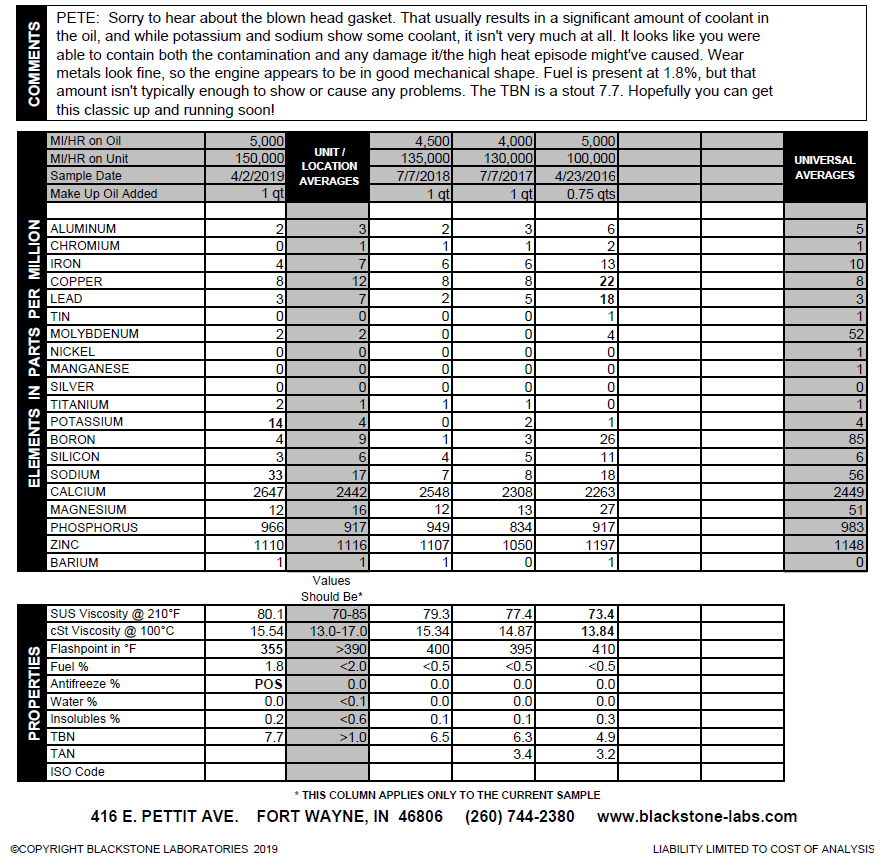
Here's the Blackstone UOA Report after the blown head gasket and overheating event. Other than the presence of coolant, this is one of the best reports on this motor, so it doesn't look like any damage was done to the internals as there weren't any wear metals in the oil. Hoping when I pull the cams that the lobes looks good without any hot-spots and that I can put those into the new motor when the towers come back from powdercoat.
Should be 1.5-2 weeks before I have the parts back so I'll do some of the work to the engine that needs to be done - replace the oil pan gasket and install the stud kit, reseal the oil pump, and then I'll work on pulling the old motor and cleaning up the engine bay now that I have some additional floor space in the shop where I can set the old motor on the skid the new motor arrived on.
Thanks a lot. Yes, when all is said and done I'll have a spare 4.5L long block with cams from a 4.7L - no fueling and some other missing parts, but essentially a spare engine if I decide to keep it.
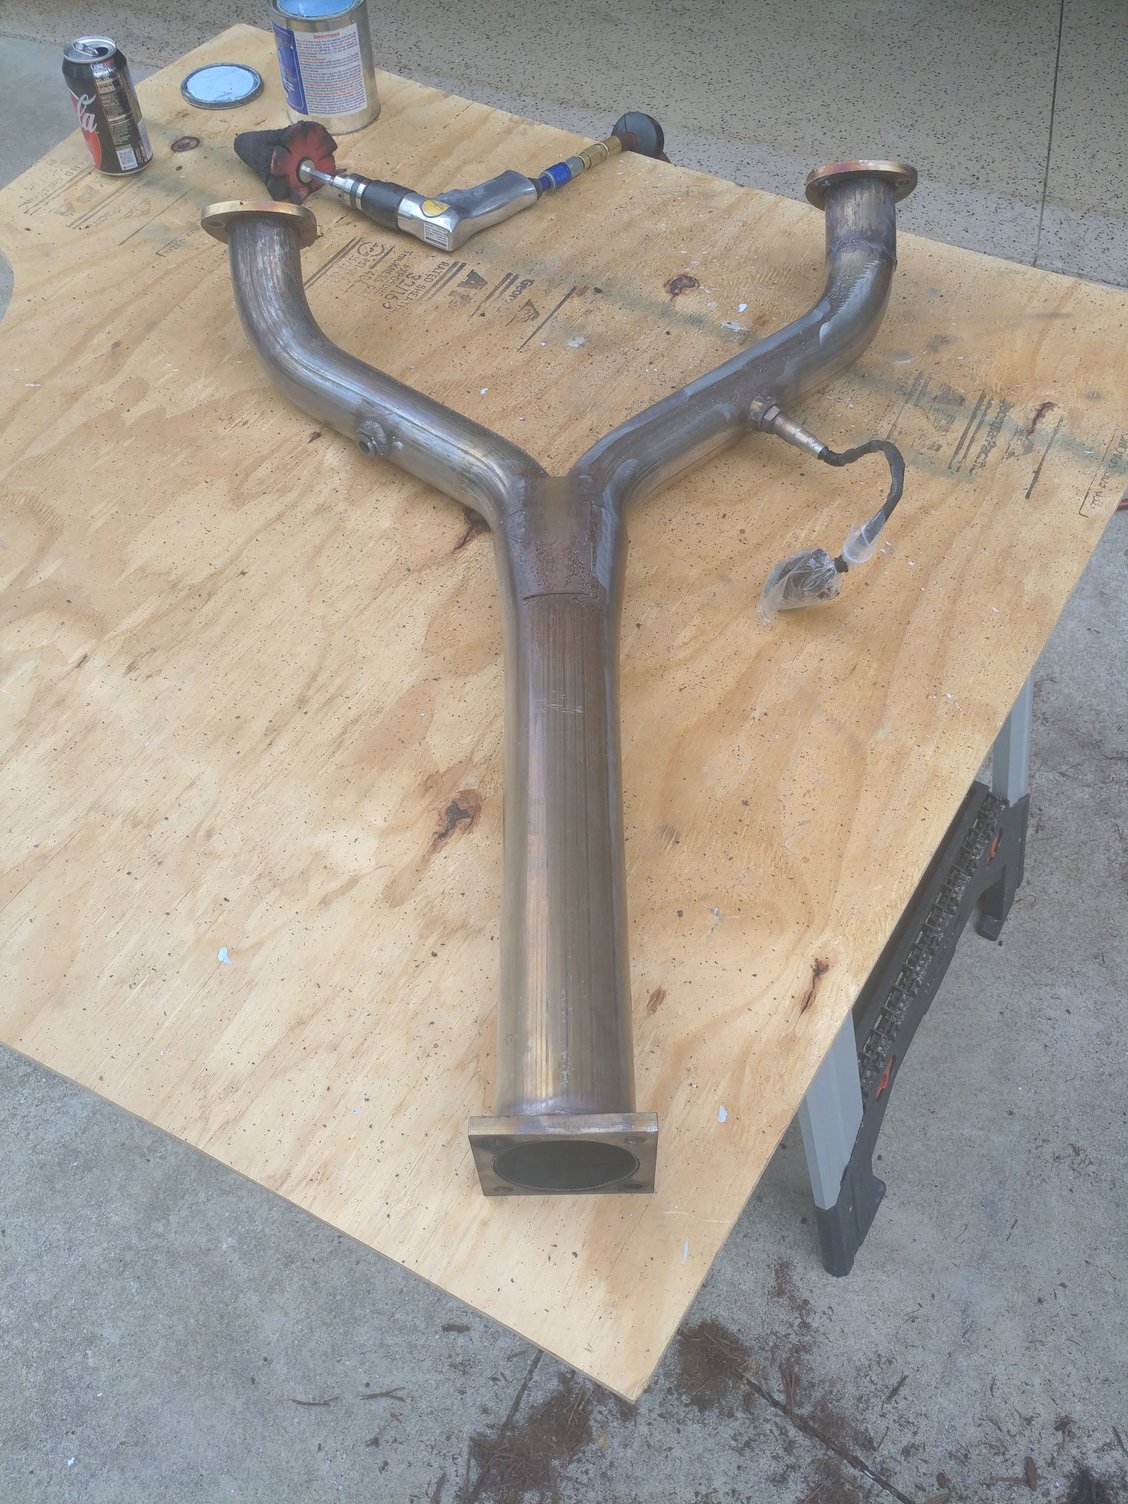
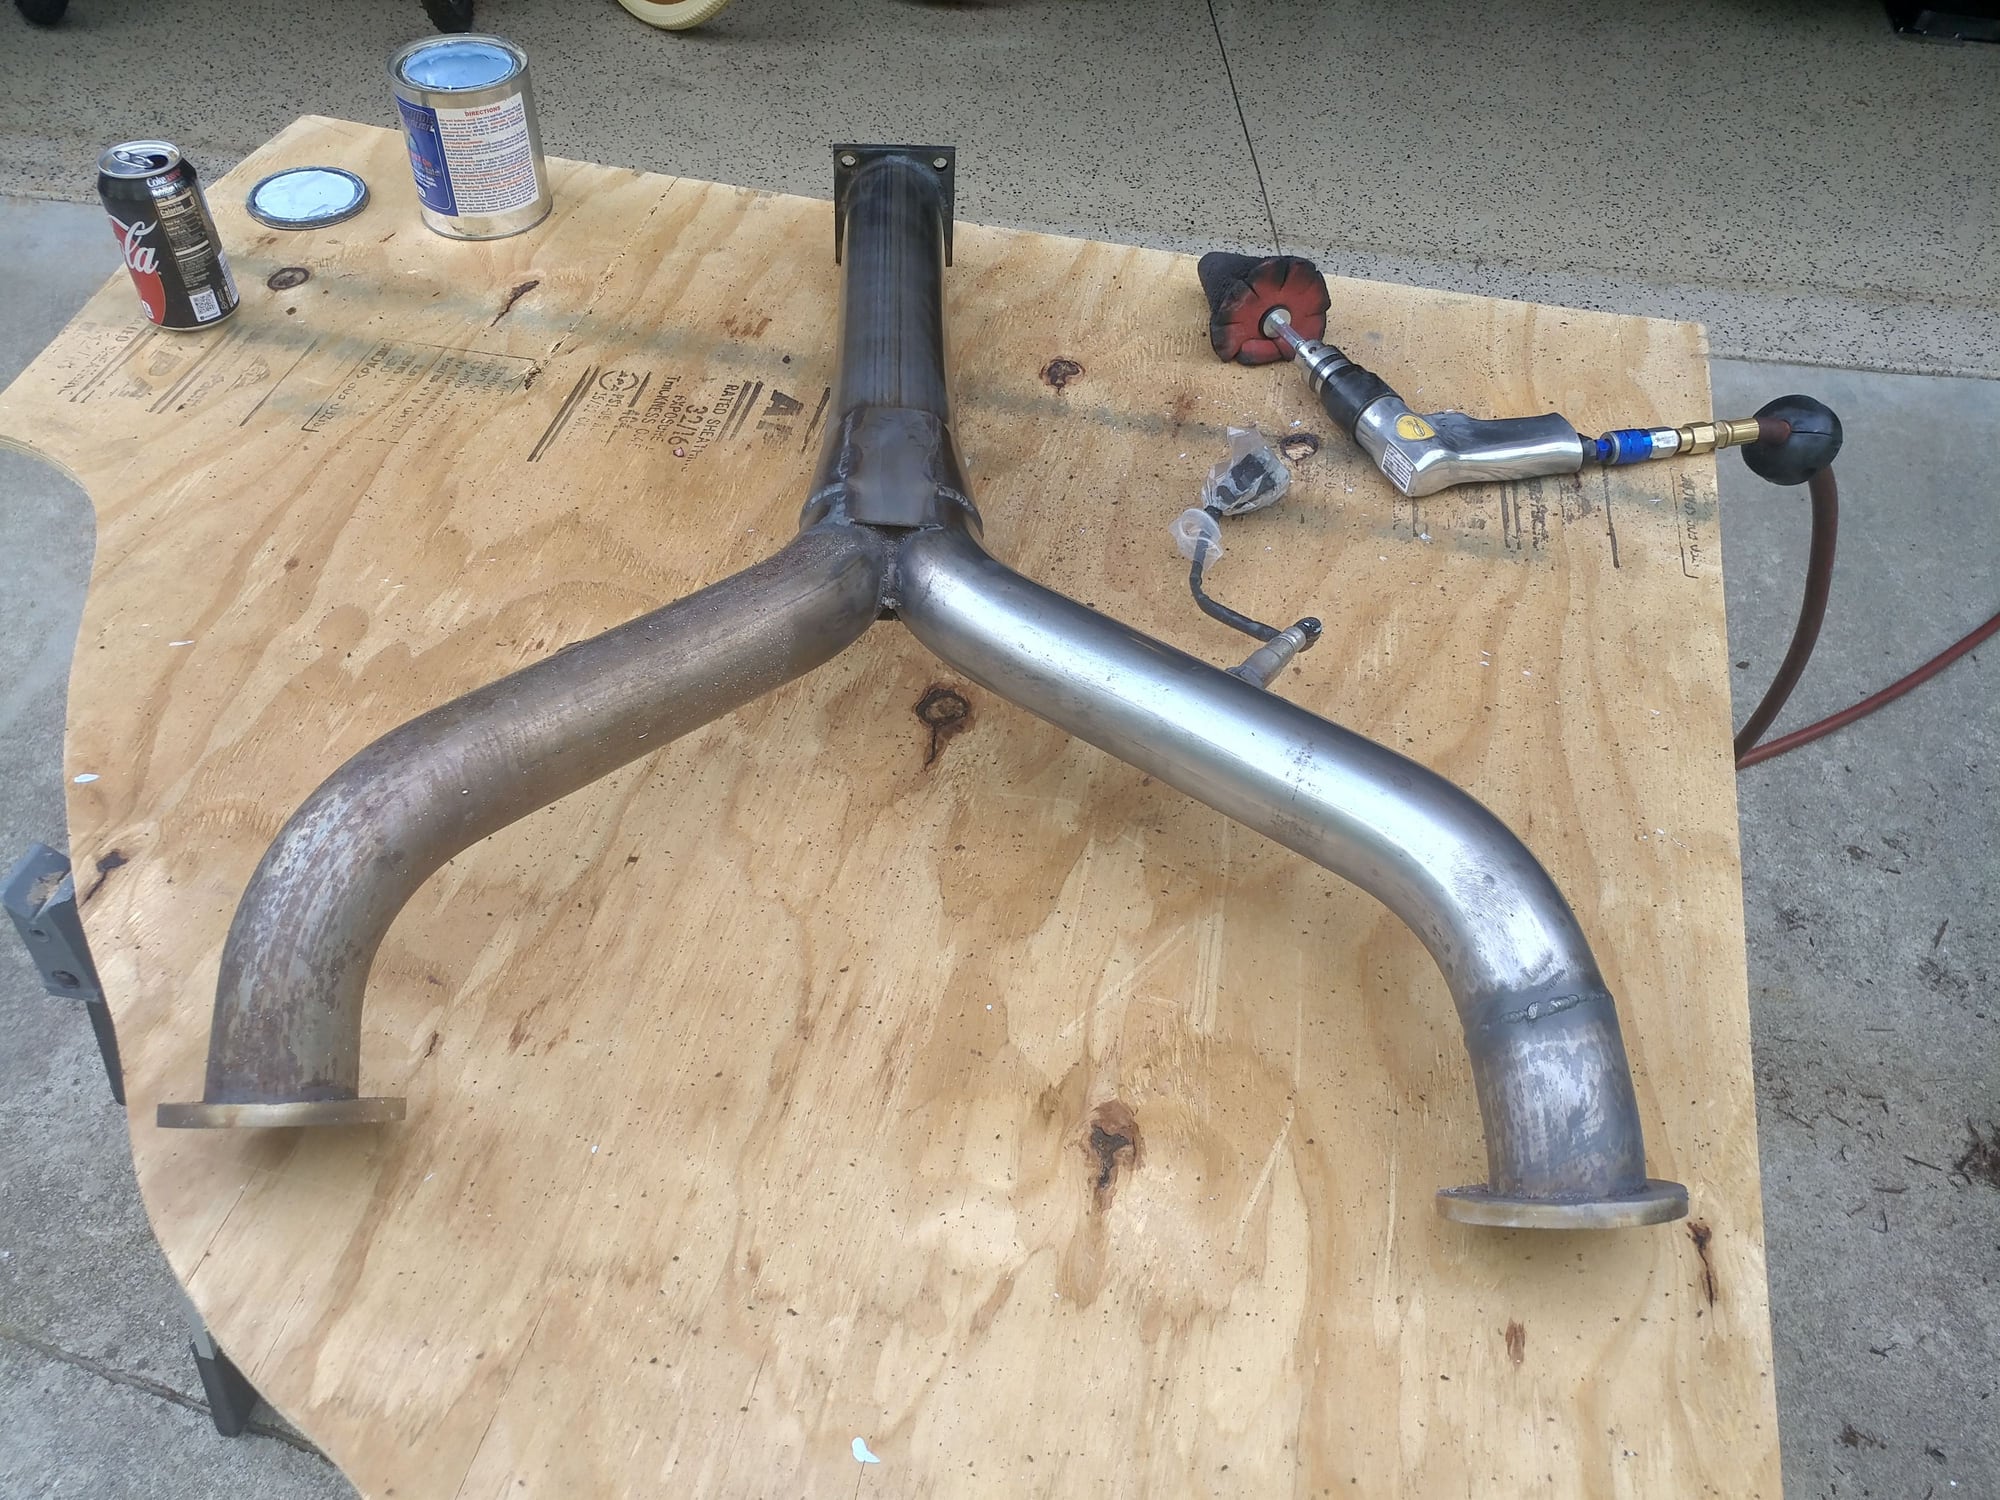
Today I mostly worked on getting the boat ready for the summer since it was a sunny day, but found some time to start polishing my stainless Y-pipe. Also planning to do the 85/86 round tube headers I bought. Not going as quickly as I'd liked, but also not too bad. It's taking a while to get all the burned oil and grease off the front sections - the rear straight pipe went pretty quick. I have a bit more to do on this side and then will flip it over to do the other one.
Supposed to rain tomorrow, so I might decide to pull the motor so I can start cleaning up the engine bay. Parts also get dropped off at the powdercoater tomorrow.
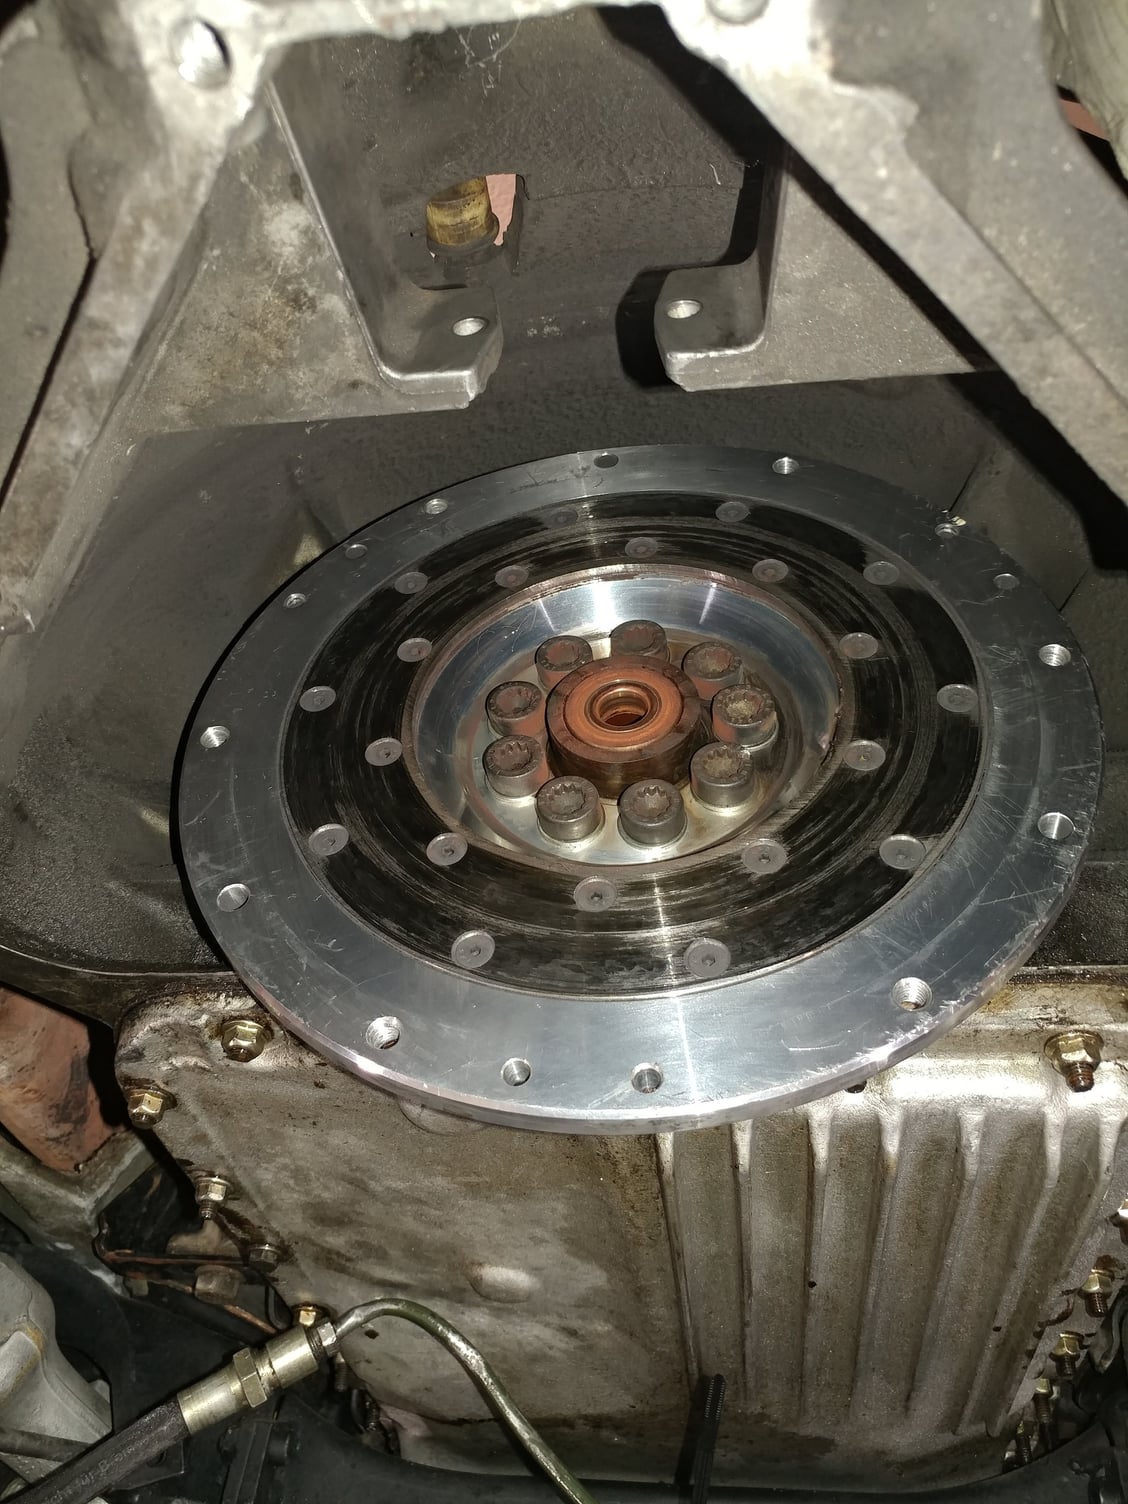
I have flywheels on both engines and will need to use the good one from my blown motor on the new motor, but now don't have clutches attached to either engine so no teeth to put a flywheel lock onto. What's the best way to free the flywheel bolts without the motor turning backwards. Actually, in thinking more about this...because we talk about turning the motor clockwise only, and that's from the crankshaft bolt perspective, correct, that means at the opposite end of the engine where the flywheel is located, the counter-clockwise rotational force used to remove a bolt would actually be turning the motor in the proper direction, correct?
If I need to keep it from rotating at all, I figured I could put a proper size spline socket on a breaker bar into one bolt that I'm not trying to remove to be able to hold it against the direction that the impact gun would generate on the bolt I am trying to remove. When I get to the last one, I could thread 2 of the previously removed bolts part of the way back in and use a prybar between them, while I undo the last bolt with the impact gun - would that method work and not do any damage?
Impact gun and counter-hold method worked great on the new engine that's on the stand. There's not enough space for the impact gun in the bell housing to do that one while it's in the car so I'll remove it once the engine is out and sitting on a pallet.
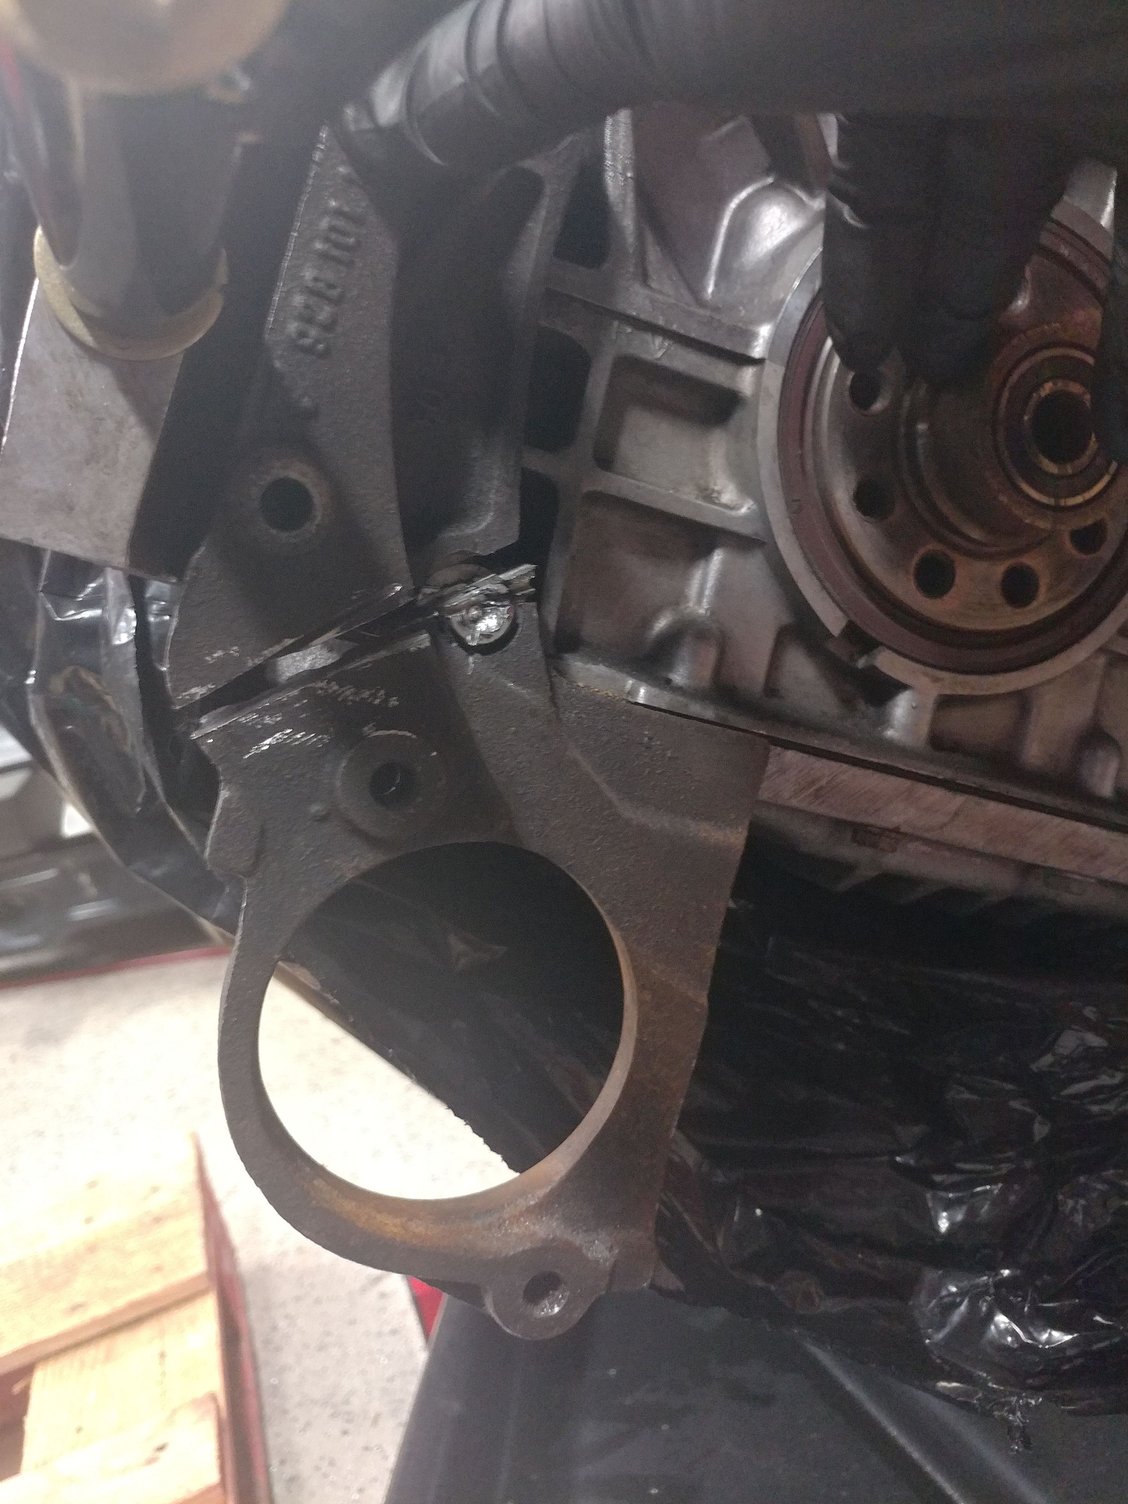
Then I went to remove the starter mounting bracket from the new motor. The 13mm bolts came out easily enough - the other 2 not so much. Finally got one of them using a propane torch to heat it up and then a manual impact hammer to knock it loose and finally the air gun to spin it out, but the other one wasn't having any of that.
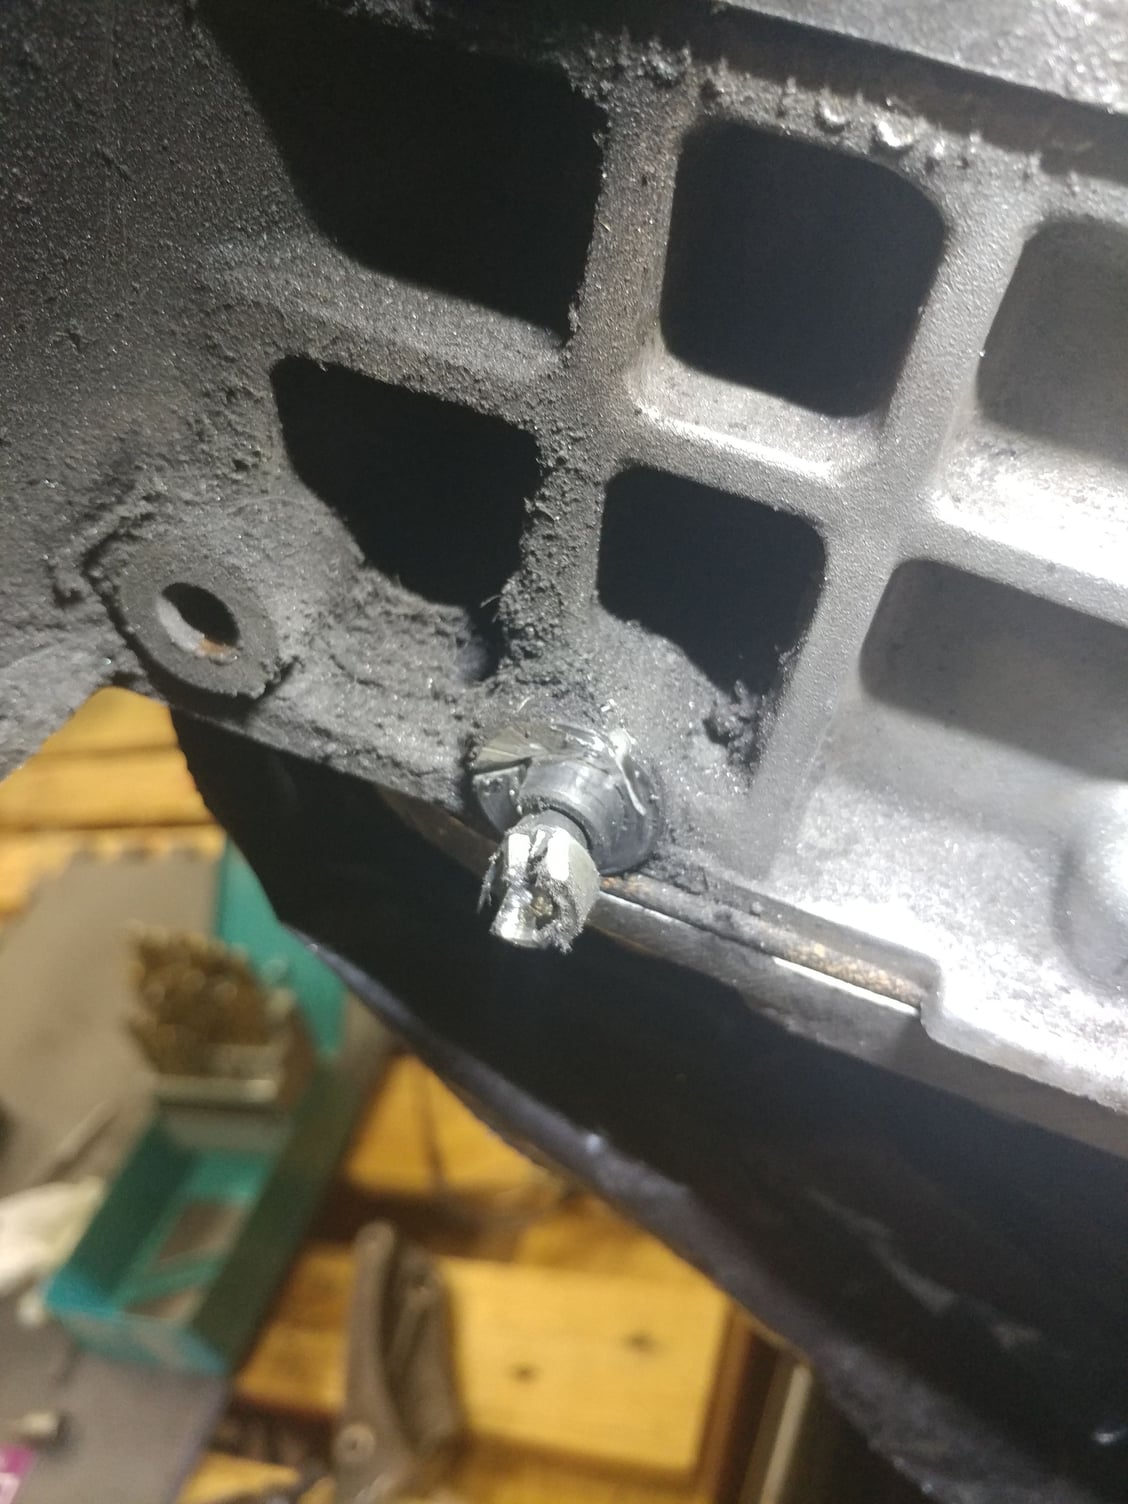
Eventually broke off the tip of a hardened screw extractor in the center of the bolt which put an end to that method - I honestly don't know why I try those things - they hardly ever work, and usually just snap off.
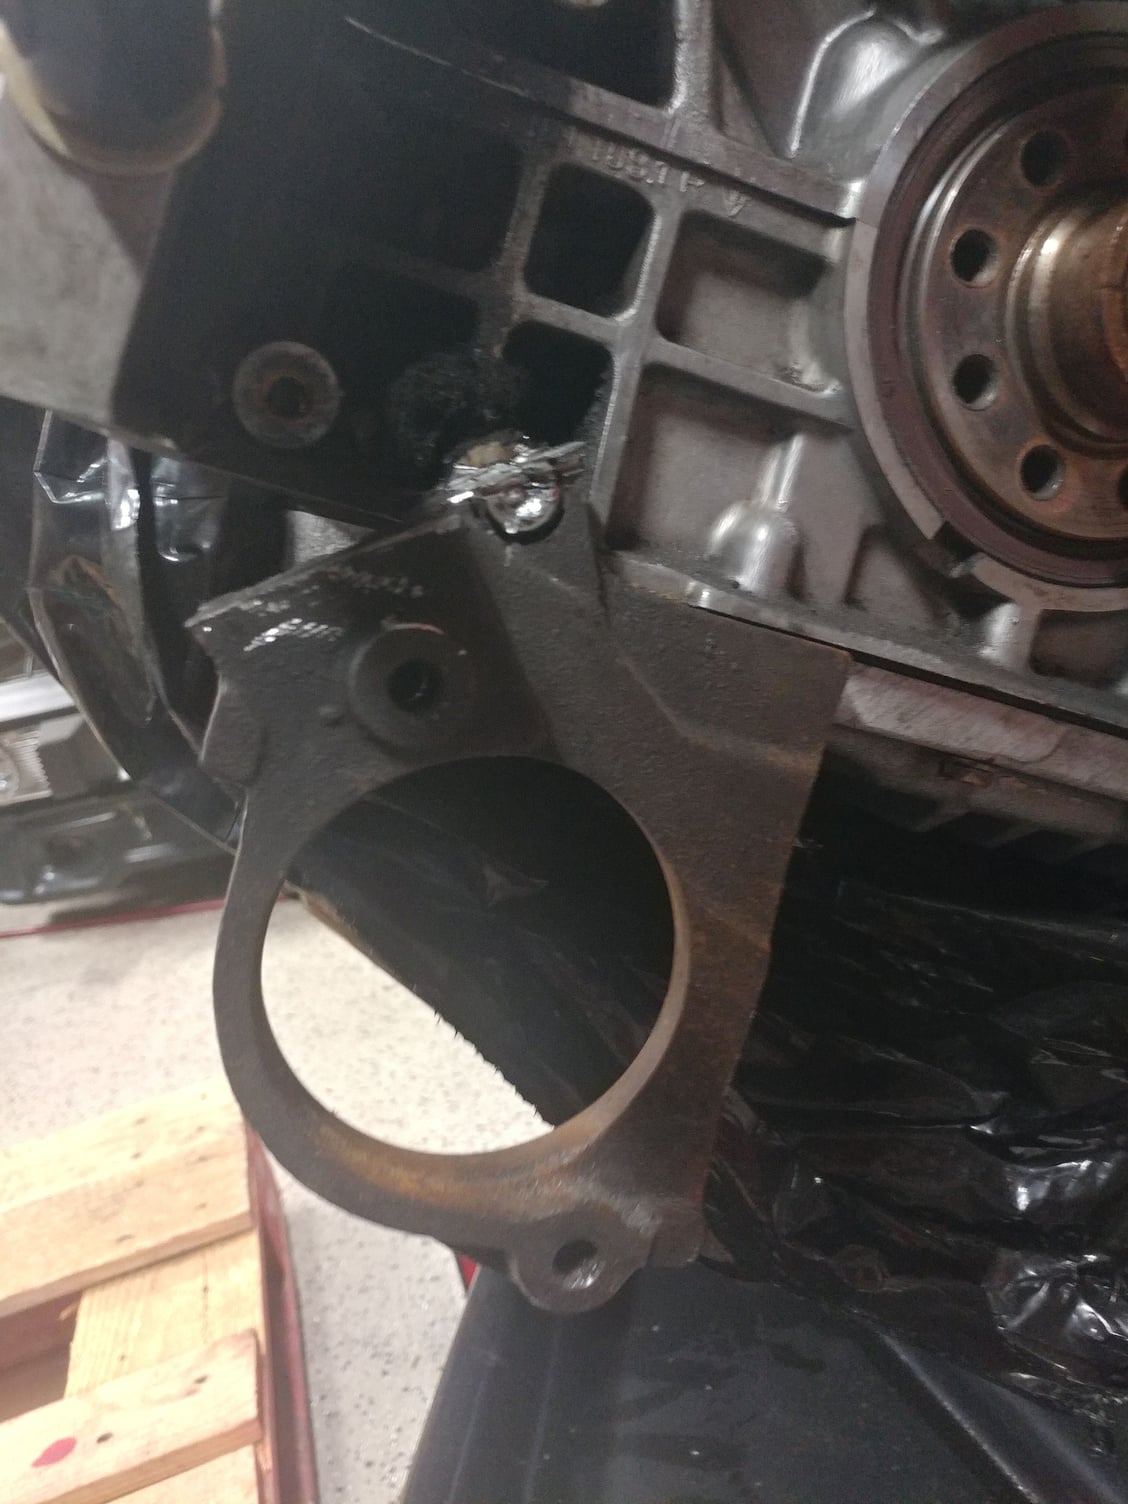
After cutting a flat slot into the bolt head and trying the manual impact hammer method to no avail (it did bend the the head of the straight impact bit though), I decided to cut the bracket away from the bolt since I don't need it anyway - my hi-torque starter mounts to the lower bell housing.
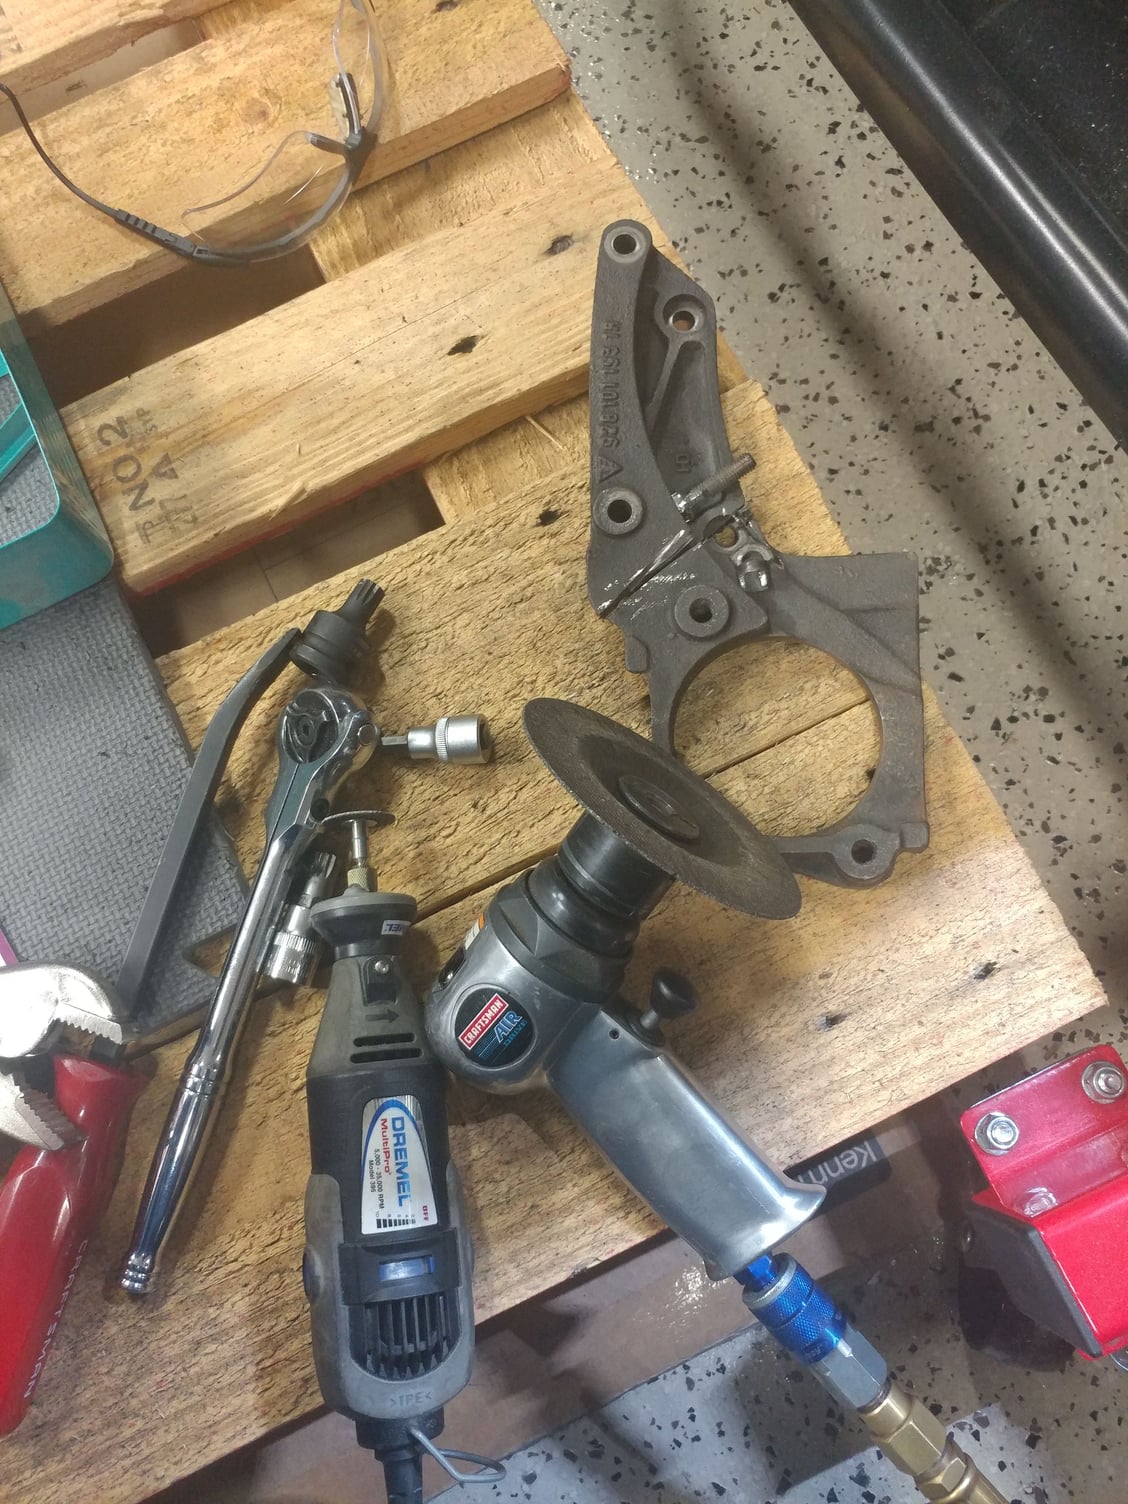
Very carefully using a dremel and an air grinder, I cut the bracket in half at the bolt head and once it was gone used some vice grips to unscrew the bolt.


 04-16-2019, 03:35 PM