When you click on links to various merchants on this site and make a purchase, this can result in this site earning a commission. Affiliate programs and affiliations include, but are not limited to, the eBay Partner Network.
Phase II is now officially finished. We put ~150 miles on the car and did a shakedown on the drives verifying that all HVAC / lighting / Wipers / etc. worked. The A/C is blowing cold and the heater works. The antique potentiomenter for the instrument cluster lights had to be soldered up to solve the open circuits with the swadged rivets.
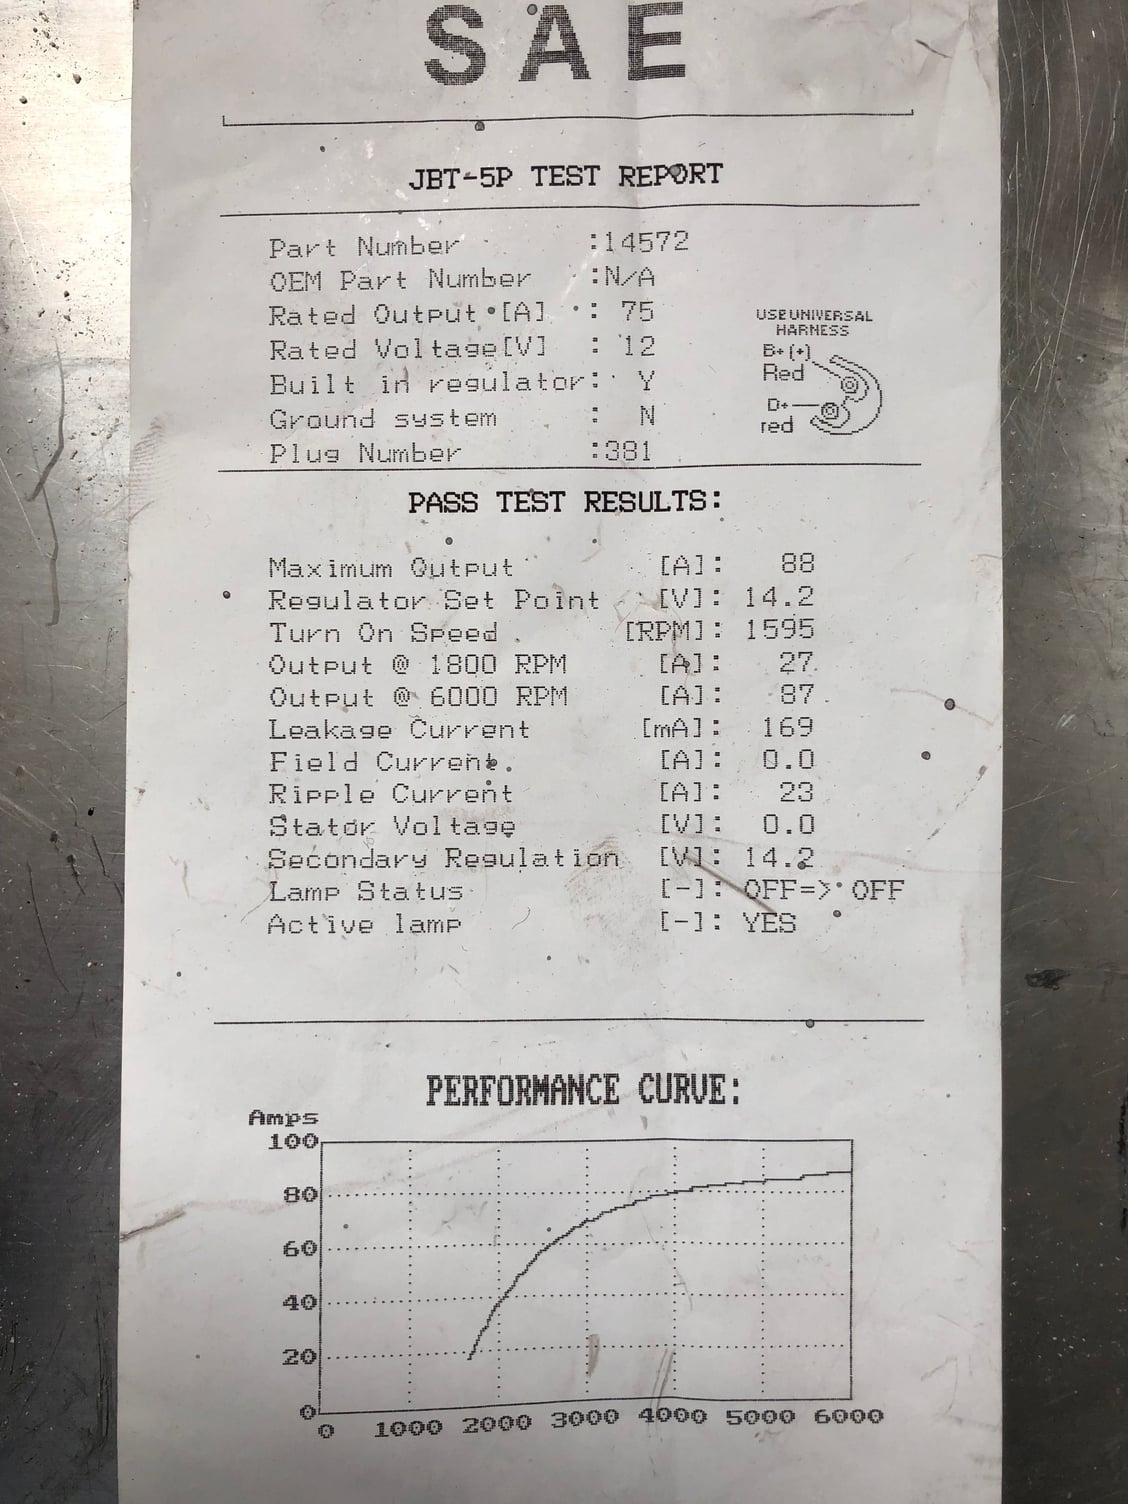
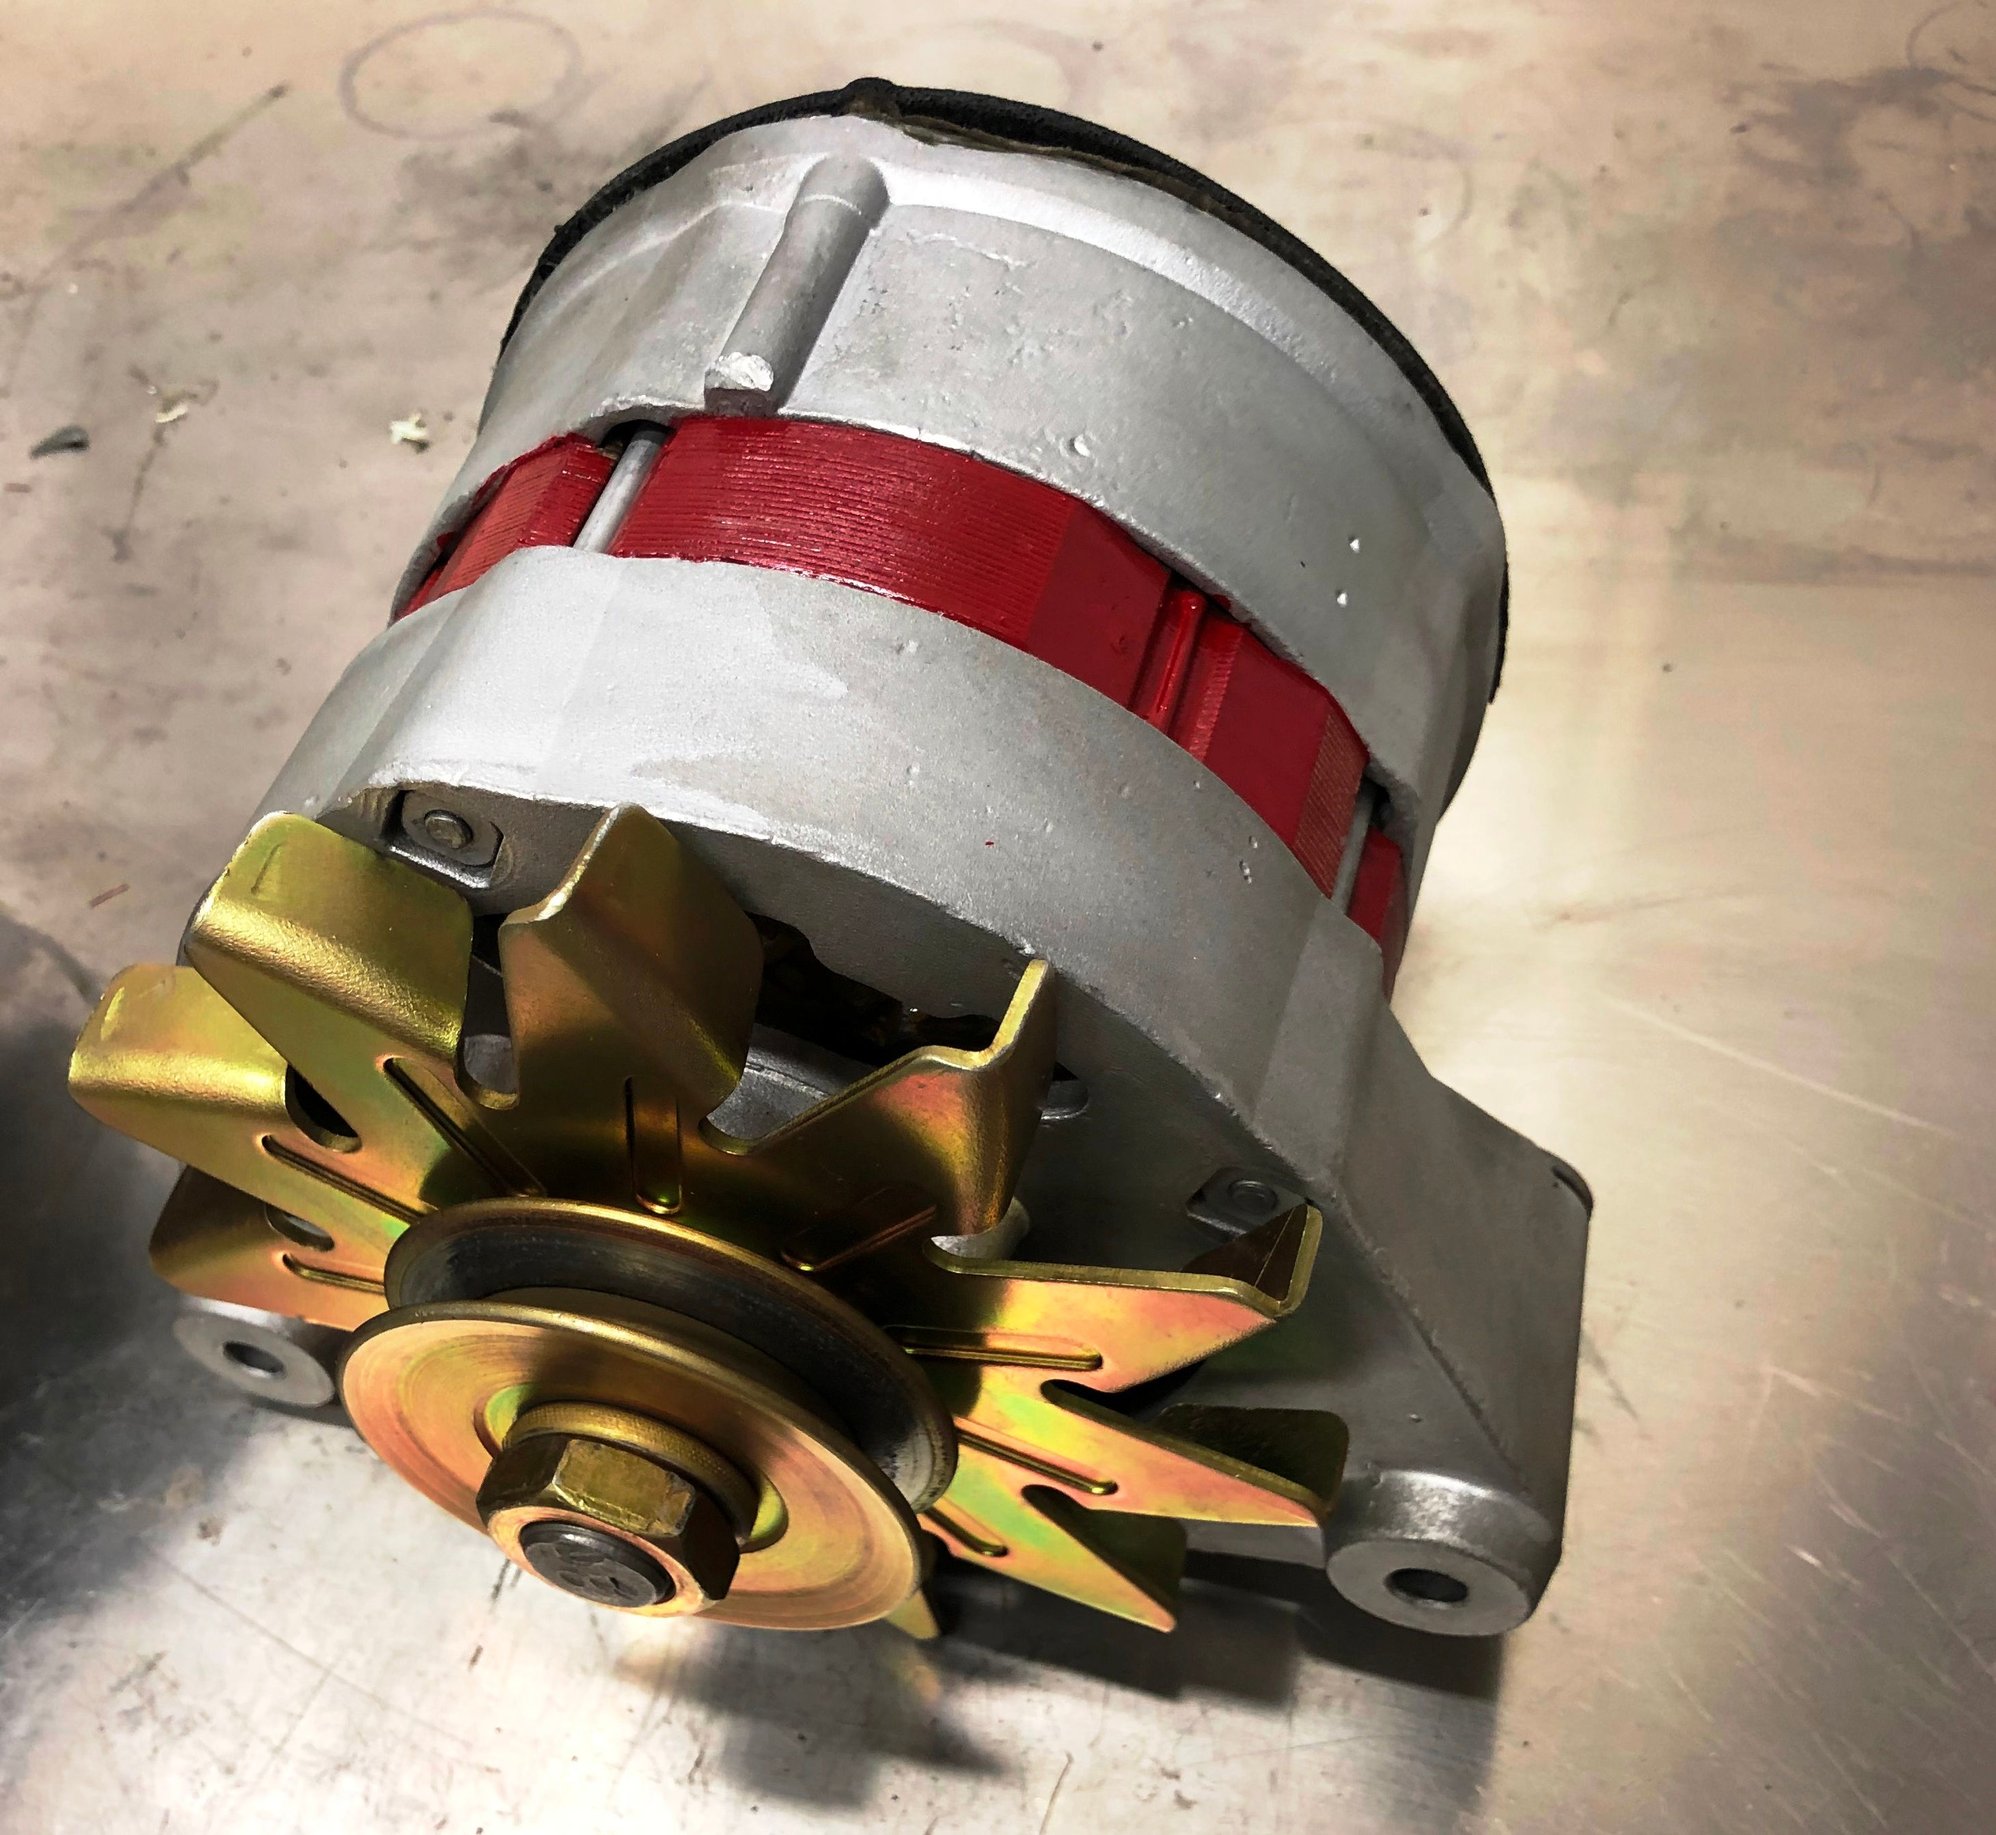
The 'rebuilt' Marchal alternator from Ebay went to 0 volts output after 100 miles. So it went for a proper rebuild with new copper windings, new diodes, new regulator and bearing set. Star Electric in Monrovia Calif. did the second rebuild. They will still take rebuild project on, as he still has access to the French parts. This took three weeks and $390.00. Star puts a load on all finished units and provides the attached final test printout. We came in close to the OEM spec at ~88 amps output.
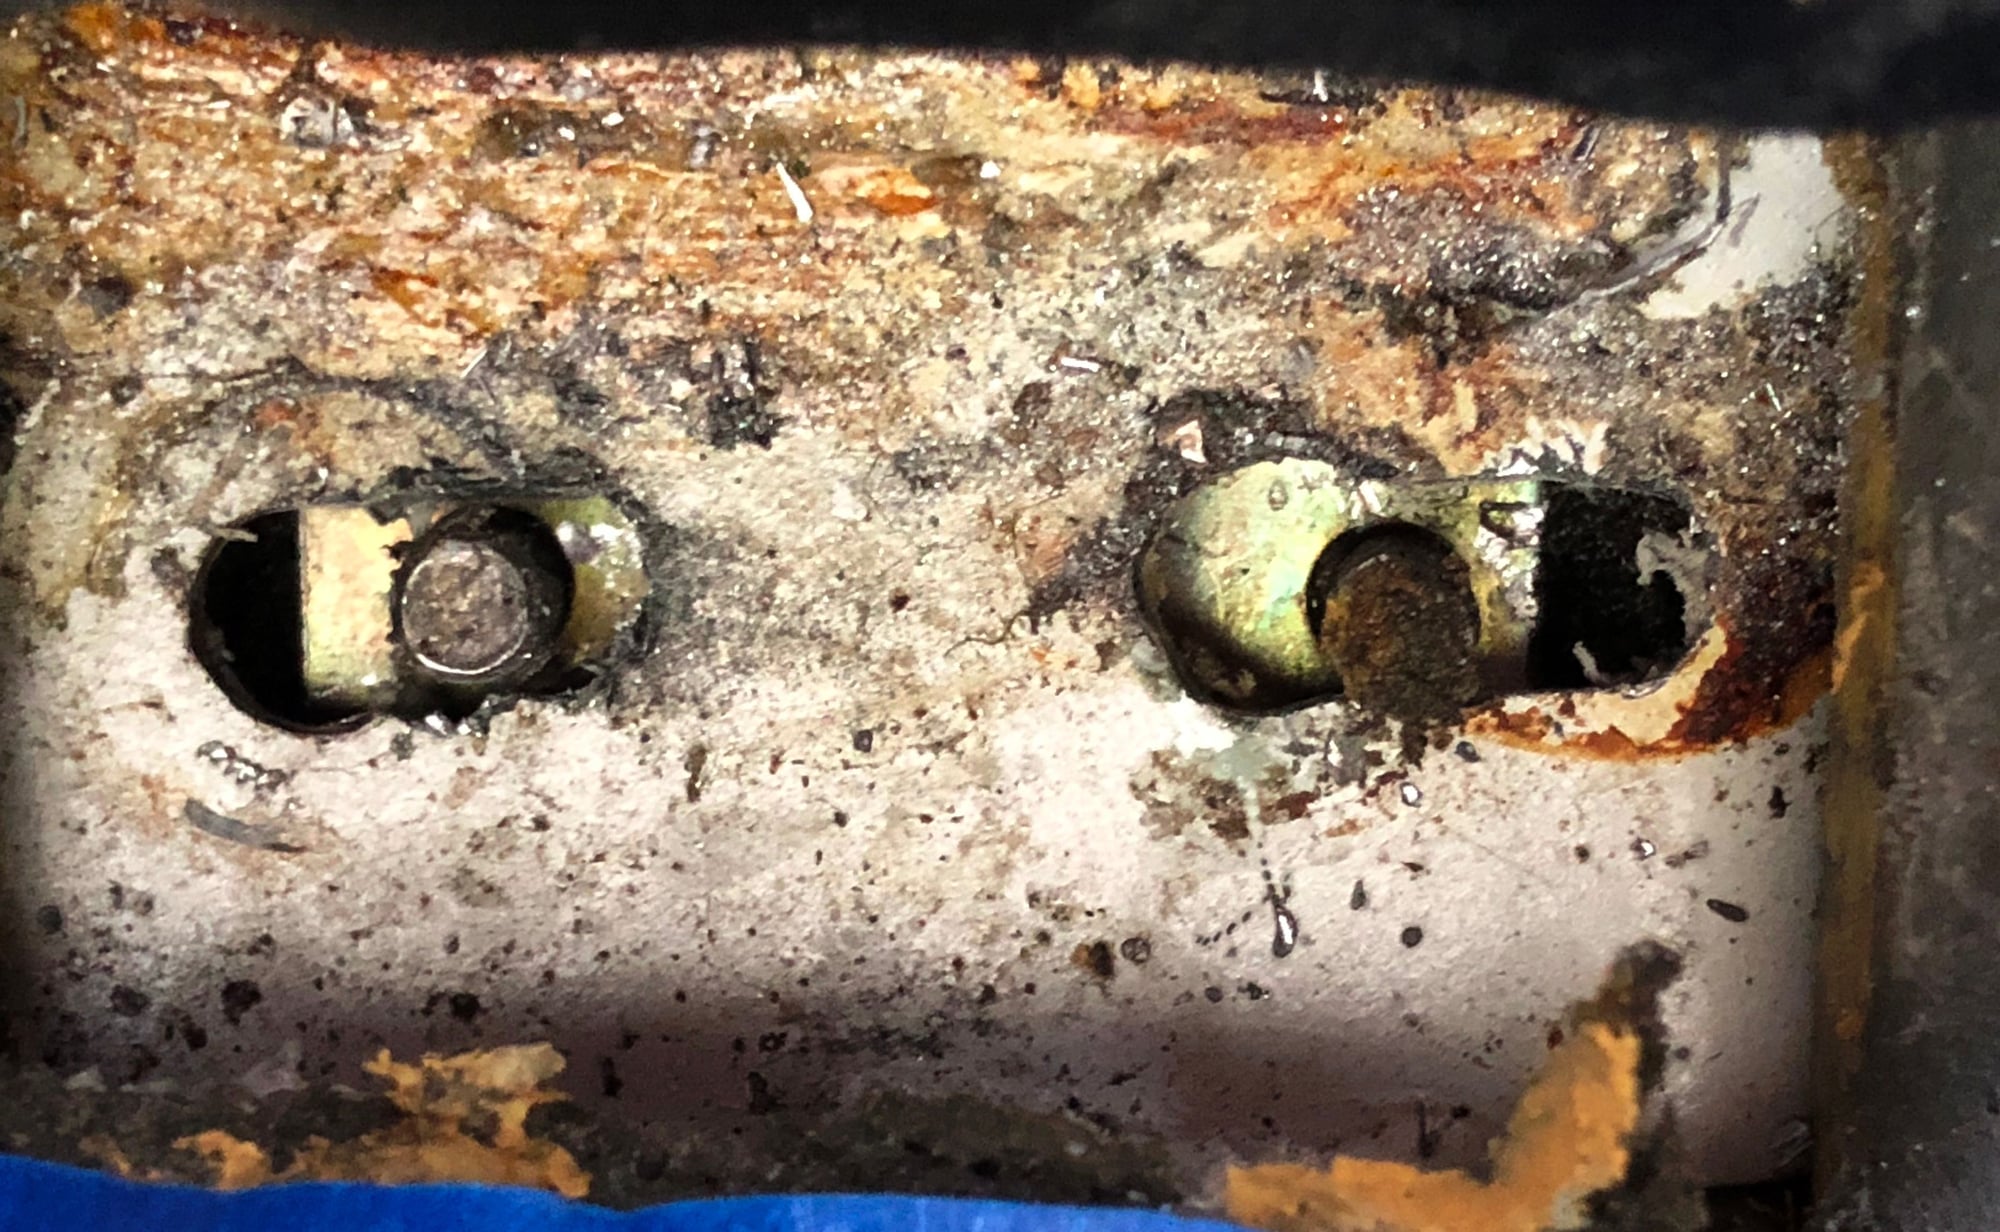
Other adjustments after a few test drives was aligning the shifter in the rectangular cutout in the drive tunnel. I inspected 00143 and both that car and 001117 had the shifter shaft is too far to the right side of the drive tunnel. i.e. the shift selector shaft rests too far to the right side, creating the crash to the bezel every time you select 4th or 5th Gear.
The "fix'' is to slot the two holes in the drive tunnel (that holds the forward shifter shaft) and allows the entire shaft assy to slide to the left, nailing the placement of the shifter in all six positions without banging into the shifter boot bezel / frame.
Phase III will be to paint the car. Key phrase here…..ourselves.
This is the main event in purchasing this project. Doing a 'complete' paint job once in your life. This will be done with the same team, who, as I learned after starting 001117, had the same bucket list item of doing a ‘complete’ at least once in their lifetime. So here we go.....
This is exterior only repaint with very little jamb work. Almost all panels on 001117 have the original paint, which is ideal for preparation.
We have negotiated an illegal 4 week sub-lease at an undisclosed location with a landlord that prefers to remain anonymous. This is a quiet industrial complex and the facility has a has a compressor and single post lift. Its ideal for the dusty work of block sanding and priming.
At this location over the next four weeks we will sand and apply high build primer to all exterior surfaces. The sequence is specific -to sand off the original clear coat and silver base coat leaving all of the fully cured original primer and galvanized treatment intact. Polyurethane bumpers will be media blasted first. The entire exterior will get primed and block sanded. Then again –applying more primer as required, followed by another / final block sanding.
001117 will then be transported to another location for long term curing of primer. At this second location we will spray based coat and clear coat in a professional spray booth.
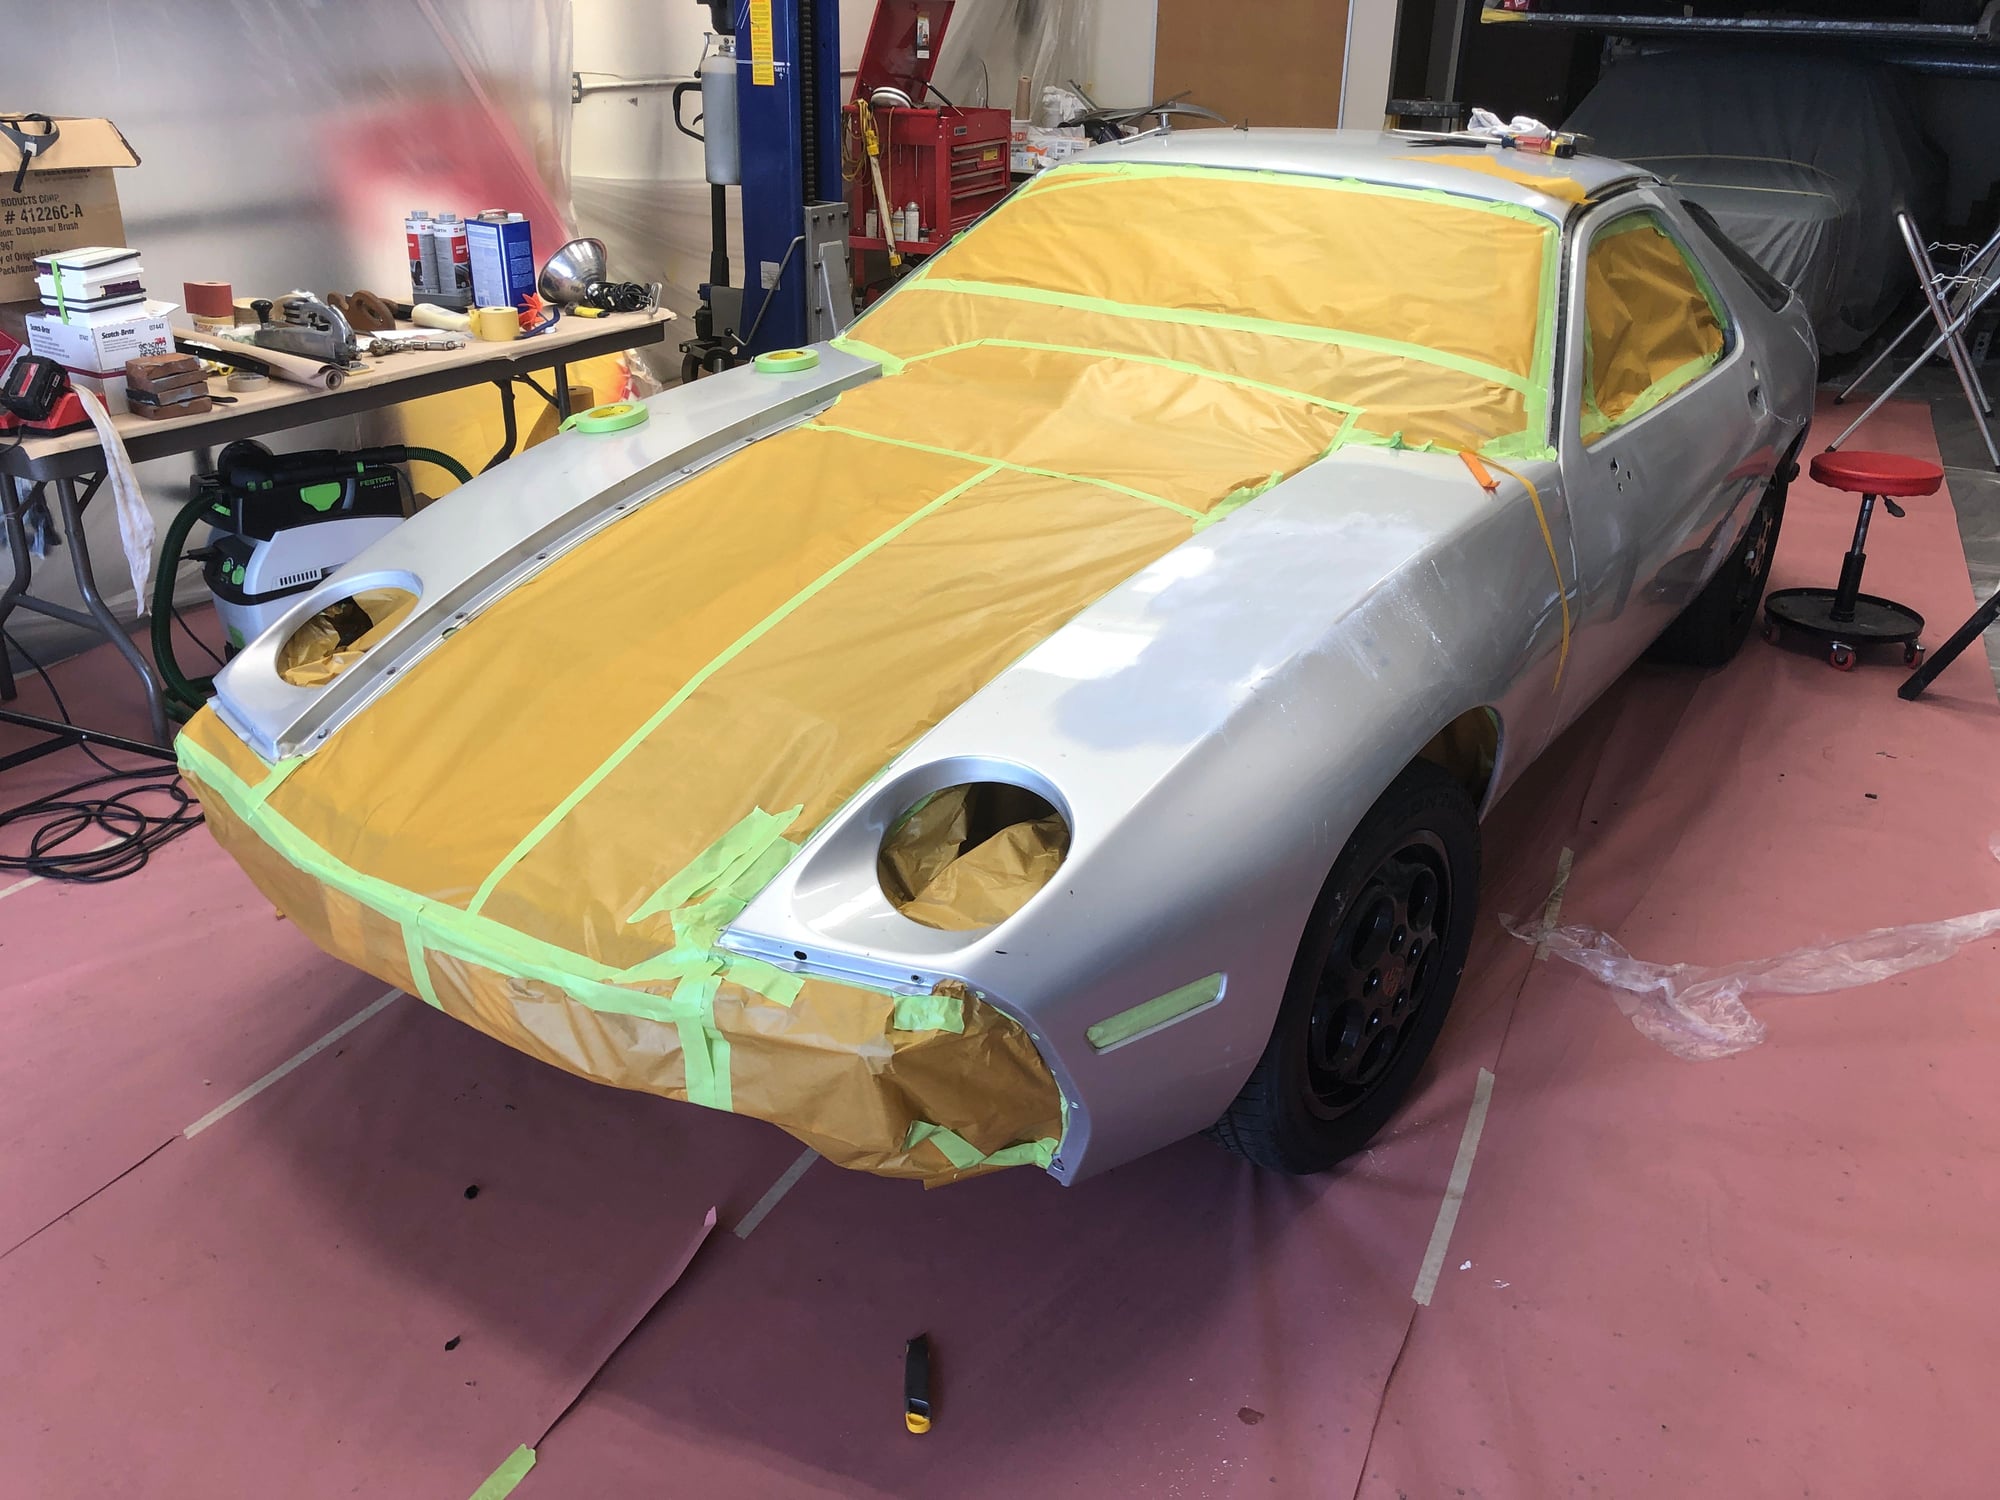
The goal of the painting project is to replicate the factory finish as close as possible. The original paint is Silver Metallic / Z2. Very specific attention will be taken in each area of preparation leading up to the application of base coat / color.
We are not professional painters or autobody repairmen. Given that, our expectations for the finished results are very high. We will be using many common best practices in the autobody industry, paying extremely close attention to paint chemistry and mixing instructions and well as using high quality materials and equipment.
Don’t hesitate to chime in if you want to contribute your experience on items specific to painting a 928.
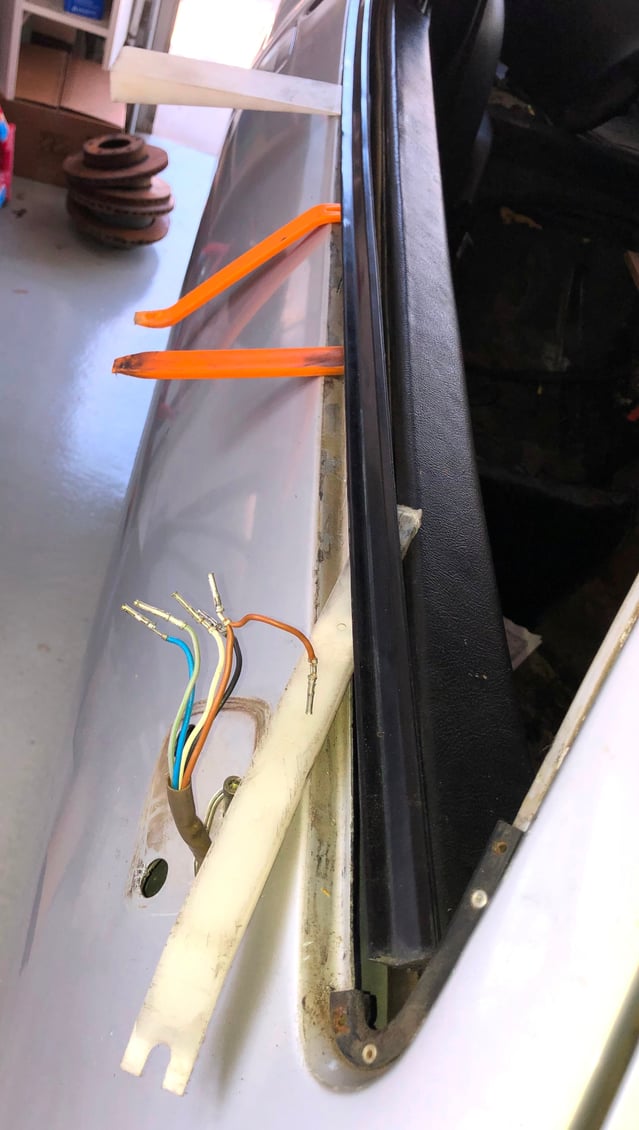
Disassembly has started and we have the first two surprises- First, the upper door trim takes lots of thin edged special tools and patience to remove the extruded aluminum trim at the top of the doors. Note to self not to repaint the lip that grabs this trim edge.
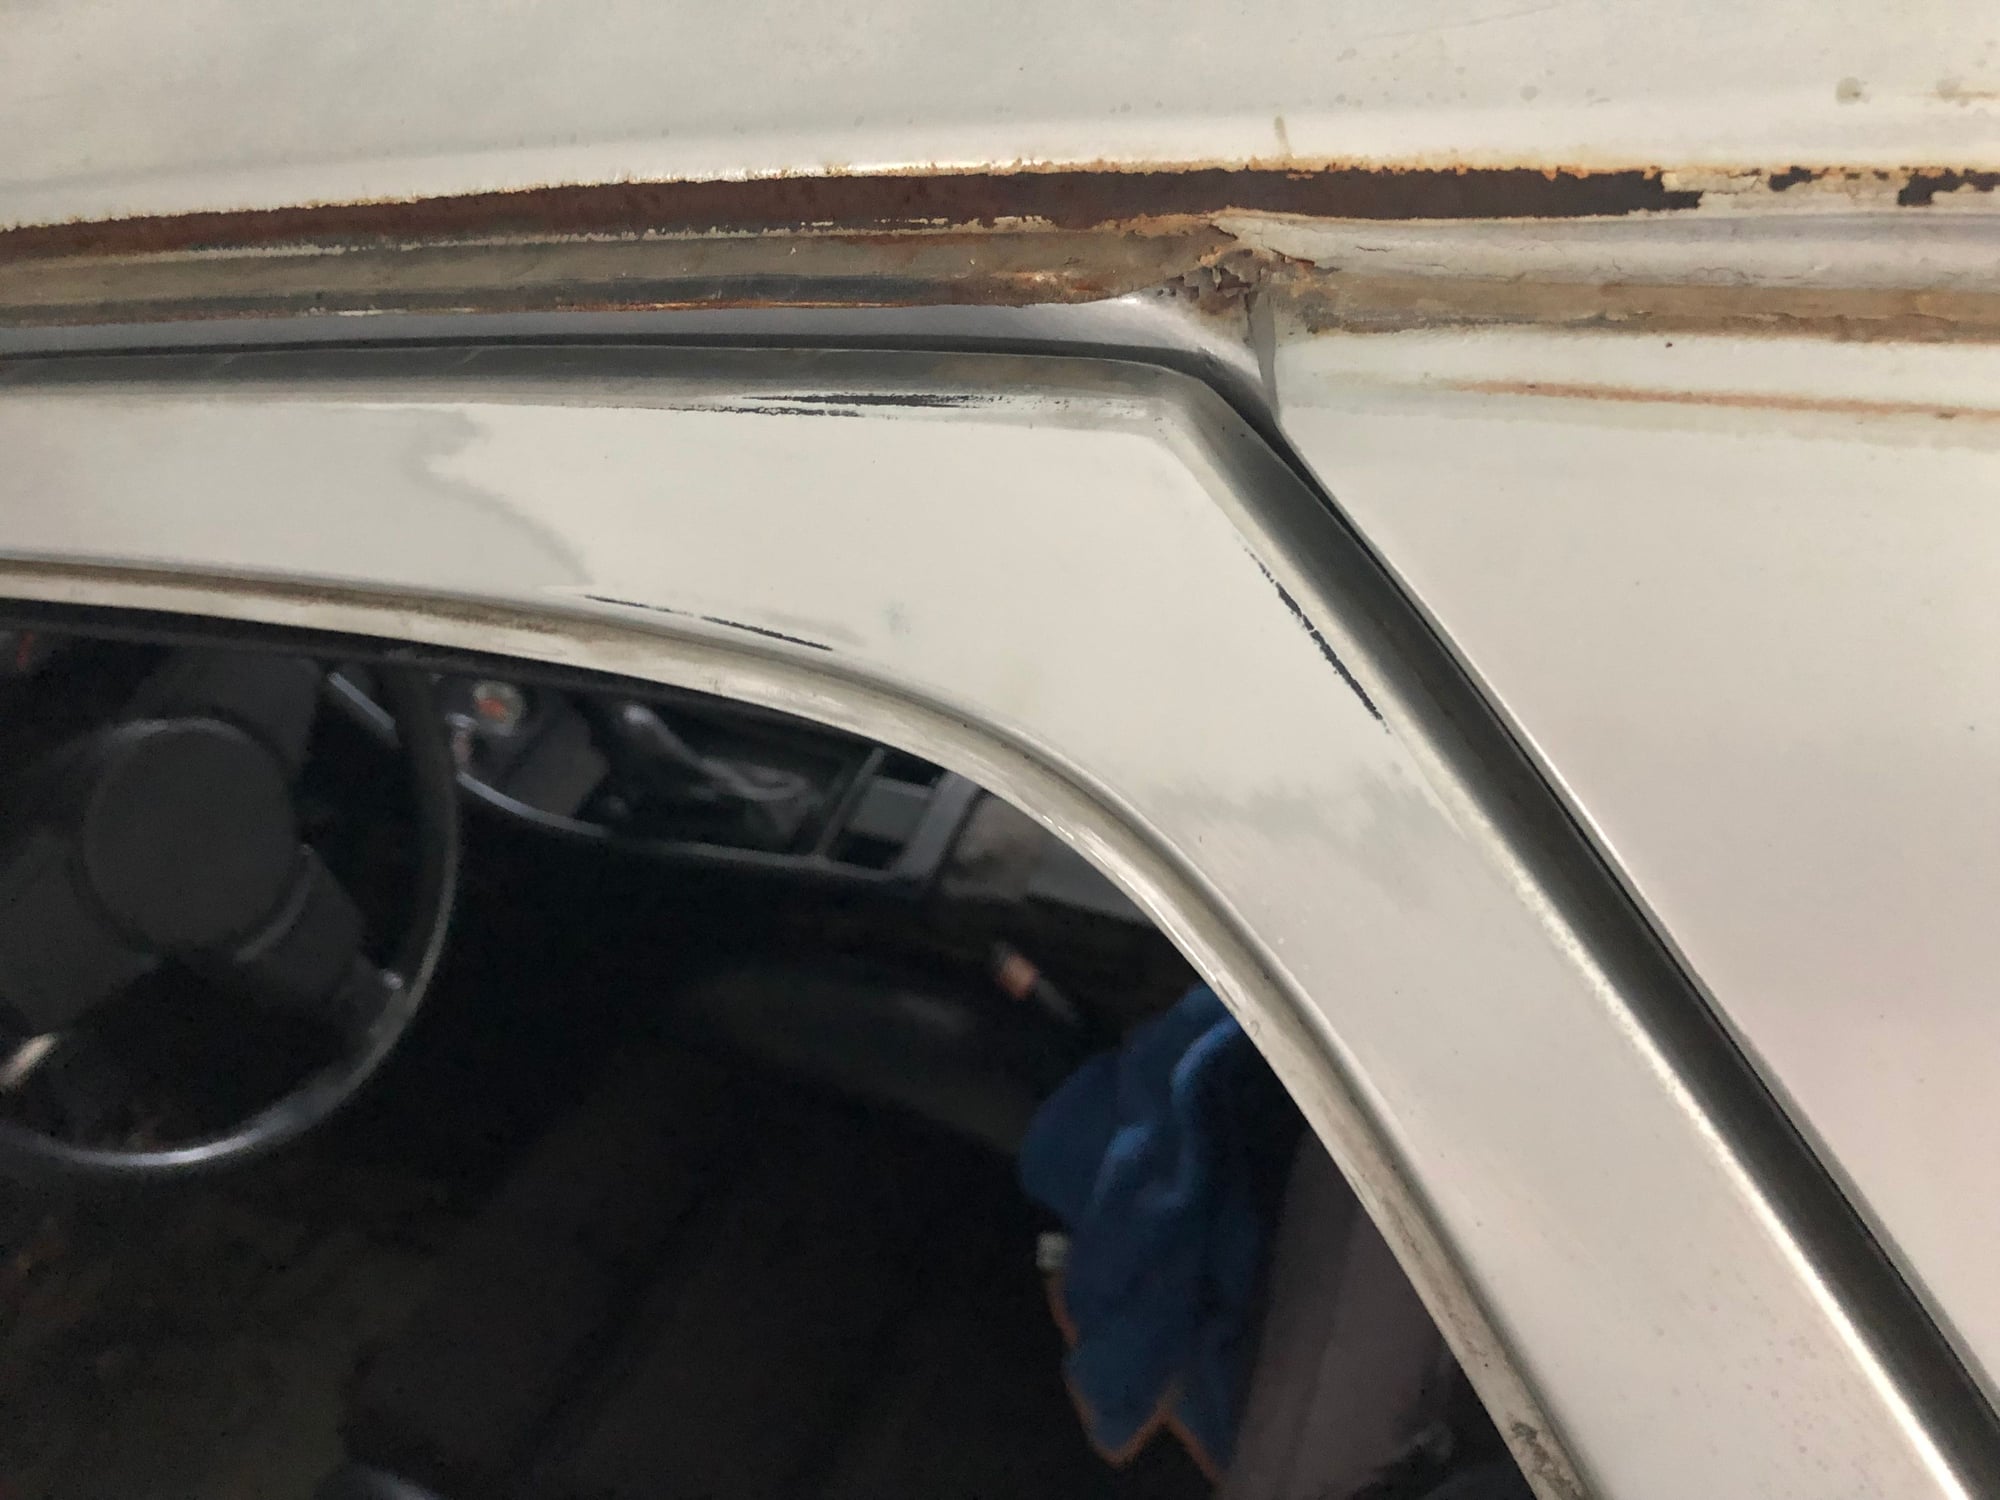
No. 2 the flush rain gutter area on the steel roof panel (both sides) has no etching primer. Nothing. This area is a clear line raw metal and covered in surface rust. Very surprising given the other extremes Porsche went to in rust protection in other areas. This will get treated and properly sealed. The gutter trim strips will be painted off the car.
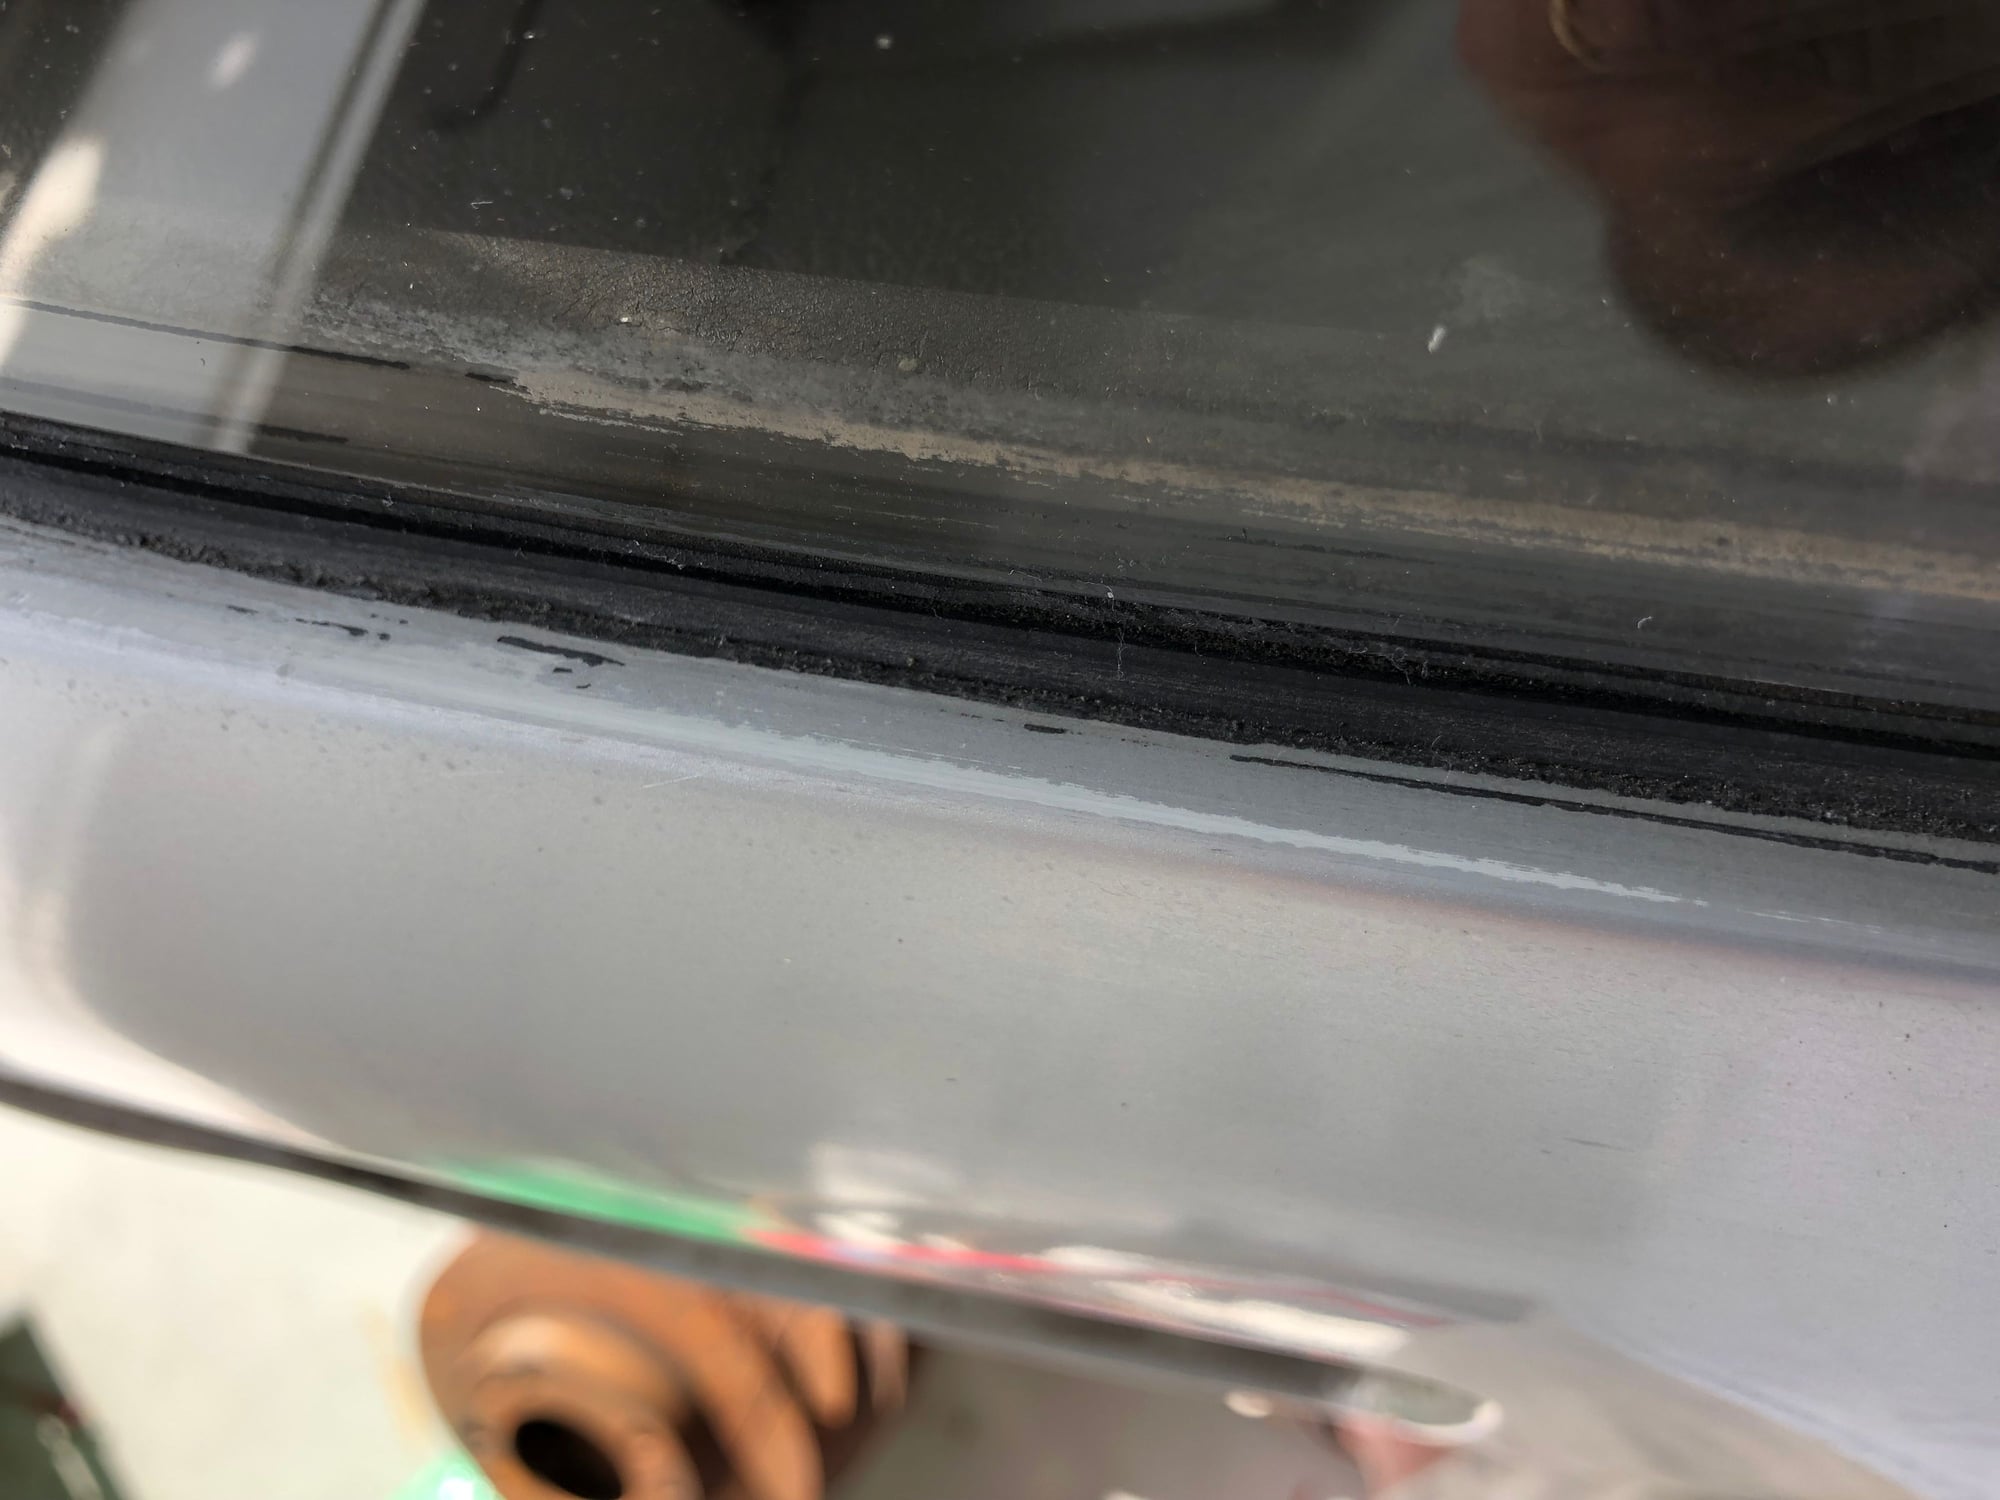
This is test area for sanding. The clear coat and original base coat have been sanded away on the top right corner of the drivers door. This revealed the virgin primer that has been fully cured over 41 years.
Last edited by mit Wasser; 07-08-2019 at 03:04 PM.
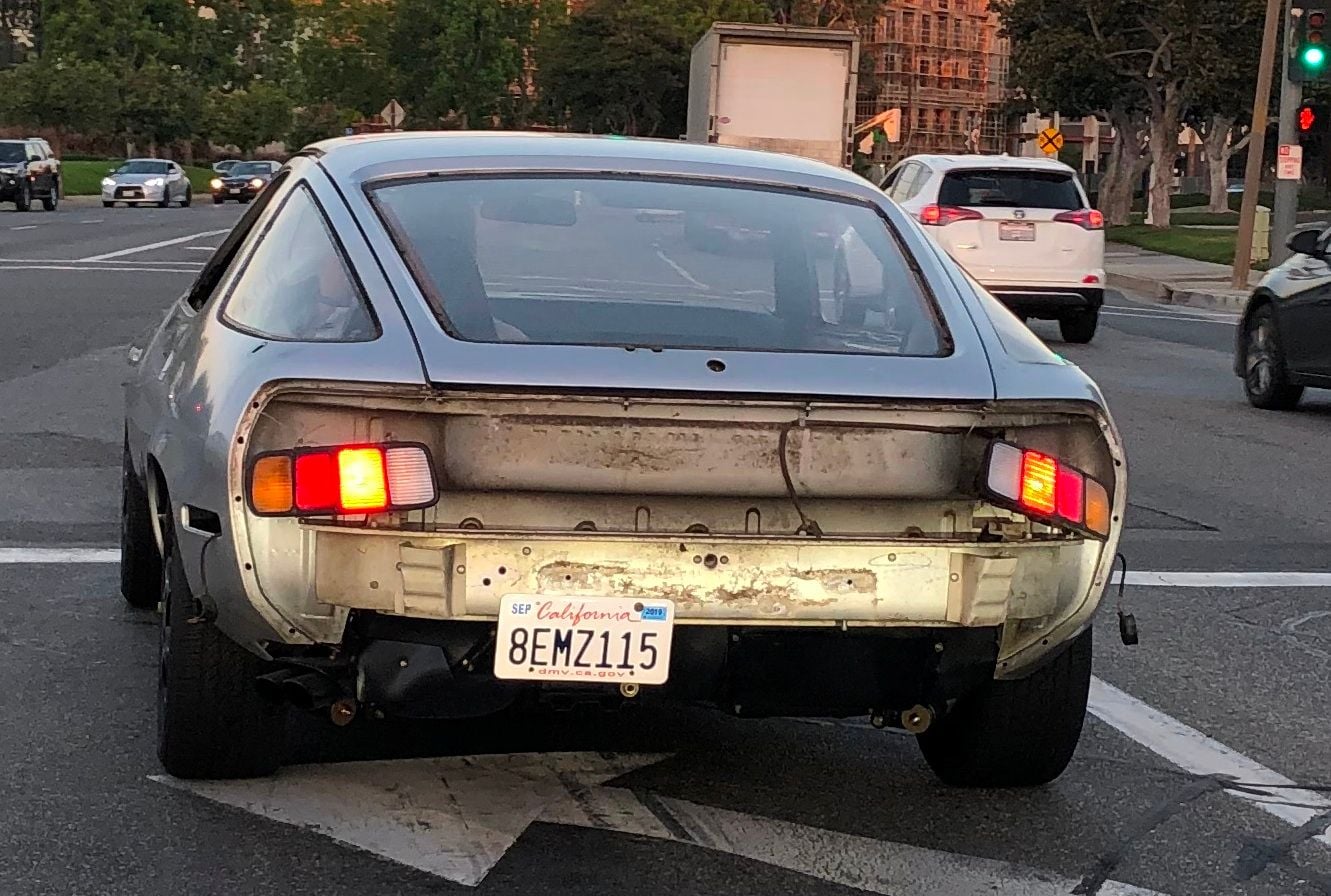
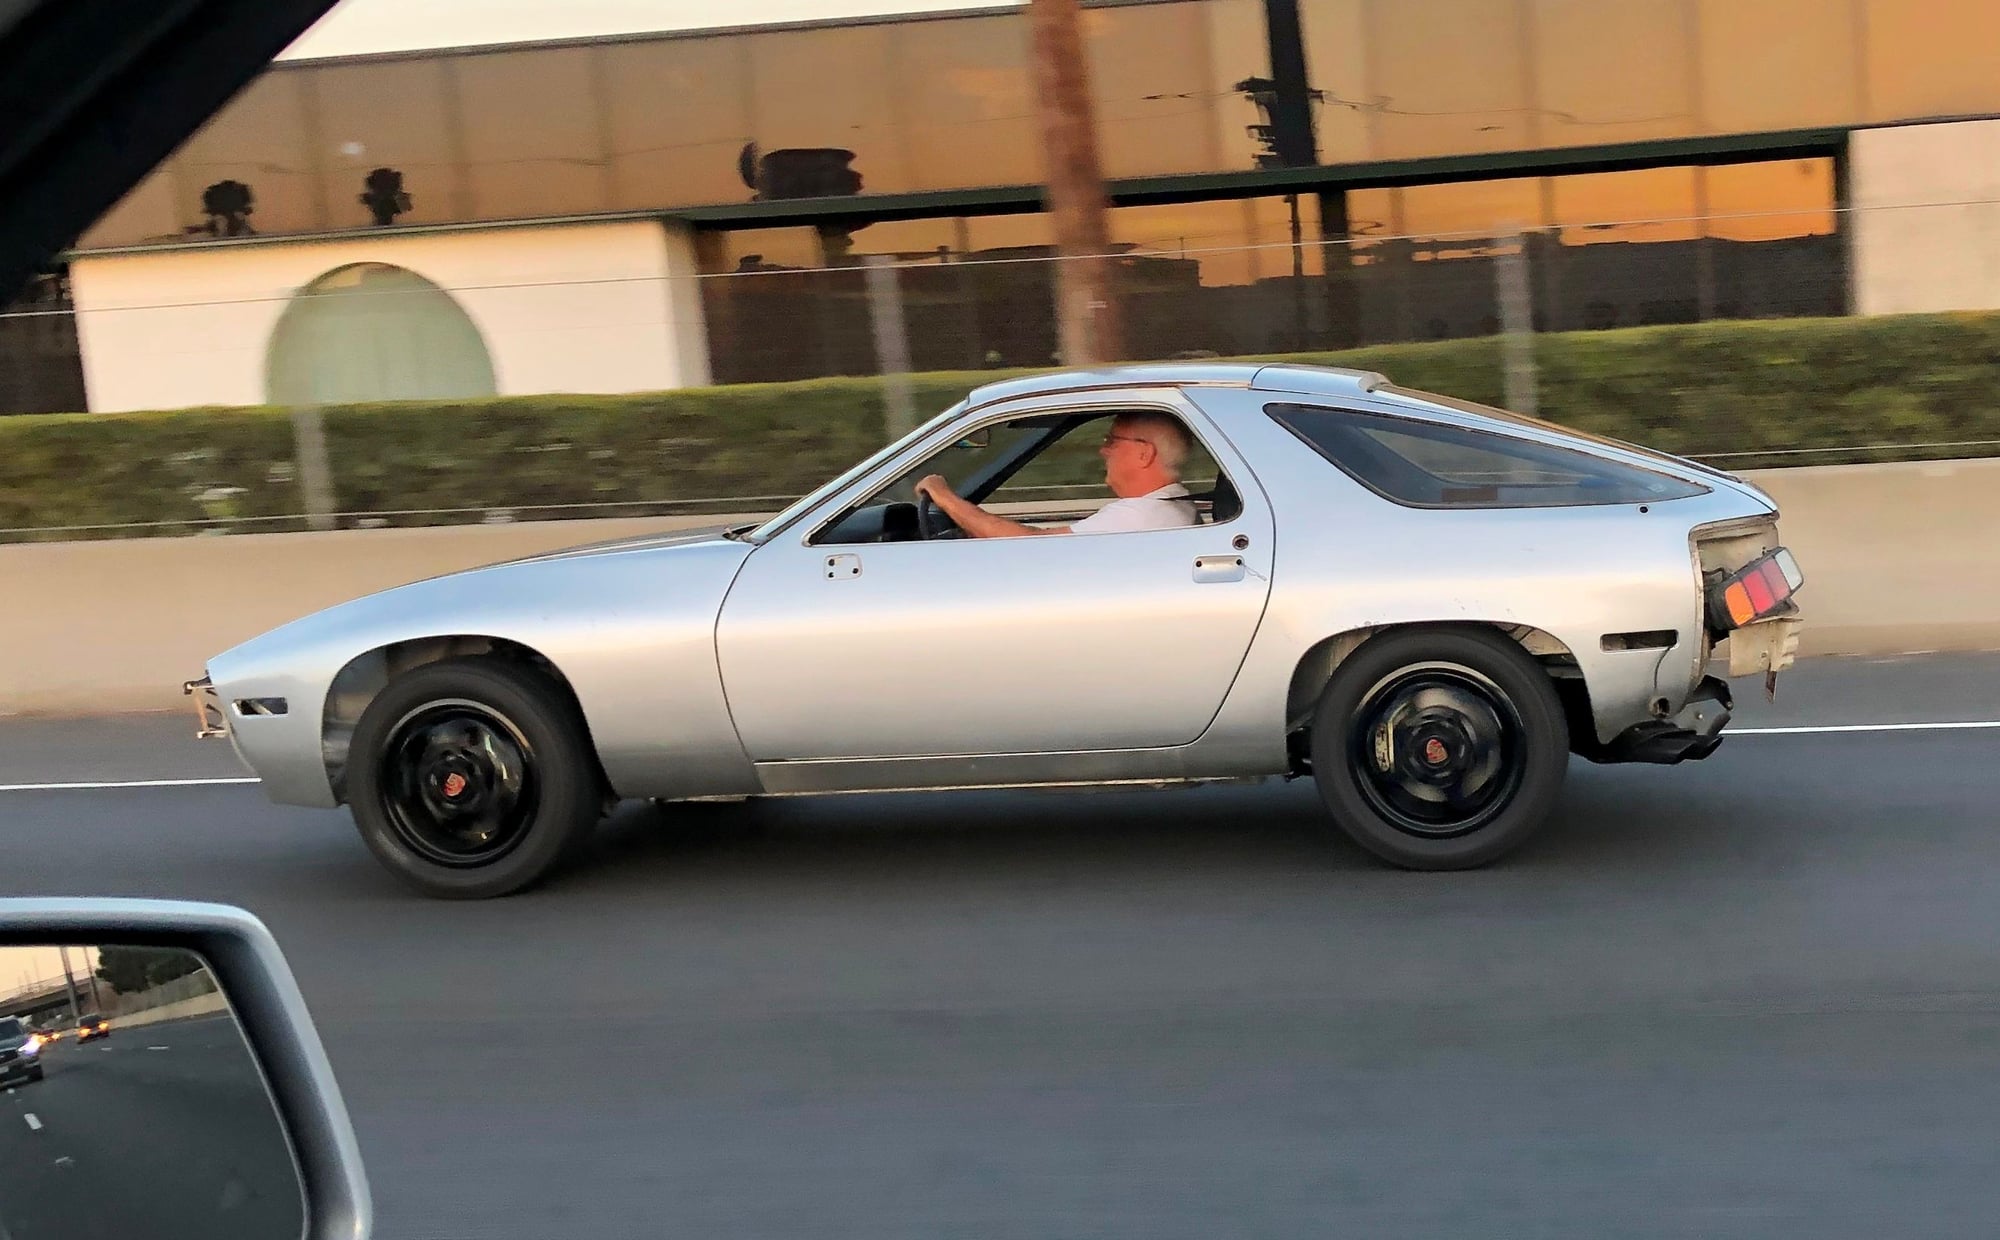
Lightweight 928 gets transferred to the undisclosed location
Big night. Got all the trim off the car earlier today. Reinstalled the alternator and some Ghetto door handles. 5 gallons of gas. Off the jackstands and up the freeway to the paint shop. With the bare minimum.....safety wired holding on rear tail lamps and 1 bolt dangling licence plate.
The only thing that looks any good in this photo is the door gaps. Rear quarter windows will remain in place. The gaskets have been cut away enough to spray the gutters of the quarter window.
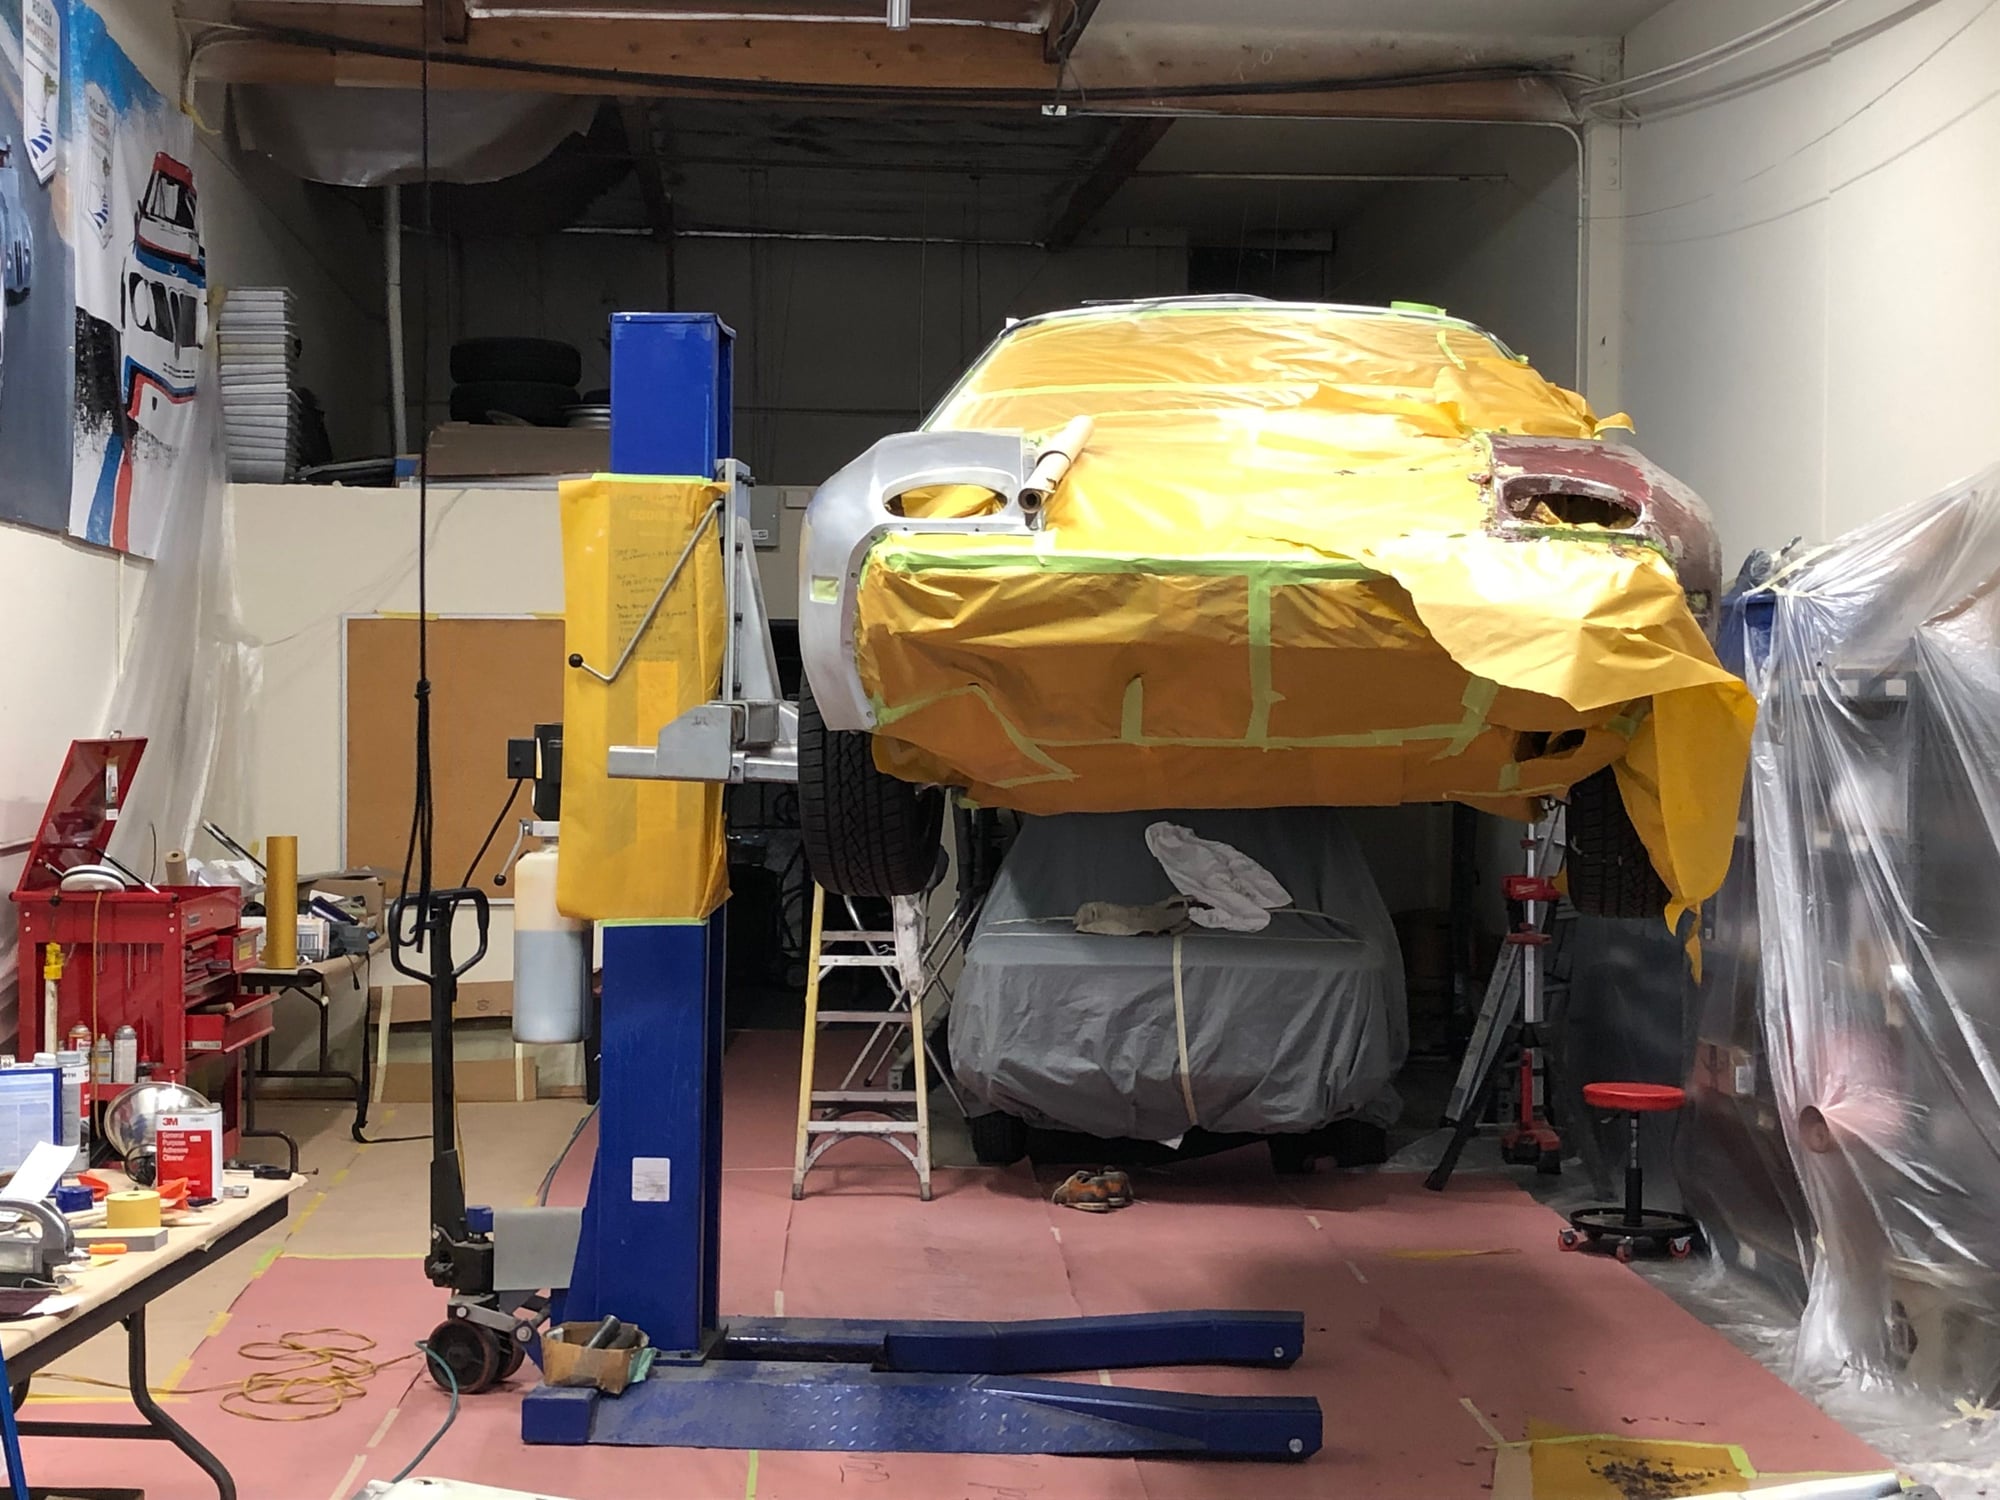
Safety tucked into the shop at the undisclosed location. Ready for a serious cleaning and then masking.
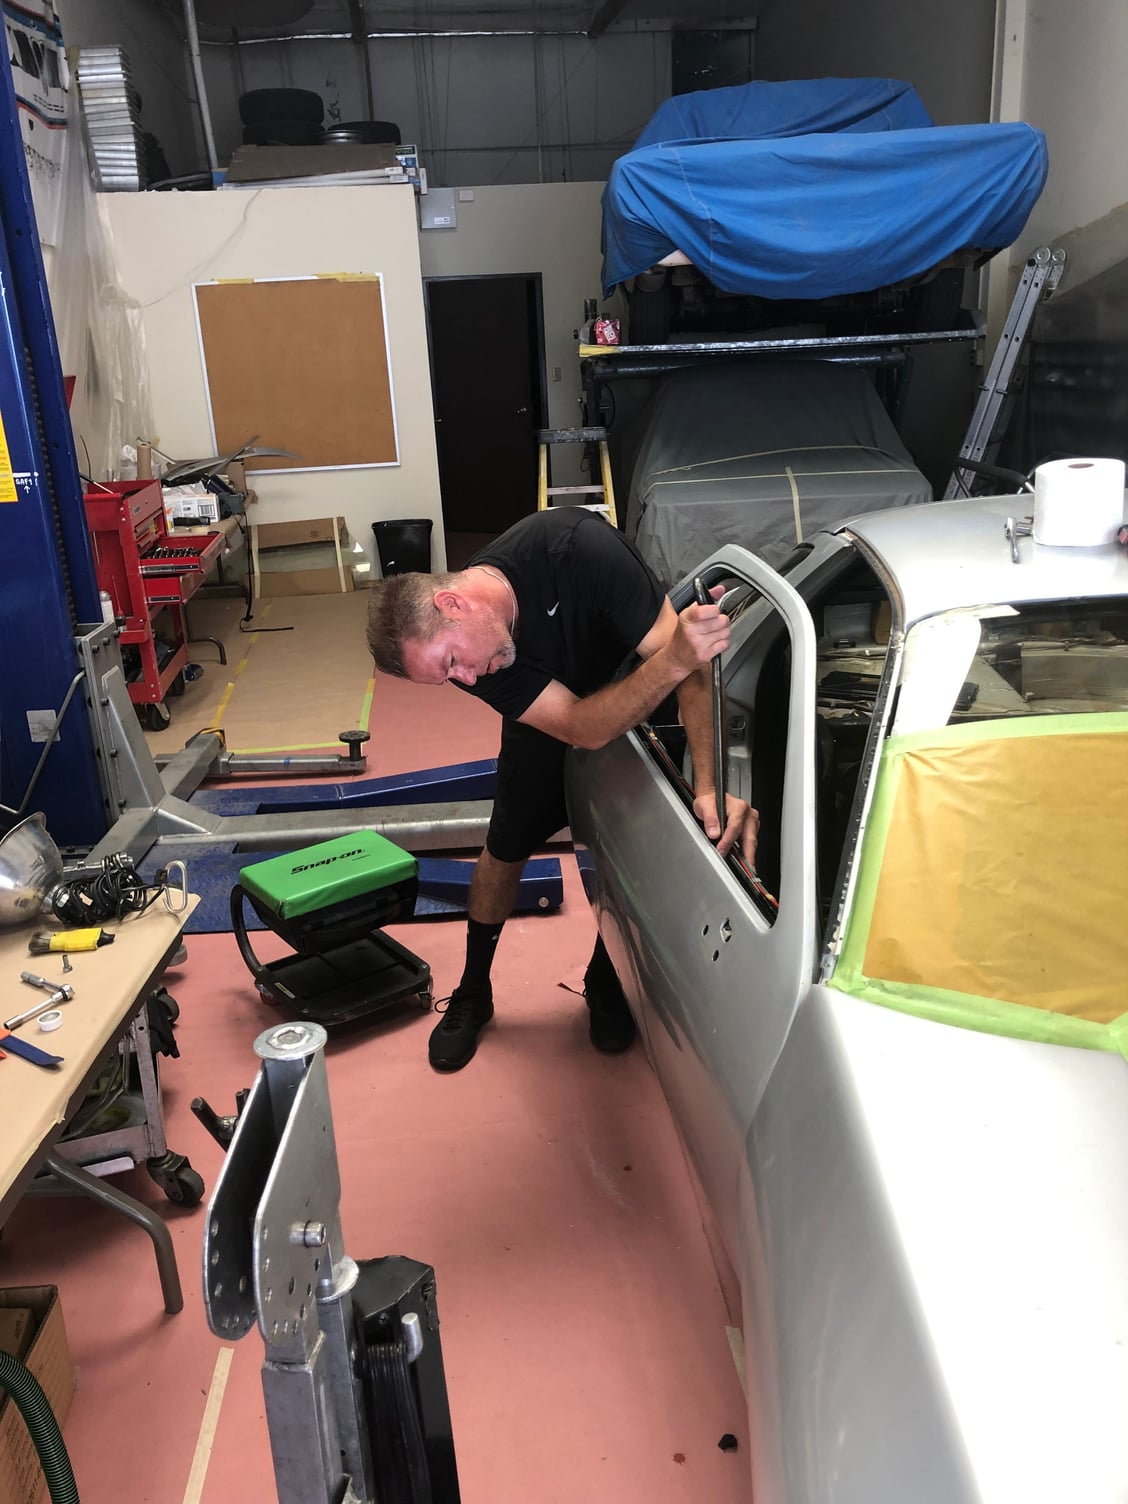
001117 had a few small dents and we really don't want to you any filler on the car.
With the passenger door gutted. Mike from Ultimate Dent Removal did an exemplary job of removing all the dents. There was nine small dings in the door.
Mike made quick work of removing the dent in the hood with single tool working from the inside of inner hood panel. The dent is 10 inches from his thumb.
Last edited by mit Wasser; 07-15-2019 at 12:51 AM.
Reason: adding photos
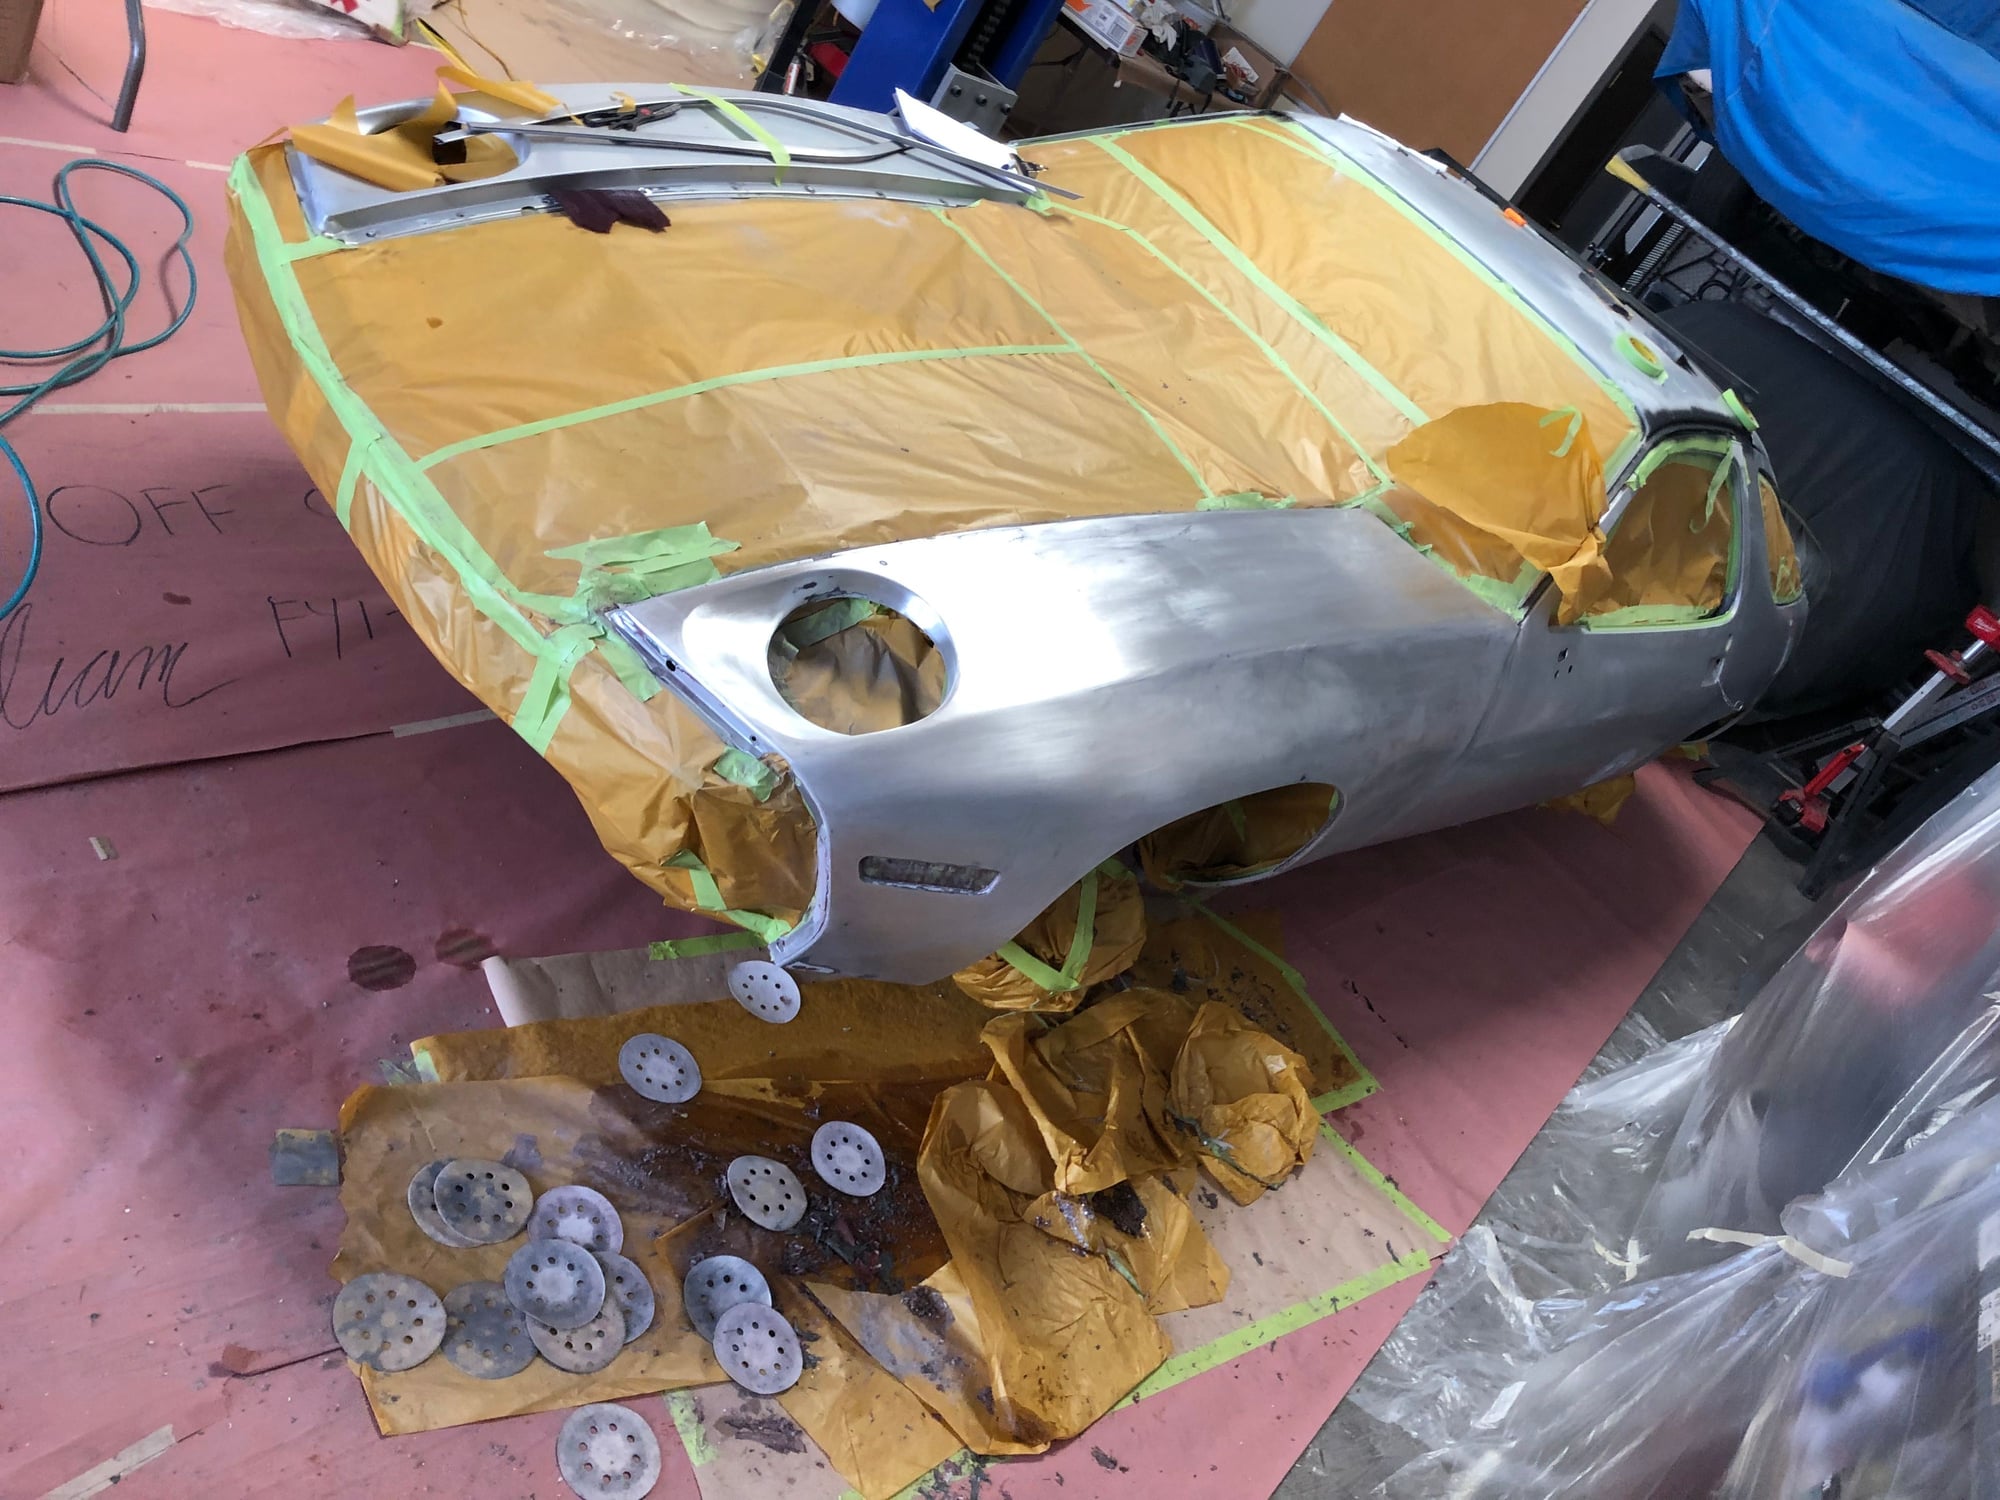
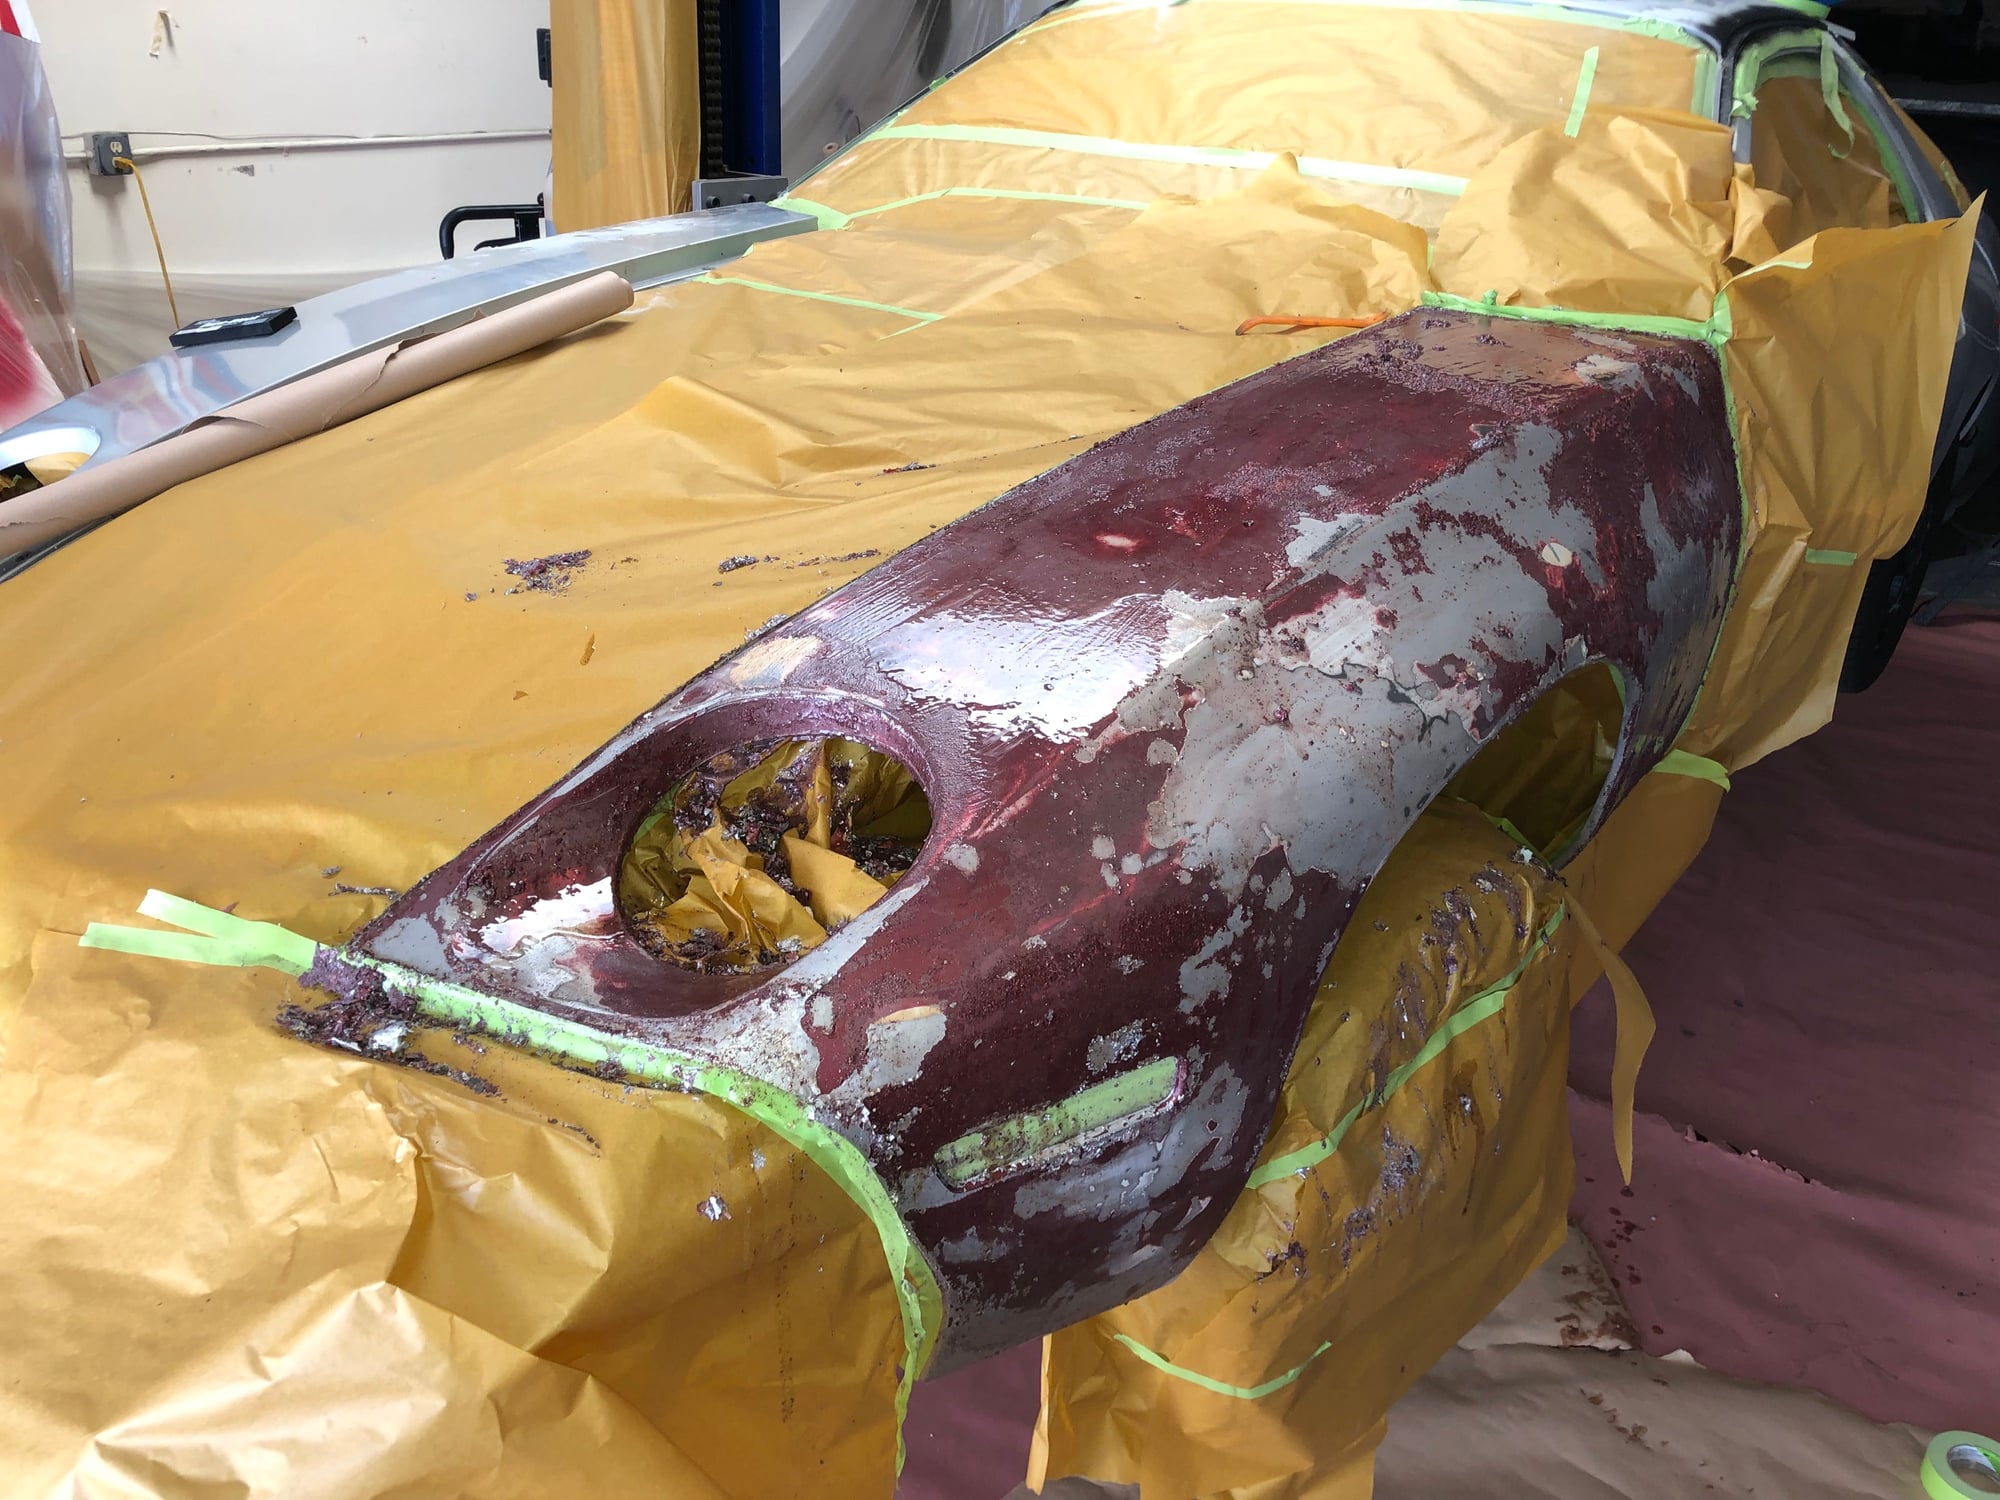
The left front fender was replaced by the PO in 2015. It was a used fender from 928 Intl. The PO's body shop put silver directly over the prior metallic red. What I did not know was how much red paint was on the fender. This panel has to go to zero and start over.
So we had to remove all the paint on this one panel. All of the remaining panels have only the original paint. So here goes....
This is with one quart of aircraft stripper. We will need a gallon to get all the red paint off. Here is a short video of how fast it works.....
Friends don't let friends inhale fumes and sanding dust.
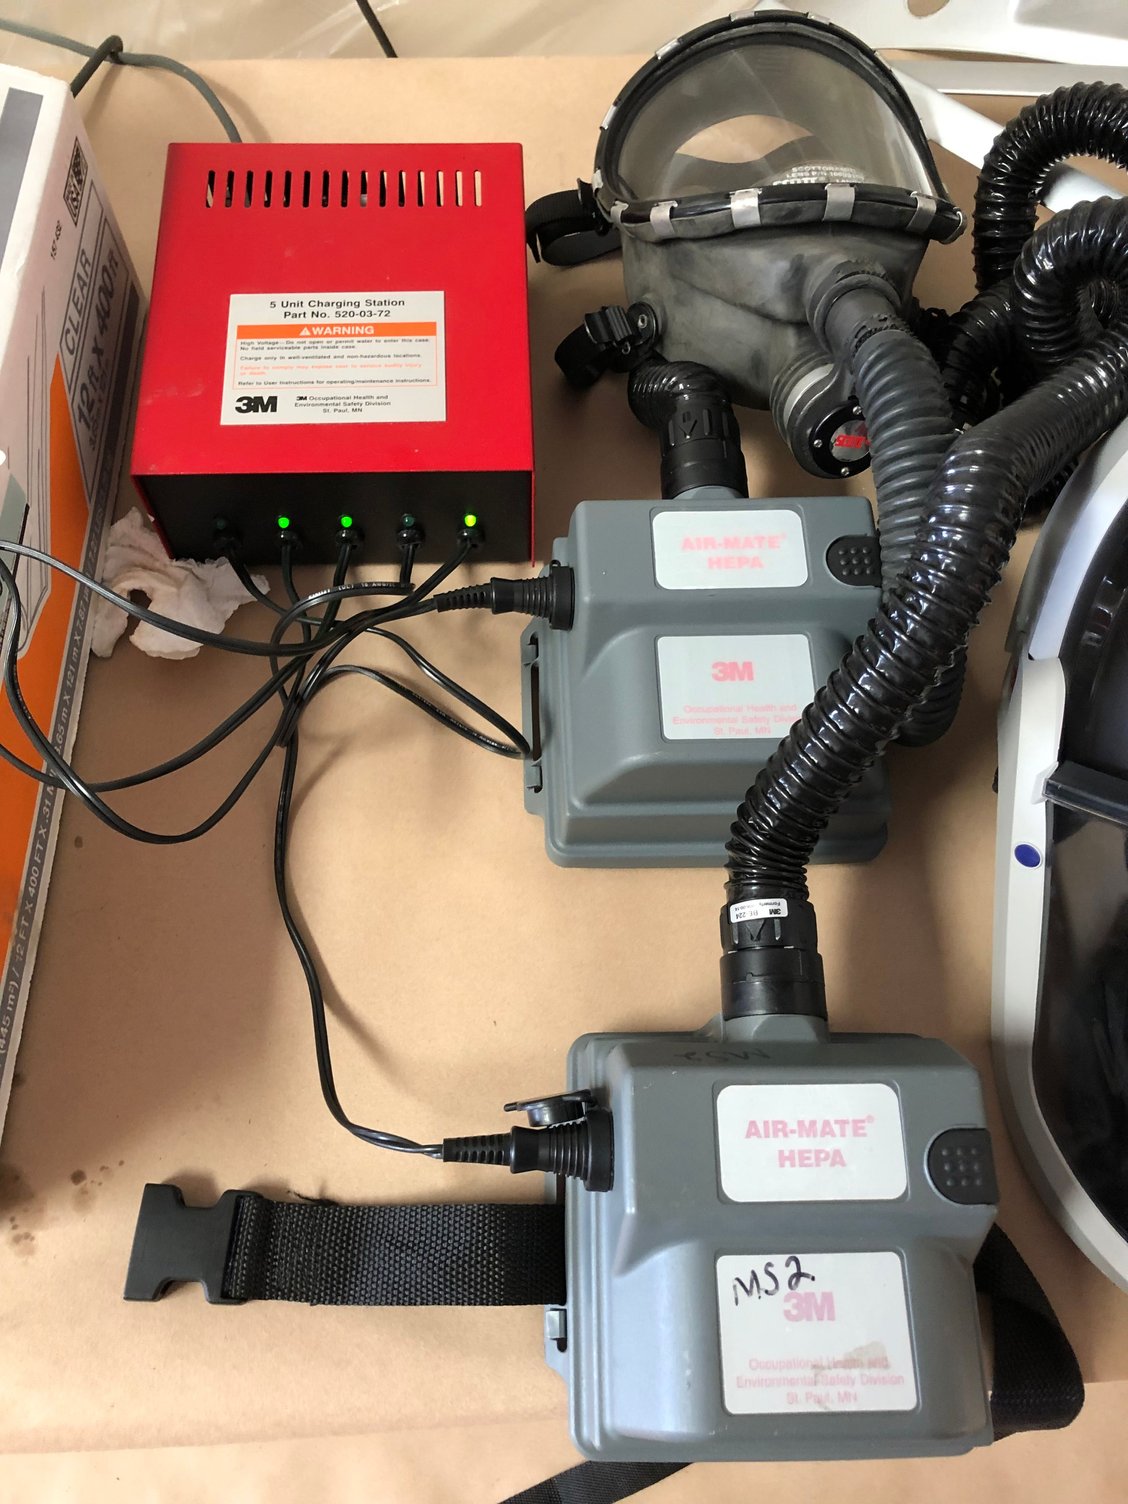
In your best Bill Murray CaddyShack voice.... what you are looking at here is the 3M Airmate and 3M Versiflow M-300 PAPR (Powered Air Purifying Respirator). This little babies are tested and certified to 99.99% HEPA efficiency, which means that they remove at least 99.99% of particles as small 0.3 microns in size. 8 hours on one charge. Second mask at bottom is smaller and lighter but his limited visibility. Both masks have an effective exhale diaphragm / valve. Hood on the right hinges down just like a welding mask. There is full boot inside the mask that stretches around your lower chin charger provides 8 hours of continuous filtration
We will be using this for primer, base coat and clear coating. Depending on how bad the block sanding goes, possibly for block sanding and guide coating.
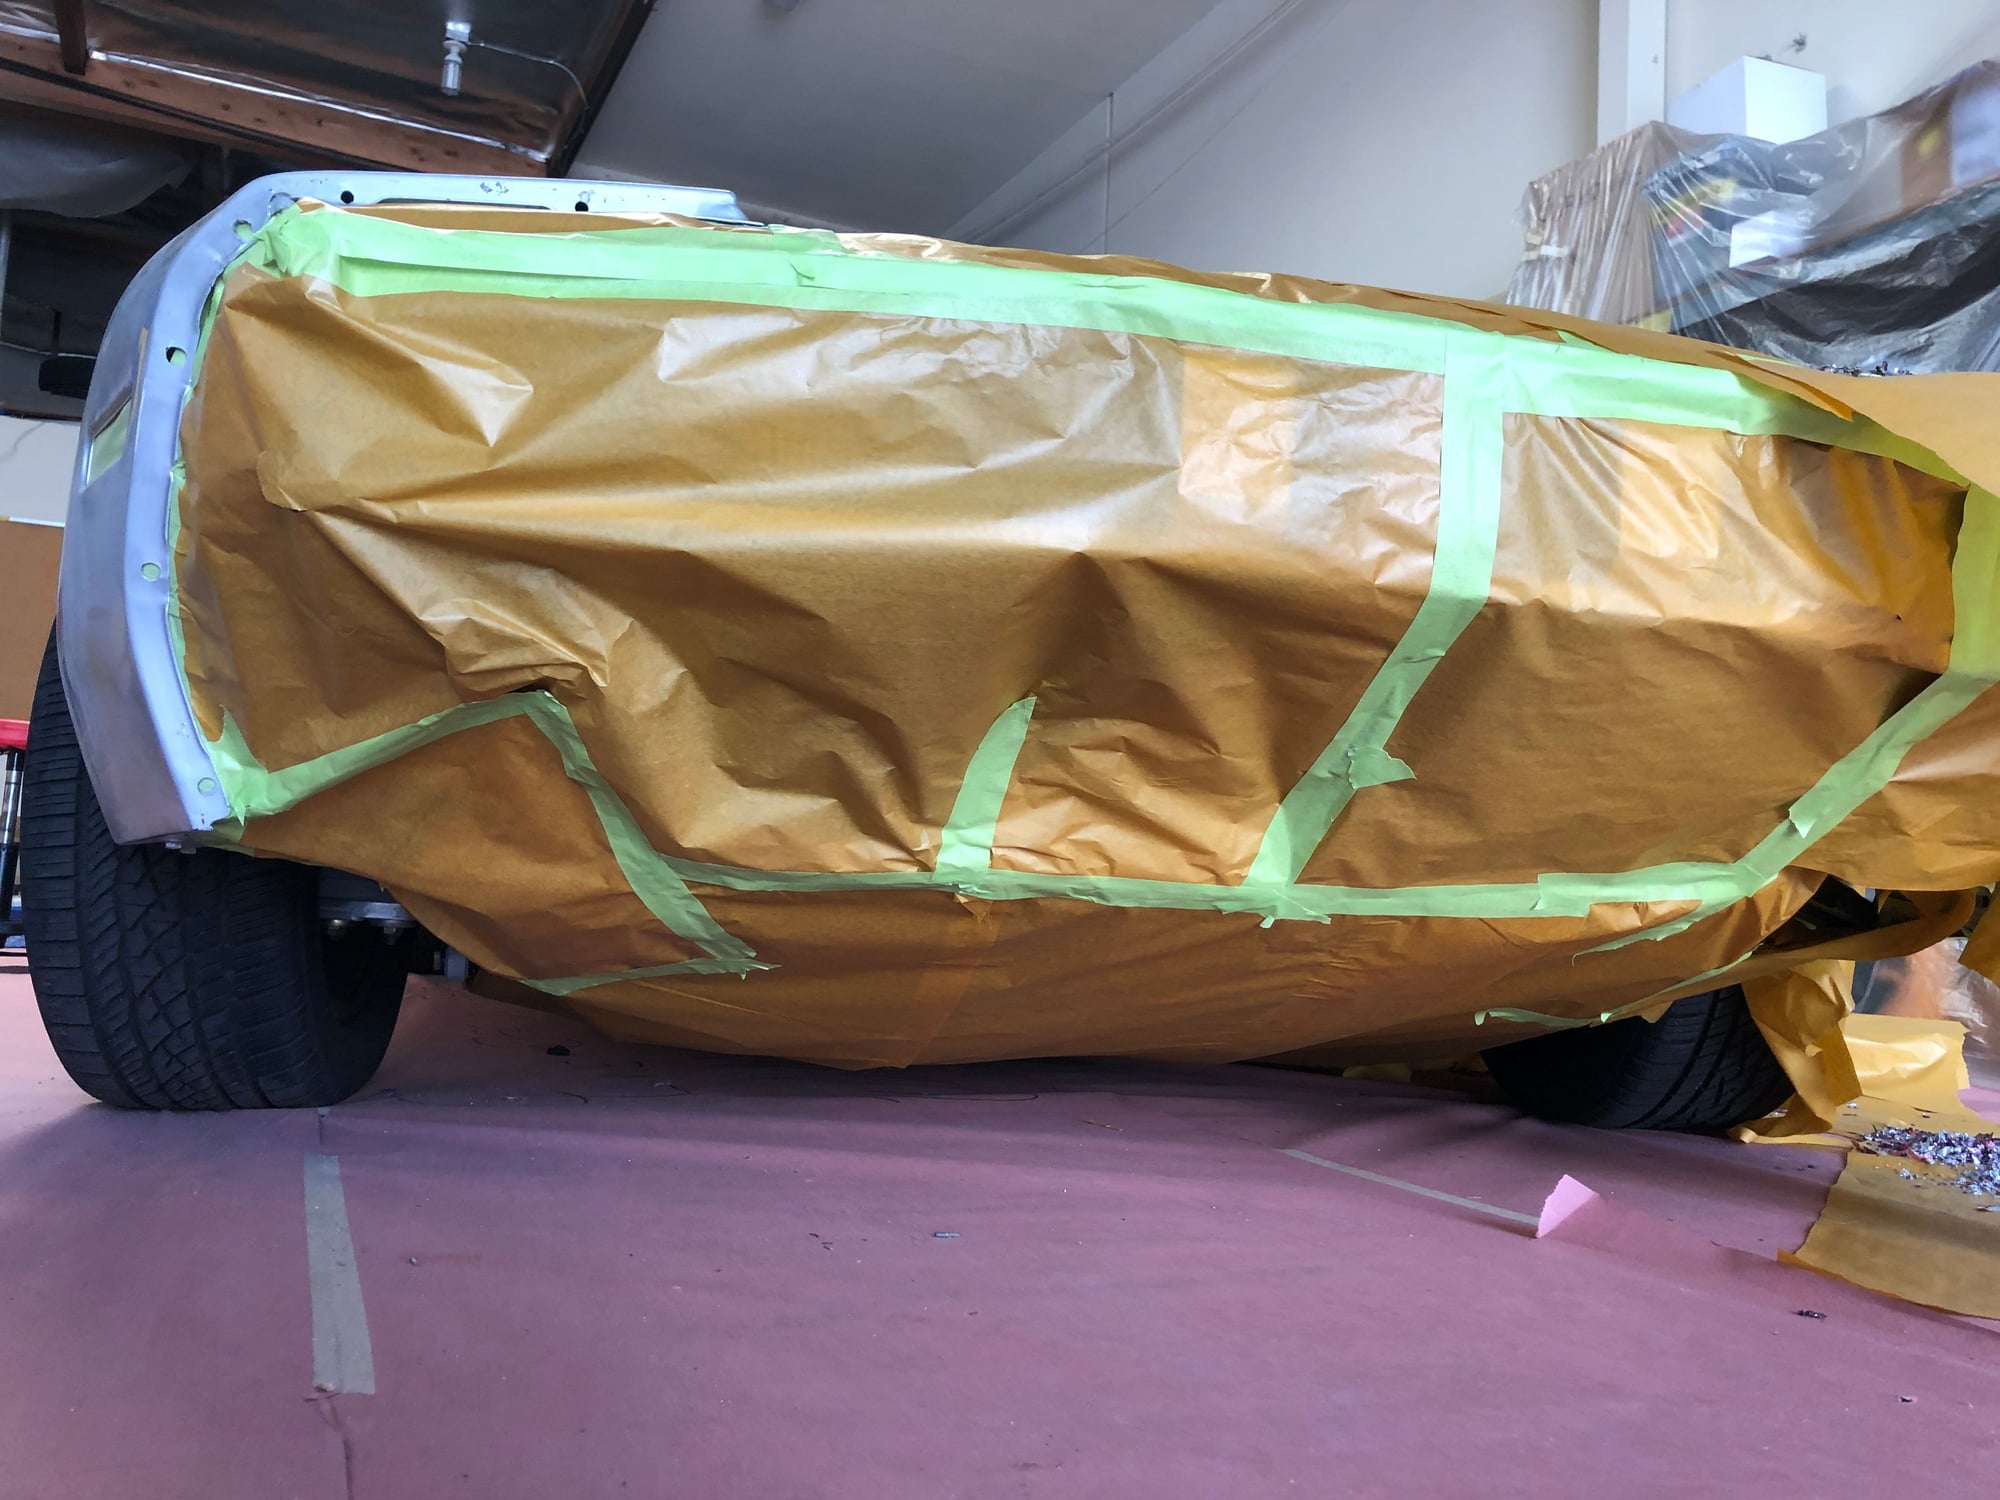
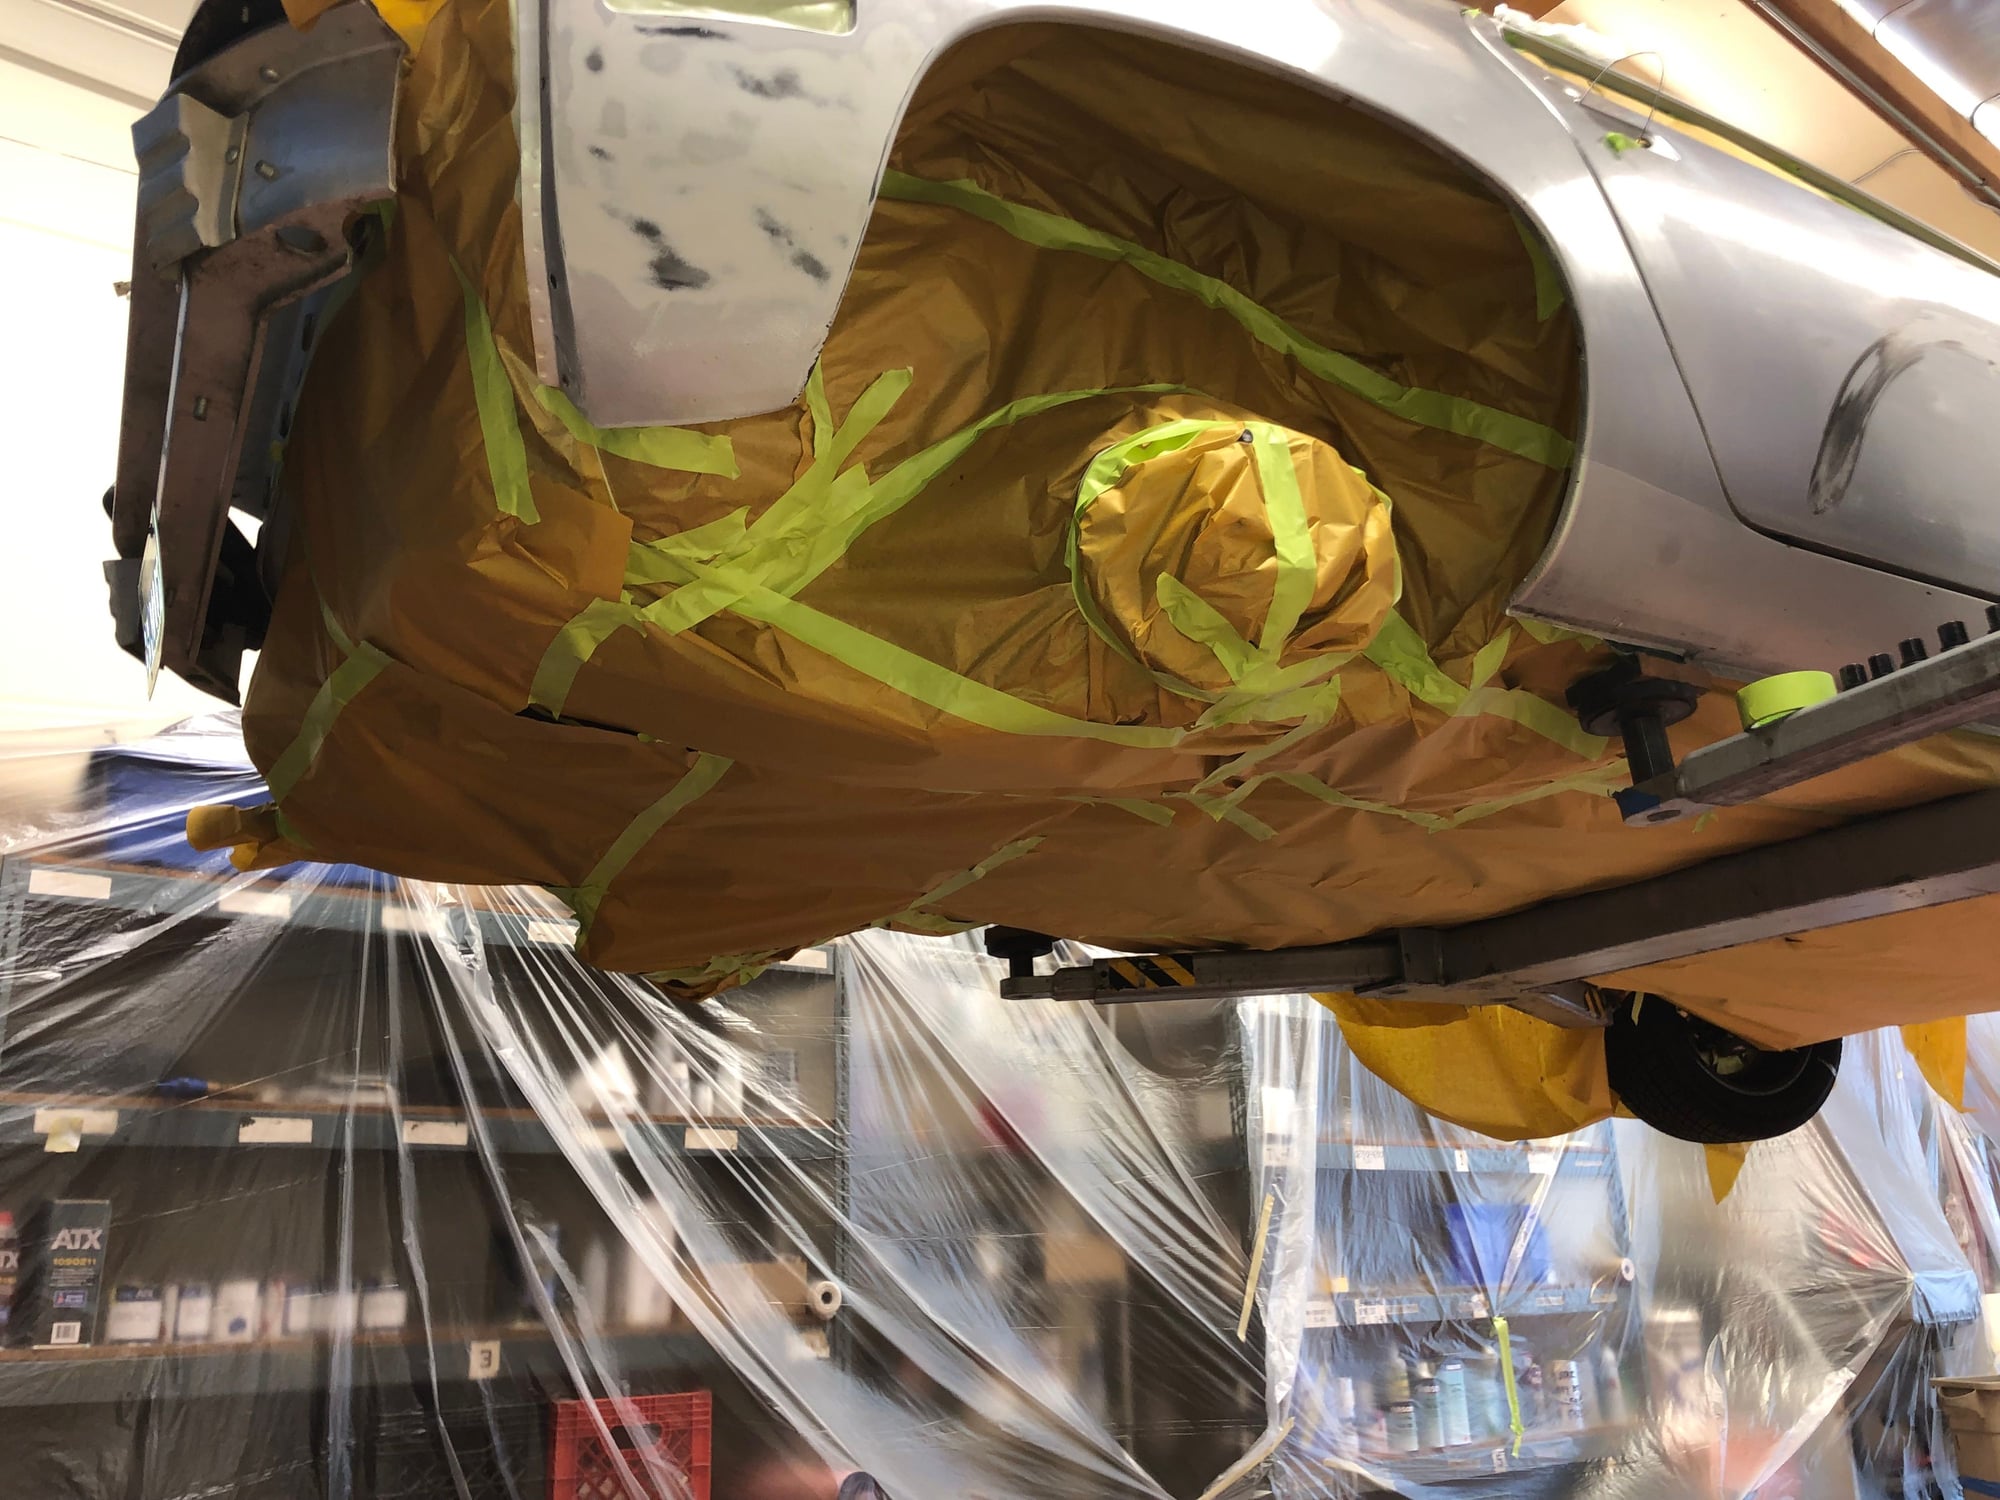
After the mechanical restoration effort in Phase II, we really want to protected the finished mechanical work. Masking is the price you pay when you restore backwards. We are at 19 hours of pure masking time. And we are still not done. The rear hatch area is the last item. It will be worth it.
The idea of 'better living through chemistry' does not apply to stripping chemicals. It took 1 gallon to get most of the paint of using aircraft stripper. We'd let is soak, another coat, soak, etc. The original red factory paint was substantially more difficult to remove than the top coat of Krylon **** silver that was bubbling in the earlier post.
This is one of what I am guessing of what will be many life lessons in the journey to painted-It-myself. Going forward I would do this all mechanically: use and airfile, a DA and hand (block) sanding. This offers better control, much less messy and a better upper body workout. Now in raw Aluminum. Ready to start bodywork and primer prep. Final was using a DA, hand block with 220 grit. This is the original surface. OEM Metallic red covered with silver in 2016. It was horrible prep and had to come off. The silver came off in 10 minutes. The discovery was that the owner of the red fender had it repainted in red 3 times over the original surface. At this point you are deeply committed. It all had to come off.


 07-06-2019, 04:48 PM