When you click on links to various merchants on this site and make a purchase, this can result in this site earning a commission. Affiliate programs and affiliations include, but are not limited to, the eBay Partner Network.
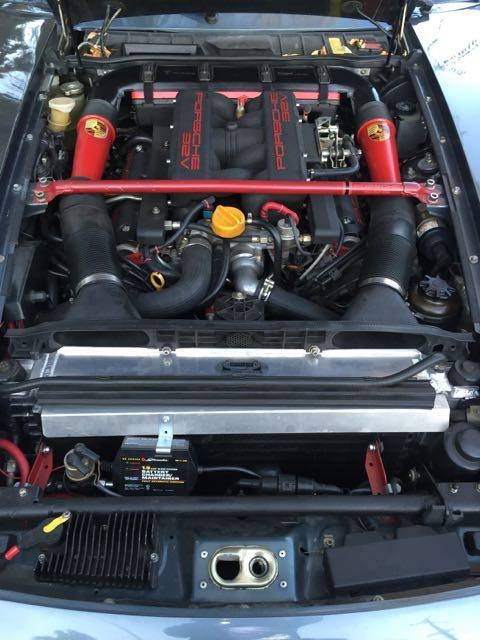
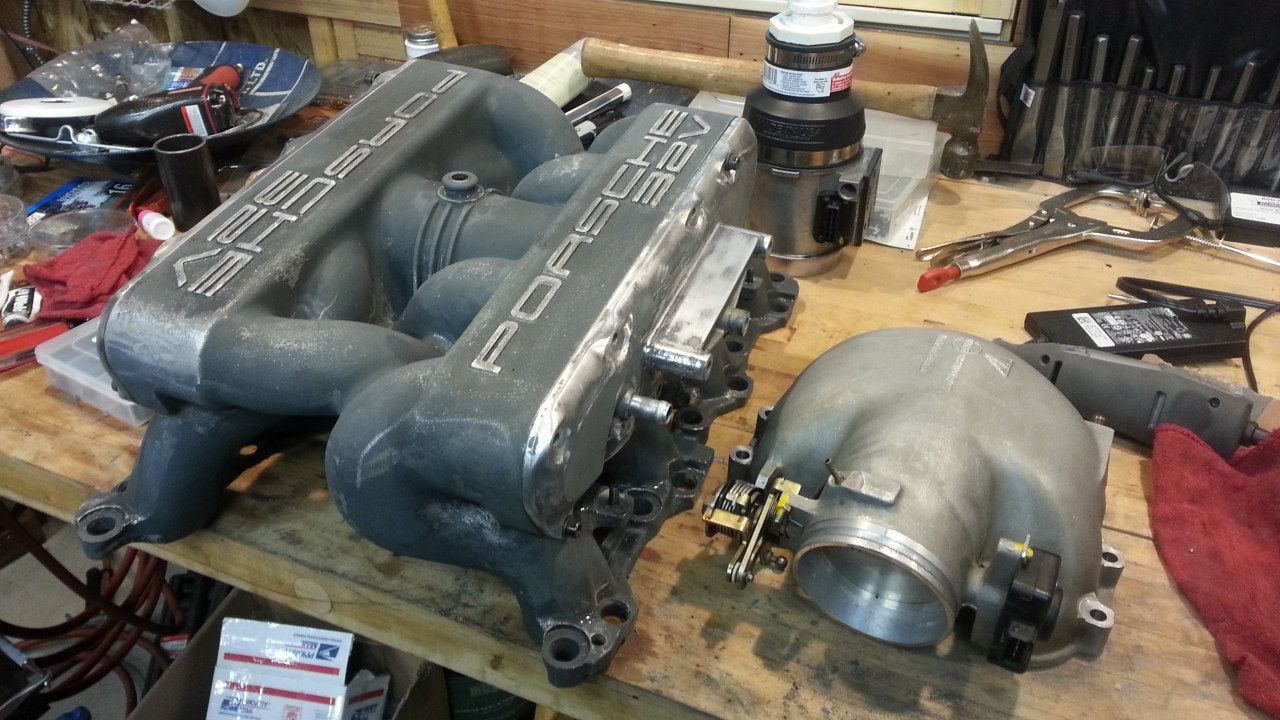
I know there are a ton of intake threads out there, but for armatures like me it’s nice to have a work in progress thread to ask questions along the way, the forum has been so helpful in getting through many tough projects from last years’ motor mount projects to last months clutch issues and everything in between. Your patience is always appreciated. I am in the middle of an un planned intake refresh. I had only intended to replace the oil filler neck seal via the water bridge but I wasn’t able to get that a good angle on that last water-bridge bolt because the intake was in the way. I should note, my intake was done in 2010 about 12k miles ago. The car runs and drives excellent and no known vacuum leaks, idle is dead solid within speak and the flappy is working properly. However the black crinkle coat on the intake is coming off fairly quickly. Here is a photo when I purchased the car 3 years ago and here is a photo as I started the project. As you can see the paint has not held up well at all since the car is being driven more frequently. This is paint failure is the main reason why decided not futz with removing the water bridge without the intake.
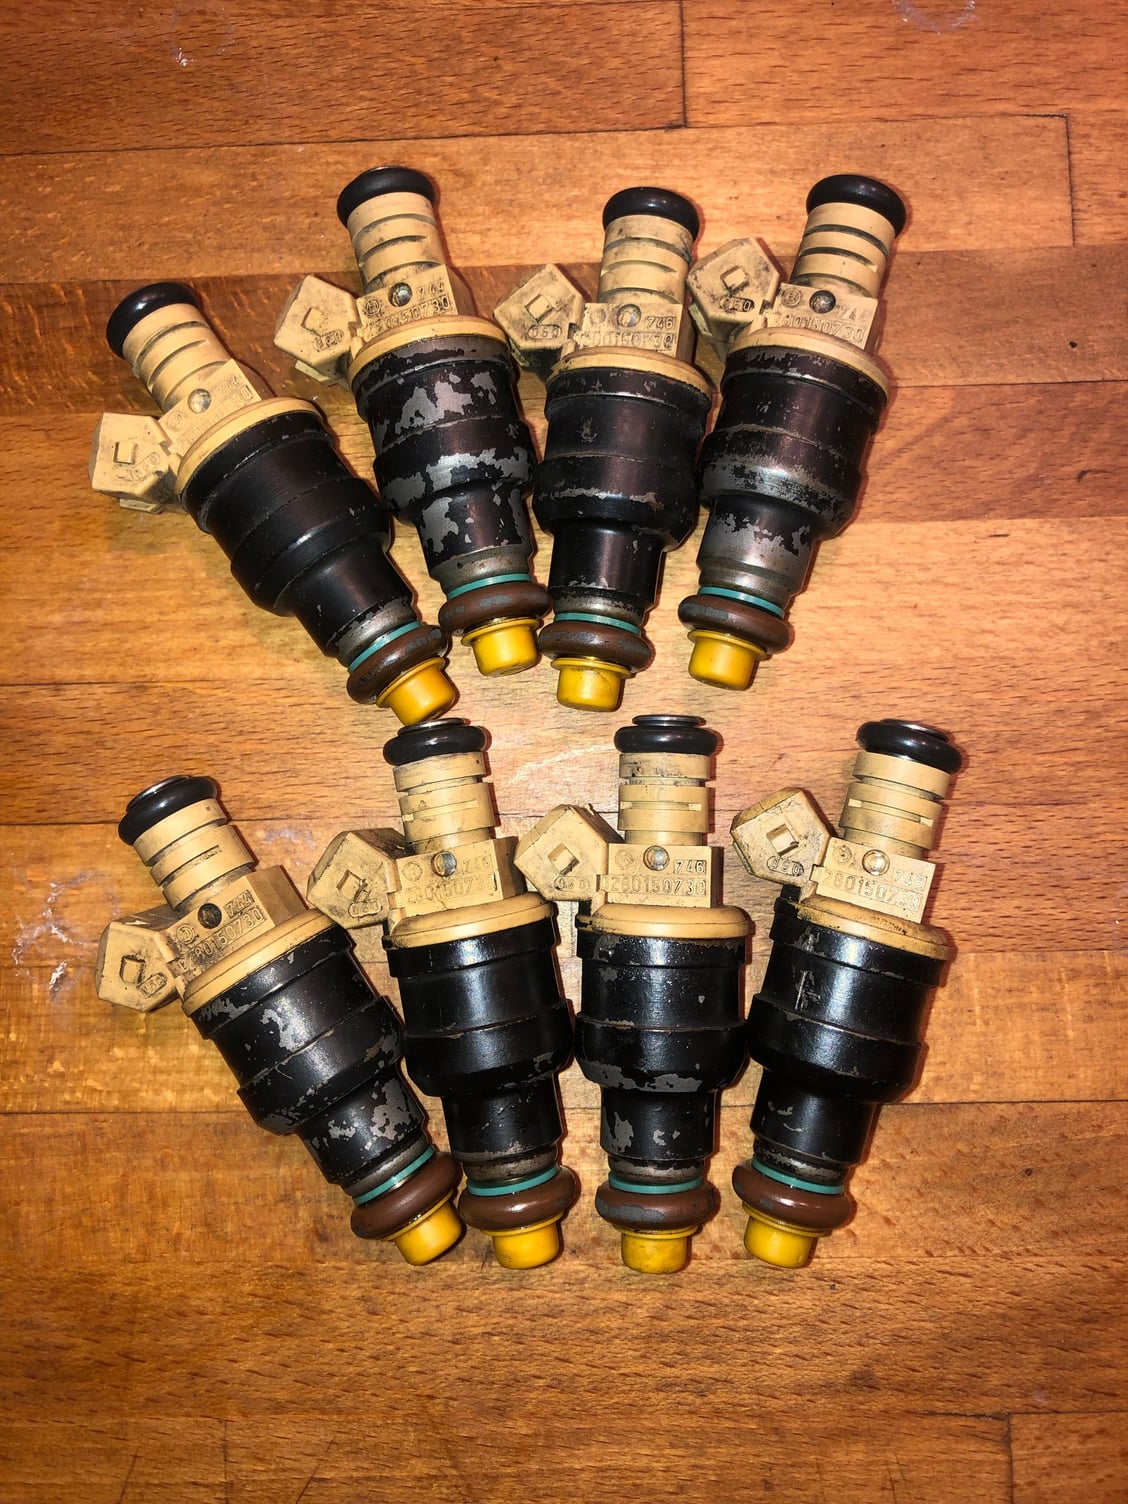
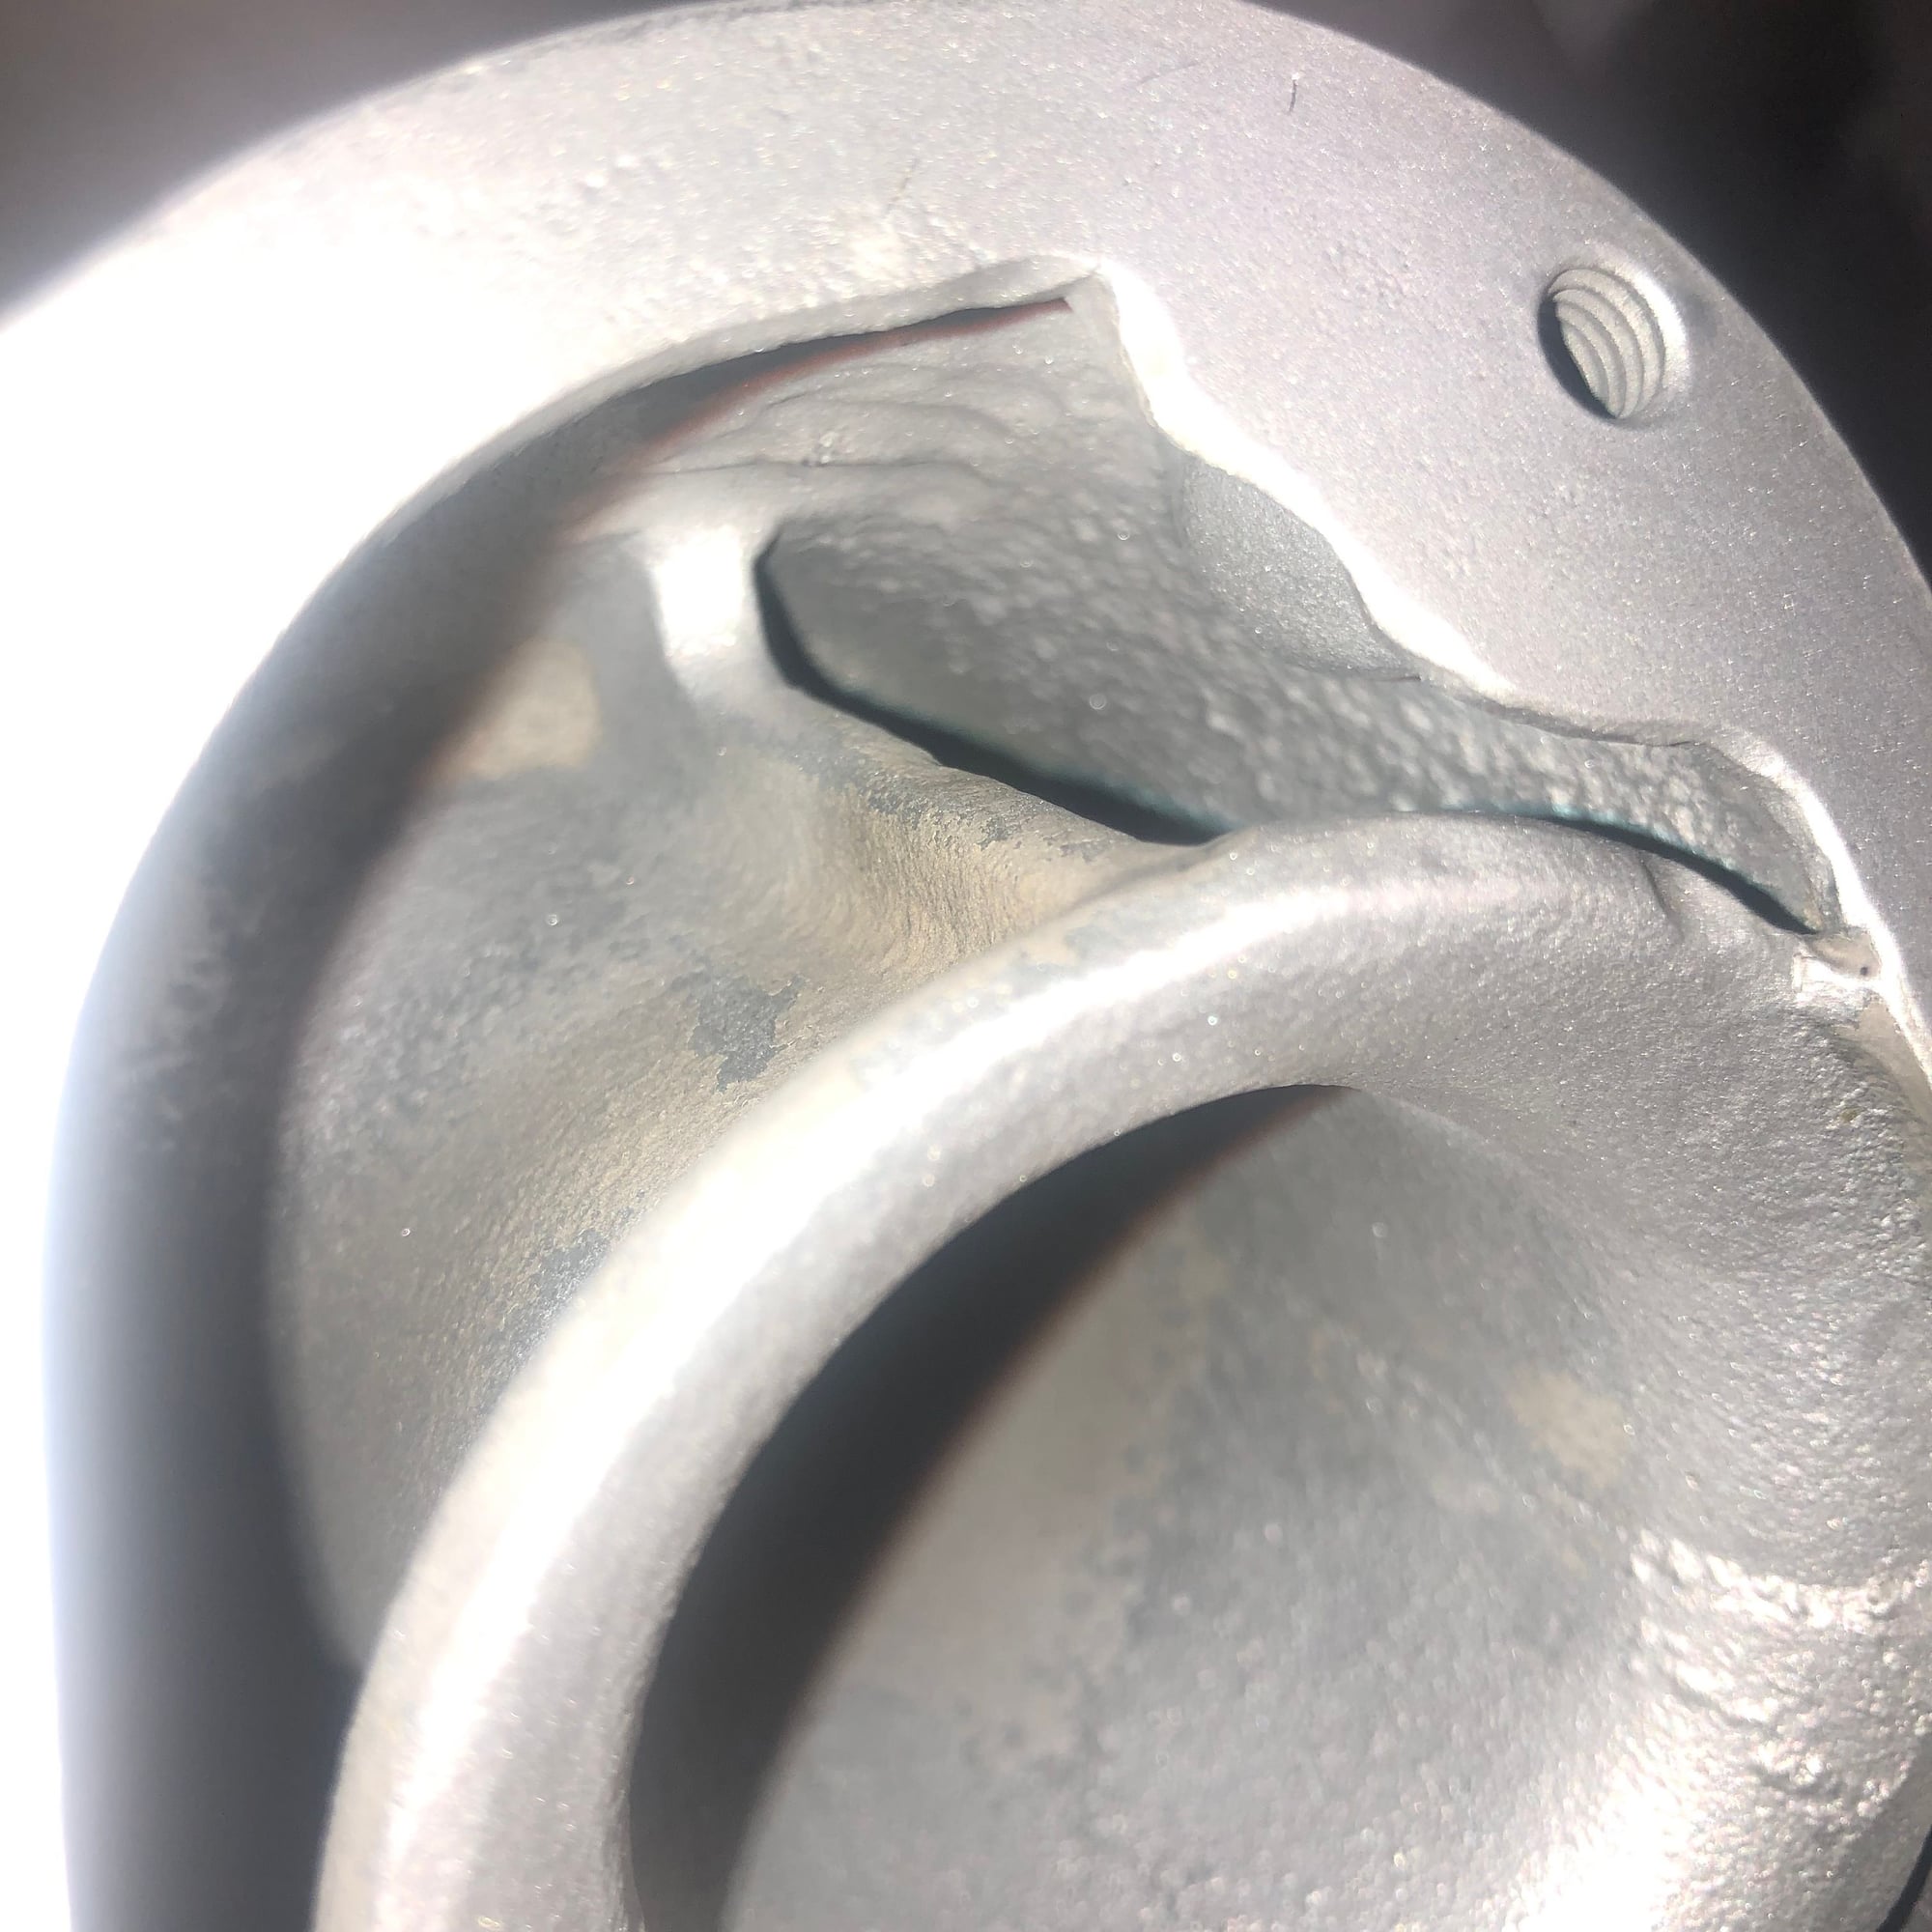
So let me catch you up to speed. I have the coolant drained, with some additional drama (Need help with mangled drain plug). I have the manifold removed and mostly disassembled ready to take to have it soda blasted. The injectors (PN 0 280 150 730) look to be the original units. I dropped them off at local injector service place to have them ultrasonic cleaned and flow tested. I’ll replace the O-rings, do I use the OEM or do I go with the Viton O rings that I have seen mentioned in other posts?
Cleaning
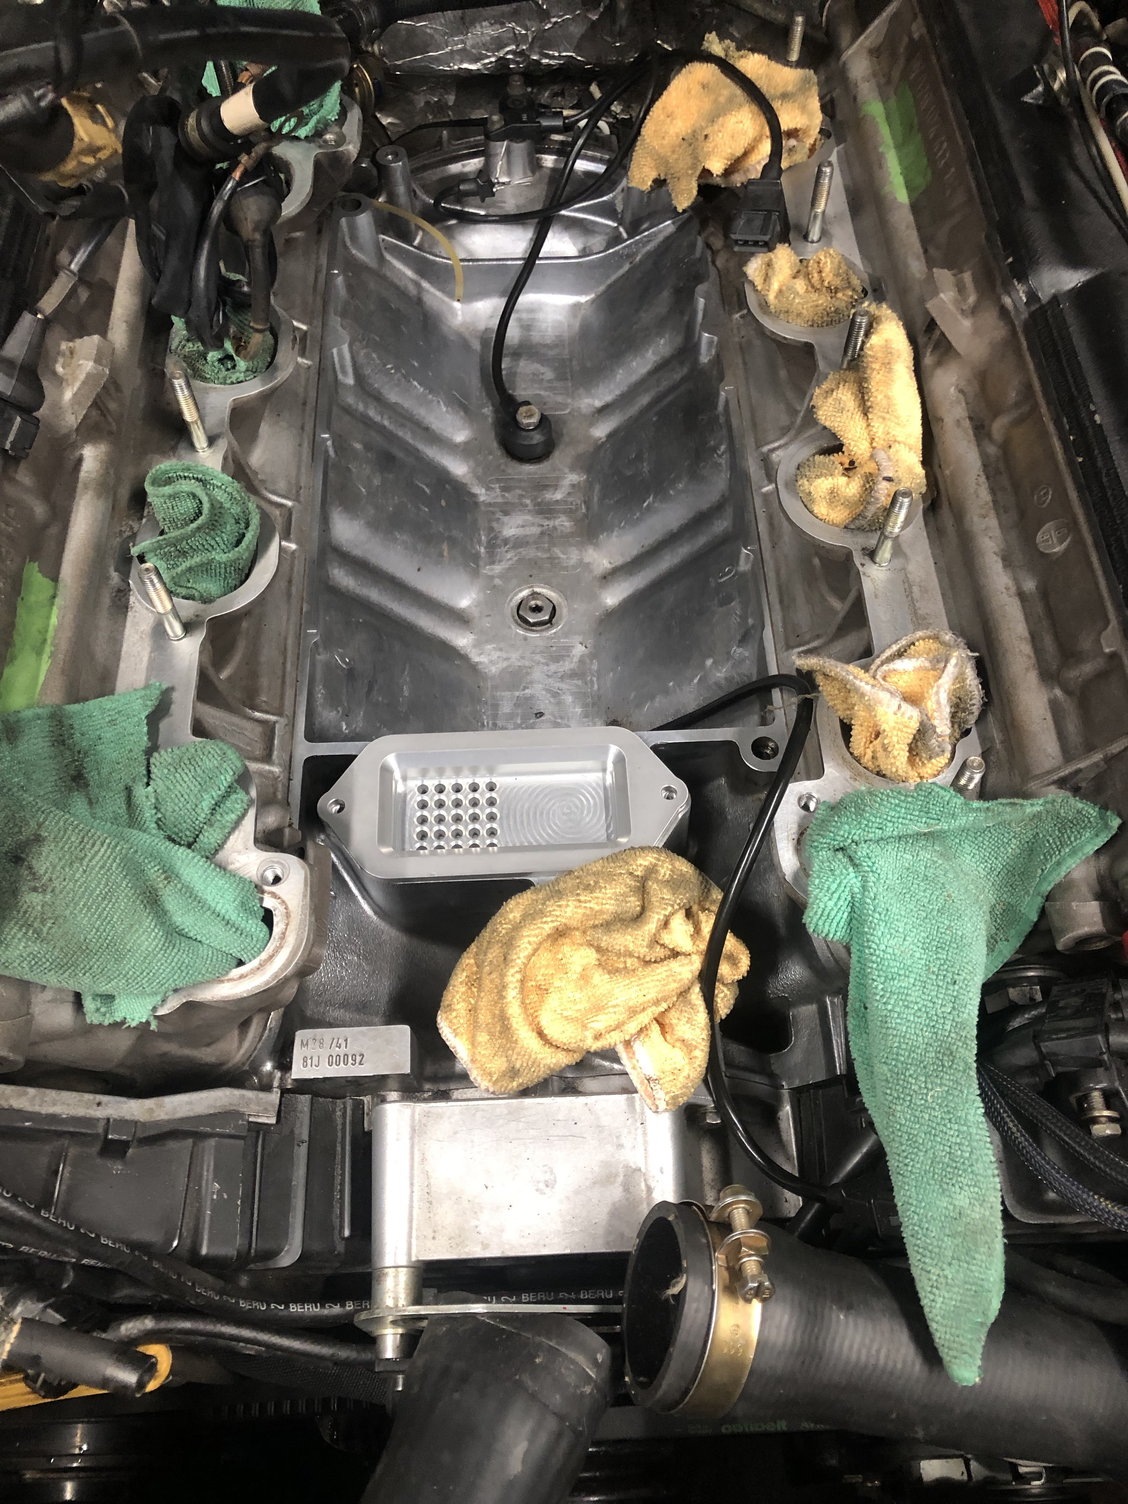
Today, I spent the better part of the day cleaning the valley and assessing the condition of the parts to determine which parts will need to be replaced. In the photo below you will also notice the nice oil baffle provided by Hans. You can read more about it here. I am curious how much cleaning I should do inside the intake ports in the head. There is a lot of oil crud on the runners. I’d appreciate any tips on that. Should I turn the engine such that the valves are closed and then clean and blow out the crud or just leave it as is?
Knock Sensors
The Knock sensors look to be in excellent condition. The connectors and leads seem to look new. Do you think I should replace them? If so, is there a recommended unit? I see the OEM version and a generic German alternative at half the price?
Crank Position Sensor and Top Dead Center Sensor
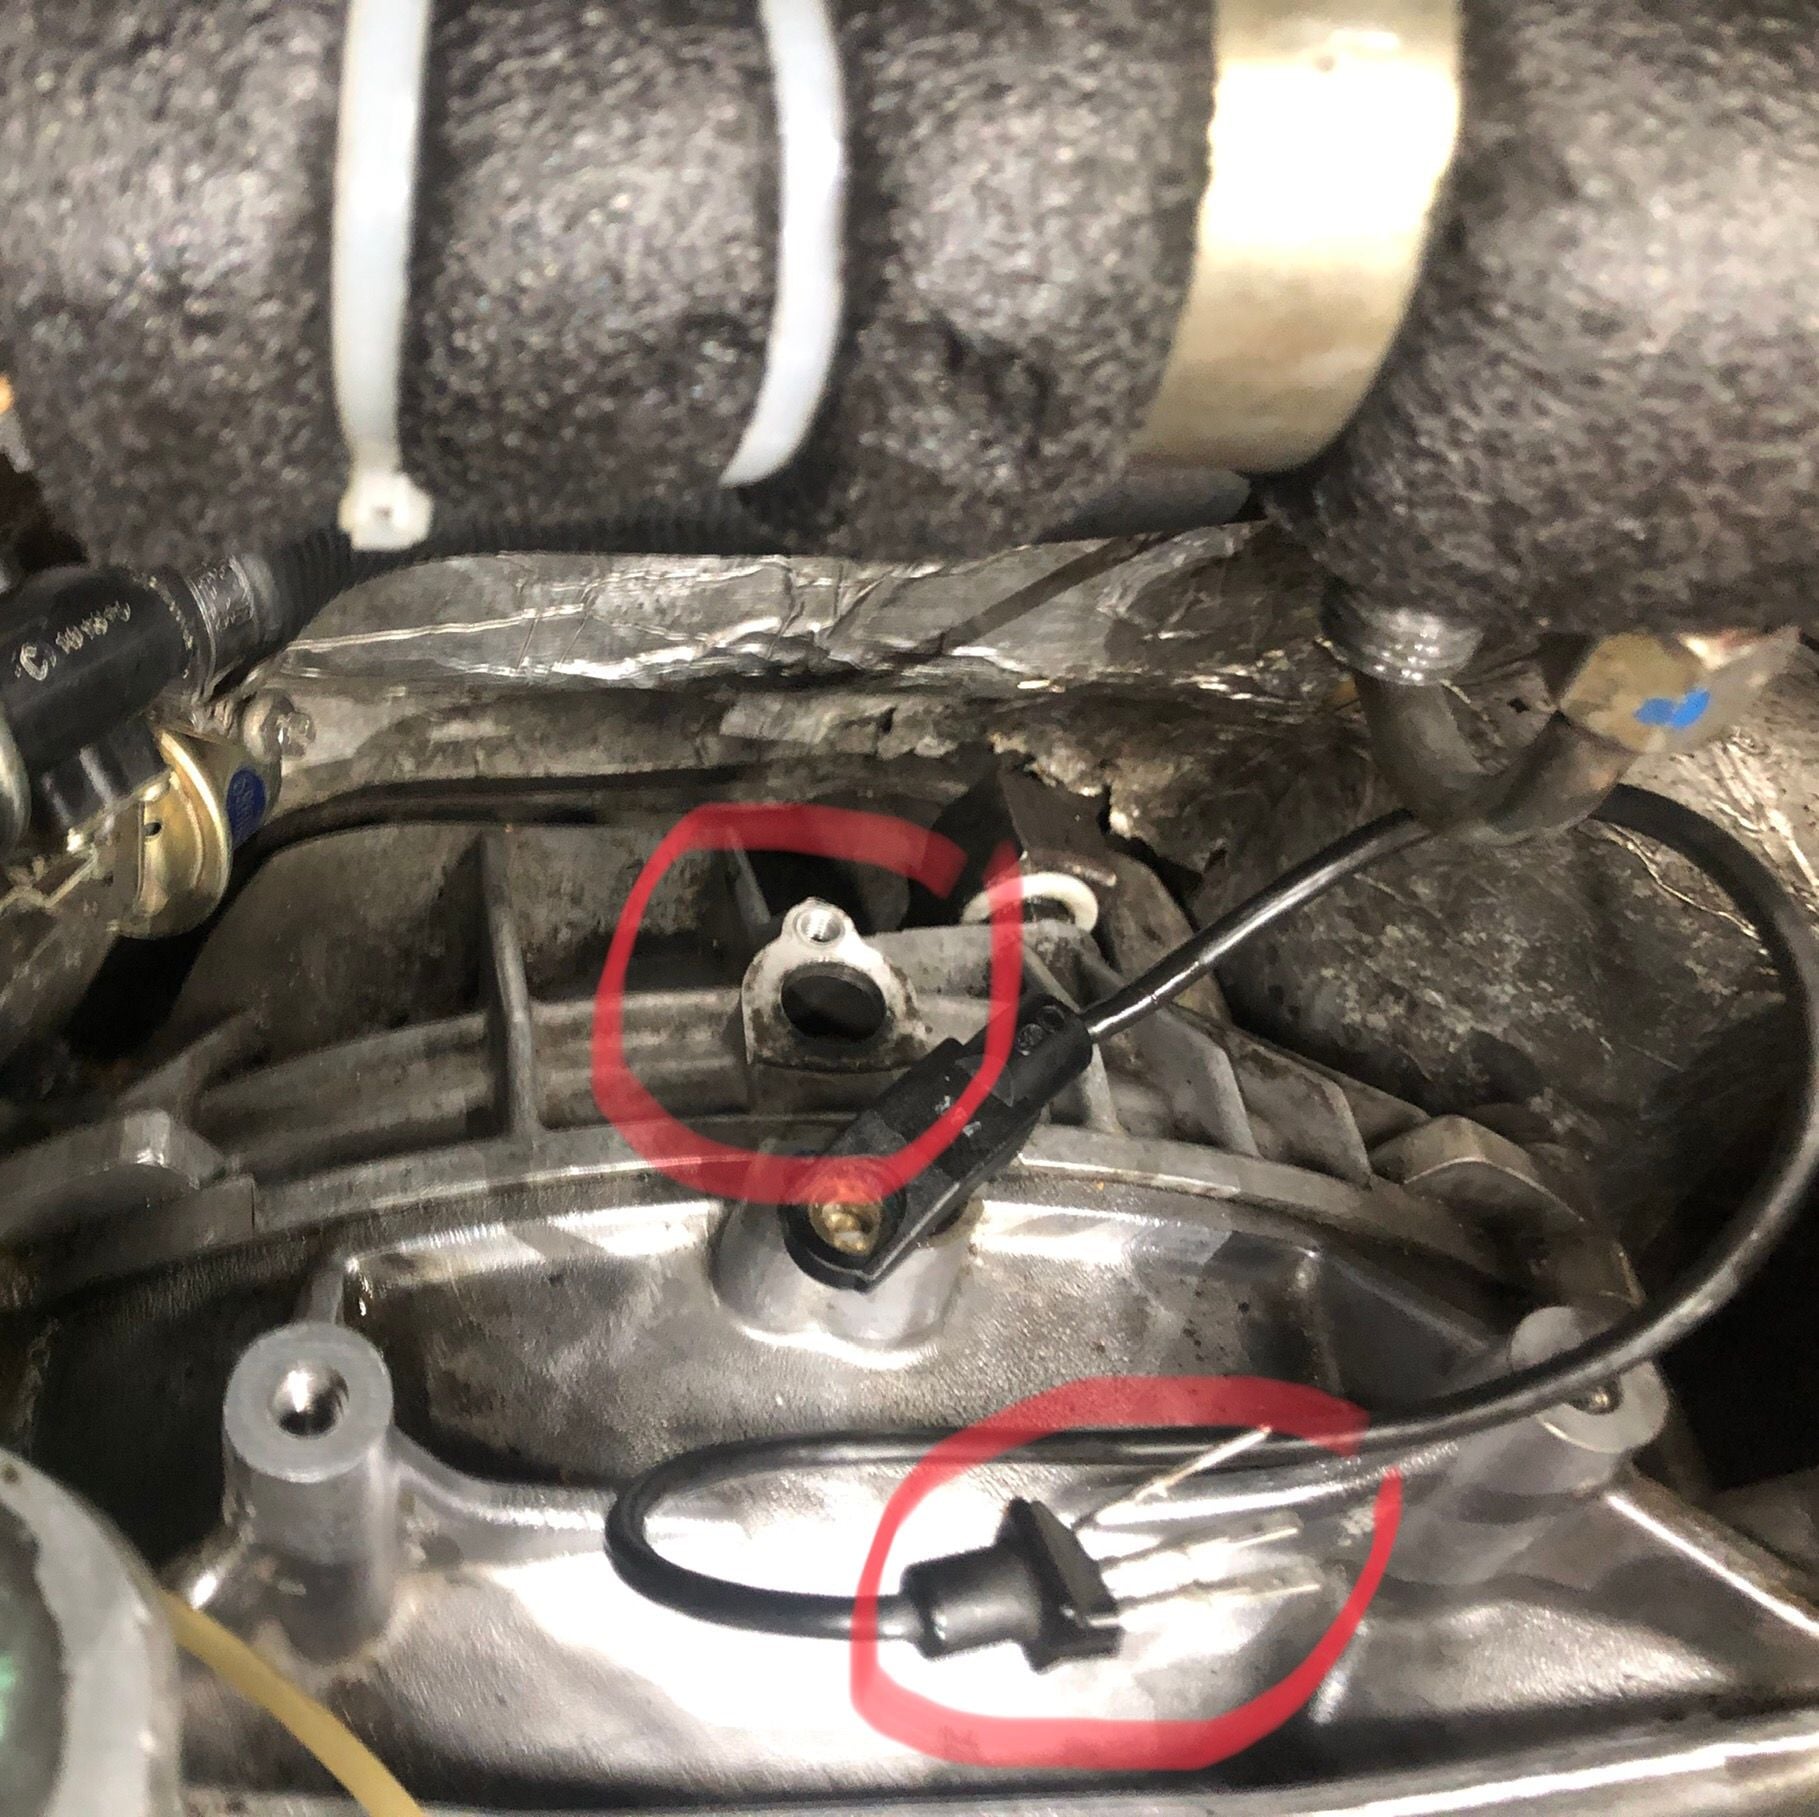
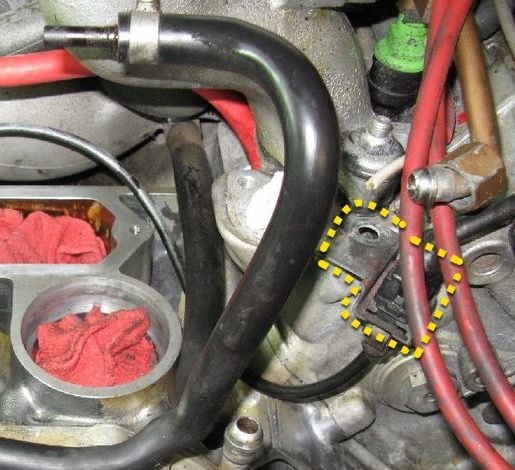
The CPS connector disintegrated when I unplugged it. Fortunately I was able to remove it without it breaking at the head. The lead to the TDC Sensor was cut by the PO. My understanding is that this merely a test sensor and is no longer used. Does someone make a blocking plate for the sensor hole pictured below? Also you can see my CPS sensor disintegrated connector. Hoses
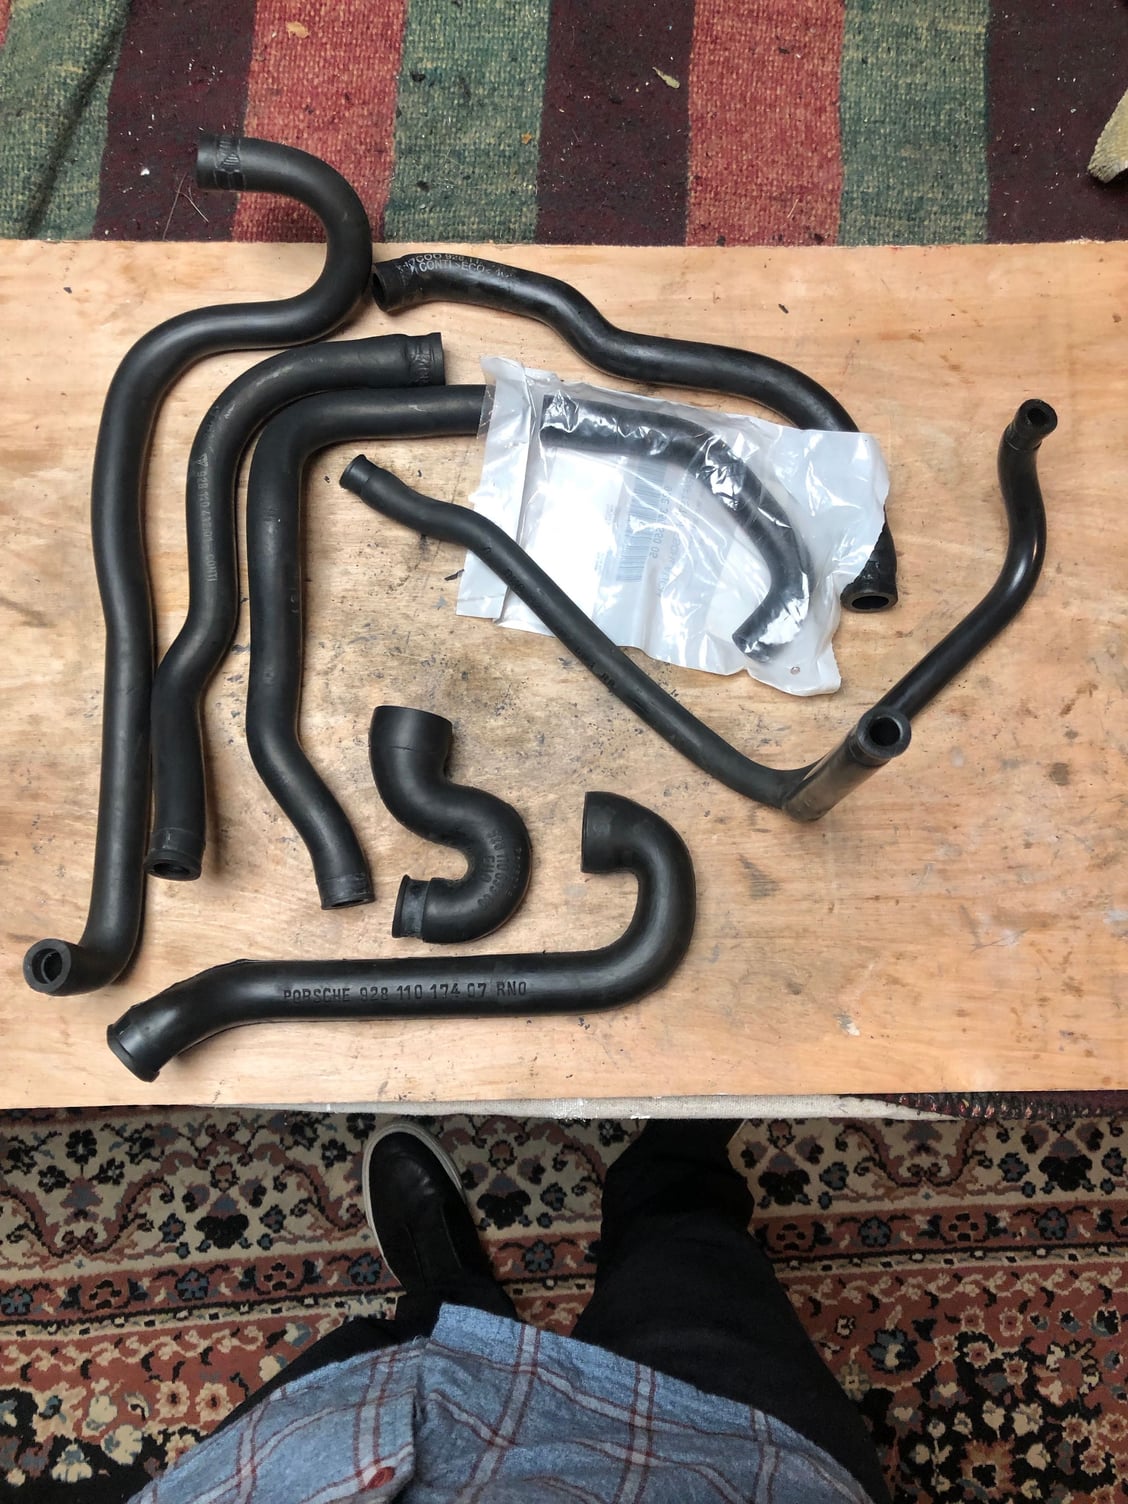
I did a detailed inspection of the hoses under the intake and all of them look to be in really good condition. None of them are showing cracks or weird soft spots. They all show some memory from various clams. They must have been replaced at the last intake service in 2010. What do we think on replacing the hoses? Idle Stabilizer Valve
I gave the ISV a good soaking in brake cleaner and DeOxit. I’m wondering if I should take it in to have it cleaned with the injectors using the ultrasonic cleaner. Any thoughts on that ?
That’s all my questions for now. But I am sure I will have more as I get further along. Thanks for reading and for you patience as I learn.
Last edited by Michael Benno; 01-07-2019 at 08:34 PM.
Good luck on your adventure. I believe you've found the thread on my own intake adventure. A few answers: Order injector o-rings from Roger and sleep easy. I'm told there is no engine position for which all the valves are closed. I wonder if the rubber/plastic for newer knock sensors is different from the originals; that's what would answer your question. Your hoses look good, but only one is particularly expensive (I did not replace that one, for better or worse). The ISV - I'm of the school that if it's been working alright, leave it alone; but you've messed with it some, so I dunno.
I avoid clicking on the links I find in the signatures of posts - they're usually either not so good, or if good a huge time sinkhole. Your blog is the latter, big time! I will be spending some time reading the whole thing and getting caught up with your larger adventure. Good job.
I've read only the first entry so far. Yup, you can easily slide a bicycle in the back. IMO, that's the only proper way to transport a bike, inside. Here's a sinkhole for you: bikecalculator.com. I recently modified it for Tesla Model 3 nerds: bikecalculator.com/tesla
I cut the cable close to the TDC sensor and reinstalled the sensor as my "block off plate". The now useless TDC sensor either gets much less heat or is made of much better stuff...or both vs the CPS and Knock sensors. I think one of the gurus has said the only way to reuse the hoses under the intake is to be sure the clamps all go back on in exactly the same orientation (matching the impressions in the hoses) and same for the hoses on the male fittings.
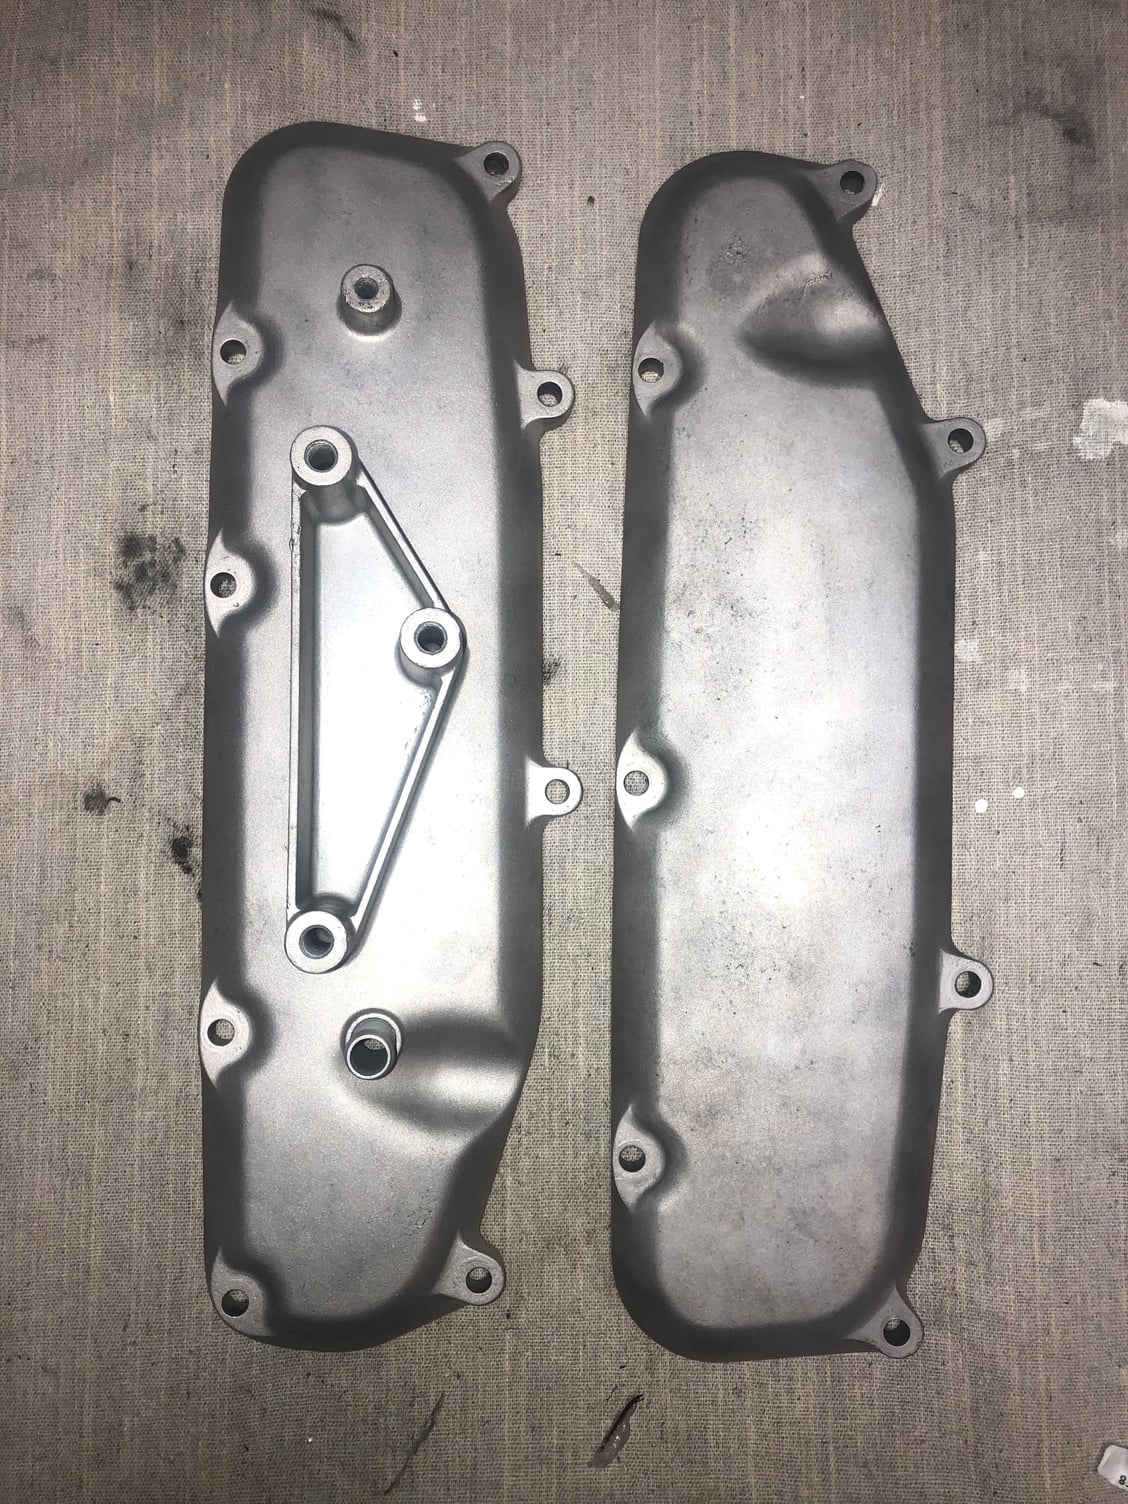
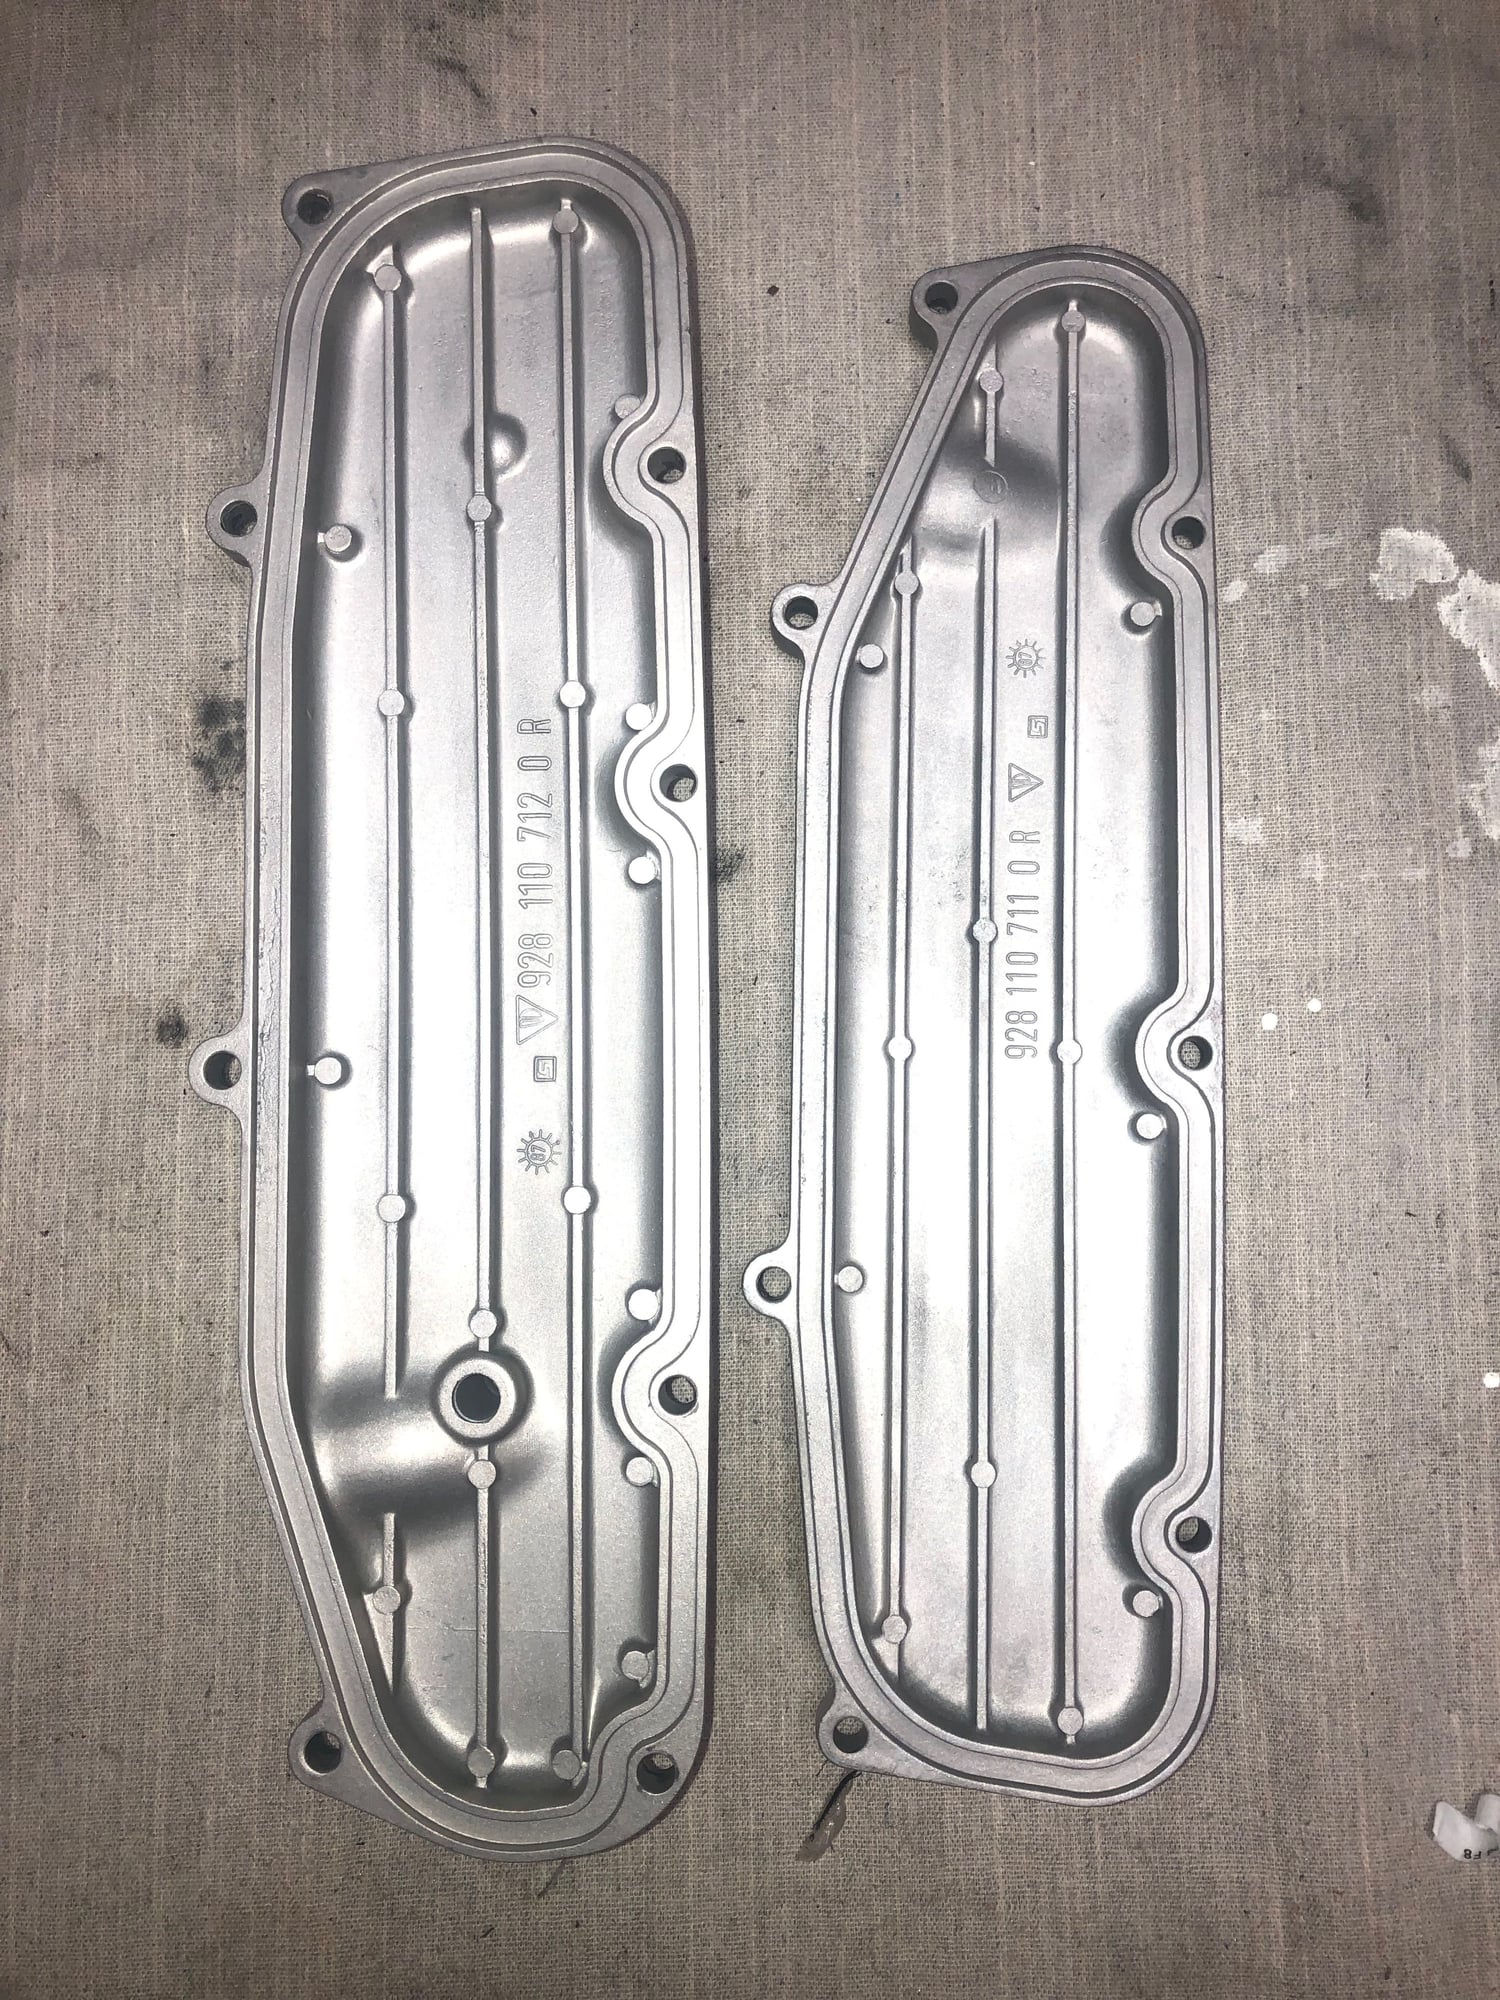
I've been picking away at this project for the last couple of weeks here and there between seasonal high demands of working in the retail business, holiday parties, shopping for gifts, family etc. So far I have disassembled just about everything in between the valve covers. I've decided to leave the valve covers as they are for now since there is no leaking and I may want took for some GT cams something like that in the future.
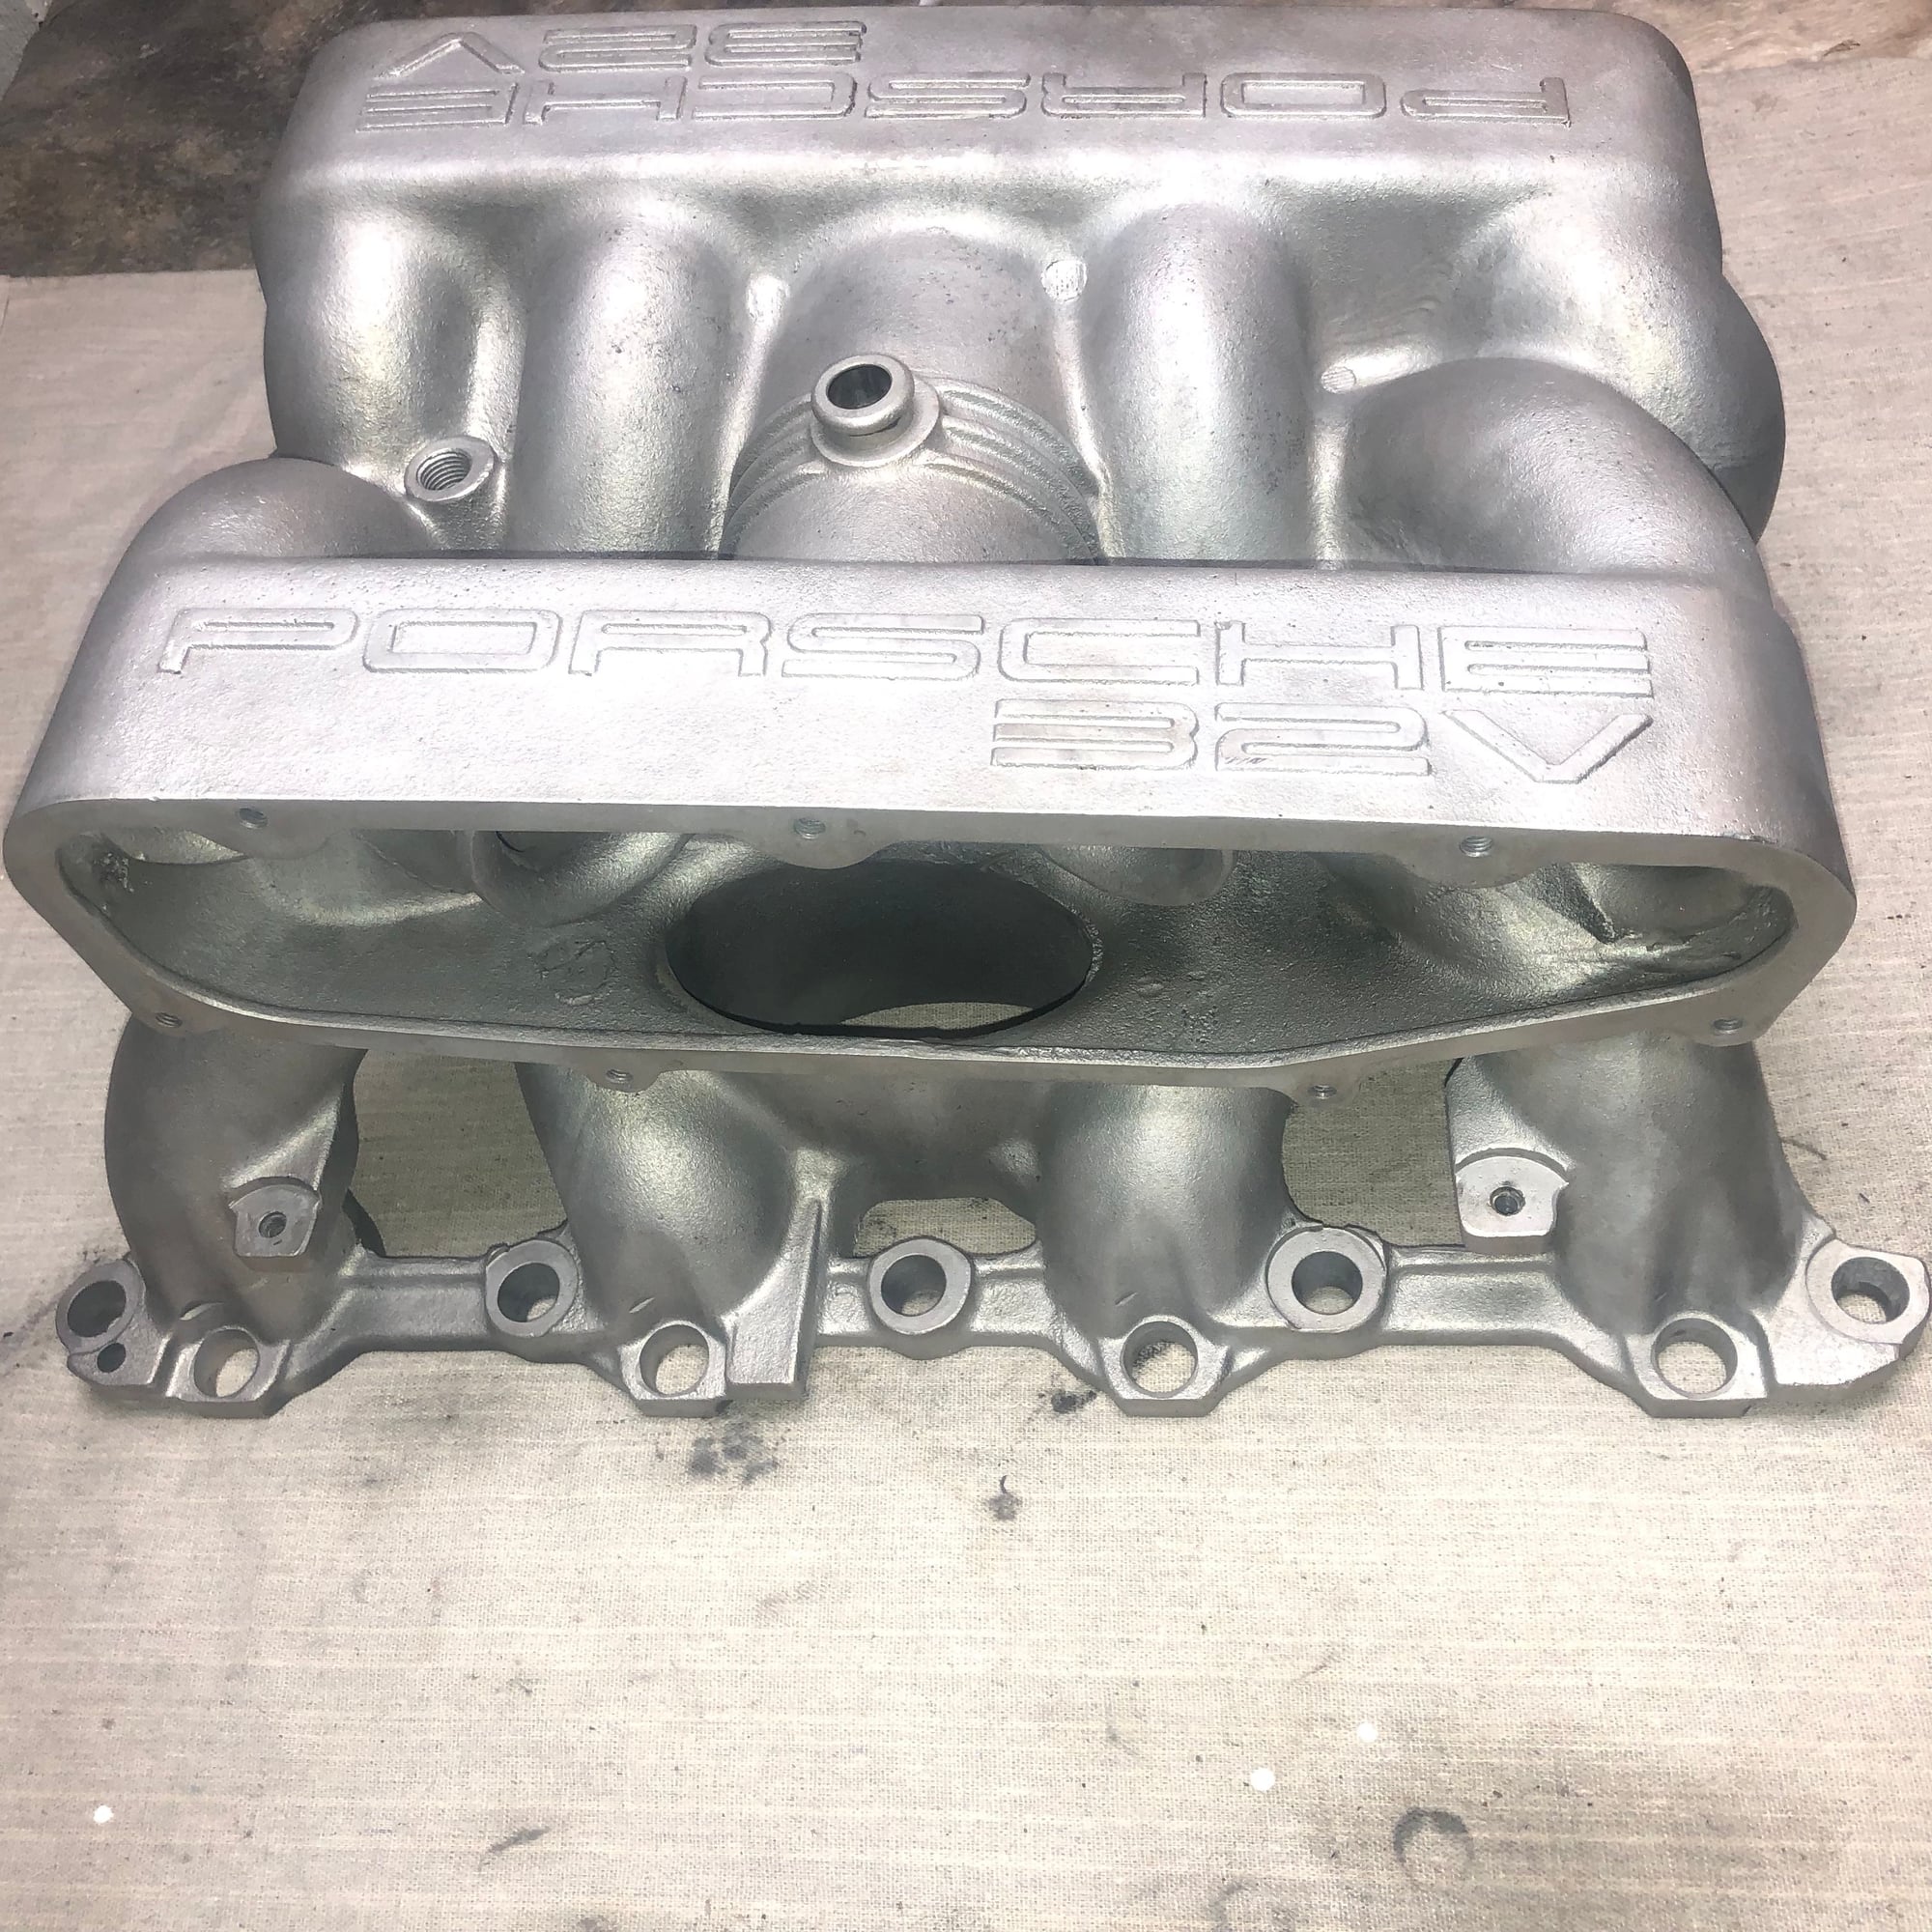
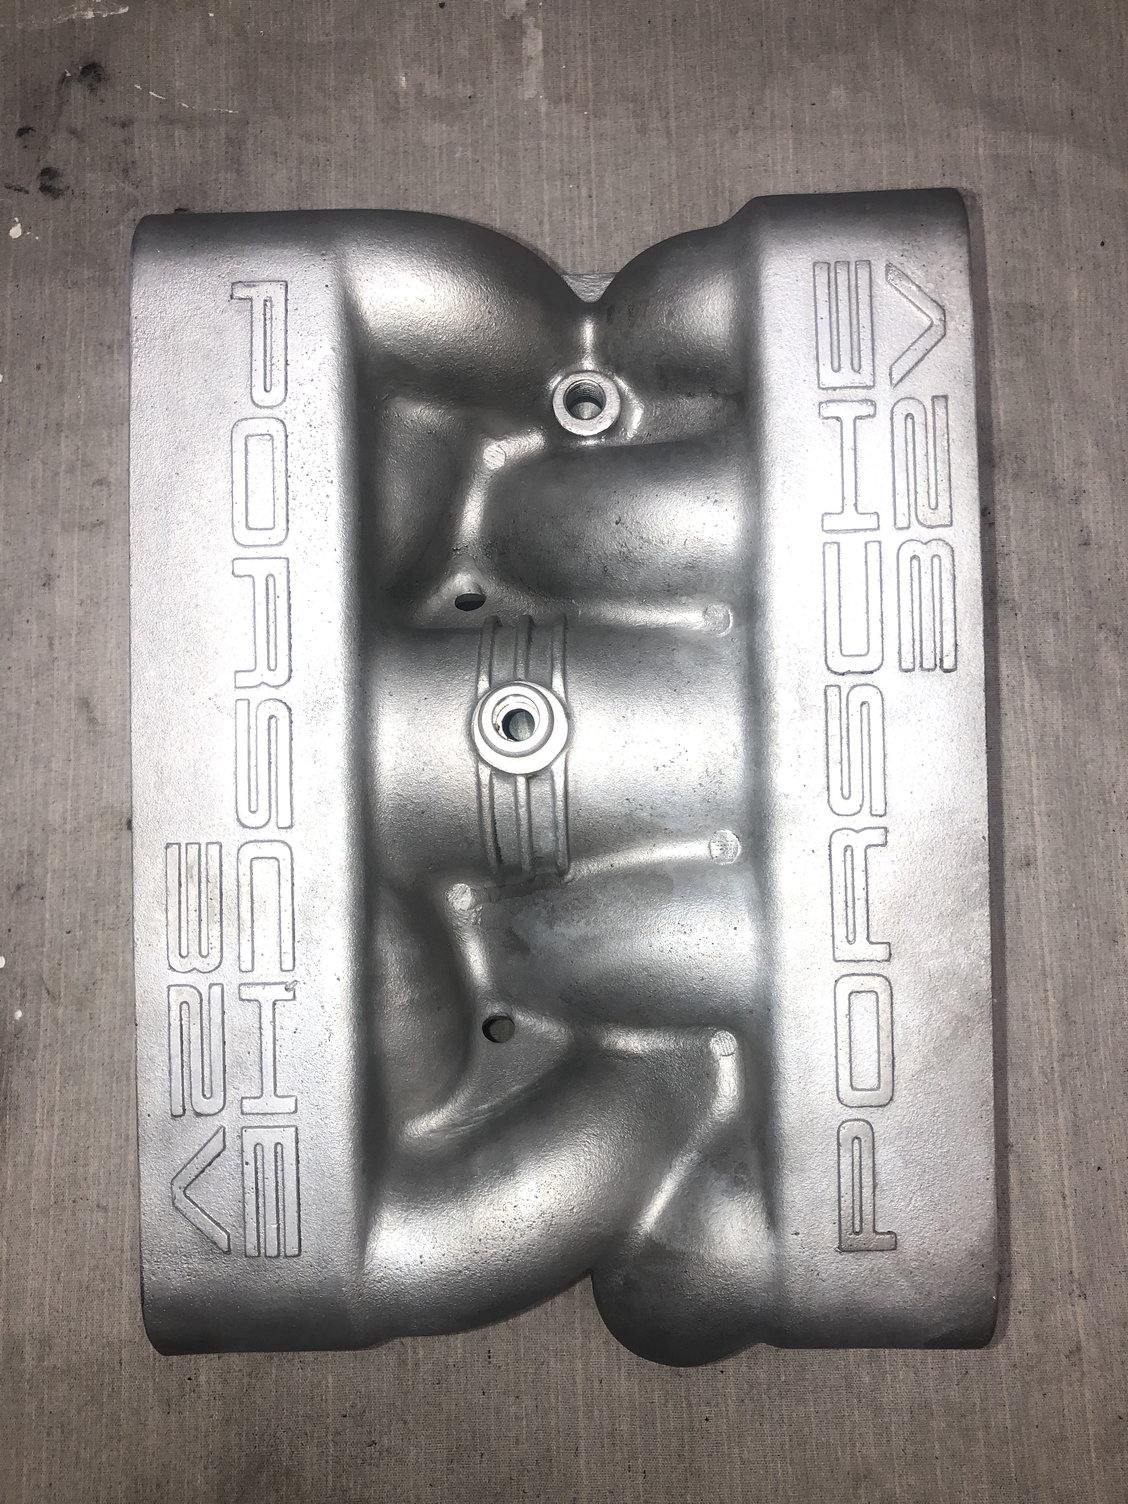
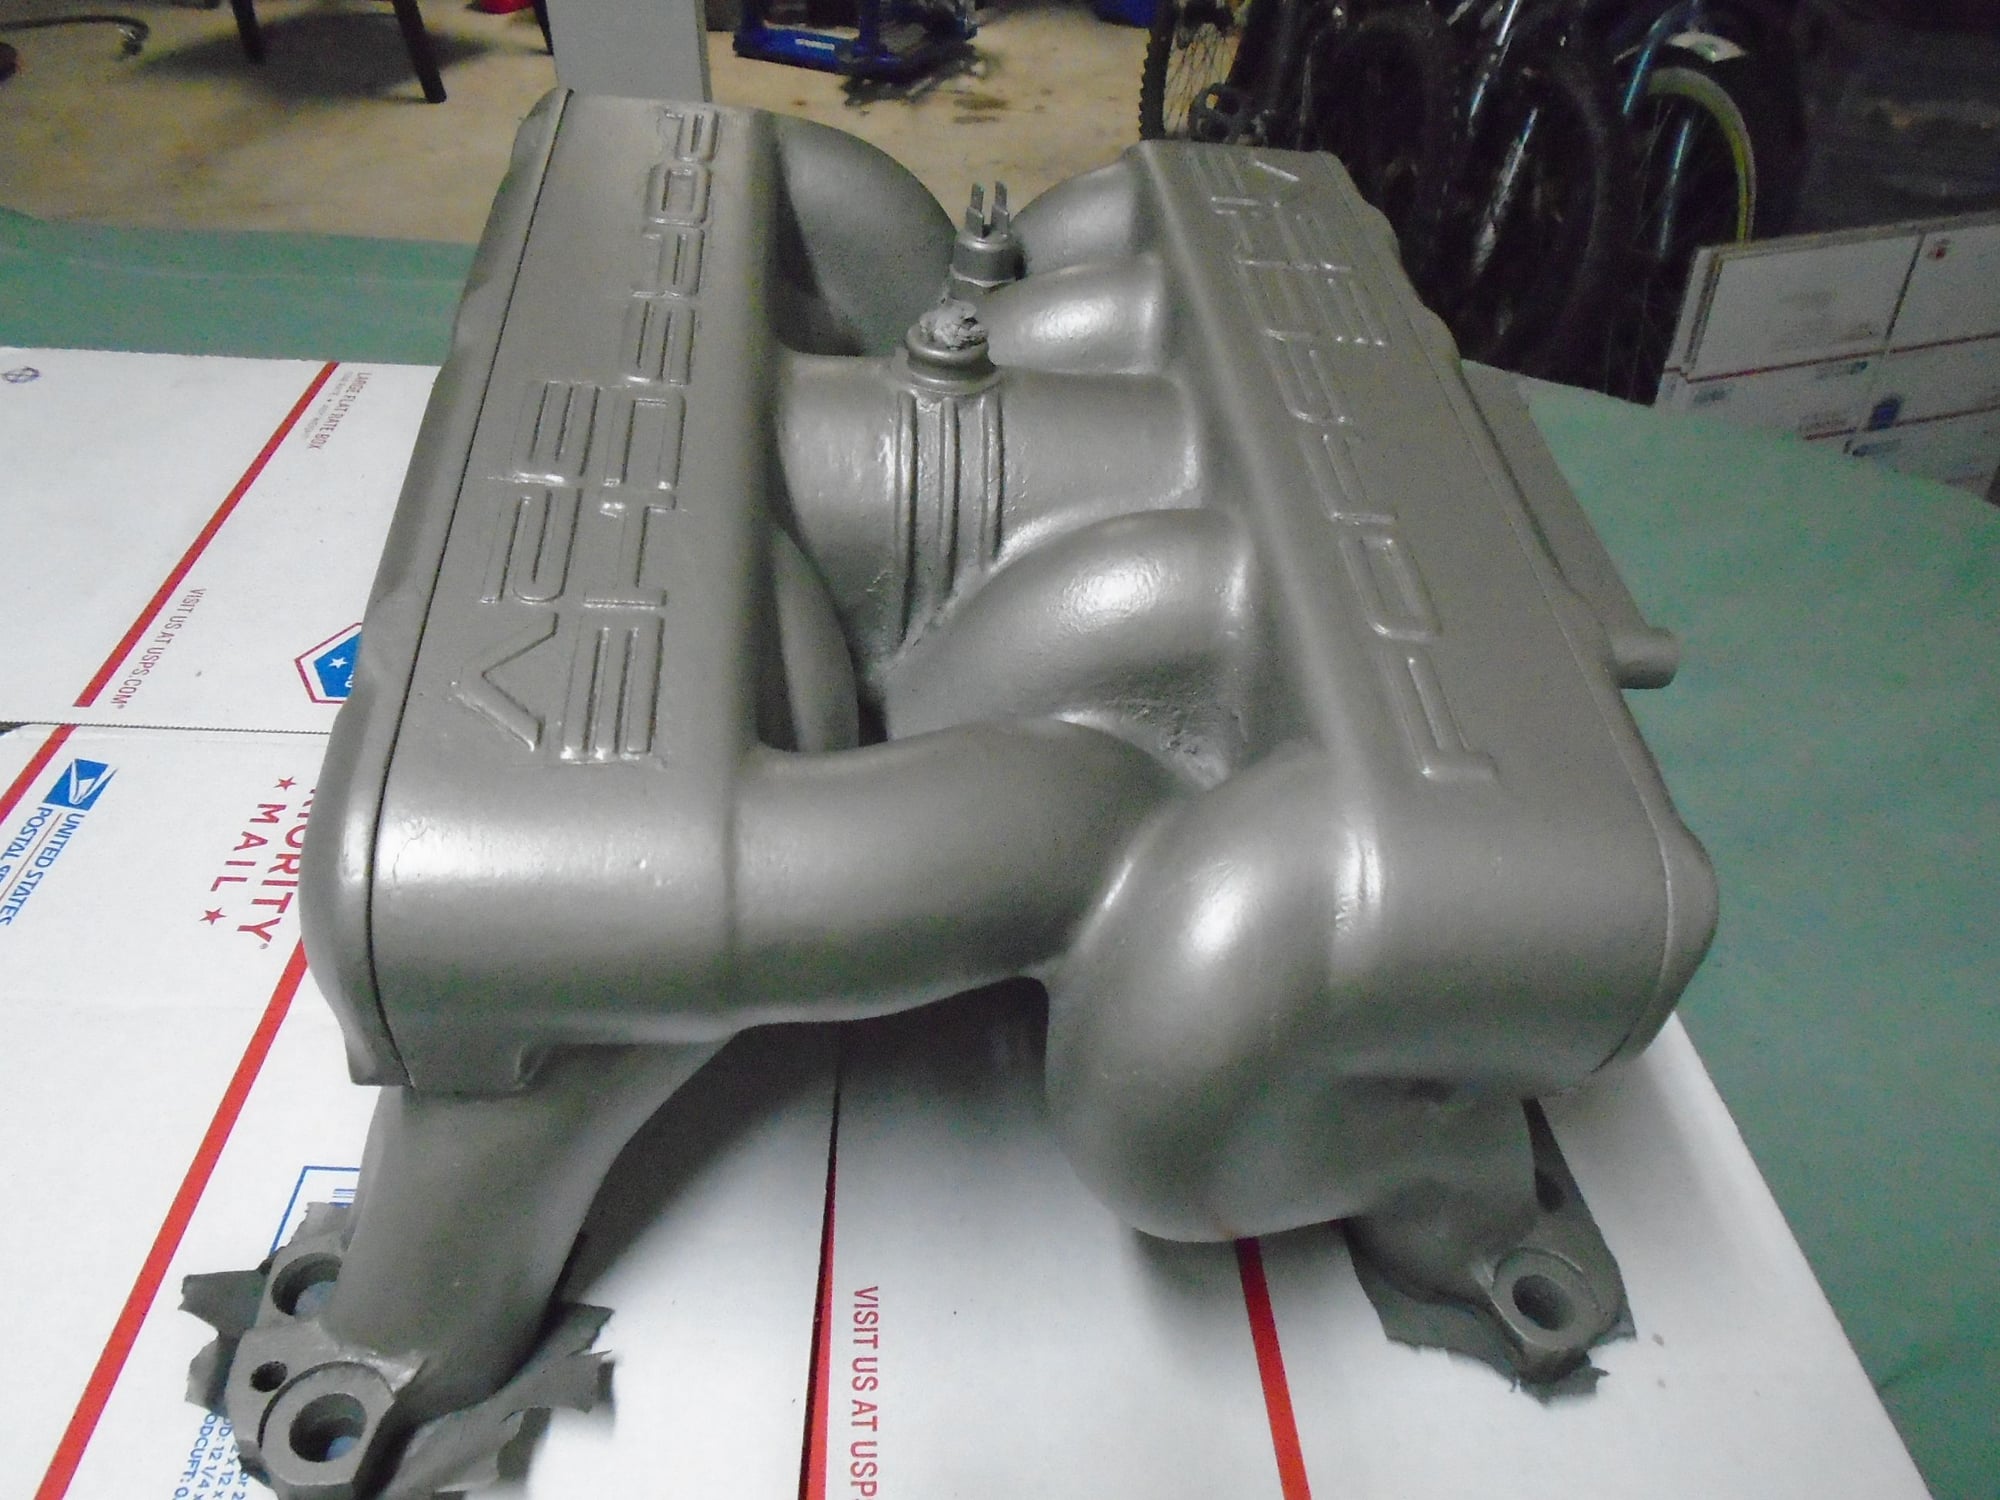
I picked up the intake from my friendly neighborhood machine shop where they soda blasted the intake and removed the flappy bearings for me. Check out the results. You will notice some of the original paint on the inside.
It came out pretty well. There is still some paint residue here and there on the inside. It was difficult for the shop to get in there with their soda blaster get all the paint out. I am fine with the level of internal cleaning, It's far better than before. My plan is to leave the manifold raw, unpainted. I understand the magnesium alloy will oxidize into day grey. I think that will look fine. My understanding is that there are no drawbacks to leaving the material unpainted, but I am open to changing my mind if I don't have all the facts.
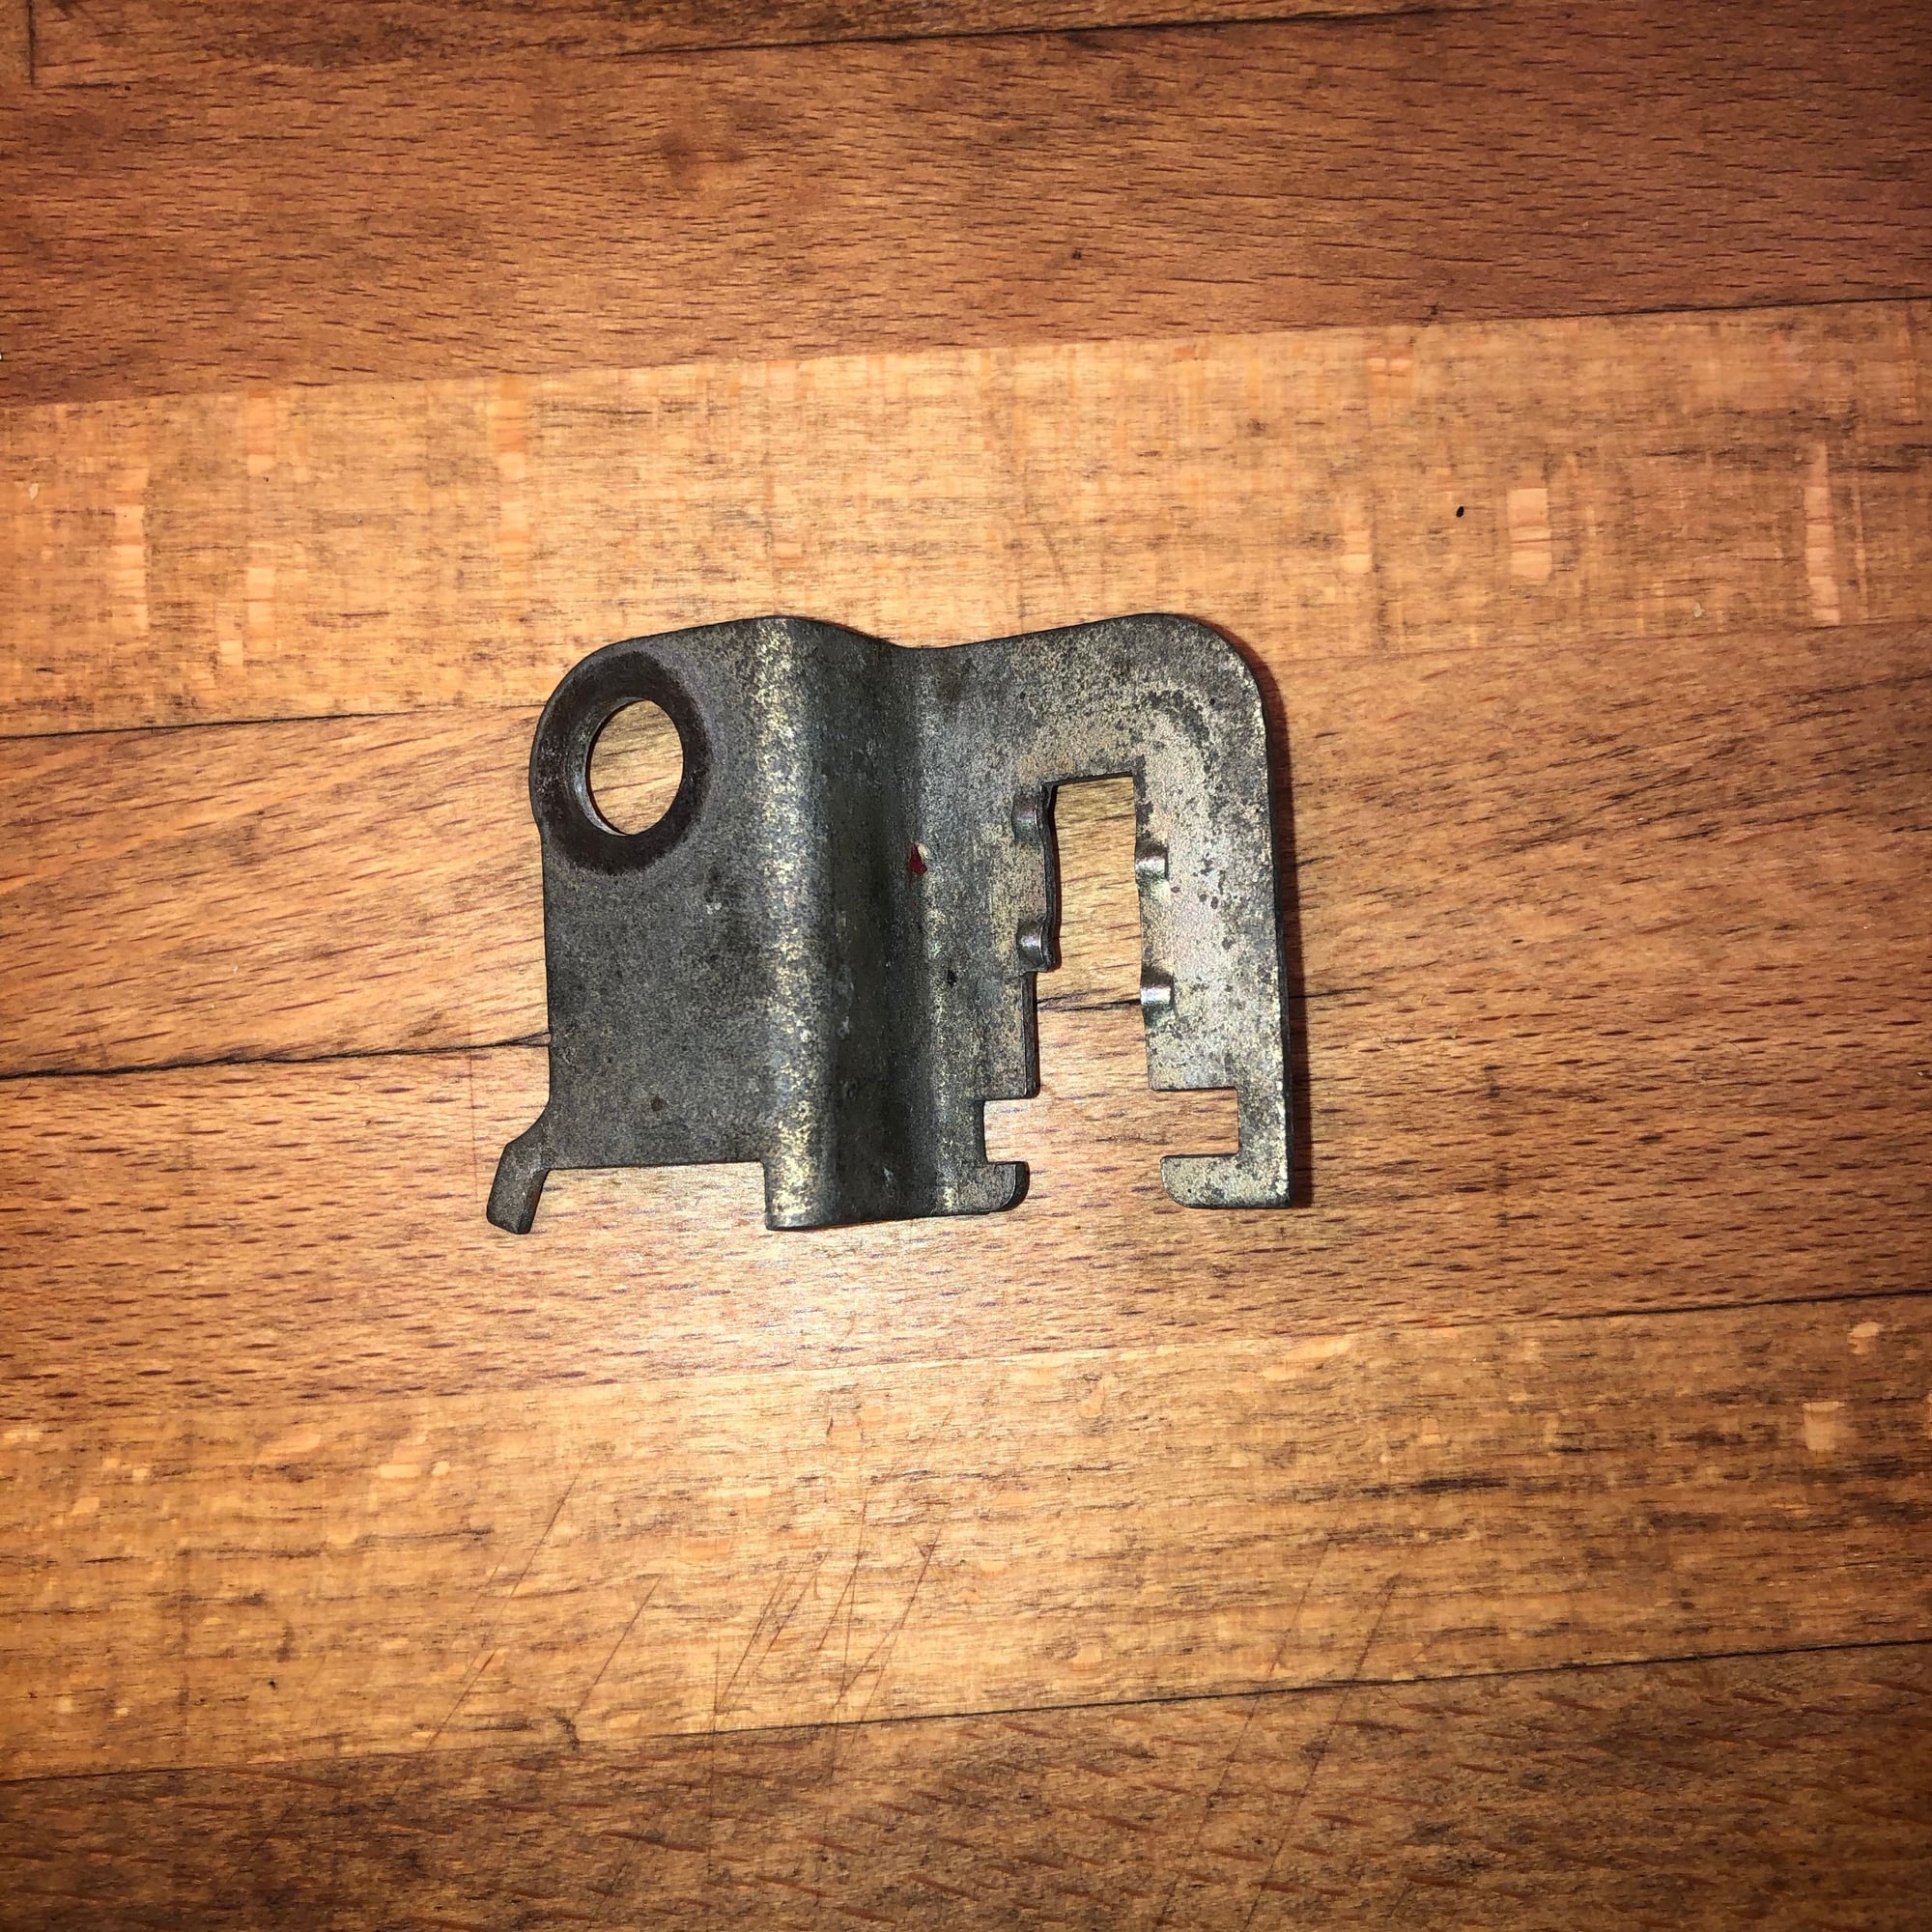
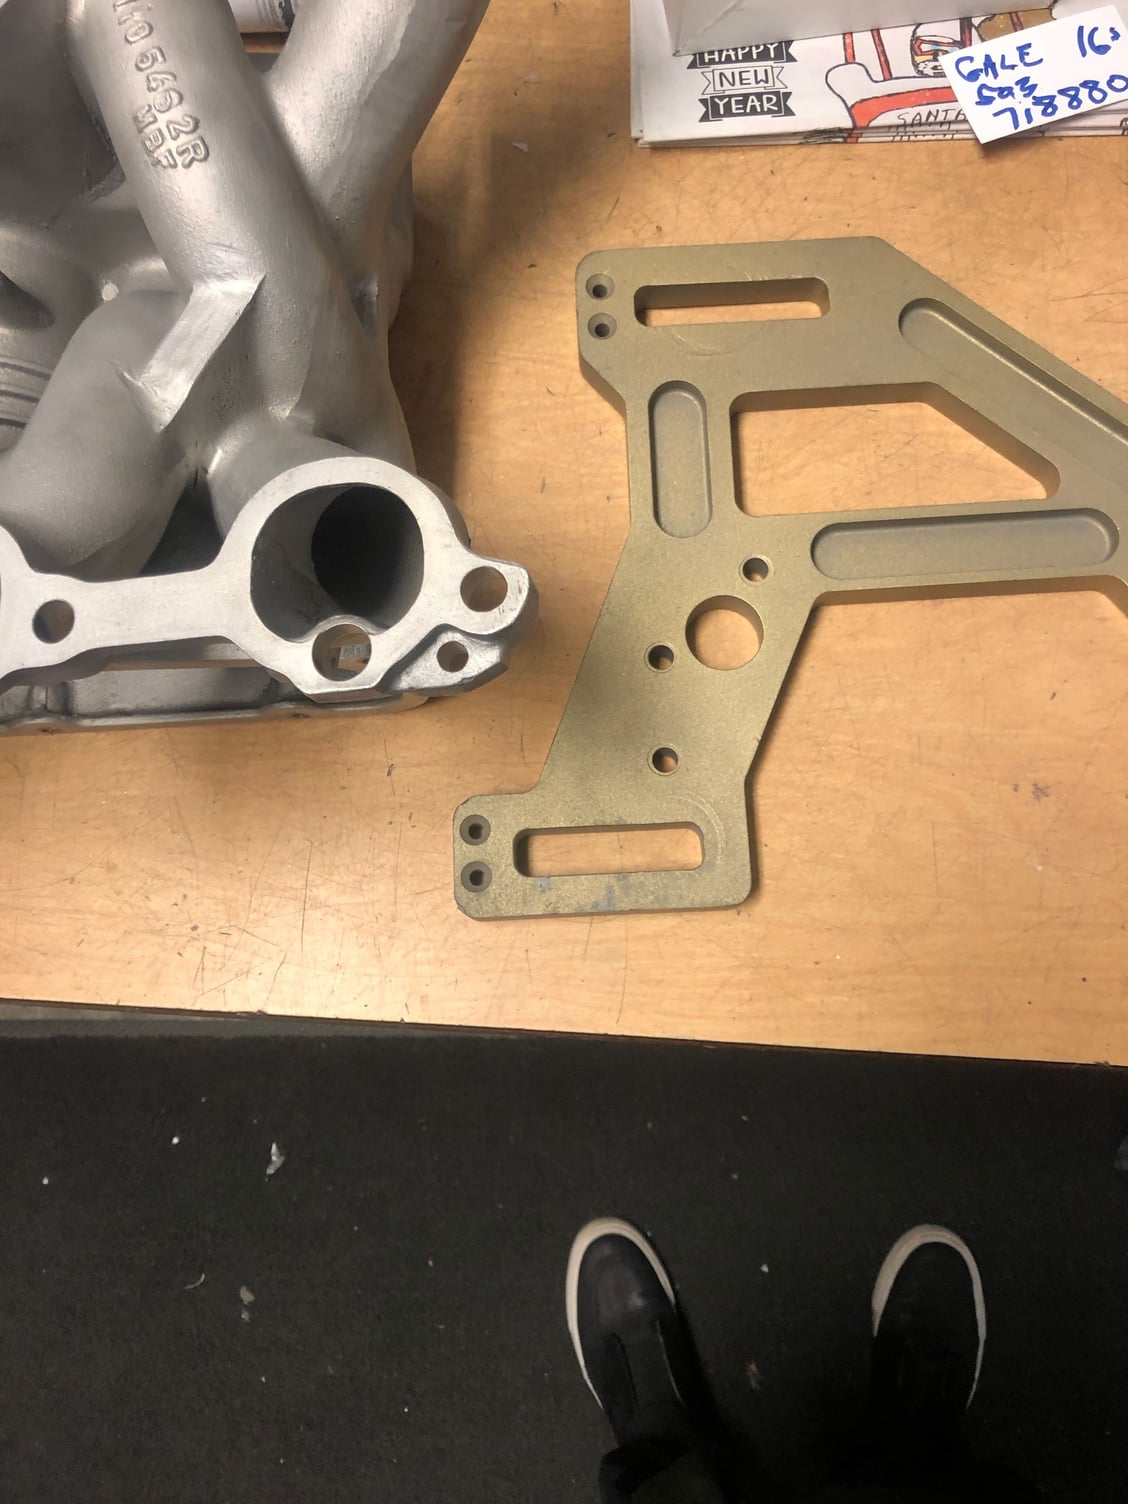
So now starts the re-assembly and trying to figure out where everything goes. I wasn't terribly OCD about packing stuff up. In fact I think I have lost a bracket for the front knock sensor connector. IIRC there was a bracket someplace between the front fuel damper and the flappy solenoid. Does anyone have a picture of what that bracket looks like so I can look around for it. Alternatively if you know the part number that would be helpful if I need to re-order it. I was not able to find it in PET. I think it looks something like this:
Interesting how the intake has a very bright and silvery appearance. Typically the surface will oxidize quickly and turn a dark gray after exposure to air. Maybe it's the soda media reacting with the magnesium in a way that prevents oxidation.
It took me about 2 hours of cleaning out the garage and looking in every box and bin, including one giant dead rat! Gross! Turns out the bracket was actually still in the engine. It had fallen between the head and the timing belt cover. Thank goodness I found it before starting the car.
^^^^+1 I think the "aging" process of the naked intake will not be uniform over the entire manifold and you might
regret having it all apart and not painting or coating
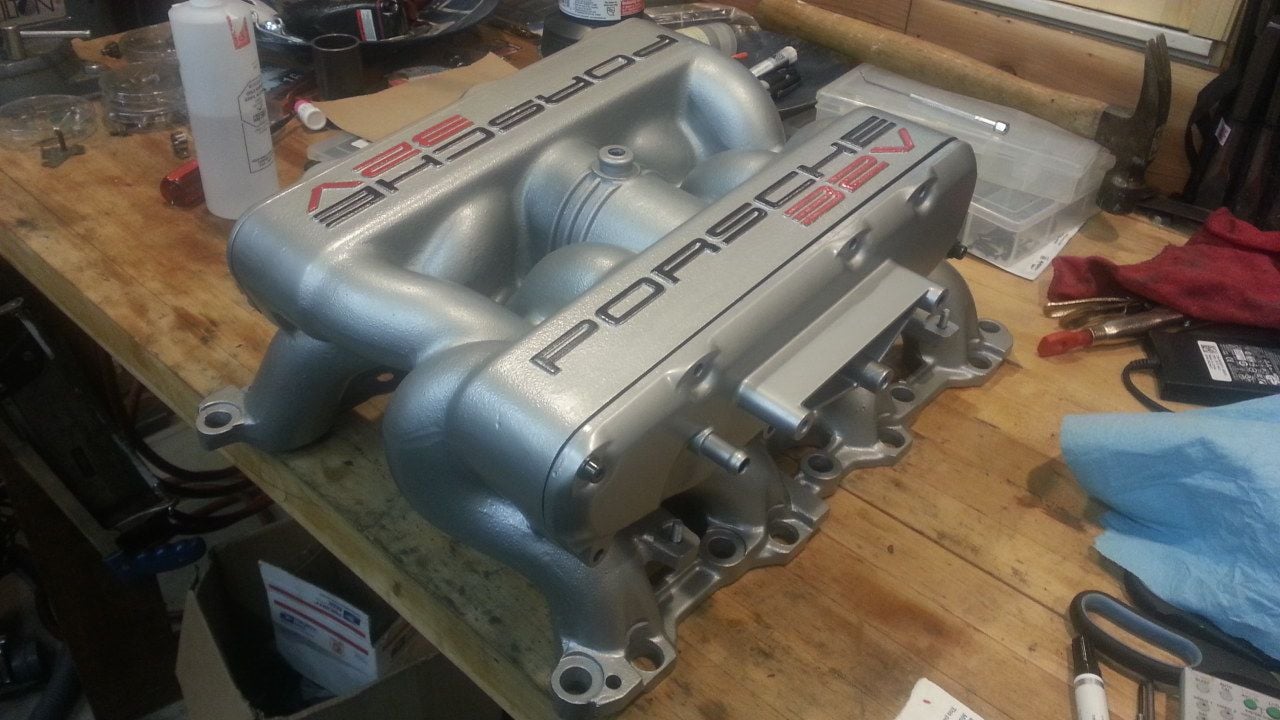
I opted for priming with a green zinc etching primer and top coating with eastwood detail gray.
I’d be curious to see what a raw manifold looks like after a it’s aged and oxidized grey. Does anyone have pictures? I don’t think I’ve seen an unpainted manifold.
I realize everyone is going to have a opinion. But if the oxidation is a consistent color I wouldn’t mind it. I’m basing my preference on the fairly consistent color under the peeling paint in the before photos.
I’ll also look into coating options over the holiday break.
Here was mine before I painted it. I was just messing around and sanded some areas to shine it up and make some highlights. I think it looks cool! I've read somewhere you can clear it with something. I just ended up primering and painting. The second pic is the finished product, and it still looks like this four years later.
You guys are going to peer pressure me into painting this manifold aren't you!
Ok, I just got of the phone with a local company Finish line Coatings, they offer a variety of paints, powder coating, and ceramic coatings. In speaking with them they were recommending a ceramic coating specifically formulated for magnesium. They have experience with coating wheels and Karman Ghia magnesium blocks and were indicating that they have a particular formulation for magnesium.
I’d be curious to see what a raw manifold looks like after a it’s aged and oxidized grey. Does anyone have pictures? I don’t think I’ve seen an unpainted manifold.
I have one which has been completely stripped for 5 years now sitting on the shelf, and it is just flat-out ugly. Its color is a flat, dark charcoal color, and not fit to be under an S4 hood.
I'd post a picture, but I'm currently 800 miles away visiting the parents.
There are many threads on intake preparation, the coating, and the subsequent cleaning. It can go well (me), a bit sideways (Jon), or horribly wrong (engine failure). You'll want to survey the threads on this subject. Your coating vendor will require some learning on the subject, also, so you'll need one that will accept direction.
You all broke me, I dropped the intake off today for coating.
Originally Posted by Adk46
There are many threads on intake preparation, the coating, and the subsequent cleaning. It can go well (me), a bit sideways (Jon), or horribly wrong (engine failure). You'll want to survey the threads on this subject. Your coating vendor will require some learning on the subject, also, so you'll need one that will accept direction.
Yes, I have thoroughly read through all this, which is one of the reasons I was considering the not coating. But I vetted the the company well. All they do is performance coatings for automotive and they have a lot of experience with magnesium, engine internal, and Porsche. In fact while I was there, Dick Ayres (a fairly well know air cooled Porsche guy) was dropping off a box of 930 heads that were converted to 3.6L. We discussed proper cleaning of debris the blasting media (Aluminums Oxide) and the off-gassing problems with Magnesium.
Here are some fun photos from the visit. This is a clear ceramic coating specific for magnesium that allows for off-gassing. My manifold is just visible in the left. Flat gold tint used on Carman Ghia magnesium engine blocks. My manifold is visible on the left. Gloss gold tint used on this magnesium head as well as Campagnolo magnesium wheels.
Last edited by Michael Benno; 05-03-2021 at 11:41 AM.

 12-09-2018, 03:09 AM