When you click on links to various merchants on this site and make a purchase, this can result in this site earning a commission. Affiliate programs and affiliations include, but are not limited to, the eBay Partner Network.
That was the original plan, but I have a local guy with a booth who is going to shoot the base and clear for me for a great price. I�m just doing the priming and sanding now.
That was the original plan, but I have a local guy with a booth who is going to shoot the base and clear for me for a great price. I�m just doing the priming and sanding now.
Very productive week as we were off for spring break!
A few pics below, but here is where we are...
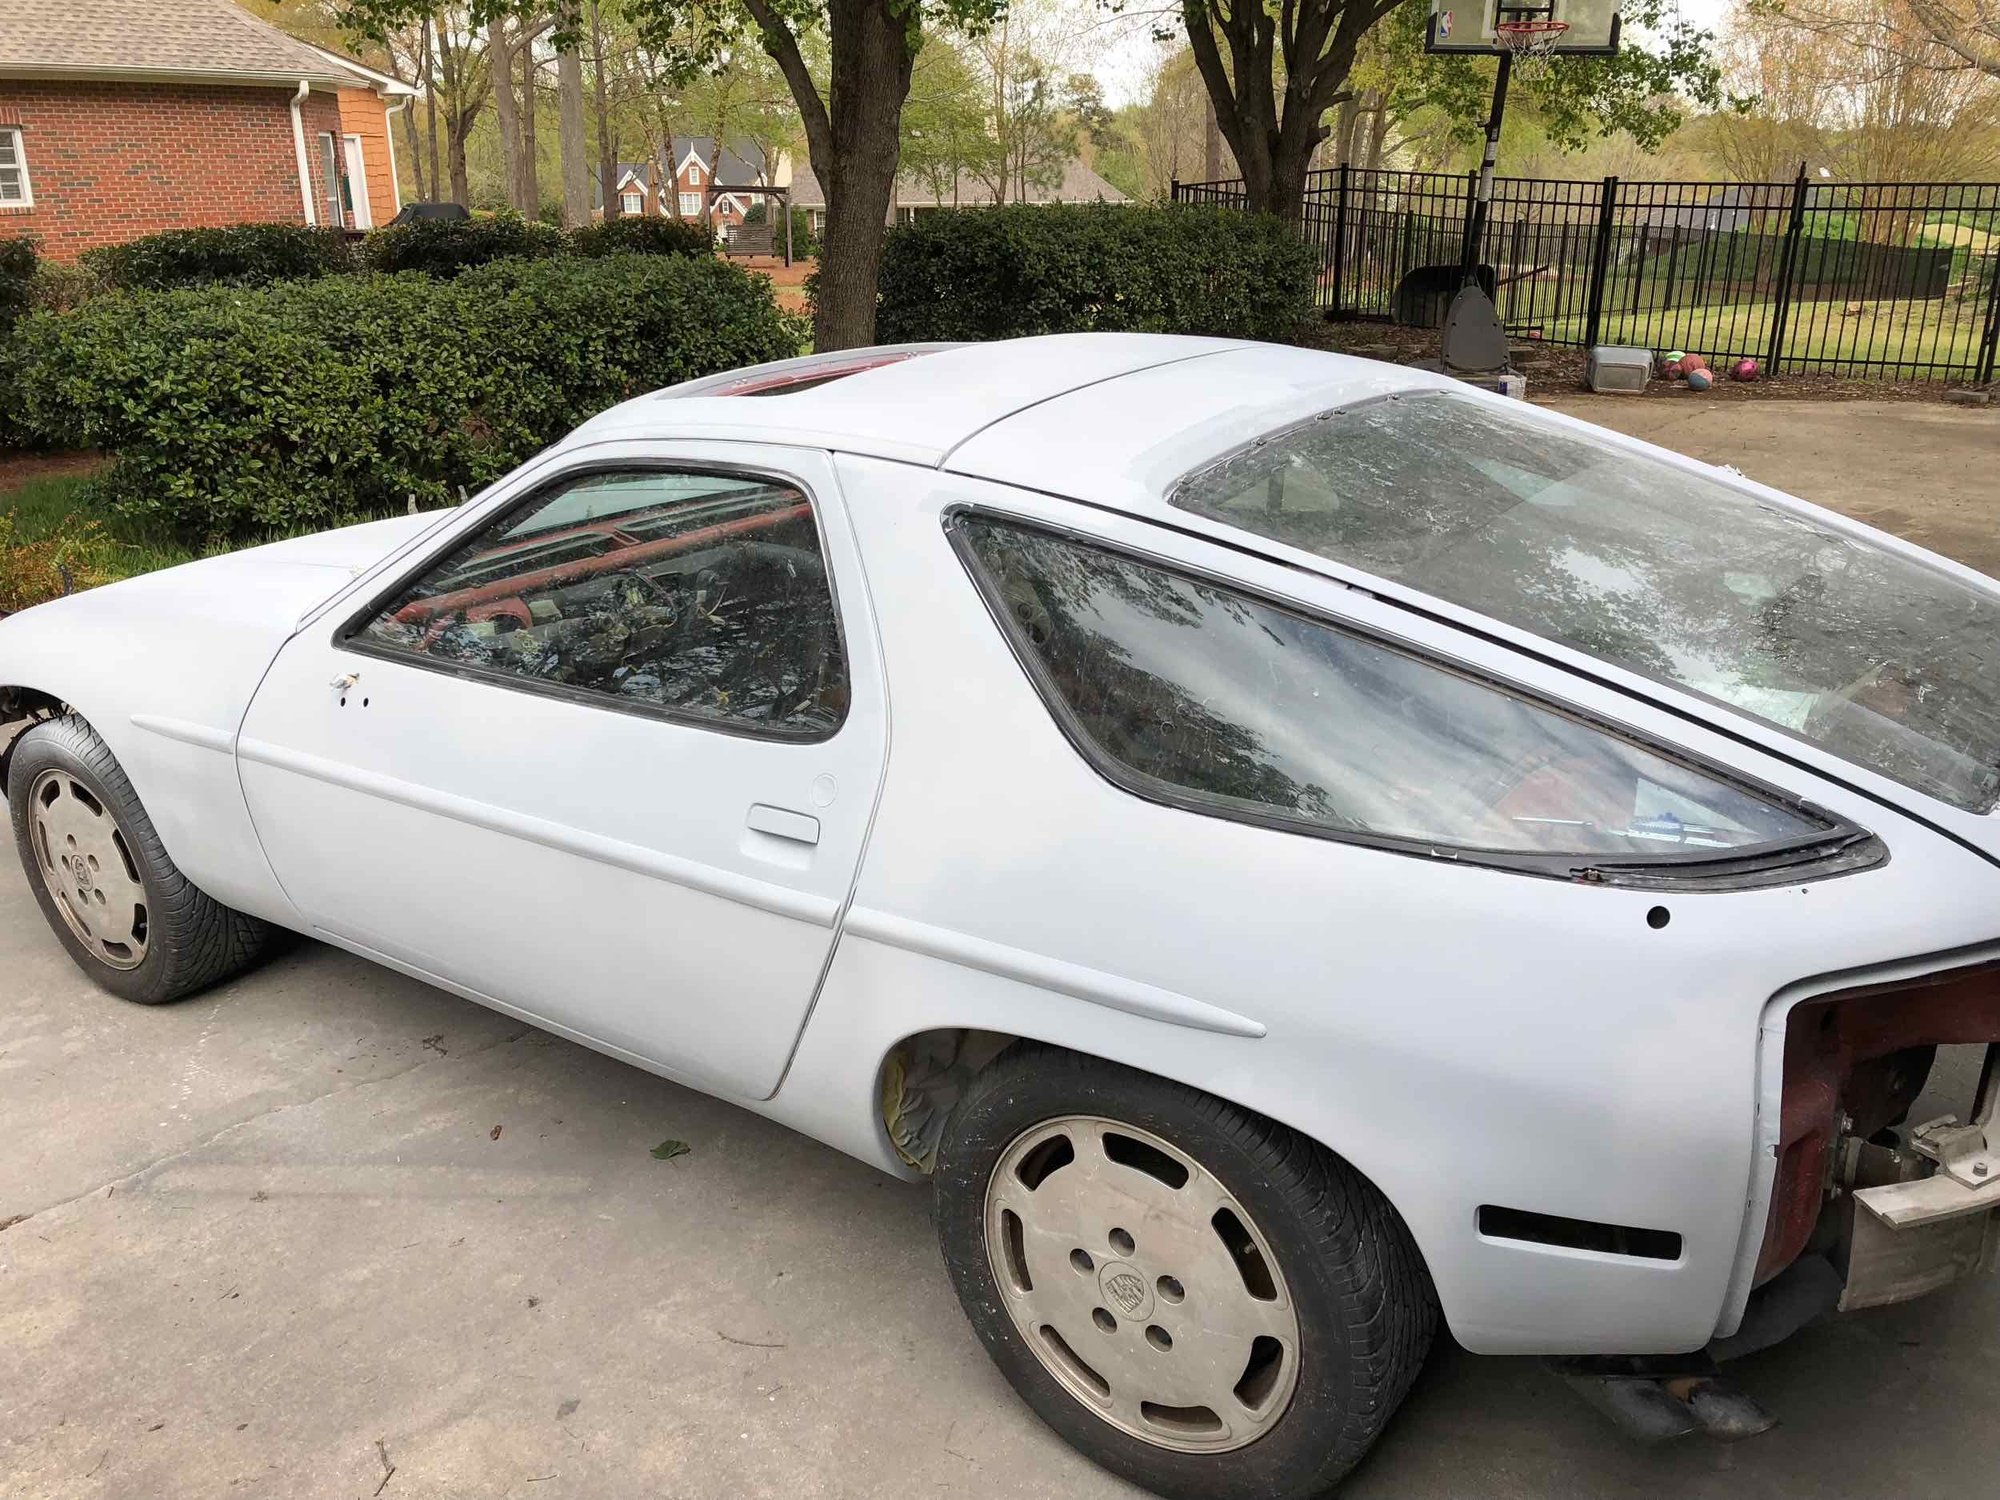
1) First coat of primer on. Waited a couple of days and then blocked (wet sanded) with 500, then 1200. Nice finish, but of course going back to a uniform finish, saw a number of newly identified rock chips and other flaws which needed to be dealt with. So, out came the bondo and made some corrections. Looks much better. I'm sure I missed a few but this is a car meant to be driven and not shown at Pebble Beach. I don't want to be scared to drive it because it is too 'perfect'.
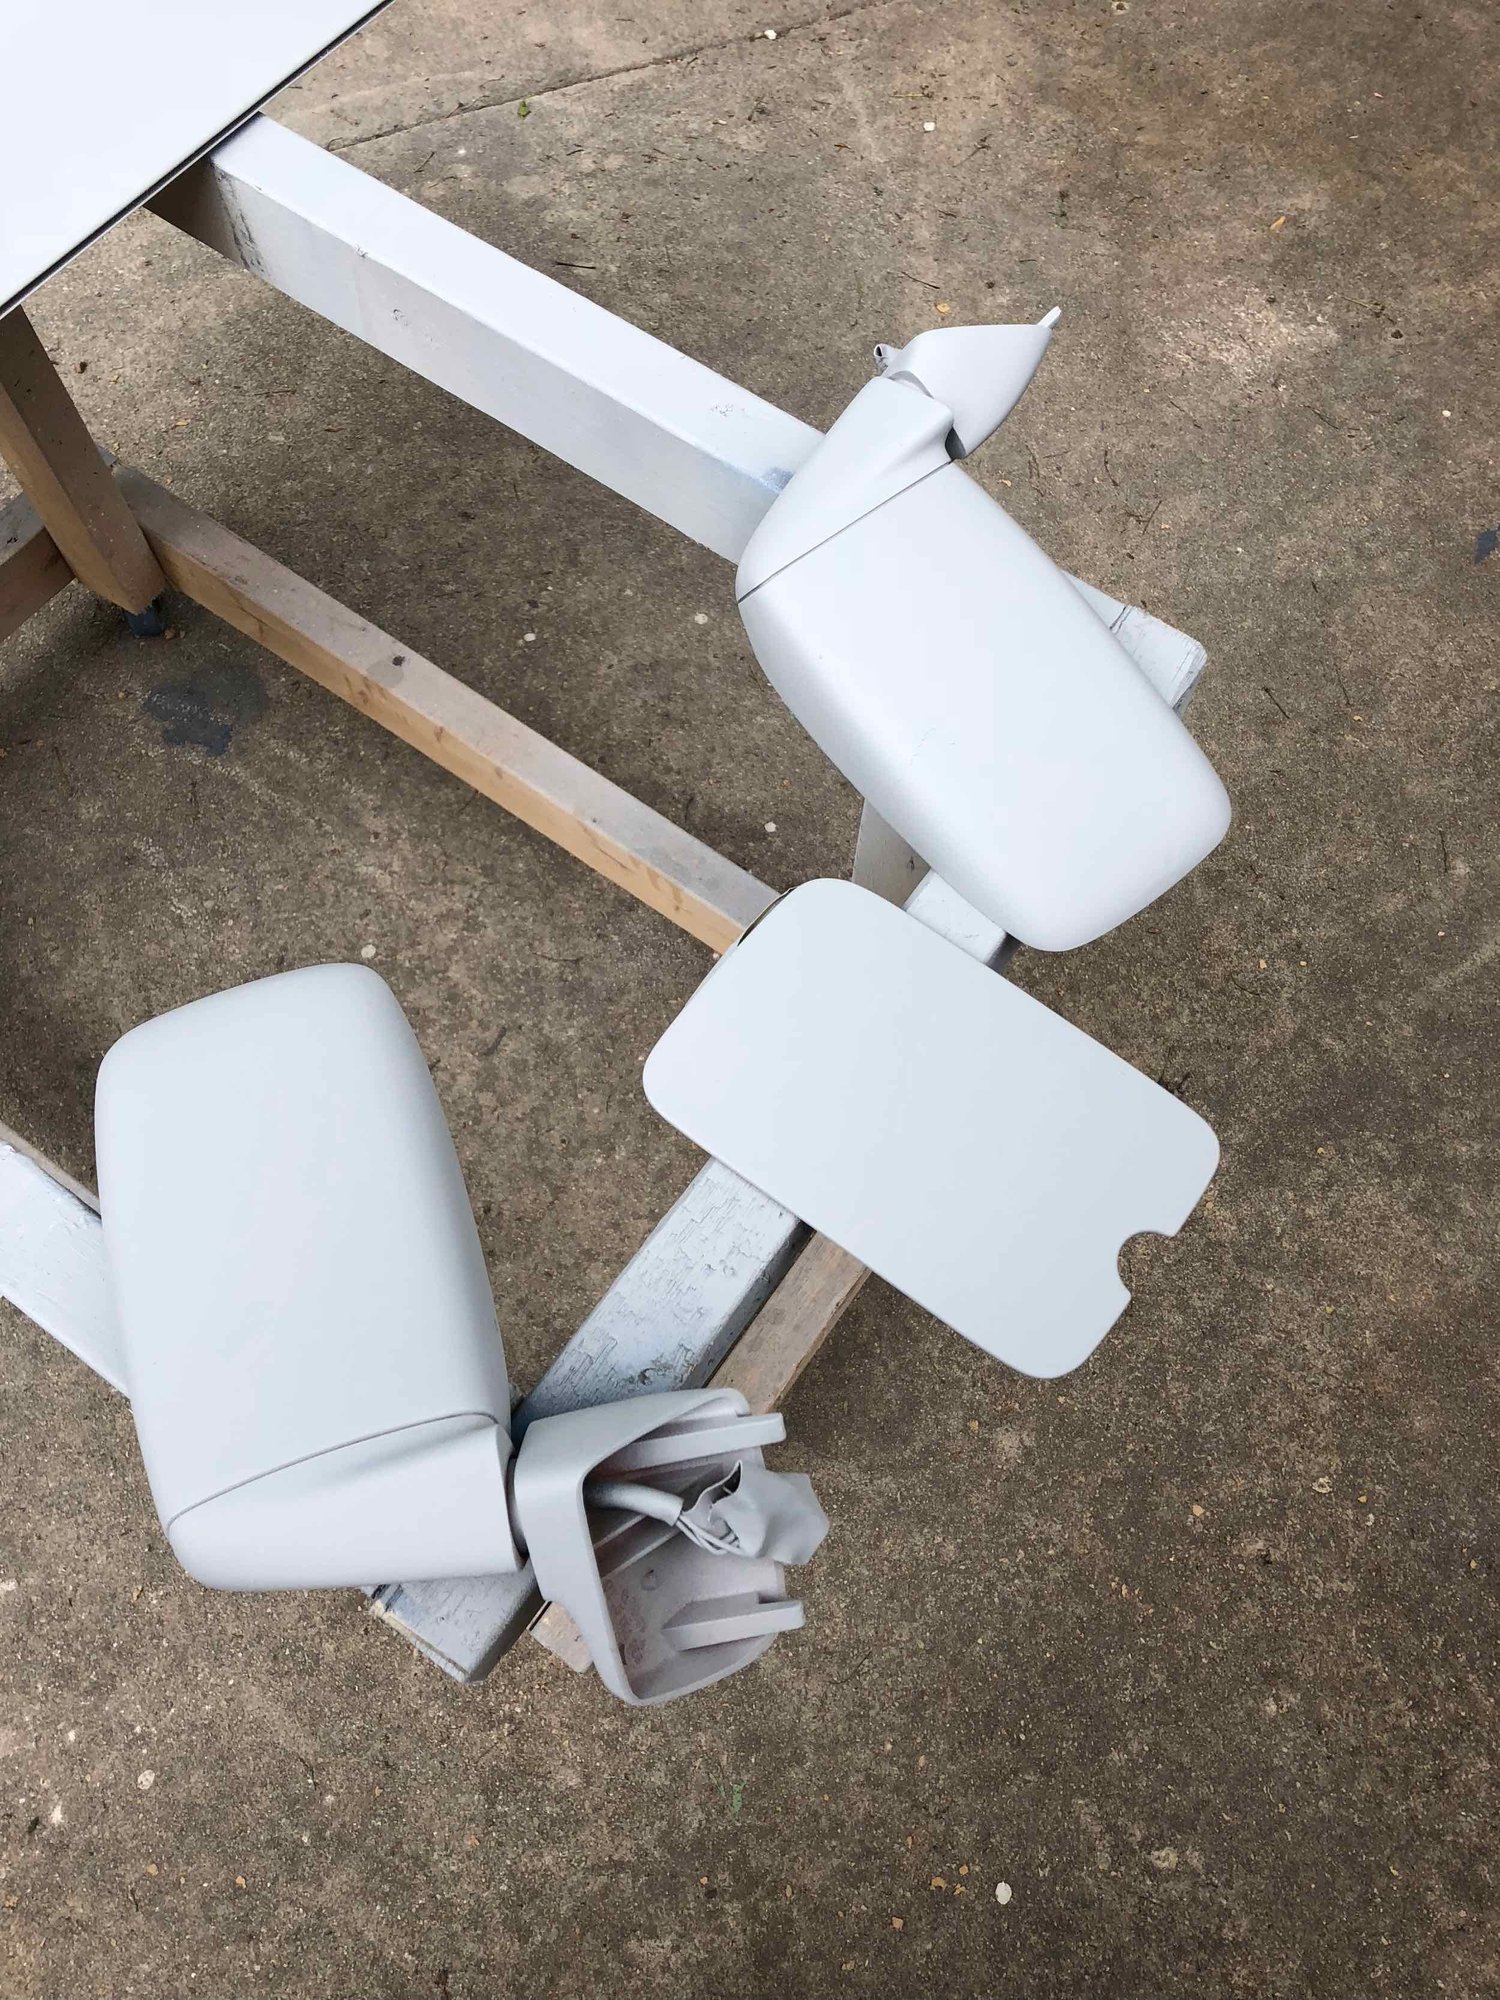
2) Soooo..second coat of primer is on and will start blocking down later this week. Also fresh coat on the s/r panel, mirrors and gas tank flap. Pics below are after second round. I am laying the primer on fairly thin. I don't want a lot of material on the car and this primer bonds very well to the existing Porsche primer.
3) Bumpers were media blasted and have been wet sanded down at 500/1200. Will spray these with Bulldog (recommended by painter) this week.
4) Headlight buckets scuffed and will be Bulldogged.
5) Revised my stereo amp configuration yet again. Was always planning on a small sub (6.5") anyway, so I have devised a way to mount my amps and the sub box in the spare tire well. Spare is original and probably would not hold air anyways. Pics of amp panel and test fit below.
6) No pics yet, but finished sanding dash and pod. Put on a VERY thin layer of batting material (in lieu of foam) as a smoothing agent underneath the vinyl. Will get back to work on the recovering process once the body goes to the booth.
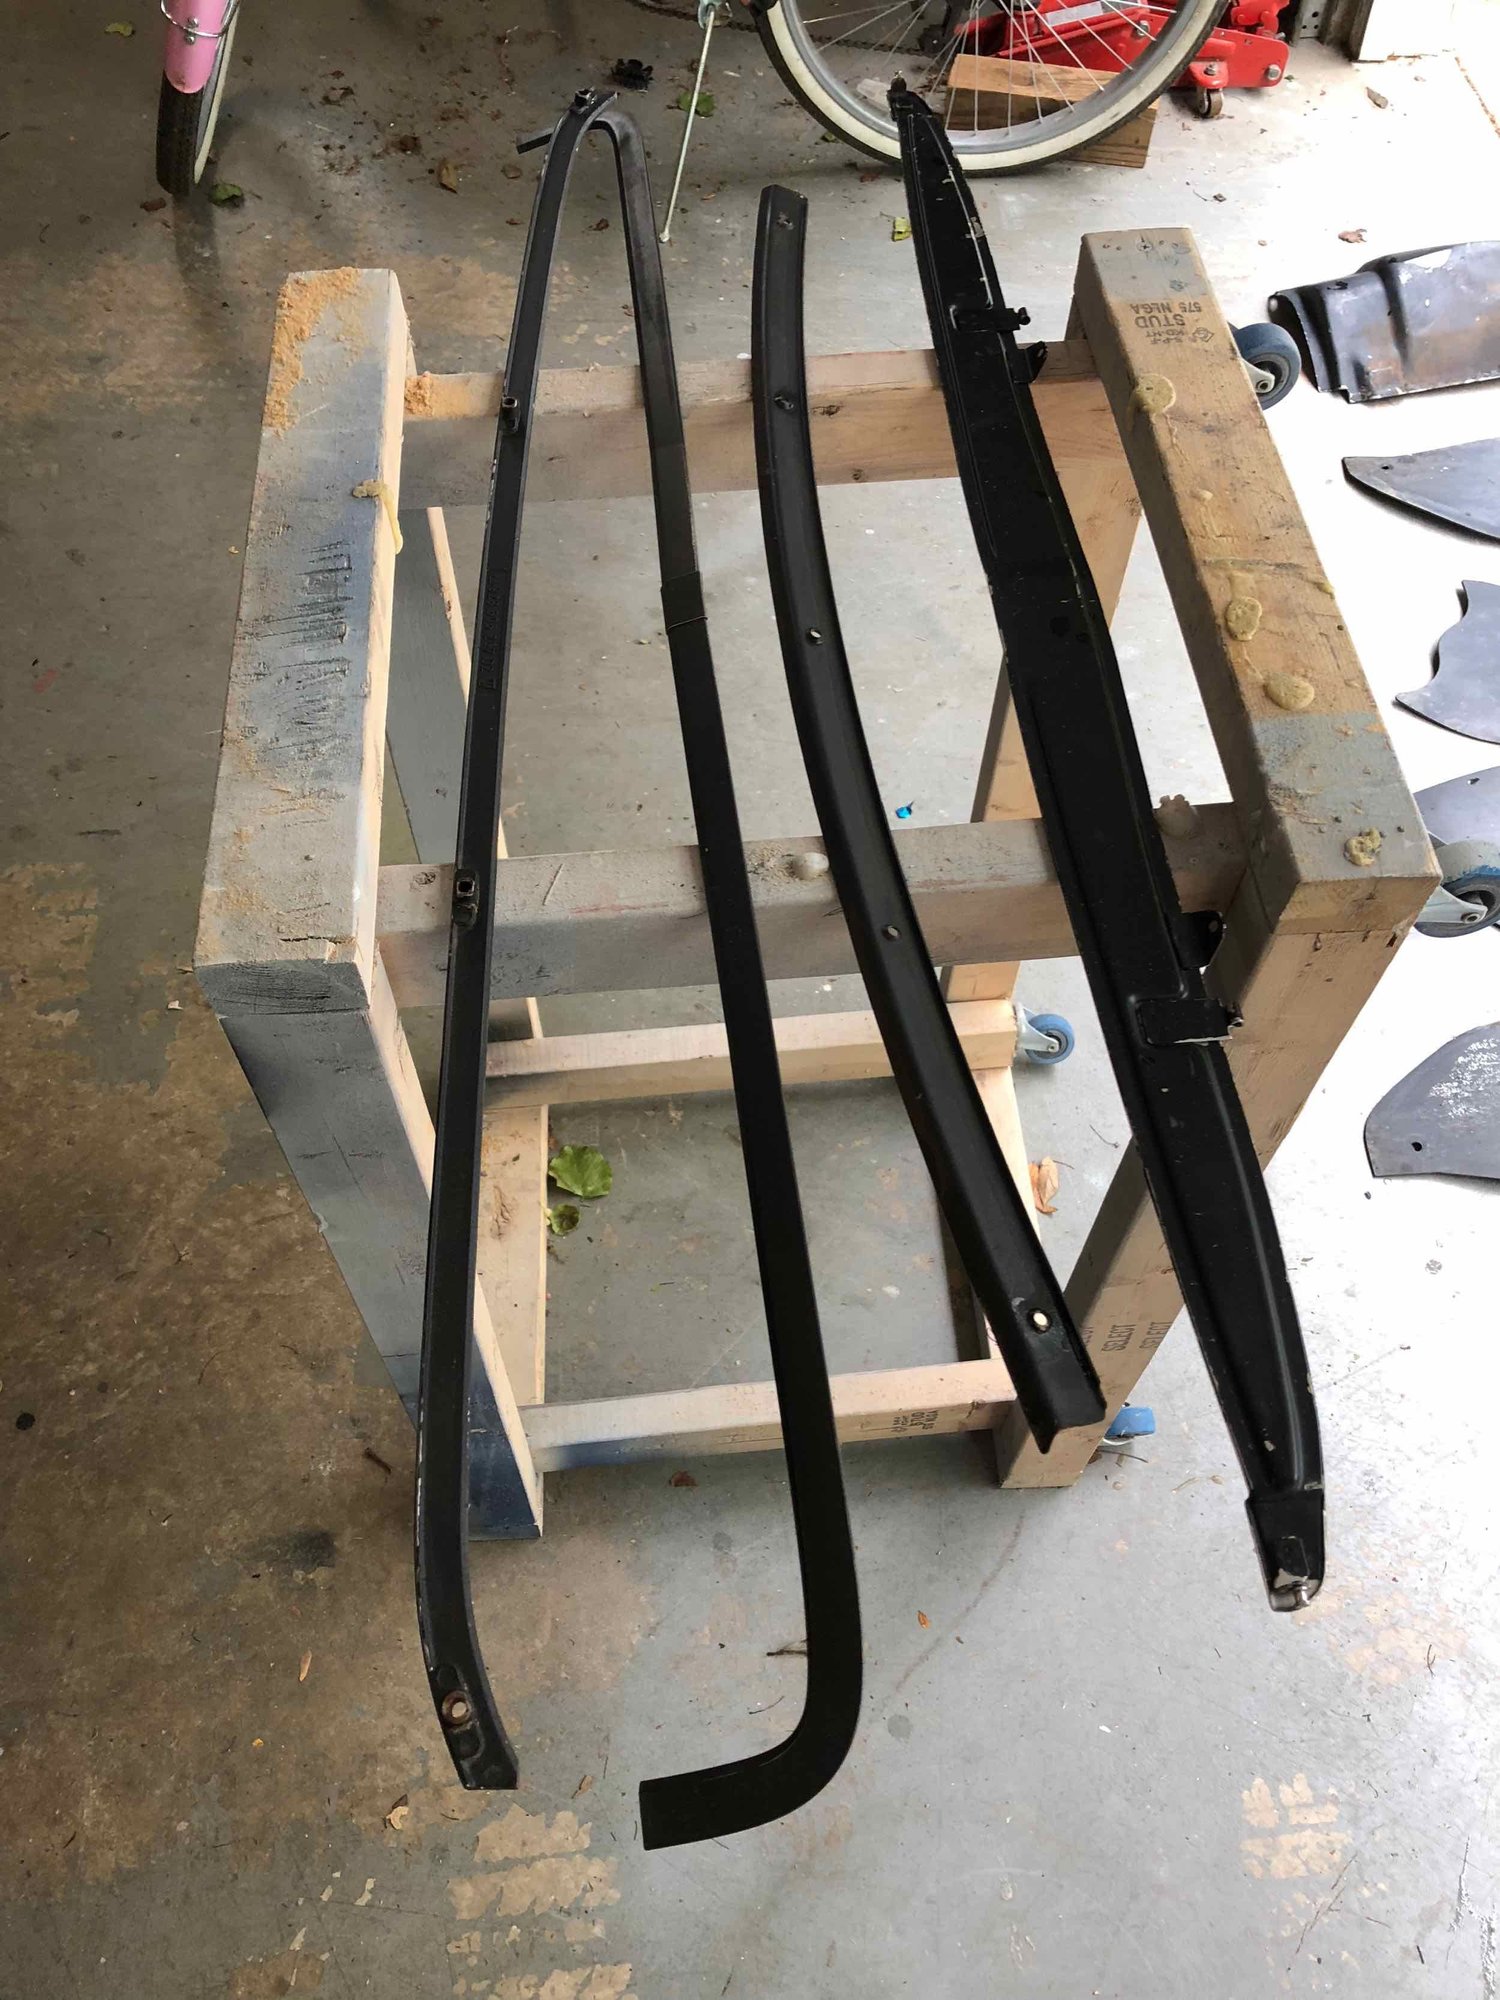
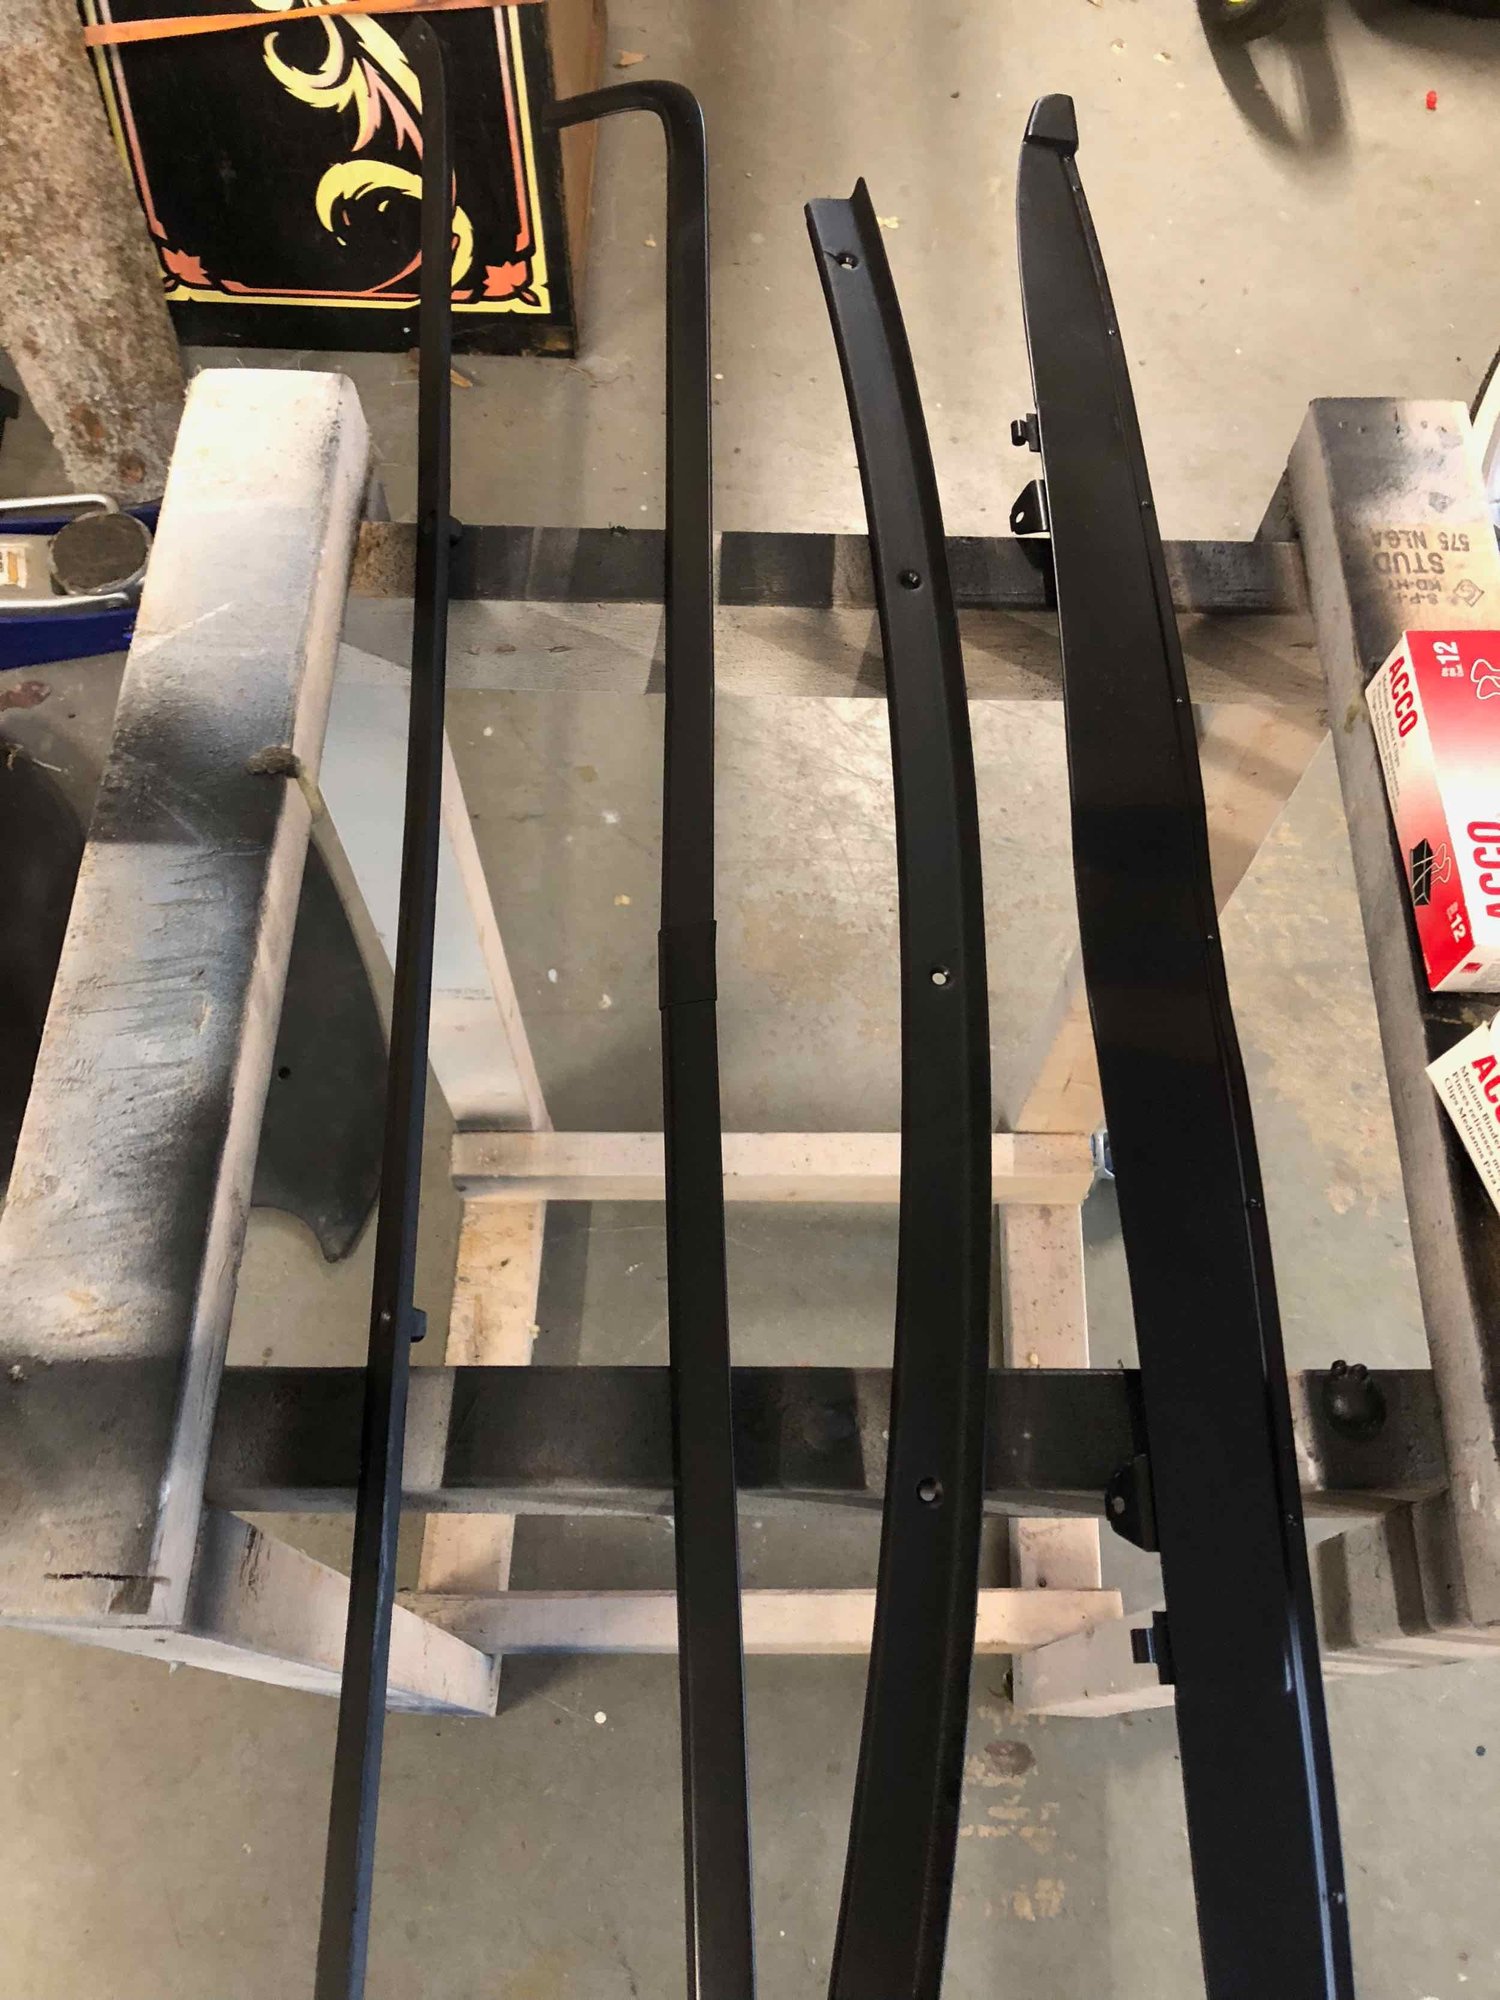
With the car out of the garage I had some room to start working on the interior and other trip bits. Started cleaning all of the trip items. I'll give some of them a fresh coat of satin black. Some may just get cleaned. Either way its nice putting the car back together with clean parts.
Some pics...
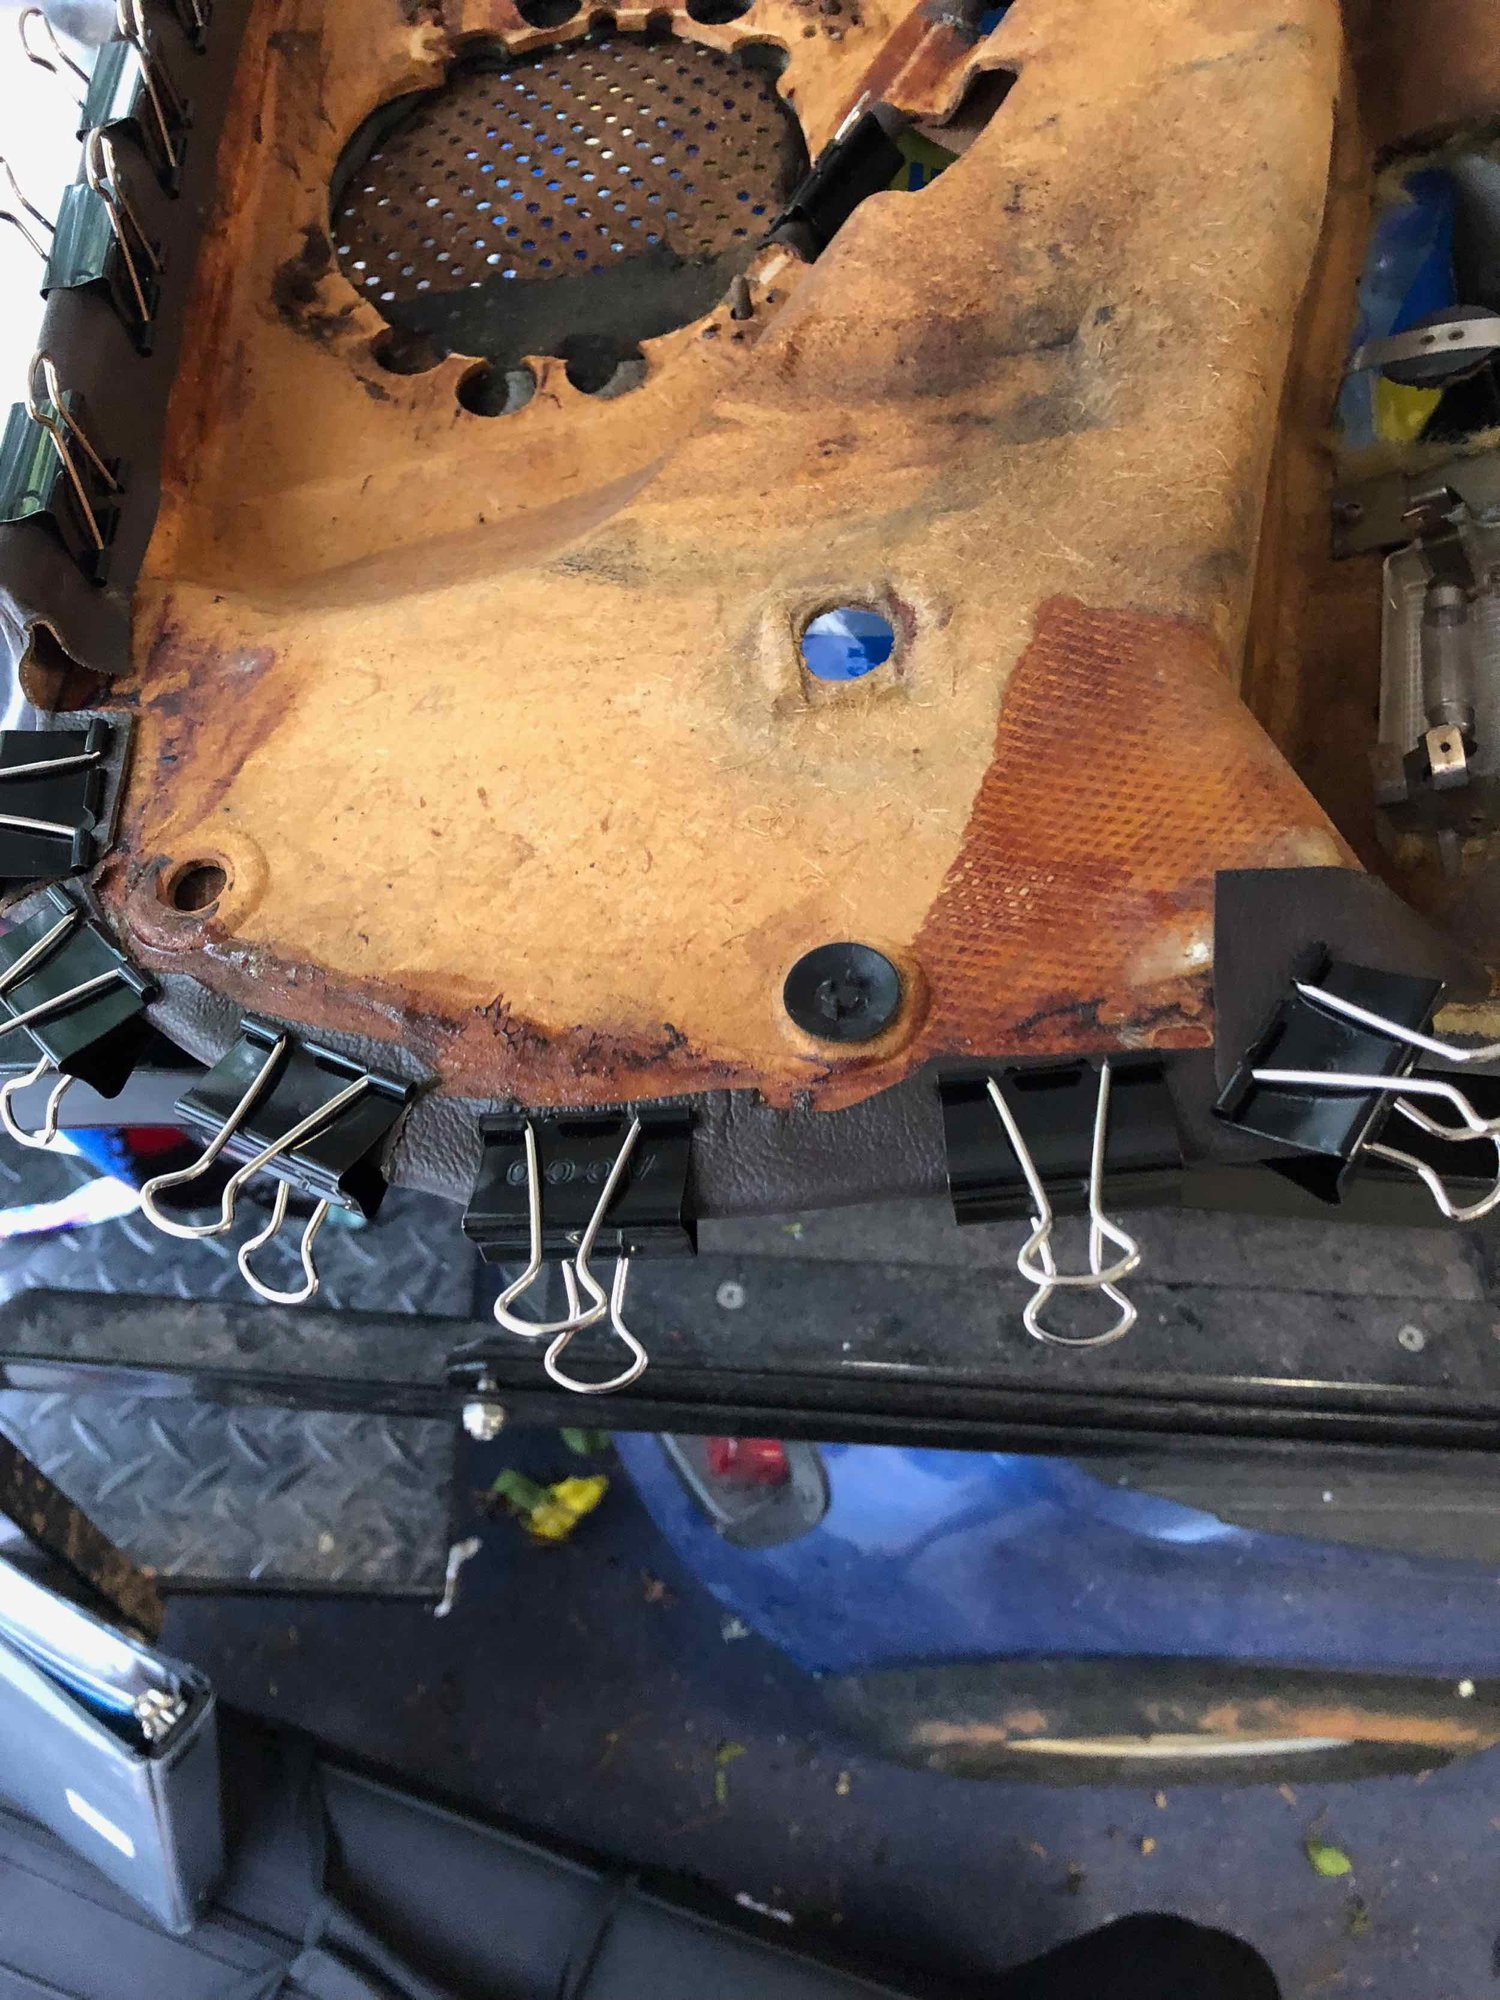
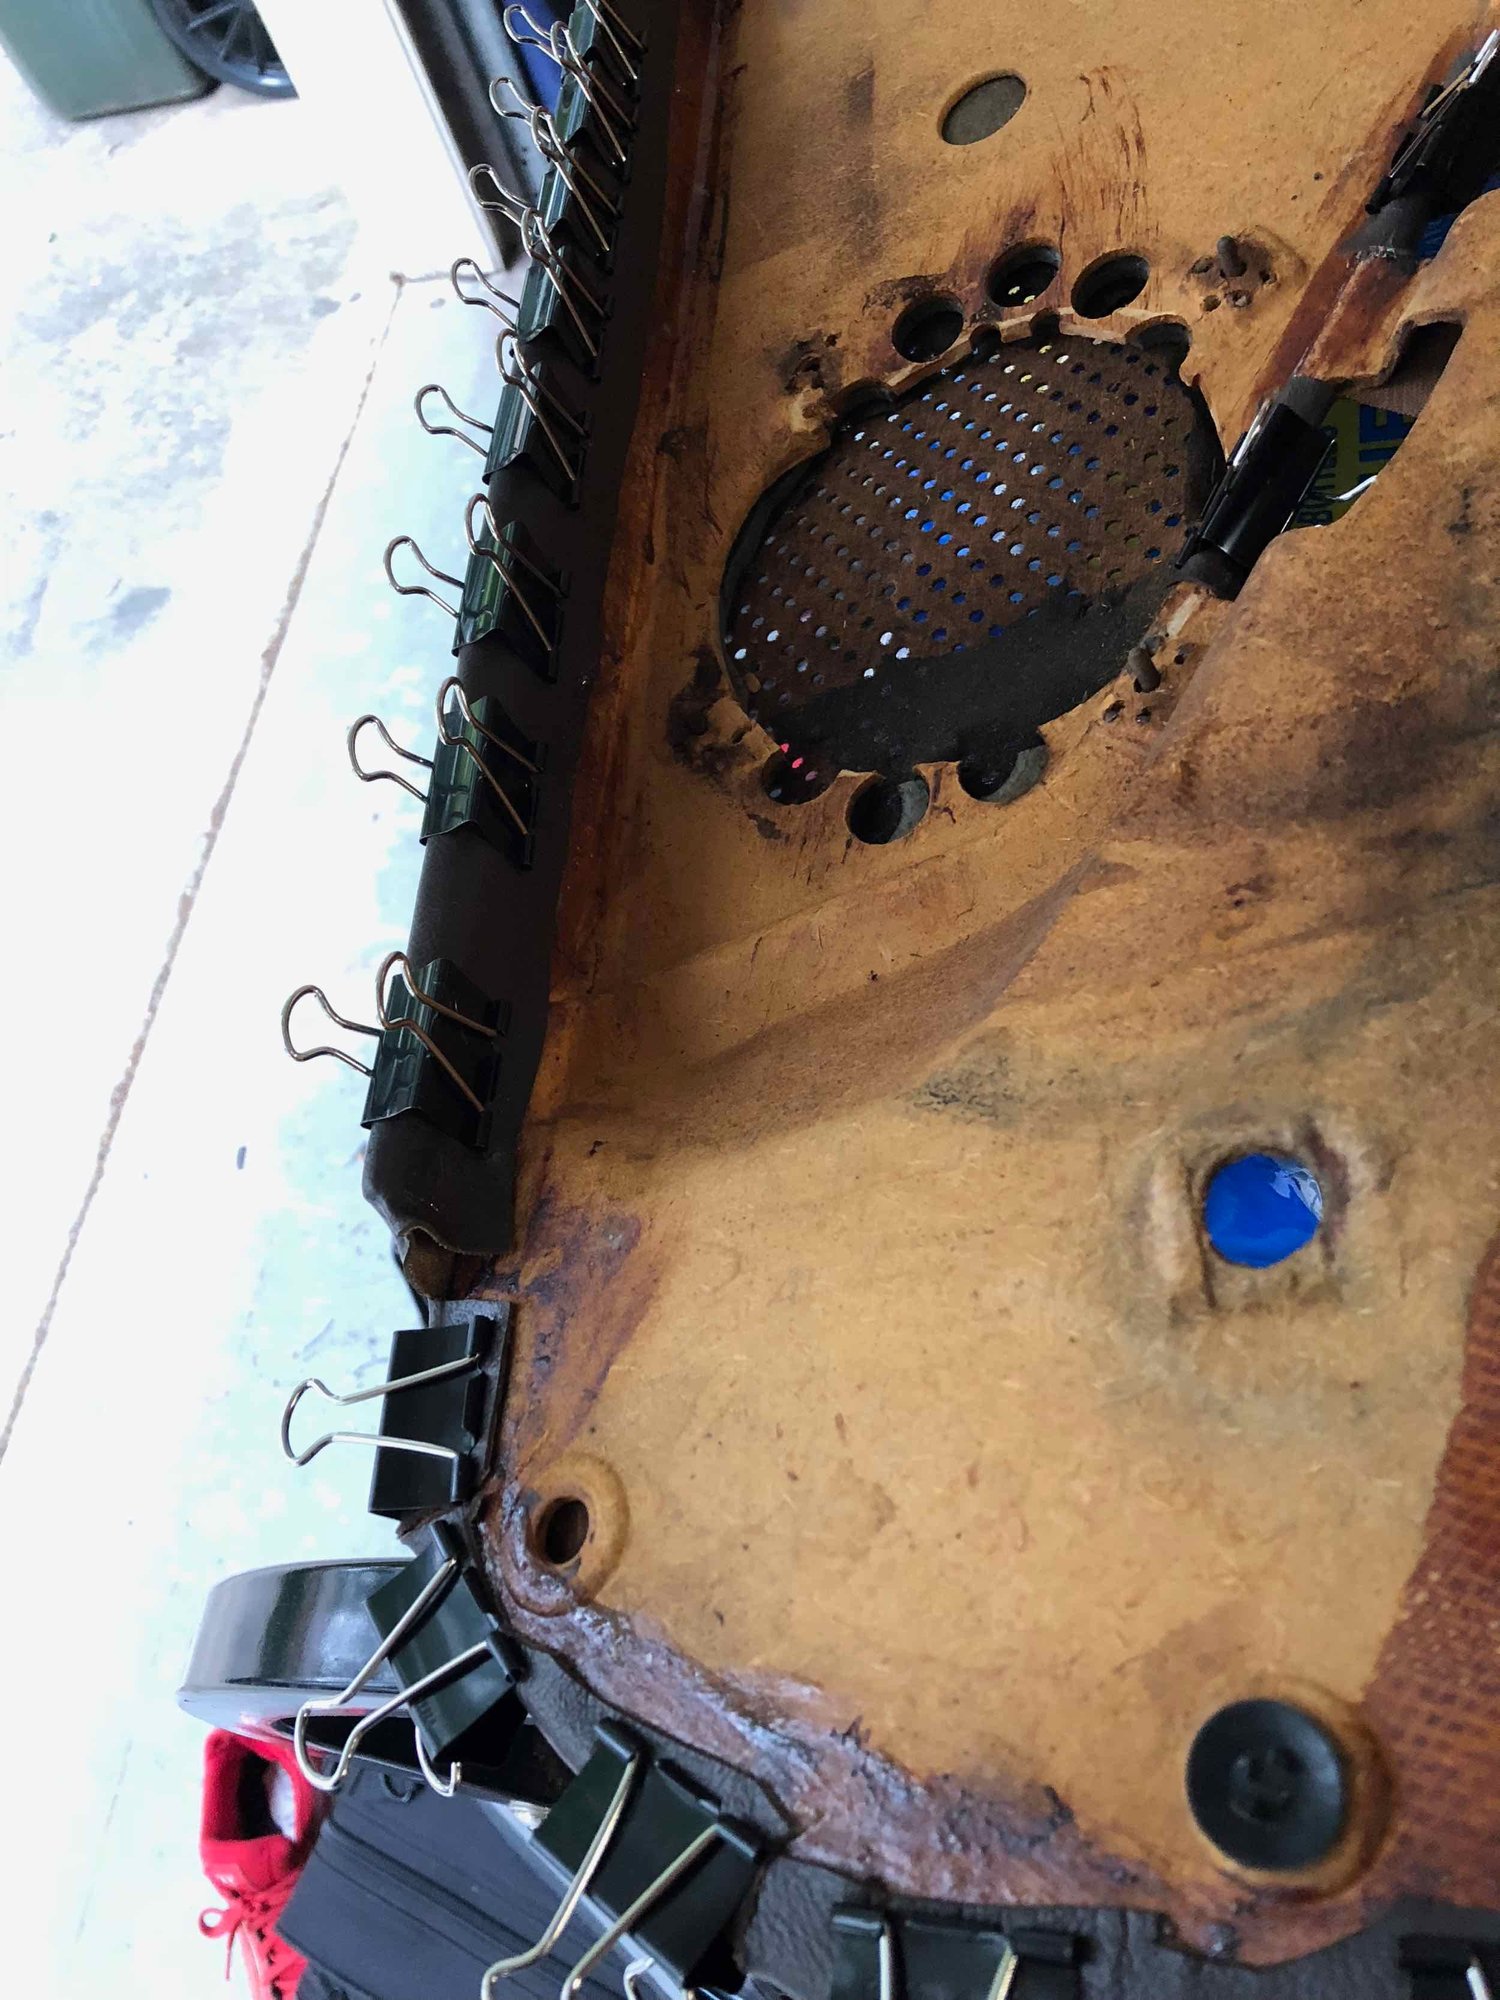
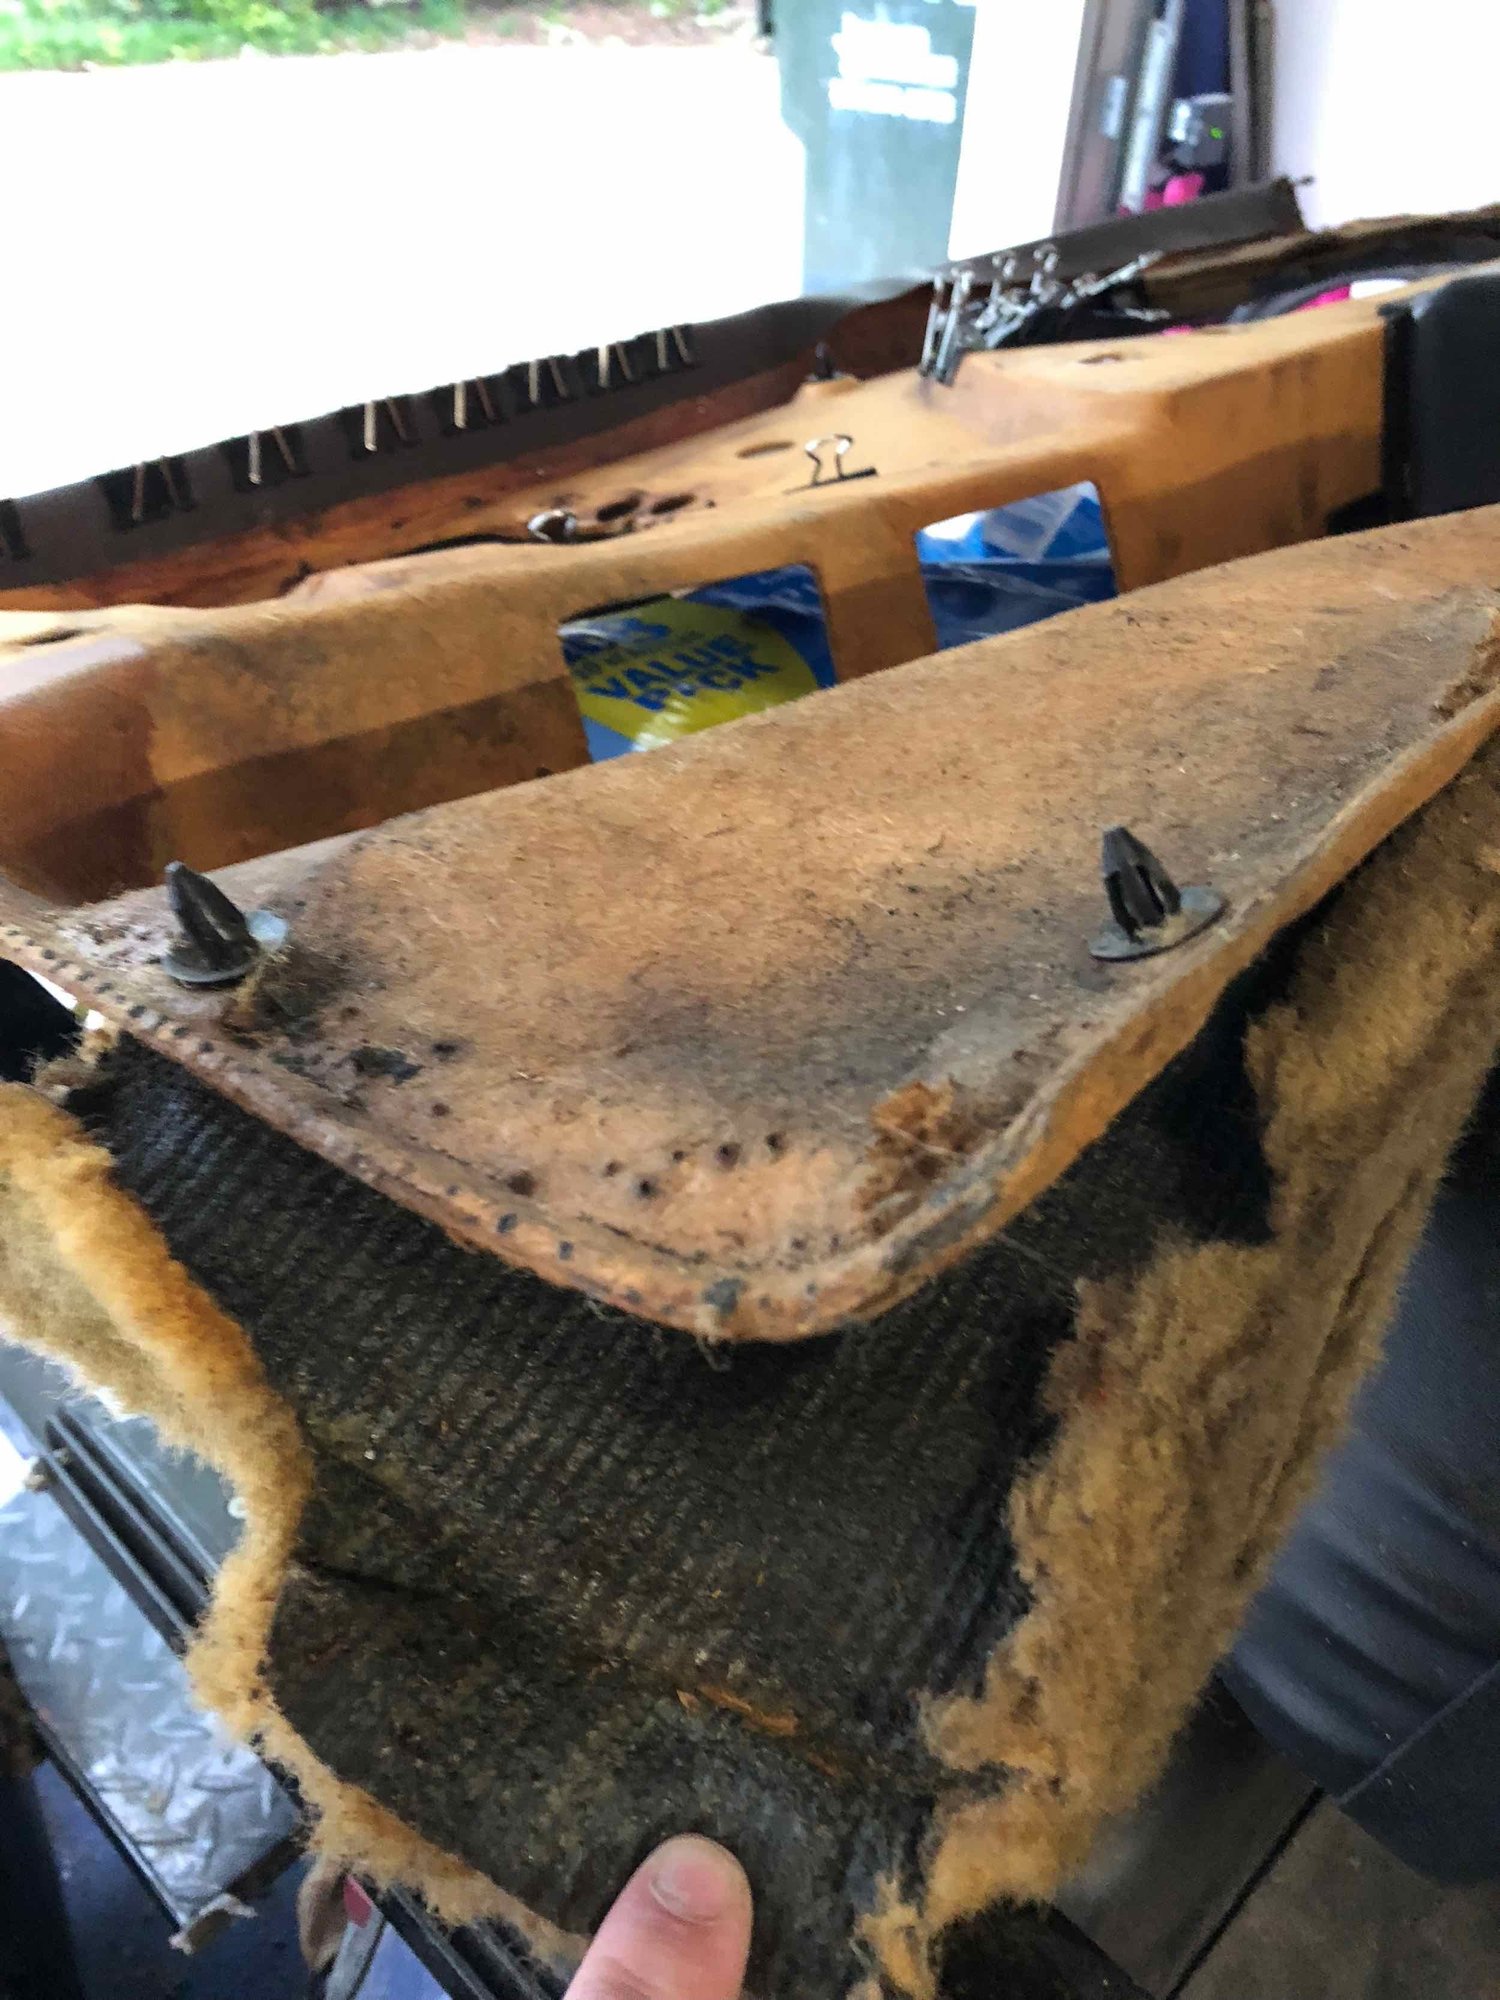
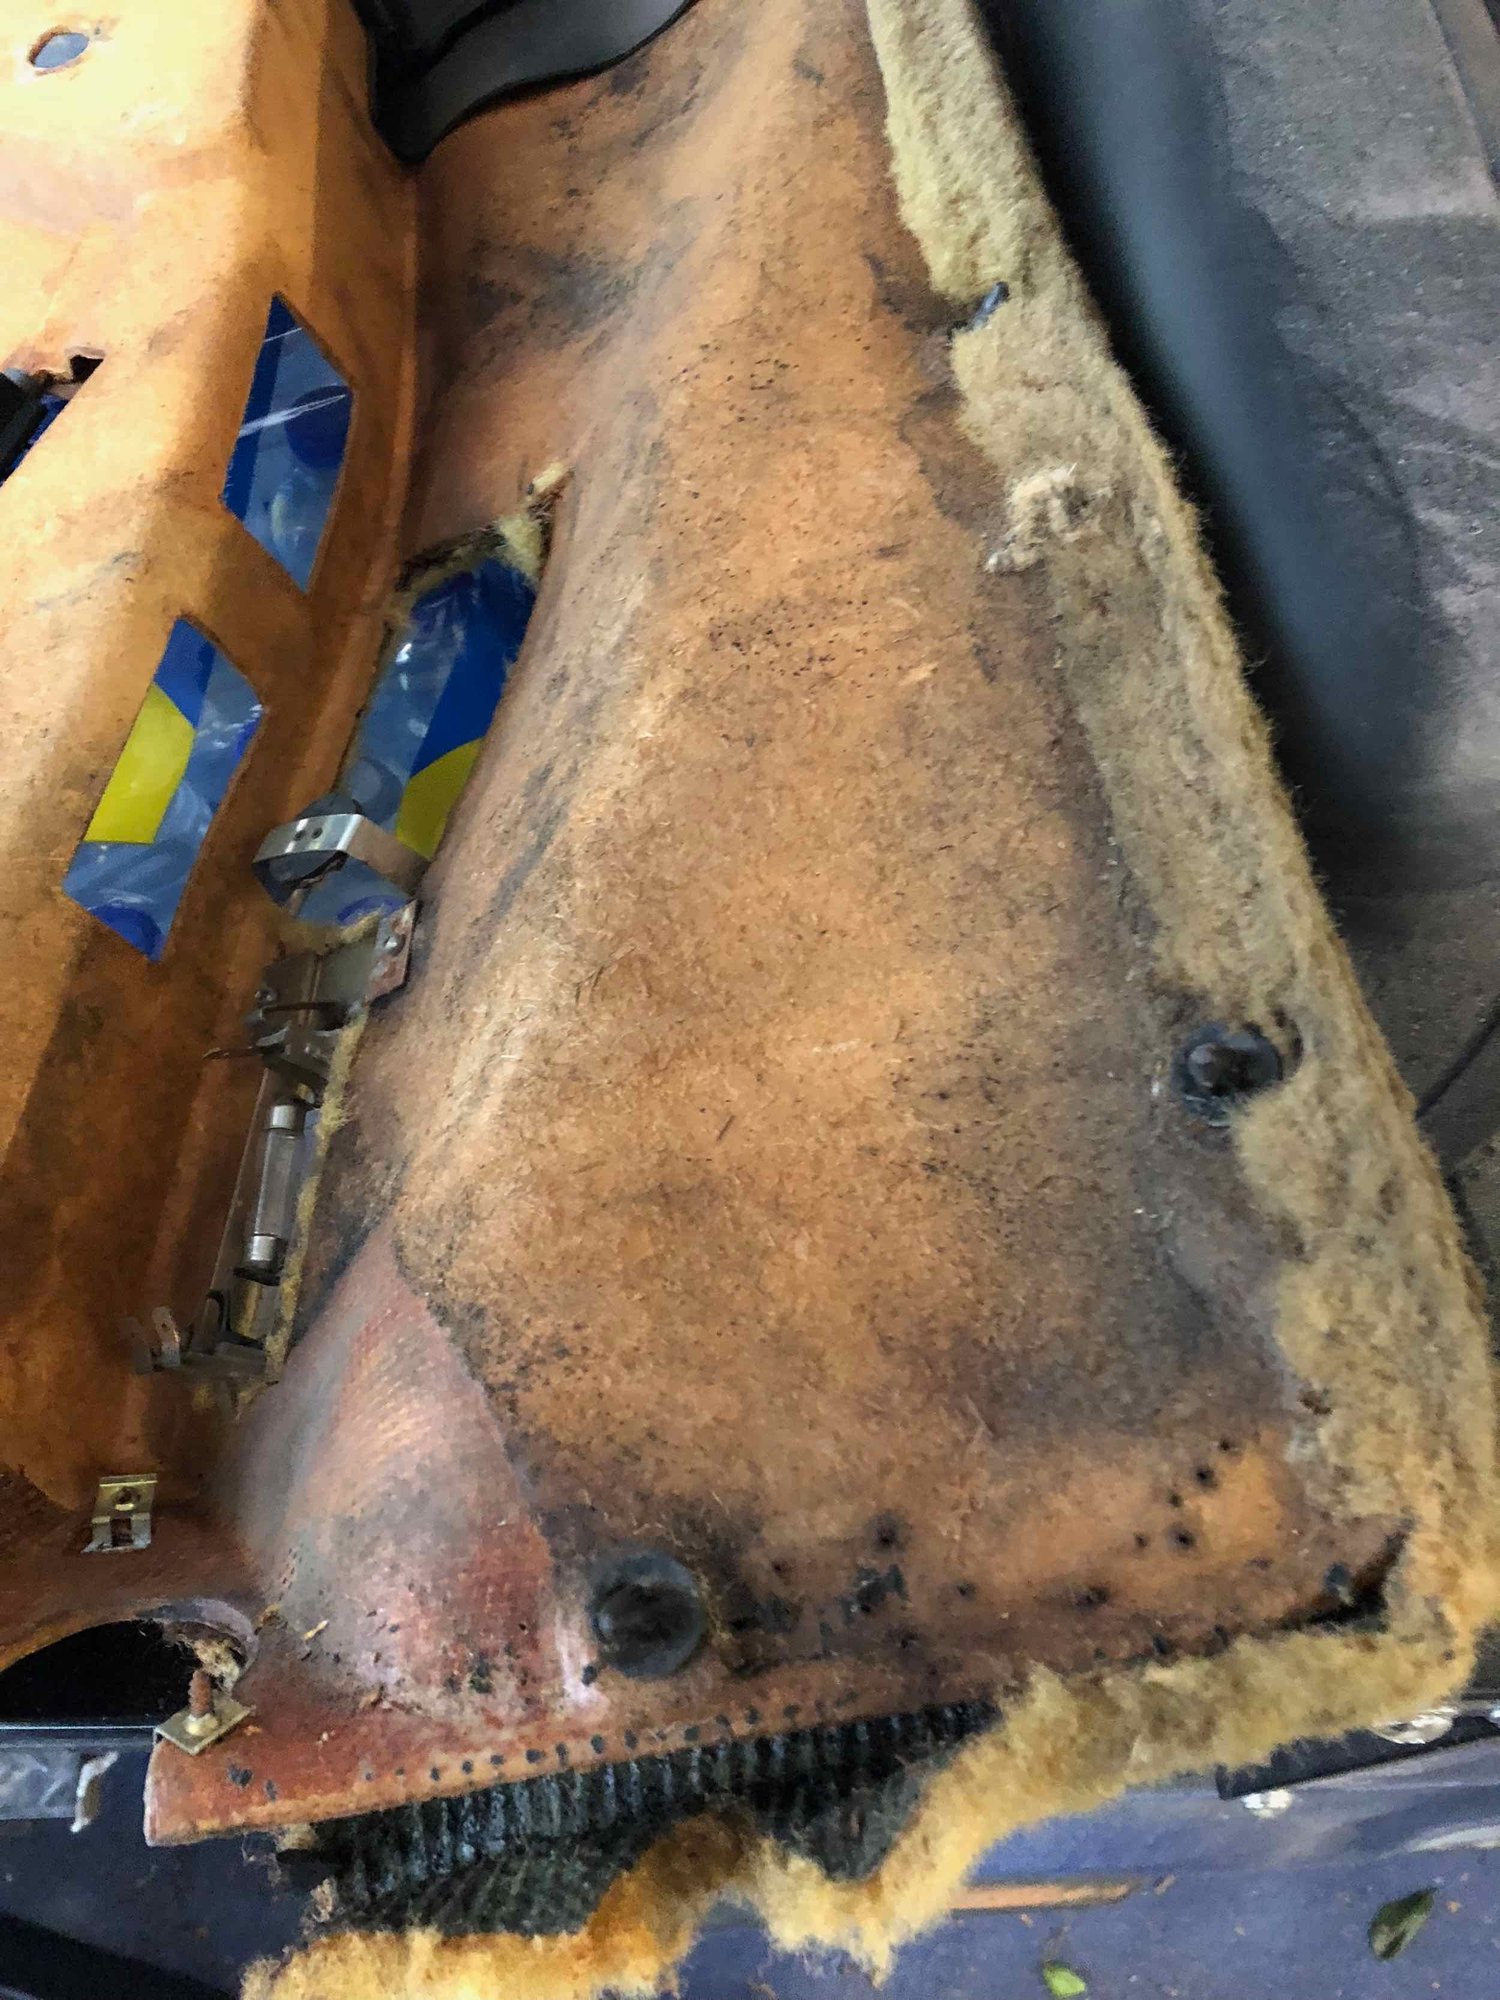
Reattaching vinyl to door panel. Both panels are like this, but look very presentable on the front.
New attachment hardware will be used.
Will have to reread the posts on how to flatten the warp at the bottom of the panels.
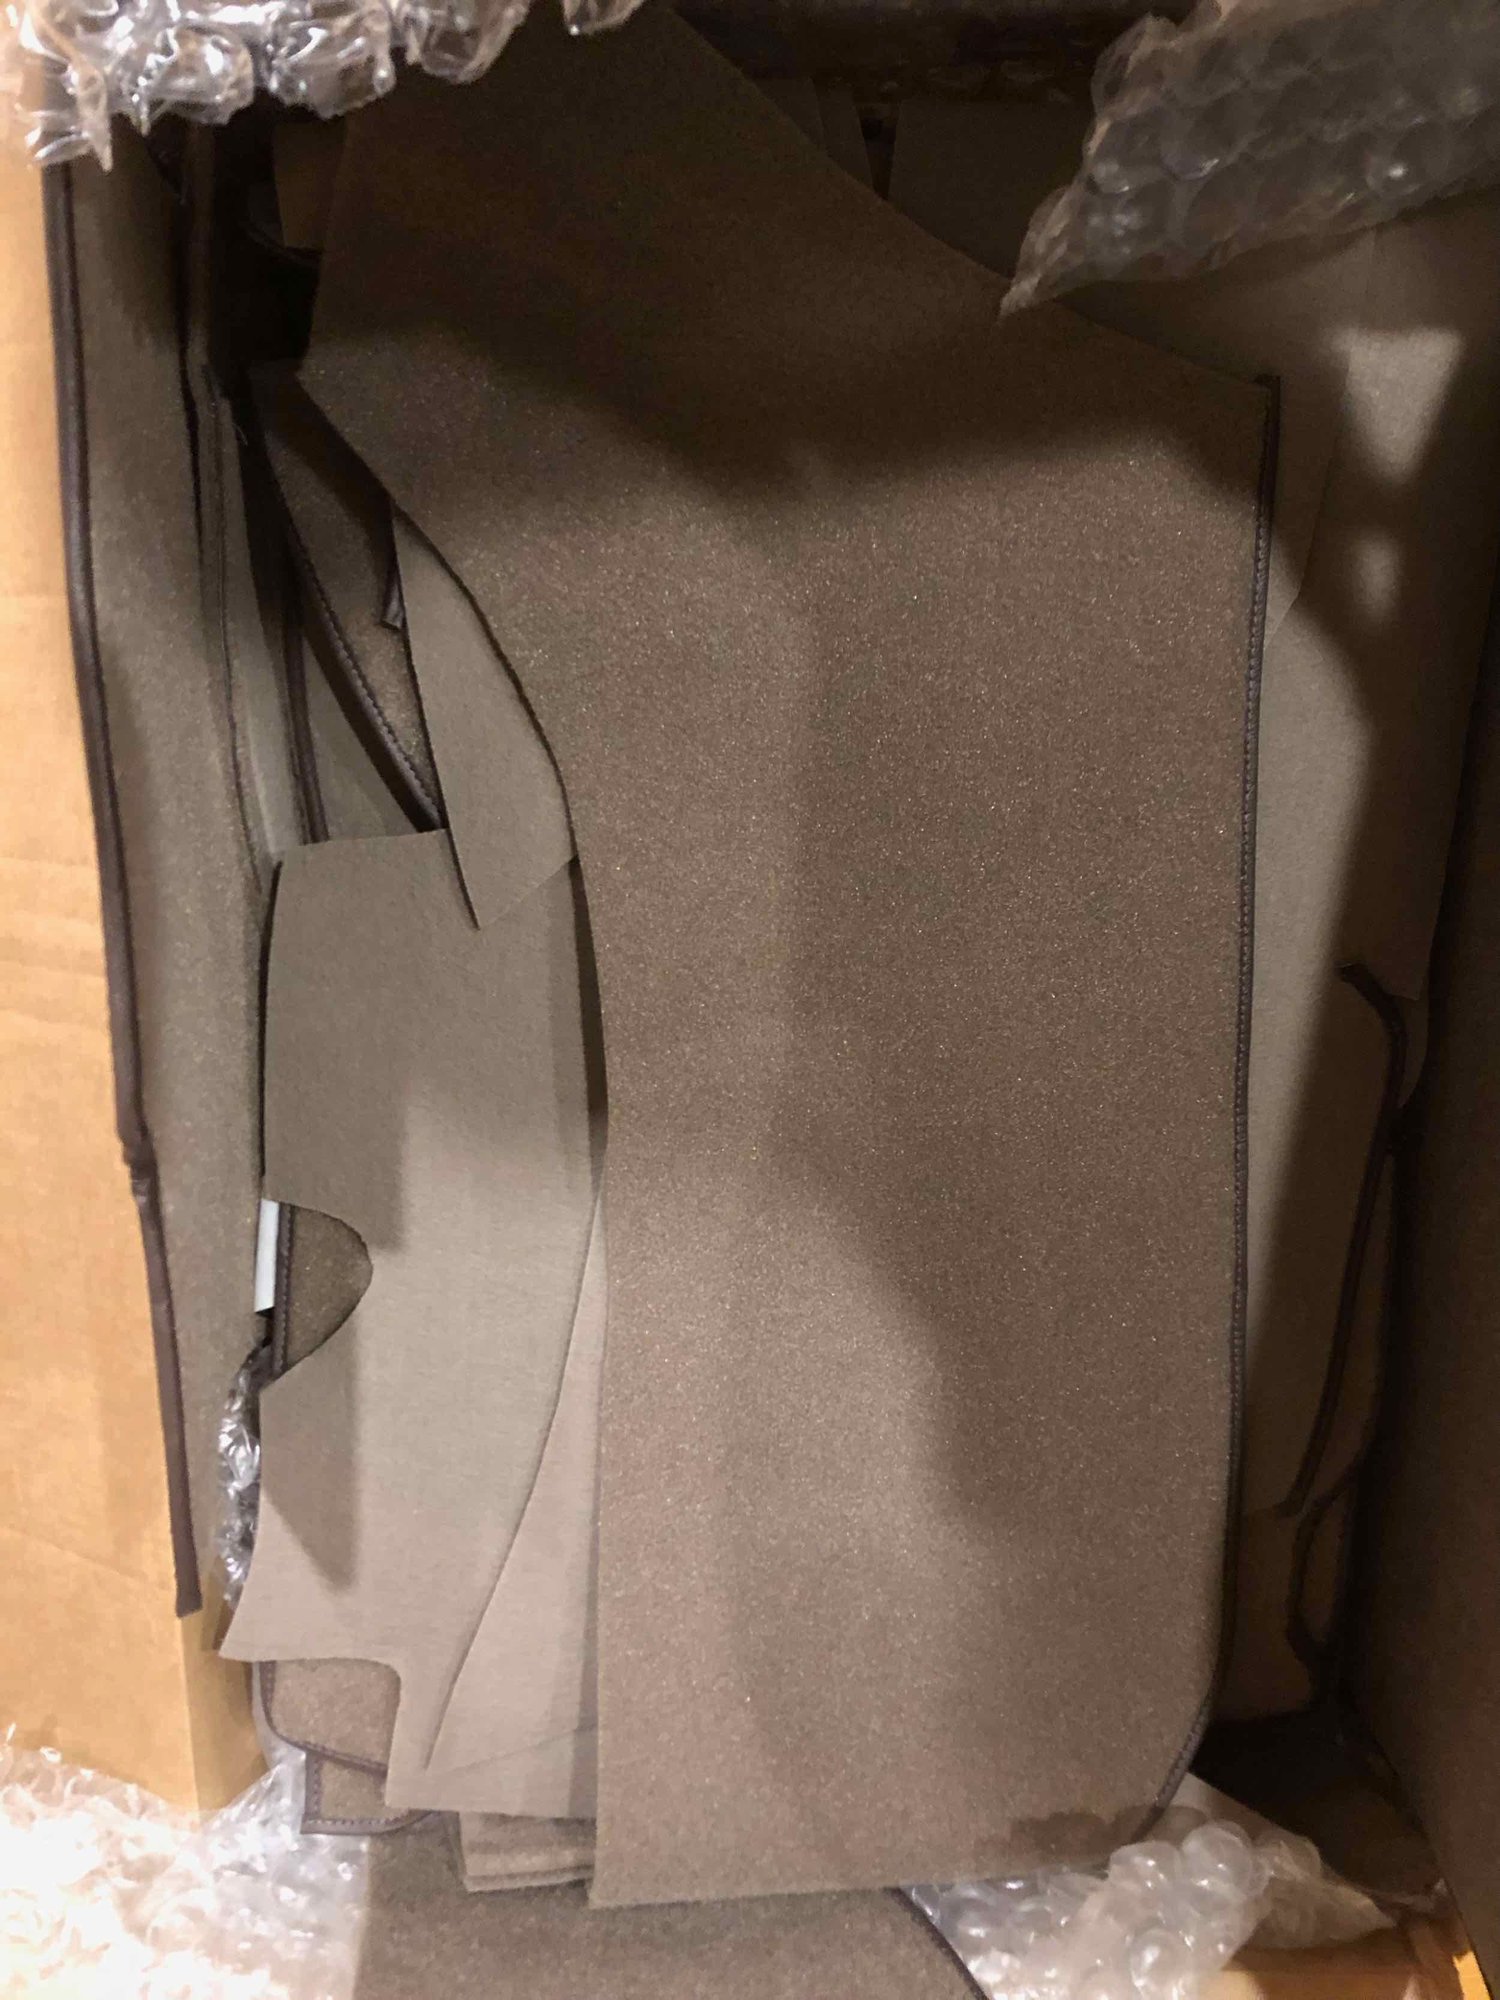
New carpet coming for the interior as well.
Trim bits being cleaned and resprayed.
Fresh coat of satin black.
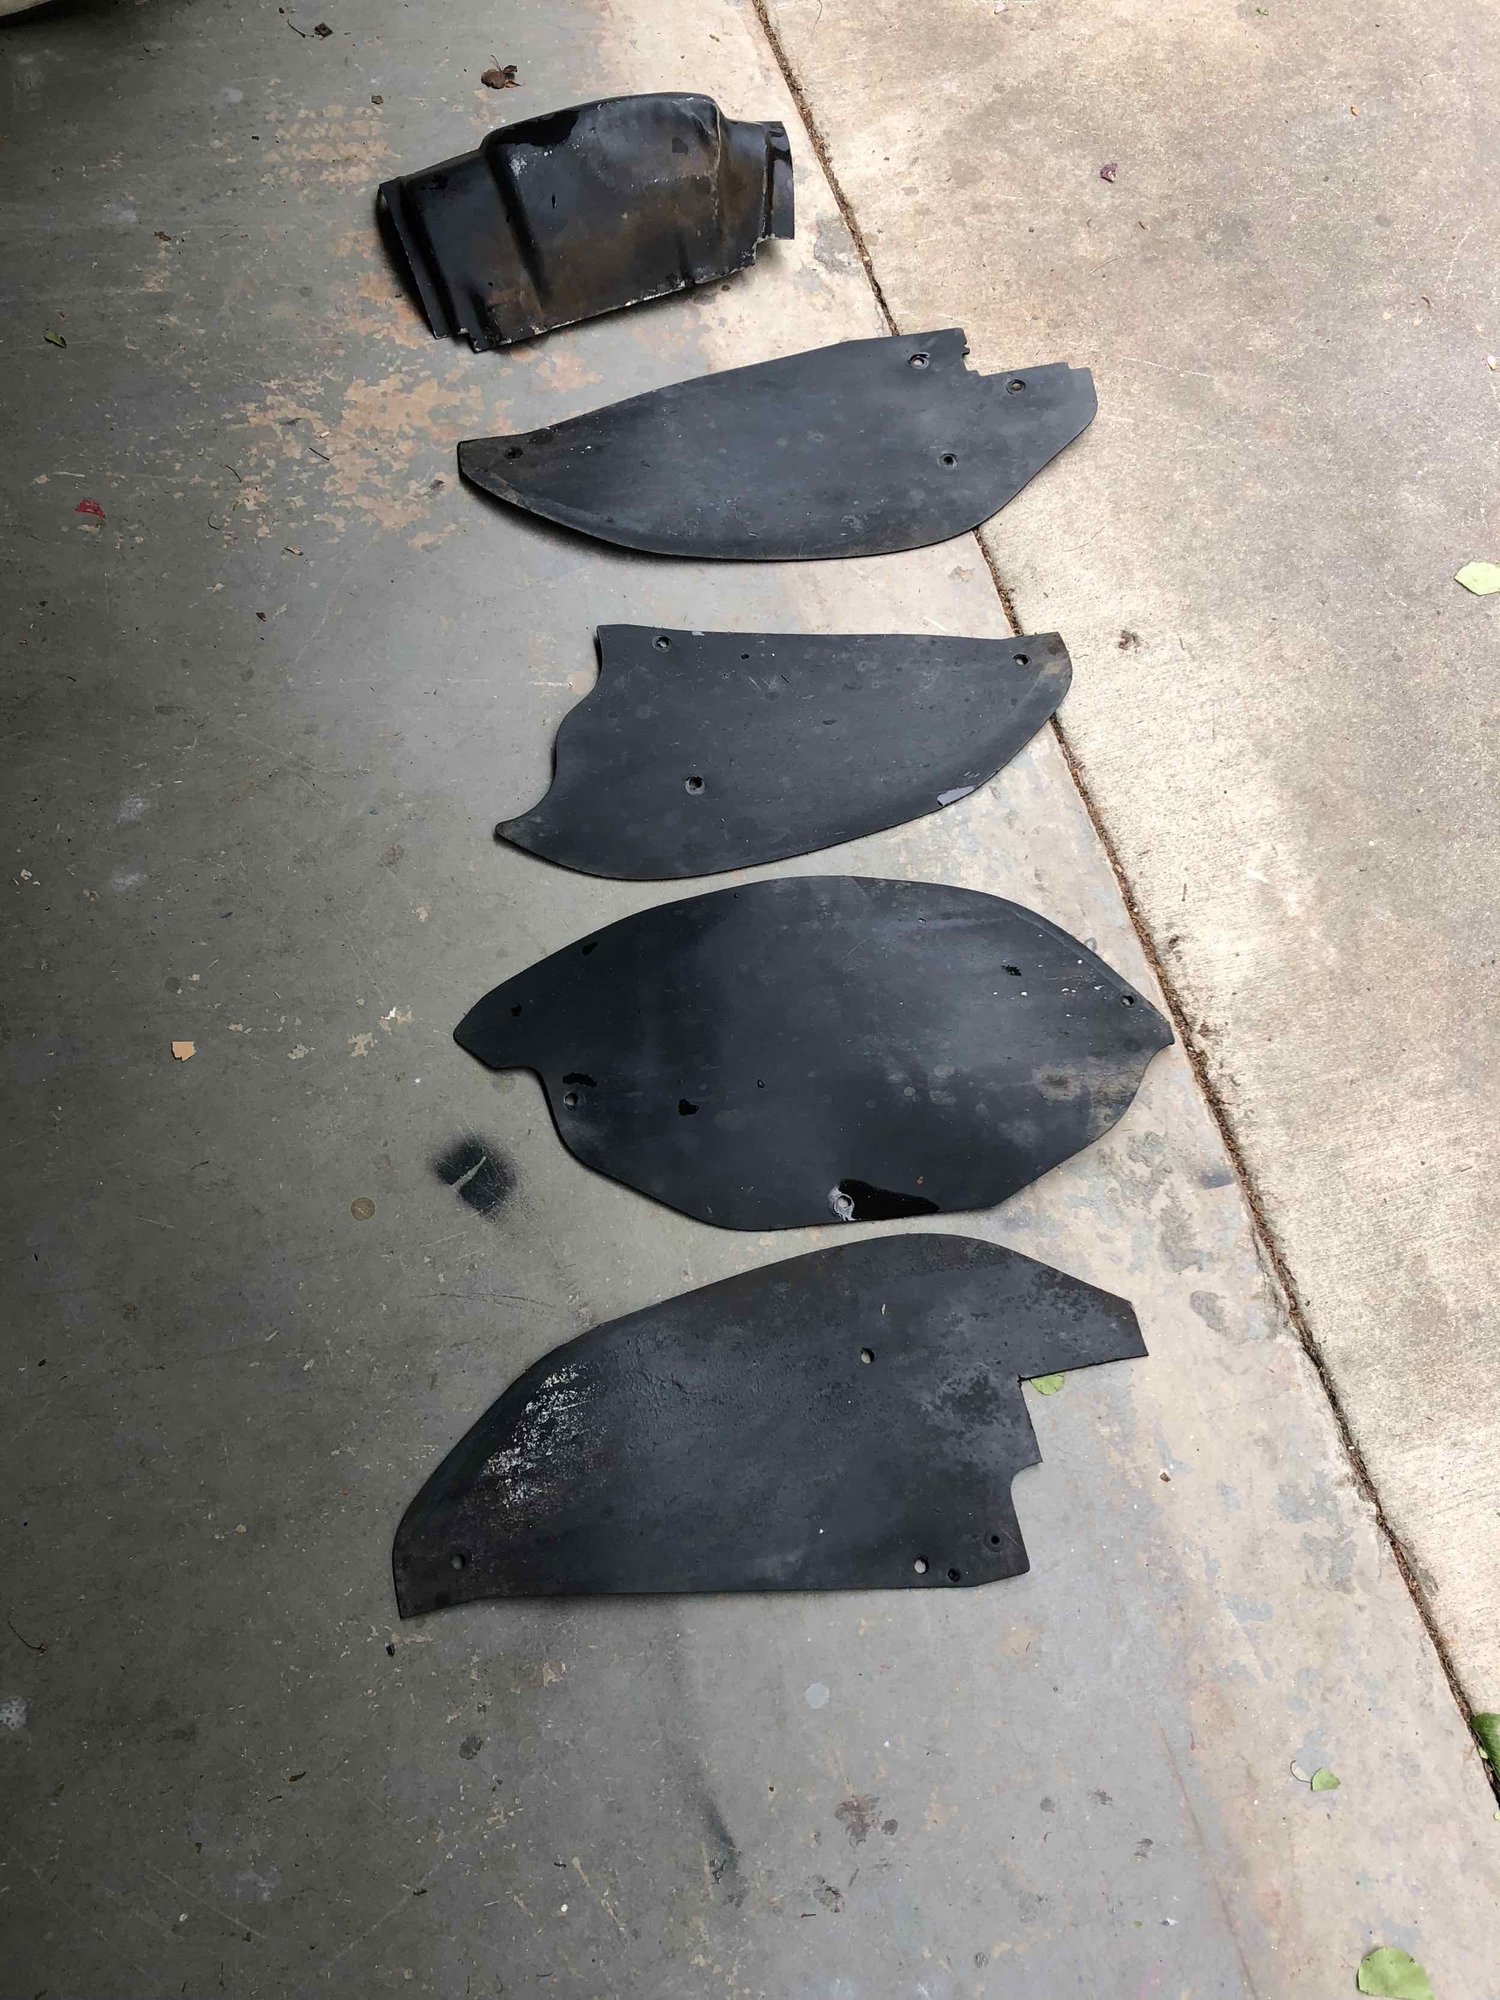
Other trim bits being cleaned to assess condition. Will plan to repair the cracks in the fender liners and seal/repaint.
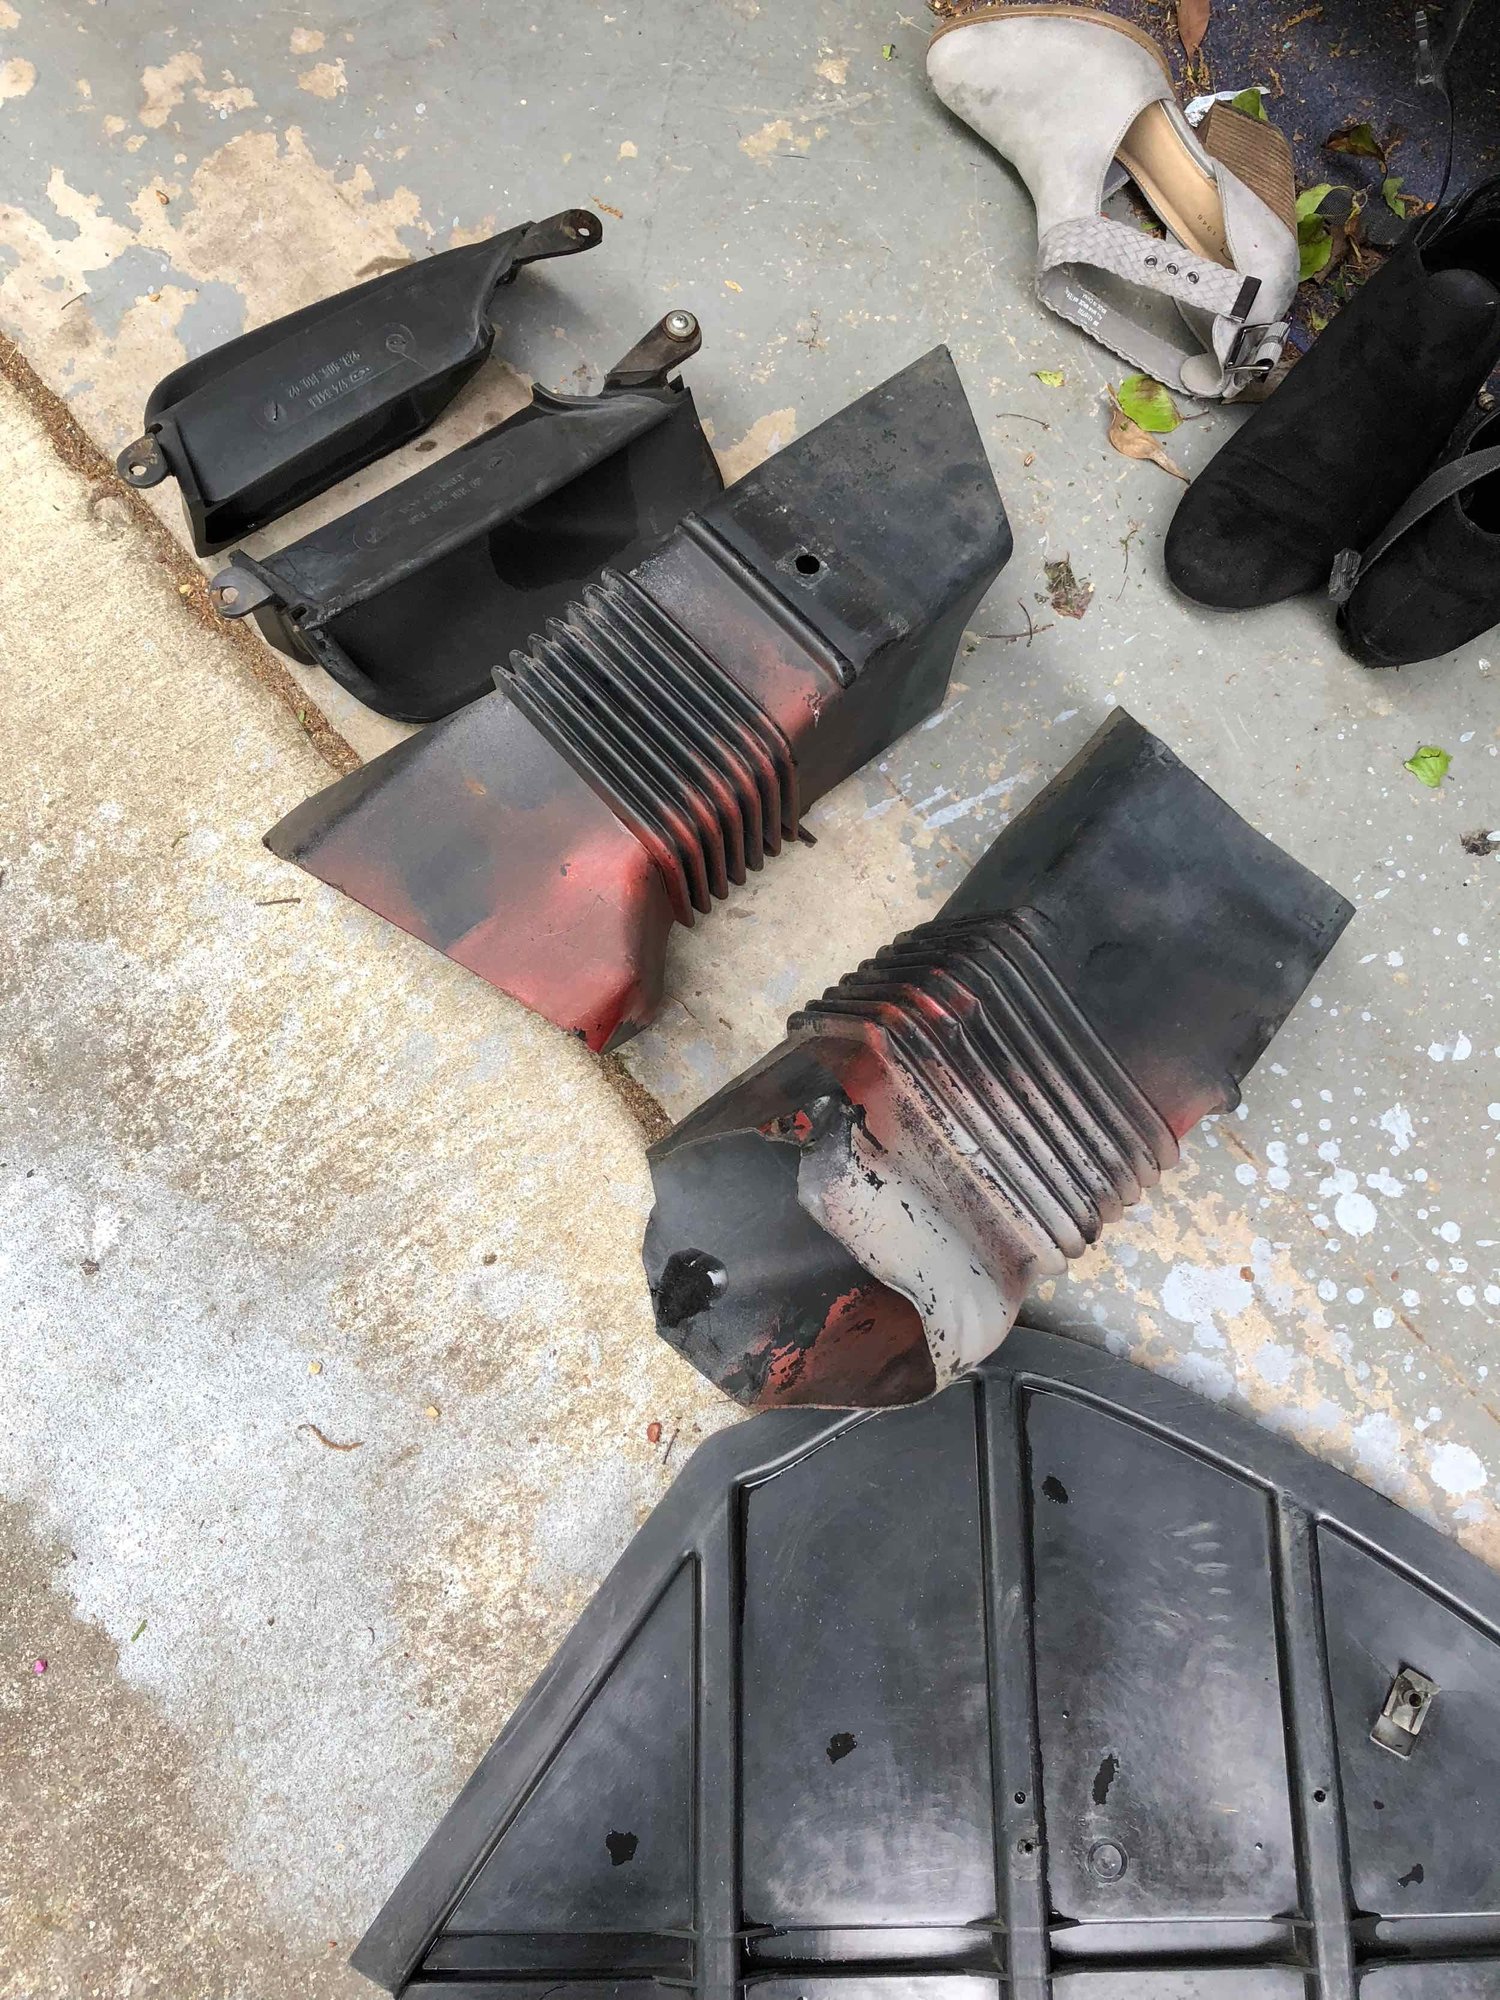
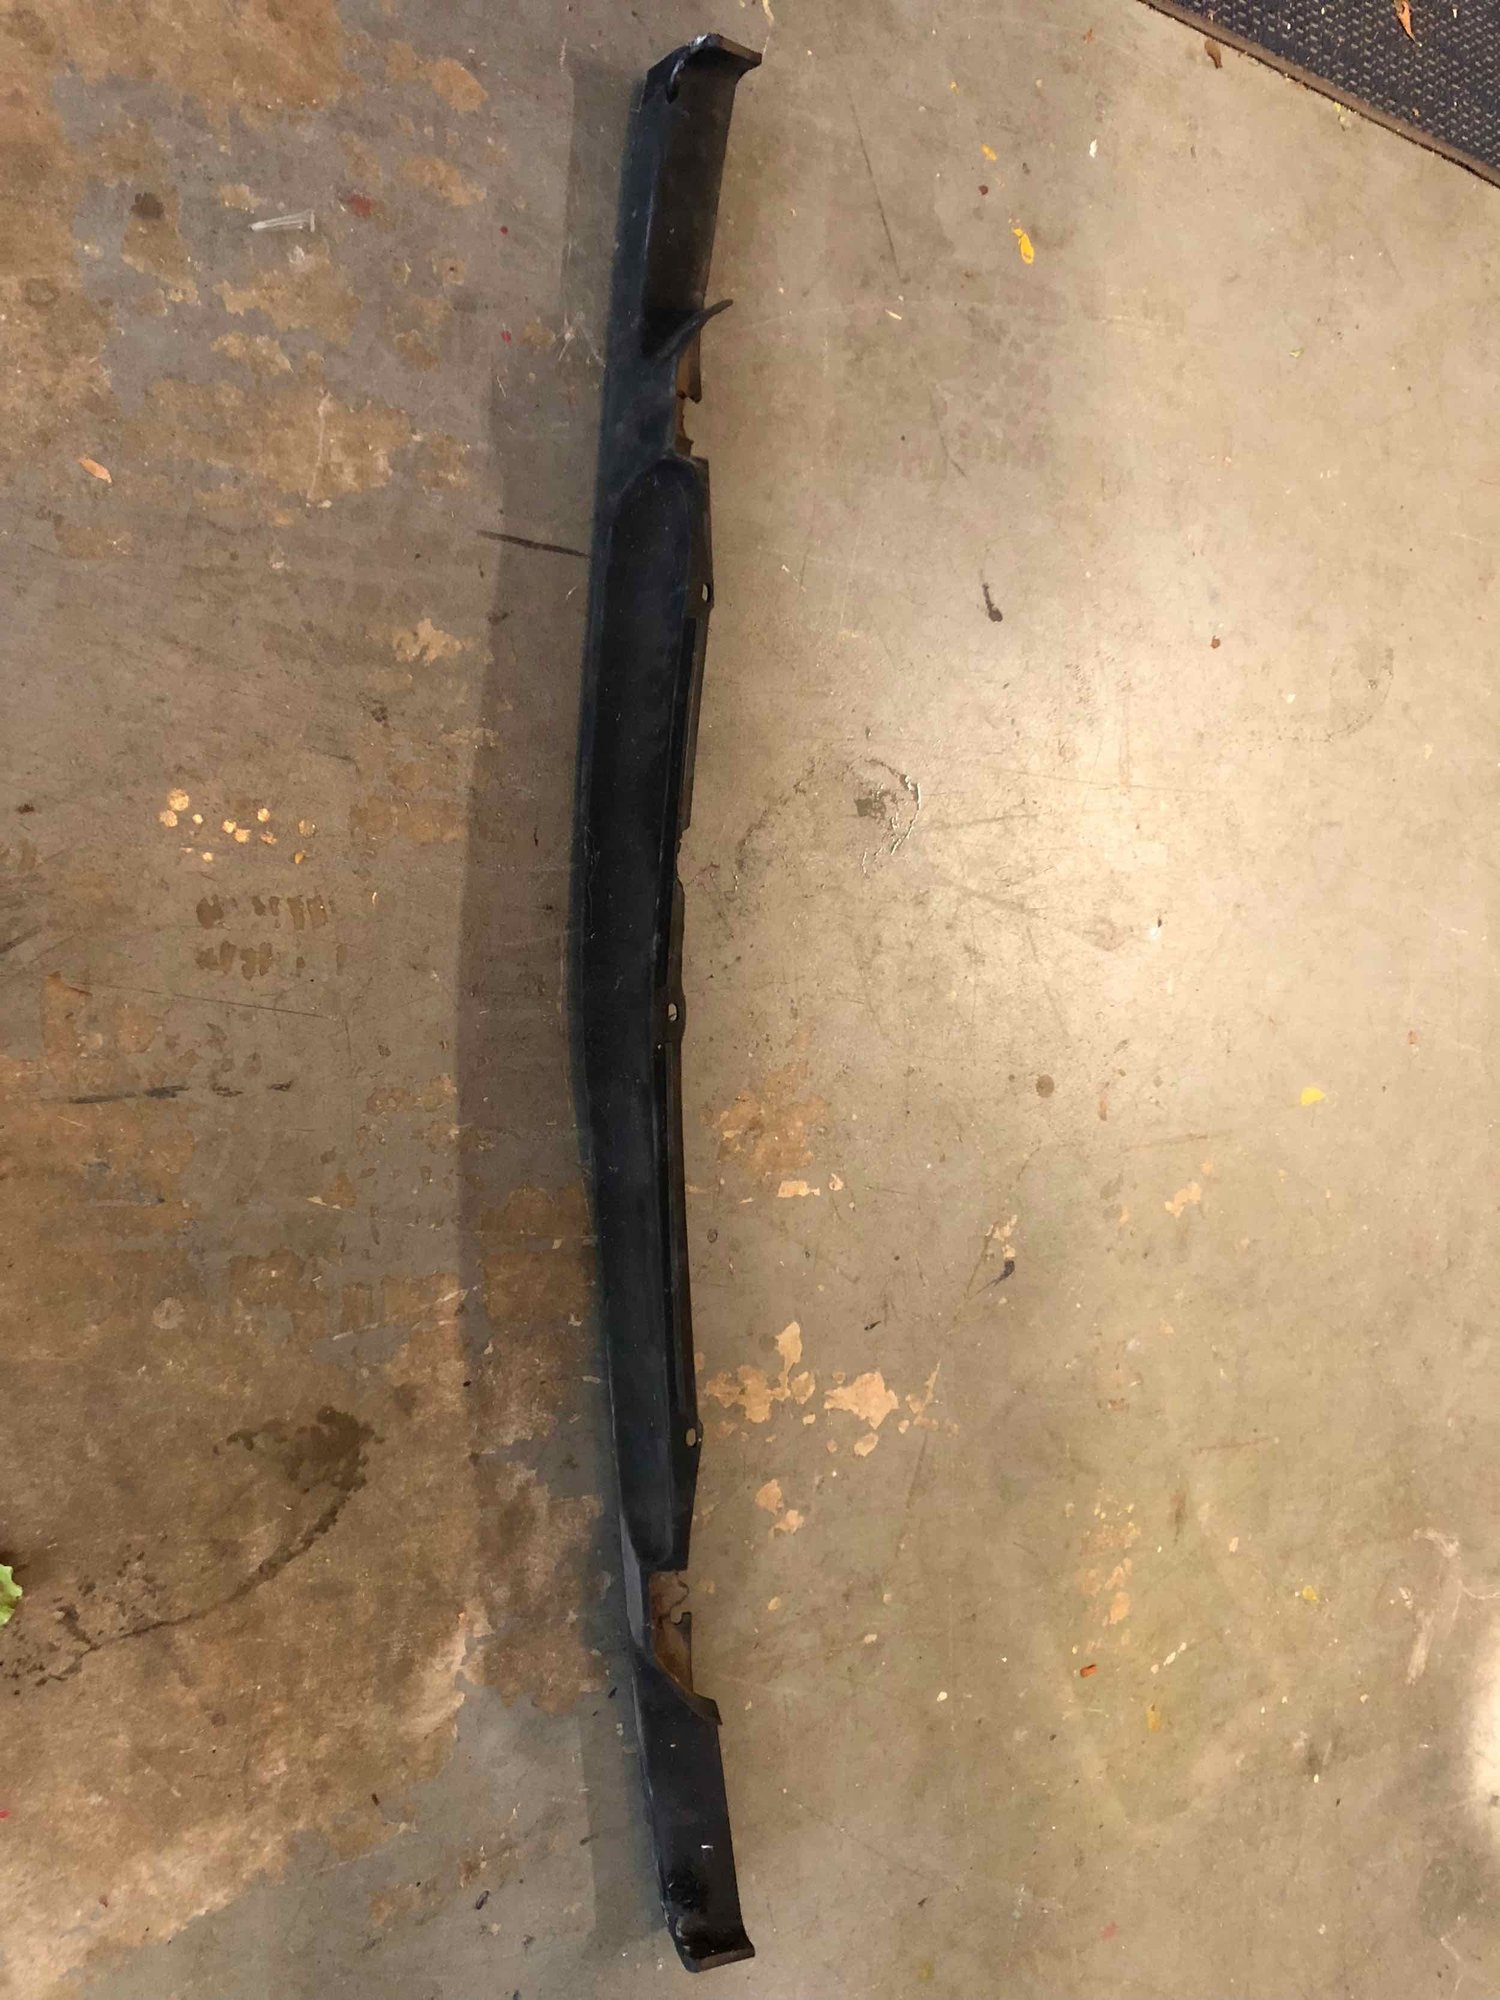
Brake air ducts were not removed during the previous respray so they will be cleaned and freshened. I am converting my spoiler (which was cracked on both sides) to a three piece unit (two sides and the center 'bar'), allowing me to repair the broken section and take the heavier weight off of the repair. Photos of that coming.
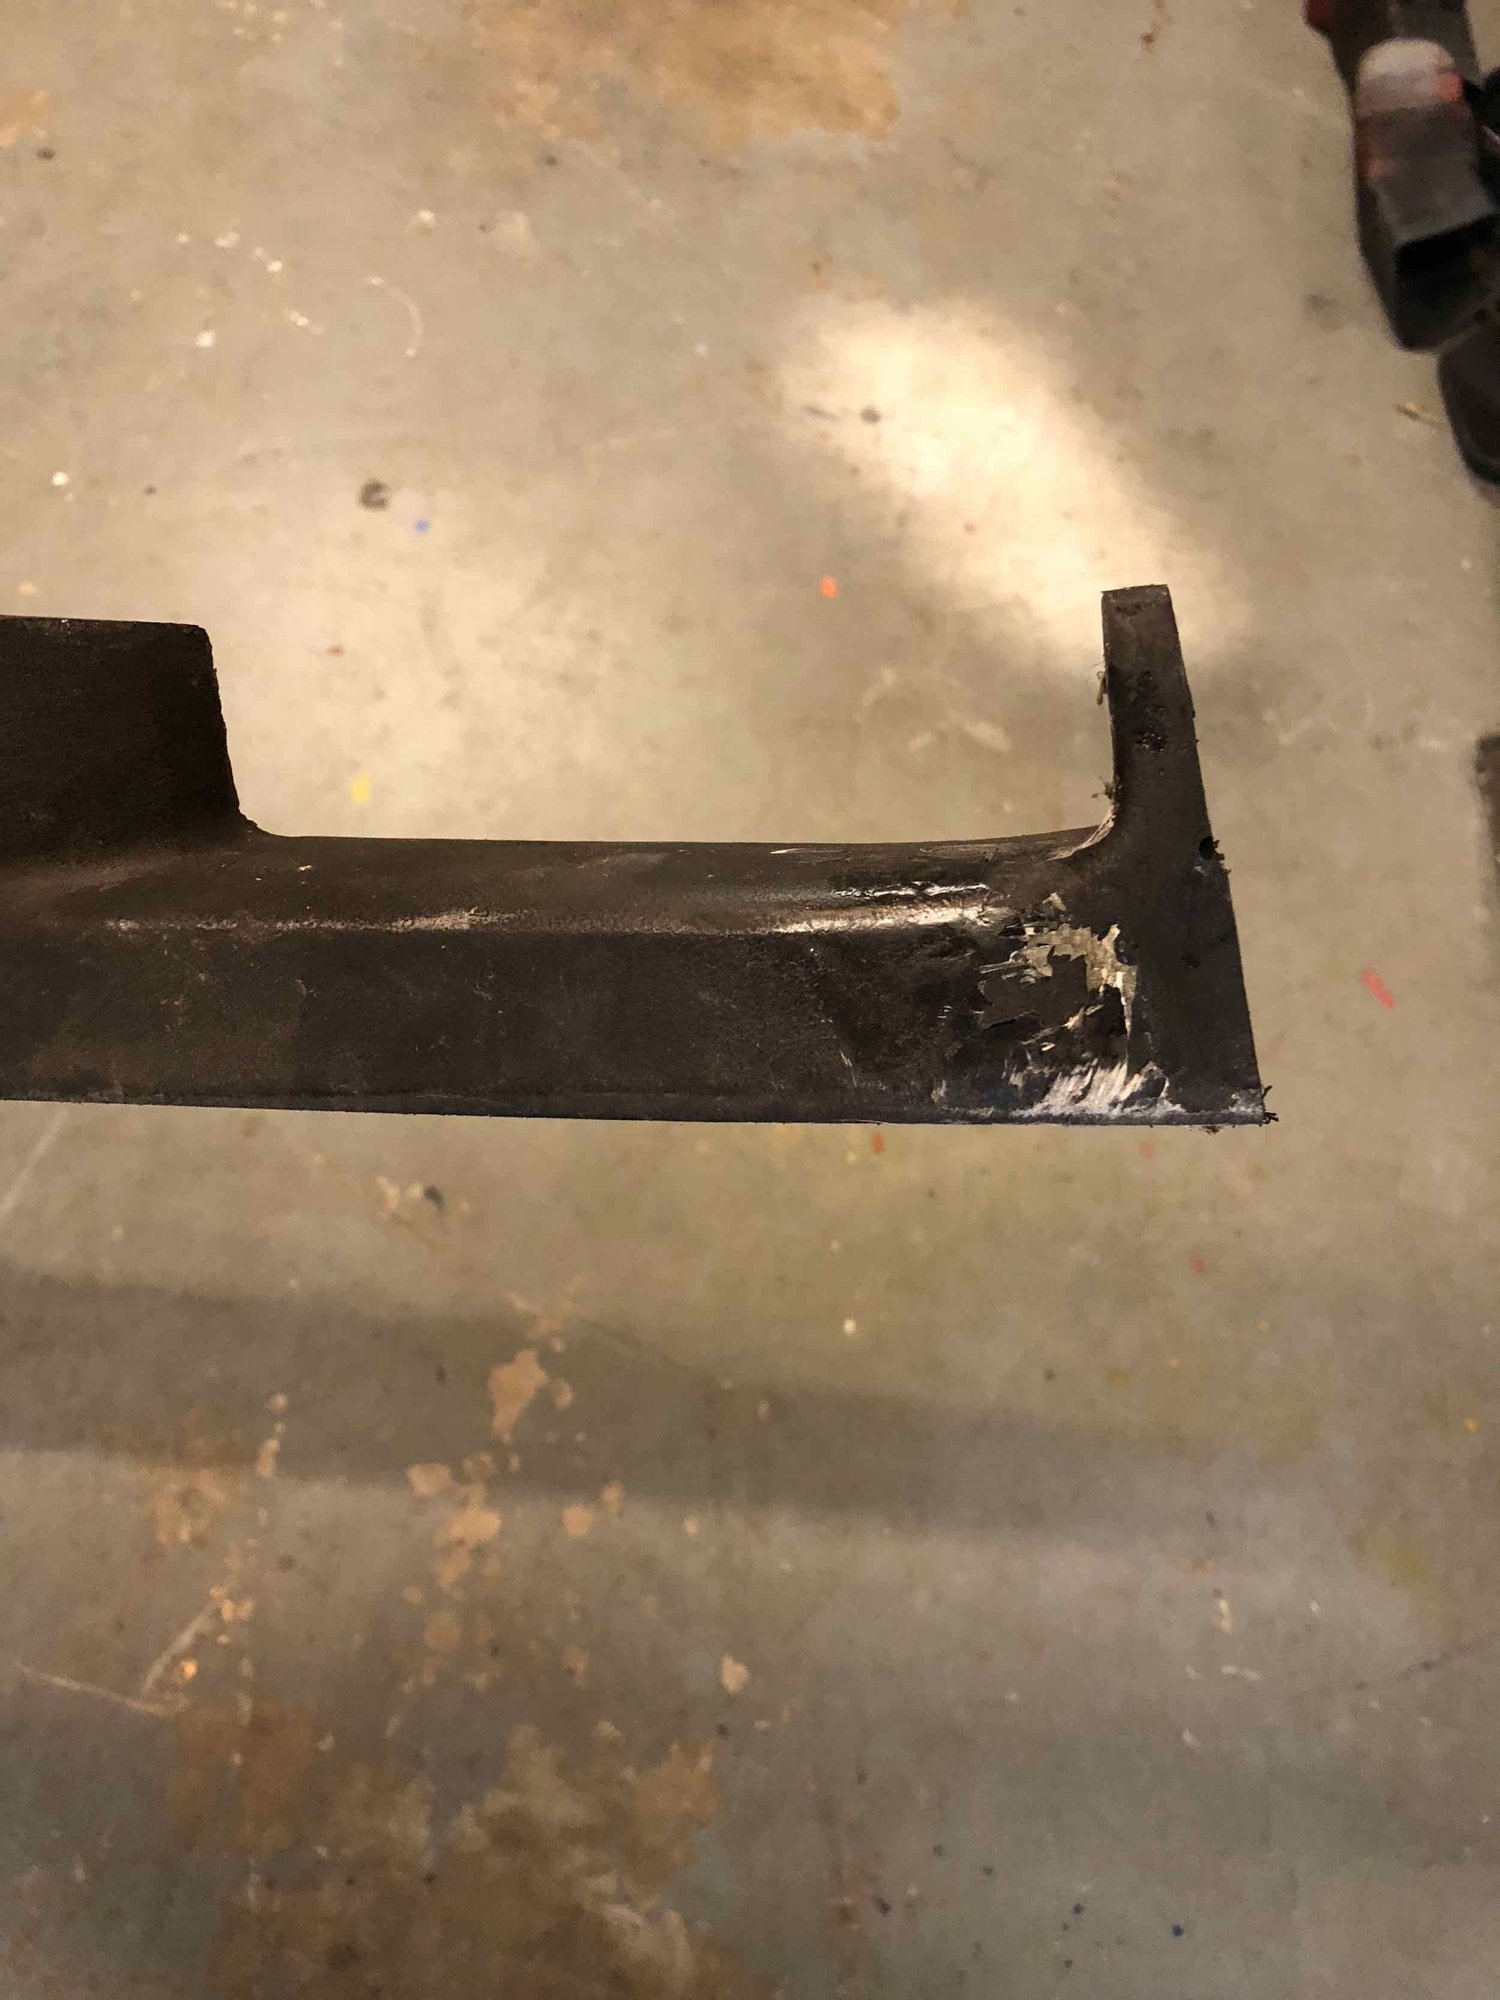
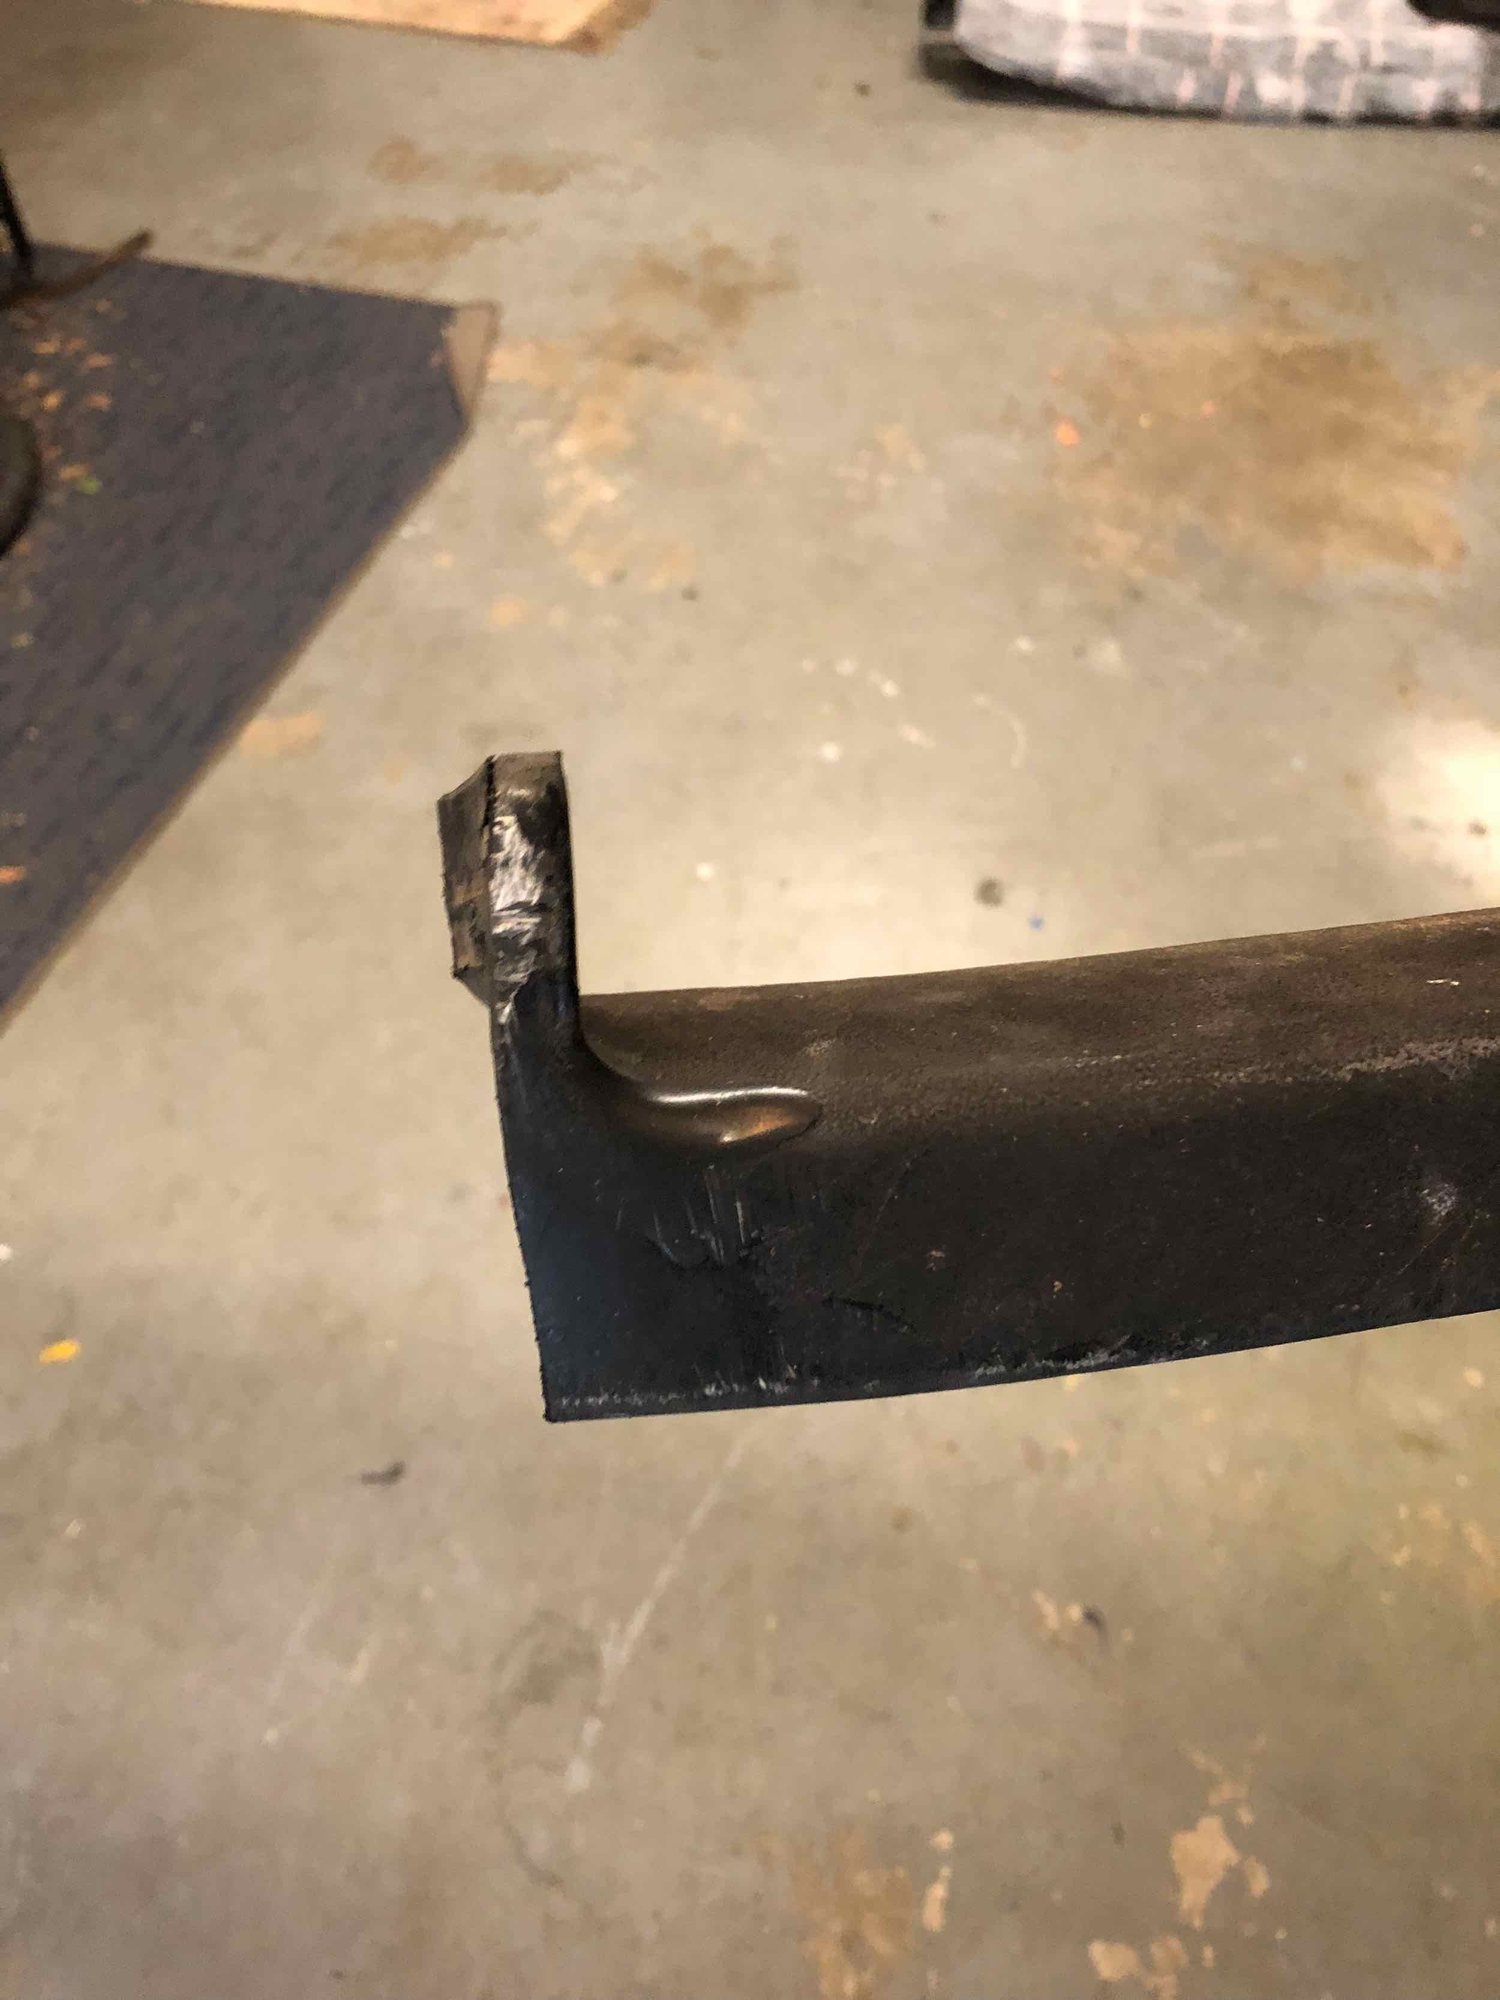
Here are a few of the front spoiler. Plan is to clean and repaint then reattach in 3 sections. I was first under the impression this entire piece was urethane like the rear spoiler. It broke in a very jagged pattern, so I cut it off even on both sides (in the same spot). Now I can reattach the jagged break with no weight pulling on it and have a smooth edge.
Will have to come up with a plan for the attachment points around the air ducts and an additional bolt on each end of the long section. Each piece should now be light enough to easily support its weight, and if the center part gets damaged, it can be removed by itself for repair.
PICS...
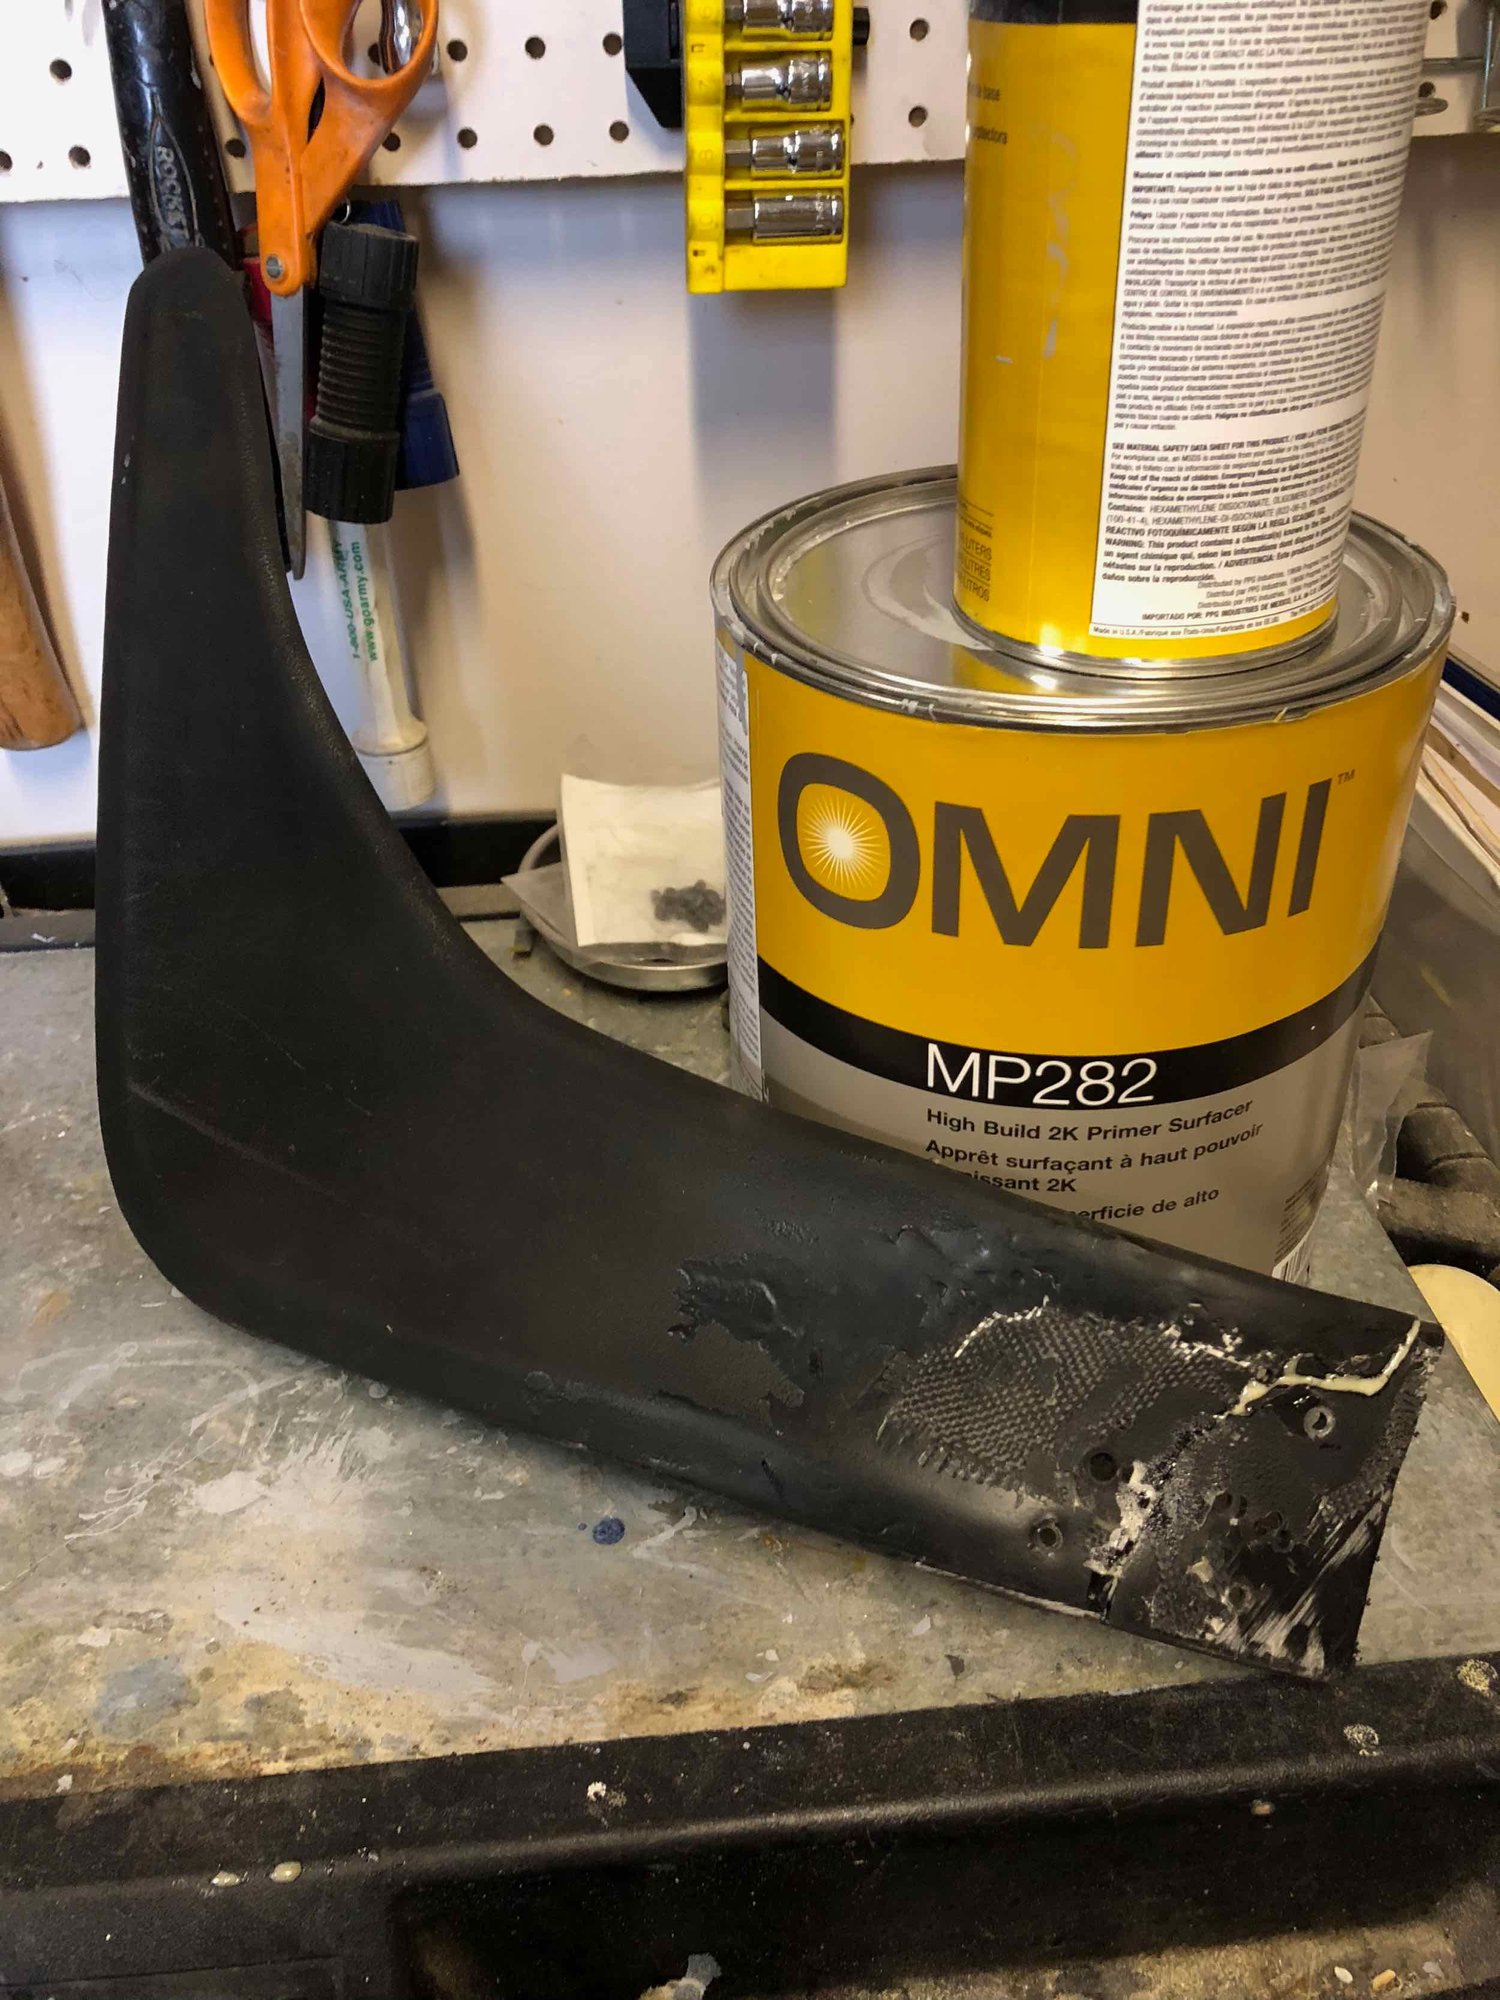
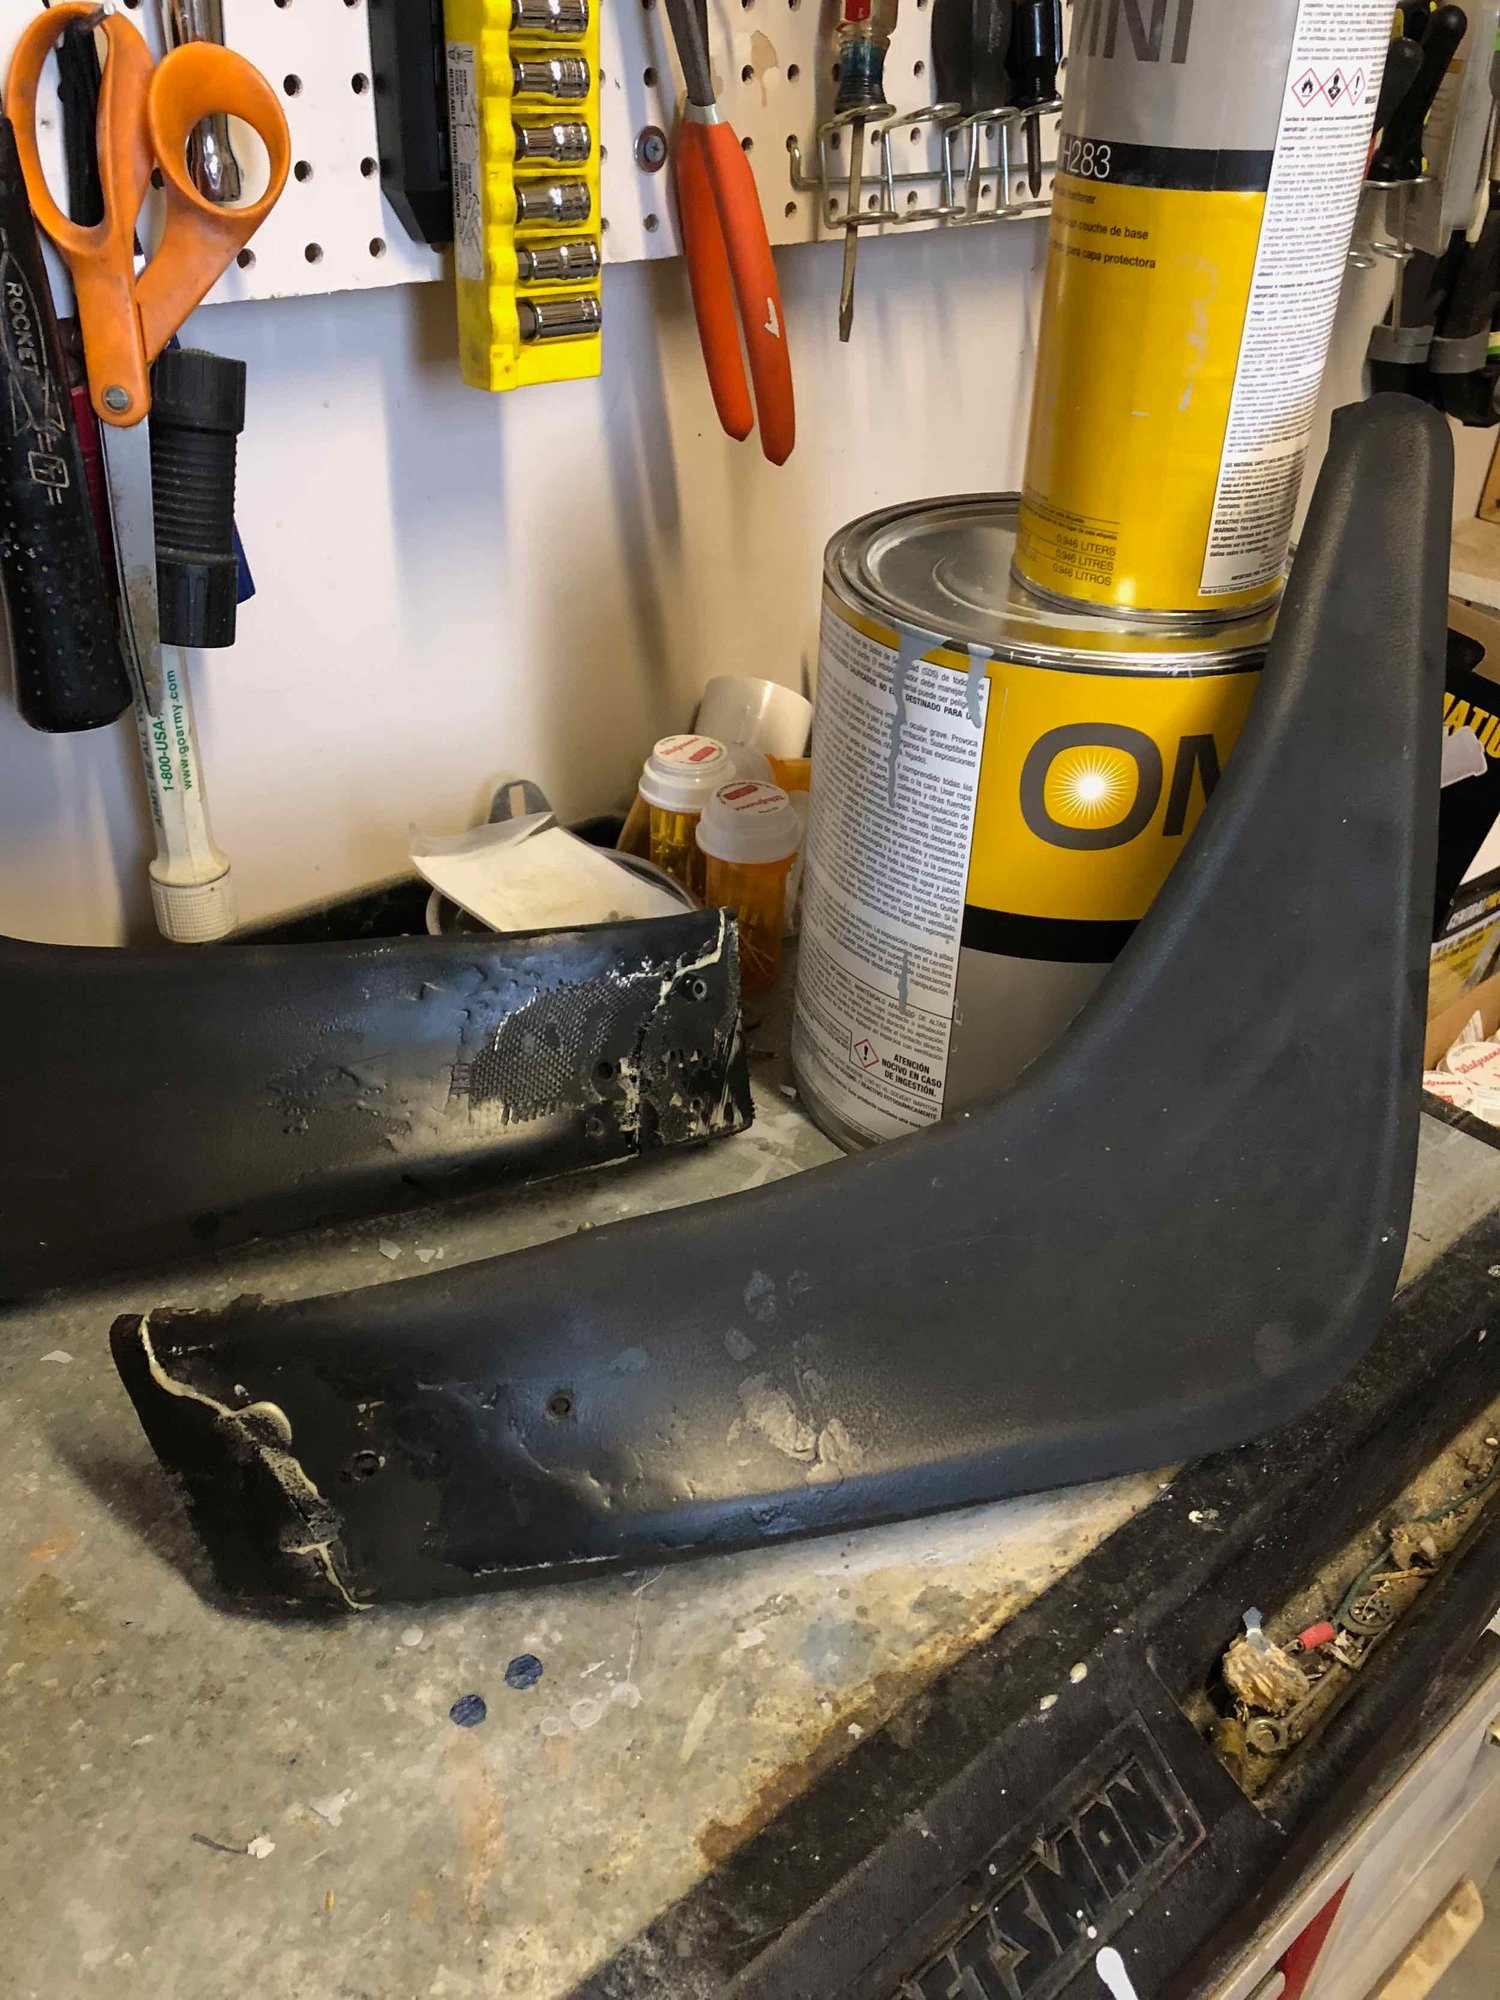
Clean cut...at broken edge
Other side
Full center section.
Initial repair of passenger side. Old attempt at repair seen . Crack is glued but will be cleaned up, sanded and repainted.
Same for the driver's side. You can see the more jagged break line. I assume most of these break in this area.
I really like what you're doing with the rear console. Really cool idea: A console extension between the rear seats to hold the Amps,especially with the + & - wiring already in place..Your mock up is using 1/2" plywood. Why not use 1/4" or 3/16' Spruce Air Craft plywood like R/C airplane builders use? I'm going to build an extension between the rear of the shifter console to the rear console to hold some USB charge ports. I'm going to use 3/16 A.C. ply because it cuts nice with my jig saw, is strong and light, won't splinter when I cut holes in it with a jeweler's saw, and is thin enough I can mount components from the back... You can even mold it is slight curves by kerfing the inside of the curve and soaking the outer side with ammonia..Then clamp it to a form and use an iron to steam off the ammonia. The result is a curved piece of plywood...5-ply shapes best, then 7-ply, 9-ply won't curve hardly at all...Most hobby shops that sell R/C planes will have some.
Can't wait to see how the body comes out. Mine has 'terminally sunburned' paint like yours,only more ugly, and my sunroof is rusted and chipped along the edge too. I want to sand mine down and then wrap it, BUT I have TOO MUCH FUN driving it around even though it looks ratty...LOL
Just out of curiosity, why didn't you remove the rub strips so the red paint doesn't start peeling away in the future? All that effort put in to prep the car but a few more small nuts not removed and those are off and out of the way. Every 928 I've seen that has been repainted with those rub strips still in place has horrible clear coat peeling all around them...
I used the 'string technique'. I put a piece of string between the top of the strip and the body of the car to create a gap that the paint and clear could get behind and would not be able to "fill in". Now, I can just pull the string out and there is no 'connection' between the rub strip paint and the body paint.
The last repaint on the car was NOT done this way so, as you said, the paint was peeling - more so off of the actual rub strip than the body. There were also places where the clear acted as a filler and there was no seam between the two - I am picking the car up today so hopefully it worked well.

 04-04-2018, 10:46 AM