When you click on links to various merchants on this site and make a purchase, this can result in this site earning a commission. Affiliate programs and affiliations include, but are not limited to, the eBay Partner Network.
Well - no turning back now....wiper arms are off...
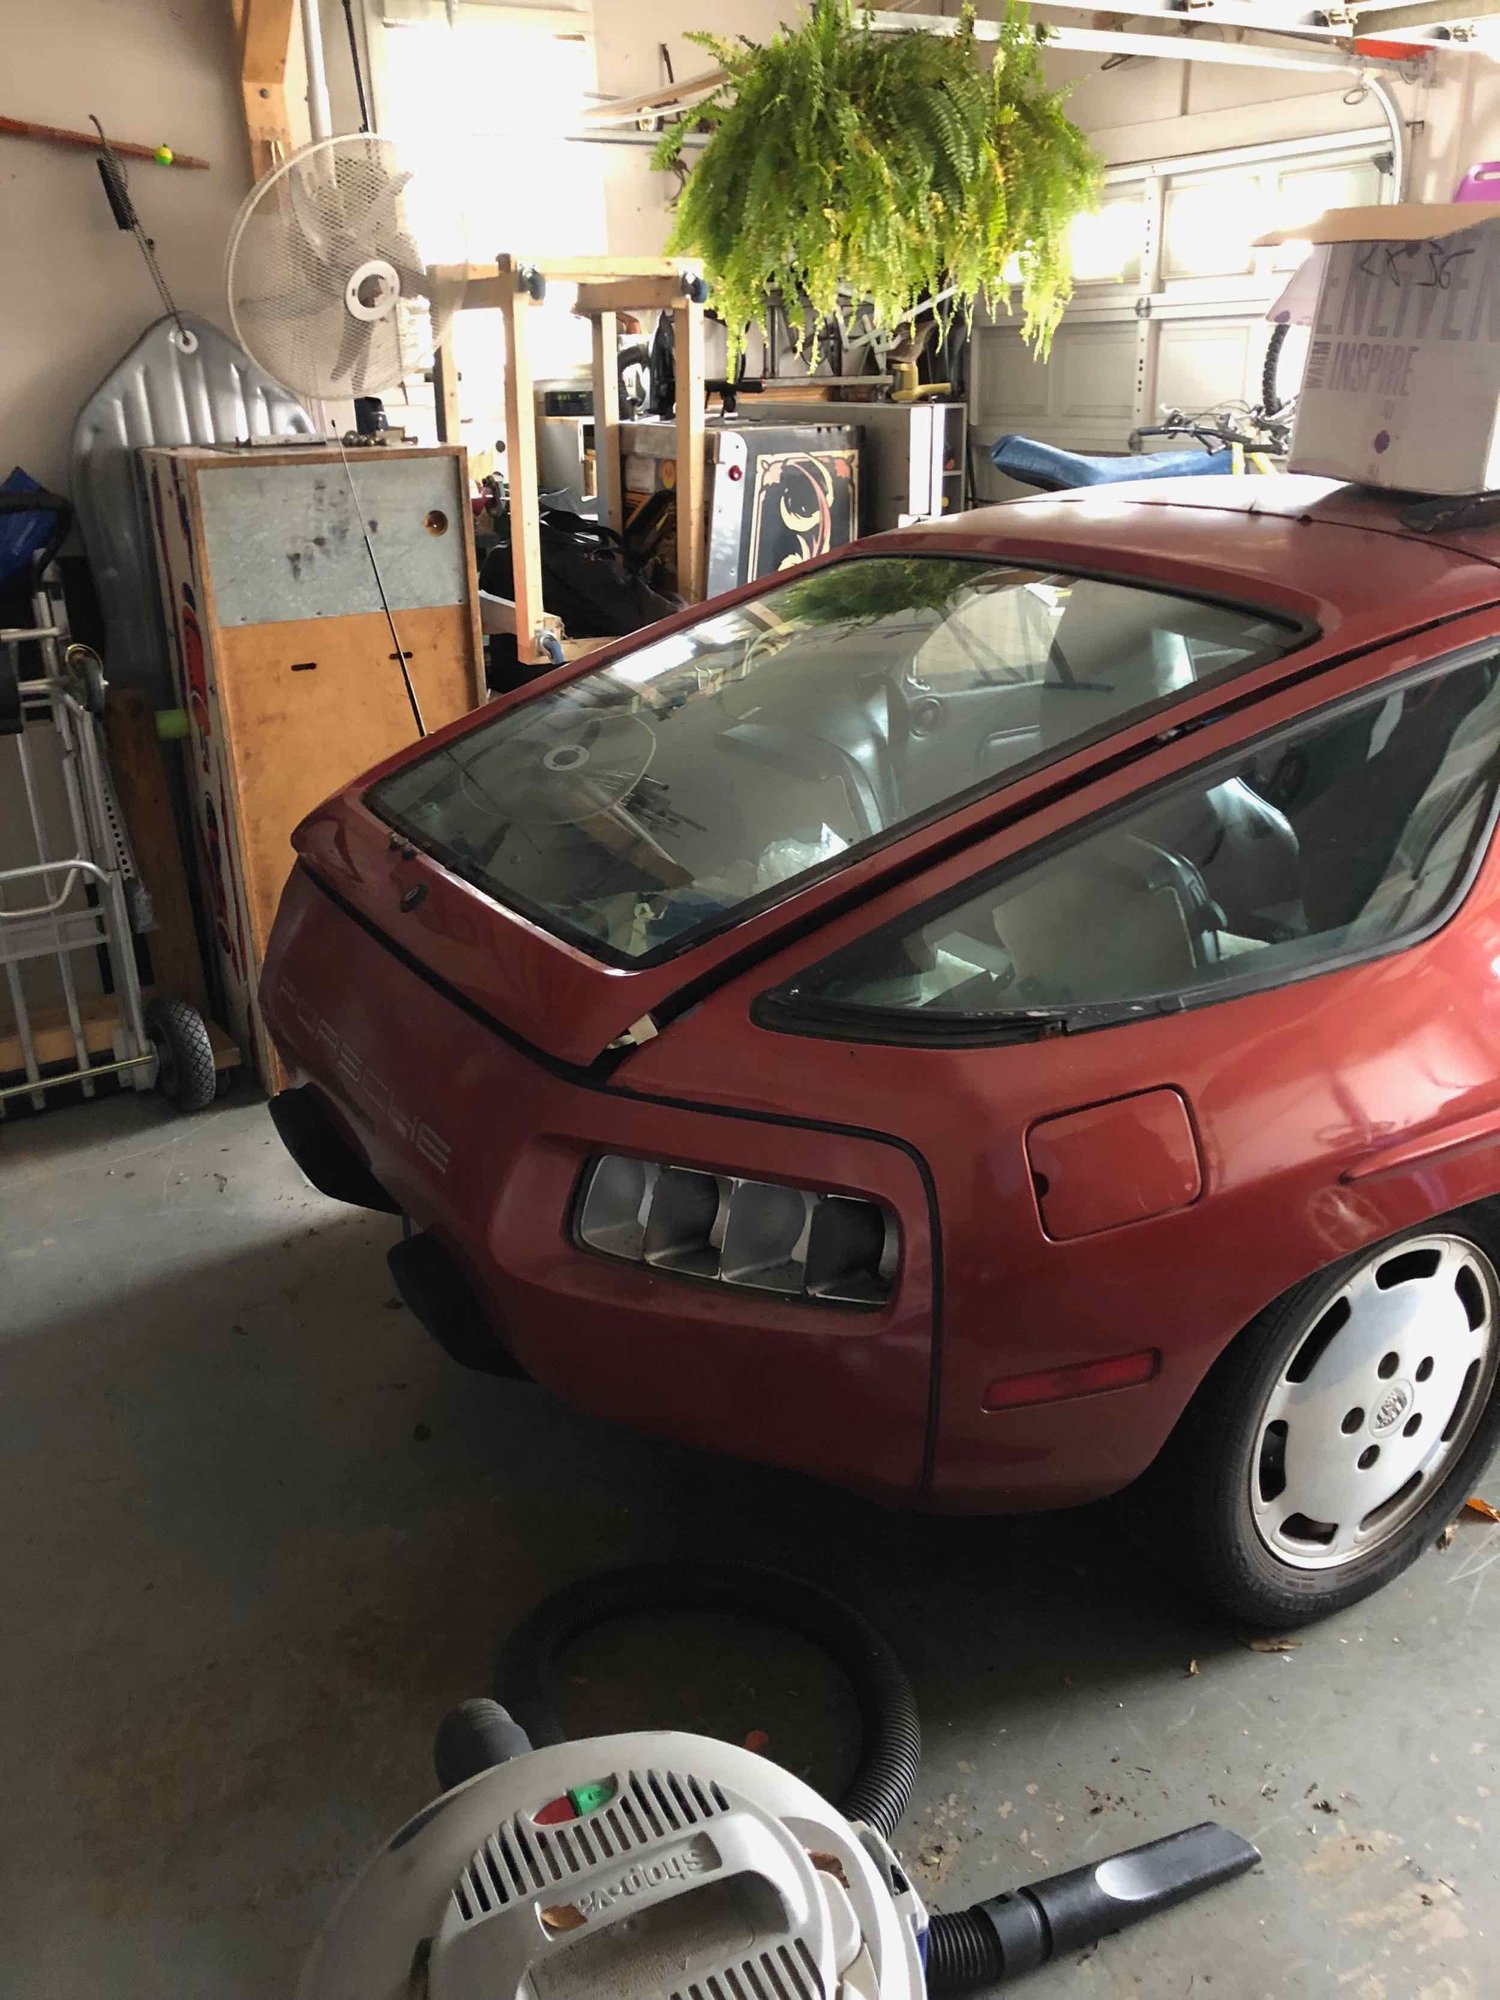
I am going to use this thread to document the interior/exterior refresh of 'Ol Copper. I have been driving it for a year or so (+3000 miles) and love it - now it's time to clean it up. Remember this was a non-runner that had been sitting outside under pine trees for an extended period of time.
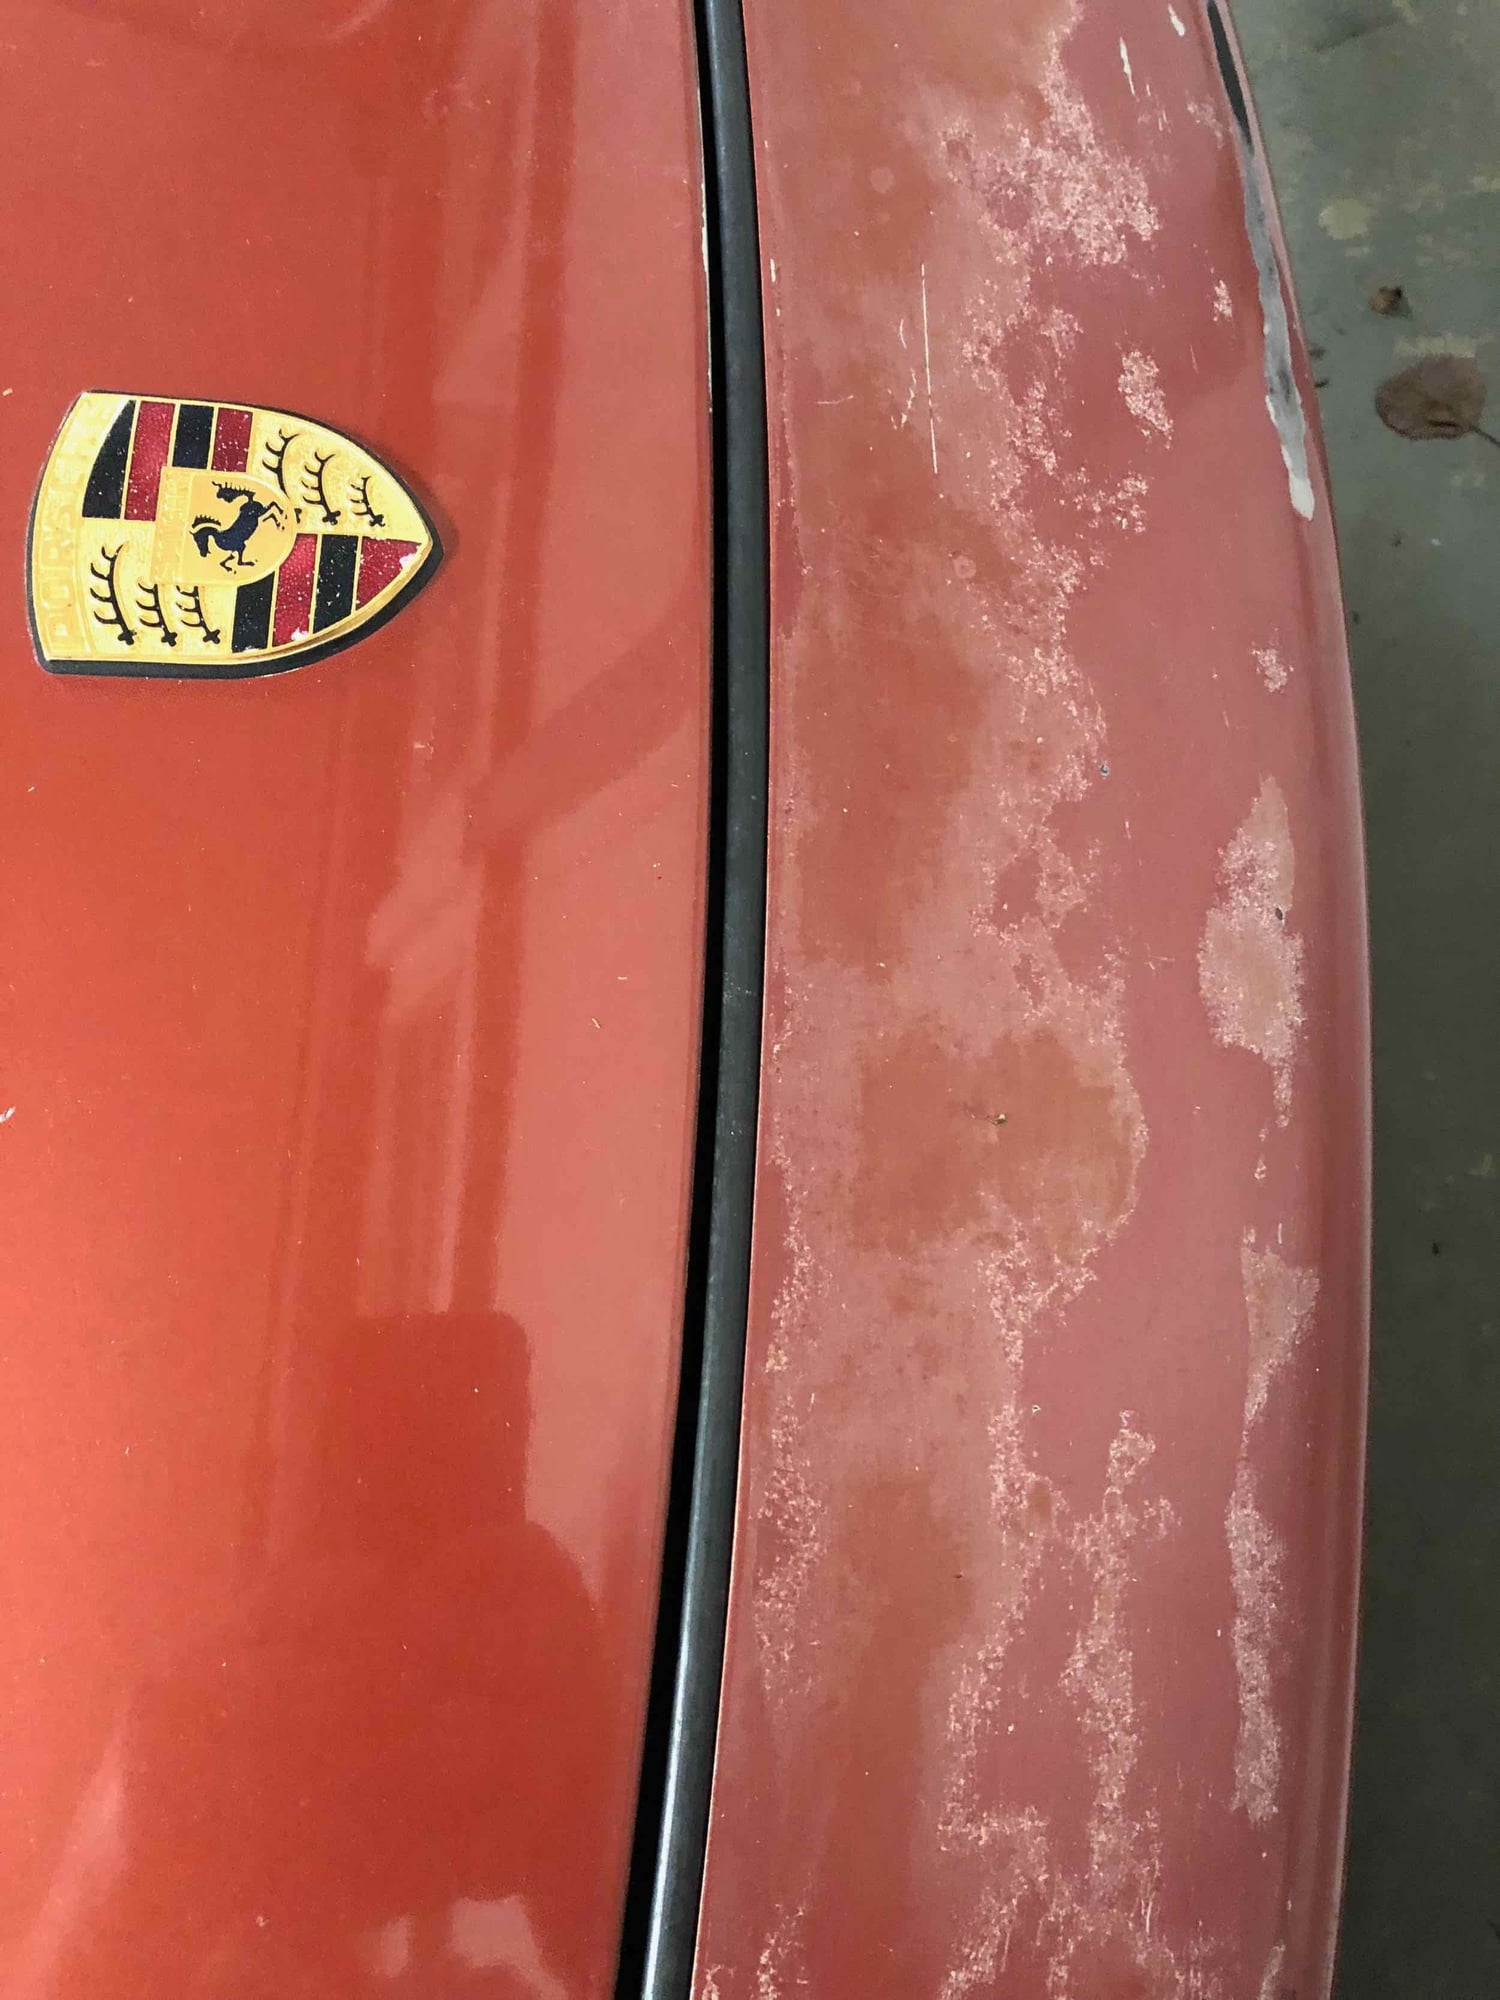
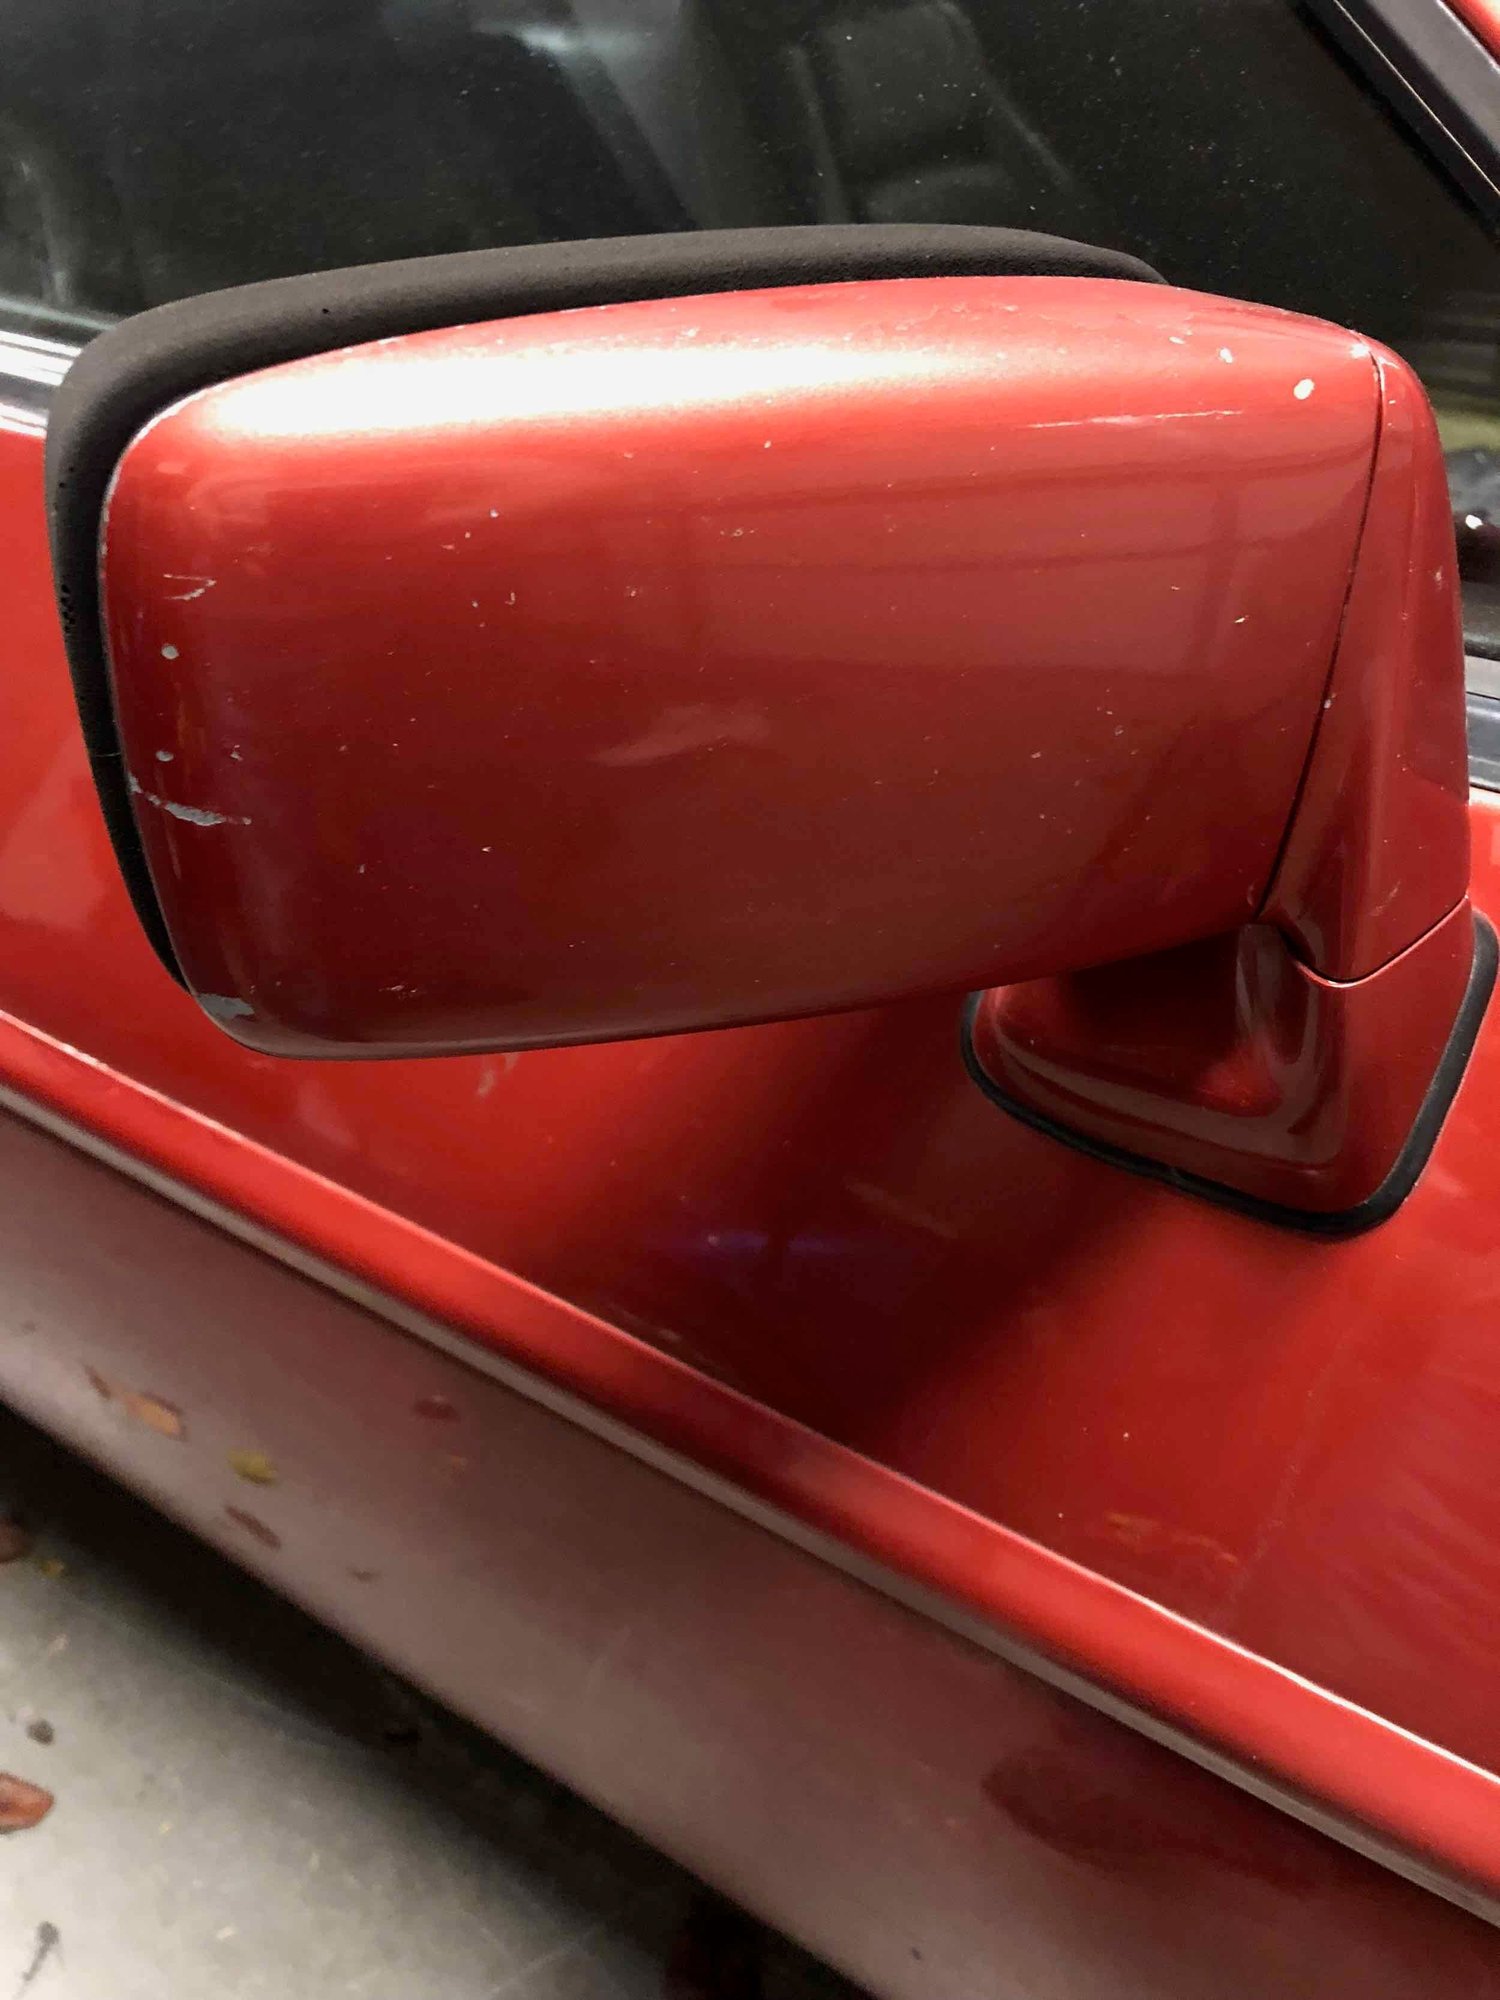
Plan is new Kiln Red paint on outside with a refresh of all black pieces (refinish spoilers, overriders and mirror trim, repaint black as necessary. Clean everything (light housings, trims, etc.)
Interior will be the same as now - brown leather on seats, retrim dash and pod in brown. New carpet - have not finalized color yet. Really don't know what I currently have as it is so faded. Would like something a bit darker than what is there now. Headliner repaired. Door cards and rear side panels are very good condition so no real need to rework those. New audio installed as interior goes back together. Will R/R HVAC while everything is apart.
Plan is for a downtime of 3-4 months. Will go ahead and strip interior and store inside. Get the body prepped and painted so it can cure properly, and I can work on interior bits while its cold outside and the paint is curing.
Wish me luck - I will try to post regularly. Photos below are samples of the project scope
-scott
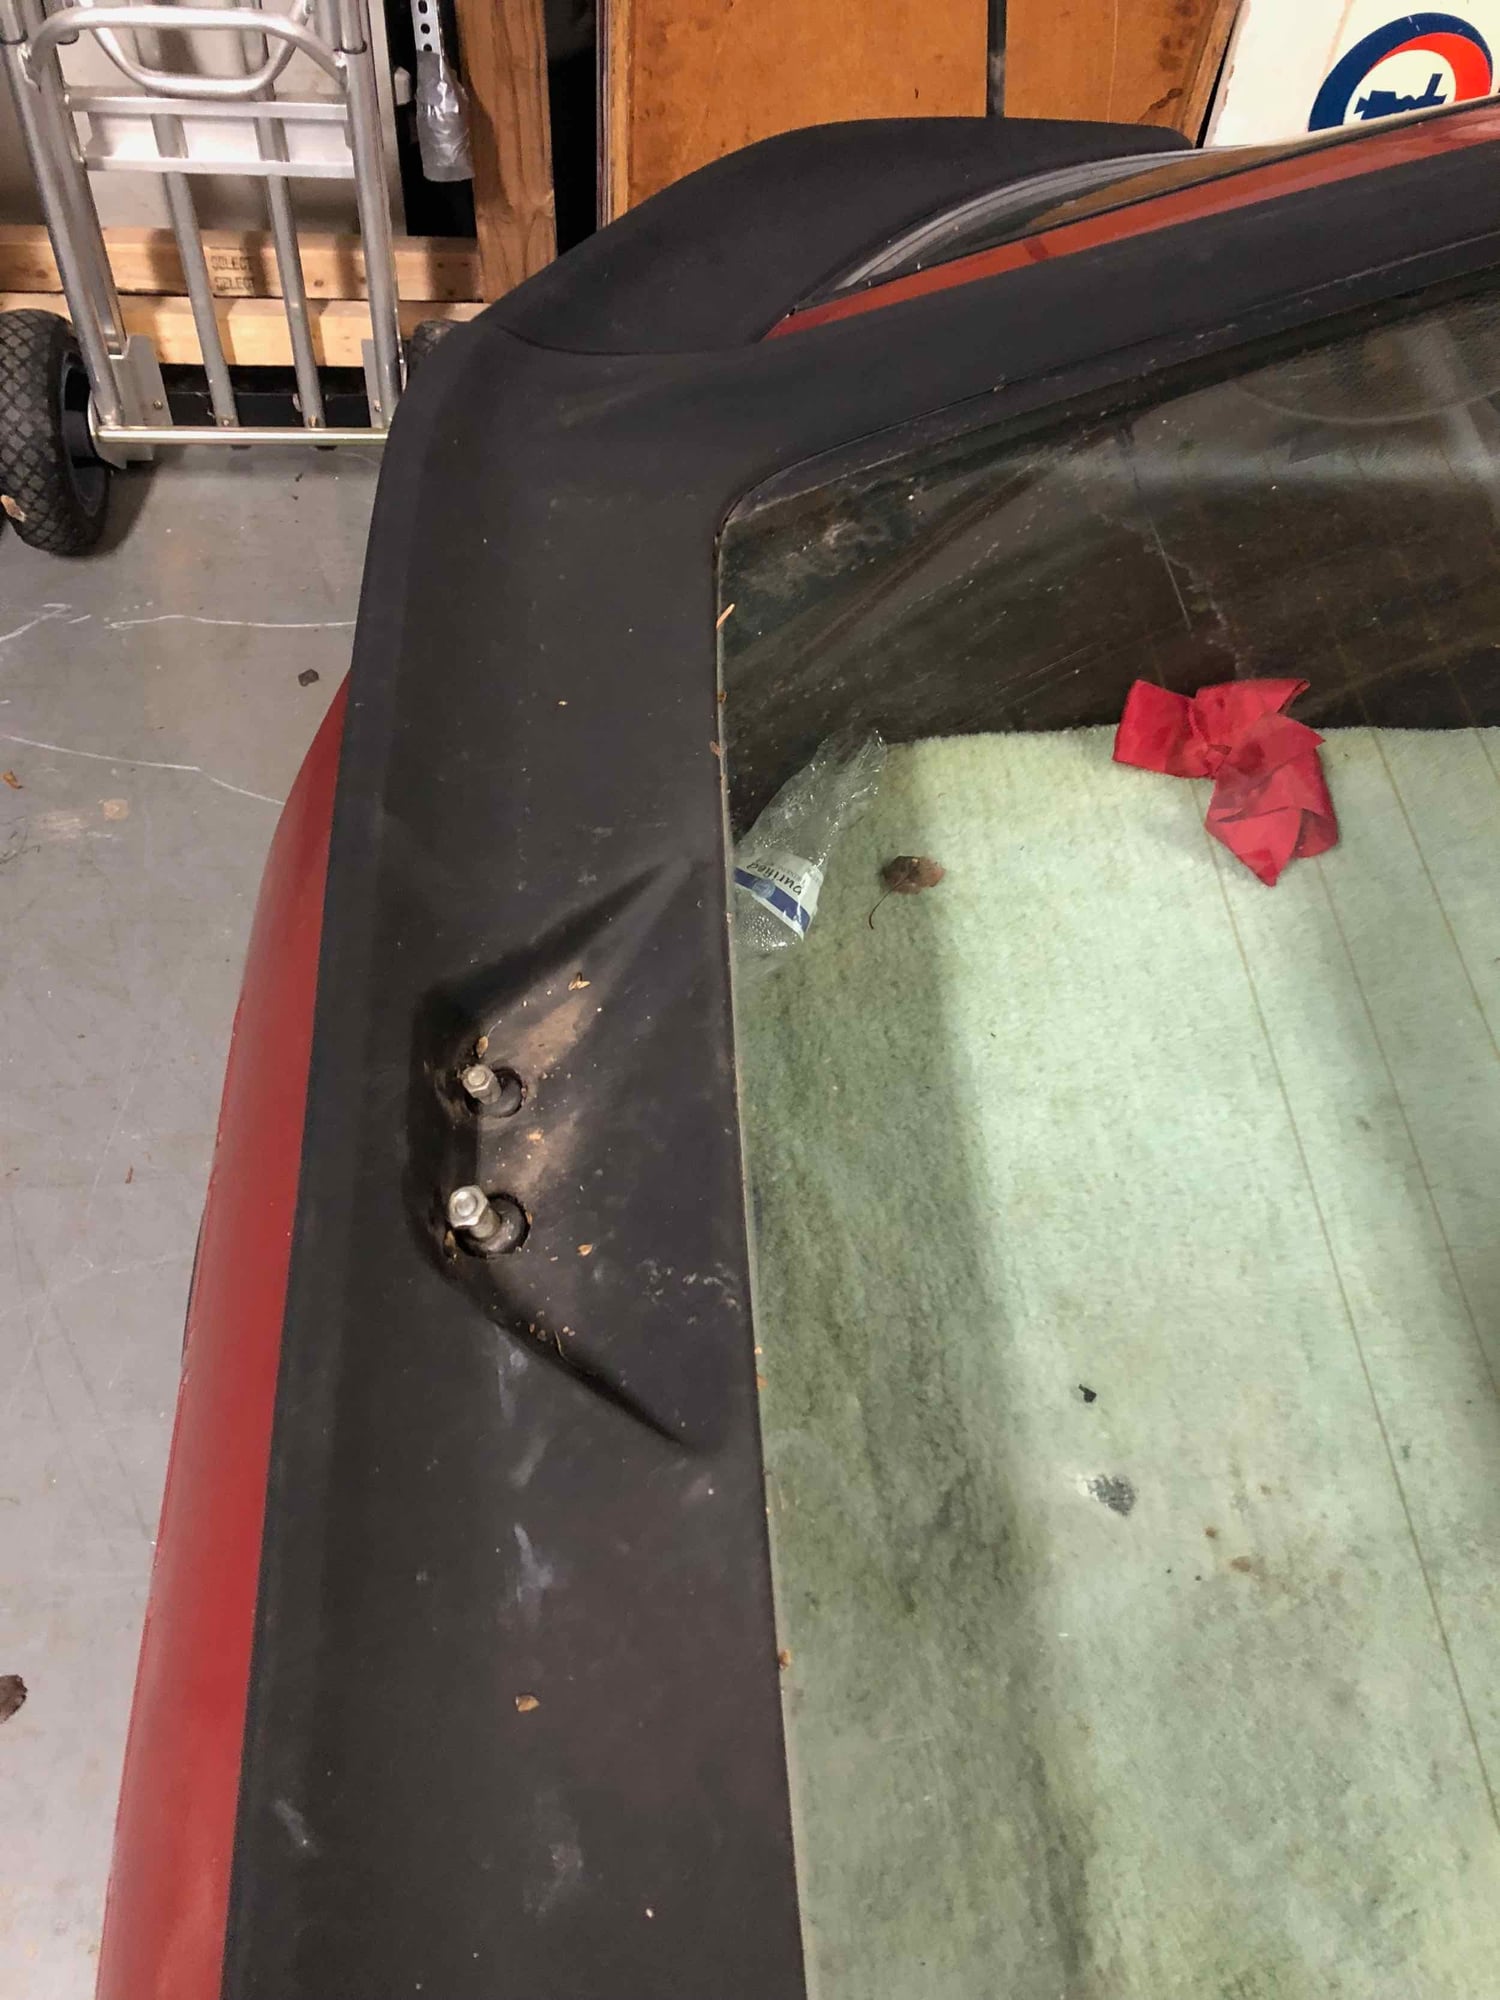
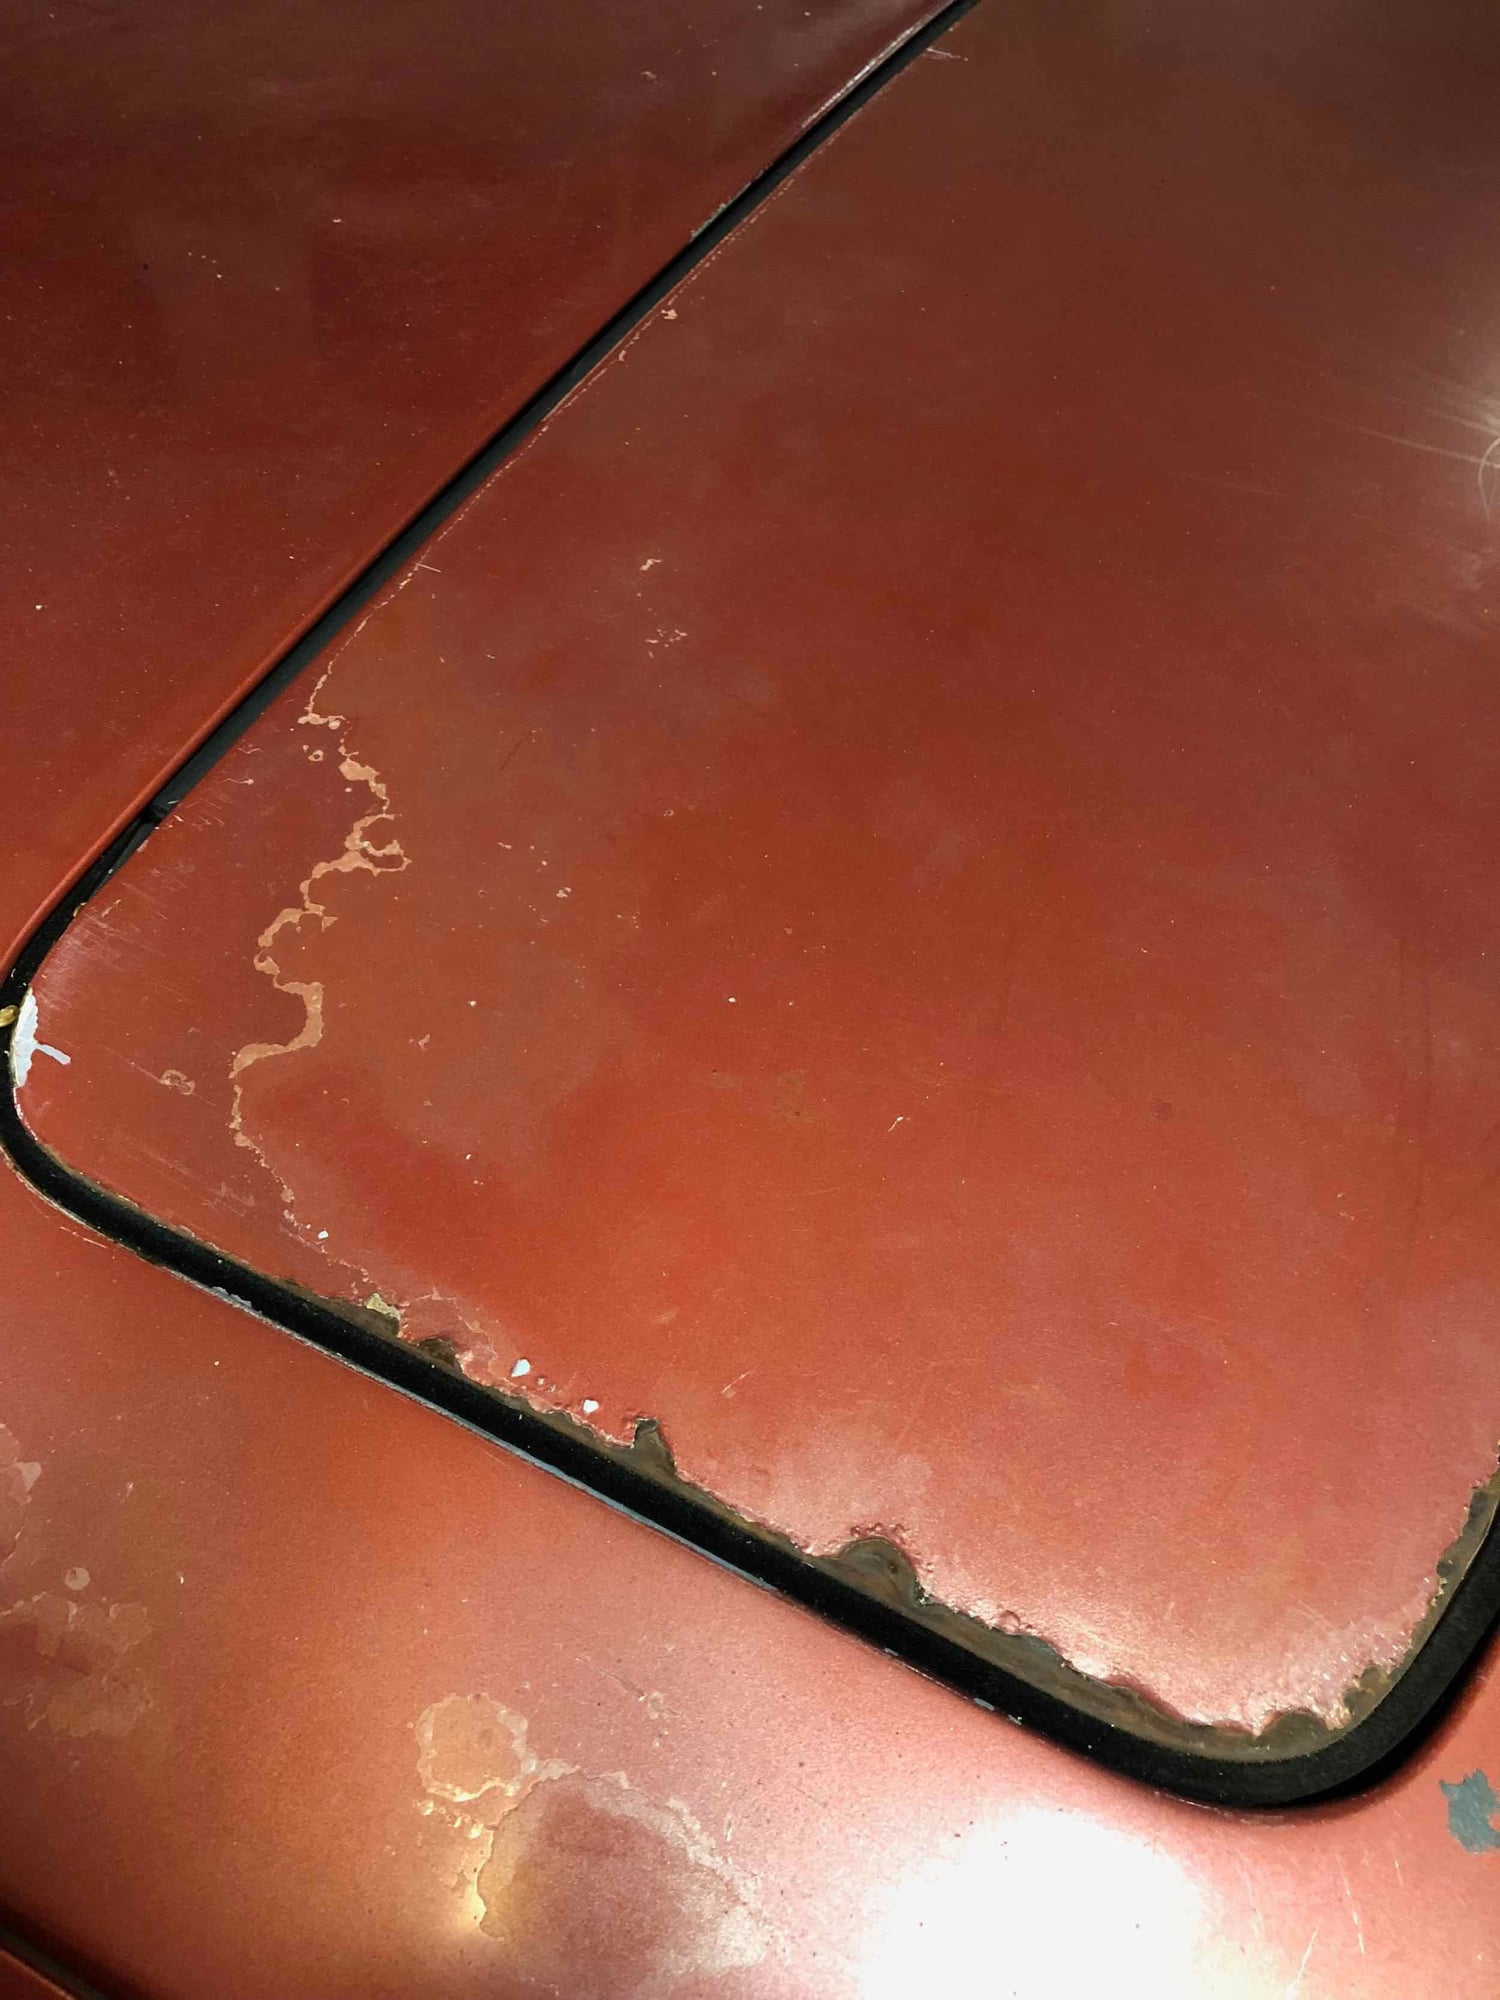
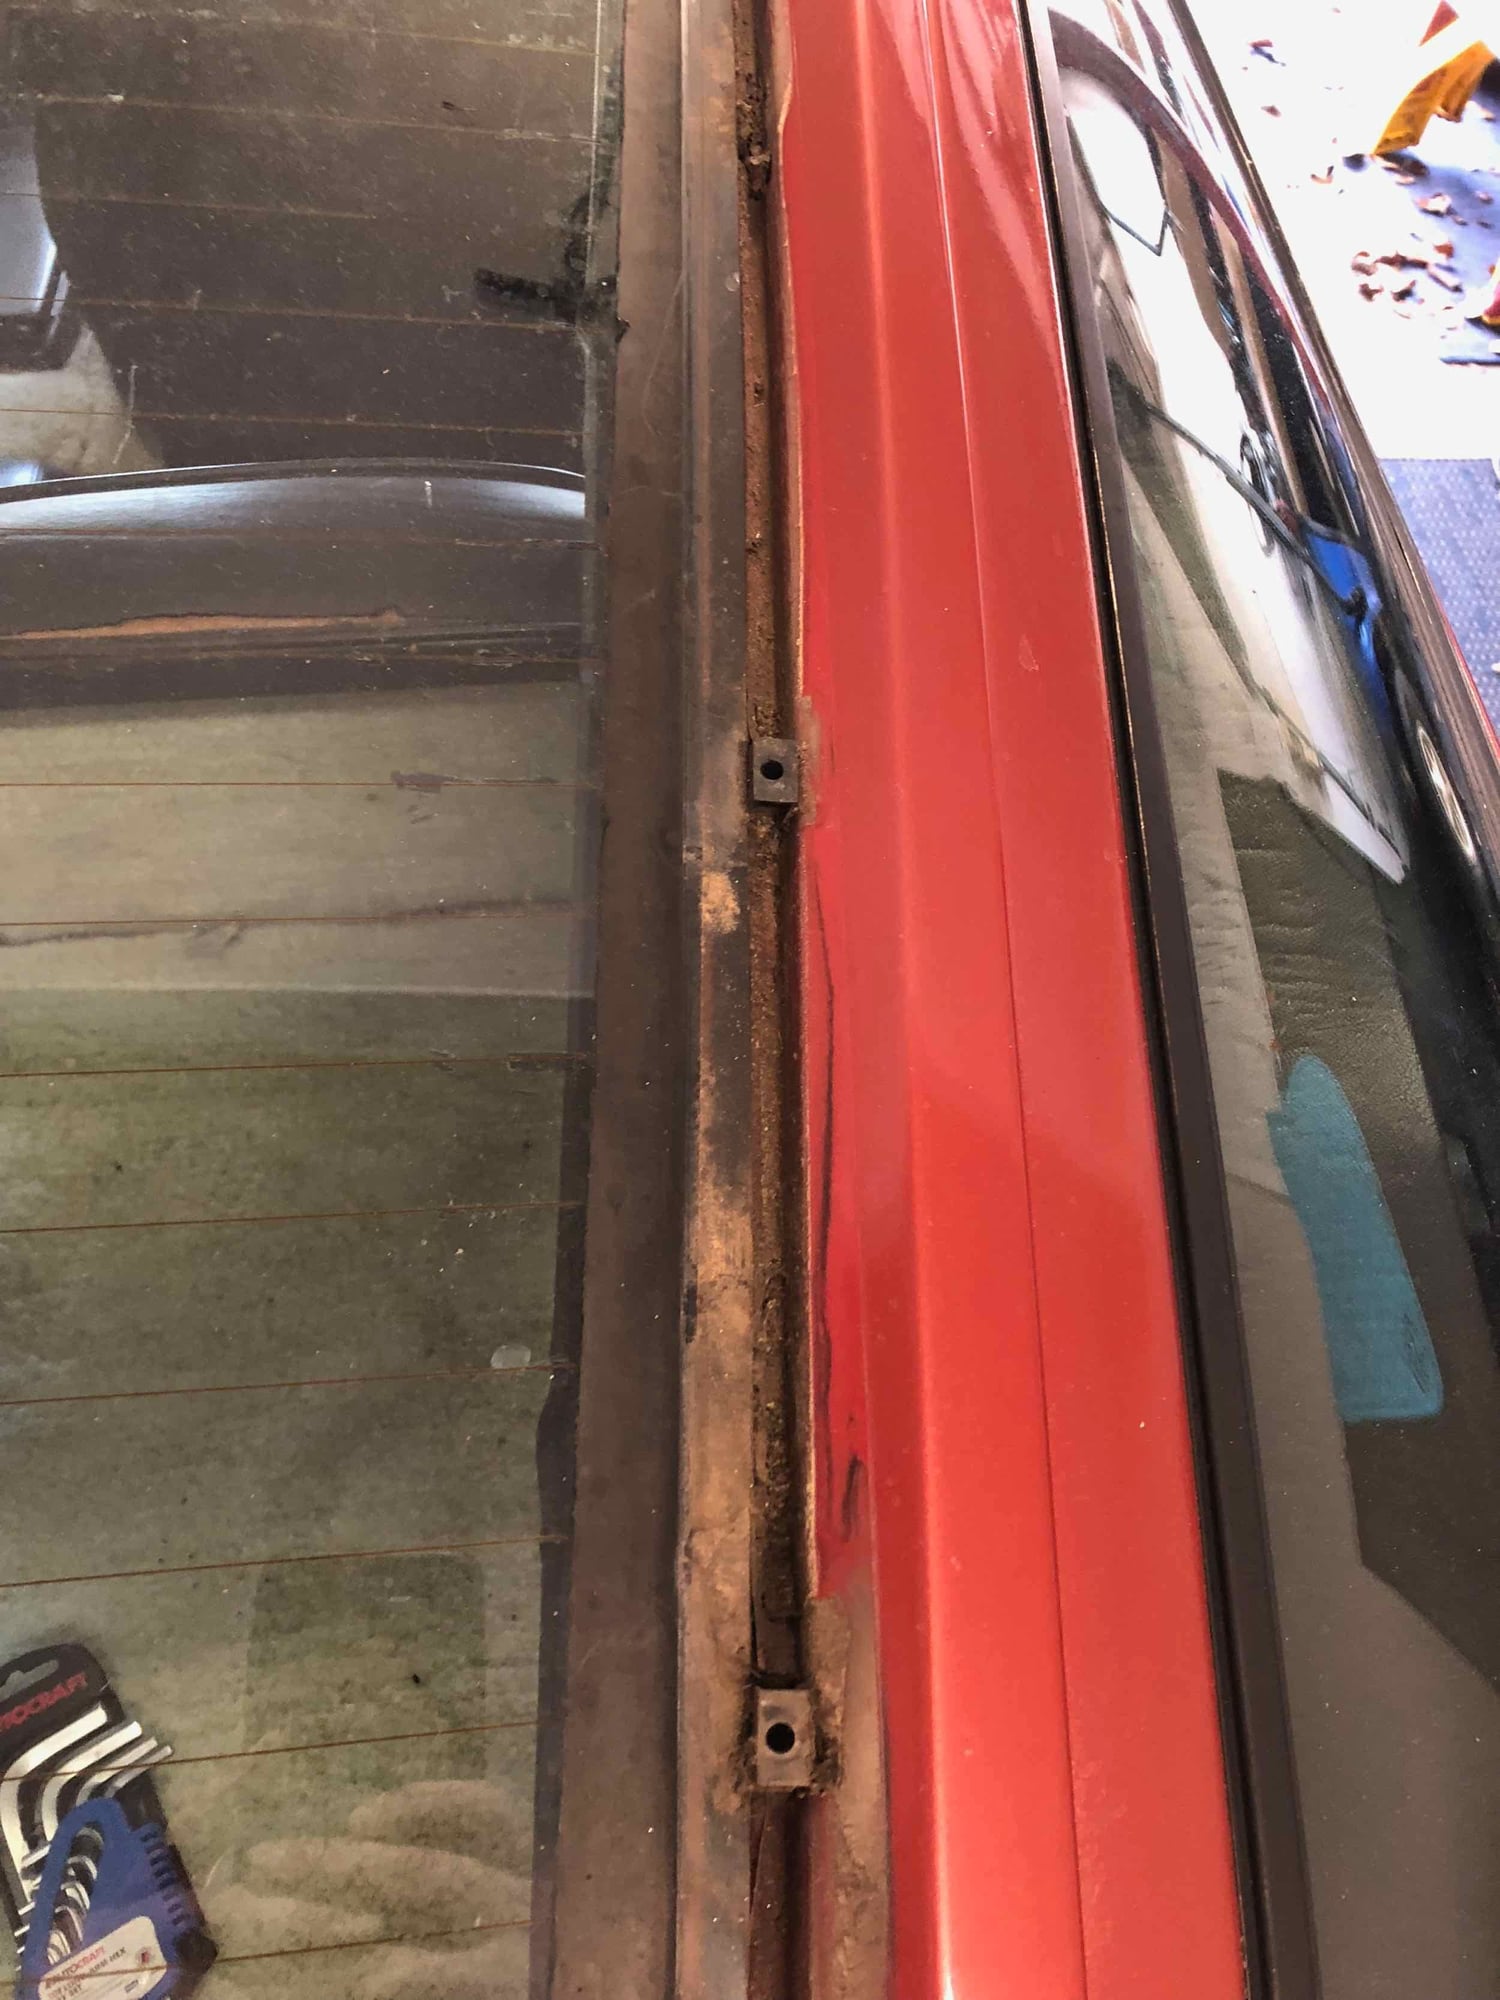
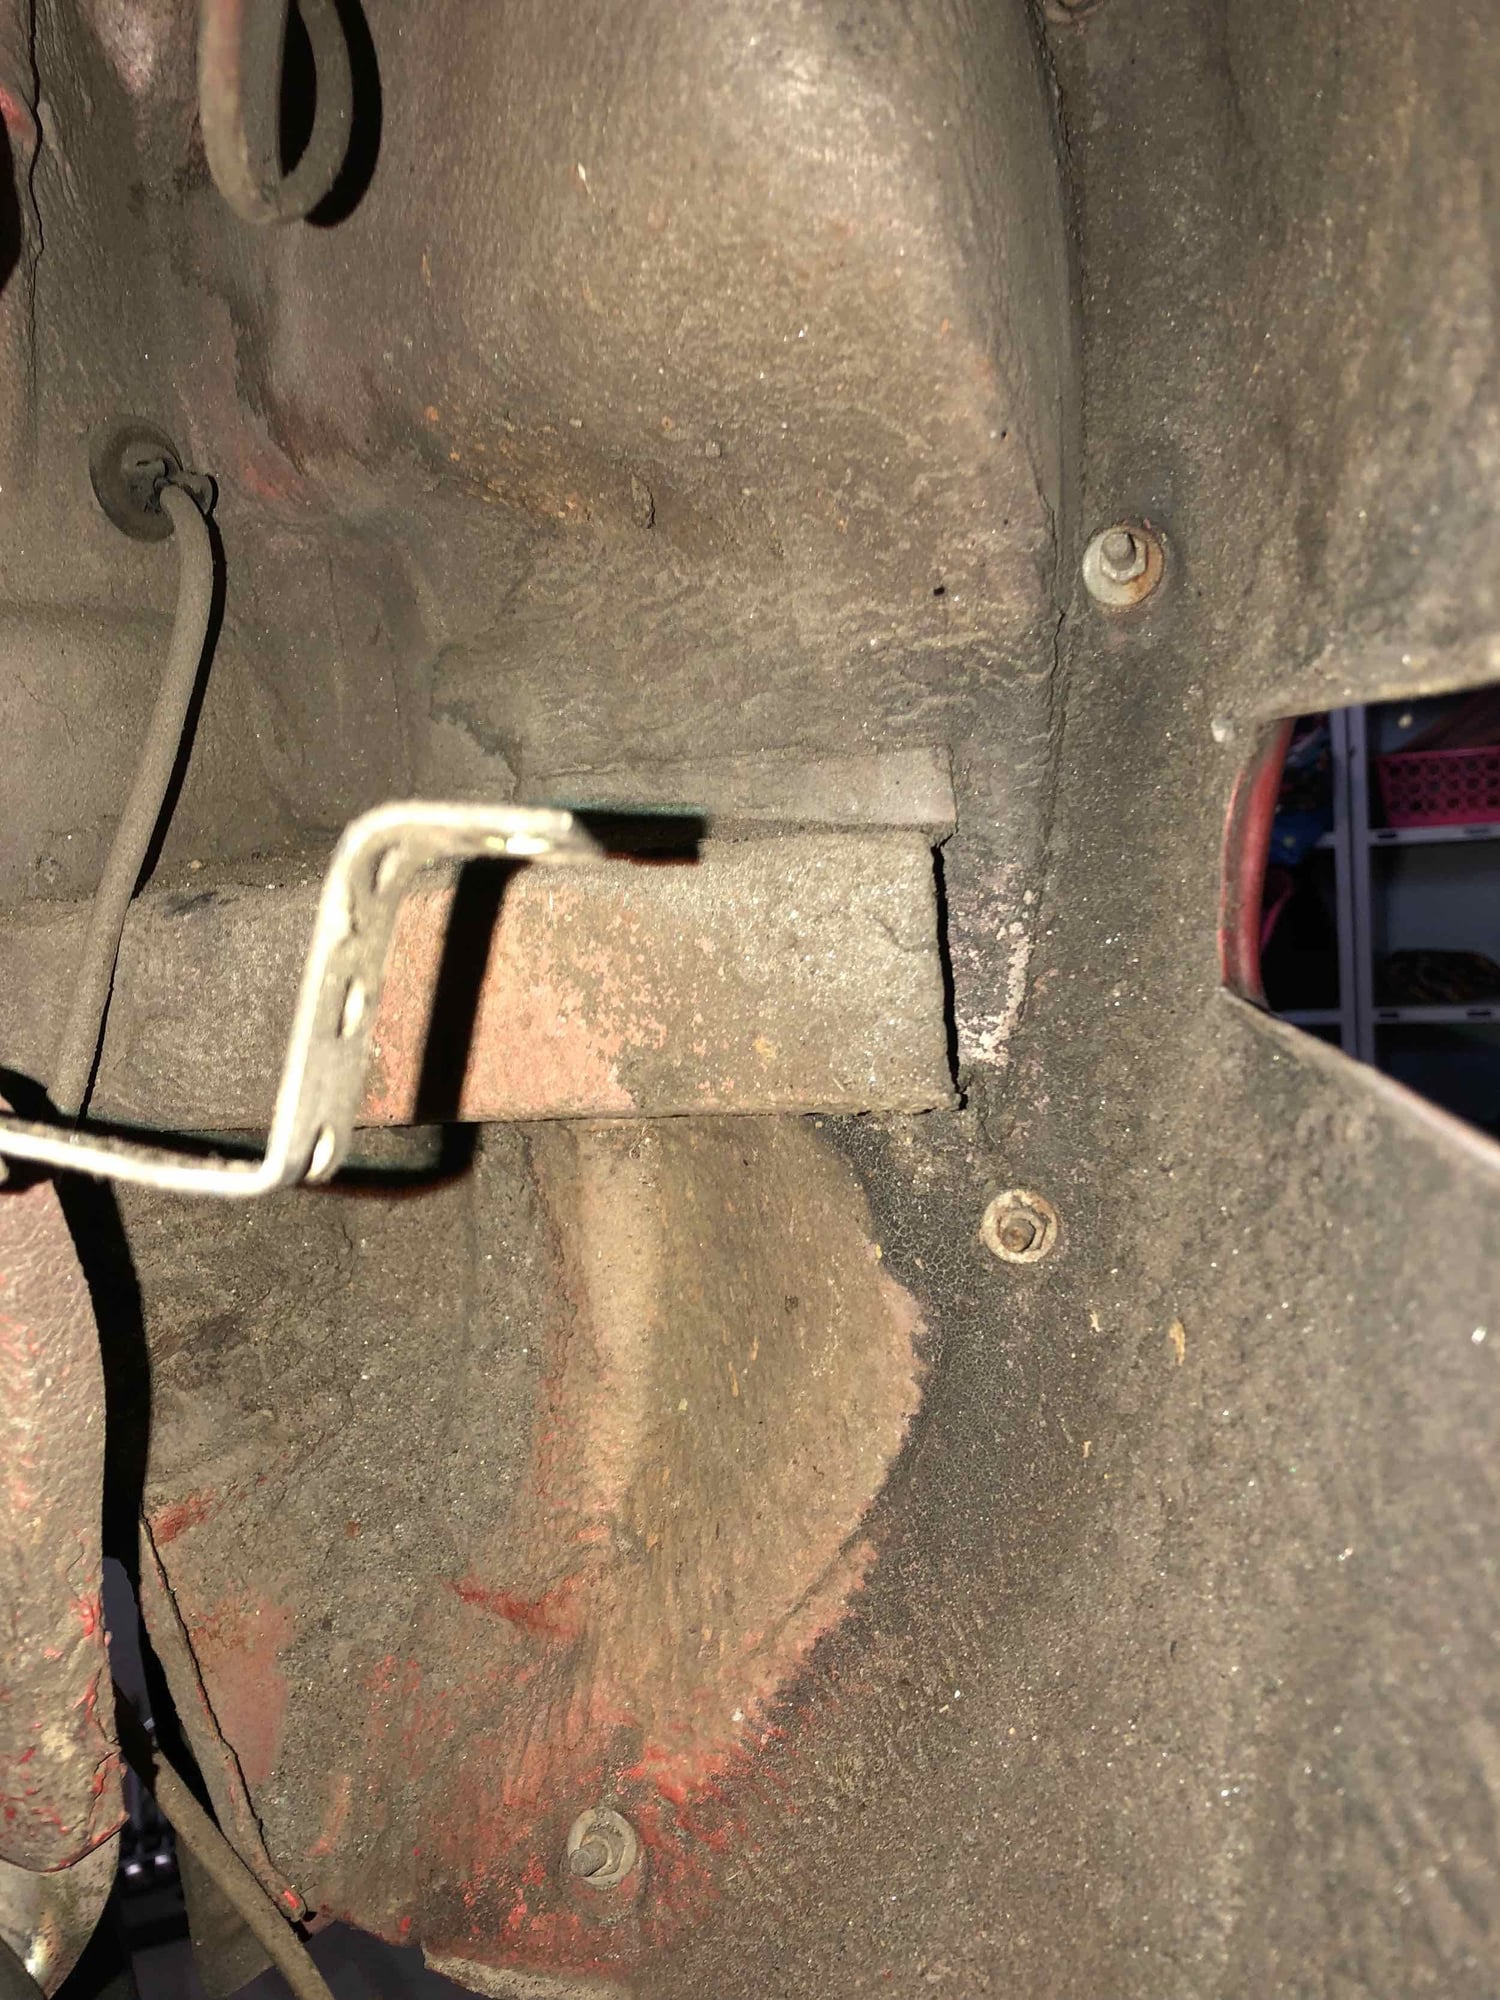
Only spots of visible rust on car - hatch lid edge and sunroof panel
Subscribing. I'll need to do this to my '85 928S someday. Maybe next fall.
I noted that your Kiln Red appears to be base/clear poly. My '85 with Garnet Red doesn't show any signs of having clear coat. I think it might be single stage poly or lacquer.
Document, document, and more document. Best way to figure out how it all goes back. LOL. Glad you're starting in Scott. You have me and Seth nearby for help, support, and motivation.
Awesome! I look forward to following along. Good luck and a tip I learned here while doing my top end refresh is to take quick videos with your phone and narrate to yourself how things came apart. So much easier and quicker than looking at picture you took 4 months earlier and wondering what the heck you are actually looking at.
Good ideas all! I need to start soaking the bumper attachment hardware! Good idea too about short videos - I always take pics when I restore a pinball machine, but had not thought about the videos.
More progress today at lunch...some questions as I am taking things apart...
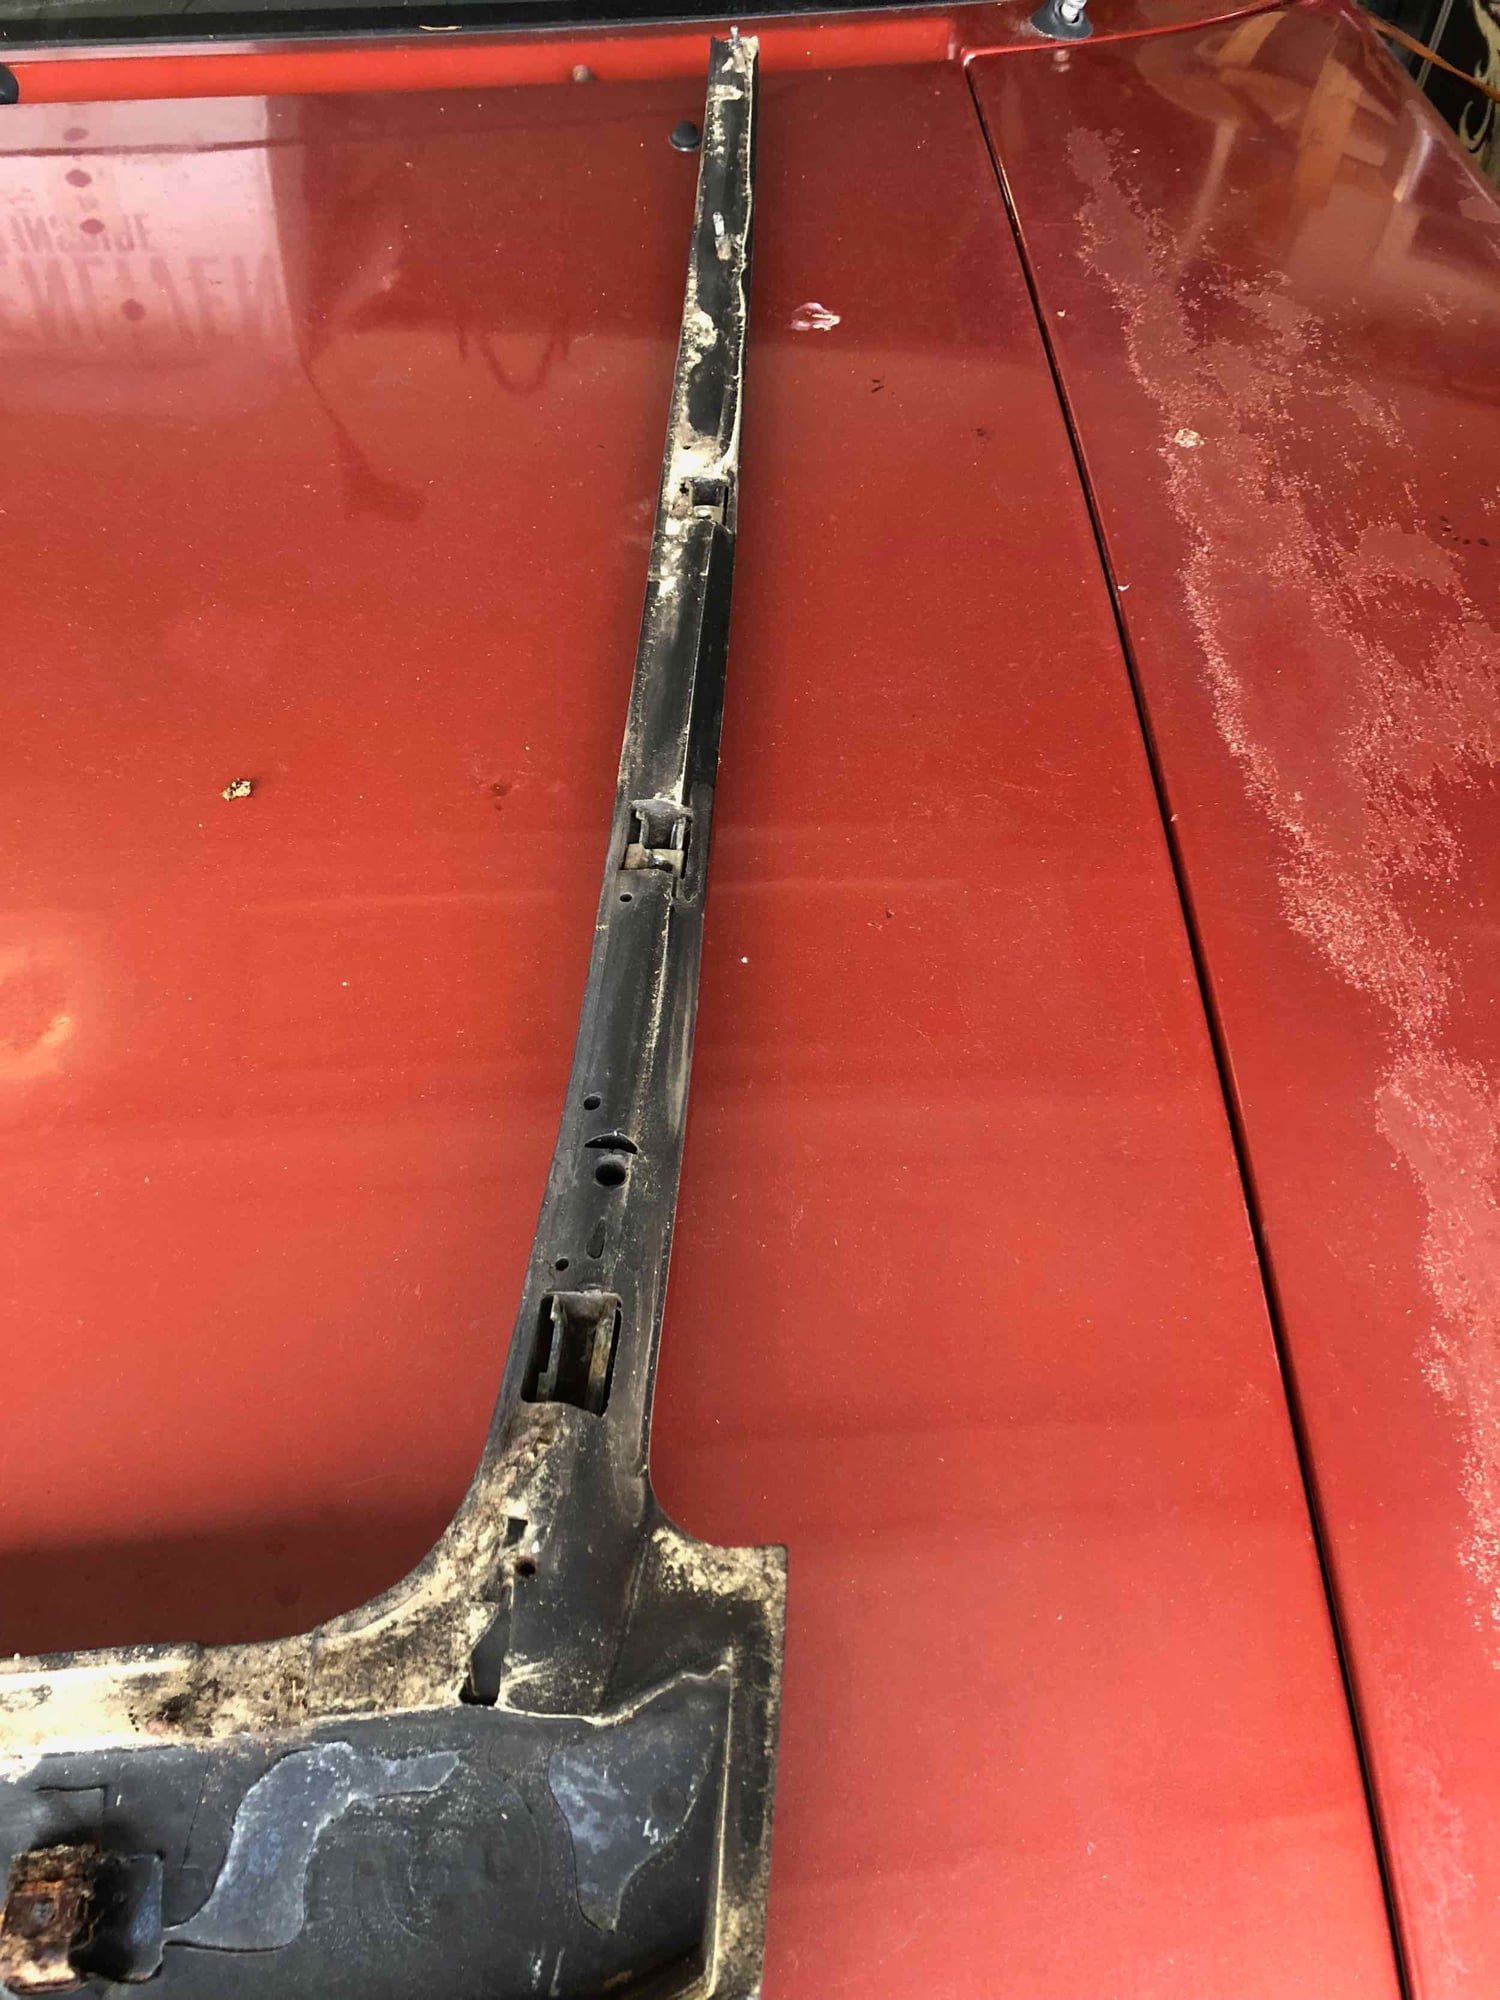
Spoiler removal - came off easily. Look at all the gunk underneath though. Luckily, I don't see any rust after a quick rubdown.
Need to clean underneath the spoiler as well (Captain Obvious)...I enjoy cleaning this kind of stuff (that no one will ever see) as much as the other side!
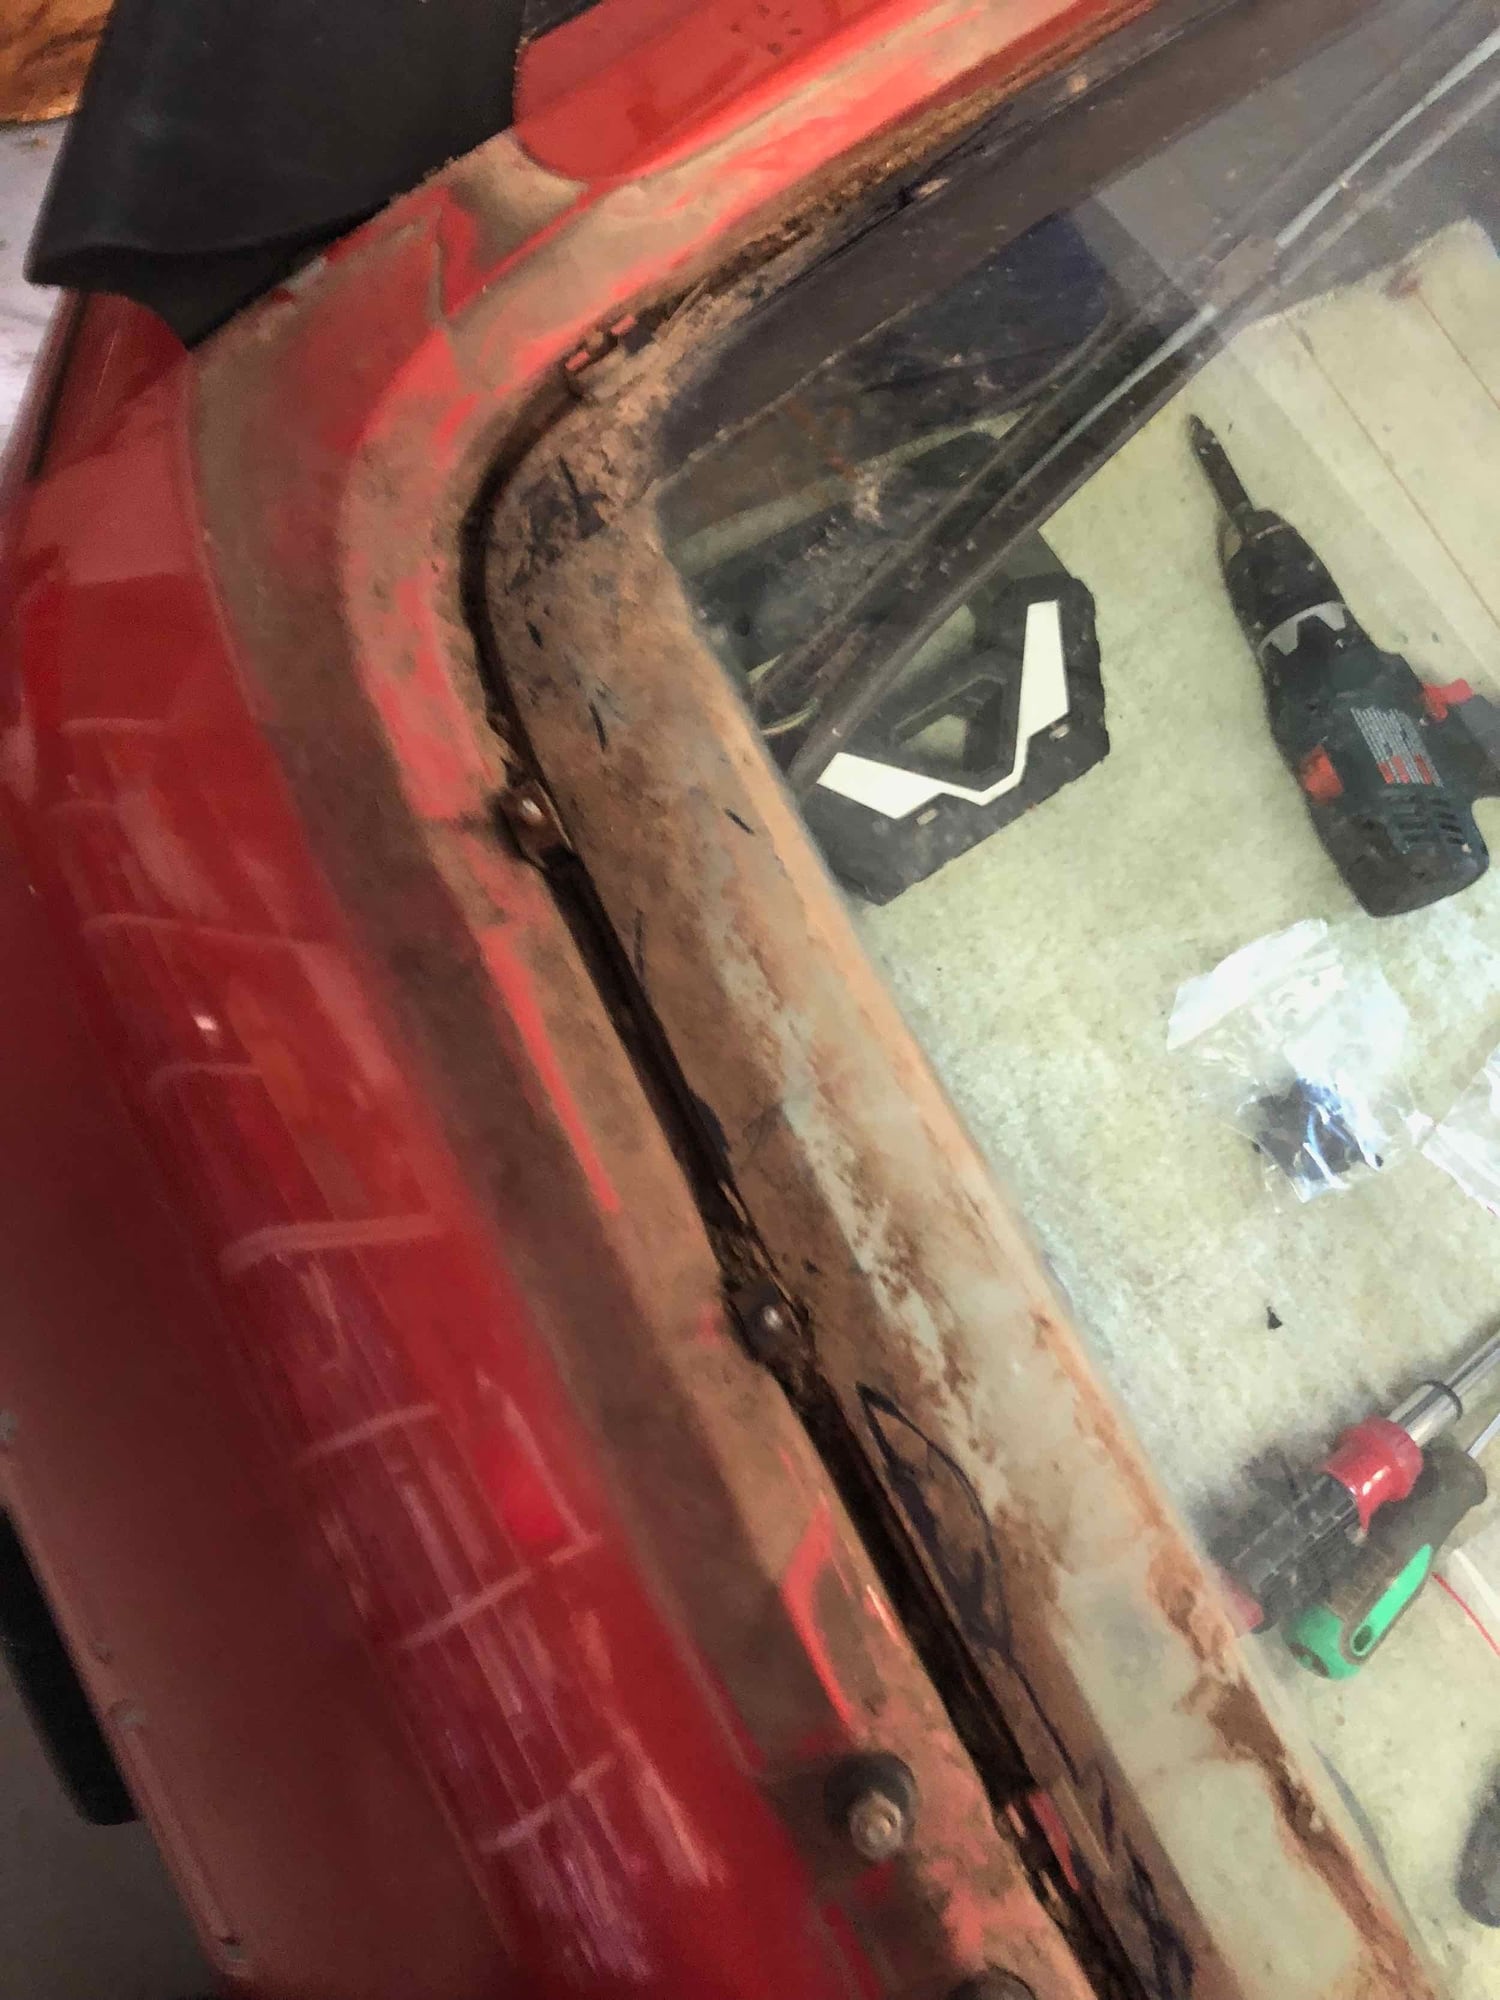
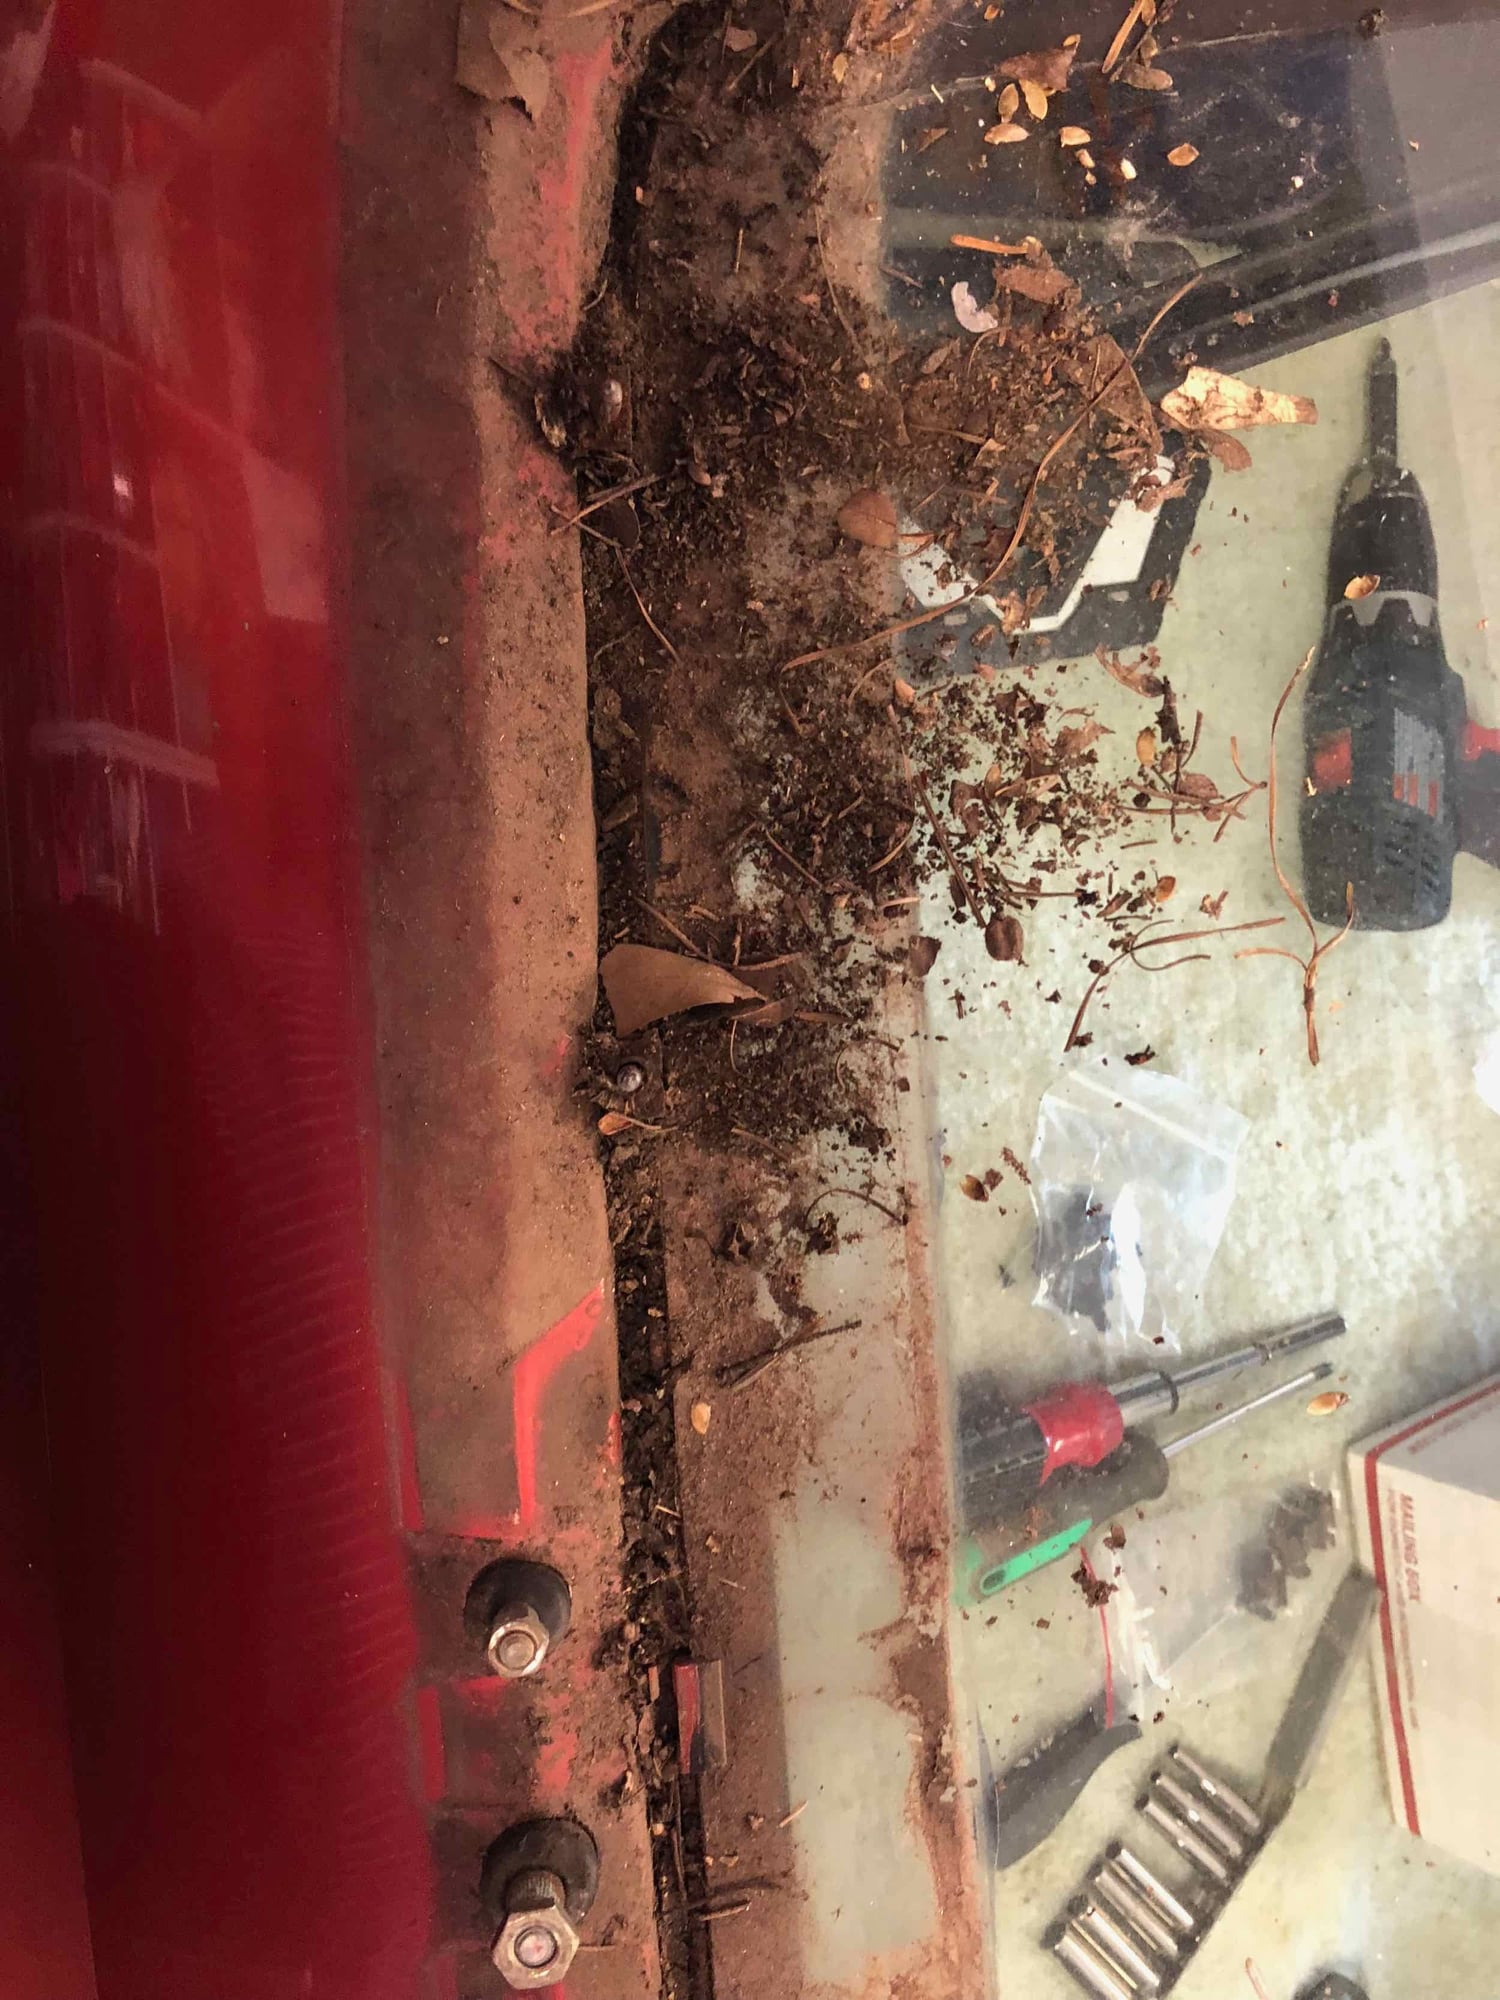
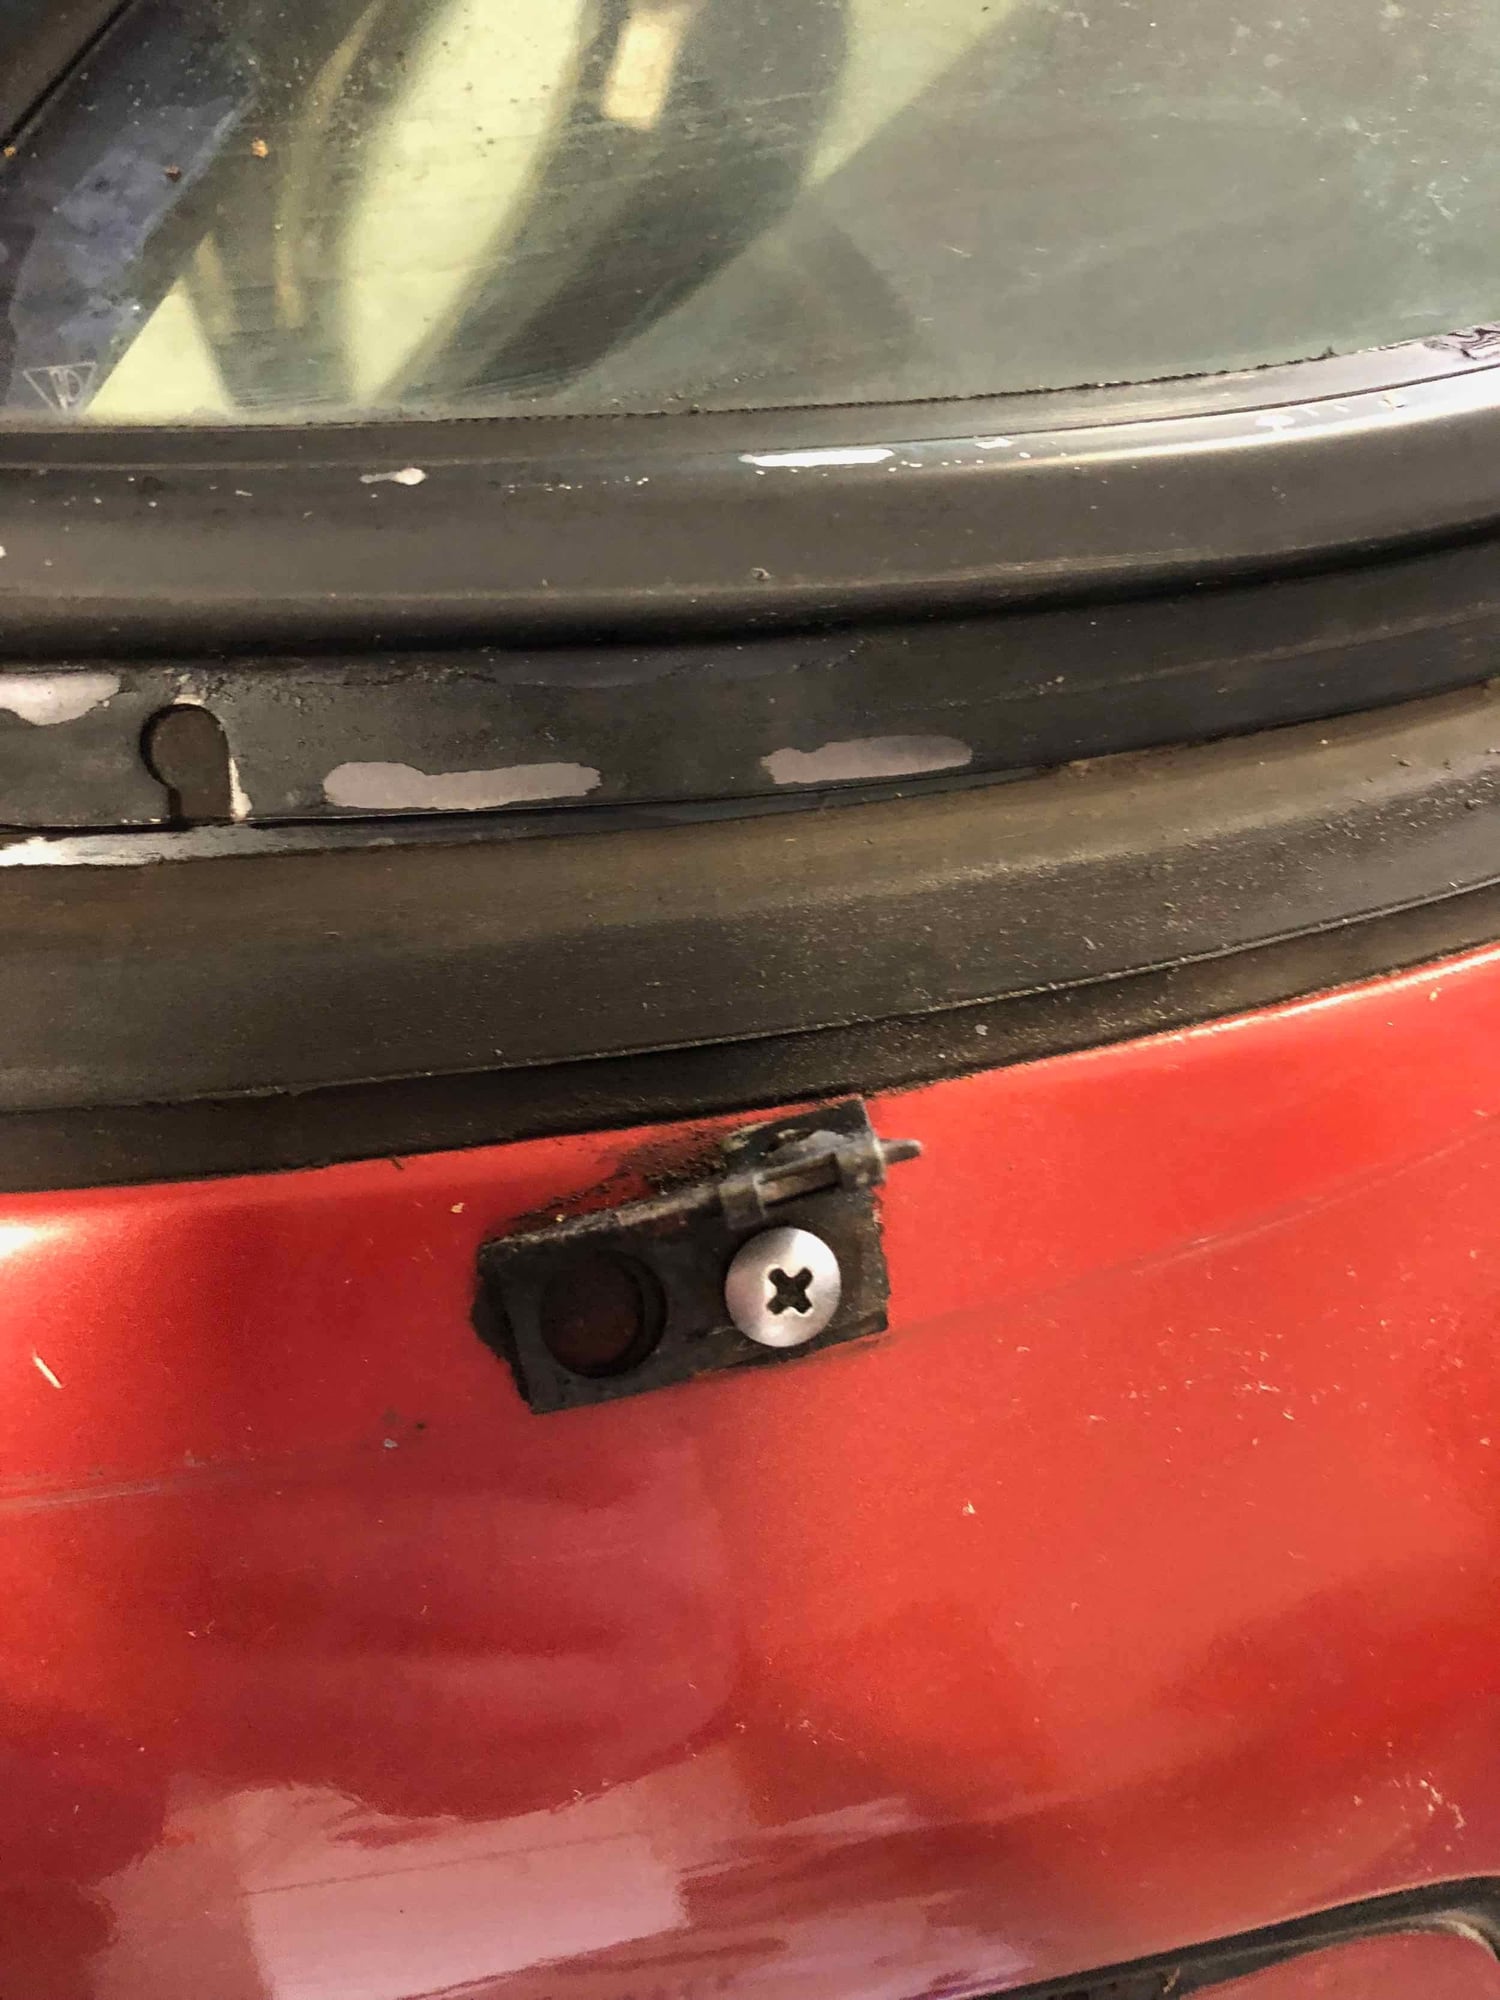
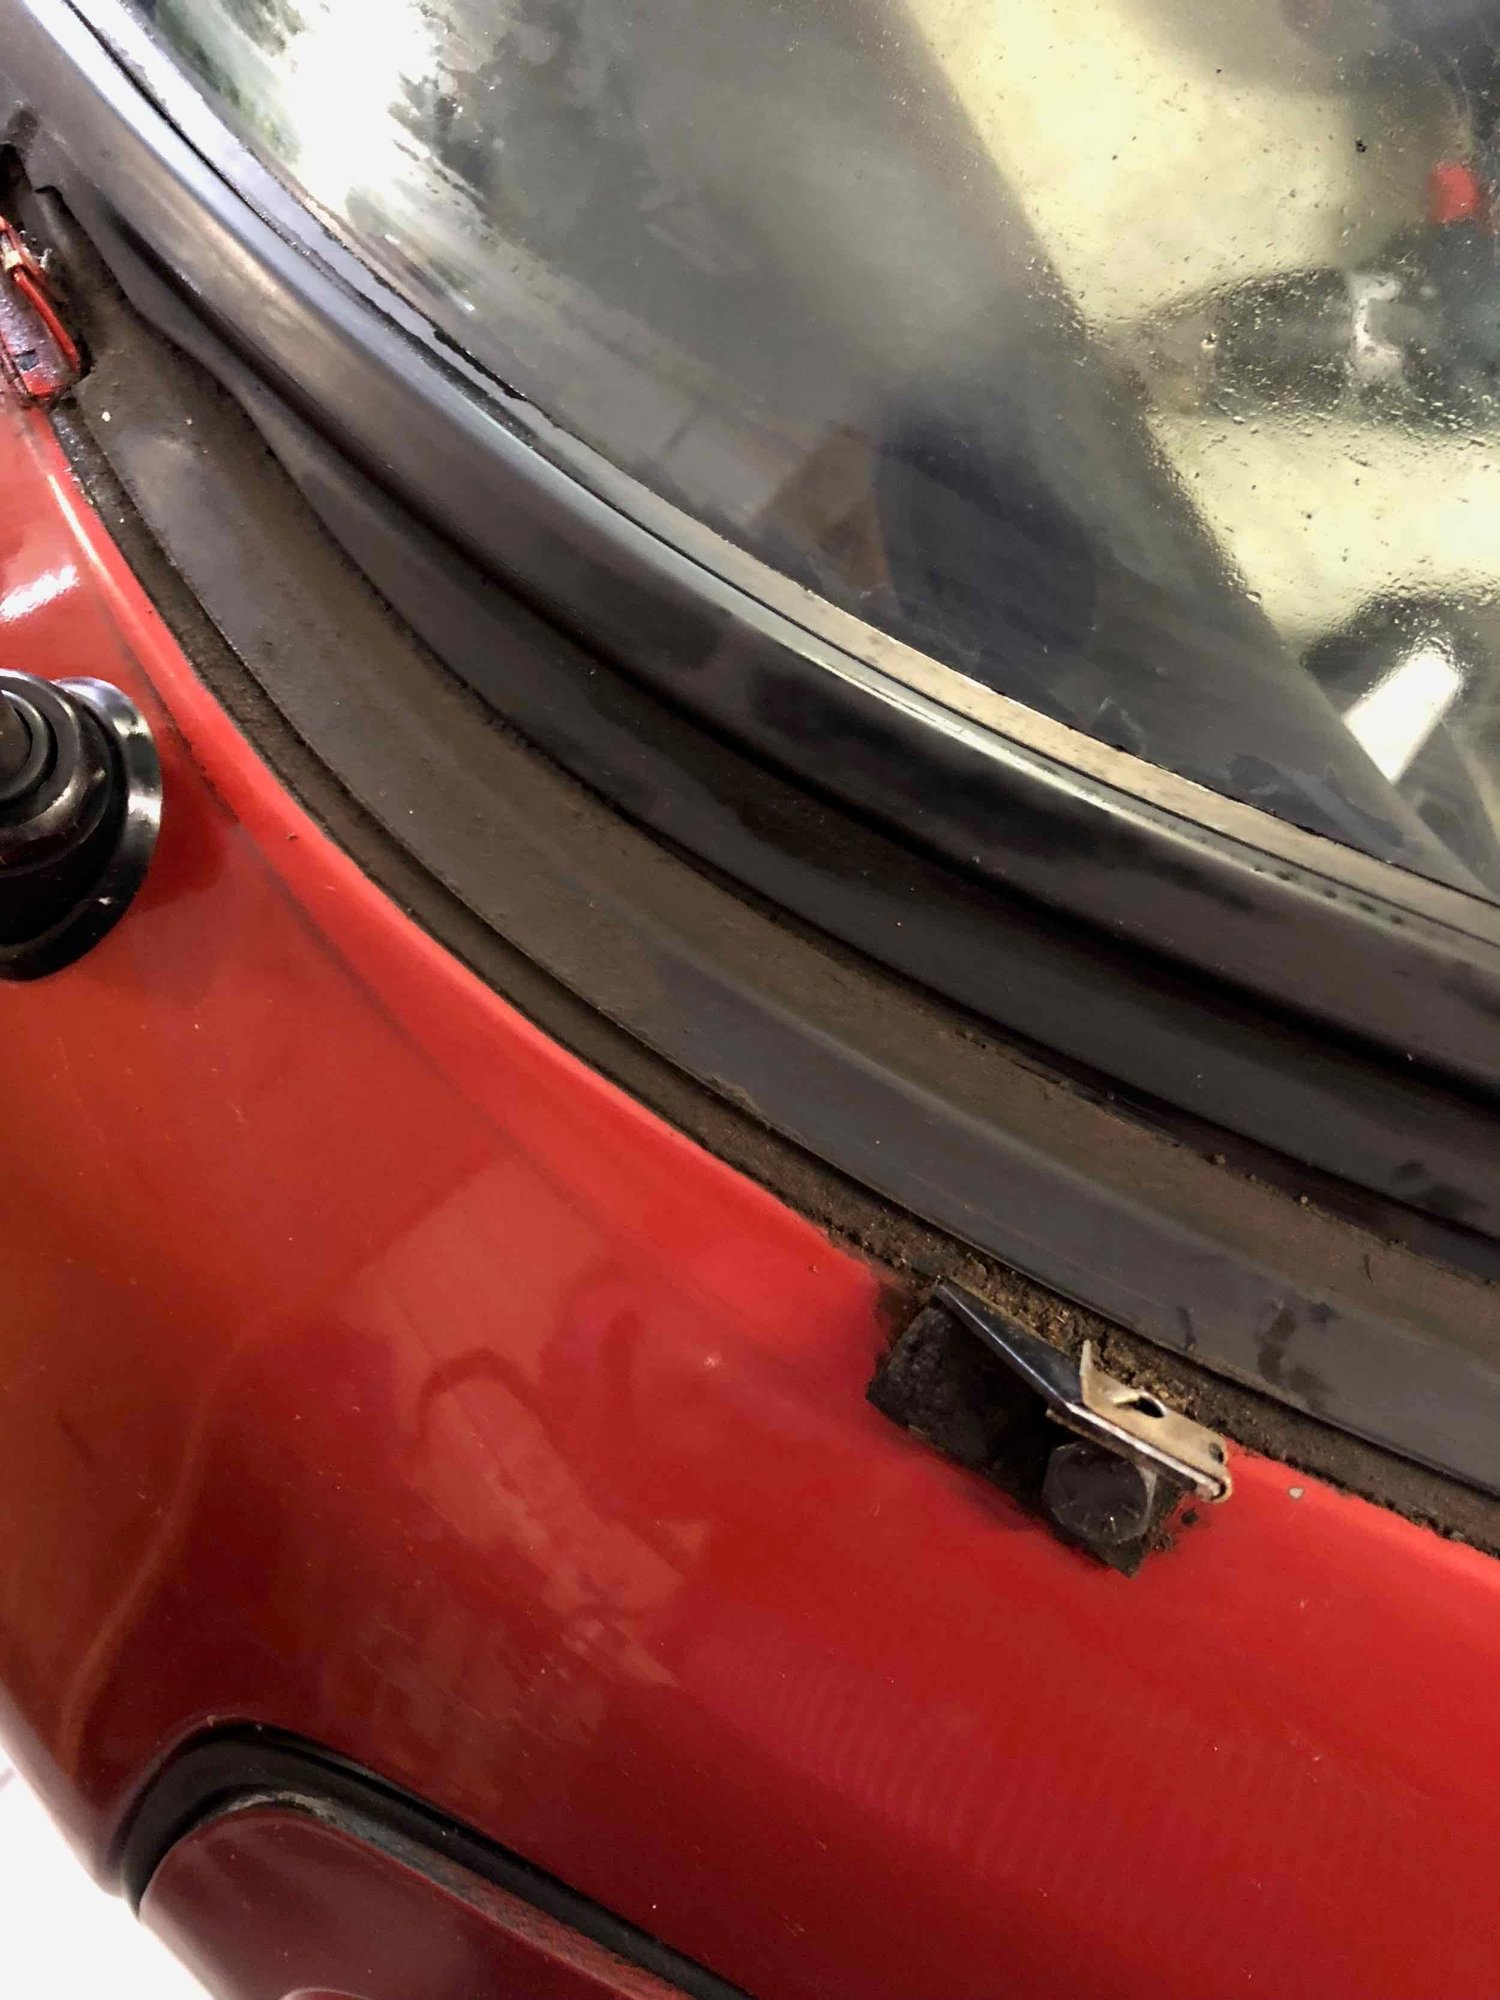
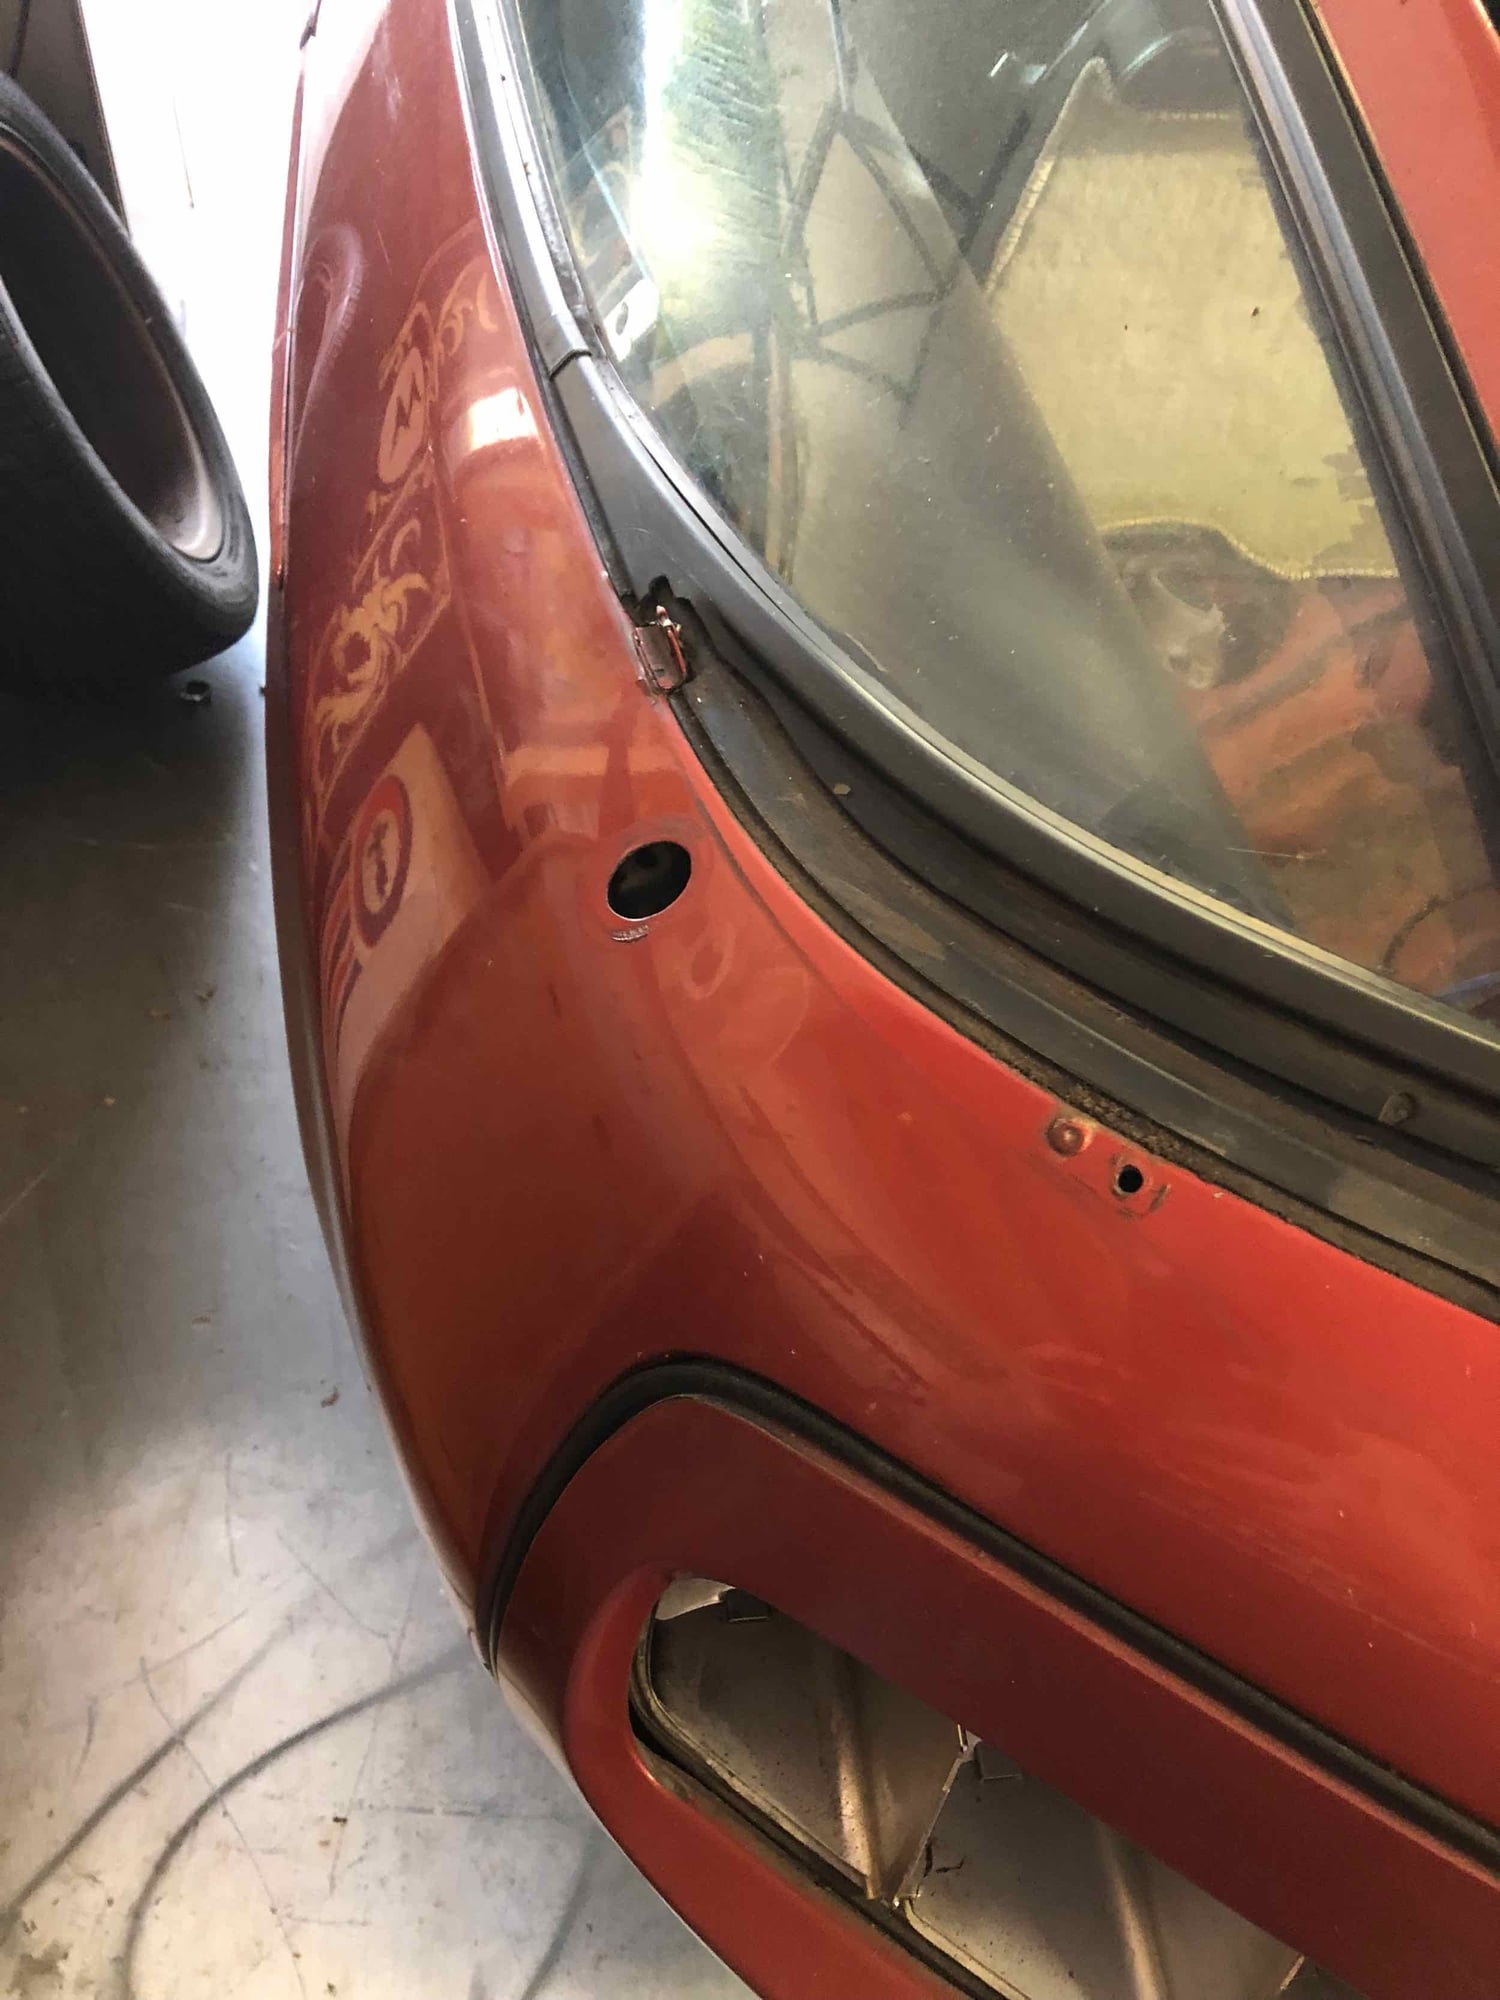
In the photo below are some of the spacers that go between the glass and side of the hatch lid. I have pulled these out for cleaning (most are filled with dirt and crud). I am assuming it is wise to use a tool of some kind (e.g. plastic scraper, etc.) to clean all of the dirt and gunk out of this channel.
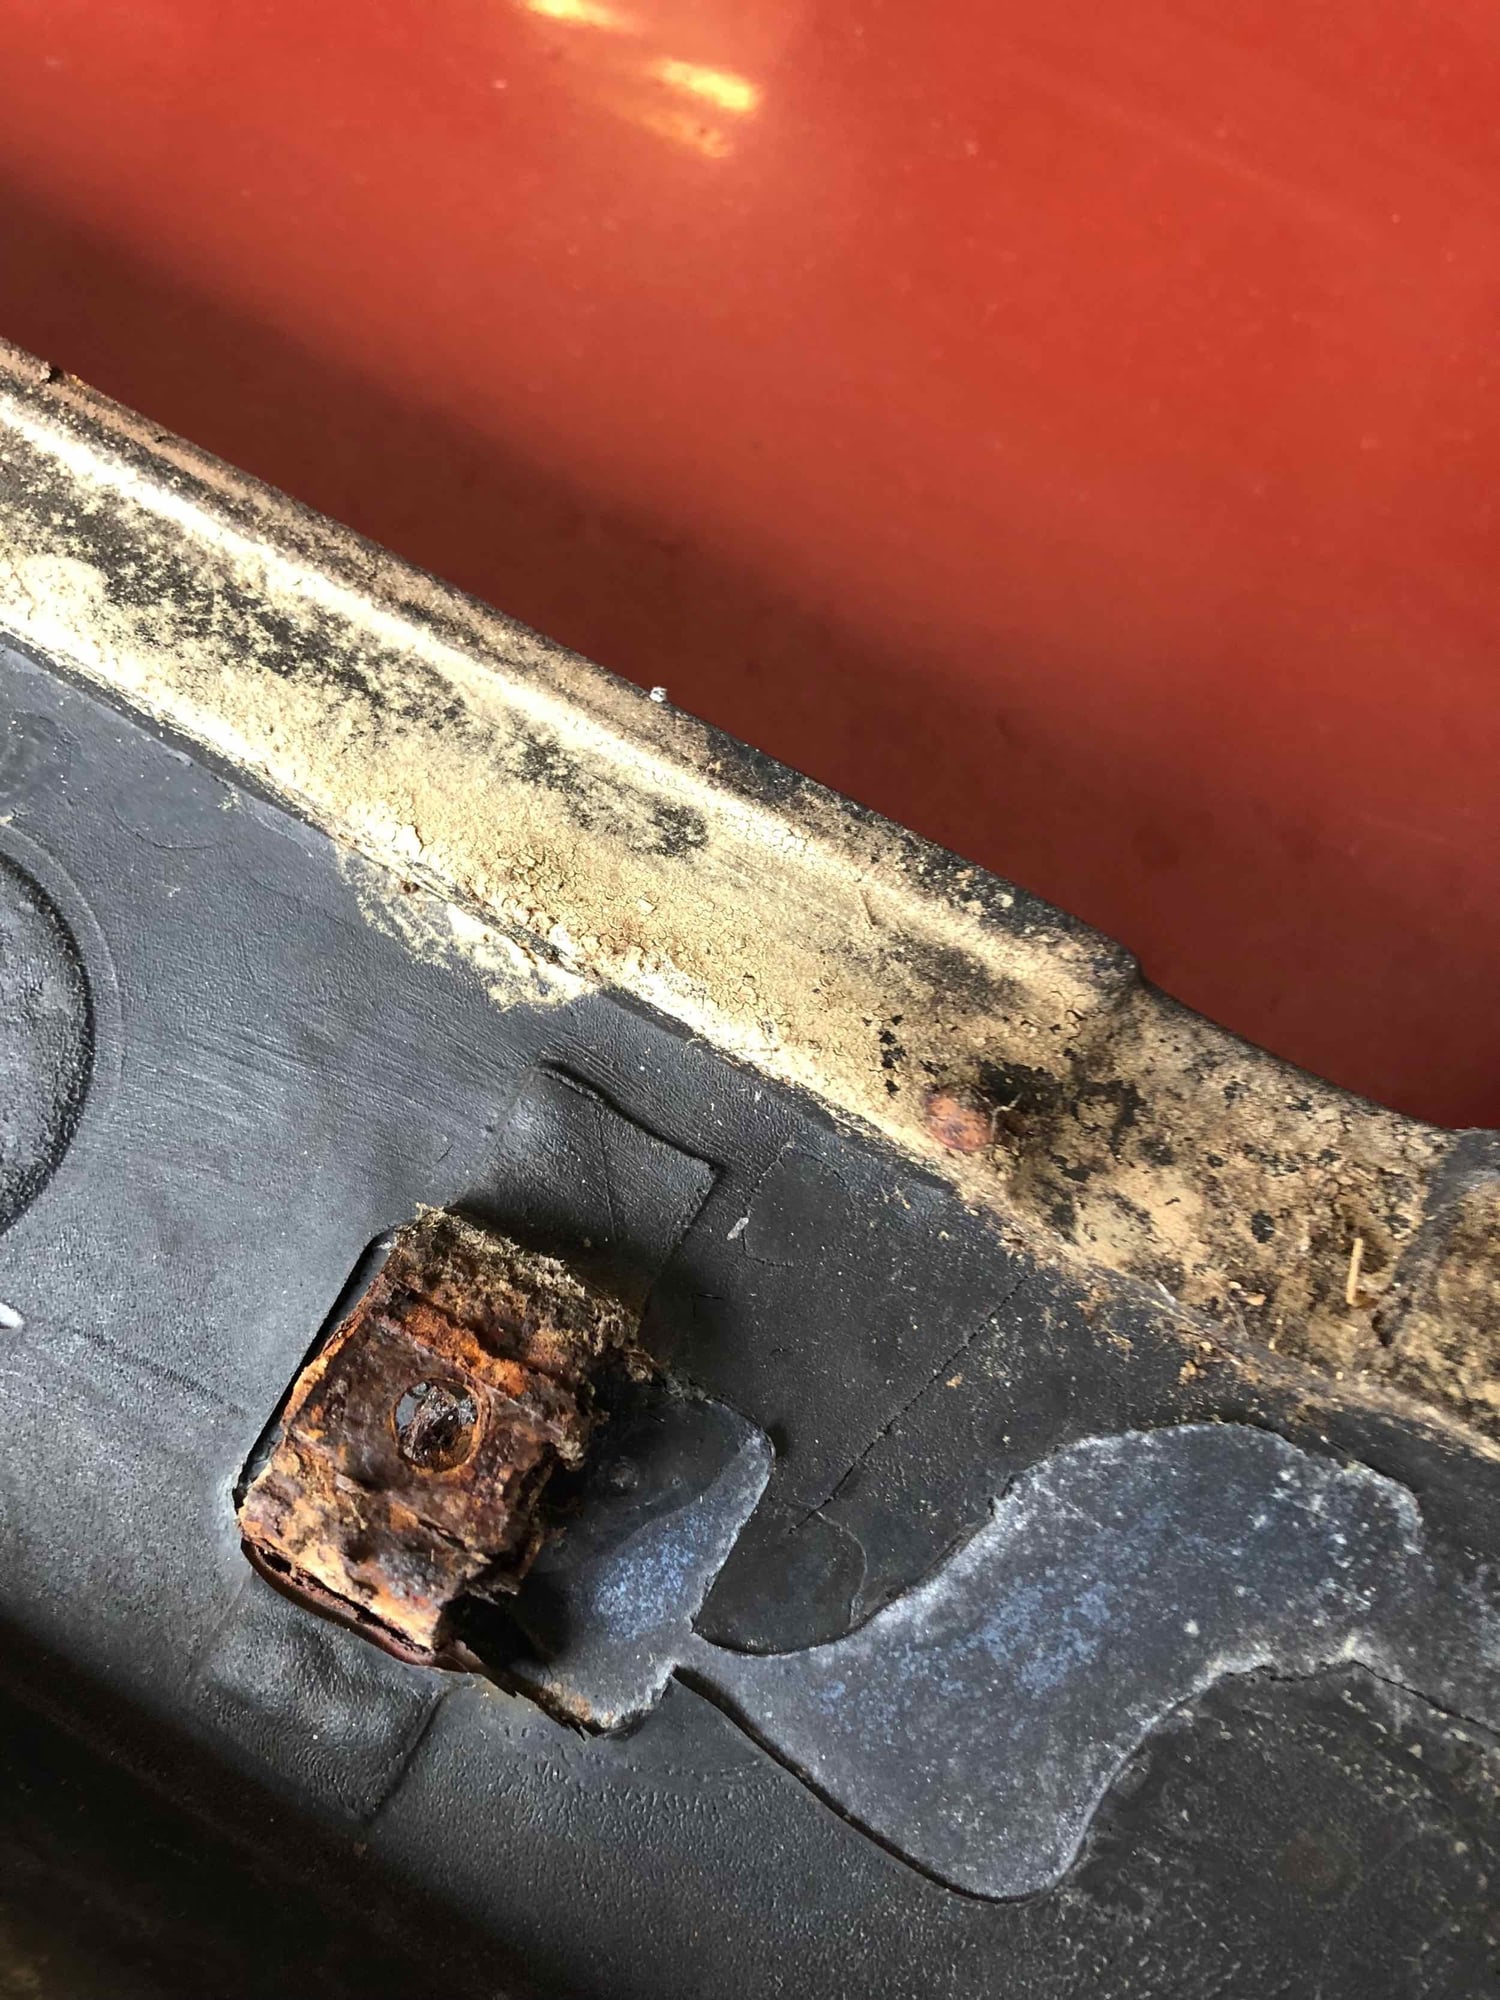
Interesting find...the tab on the drivers and passengers side that hold the winglets in place are held on by different type screws. The passenger side is actually a sheet metal screw and the hex bolt head on the drivers side is a machine bolt...makes me question why...
More gunk below. I am assuming that the spoiler was removed for the prior respray (1) because there is no overspray, (2) the tab hardware is different, and (3), there is overspray layered on top of the gunk in a few spots. Can't believe this was less than 30 years of gunk underneath though (I have no idea when car was resprayed).
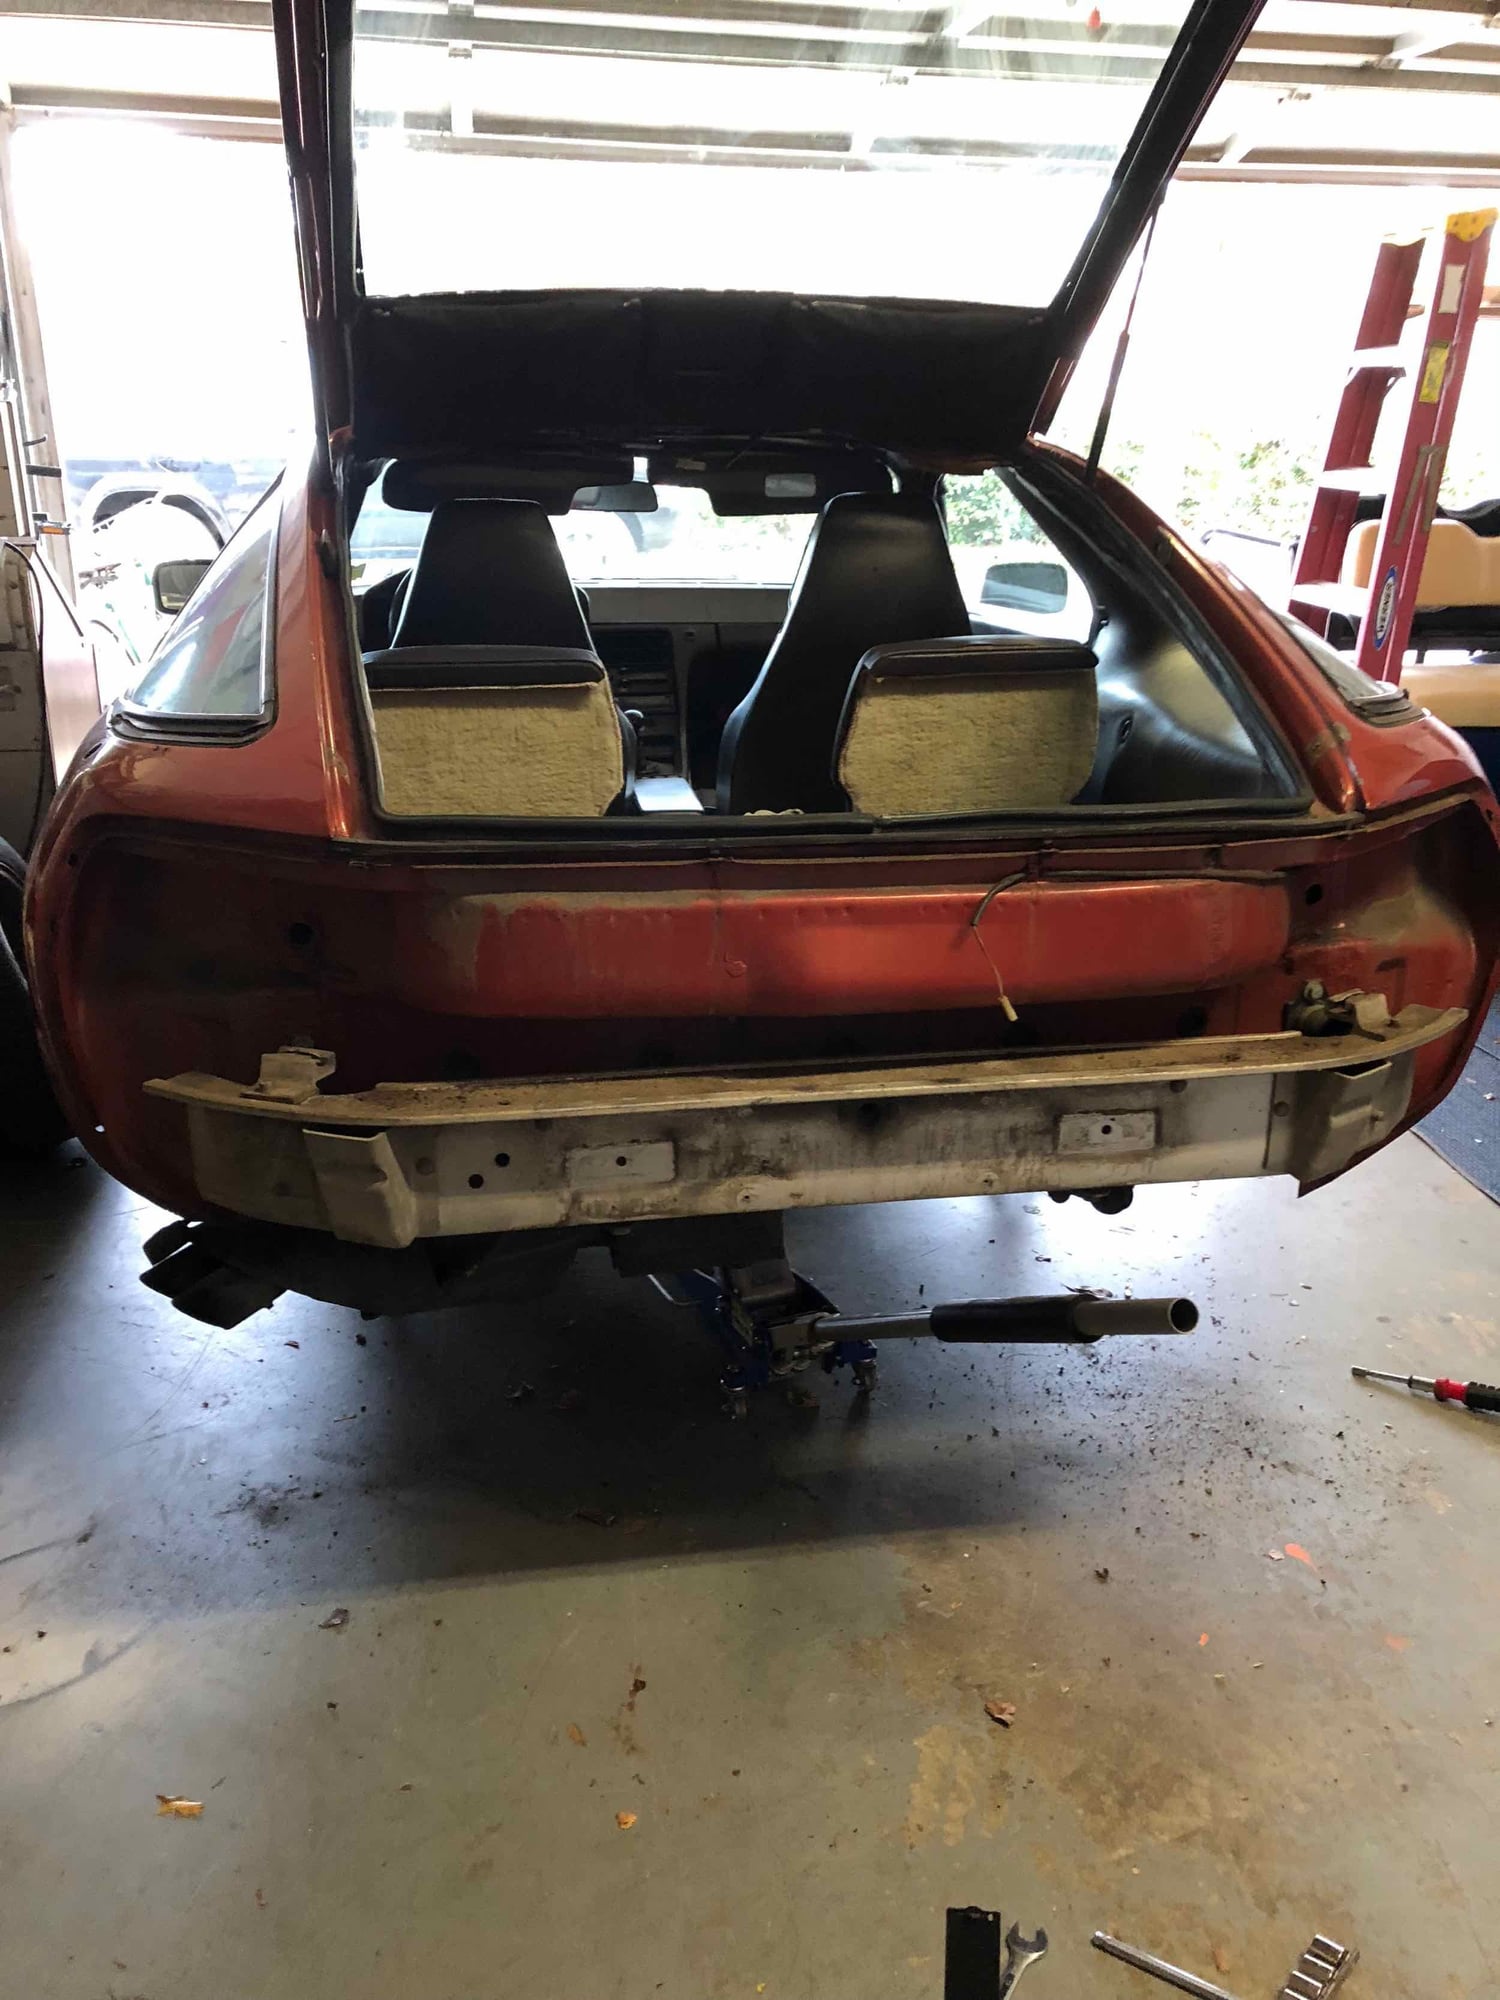
Got the tank dropped (for the second time) - hope to get it patched up quickly and ready to go back in.
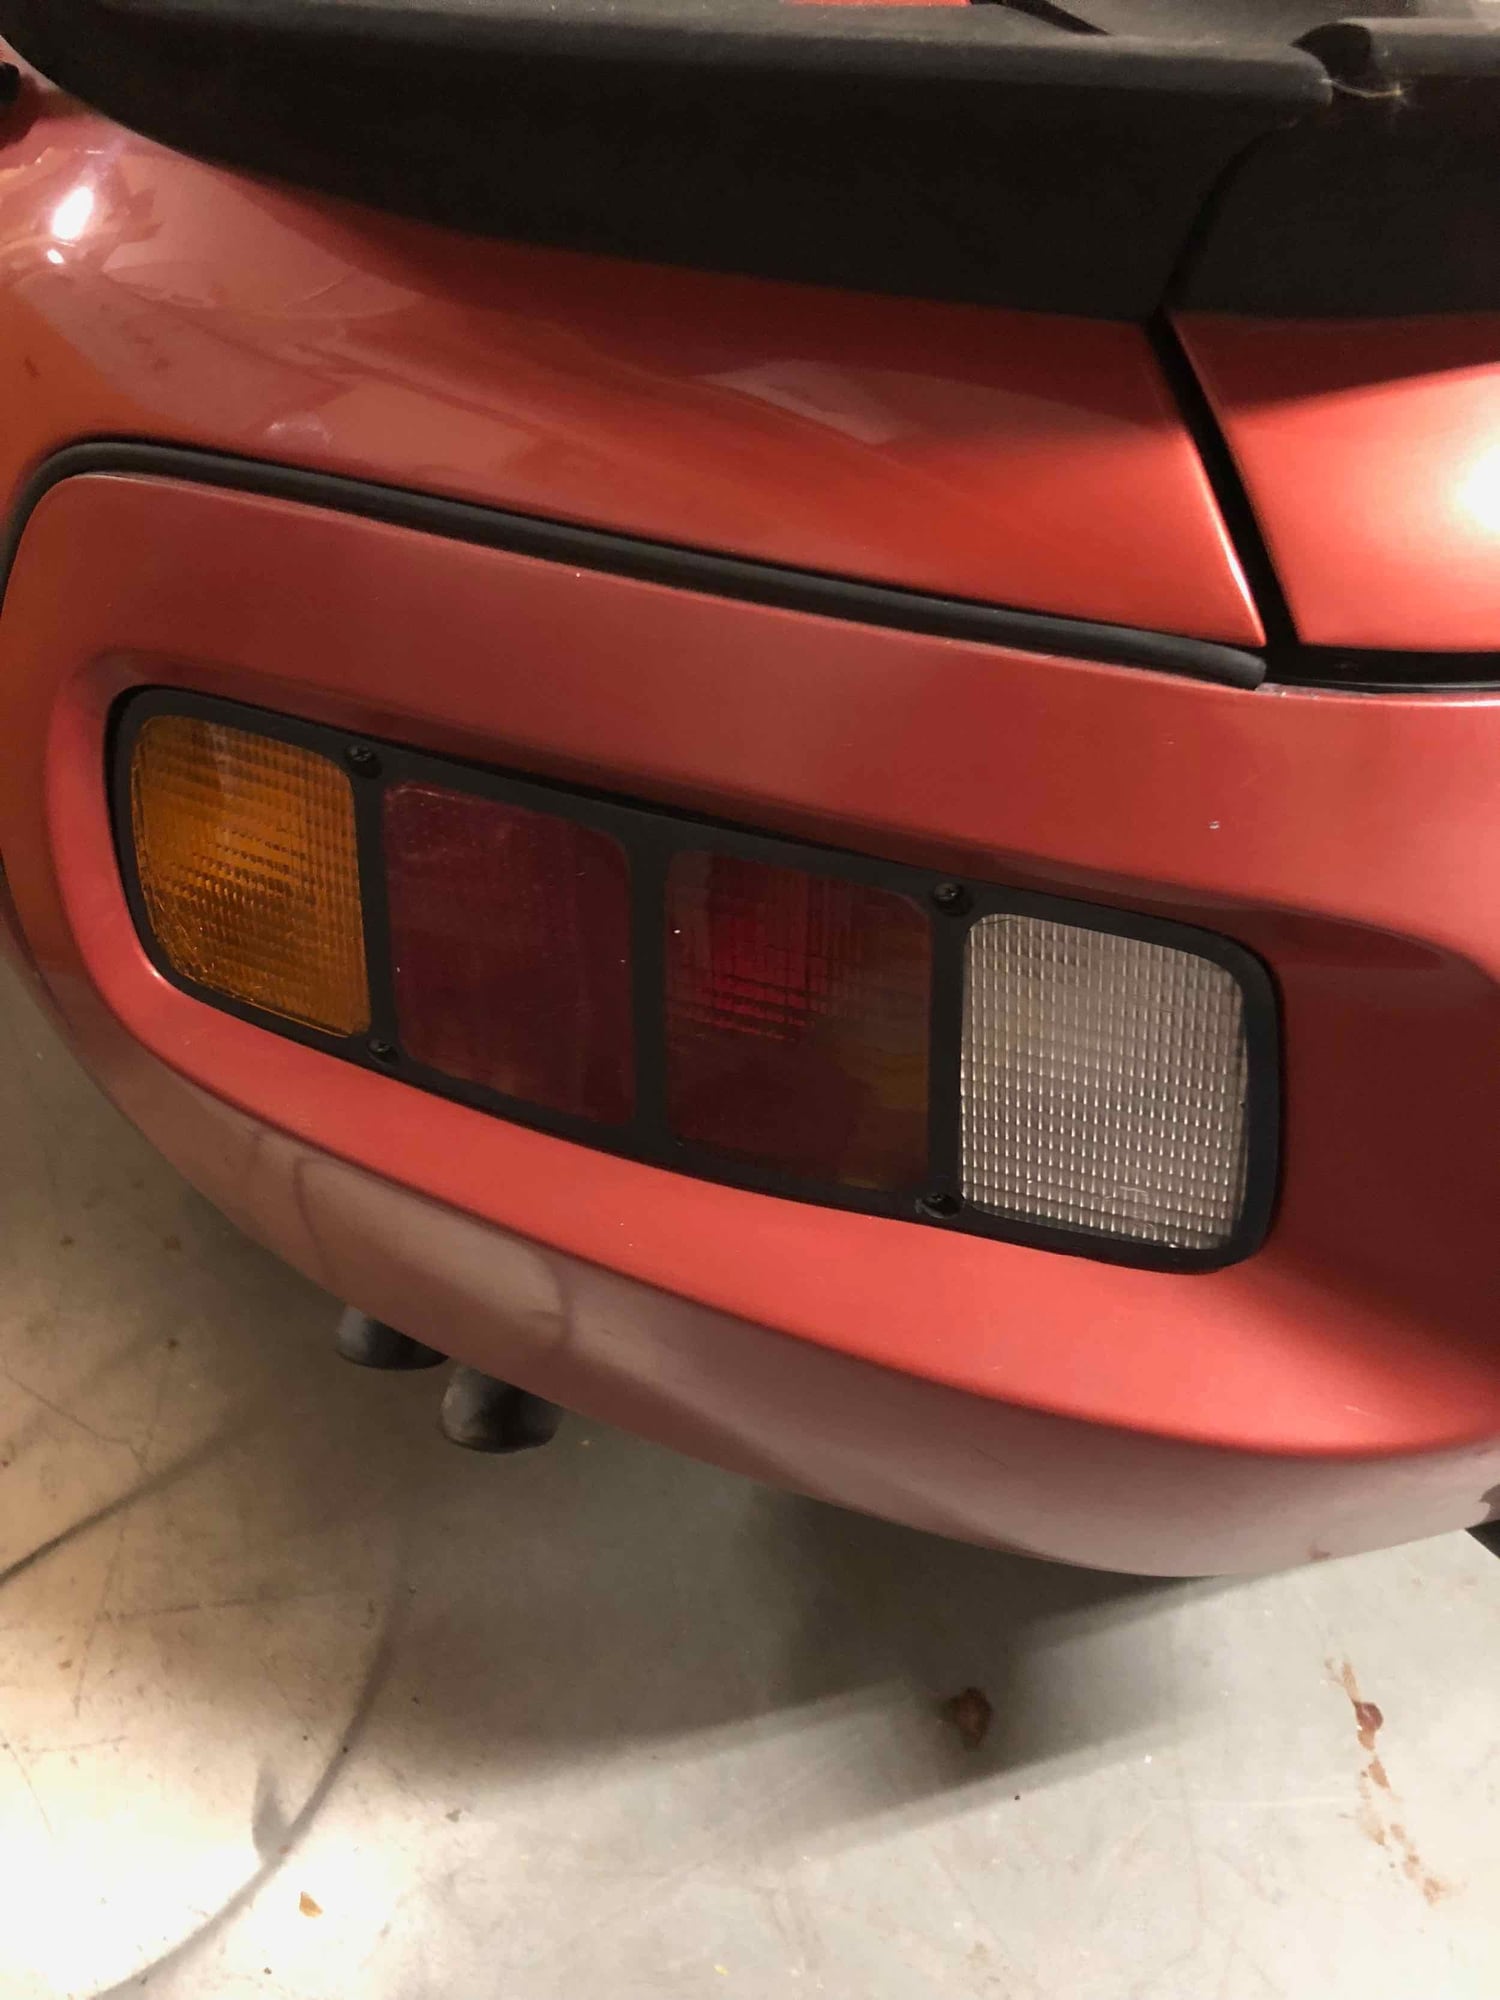
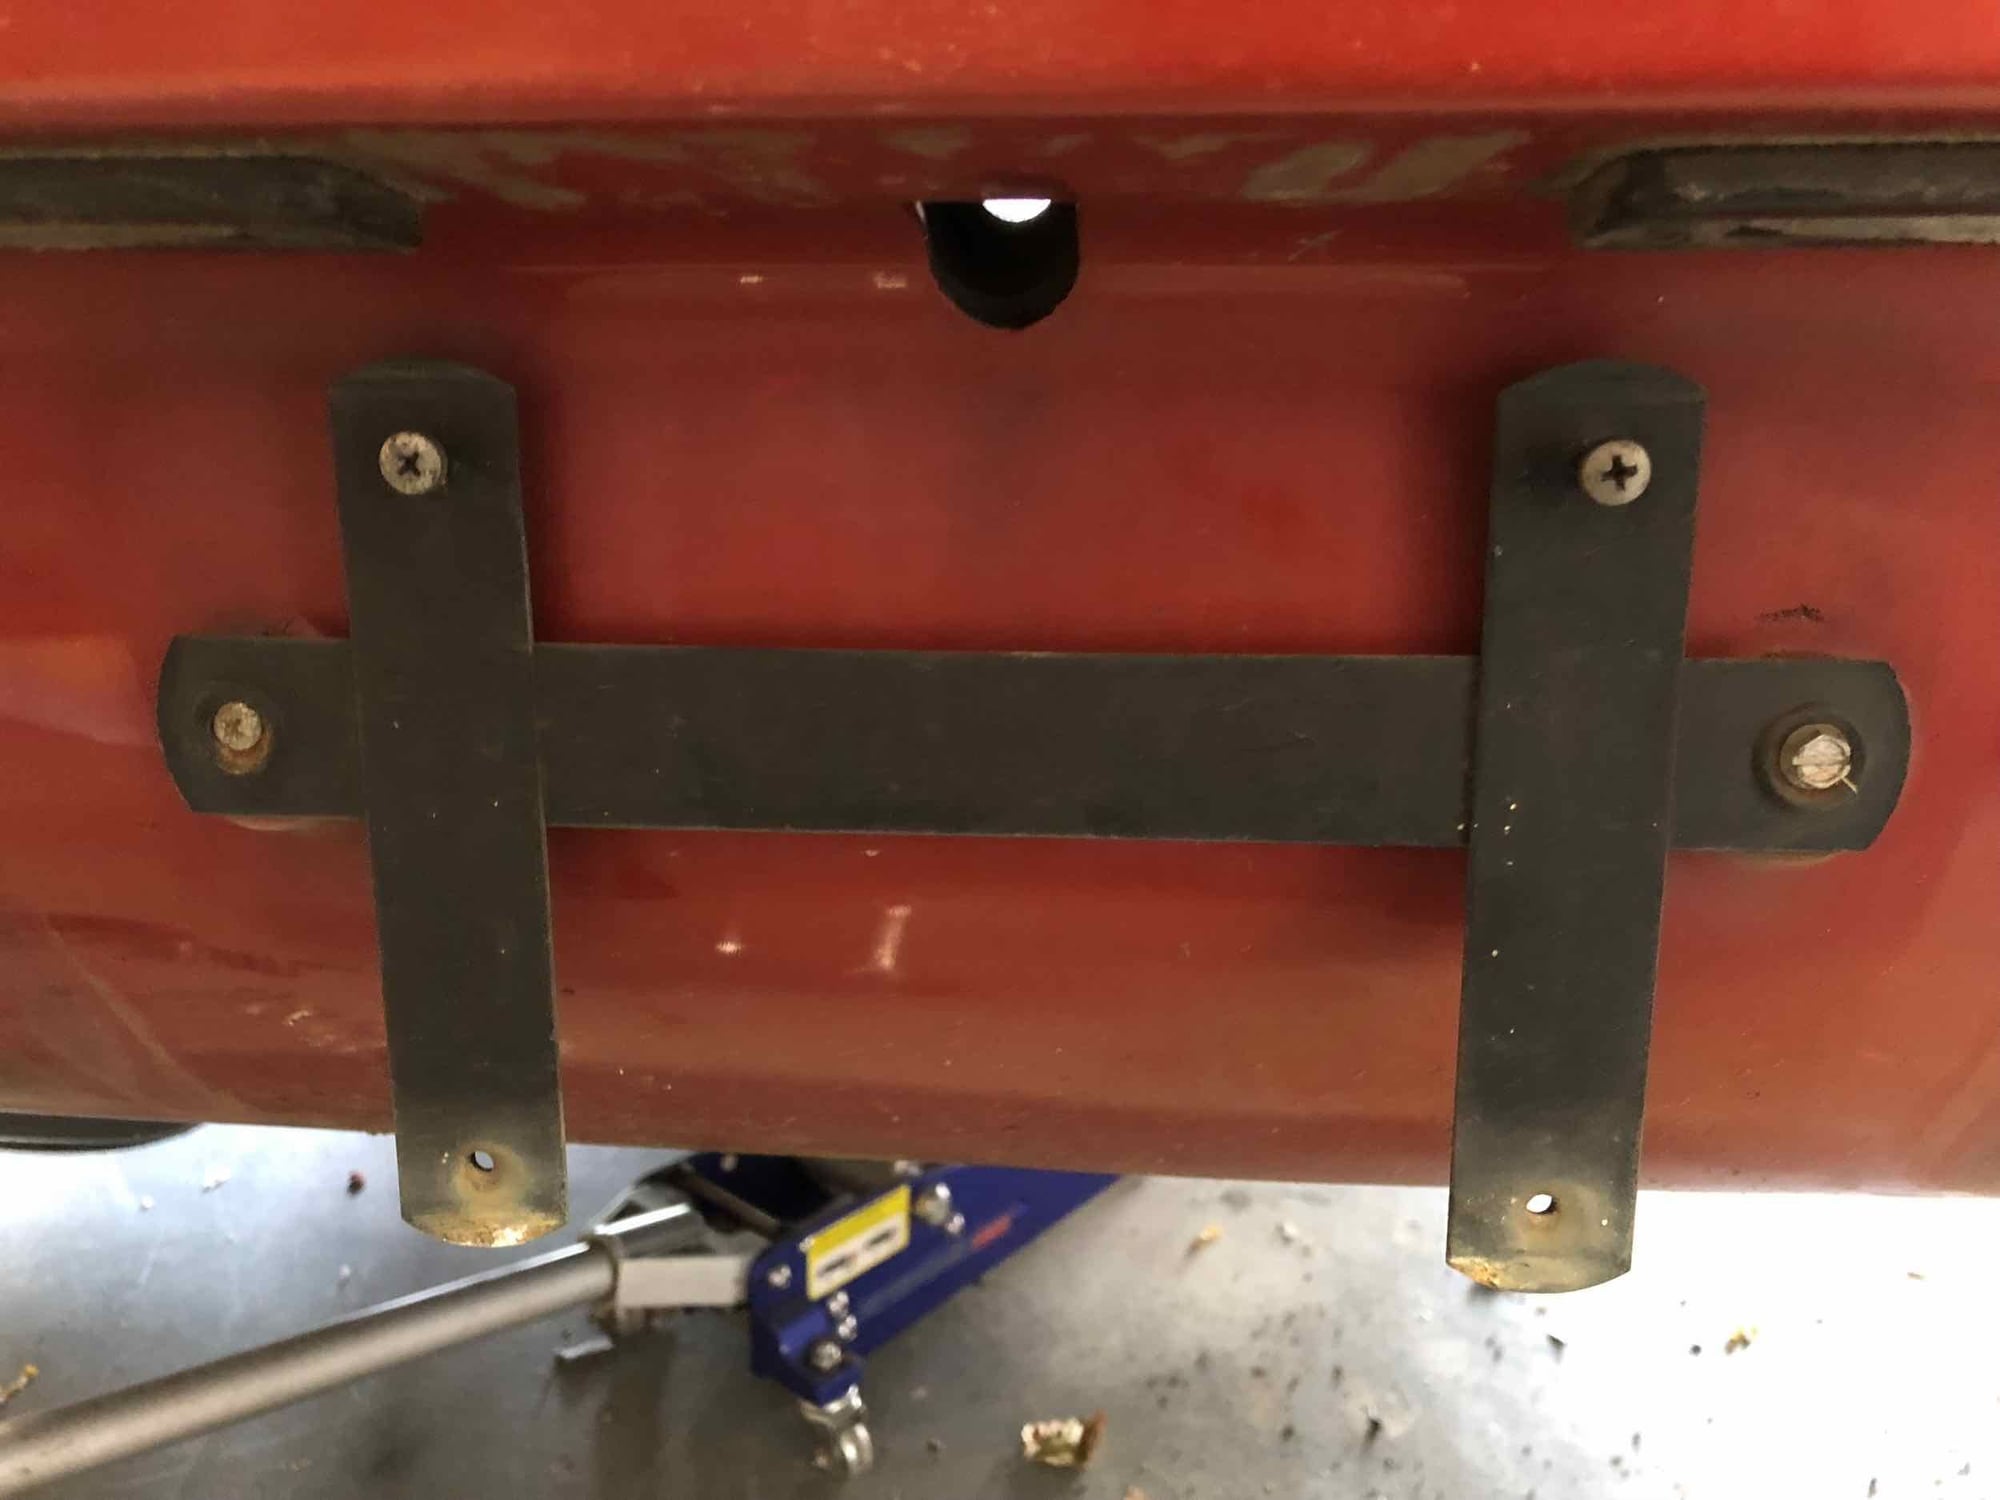
Rear bumper came off very easy (probably made so by the fact that the tank was out). Have to decide which order to put those back later.
Very little rust on the "perimeter bolts" that attach the bumper. Had to soak 2 but none broken. I did break two off of the taillight assemblies (that hold them to the bumper)....uuggghhh!
Pulled the back soft fuel line to have rebuilt, and will pull the two front soft lines this week to get to the shop and back.
Amazing how dirty everything is - just cleaning all of that stuff and putting it back (knowing the back is as clean as the front) is more than half the fun of doing something like this.
More to come...
Nuts and bolts are pretty clean.
Notice how there are two different attachment screws through the bumper...UUUGGGHHH!
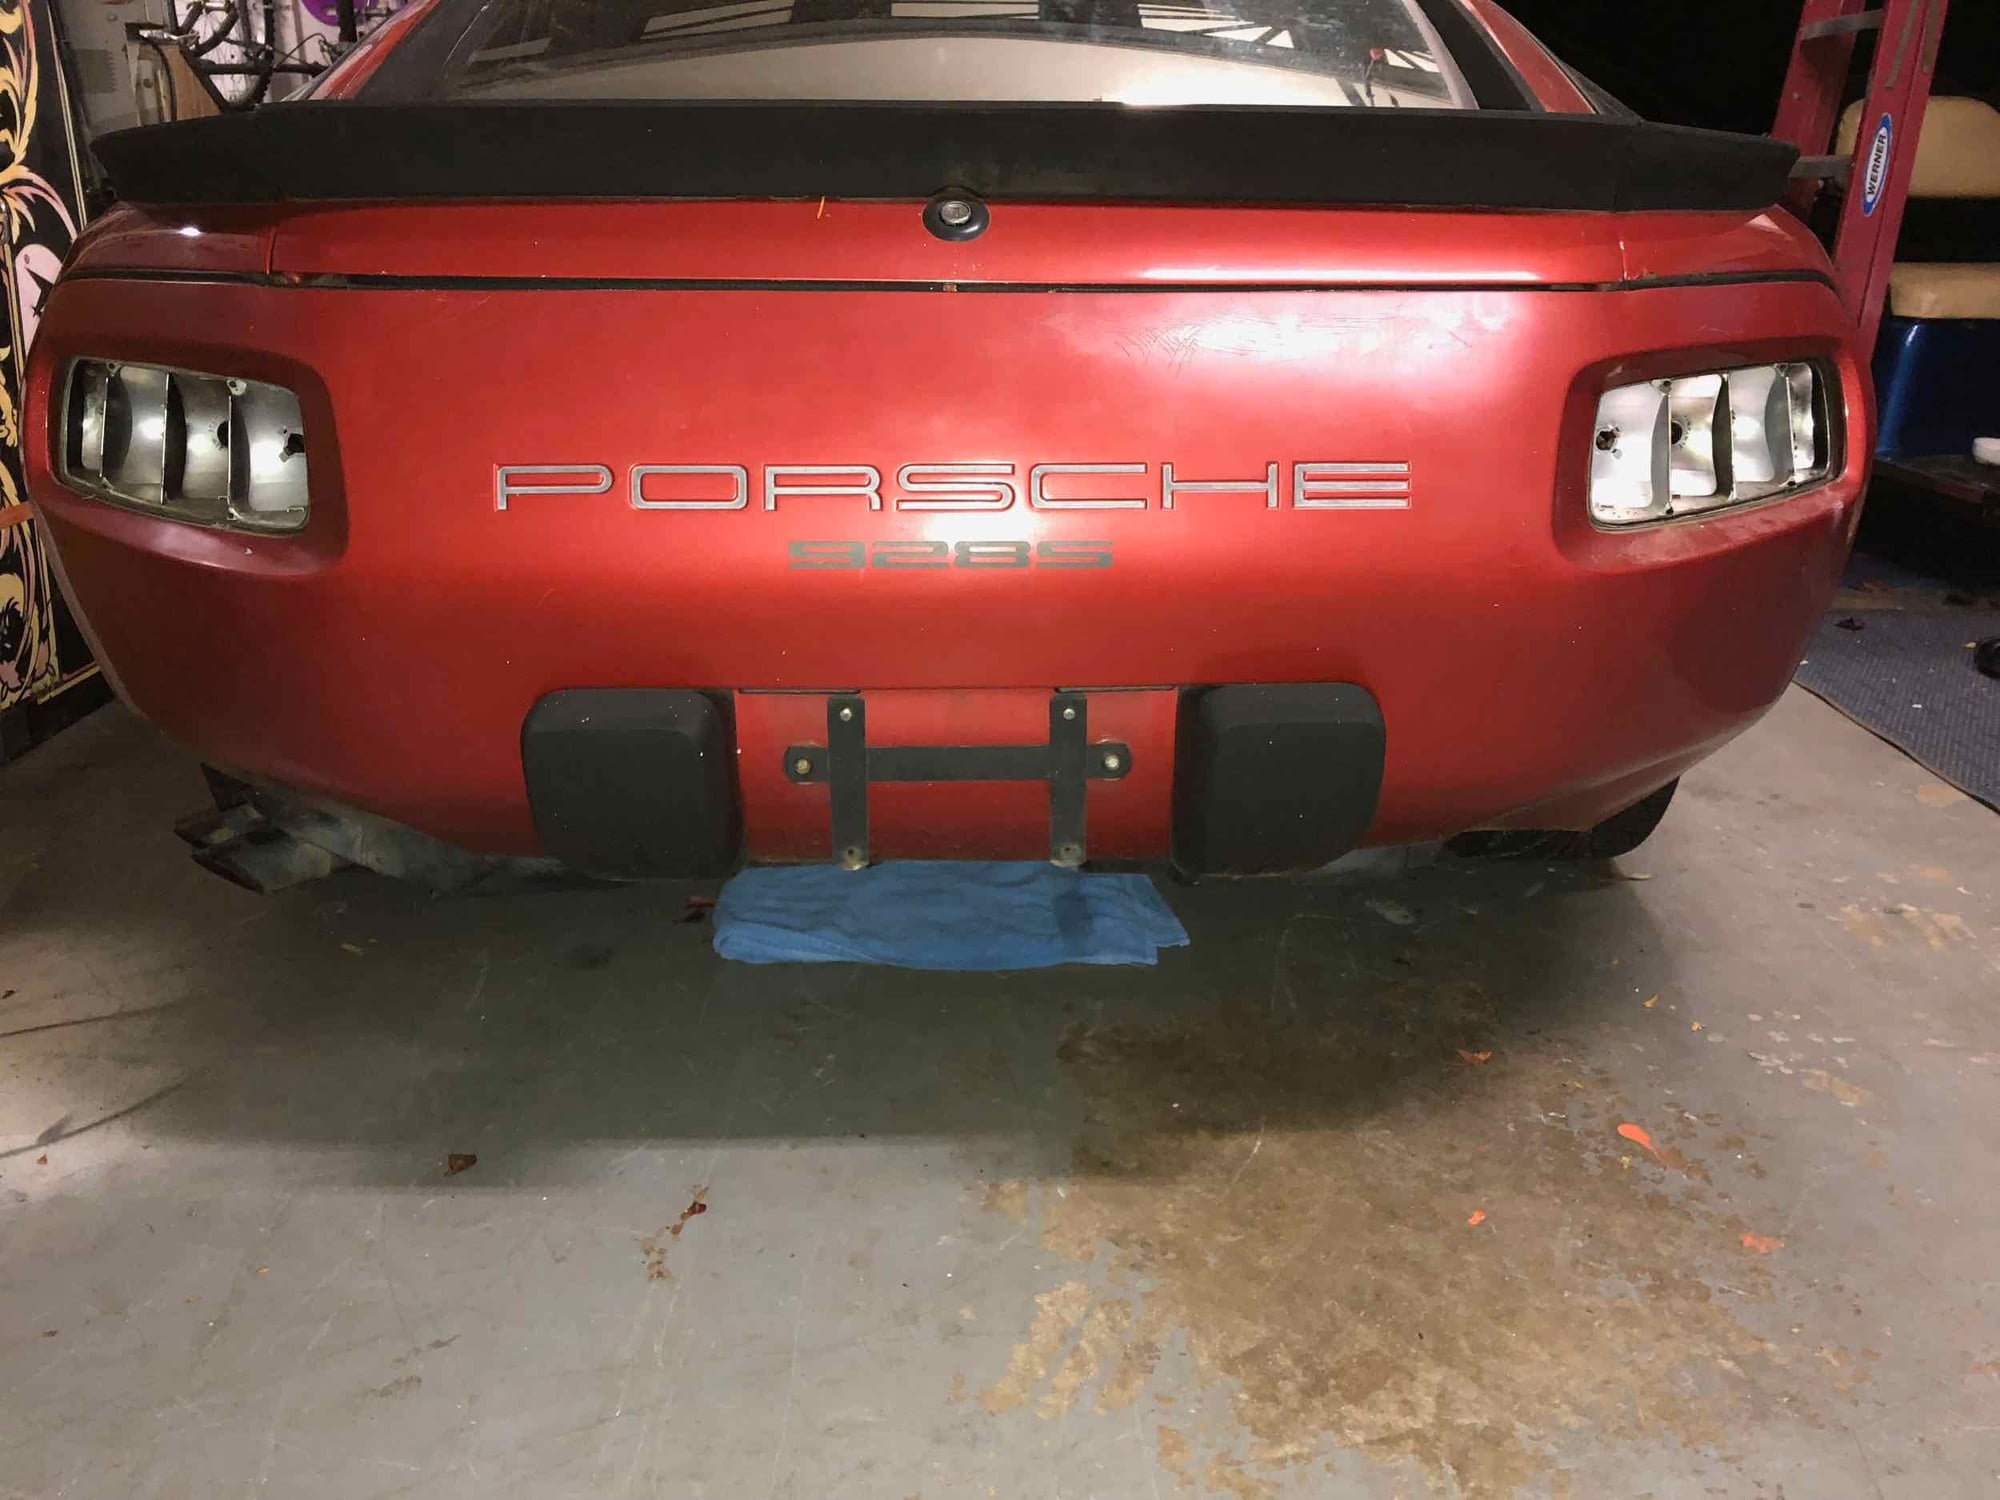
Overriders came off easily.
Antenna gone.
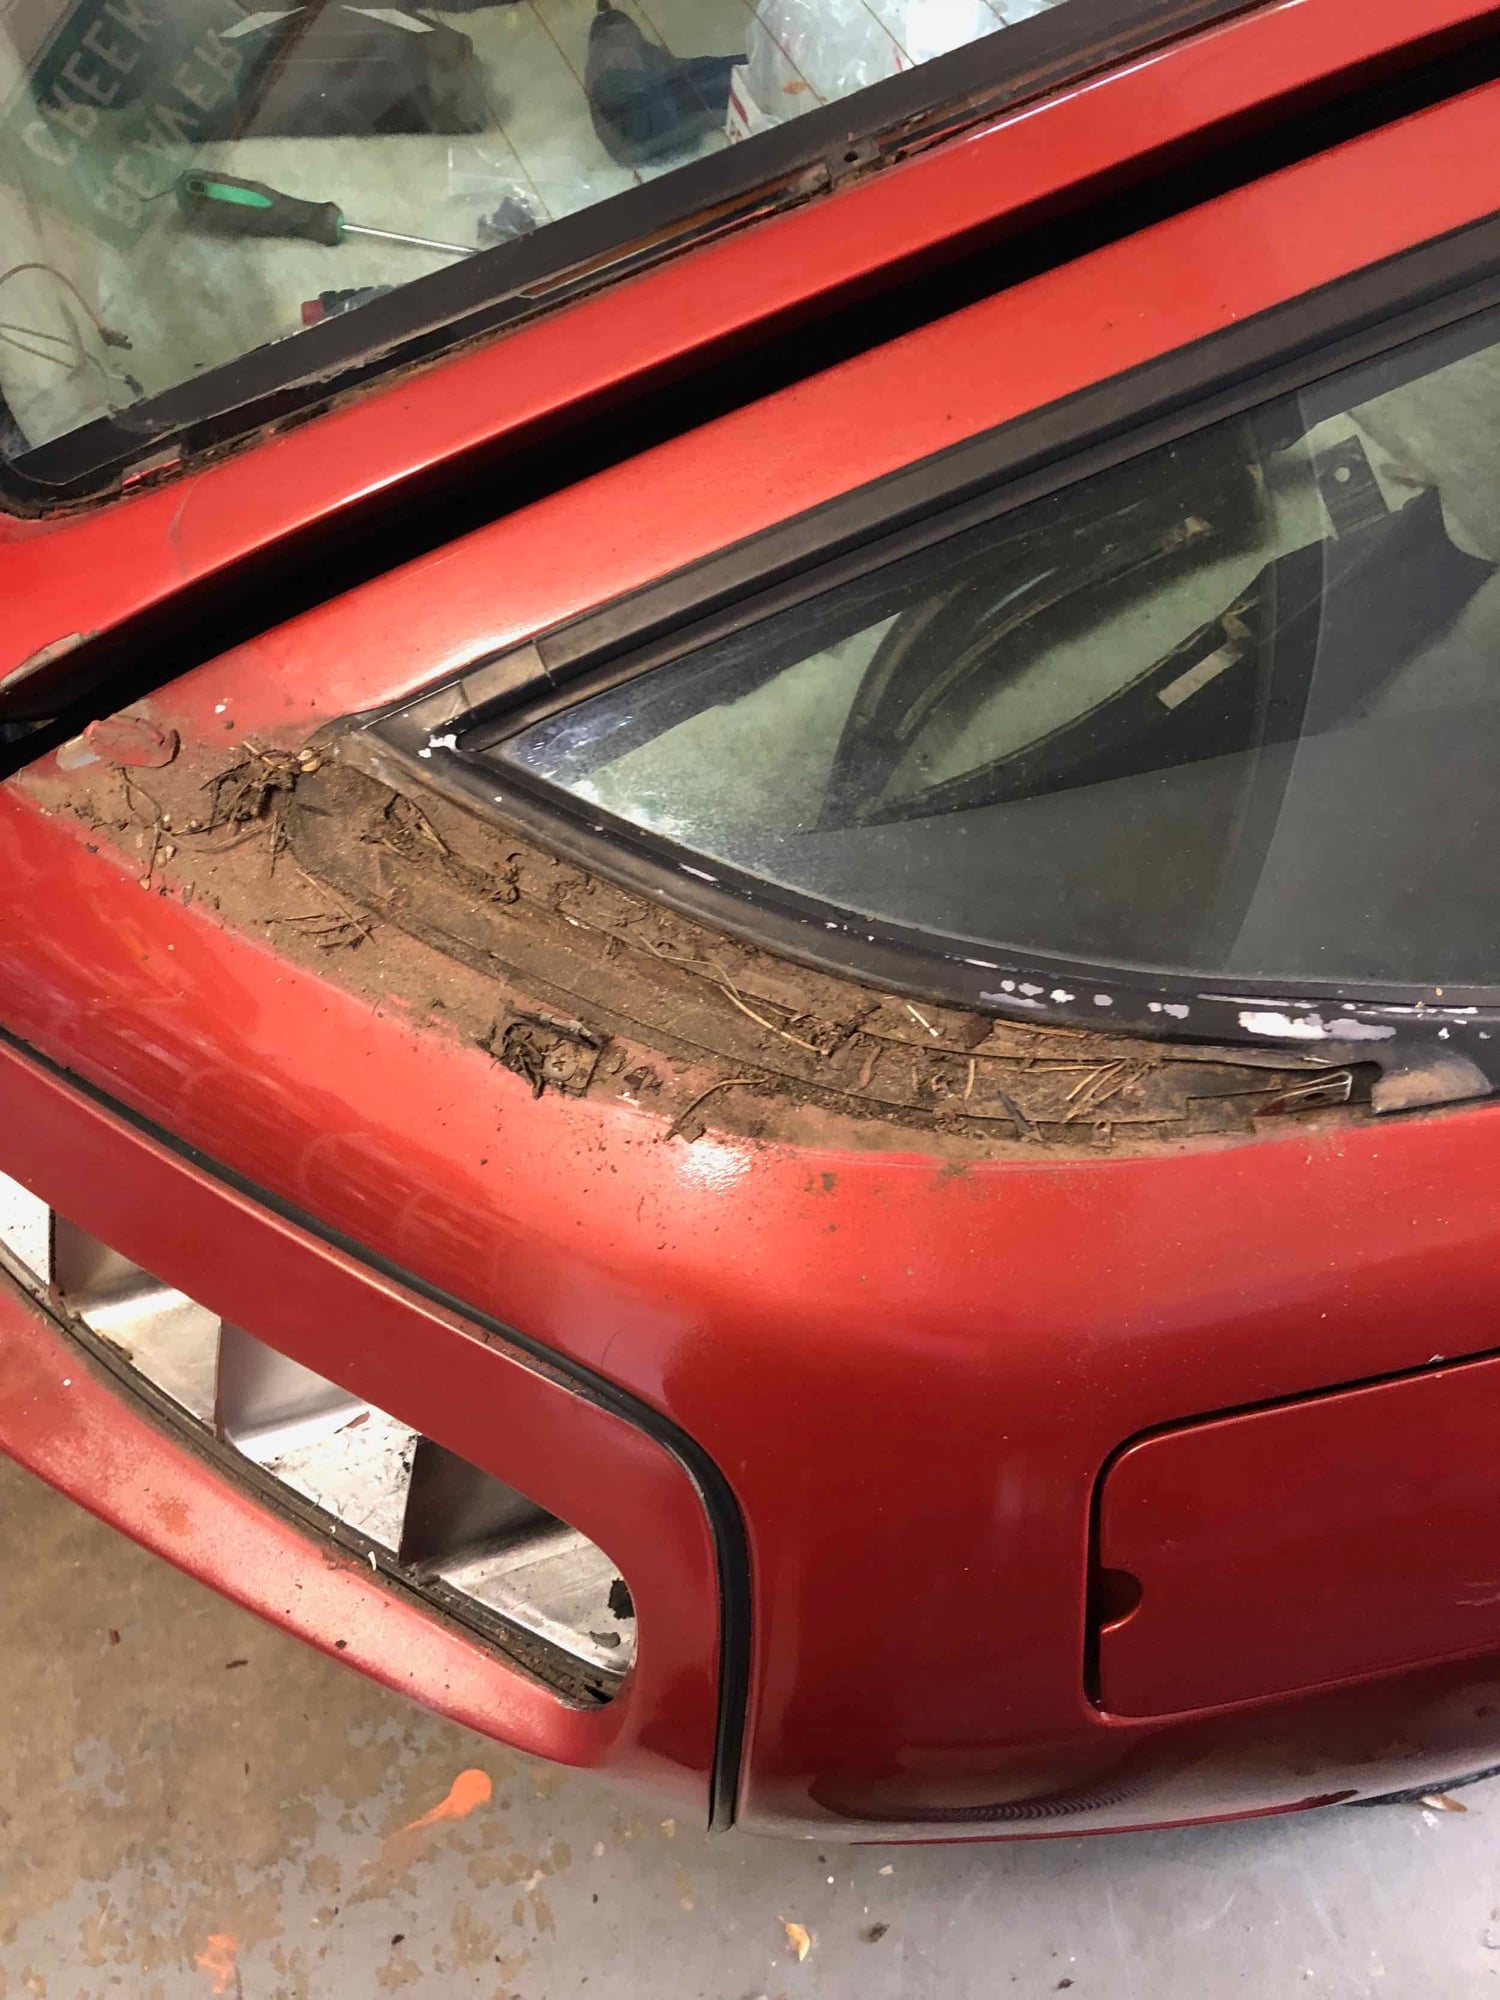
Look at all the dirt - I know that's normal, but is still fun to clean all that off and have it factory fresh before it goes back together.
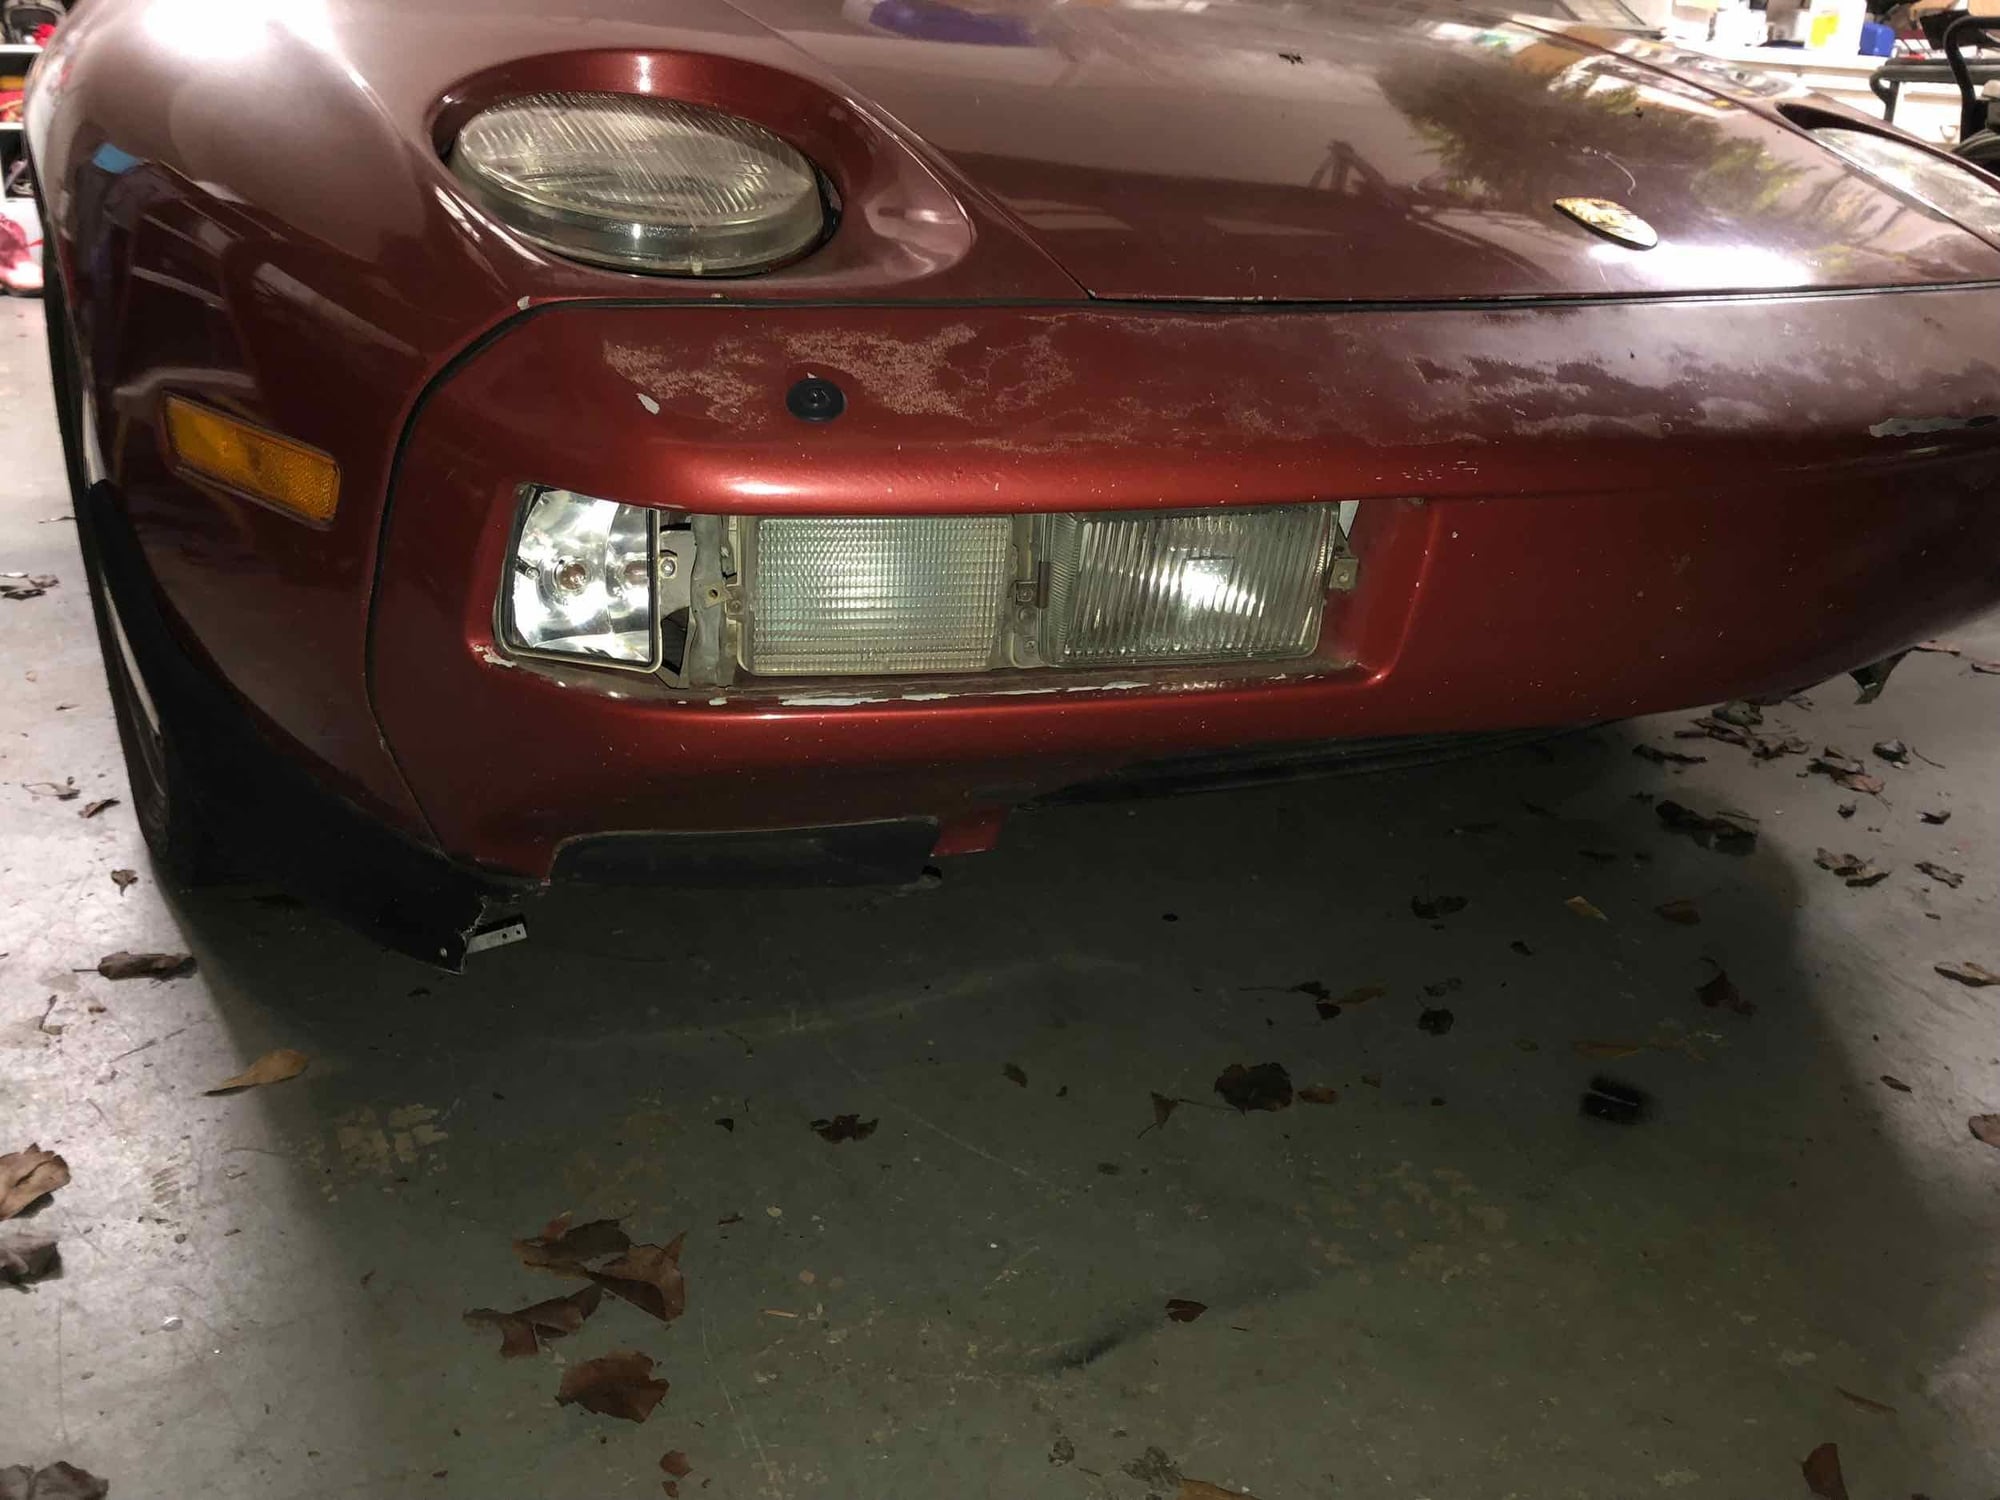
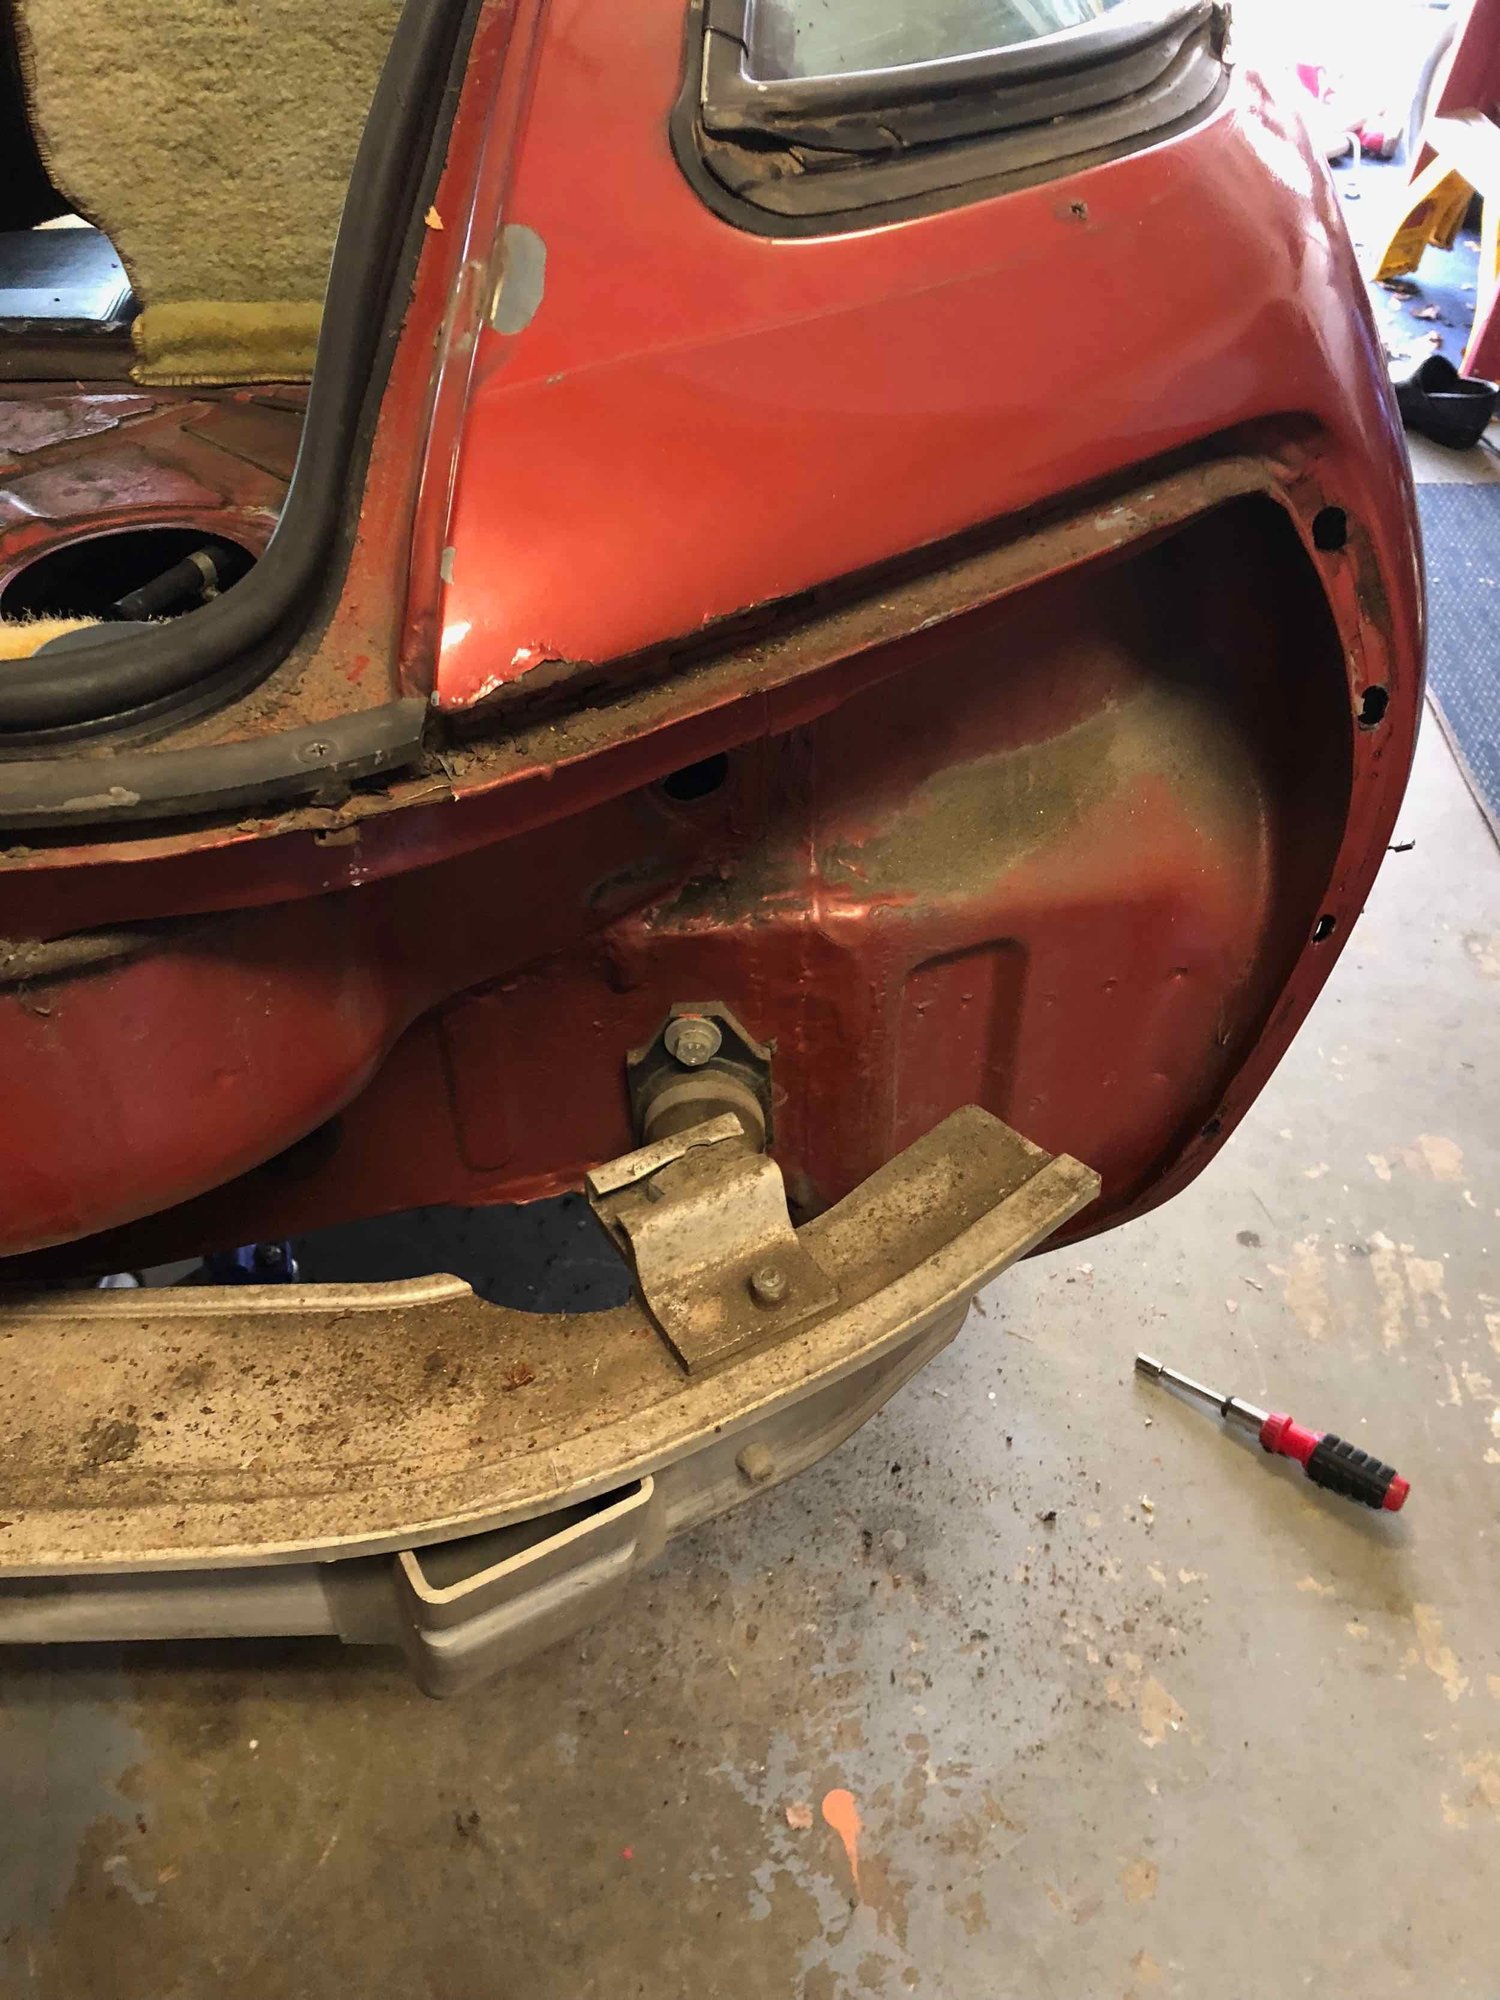
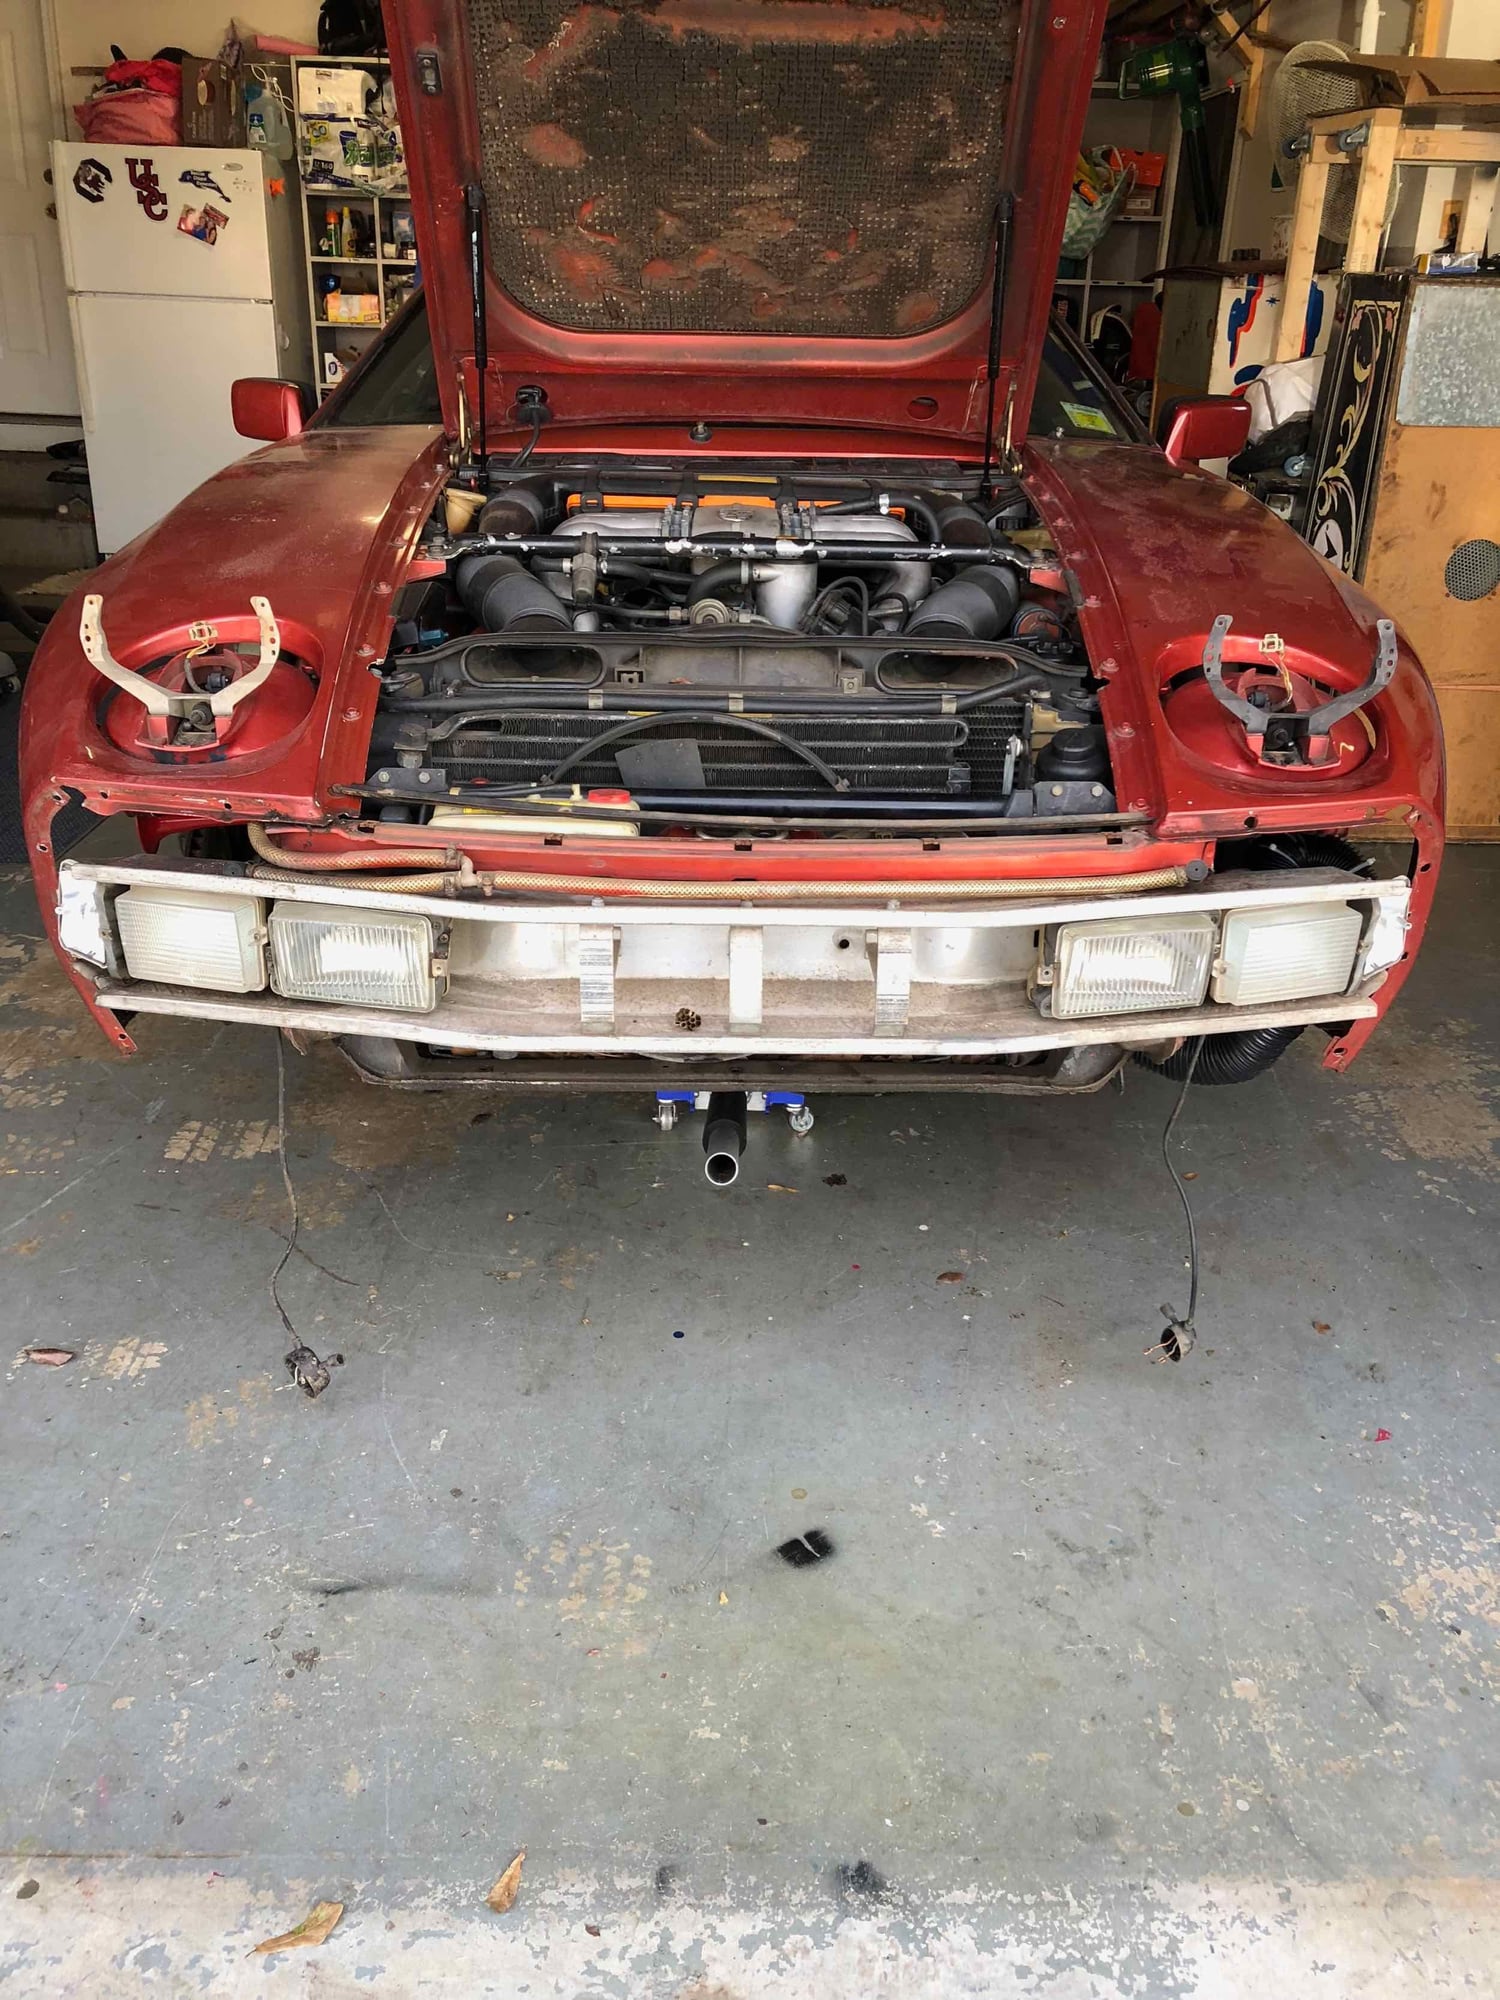
Well - front is now mostly disassembled. Only one fastener had to be cut loose for the whole project (drivers side in under headlight on the front cover). Lots of dirt and crud. Here are some updated pics (I have MANY more pics and videos (thanks all for that tip) that I can share - only posting a small sample here.
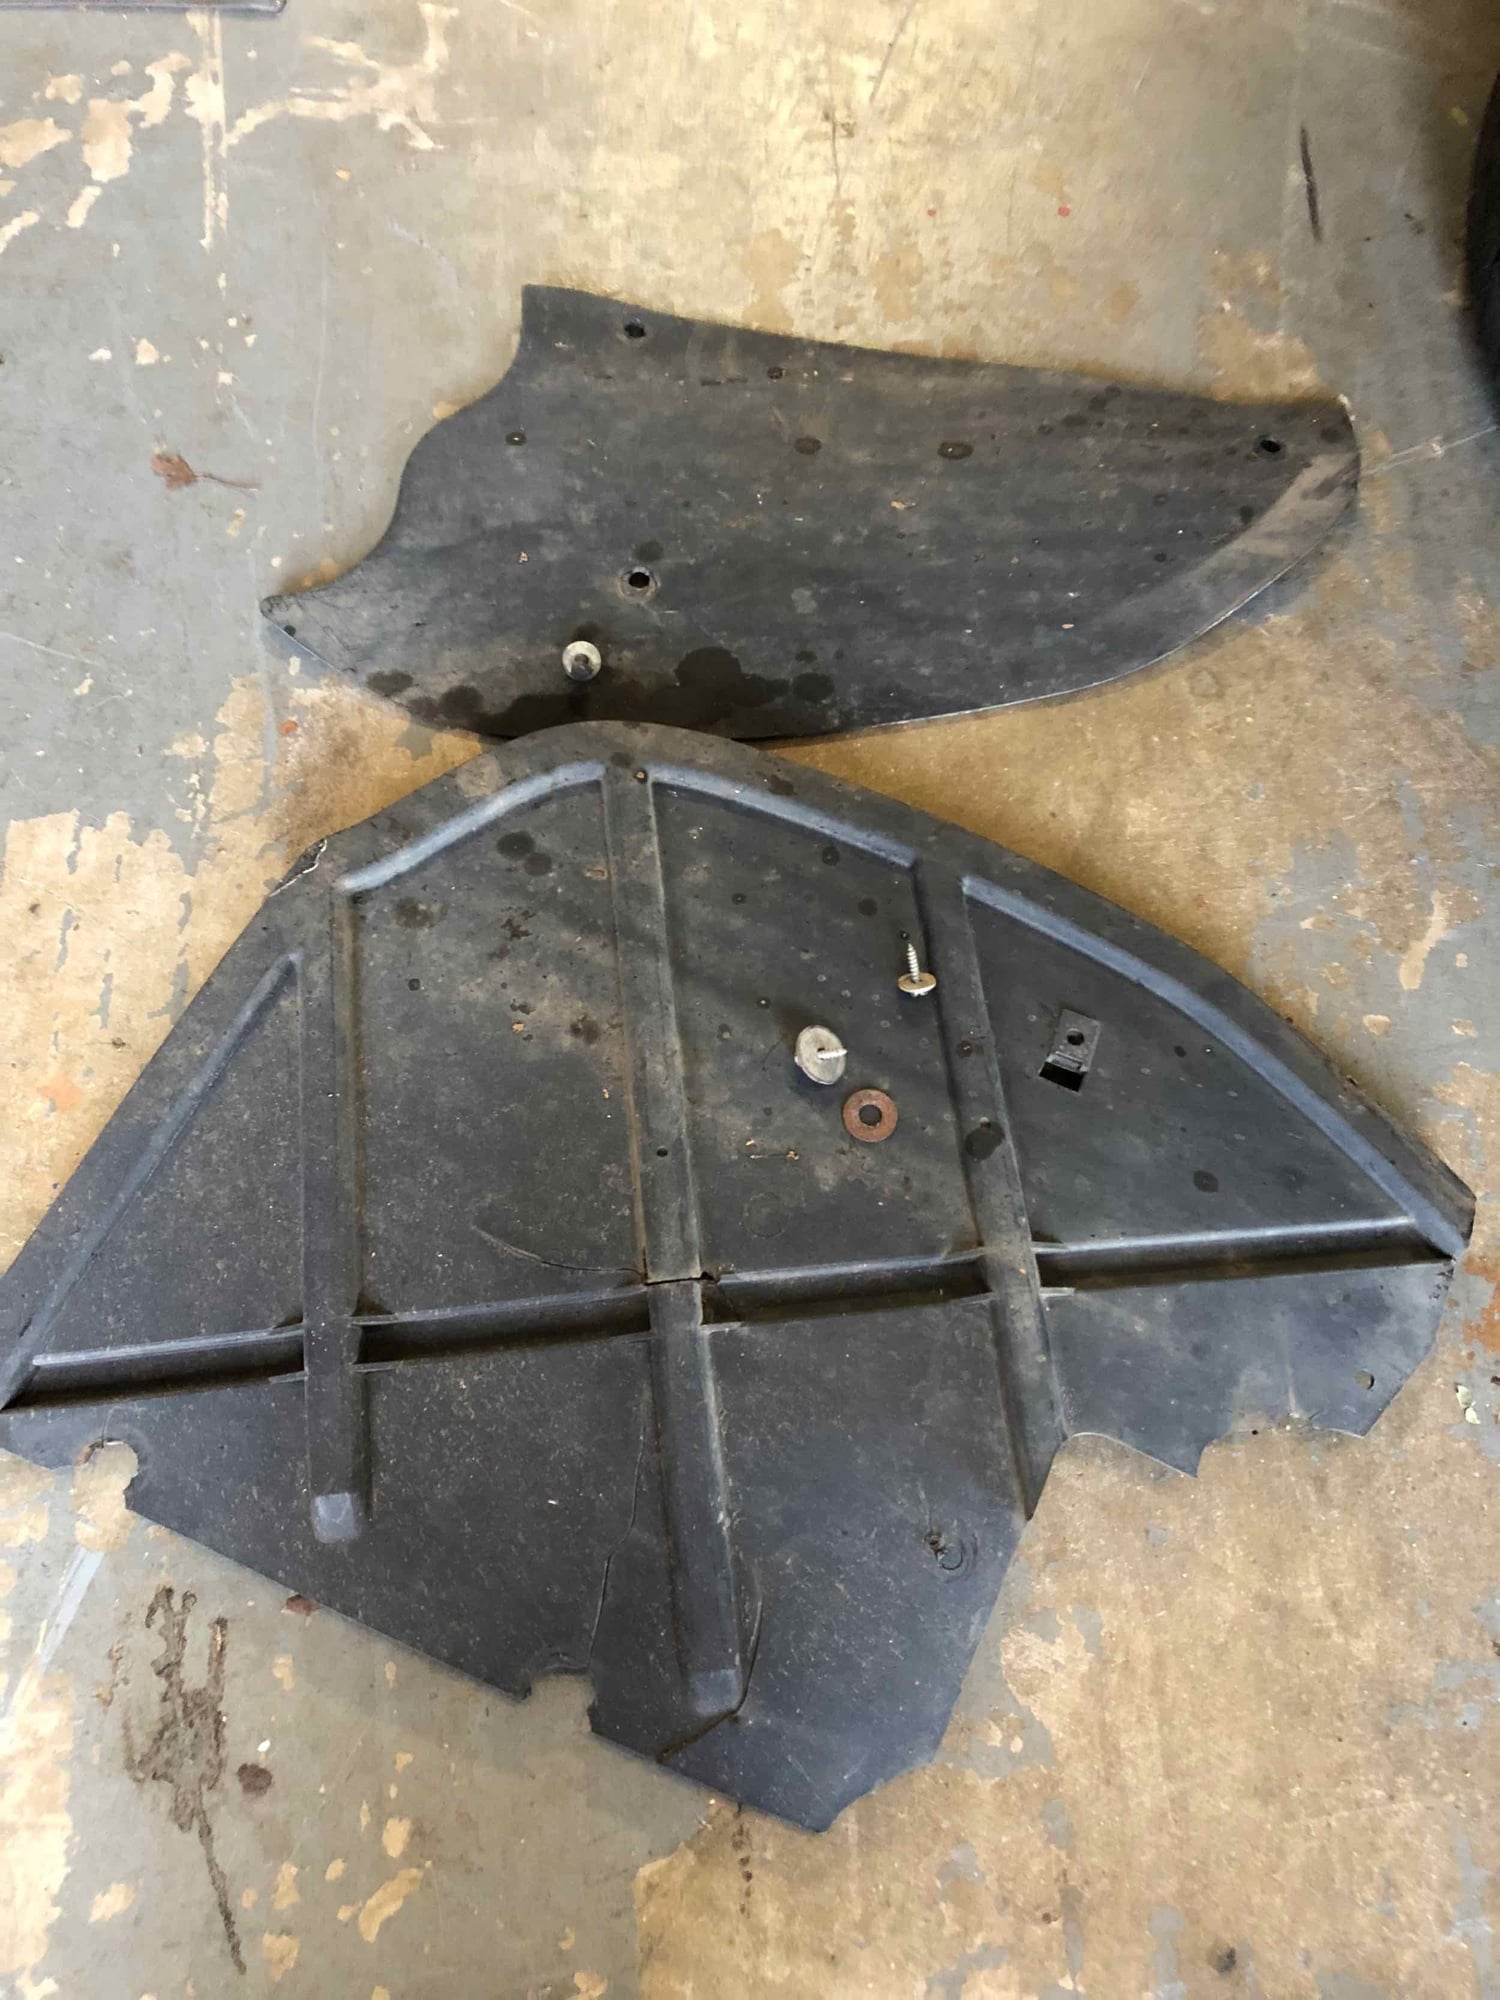
Liners will be patched and repainted - many attachment points are cracked and a variety of hardware was used to attach.
Hardware was relatively clean on driver's side. When I got the car, the front liner for the pass. side was in the trunk - not sure if it was driven that way but rust was worse on that side.
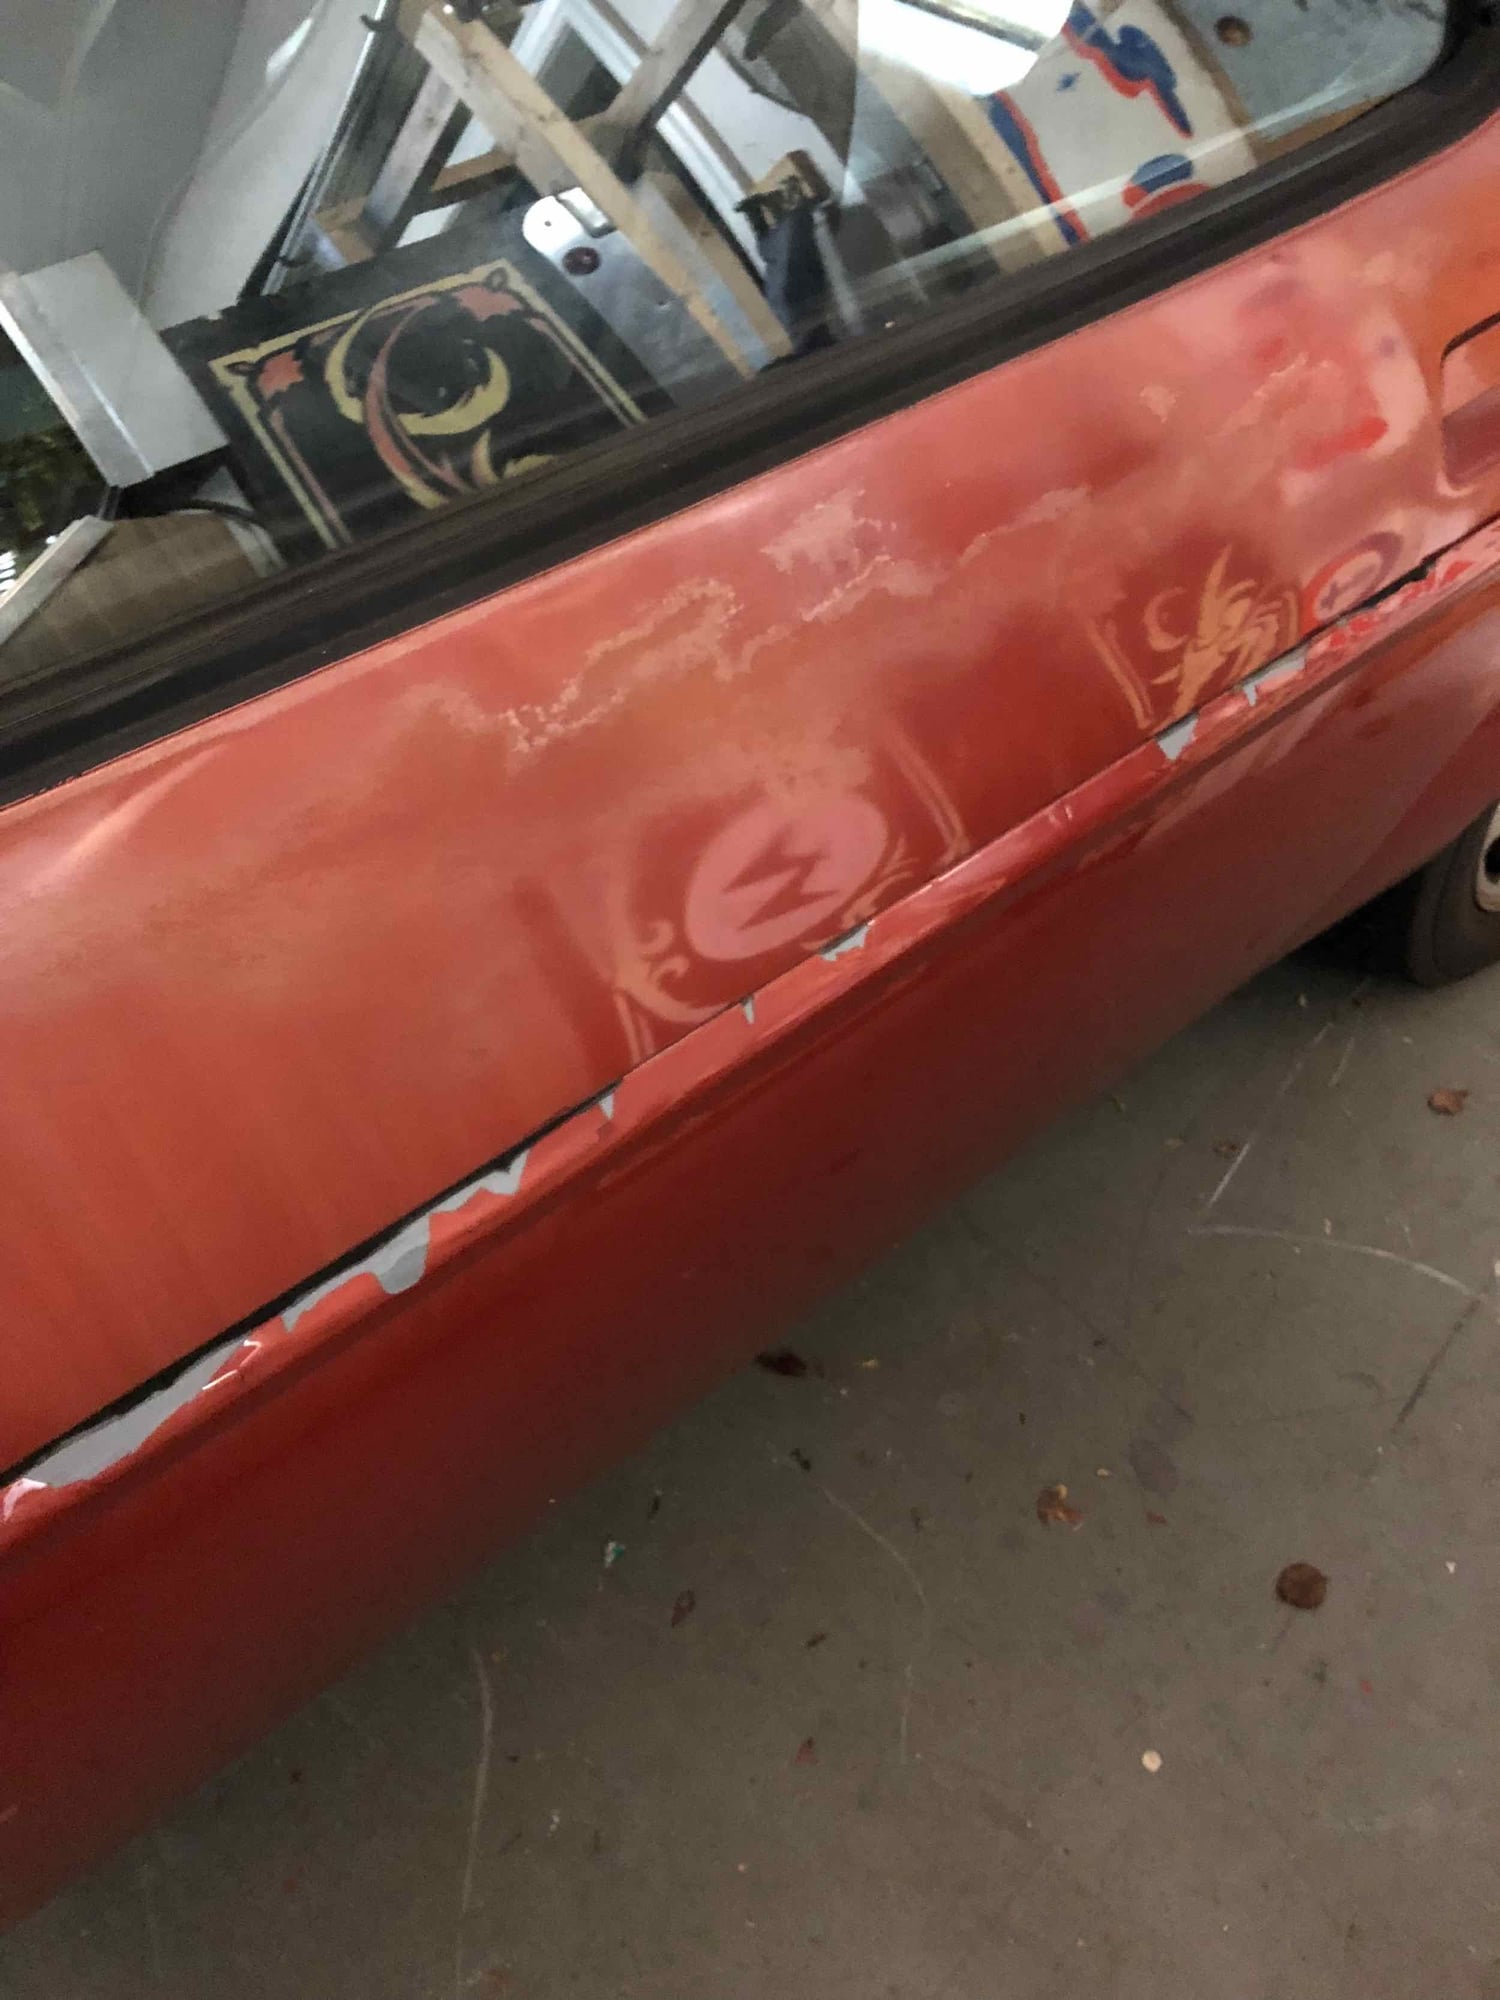
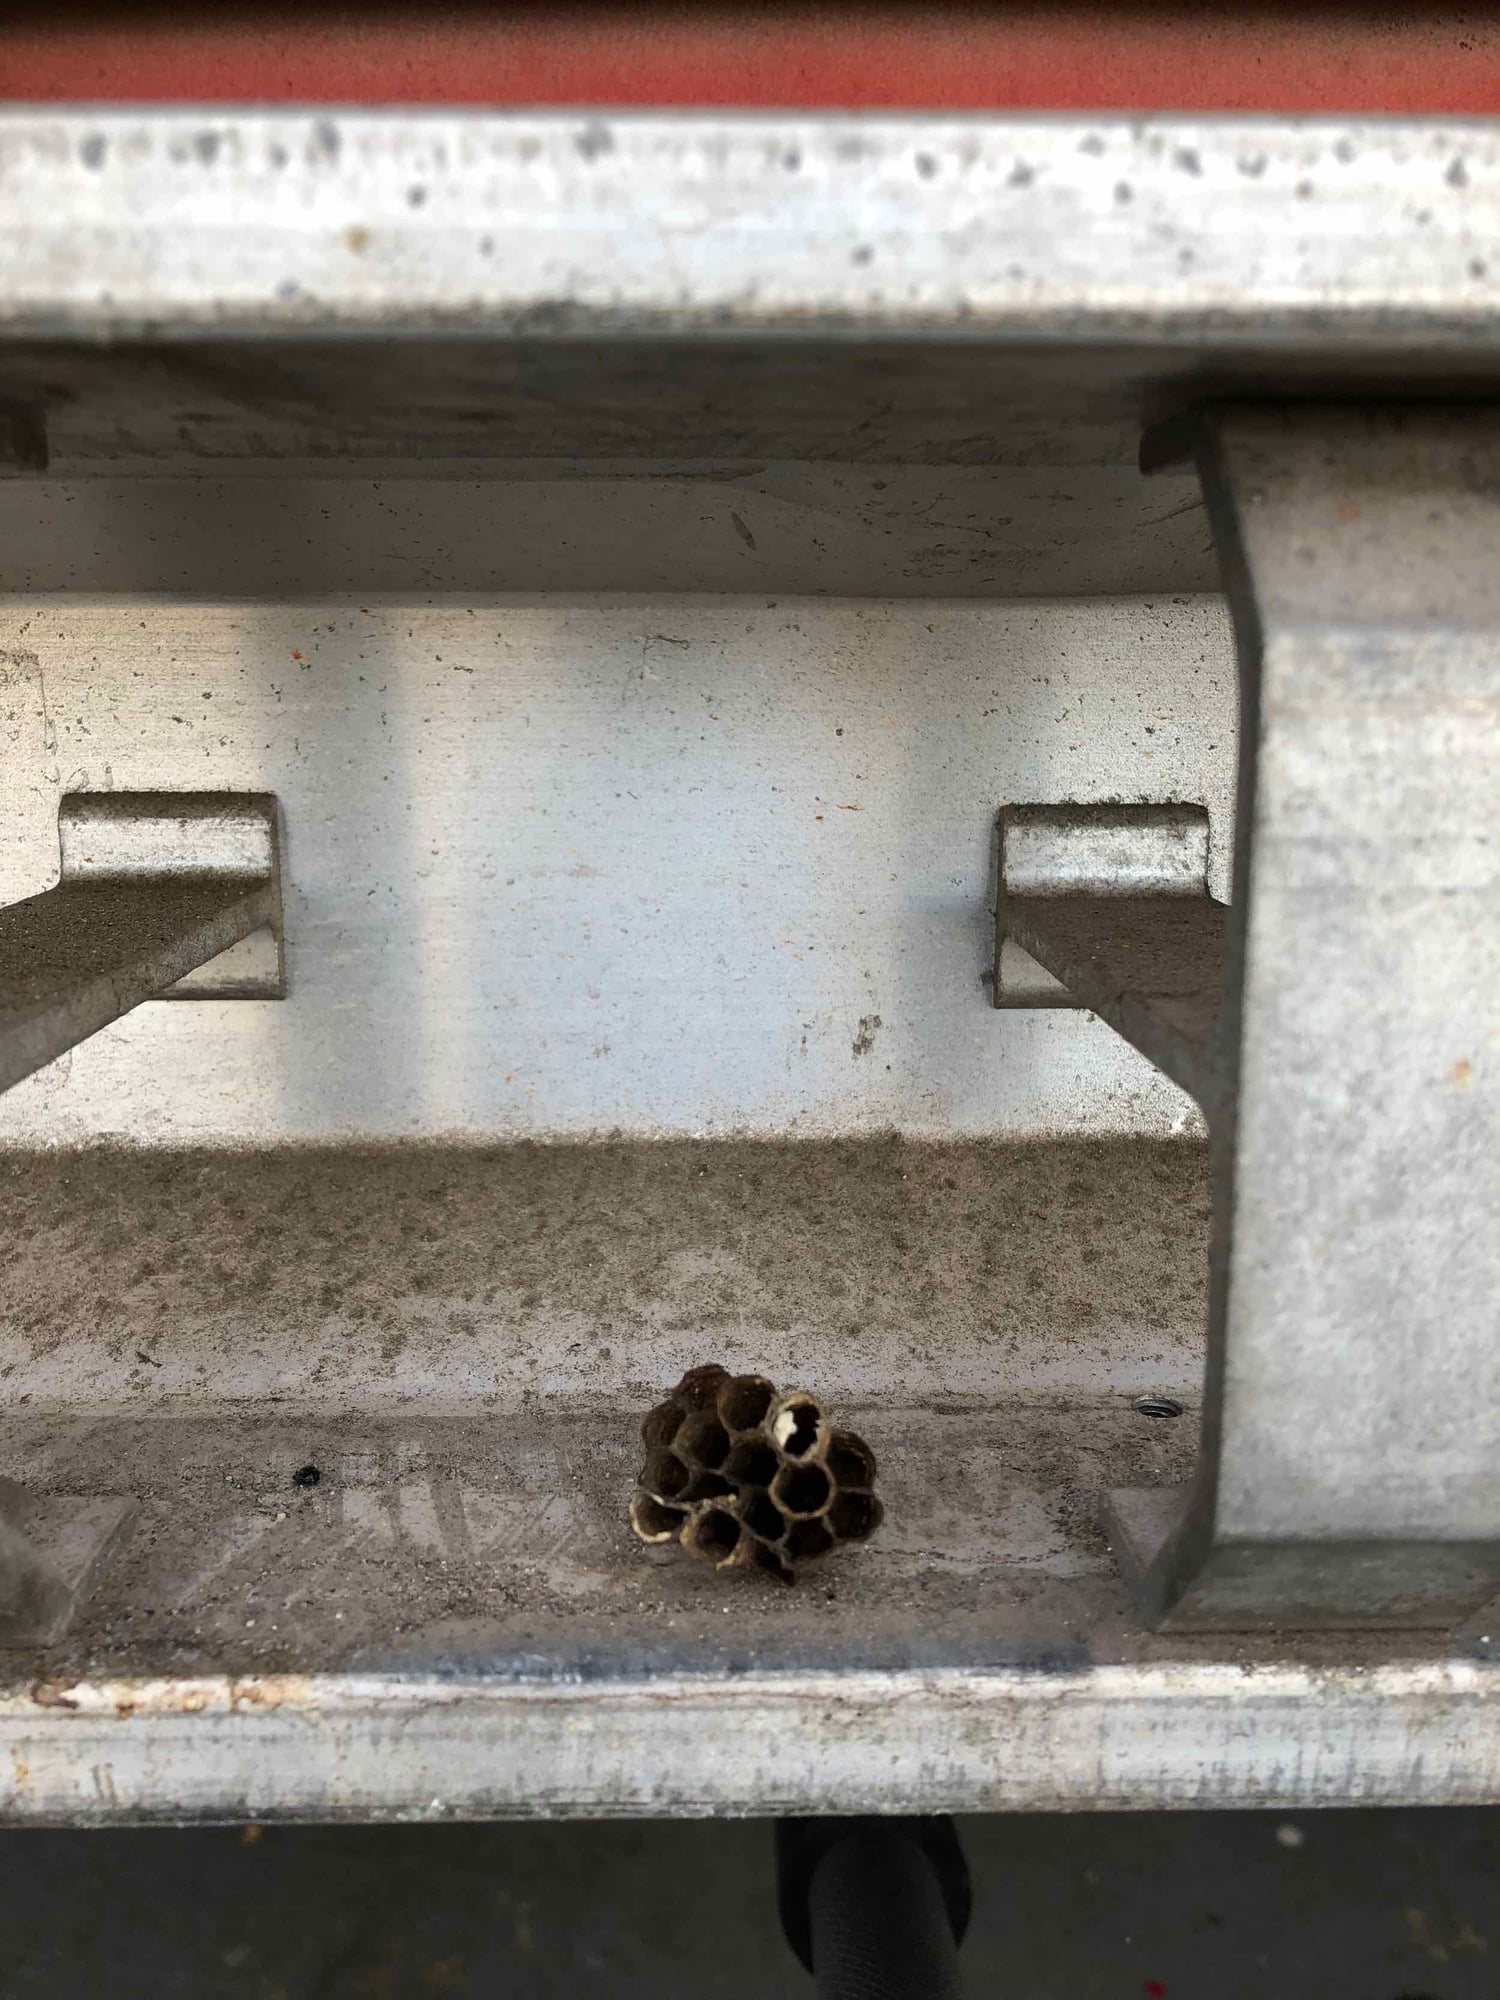
Maybe the most telling of the bunch - car had to sit long enough for this...
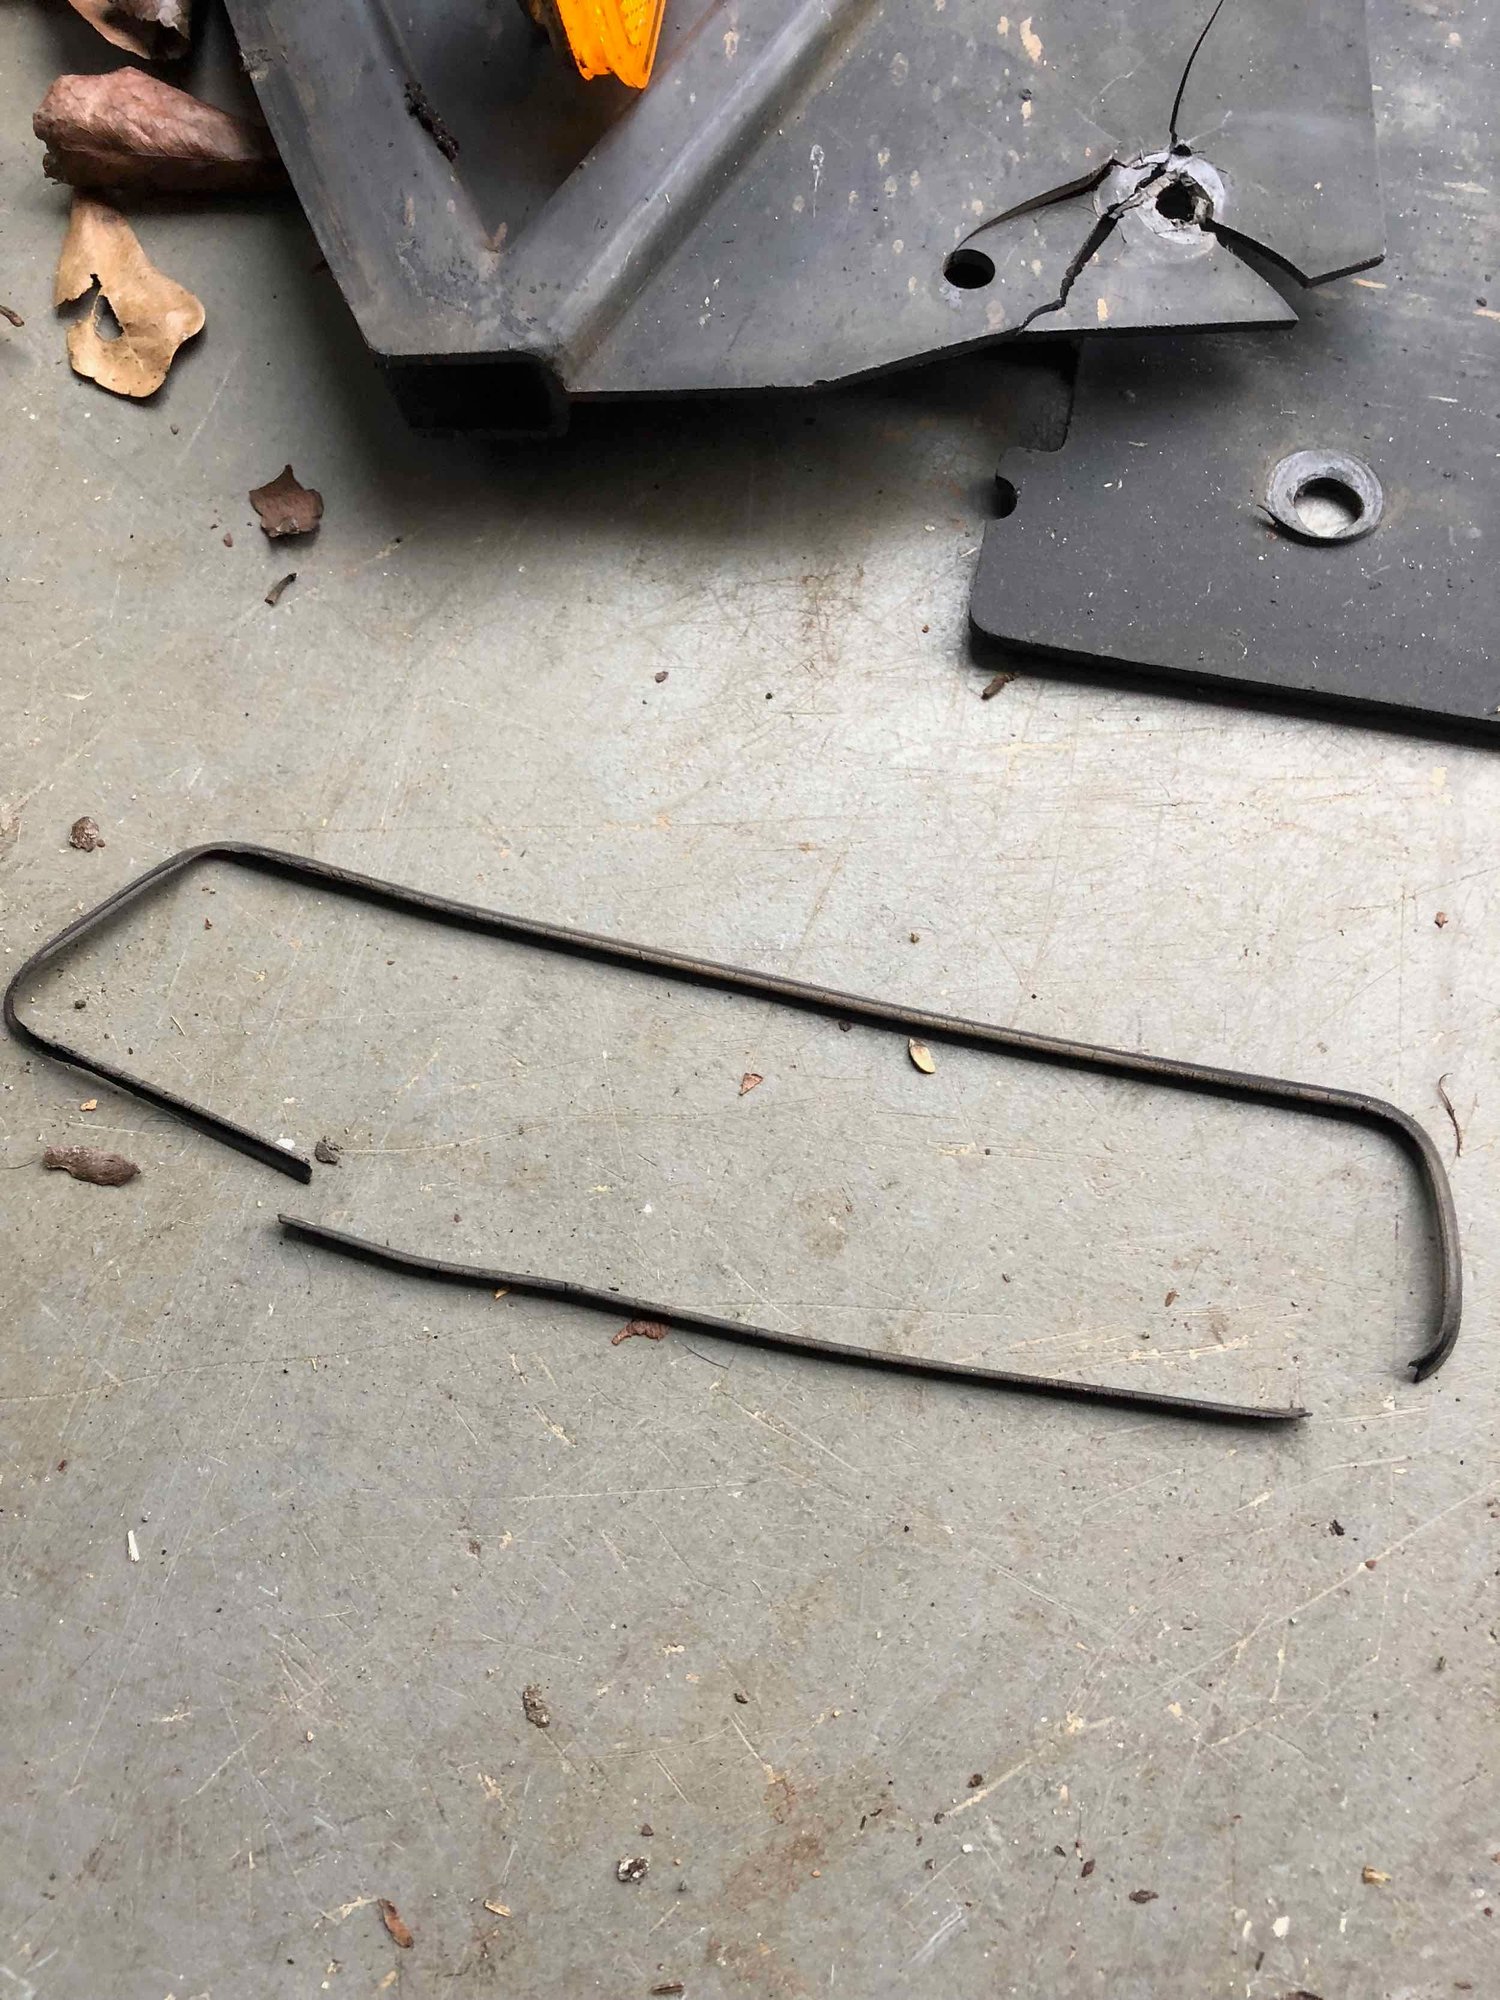
Most rubber bits will be replaced - what a great feeling!
Ahh - nice to have that free. Experts - does it look like any major damage apparent?
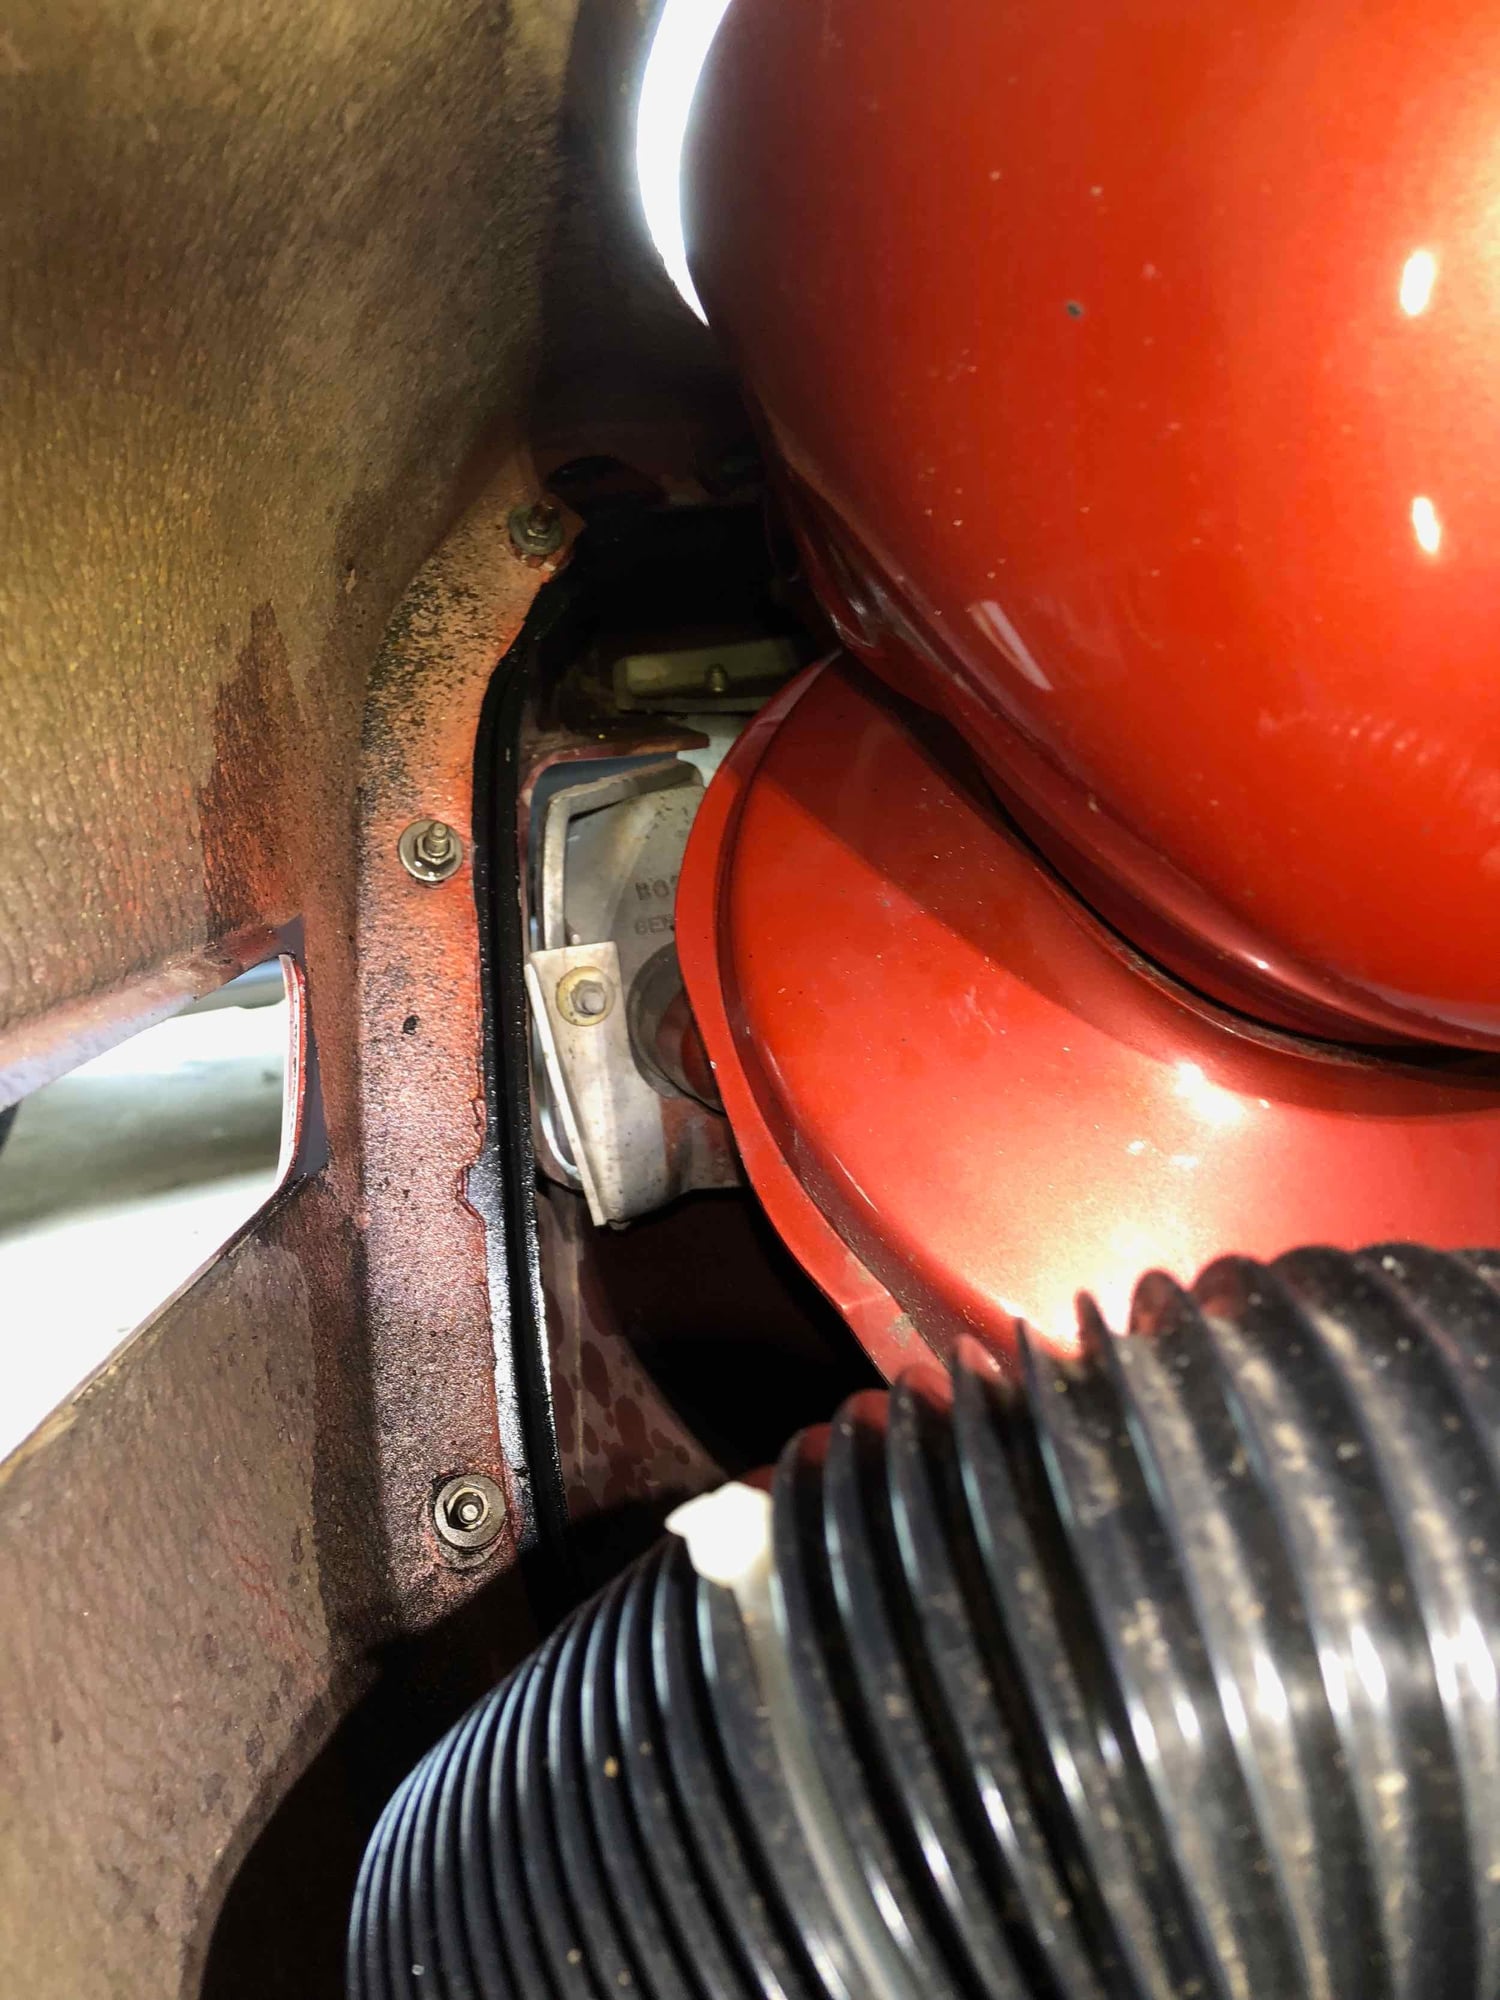
Relatively clean.
Interesting that there are two tow hook holes in the bumper cover, but there is only a screw in for the hook on the pass side. Is that correct or did the drivers side get removed?
Way to go Scott! The passenger side inner fender liner is still available new for a relatively cheap price. Unfortunately the drivers side inner fender liner is not.
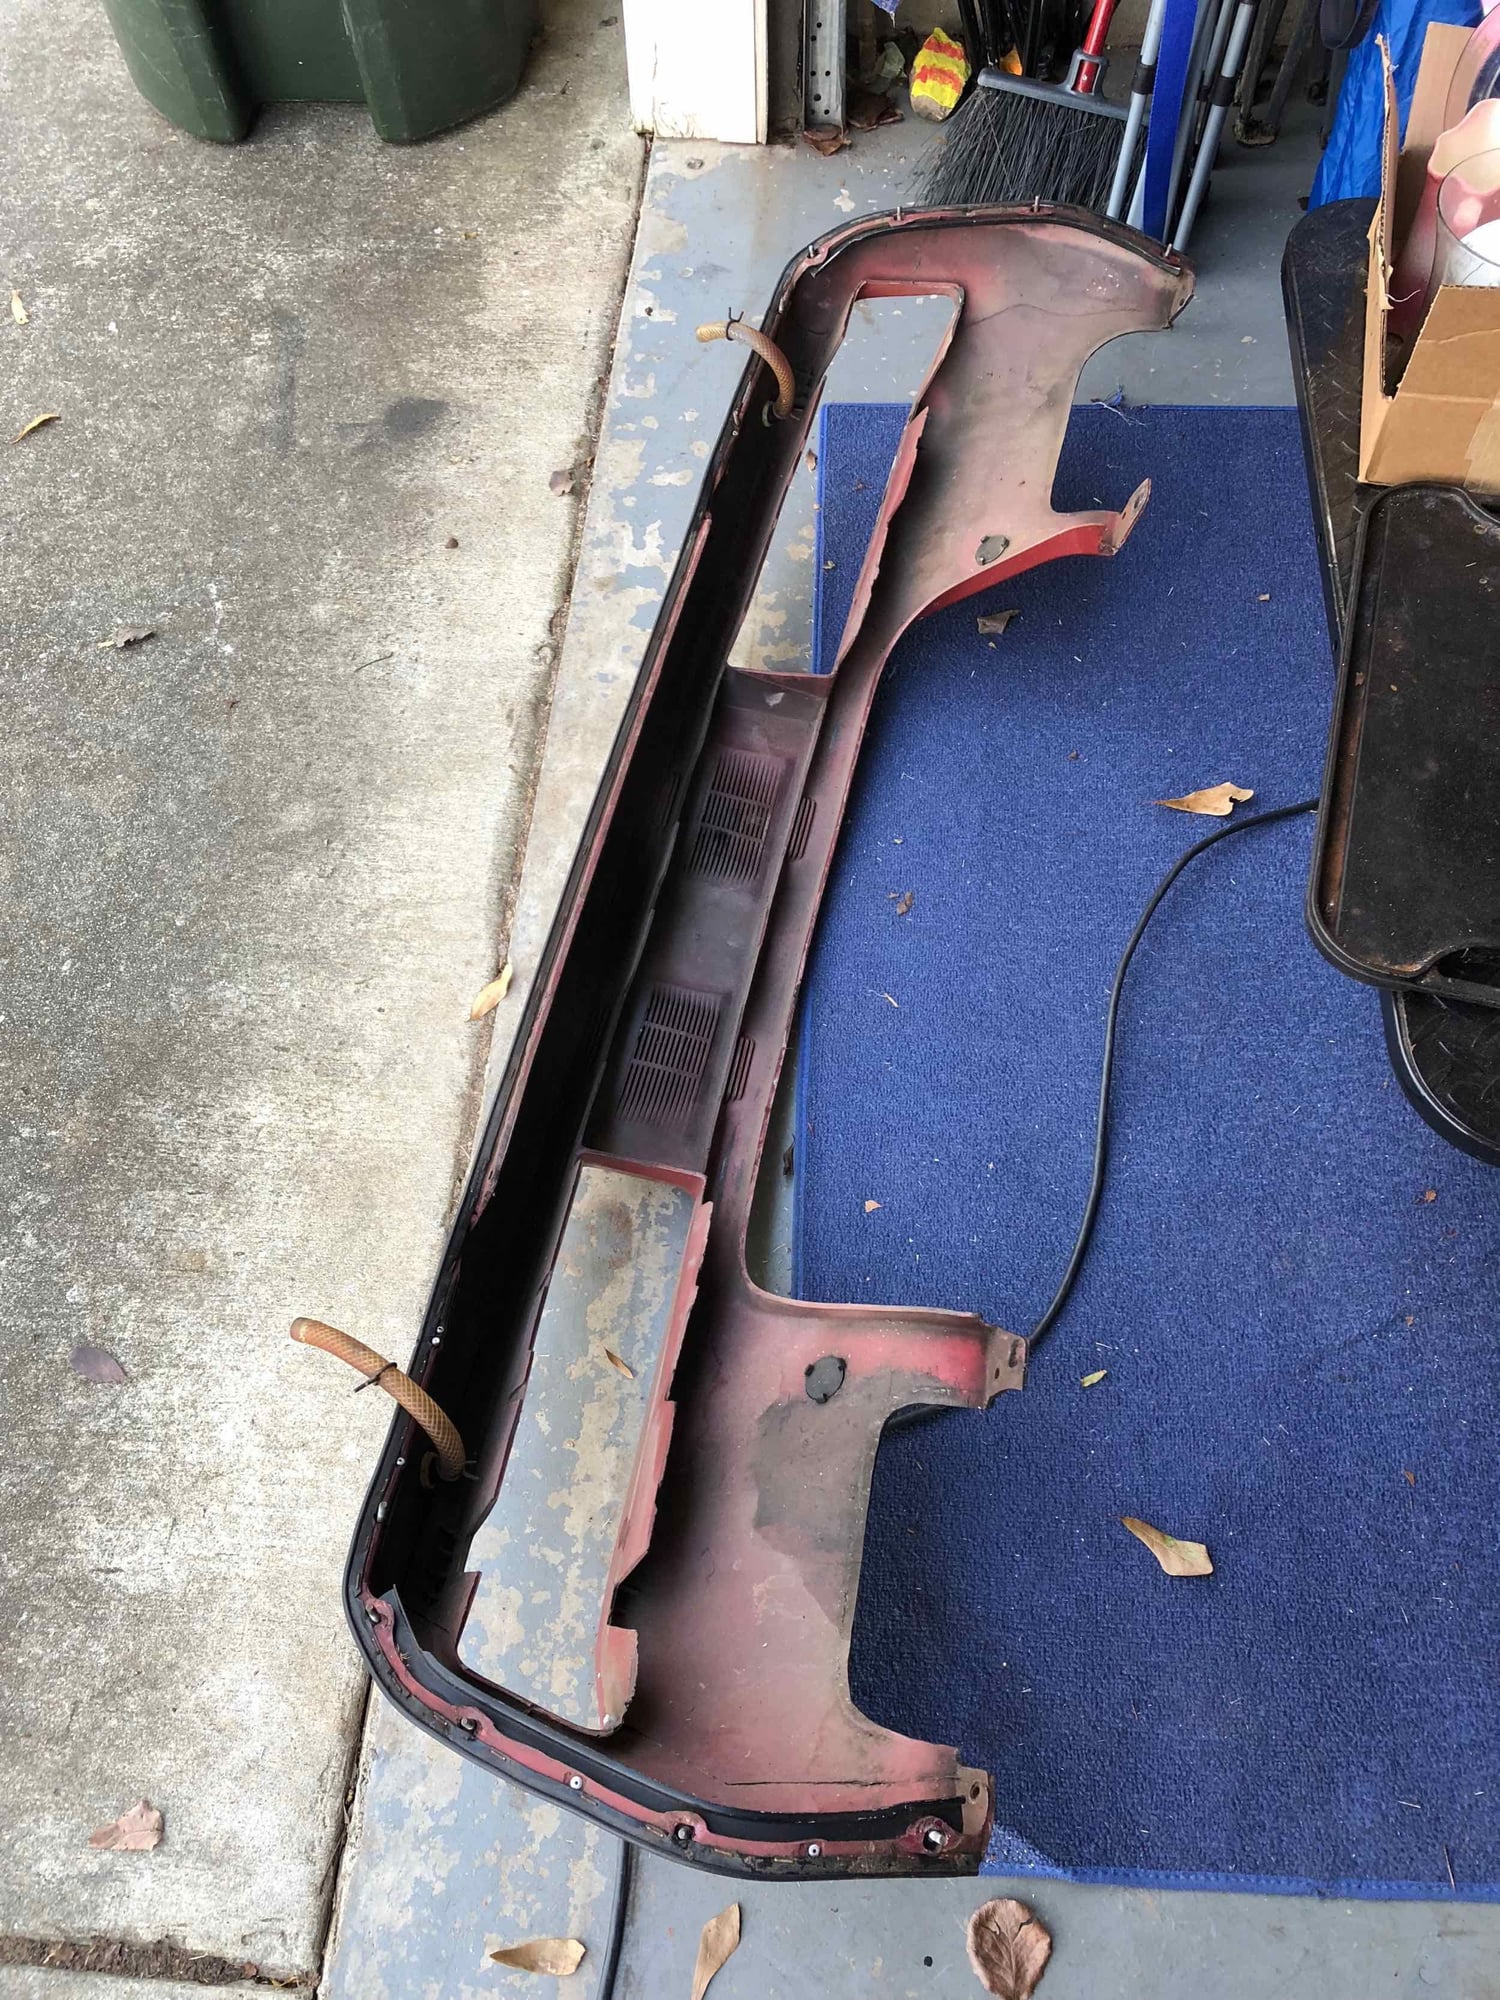
Can't really see from your front engine picture as to what shape the rear cowling cover is in [Covers the windshield wiper motor]. Jerry Feather makes a really nice replacement that also has the appropriate detail stickers on it.
Looking good, Scott!
FWIW, my 86.5 only has one tow hook threaded receptacle, on the passenger's side. There are two holes in the bumper cover, though.


 12-19-2017, 10:34 AM