When you click on links to various merchants on this site and make a purchase, this can result in this site earning a commission. Affiliate programs and affiliations include, but are not limited to, the eBay Partner Network.
Hi Scott -sorry about slow response, long weekend!- I have to look upstairs, I am pretty sure I might have the rear seat bottoms, if you need, a spare door panel, instrument pod cover, this is all in black, but could be dyed depending on the color you decide? I have a lot of trim pieces ect also. Who is painting your car?
I�ll look through everything and see how things are. My door panels are good. Planning to recover front and rear seats. Foam is ok - leather is shot. recovering dash and pod.
im going to do all the sanding and painting on it. So far so good. Been working slowly with the DA and have successfully gotten the factory base coat off. Planning to leave factory primer and seal/paint on top of that.
Not it much body work to do - really just sanding and smoothing.
Let me know if I can be of any assistance, I took the full 2 years auto body course at CPCC several years ago and have my auto body certificate. Where are you planning on painting it? - Is there a Community college nearby with a Auto Body program? - CPCC now has a campus in Huntersville with full auto program and they have a non-credit auto body restoration class that allows you to use the paint booths and equipment, maybe they have something like that near you? Are you planning on sealing it before paint?
Sealing is always a good idea on old cars unless you are fulling stripping it to bare metal. Another advantage if you go thru a college, is that often several local auto body supply dealers will offer a discount on paint supplies to students with ID. Paint can get quite expensive due to the latest EPA regulations. Sherwin Williams Auto in Charlotte, gives about 40 percent off to CPCC students.
Well made a great deal of progress this week thanks to being out of school for two days. Here is a rundown and pics below.
Pulled sunroof channels for cleaning (the 'tubes' over the rear seat area.
Removed rear seat backs.
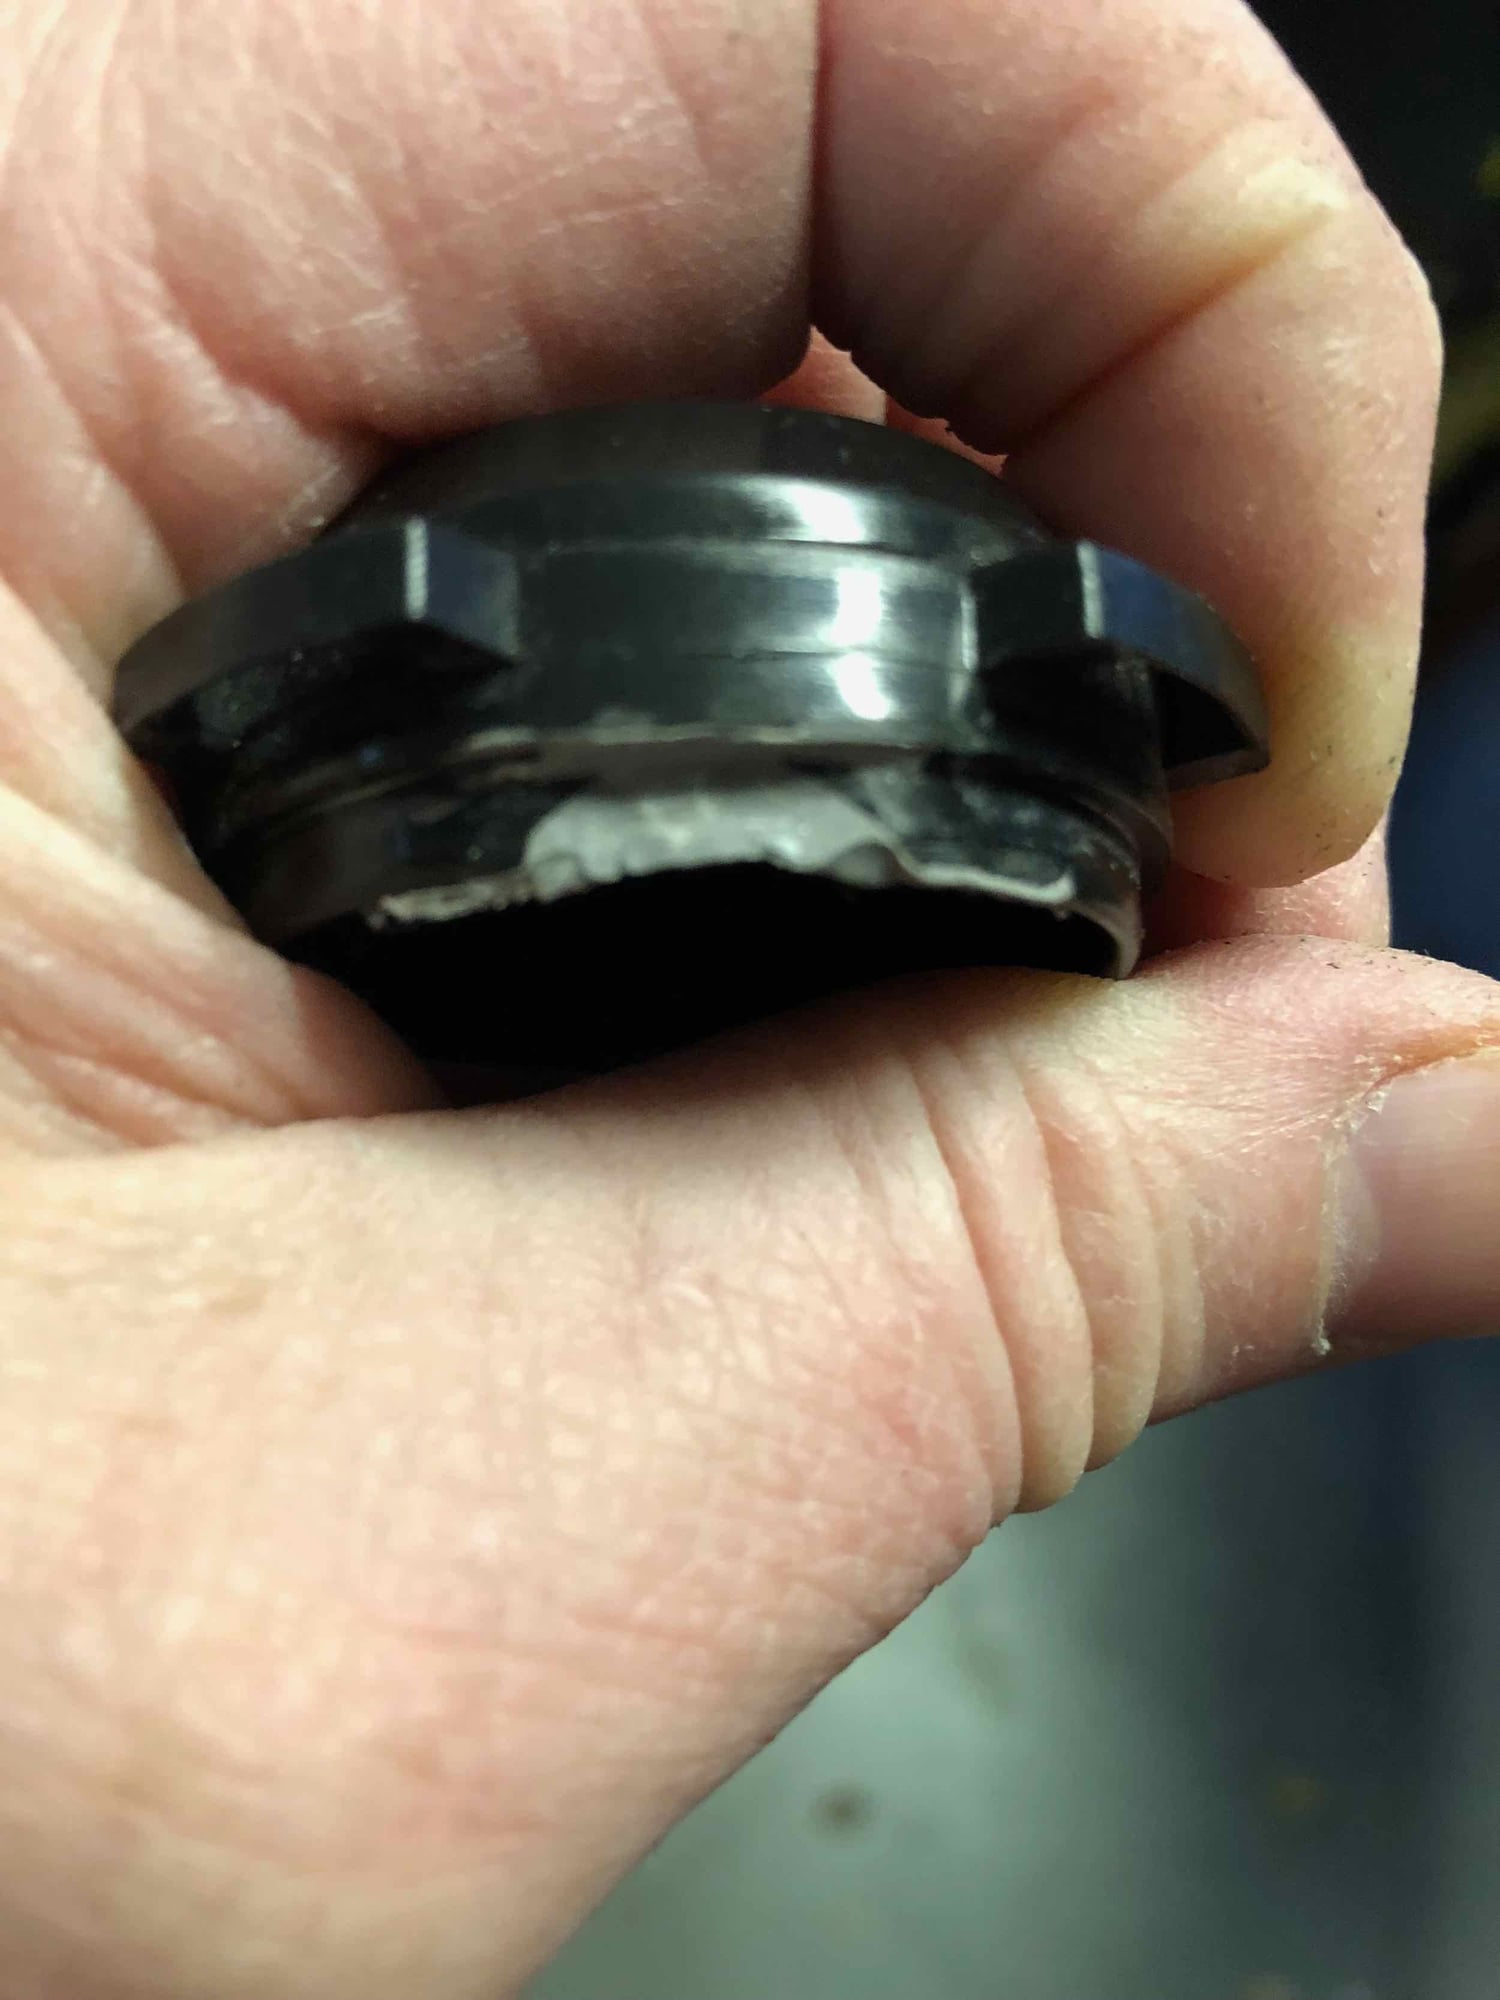
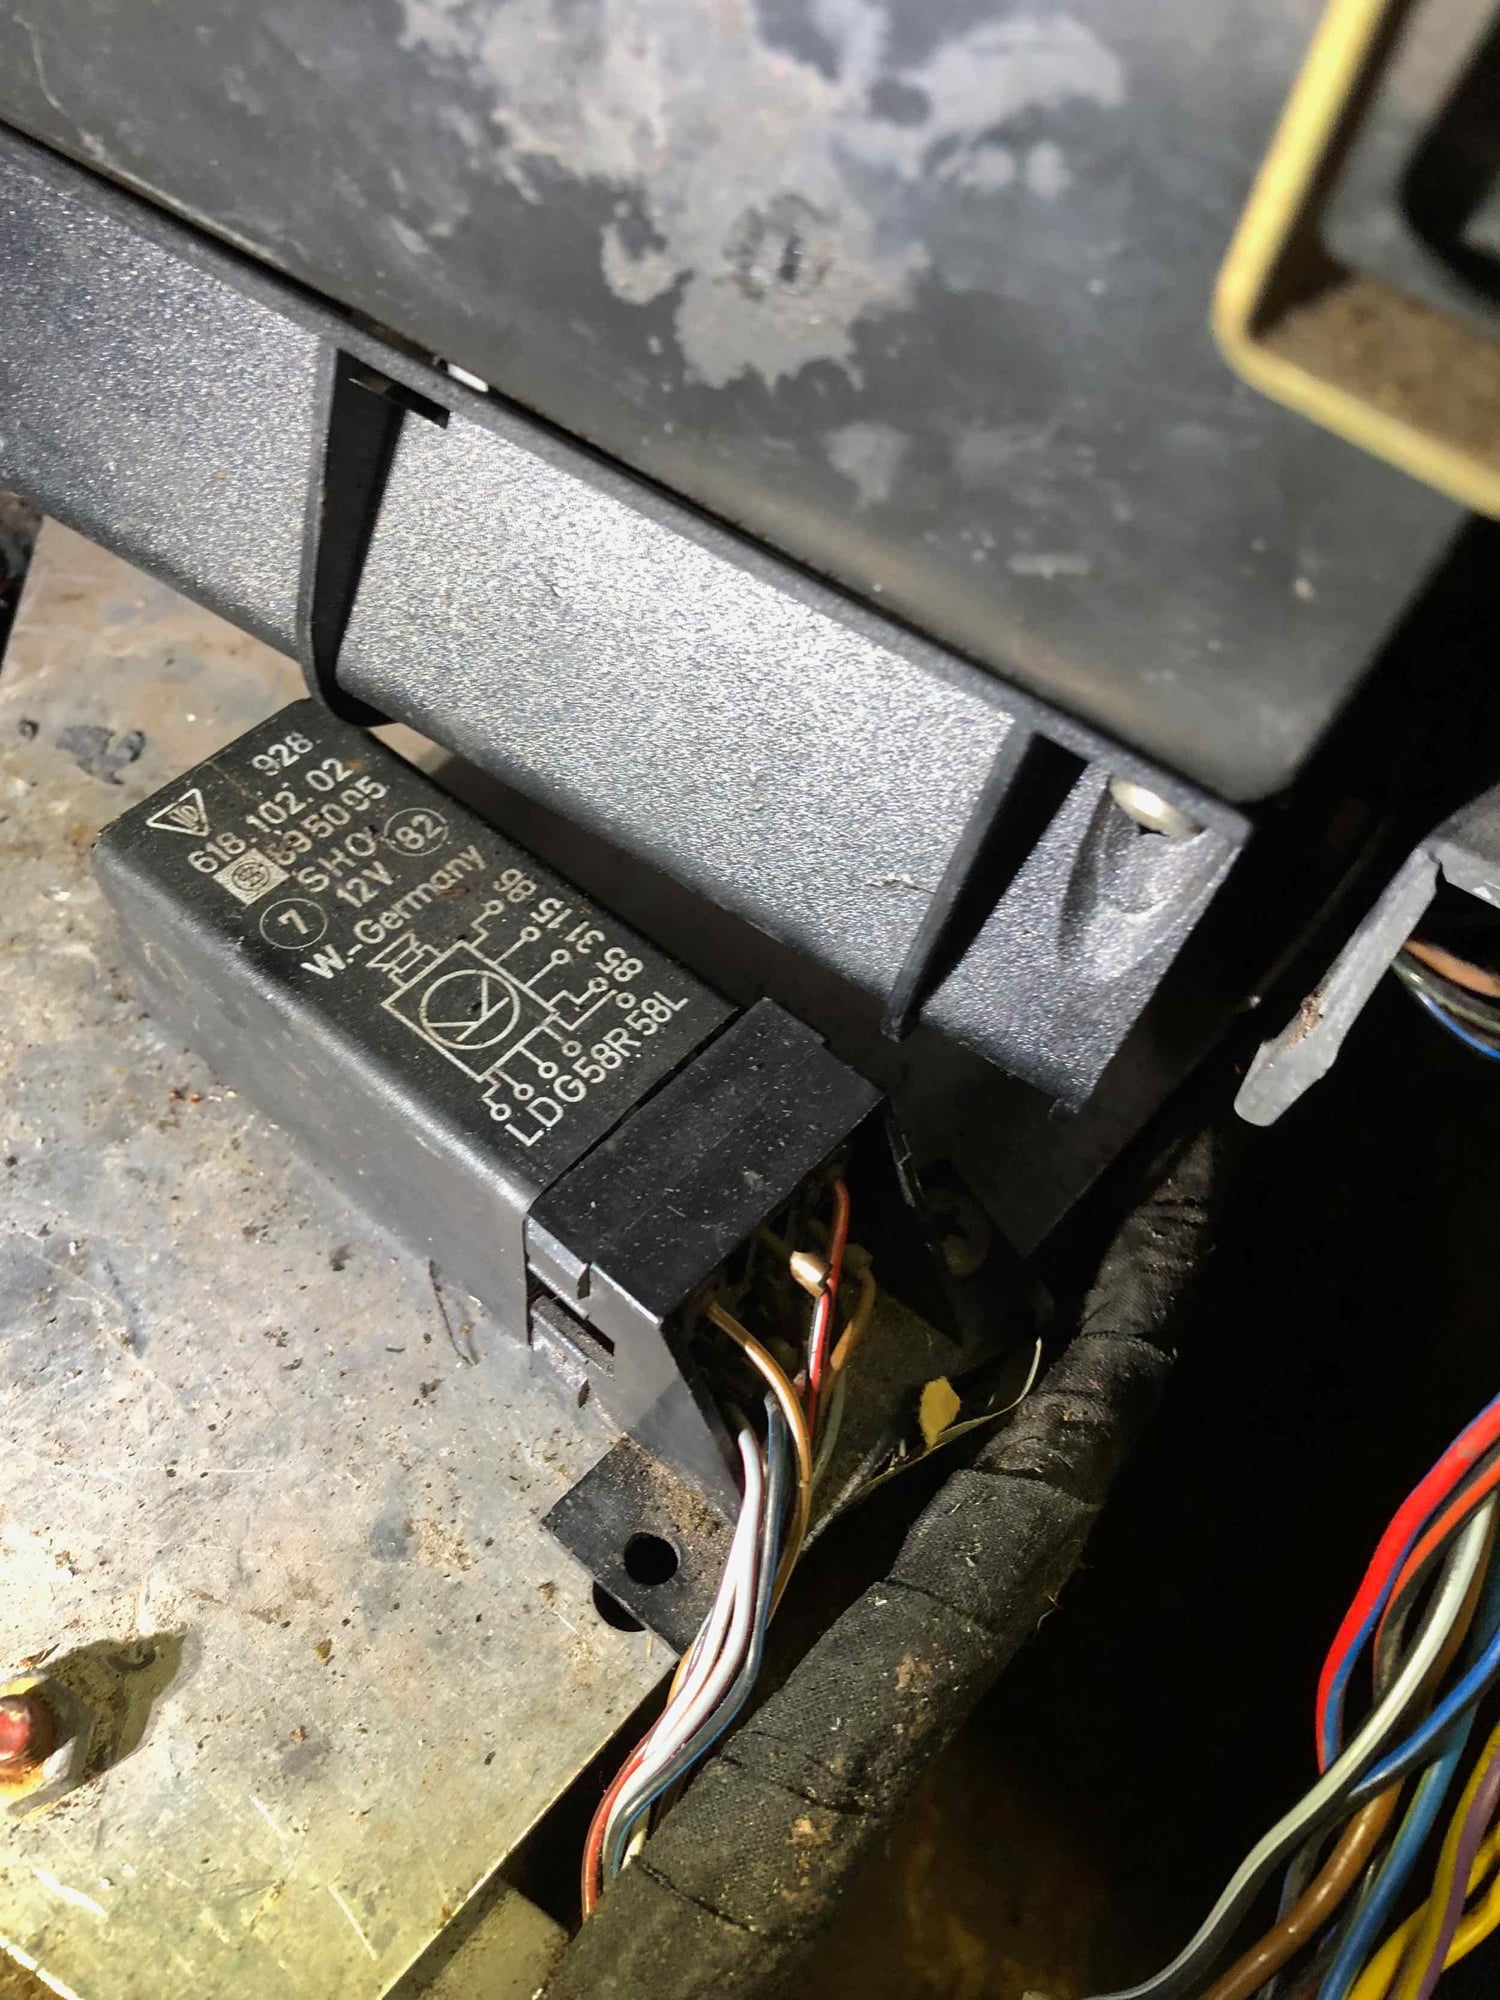
Re-examined HVAC vacuum. I forgot that I had a cracked cap on the actuator for the center vent comb flap (not really a comb on my car but...). I tried to repair with some tape and jb weld - no go (pic below). 2nd try was to add a thin ribbon of window sealing putty around the circumference of the cap to aid in sealing. The vacuum improved but still would not hold. Gave in at this point after doing more research on what this door actually does. Will semi-permanently open the flap and cap the vac line that feeds it. Problem solved.
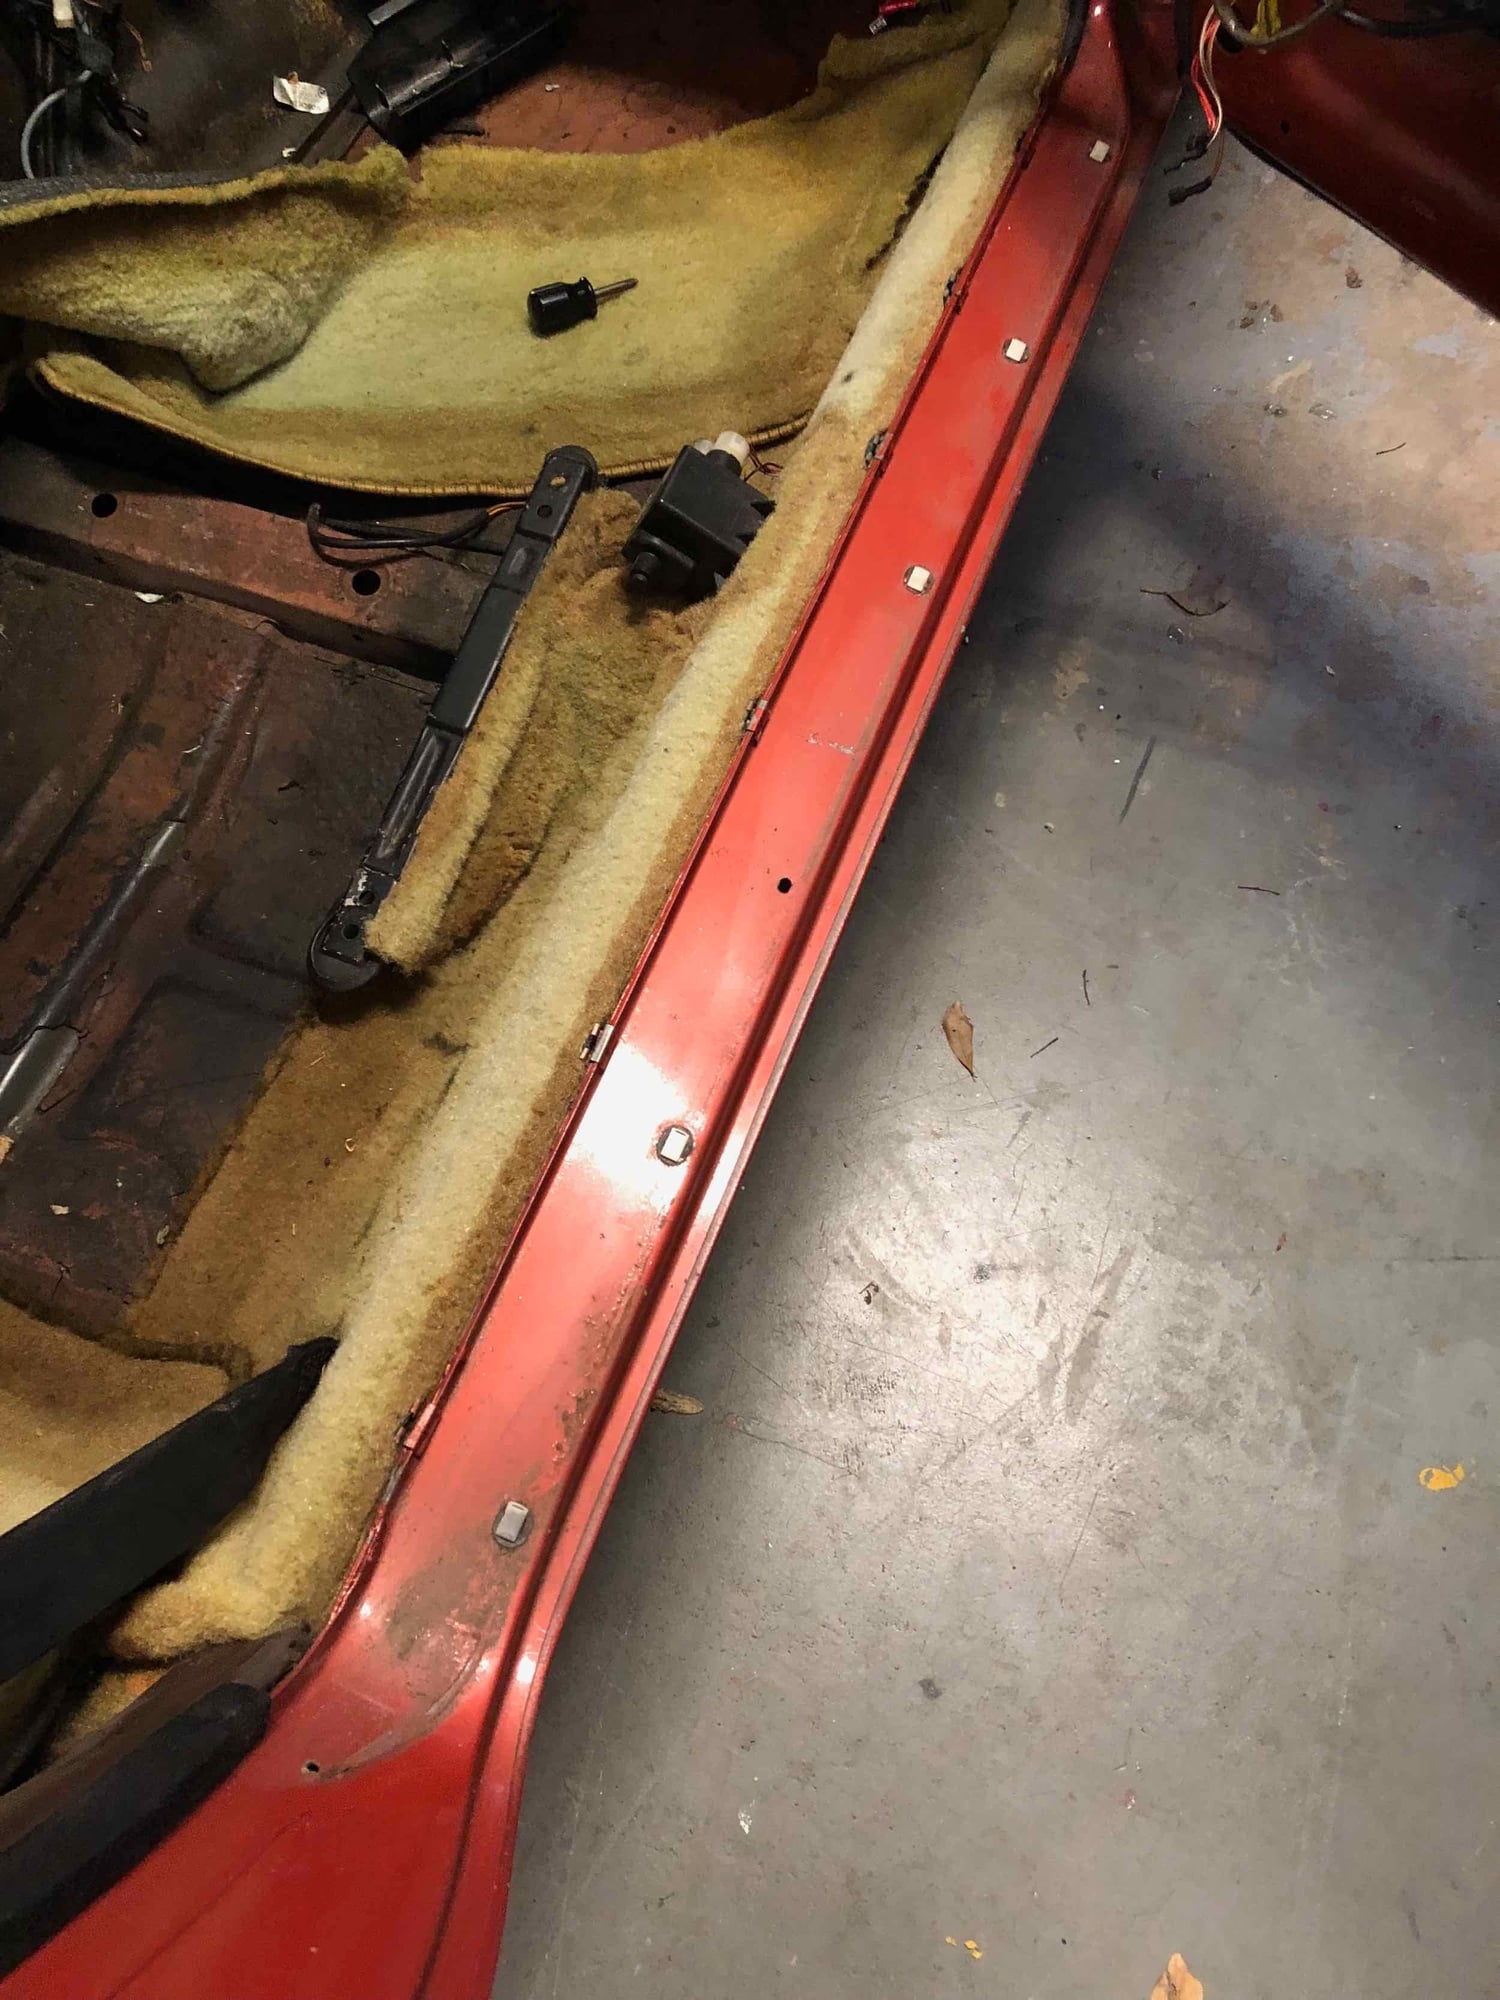
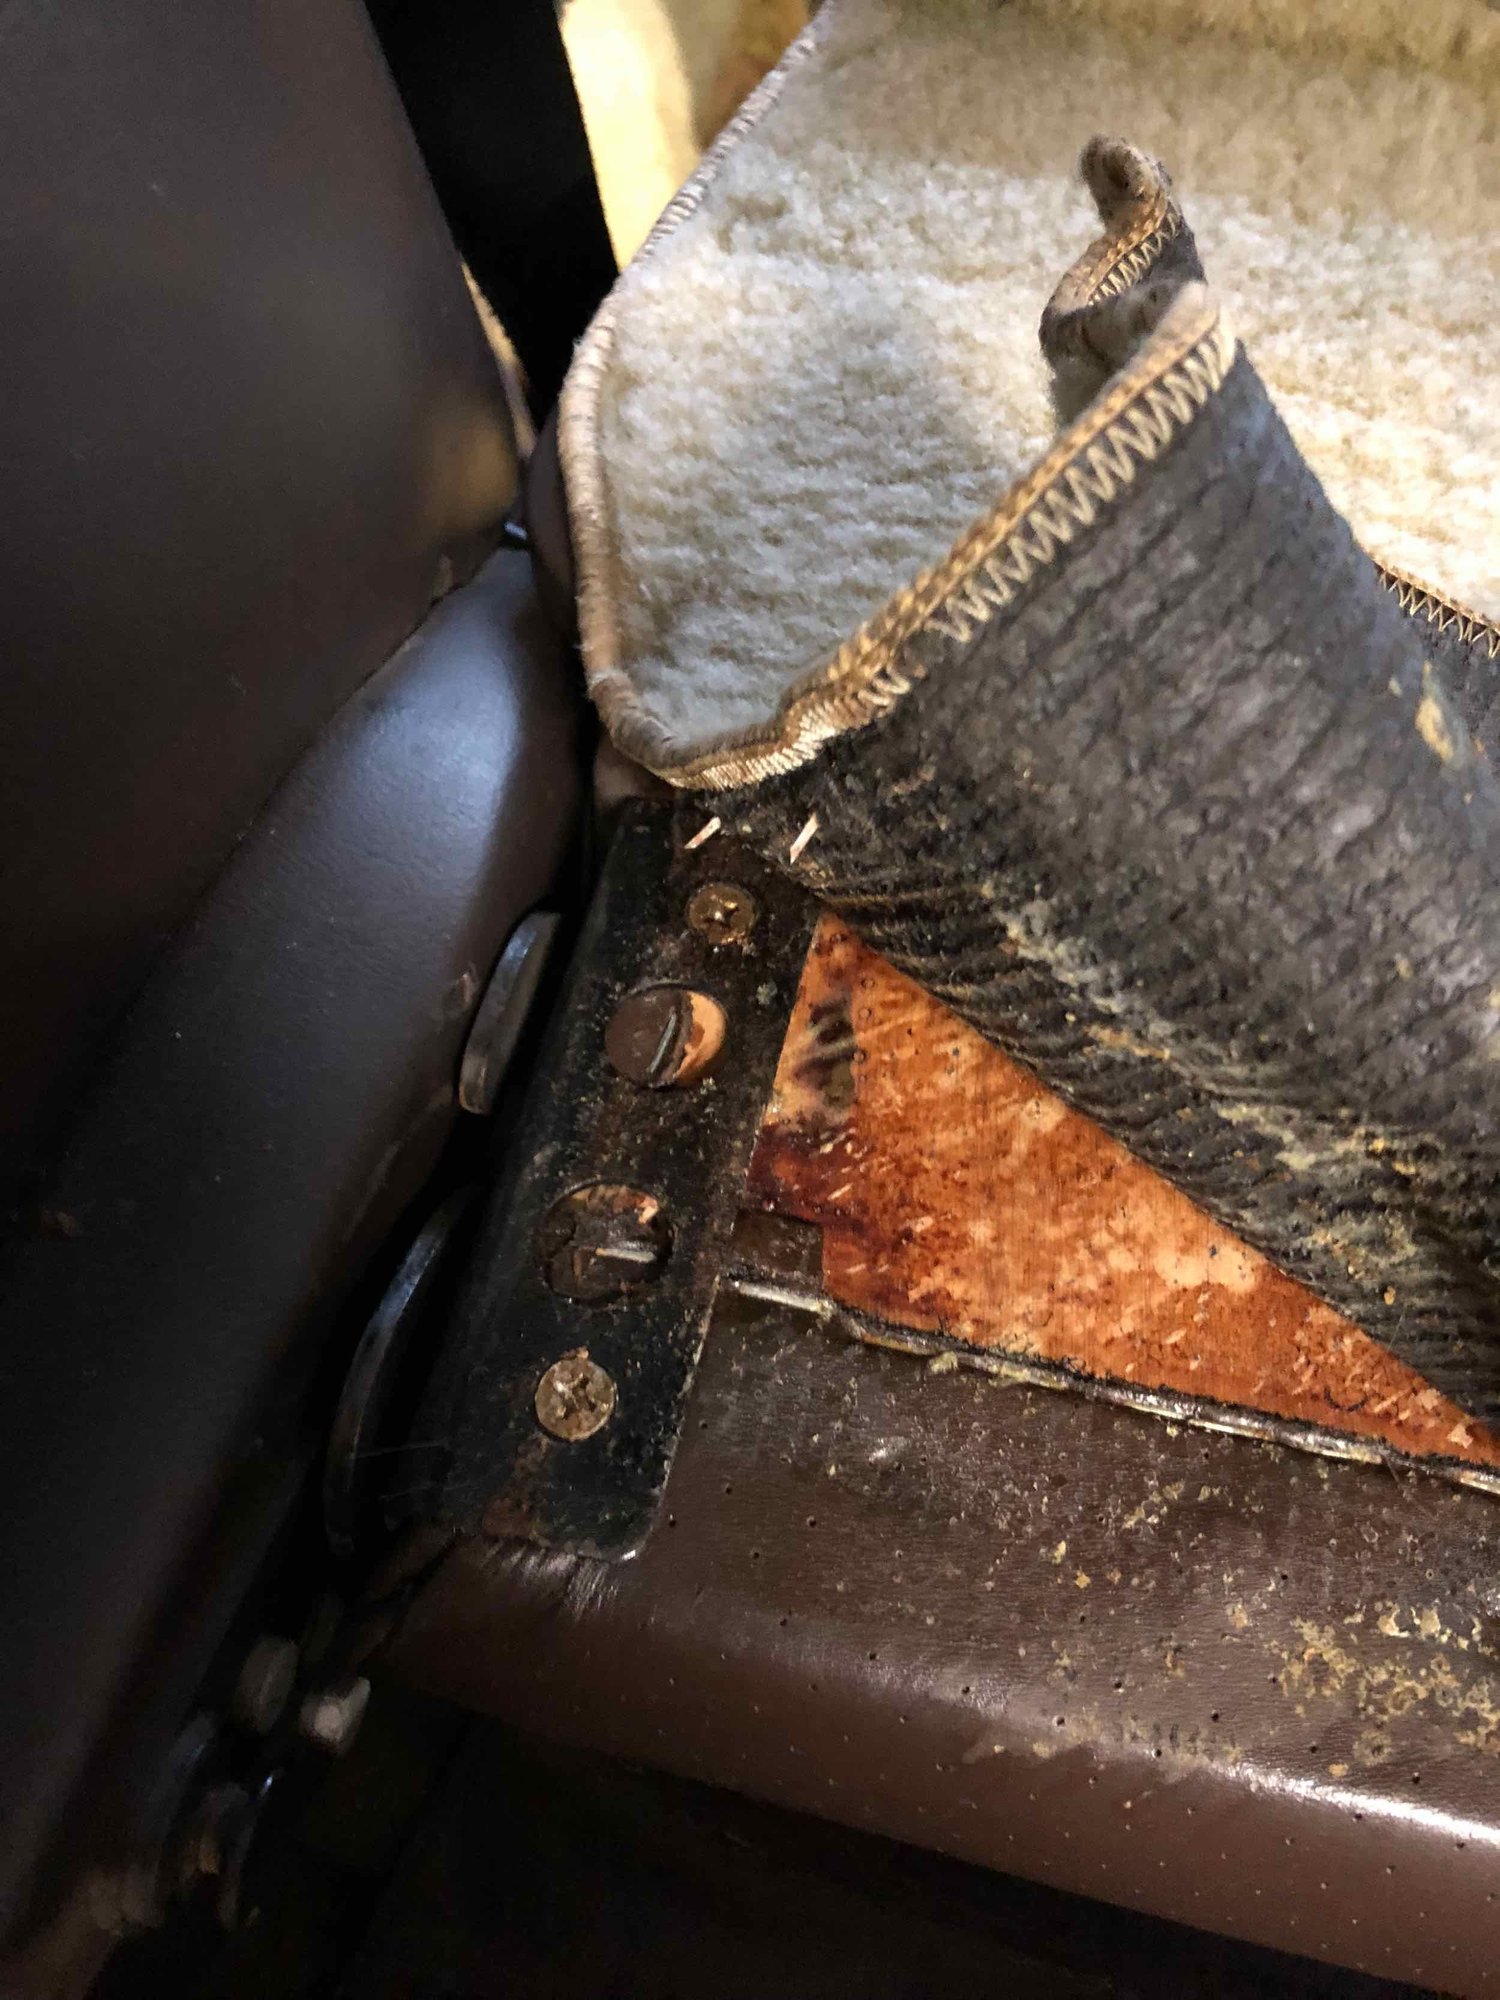
Pulled the remainder of the carpet.
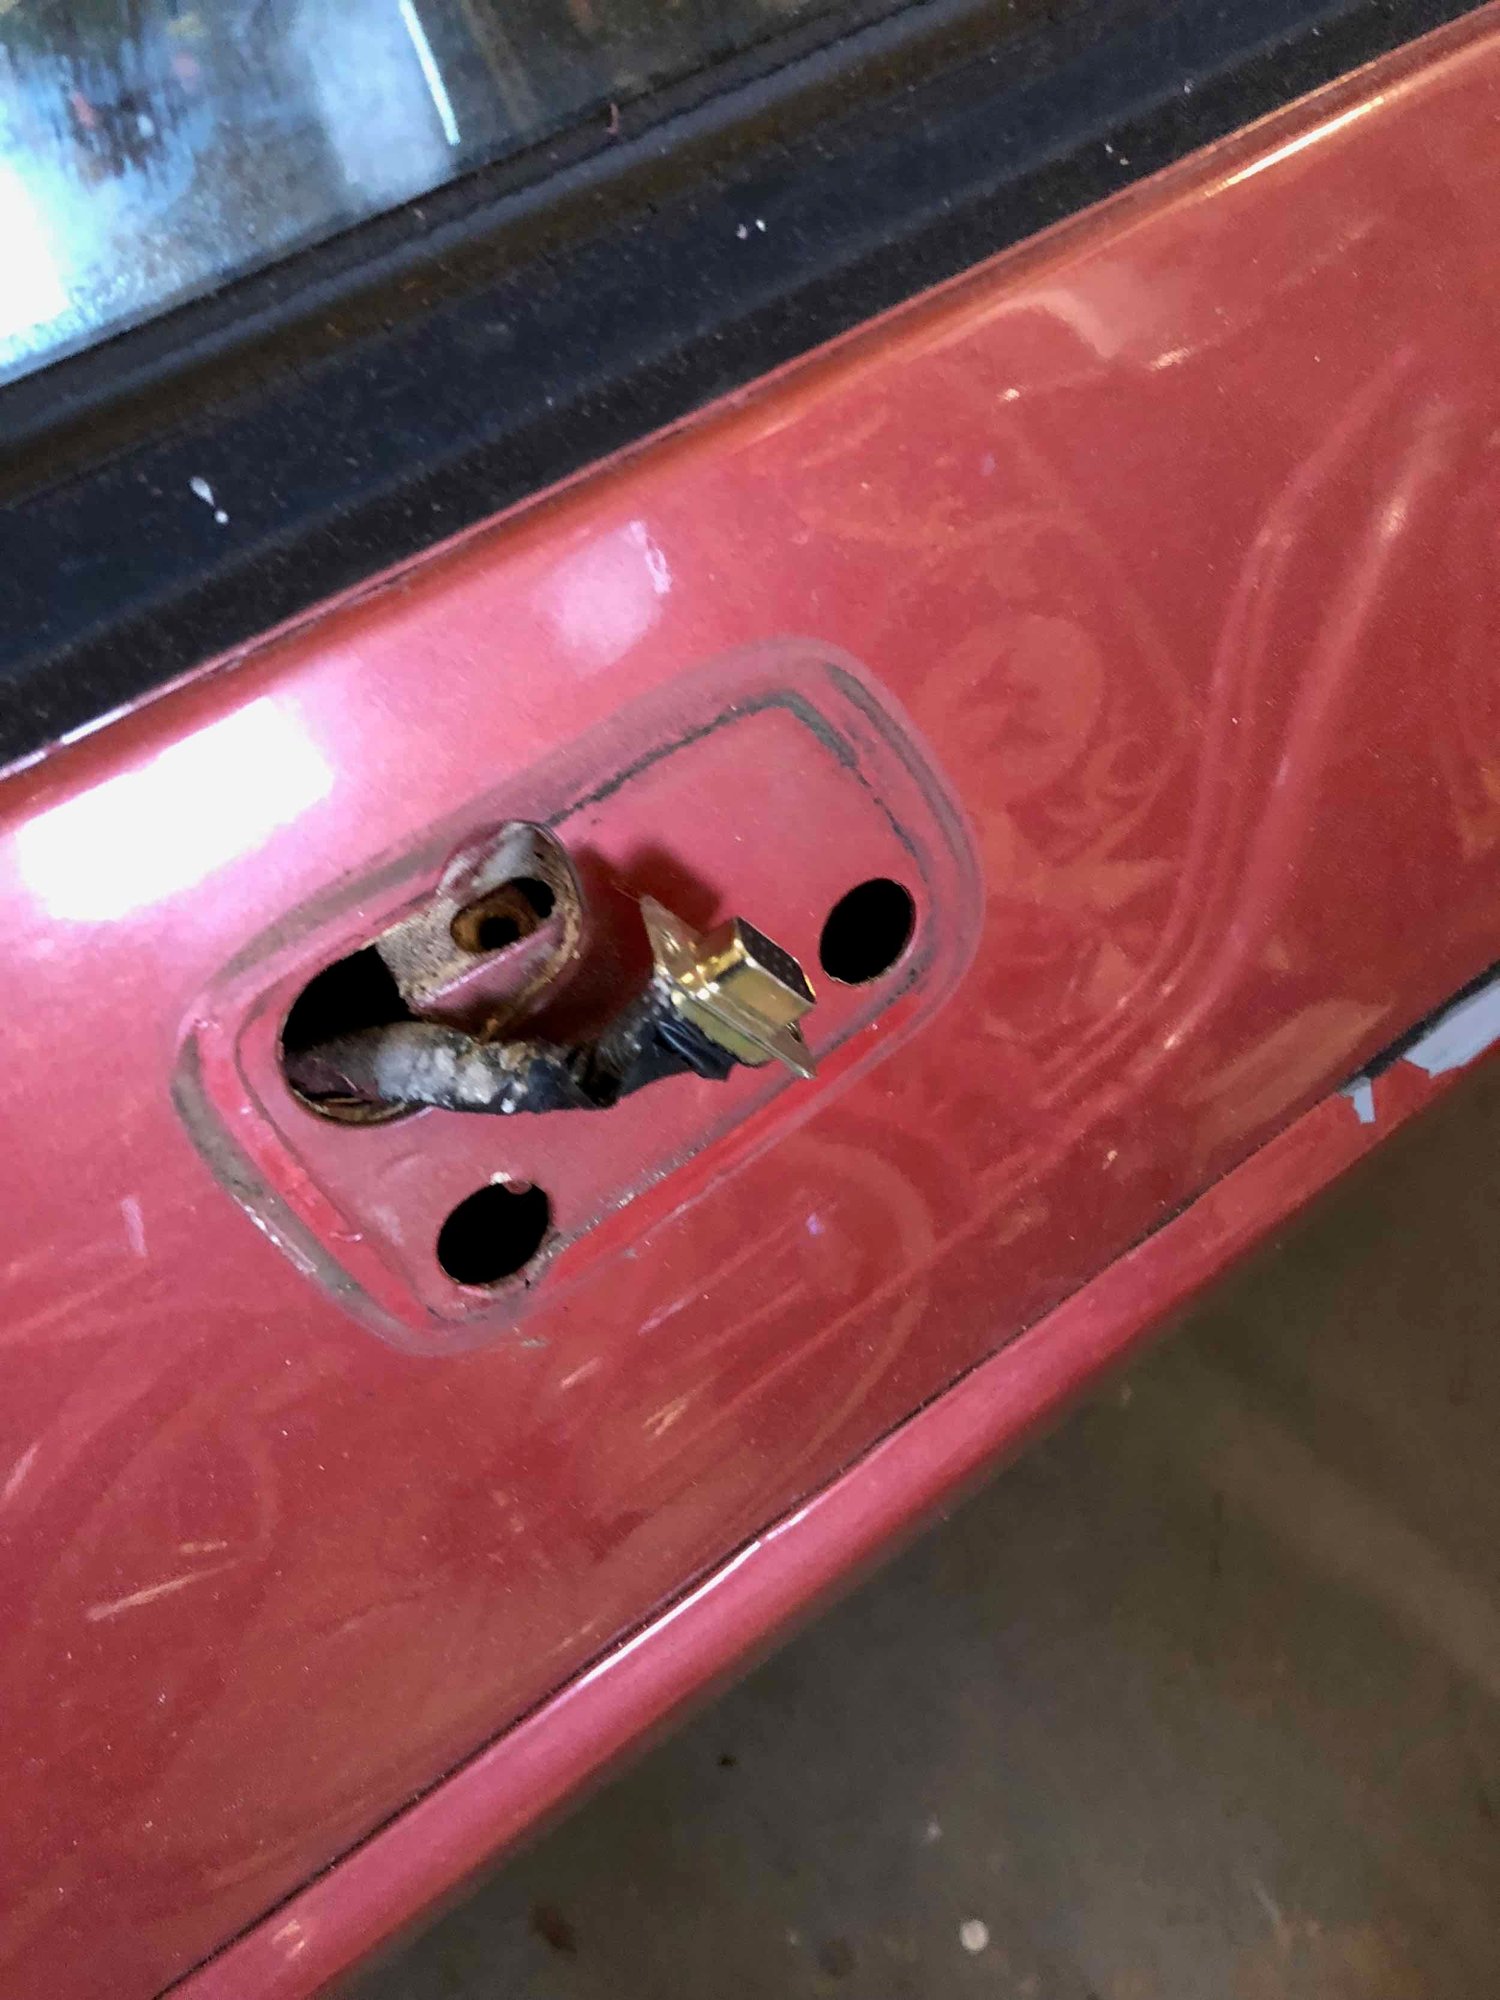
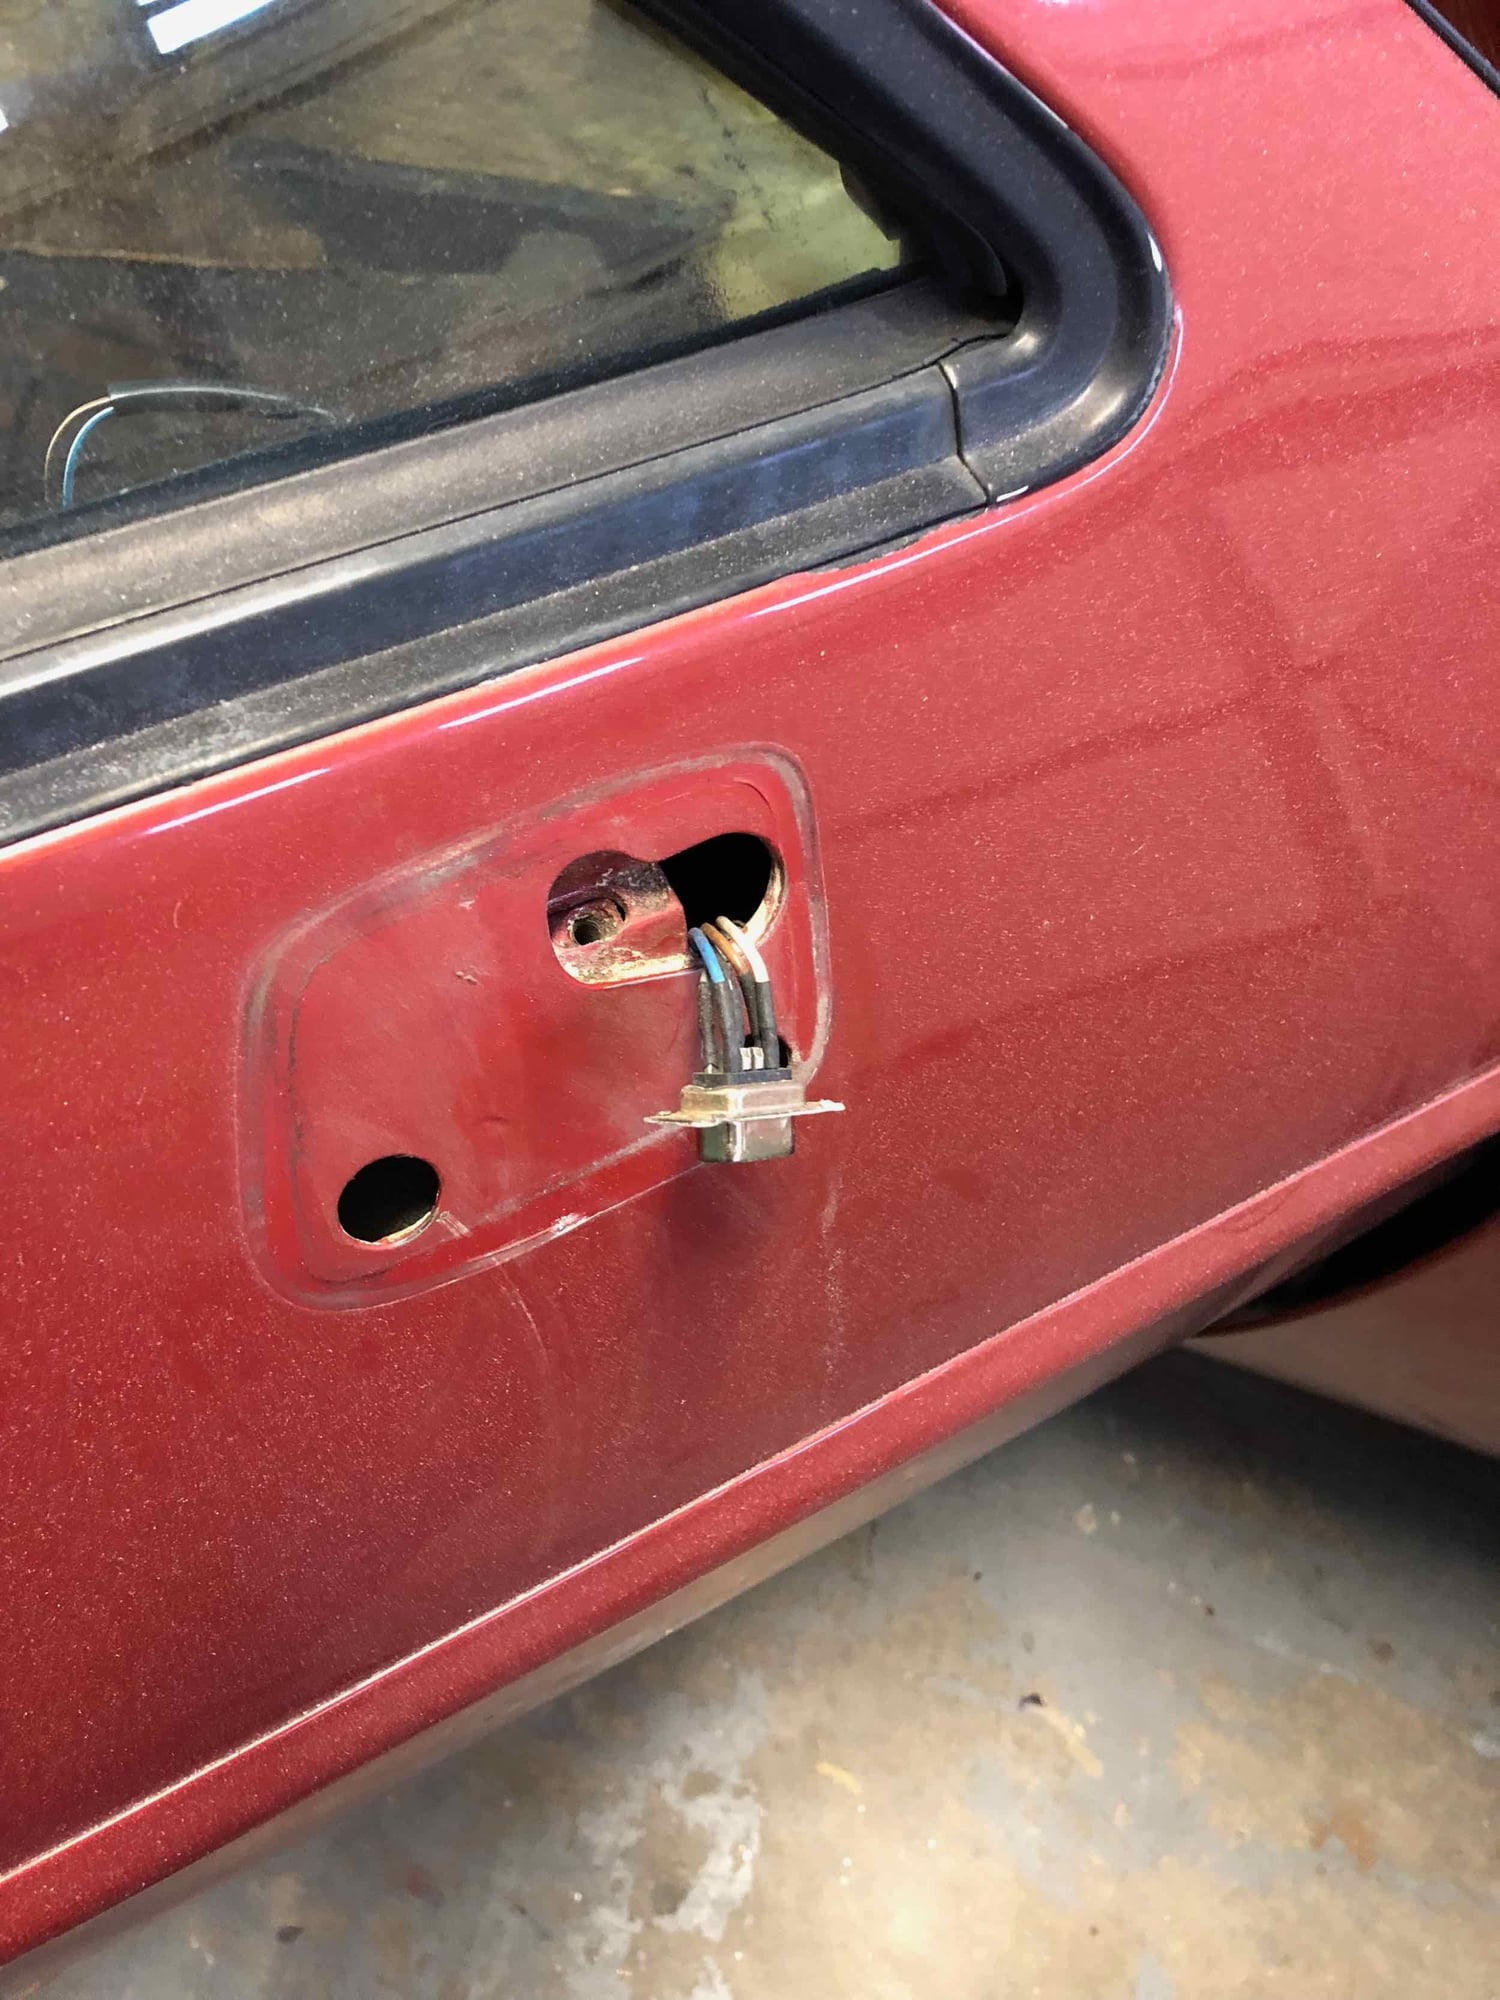
Removed side mirrors (pics). PO had actually added 9-pin serial connectors to each side. Not a bad job, but may replace with a molex-type connector.
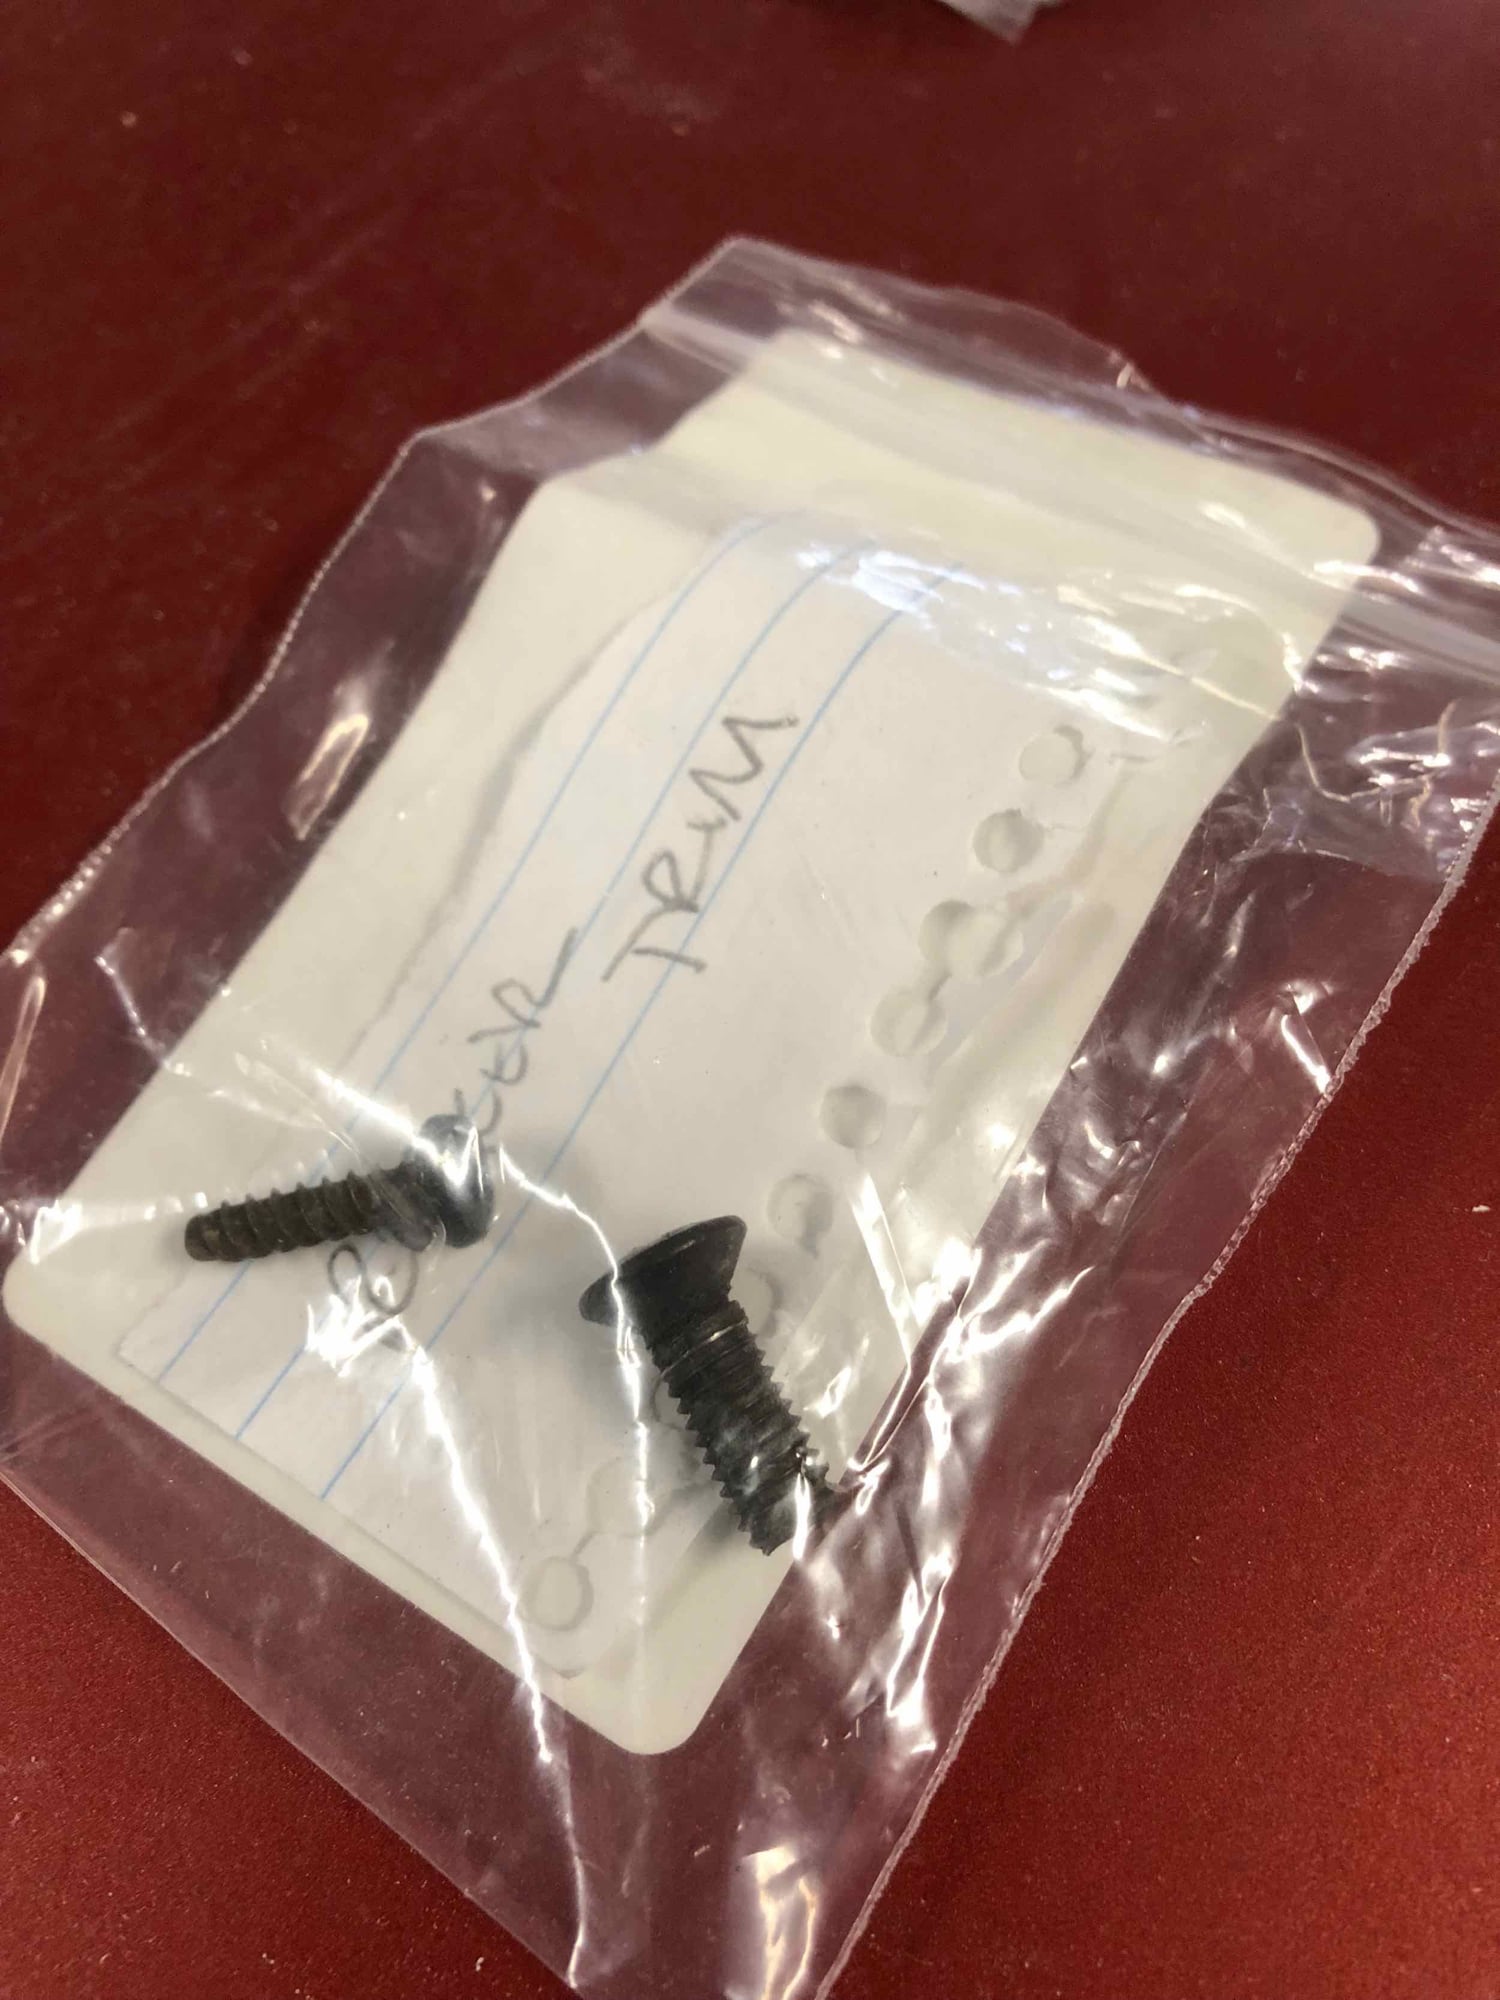
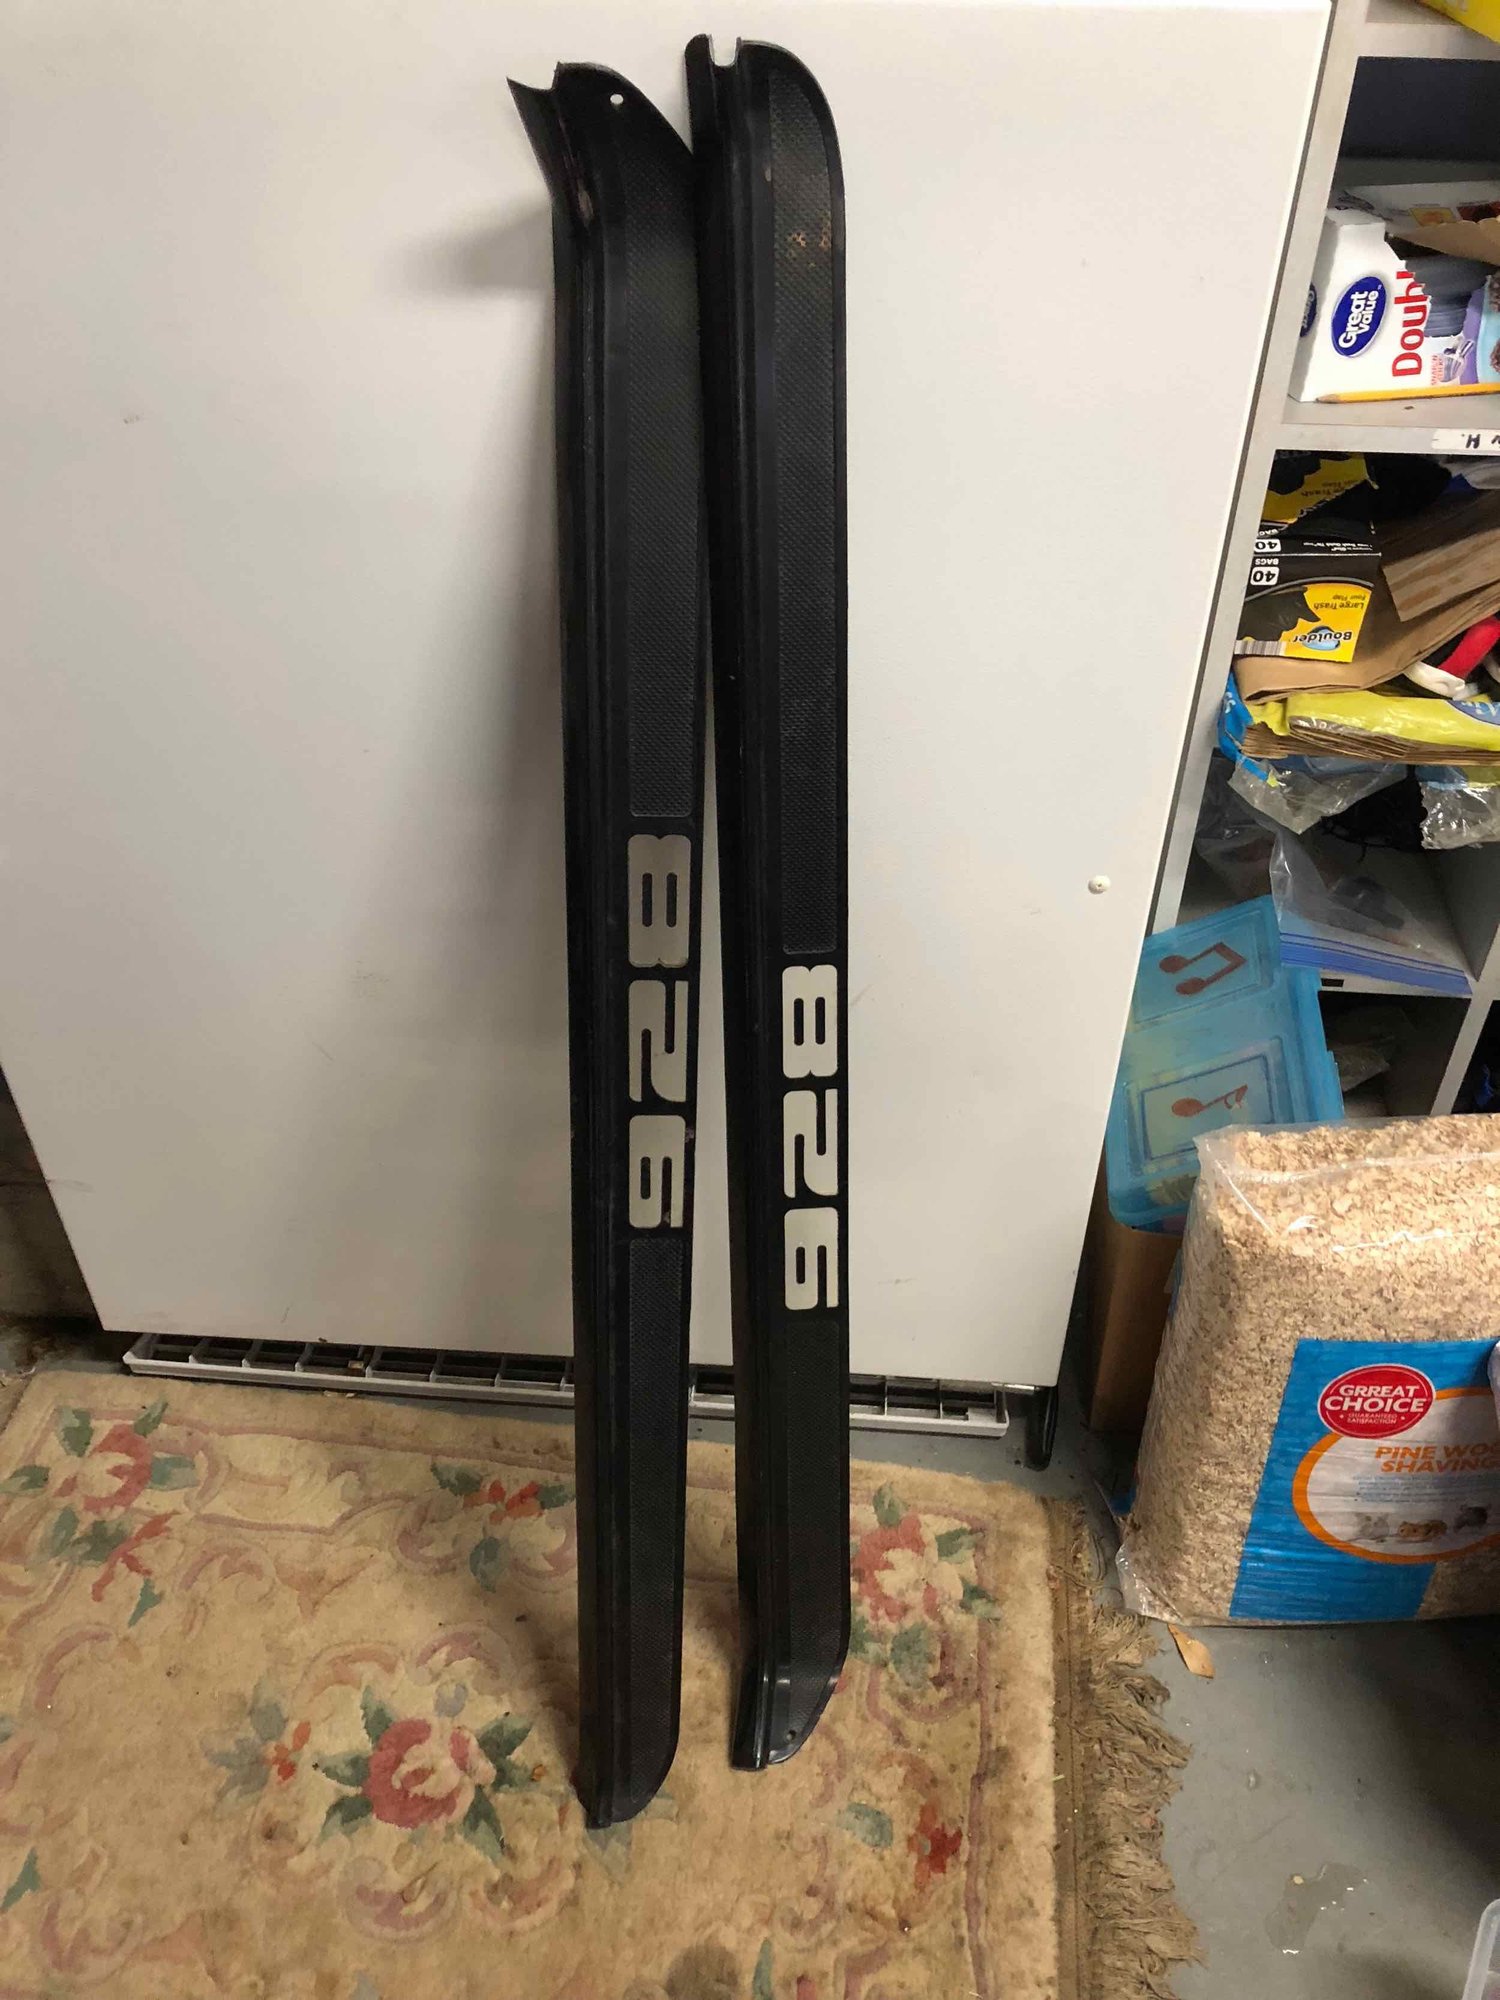
Removed door sills (Thanks Stan for a post on another BB - I will be glad to add more of the pics I took if you want to repost in RL).
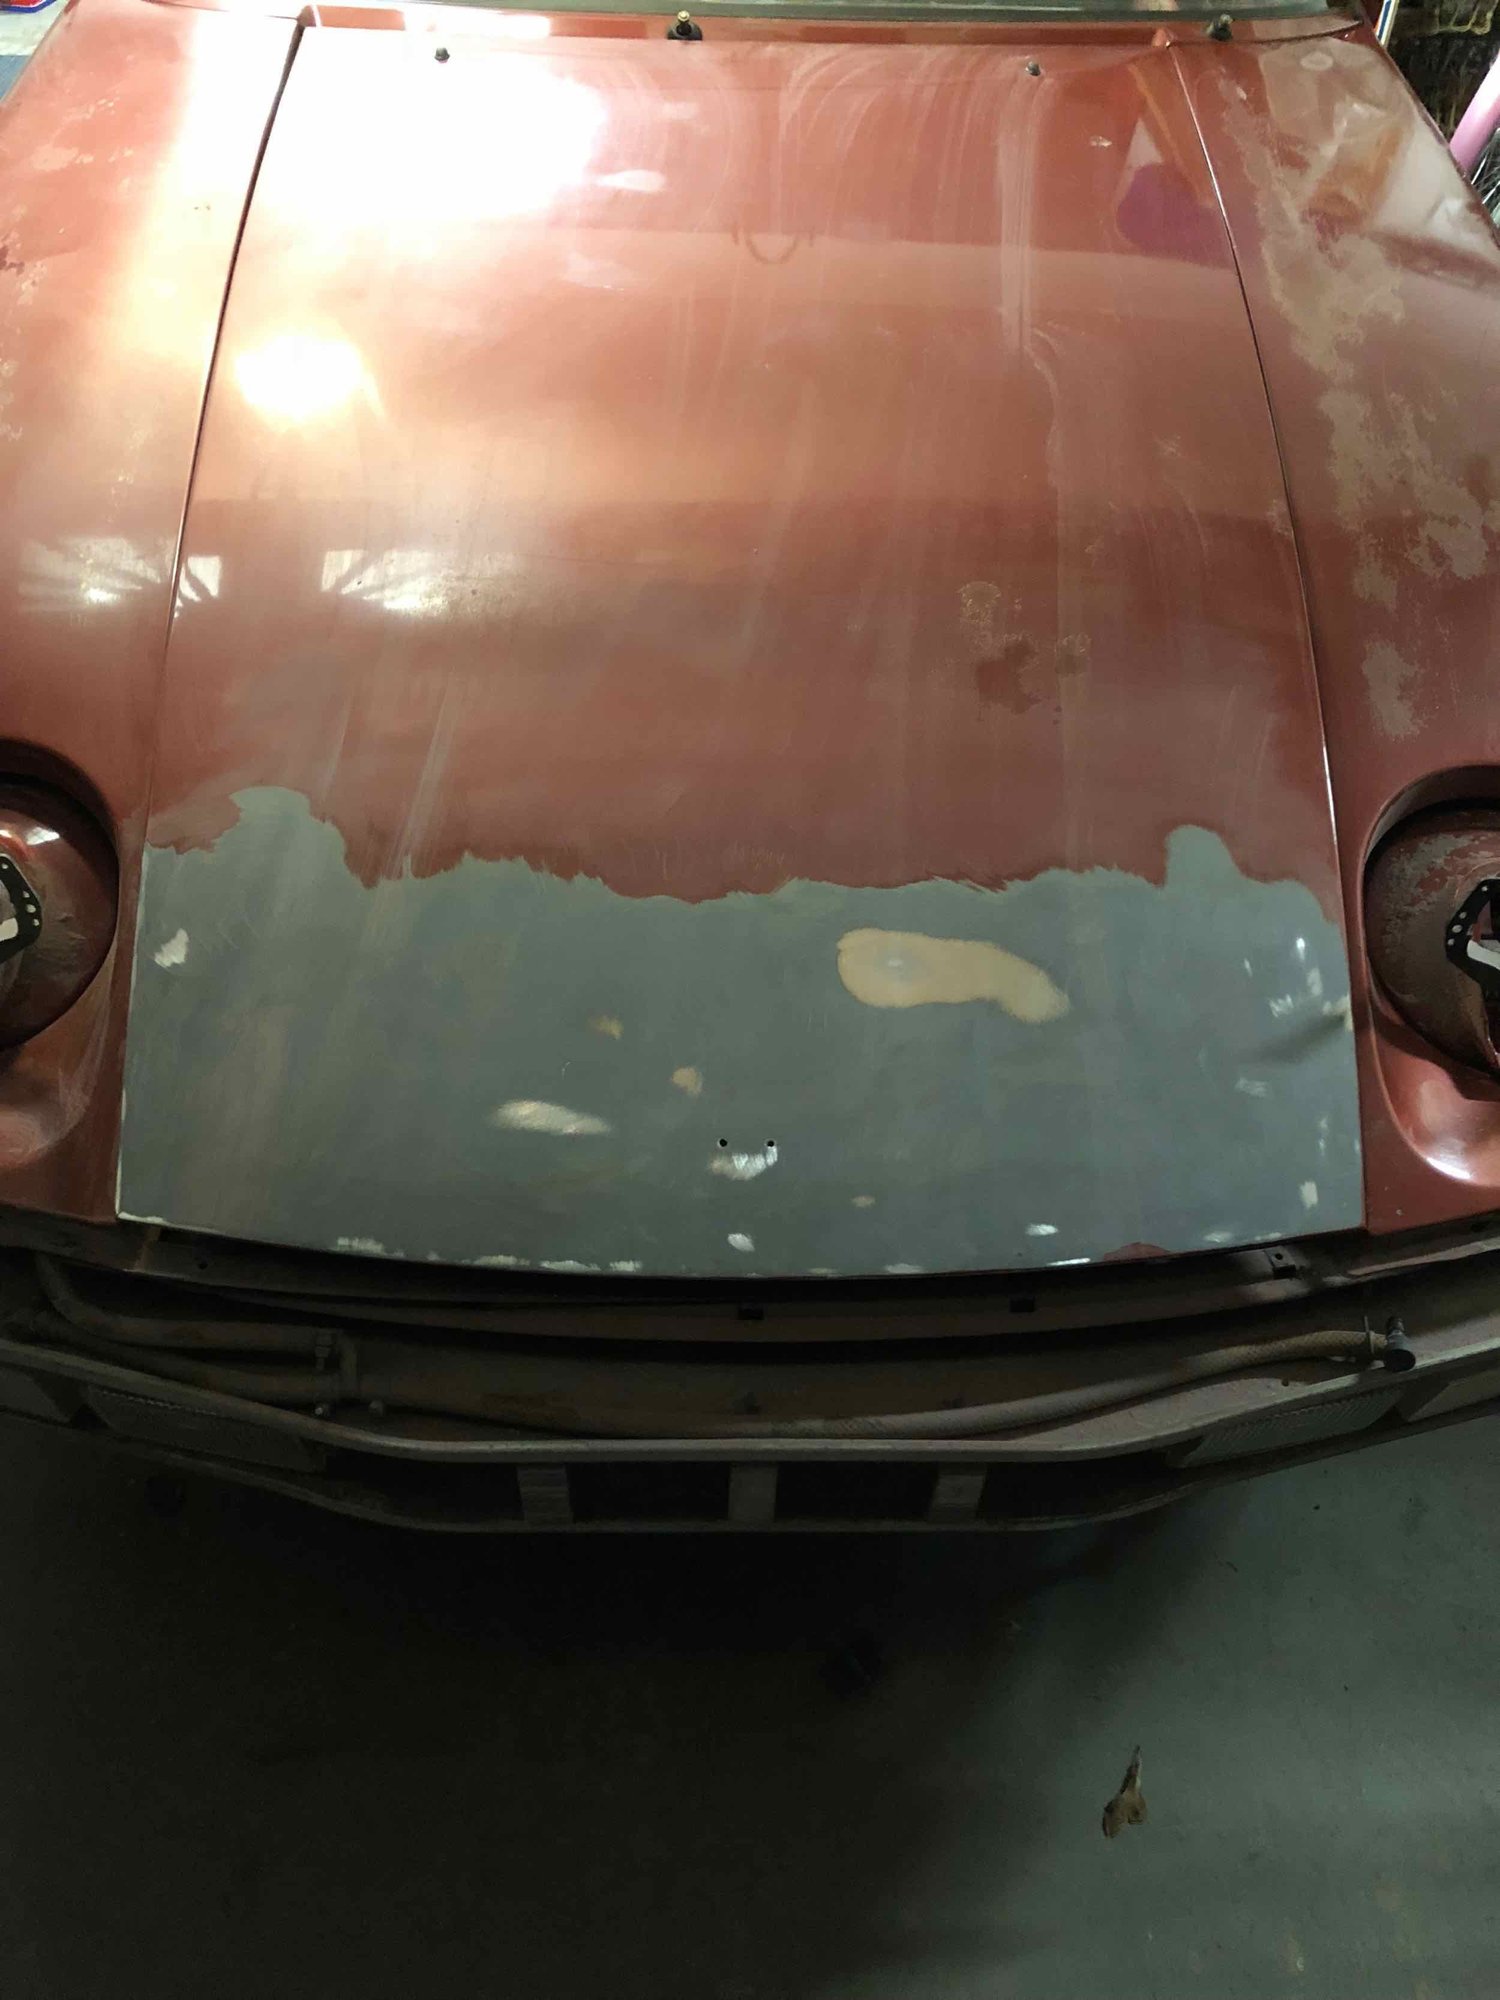
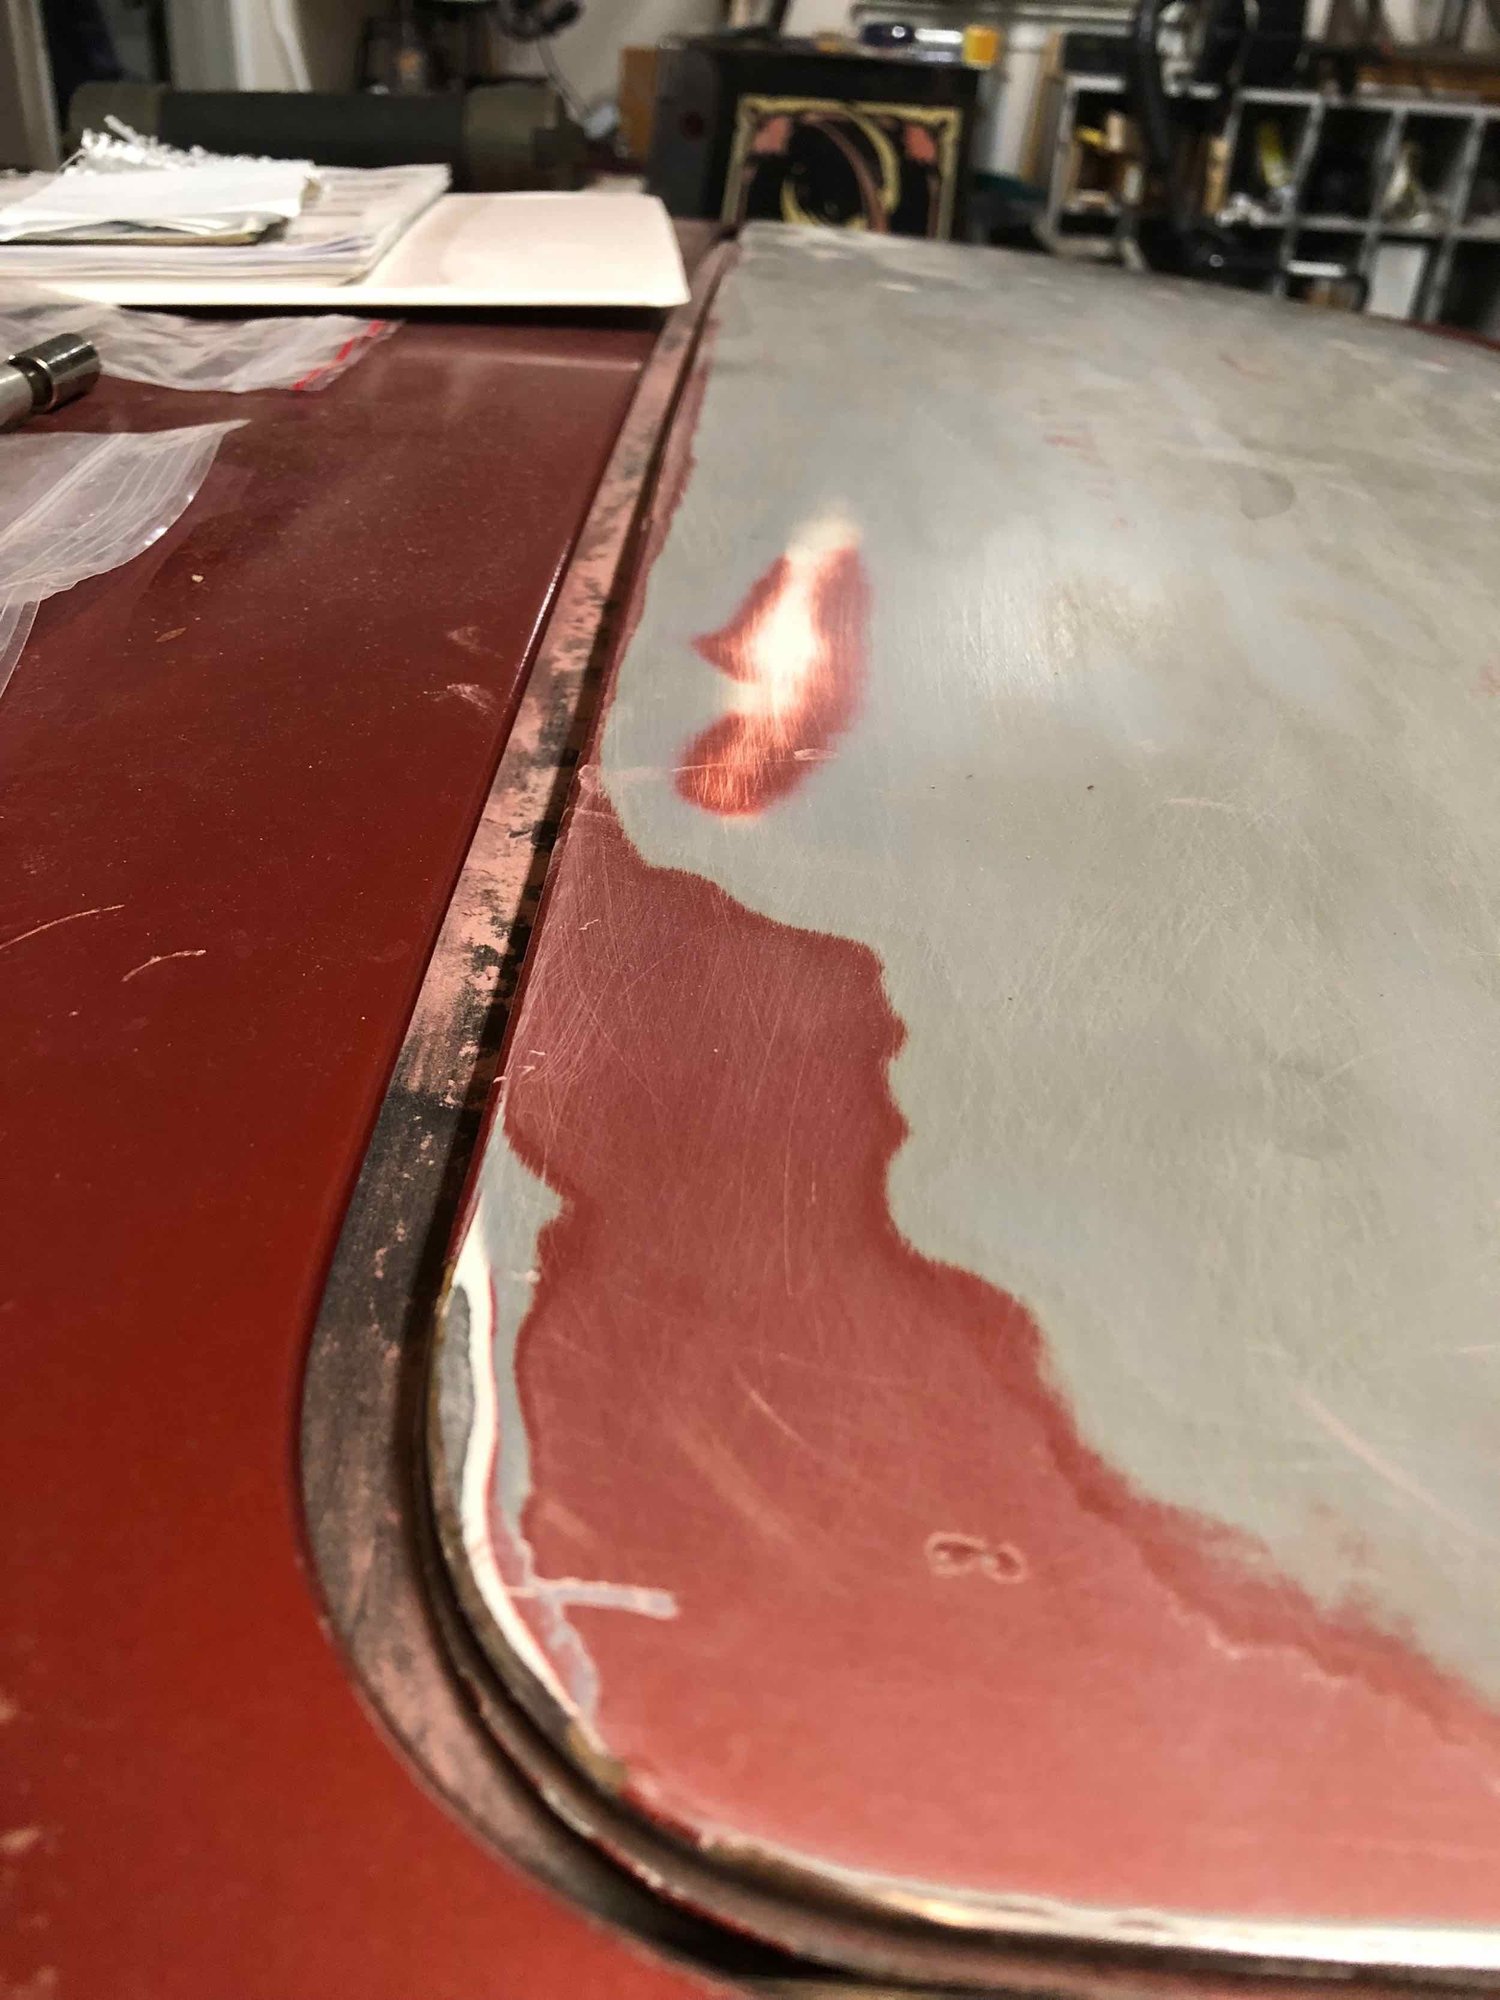
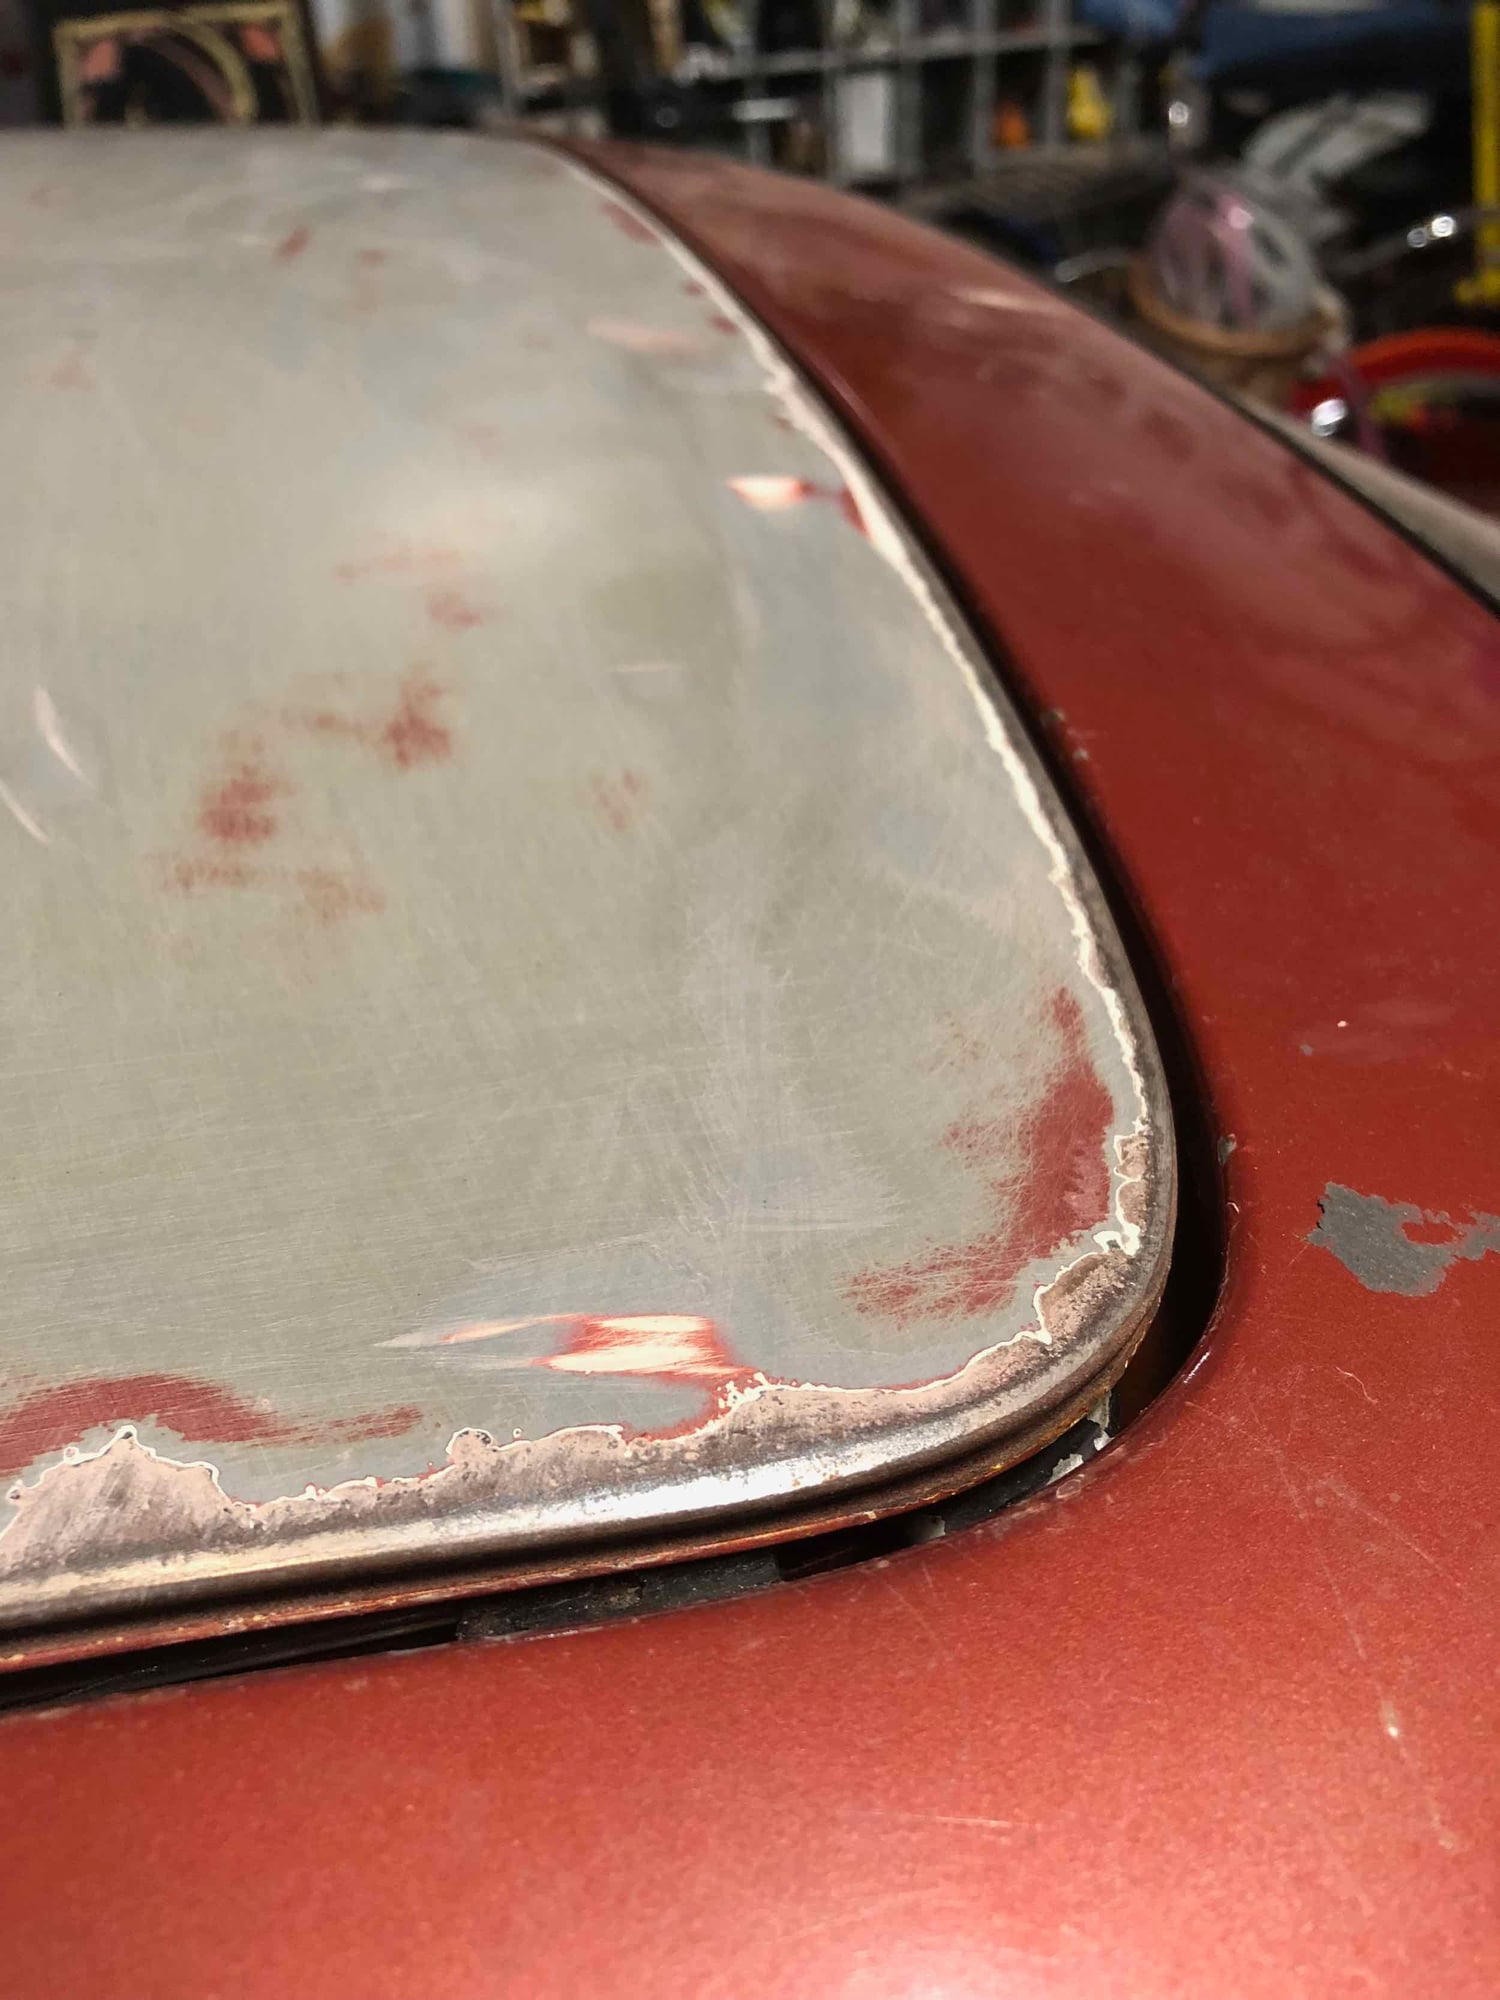
Tested the DA on the hood a bit. Worked pretty well - don't think it will be too difficult to leave the Porsche primer in place.
Finally fixed the leak in my gas tank) - I think!! Hope it holds with a full tank in there.
Sunroof channels are now cleaned...plan to reinstall over the weekend and try some testing.
Whew...
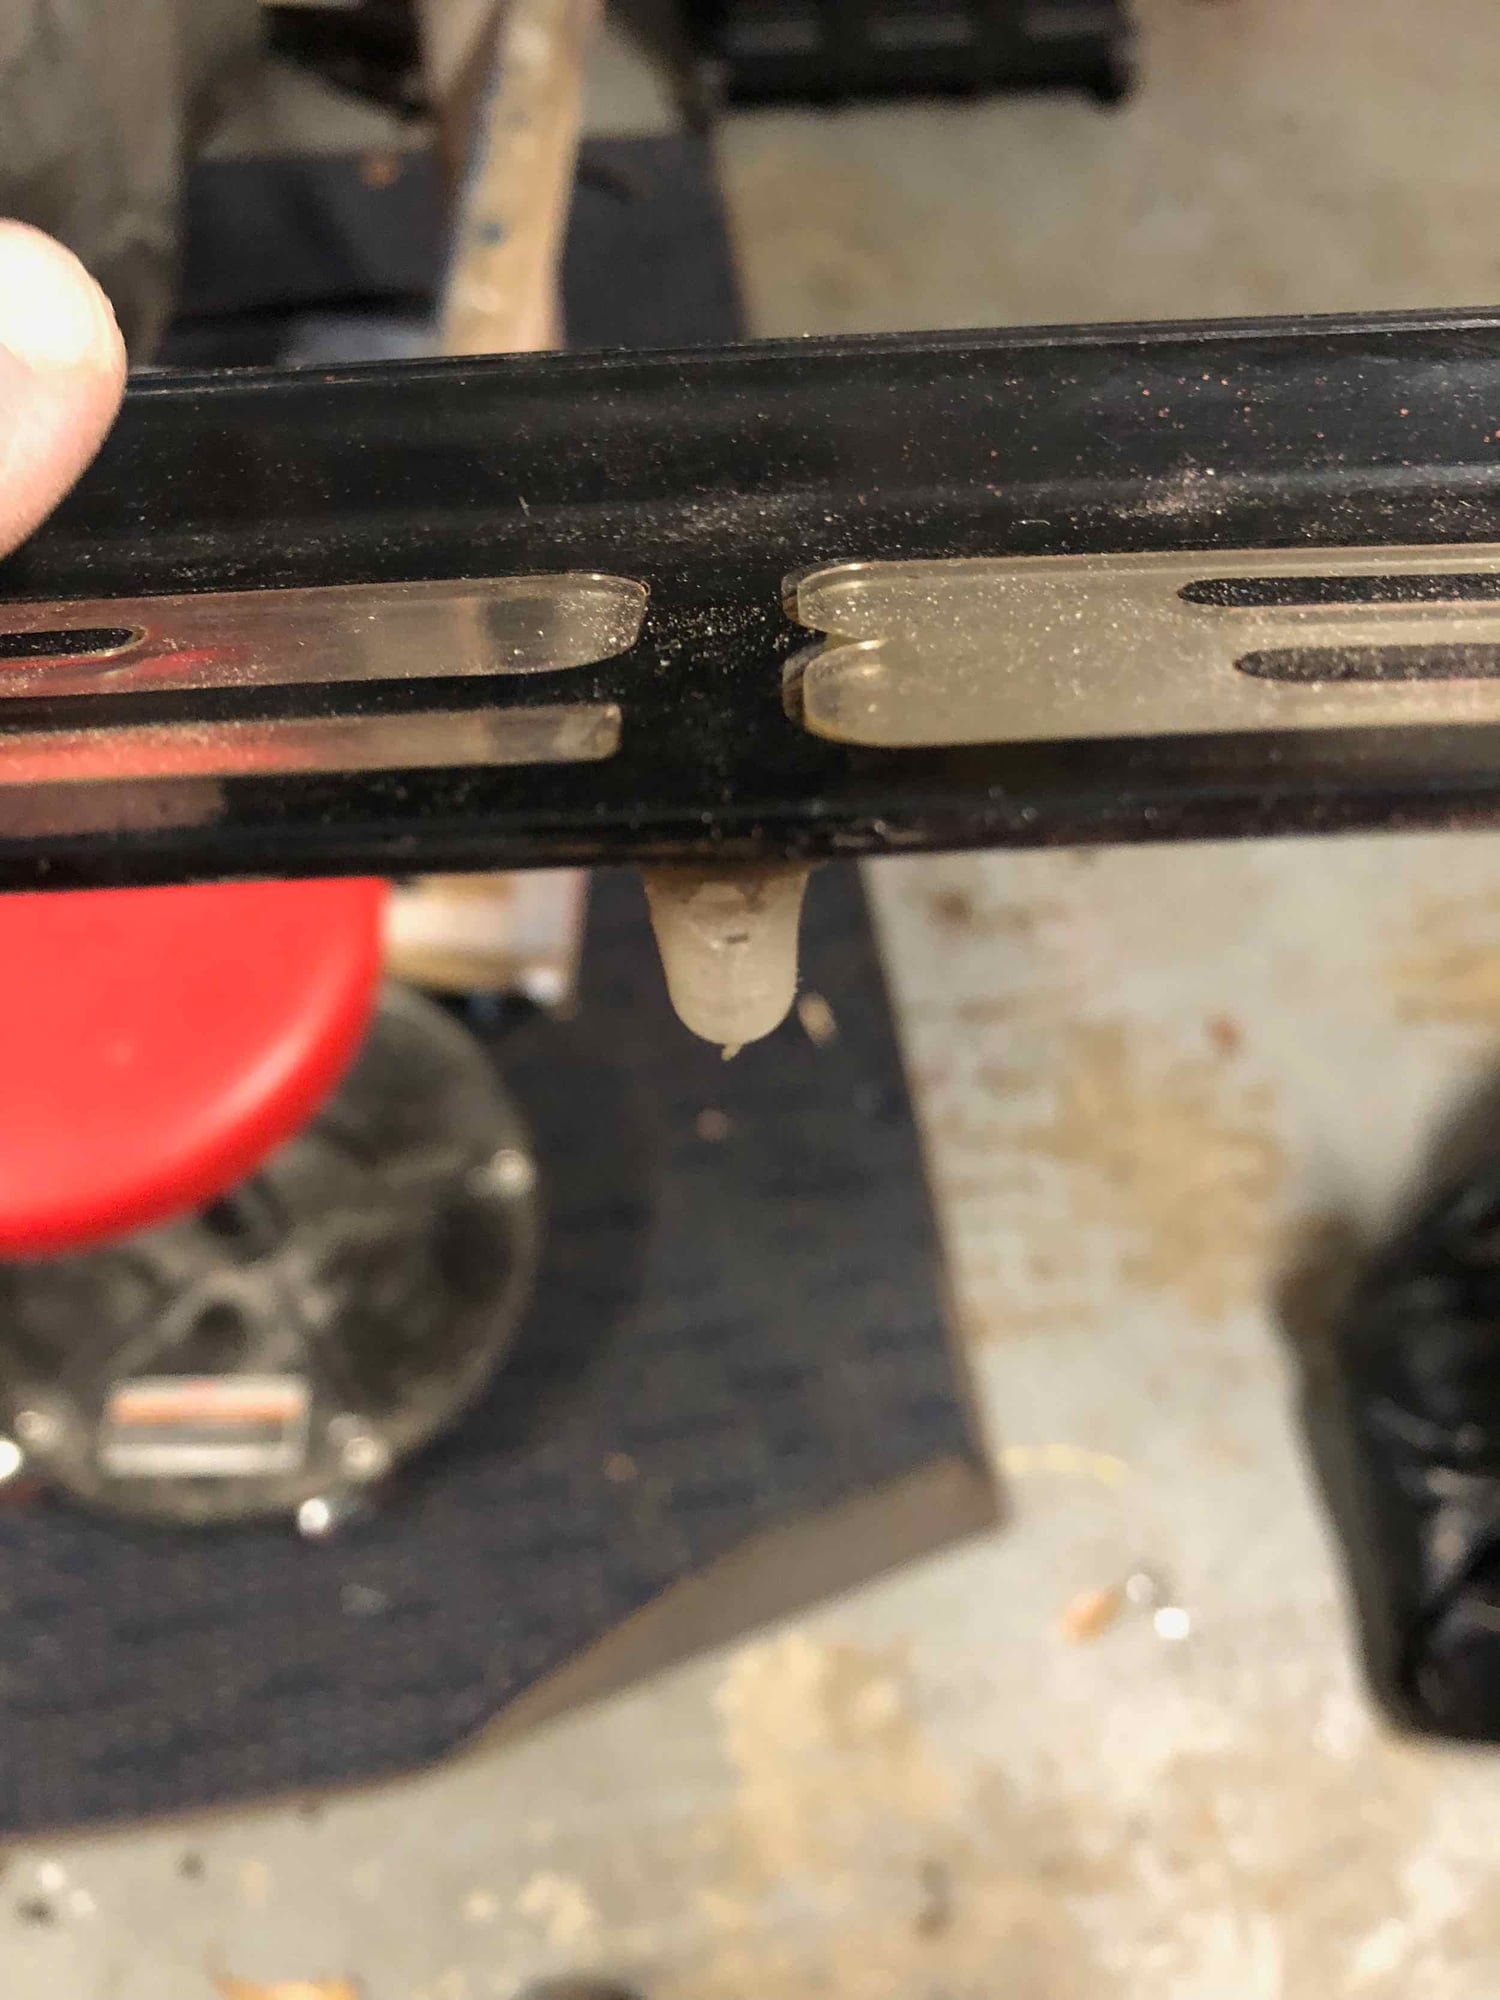
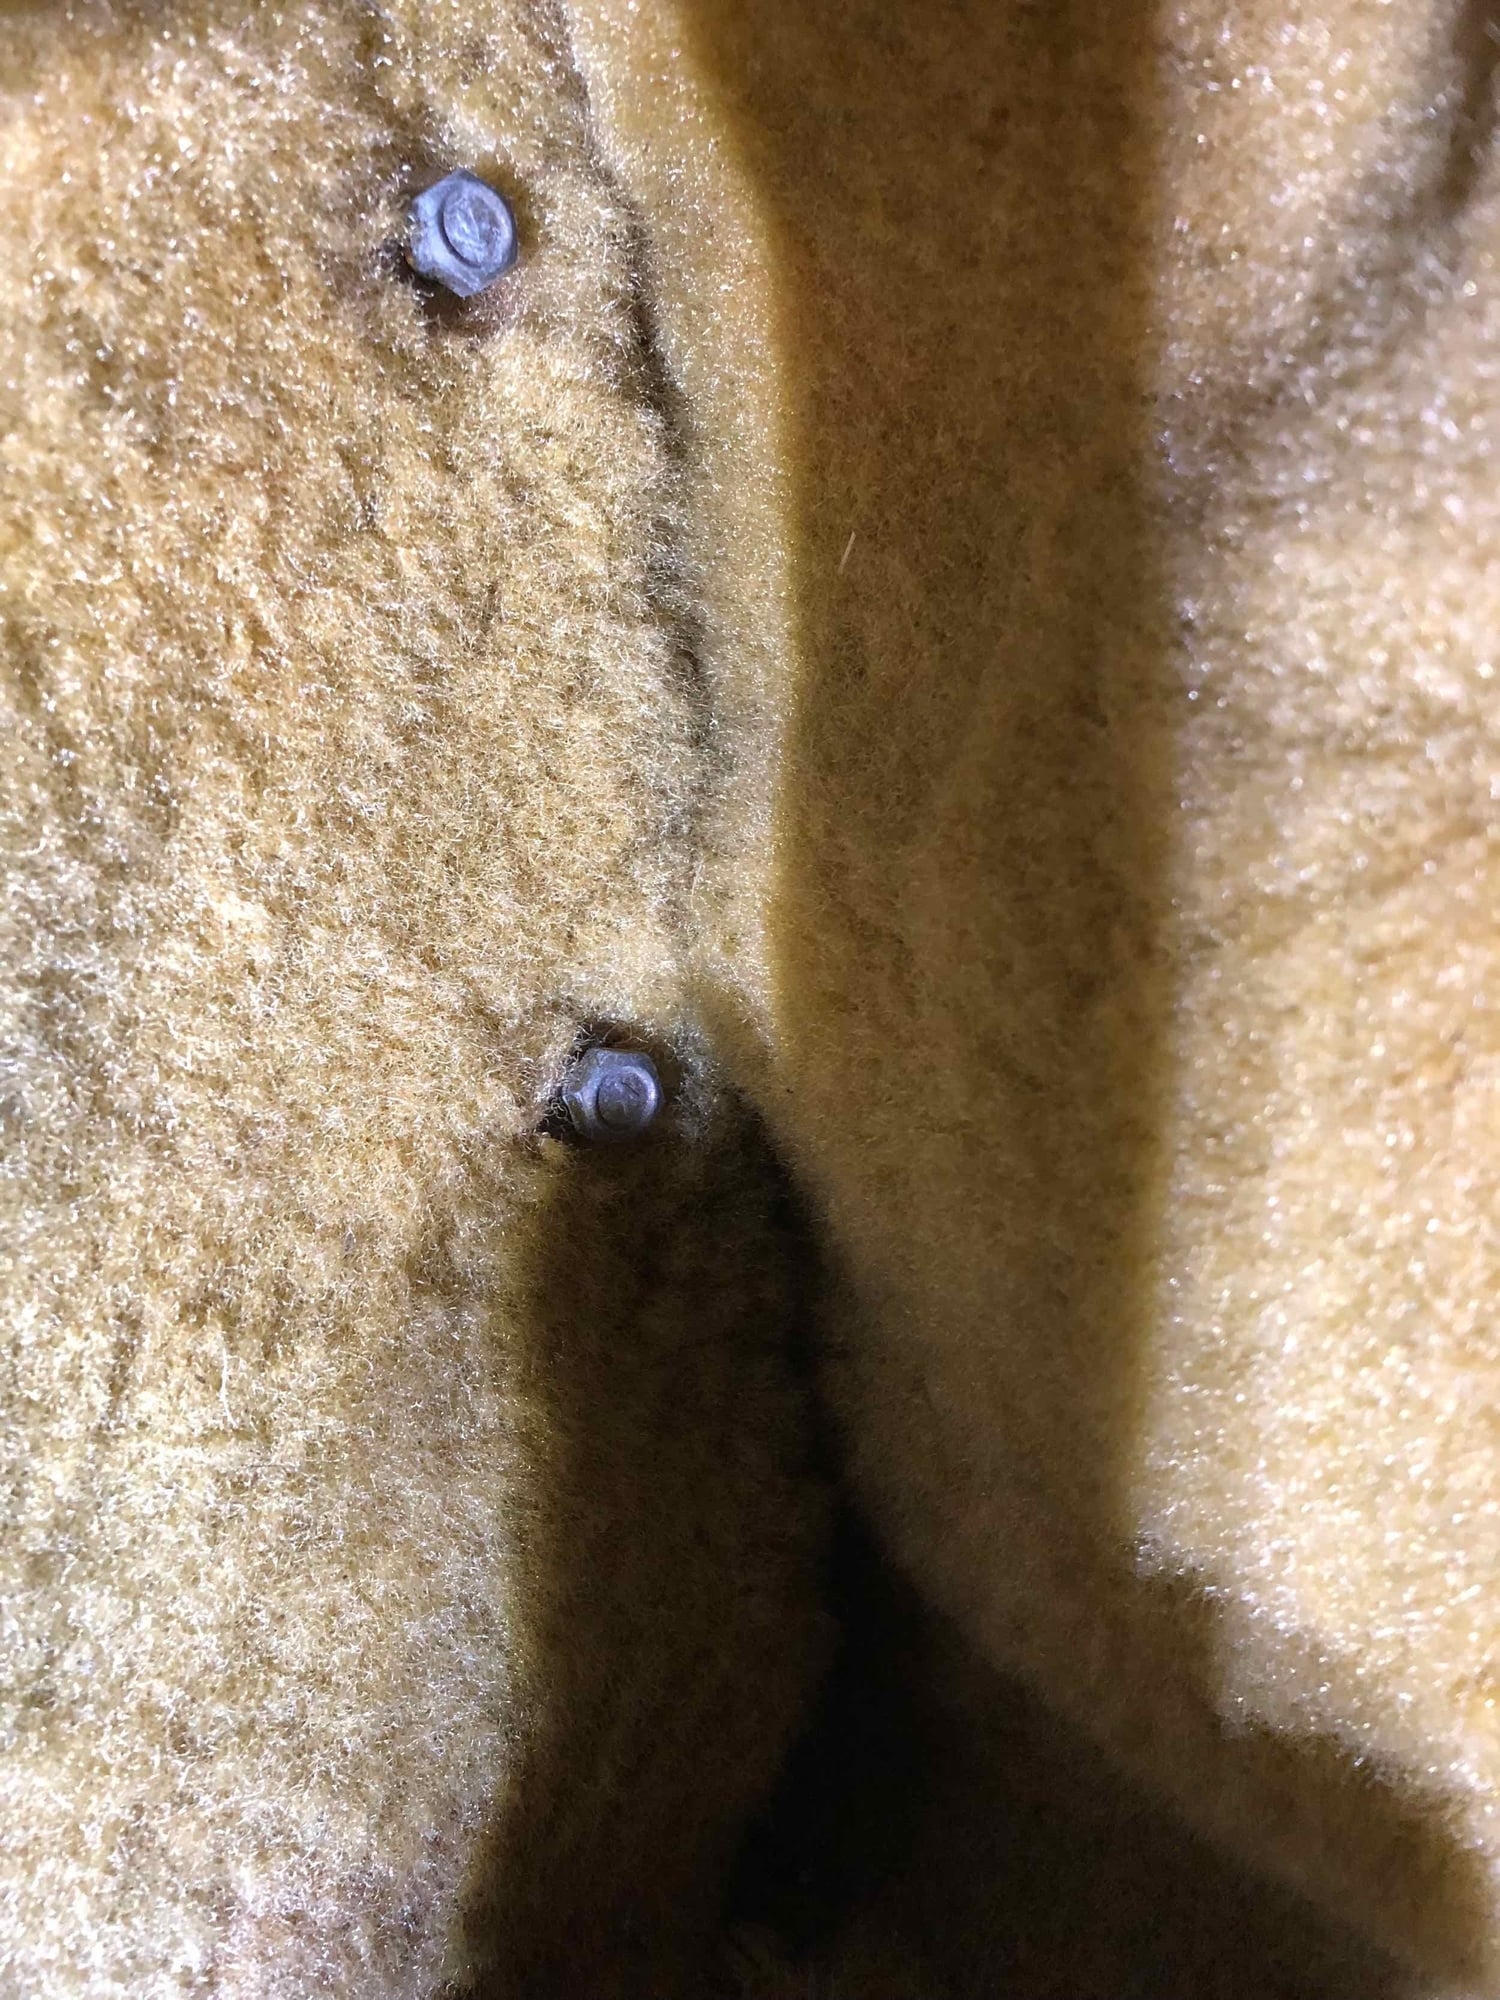
No surprise that the screws at the rear of the sill plate were different on each side - larger machine screw from driver's side.
Clips that hold down sill plate.
Removed and no breakage!
Driver's side still had the push clip between the '2' and '8'. Pass side was missing.
Experimented with the DA on the hood. Of course broke the badge pins trying to remove. Just a couple of small areas where I went through the primer.
My poor attempt at actuator repair...
Door mirror connector
Other side...there are pretty well done (using heat shrink, etc). I am more concerned about the metal connector. May replace with a molex-type connector.
Few more pics of front carpet removal...driver's side.
Two screws hold the clip that also supports the tray under the IP. Both must be removed to remove carpet. I just put these back for now rather than leave out and bag. Interesting that the bolts that hold the hood release latch are not there. The carpet just slots in around the hood release latch, so I did not remove it at all.
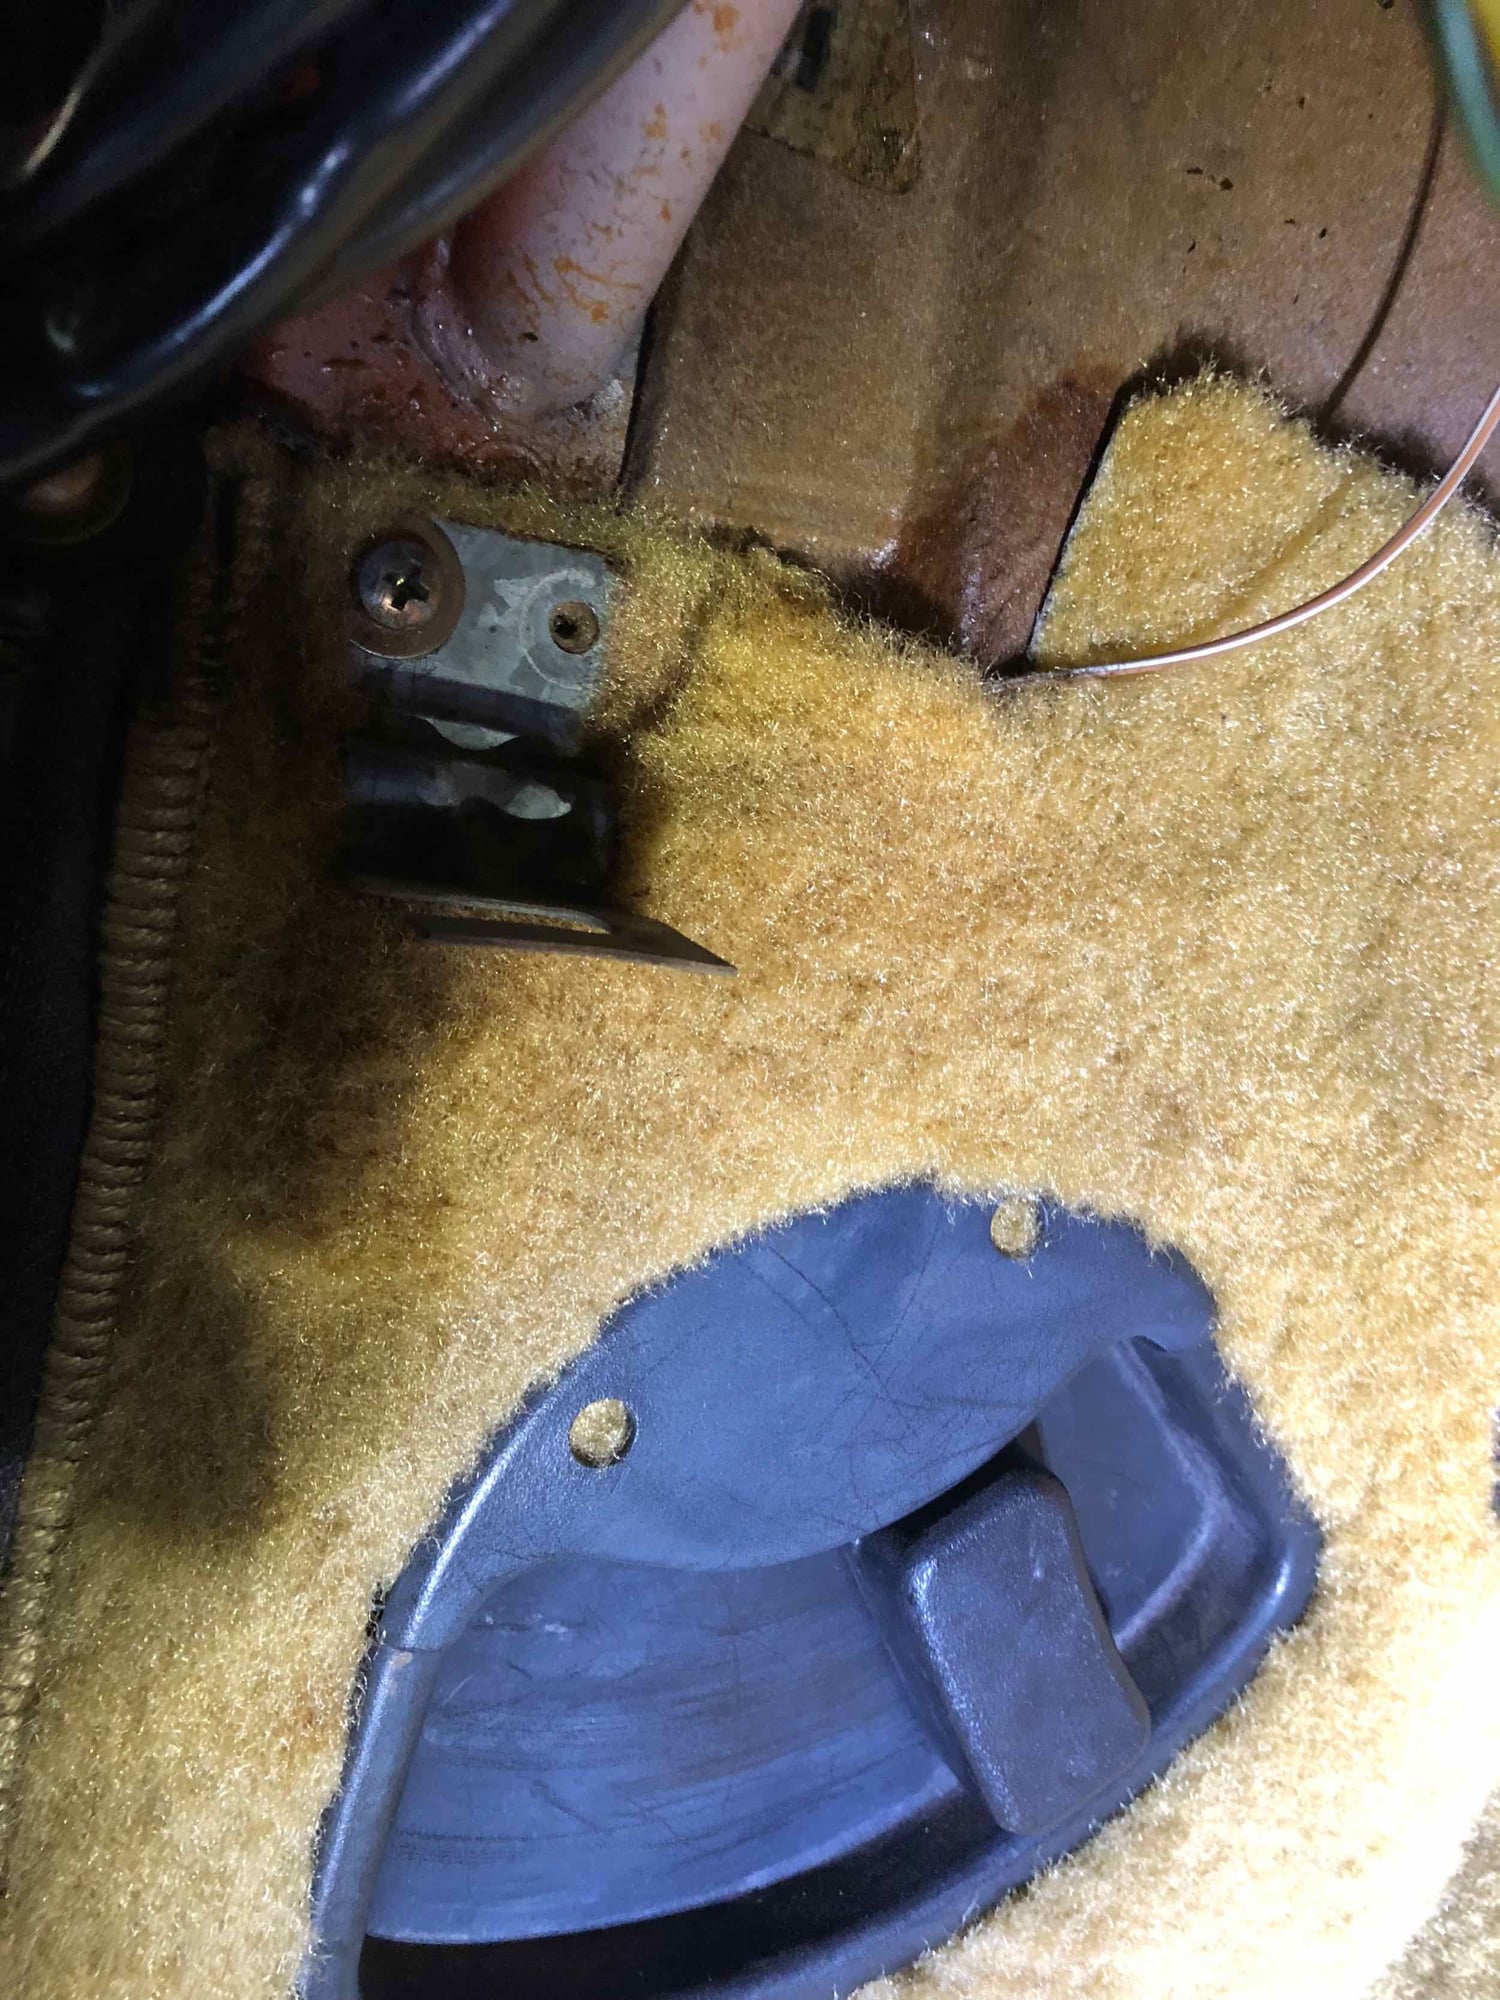
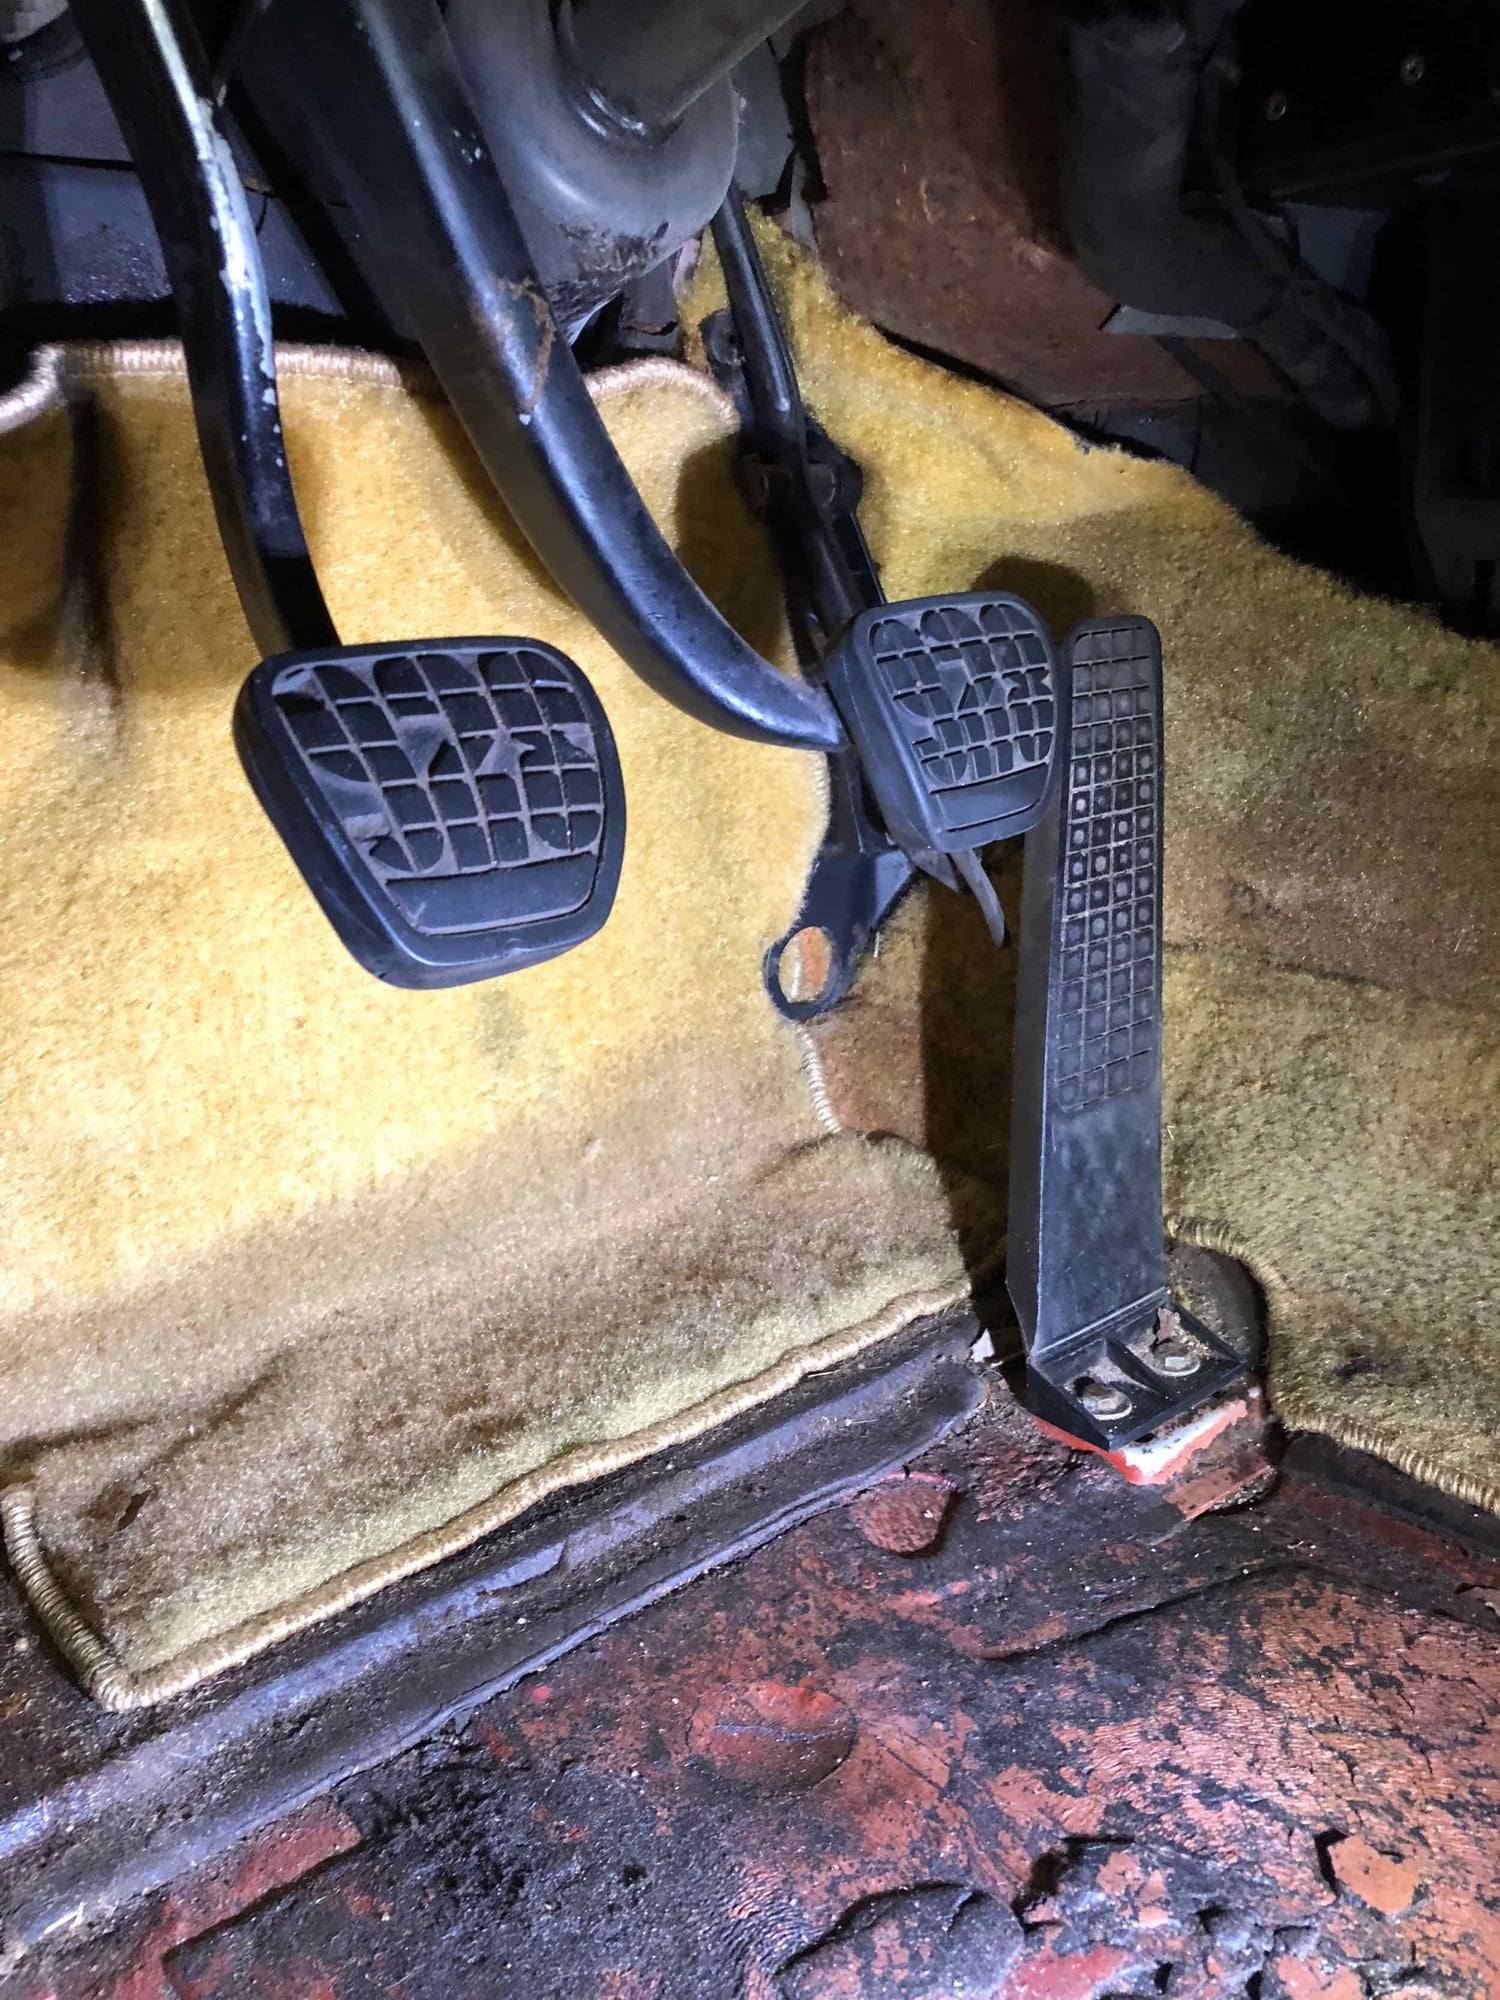
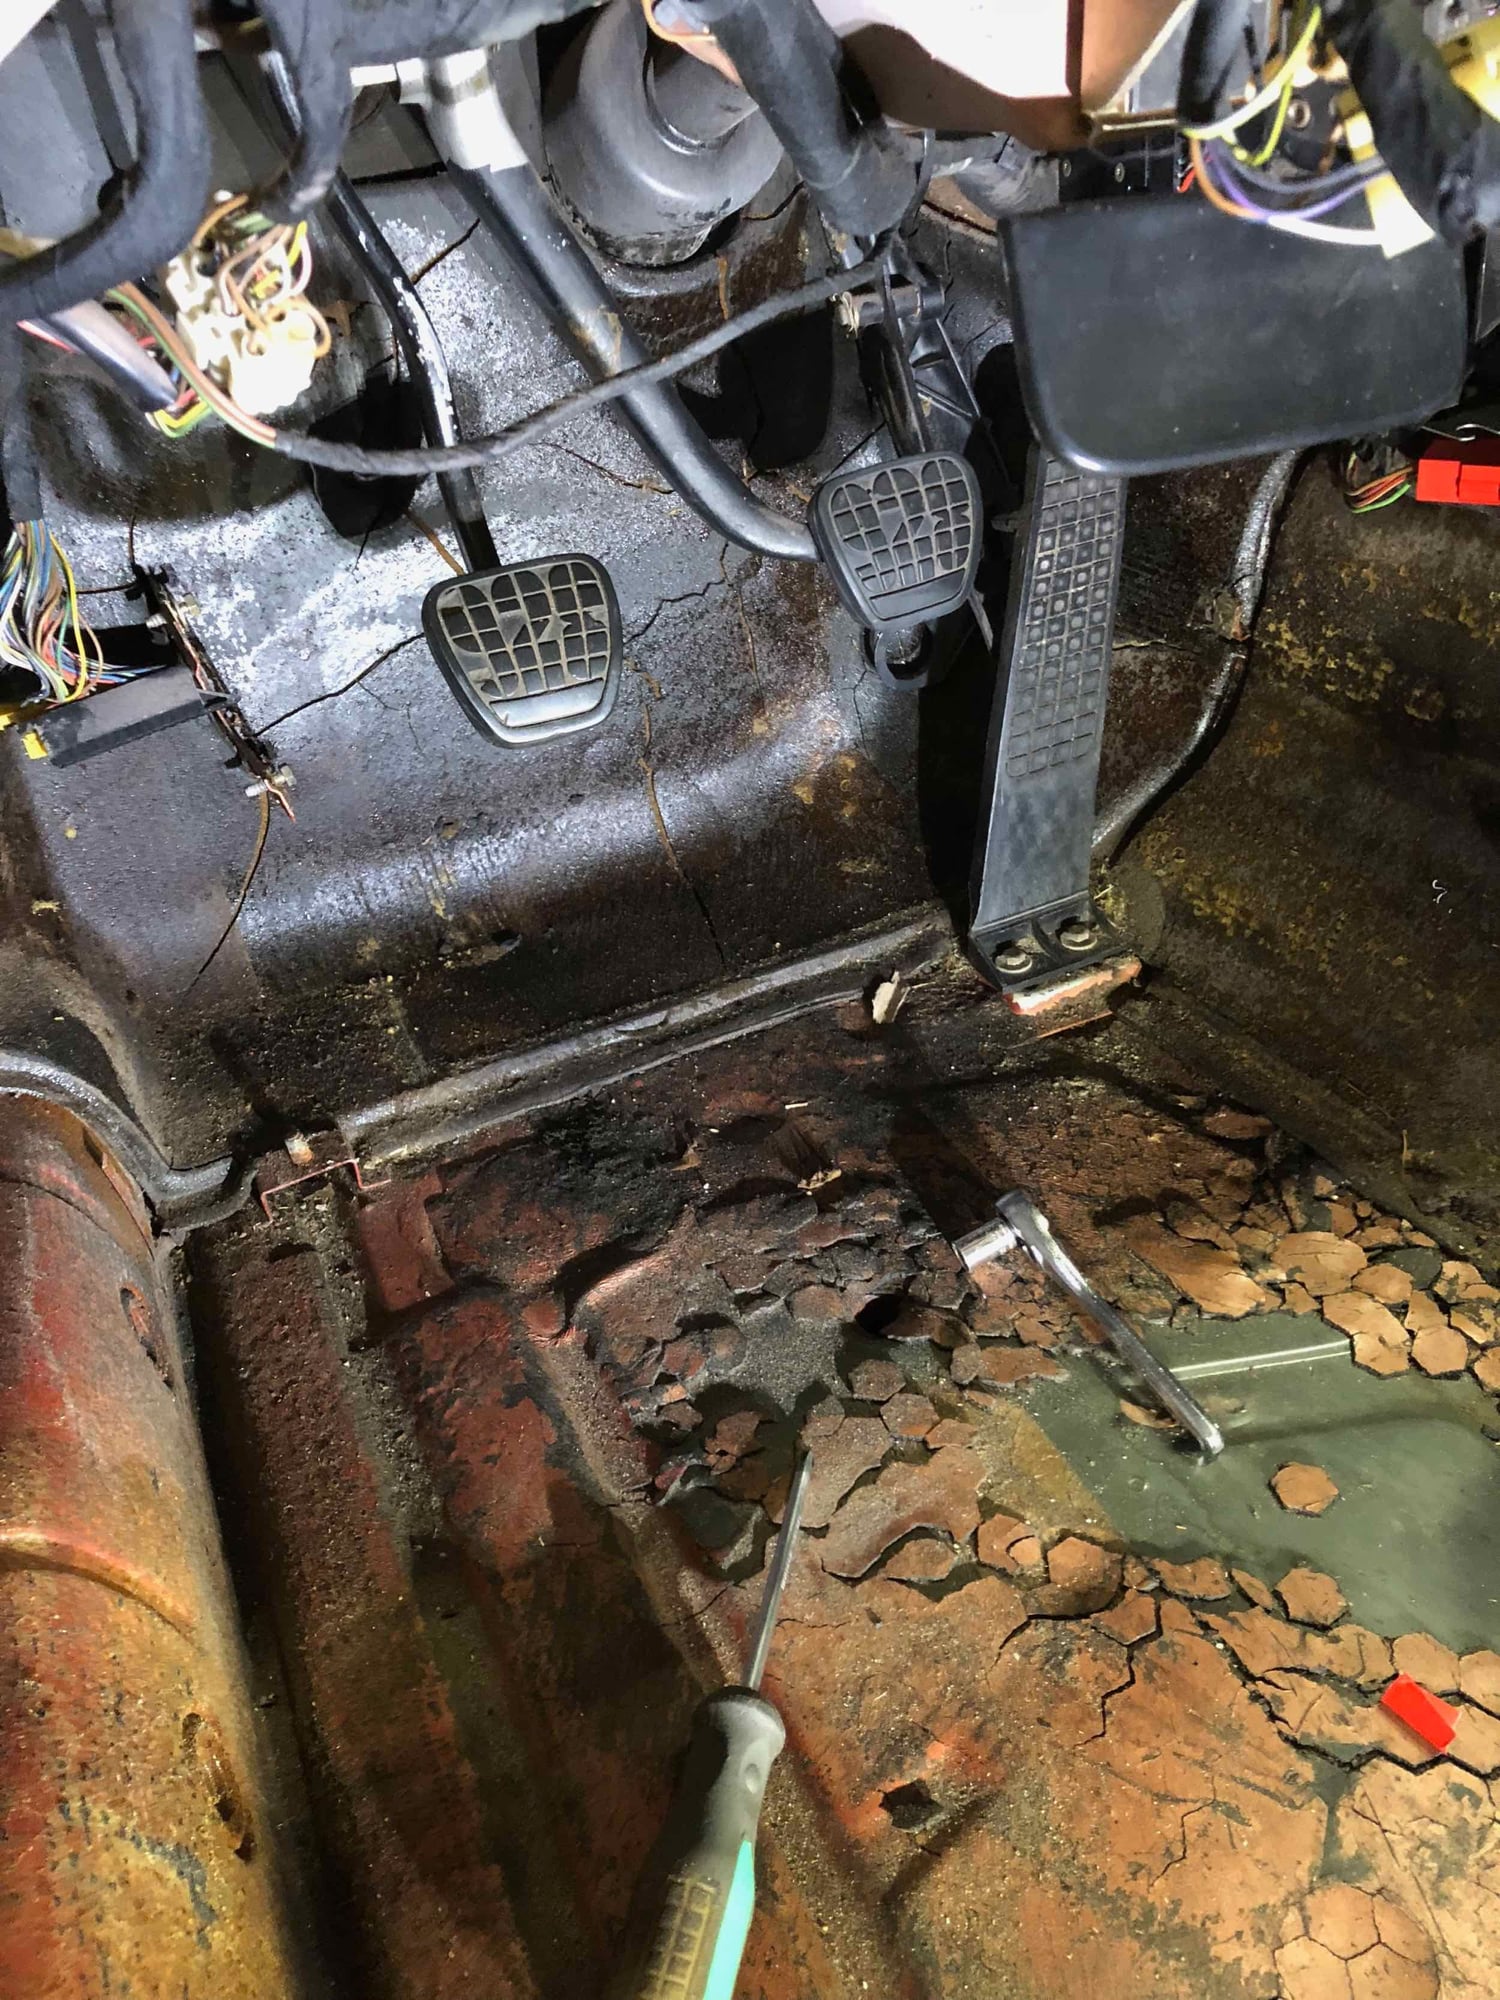
Accelerator pedal and its support behind had to be removed. Two 10mm nuts on the support and 2 10mm machine bolts on pedal itself. Did not know that the pedal has three sets of holes in floorboard (for slight "adjustment" I presume)? Mine were in the middle set of holes.
Two bolts hold on the dead pedal (and the computer module behind it).
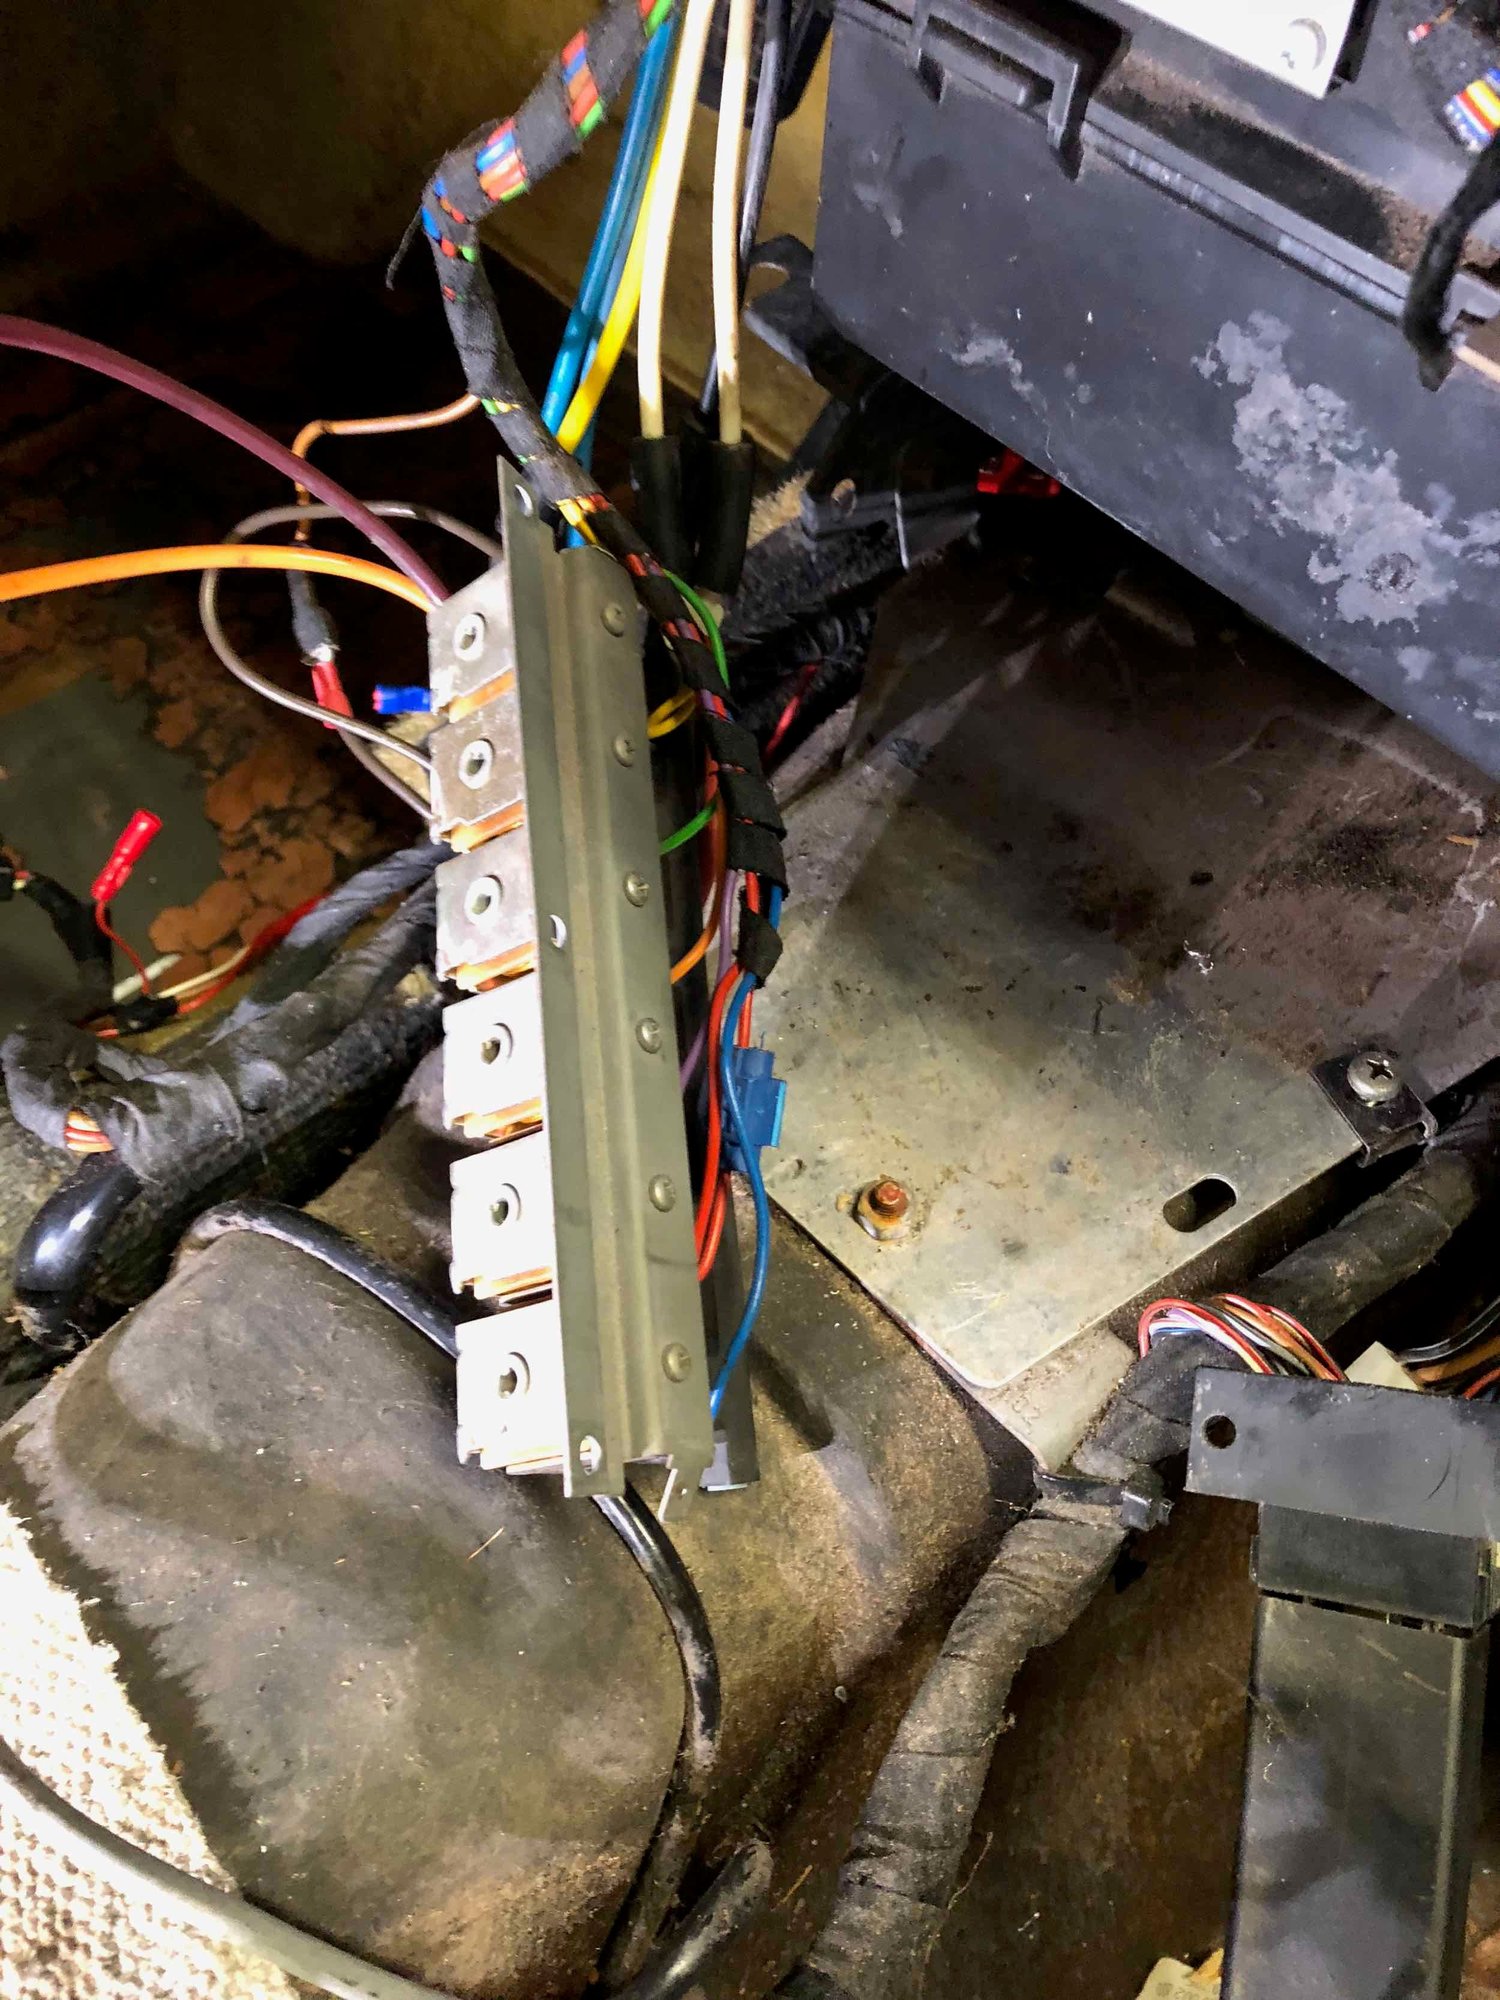
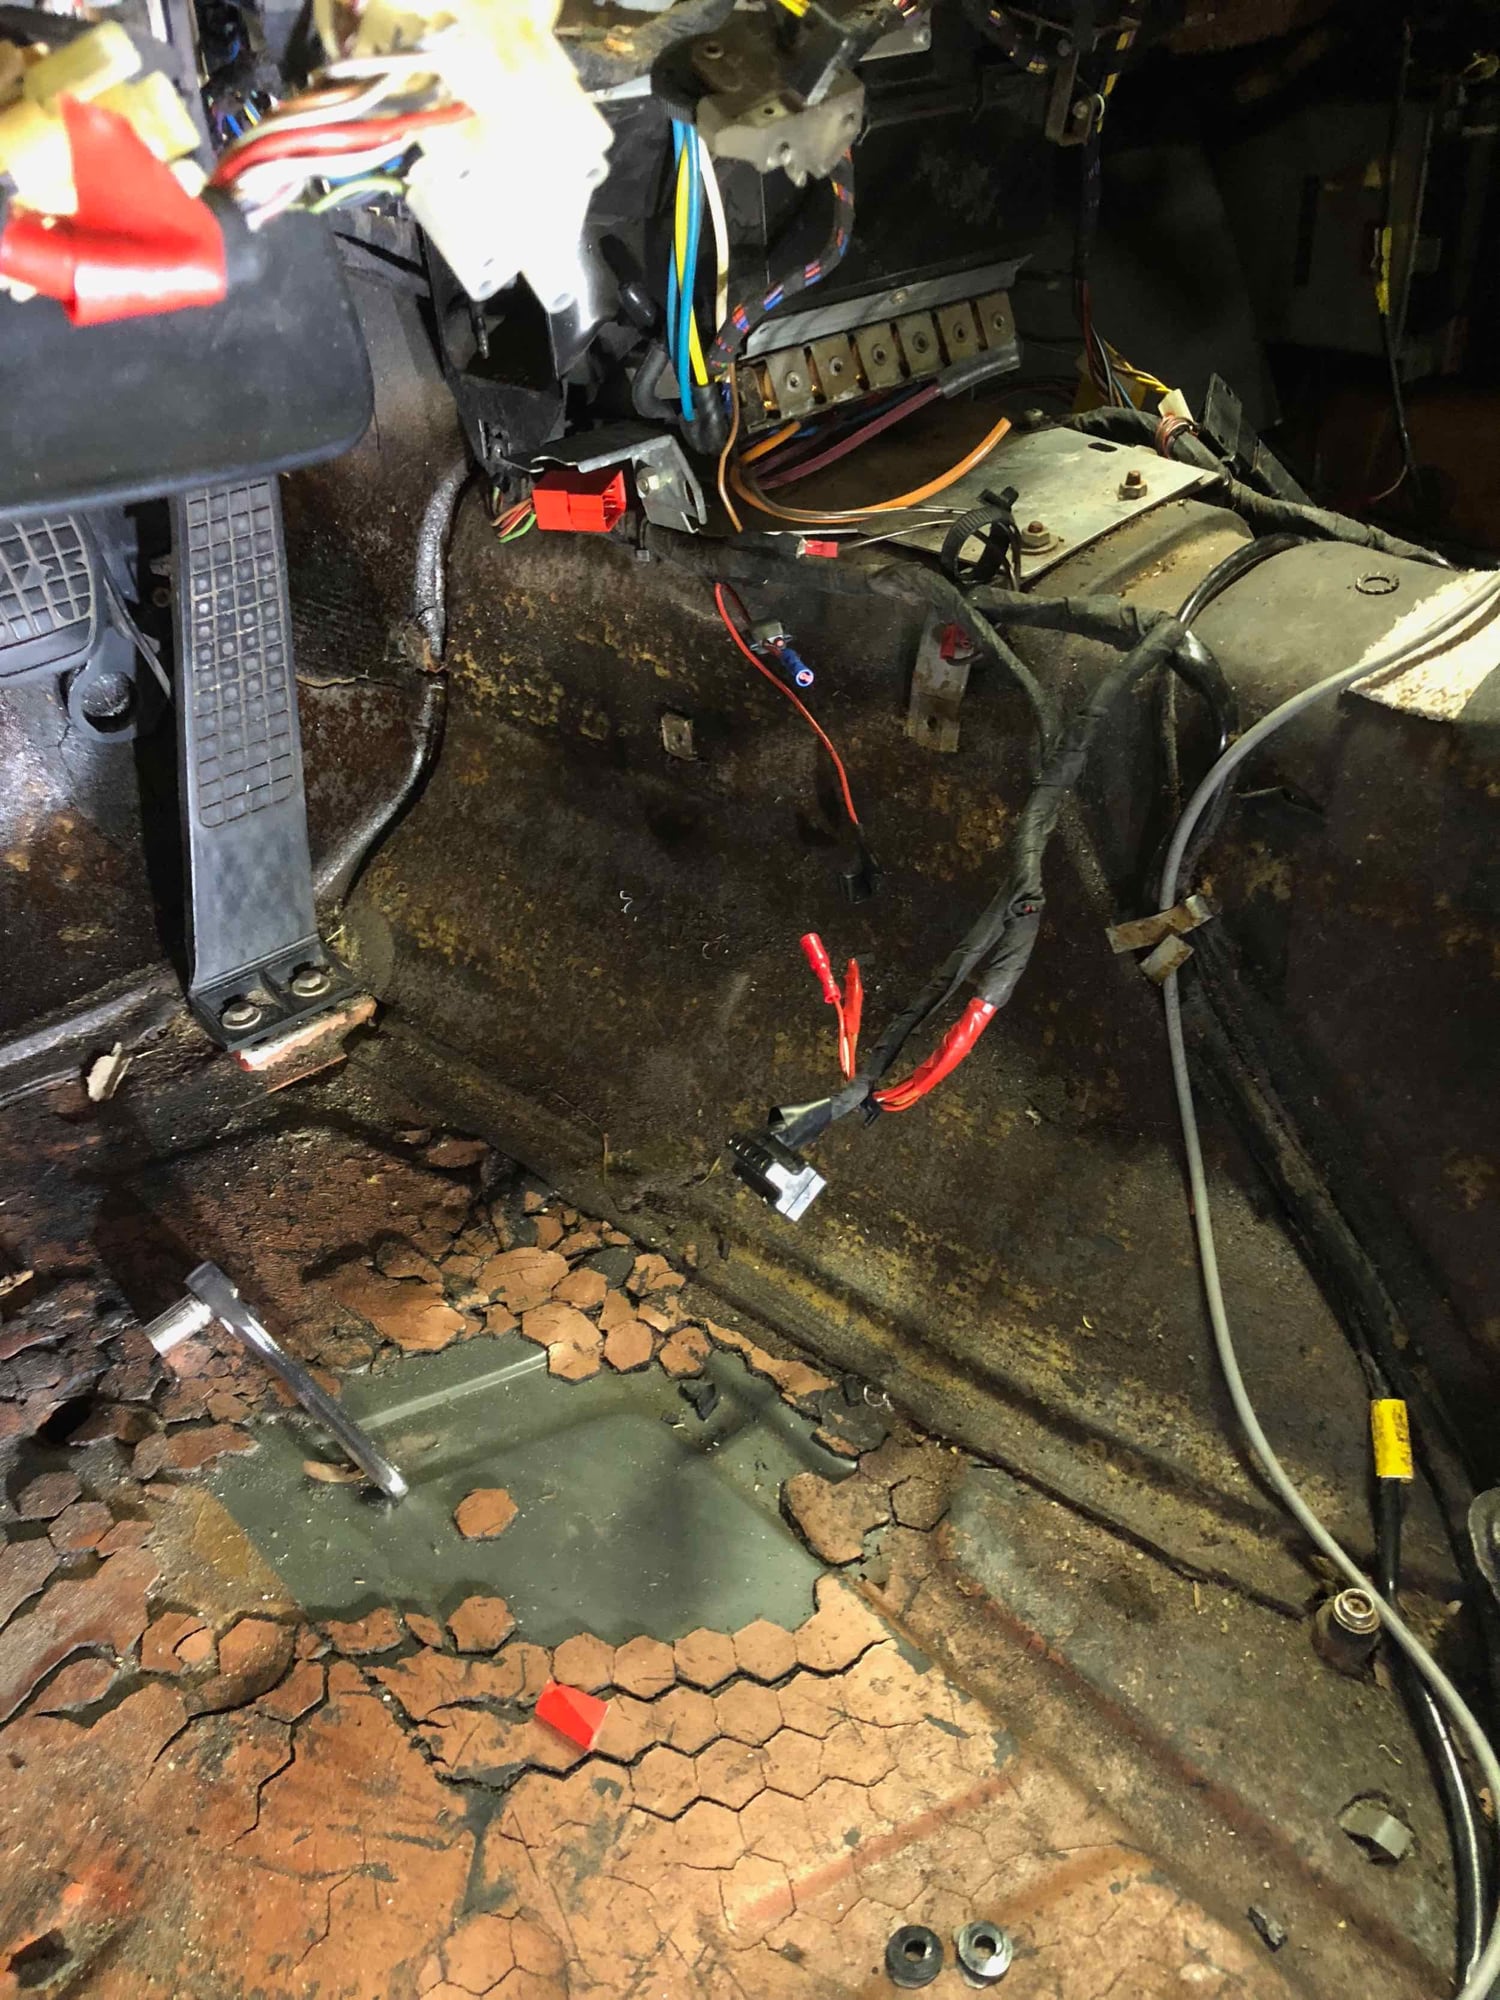
Carpet removed - little bit of PO stereo wiring remains to be cleaned up.
Pretty busy with other stuff this weekend but did accomplish a couple of things....
1) I think I have my sunroof finally adjusted correctly (see pics below). I have to pull the panel back out anyway for paint and interior work, but it is fastened in in these pics and opens and closes with a drill on the transmission - need to reinstall motor to check electrical operation now.
2) Rebuilt the two engine compartment send and return fuel lines. Very easy job with the correct factory hose and ferrules. Have the back line in the wheel well to go and then can reinstall fuel tank and lines and be able to restart again - to begin testing vacuum, move car in and out for sanding, etc.
Nice job so far Scott!, there is a lot to these cars and why it cost's so much to do it right. People can get under water $$$$, on these 928's real quick by paying a shop to do it, if you are capable of doing it yourself , it's a huge savings!
Nice job on Not breaking those plastic sill covers too!,
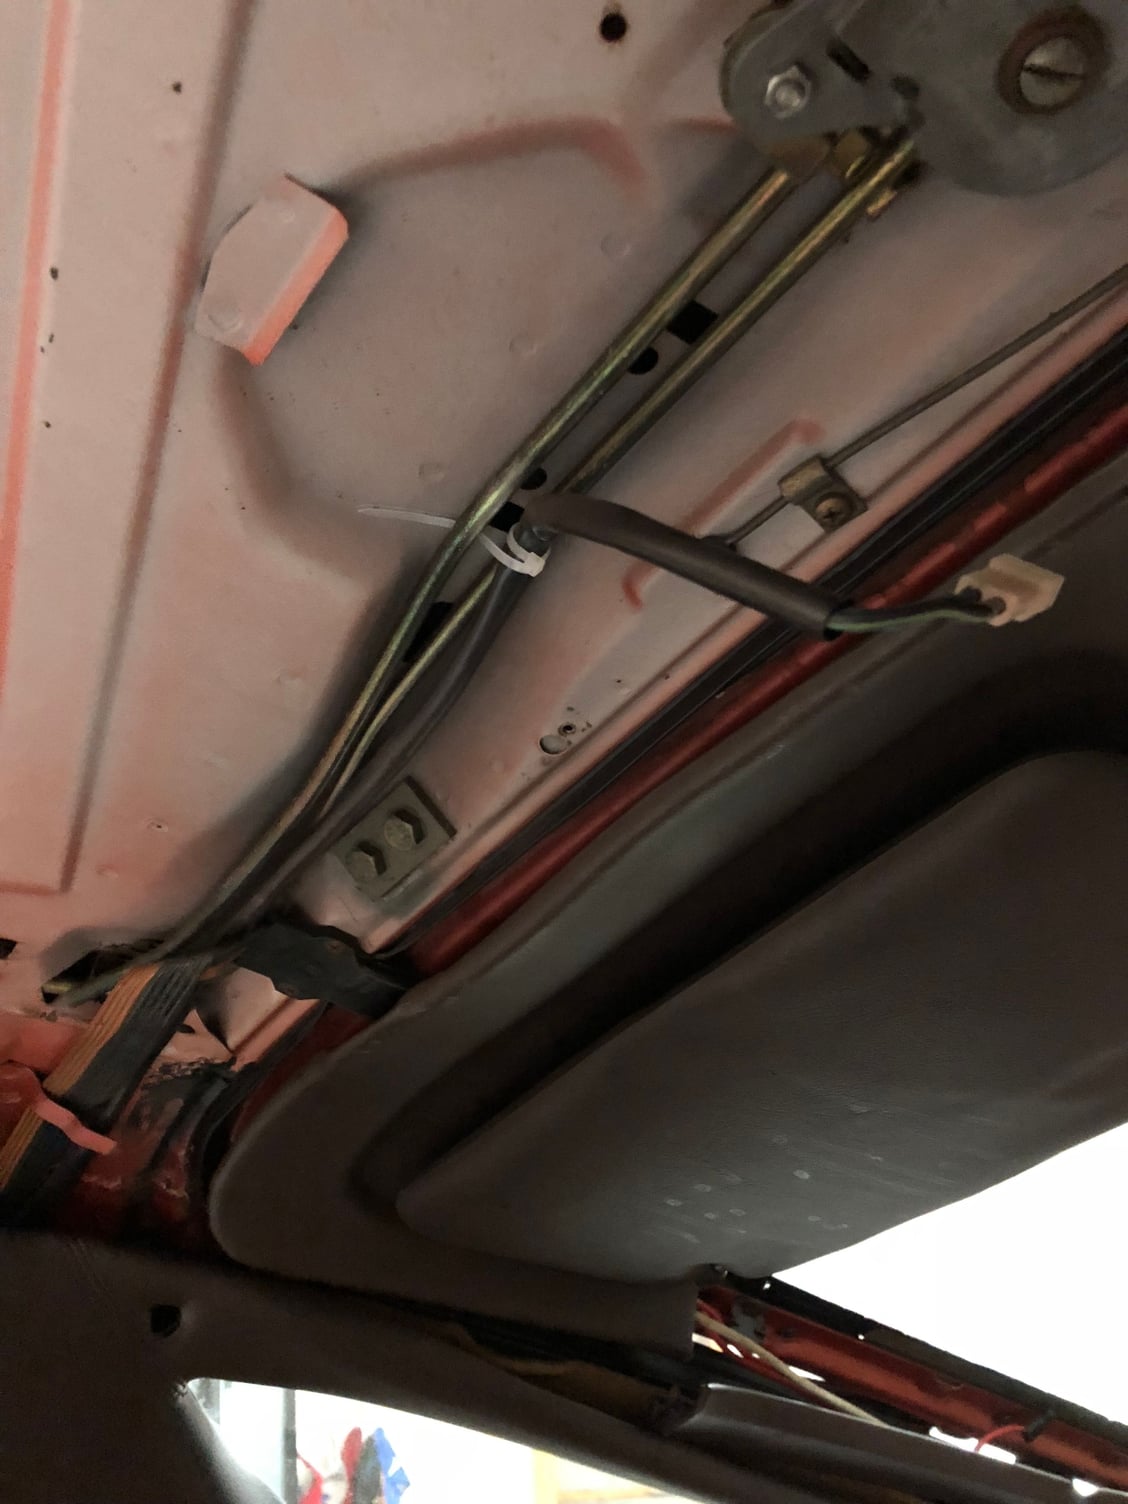
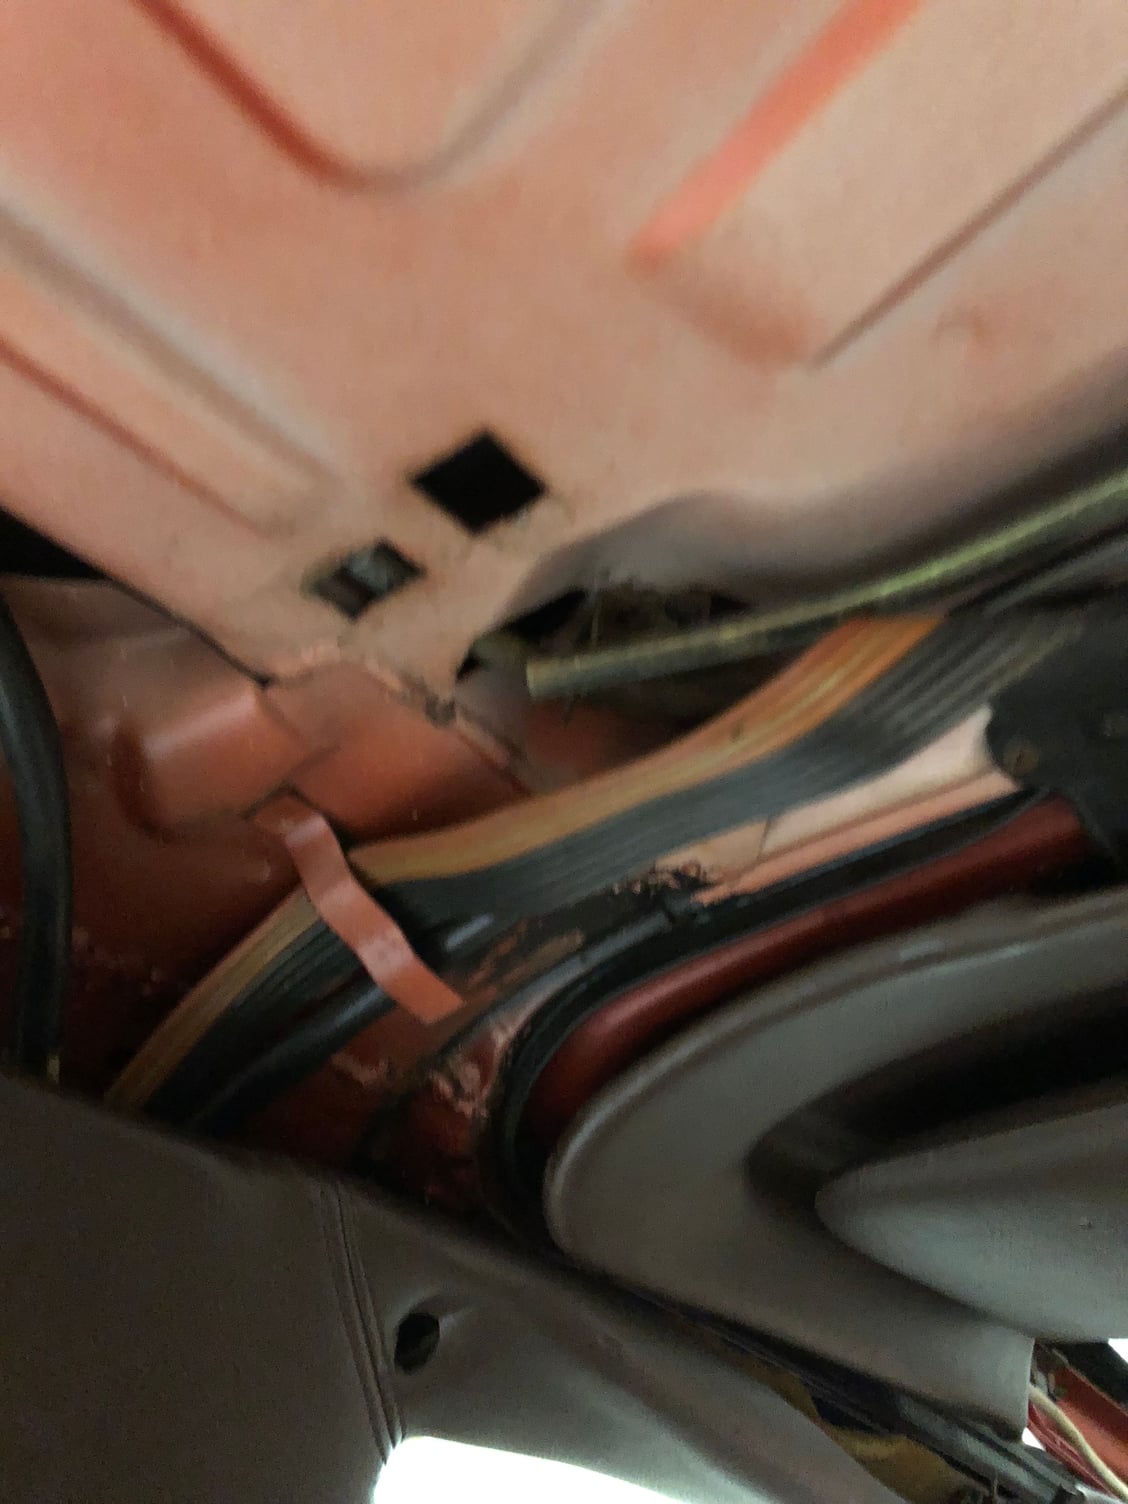
Scott have you removed the inside trim on the rear hatch yet, If not, can you take a couple detailed pictures of the defrost/trunk release wiring routing? , I cannot seem to fit everything under my r/h cover and get it to snap in place correctly, Thanks!
not or exactly sure where you needed pics. The area I showed here is above the passengers seat. The multi wires are the defrost lines. The black shiny jacket is around the sunroof motor cables.
I have no no wires on the drivers side in that spot.
My understanding is that the power hatch release came on in 1984 - unfortunately I don�t have that.


 01-12-2018, 08:58 AM