When you click on links to various merchants on this site and make a purchase, this can result in this site earning a commission. Affiliate programs and affiliations include, but are not limited to, the eBay Partner Network.
Judging from those pictures, I would say there has been some repainting /refinishing that has been done before, this would explain all the different primer colors. If your cradle is damaged it might be worth the trip to Charlotte to get cradle/tank from '85?
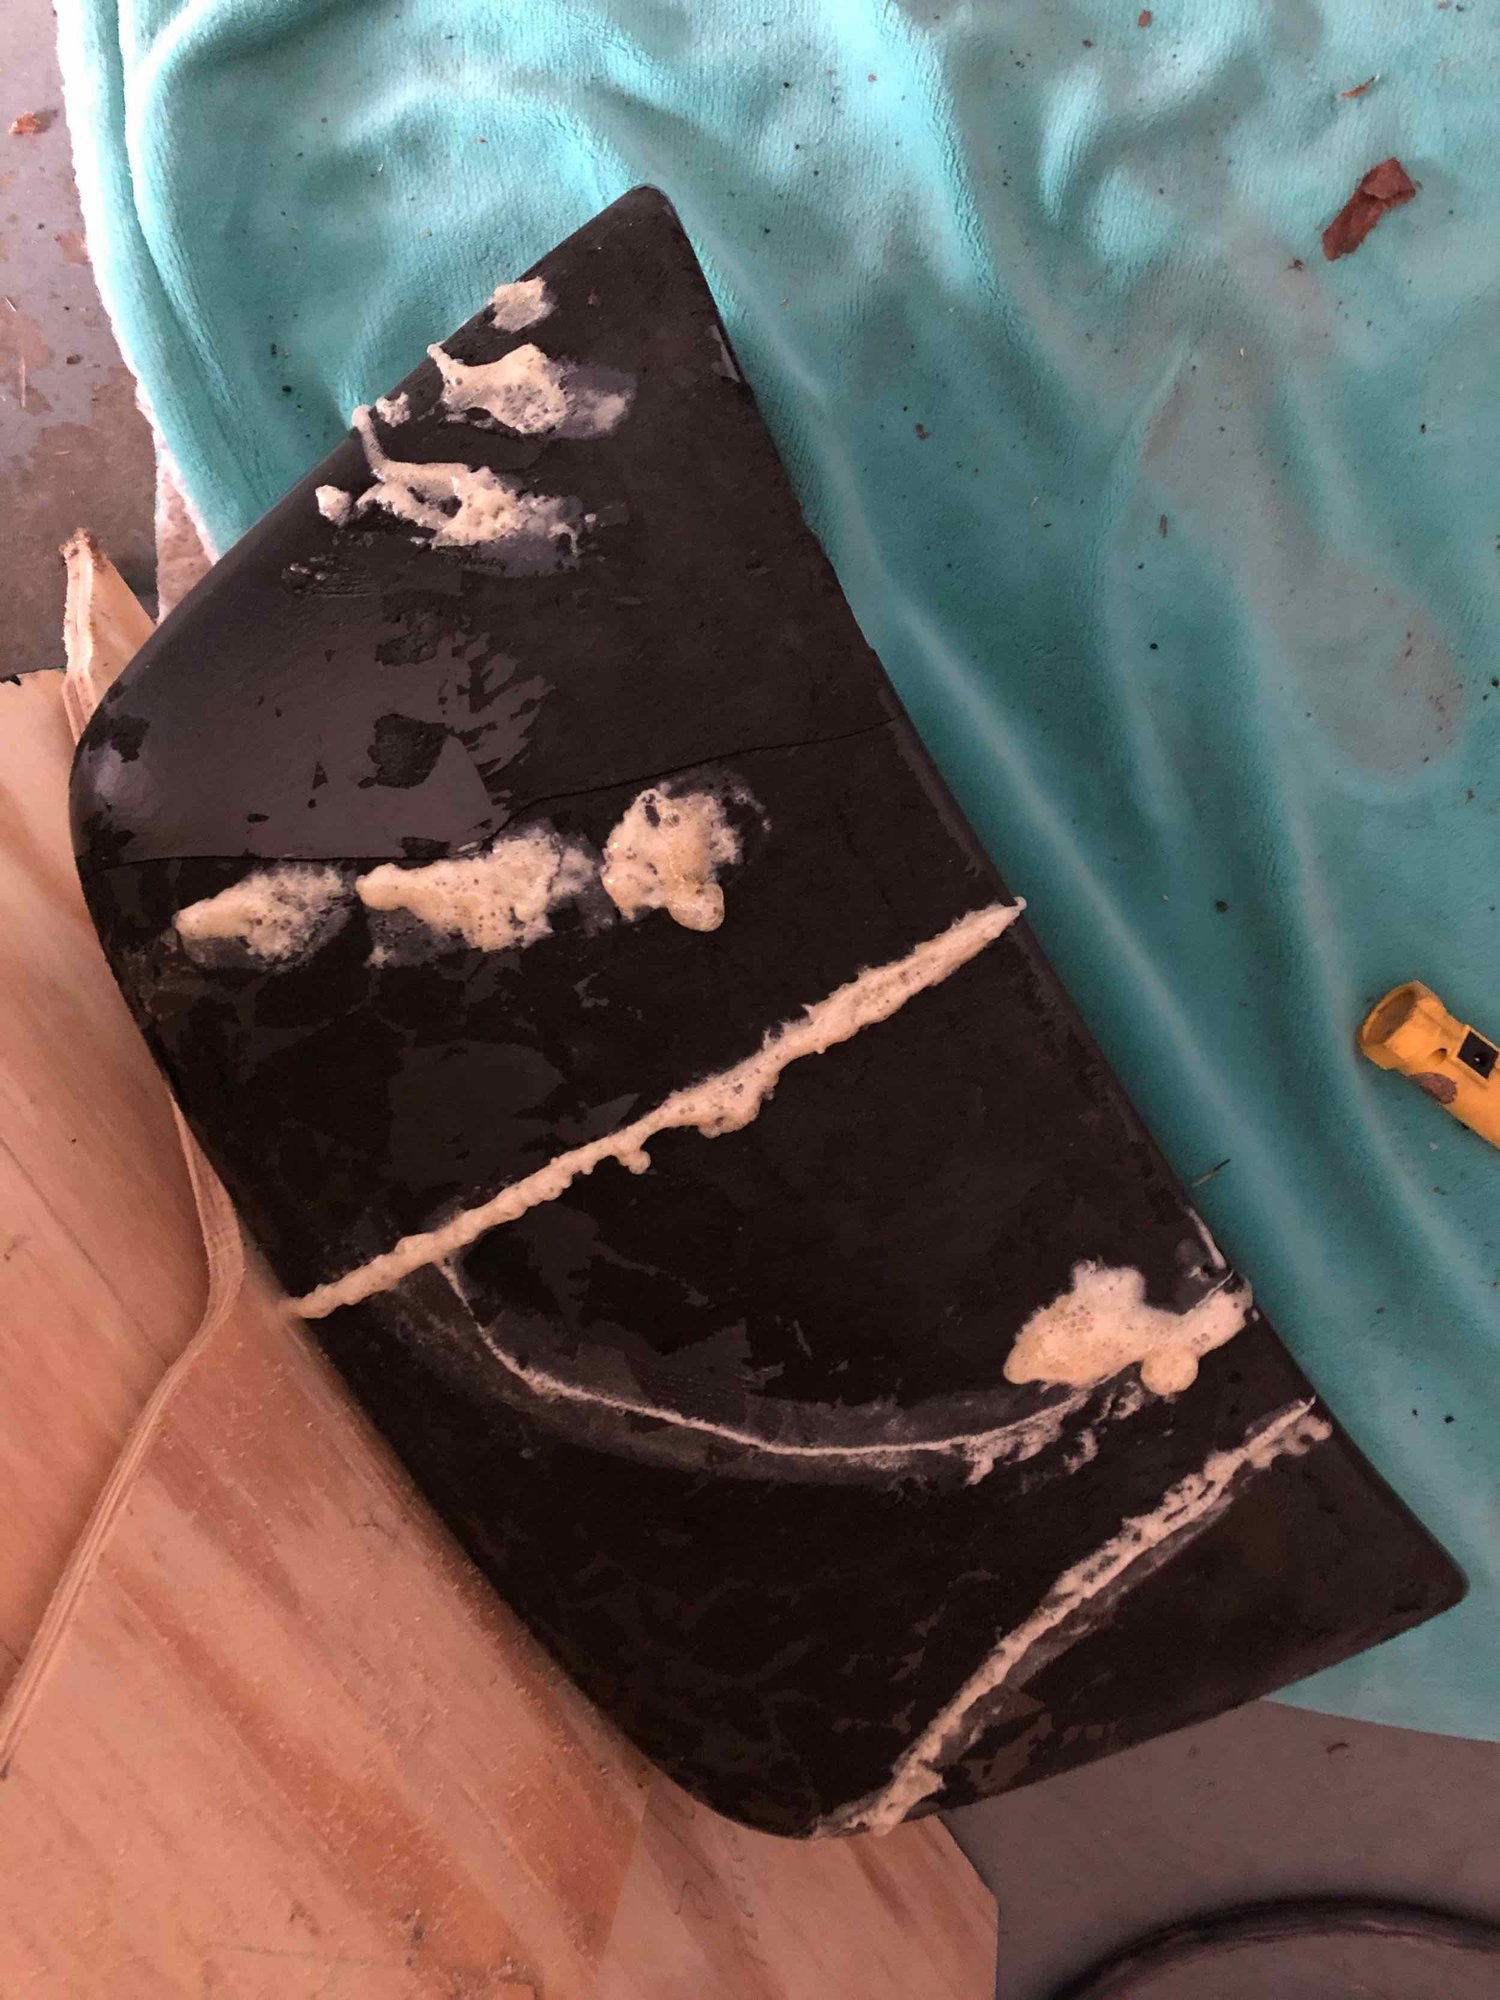
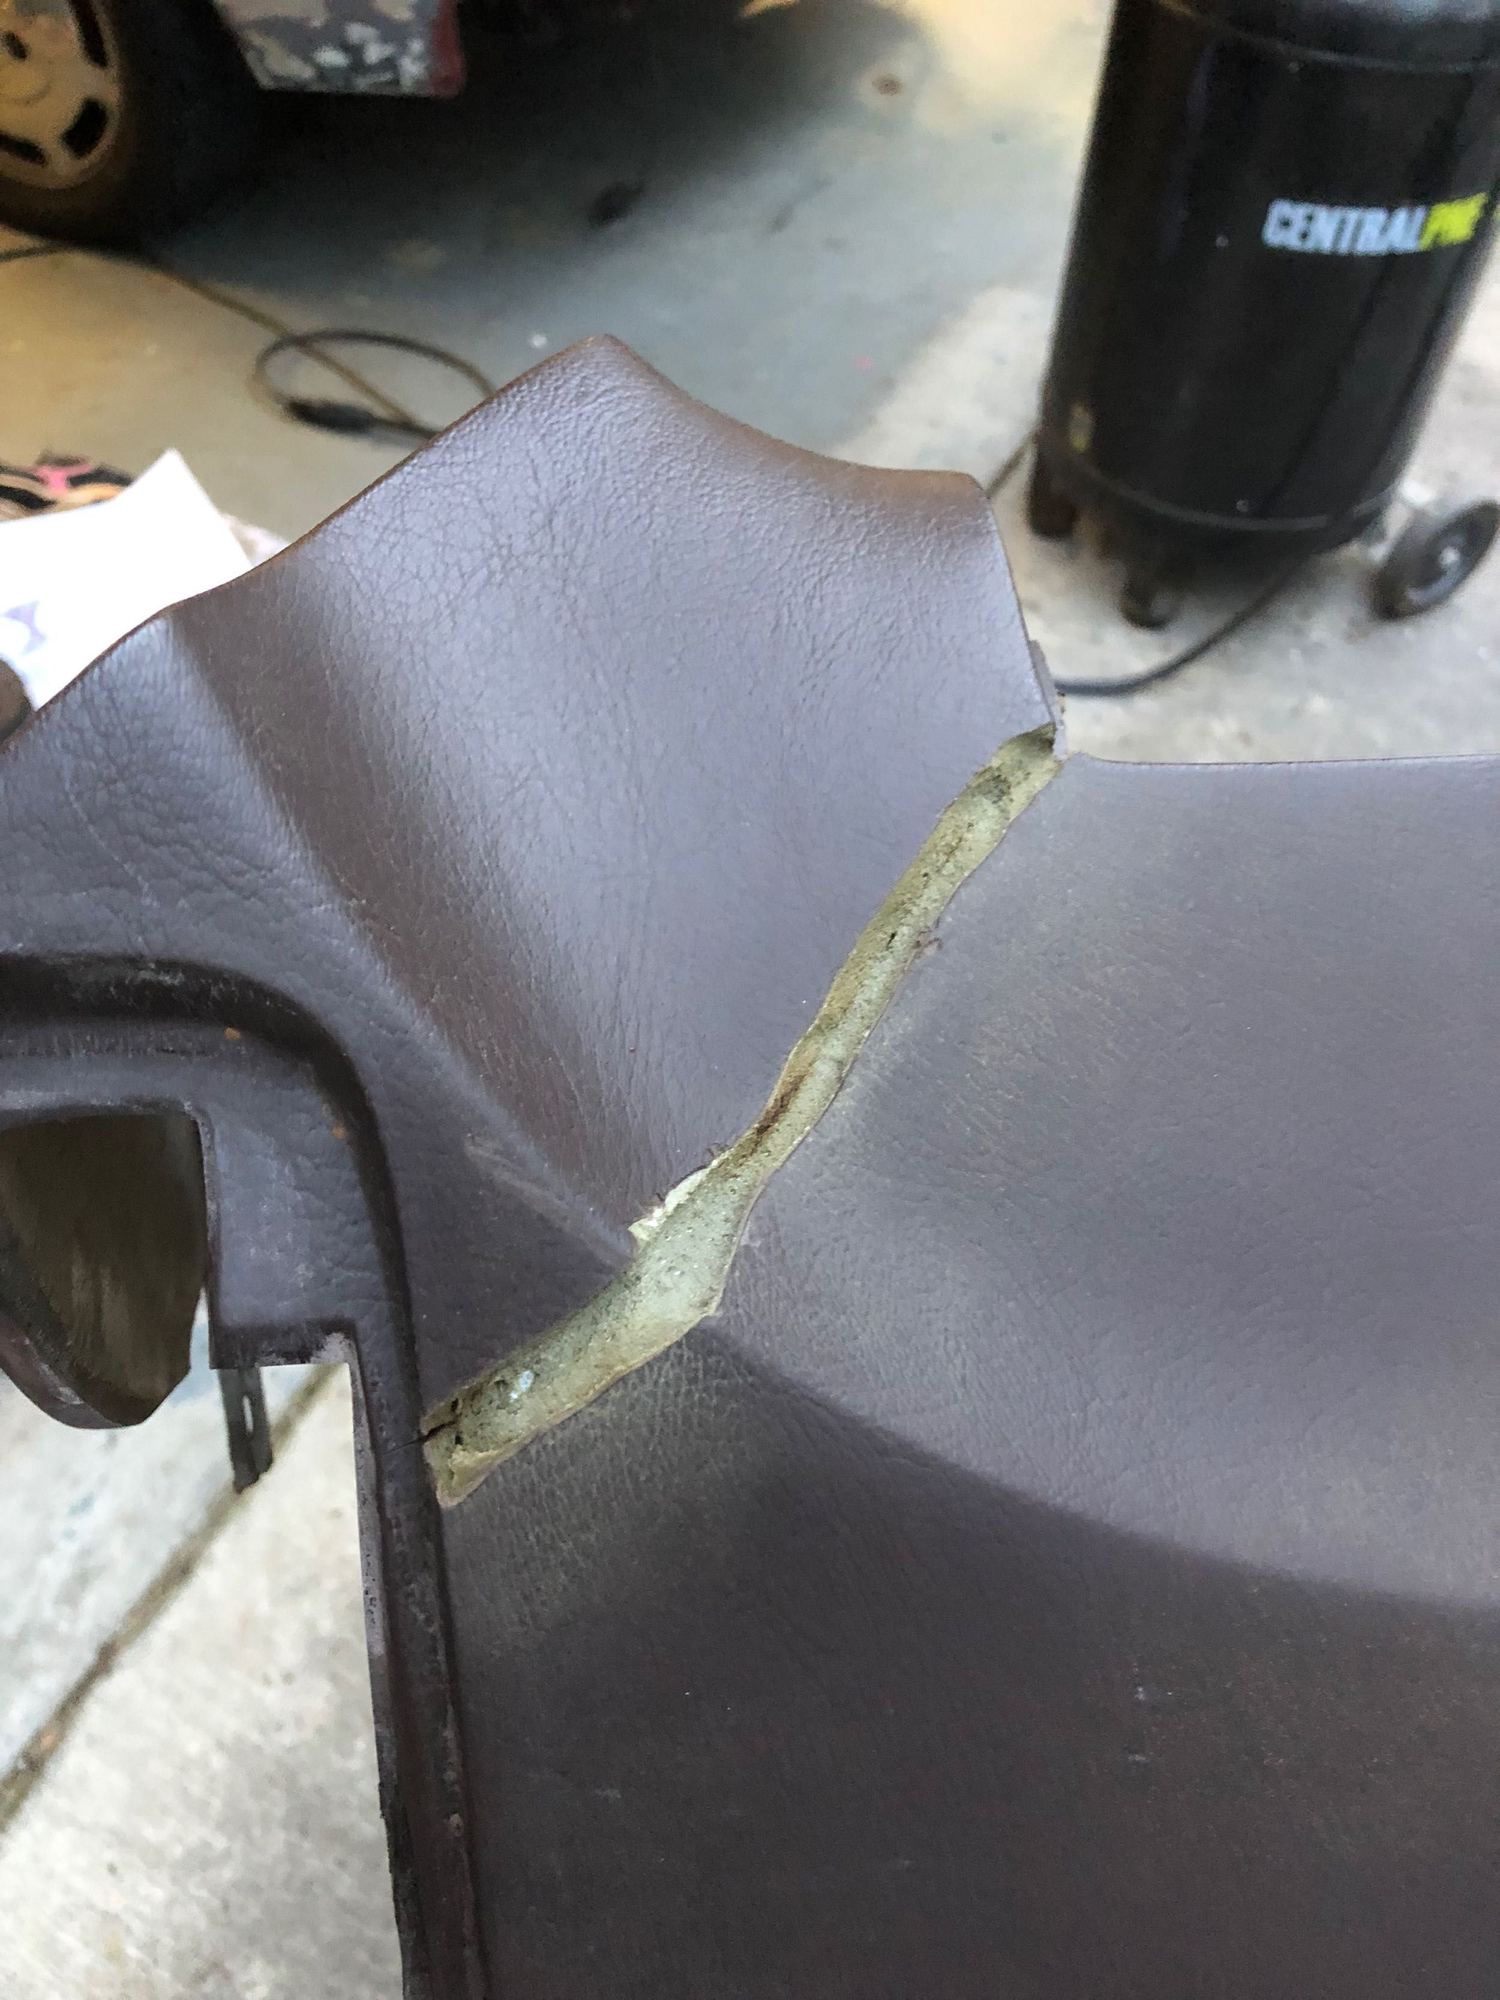
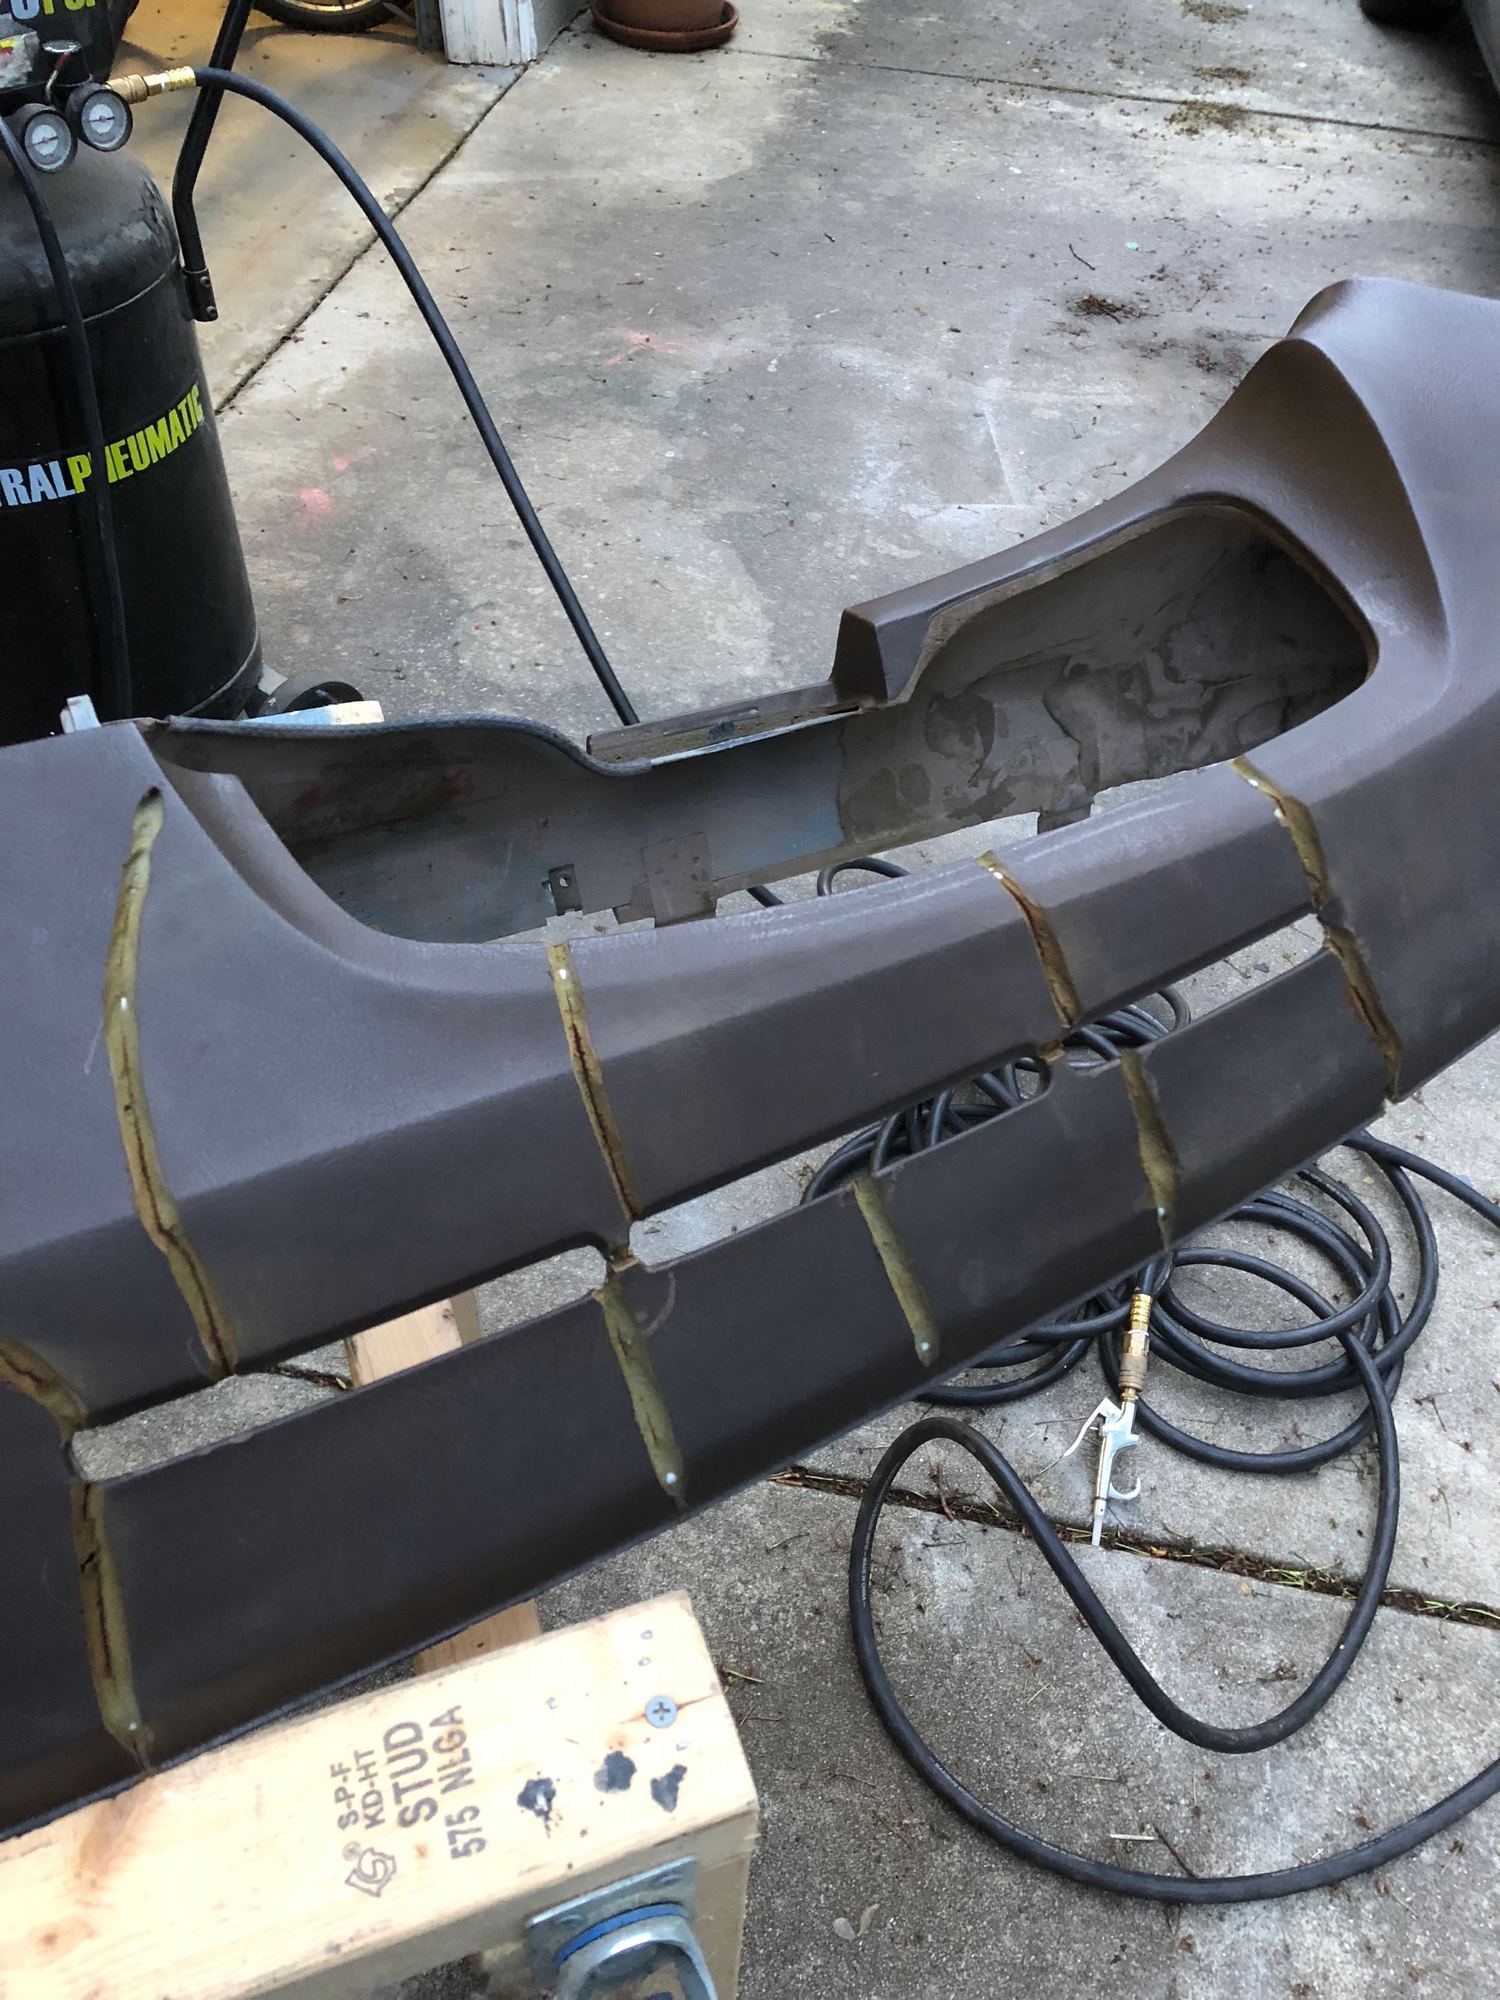
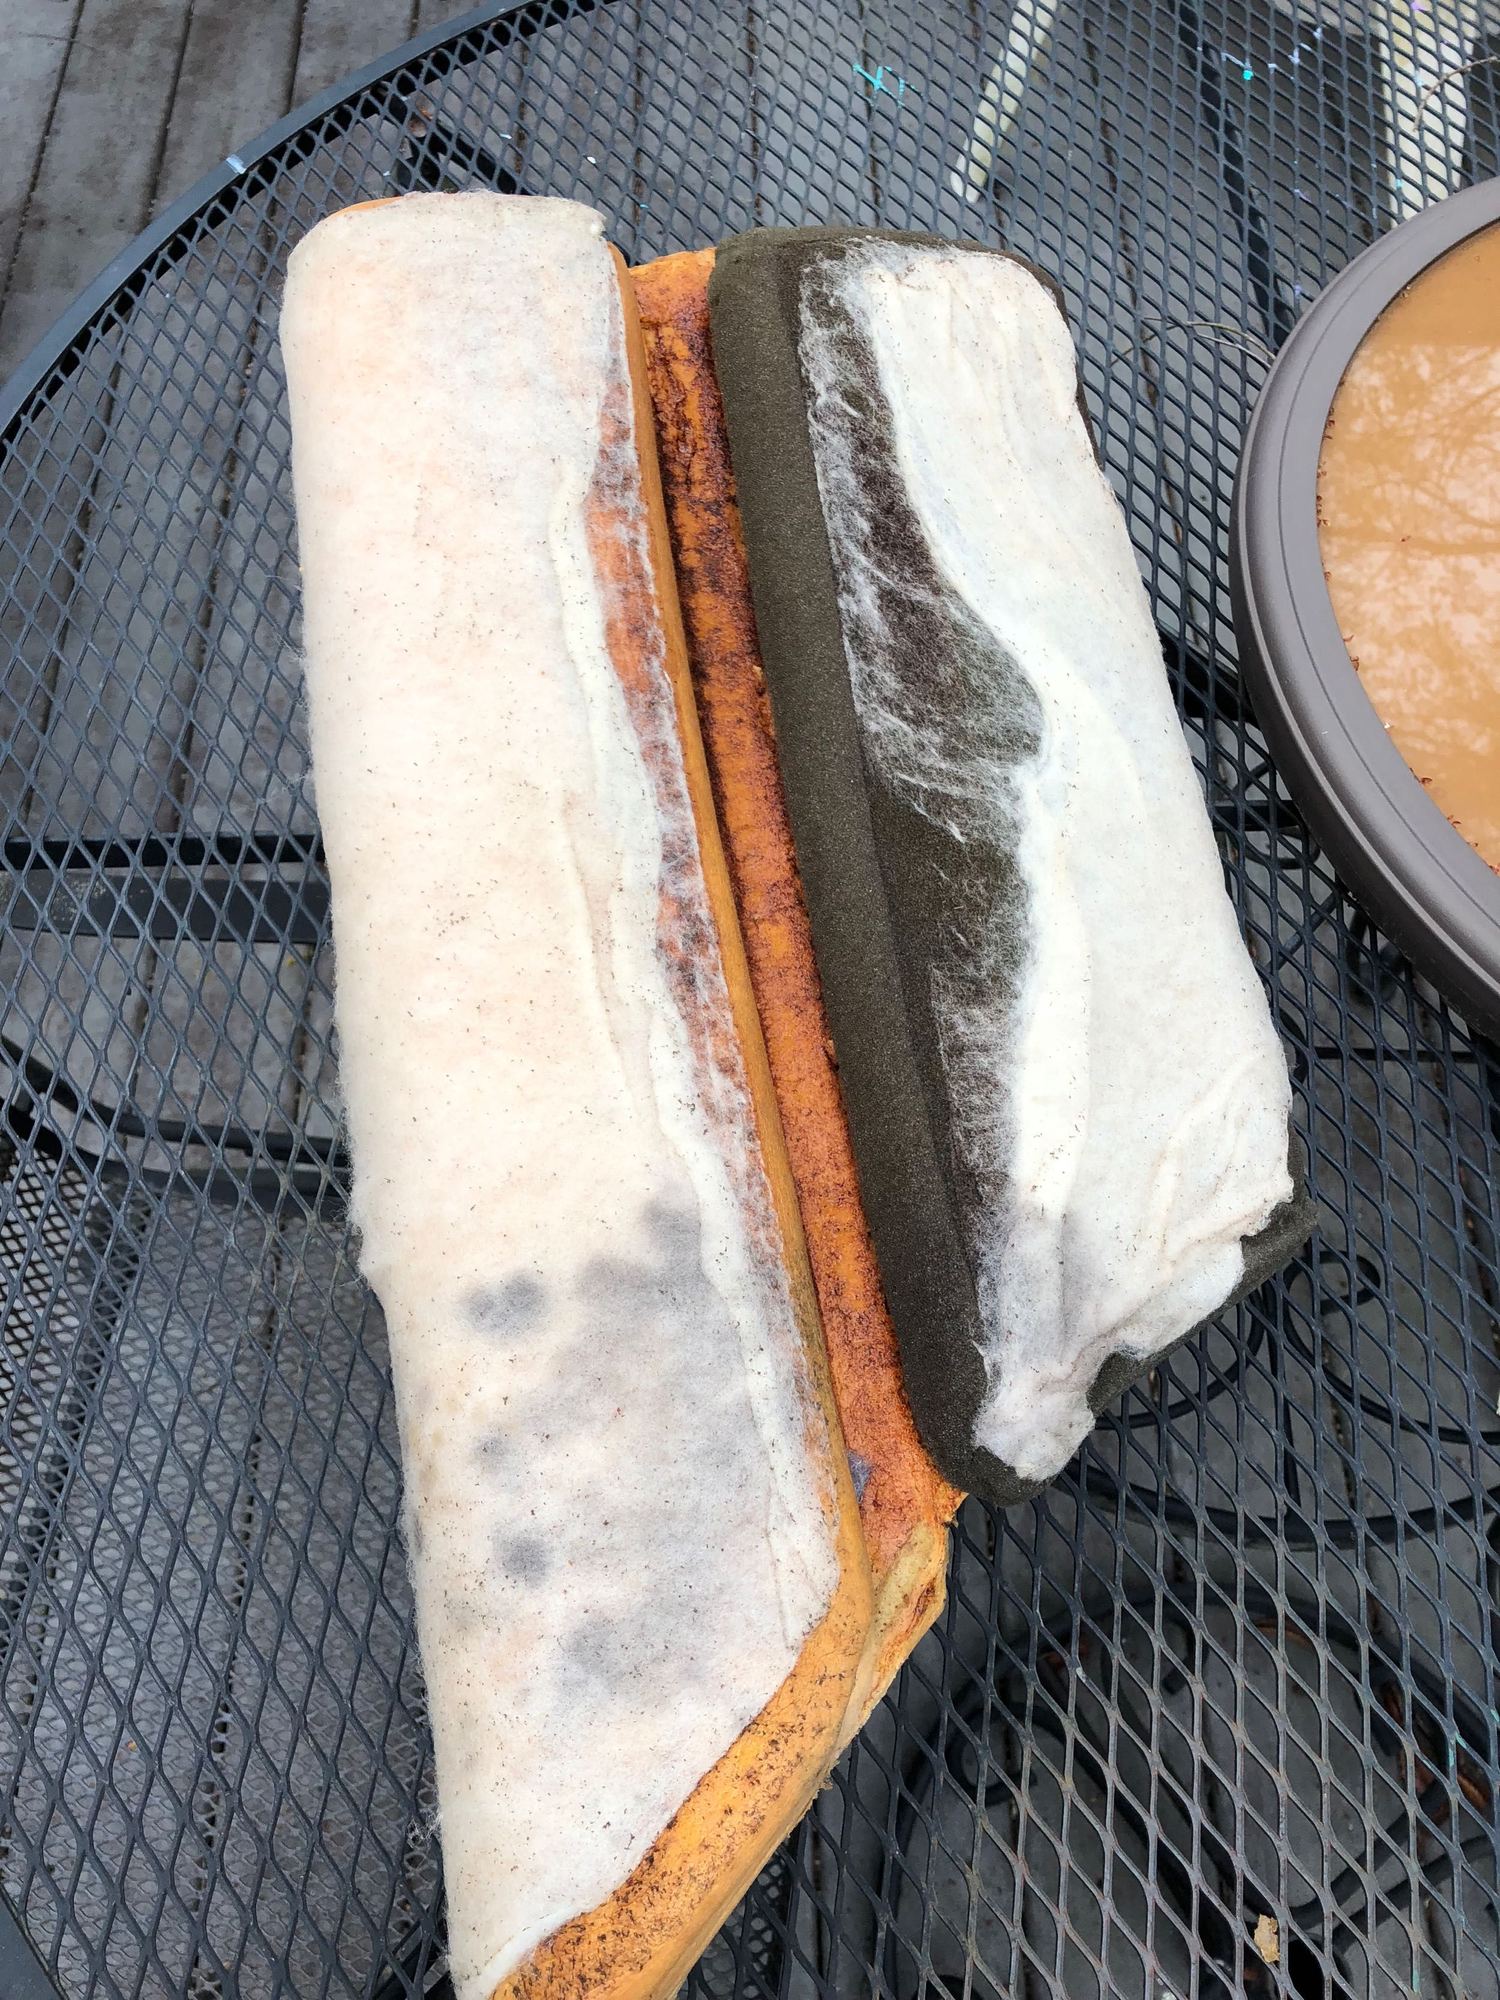
I also pulled the pod apart. That was tough. The vinyl on top of course has been sun baked for 35+ years, so it was nice and crispy. Managed to pull some of the foam out too, so there will be some repair to do. See pics below.
Bummer about the pod damage. Did you use a heat gun to stretch the plastic coating (not vinyl) from the foam or did you pull it off cold? You could consider two routes to a good looking pod. You could repair the pod with using SEM Bumper Bite. It's a flexible filler and is recommended by Robert Budd (Classic 9 Restorations). I used it on my dash refurb project (https://rennlist.com/forums/928-foru...l#post14757817) and found it was easy to work with and will yield good results. Although shaping the missing bits may be a bit tricky. The second option to consider would be buying a replacement cracked pod and filling the cracks without removing the plastic covering.
Well had a busy weekend so did not get quite as much done as I would have liked to do. But, did make some progress.
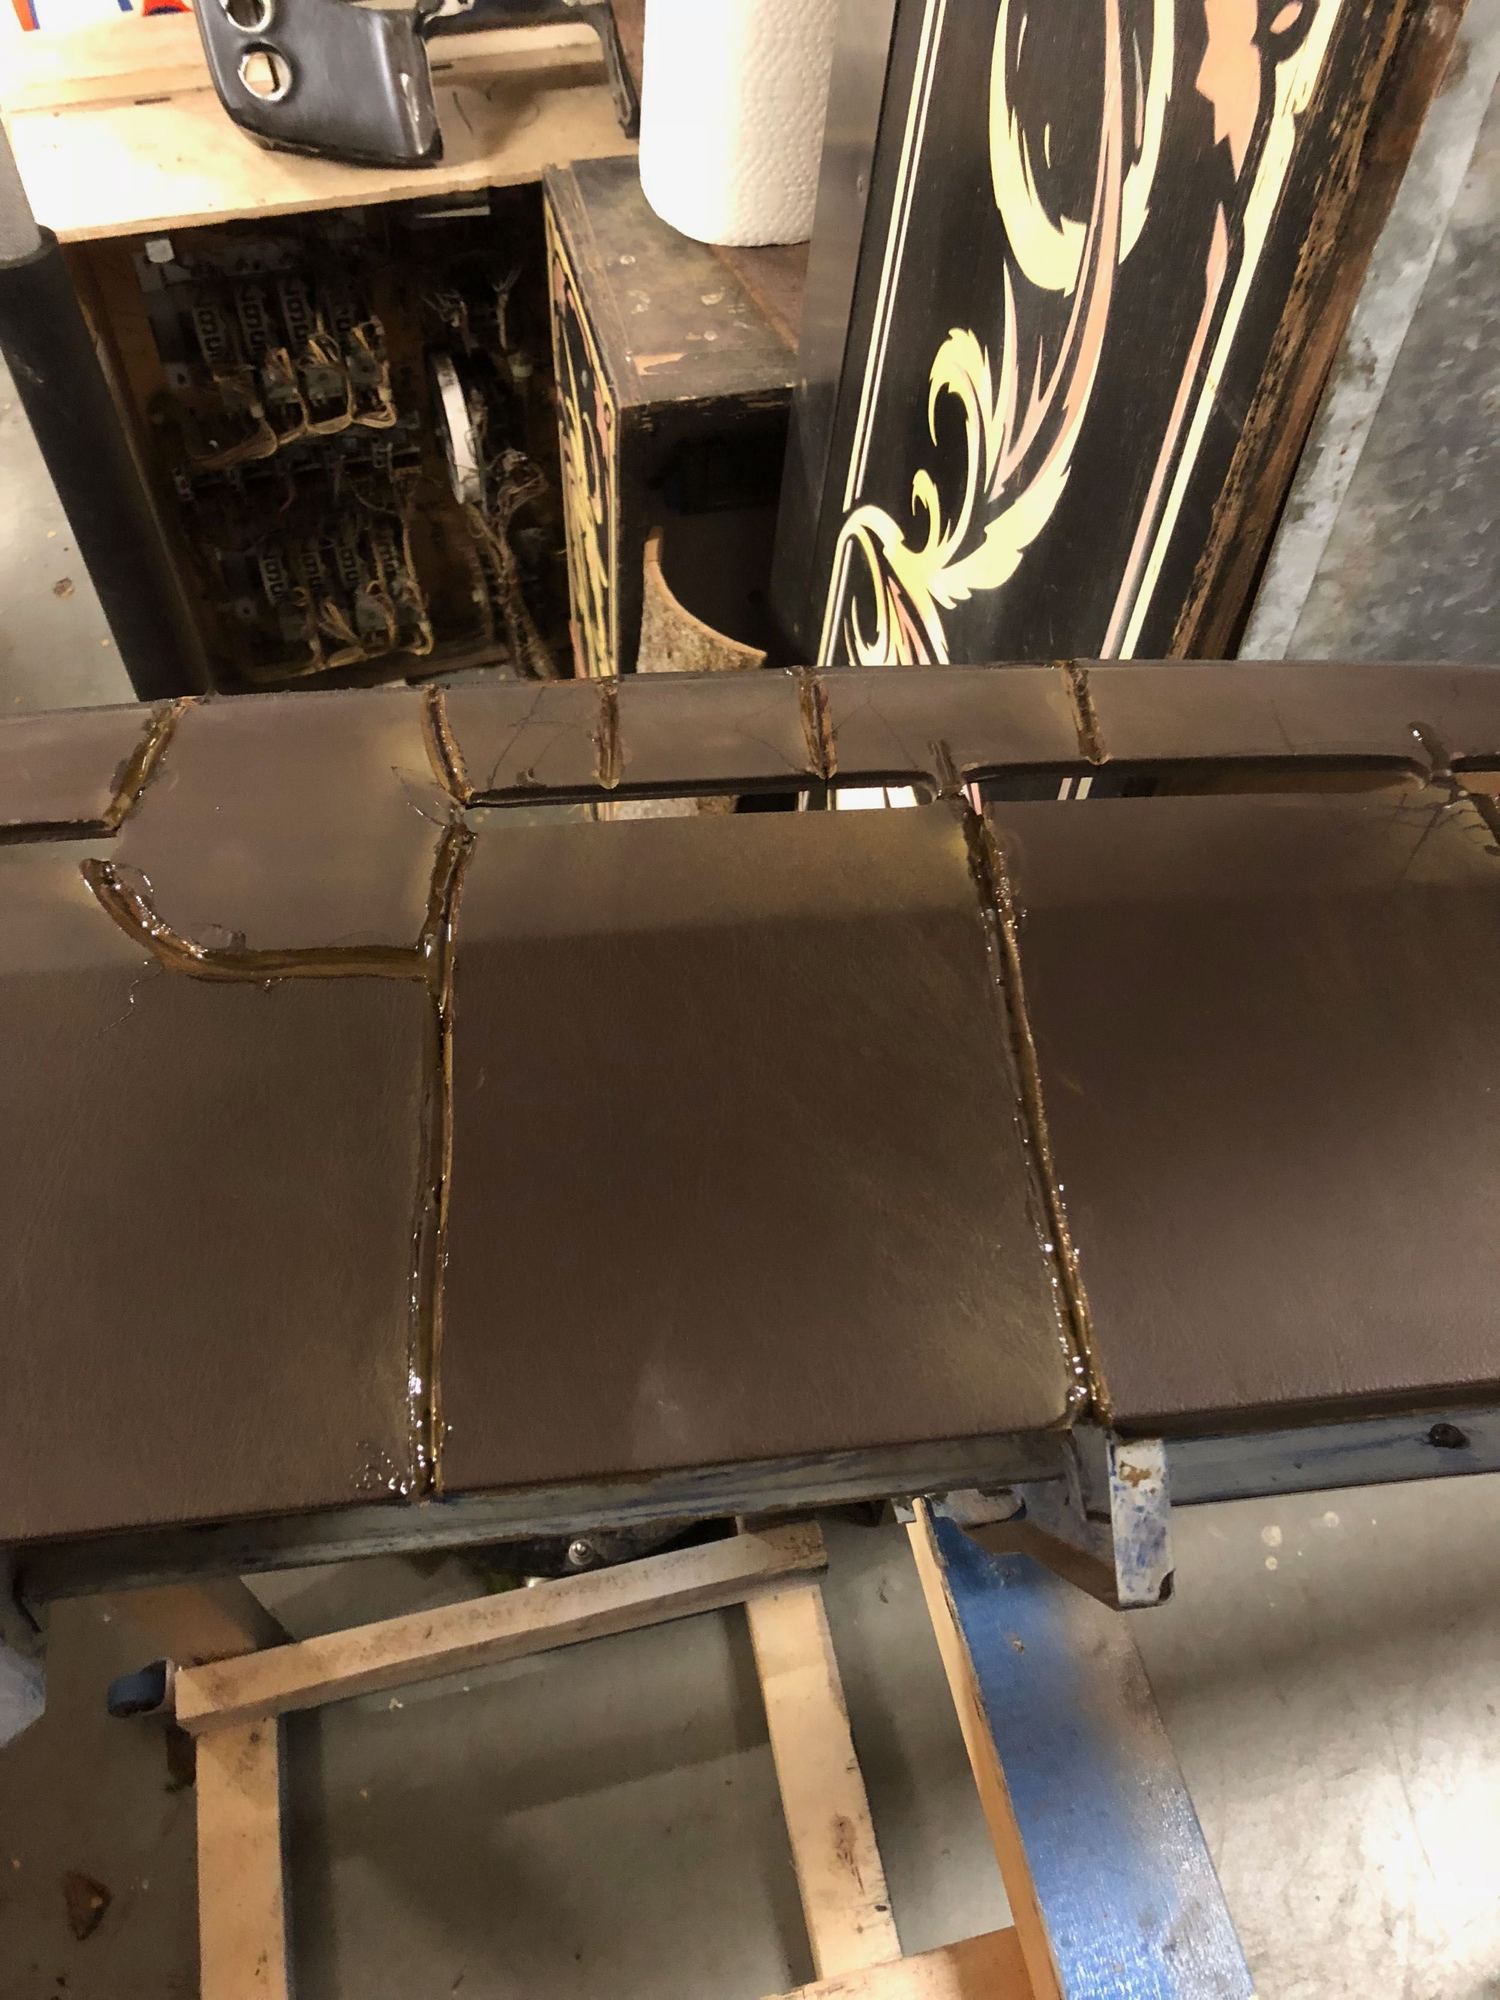
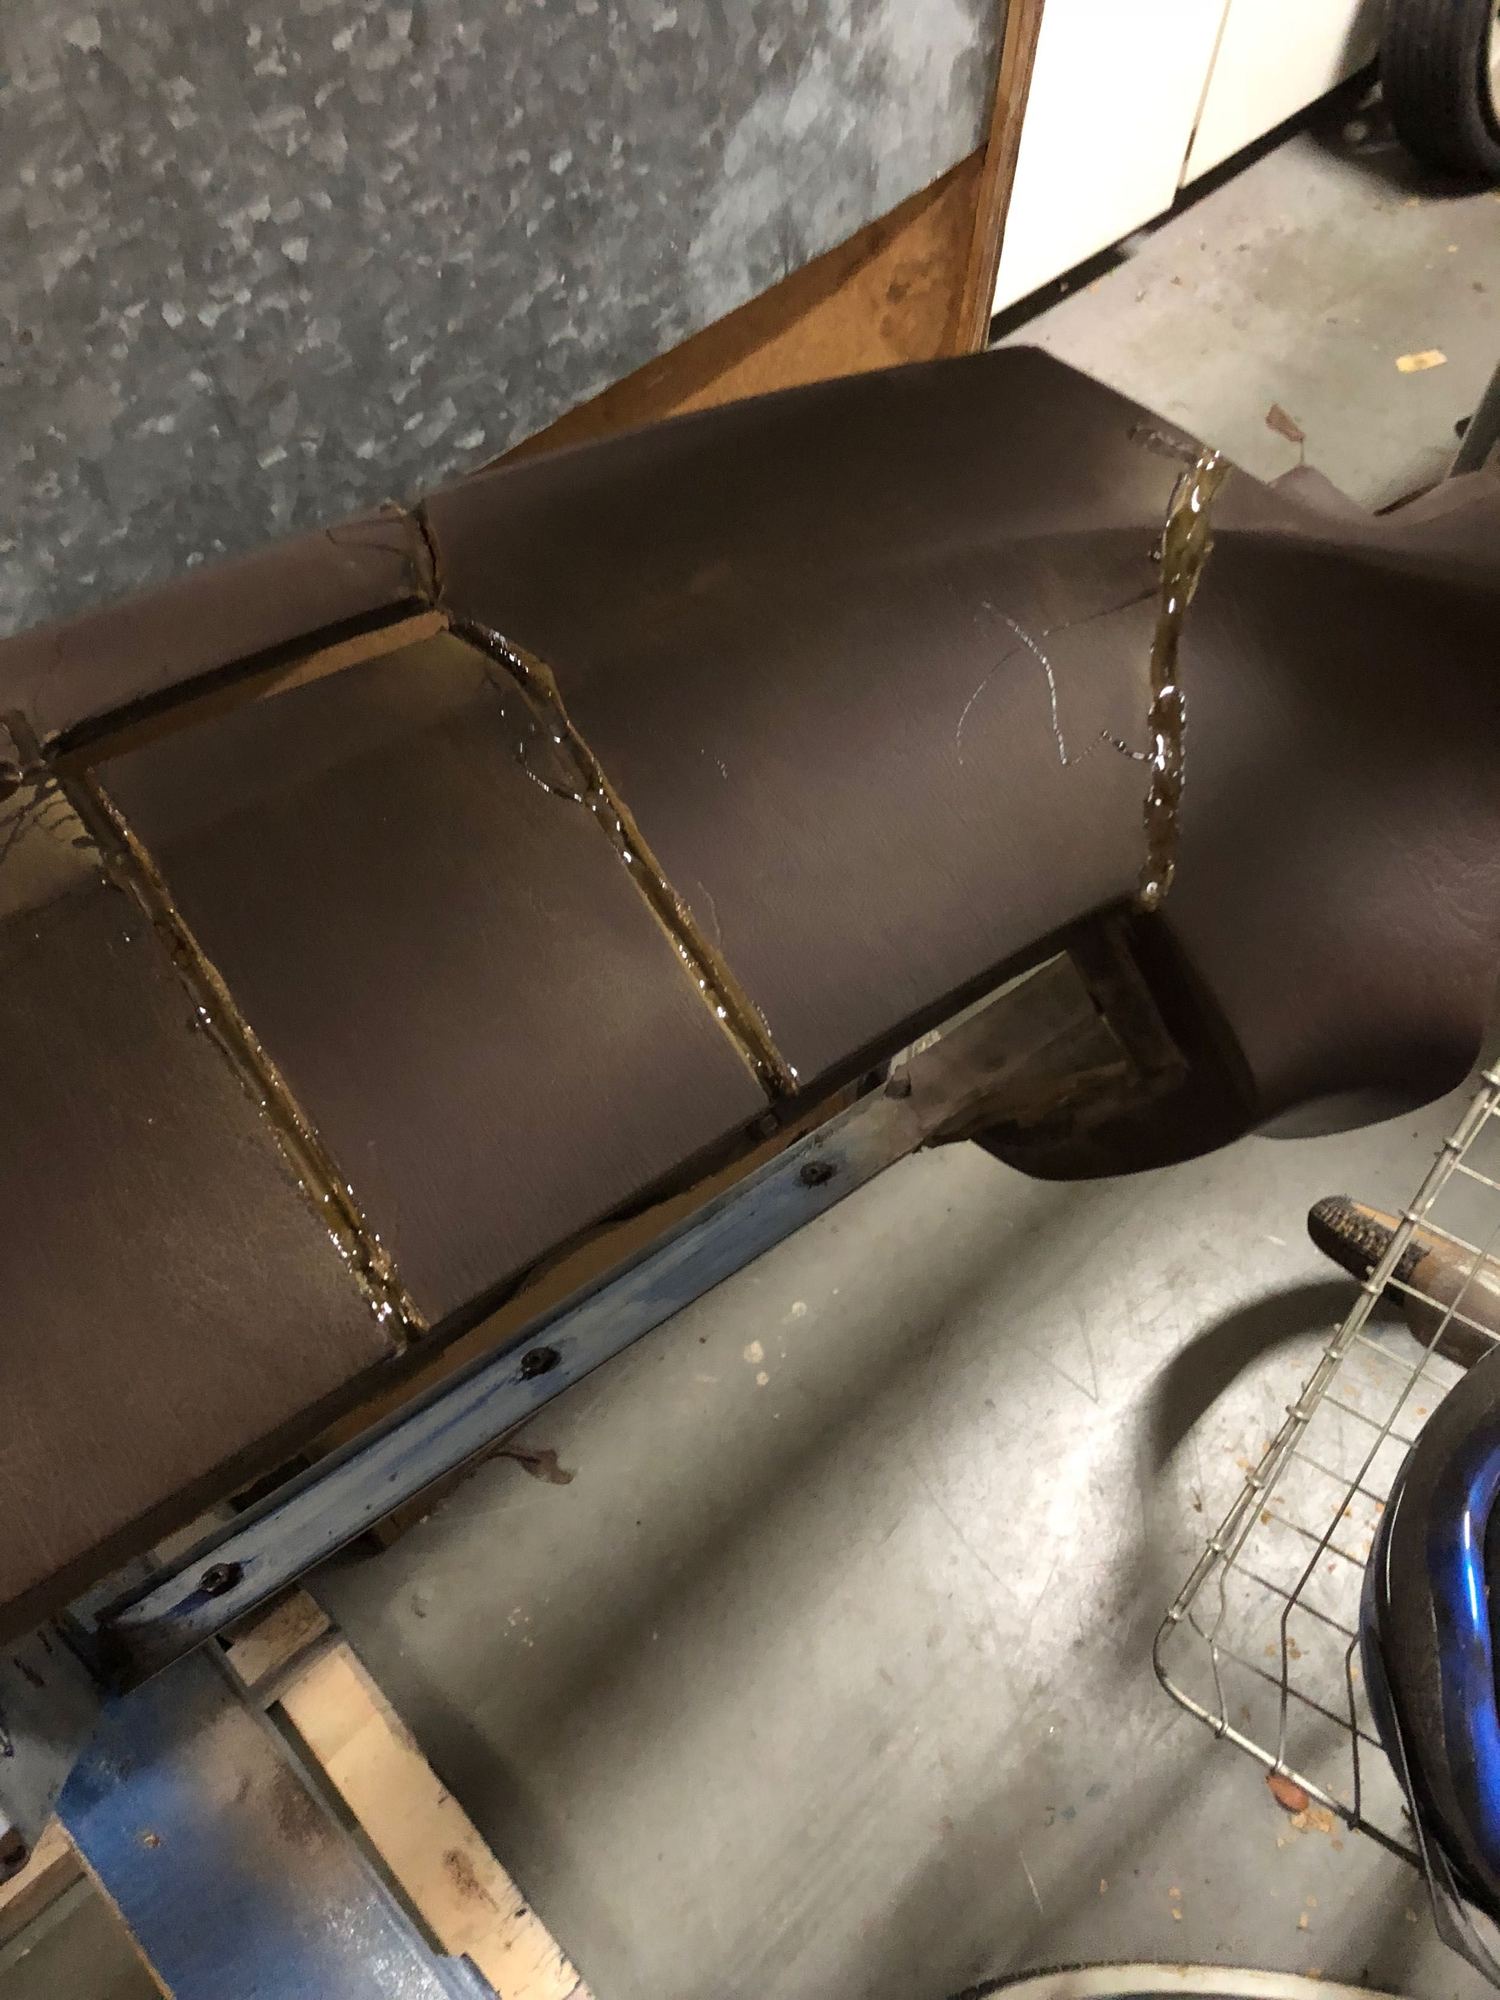
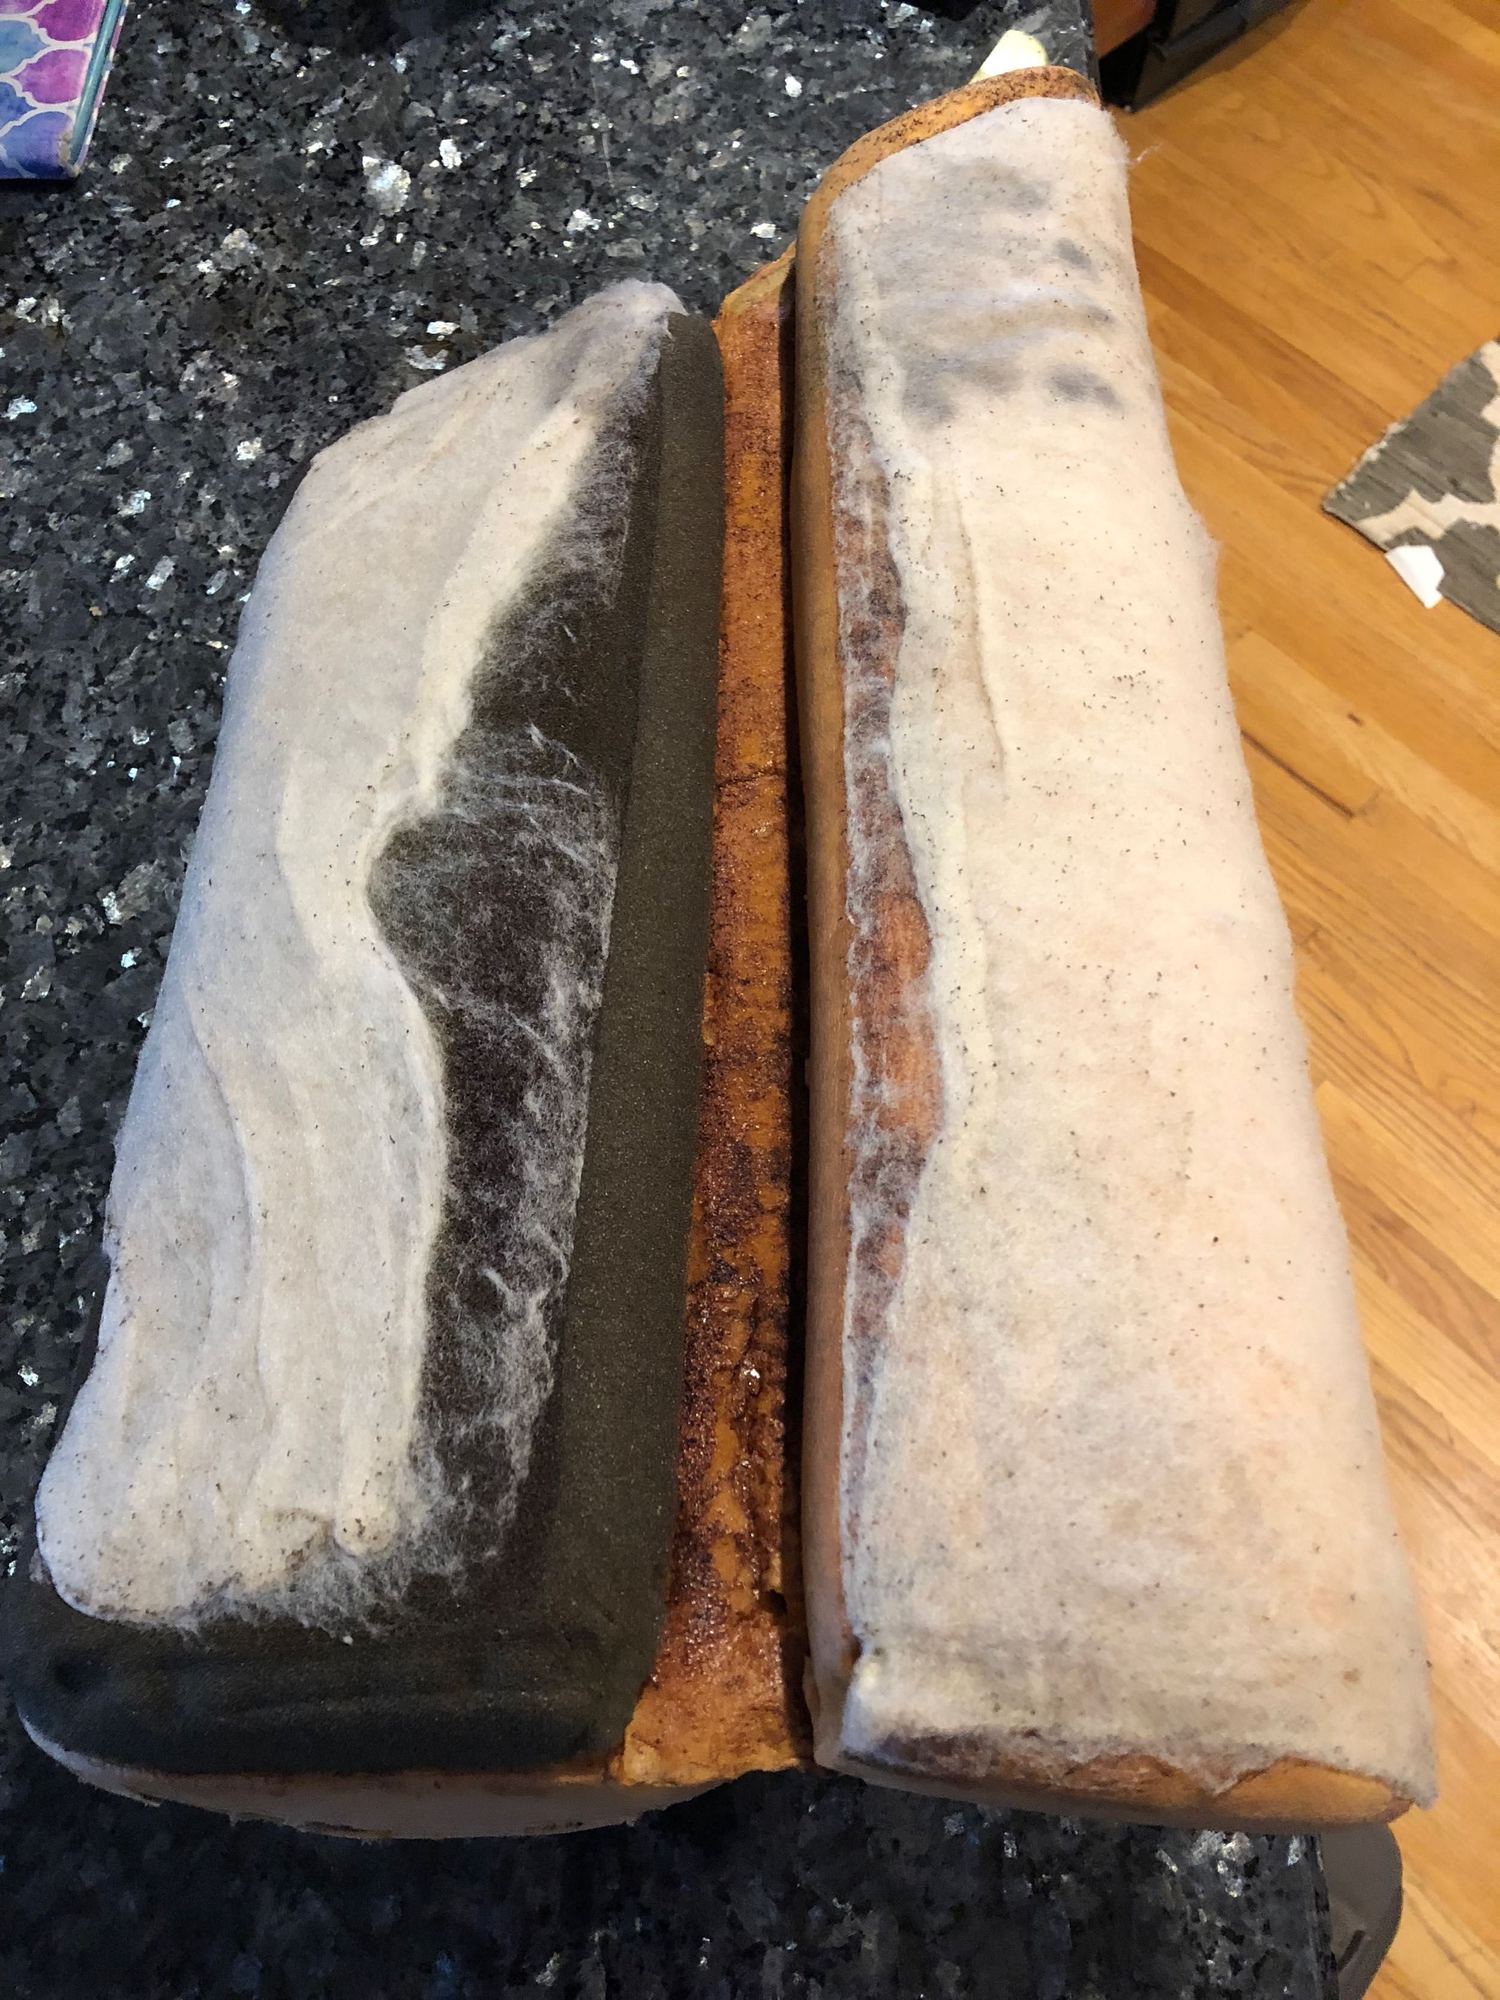
Michael - I guess I was under the wrong impression that the old 'plastic' had to come off of the pod and dash before you could recover. I pulled it off of the pod first (have not done the dash itself yet). Heat was no help at all. It splintered apart into a gazillion little bits as it was so brittle. See below as I am working to fill the cracks and missing foam now with gorilla glue. First round dried last night. I will sand that down flat and then add more where needed to smooth the surface out. Plan then is to use a thin foam "sheet" on top and under the top (not on the front due to to switches) and adhere it to the pod structure, then apply vinyl over that. I am going to try the one piece method and see how it goes - lots of practice first.
For the dash, I believe (now) that I will fill the cracks on top of the existing plastic (without removing it) and get it flat, then cover with new vinyl (as you did).
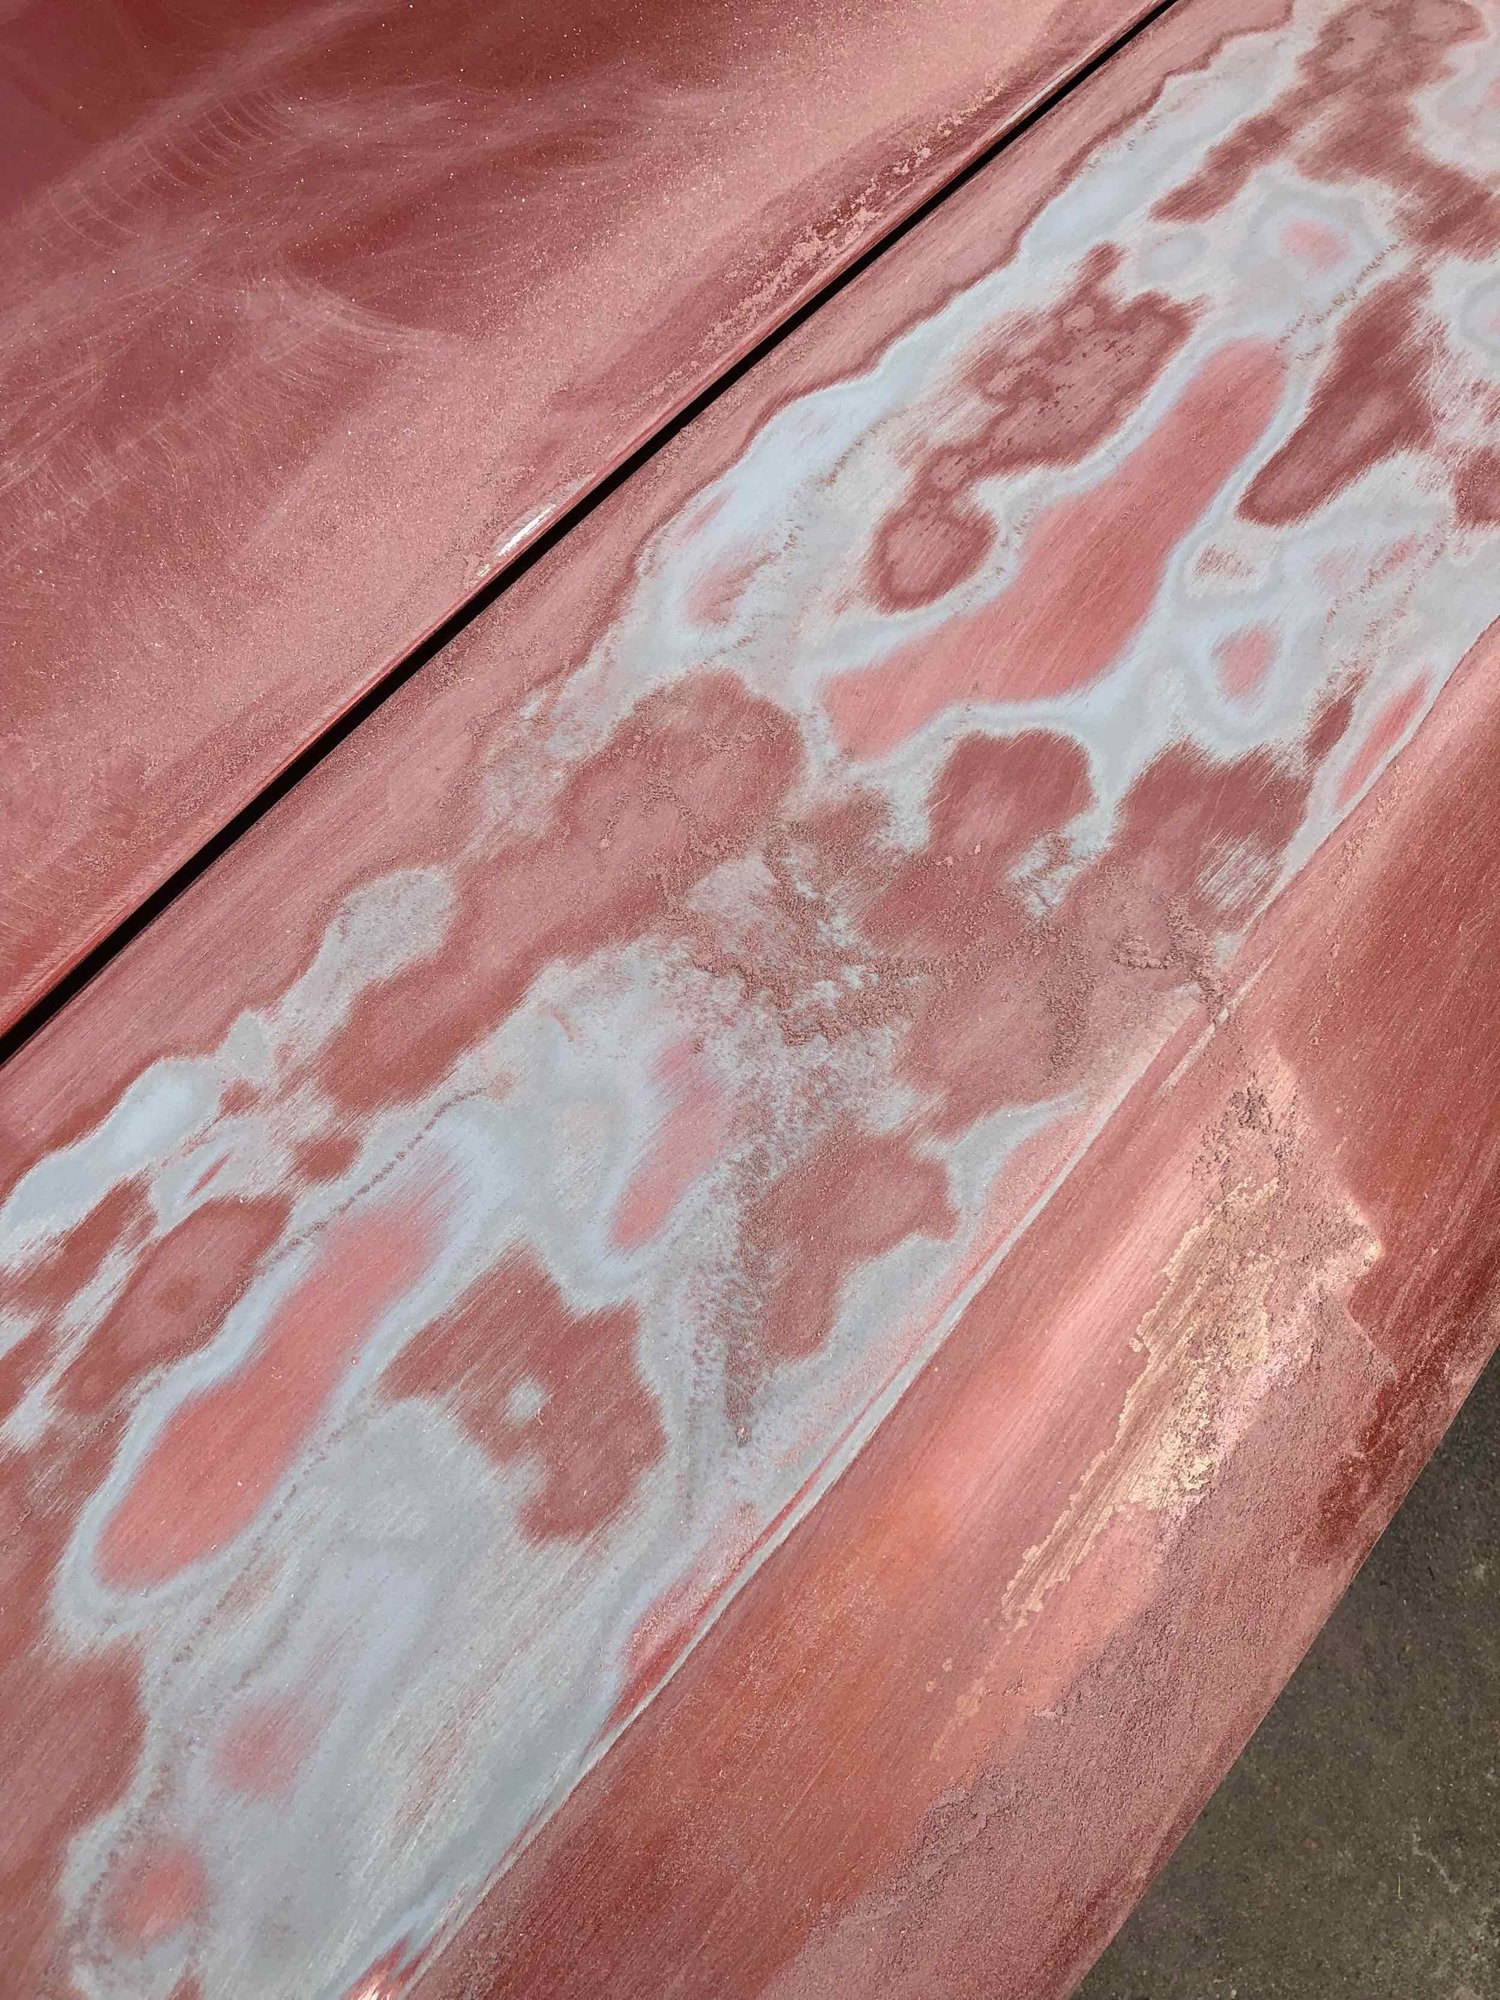
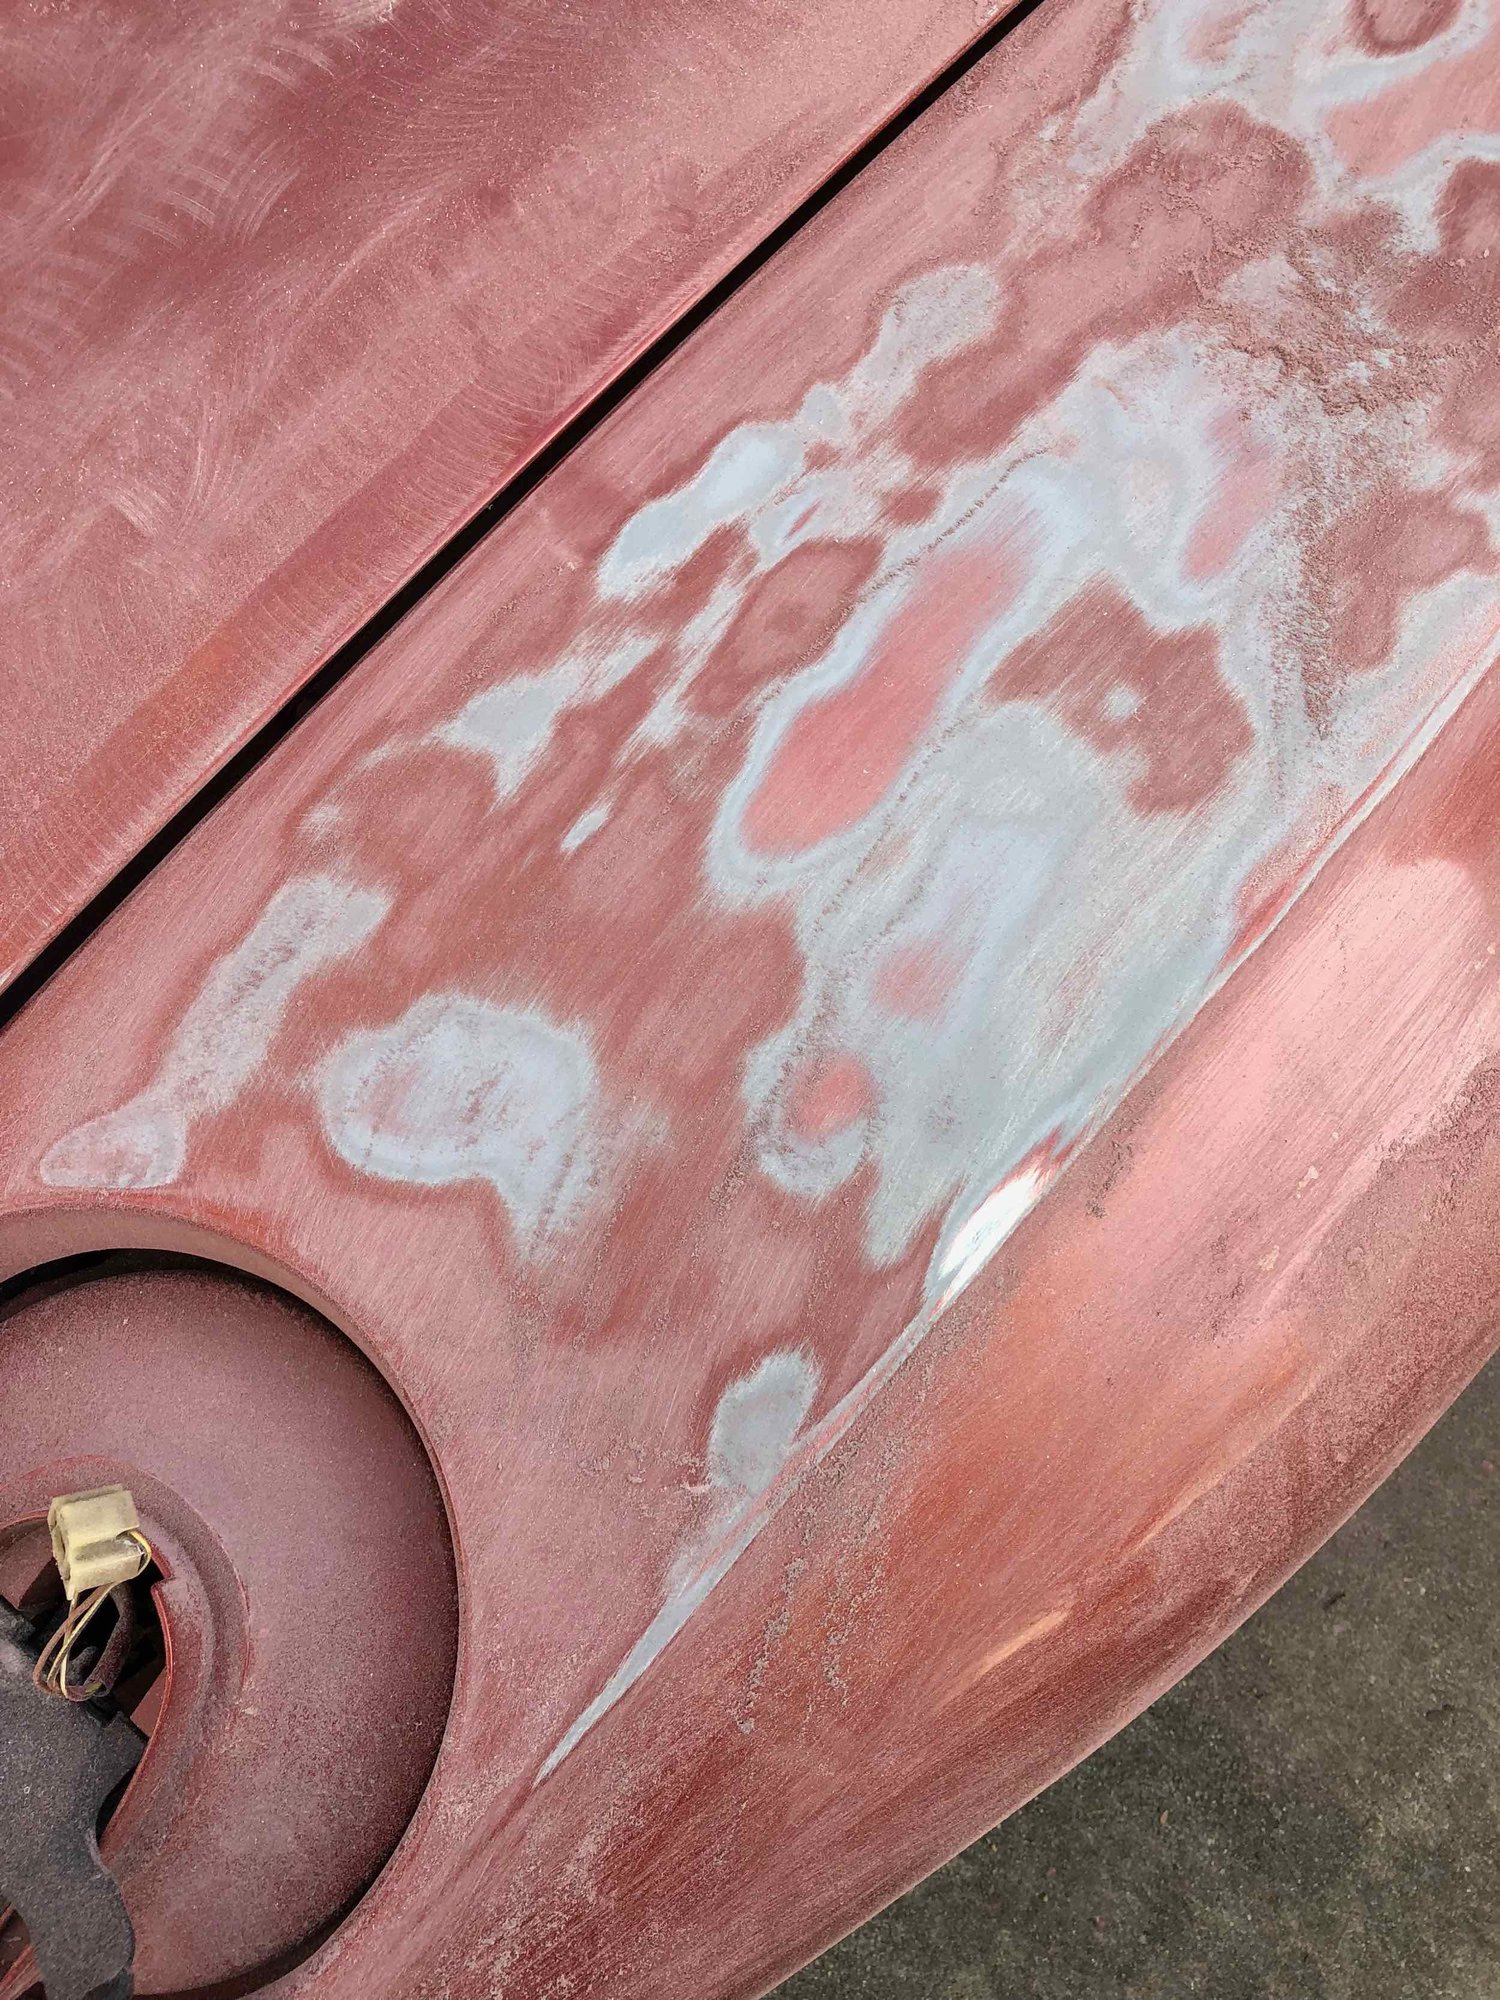
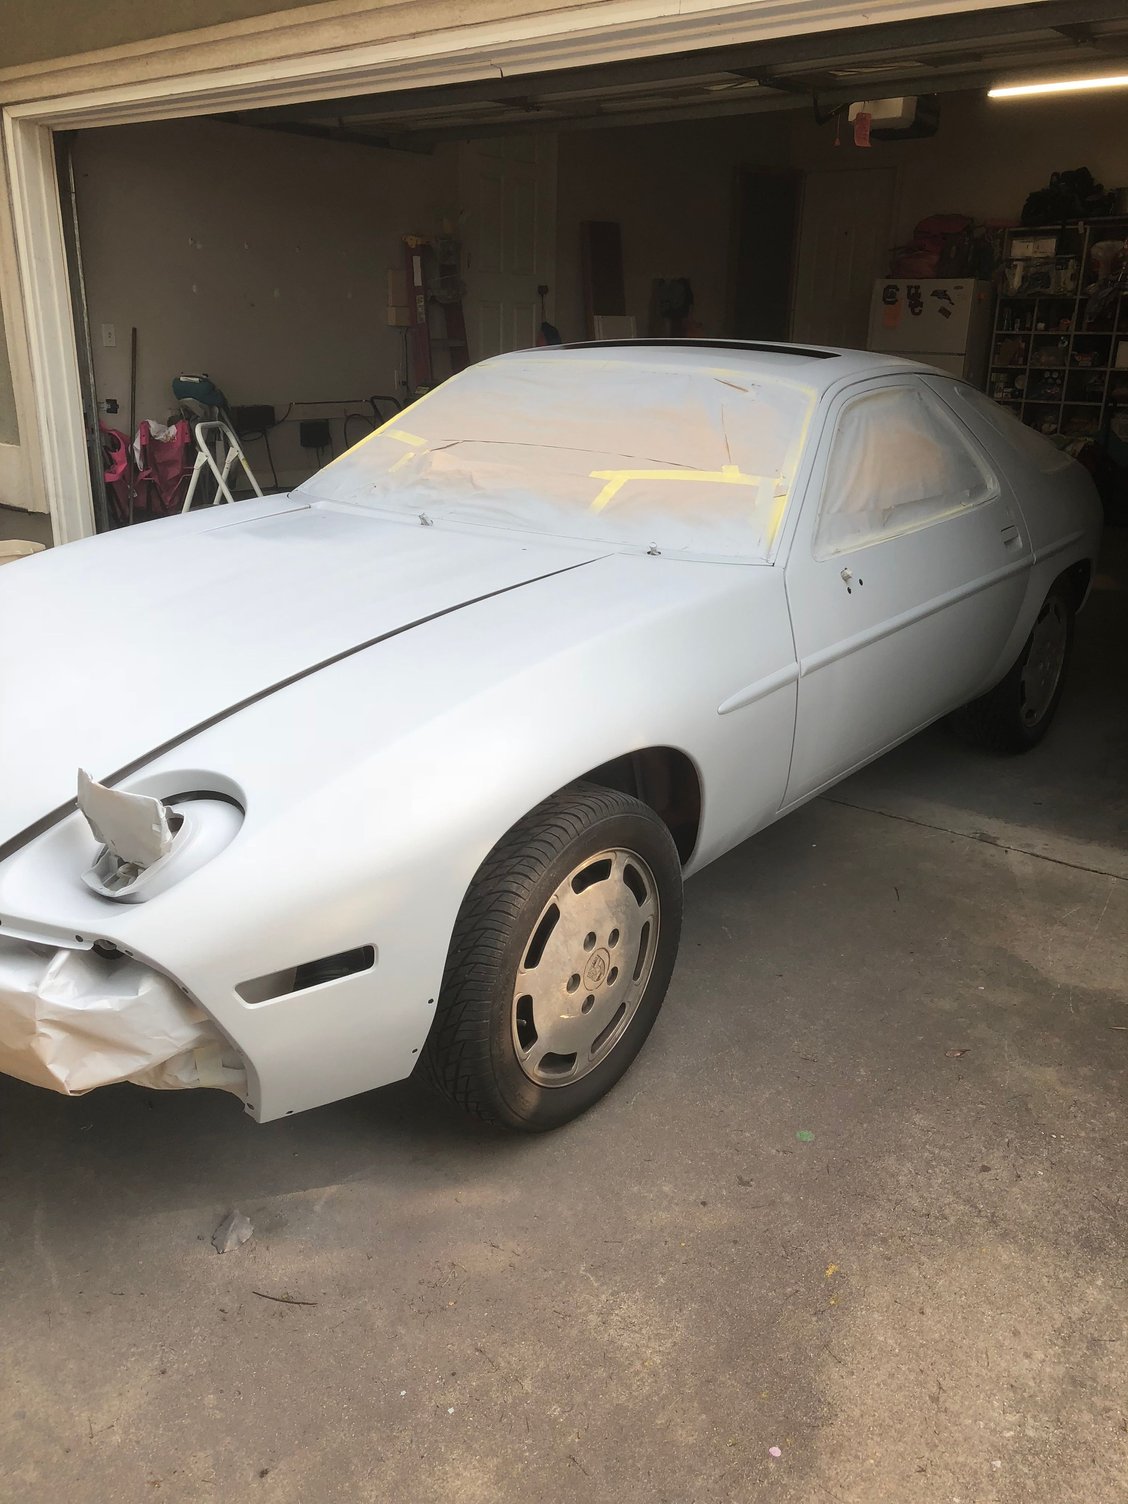
Also made some more discoveries with sanding. Front DS fender was definitely repainted, as I have the same layers there that I found on the rear 1/4 panel. Factory paint was primed over and then resprayed the same color. Interesting that the fender, door and rear 1/4 were all originally Kiln Red as well (or something VERY close), and were repainted - and I have not found any repair work (e.g. bondo) as of yet. Maybe that is coming. You can see the two distinct layers of red in these top of fender photos.
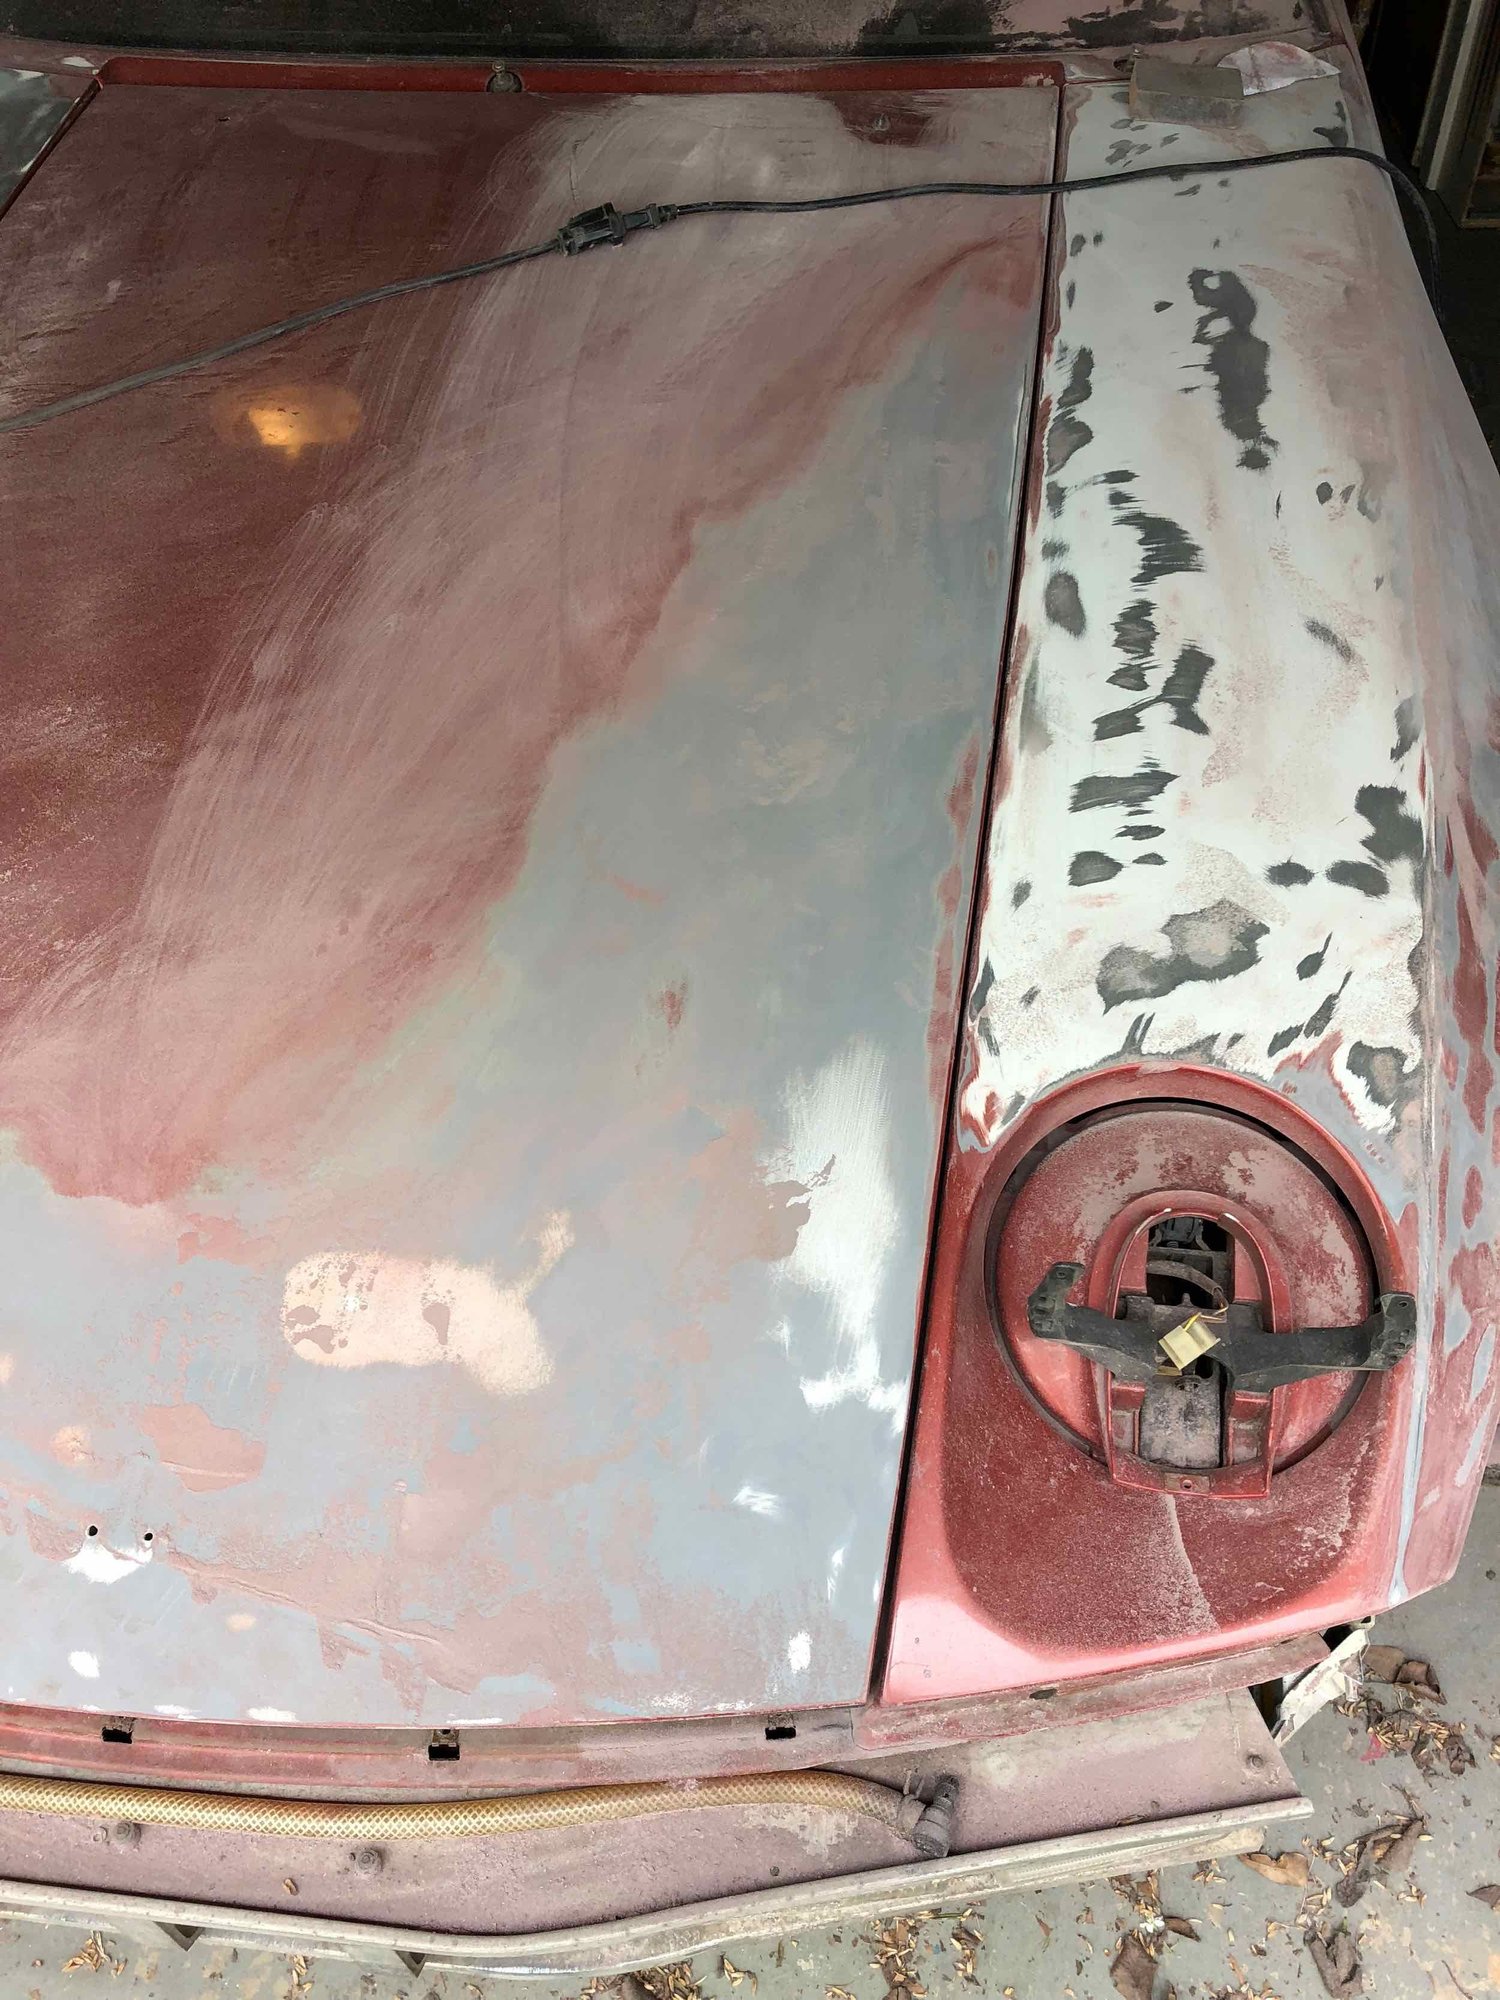
Also started on the hood - found that it is much smoother on the flat surfaces to use my pad sander to remove the old clear and base, so will move forward with that method for as many flat surfaces as possible.
My tank repair has held for three days outside of the car (although it did last time as well). Will try to reinstall one more time after adjusting the cradle to fit the tank better outside the car and hopefully avoid any stress to break the repair on reinstallation.
I am convinced that the design/engineering of the gas tank and its associated hardware must have been the job nobody wanted back in the day.
-scott
DS fender...note "levels" of kiln red.
The darker red is the top layer - the lighter red is under the gray primer. White is "all the way down".
Hood after partial sanding with pad sander. Much easier to keep smooth than with DA.
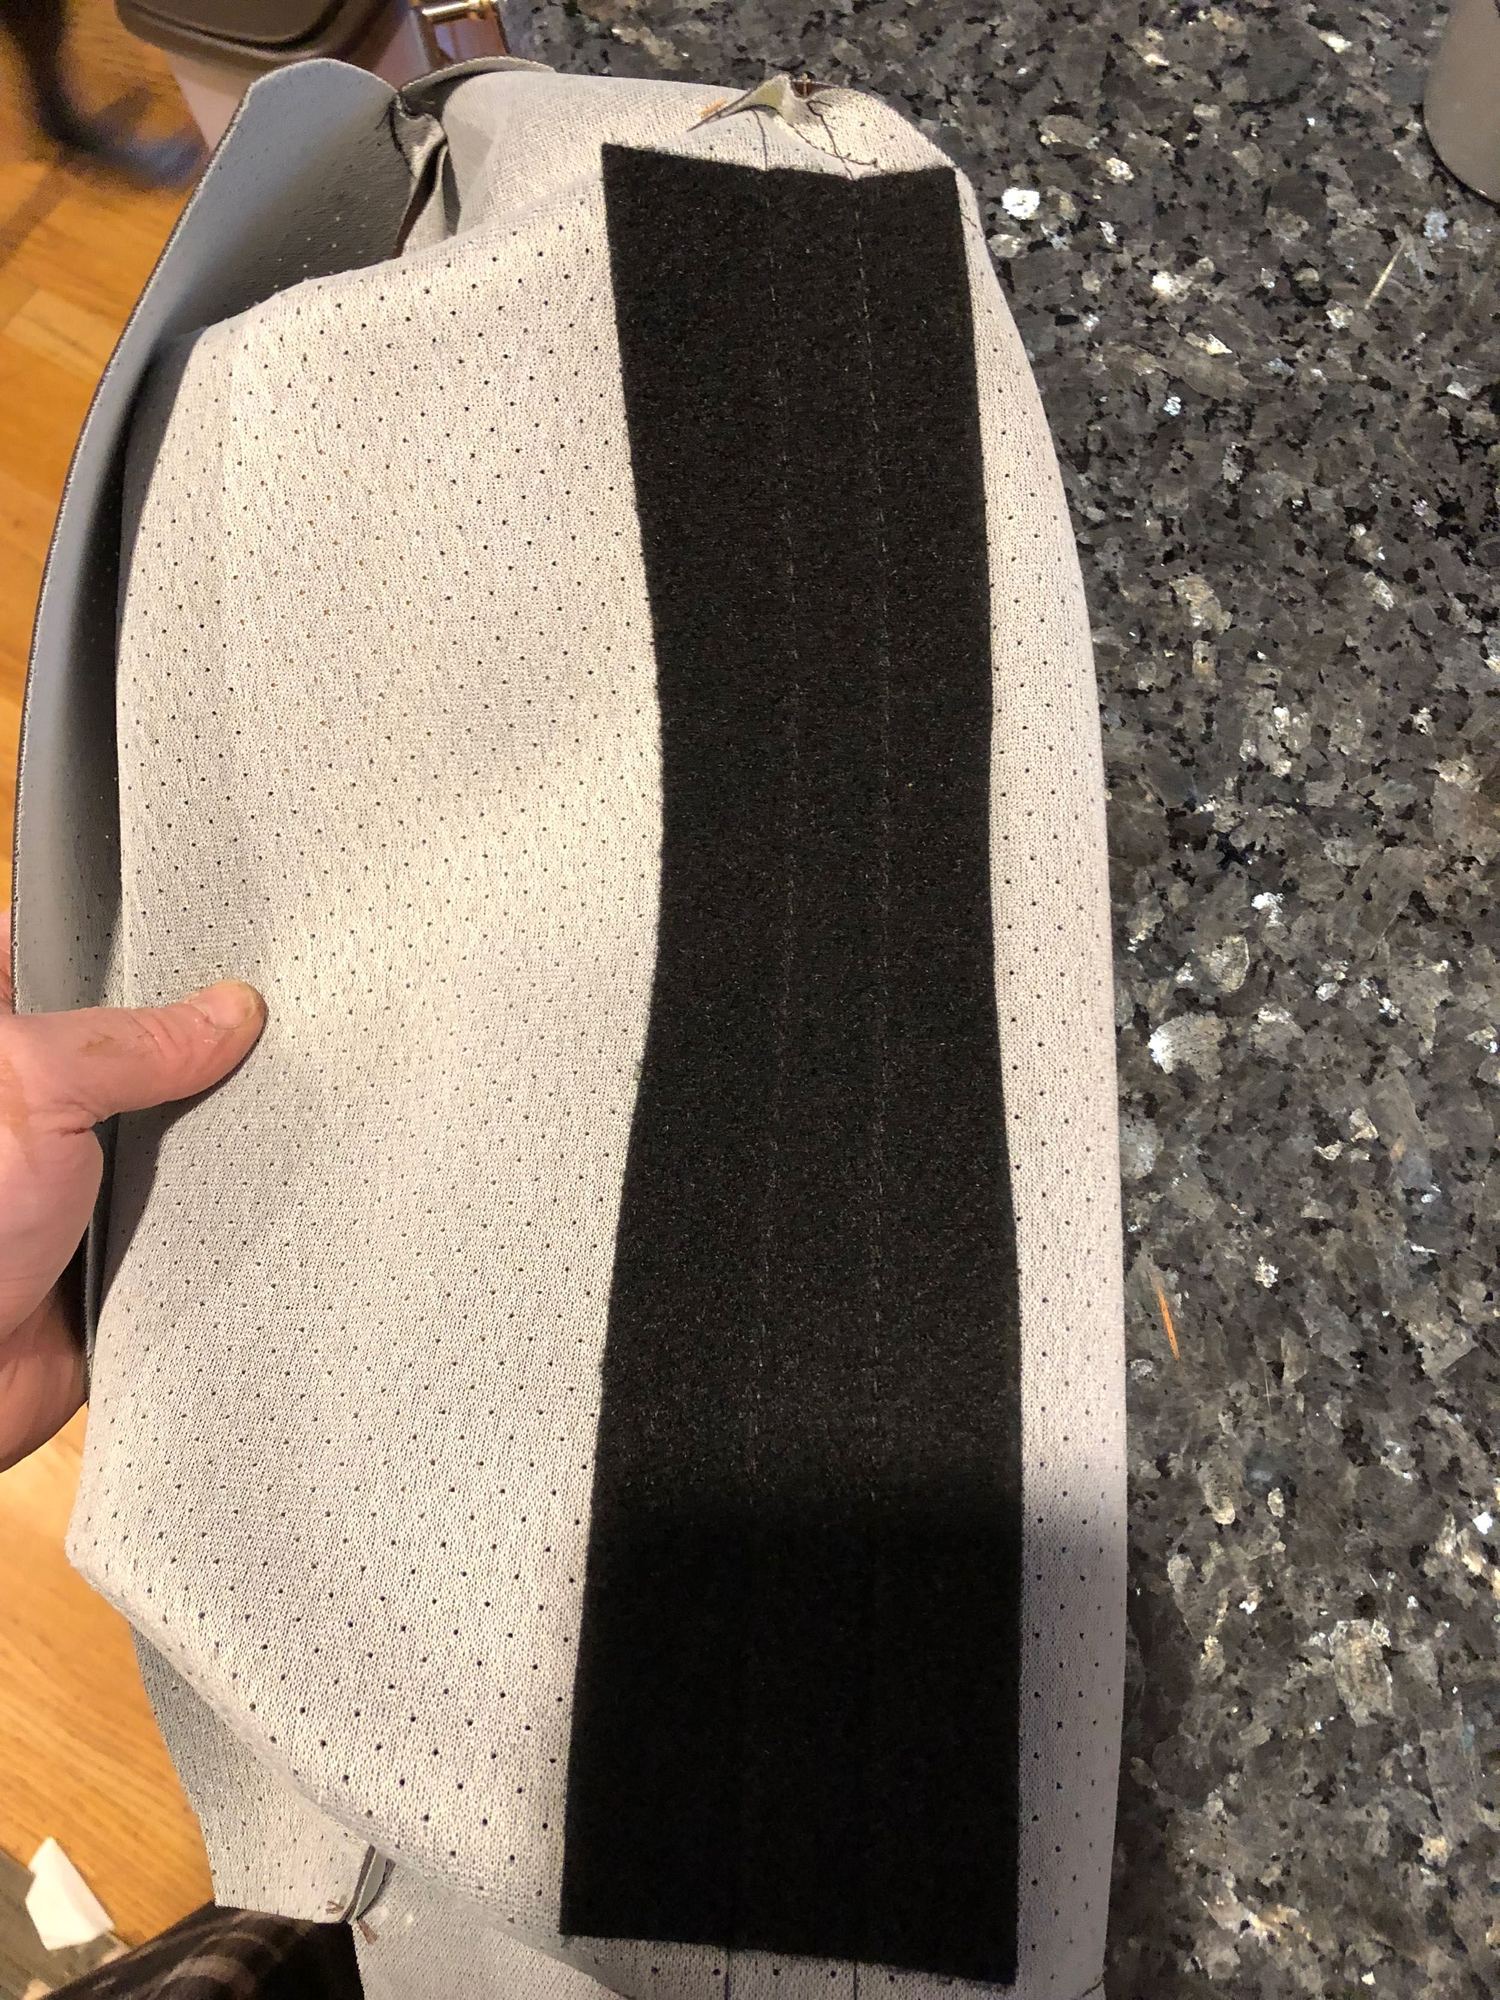
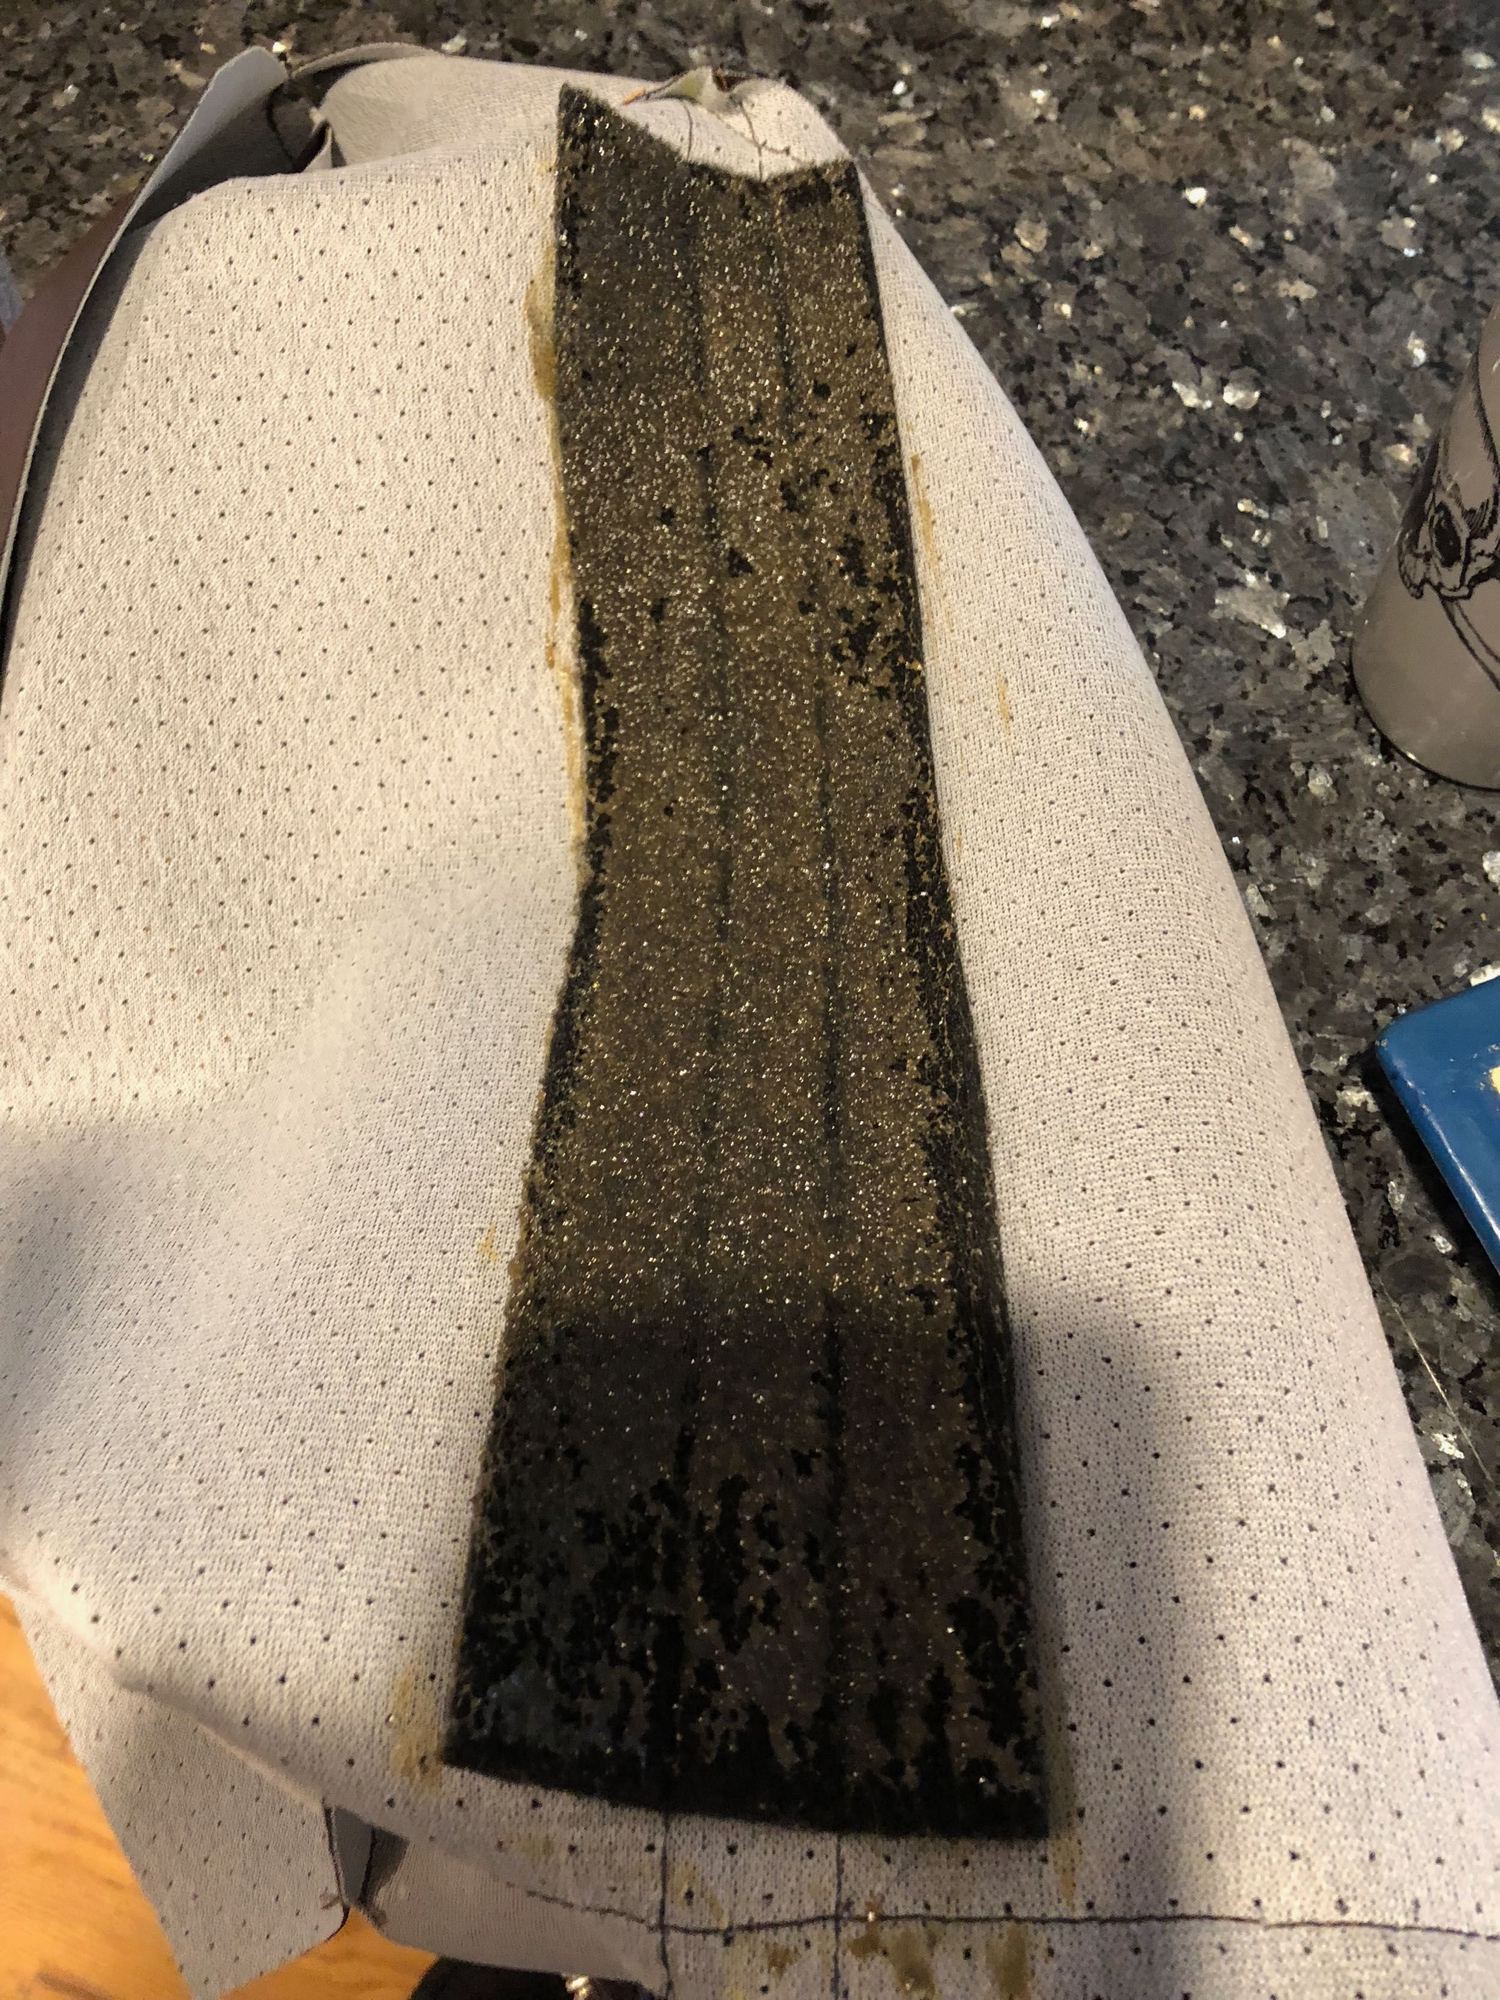
Pod after application of gorilla glue. Now to start sanding it down.
A little more sanding work accomplished last night...on the roof panel. Signs of SFG (Short Fat Guy) disease are apparent as someone can't reach the middle of the thing with the sander! My plan seems to be working - take as much in the larger areas off with the power and air tools as I can, but avoid edges and creases where I can and do those by hand to not burn all the way to metal. I have been a little careless in some spots but I think its going ok for my first rodeo.
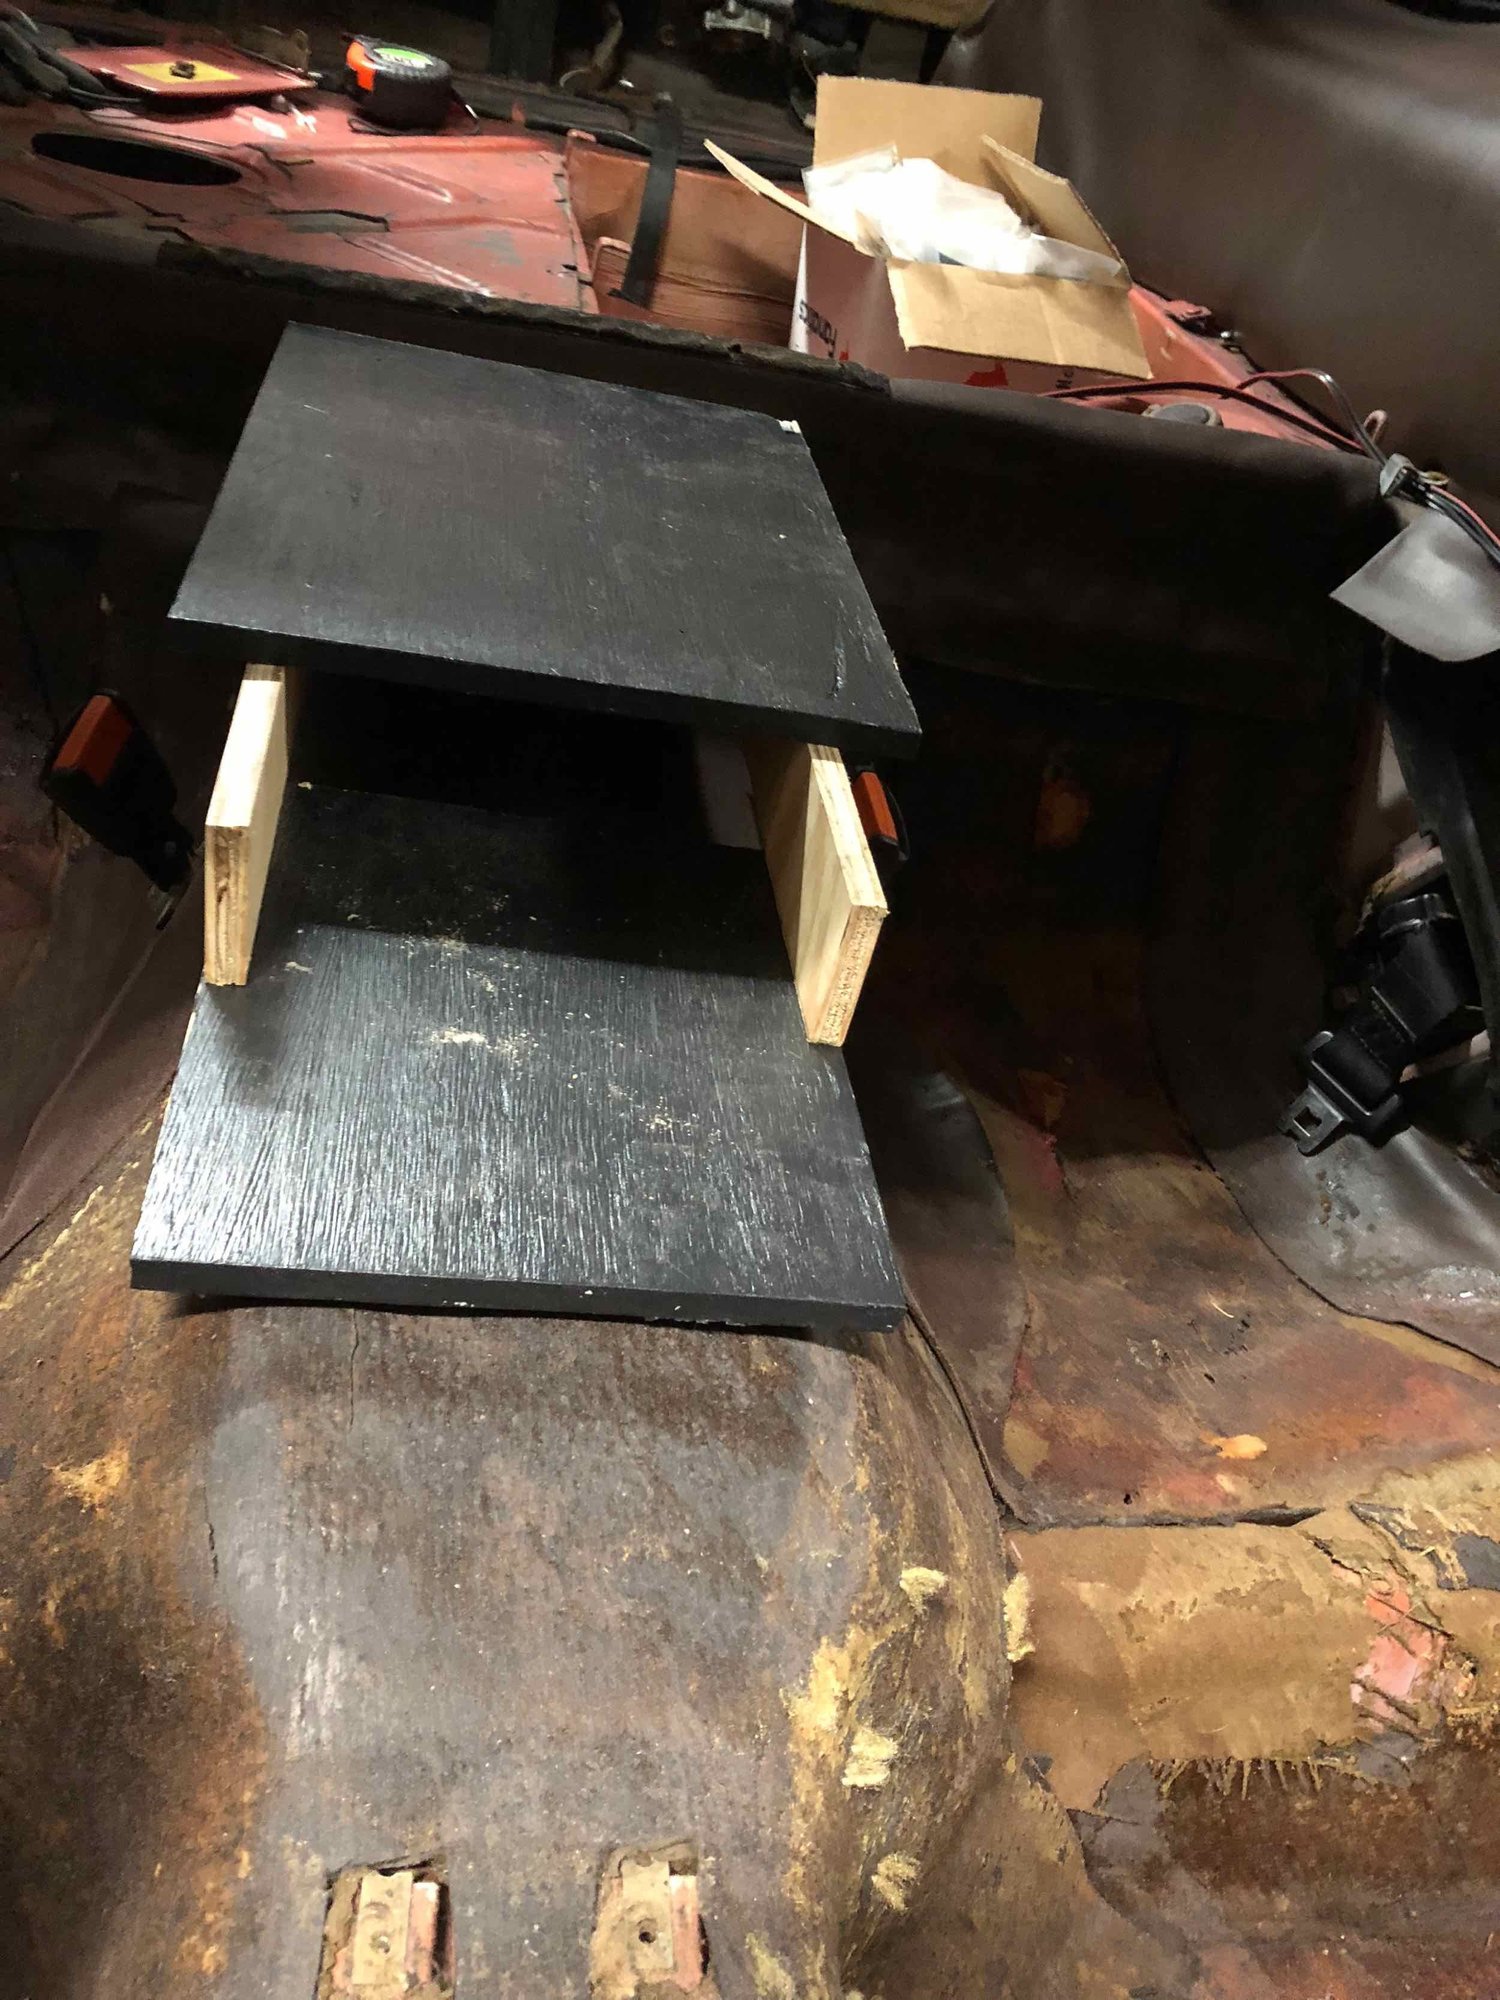
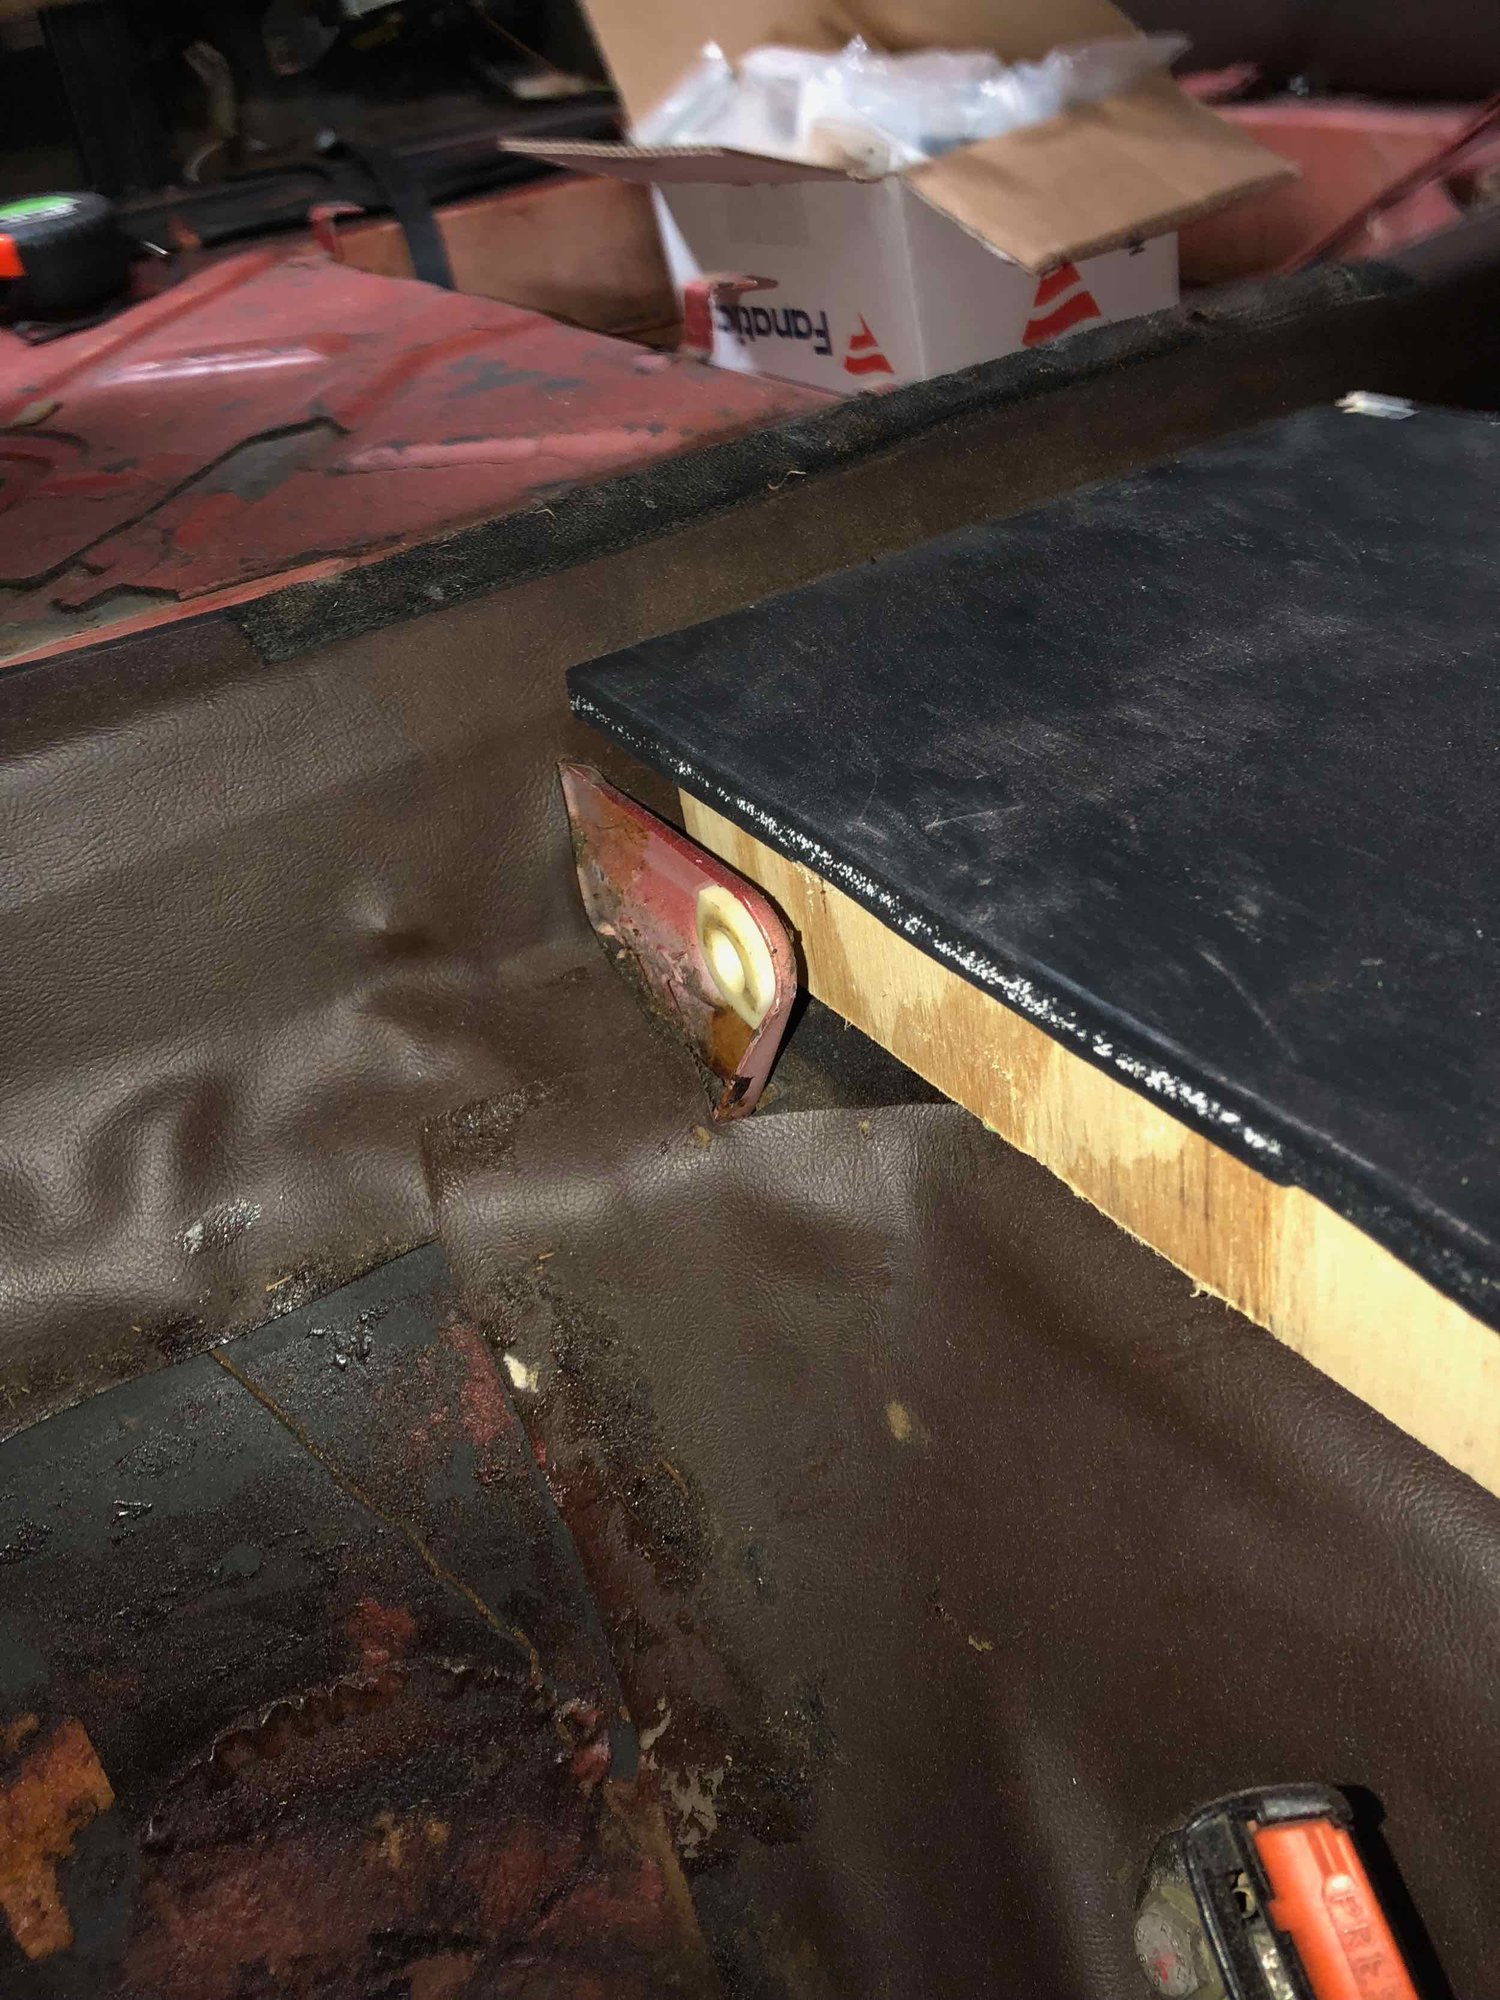
Also got a mockup cut and put together for my center console amp rack for the back seat. I am not putting any kind of tint on, and did not want stereo equipment visible from the back windows, so I think a custom console to fit the amps into will work. First test turned out ok. Also provides a place for all the wiring to feed in underneath. Will mount the rack to the screws in the body for the rear AC components (my car did not have the option, but screws of course are there). New console will be a little taller than the original, but I think it is feasible and will do the job. Simple black paint job on the wood bits and cover the sides in matching vinyl to the rest of the car is the plan. Designing a cover for the top may be the biggest challenge.
Good times!
SFG is a real pain to deal with...
Test fit of amp rack in the console location. It will actually be a little bit shorter front to back (about 2") than this pic shows.
My kids ride back there sometimes, and they wont say too much.
Clearance around seat back pivot. Top 'shelf' should jest barely clear seat back itself.
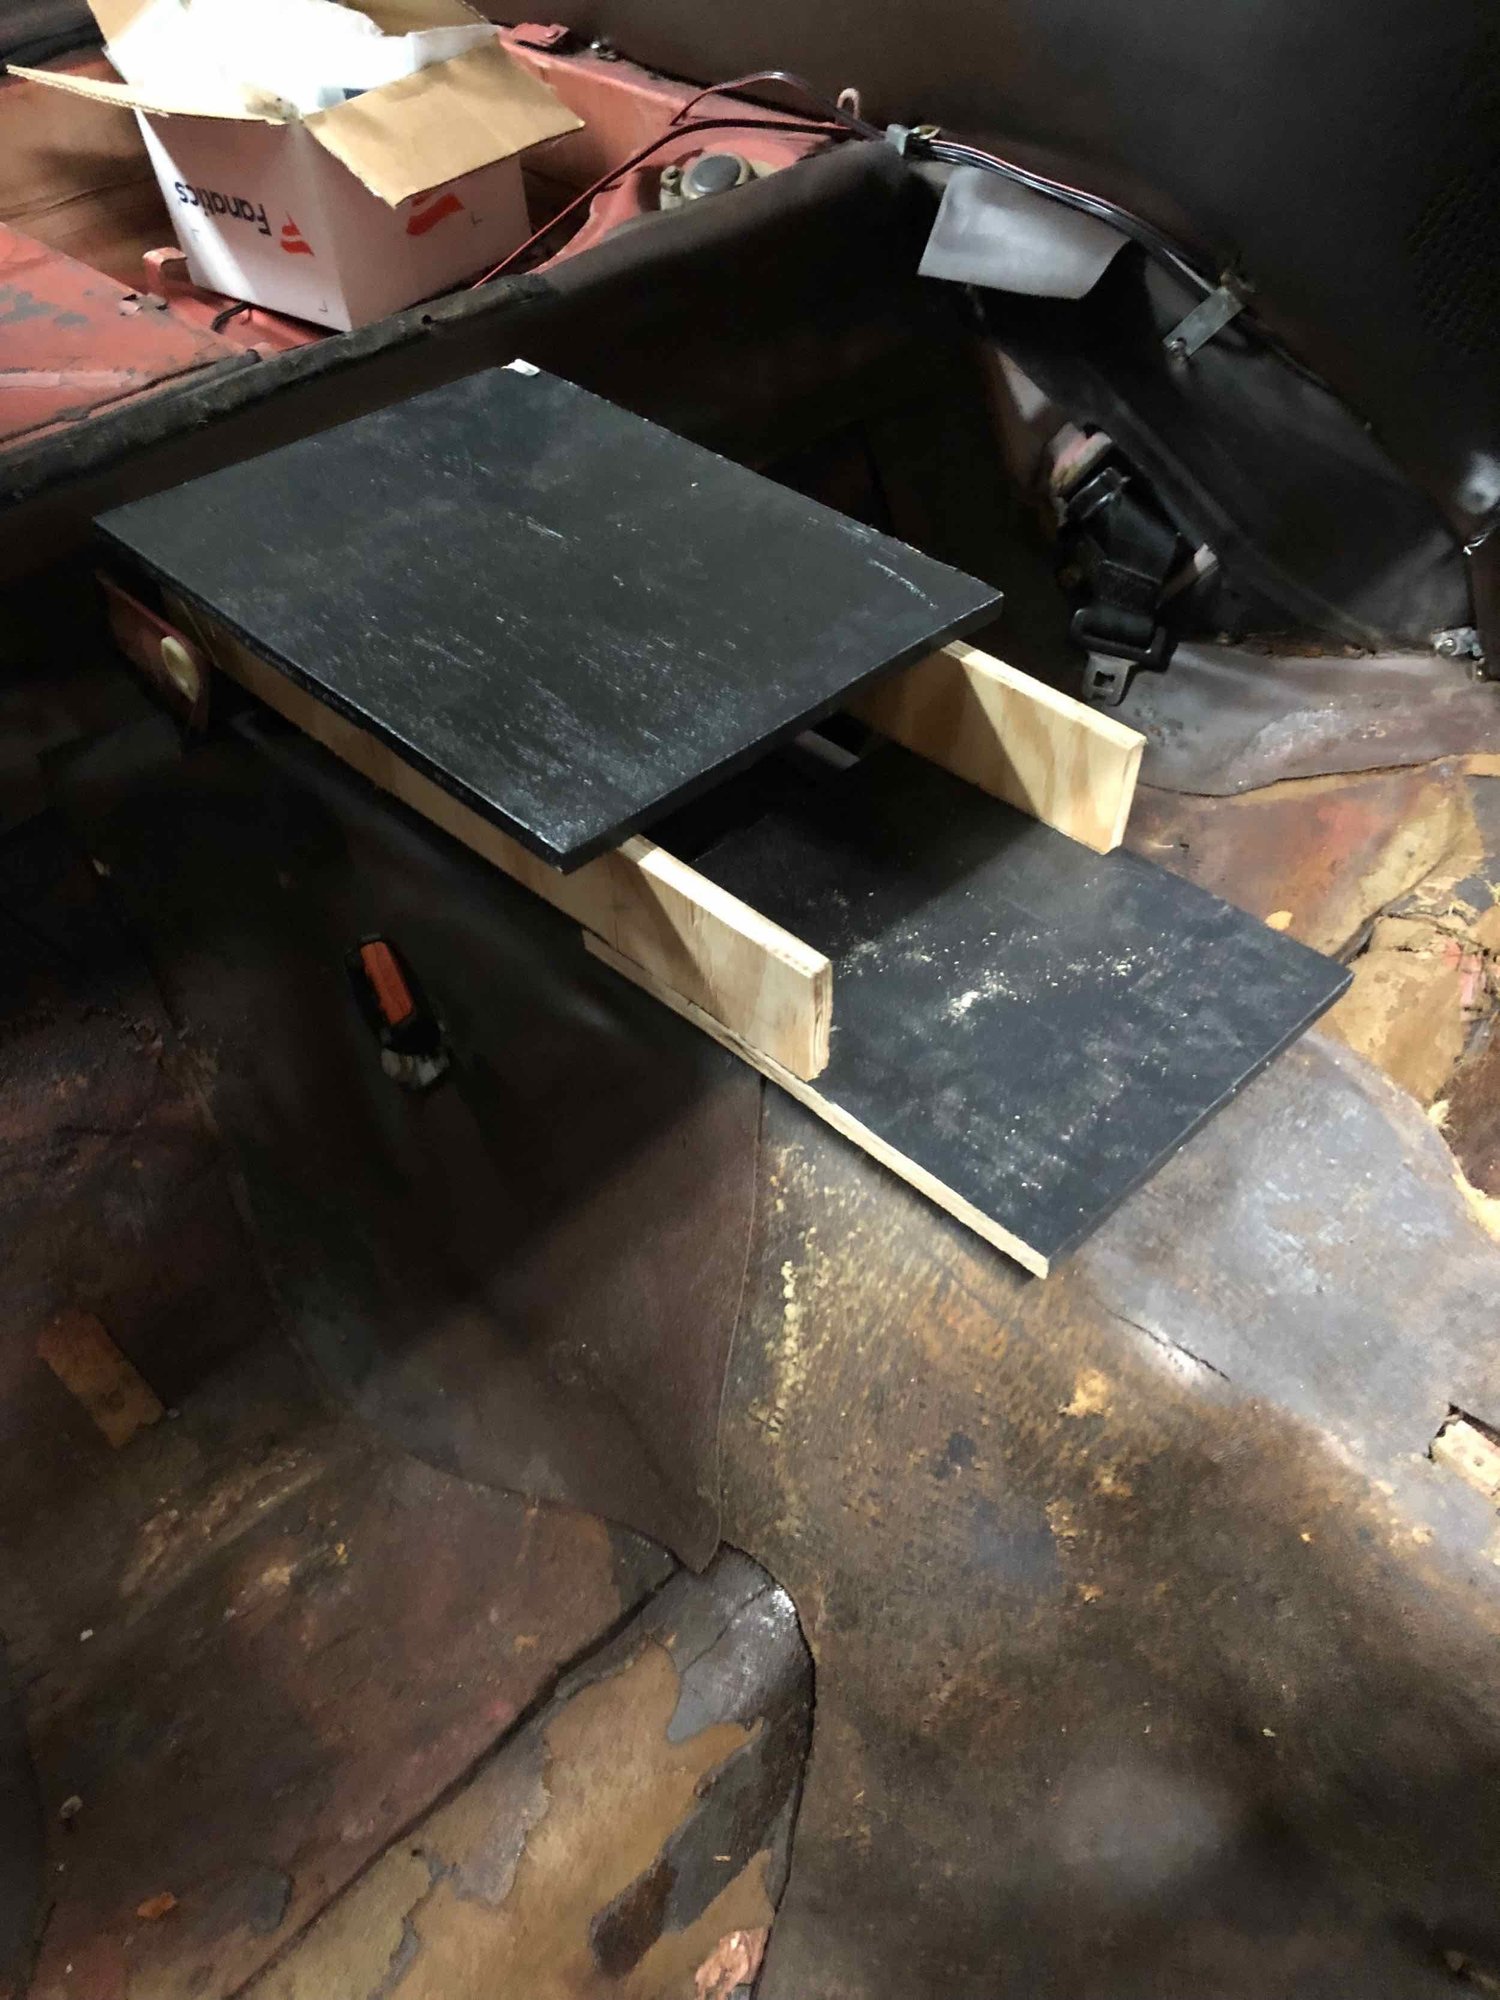
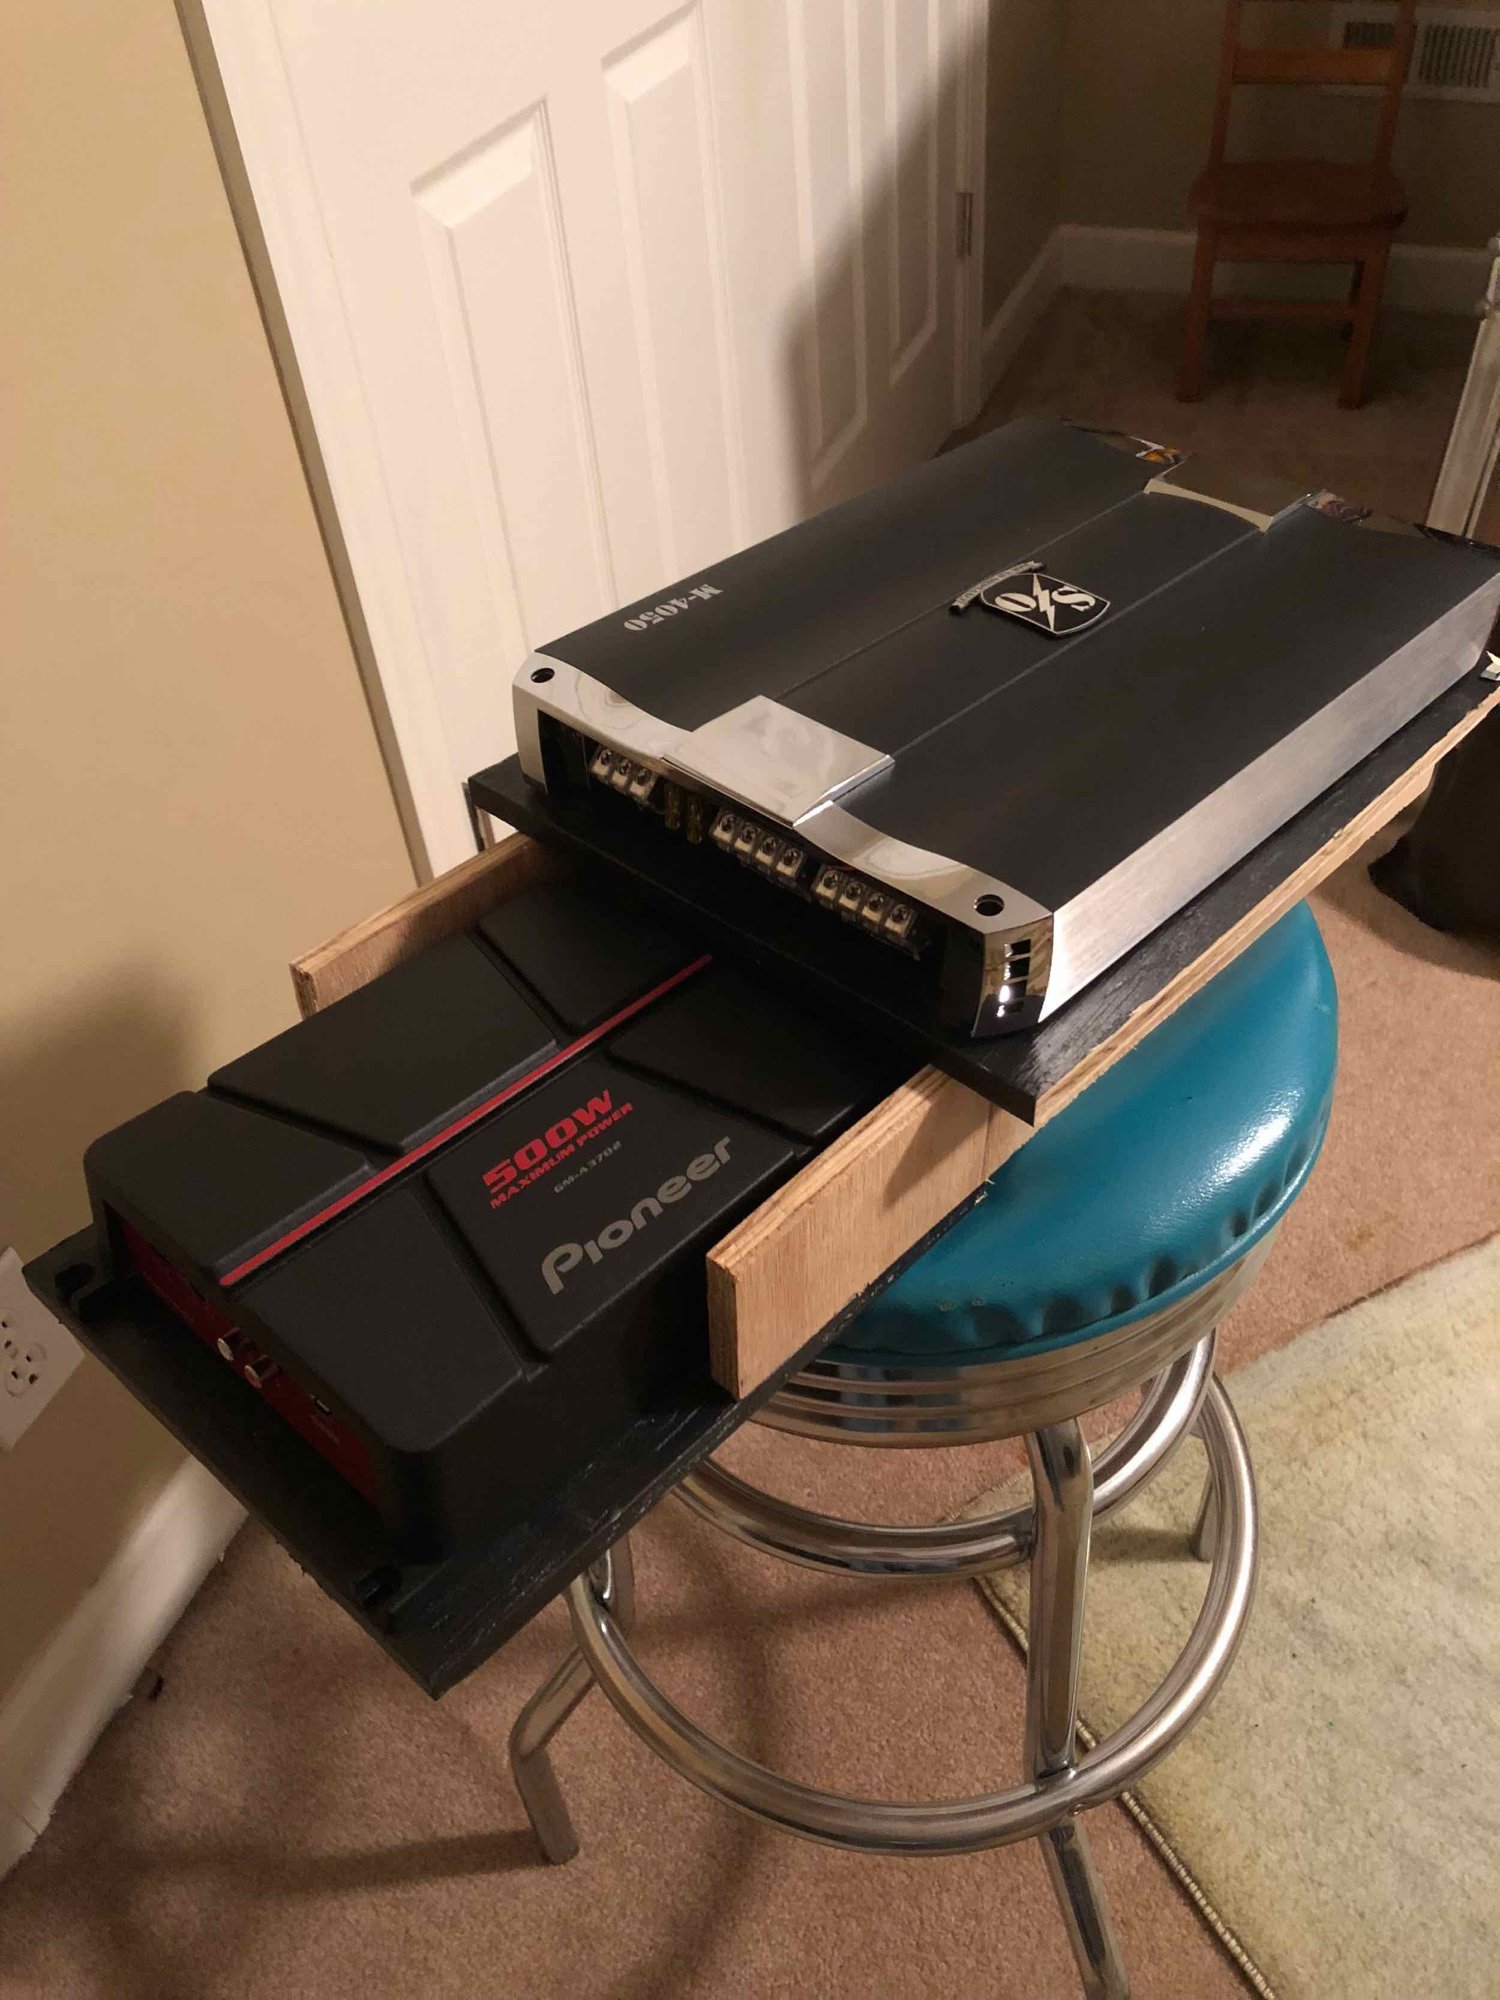
Mock up with amps in place. The top 4 channel will power B-pillar and door speakers. The 2 ch Pioneer will power sub.
The elevated top shelf will allow wire to enter and route underneath. The rear cross brace that attaches to the AC mounting location will have a (+) and (-) power distribution block and fuses, etc.
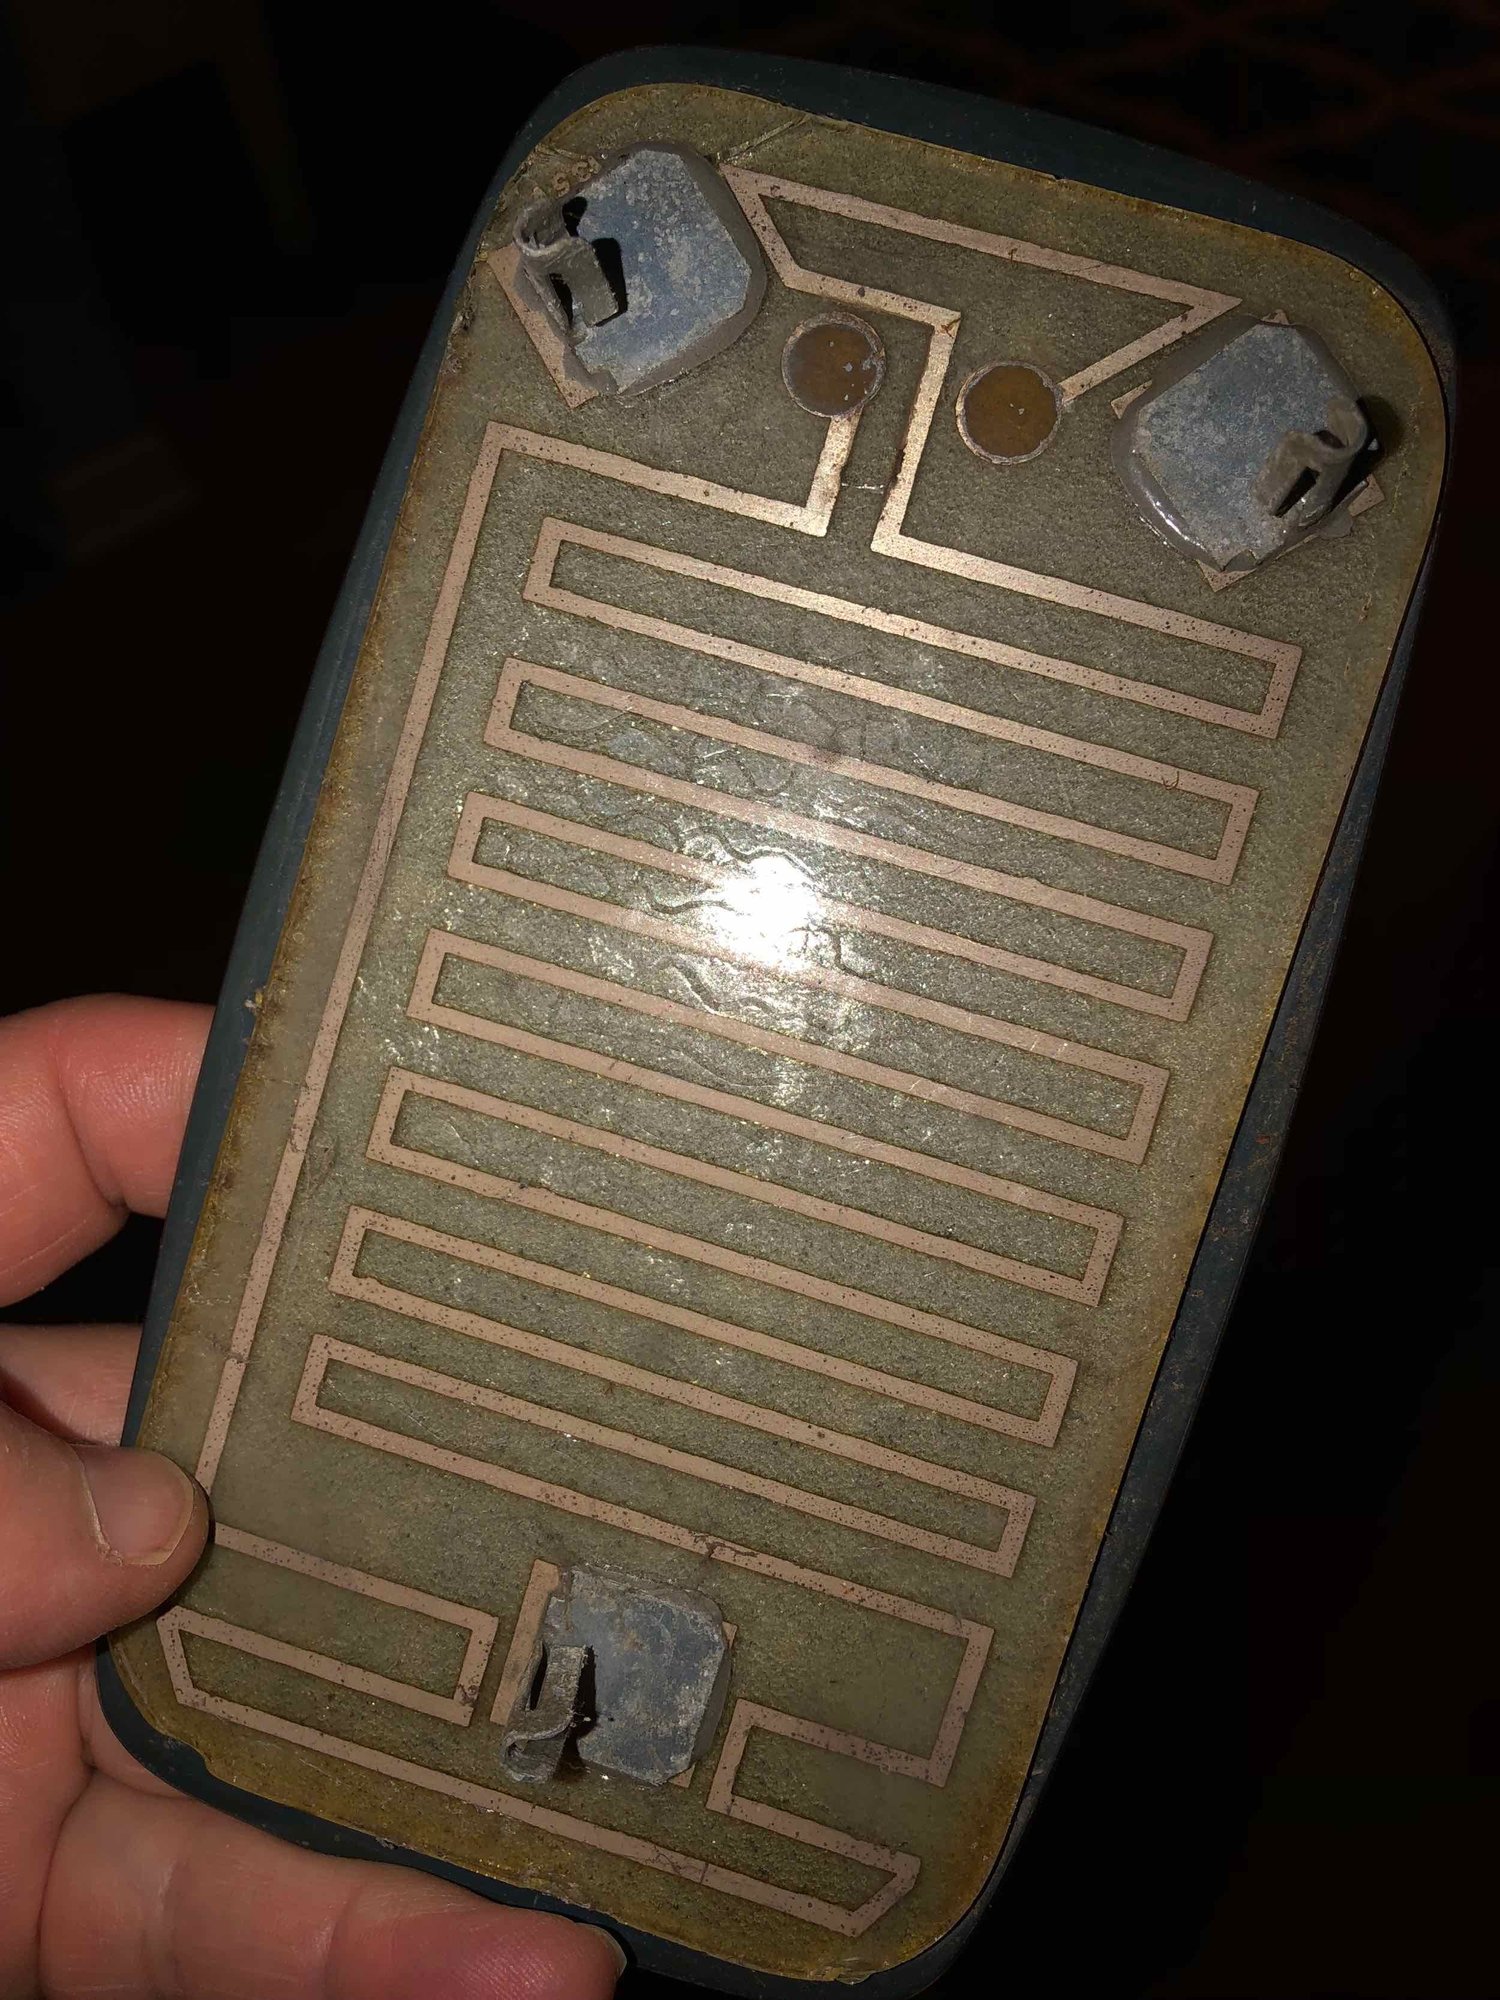
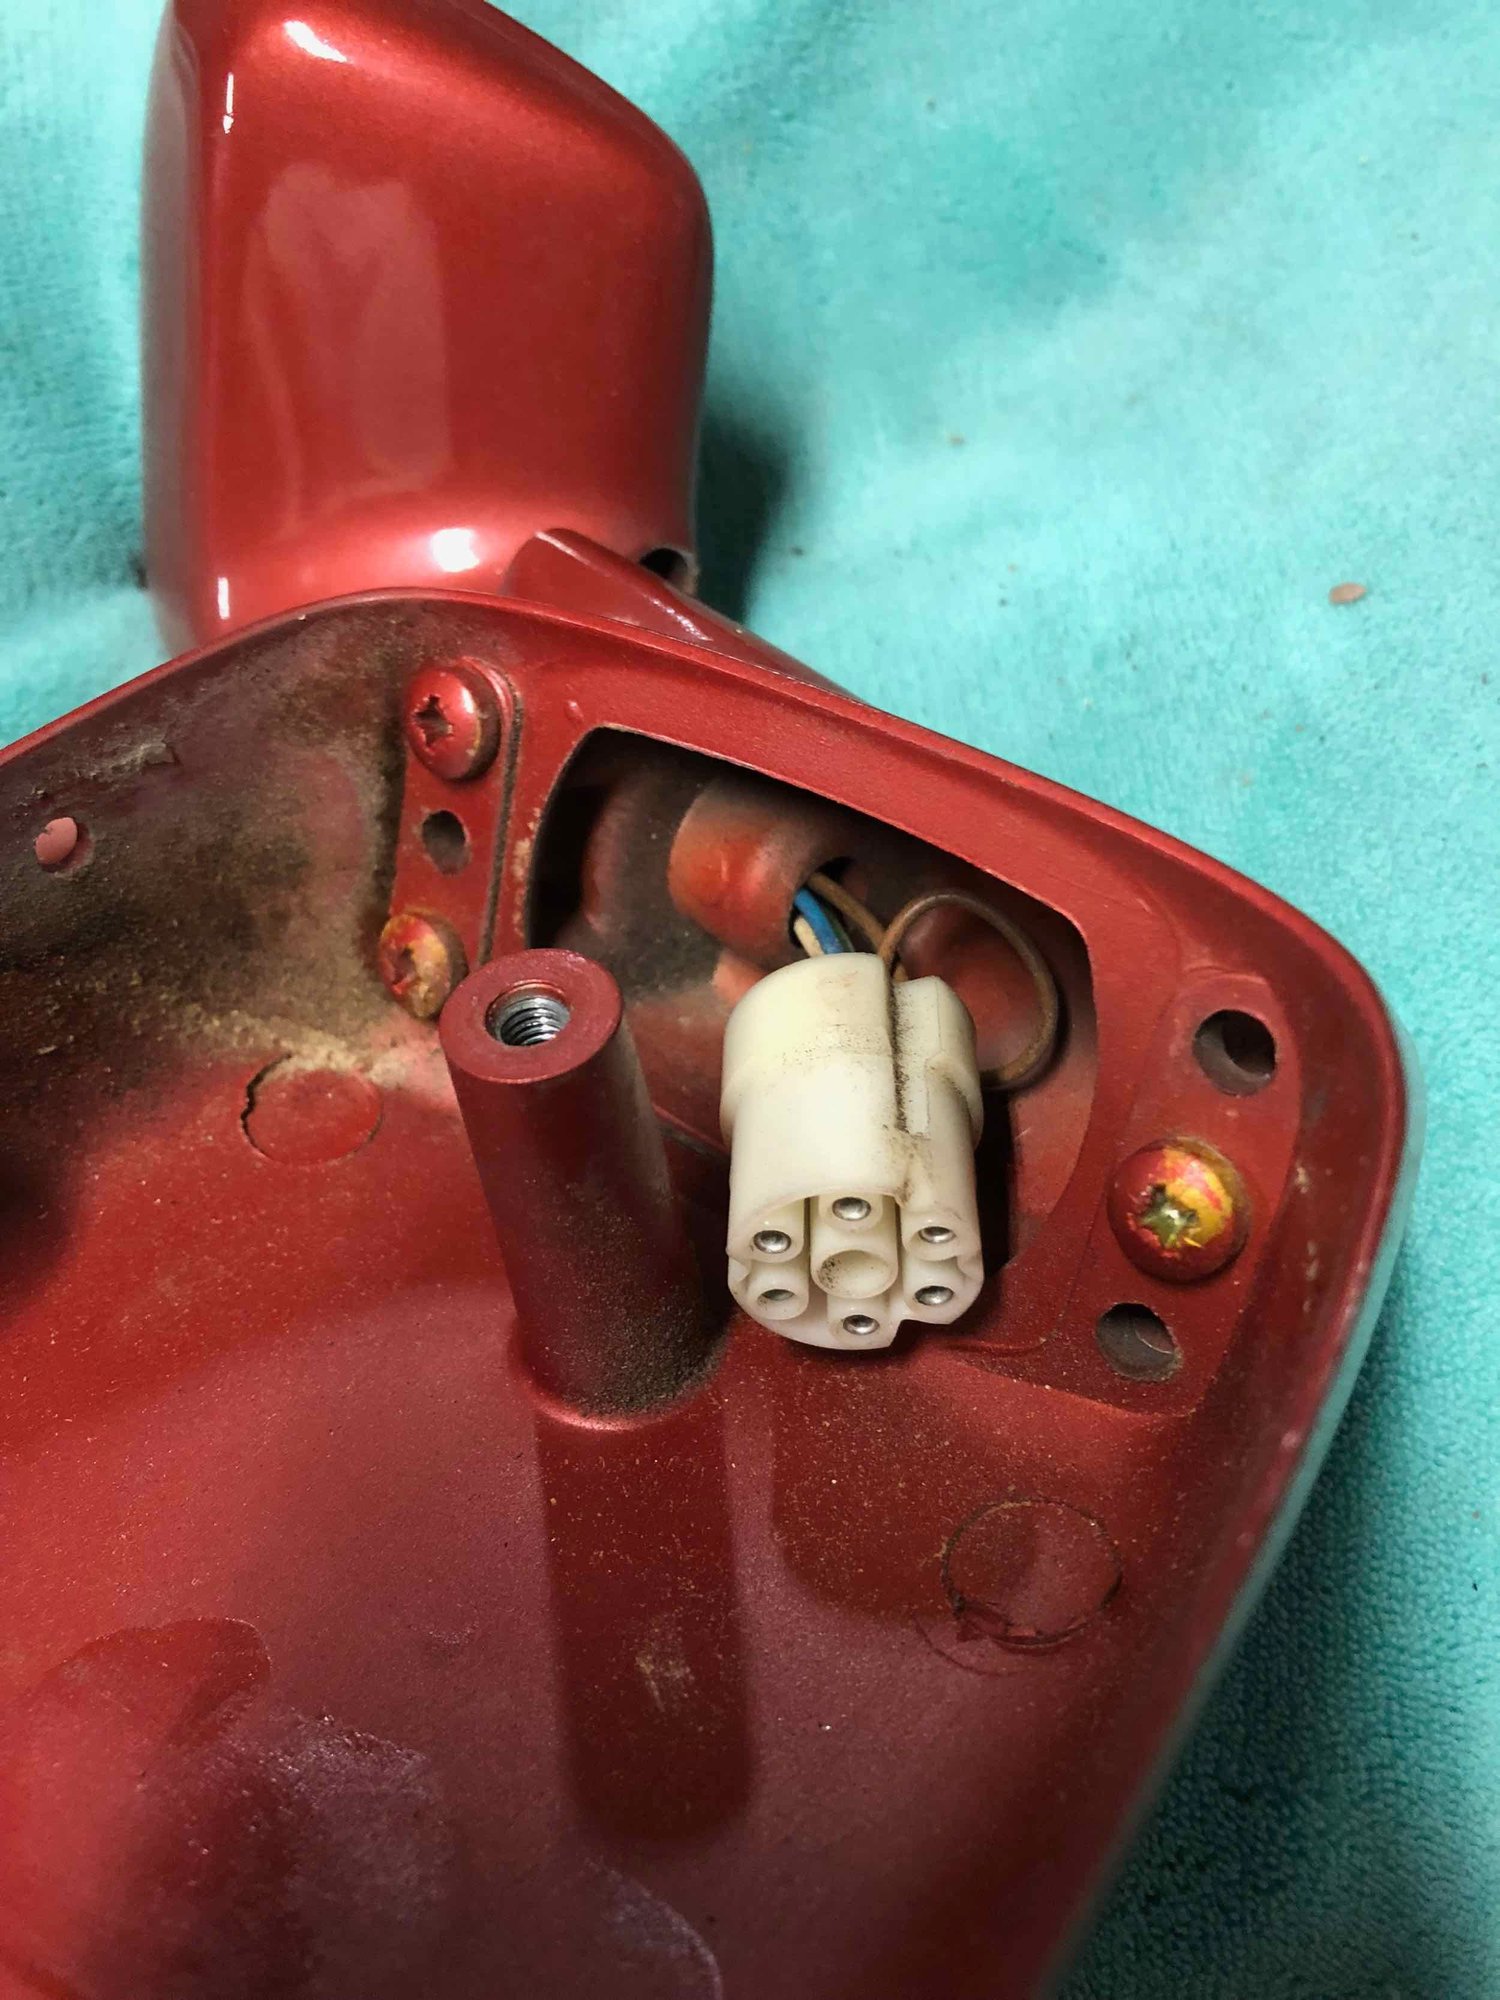
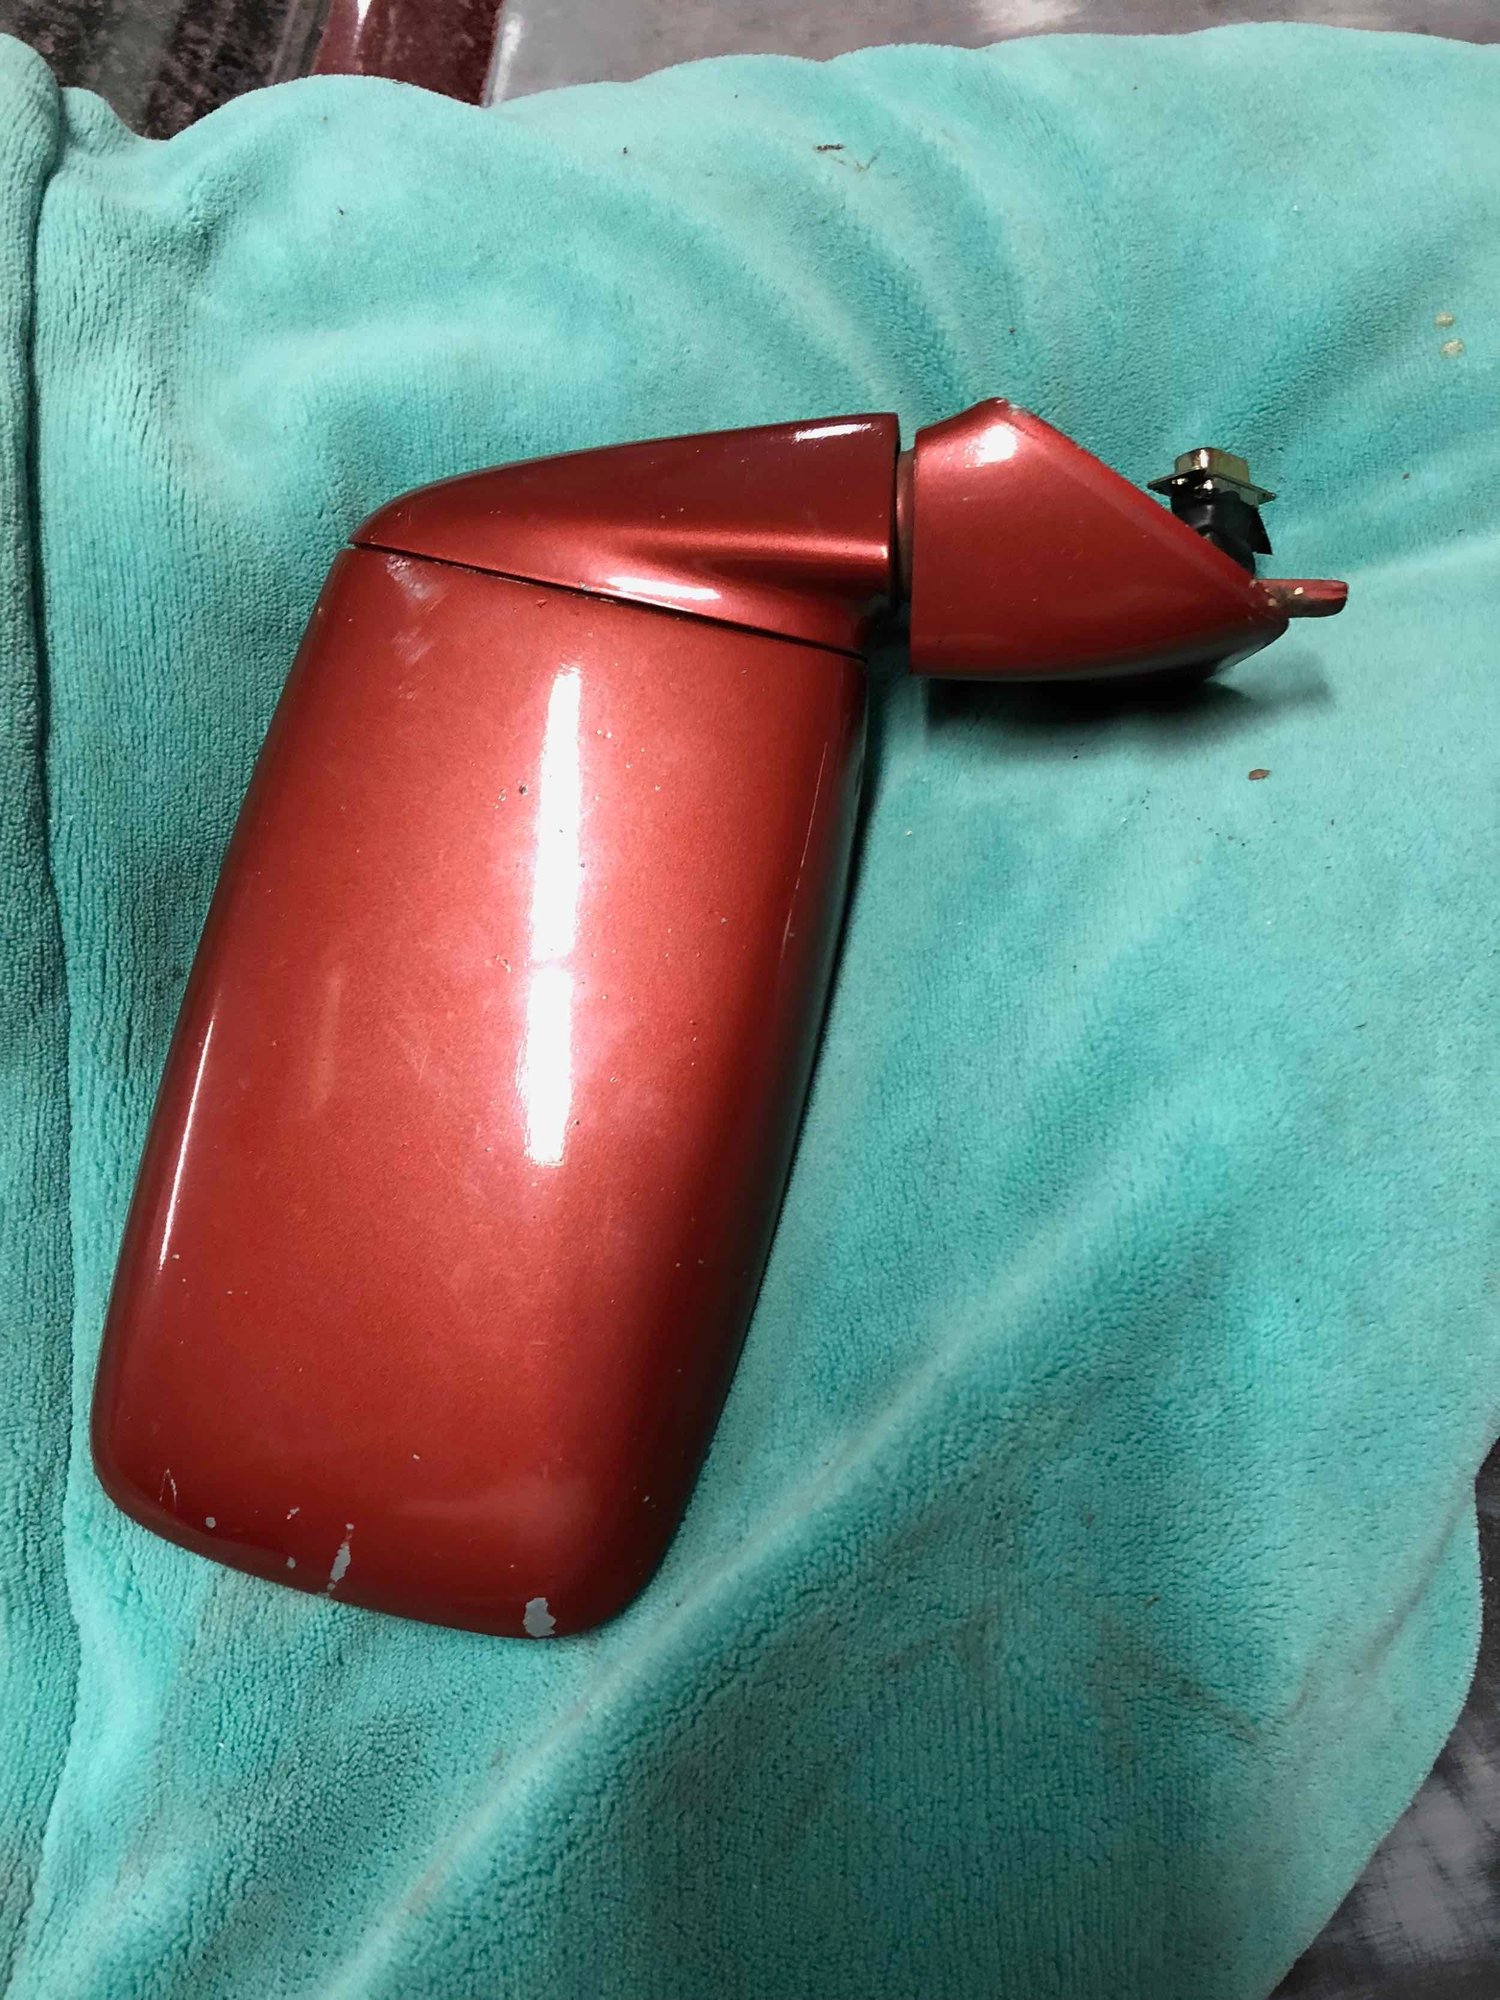
Found a local shop who will blast the bumpers and mirror housings for me - so I had to take the mirrors apart last night. No surprises, although curious to know when the flag mirror glass attachment went from the three tab mount to the locking ring. Could not find that anywhere. Obviously my early '83 has the three tab version.
Wires for heated mirror glass.
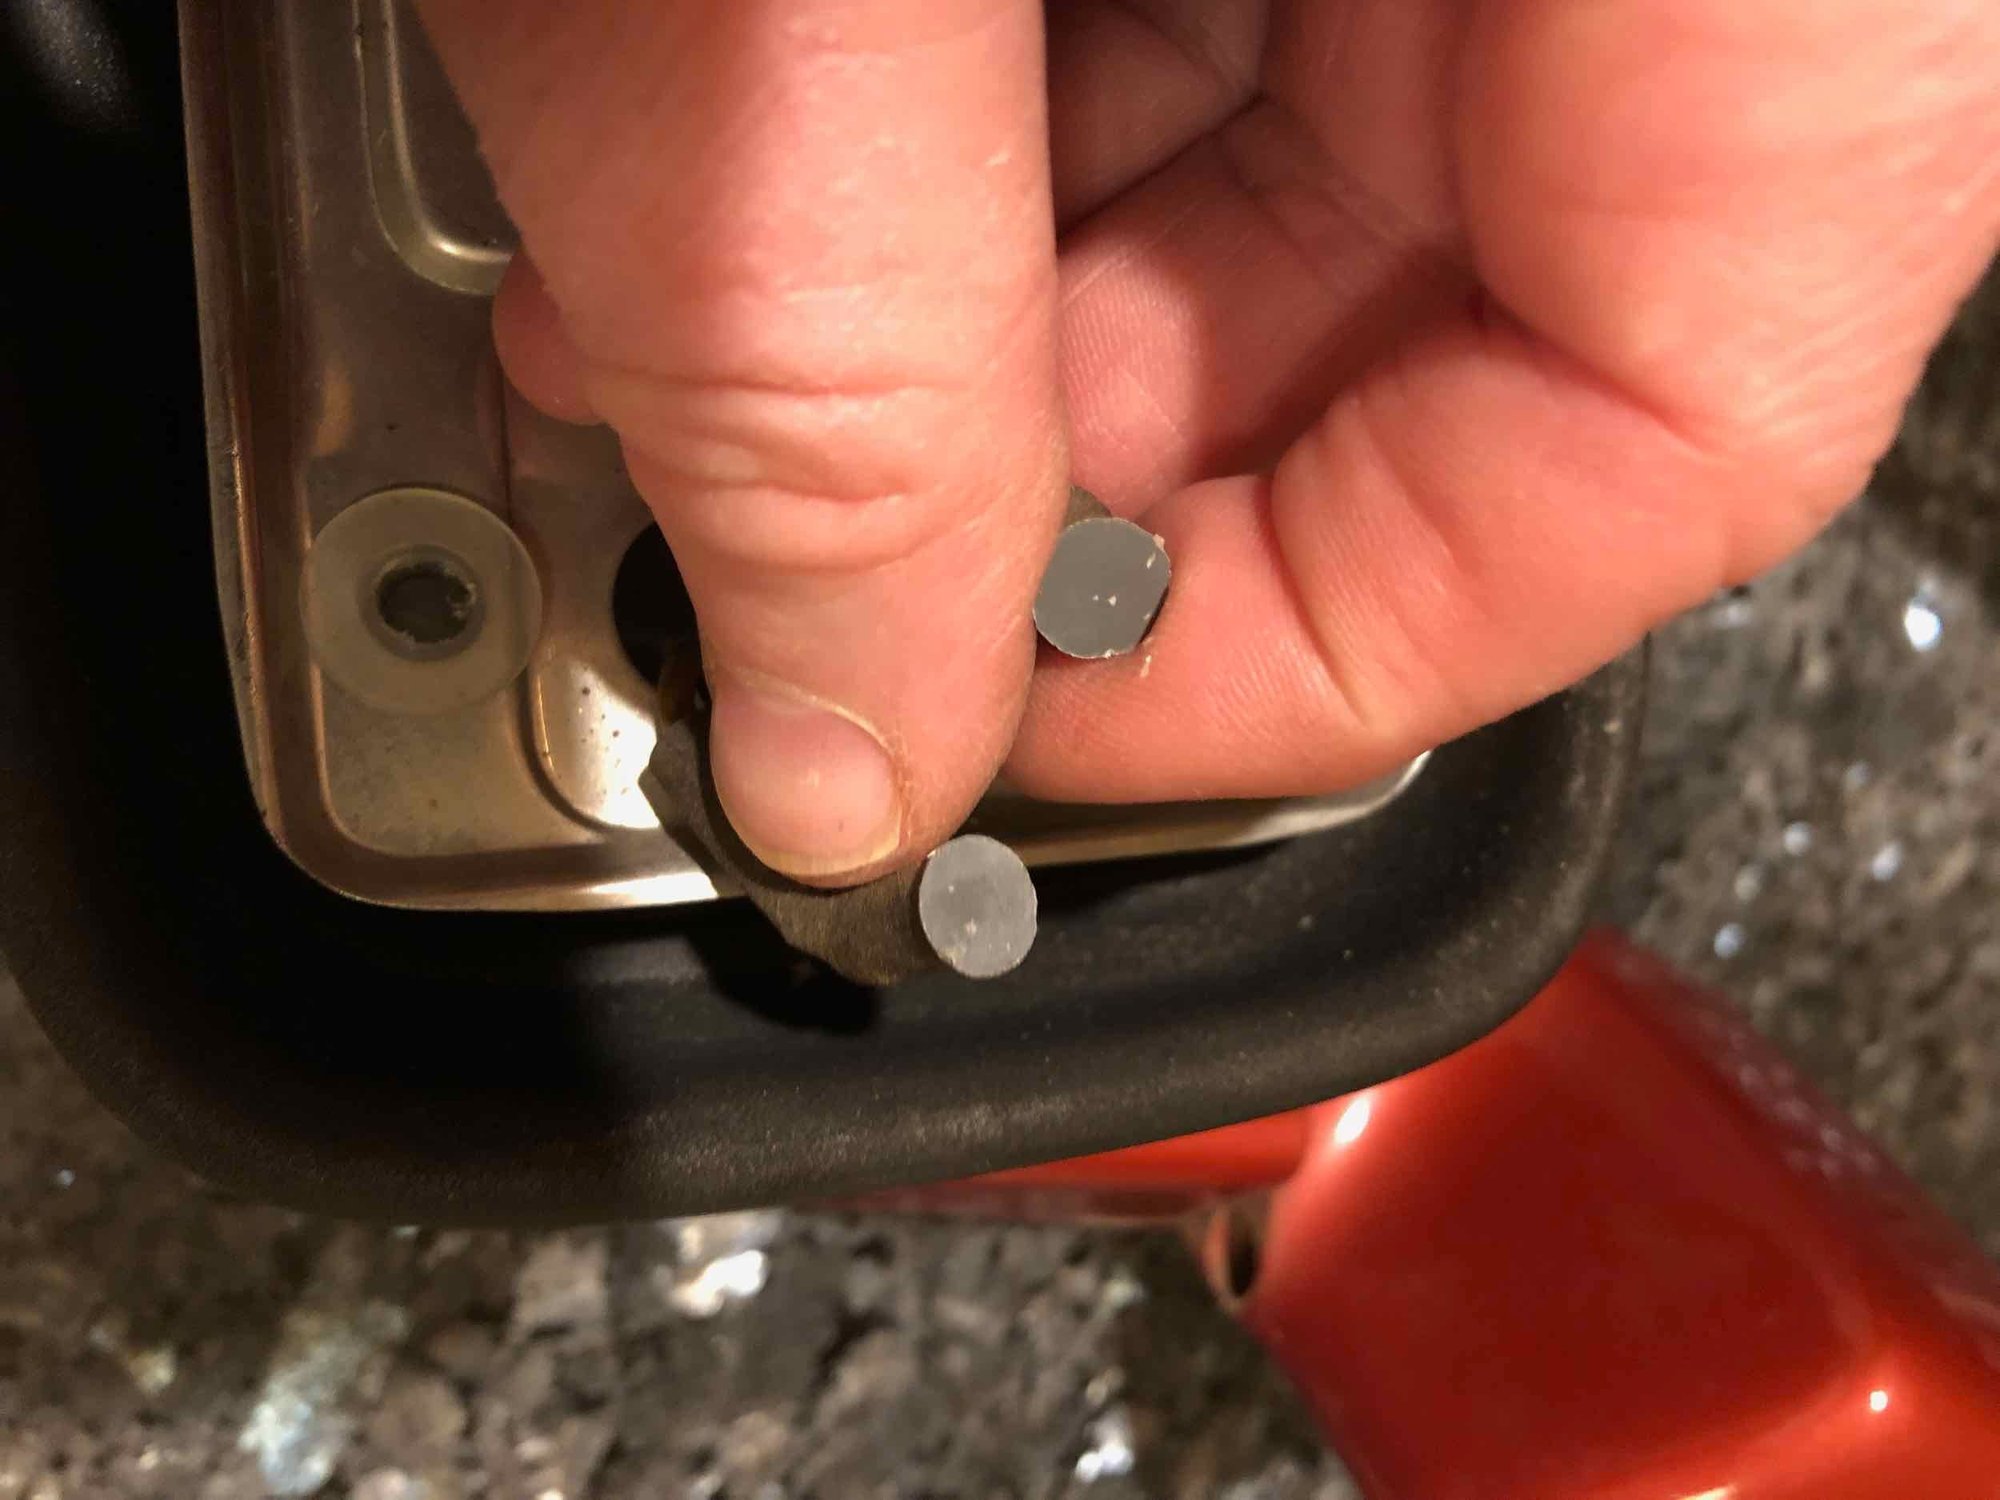
Well you would know I would manage to screw something up - although it does not appear like those were pull apart connectors.
I'll need to figure out how to reattach those.
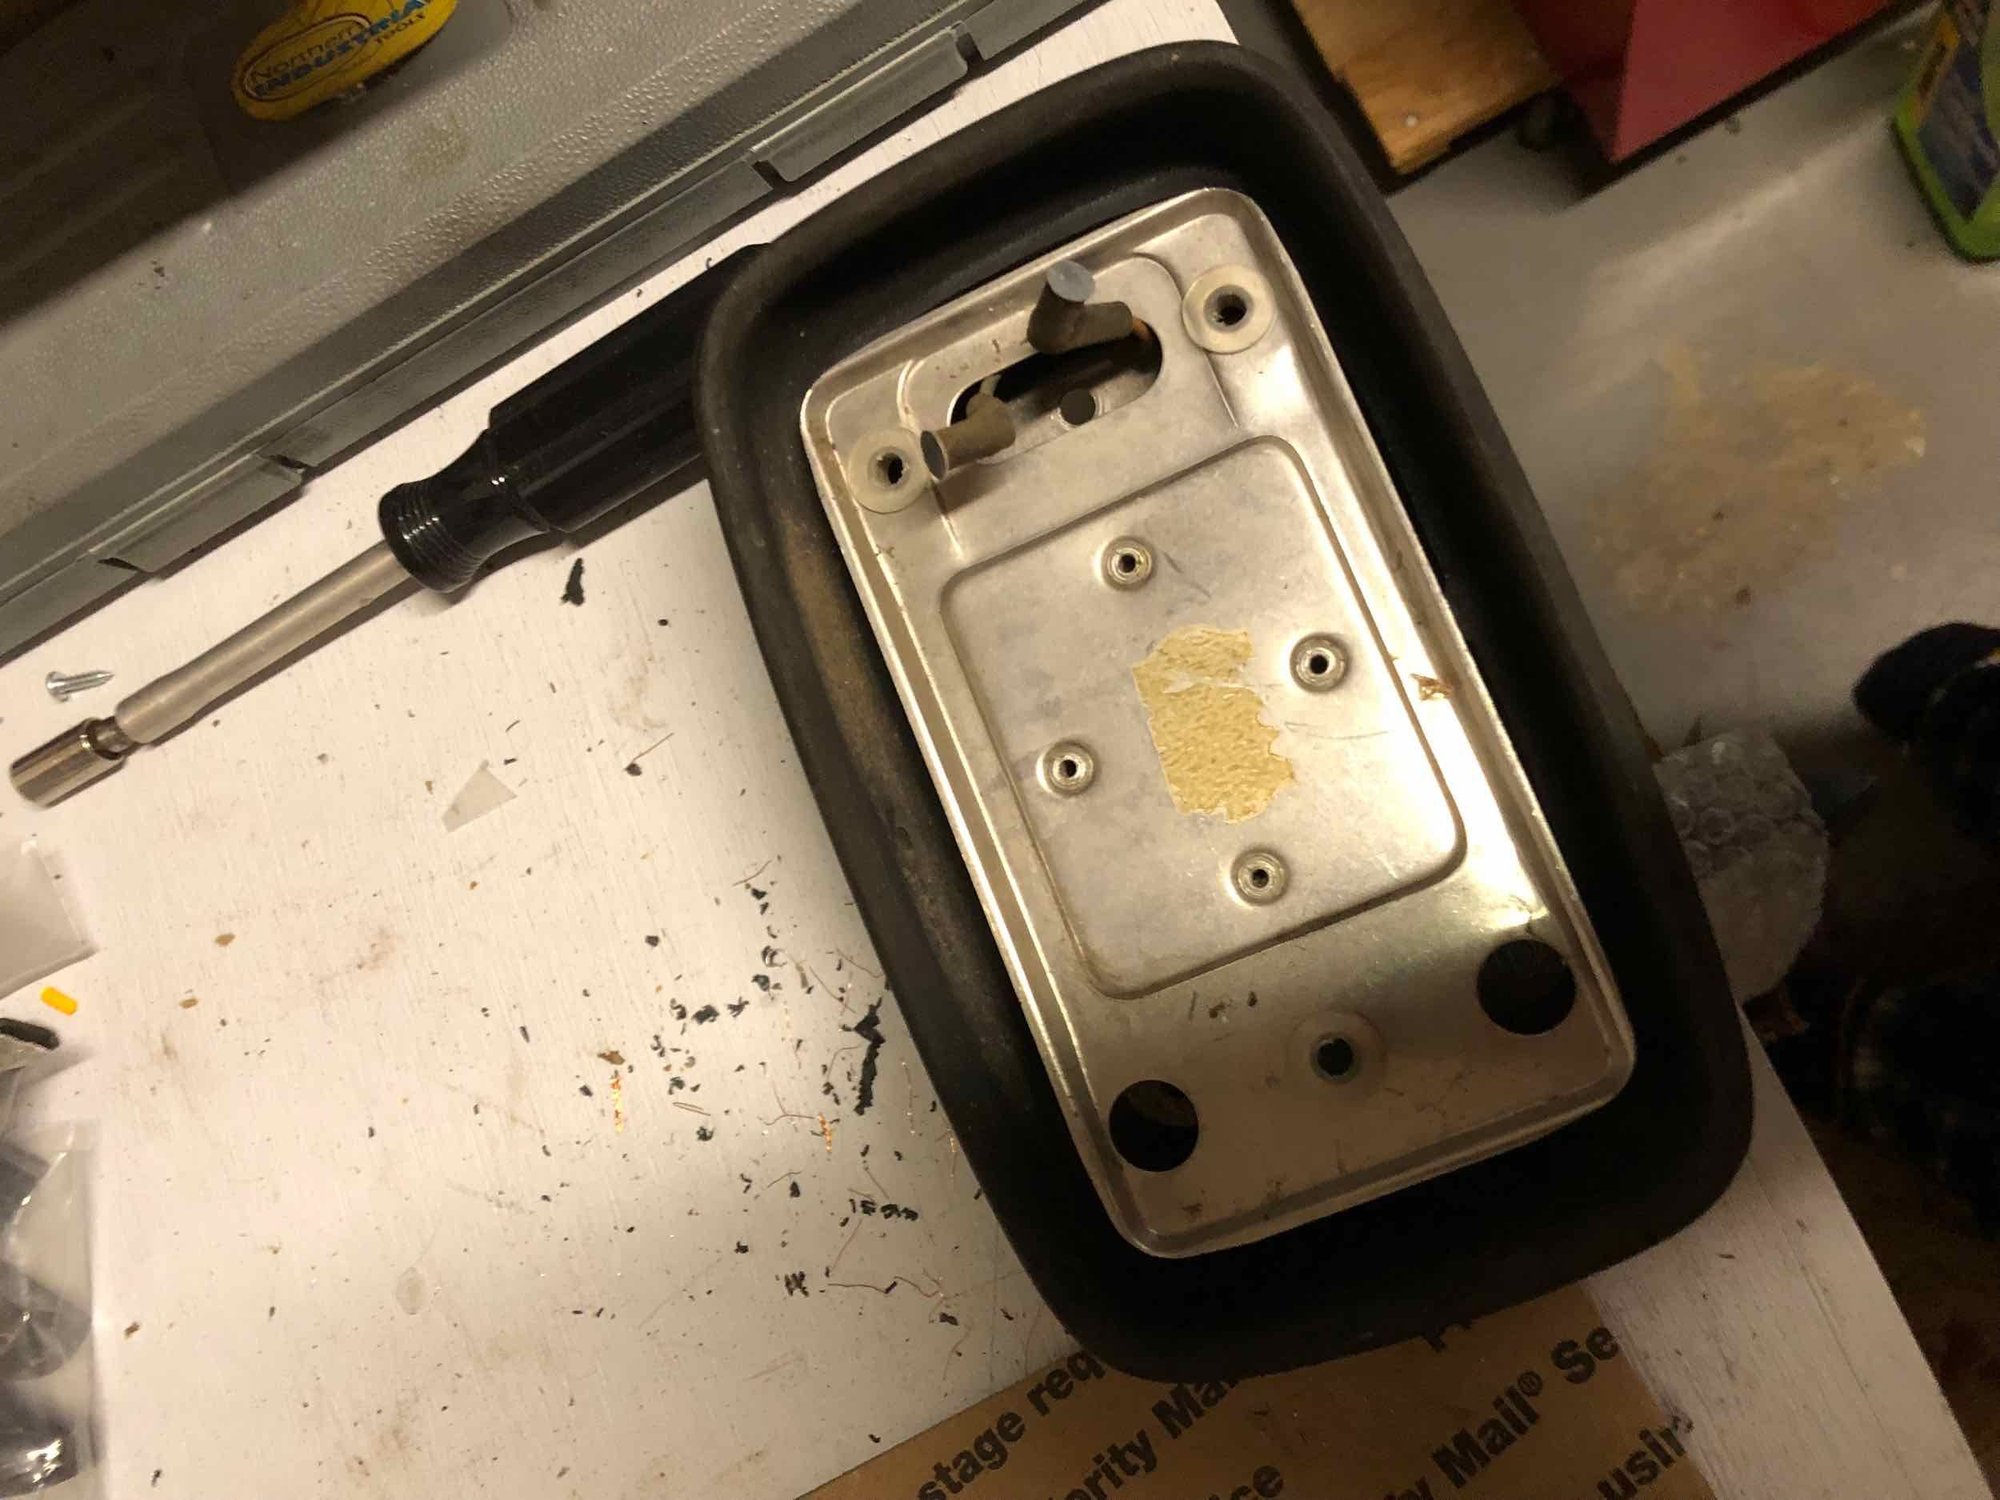
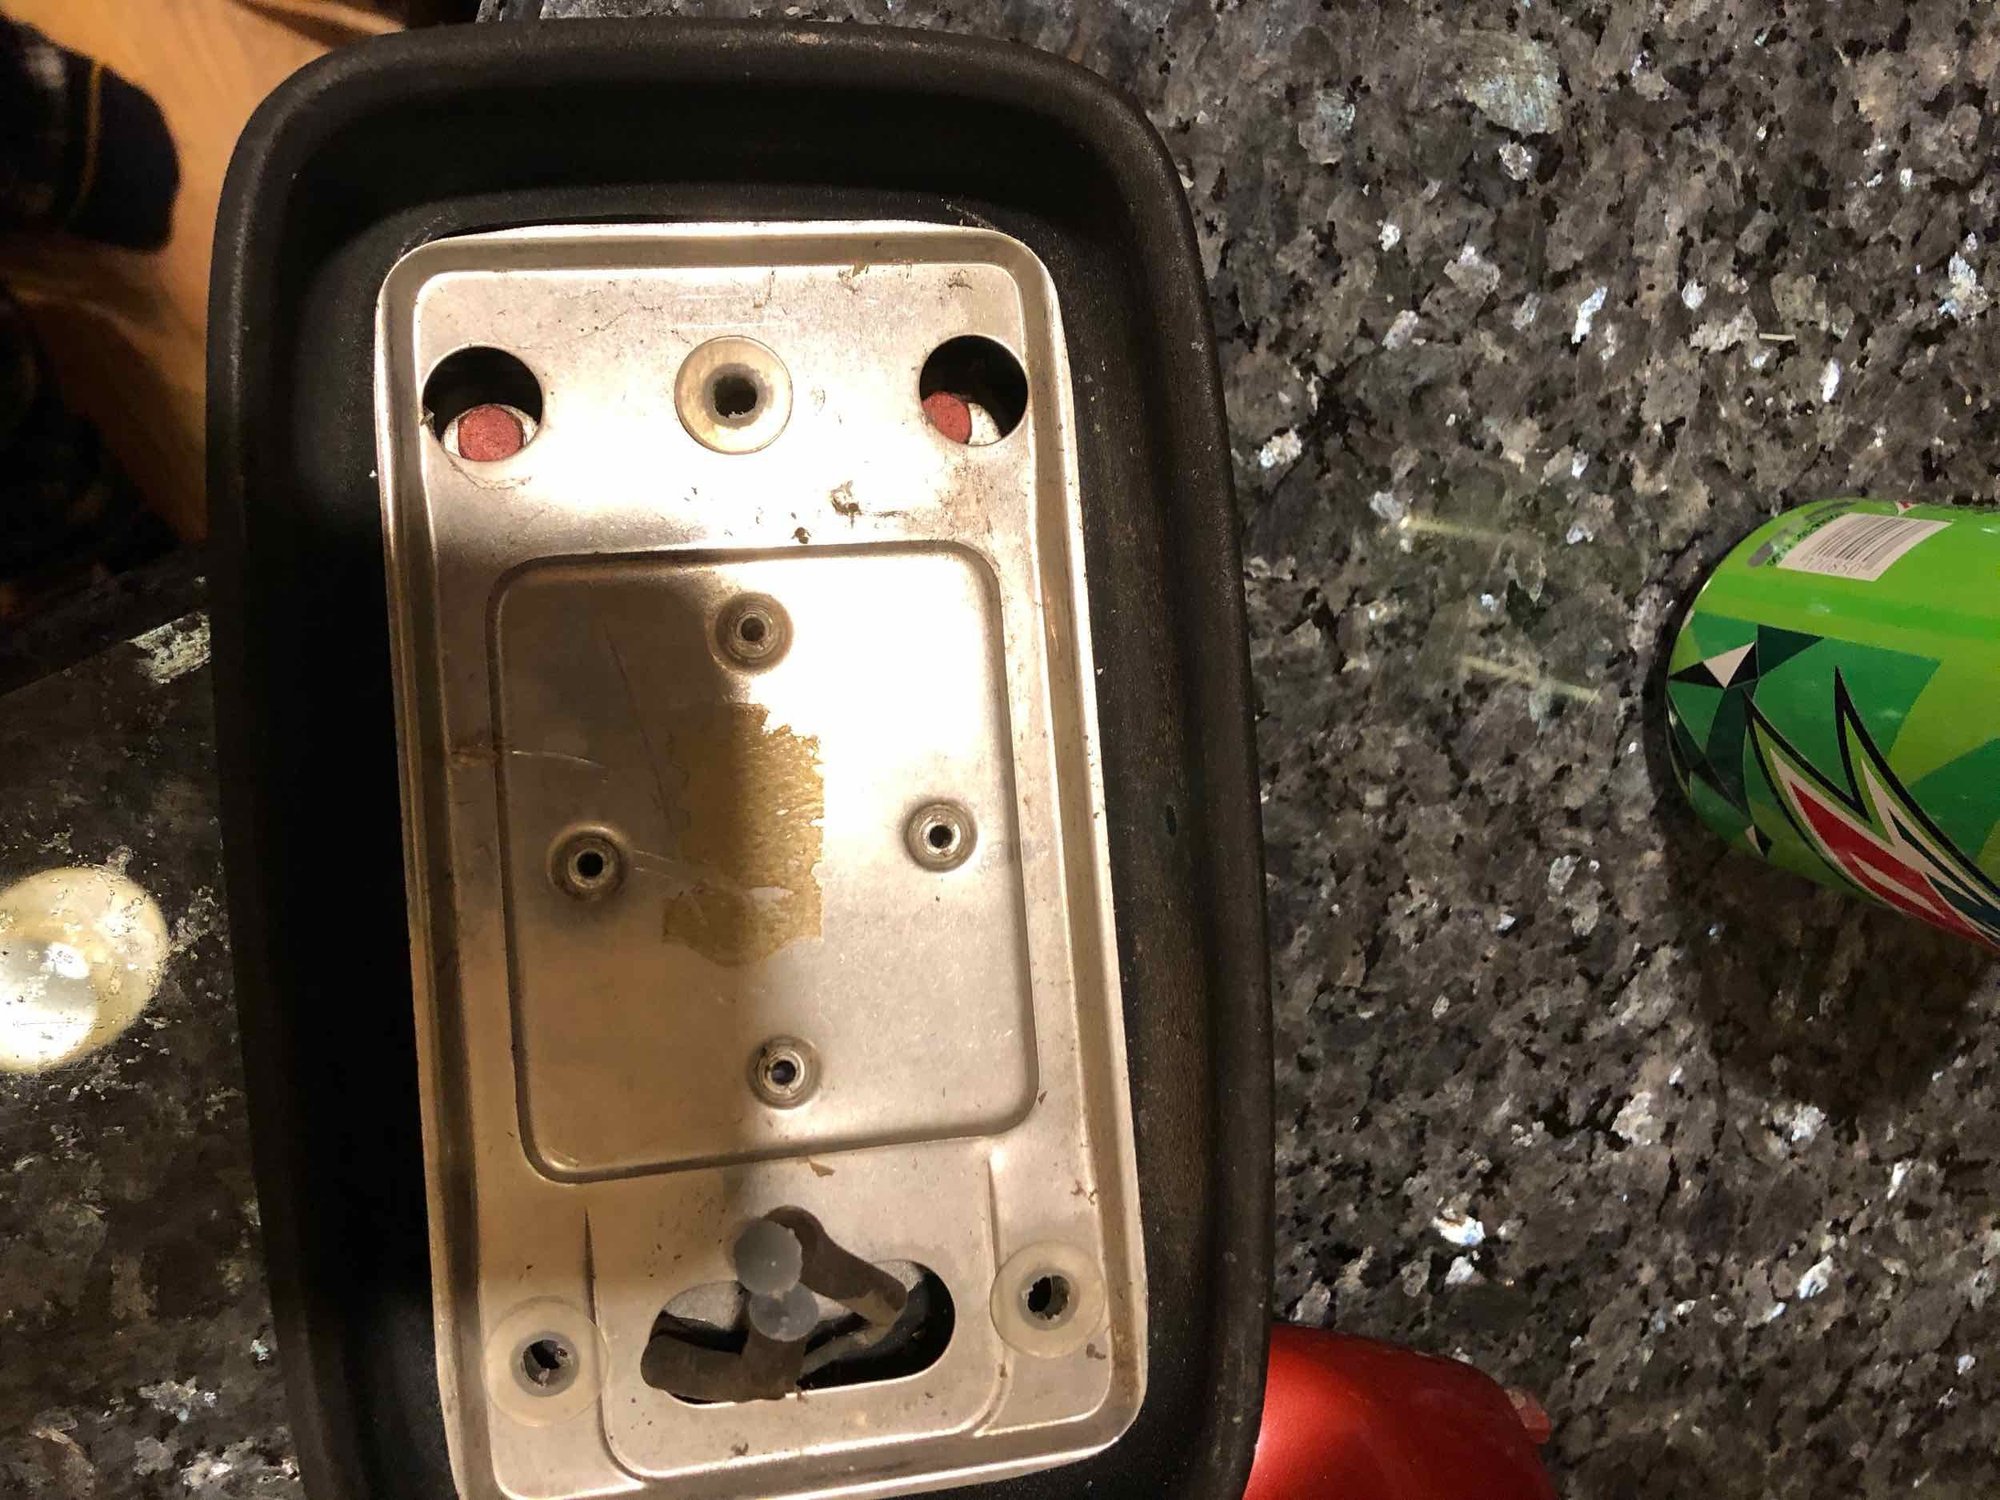
Got to figure out how to restore this and all the other rubber on the car - tried sanding with 220-400-600 sequence and that helped a little, but still not back to original.
The barrel connector here was tough to pull apart. May have just been me not wanting to break a brittle piece.
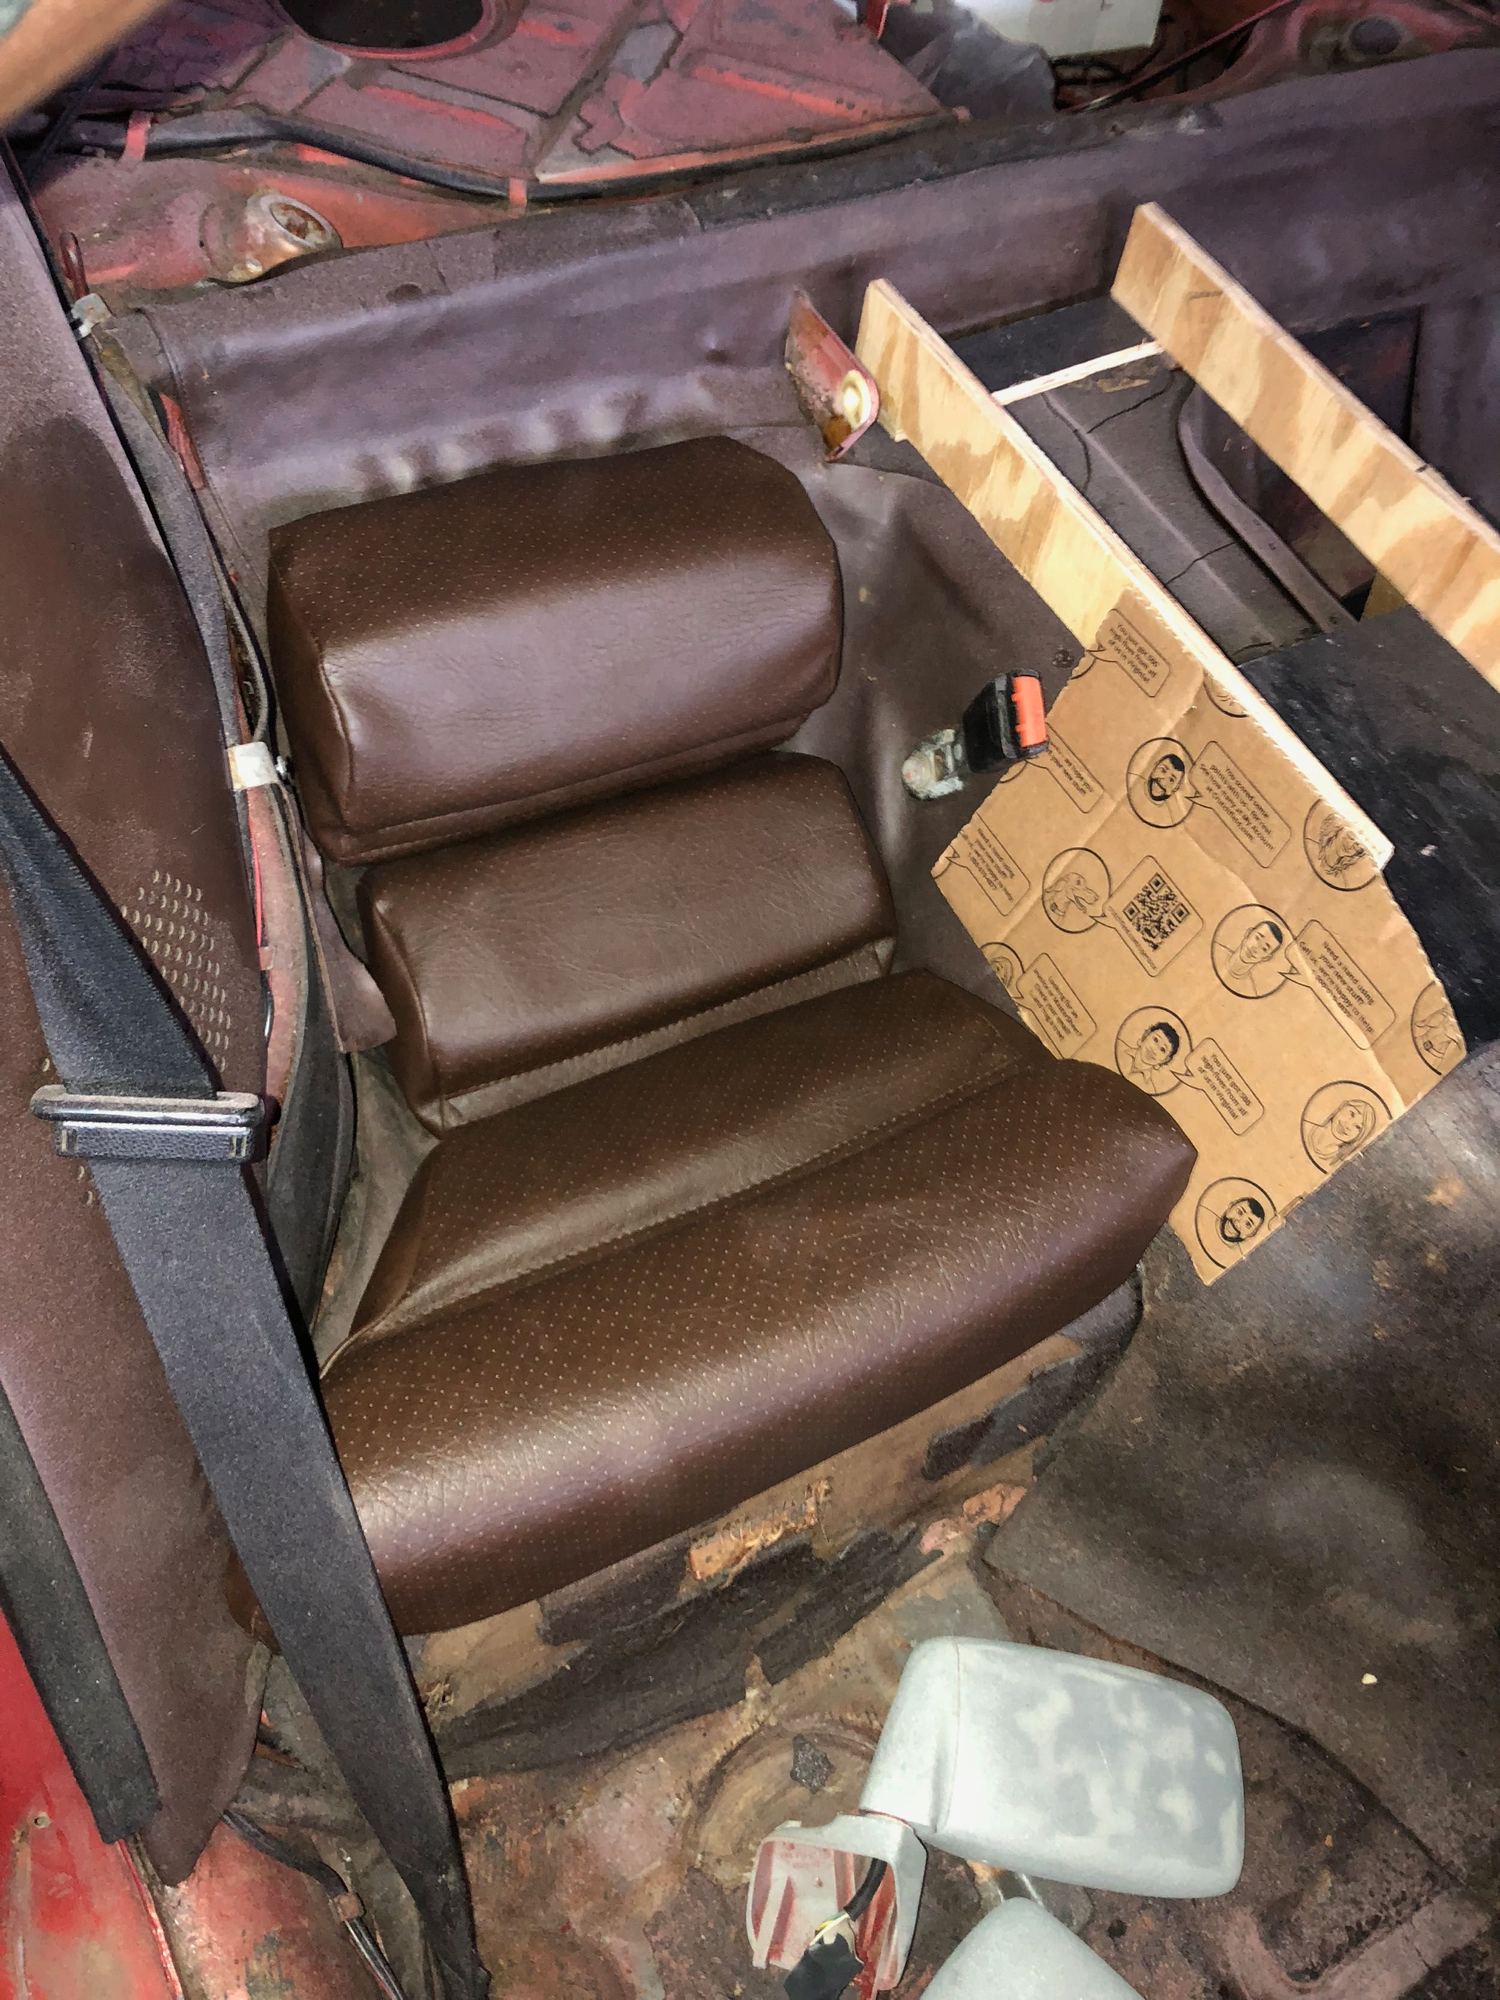
Got the driver's side back seat cushions reupholstered. Driver's side have had the seams glued and stapled.
Dash cracks have been excavated and filled - waiting for the Gorilla Glue to set for sanding.
Initial paint removal is complete. Minor surface prep left in a couple of areas prior to sealer and primer.
Picked up vinyl for dash, pod, etc.
Working on possible designs for top and sides of new custom rear console. This one is tough. Taxes my brain.
Some pics...
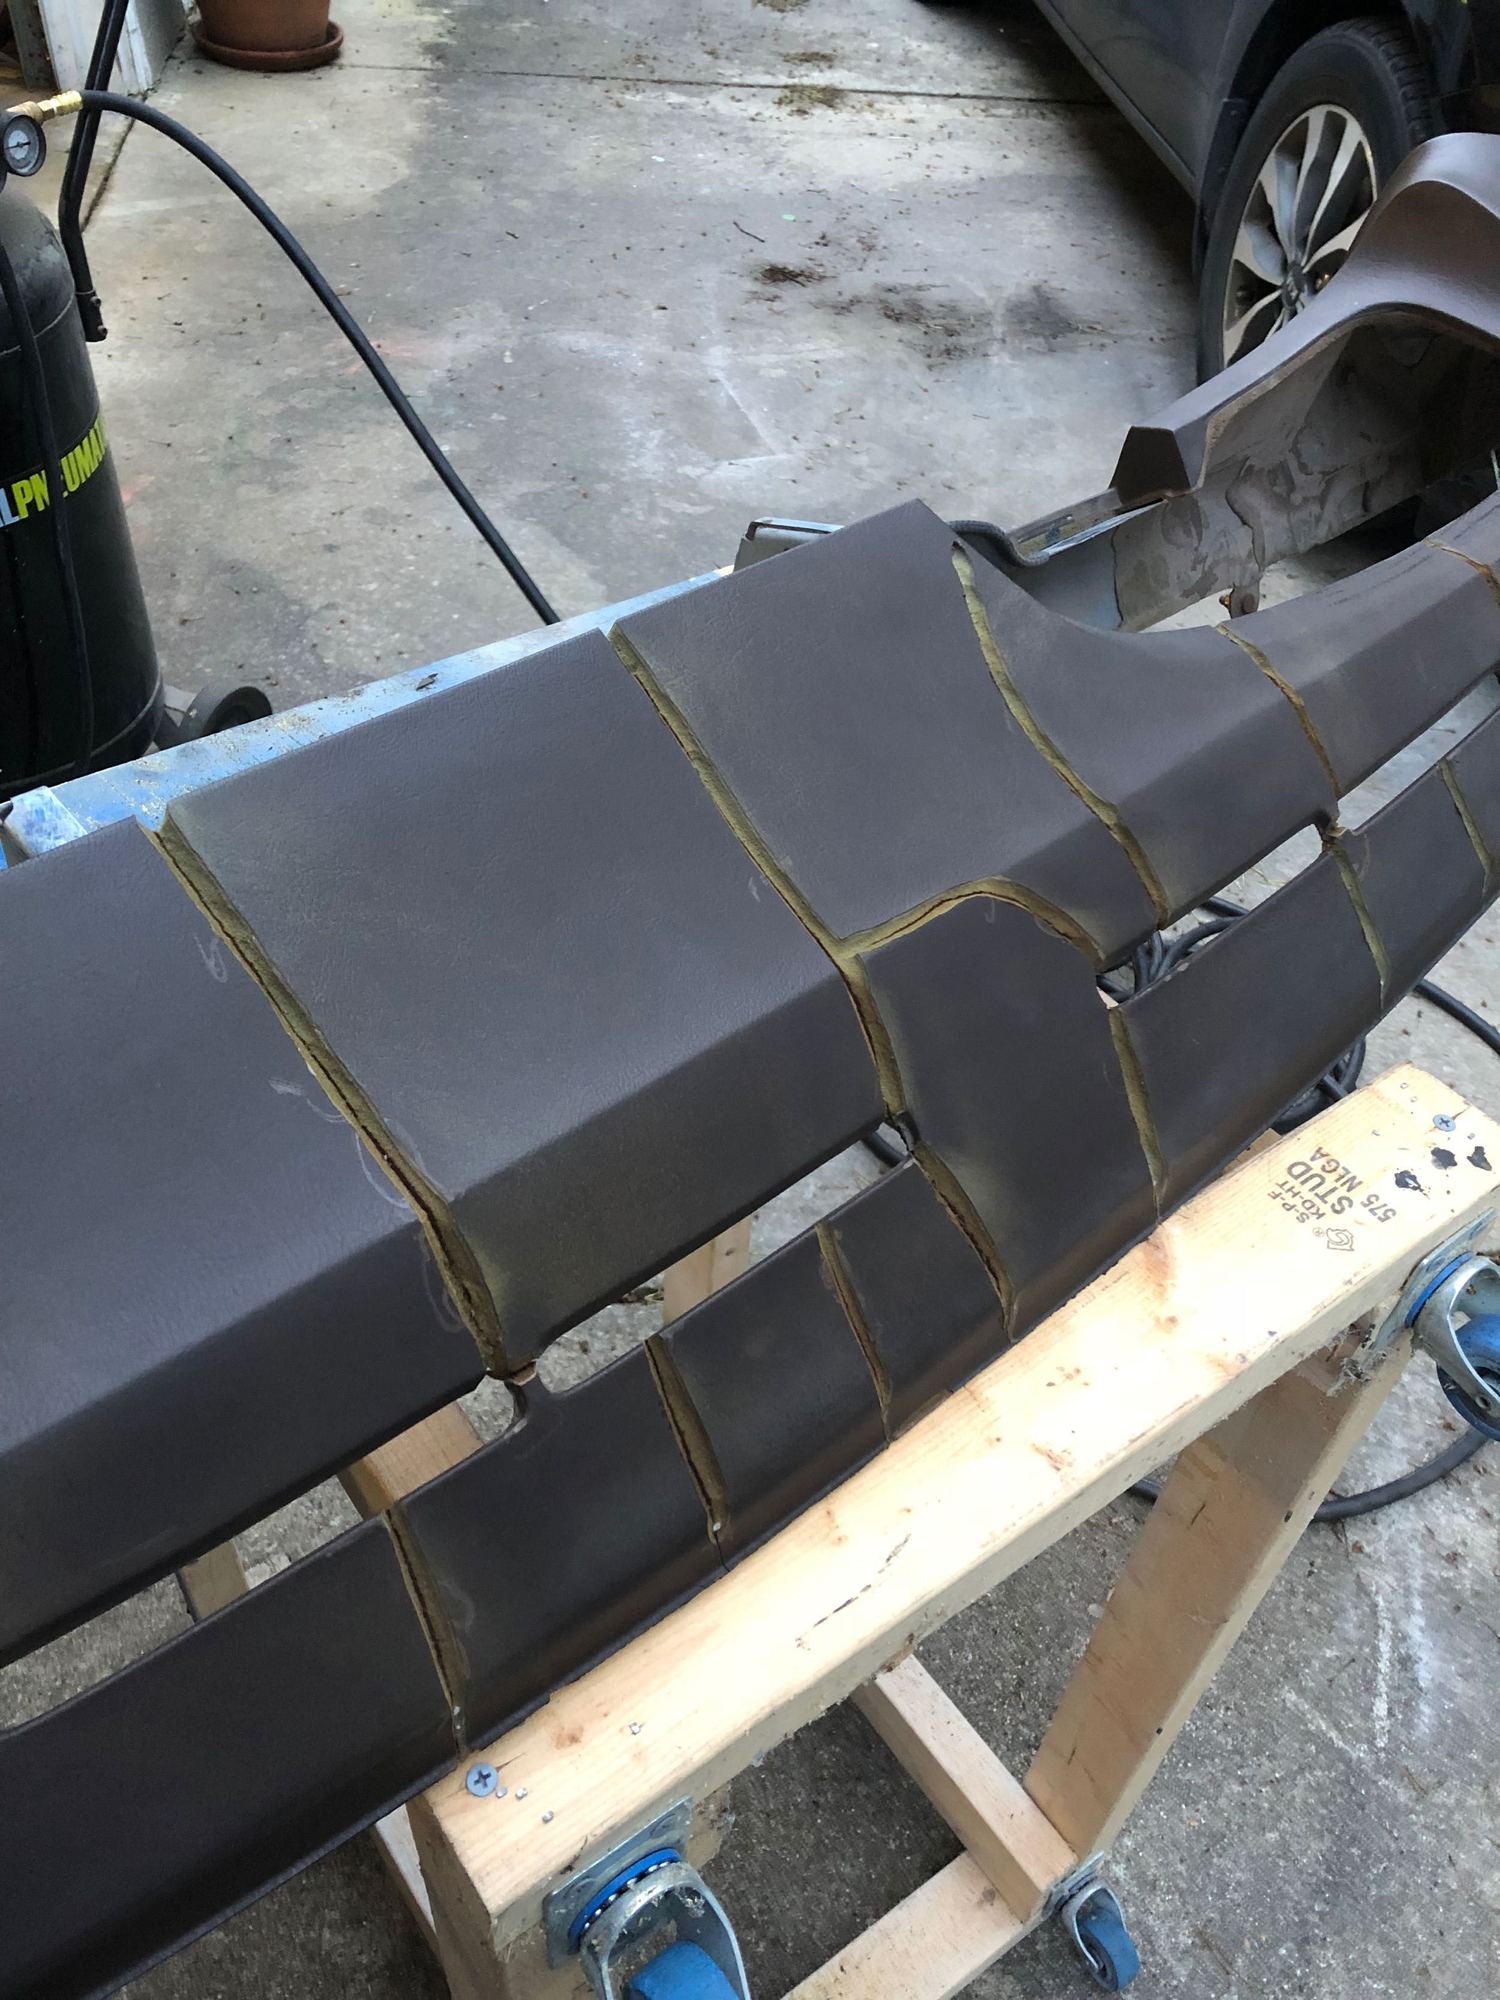
Dremel cone tip makes the cracks wider.
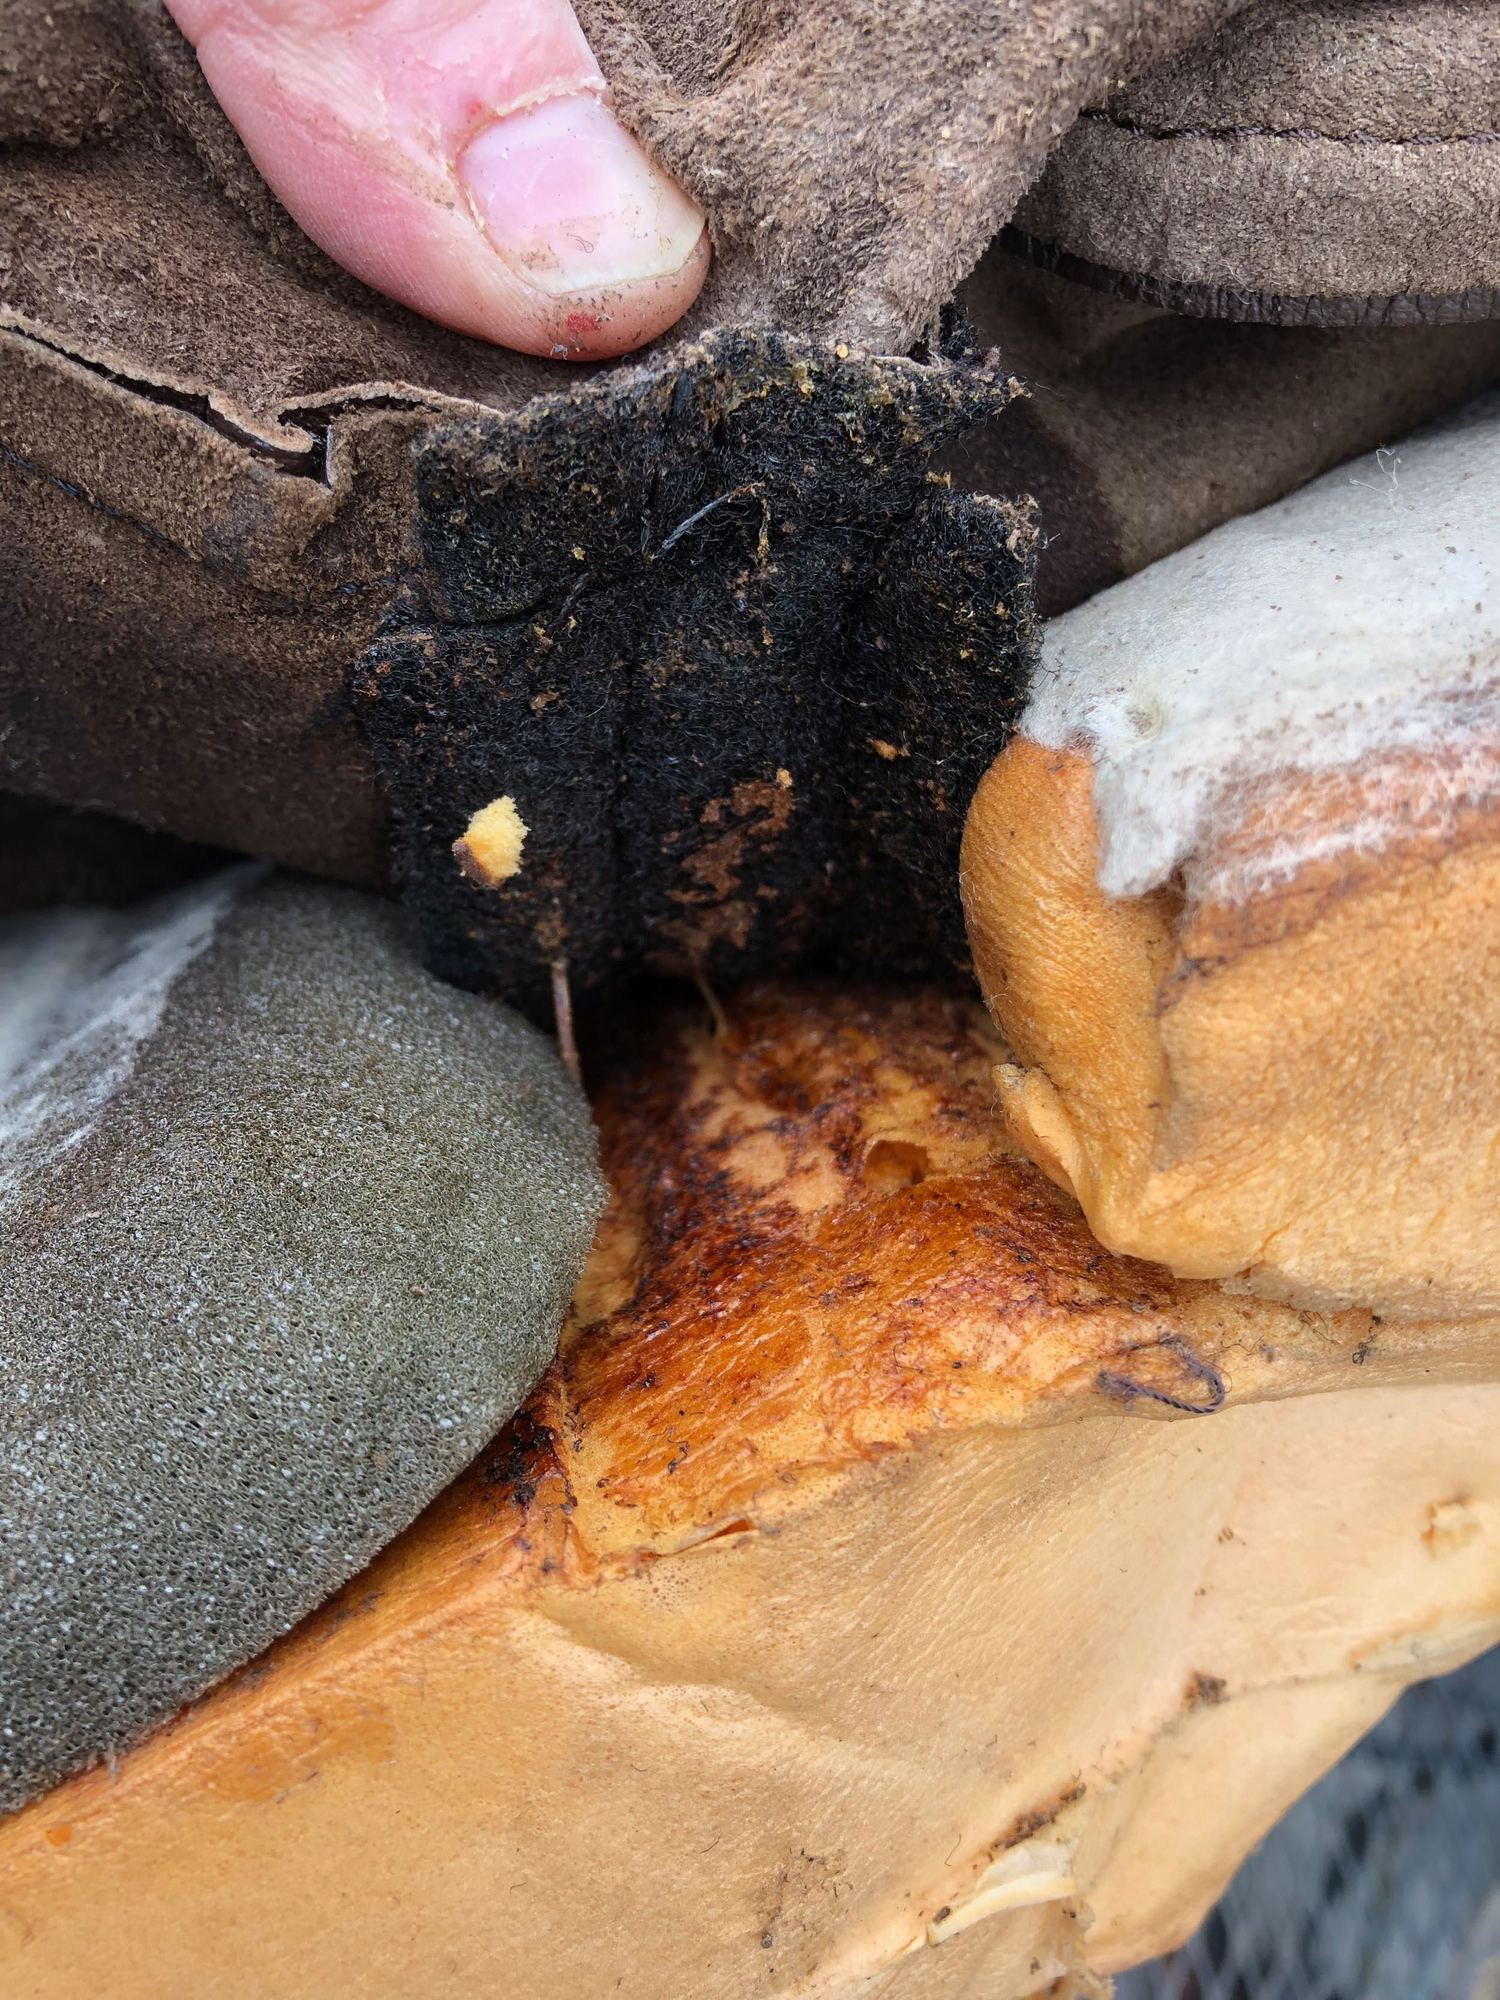
Widening makes the plastic level and removes the old cracked and solidified foam.
You can see the 'browned' foam material come out as you are dremeling. The yellow foam is ok.
Gorilla glue applied in the cracks. It will expand as it sets.
Hopefully I have enough in there to fully fill. Will know tomorrow.
Ready to sand this puppy and get new vinyl down.
Rear seat forward cushion disassembly.
The old leather material just pulls away. It is help on mostly by outward clinch staples.
This is the 'magic' material that maintains the scalloping to the cushions (my absolute favorite part of the seats). On the smaller cushions it is glued in place. On this cushion it is stapled on one side (under the grey foam).
Pull gently on the stapled in strip to remove.
The old carcass. It is really cool to feel an edge where it was stapled underneath a second exposed piece of leather to see how soft and supple it was once upon a time.
Cushion after removal.
We will apply glue to the lower piece of foam right down the center and under the edges of the upper pieces. The bottom side of the upper pieces get glue as well where the magic strip attaches.
Magic strip inside new seat cover.
Glue applied.
While we wait for the glue to dry, here is a test fit of the passenger side cushions (not attached together yet though).


 02-25-2018, 07:43 PM