When you click on links to various merchants on this site and make a purchase, this can result in this site earning a commission. Affiliate programs and affiliations include, but are not limited to, the eBay Partner Network.
I think there is a good chance I can get it for free, if you help me remove it. Car is sitting on dirt, possibly on cement blocks, no wheels, would require jacking /stabilizing to gain access.. I removed most parts from it about 3 years ago, been sitting ever since.
I just sent the owner a text, he doesnt have any real interest in this car, might be able to get over there and take a look at it weather permitting, in the next day or two, got to measure that bus door too!
I just sent the owner a text, he doesnt have any real interest in this car, might be able to get over there and take a look at it weather permitting, in the next day or two, got to measure that bus door too!
Dont forget how high you need to have a body to get the tank out, especially if its not on wheels ! BTDT! Watch this with interest.
jp 83 Euro S AT 57k
Dont forget how high you need to have a body to get the tank out, especially if its not on wheels ! BTDT! Watch this with interest.
jp 83 Euro S AT 57k
LOL. BTDT!!!! About 3 weeks ago. Had car on jack stands on an incline. Not very safe. Realized I had to go up about 6 more inches. Scared the hell outa me.
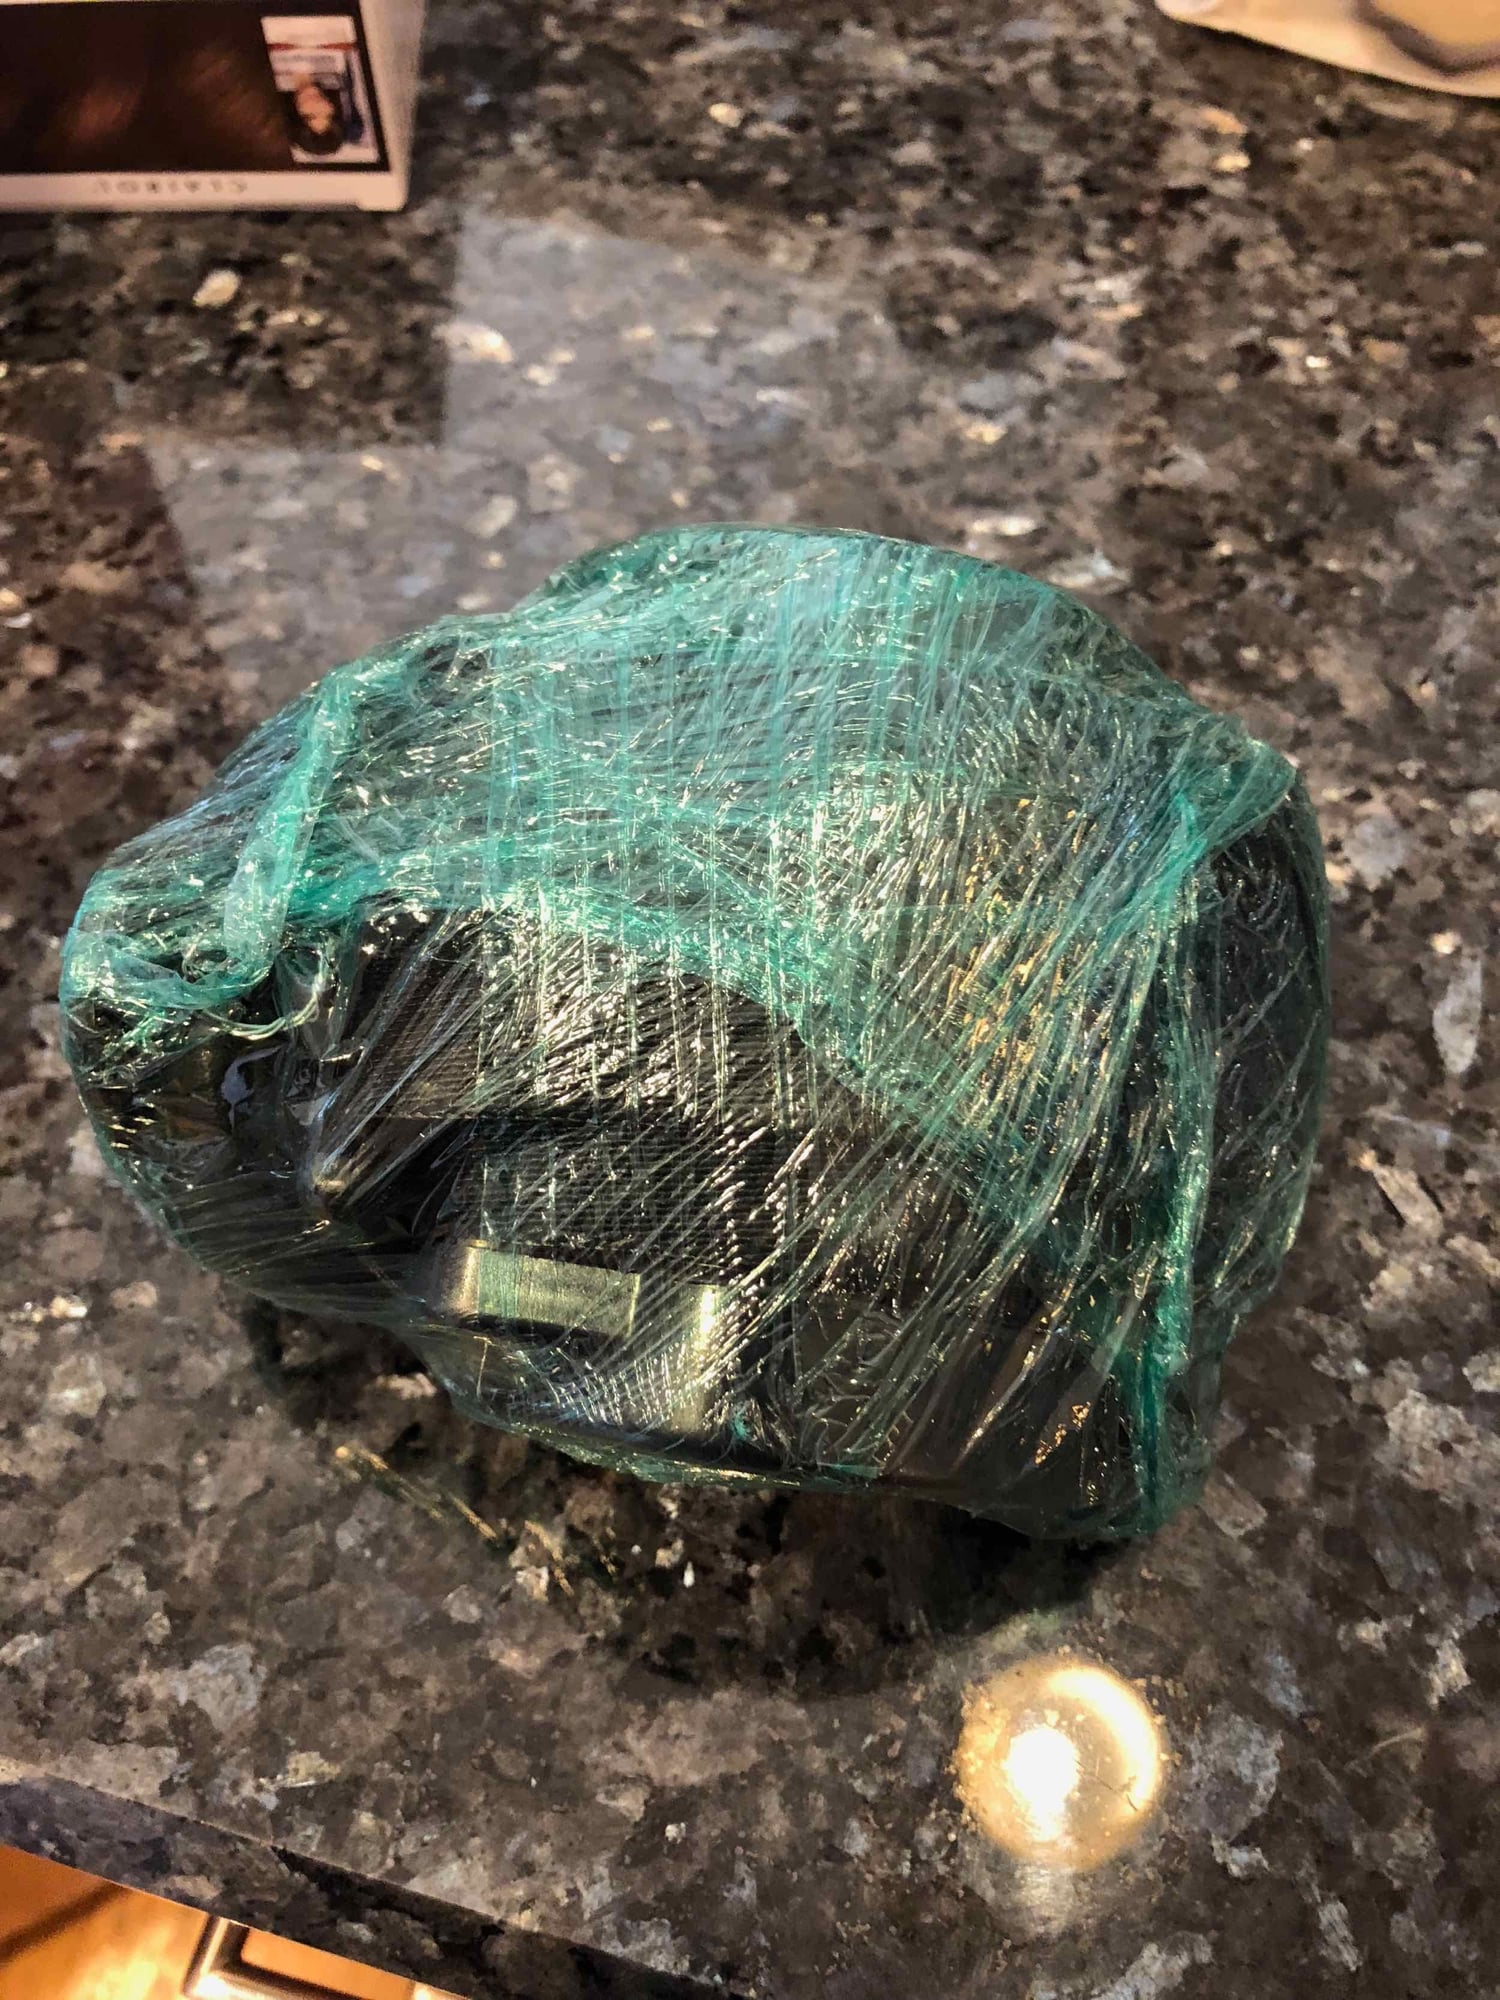
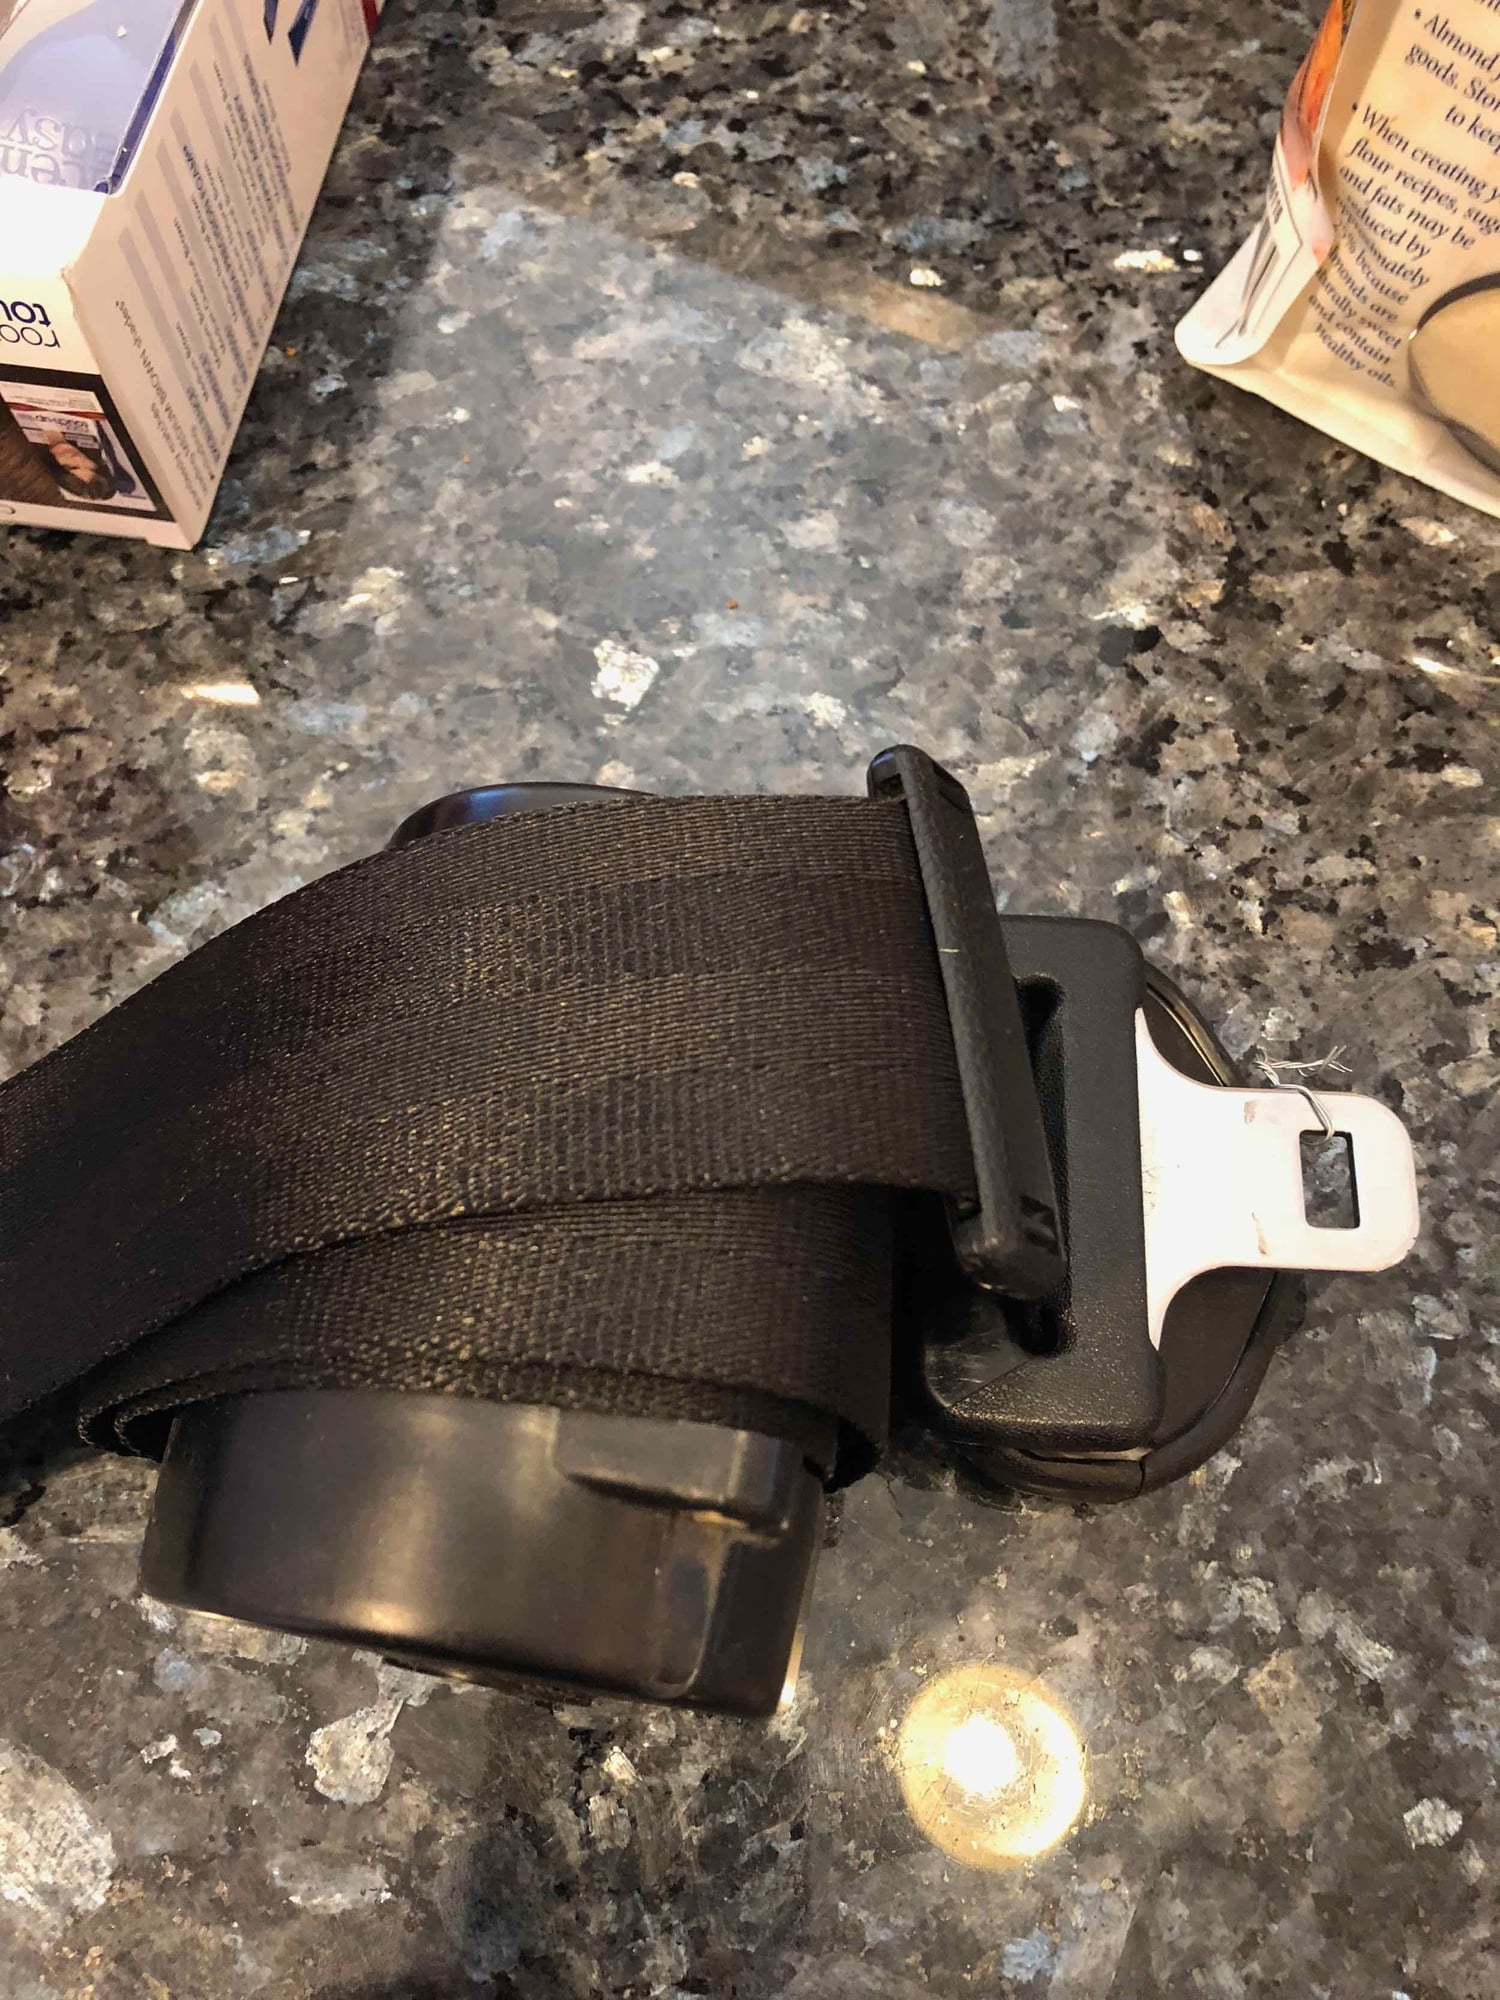
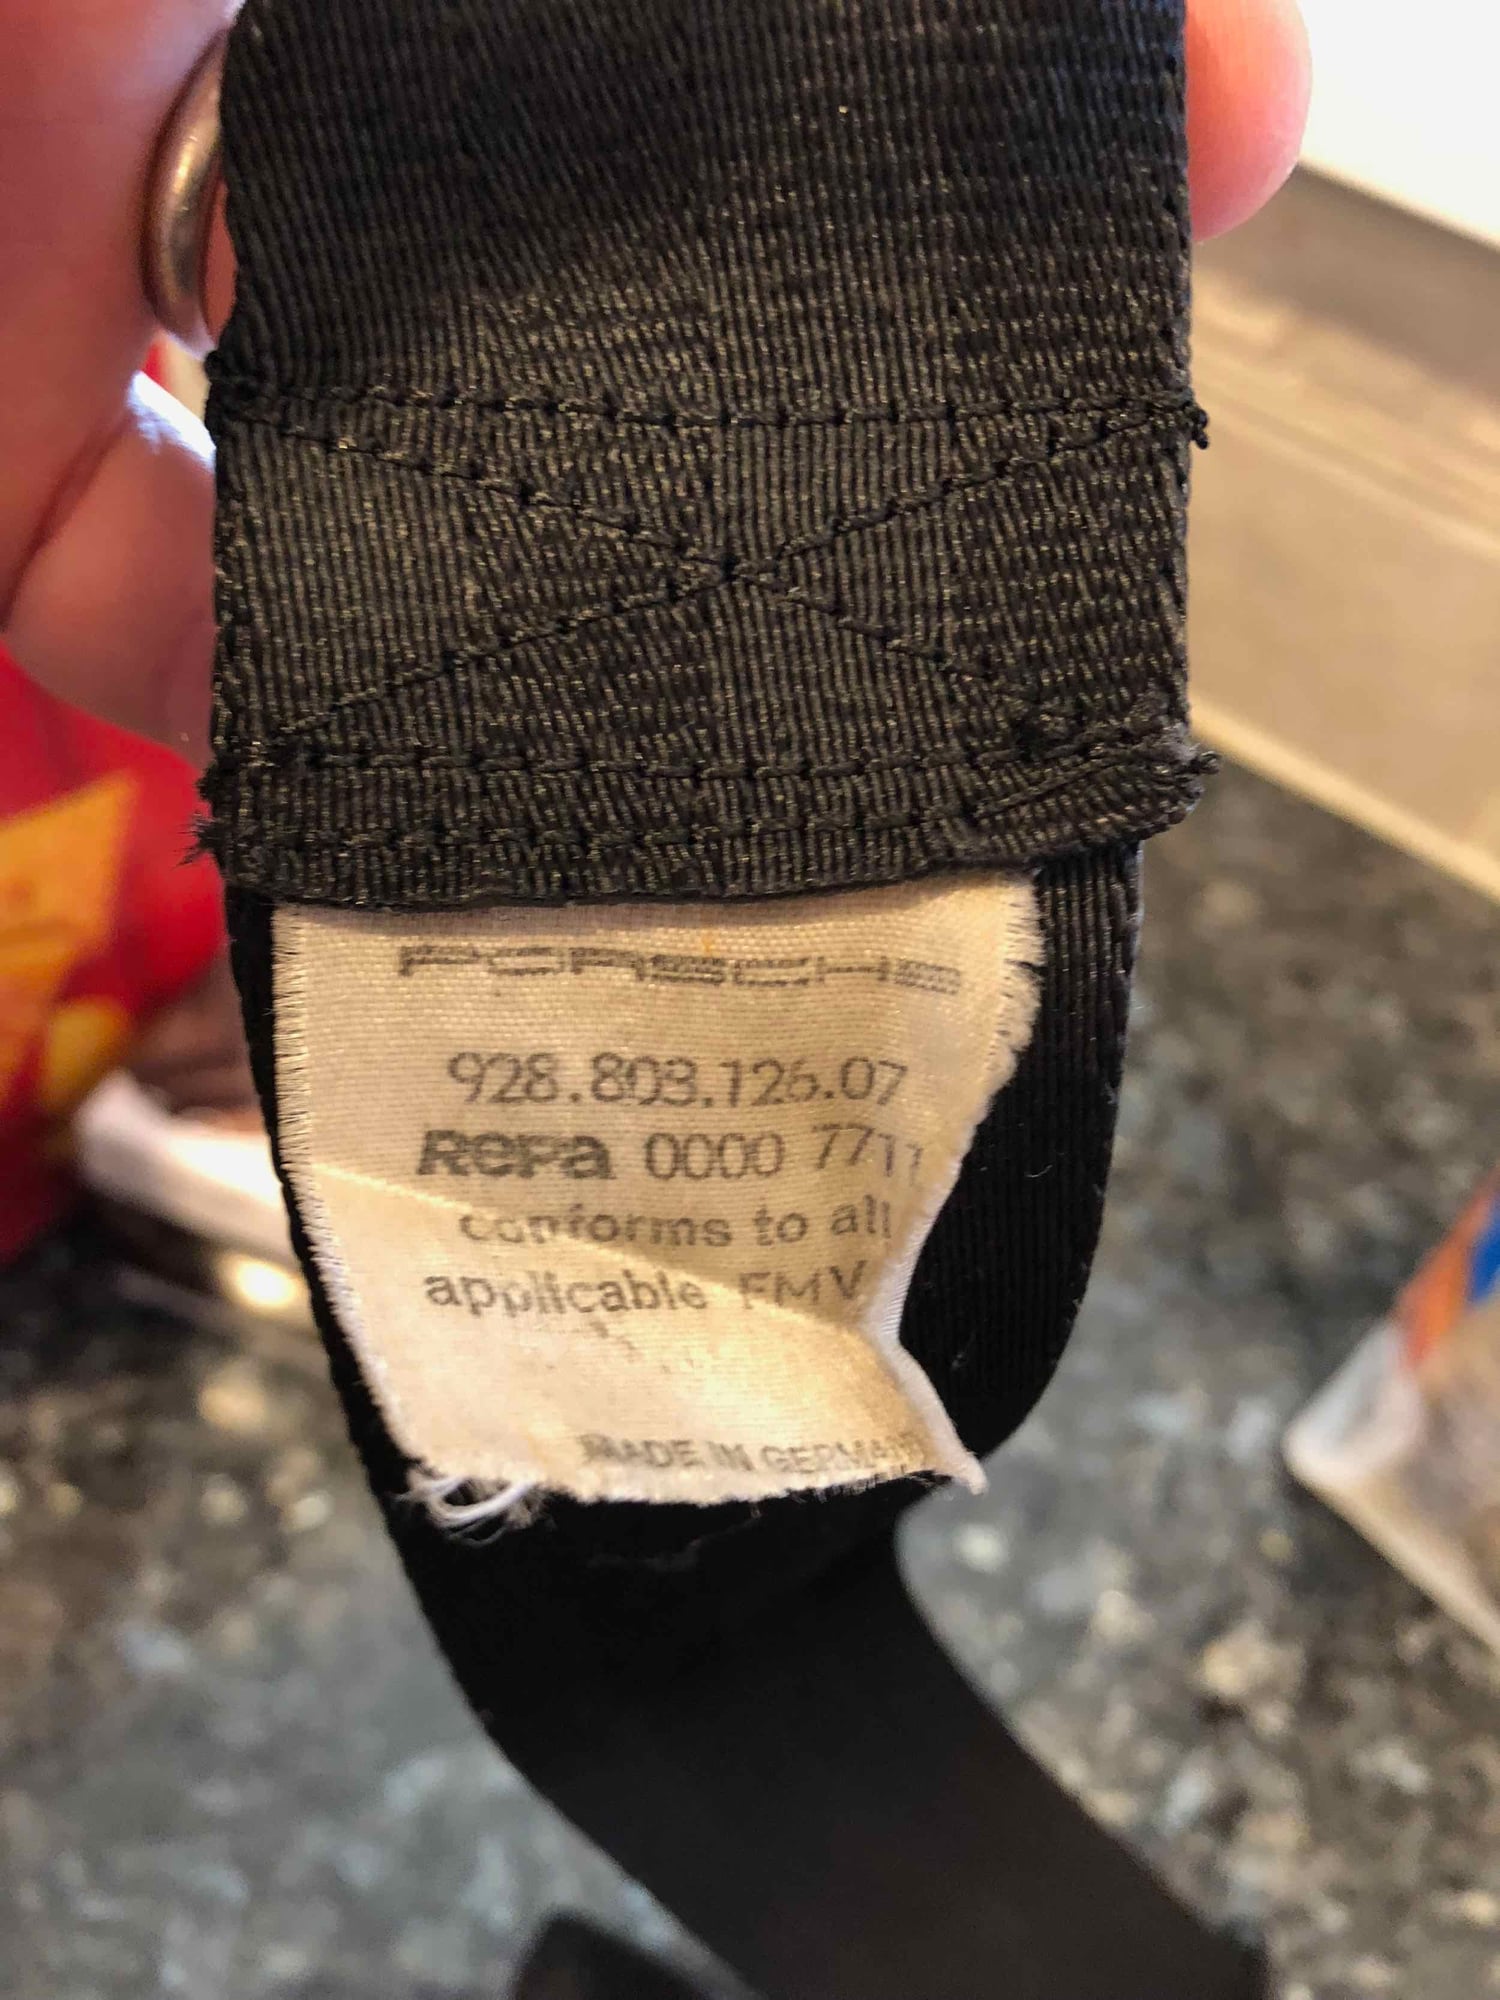
Just got my driver's side seatbelt back from being refurbished. I sent it to Safety Restore. For $75.00, they took it apart, cleaned the mechanism, and then put brand new webbing (the belt itself). They even took off and sewed the original Porsche factory tag back on it.
The original had gotten frayed up and would not retract all the way into the reel.
Very pleased and quick turnaround. Much better than a new belt from Porsche at $300+
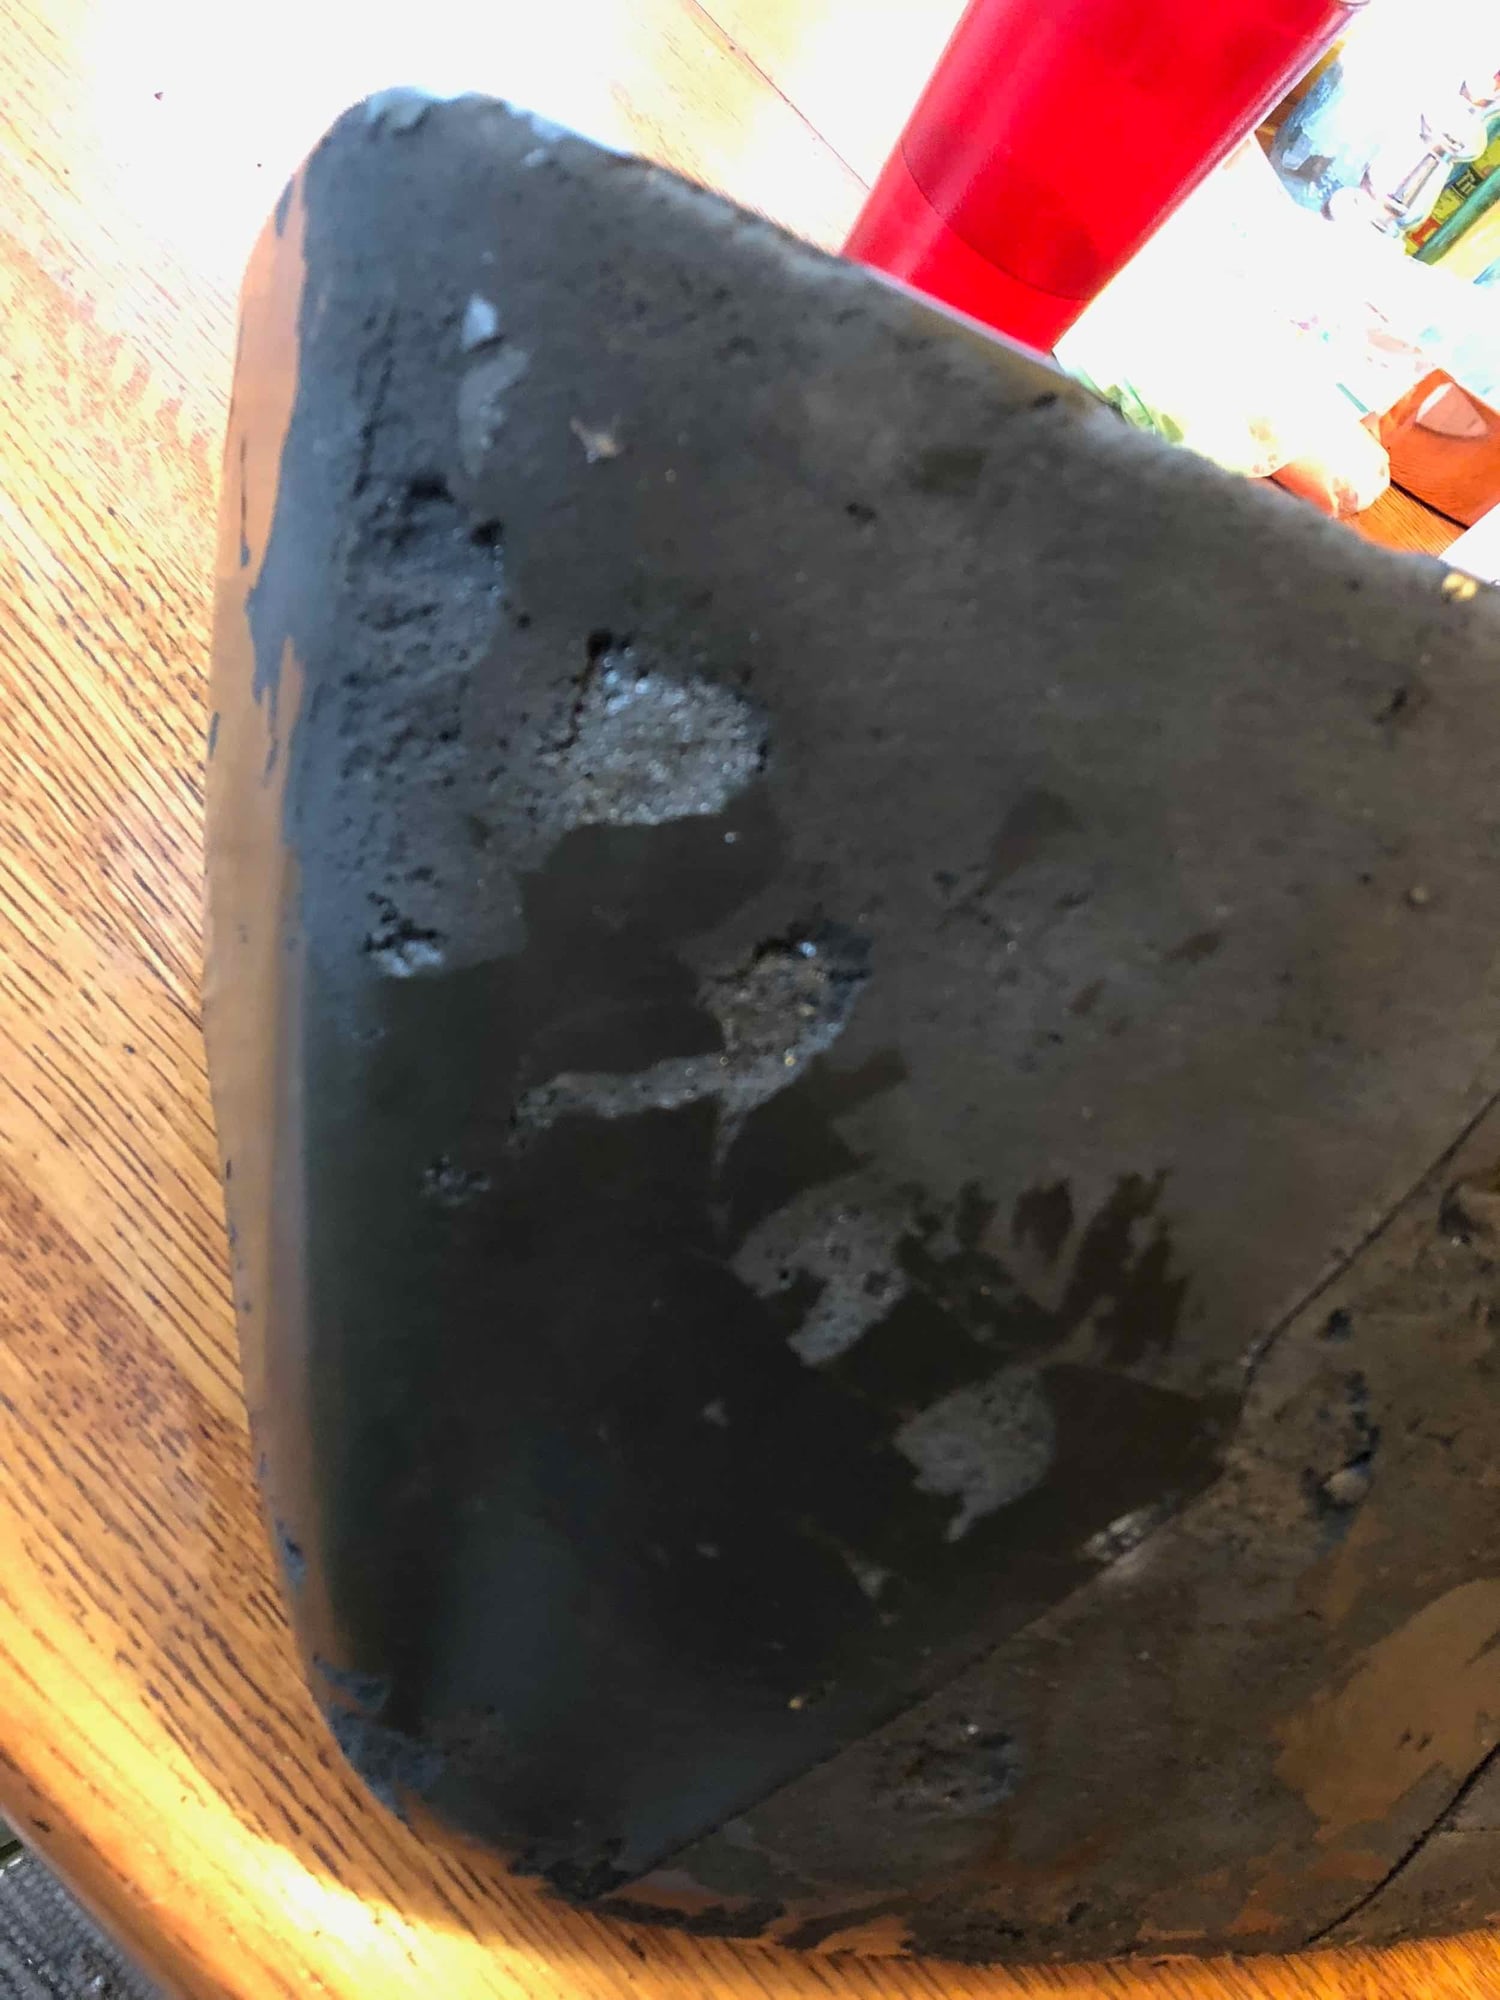
More work done this weekend. I finally got my gas tank repaired. Combination of HDPE sticks (plastic 'welding') and one stubborn spot that I ended up using JB Weld for.
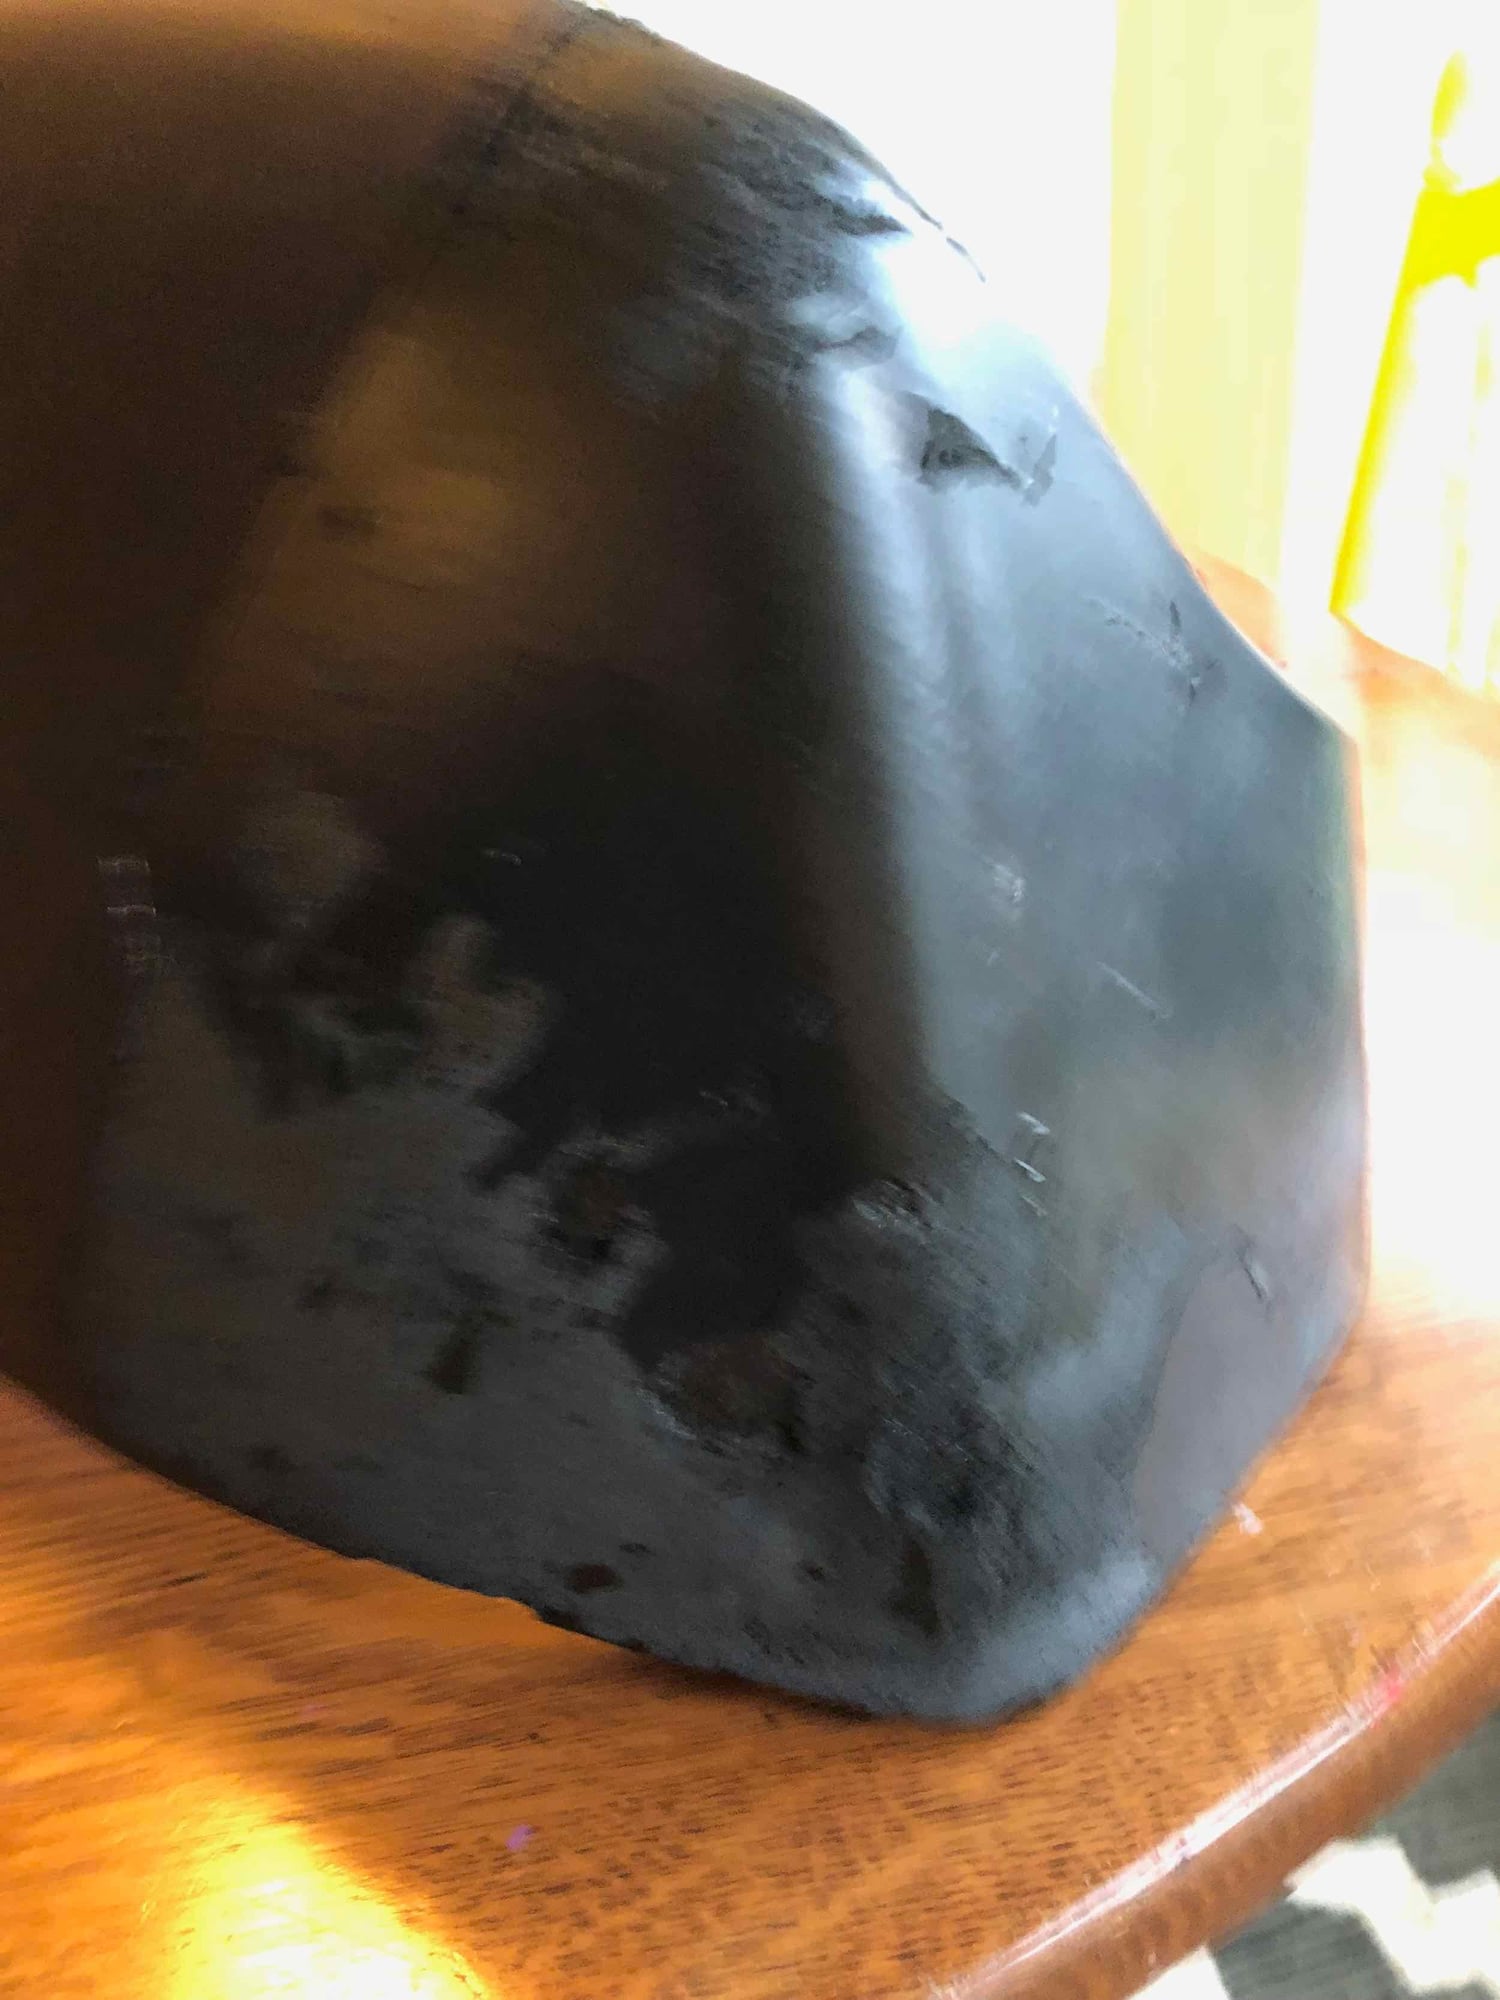
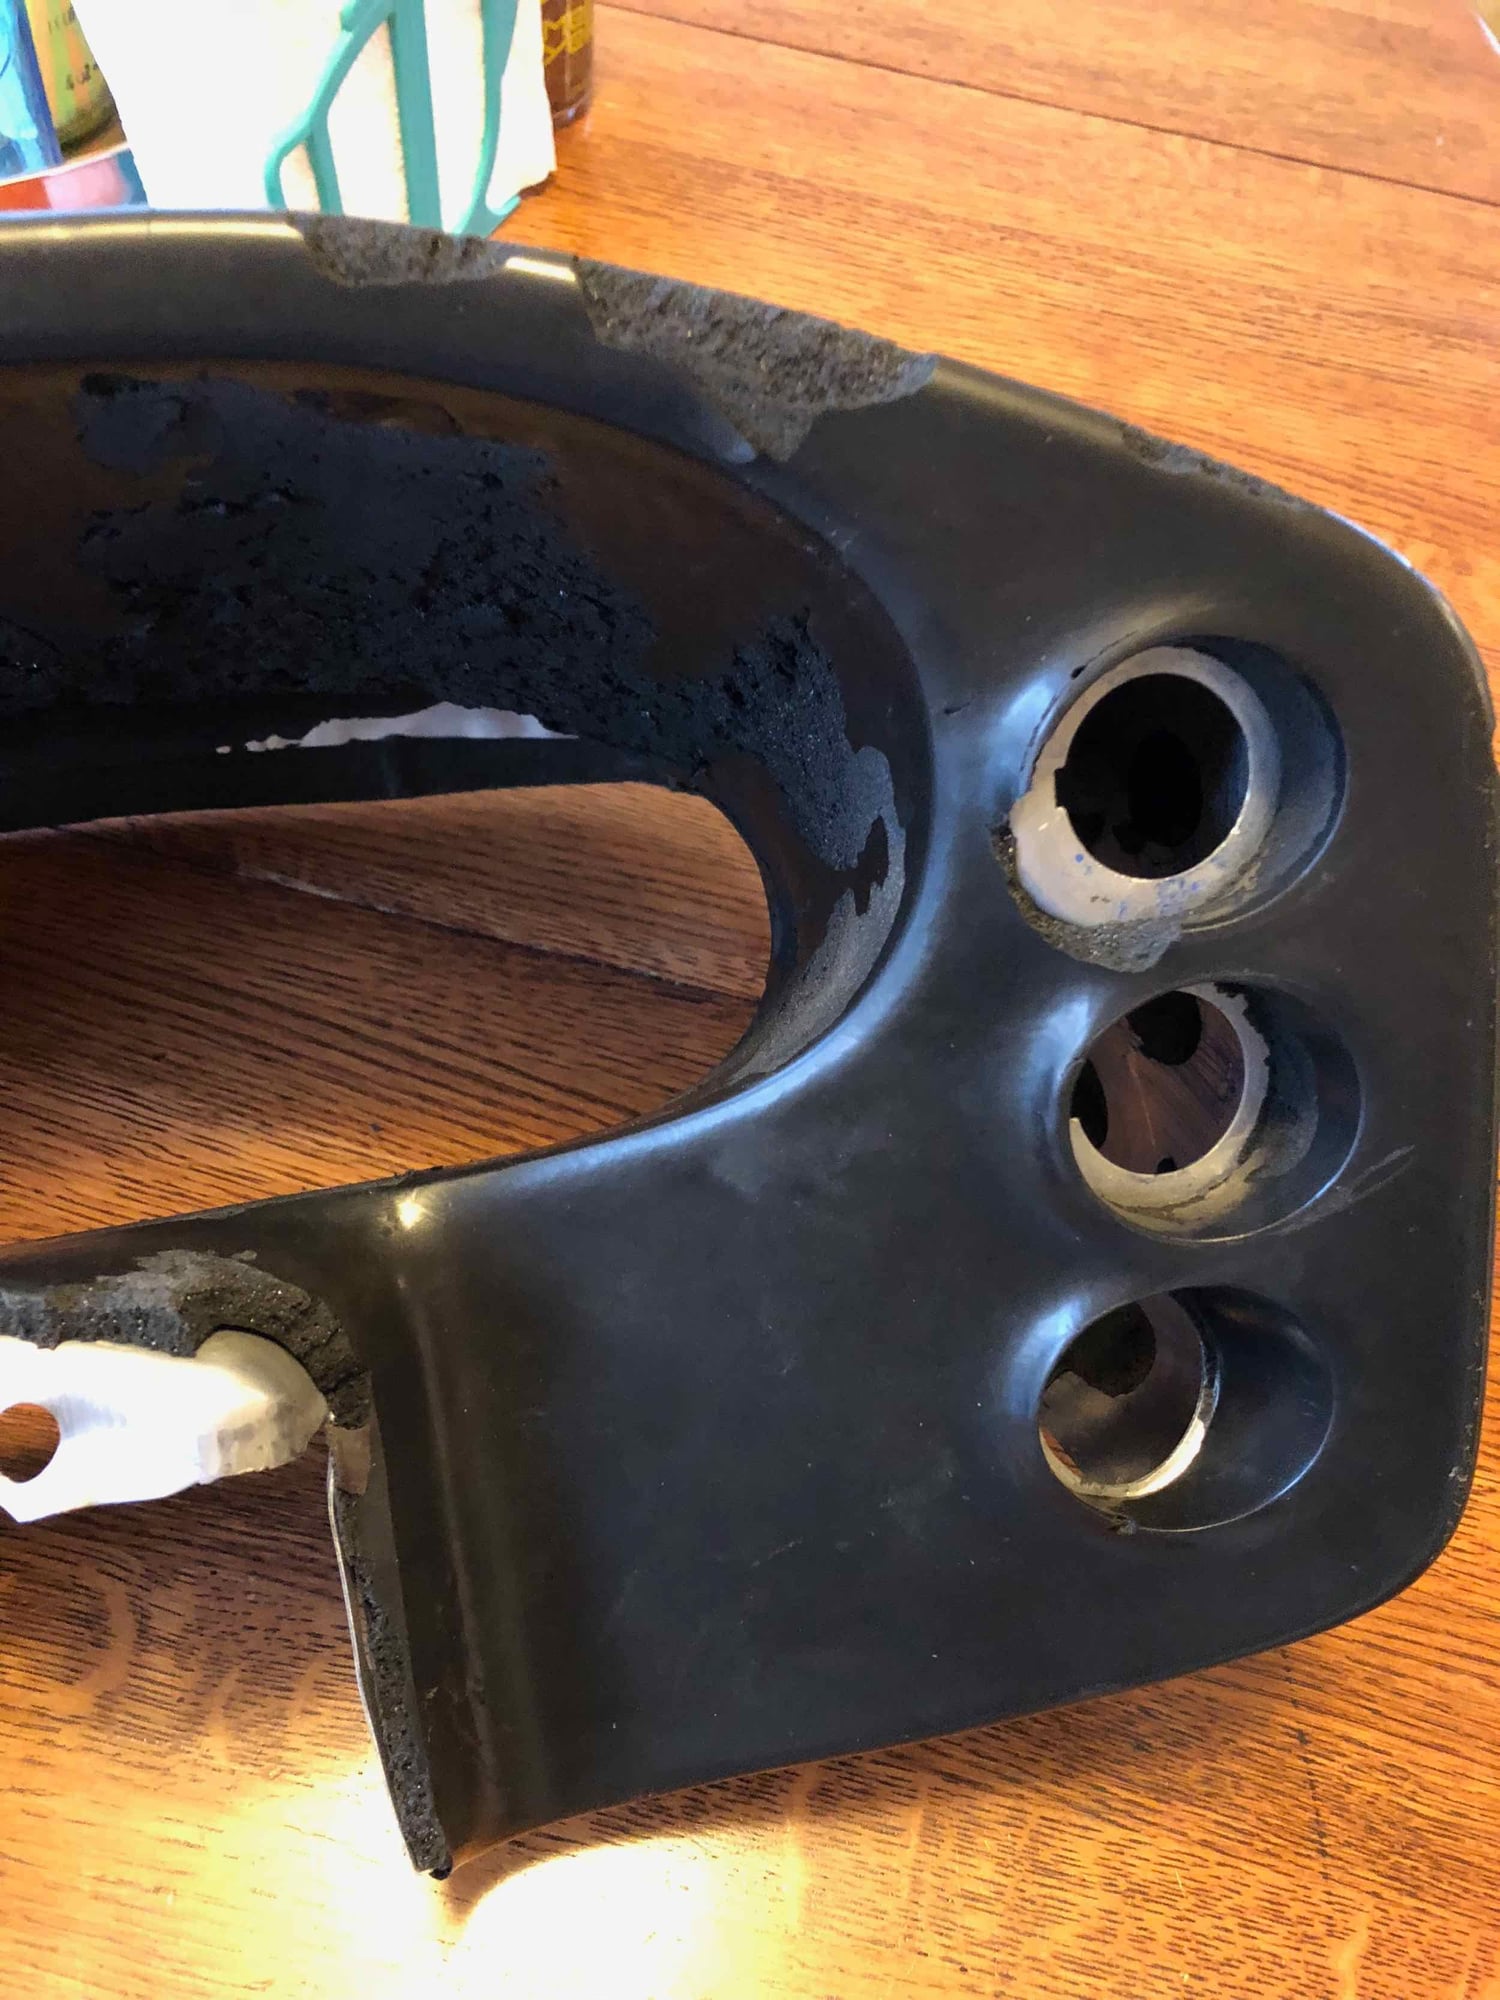
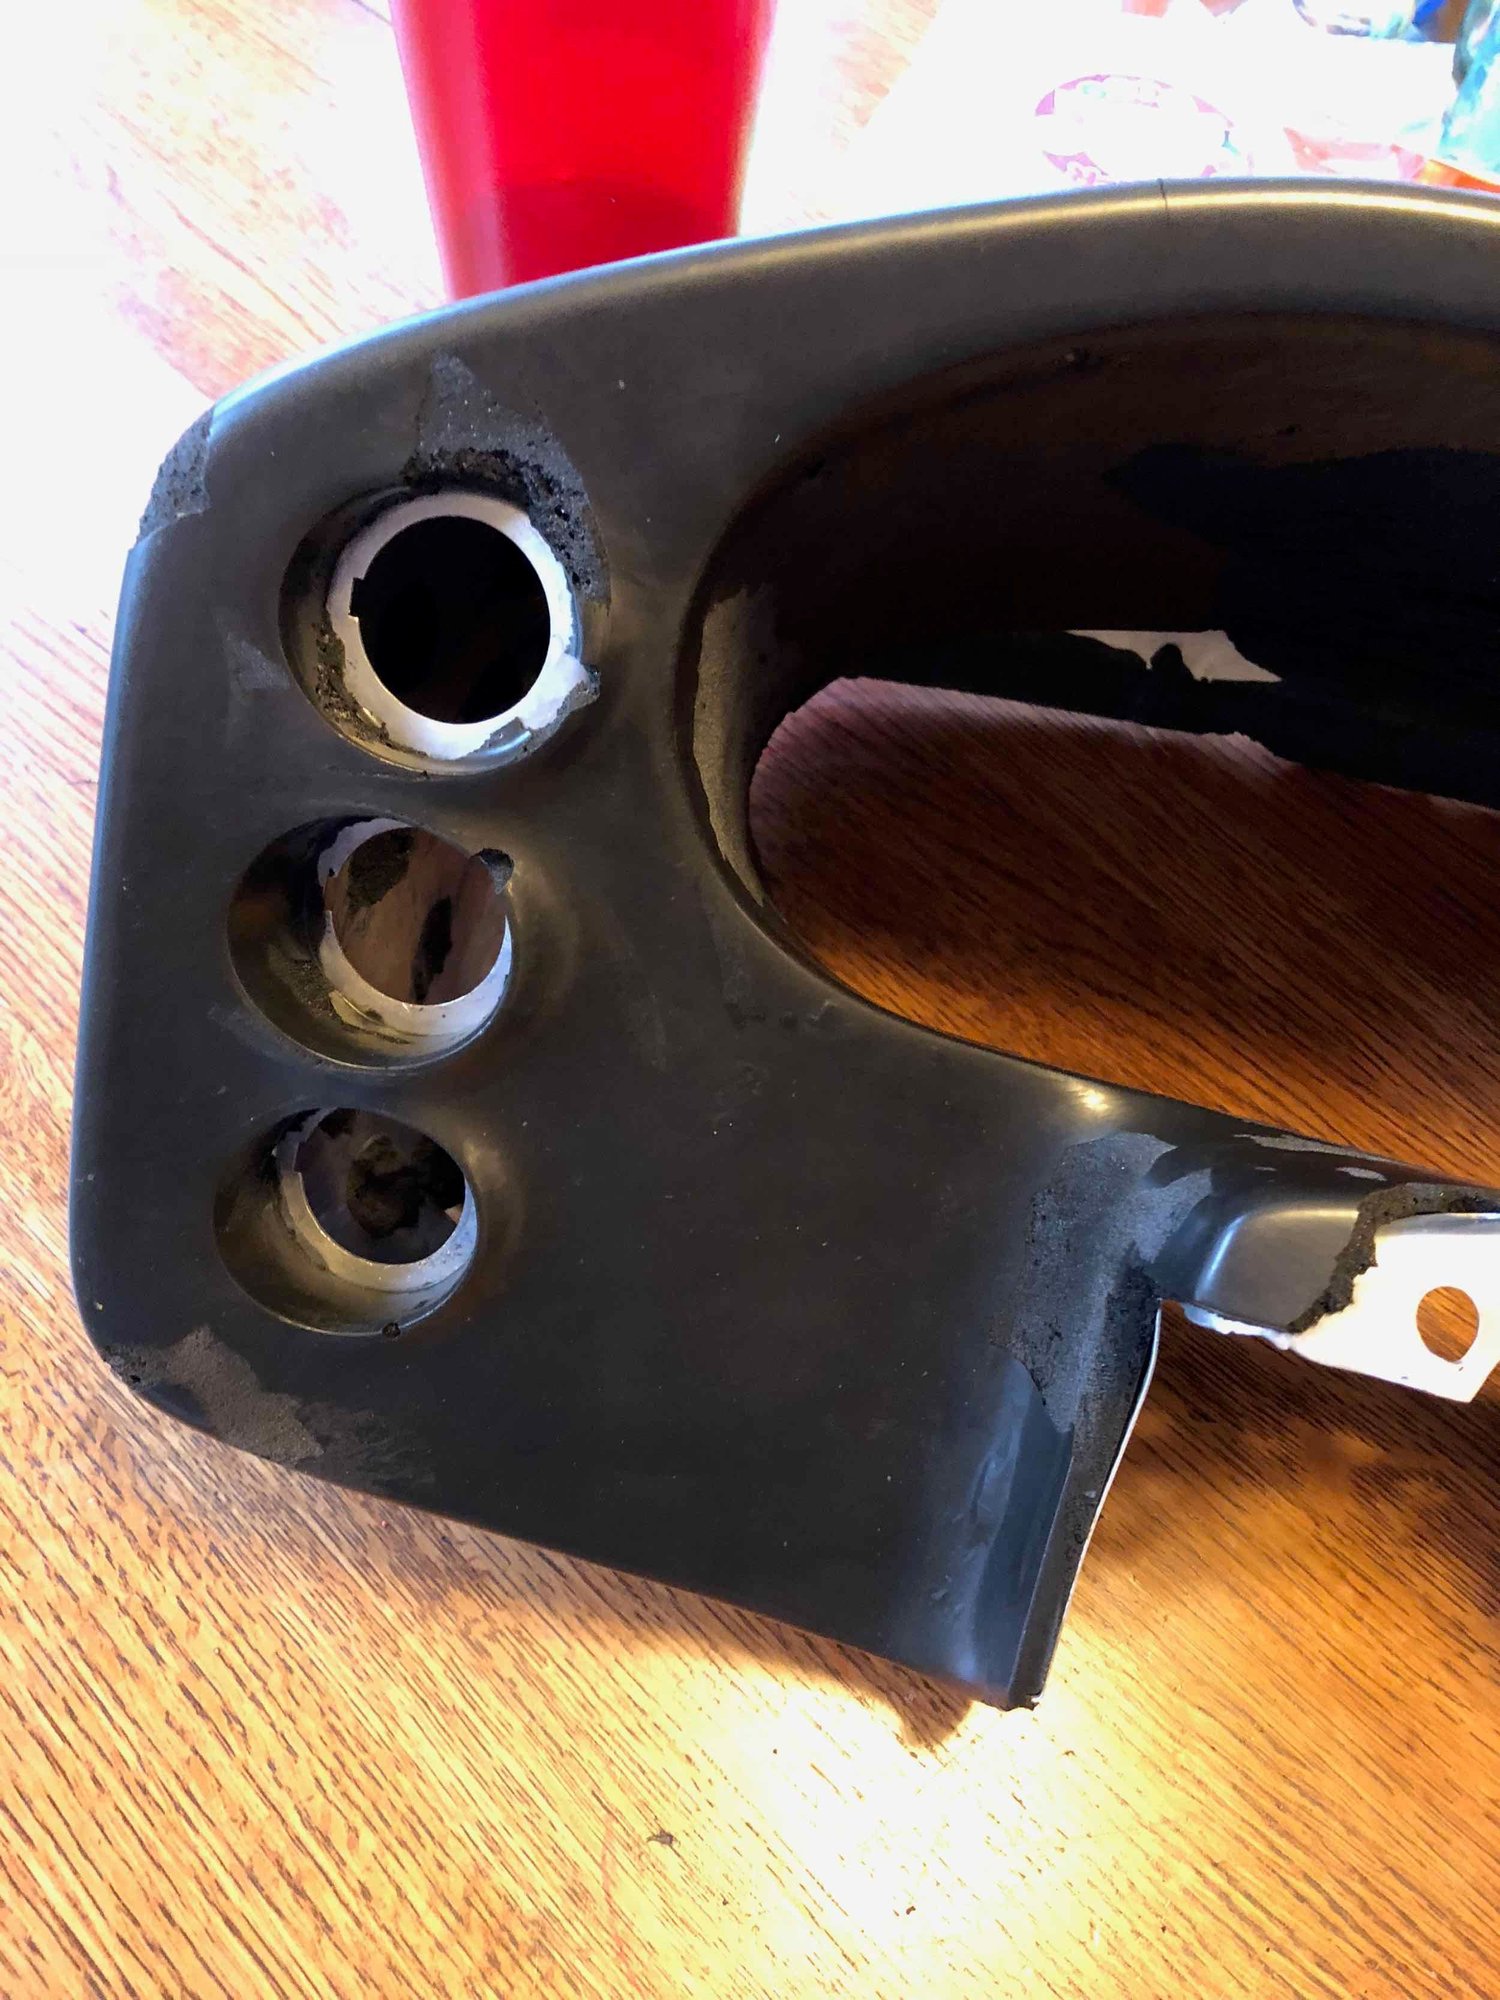
I also pulled the pod apart. That was tough. The vinyl on top of course has been sun baked for 35+ years, so it was nice and crispy. Managed to pull some of the foam out too, so there will be some repair to do. See pics below.
Scott ,my advice is check with Rob Budd@ Classic9interiors about what type of filler to use on that pod before re-covering, flexible type of Bondo product that is sandable. I have a used one out of a '85, but its cracked also.
Just a couple of minor updates for this past weekend. I did a little cleaning to the interior areas in terms of a gunk wipedown and vacuum. Still plenty more cleaning to do.
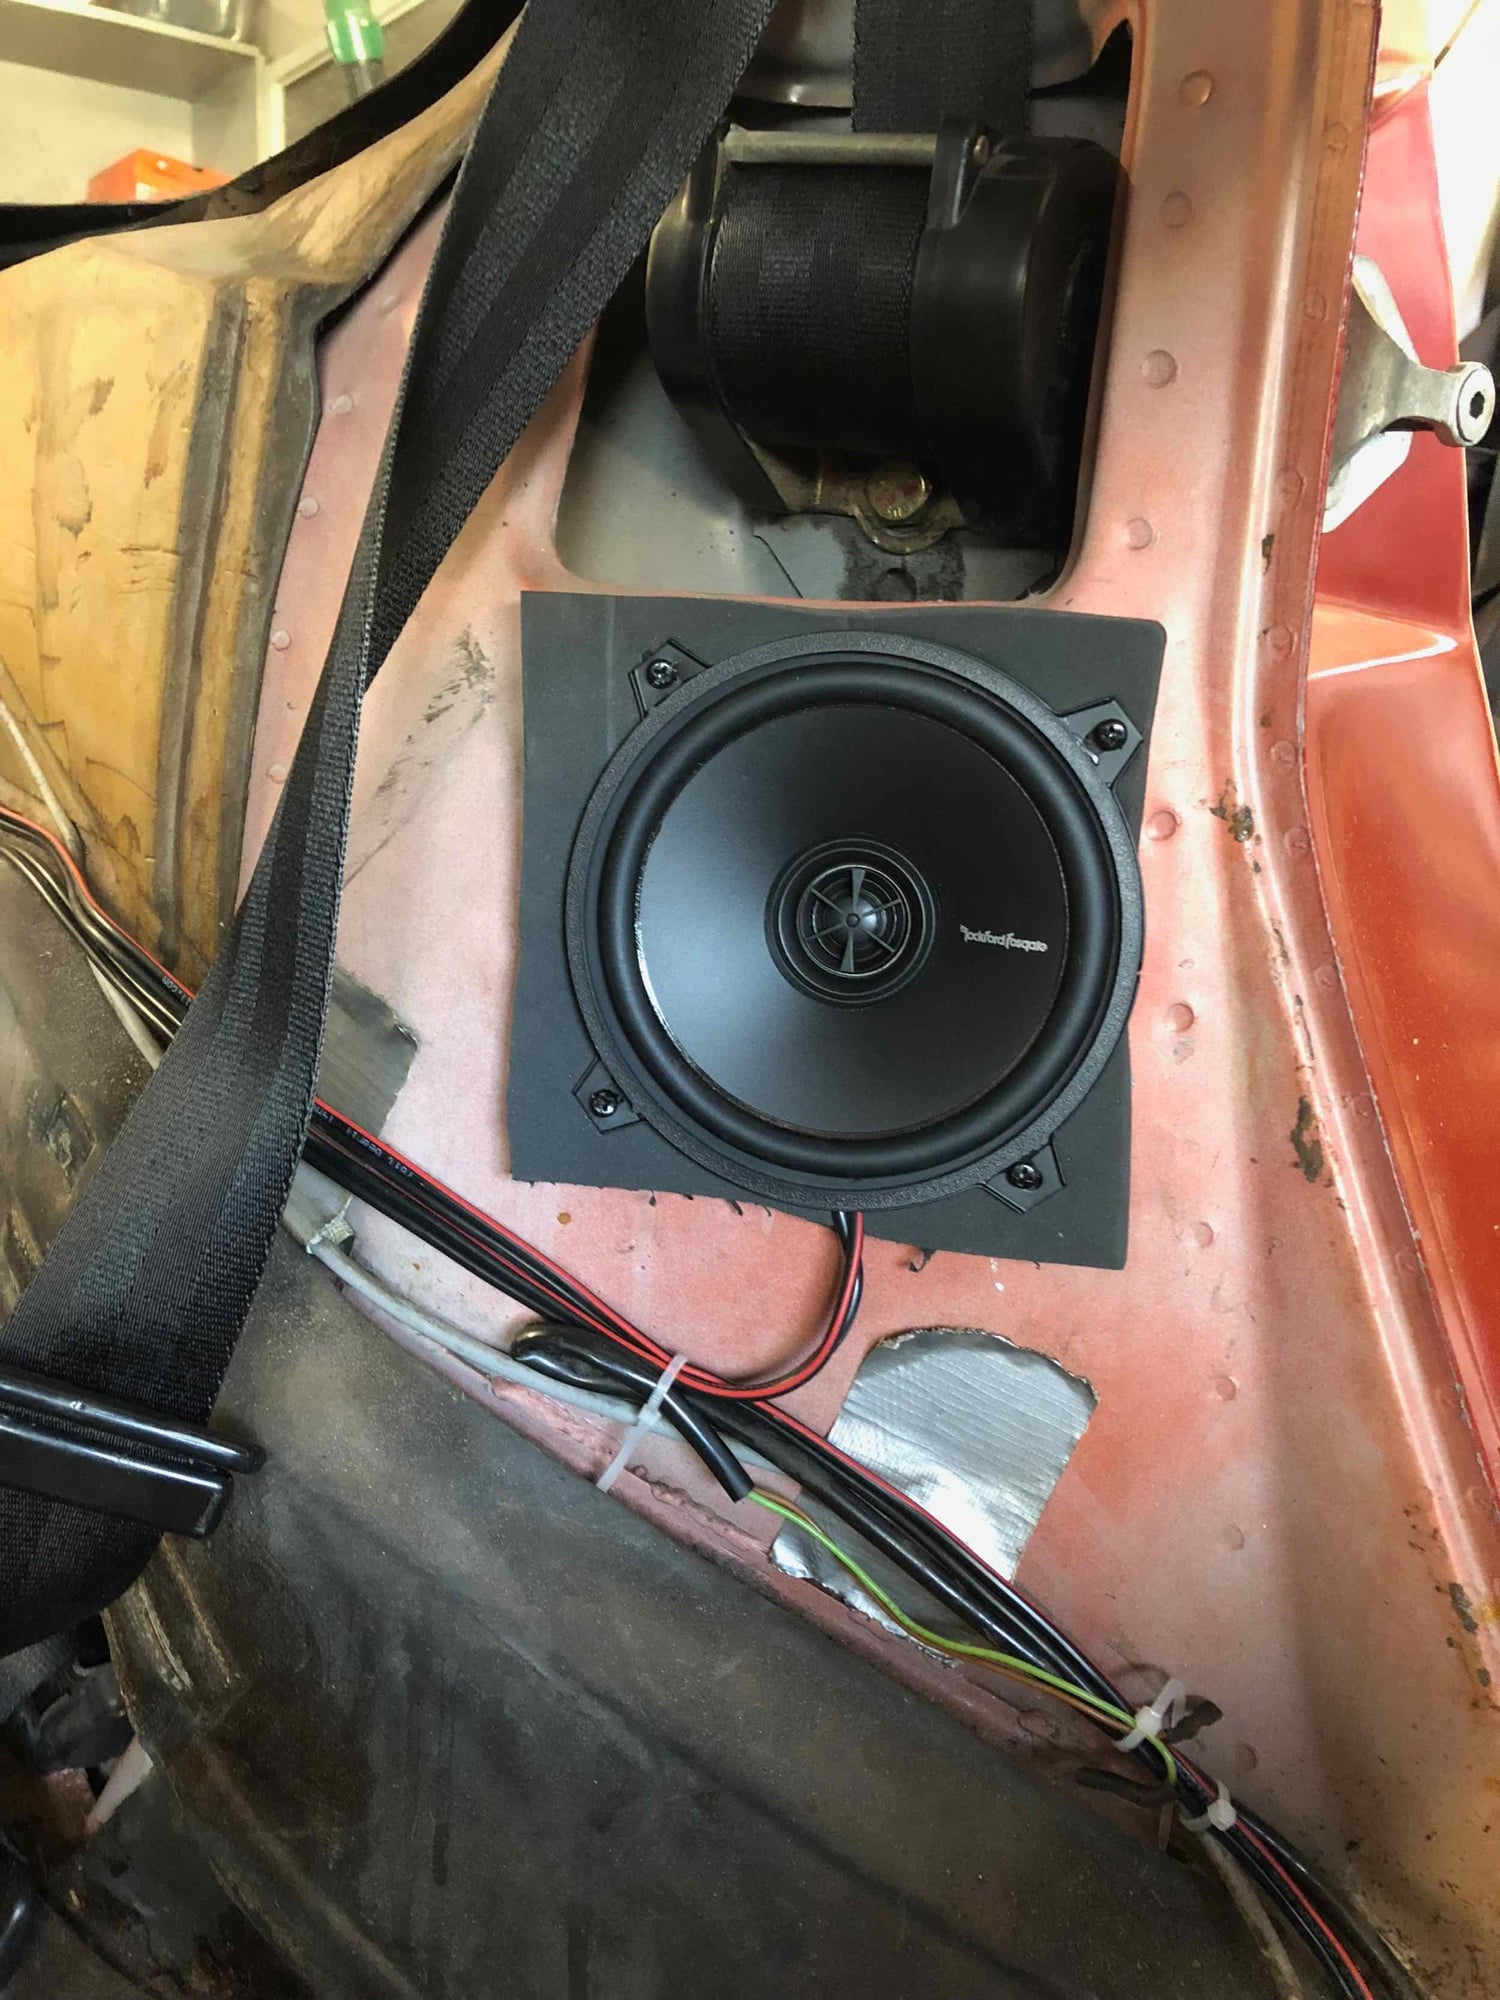
Also got the B-pillar speakers installed. Much improvement over what was there (as far as I can tell those Alpines were vintage 1989 or thereabouts).
Old Alpine's - none of the 4 had any surround whatsoever left.
New Fosgates. Used a rubber sheet as a gasket to the body due to the oddly shaped metal. Also new 14 ga. speaker wire to amp tray in back.
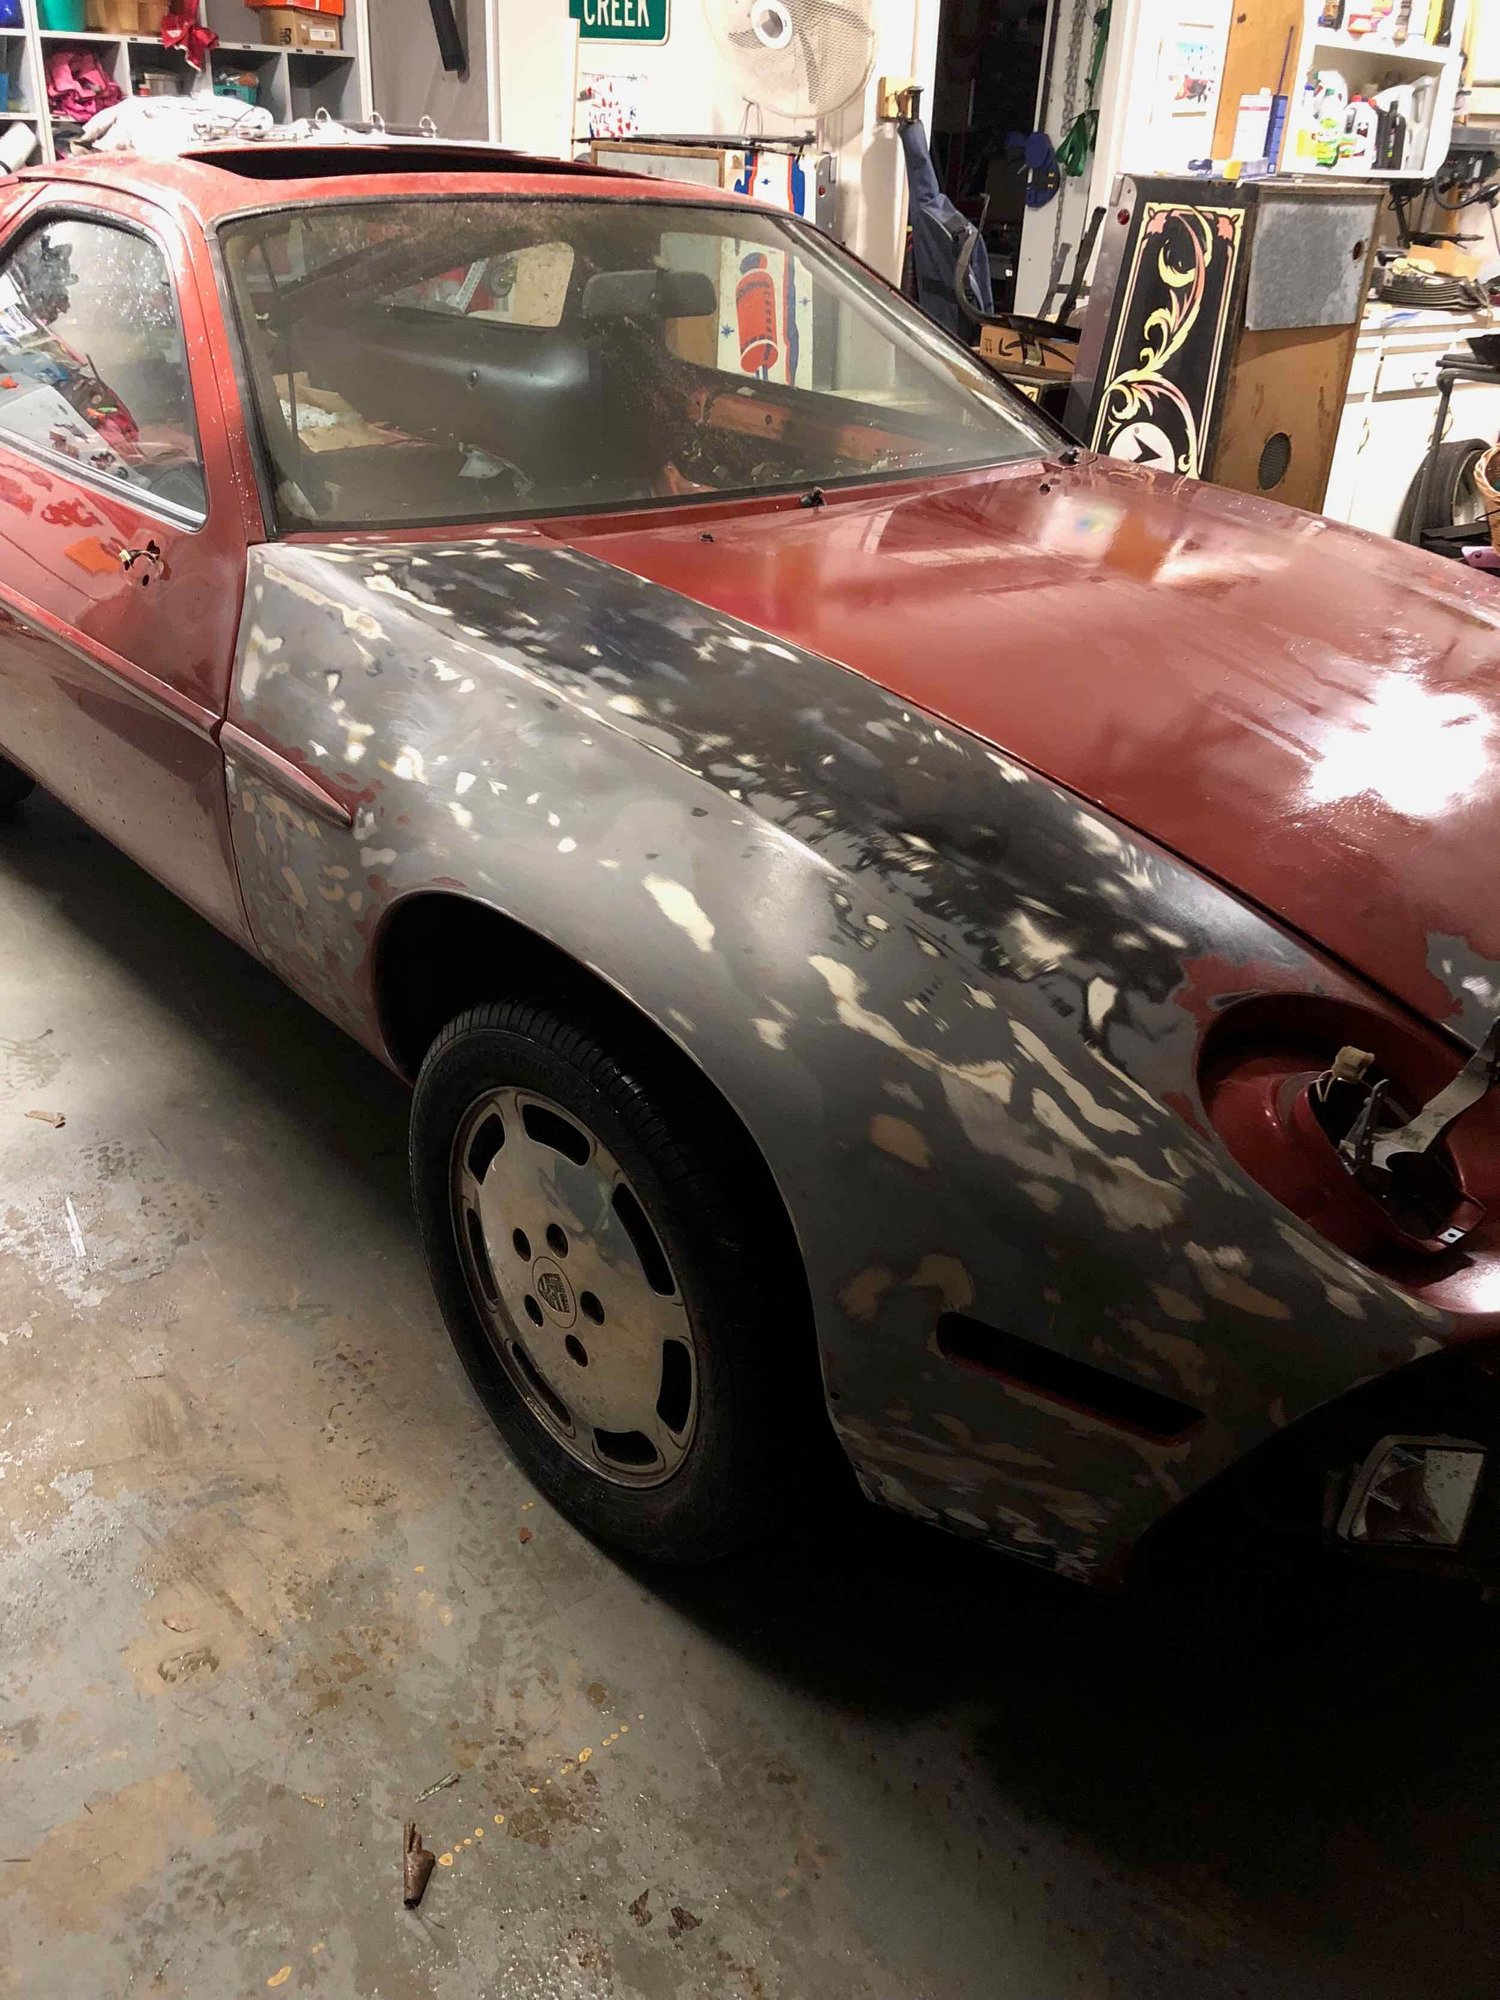
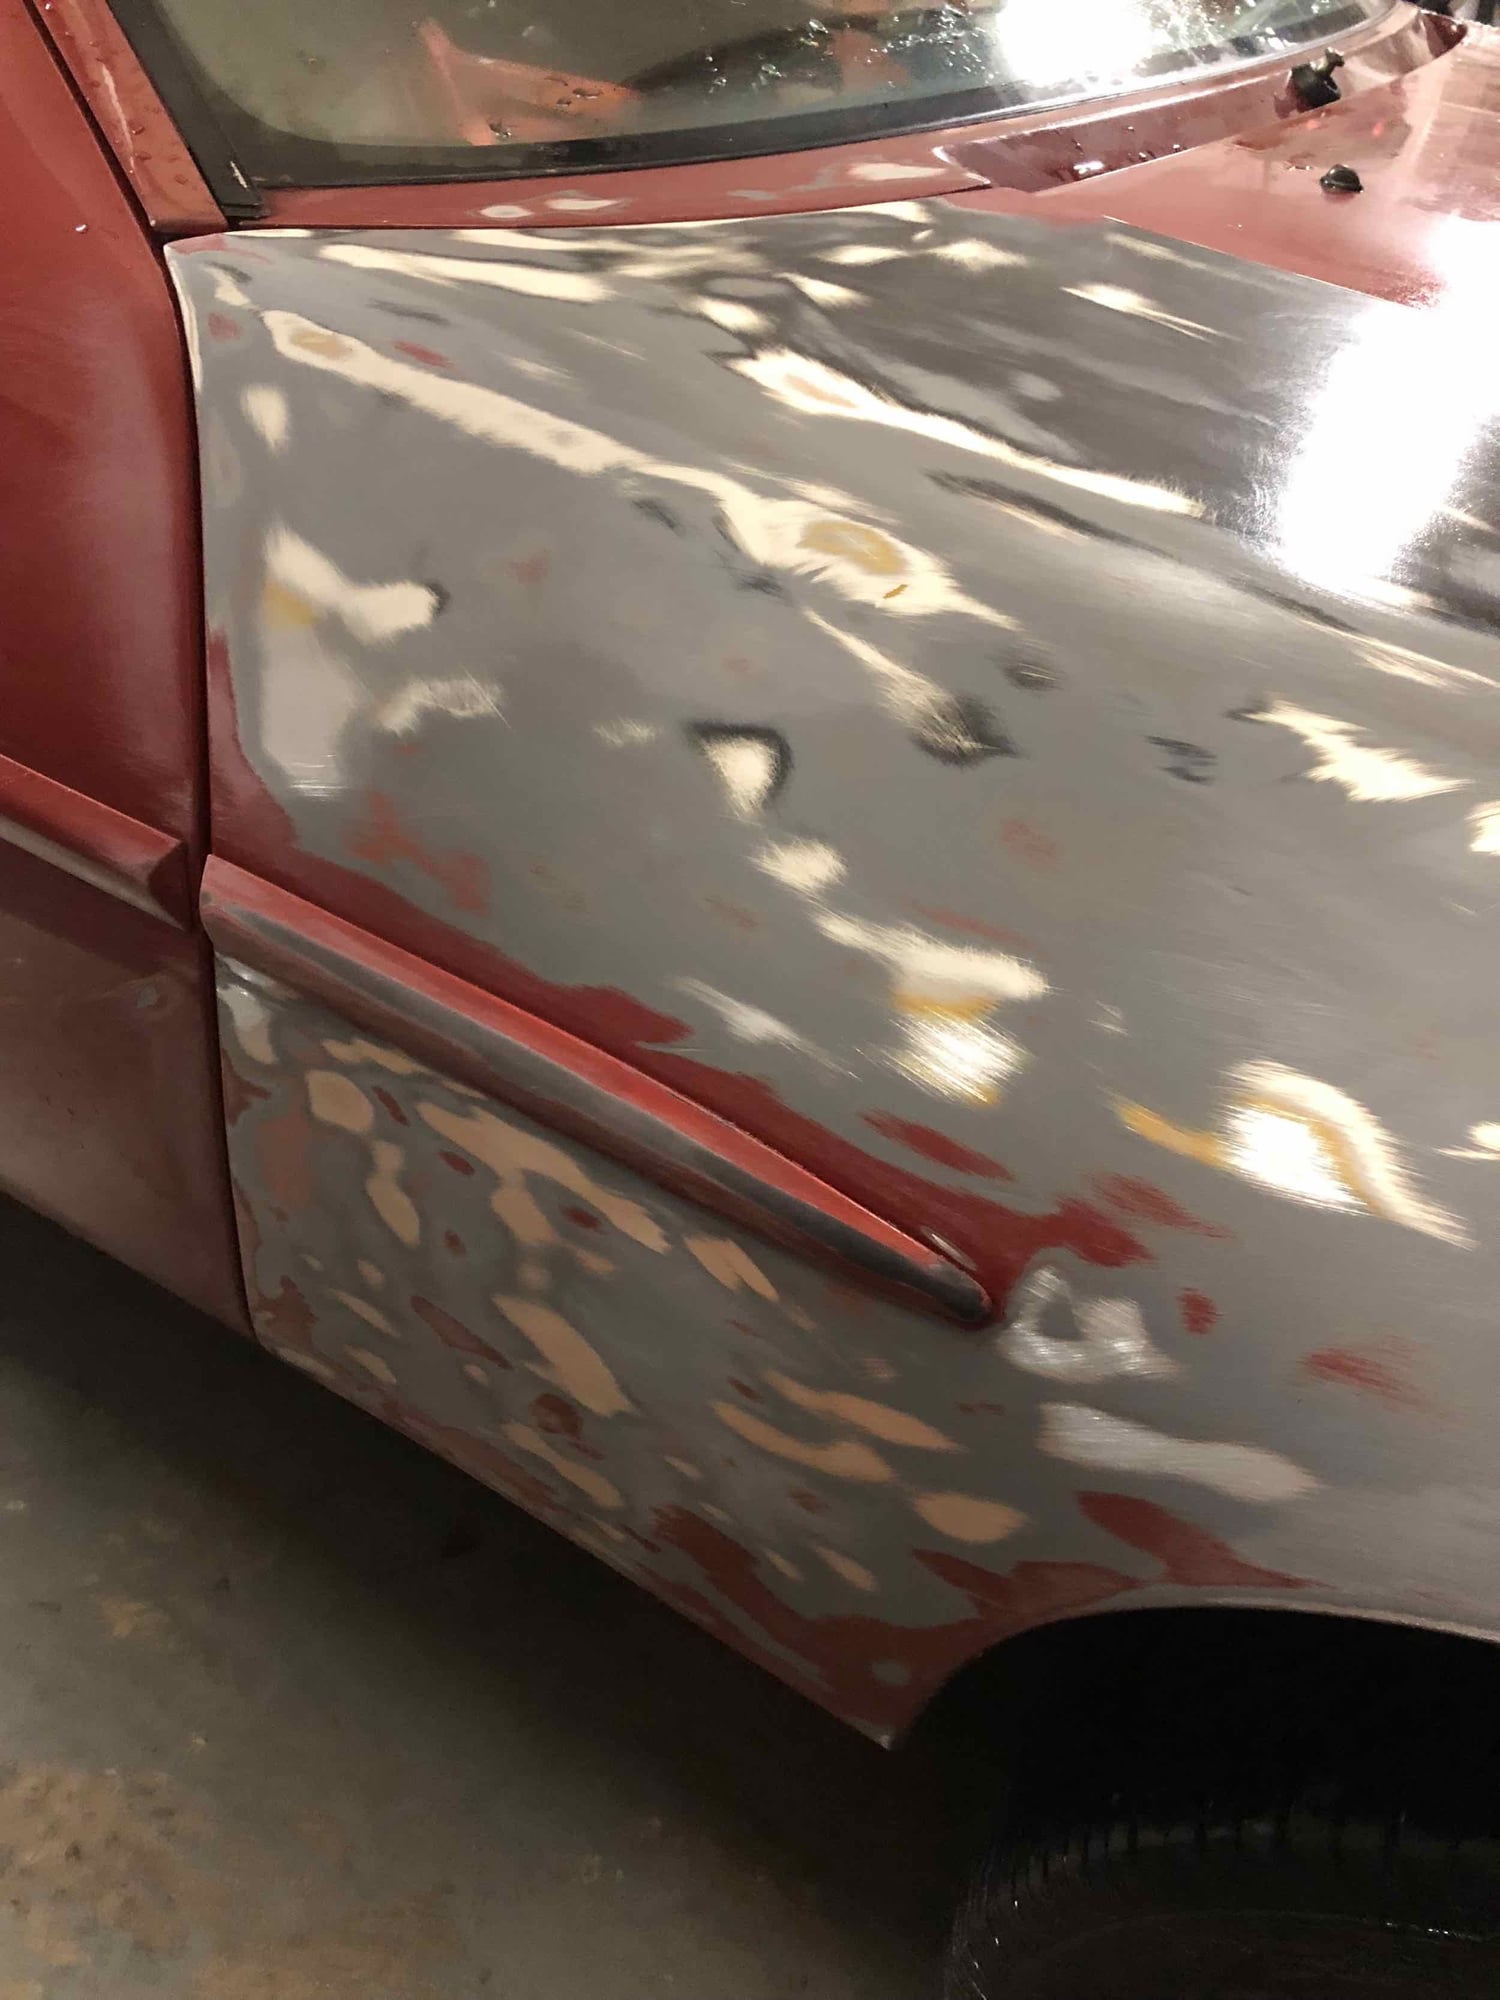
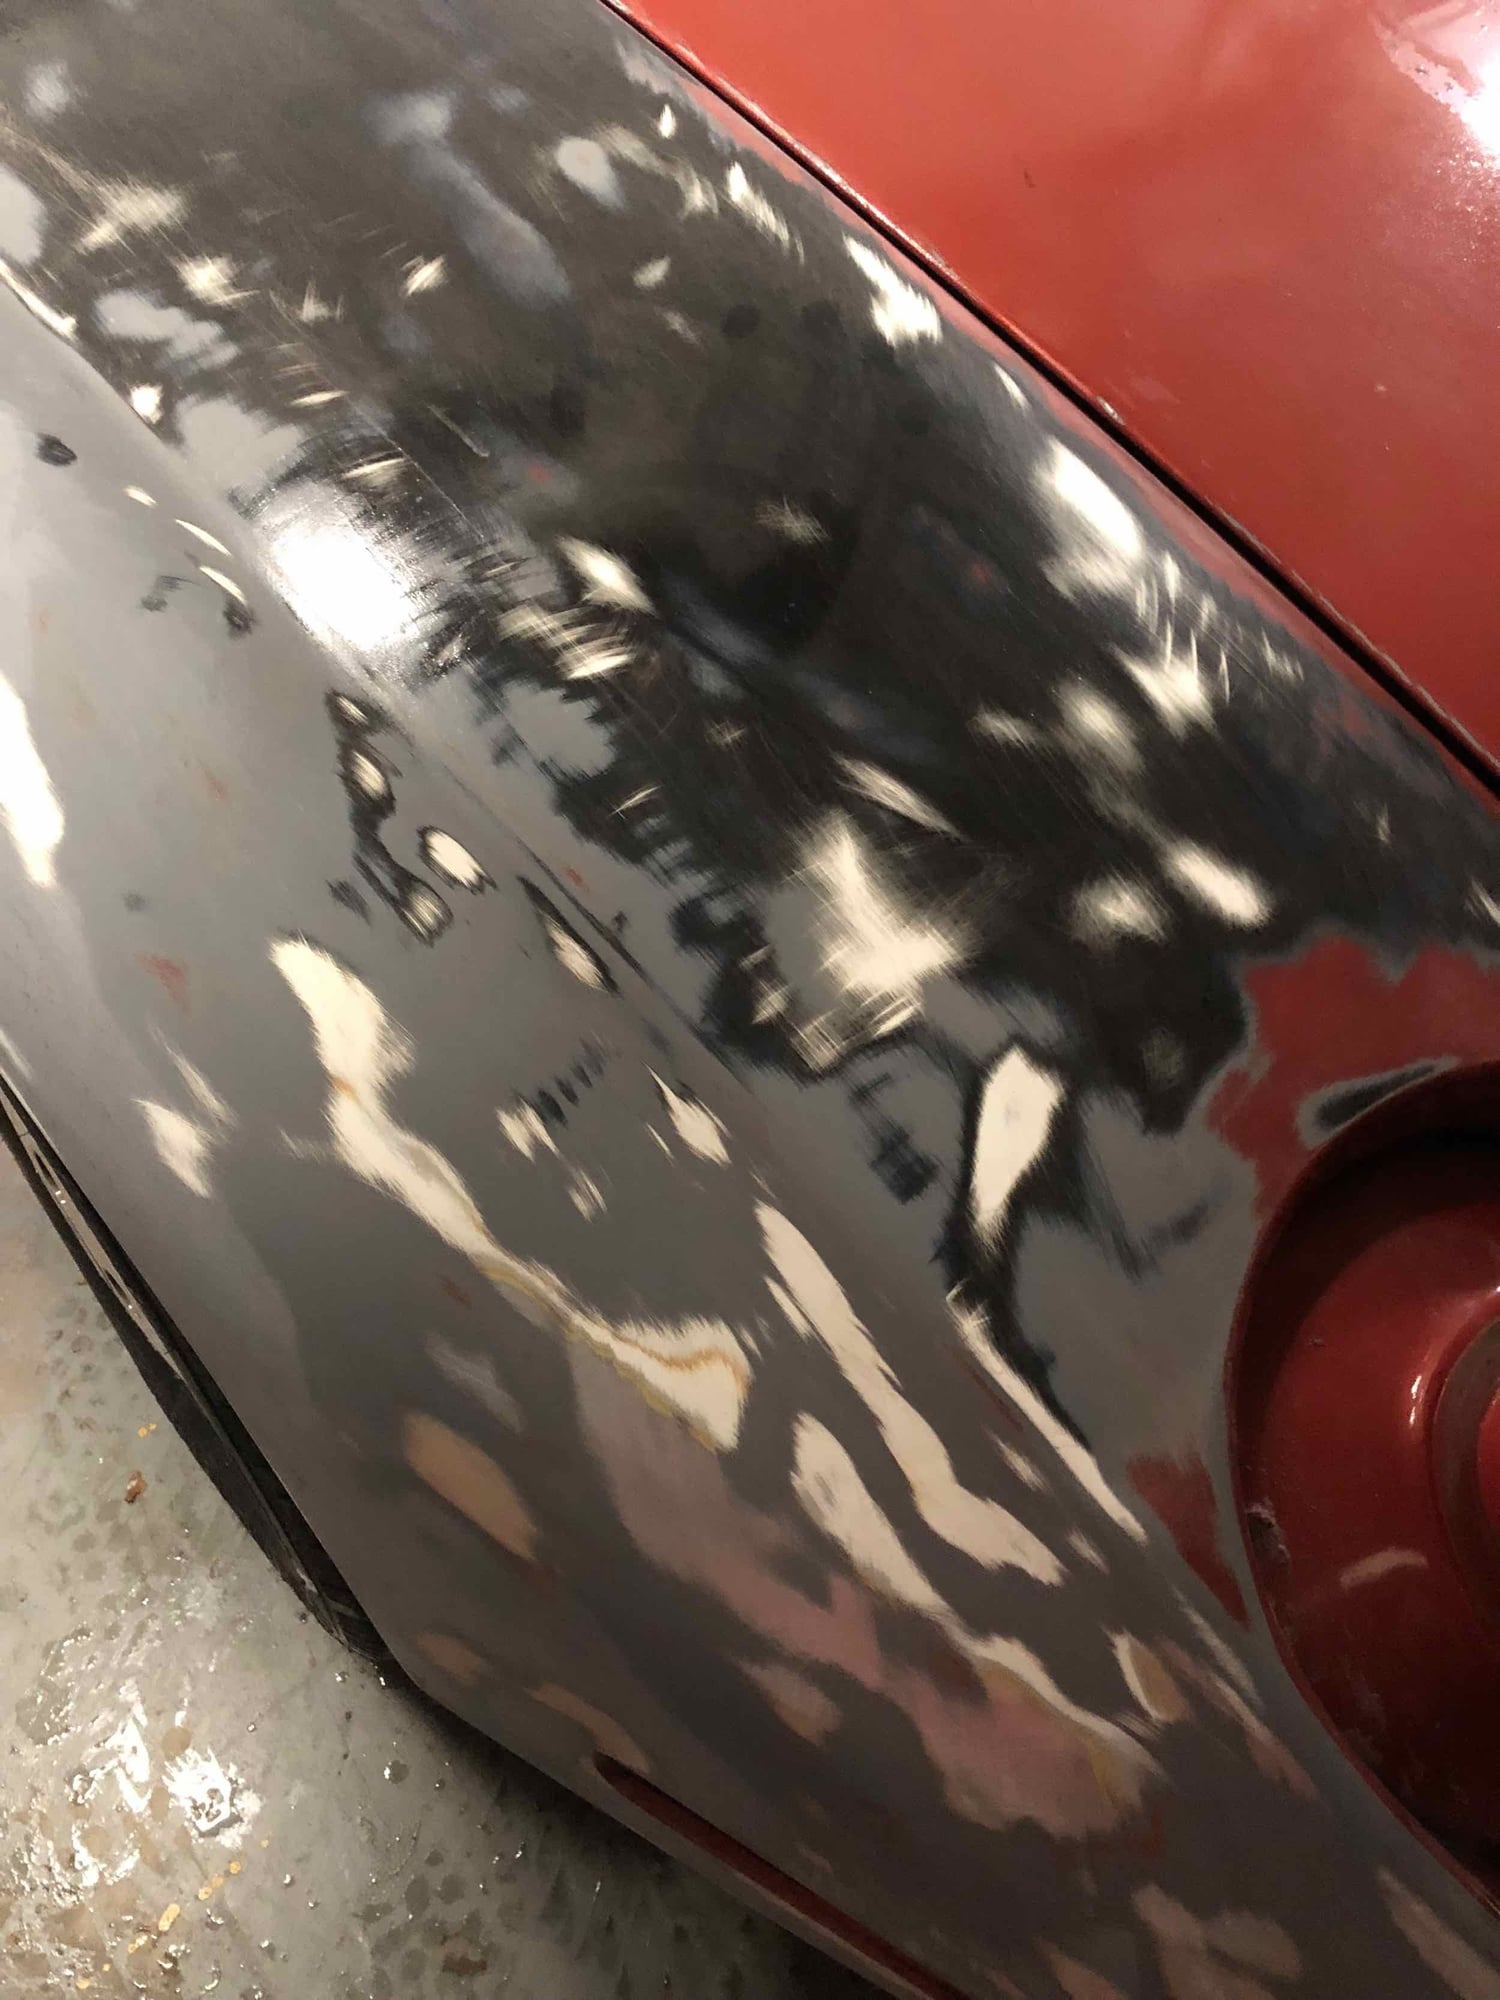
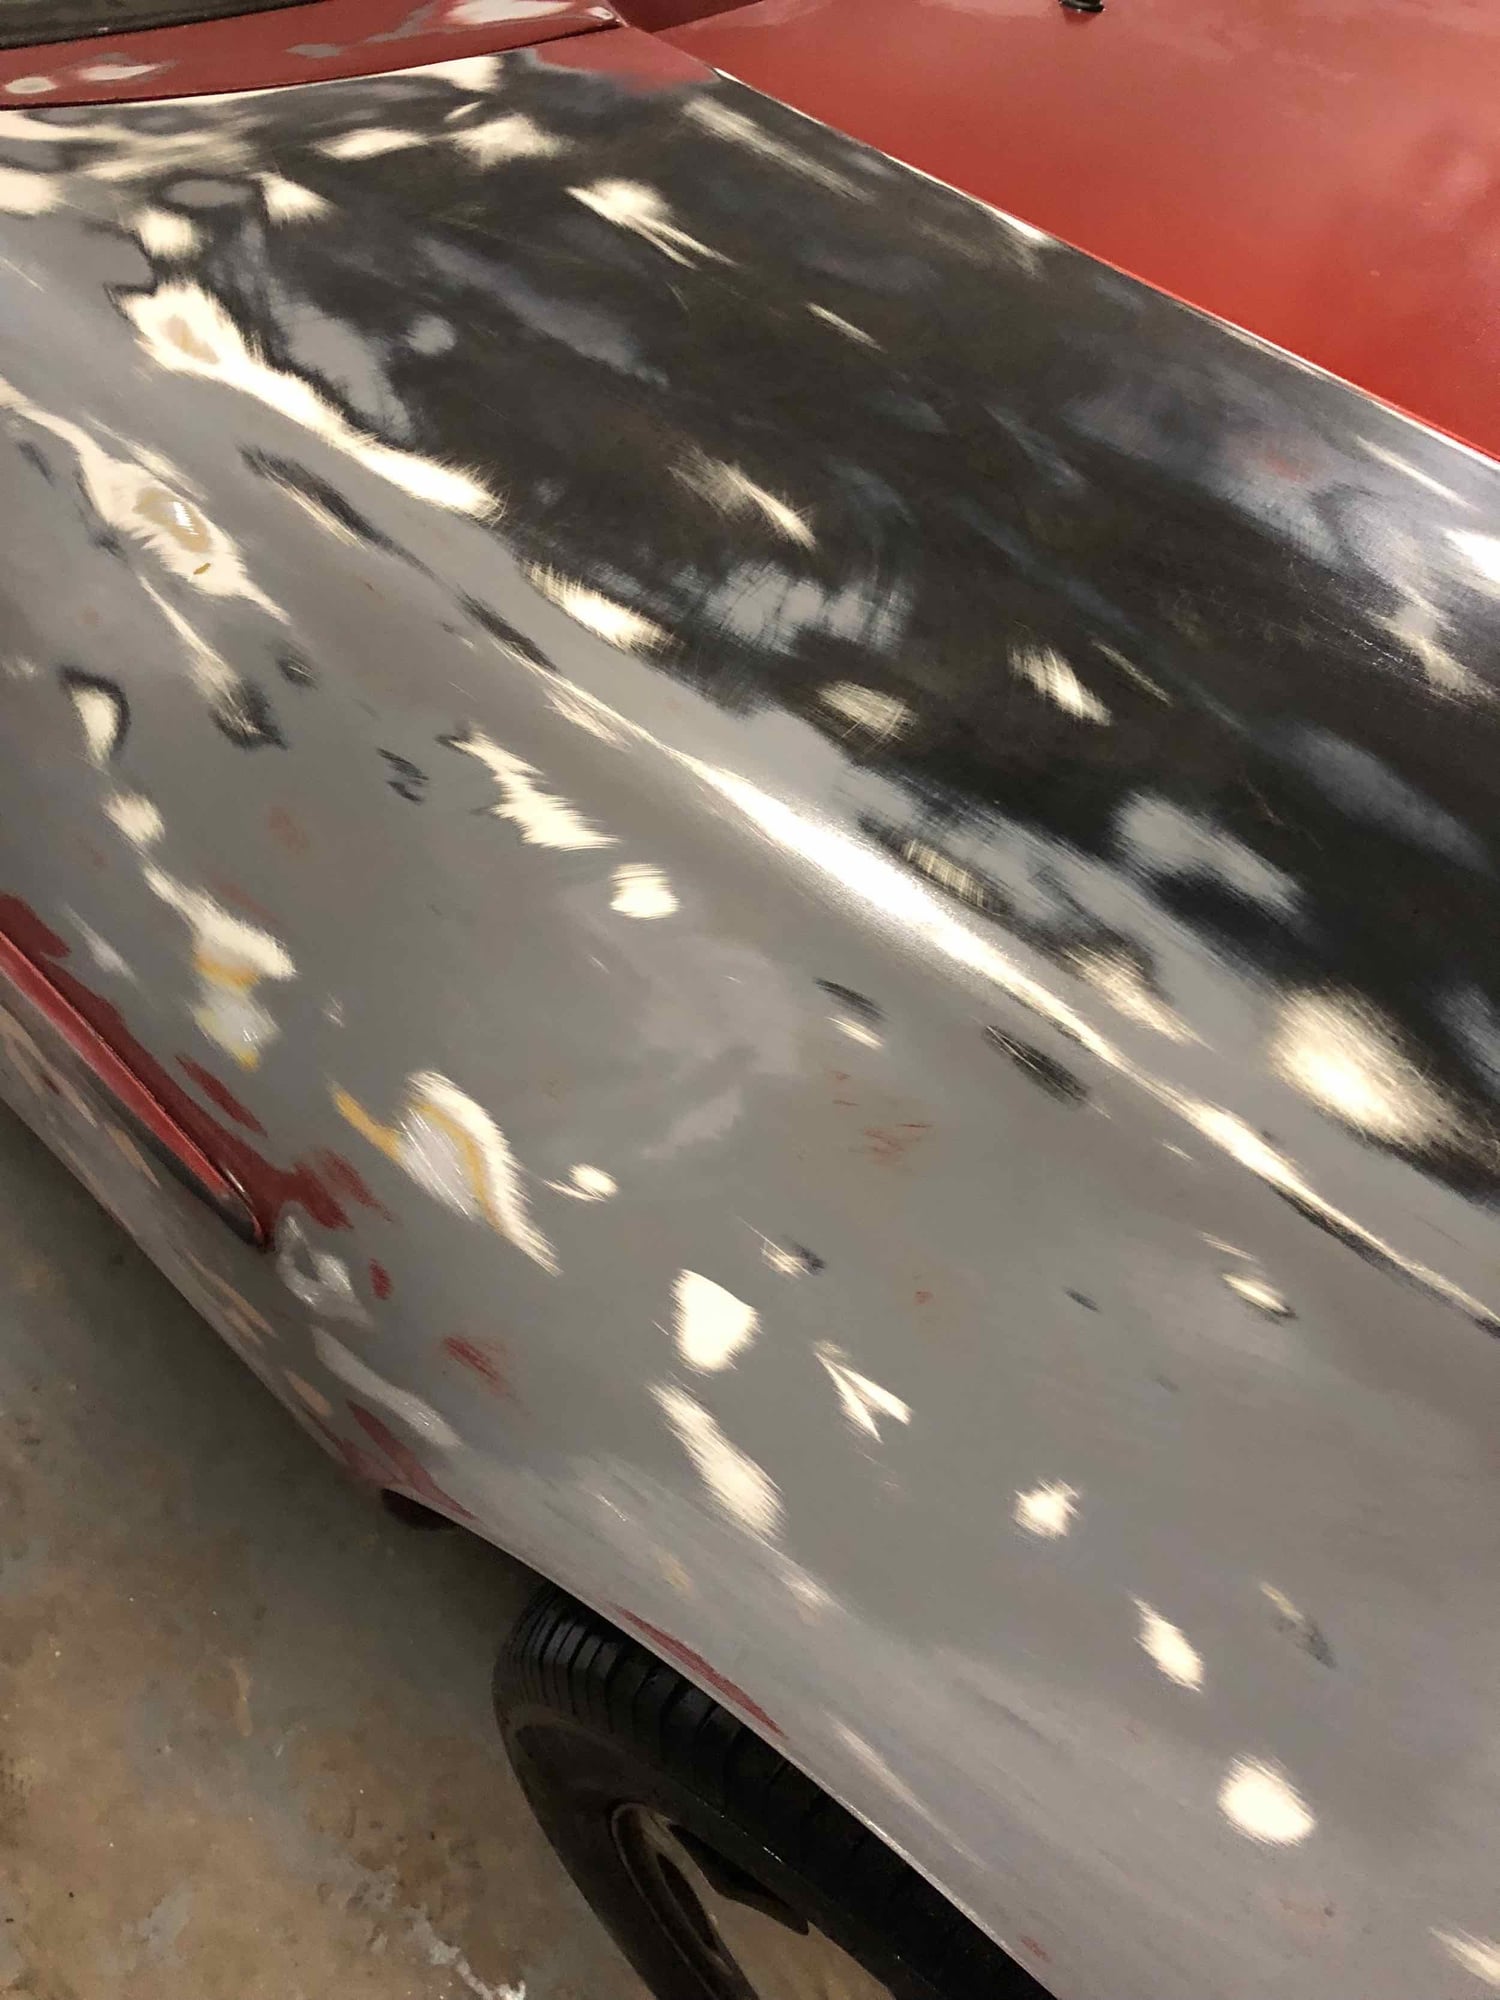
Well - finally got the car back down on all 4s yesterday and could roll it into the driveway to start some sanding. A little apprehensive is this is my first rodeo (on a vehicle). Remember that my goal is to take off only the worn out clear and the Kiln Red base coat - leaving the bonded Porsche primer intact.
Not as difficult as I thought it might be so far. I was really worried about going too far down on the creases/edges, like the top of the fender. A combination of hand sanding and very light pressure with the DA (80 grit paper) seems to work pretty well. I am still baffled by the different colors and multiple layers of factory sealer/primer, but it is what it is. As long as I am not seeing shiny bare metal I hope all is well.
So will keep plugging away at sanding. Not a lot in the way of body work to do - so once the paint removal is finished it is right on to new primer/sealer and much more sanding!
Gas tank update - AAAARRRGGGHHH! Its out again - still working to fix the leak and have got to figure out what is wrong with my cradle. Apparently it is bent out of shape and that is the reason it is not fitting correctly around the tank.

 02-07-2018, 08:51 PM