When you click on links to various merchants on this site and make a purchase, this can result in this site earning a commission. Affiliate programs and affiliations include, but are not limited to, the eBay Partner Network.
Great work Scott. Do you think the car was re-sprayed previously? I only ask because the lines for the washer fluid in the front above the bumper look like they have overspray on them. Just curious if that was factory? Could also explain why different fasteners were used for the spoiler wings - if they were removed at some point and re-attached.
Great work Scott. Do you think the car was re-sprayed previously? I only ask because the lines for the washer fluid in the front above the bumper look like they have overspray on them. Just curious if that was factory? Could also explain why different fasteners were used for the spoiler wings - if they were removed at some point and re-attached.
Hey -
No pretty sure this one was resprayed. There is a good bit of overspray all around (coolant overflow bottle in fender, cruise vacuum unit on other side, the lines you mentioned, etc.). I am planning to clean all of that off (if I can at this point). I hope that it will with some elbow grease and paint remover.
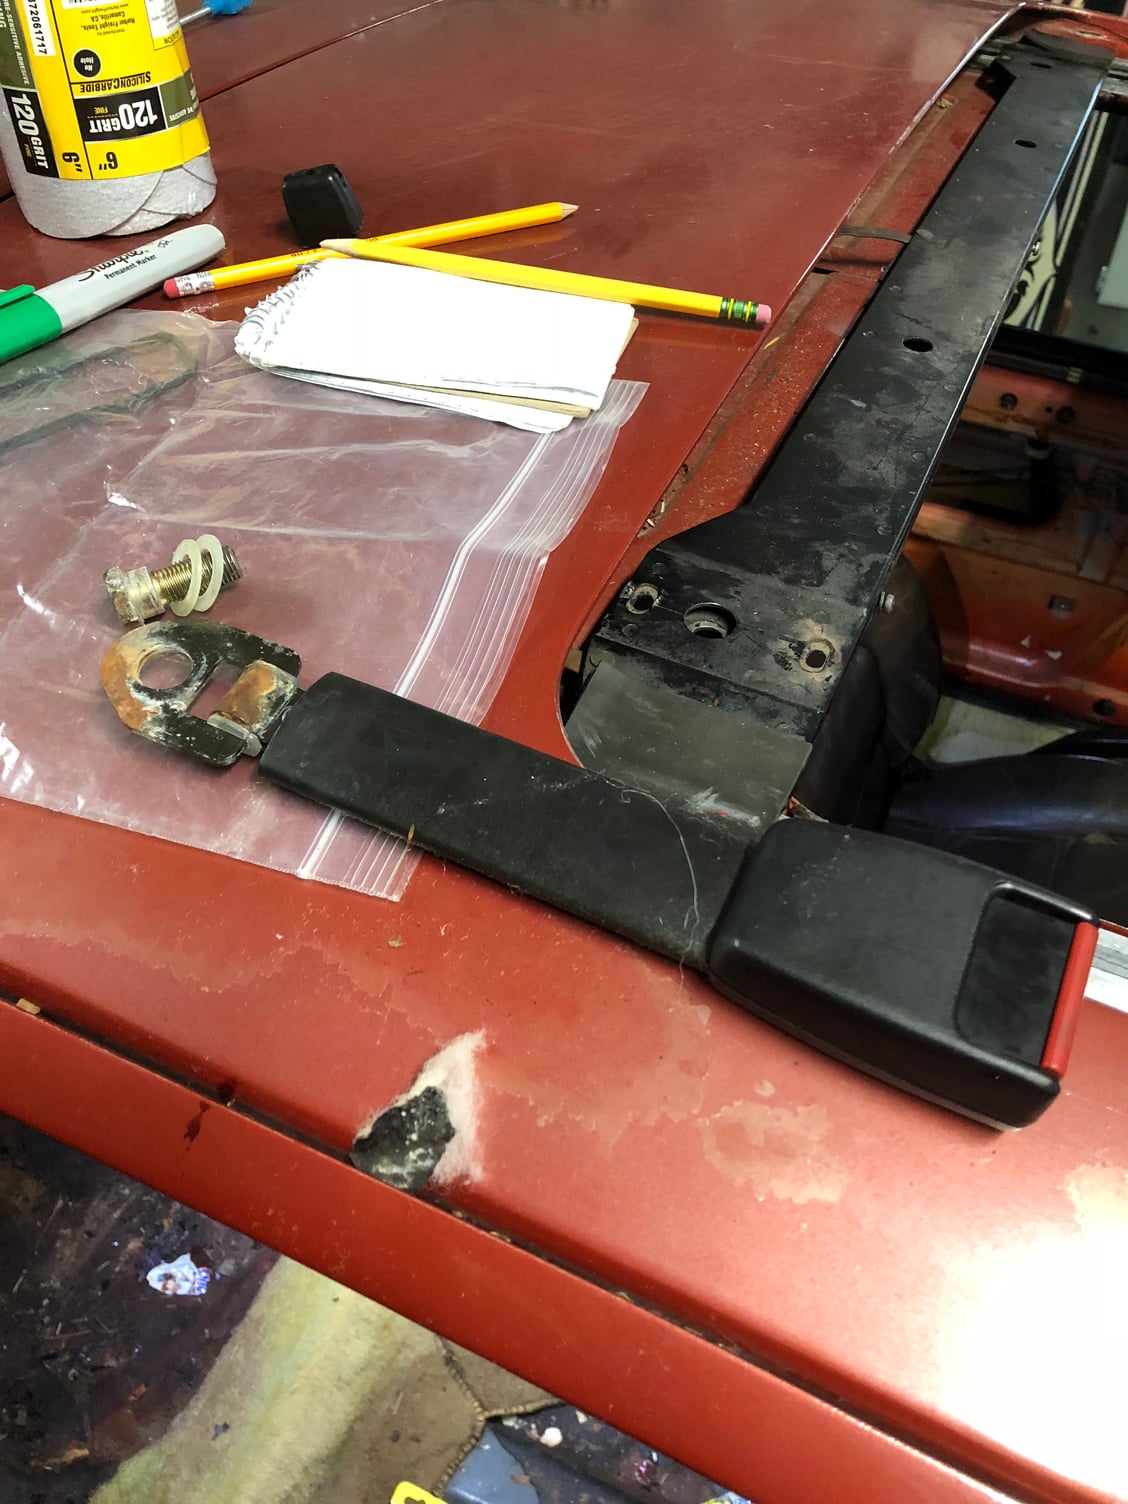
I have found all kinds of mismatched fasteners all over the car as I have disassembling things. The headliner was out of the car when I purchased it (sunroof issues). Most of that hardware was missing. I had replaced it to enjoy driving, but it is now out again to finally finish the sunroof.
Well made a little more progress today - bad new first...
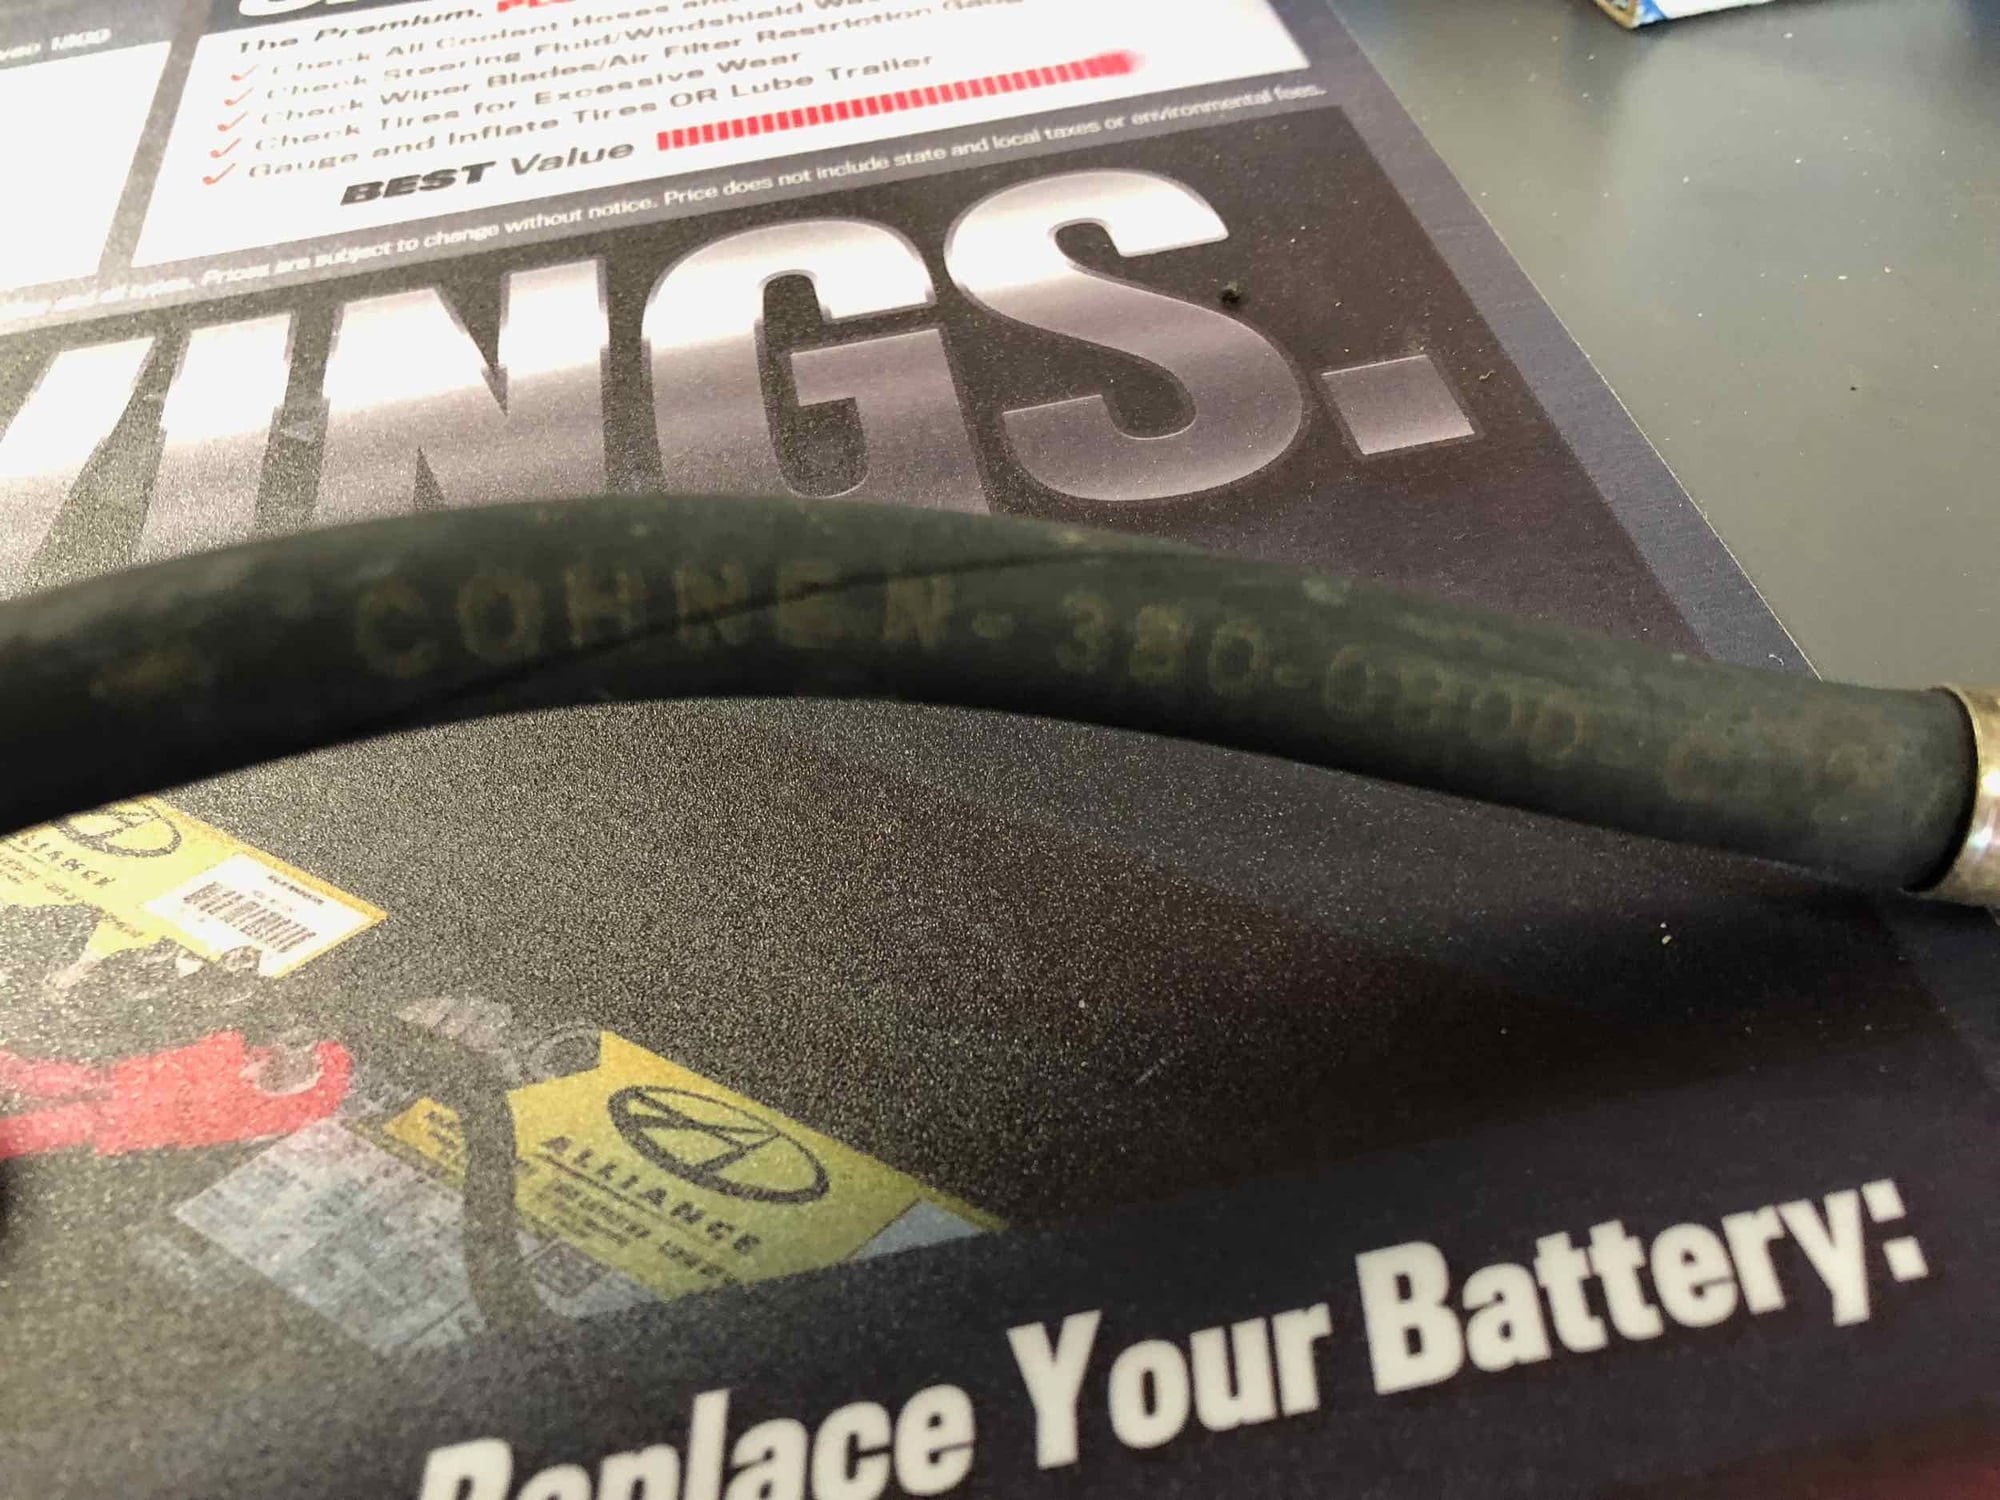
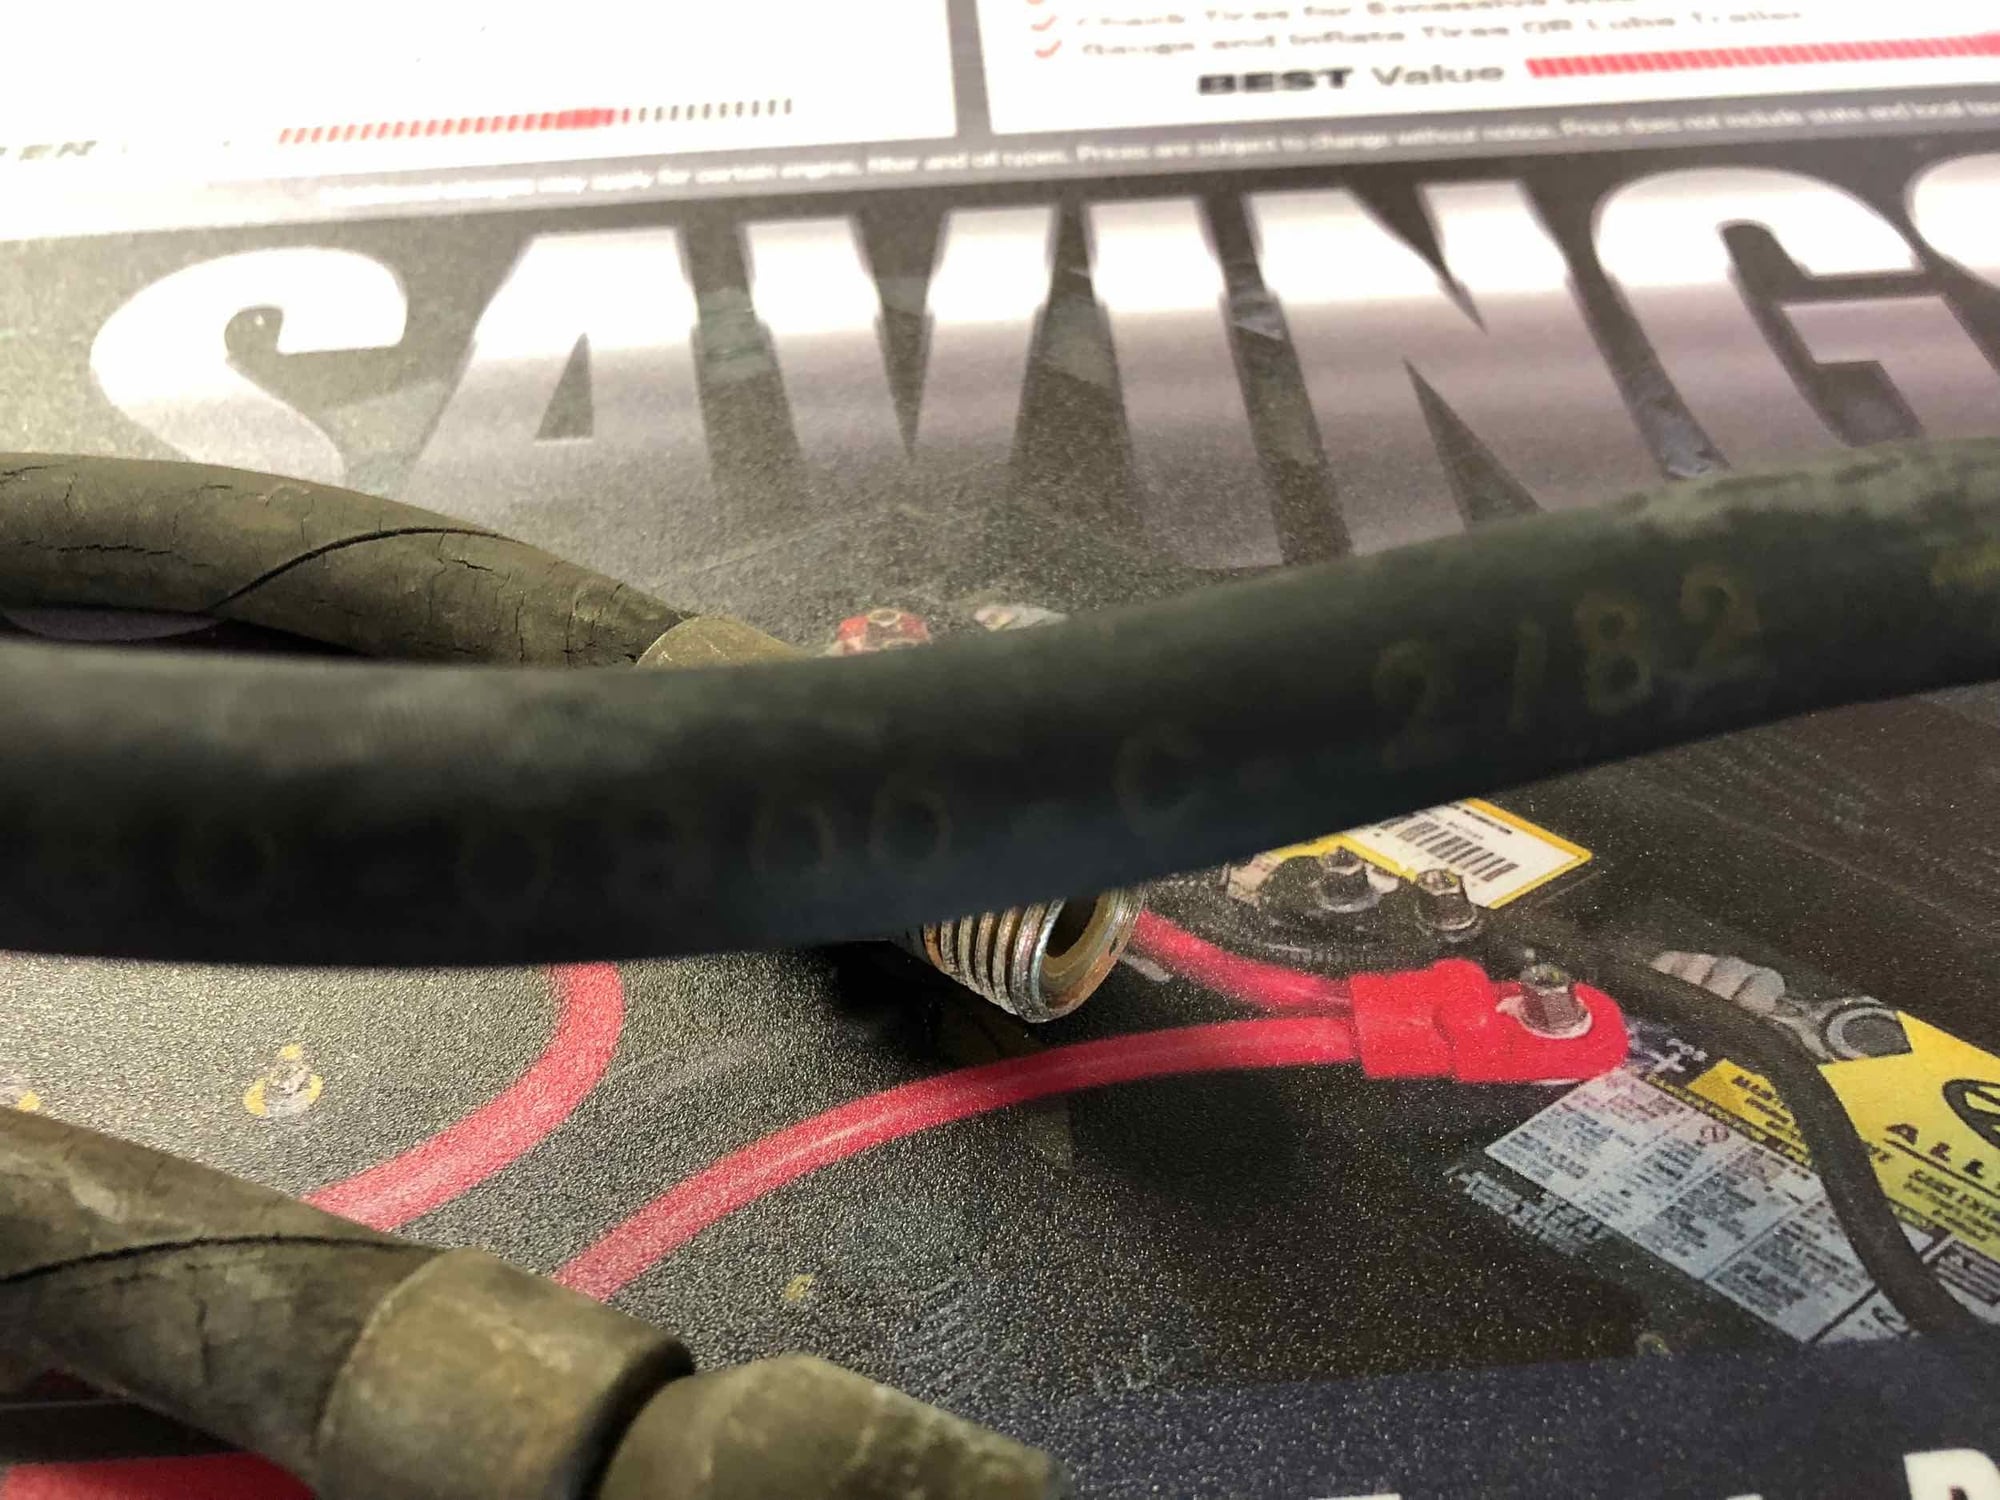
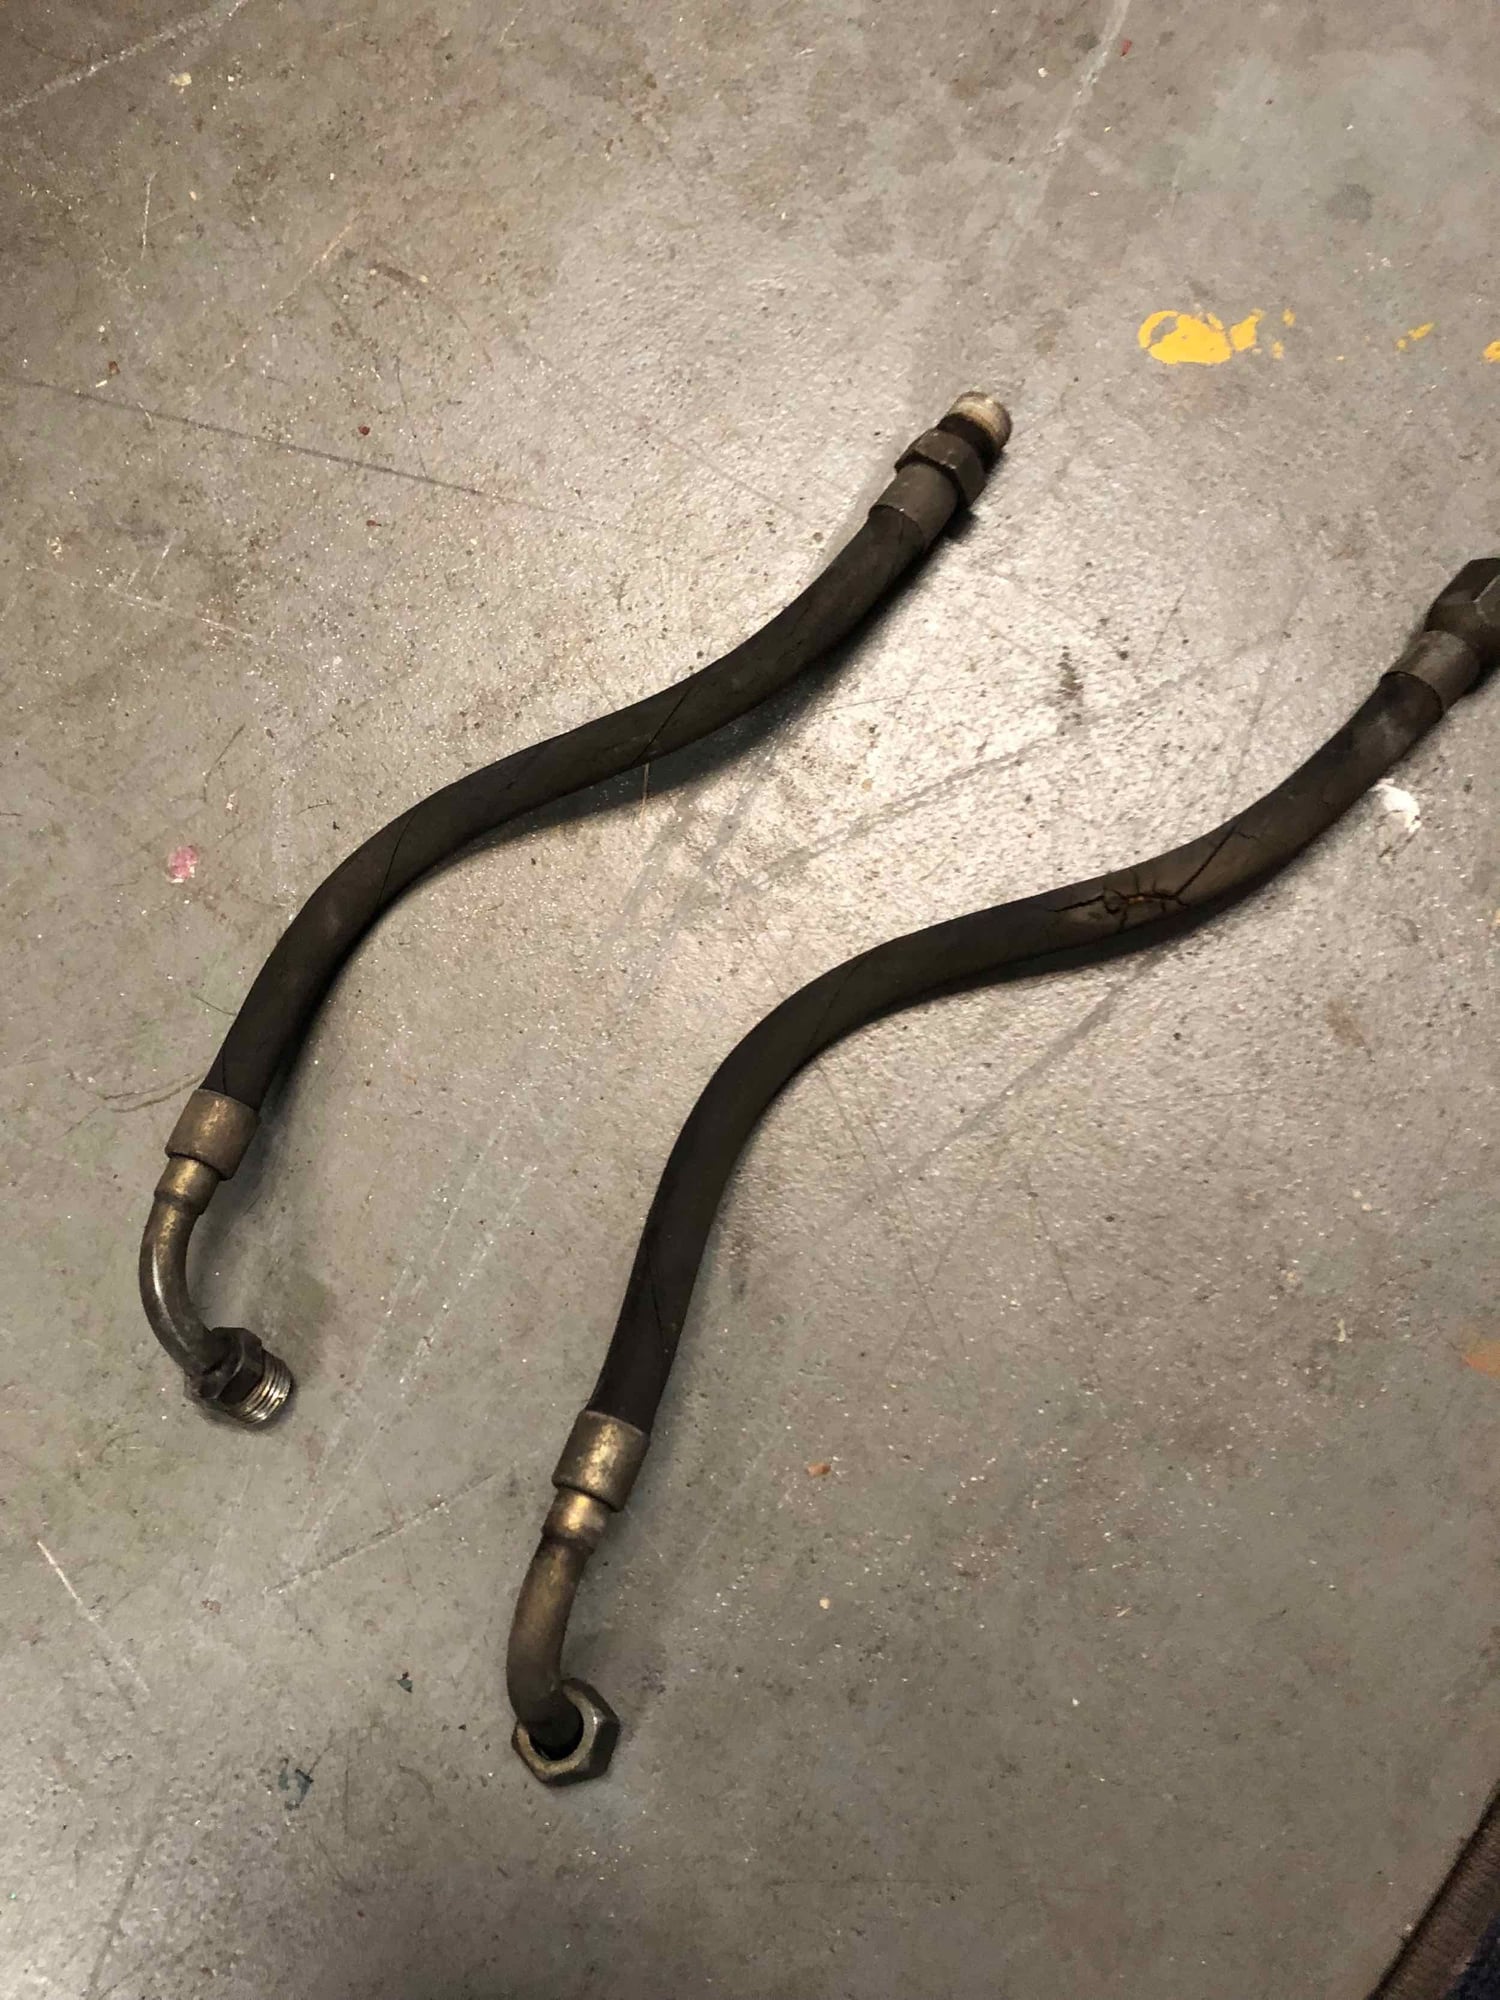
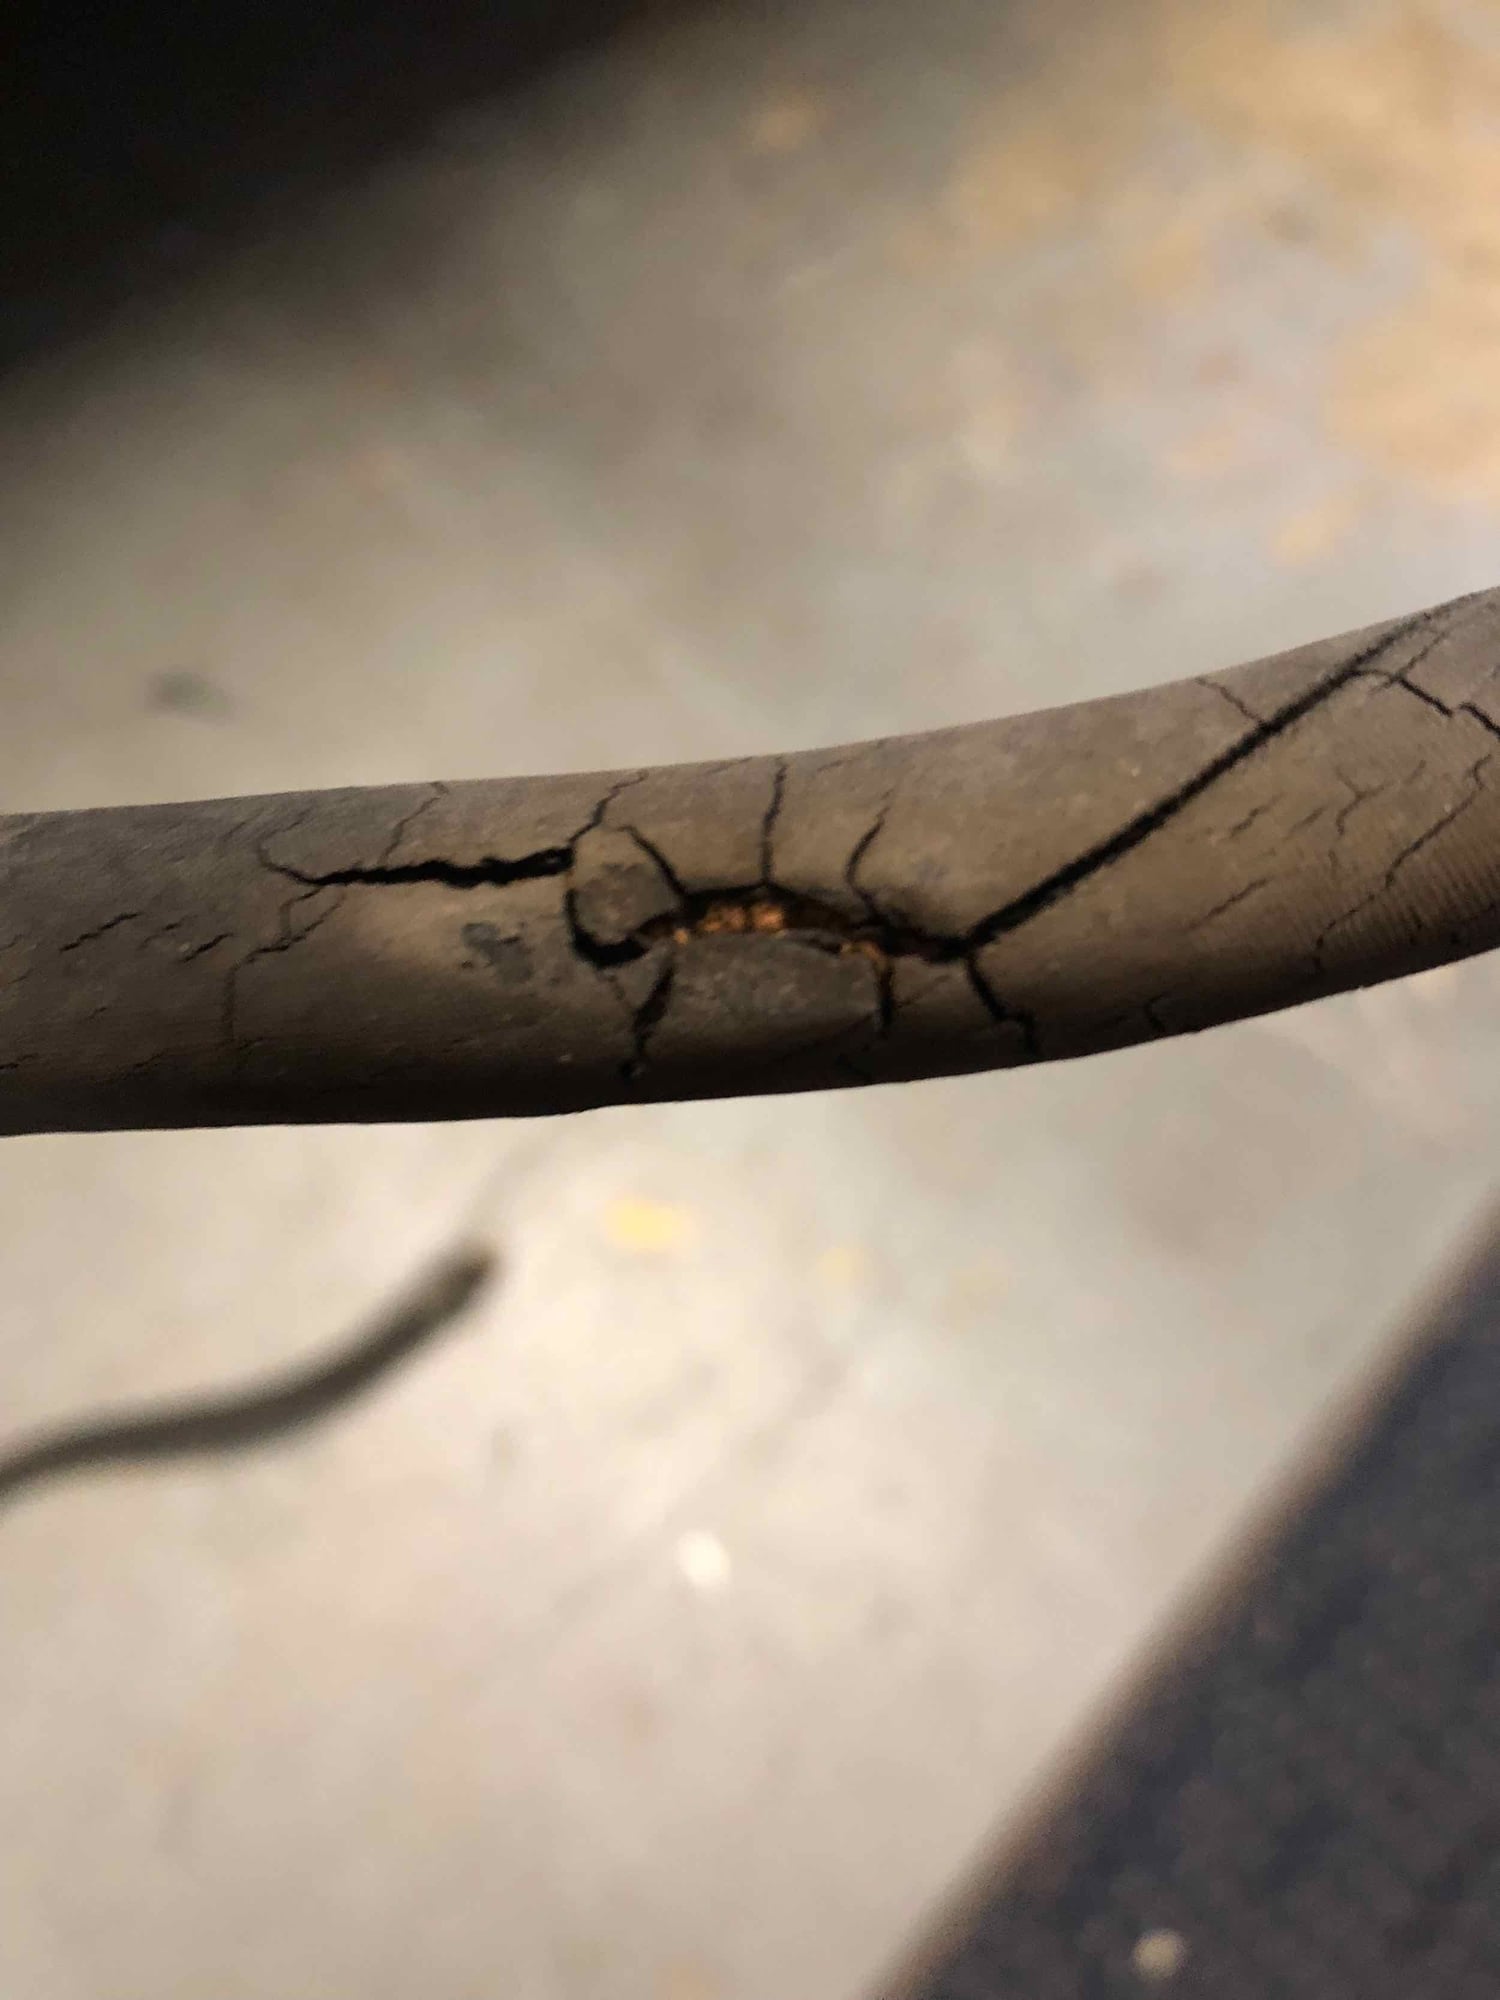
I went to three different hydraulic hose shops today - no one wants to touch rebuilding my fuel lines. May just bite the bullet and get the good stuff from GB.
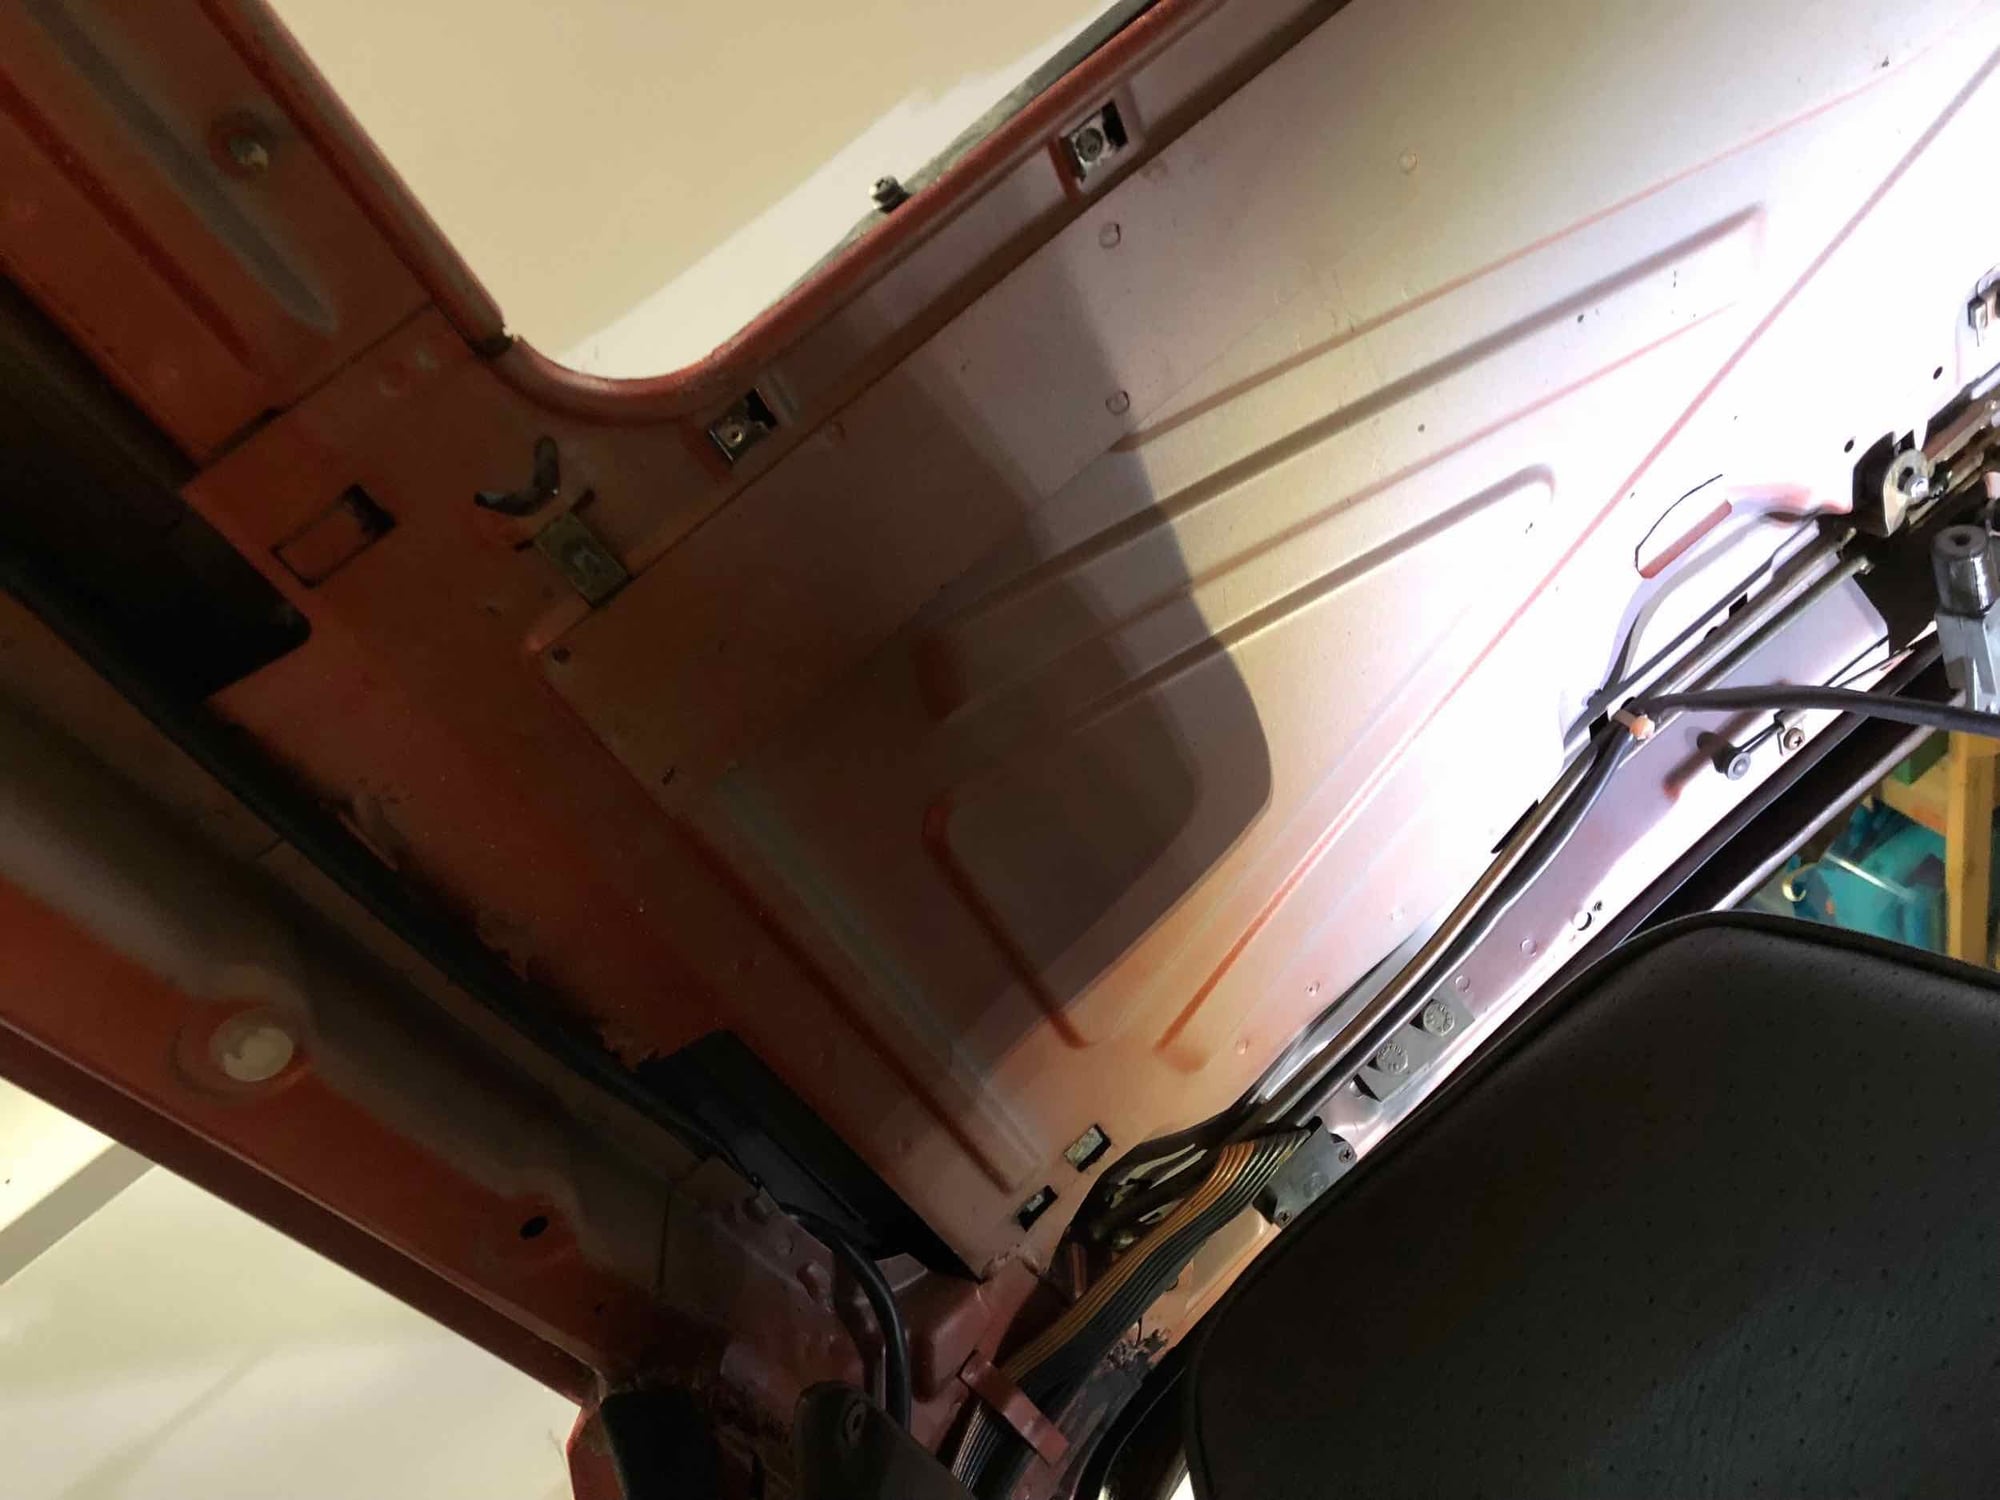
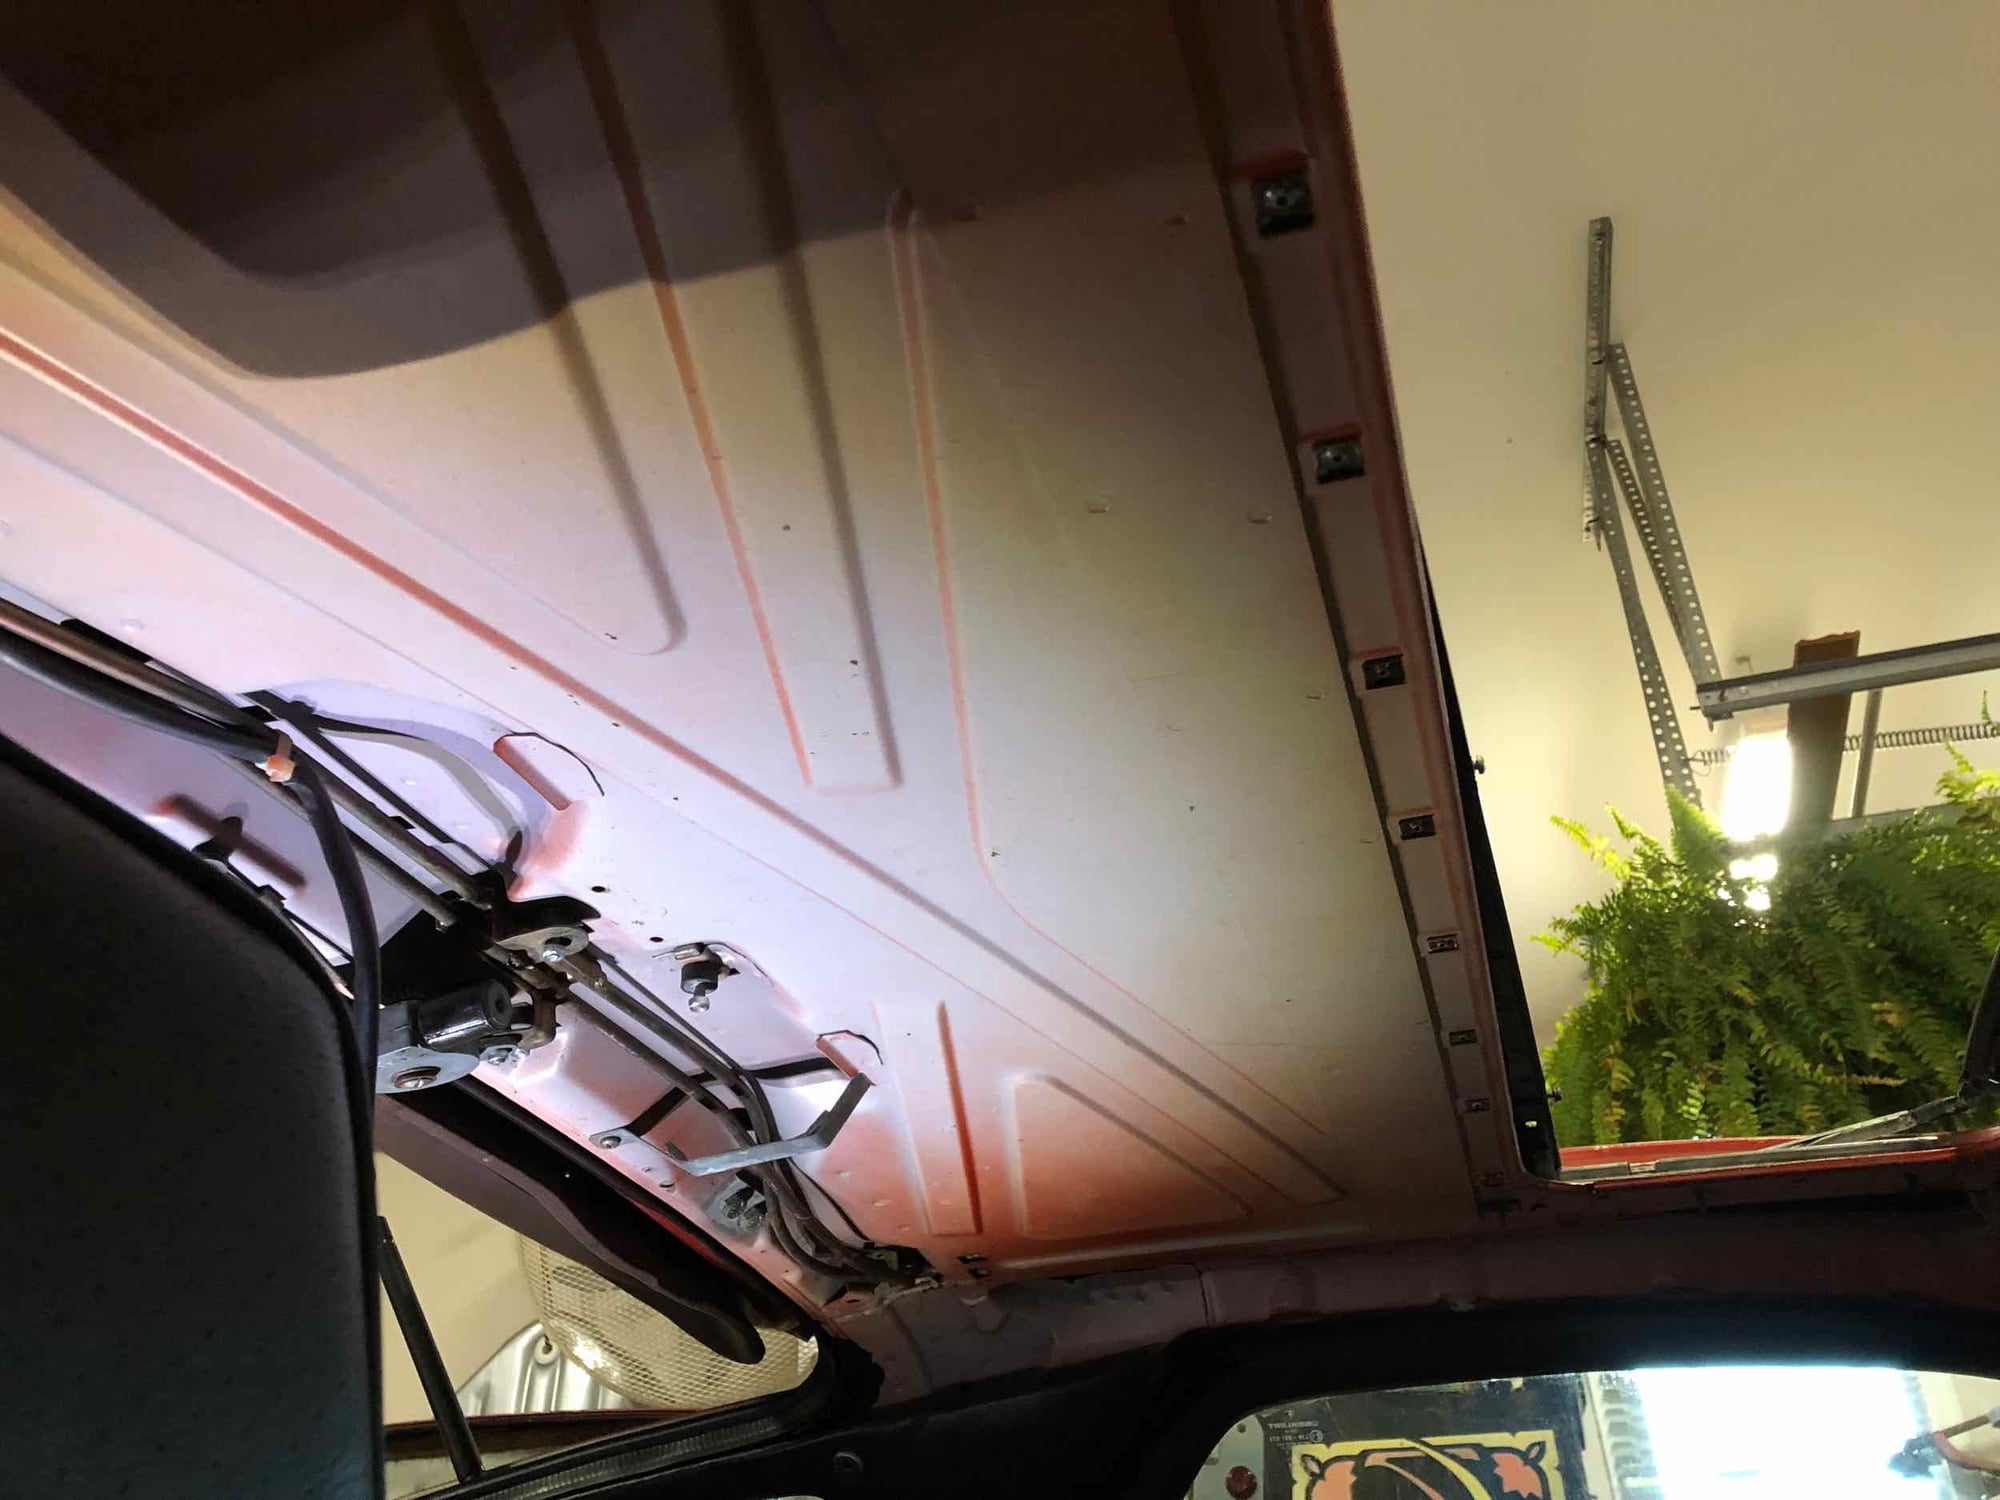
Now for some good progress. I pulled the headliner and passenger door panel off. Headliner has been water damaged from ill fitting sunroof. Plan to cut out the damaged cardboard and replace with fiberglas reinforced cardboard patches. Headliner vinyl is in very good shape.
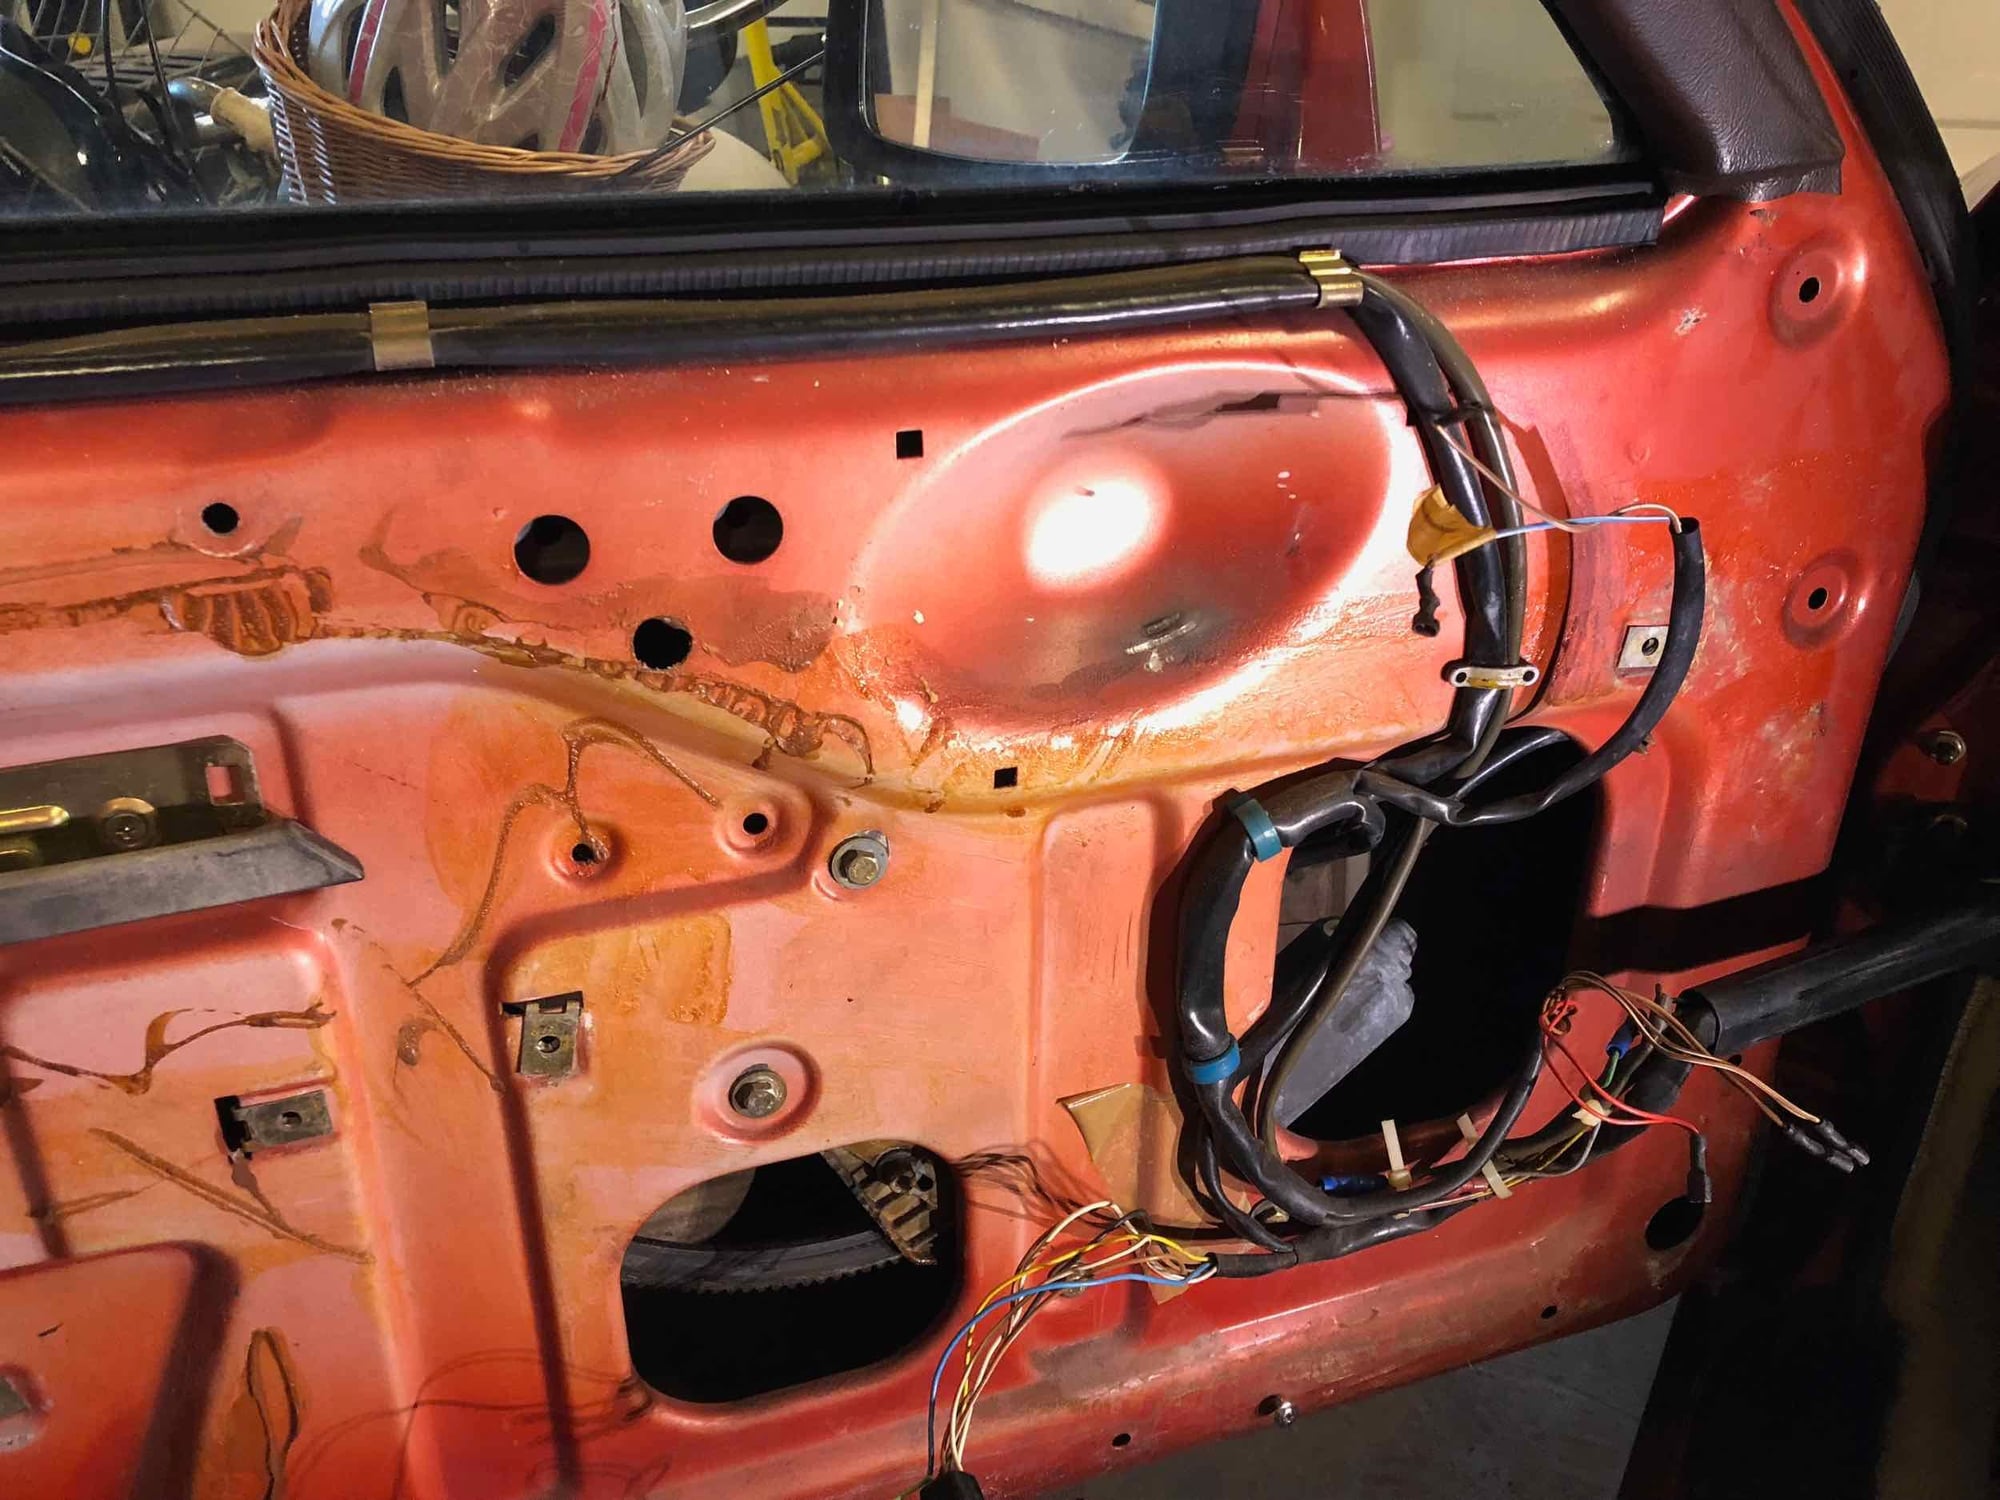
Door panels are in great shape except for the broken plastic tabs for attachment. Plan to add fiberglas there as well to reinforce. The 'visible' part of the panel is in really good shape. Plan to replace door window guides while everything is apart. Also notice there is no vapor barrier - but a new one will appear after paint.
I'm loving this as for it's in about the same shape as my 81 which I'm about to start. My rear hatch was rusted beyond repair under the spoiler so I purchased a new complete new hatch from Mark ($200).
Removed the driver's side door panel today. No surprises as I have had it off before as well. Missing the vapor barrier (I can't wait to hear these doors close with a proper "Thunk")! Some missing hardware and most of the tabs on the plastic portion of the panel are broken off.
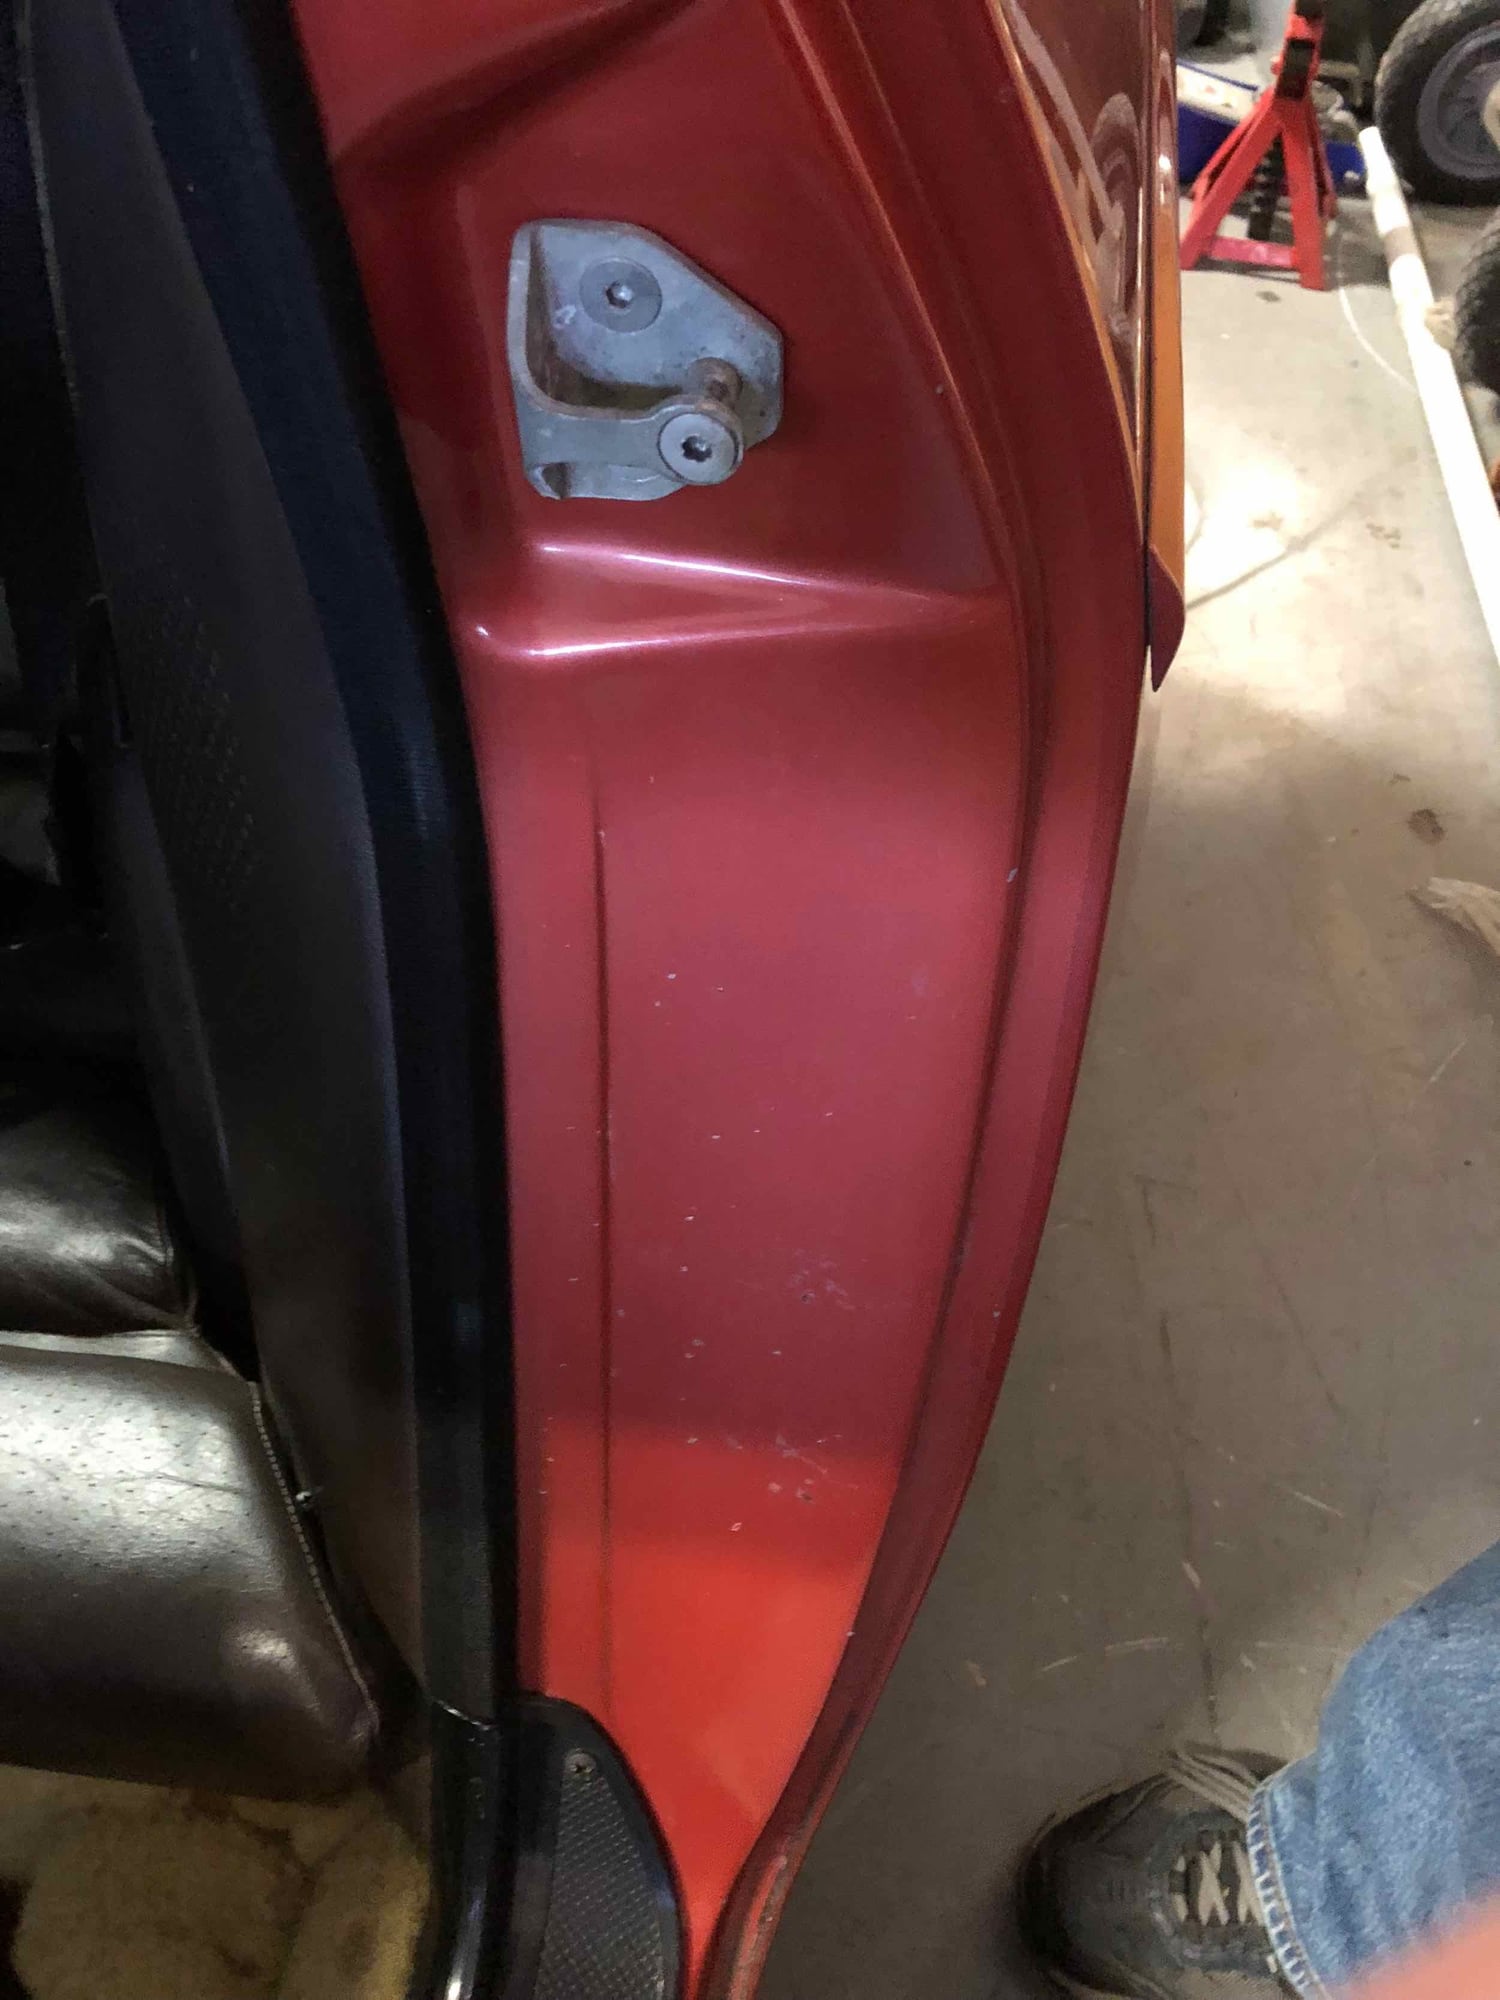
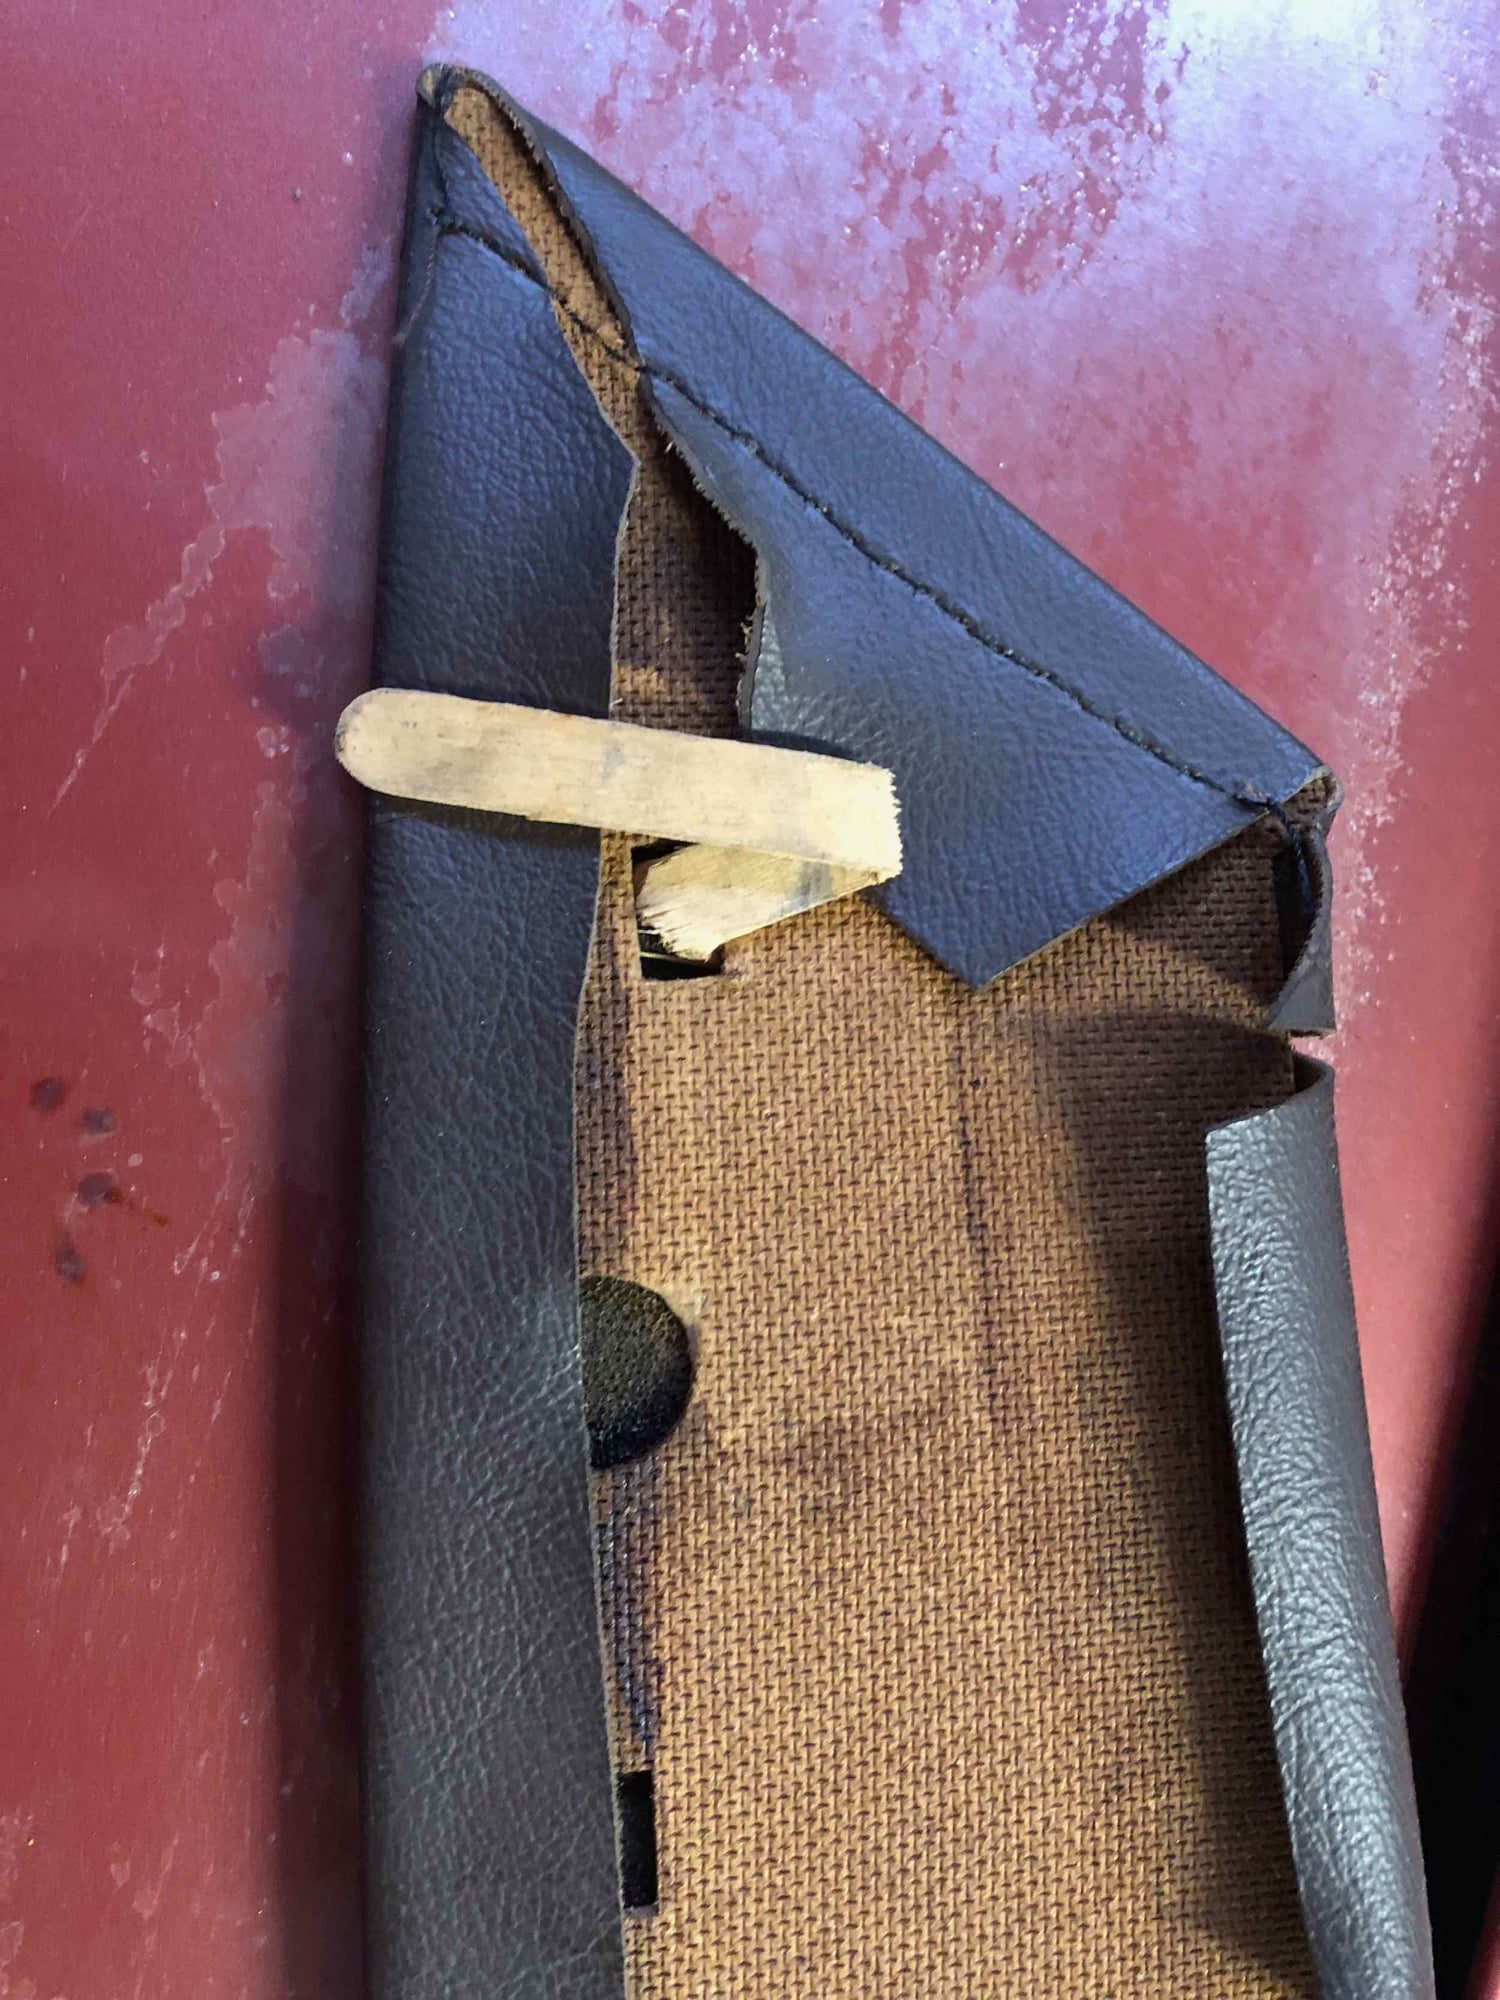
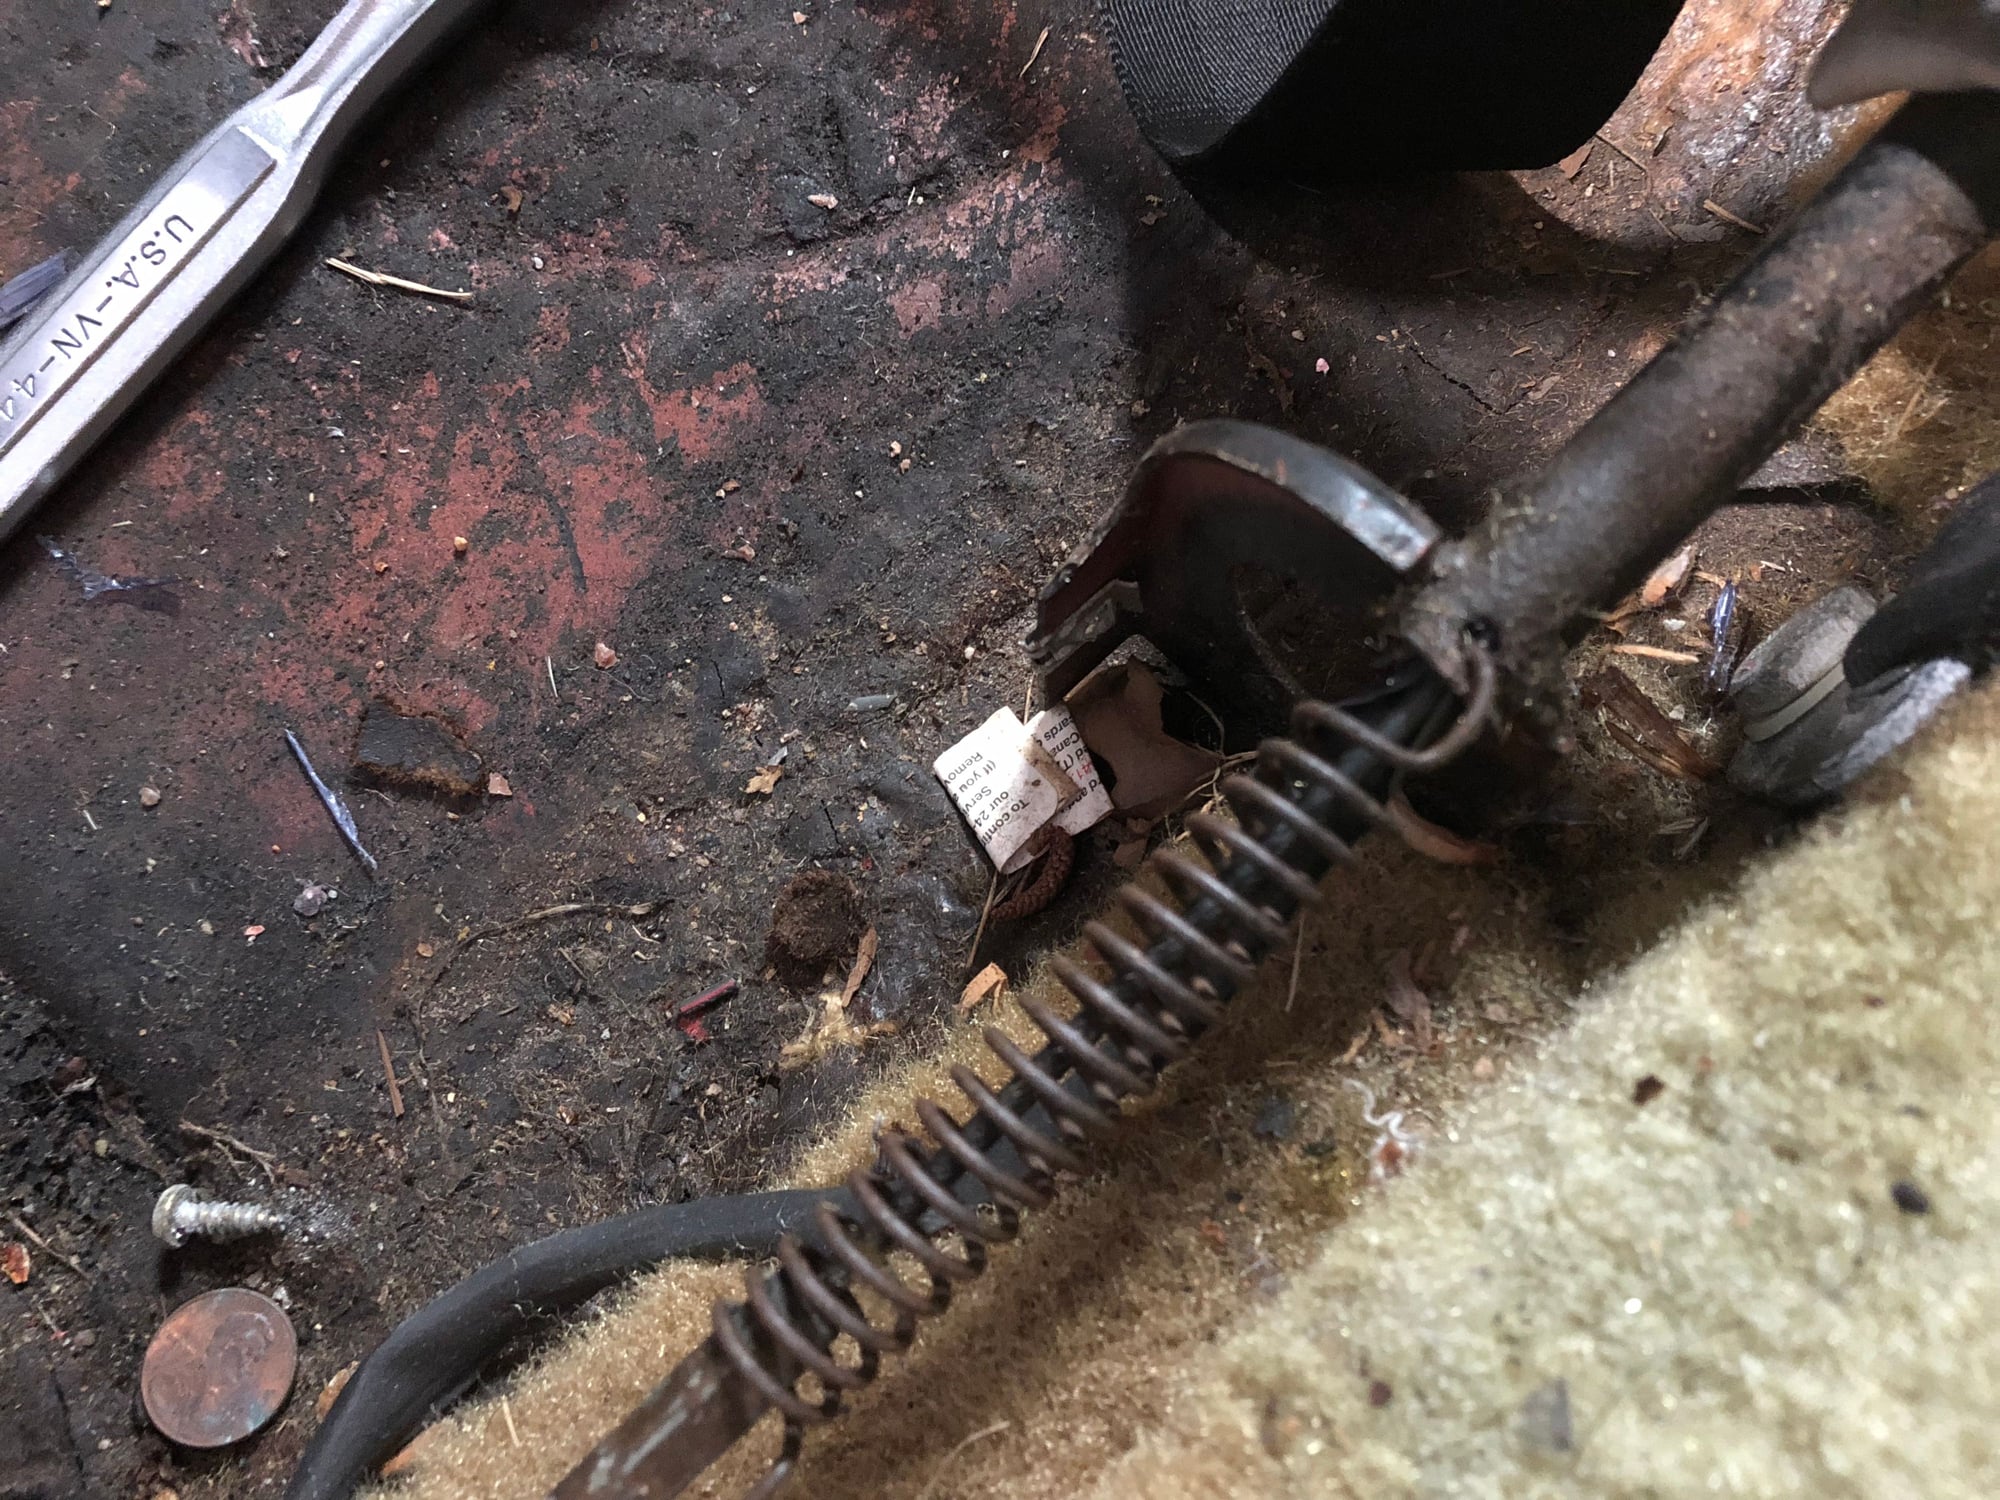
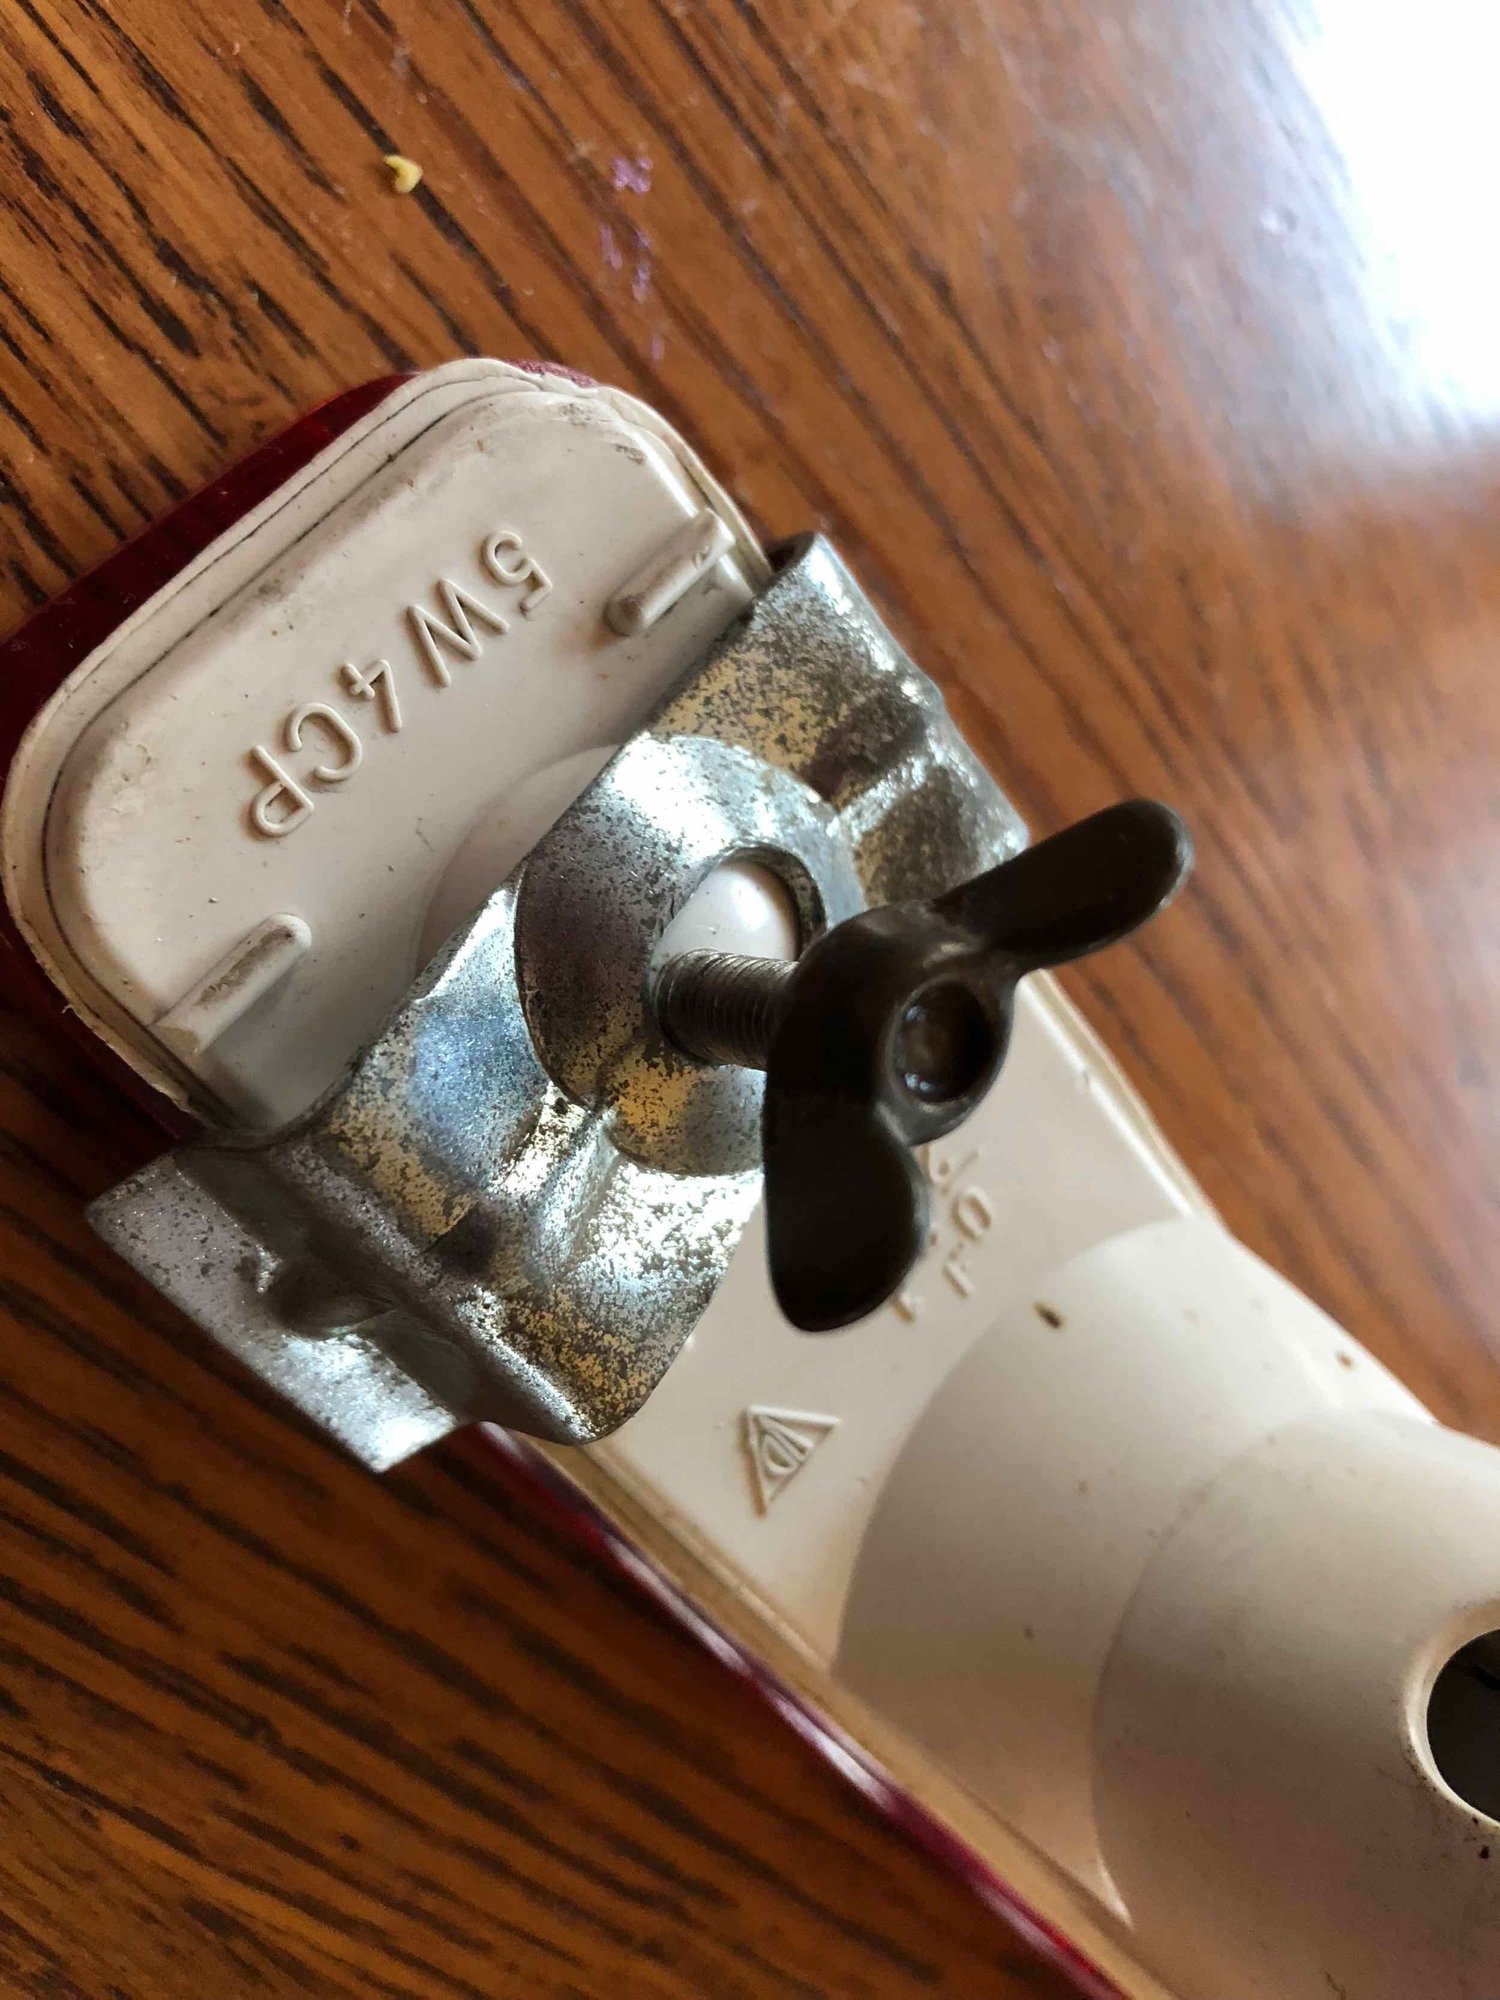
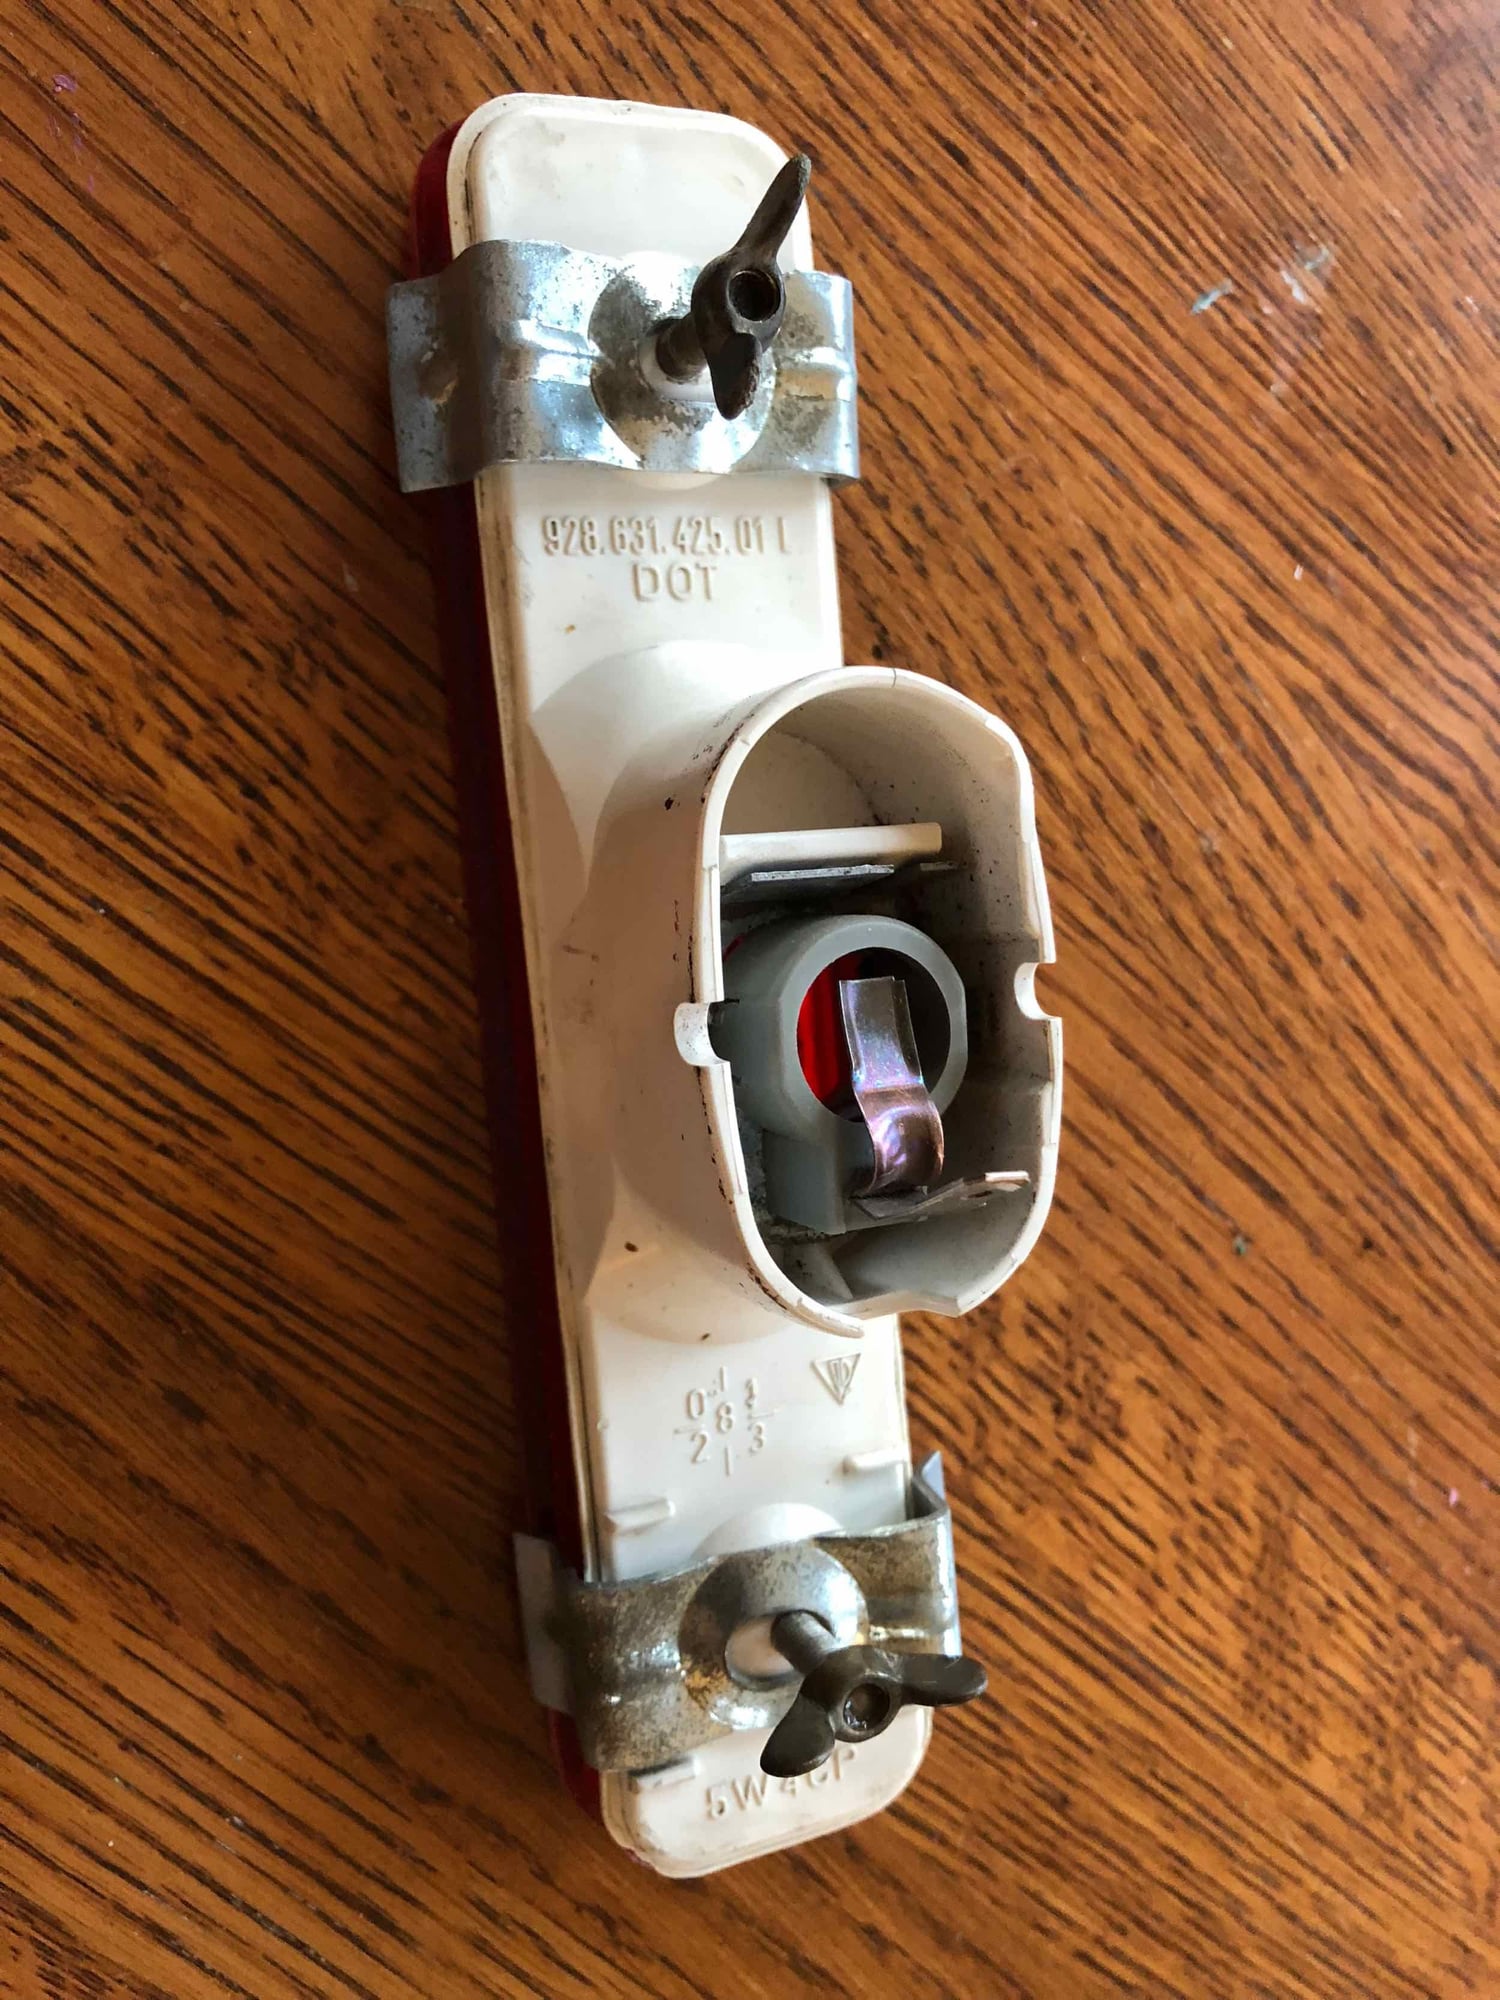
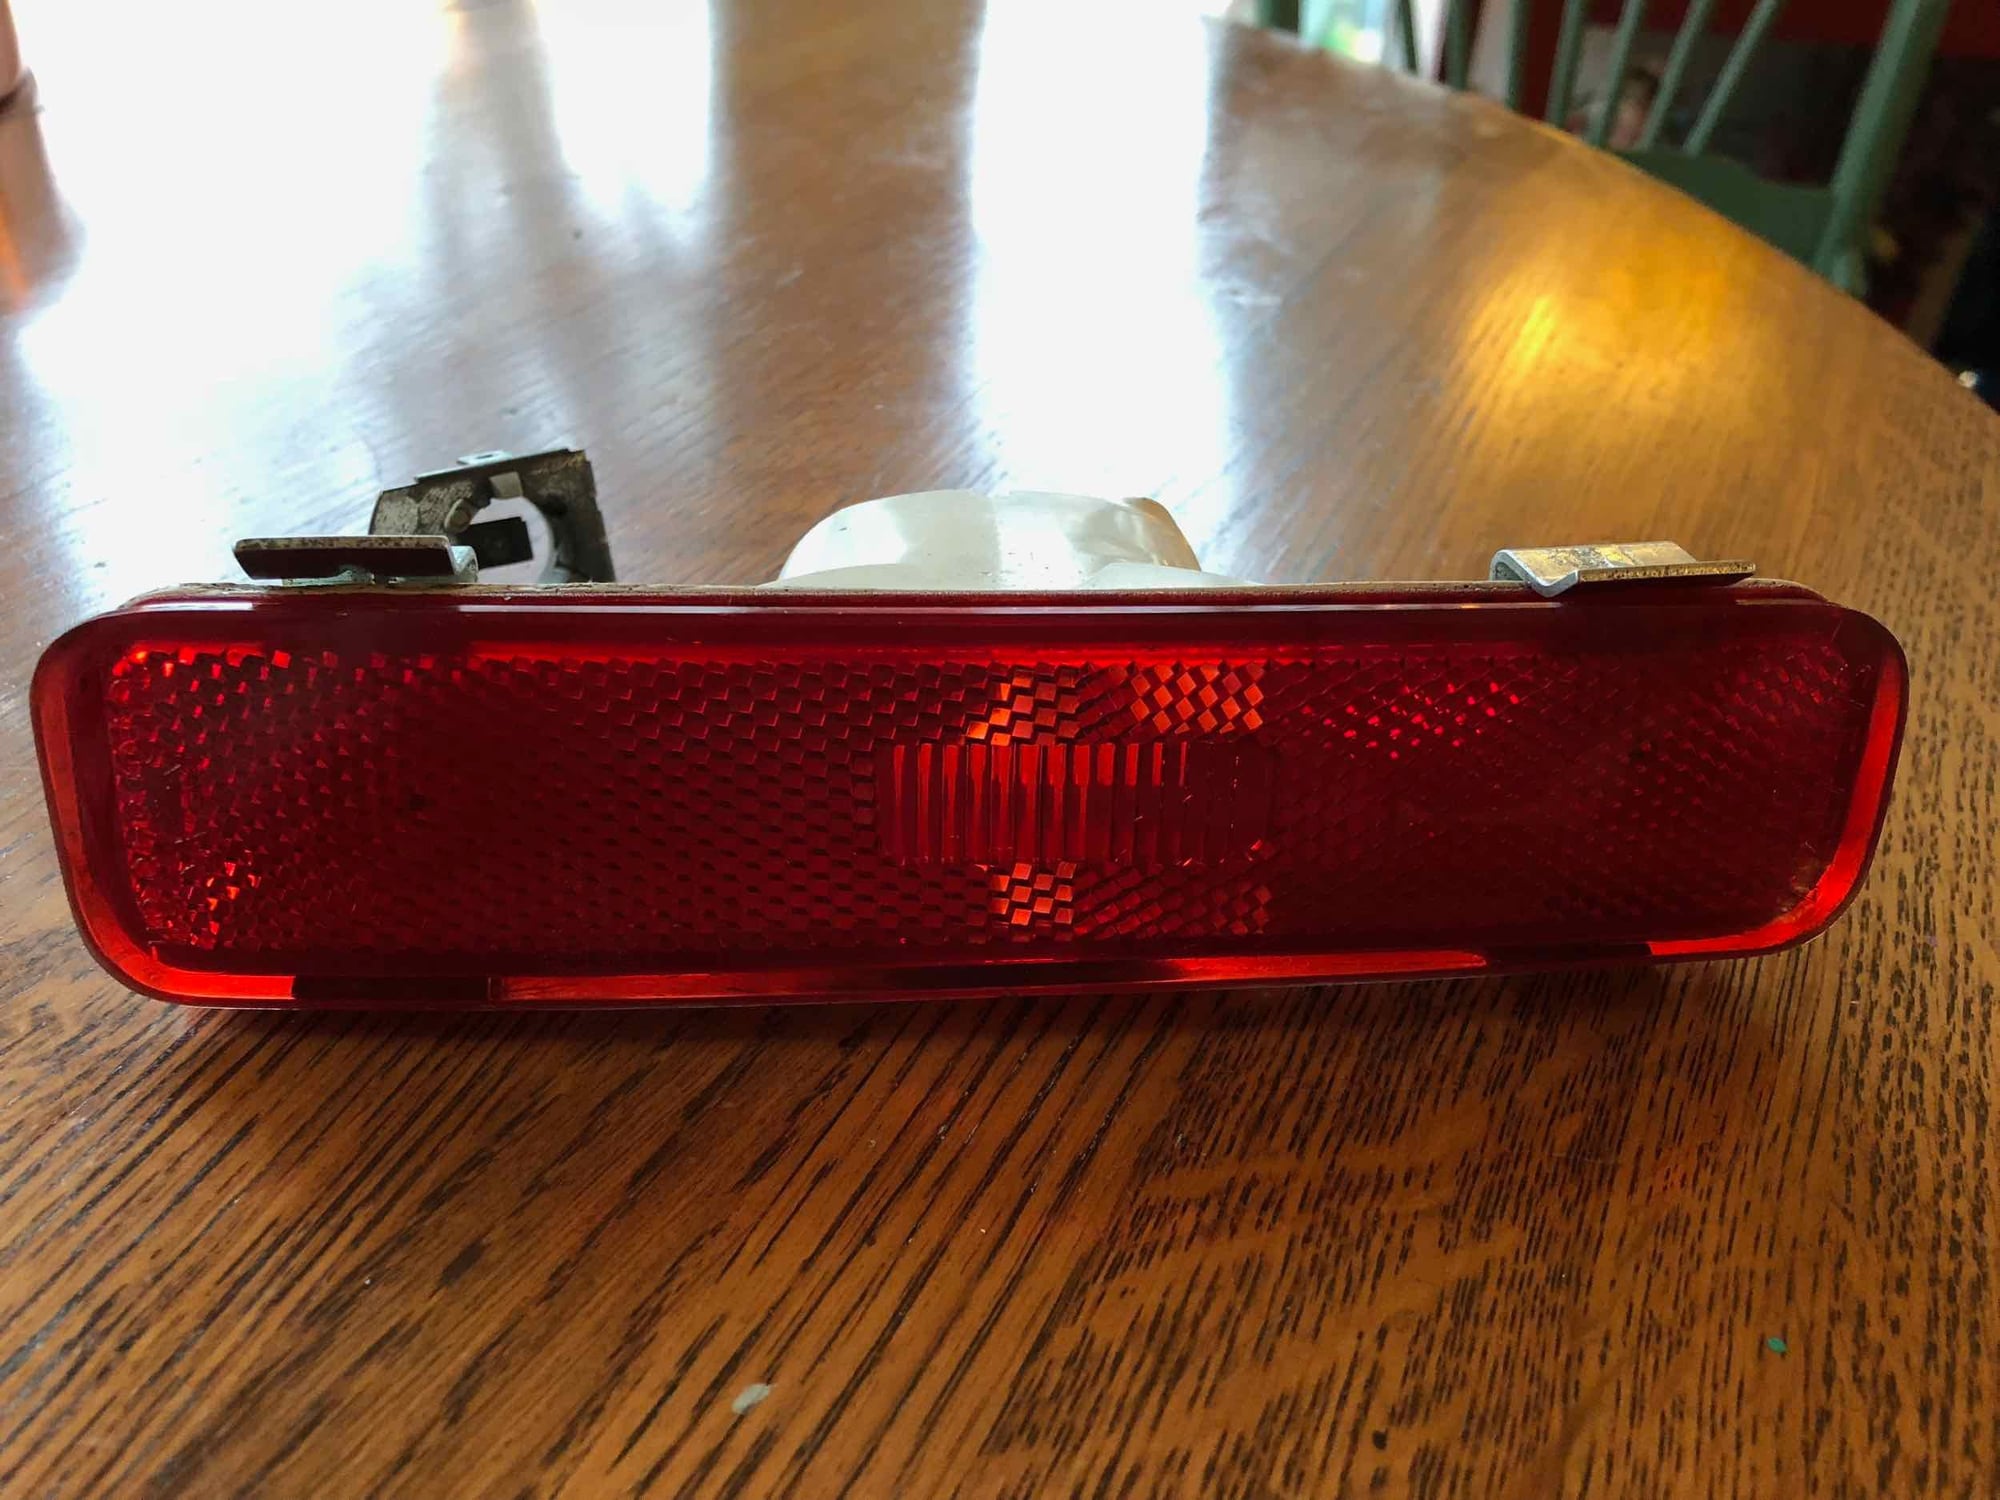
Nate and Roger - I did find that I apparently have one of the later superseded and NLA clips that hold the middle door panel cover in place. I can't find the part number, but see pics below. If you would like to try to have the tooling created to recreate this obviously expensive piece, I will be glad to carefully wrap and send your way to get measurements (see pics below).
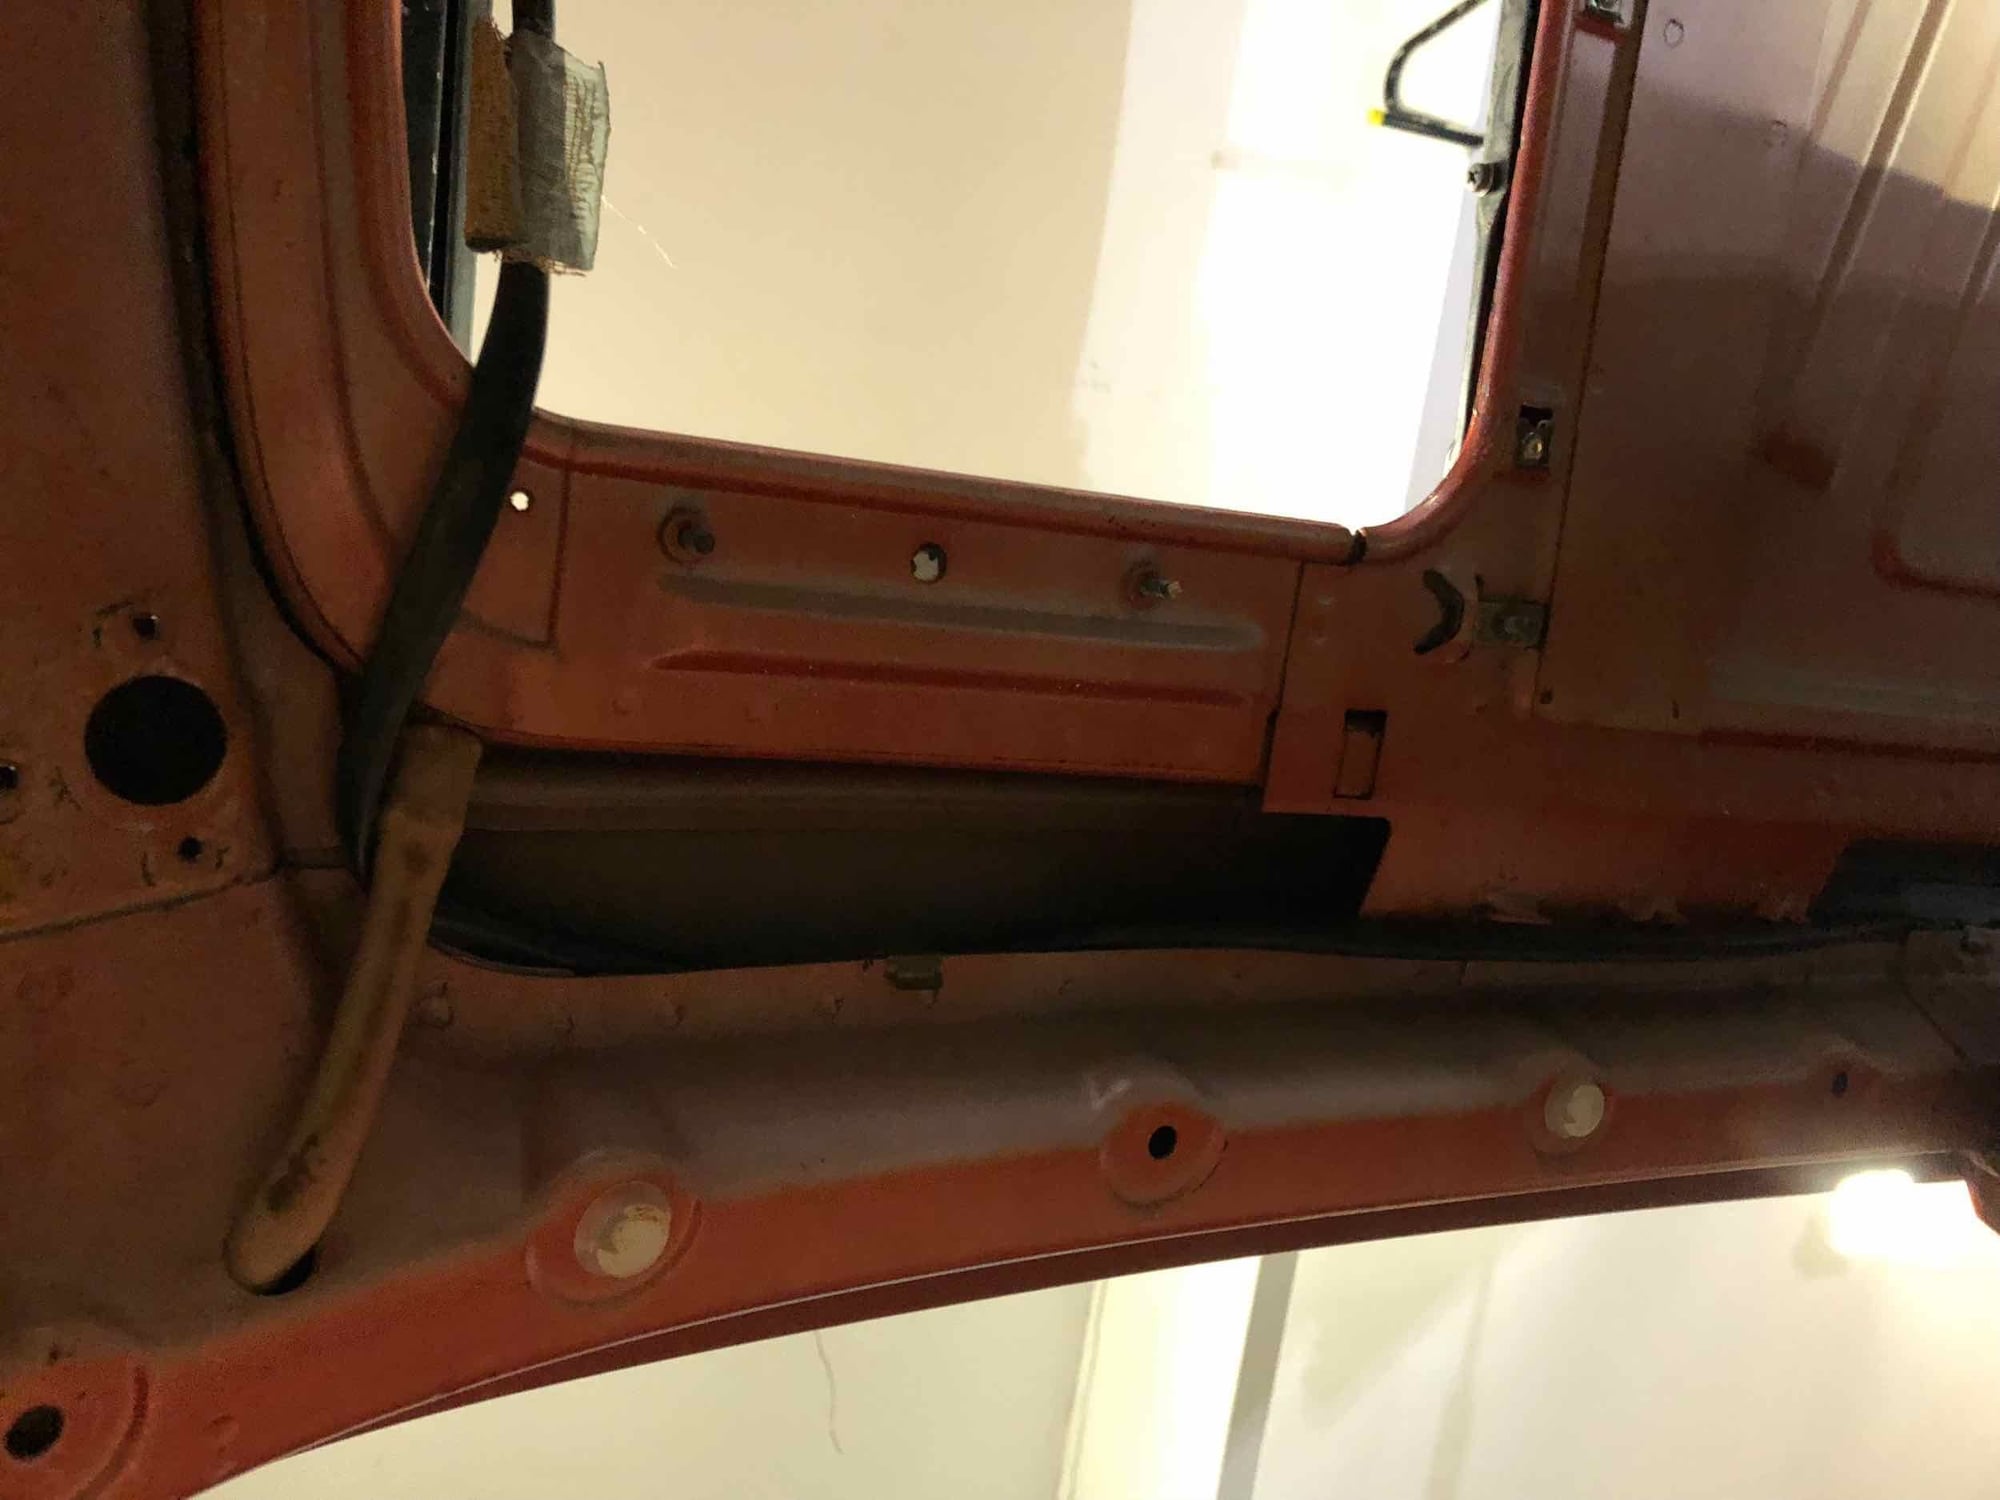
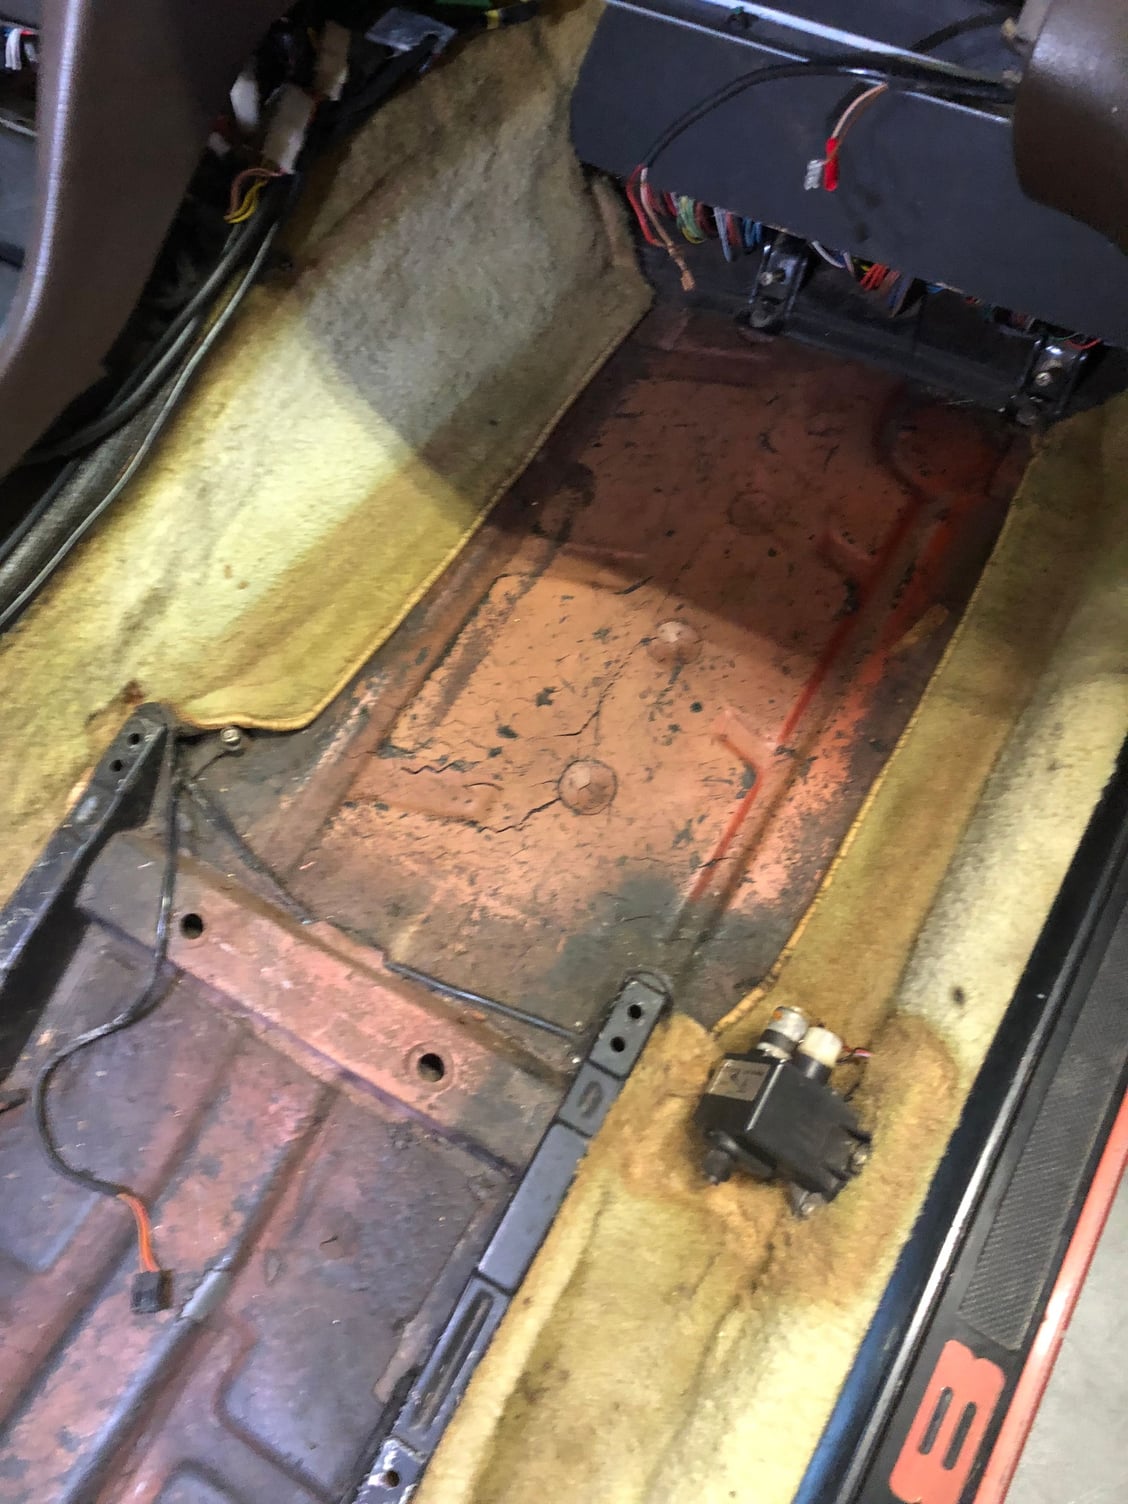
Ed - more evidence of a respray - I am missing the stickers for the B-pillar (not planning to repaint jambs, but would love to know if the originals are under there or were peeled off.
-scott
Respray evidence? I have no stickers on the drivers side B-pillar.
Removed the driver's side door panel today. No surprises as I have had it off before as well. Missing the vapor barrier (I can't wait to hear these doors close with a proper "Thunk")! Some missing hardware and most of the tabs on the plastic portion of the panel are broken off.
Nate and Roger - I did find that I apparently have one of the later superseded and NLA clips that hold the middle door panel cover in place. I can't find the part number, but see pics below. If you would like to try to have the tooling created to recreate this obviously expensive piece, I will be glad to carefully wrap and send your way to get measurements (see pics below).
Ed - more evidence of a respray - I am missing the stickers for the B-pillar (not planning to repaint jambs, but would love to know if the originals are under there or were peeled off.
-scott
Respray evidence? I have no stickers on the drivers side B-pillar.
At least the metal was never cut for a speaker!
Nate, Roger, Anyone? I think this piece is NLA...
Scott,
I am not familiar with this NLA clip. Maybe my eyes are not working today, but where is the clip in these photos? All I see is what looks to be a broken tongue depressor?
I am not familiar with this NLA clip. Maybe my eyes are not working today, but where is the clip in these photos? All I see is what looks to be a broken tongue depressor?
Nate - I'm sorry! That was my poor attempt at '80s humor (perhaps something Mel Brooks or the Zucker Brothers might would cook up if they were a 928 owner and found that "clip" when they took the door panel off).
The tongue depressor is in fact what I was talking about - my thought was to play your generosity in trying to recreate parts for us owners and Roger's willingness to make stuff as well against Some PO's idea of using a tongue depressor in place of the correct clip. Didn't mean anything offensive at all.
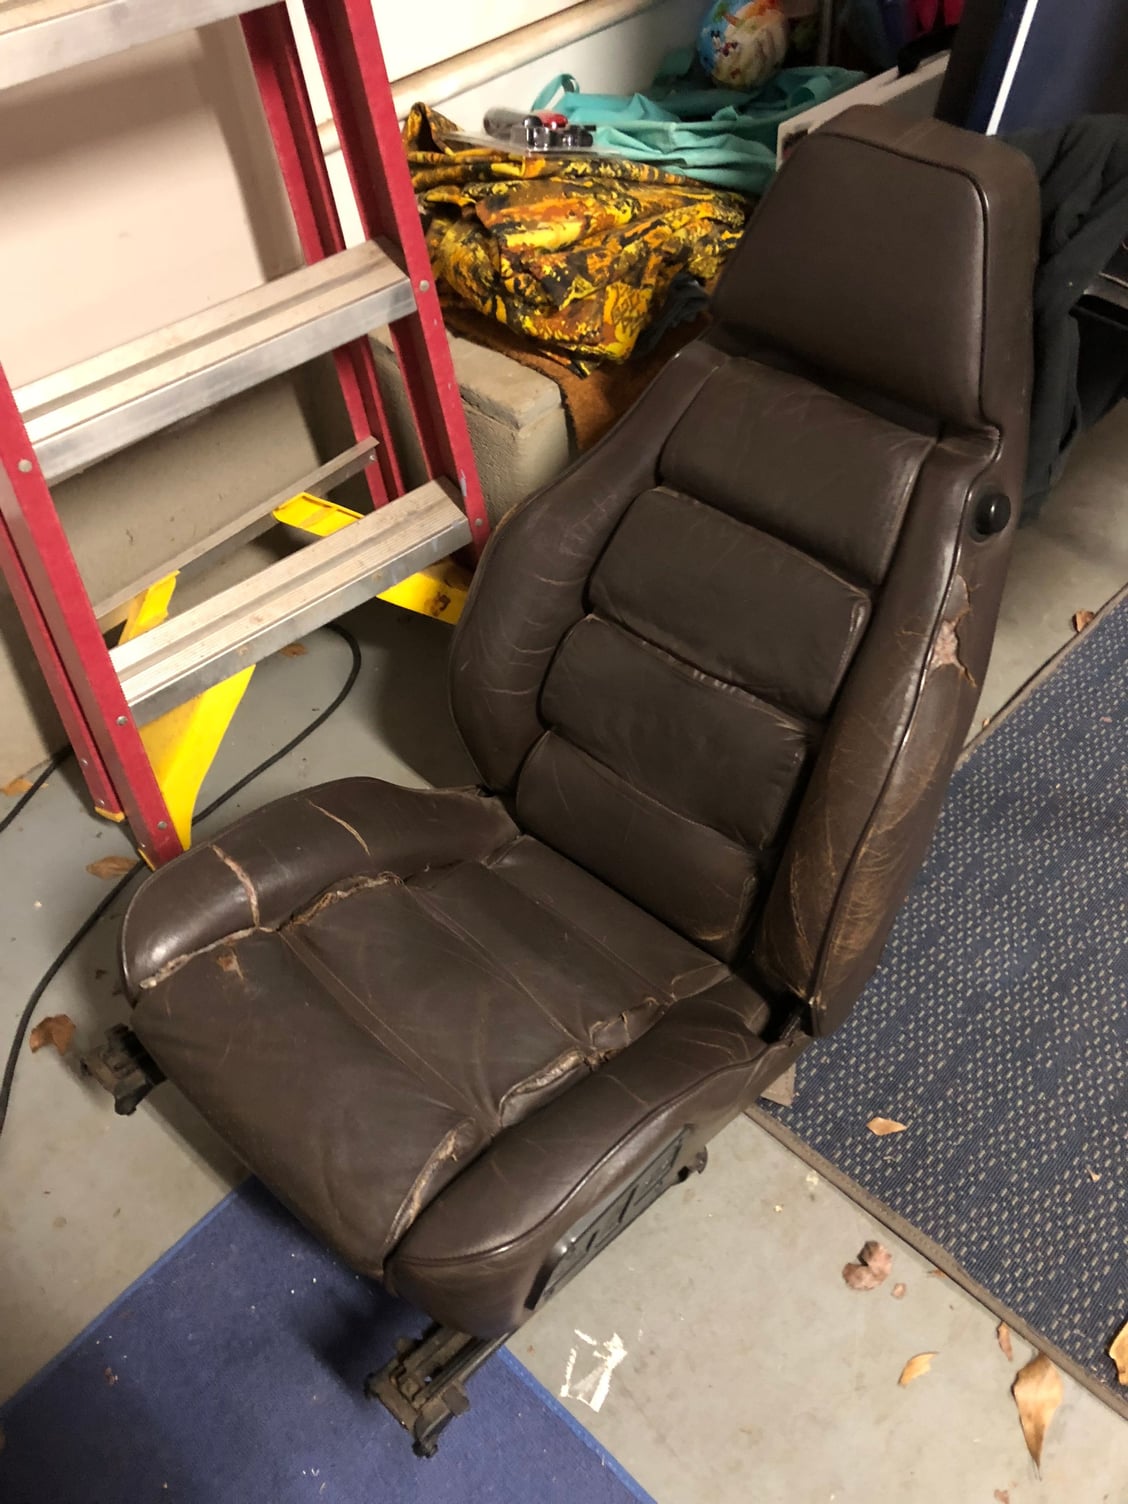
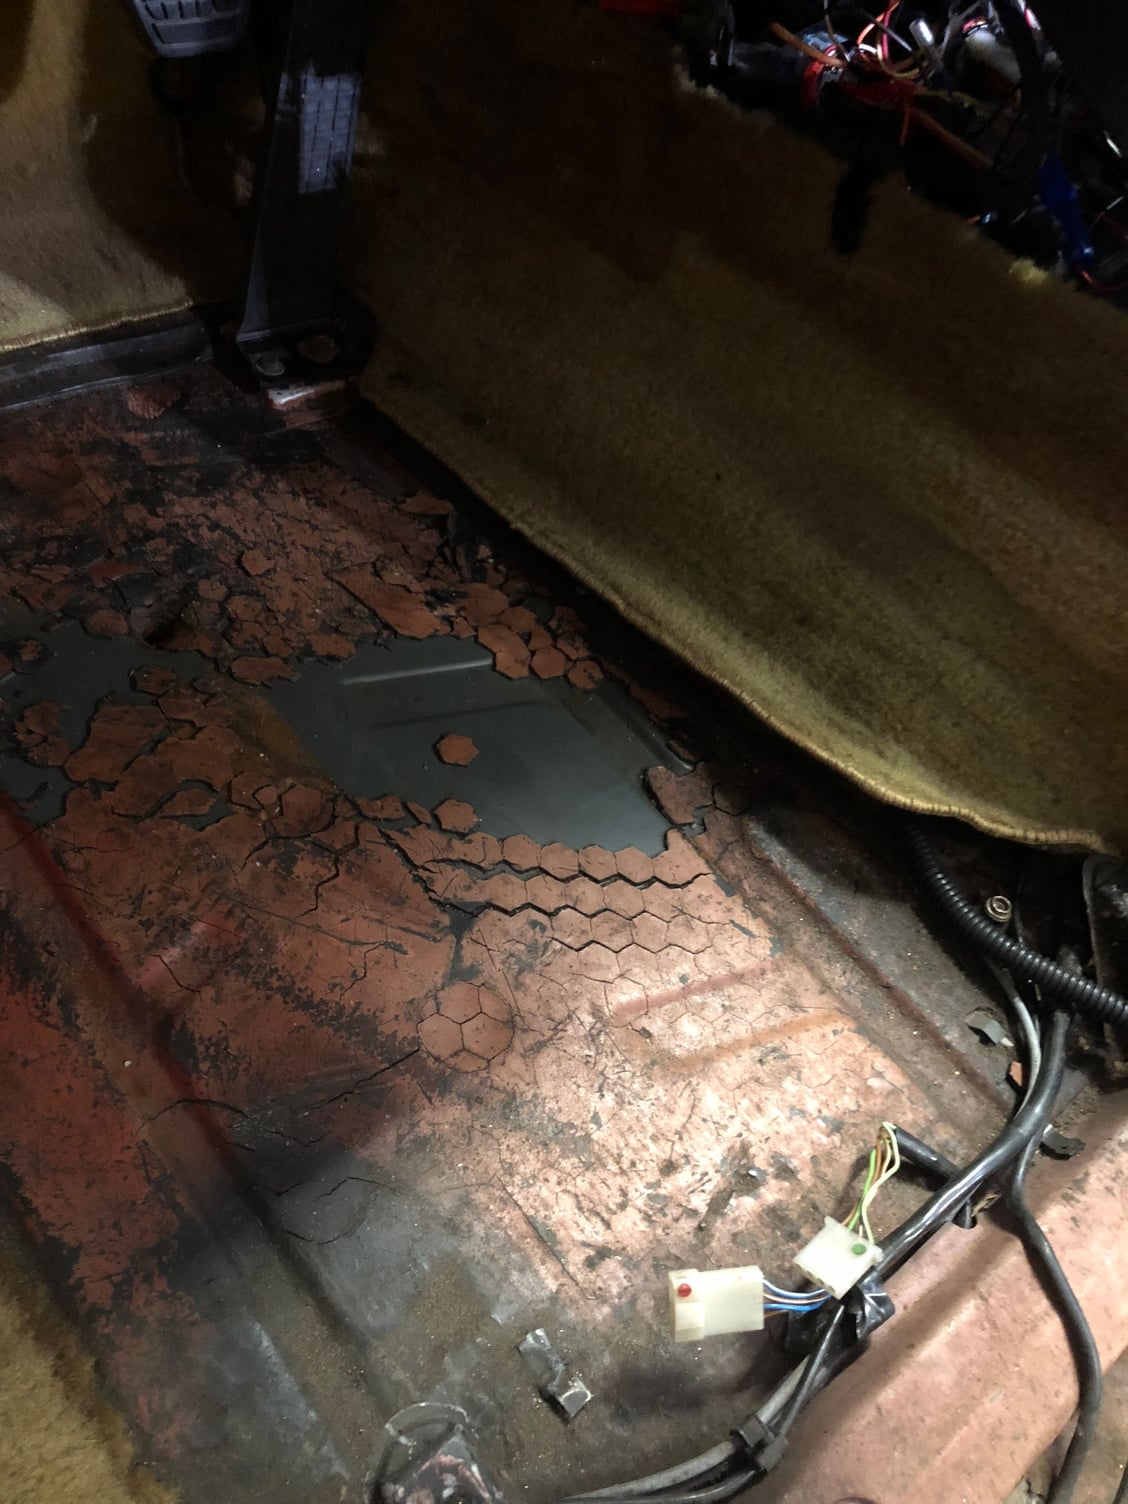
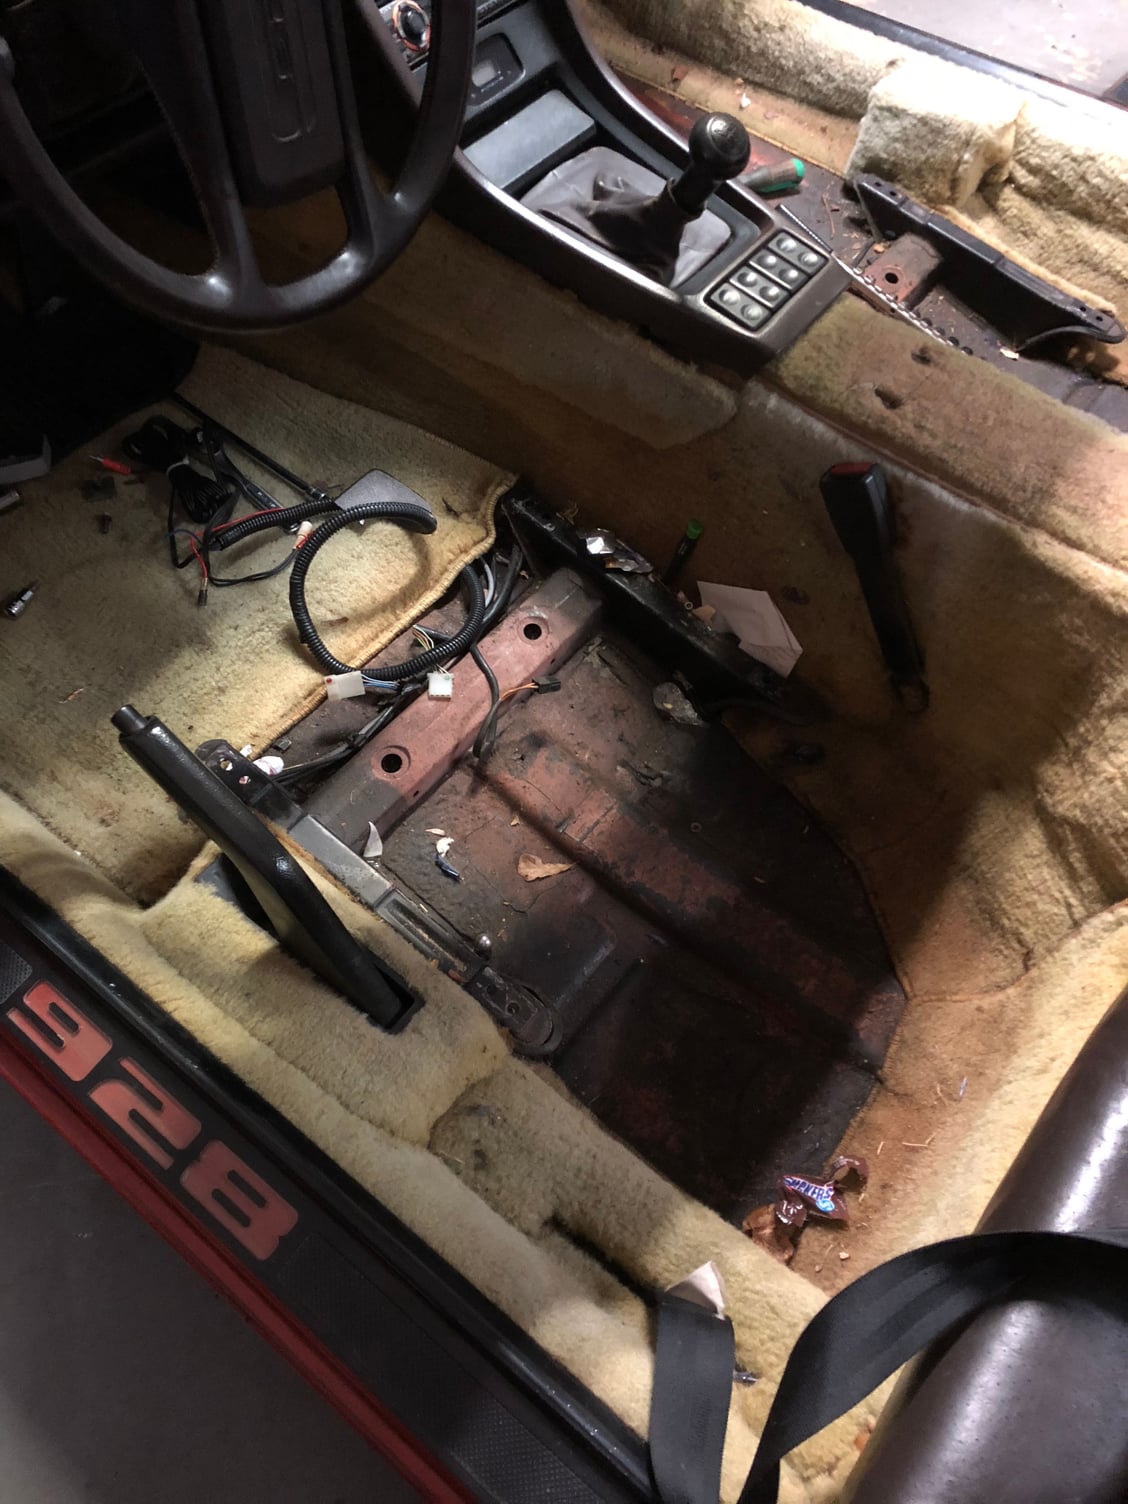
Interior removal continued this weekend. Seats were very easy to pull - probably because they only had two bolts holding them down...(aaarrrrgghh)!
Many fasteners missing all over the interior (e.g. on carpet pieces, console, etc.
made a couple of videos I�ll post on YouTube and link here regarding wiring in center console - seems that always comes up as a question and maybe it will help someone else.
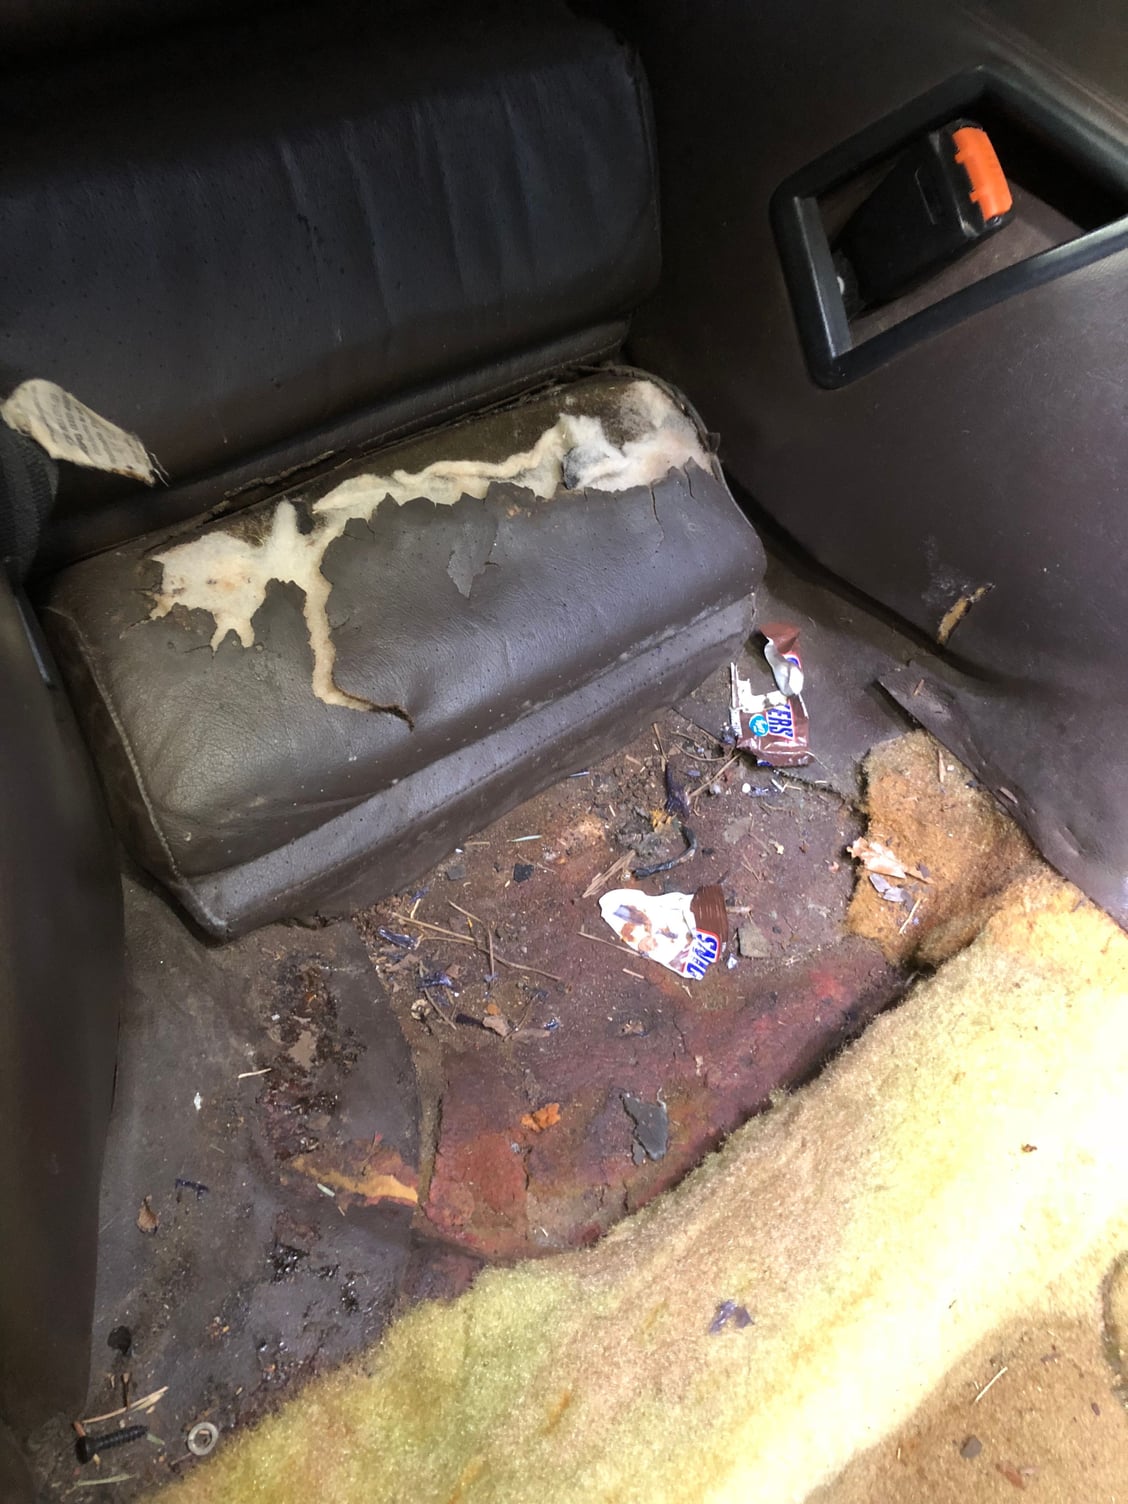
back seats are very rough - have to study them before pulling the covers off.
wish I could get a definitive on the carpet color. I have found enough of the darker to make a good guess.
Scott, My car is also an 83 - DS840812 , Jan 83 build. It is a C16 (UK, RHD ) spec car, did 8 years in UK after a tourist pick up at factory, then lived in Riyadh until I picked it up in early 02, and it has lived in Oz since jan 03. Check out P110 of Brian Long's book - full white treatment, except floor and lower doors in black carpet. It needed the seats fully recovered , and when I found a source of white leather, it was actually German! Also had the steering wheel redone in the same leather. My door inside skins look different a little from yours - IIRC the speaker pocket is right at the front , and smaller than yours - when I replaced the speakers I had to do some panel beating to avoid shorts on the door skin. If your door pockets/pulls plastic is in the usual state, see if you can find somebody with the steel plate reinforcements and copy them - I found they made a huge difference - they were made by a Landsharker Peter Clark years ago.
I replaced all the fuel hoses I could get a few years ago, but the engine bay return line was NLA. On inspection , neither hose had any signs or cracking or degradation, so I reused the return hose. My car is CIS, but I doubt these hoses are different from L or LH. The other hose I found worth looking at was the short return piece from the steel line onto the tank sender - while I had the tank out, I gave this hose a light tug, and ot slid easily off the pipe! It now has hose clips on both ends.
I found the carpets in general, and the sides of the console/tunnel finishing to be very average - didnt look nearly as good as a reasonable S4 IMHO. The tunnel sides and the cover between the tunnel and the console sides were very poorly done, and I have made new cover panels and reglued all the 'carpet' covering there - its really very flimsy stuff. I have replaced the clips that hold the carpets down - many were broken one way or another - they came from a UK supply house.
Keep the pictures coming please, watching with interest.
jp 83 Euro S AT 57k
Well, we cancelled school here because of the threat of freezing rain, so I had another day to work on the interior removal. Thanks all for the comments and encouragement. So far it has not been too bad.
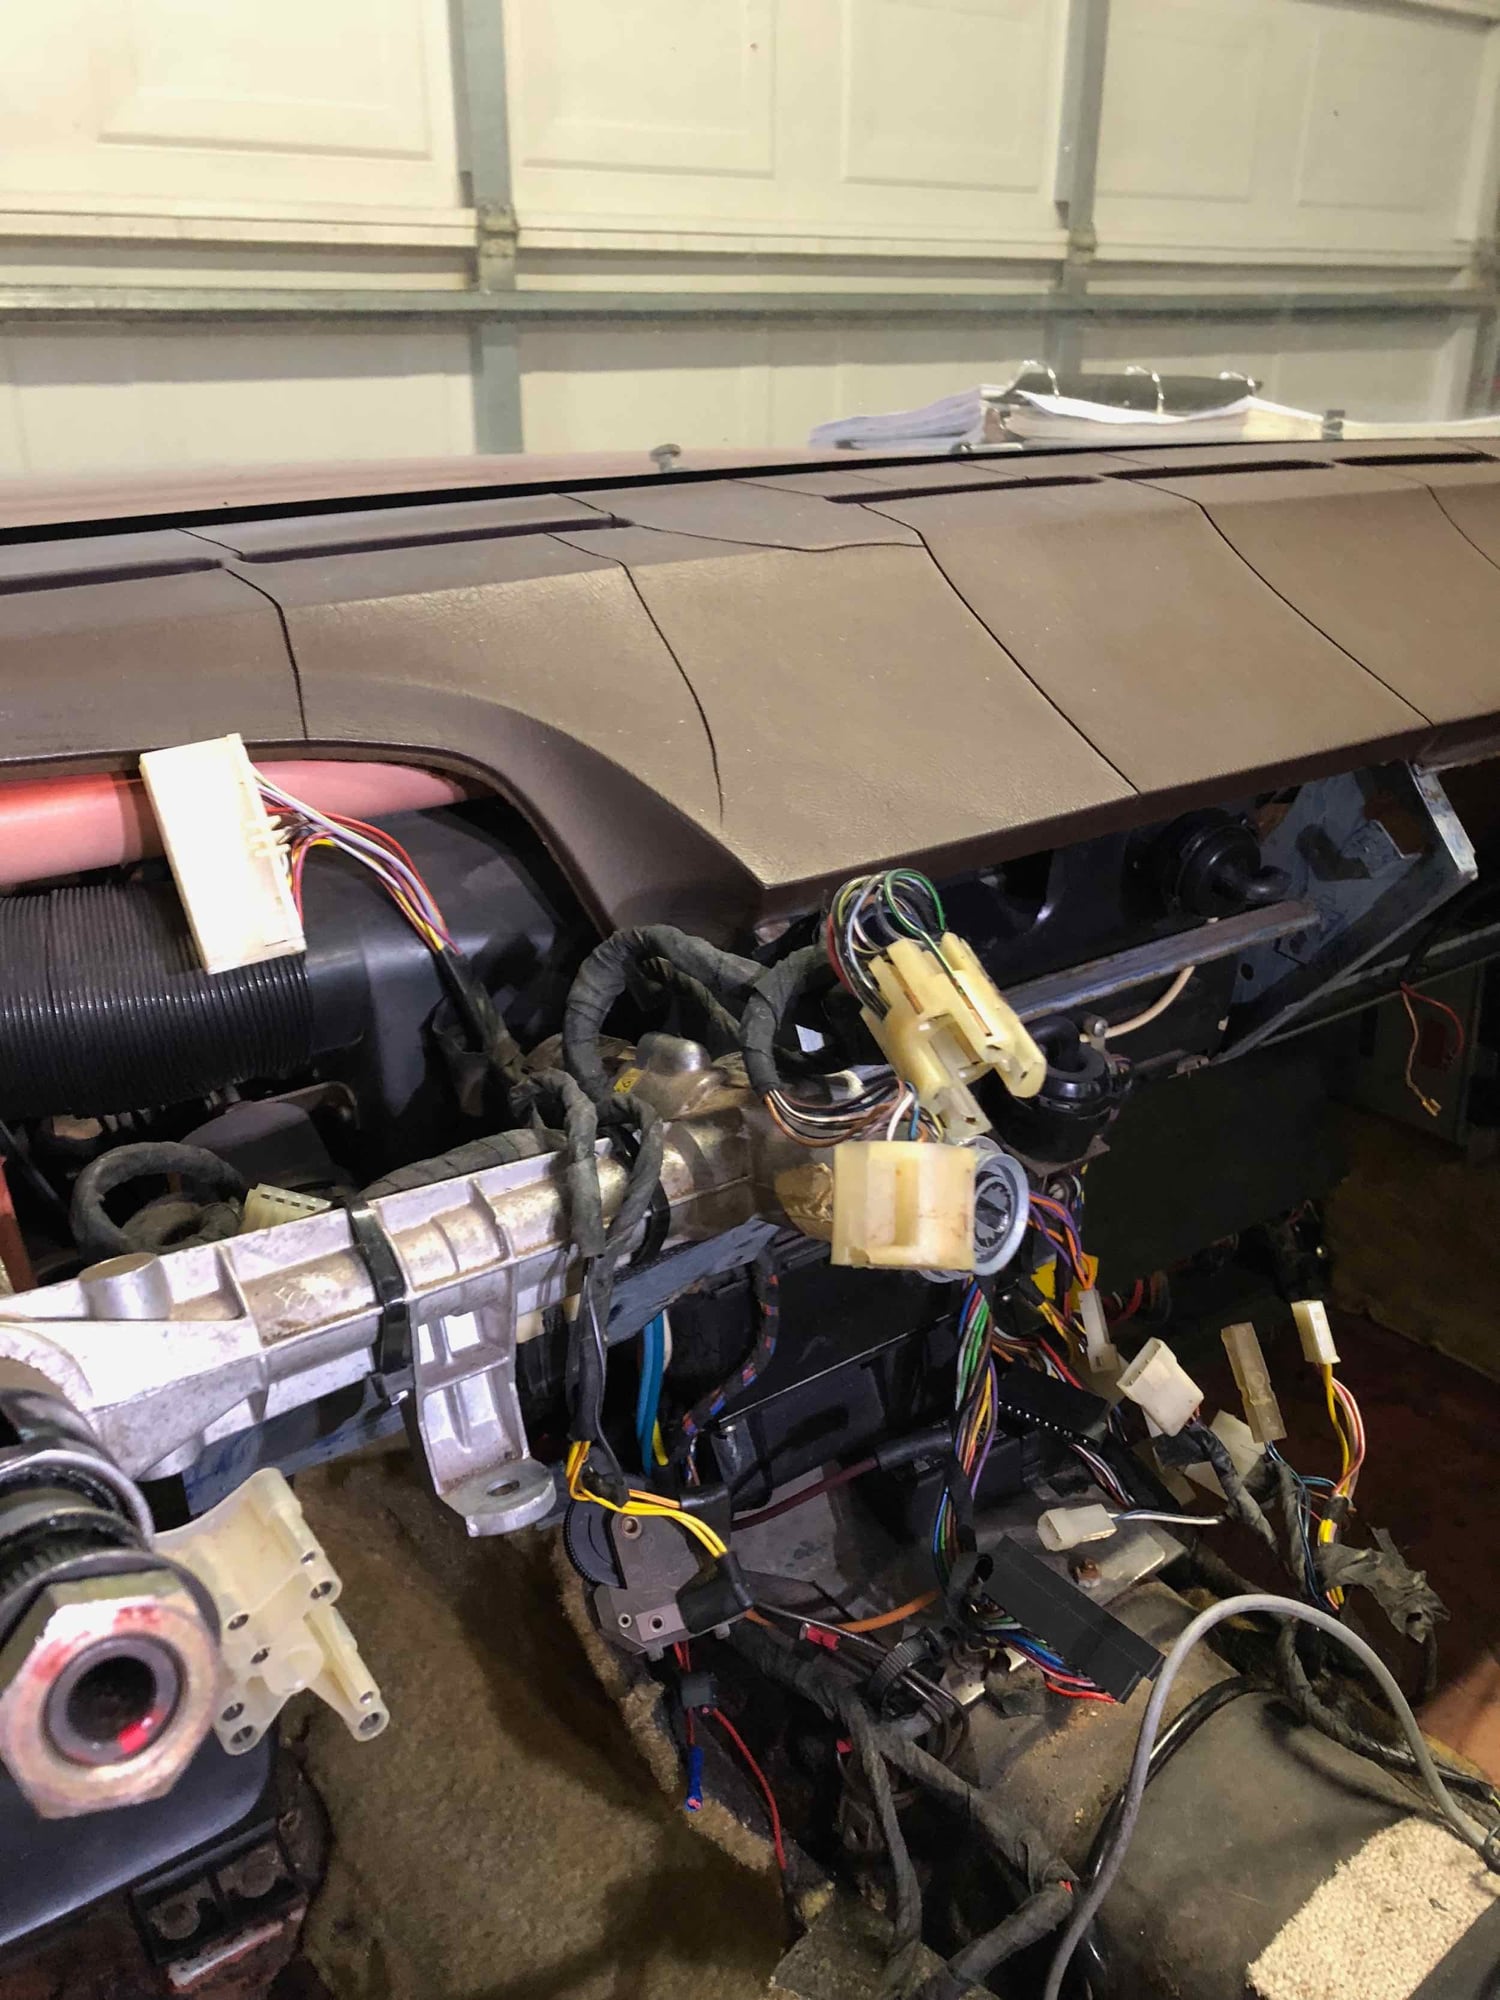
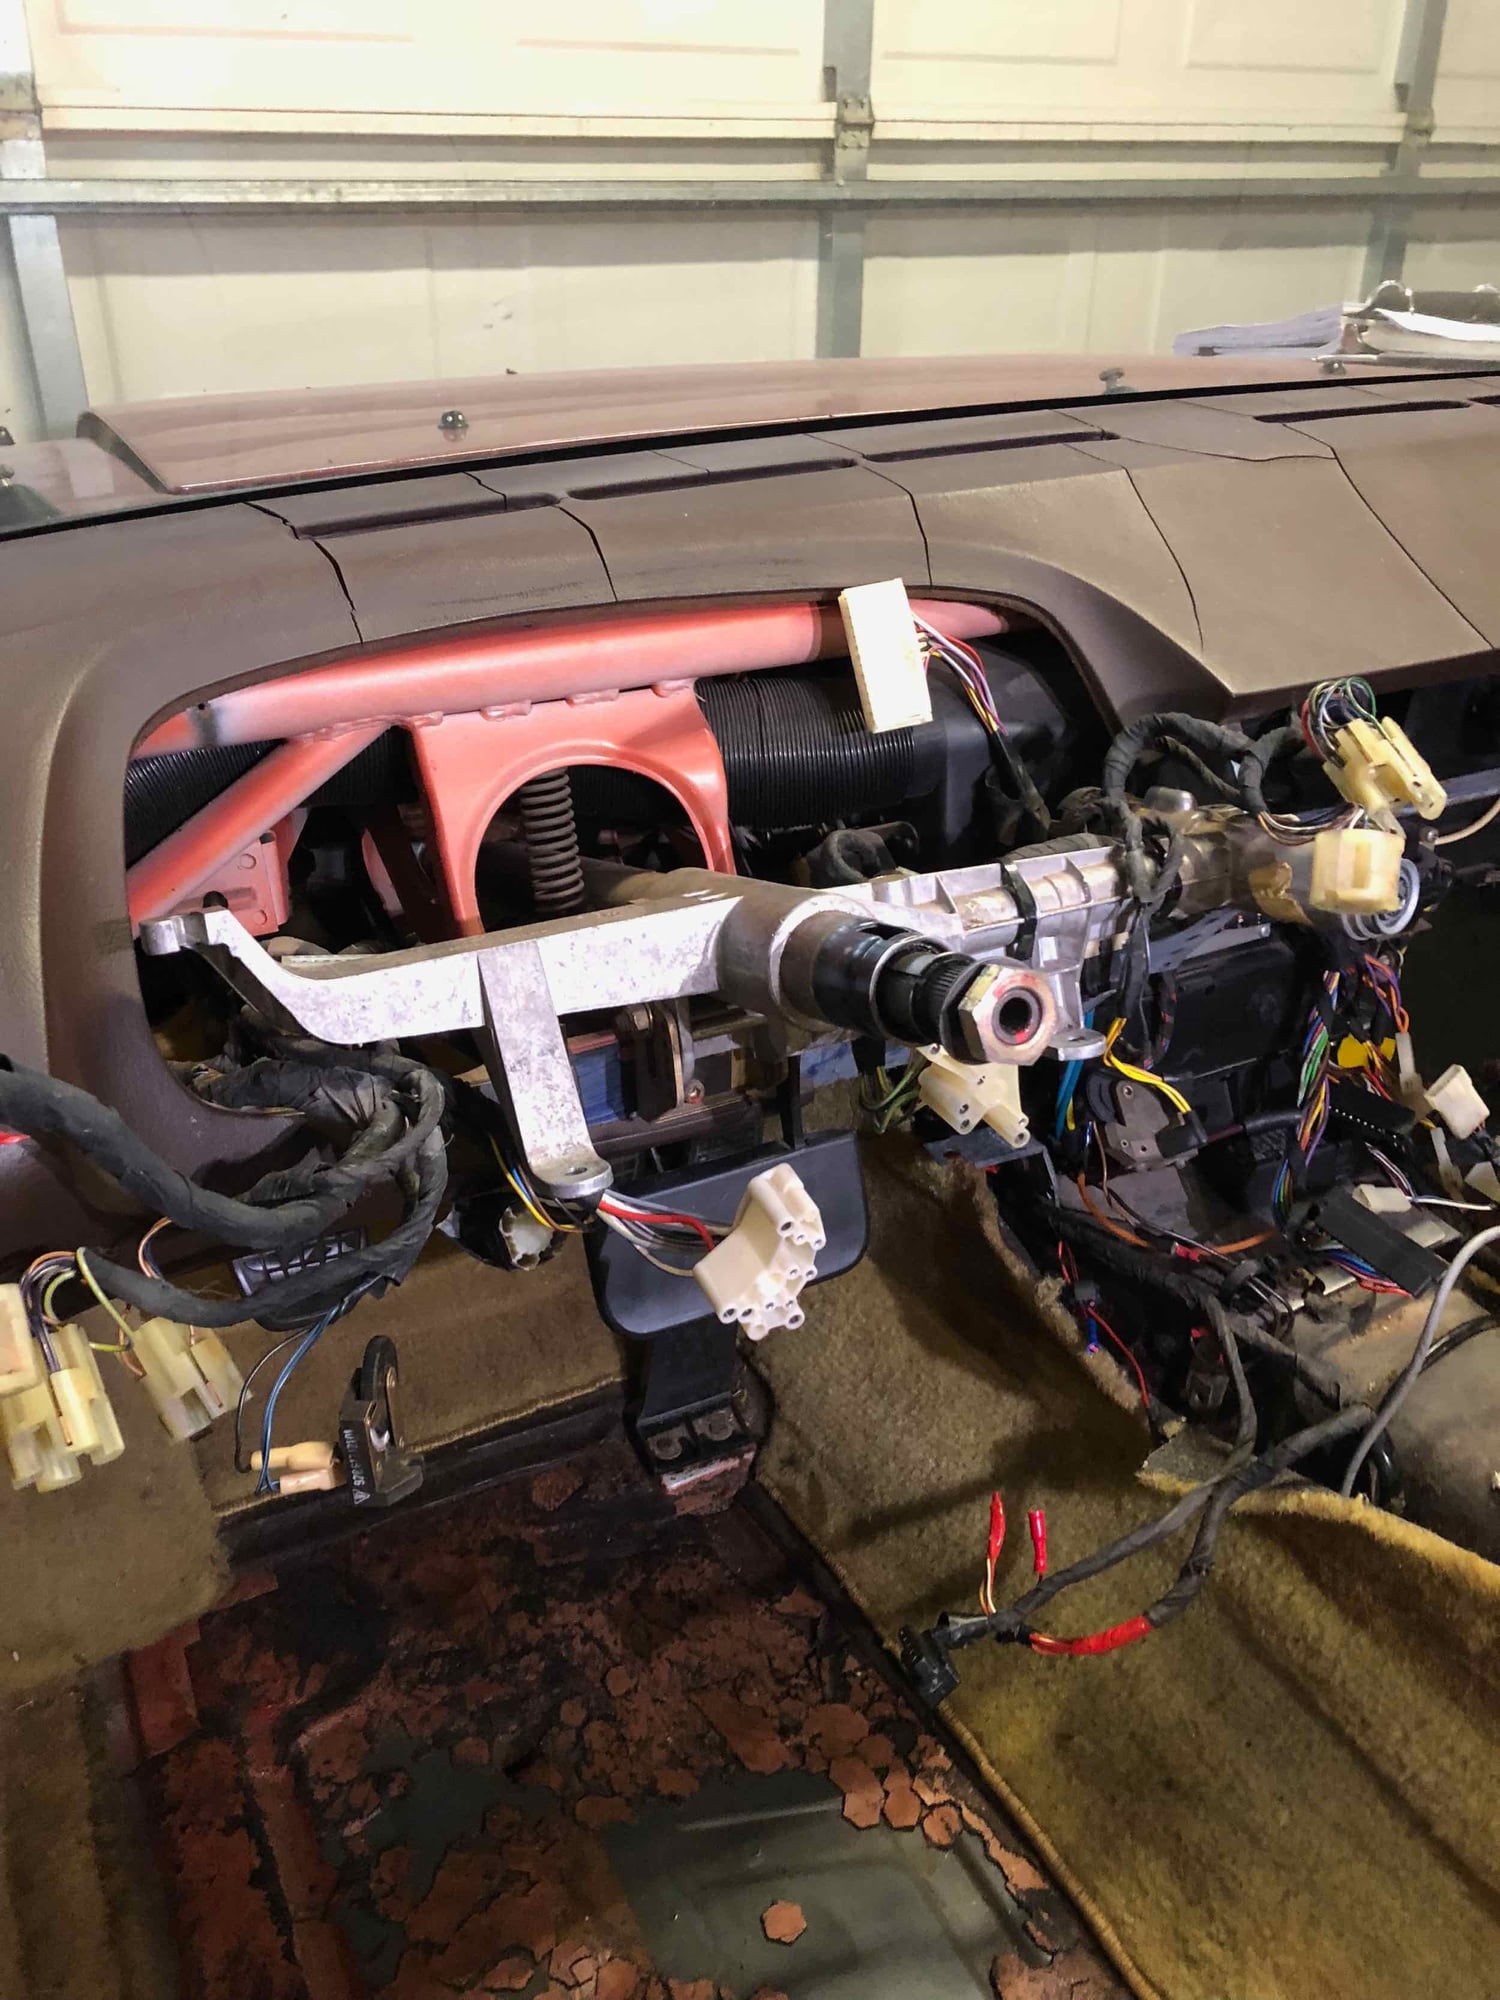
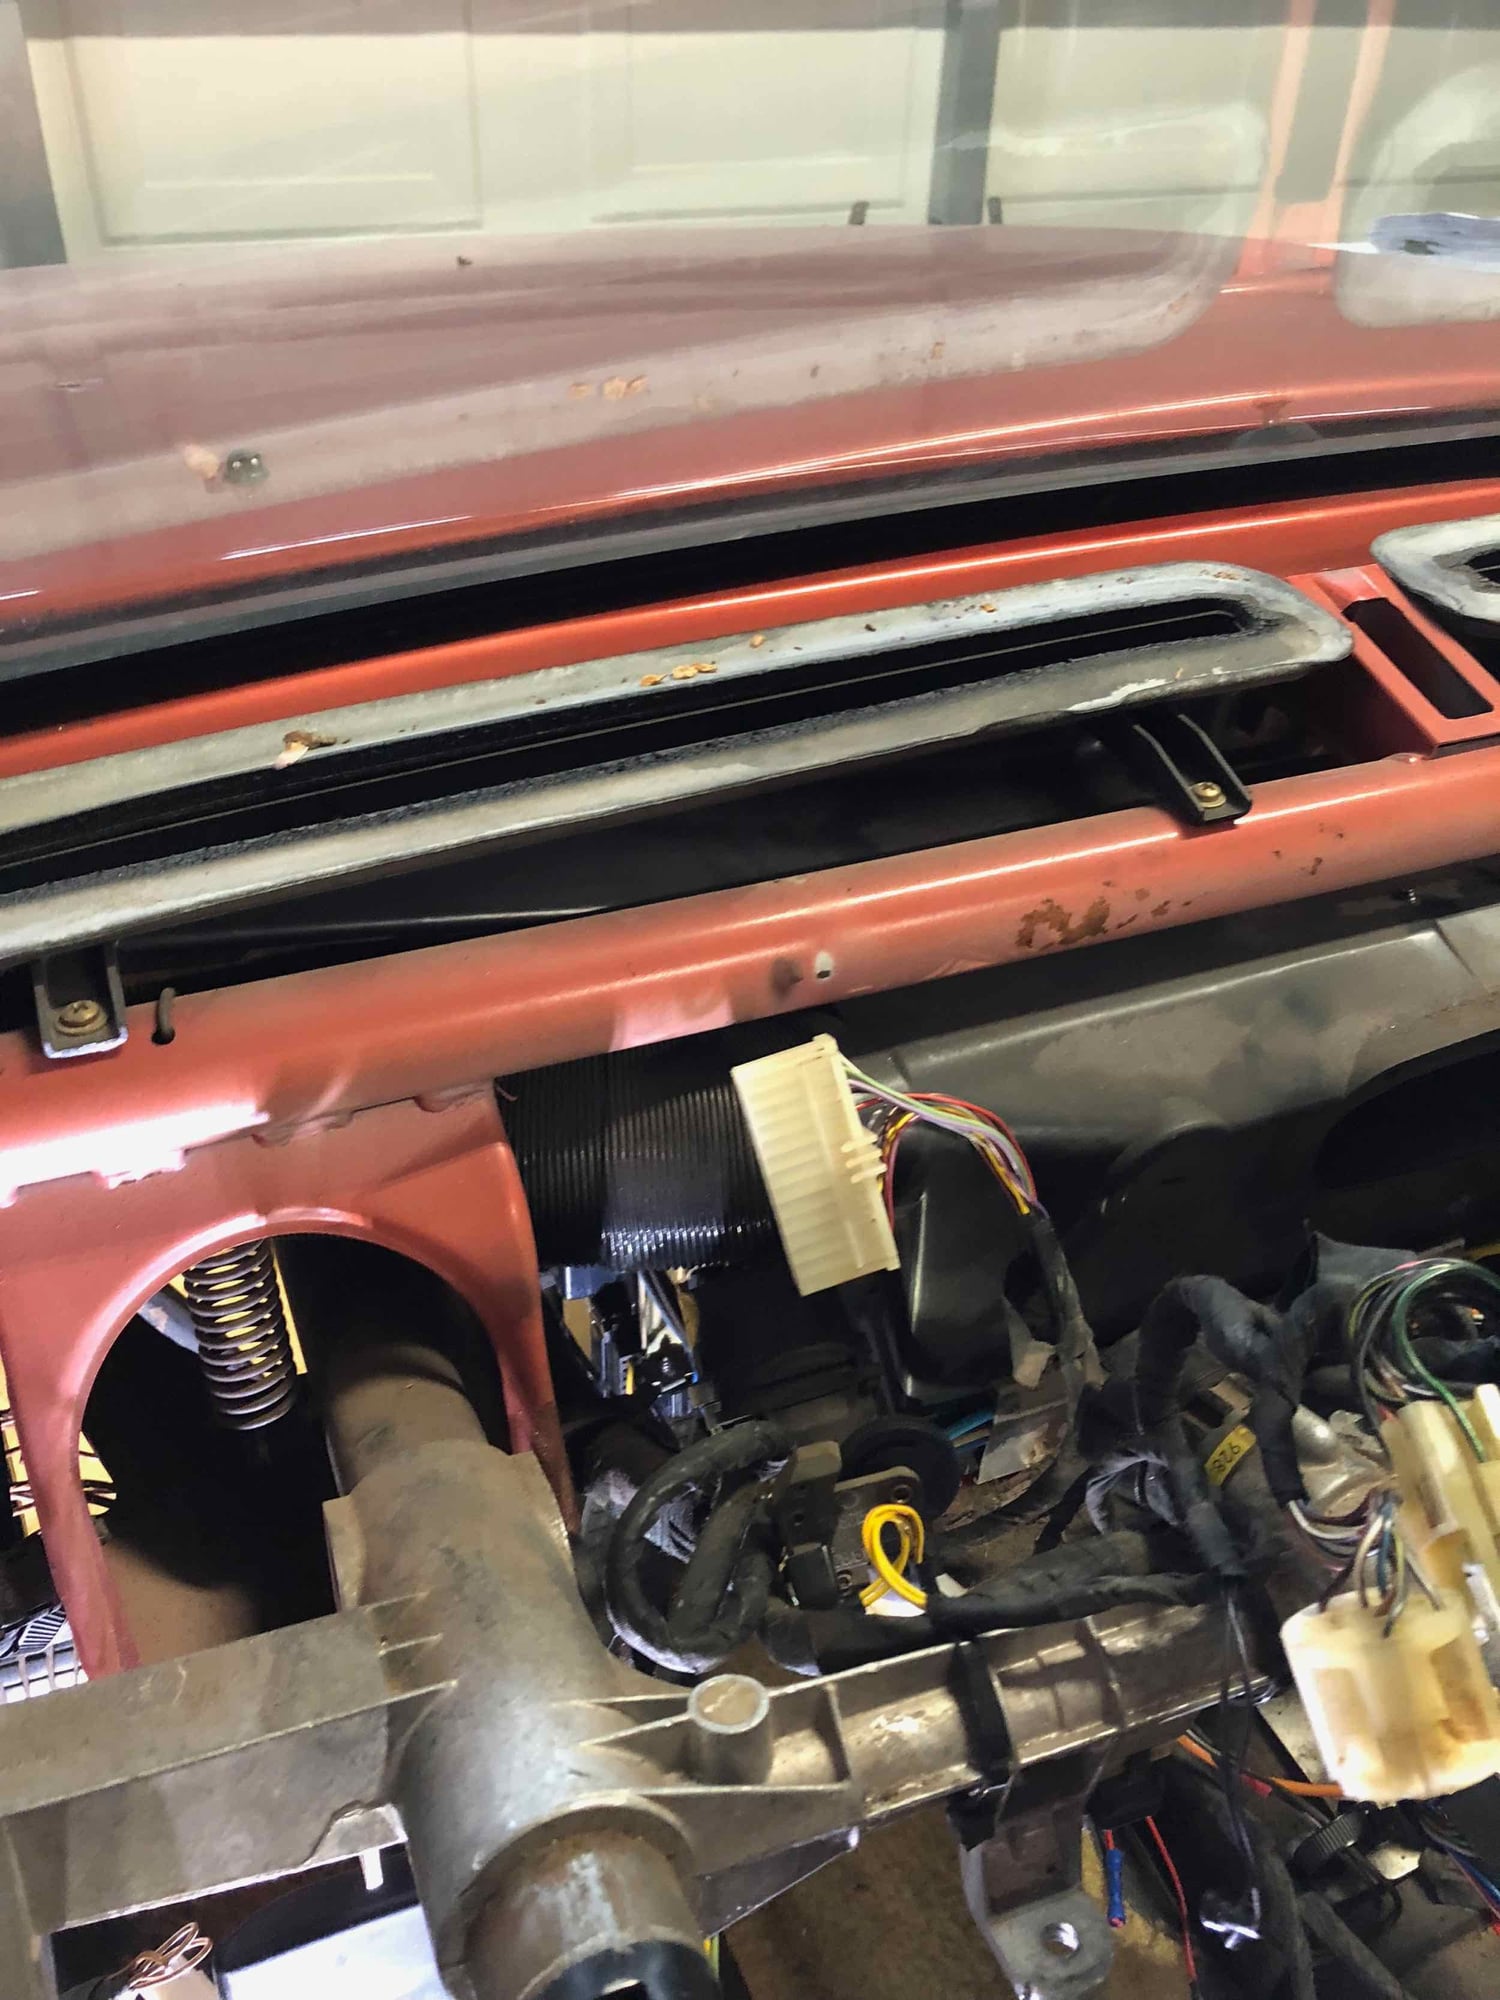
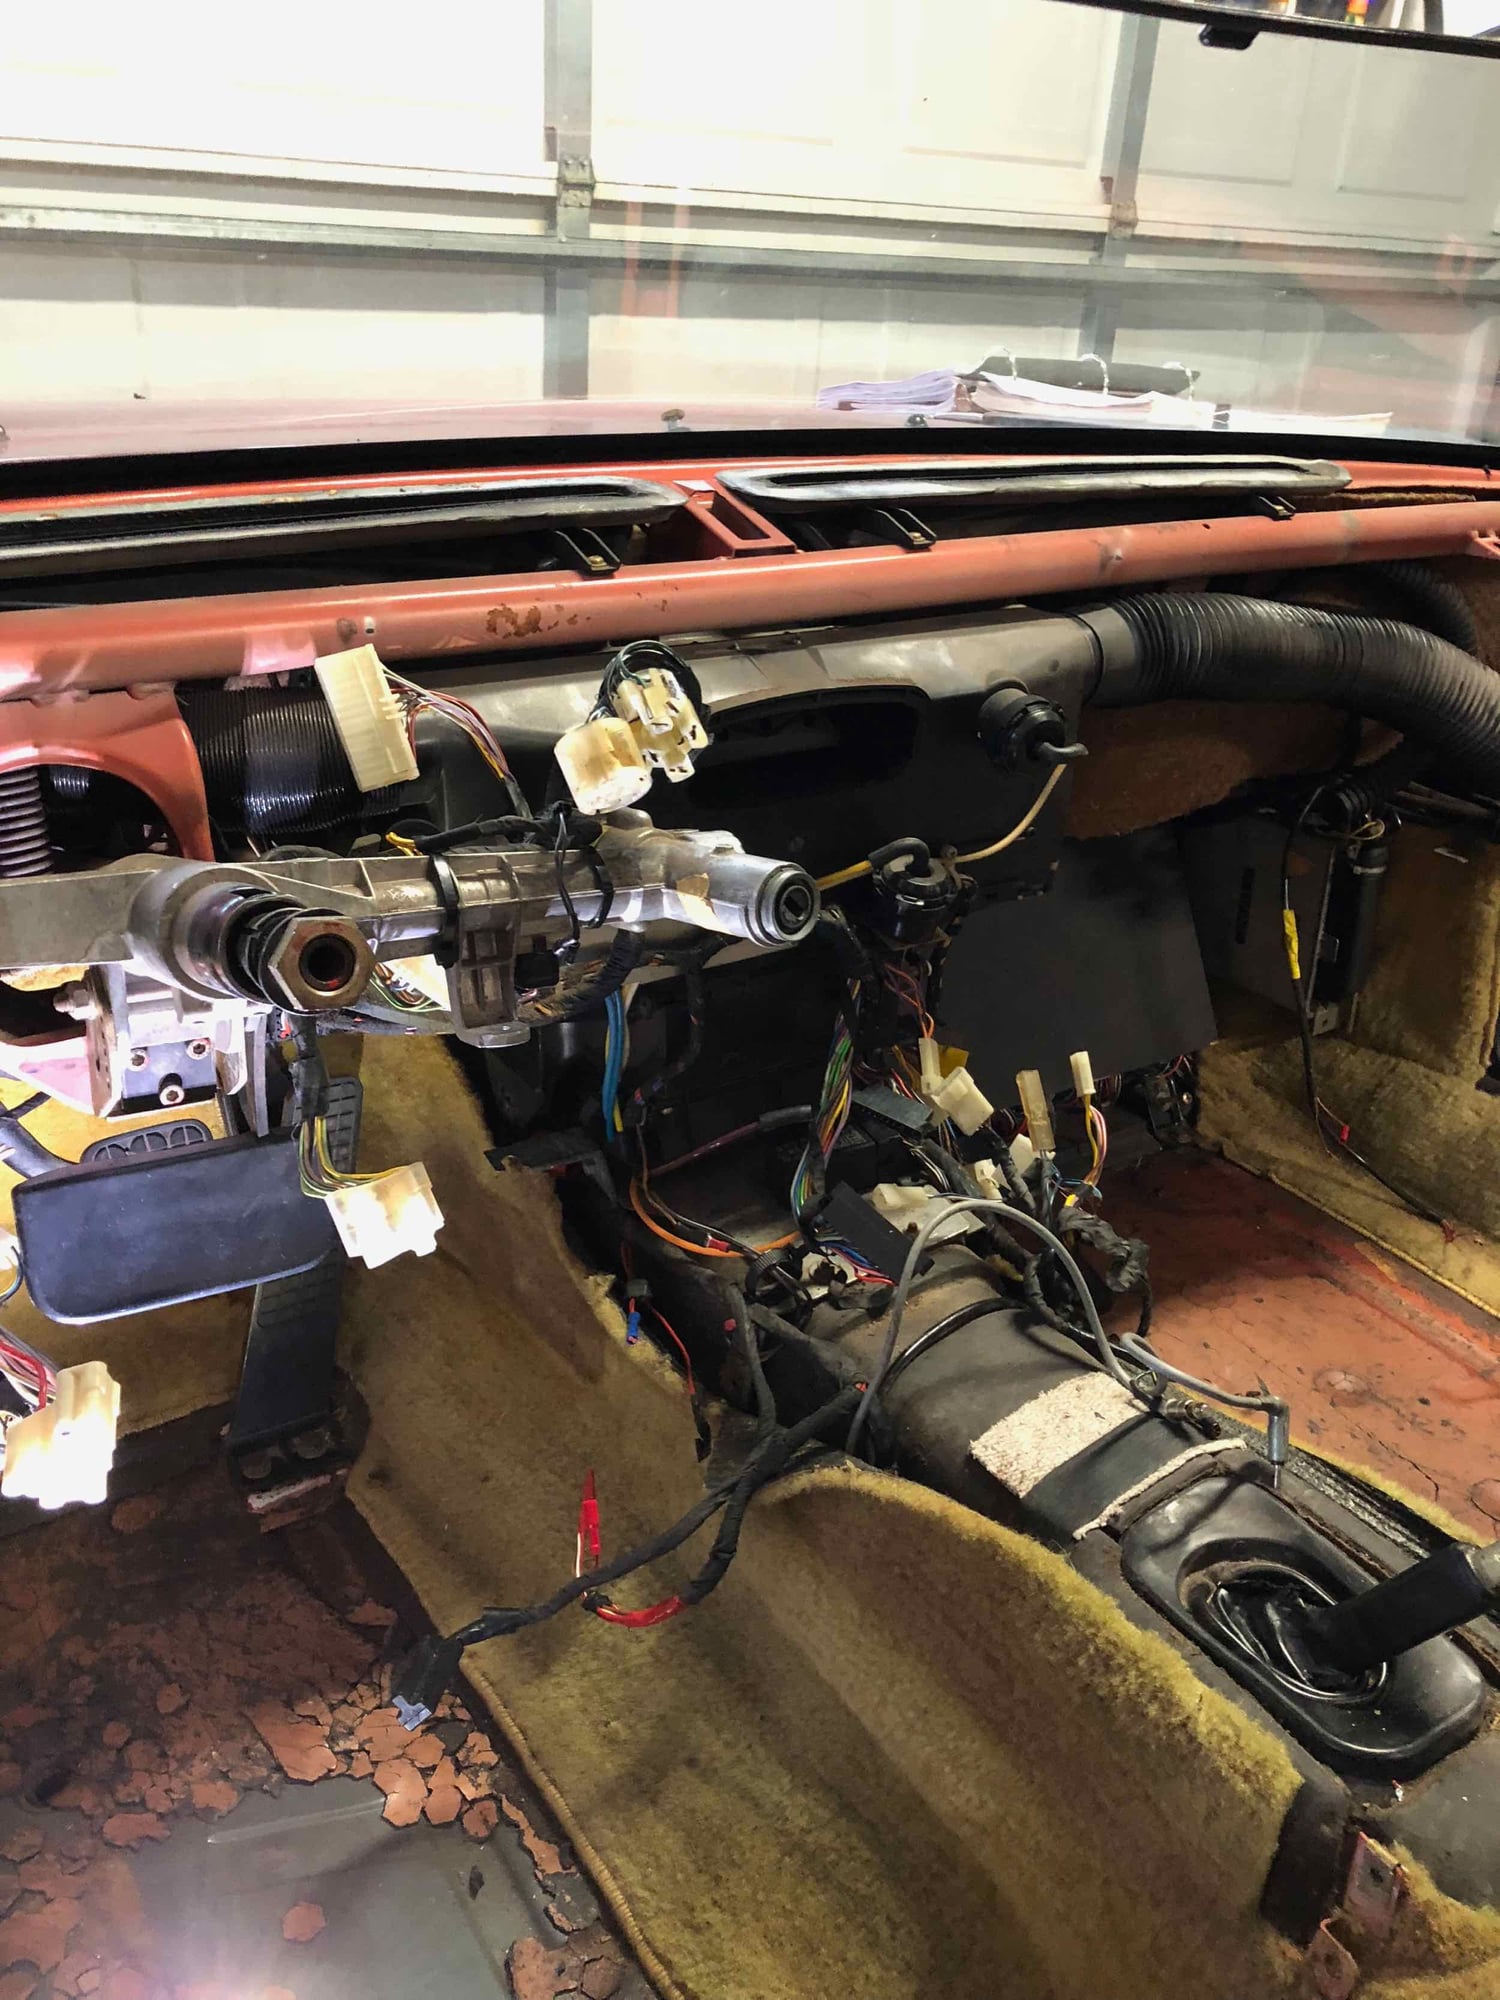
Today's work included pulling the pod and dash. I have pulled the pod before to work on electrical gremlins. Not problems to report this time either, except everything will be good and clean when I put back together.
The dash was actually 7 more bolts after the pod - 4 that hold the dash itself to the crossbar support and side of body, and then a little trip of allen head bolts that sandwich around the dash and steering column support. All very easy to remove and no surprises. For once I think I found something that had not been removed before, as all the cad plated factory hardware was there!
So, next steps are to get the rest of the carpet out of interior as well as door sill covers, remainder of back seats, etc. The mirrors still need to come off. Have to determine the best plan of attack for the aluminum window trim - hate to even pull it off but it is going to have to be repainted, andonized, or something.
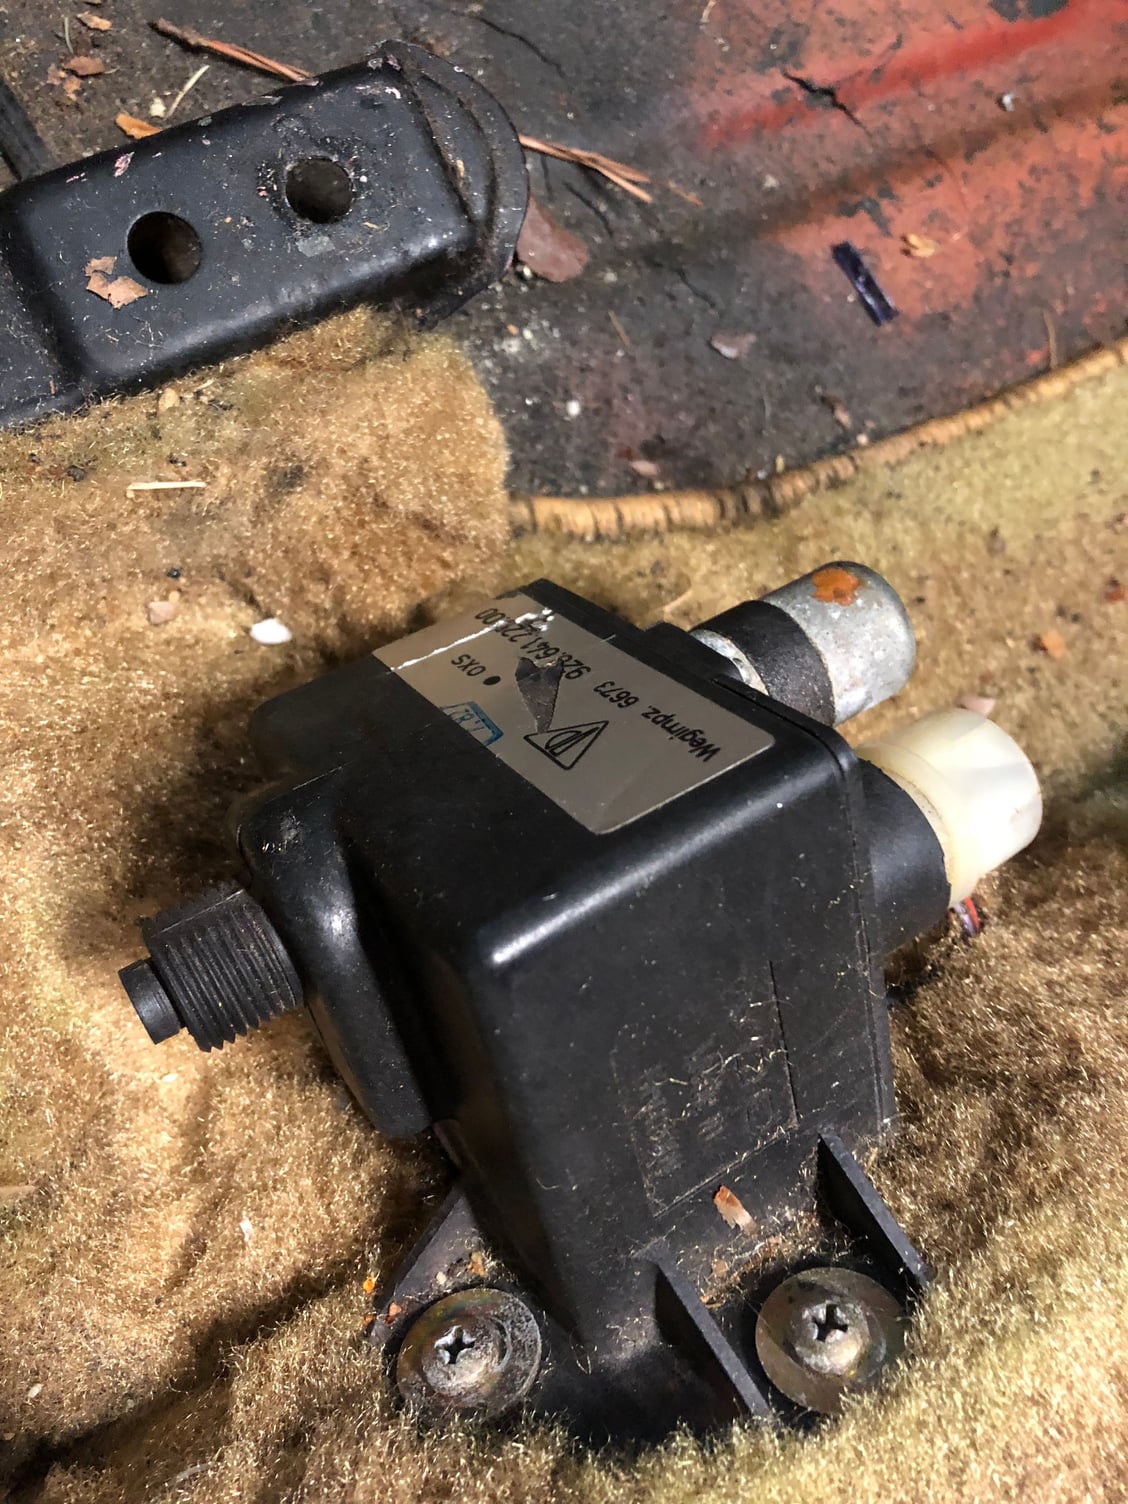
Also excited to get the hvac vacuum working, my brake booster working, and the dash electrical sorted out.
I have MANY more pictures and videos than what I am posting, if anyone needs to see anything further.
-scott
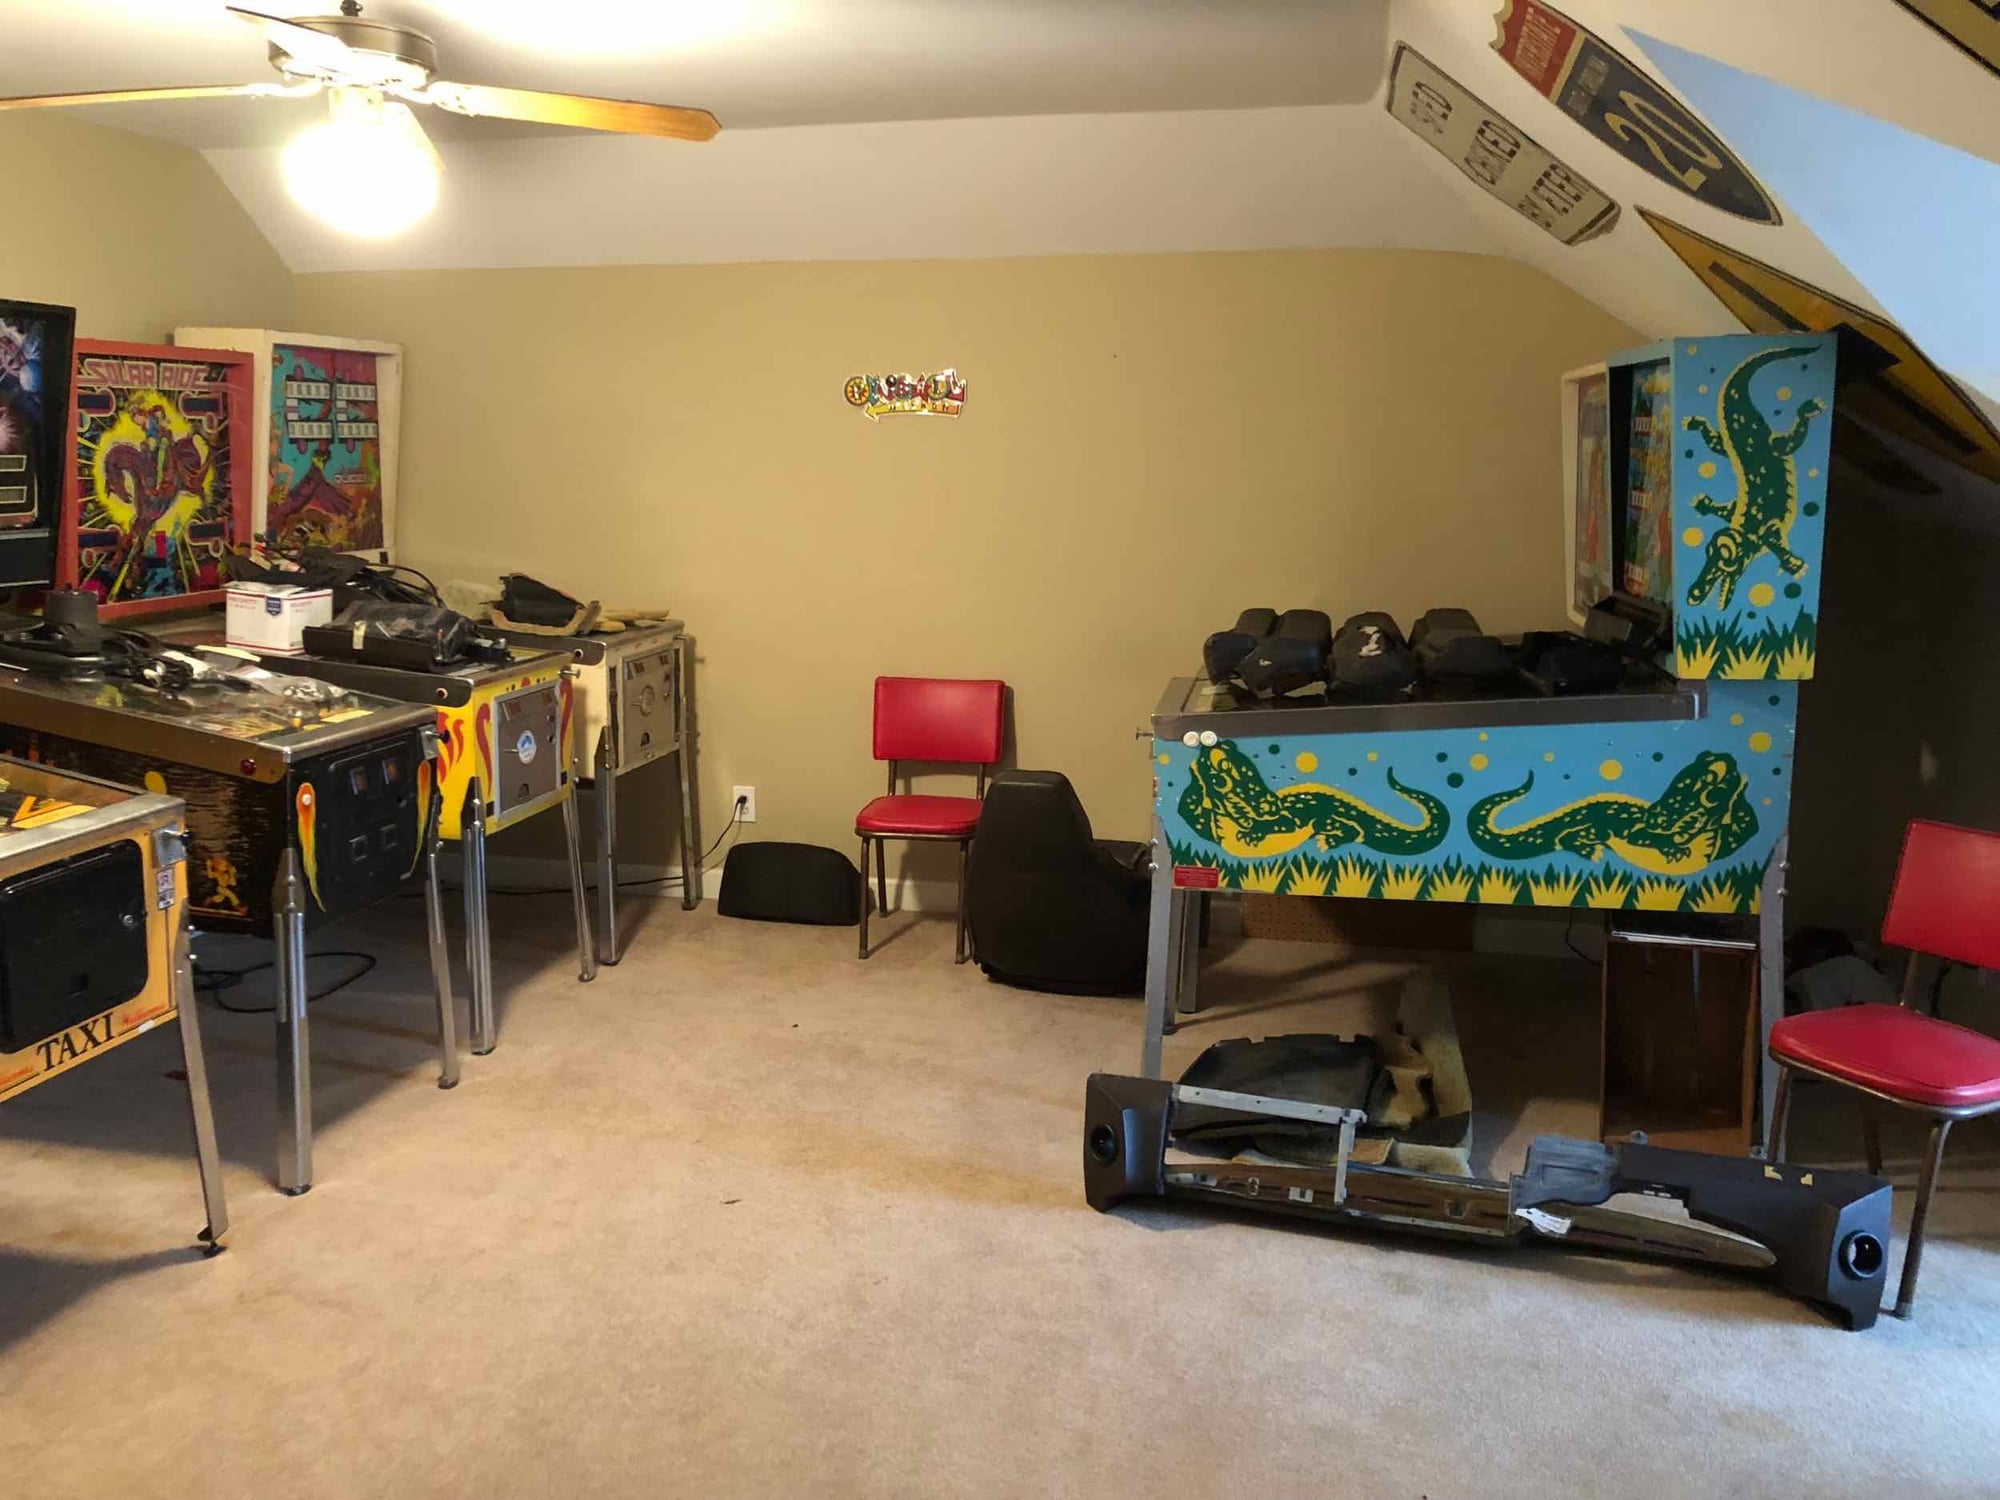
Gameroom has turned into interior storage!
Hardware spent a little time in the tumbler as an experiment to see how it cleaned up.
All the dirty lights are packed away so could not do a before and after yet.
Can't wait to put nice clean parts back on the finished car.
Nice work Scott! - It will be well worth the effort when you get finished! -Are you planning on doing a rub strip delete? Rear side glass? I repainted my White '85 a 2 years ago, and a lot of what your doing is bringing it all back! I still have some final assembly left on mine!, I do have some spare interior parts and hardware left over in my attic from a '85 parts car. I believe I have some things you may need, let me know if I can help! Also are you planning on doing body work and paint your self? -Lou
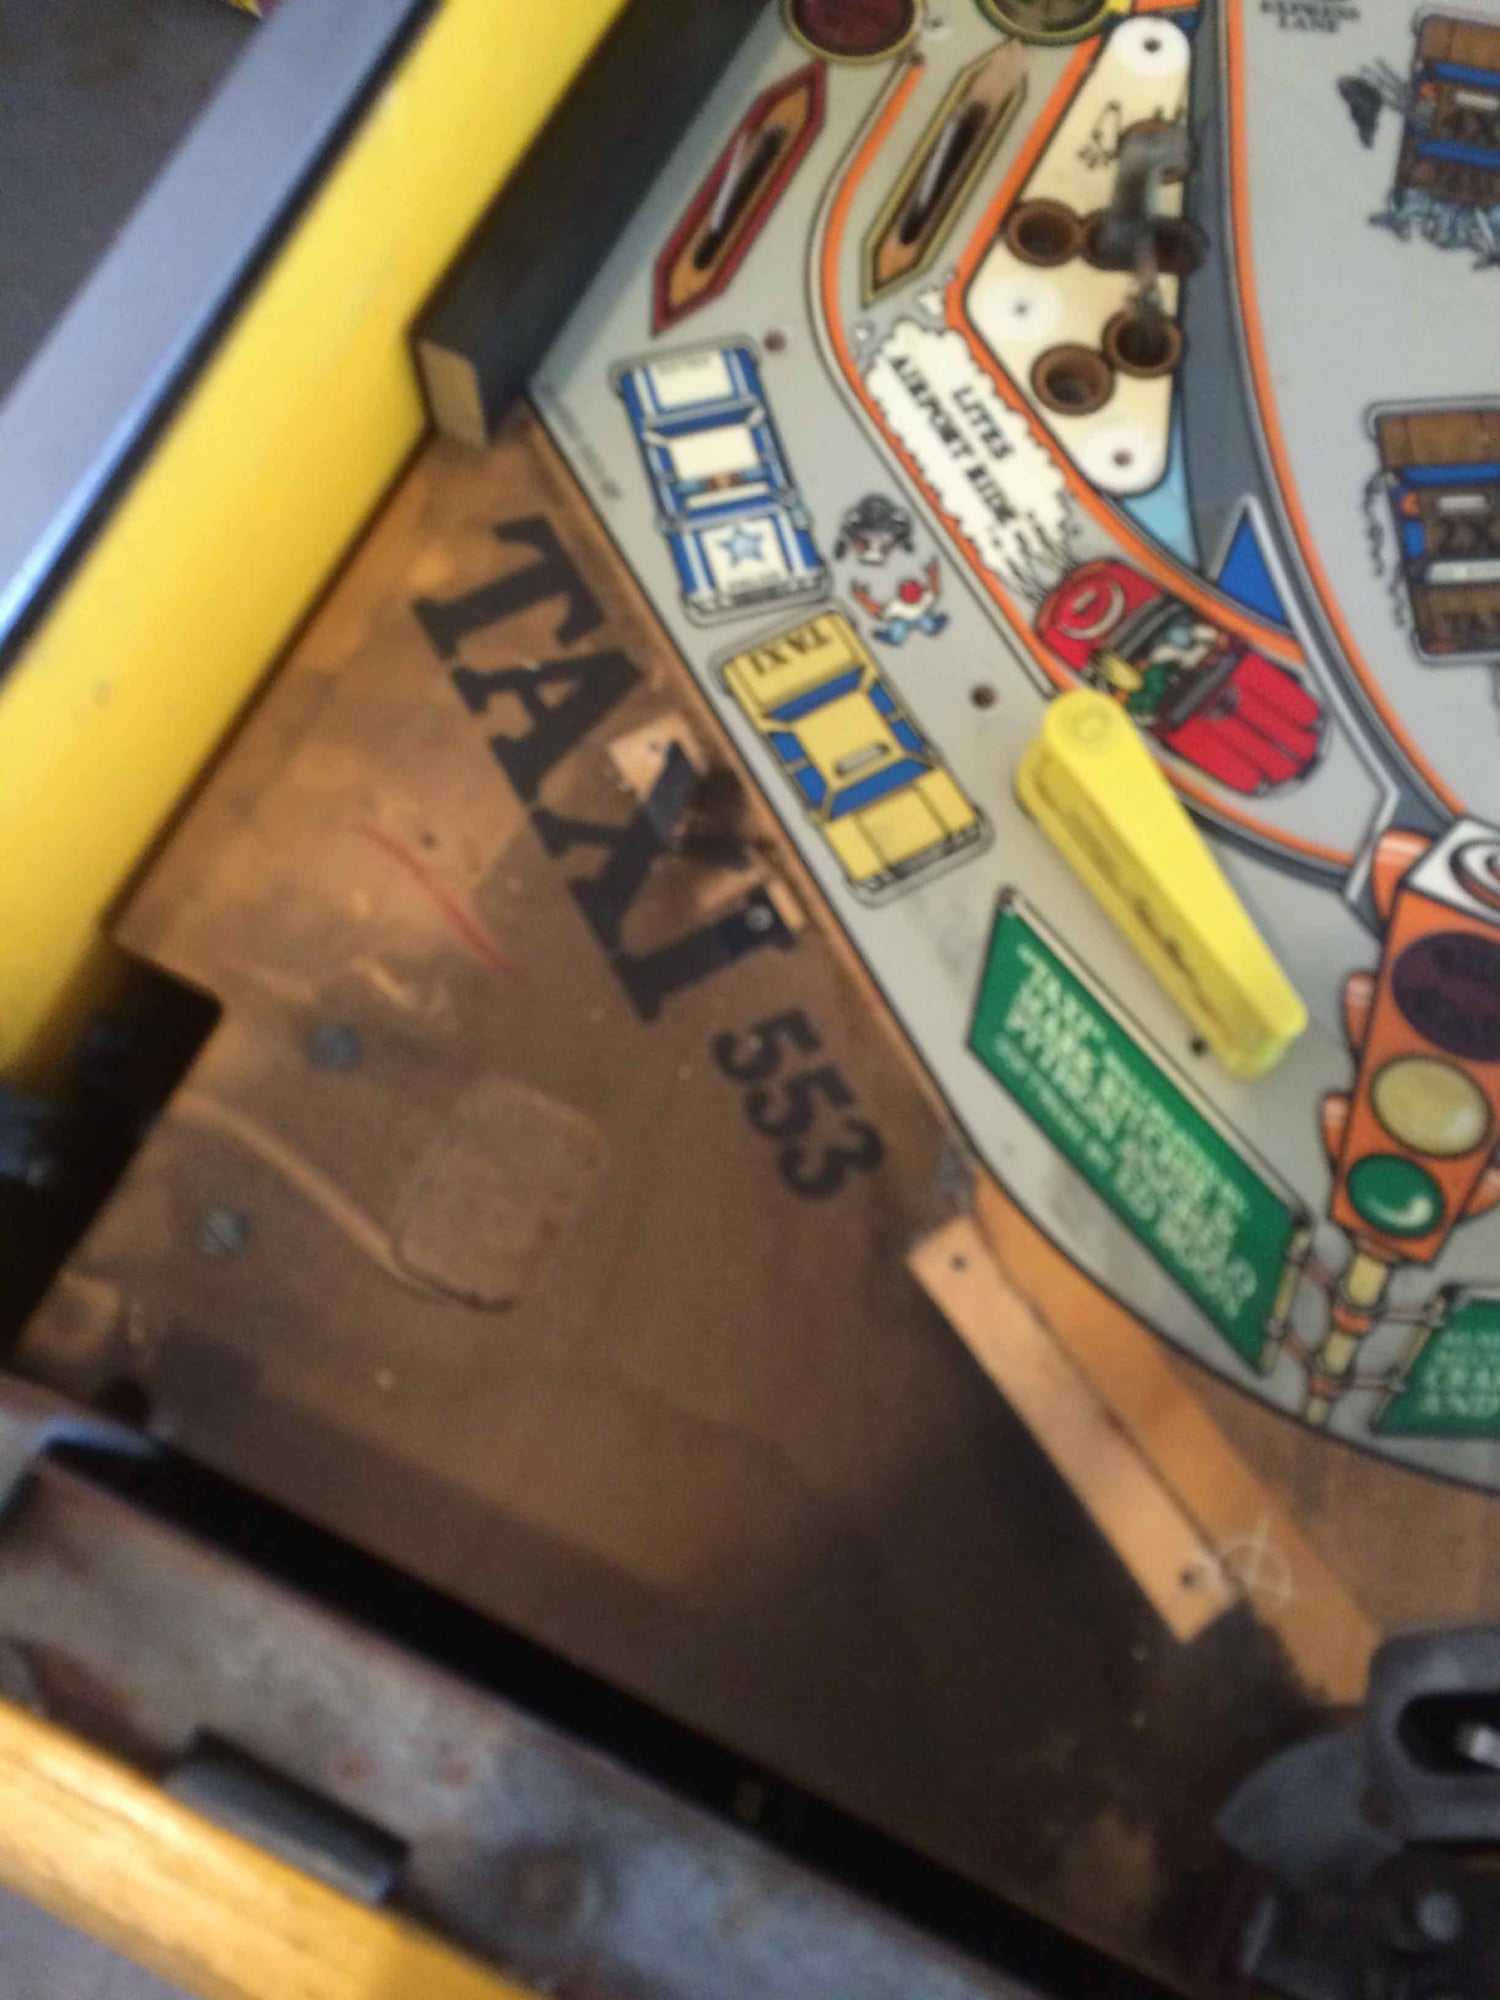
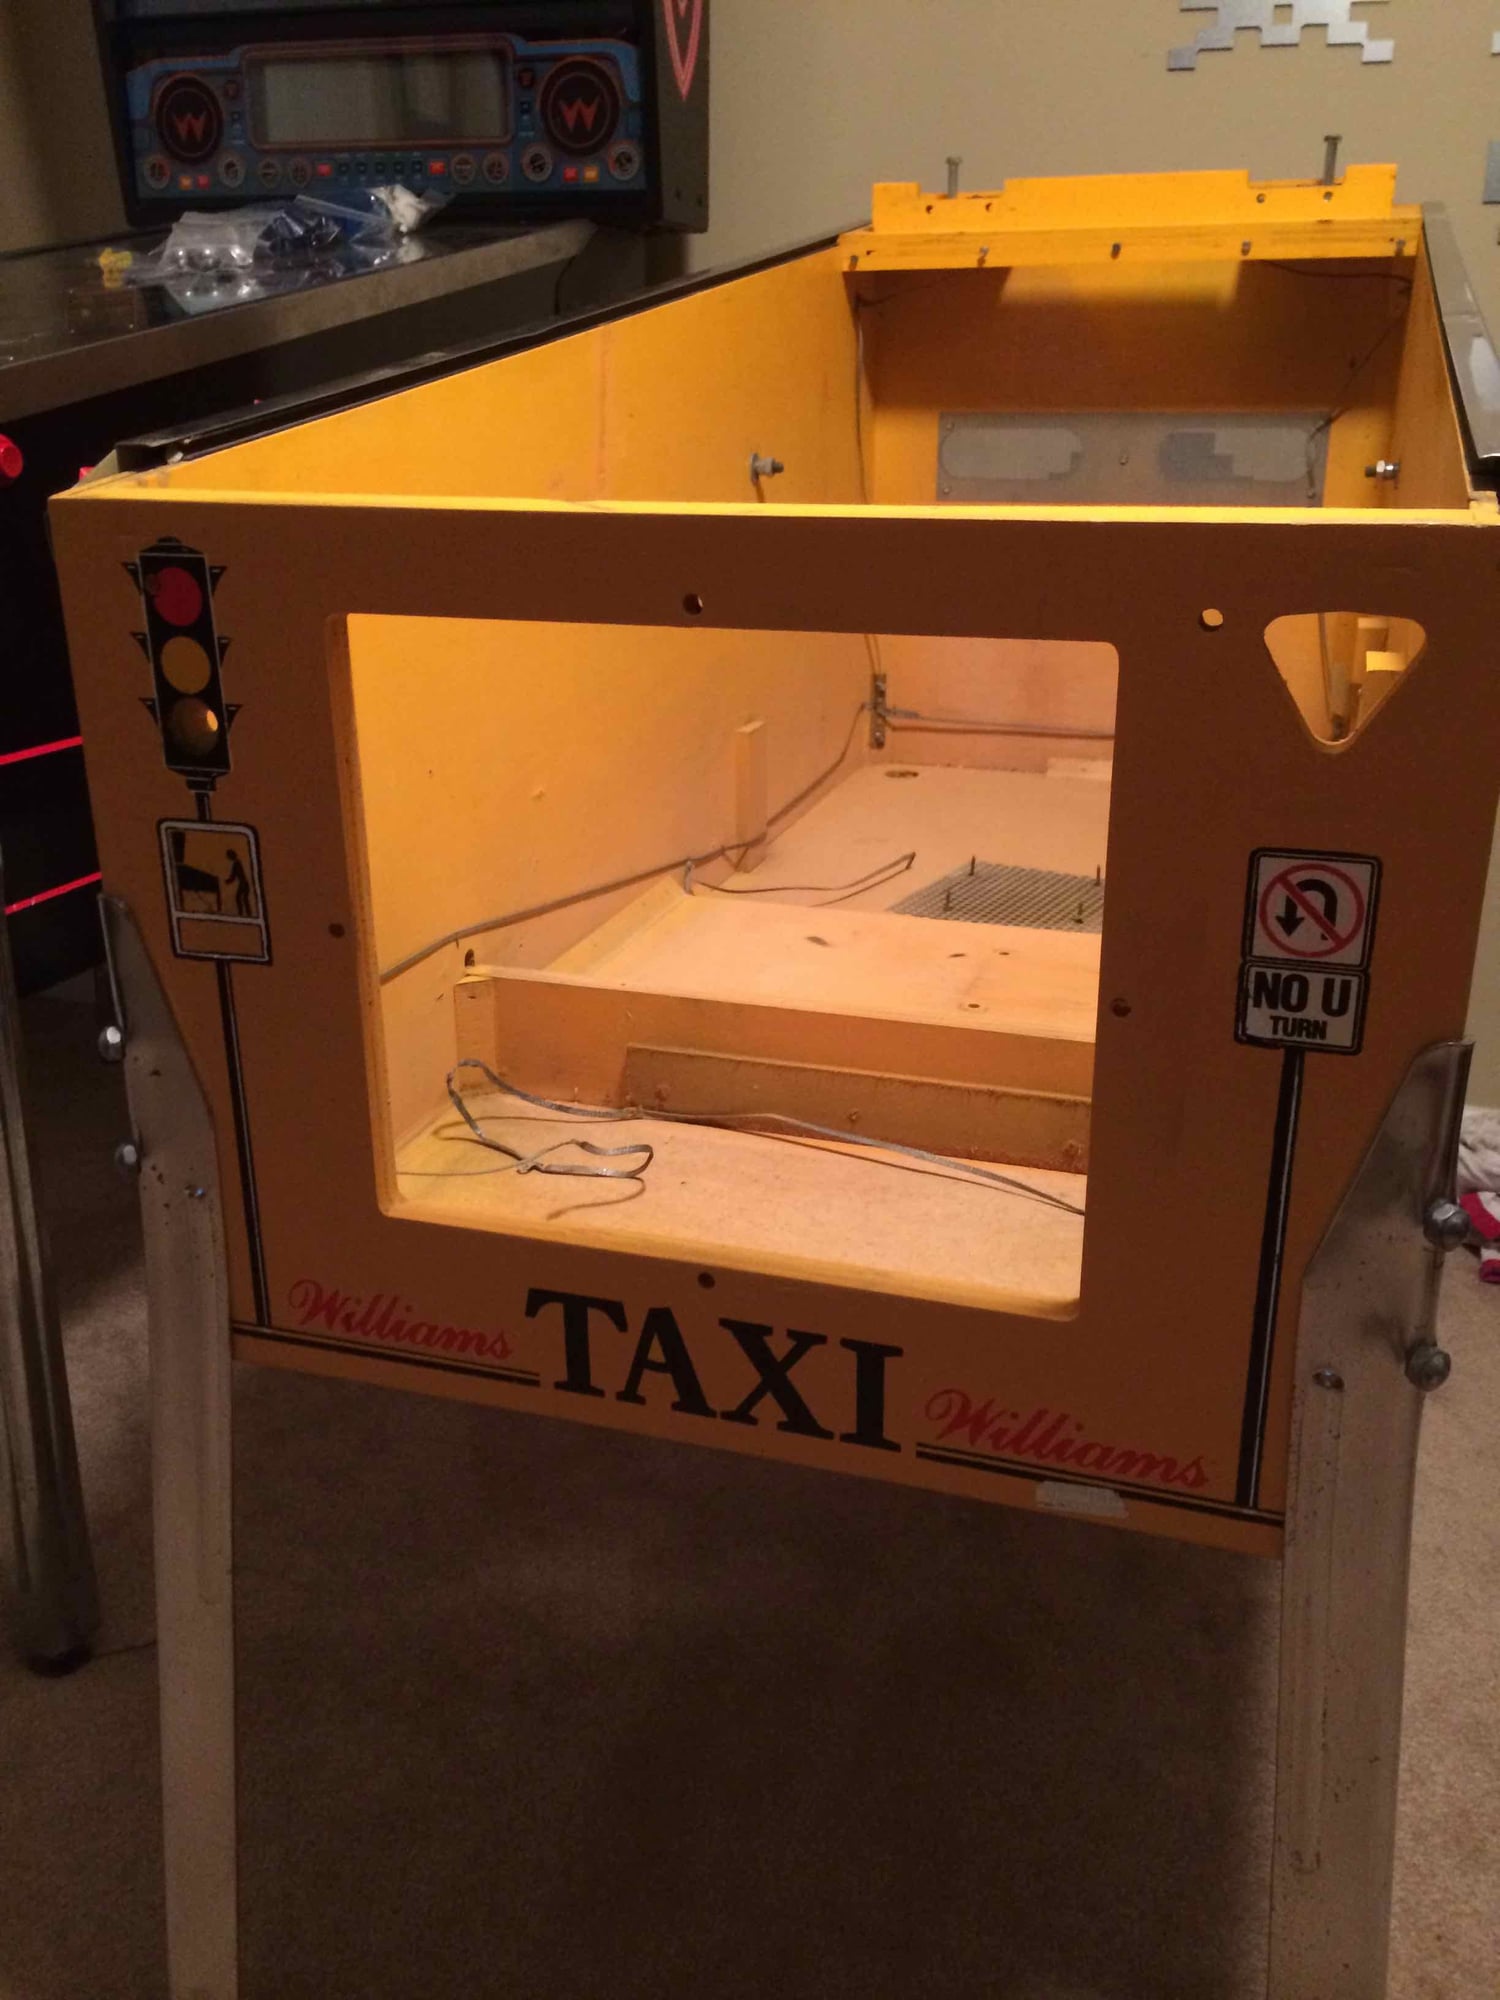
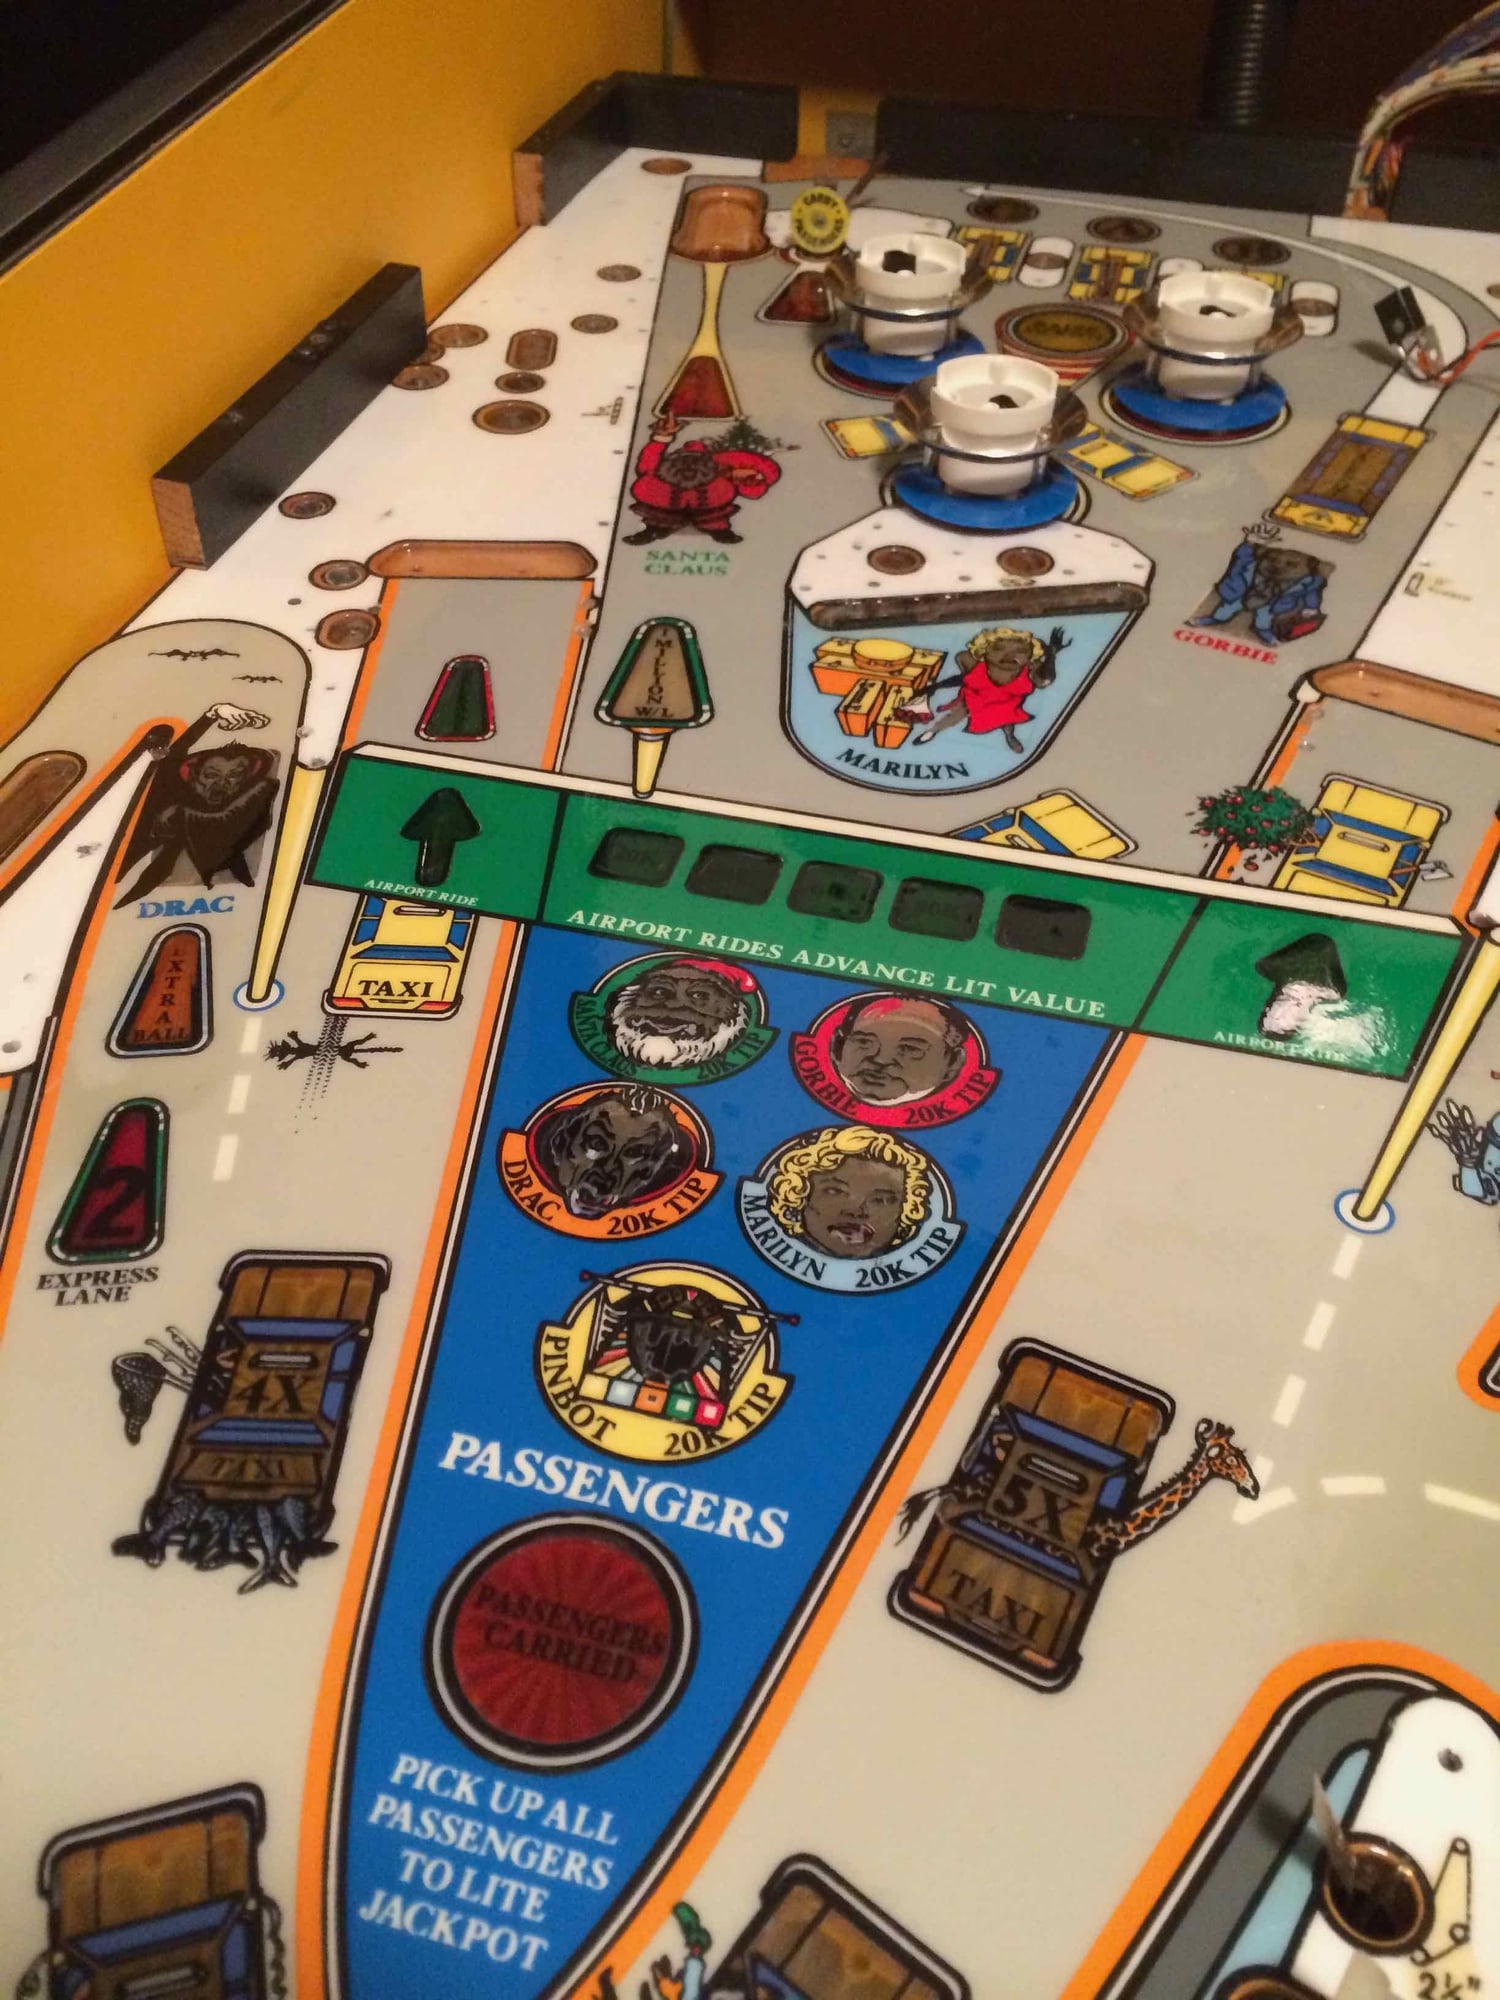
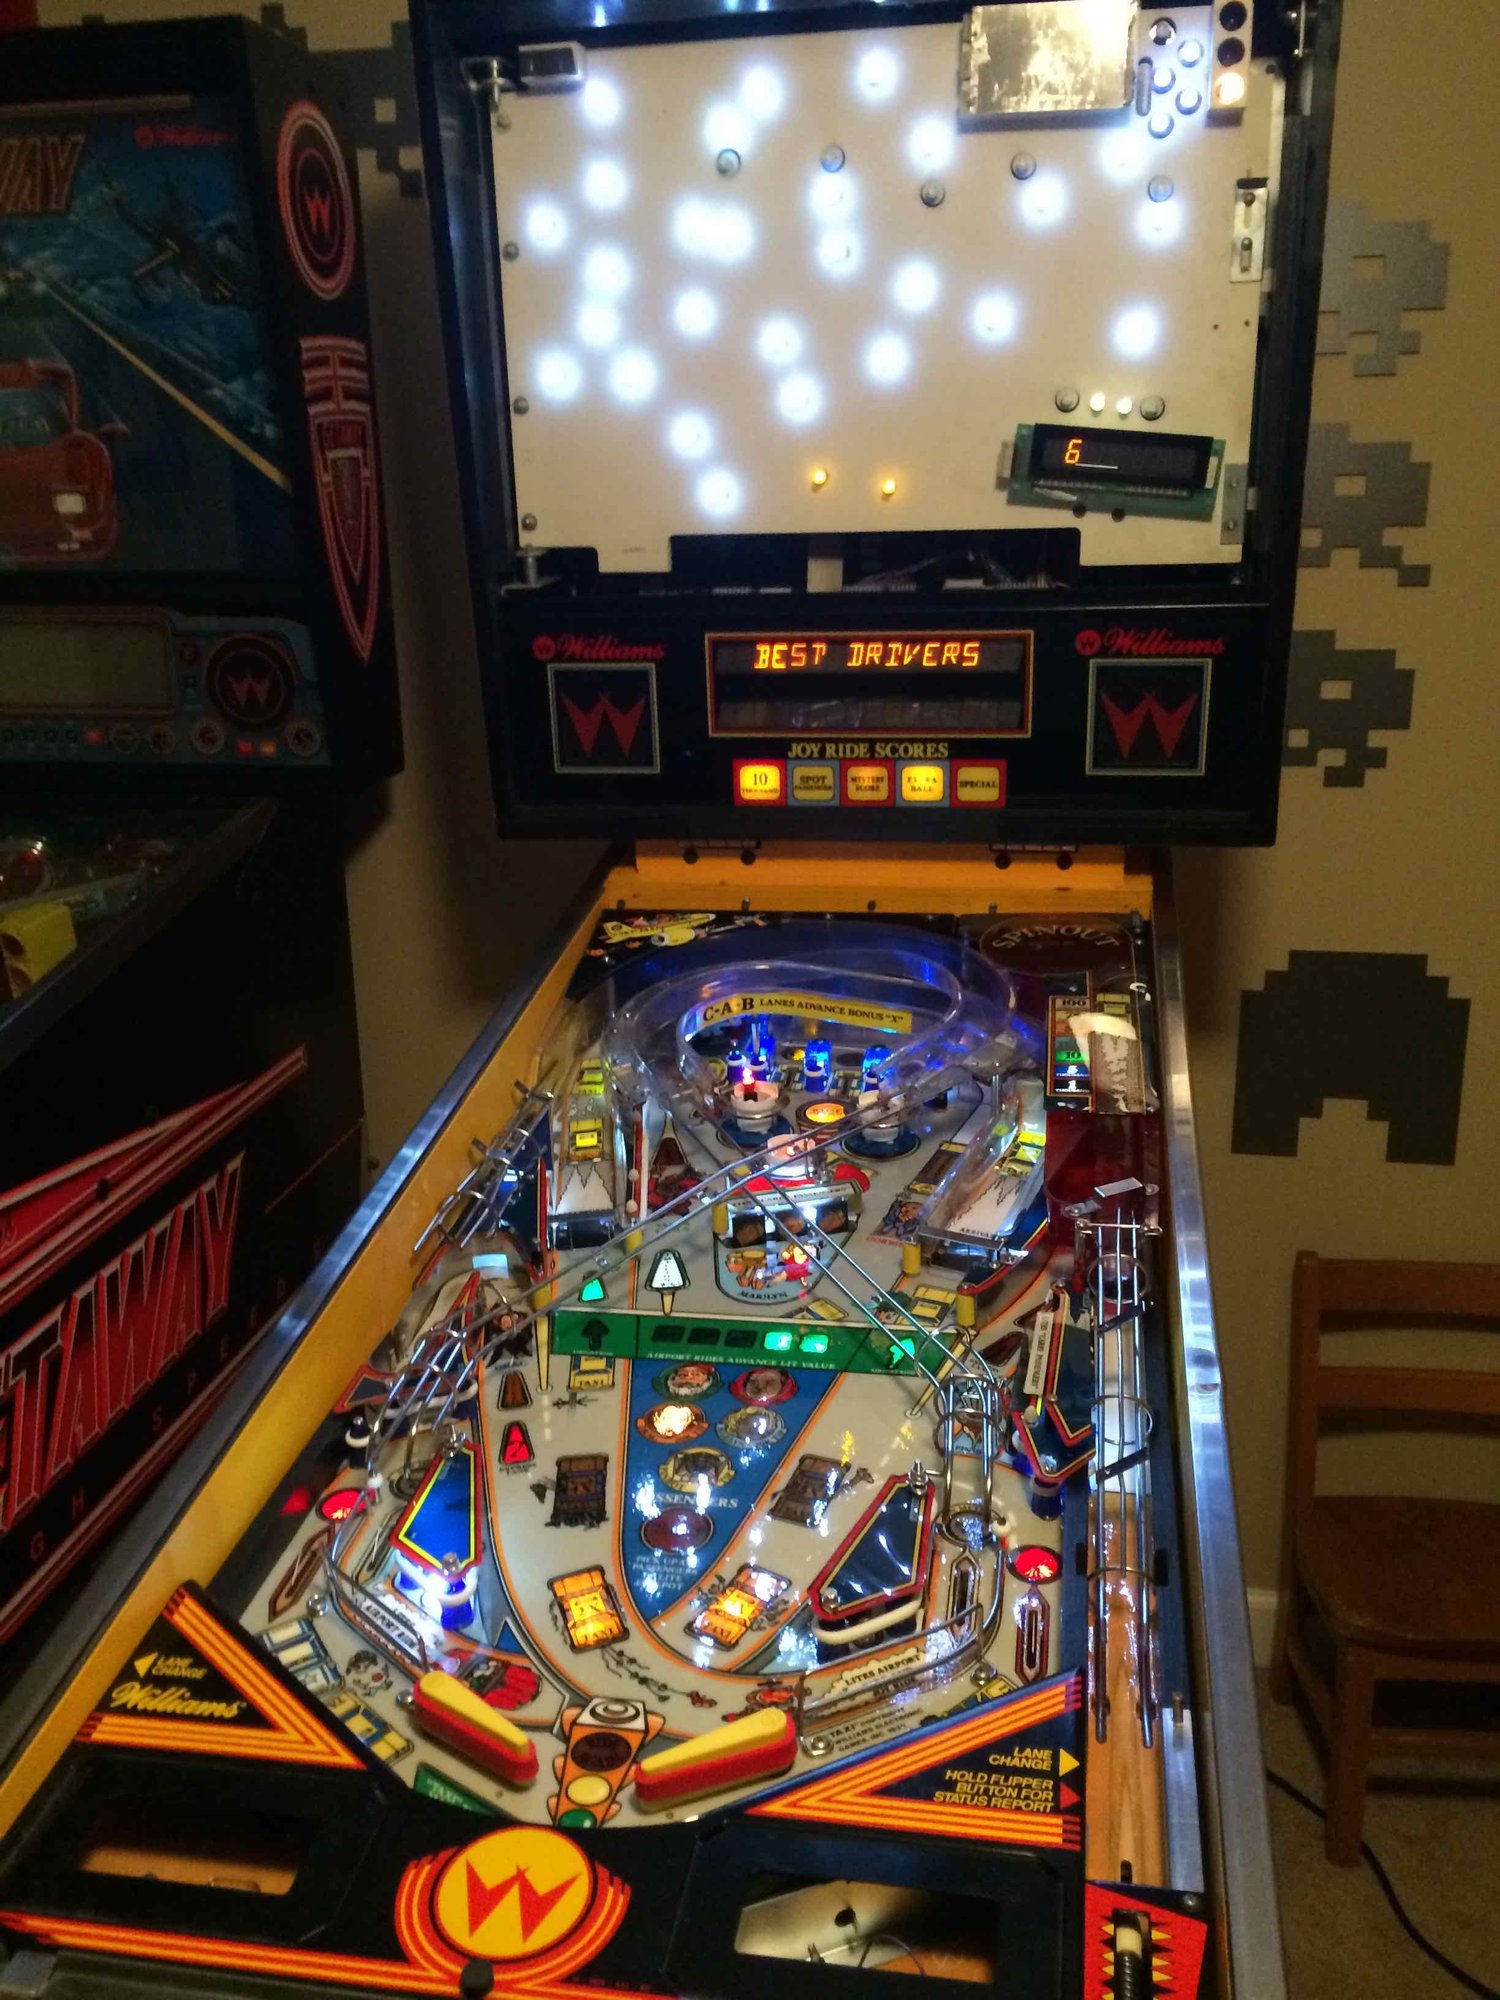
Rob - you said it! One of my favorite Williams System 11 machines. Great references to the 80s. See pics below - it was pretty trashed when I started...


 01-03-2018, 05:10 PM