When you click on links to various merchants on this site and make a purchase, this can result in this site earning a commission. Affiliate programs and affiliations include, but are not limited to, the eBay Partner Network.
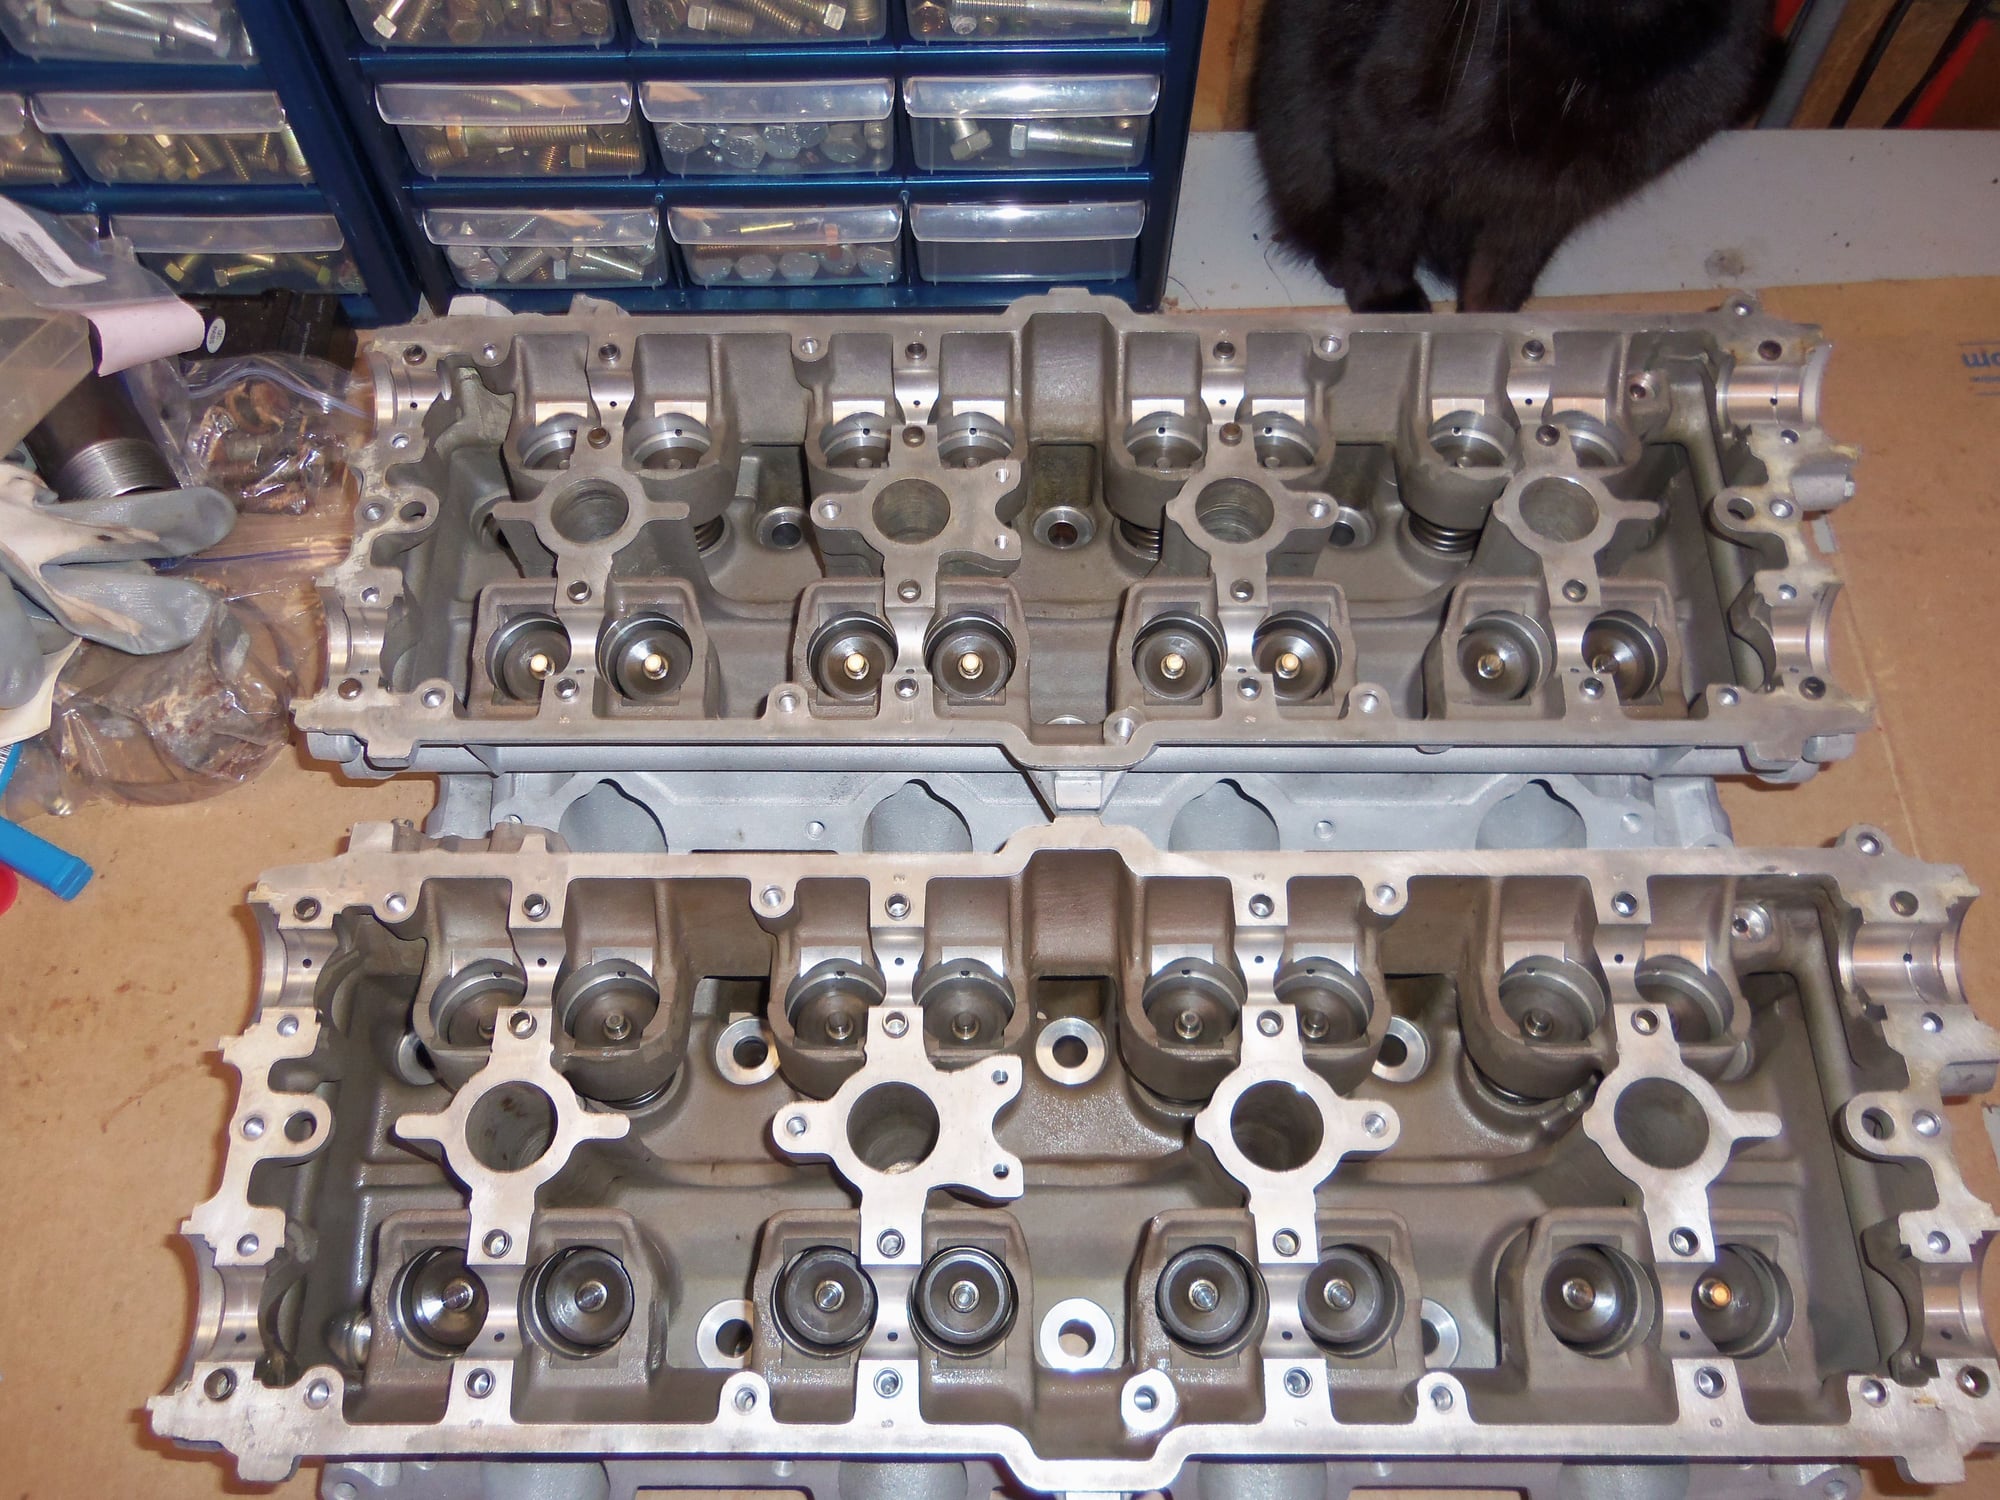
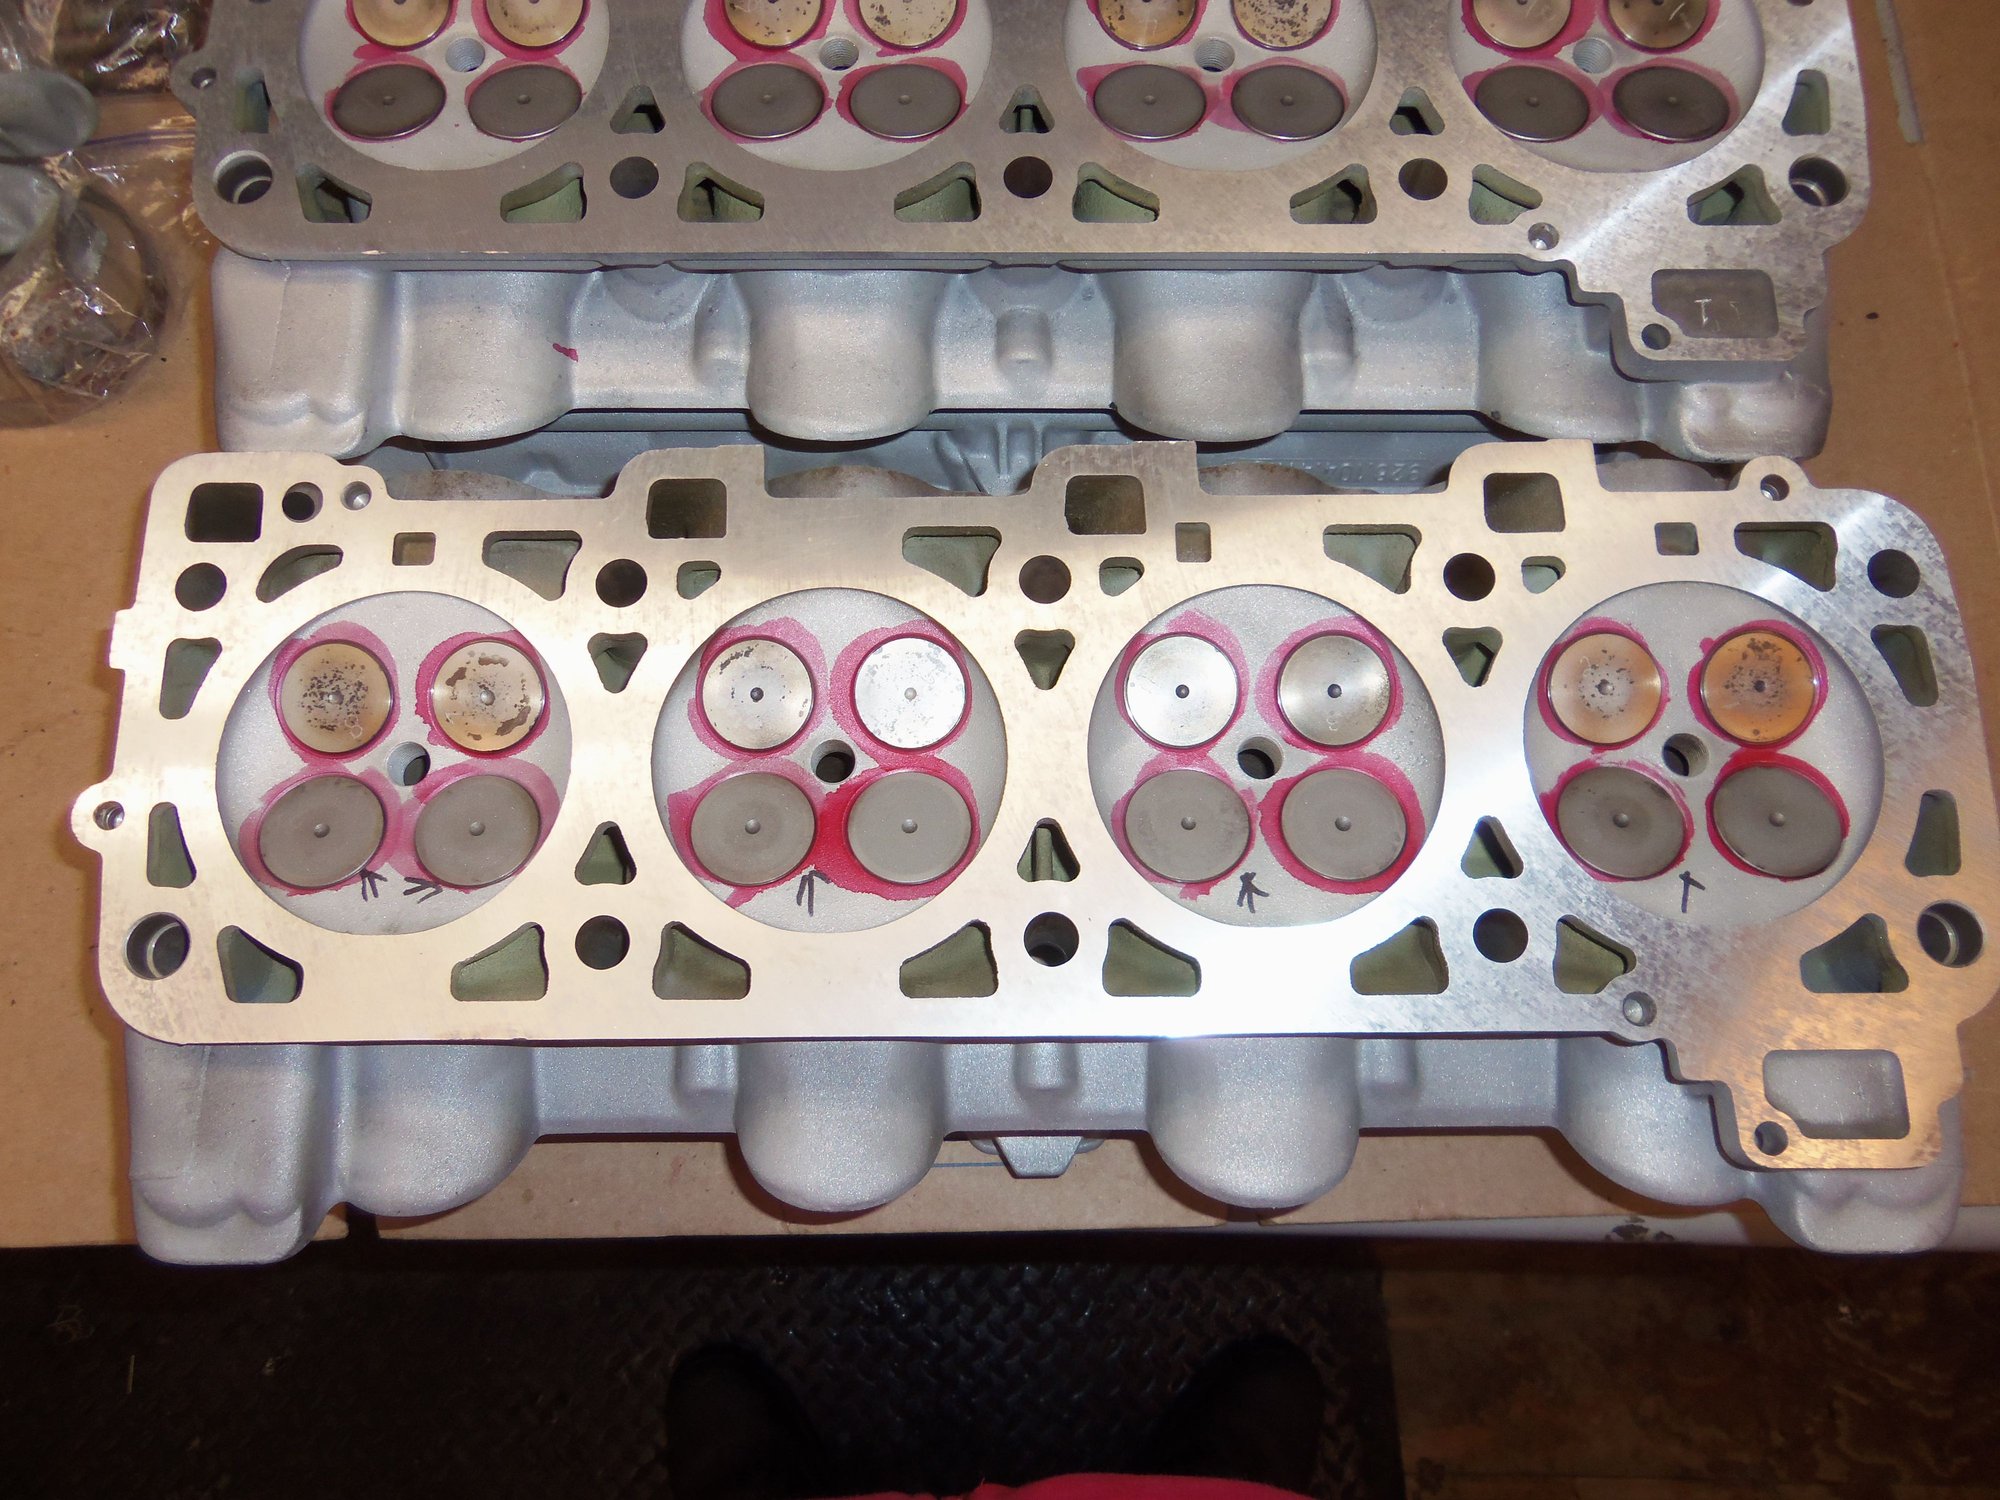
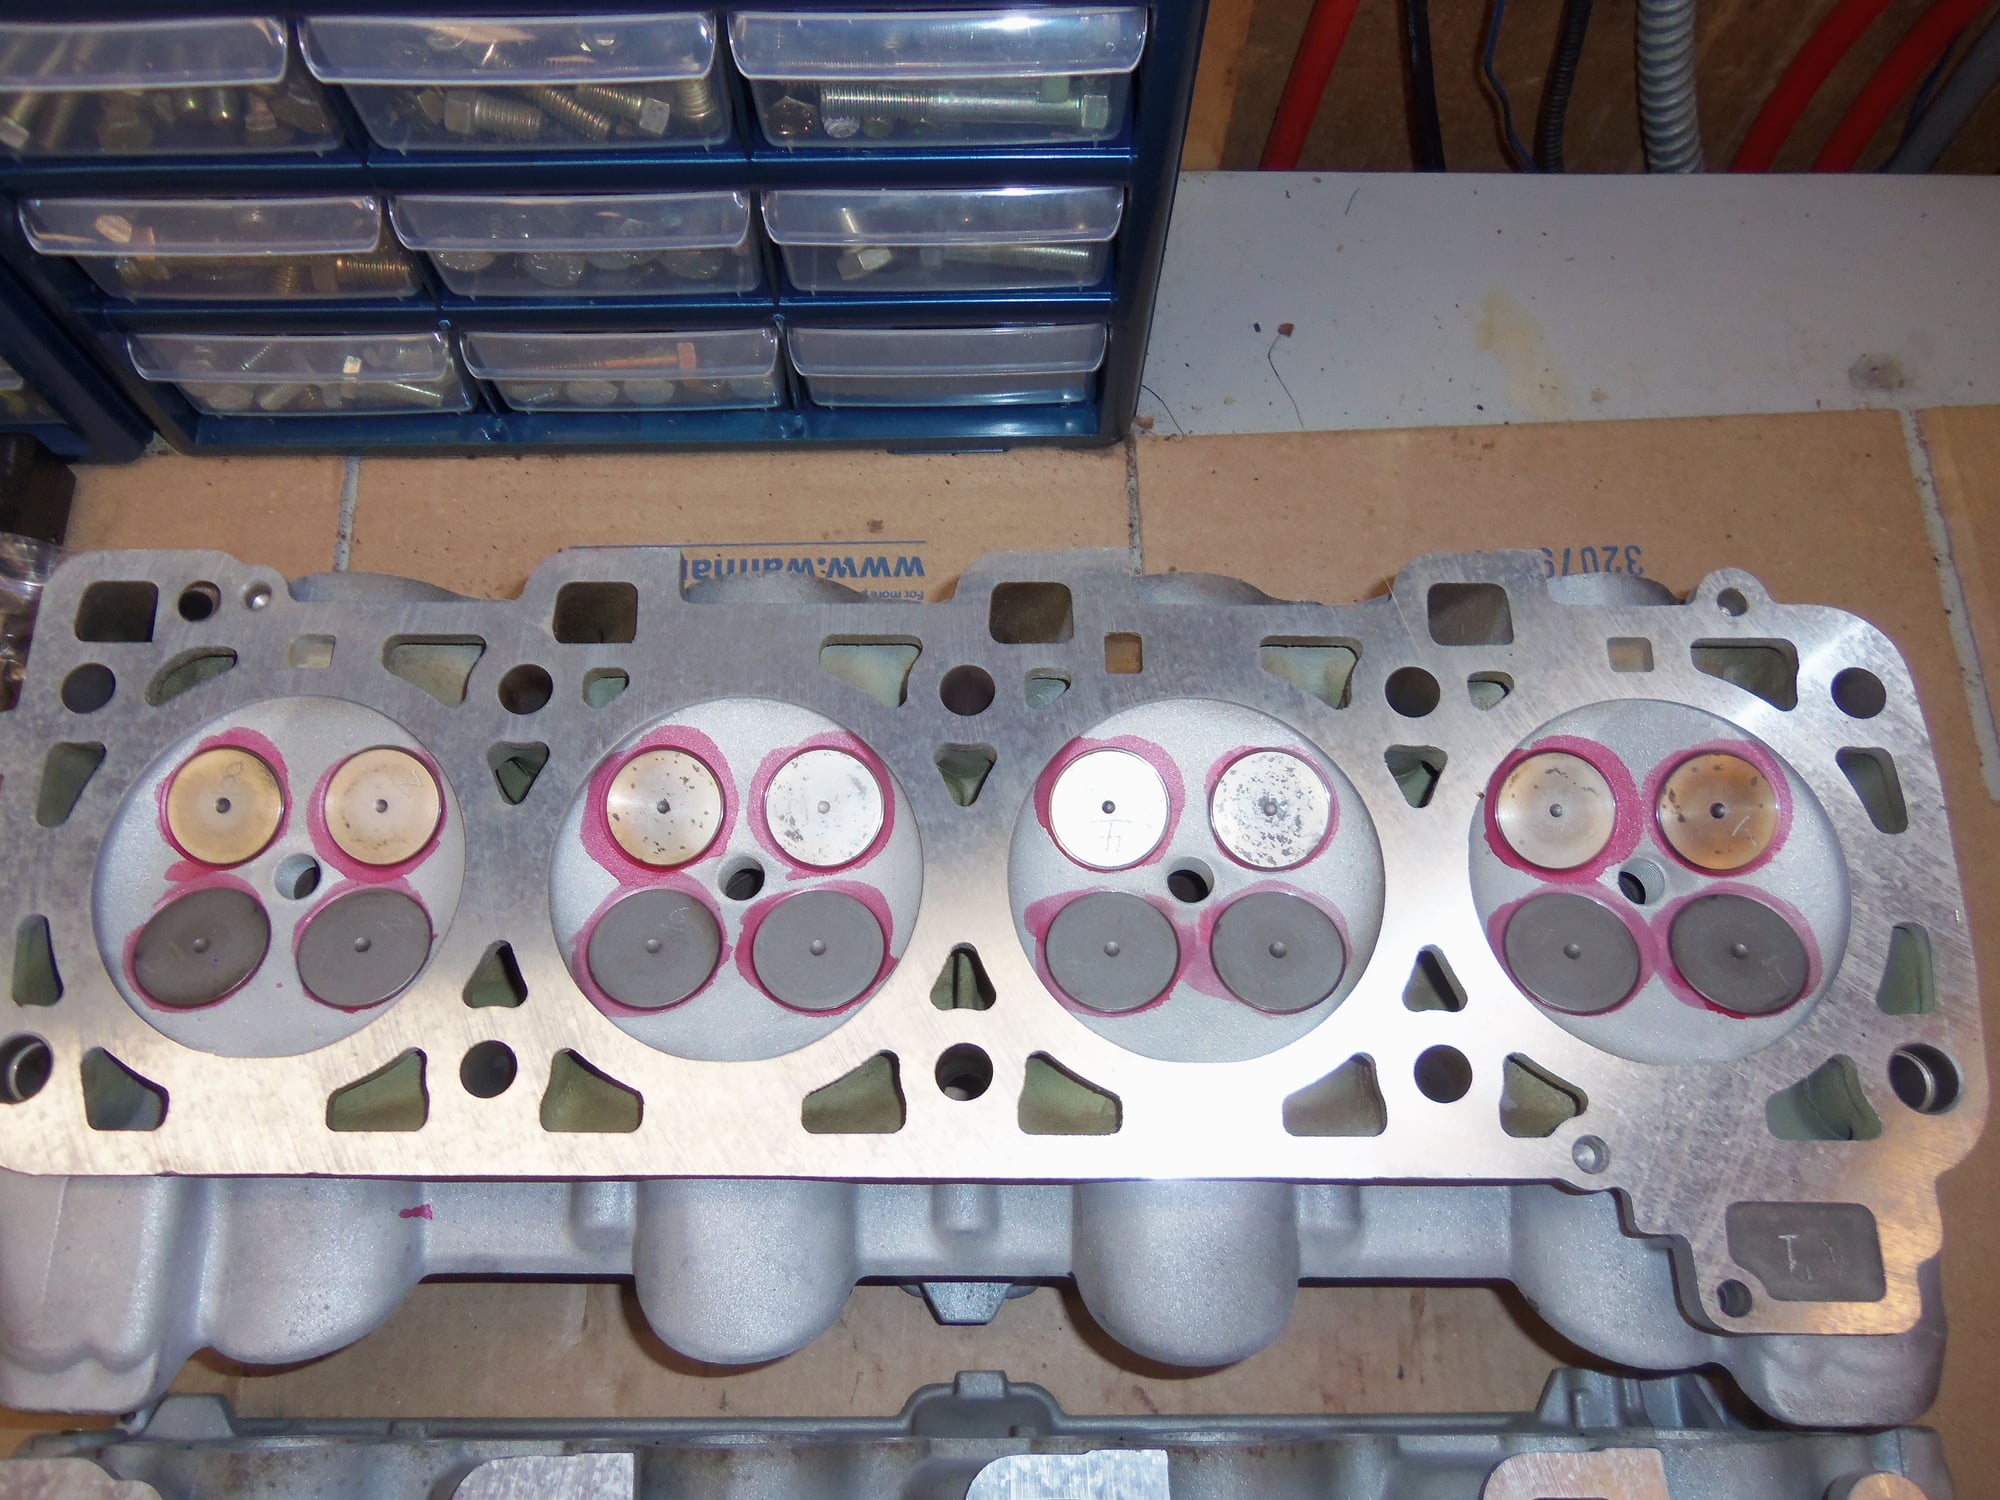
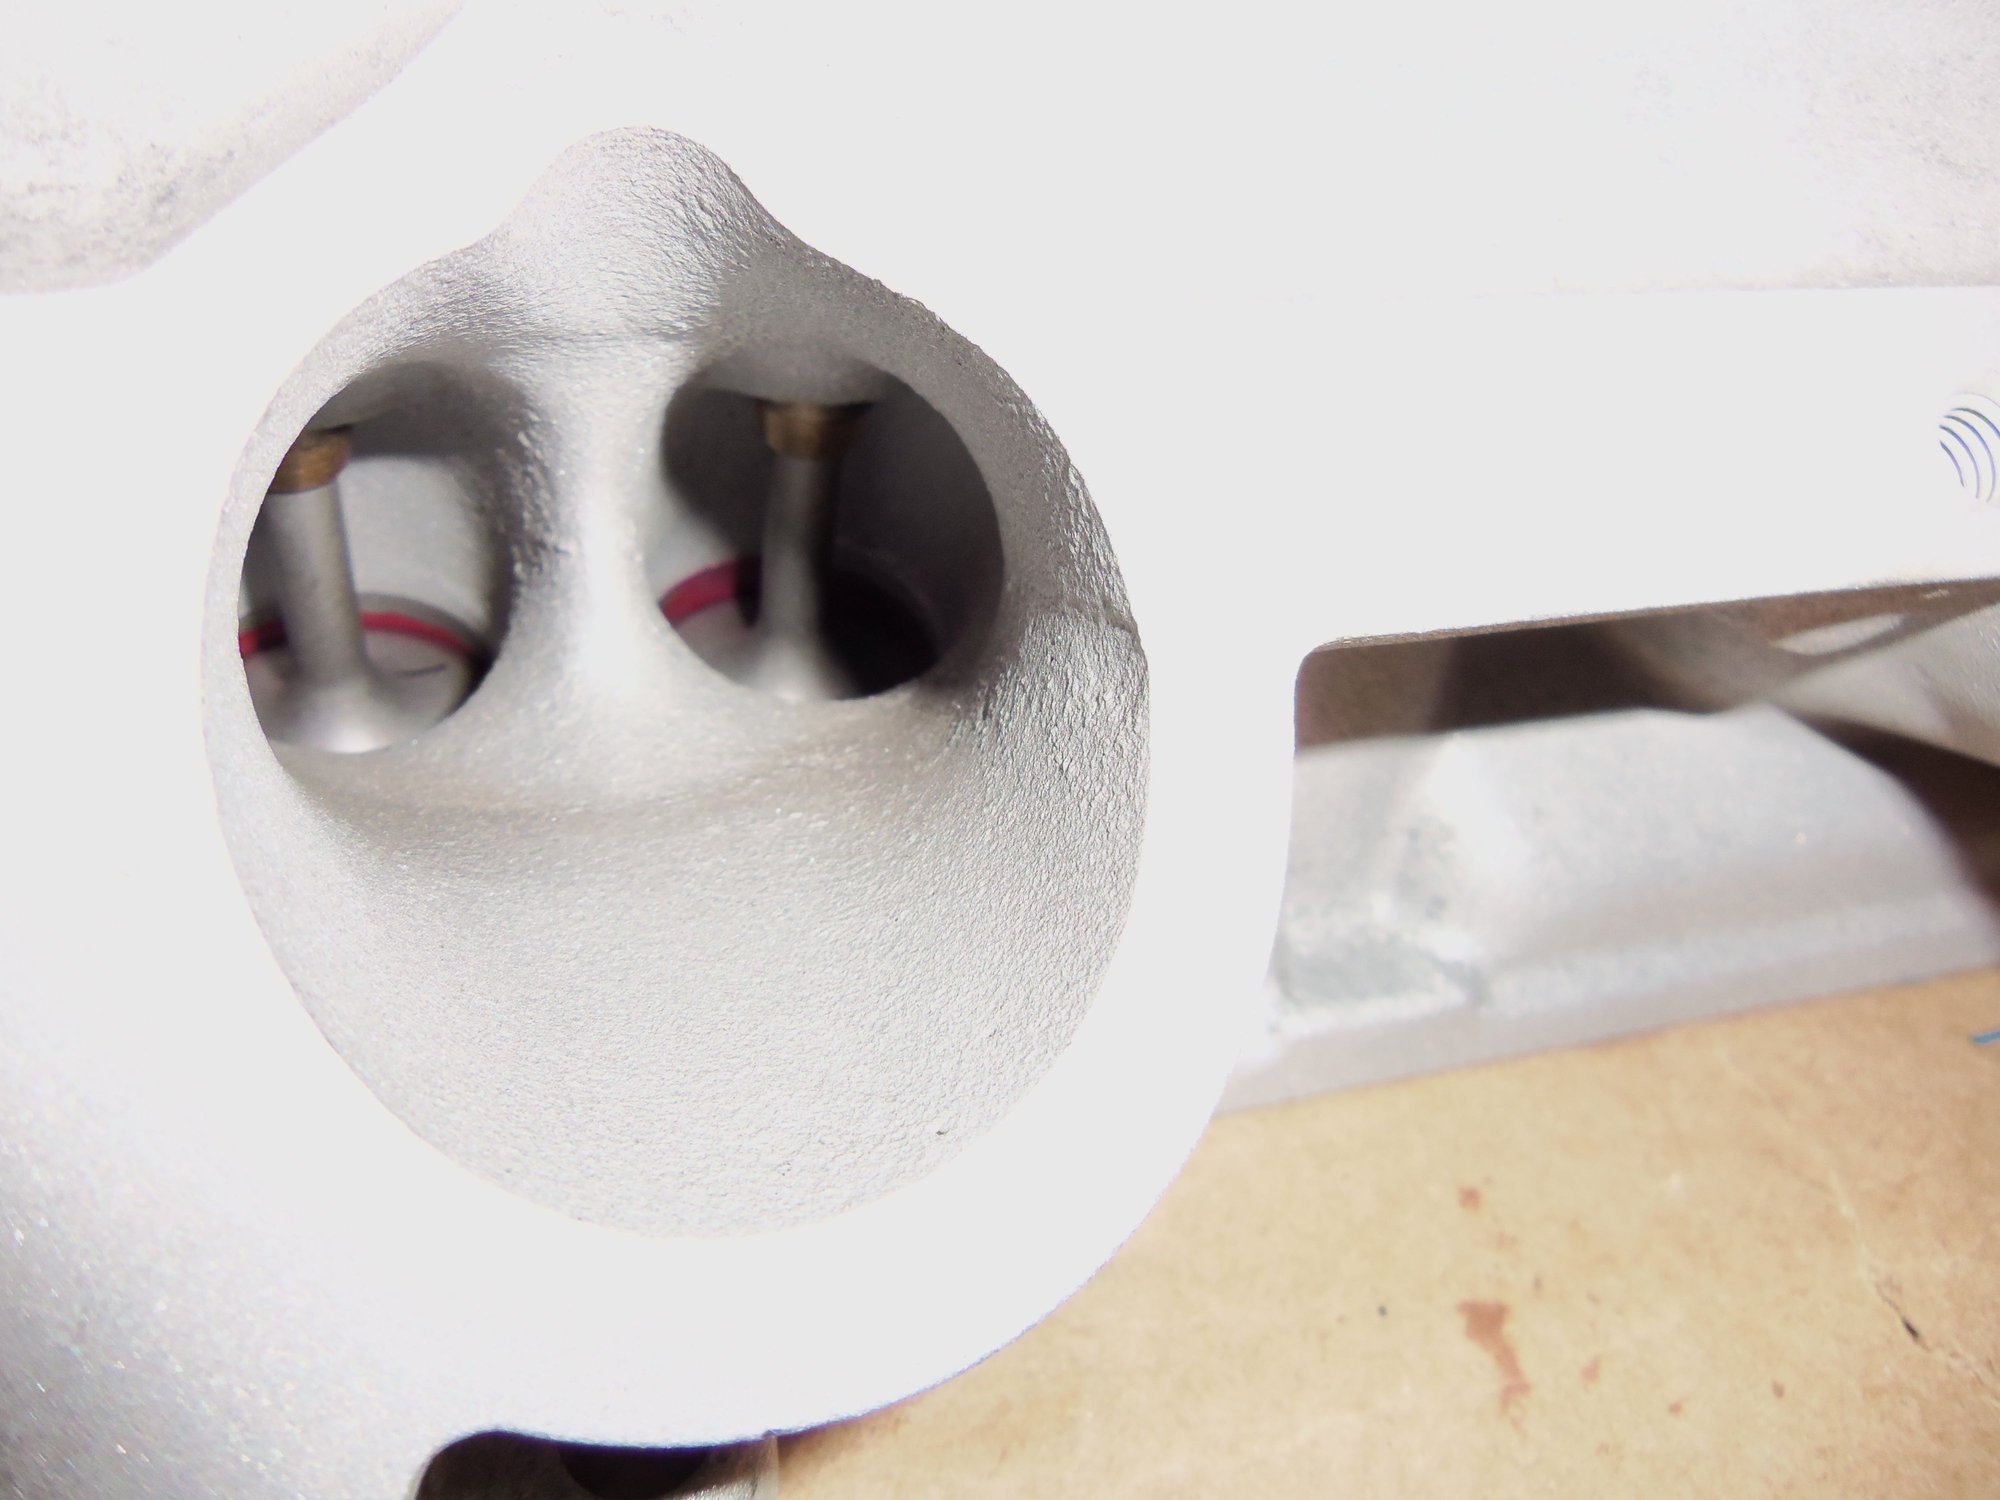
Cylinder heads are back!
I am quite pleased with them.
The decks cleaned up with 0.002" cut on each, no pitting. So, I can use normal thickness head gaskets.
All 32 valve guides were replaced.
The heads were assembled and set up as per the WSM.
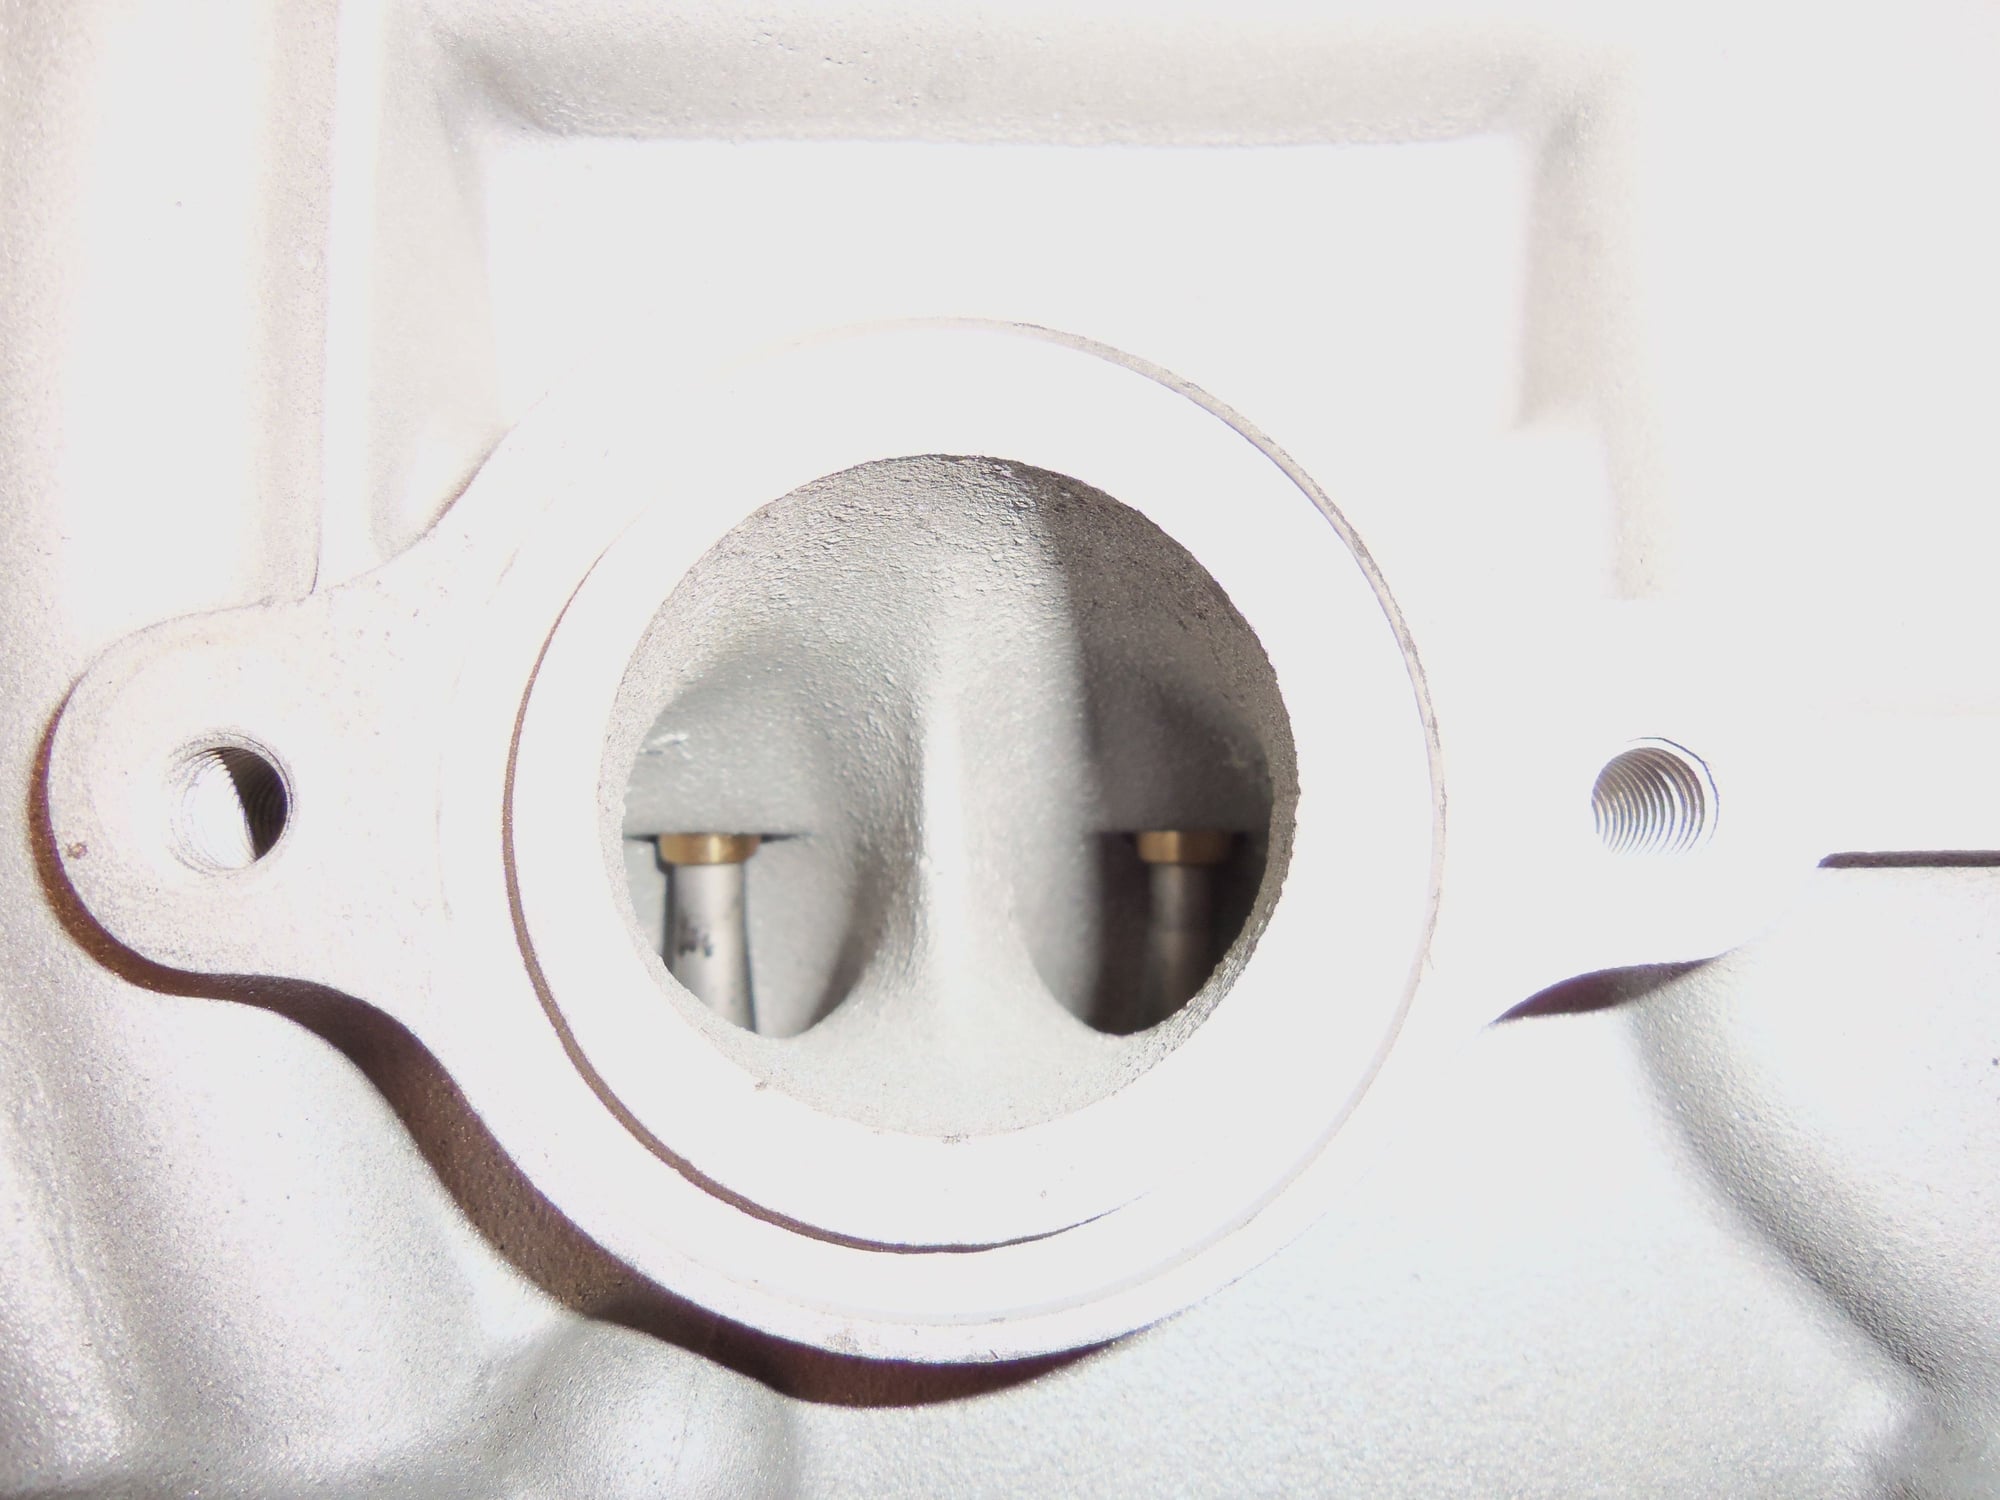
Oil galley check valves were pulled and crud was cleaned out of them.
Heads have been bagged and put into storage until installation time.
they look great .
Please read the WSM for more info about these valves and seats
FWIW whomever worked on the oil antiback flow valves has to make sure the seat is peened into position, as an addition a few drops of green loctite can be used.
If the seats are loose then they will be lifted up by the oil flow and then block off the oil port to cams, then the cams will seize.
I have first hand knowledge of this and it happened to a GT engine
I appreciate the heads-up on the oil check valve seats. I believe my machinist dealt with them in the manner you mentioned. However, I will double check.
Double check everything, even the oil passages. If this means removing the plugs then so be it.
Most definitely. It all MUST be clean!
Originally Posted by GT6ixer
Looking sweet Seth!
Thank you, Nate!
One of the conversations Glenn(my machinist) and I had about these heads was about the oil galleries and check valves. The only condition they could be in was spotless. I gave him a binder of pages printed out of the WSM, as well as information from people here on Rennlist. We made the decision to pull all the oil gallery cup plugs and take our chances with the sealing issues. As well, he pulled the sealing plugs above the check valves to remove and clean the check valves. Lots of solvent was used to clean the oil galleries before and AFTER machining.
Based upon the above information from Stan, I will find out from Glenn if he disturbed the check valve seats.
Remember, these are S3 heads, not S4. S3 heads don't have the locating screw to lock the sealing plug in place for the check valves. PET does not show an exploded diagram of the parts, and the WSM does not cover anything about the S3 check valves.
Having said all that, if we have to go back in to verify the seats are peened and tight, we will.
I am about to replace the head gasket on my 86 944 NA. I also have a spare head that I bought that was reconditioned. I want to be able to check the heads for flatness with a feeler gauge. I have the feeler gauge already but I need a straight edge! 1) What kind of straight edge should I get and where? 2) How did you name your car the Red Witch? 3) And why do 928 owners tend to name their cars?
I don't see any 944's that get named? I don't poke around much in the forums other than 944 and 928 sections. My sis used to have an '88 White 928 S4.
-Chris
Last edited by Chalt; 02-16-2018 at 02:58 PM.
Reason: Added questions
I am about to replace the head gasket on my 86 944 NA. I also have a spare head that I bought that was reconditioned. I want to be able to check the heads for flatness with a feeler gauge. I have the feeler gauge already but I need a straight edge! 1) What kind of straight edge should I get and where? 2) How did you name your car the Red Witch? 3) And why do 928 owners tend to name their cars?
I don't see any 944's that get named? I don't poke around much in the forums other than 944 and 928 sections. My sis used to have an '88 White 928 S4.
-Chris
1) Shorter straight-edges come in stainless steel from office supply stores. Longest I keep in that flavor is half a meter, or about 19". Longer starts to get into construction layout tools from home stores like Home Depot. A 2' steel layout square will do the job nicely.
2) I didn't. Seth did.
3) Seems like a measurable percentage of 928's come to owners as "projects", and as such tend to sit for a while before they achieve suitable glory for public exhibition. Perhaps it's the frustration with those that leads owners to use nicknames similar to those that they might apply to exes. Meanwhile, cars are not pets at least at my house, so they tend not to get pet names. Only one Porsche in the fleet at the moment, so it's referred to as the "the Porsche" or "the 928". mrs dr bob probably has a few more colorful terms for it, at least more colorful than "black". A lot seems to depend on how the car smells that day, near as I can tell anyway.
1) Shorter straight-edges come in stainless steel from office supply stores. Longest I keep in that flavor is half a meter, or about 19". Longer starts to get into construction layout tools from home stores like Home Depot. A 2' steel layout square will do the job nicely........
I wouldn't use anything from an office supply store or a from Home Depot to measure a head for straightness. You need to use straight edges or measuring instruments (such as a measuring table) used in machine shops.
I wouldn't use anything from an office supply store or a from Home Depot to measure a head for straightness. You need to use straight edges or measuring instruments (such as a measuring table) used in machine shops.
Thank you for you interest in my answer. So sorry you didn't read the question. It was about where to buy a straightedge to do a basic check for flatness with feeler gauges. A new straightedge from an office supply store is plenty accurate for this. The longer one from the hardware store is similarly adequate. This is a go/no-go test with a feeler gauge. A head that passes this will work fine if you use a head gasket between it and the block when you reinstall. Reality, as shared by others, is that most 928 and 944 heads that have been installed and run will likely show up as not perfectly flat. Good news: There's an allowable tolerance for that.
I am about to replace the head gasket on my 86 944 NA. I also have a spare head that I bought that was reconditioned. I want to be able to check the heads for flatness with a feeler gauge. I have the feeler gauge already but I need a straight edge! 1) What kind of straight edge should I get and where? 2) How did you name your car the Red Witch? 3) And why do 928 owners tend to name their cars?
I don't see any 944's that get named? I don't poke around much in the forums other than 944 and 928 sections. My sis used to have an '88 White 928 S4.
-Chris
Hello Chris,
1) I would think any good machinist's rule, or a good metal ruler, at least 1' long, would suffice.
2) My early inspiration for the name was from Mark Stielow, and his Red Witch 1967 Camaro from the mid-90's. The name stuck for my 928 because I knew she would be a mixed bag. My Holy Grail, my muse, and my curse. I knew she would be sweet, and would turn on me in a second. So...the Red Witch.
3) Because I could. Not all. And its not just a 928 thing. I know many gearheads who name their toys. My minibike started life as a Baja 'Dirt Bug'. By the time I was done adding horsepower and gearing to it, I christened it 'Death Bug'. Not all toys have names. My Explorer is just that, the Explorer. Neither my little 1984 S-10 nor my 1966 C-10 have names. It is what it is.
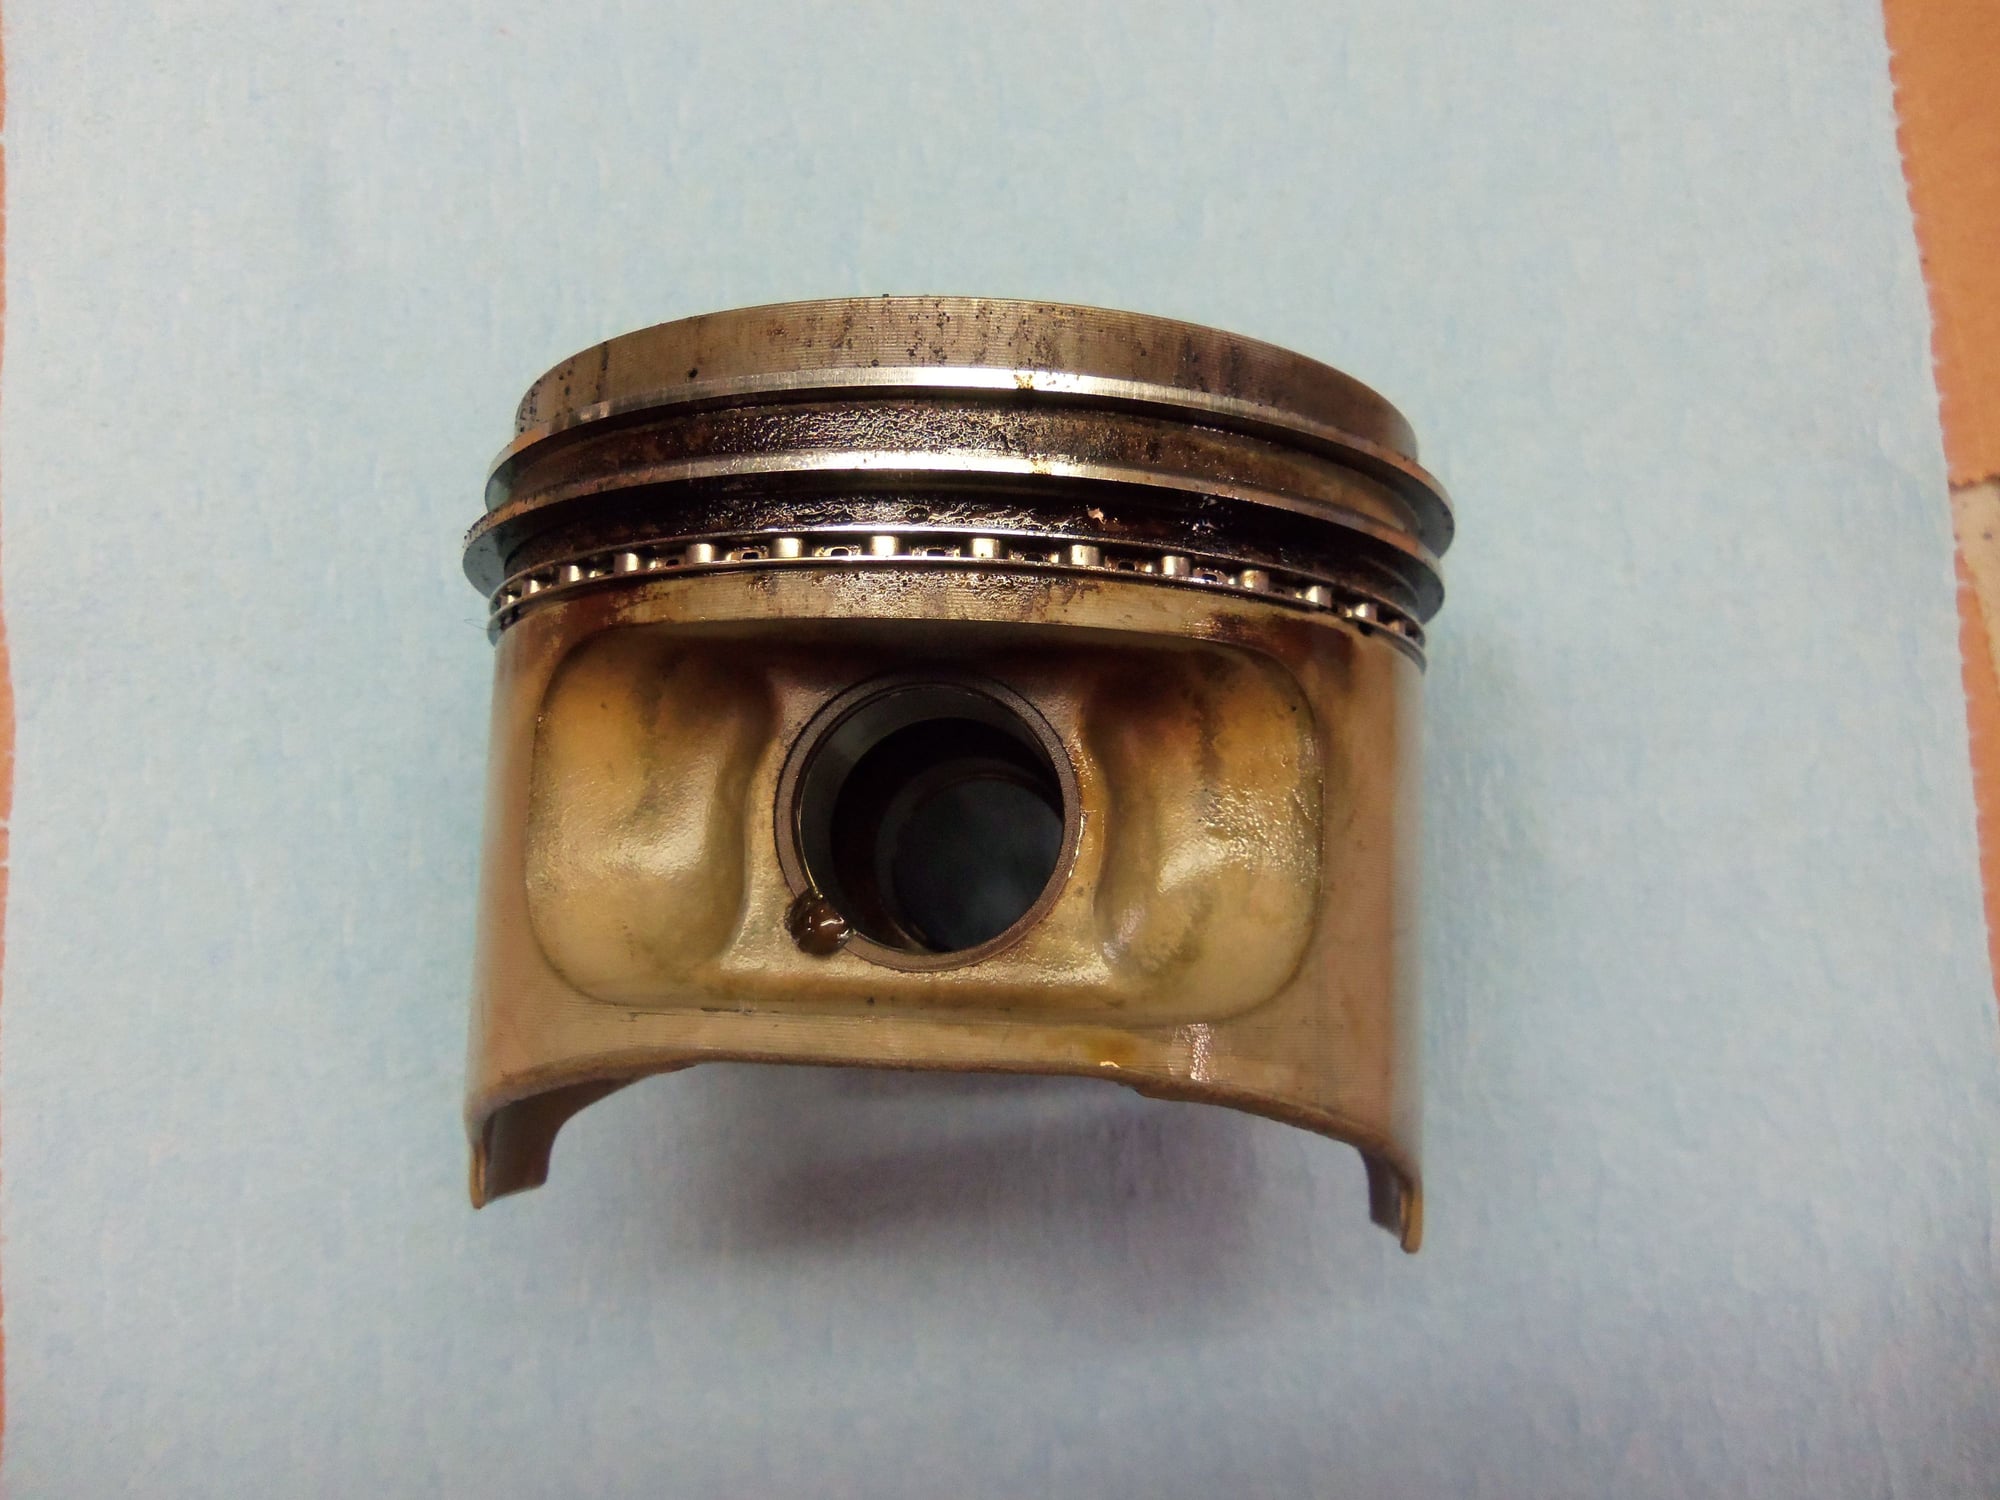
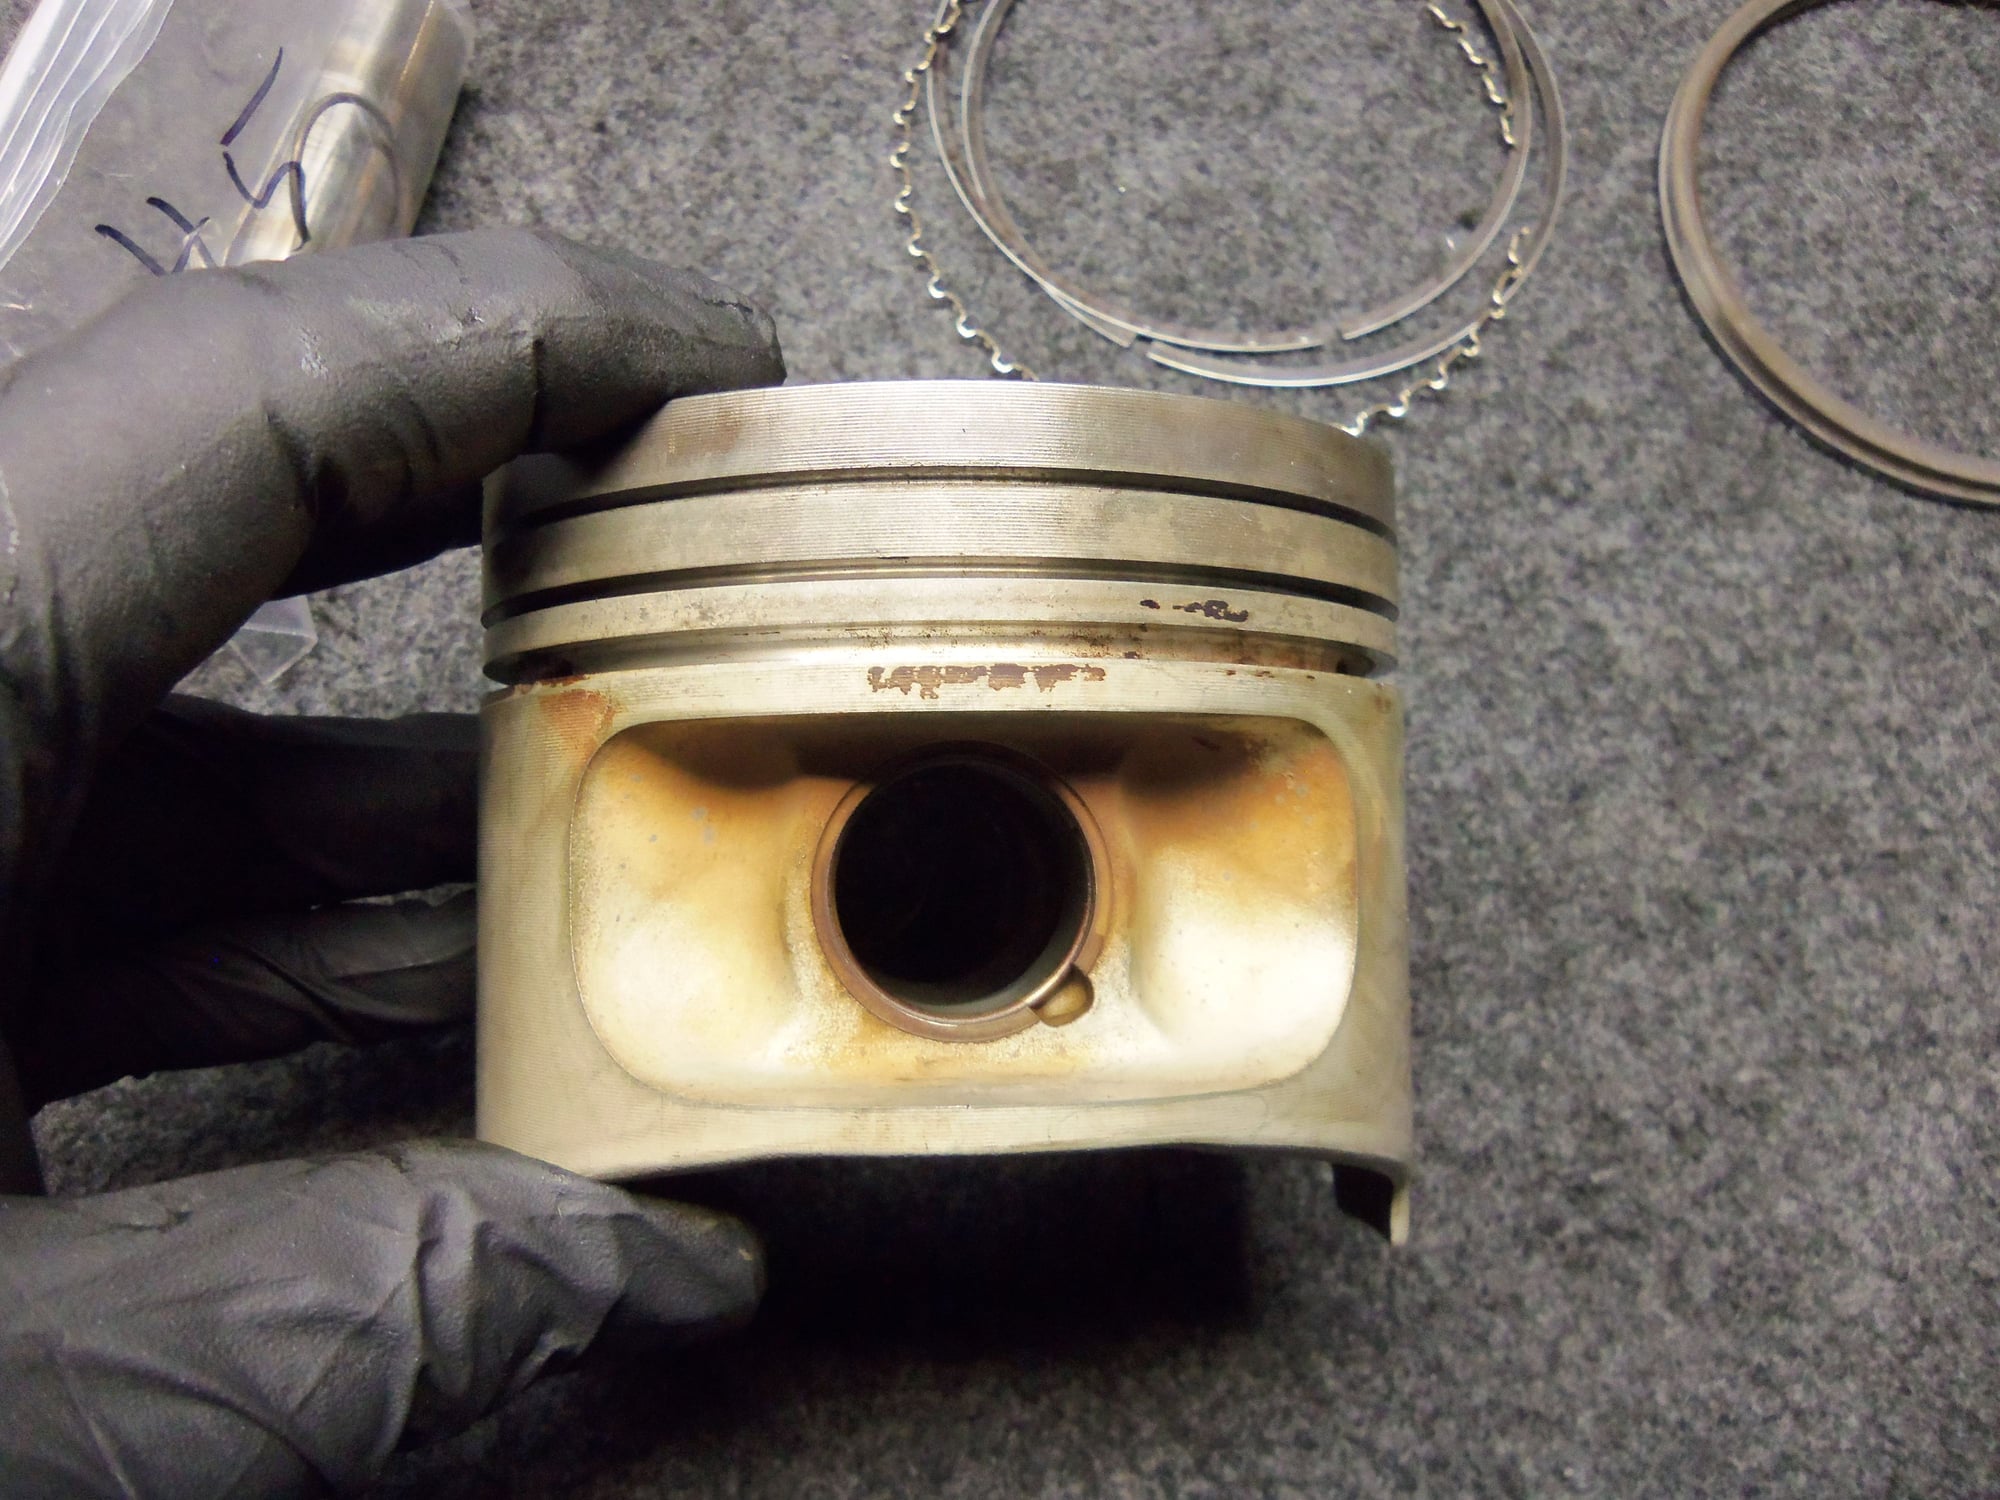
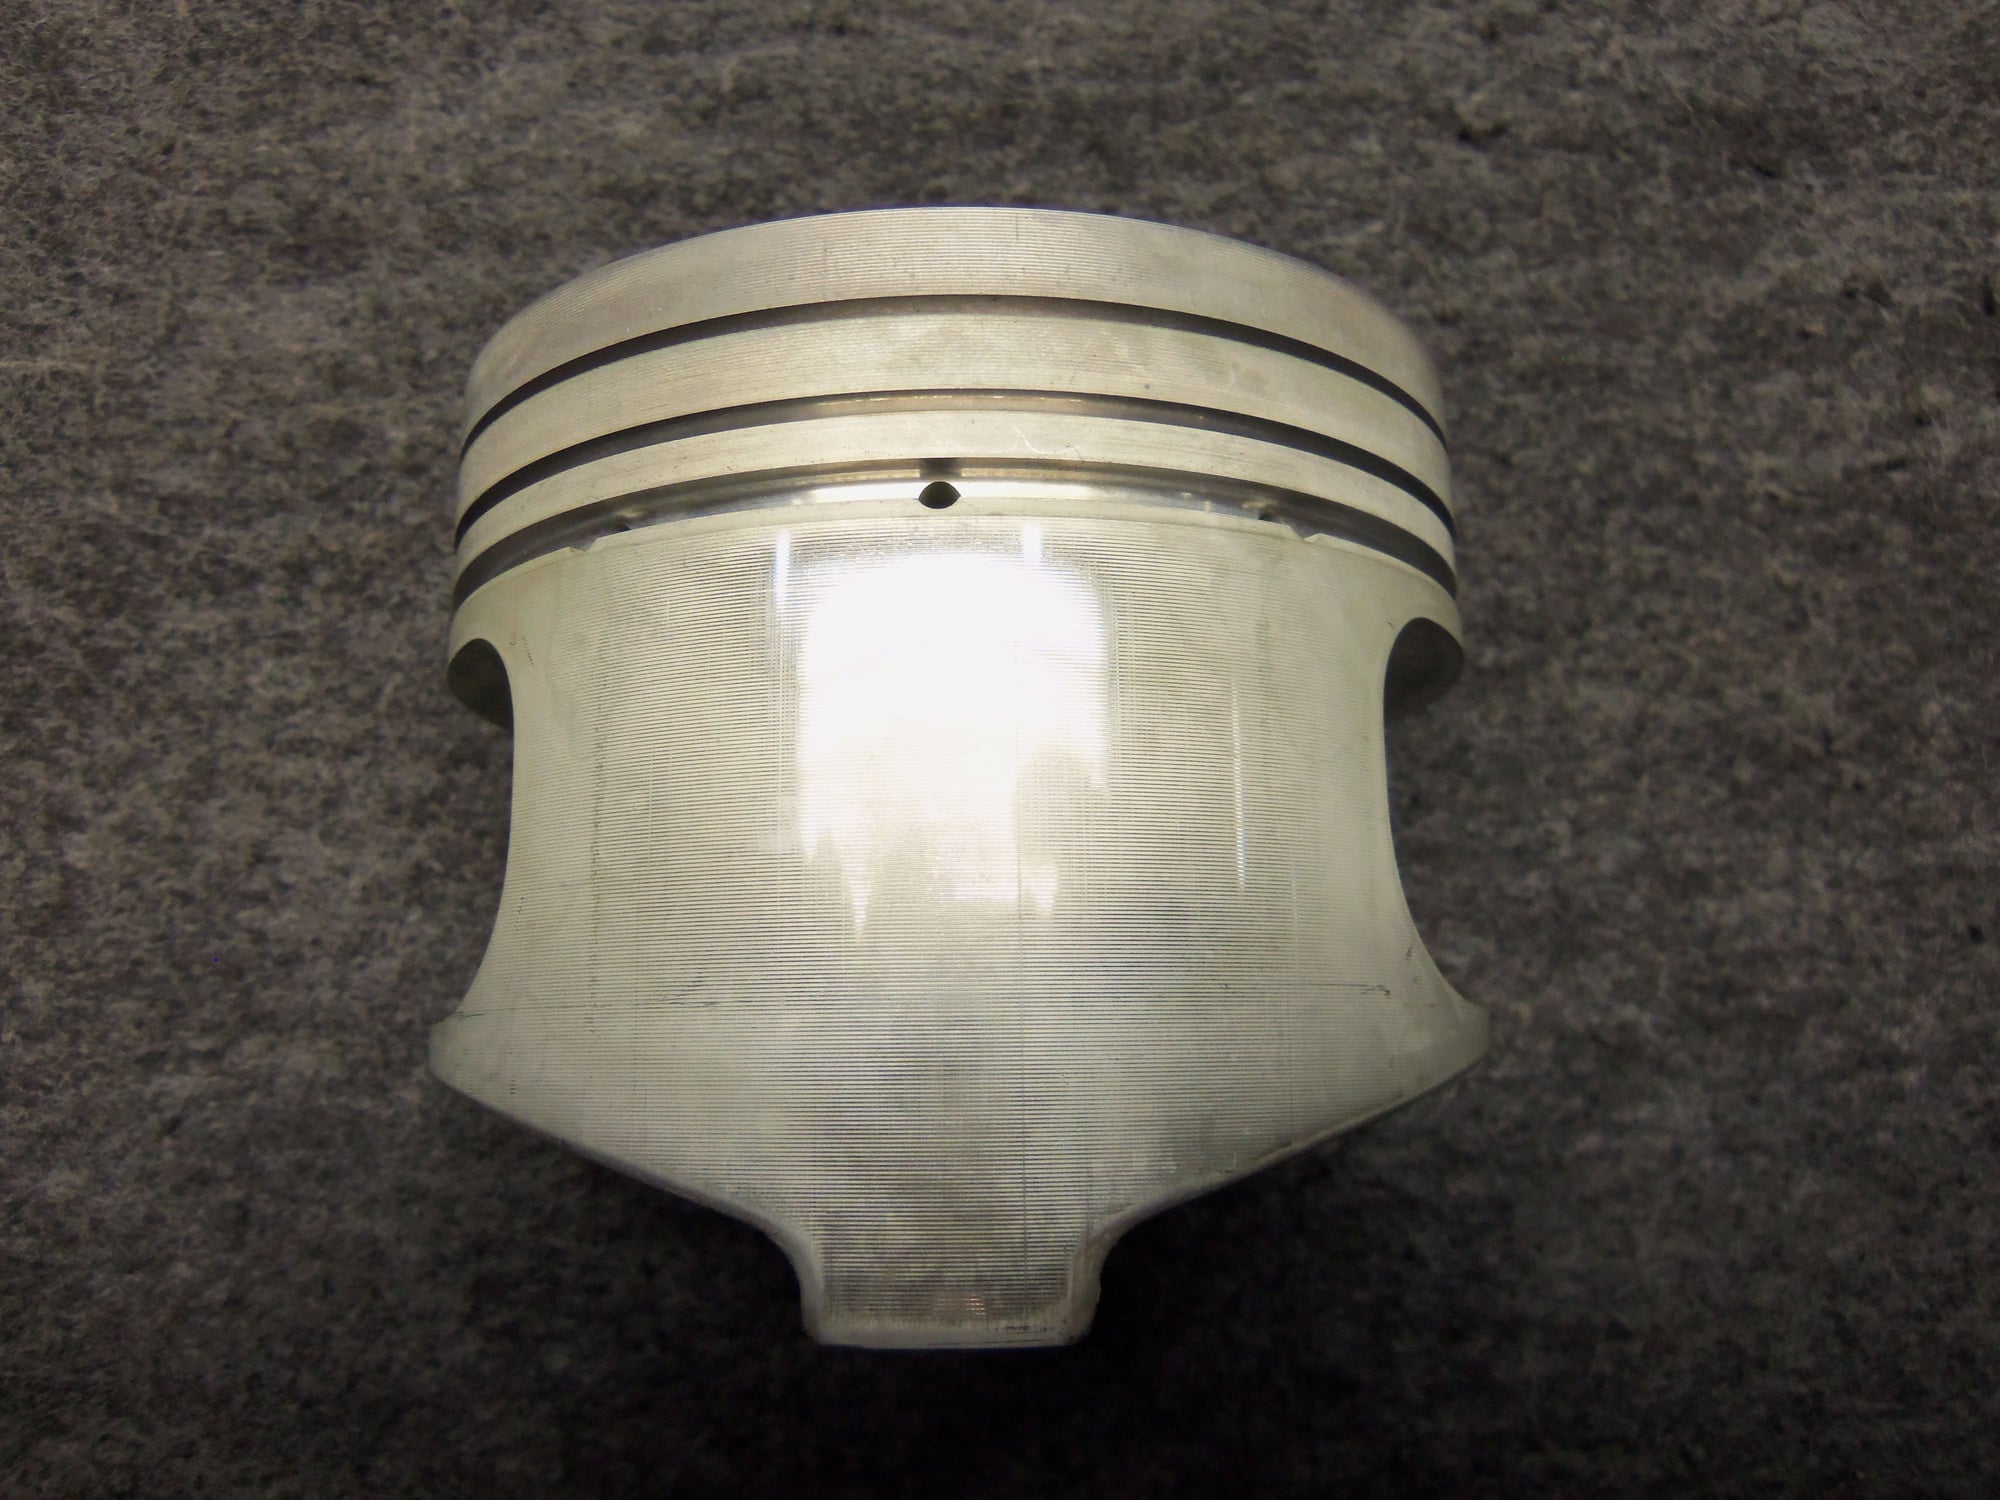
Back in December, I removed all 8 piston/rod assemblies from the engine. I disassembled each set for cleaning. I have set the rods and bearings aside in sealed labeled bags for now. I will clean them later. I carefully removed the rings, then soaked each piston and pin for 12 hours in Berryman's Chem-Dip. Man, that is some GOOD stuff. Cleaned all the pistons up quite nicely. I made sure to clean the ring grooves as well. I used a small piece of plastic banding to remove any build up in the ring grooves. As well, I used a soft bristled tooth brush for minor scrubbing of stubborn deposits on the piston and on the underside of the crown. Then, each piston was rinsed in hot water, hosed off with contact cleaner, then blown dry with an air gun on low PSI. Each piston has been carefully wrapped in a rag, sealed in a labeled bag, and placed in a box for safe keeping. I do NOT want to have to buy a set of 100mm pistons any time soon...
I am only showing photos for one piston. They all were equally dirty, and all cleaned up equally nicely.
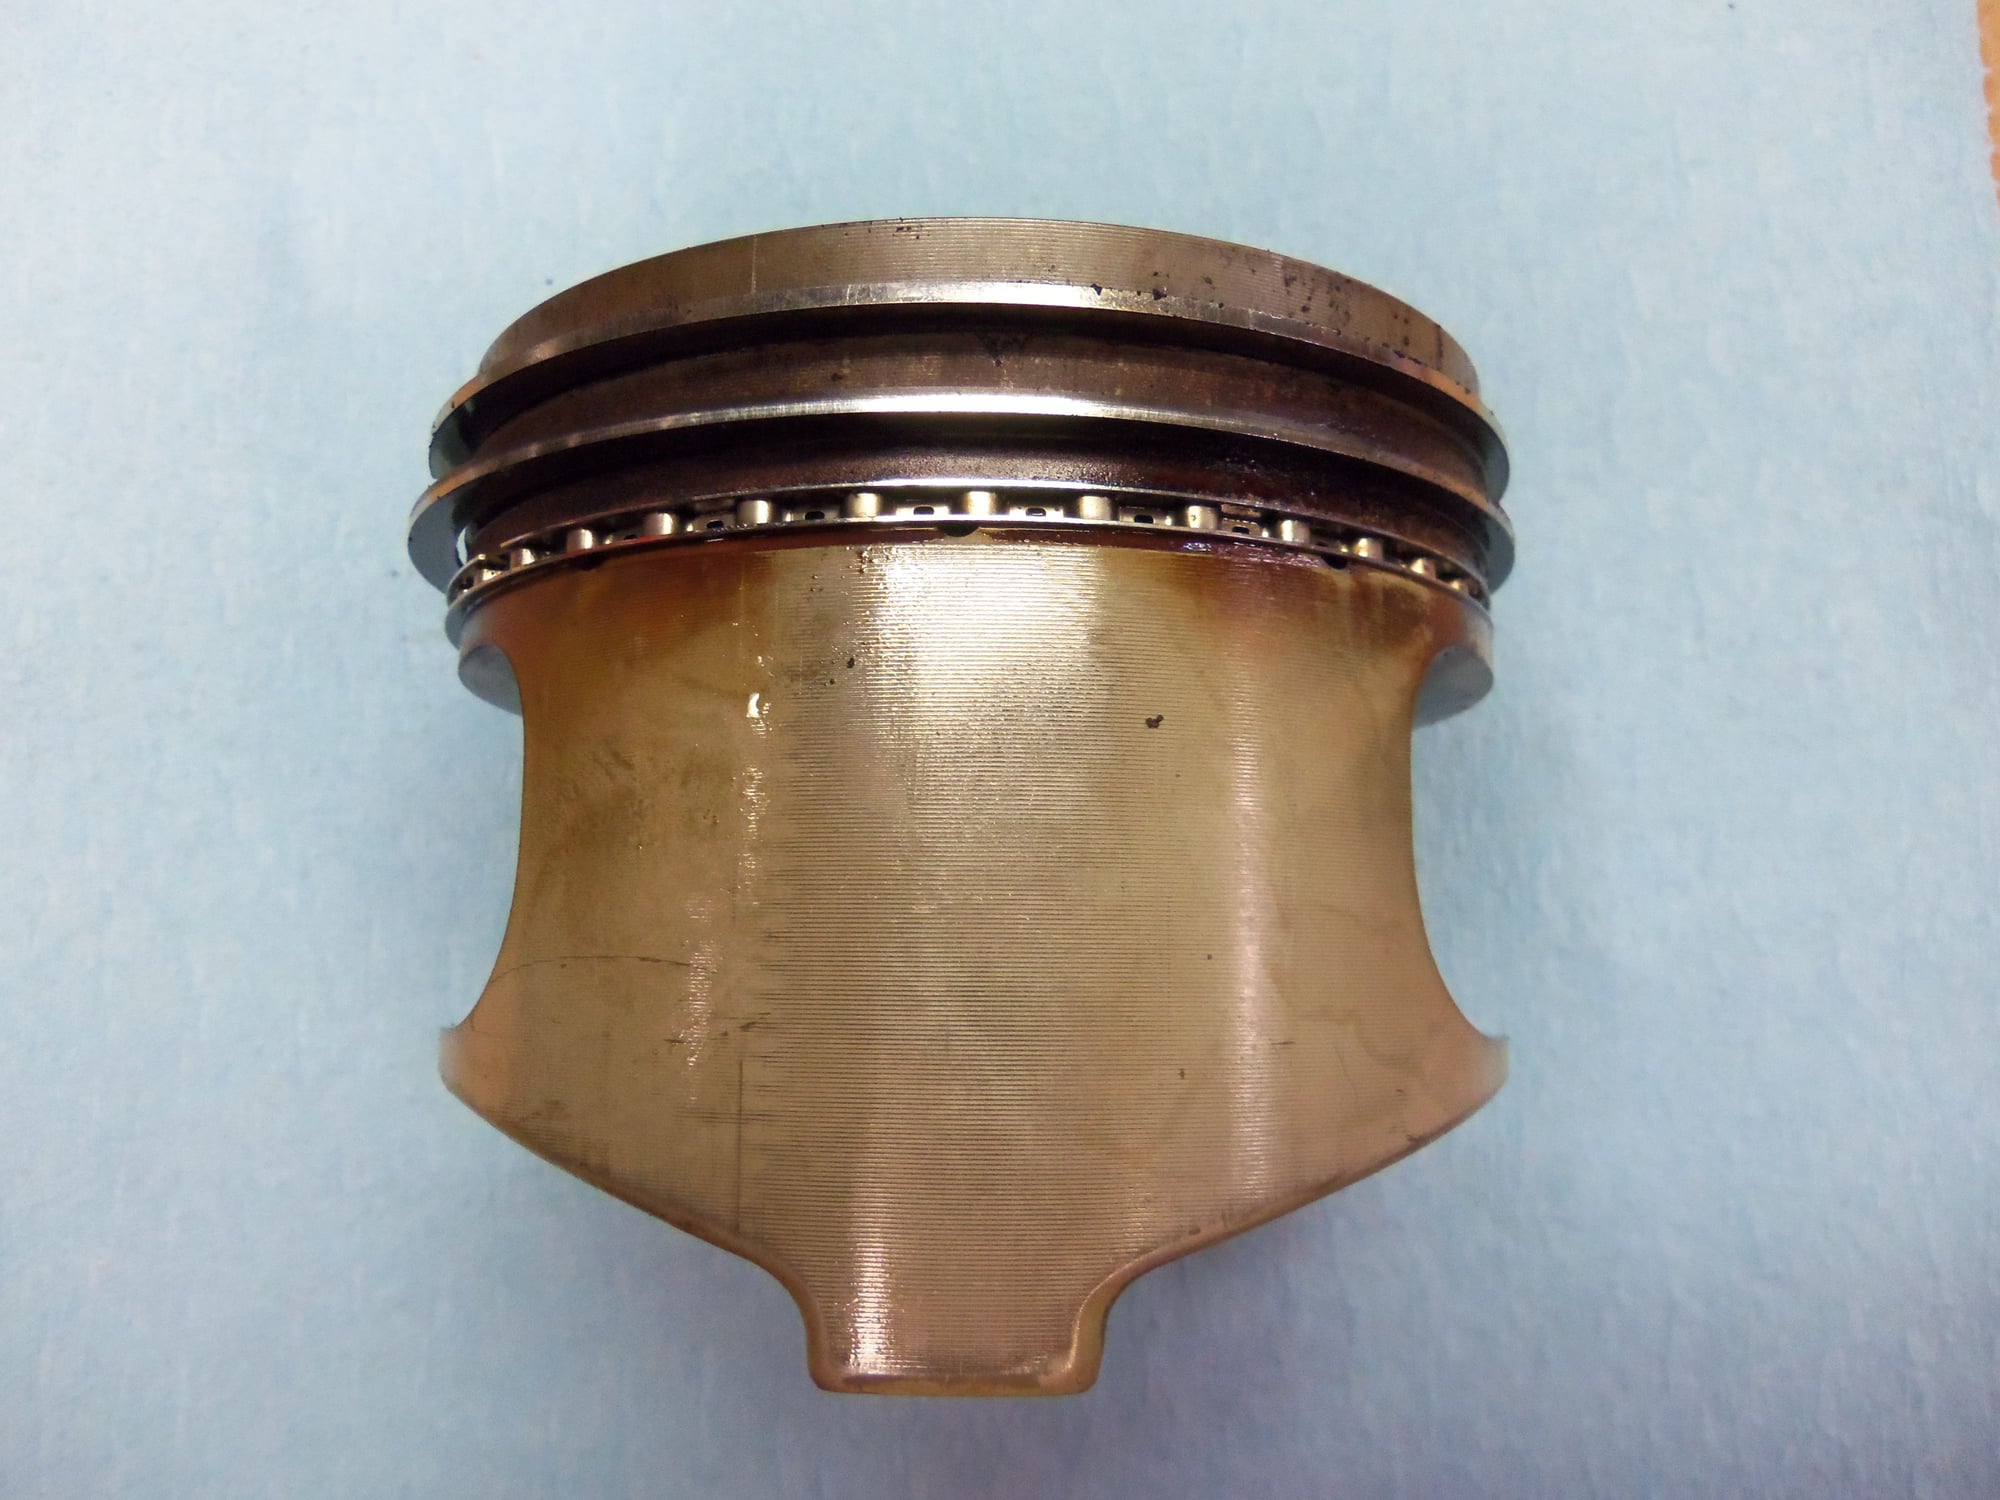
Fresh from the cylinder, rod and pin have been removed. Note the circlip is not installed.
Not sure if this is the thrust side or not
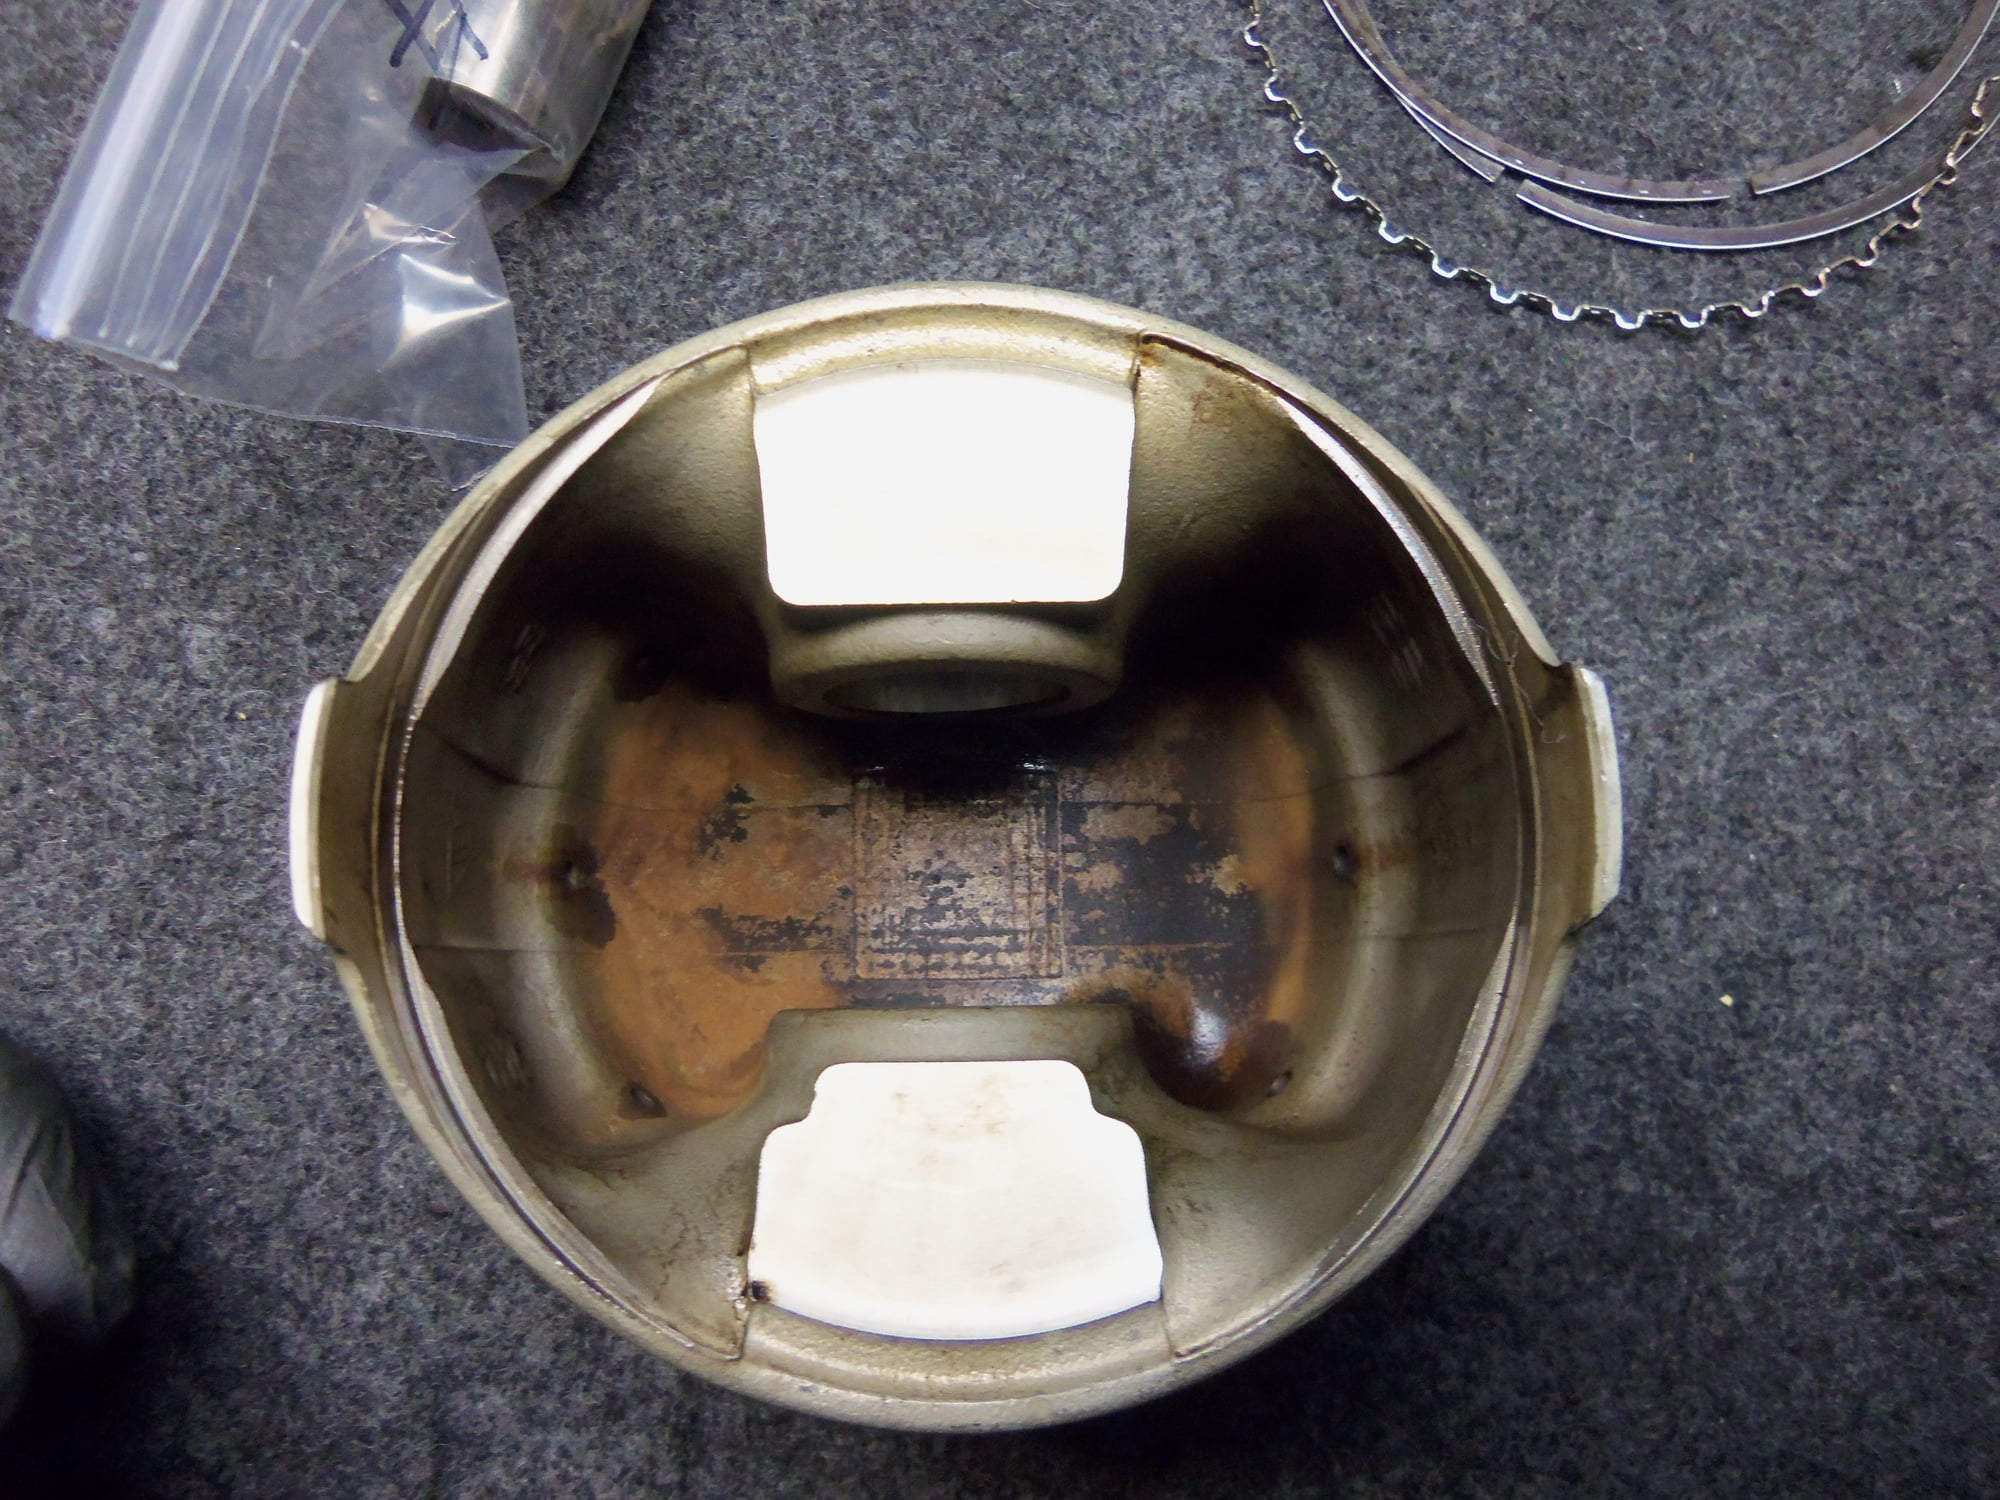
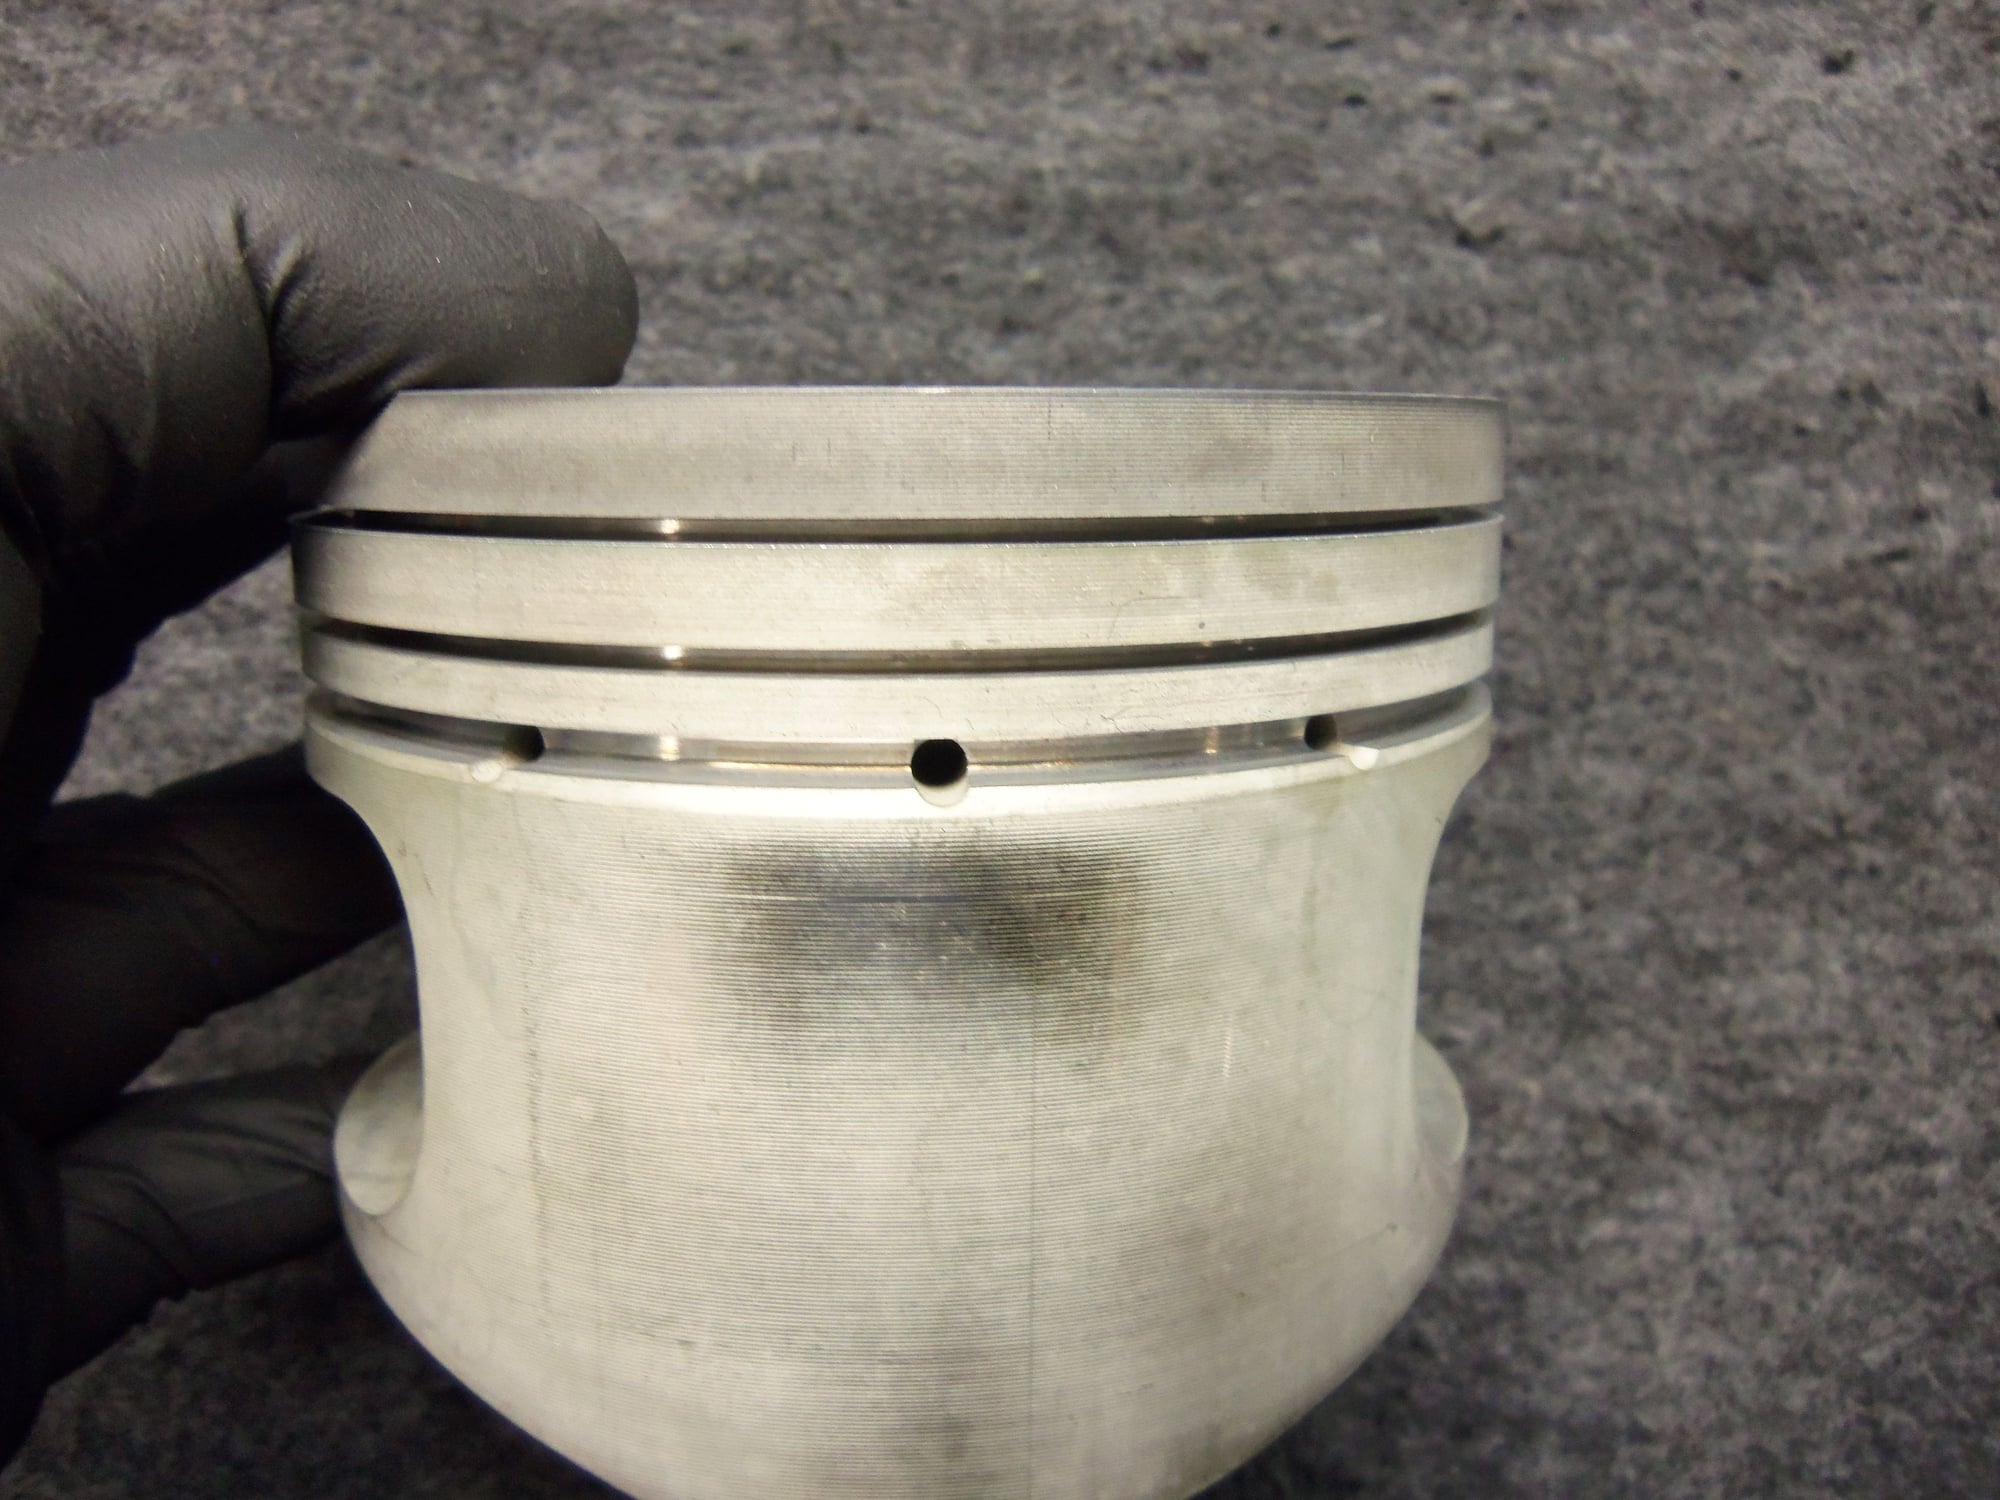
Other side. Note pin circlip is still installed. Neat trick Greg Brown reminded me of. No need to remove it, no need to replace it.
Other side. Don't know if this is the thrust side or not, either.
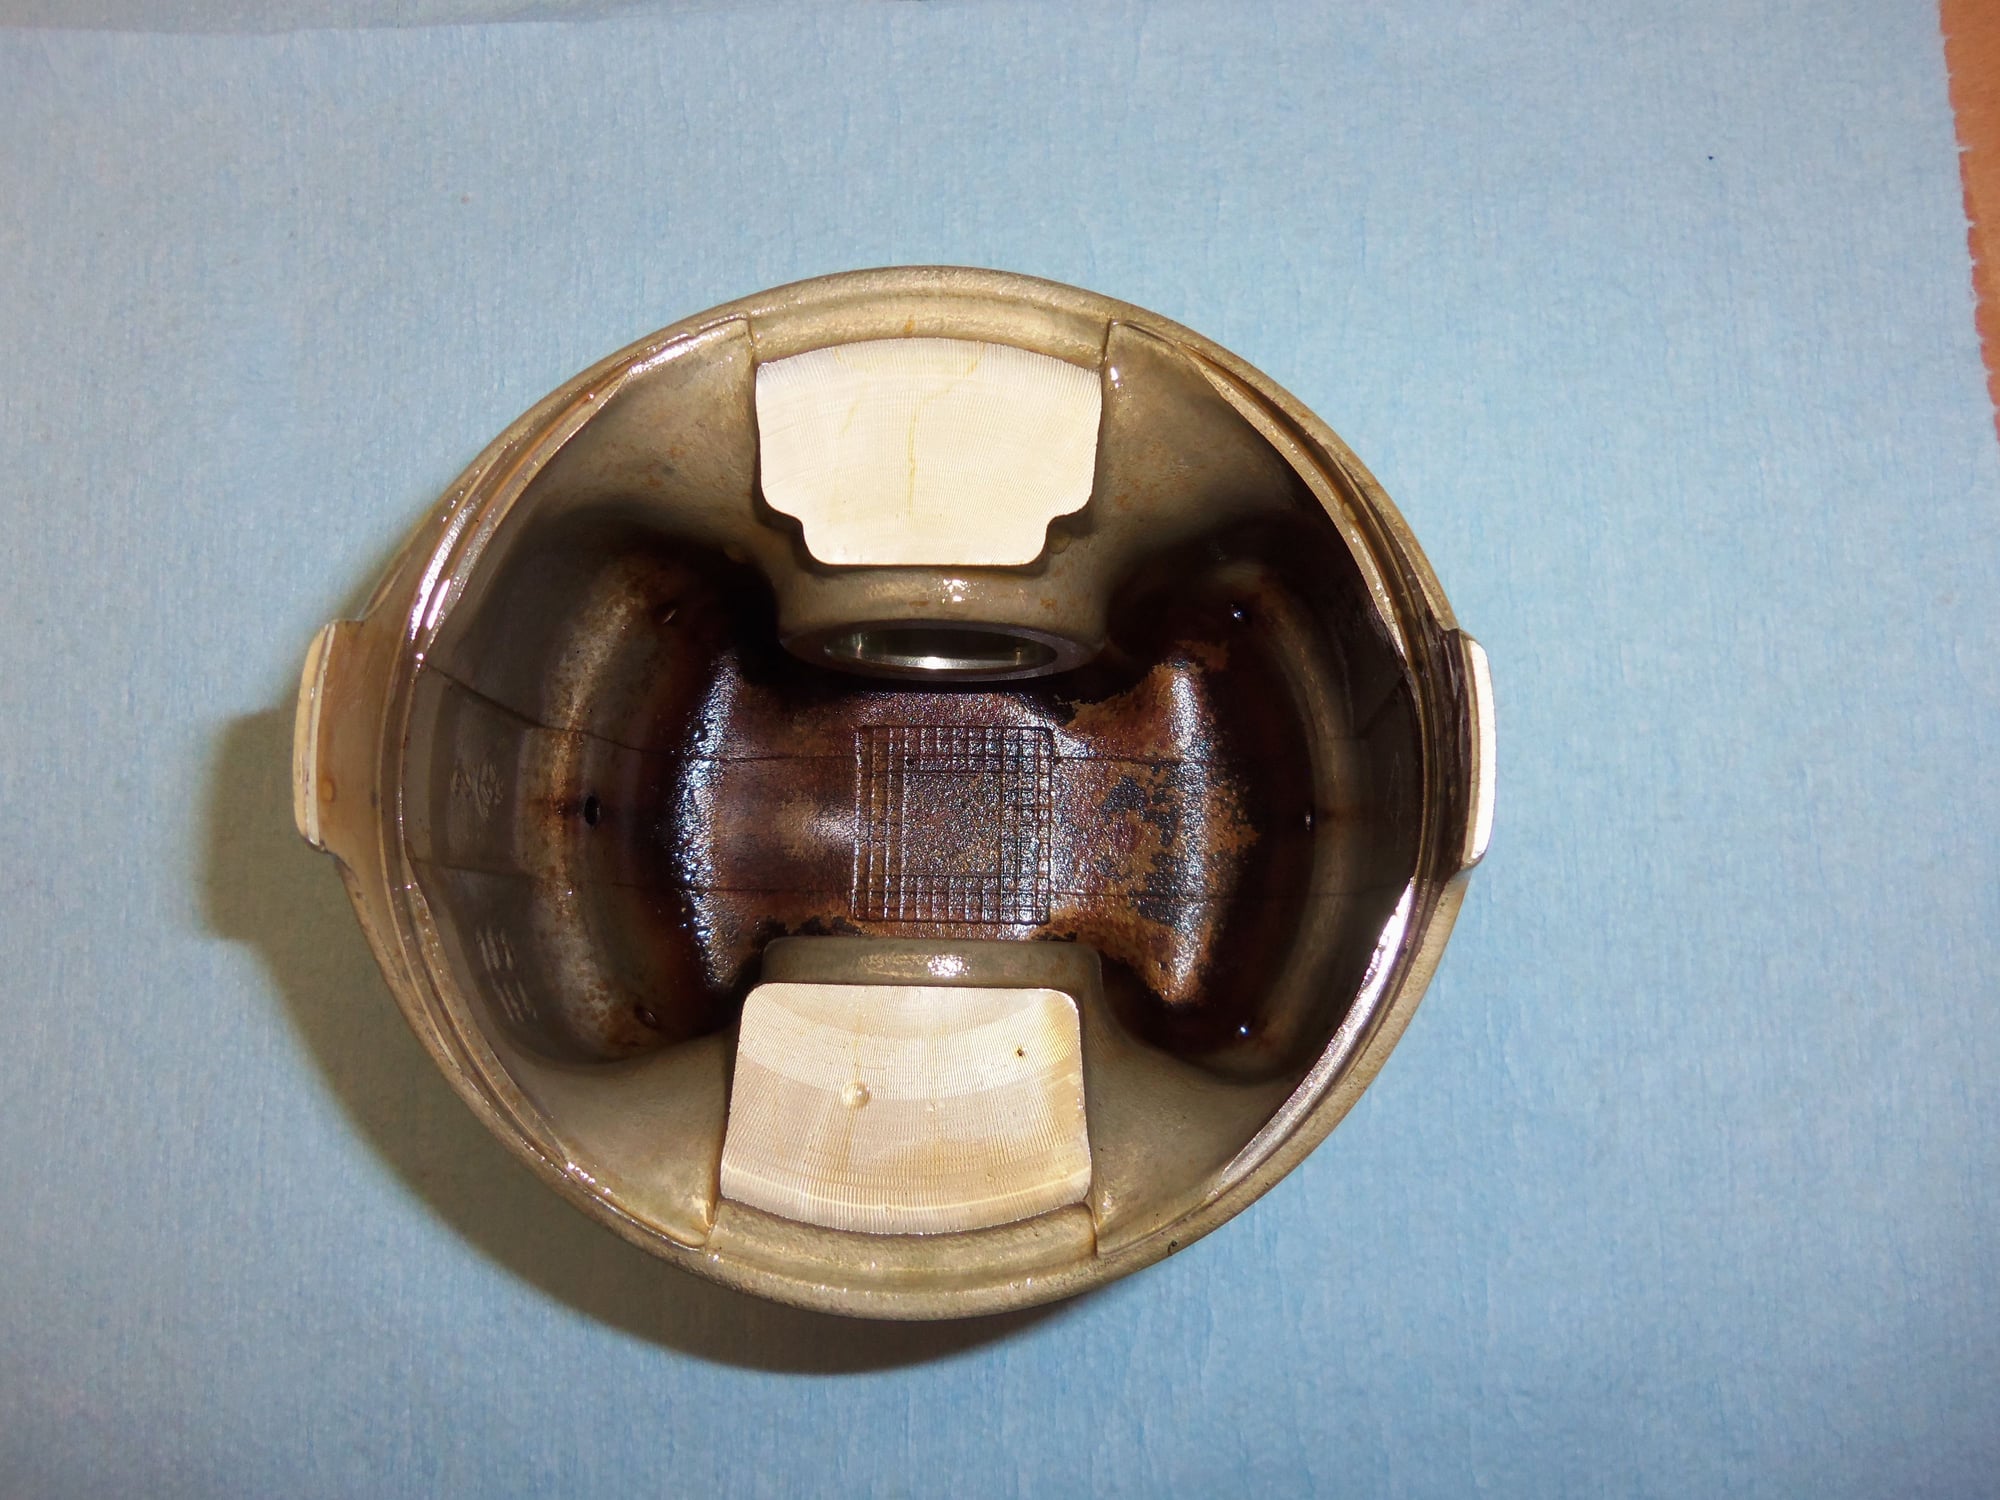
Expected build up on the underside of the crown.
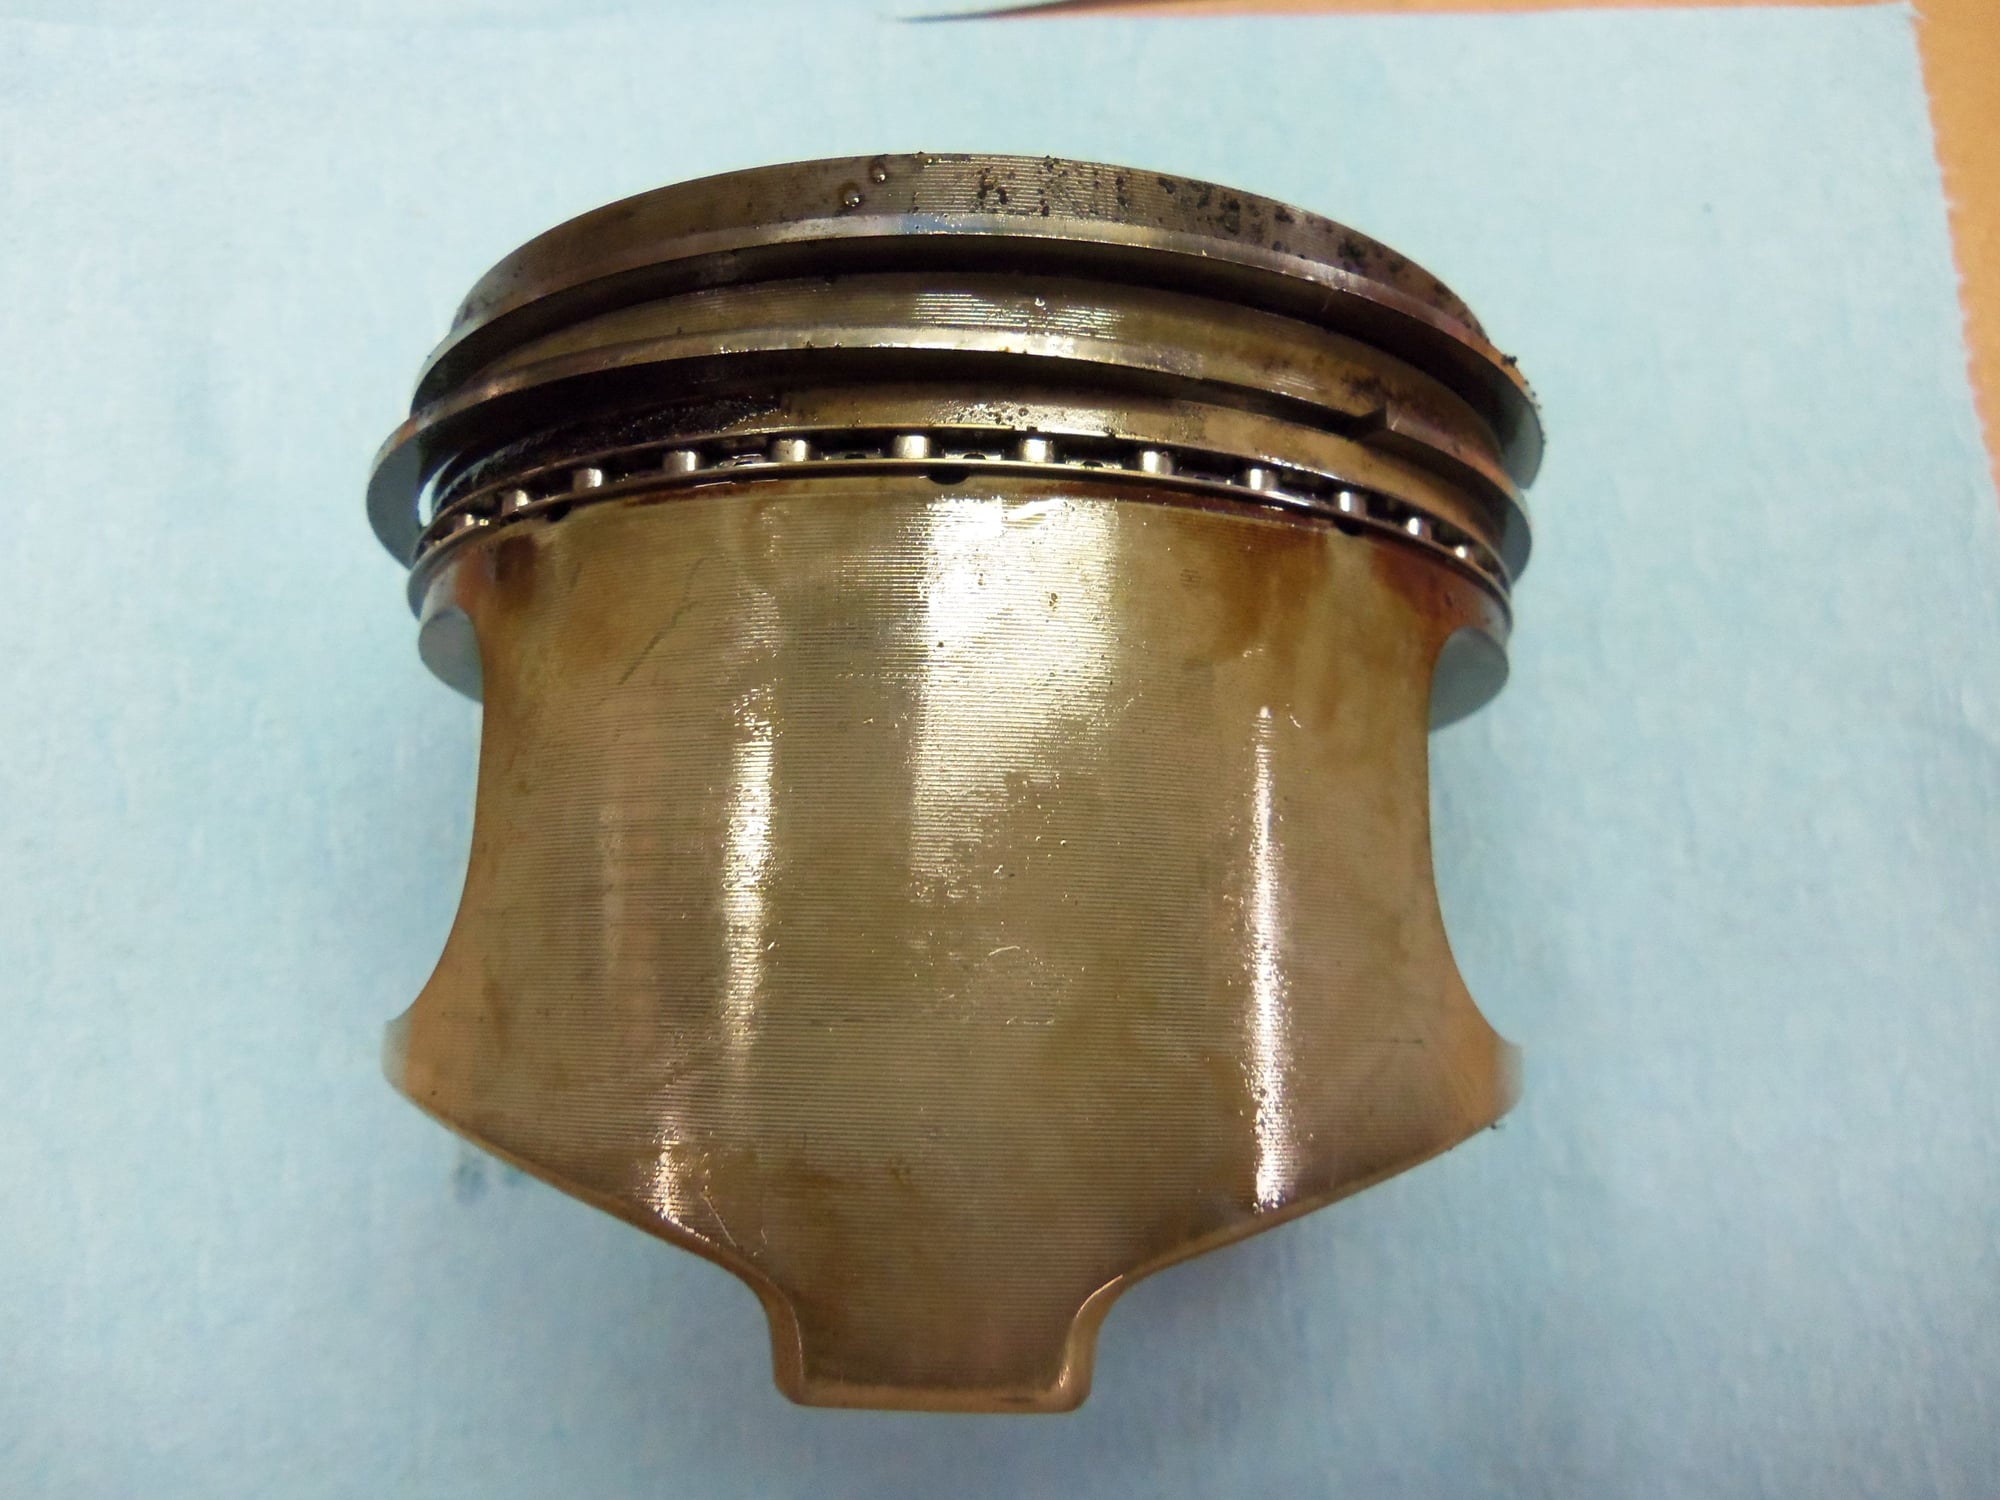
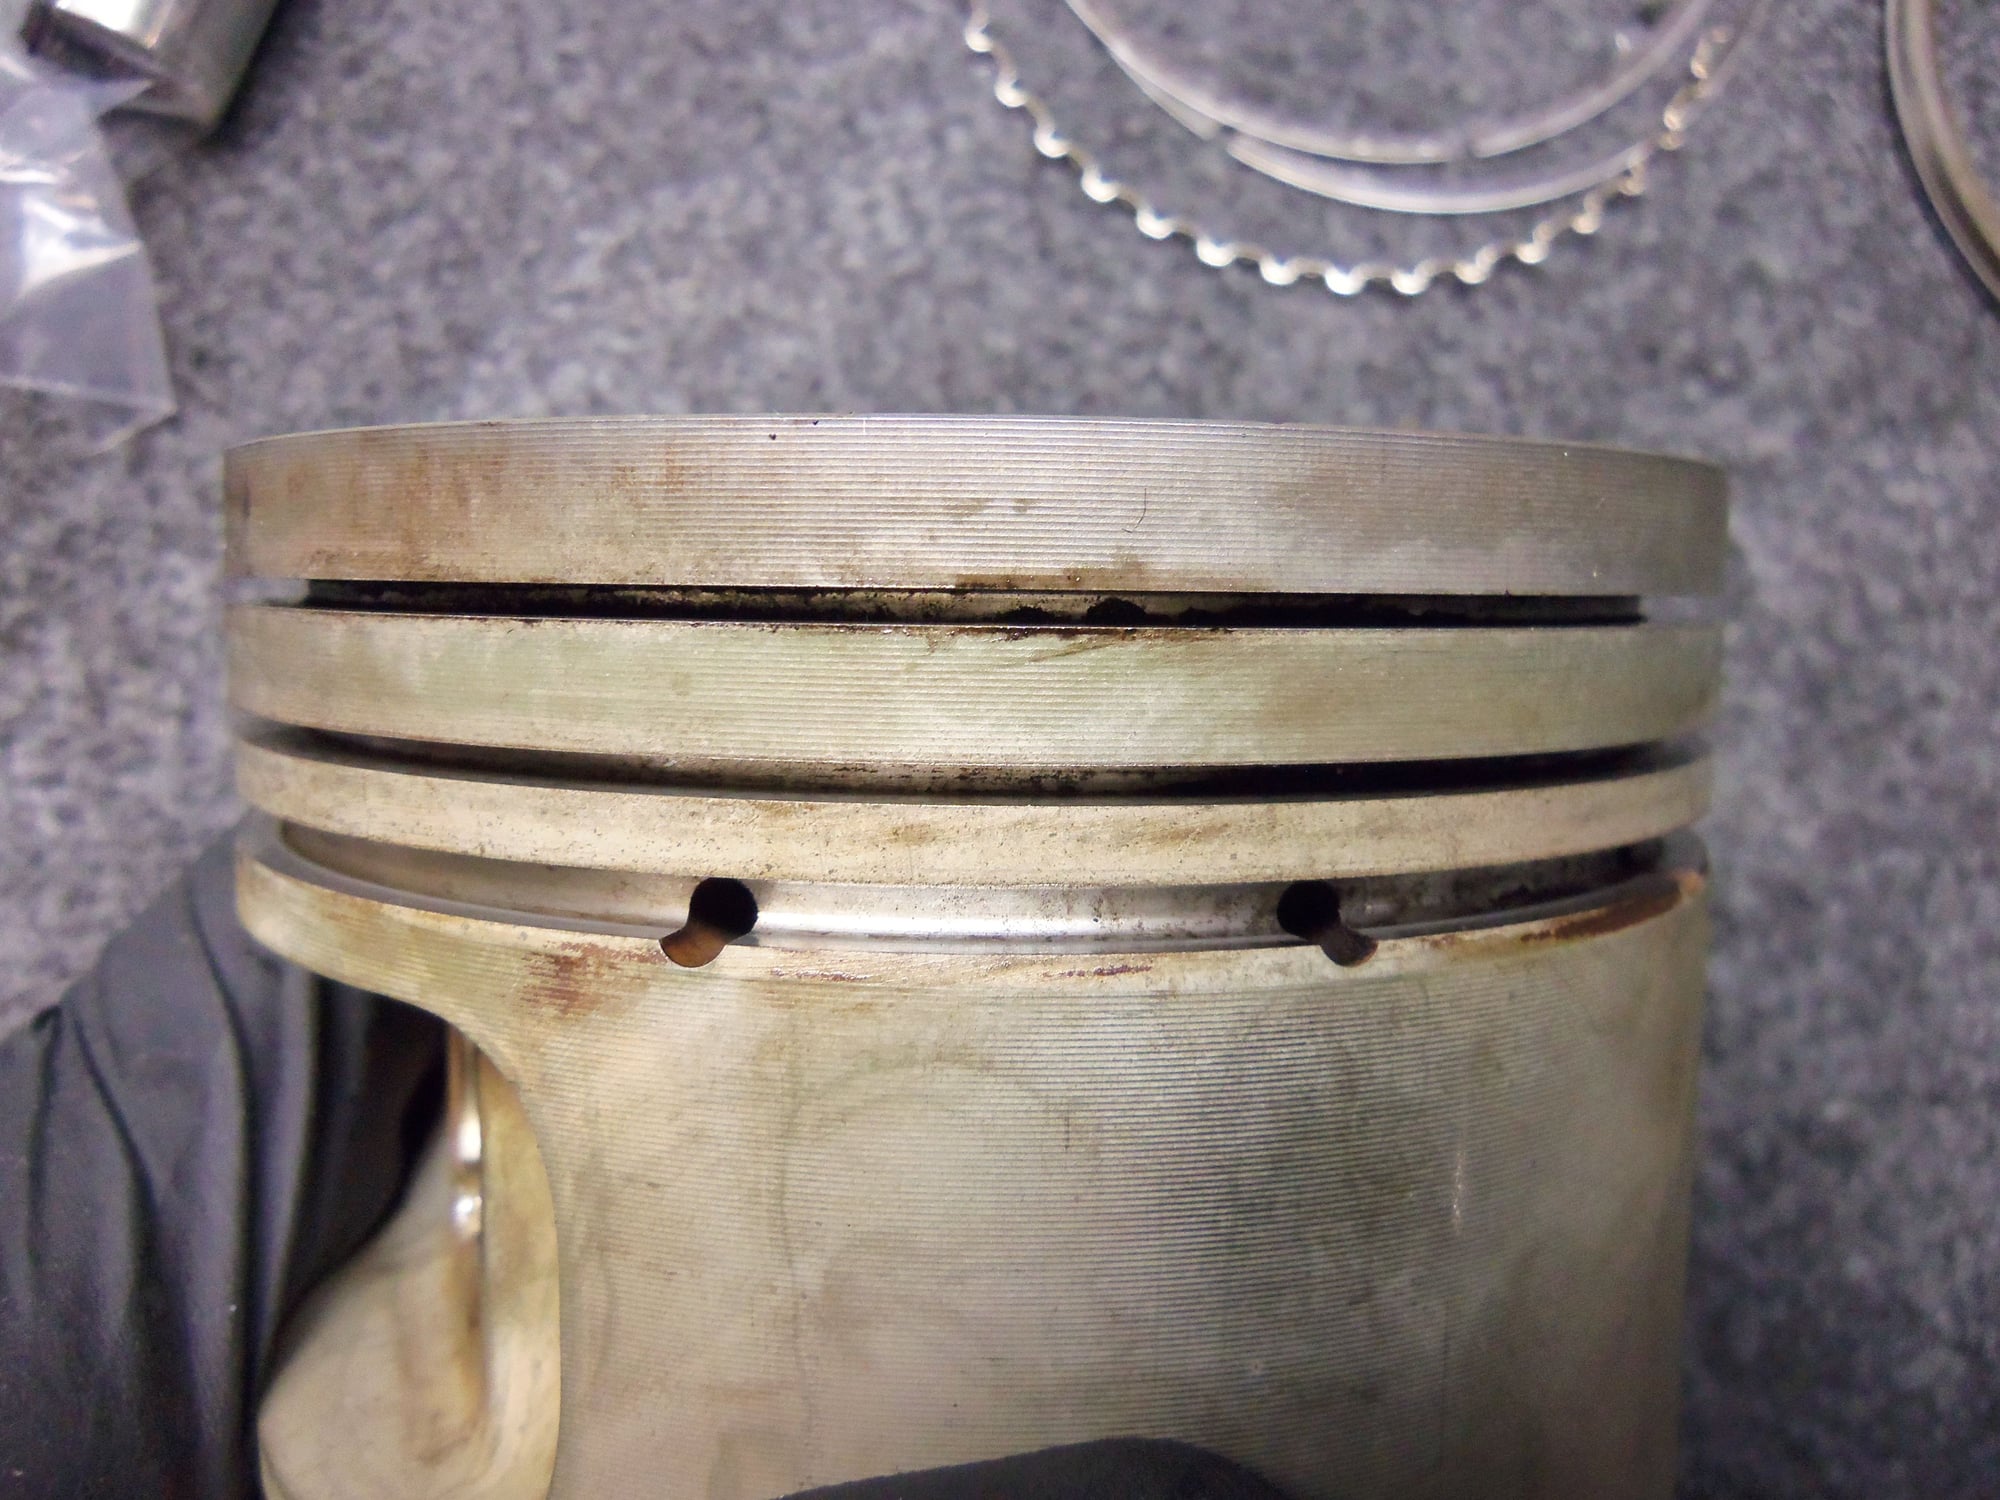
Rings removed, piston hosed off with brake cleaner.
Not too horrible looking, at least to my eye.
Other side.
Side with circlip still installed.
Still dirty.
Not a huge amount of build up on the ring lands and in the grooves.
Definitely not GTS pistons...
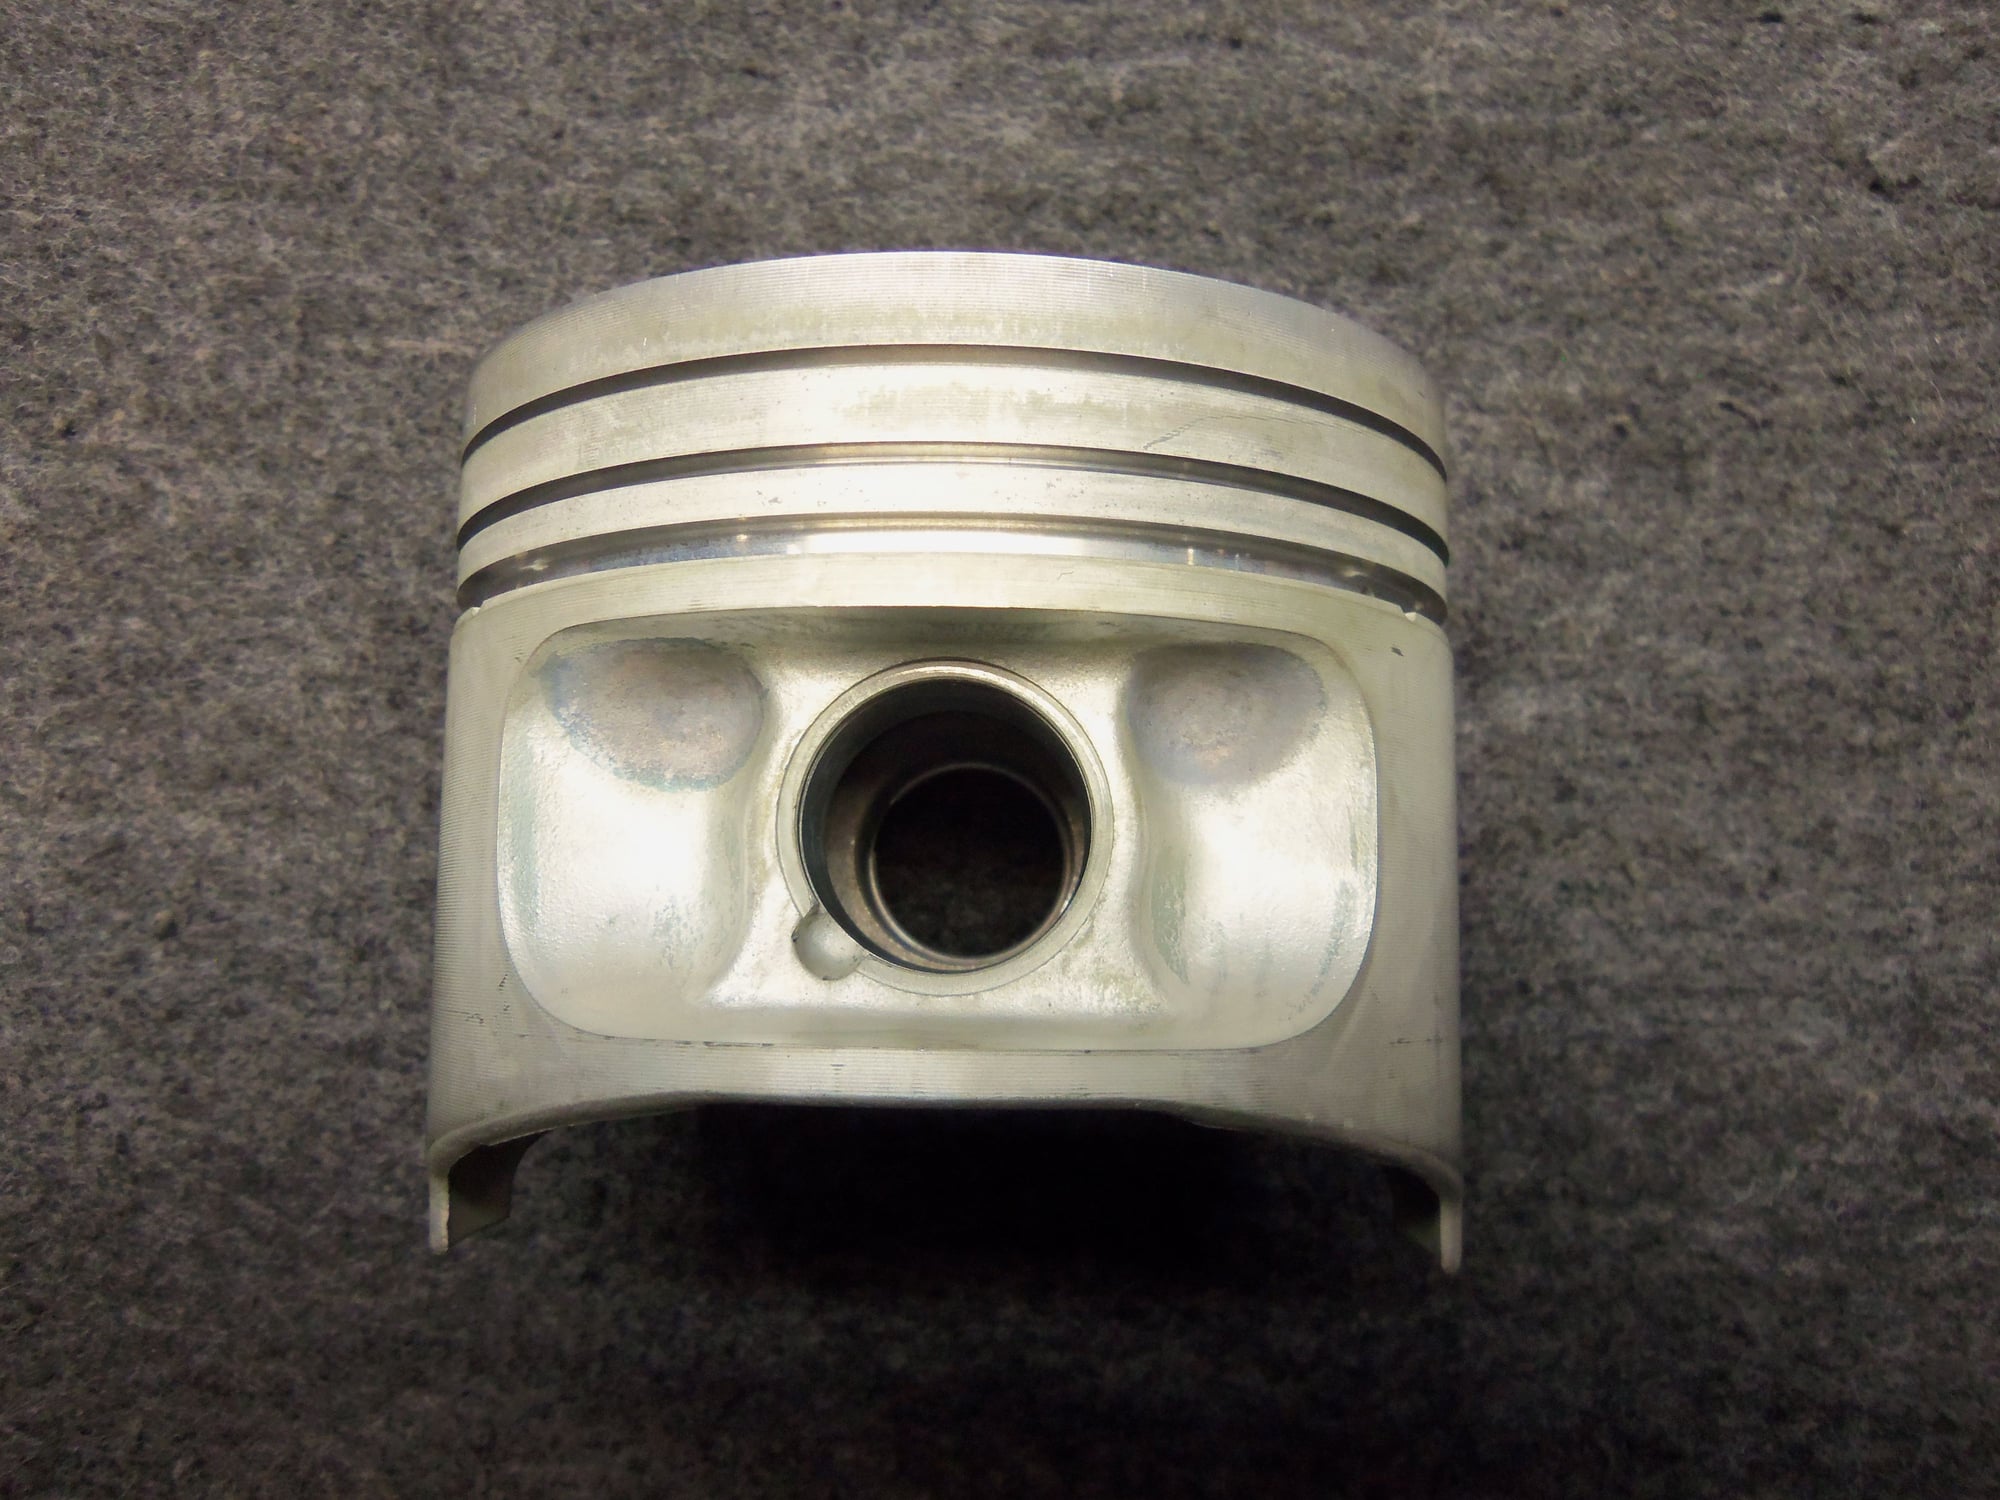
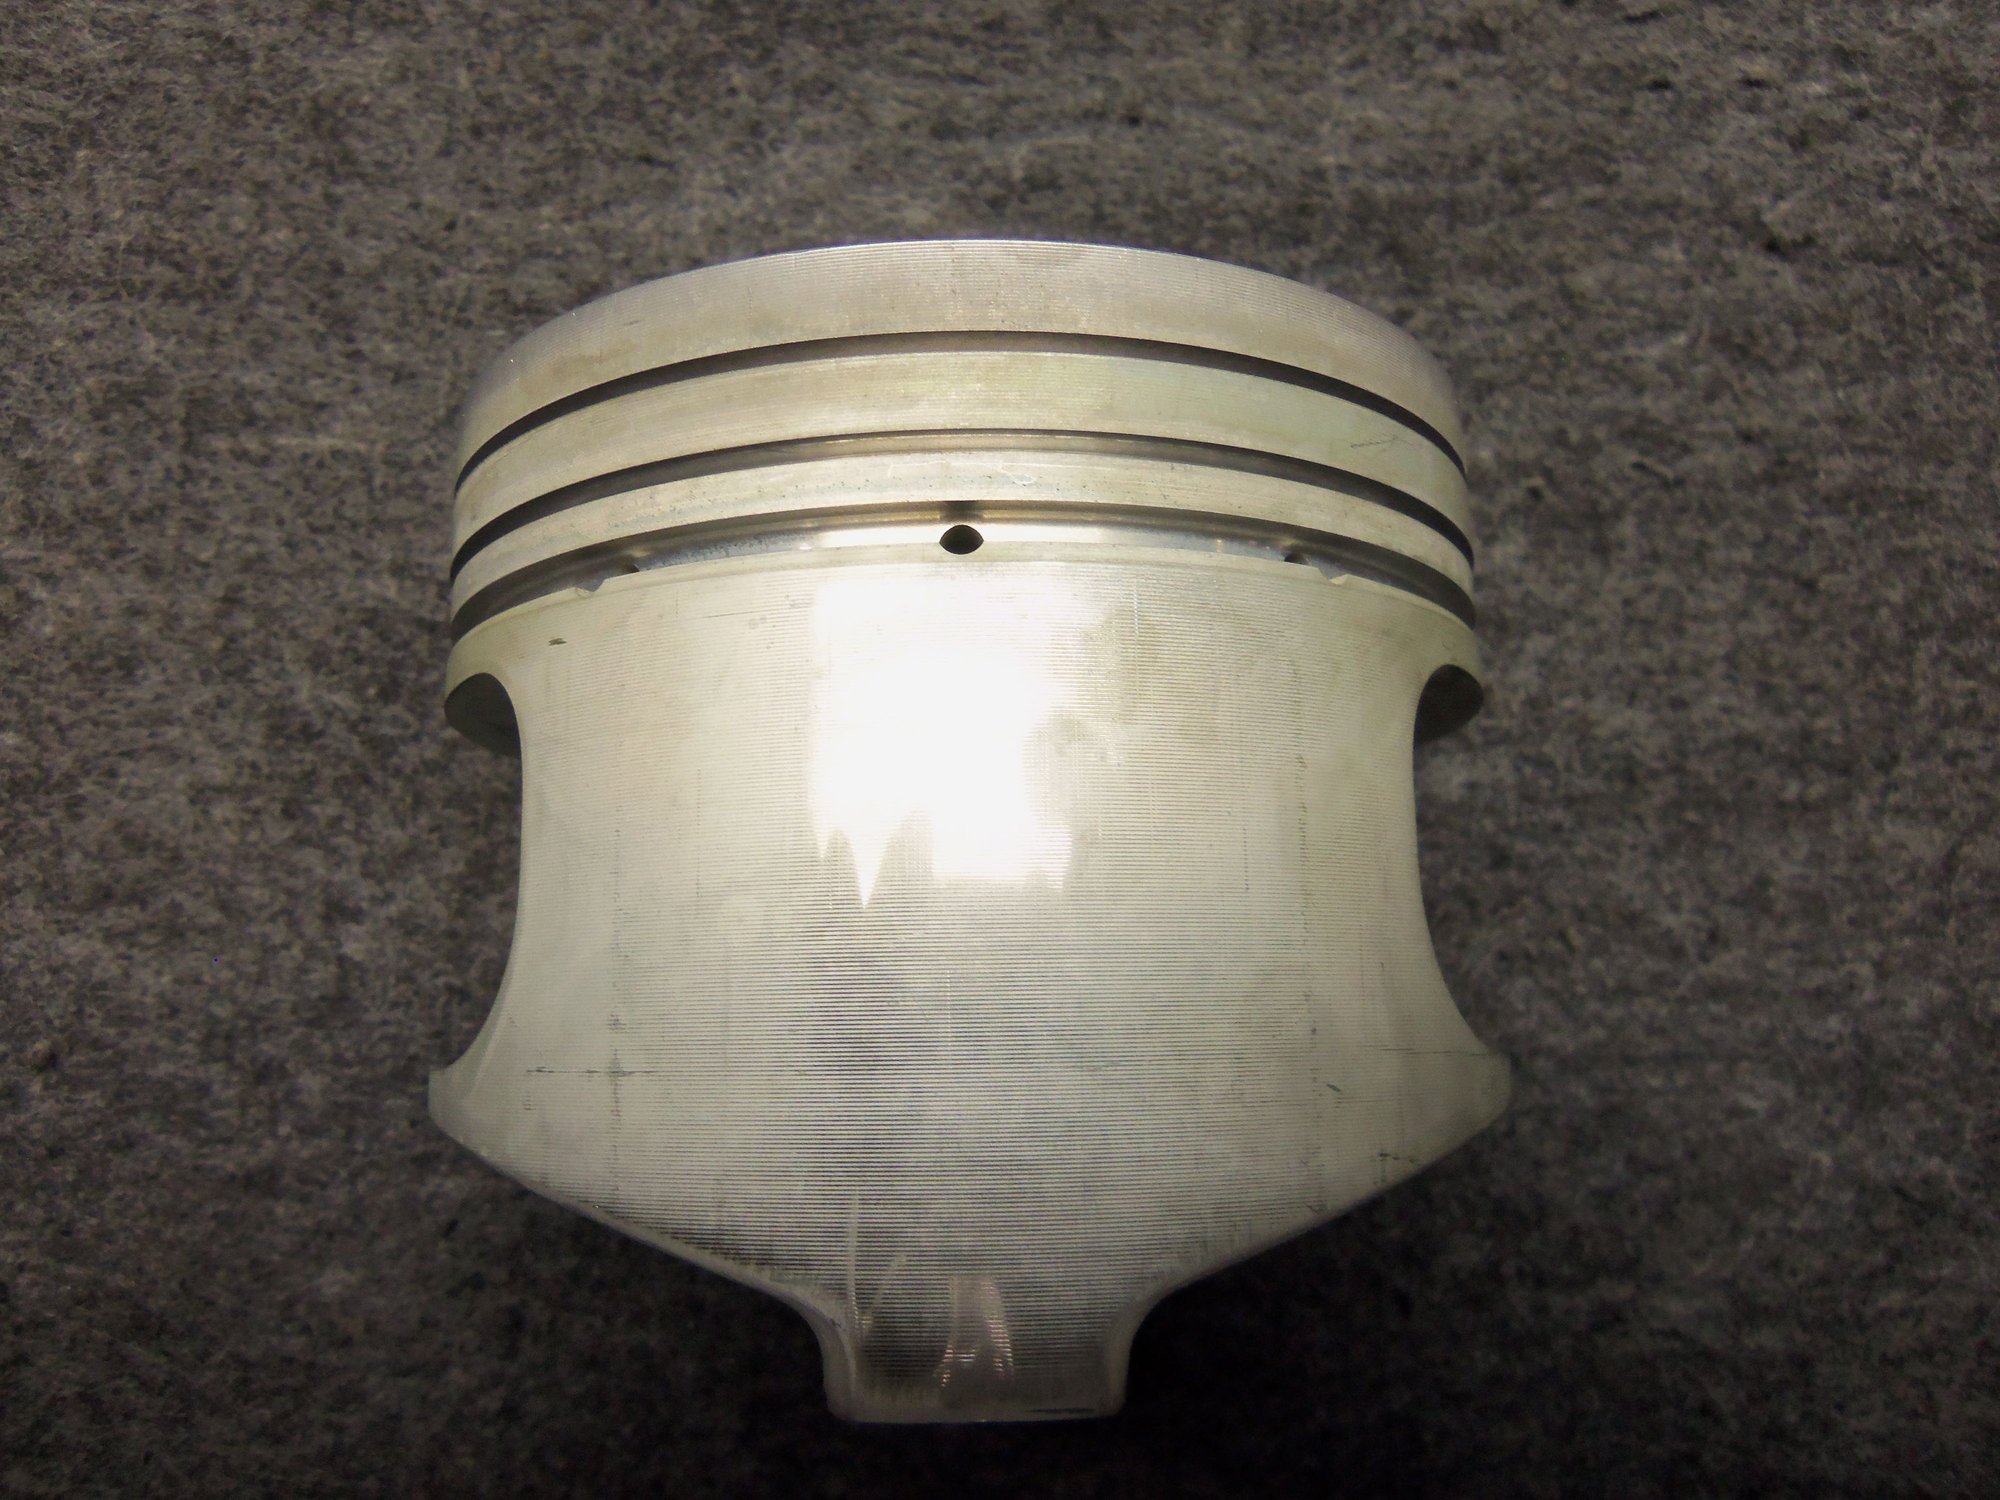
After a bath in the Berryman's.
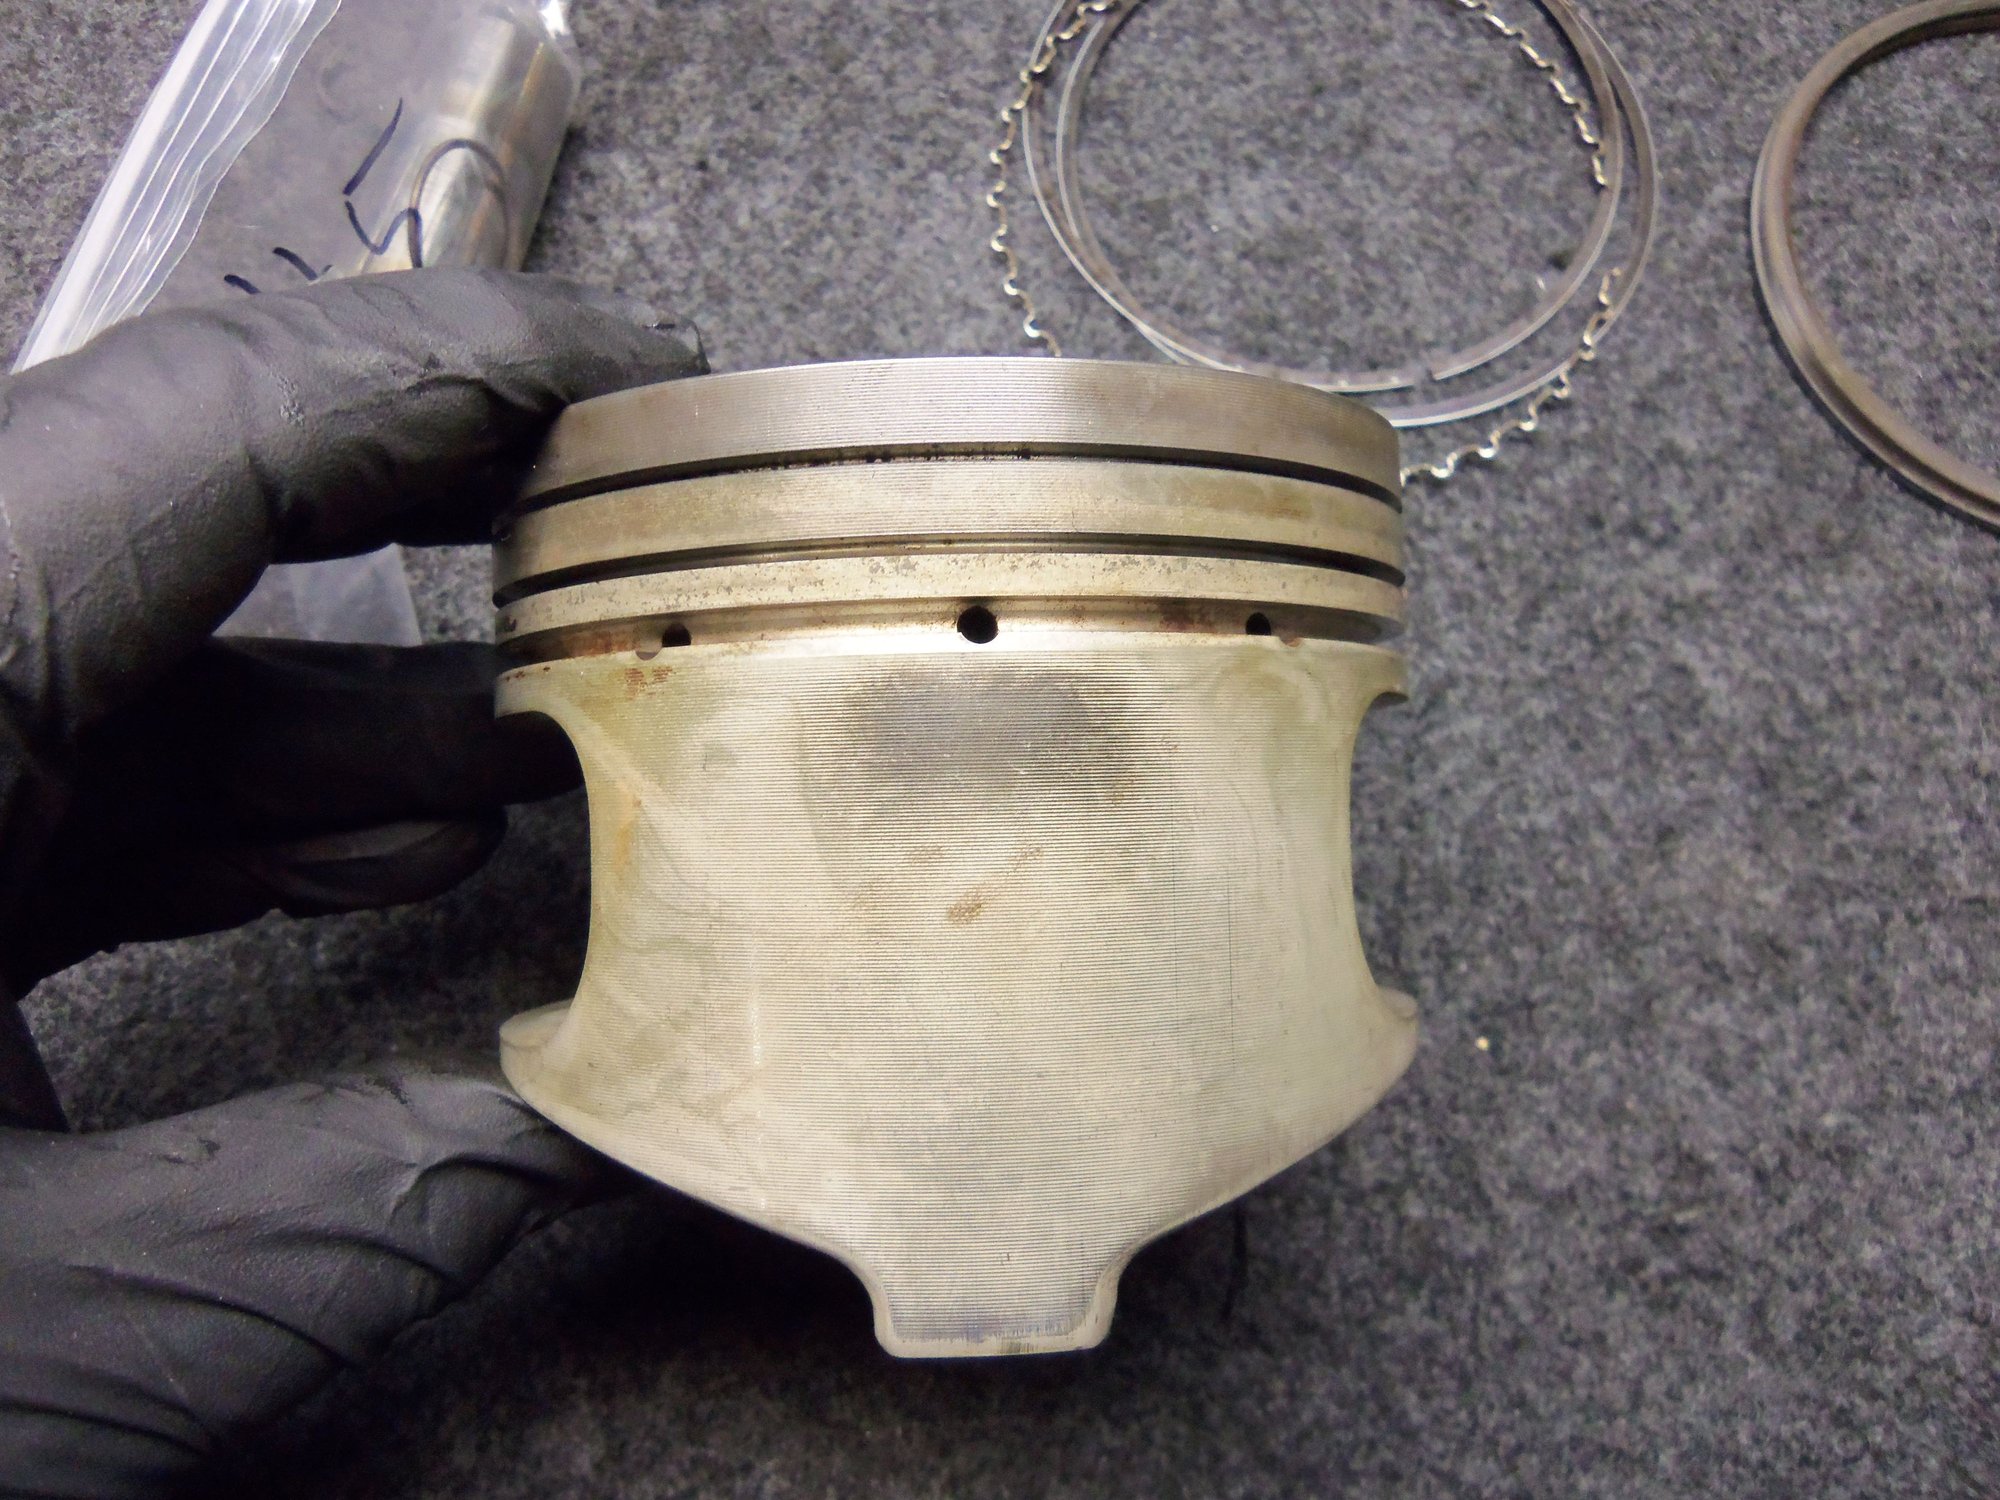
Surprised to see the aluminum is shiny. Concerned that means the iron coating has been worn off.
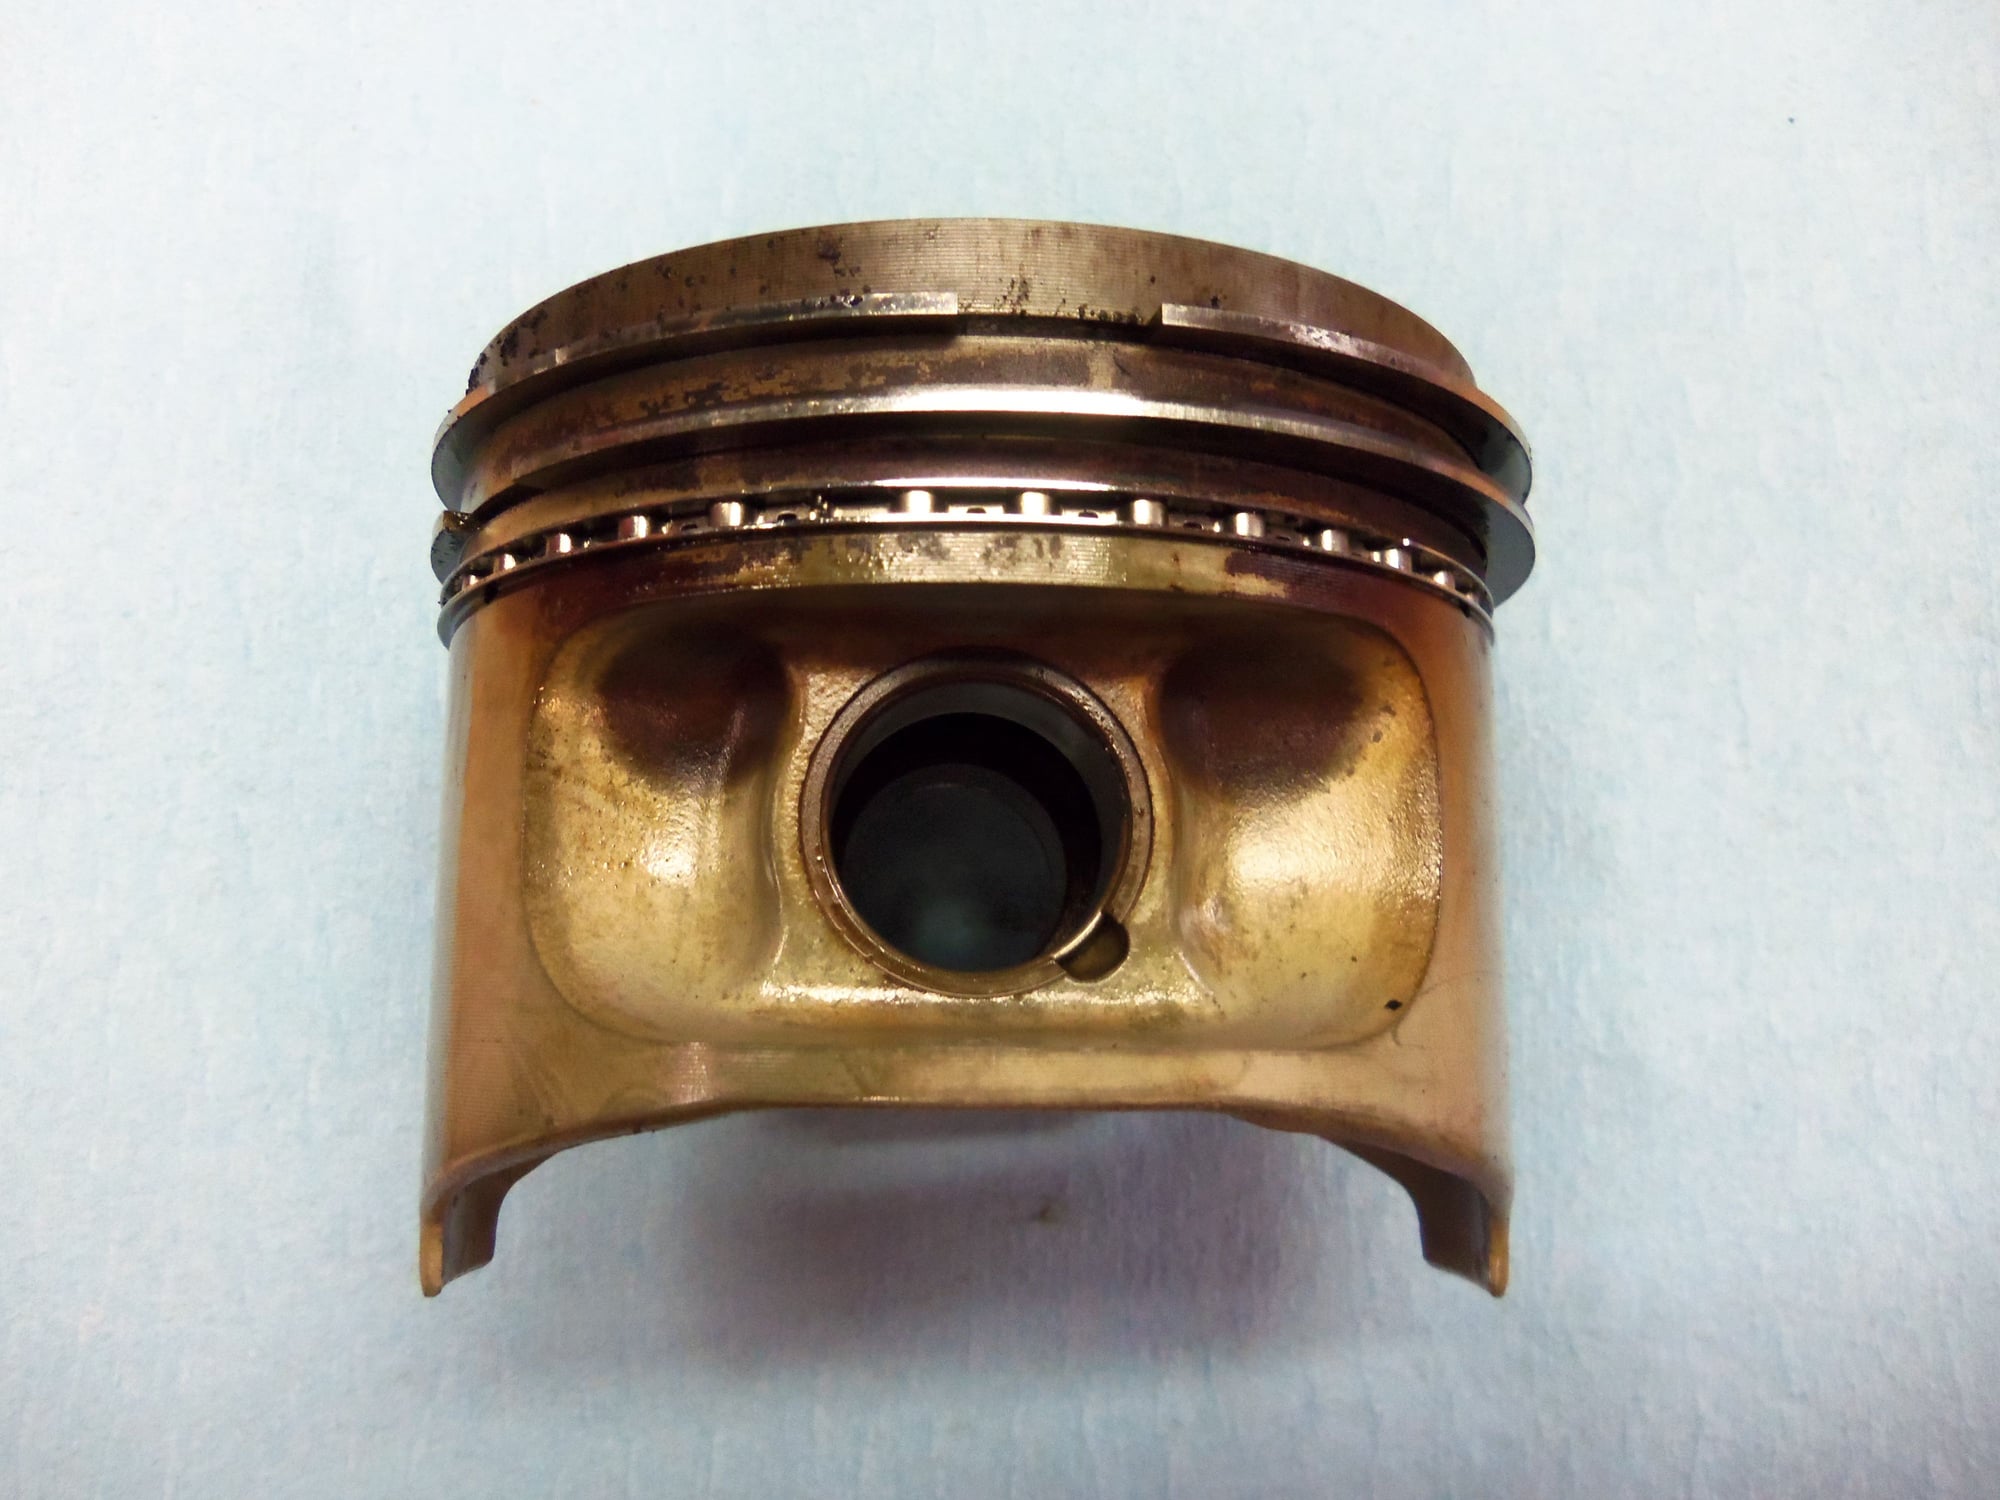
Can see some wear, think this might be the thrust side. Ring lands and grooves are nice and clean.
Circlip is still there.
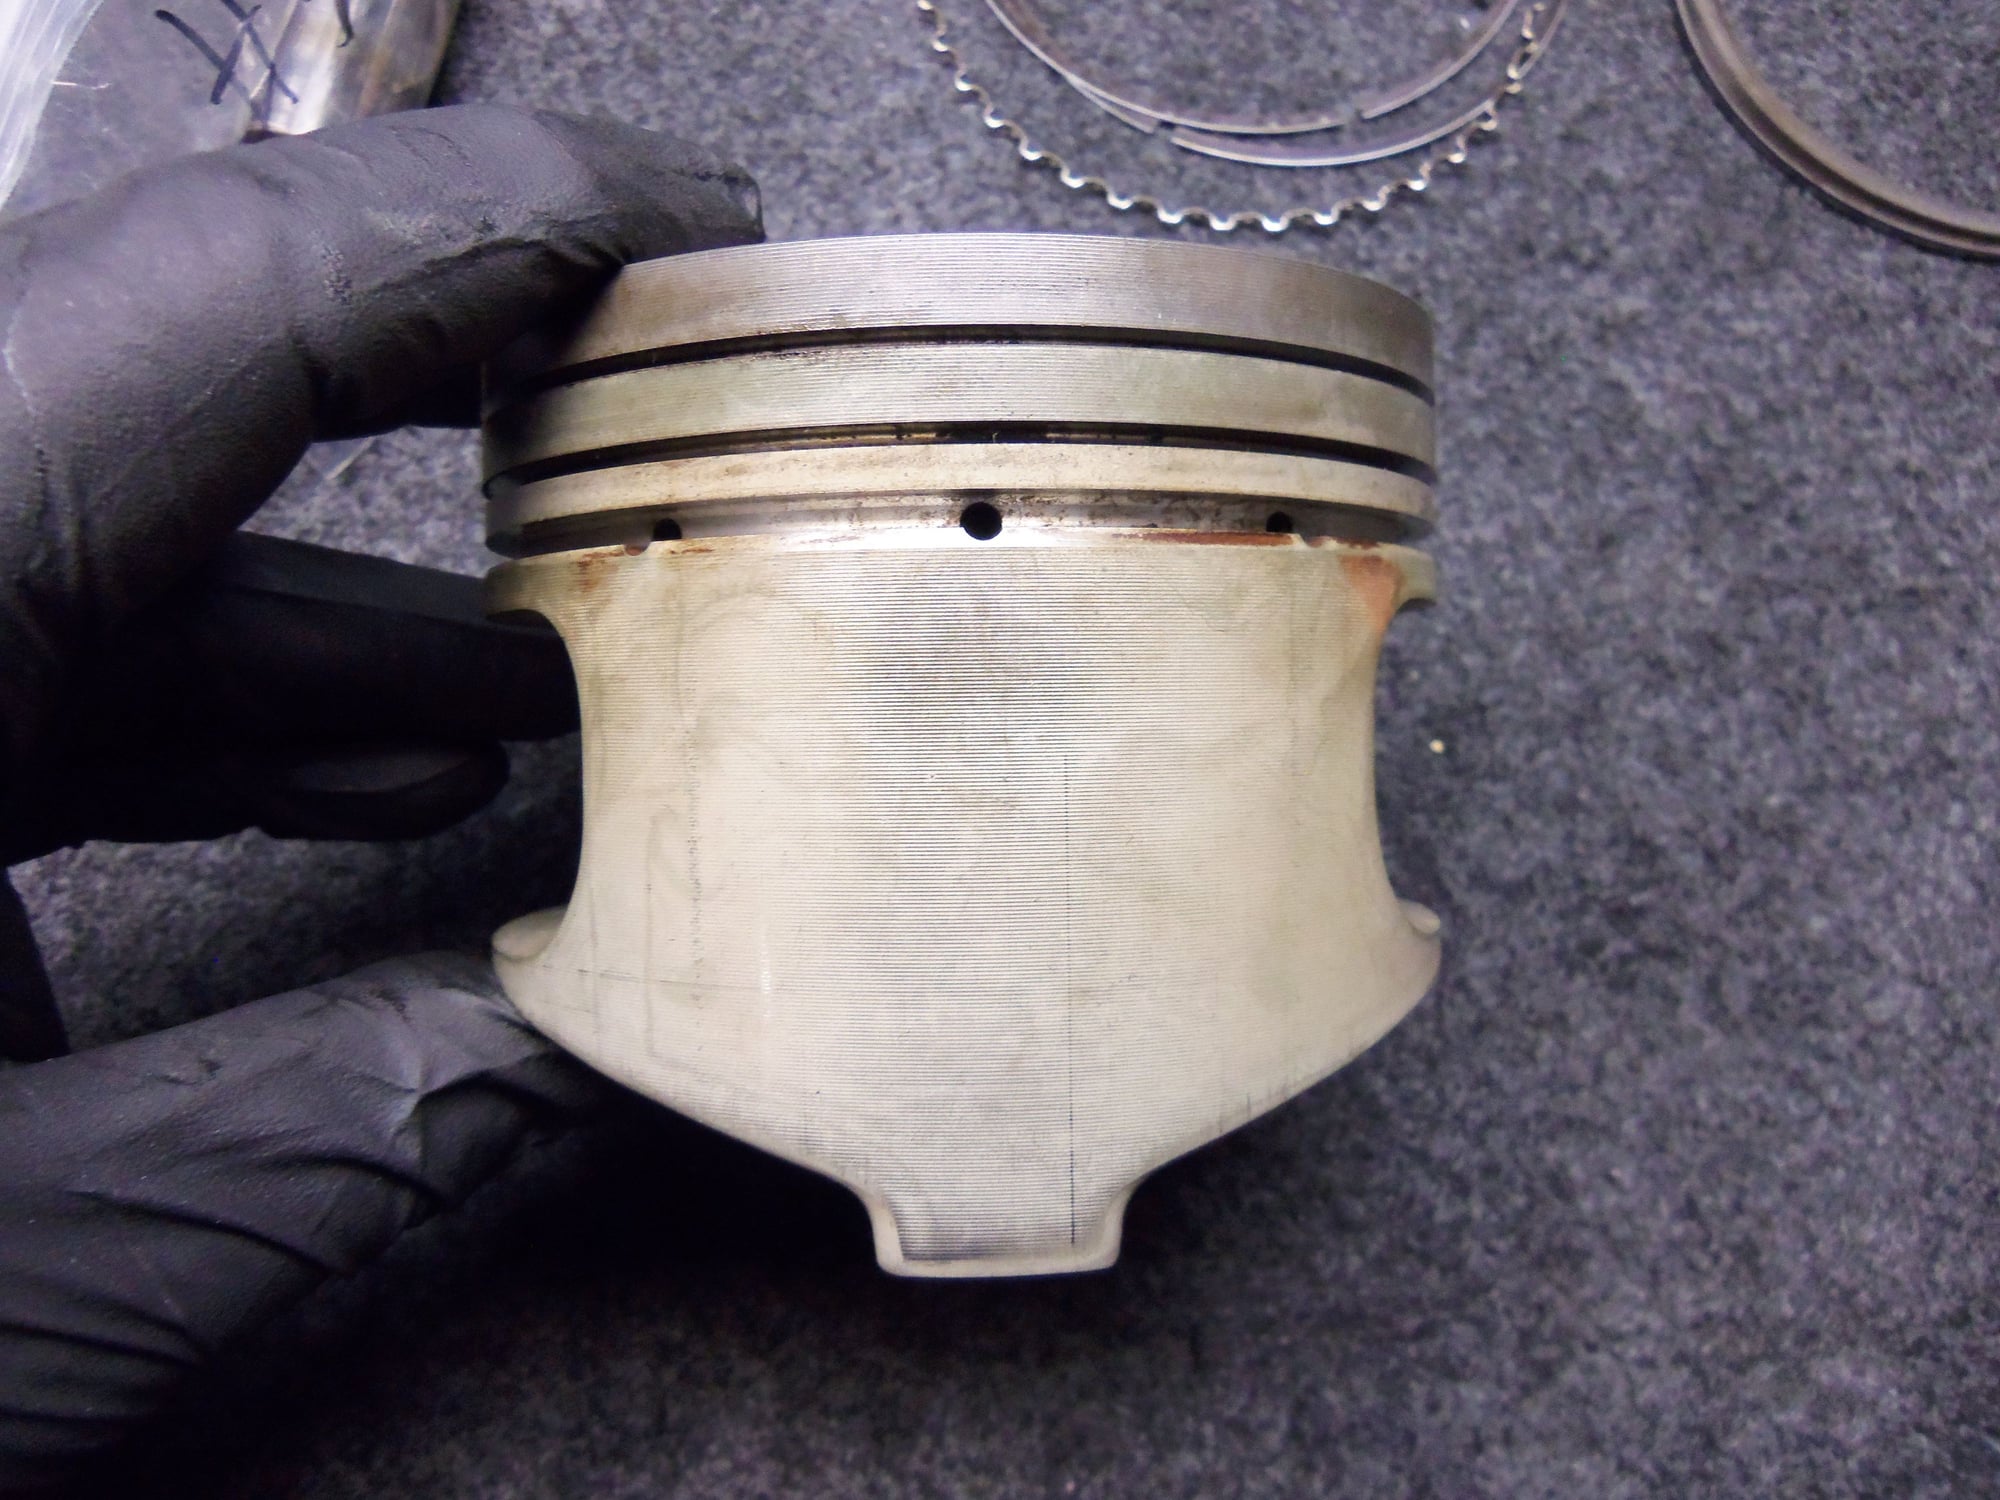
Non thrust side? Also shiny.
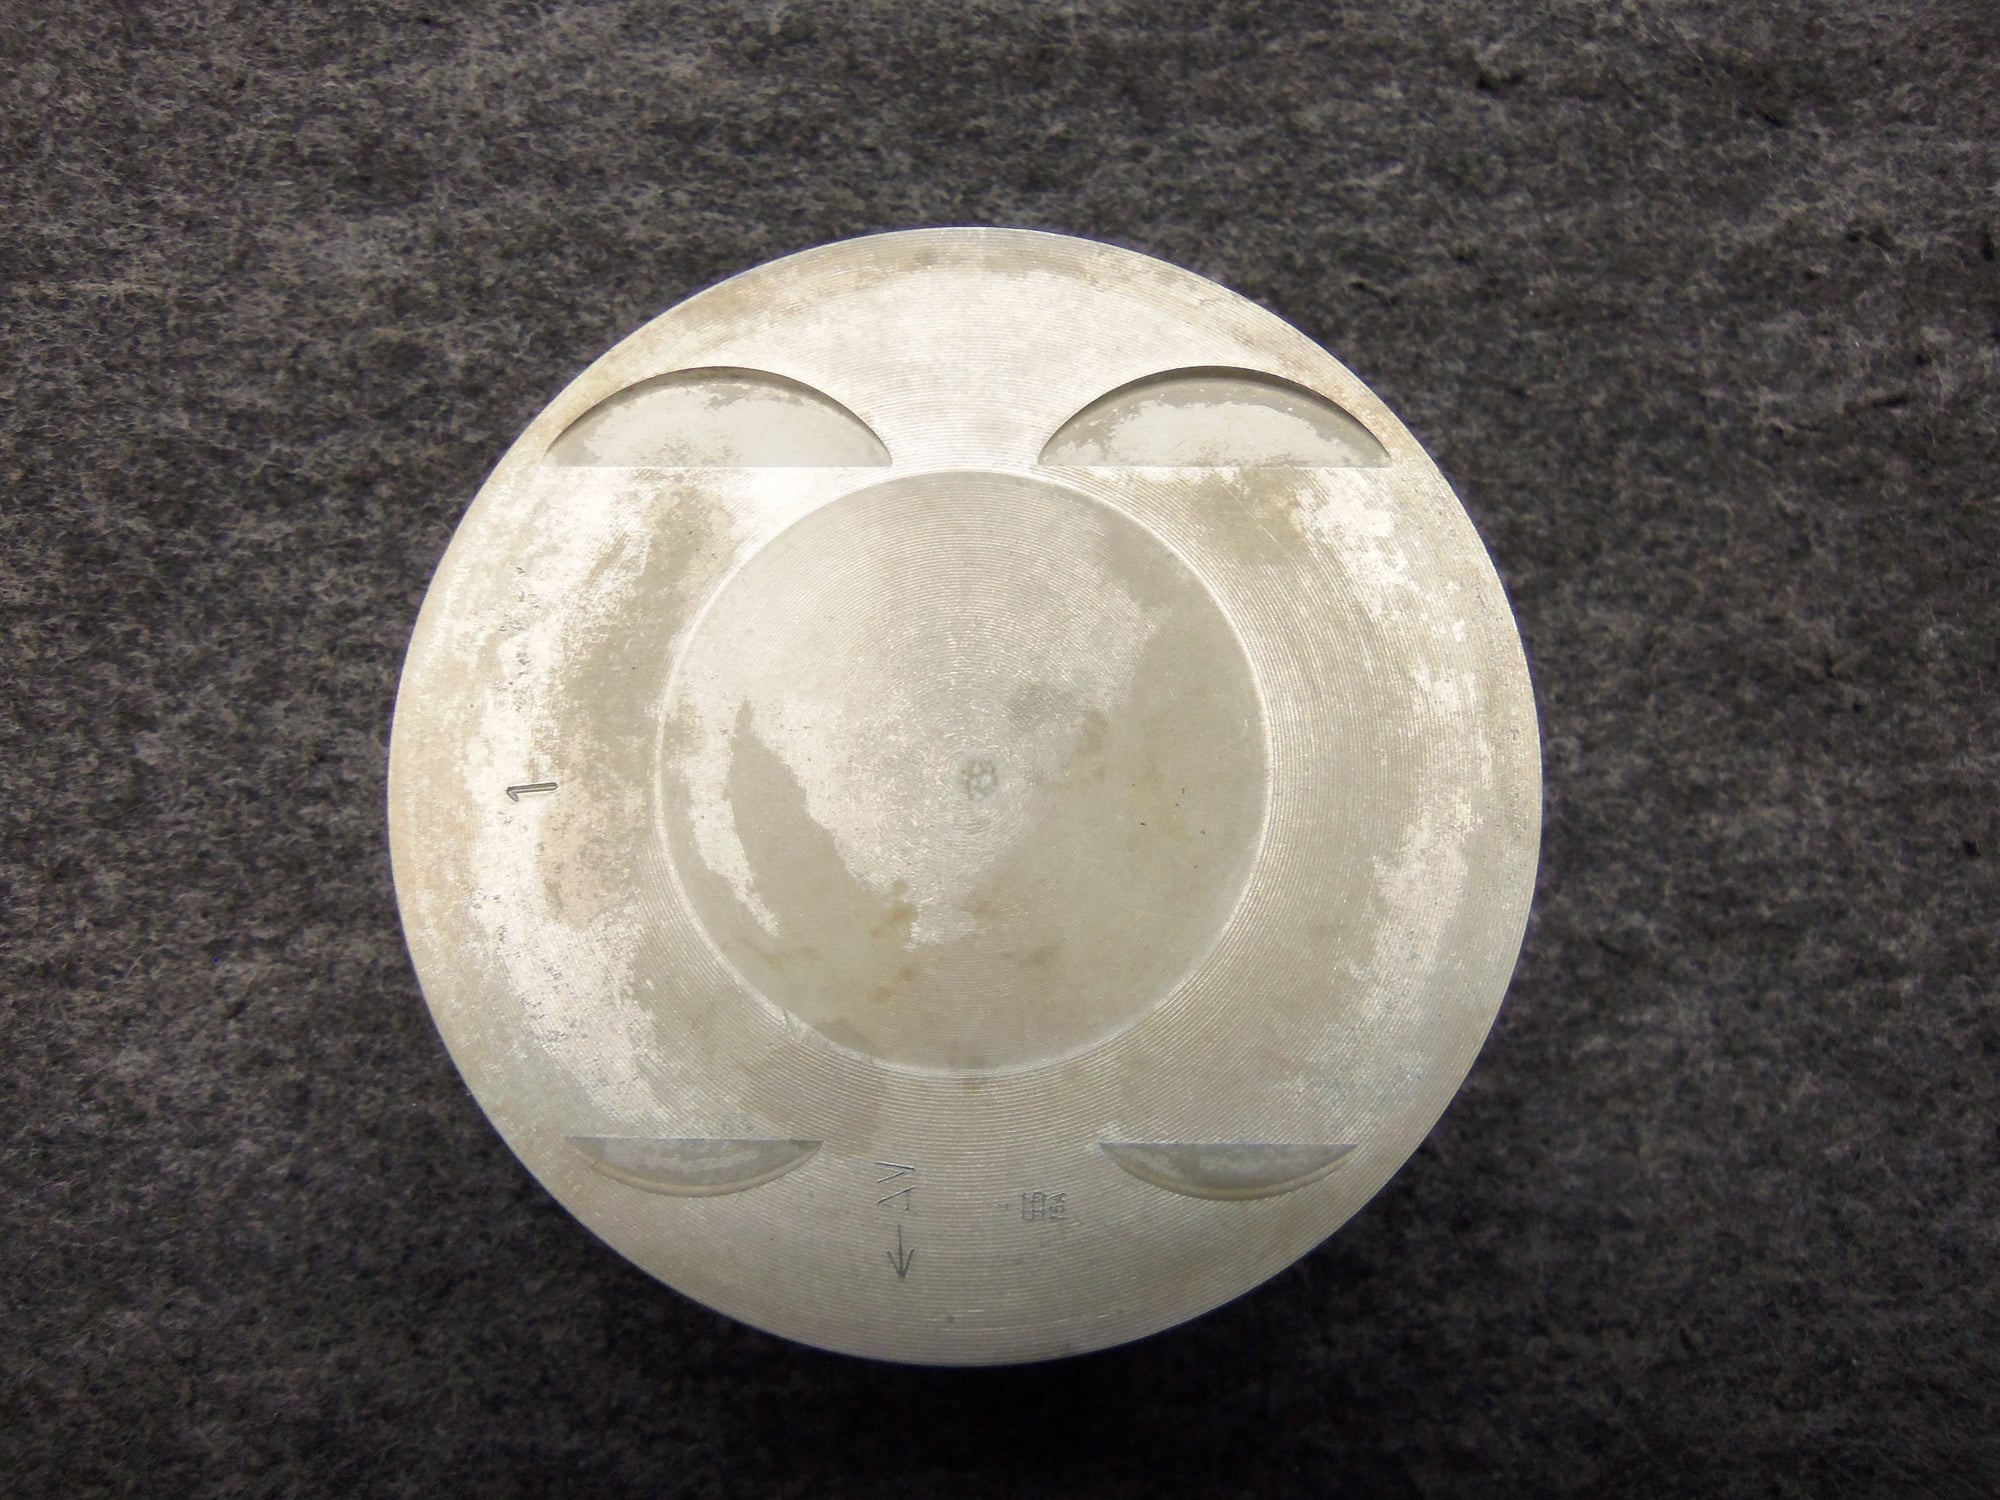
Underside of the crown cleaned up nicely.
Piston crown cleaned up nicely as well.
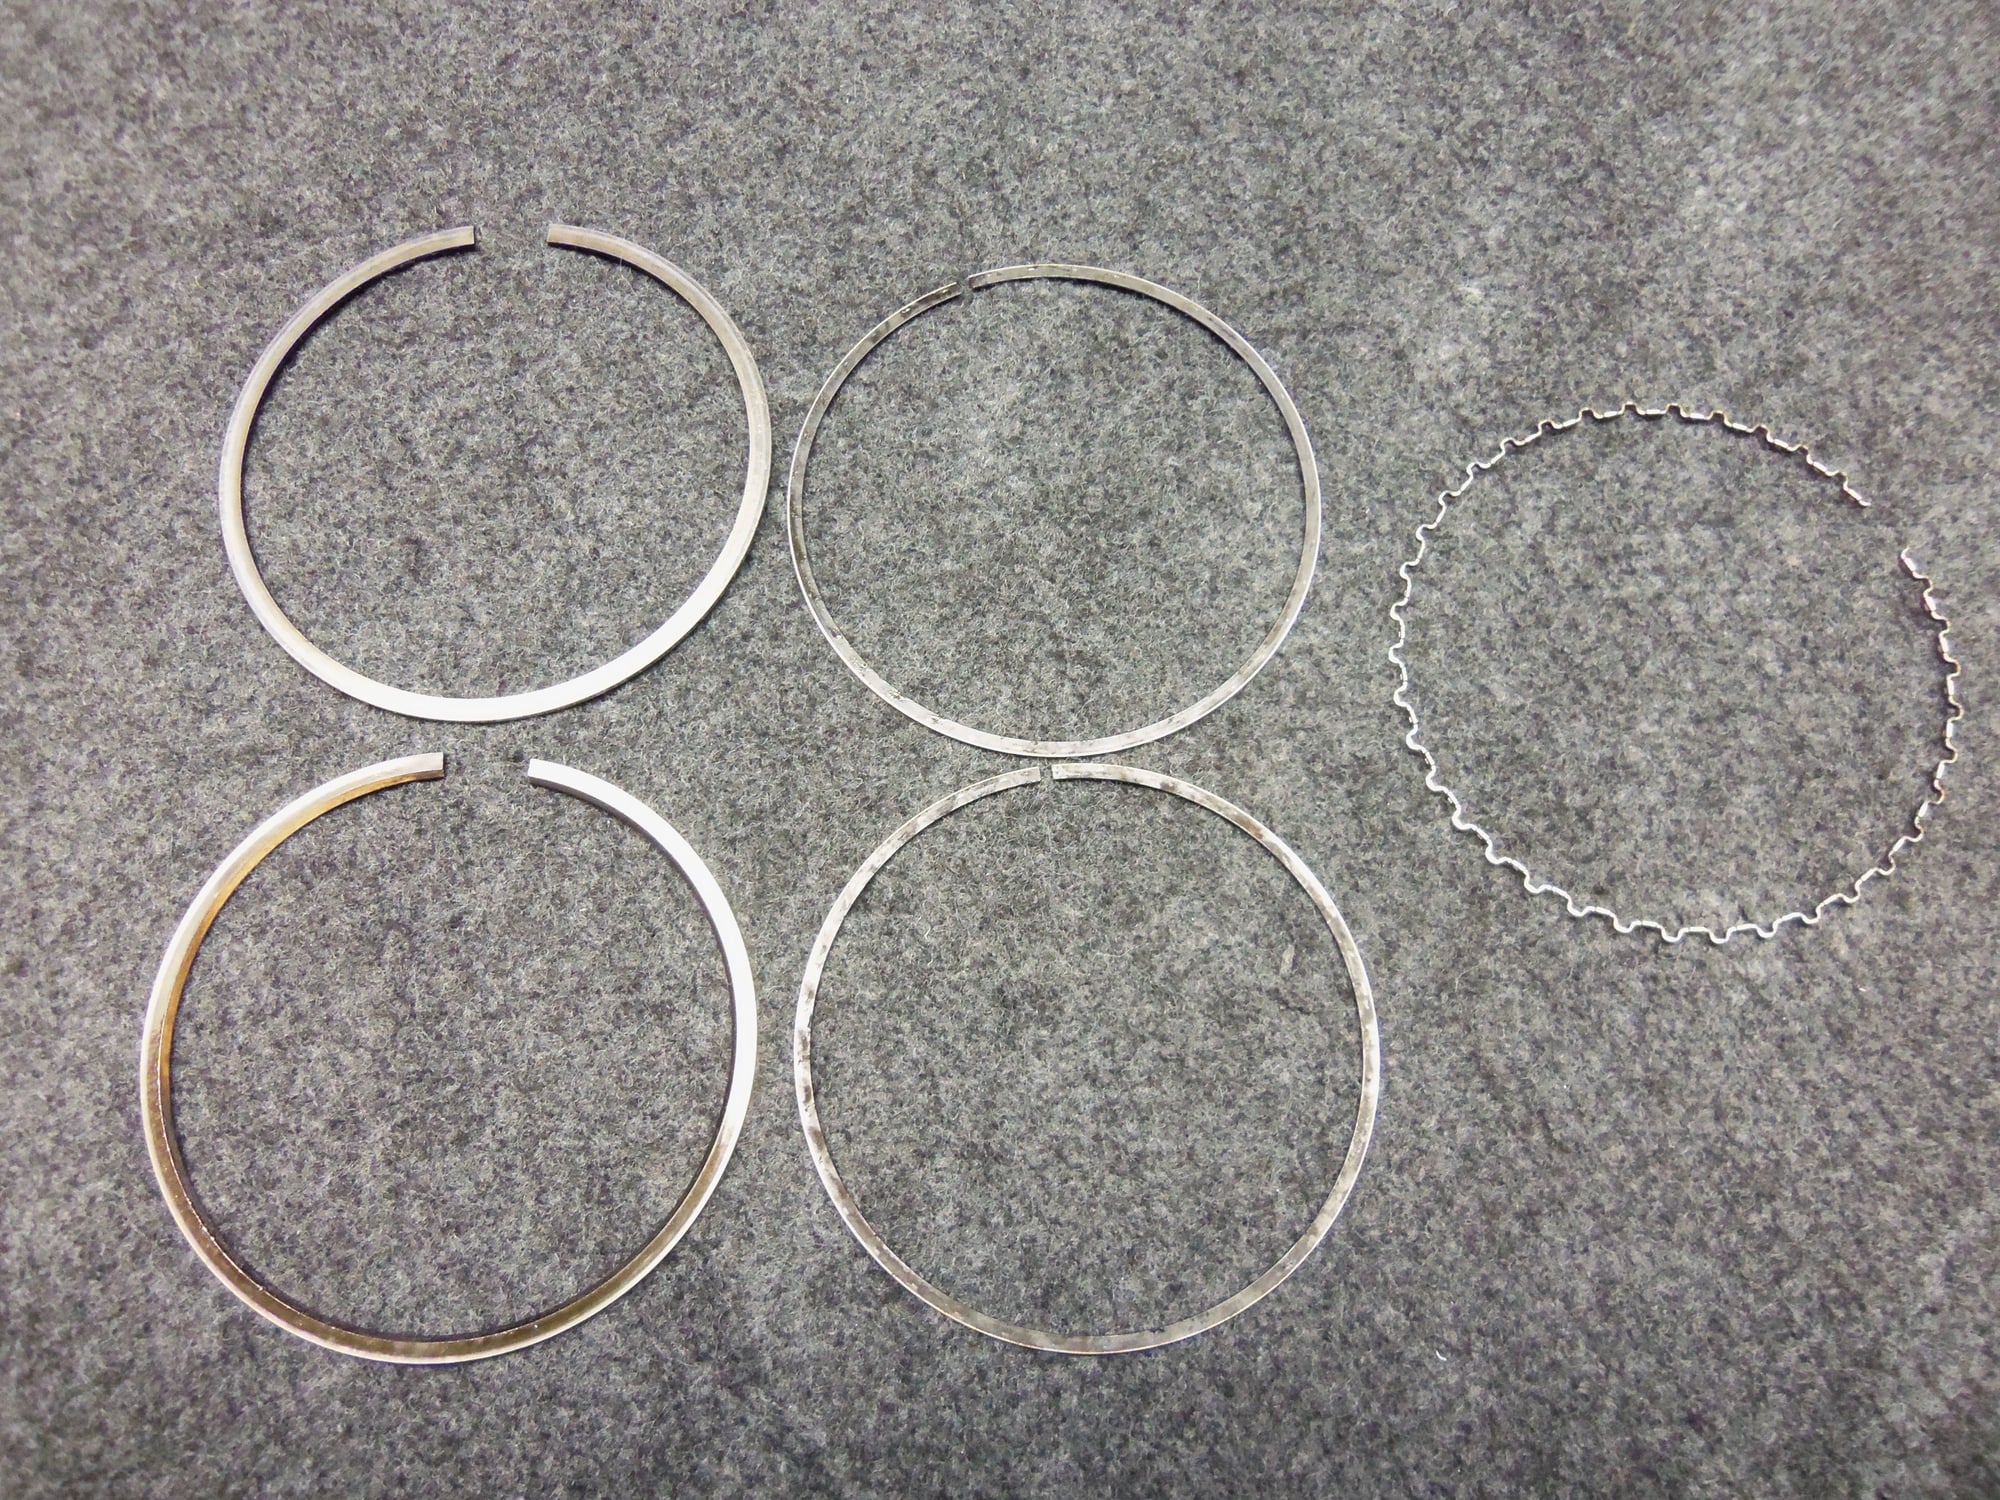
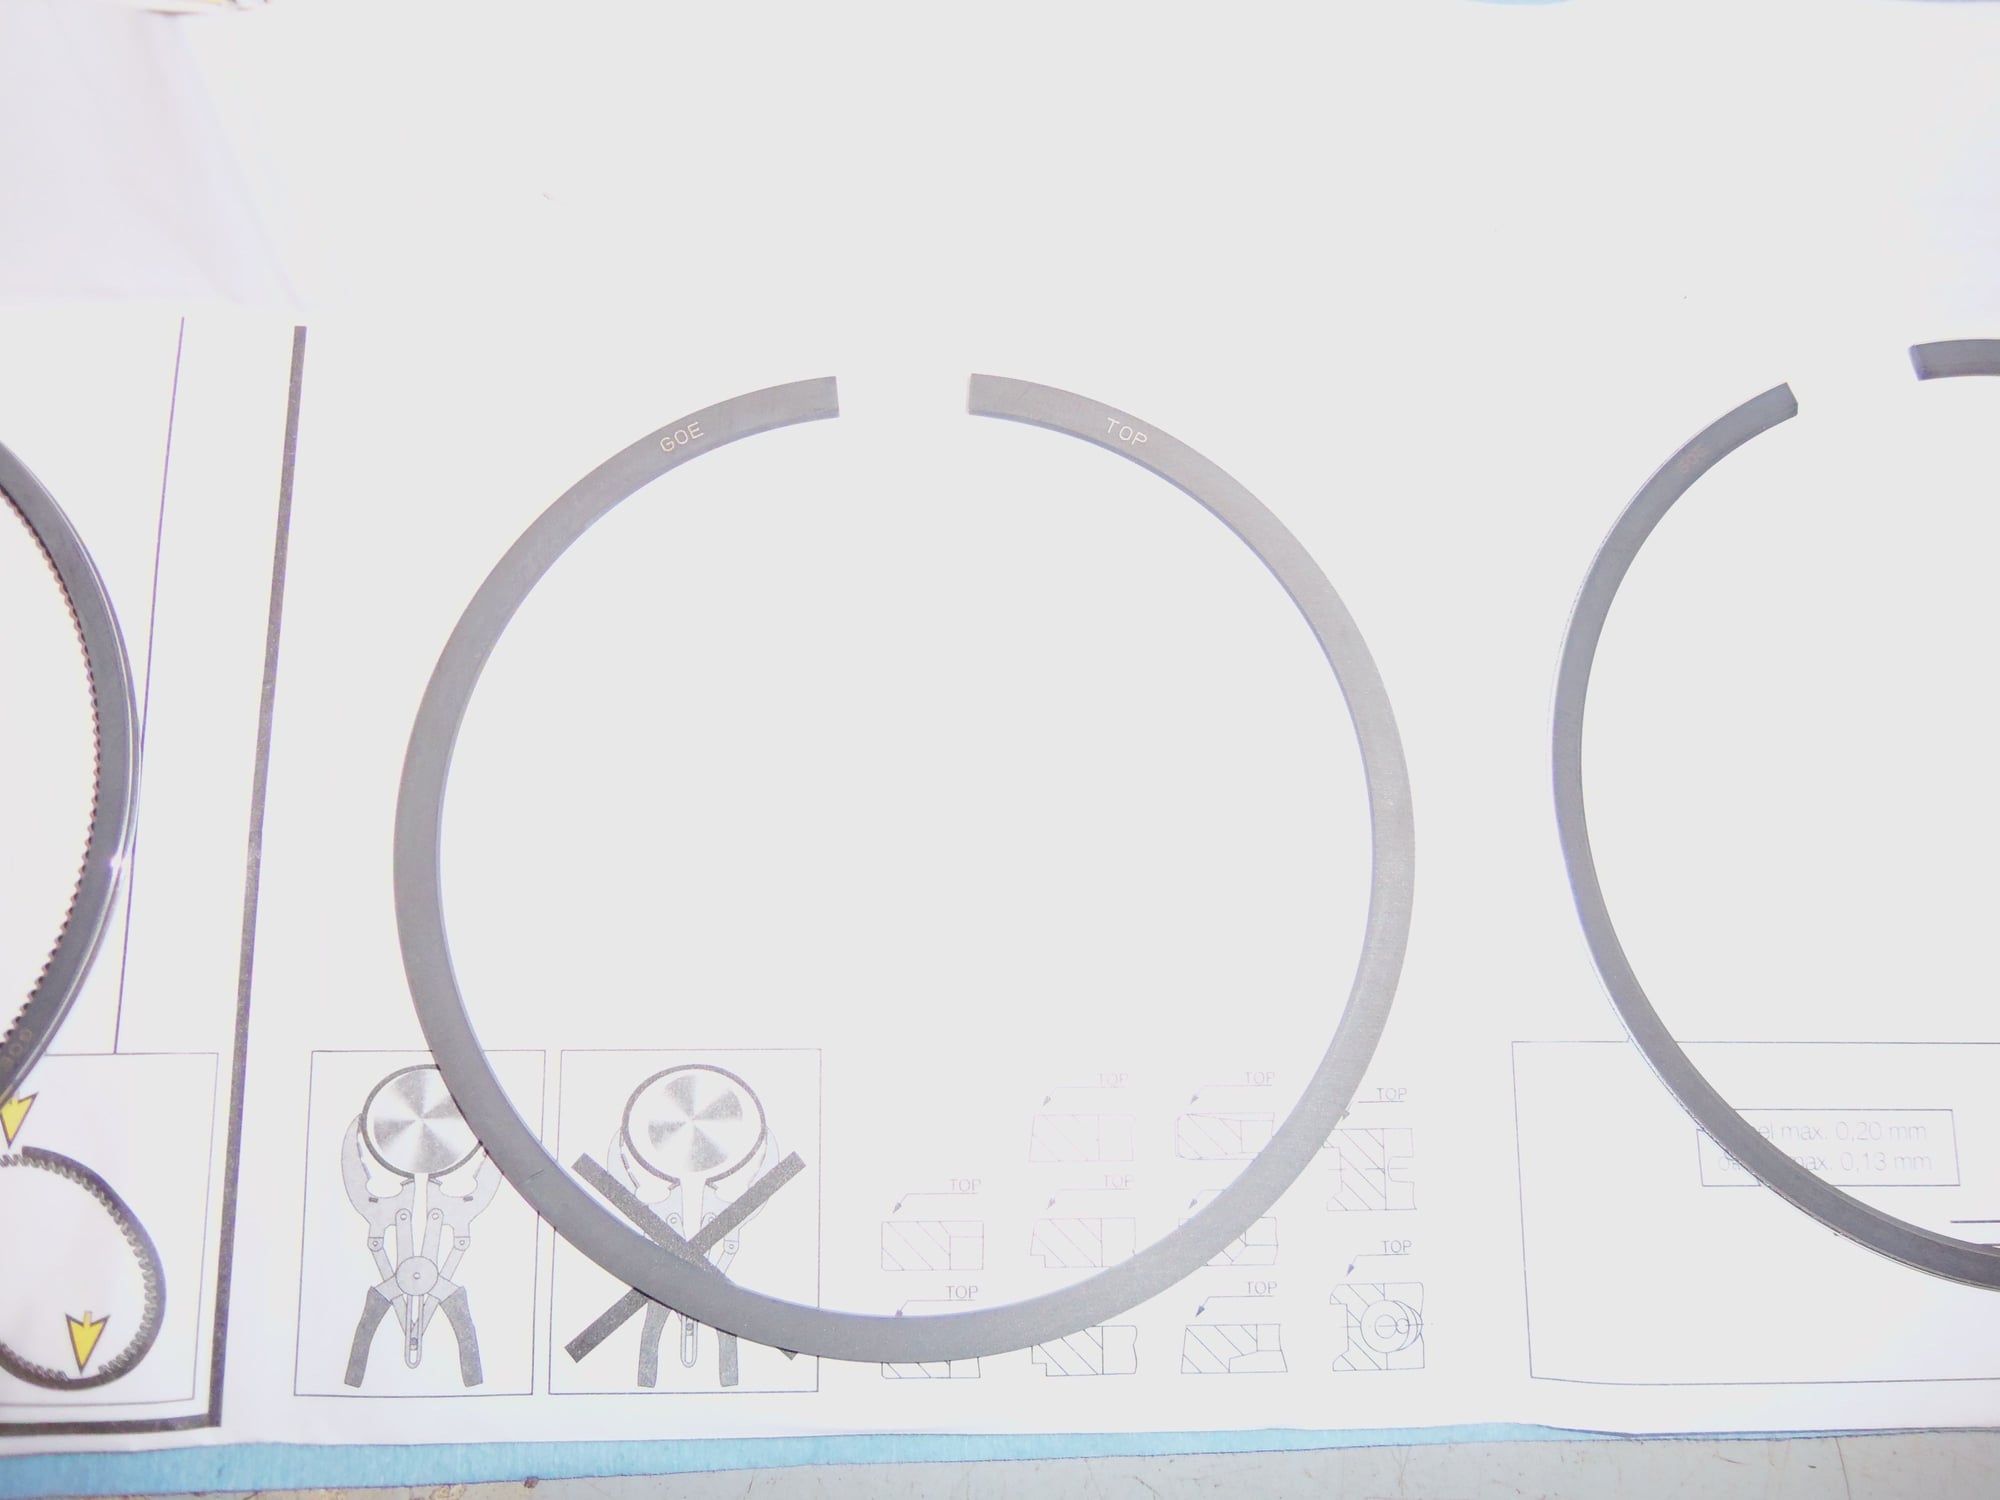
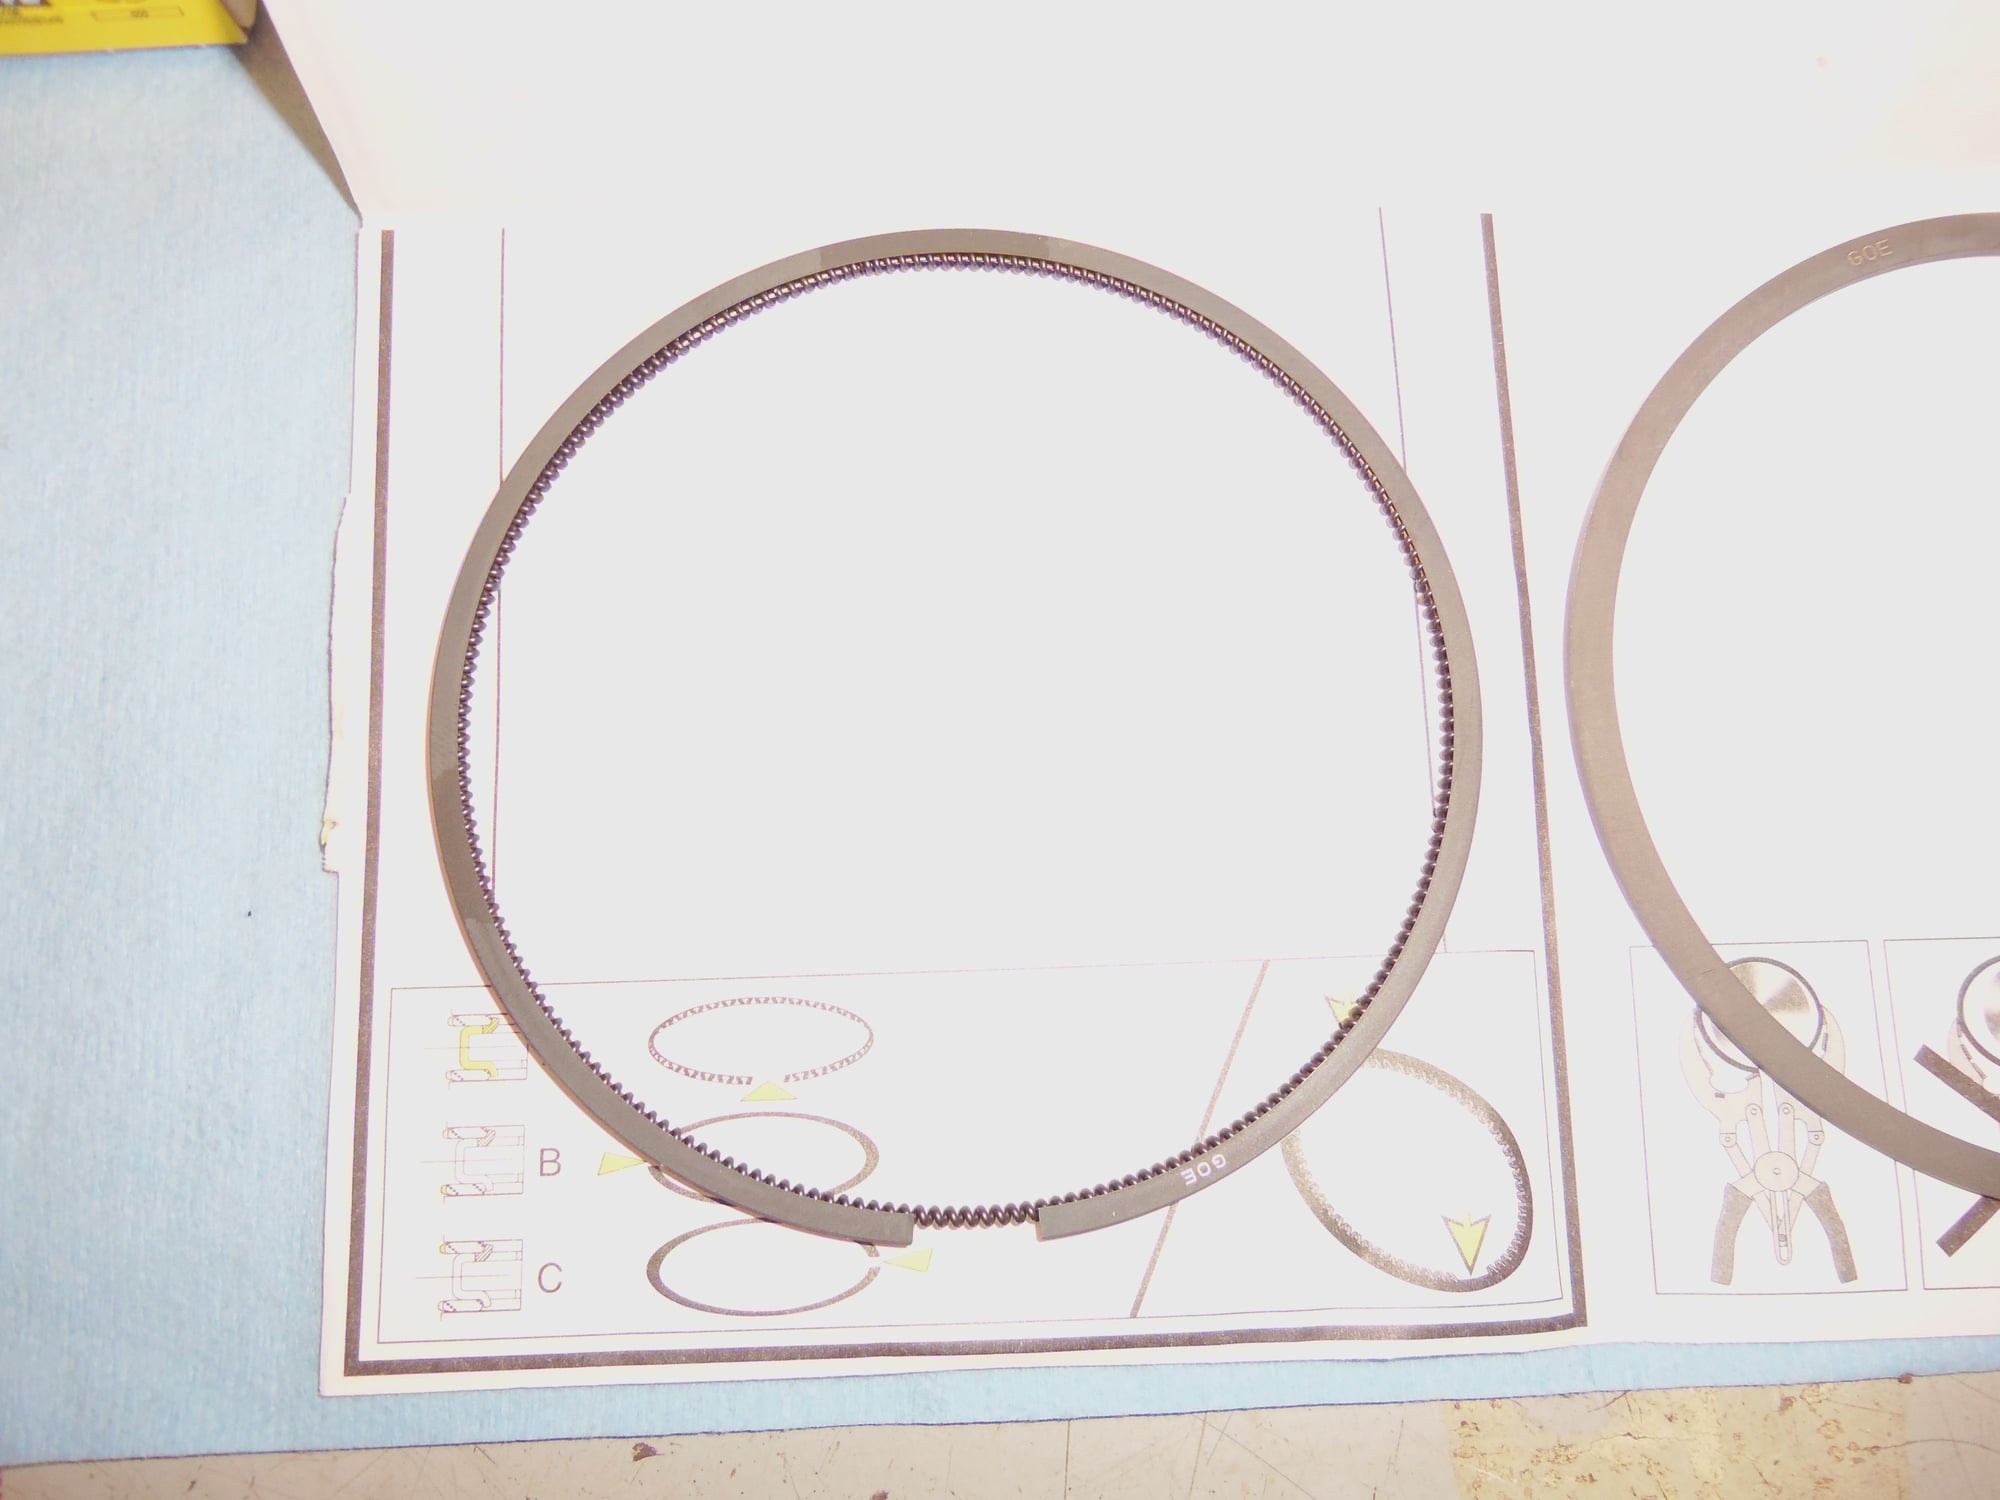
On the subject of rings, I notice the new ones are a little different than the original rings. Especially in regards to the oil control rings. The original were three piece, two thin rings and an expander. The new oil control rings are once piece, with a spring inside. I am reminded of the oil control rings on the air cooled small engines I play with.
Original rings: top left top compression ring, bottom left second compression ring, middle two thin oil control rings, right oil control rings expander.
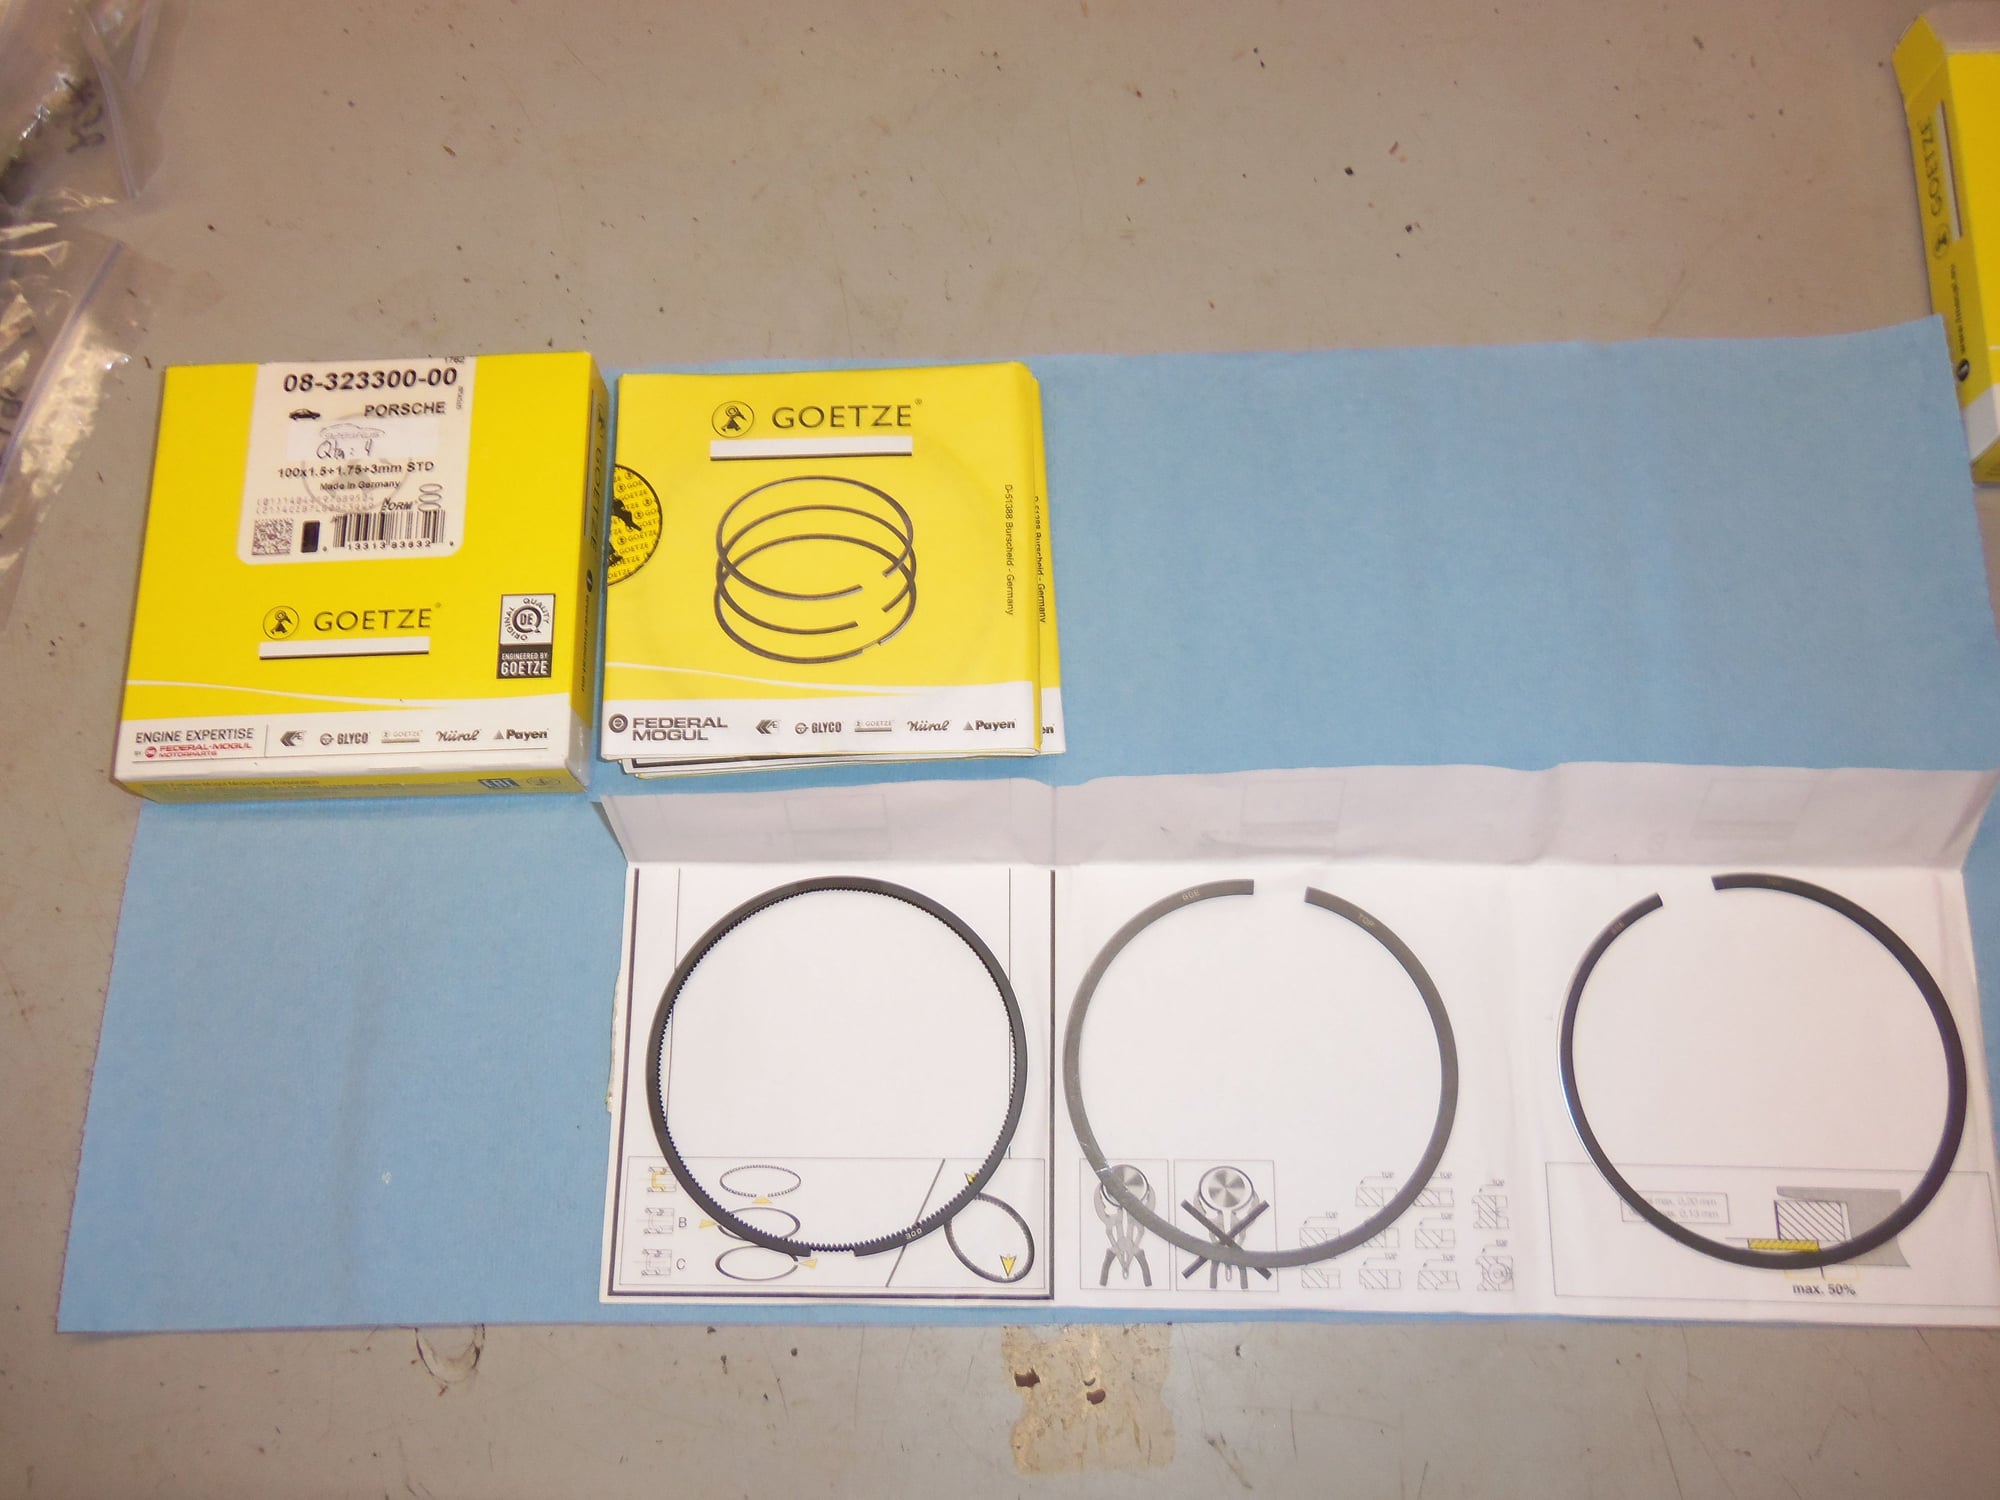
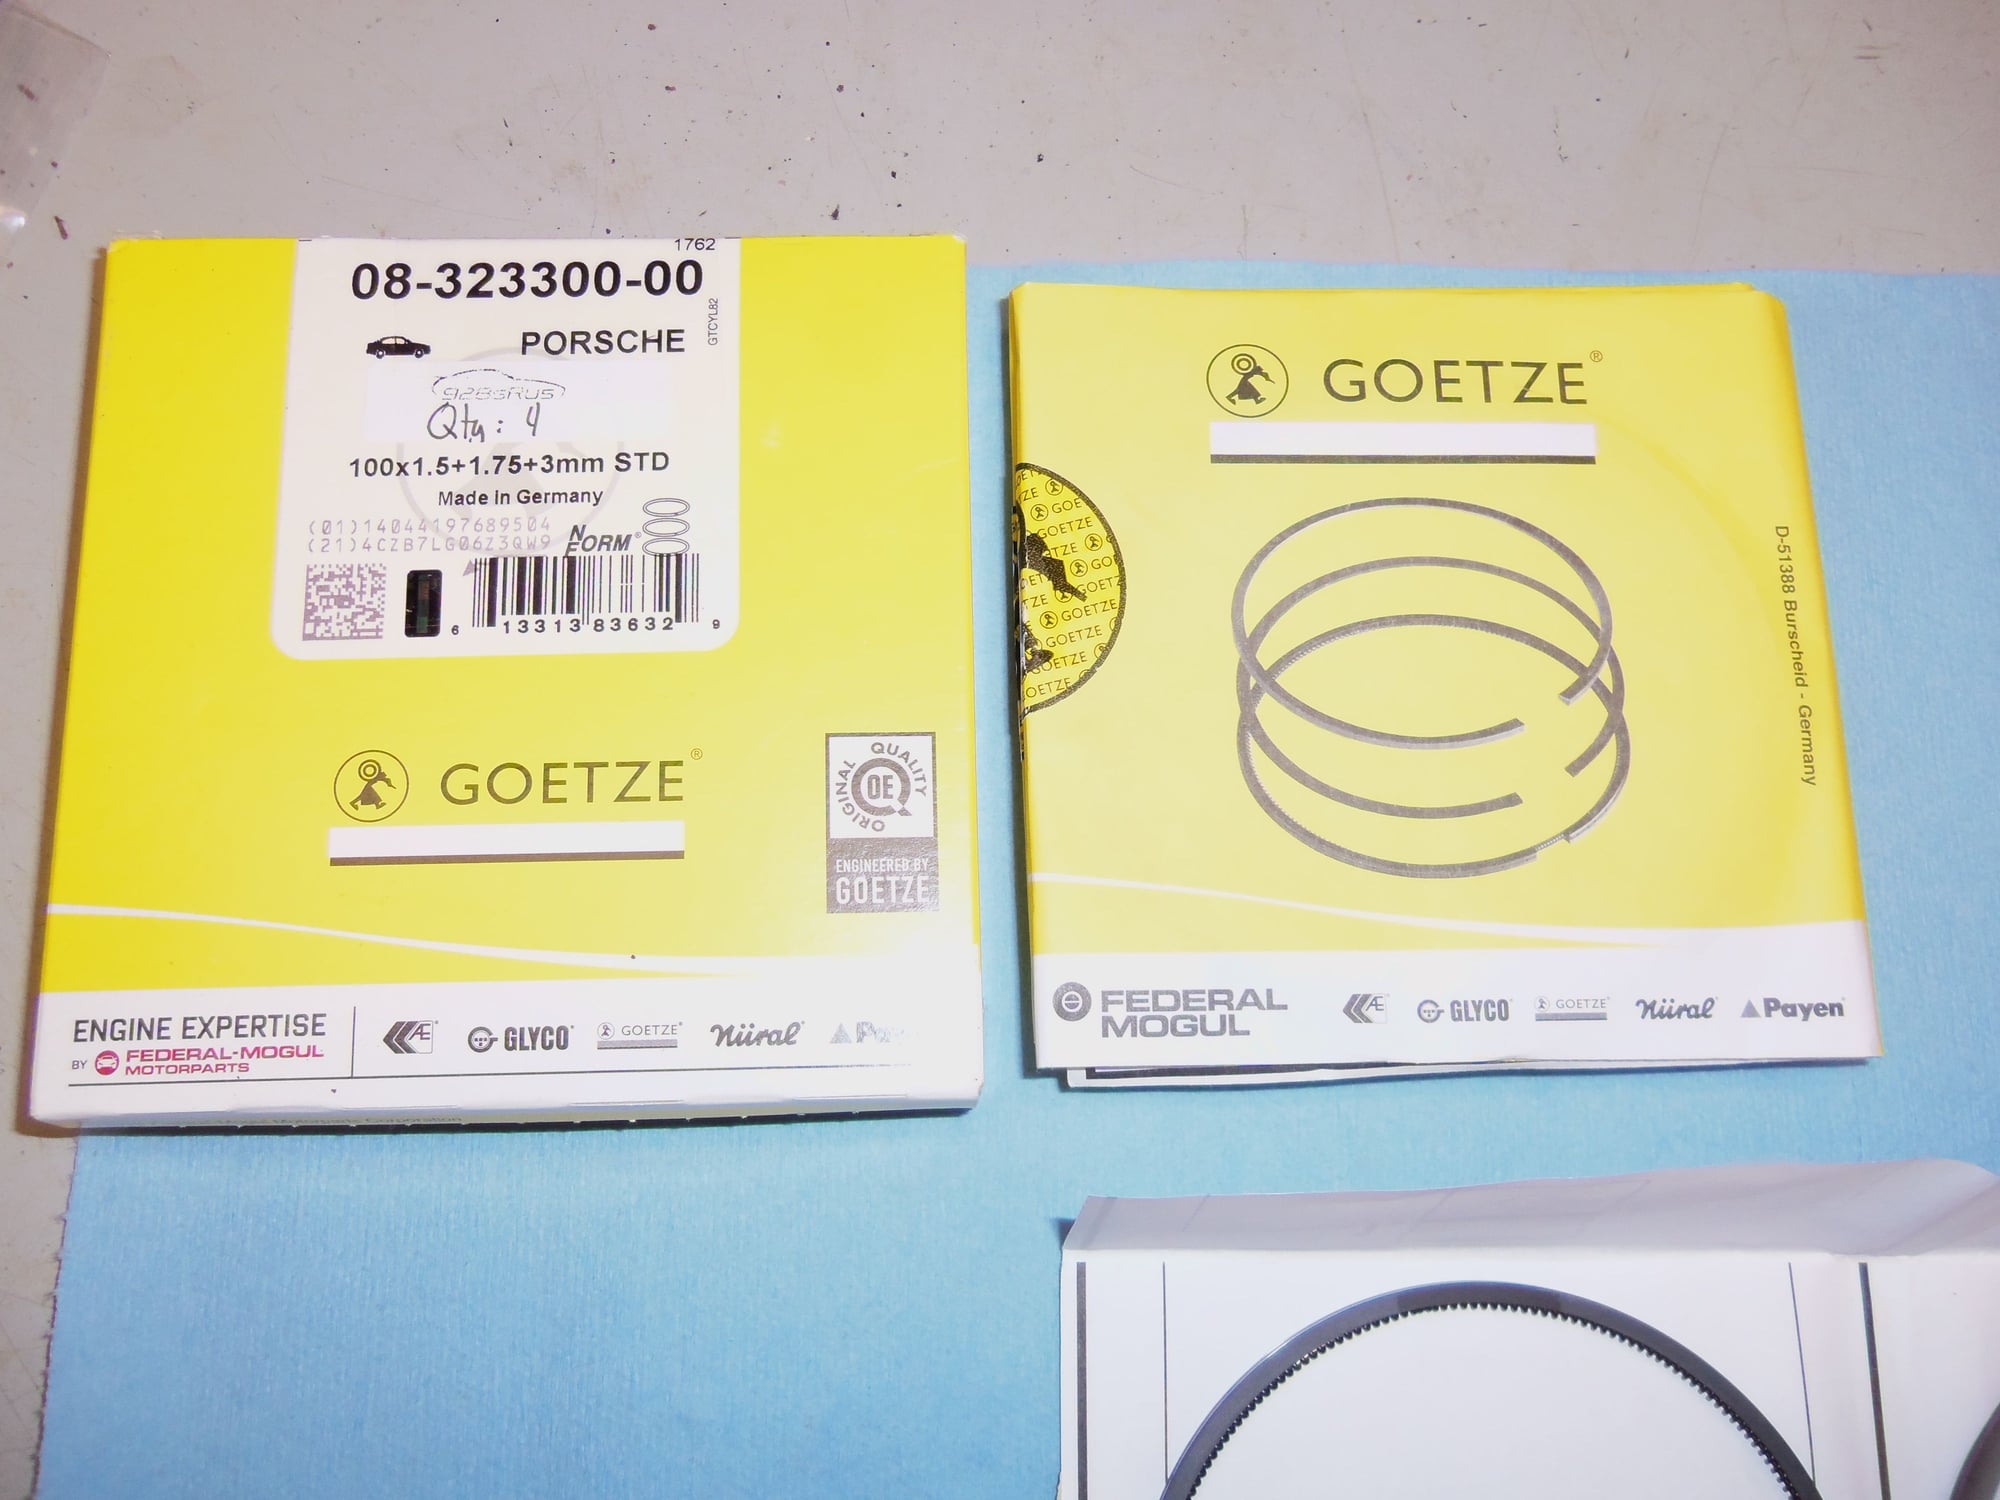
New 951 ring sets, part number 951 103 901 02
Goetze brand. Hmmm...see Federal Mogul, and Glyco at the bottom. Is there anybody in the engine world that Federal Mogul isn't part of...?
Top compression ring.
Edge view of top compression ring.
Second compression ring.
Edge view of second compression ring.
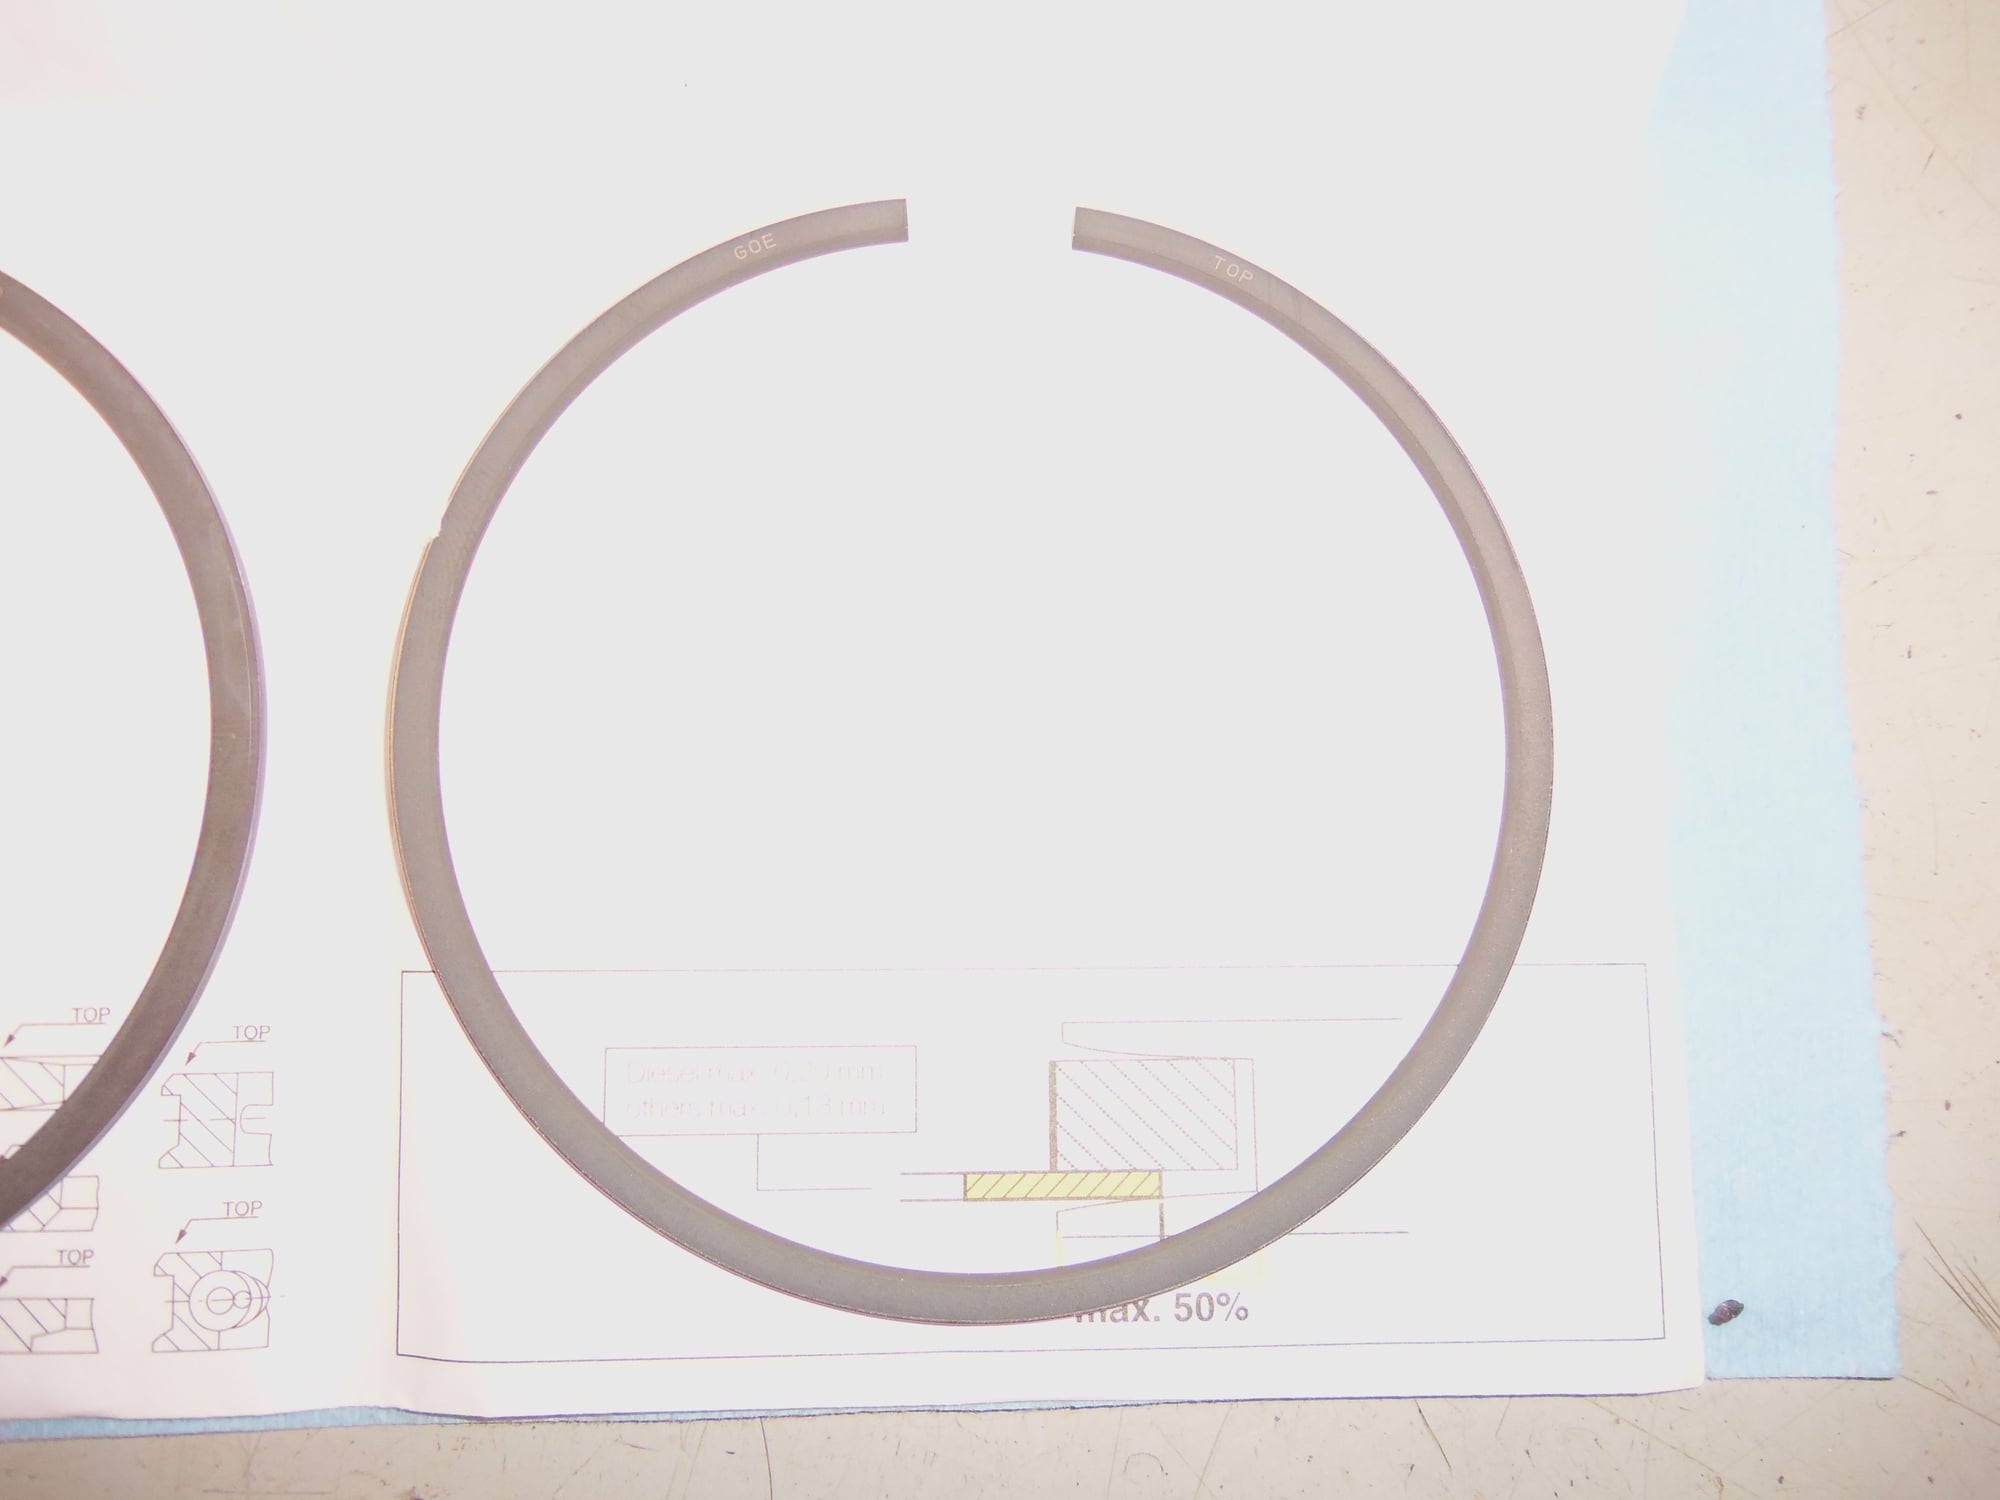
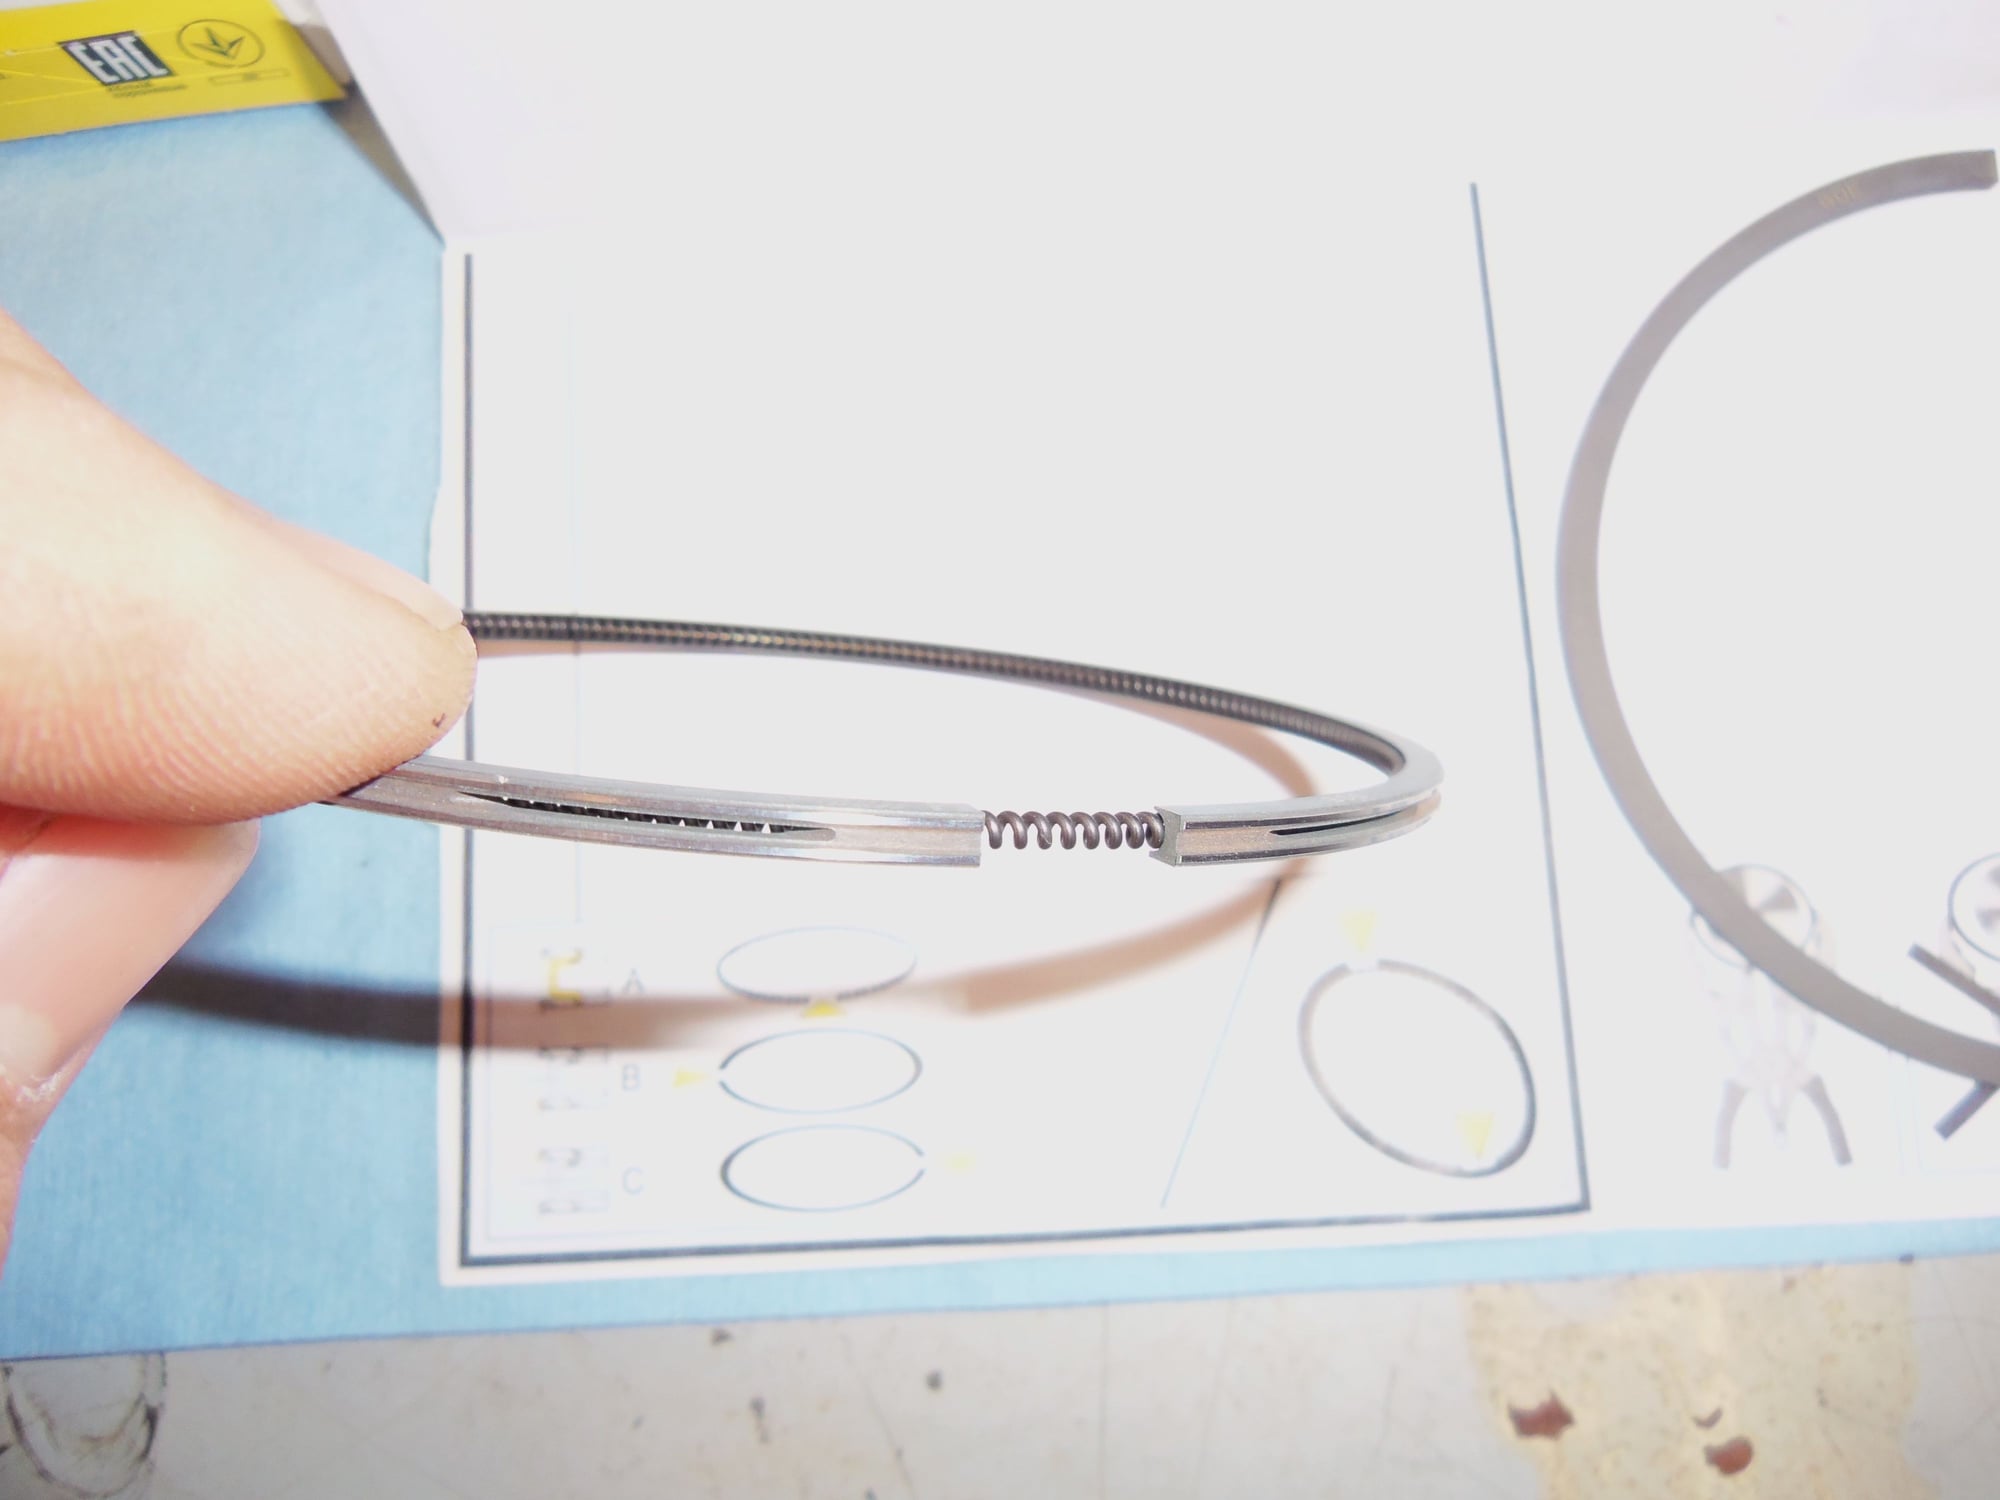
Oil control ring, already assembled.
Edge view of oil control ring. One piece, cast, machined, then assembled with a tension spring.
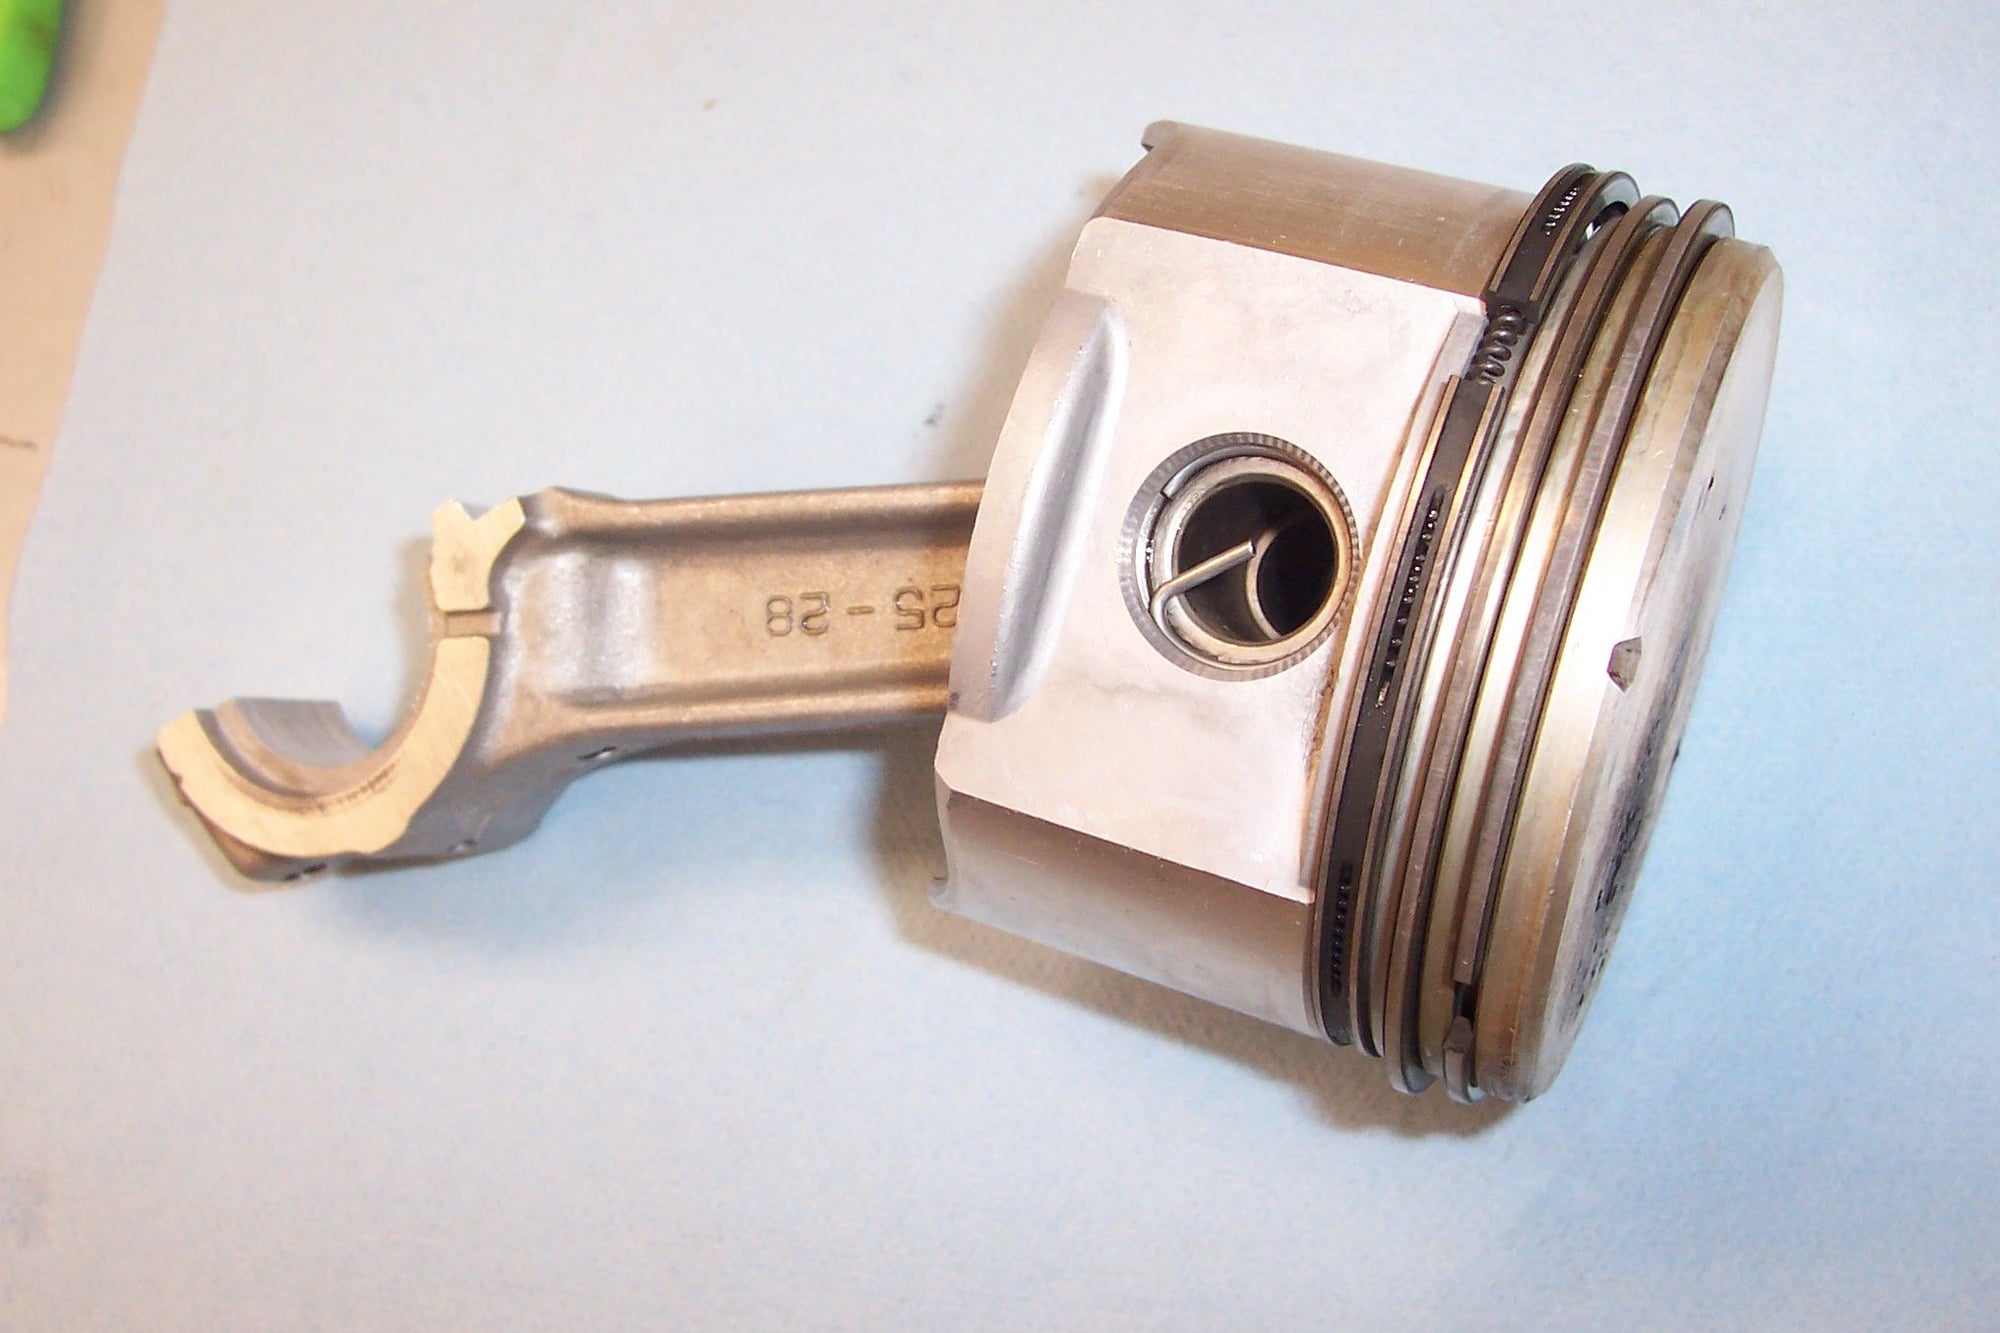
Piston, rings, and rod from a Briggs and Stratton 28cid OHV air cooled engine. Note the construction of the oil control ring.
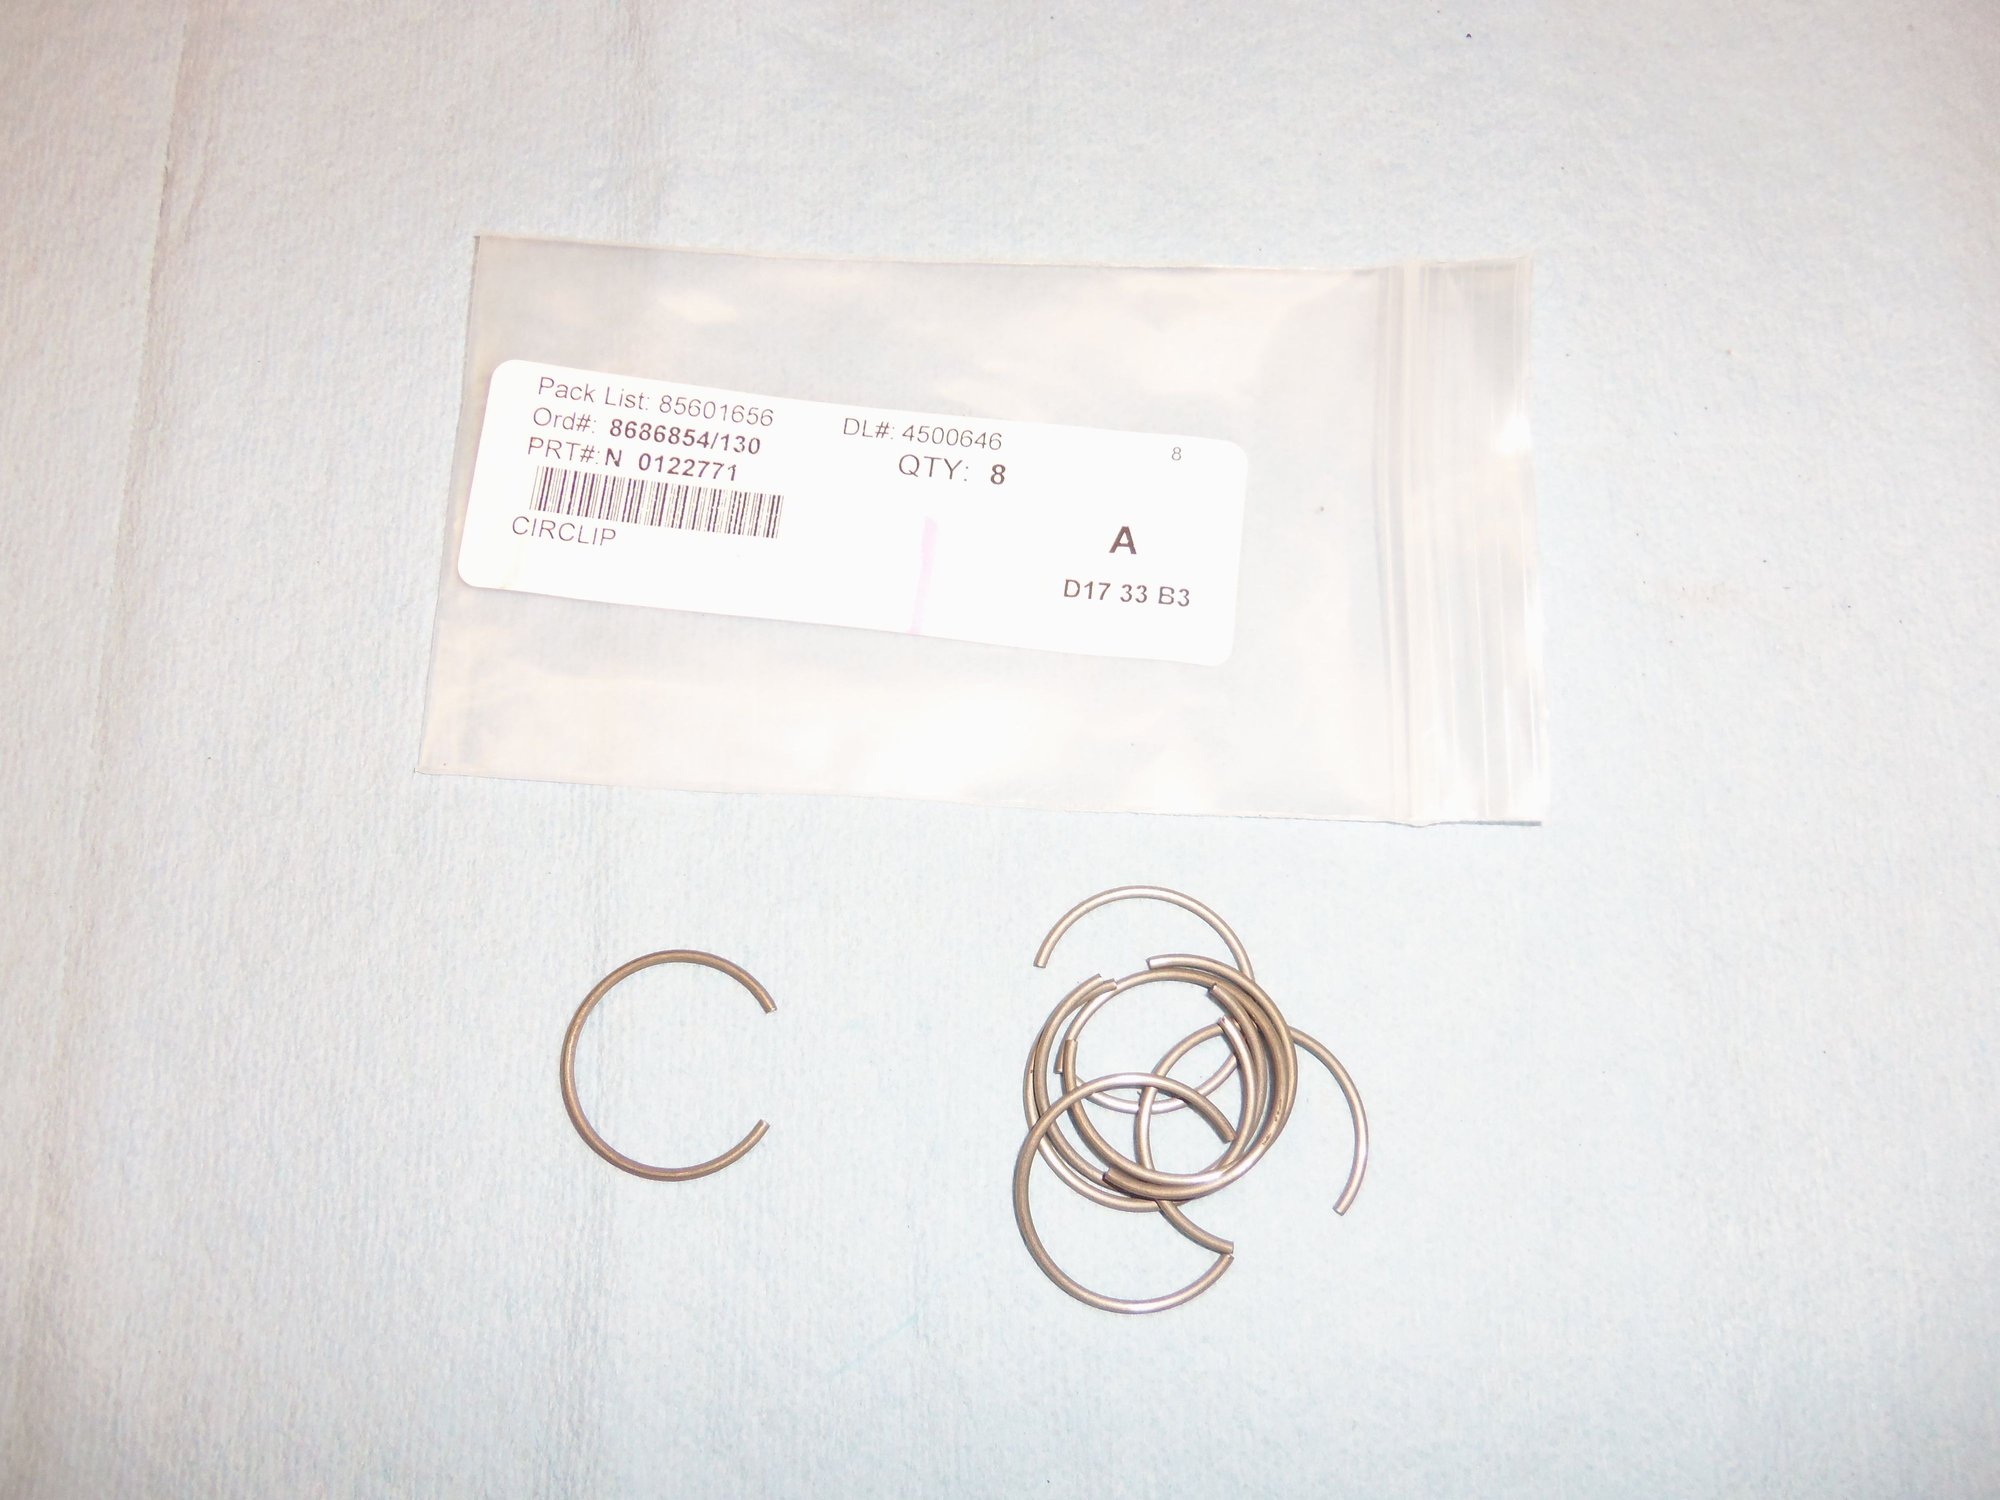
8 new circlips.
When the time comes to assemble the pistons, I will spend quality time with a set of feeler gauges and the rings. I will match a set of rings to a piston/cylinder. I will measure the gaps of all the rings in the cylinder, and the clearance of the rings in the ring grooves.
But that is a bit of a ways off. There is lots of cleaning to be done before then.


 01-18-2018, 01:11 AM