When you click on links to various merchants on this site and make a purchase, this can result in this site earning a commission. Affiliate programs and affiliations include, but are not limited to, the eBay Partner Network.
Today was another day in the garage. A very hot one at that. Up here in the Philly area we've been having some crazy hot weather. Almost too hot to work on cars. But alas, I persevered...
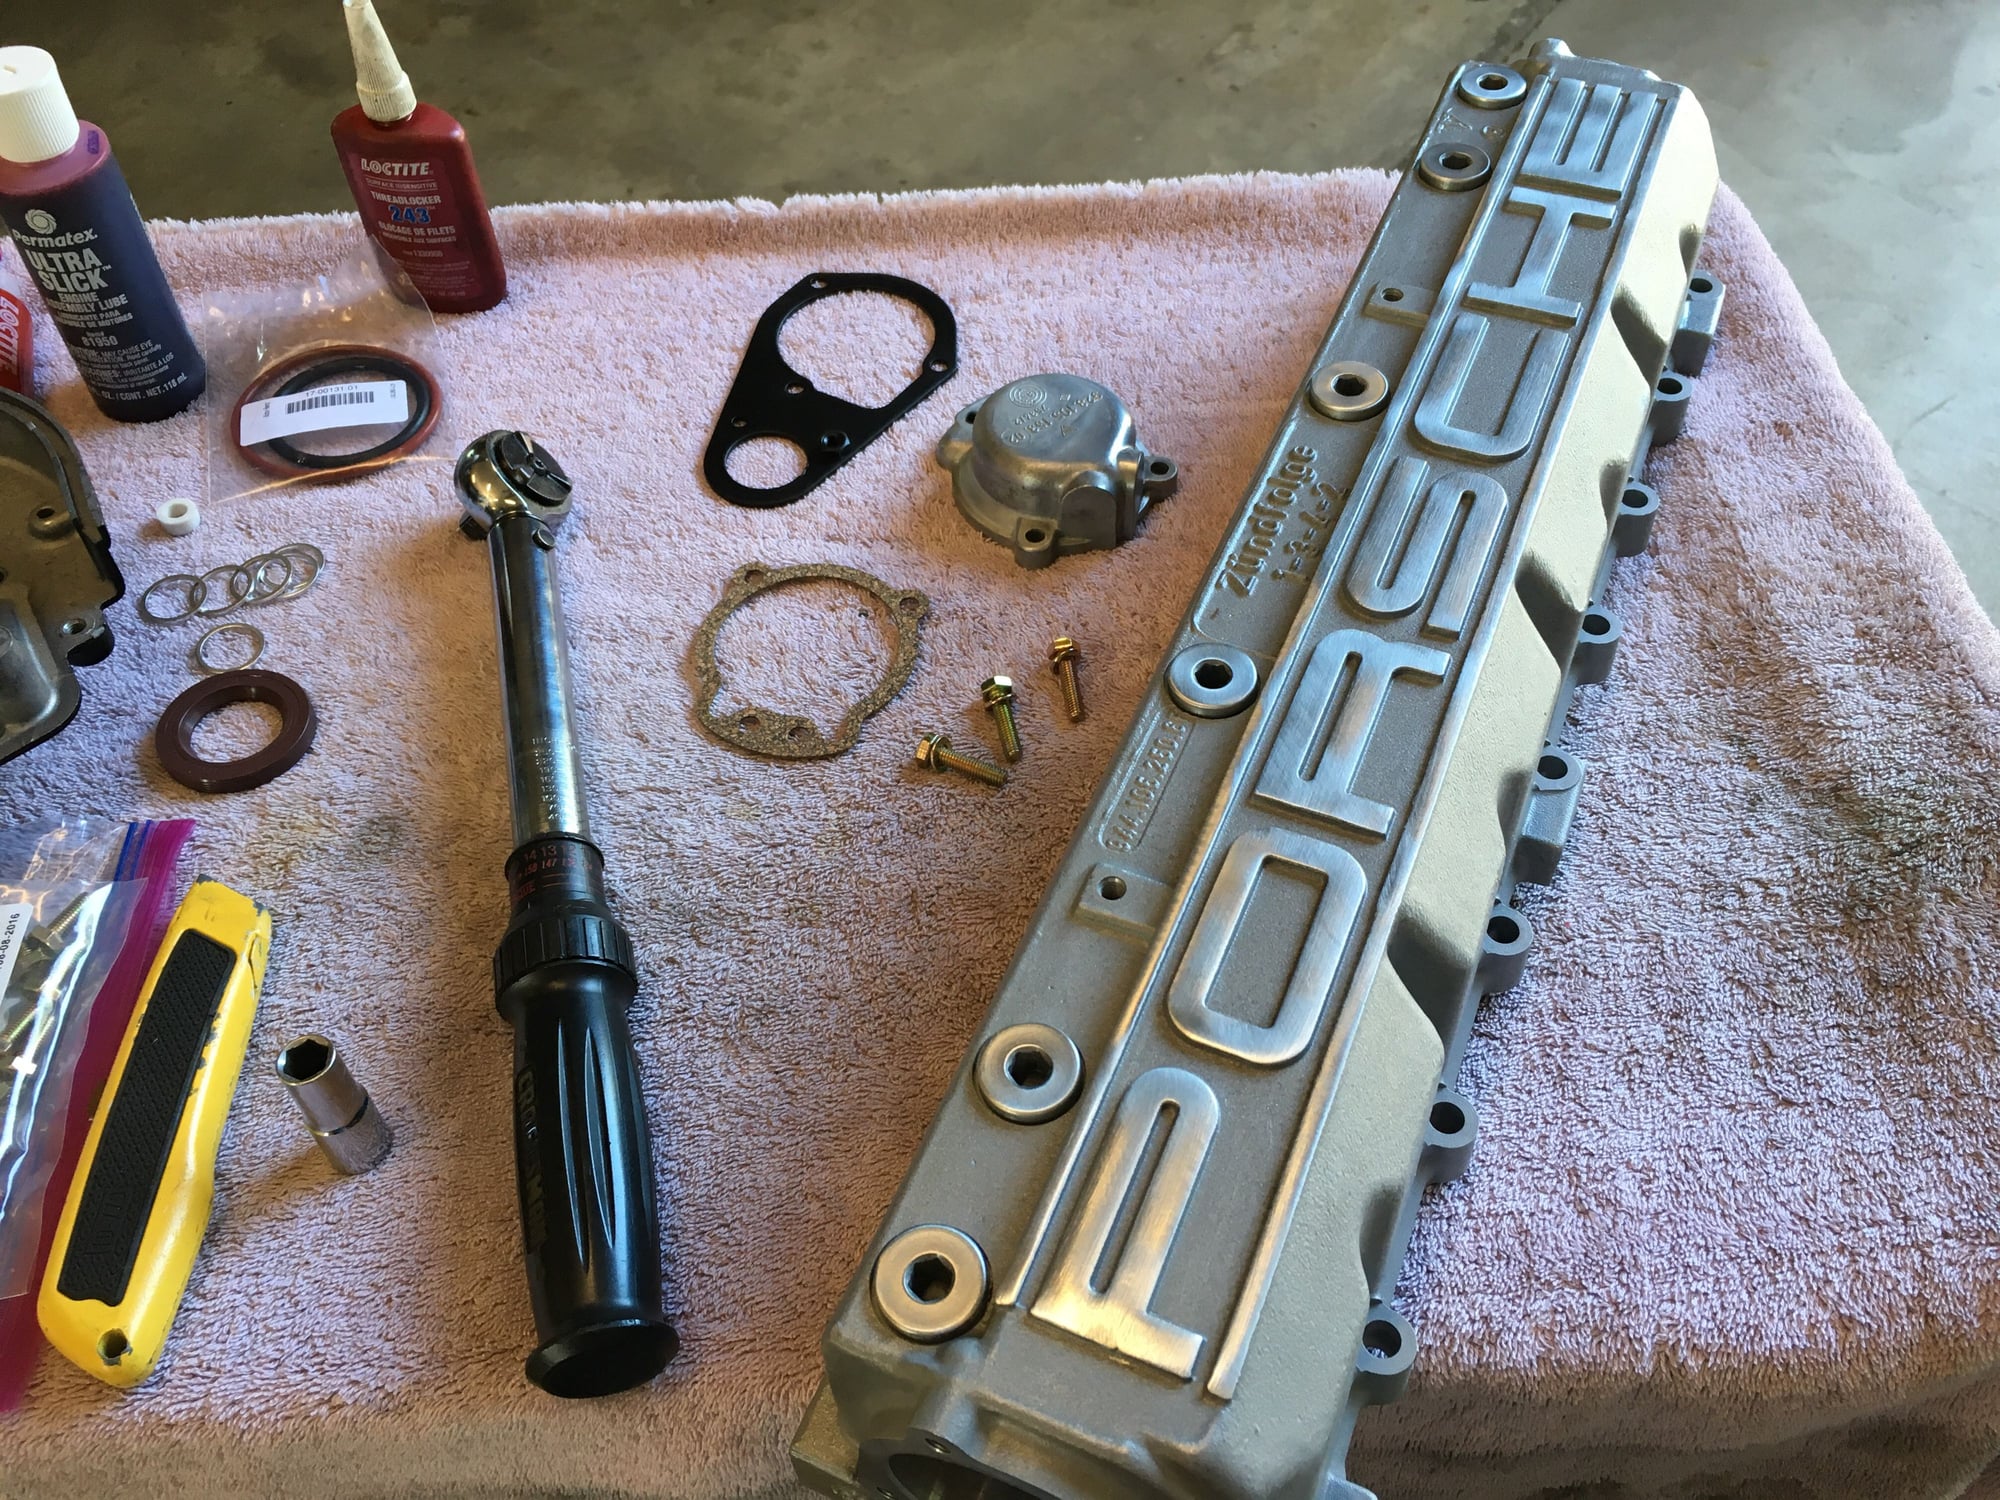
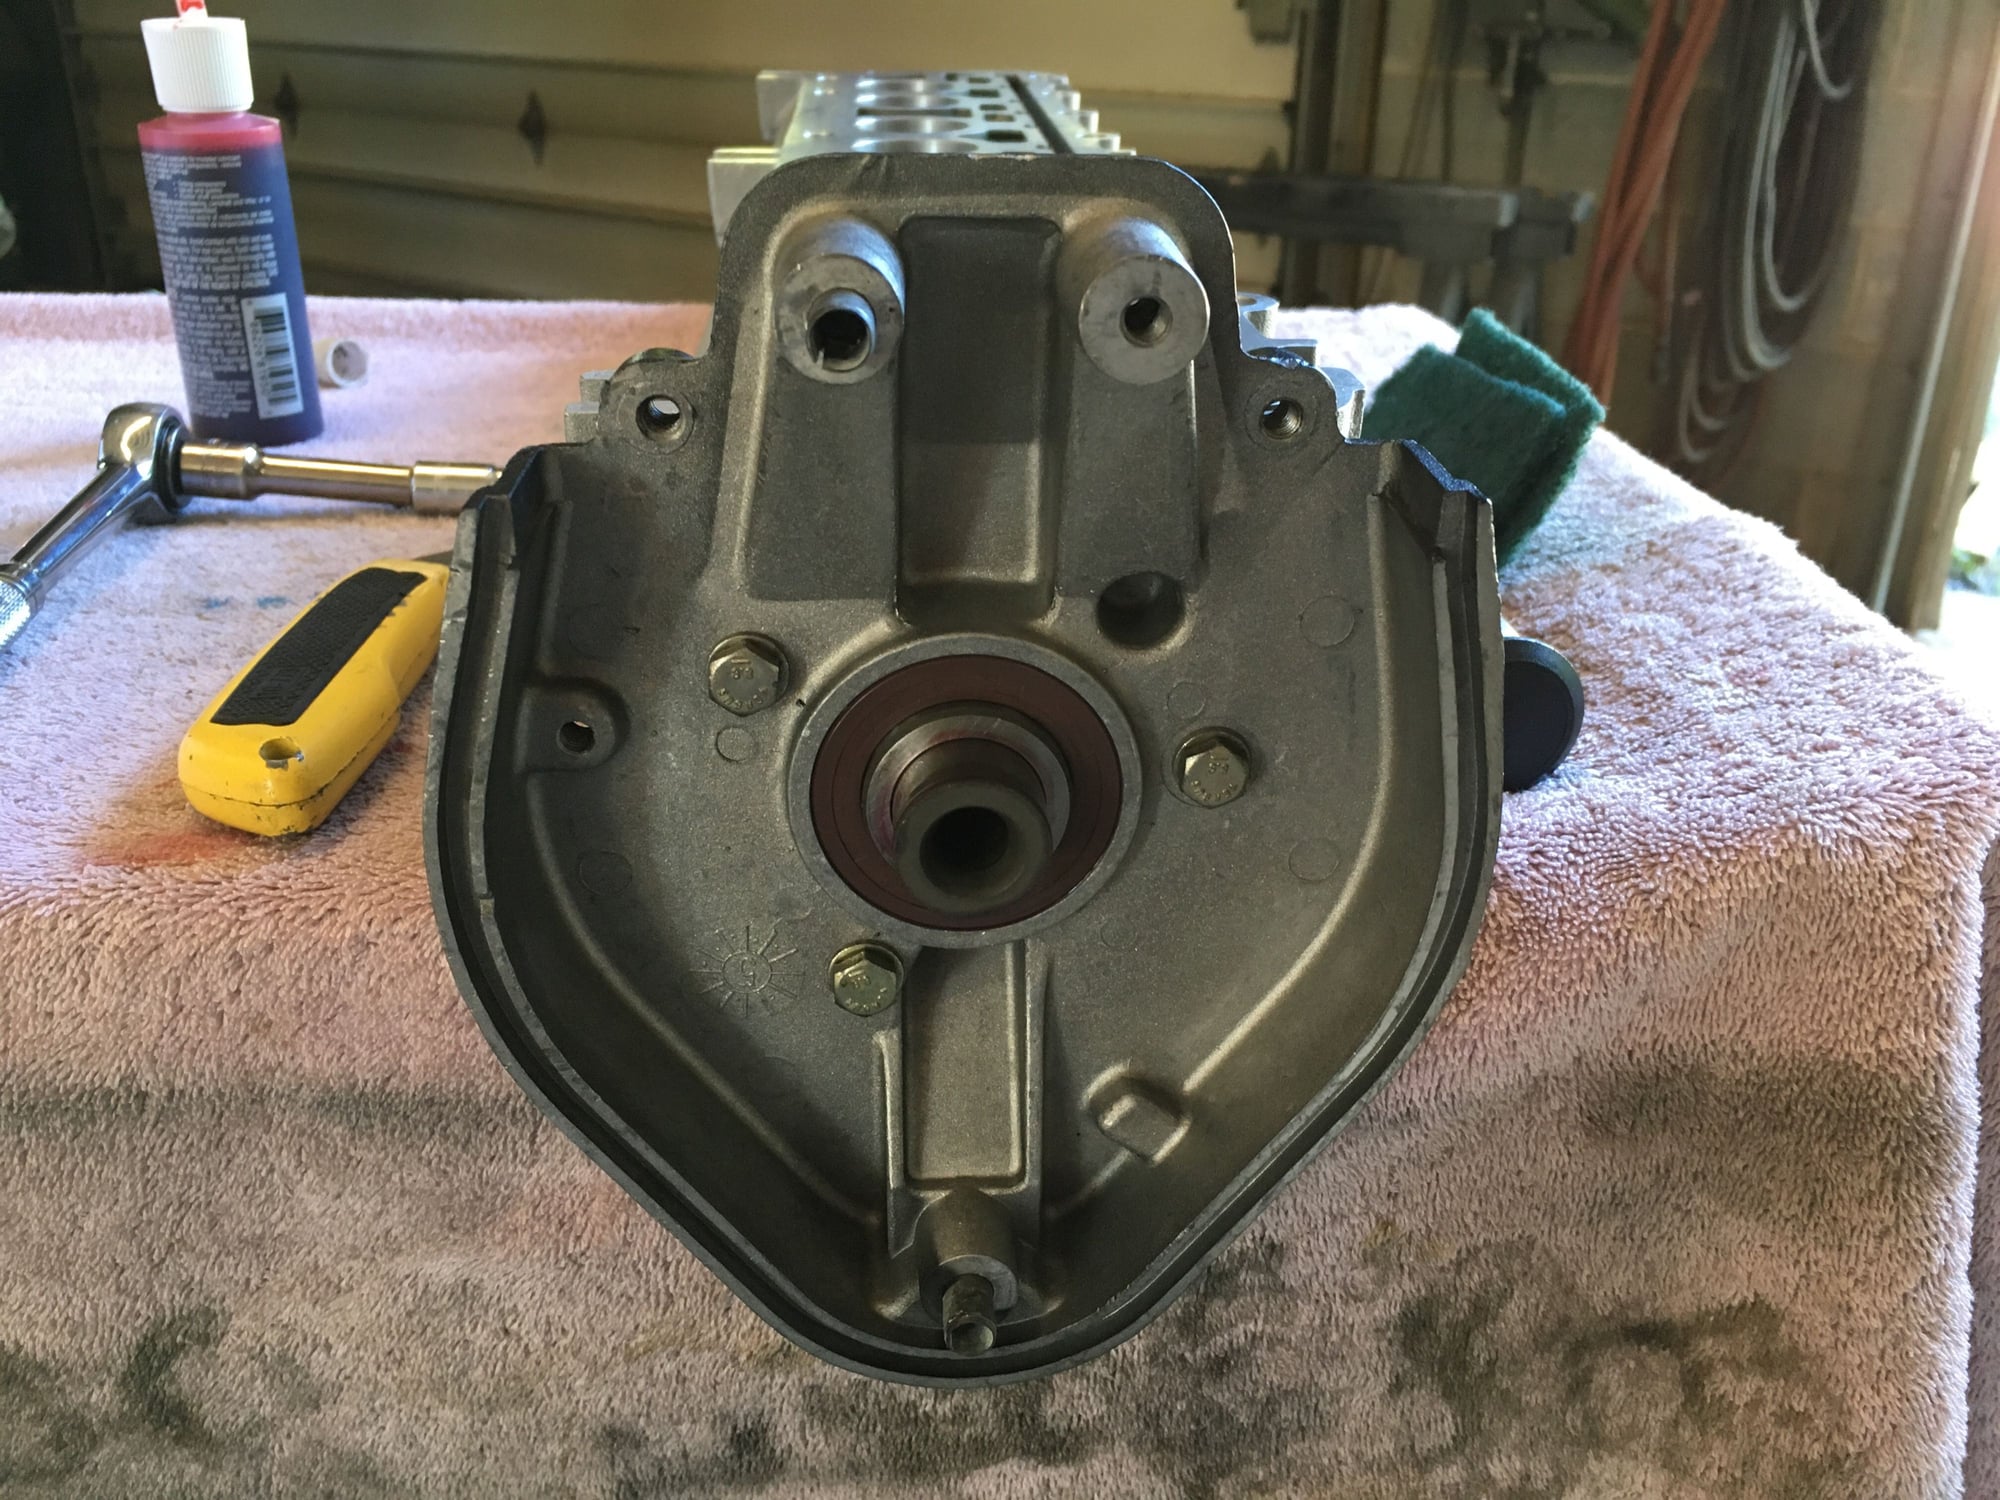
I started off by putting together the cam tower. Brought the parts out of the air conditioned house and into the garage and they were practically soaked in condensation from the difference in temperature.
Got some nice new bolts for the rear cam cover and torqued 'em up per the WSM specs. Purchased the hardware from Bel Metric - great place to use for small quantities of fasteners.
Installed my new seals in the rear timing cover and using some ultra slick assembly lube popped that camshaft back in the tower and torqued down the three M6 screws. Everything rotates nicely as it should.
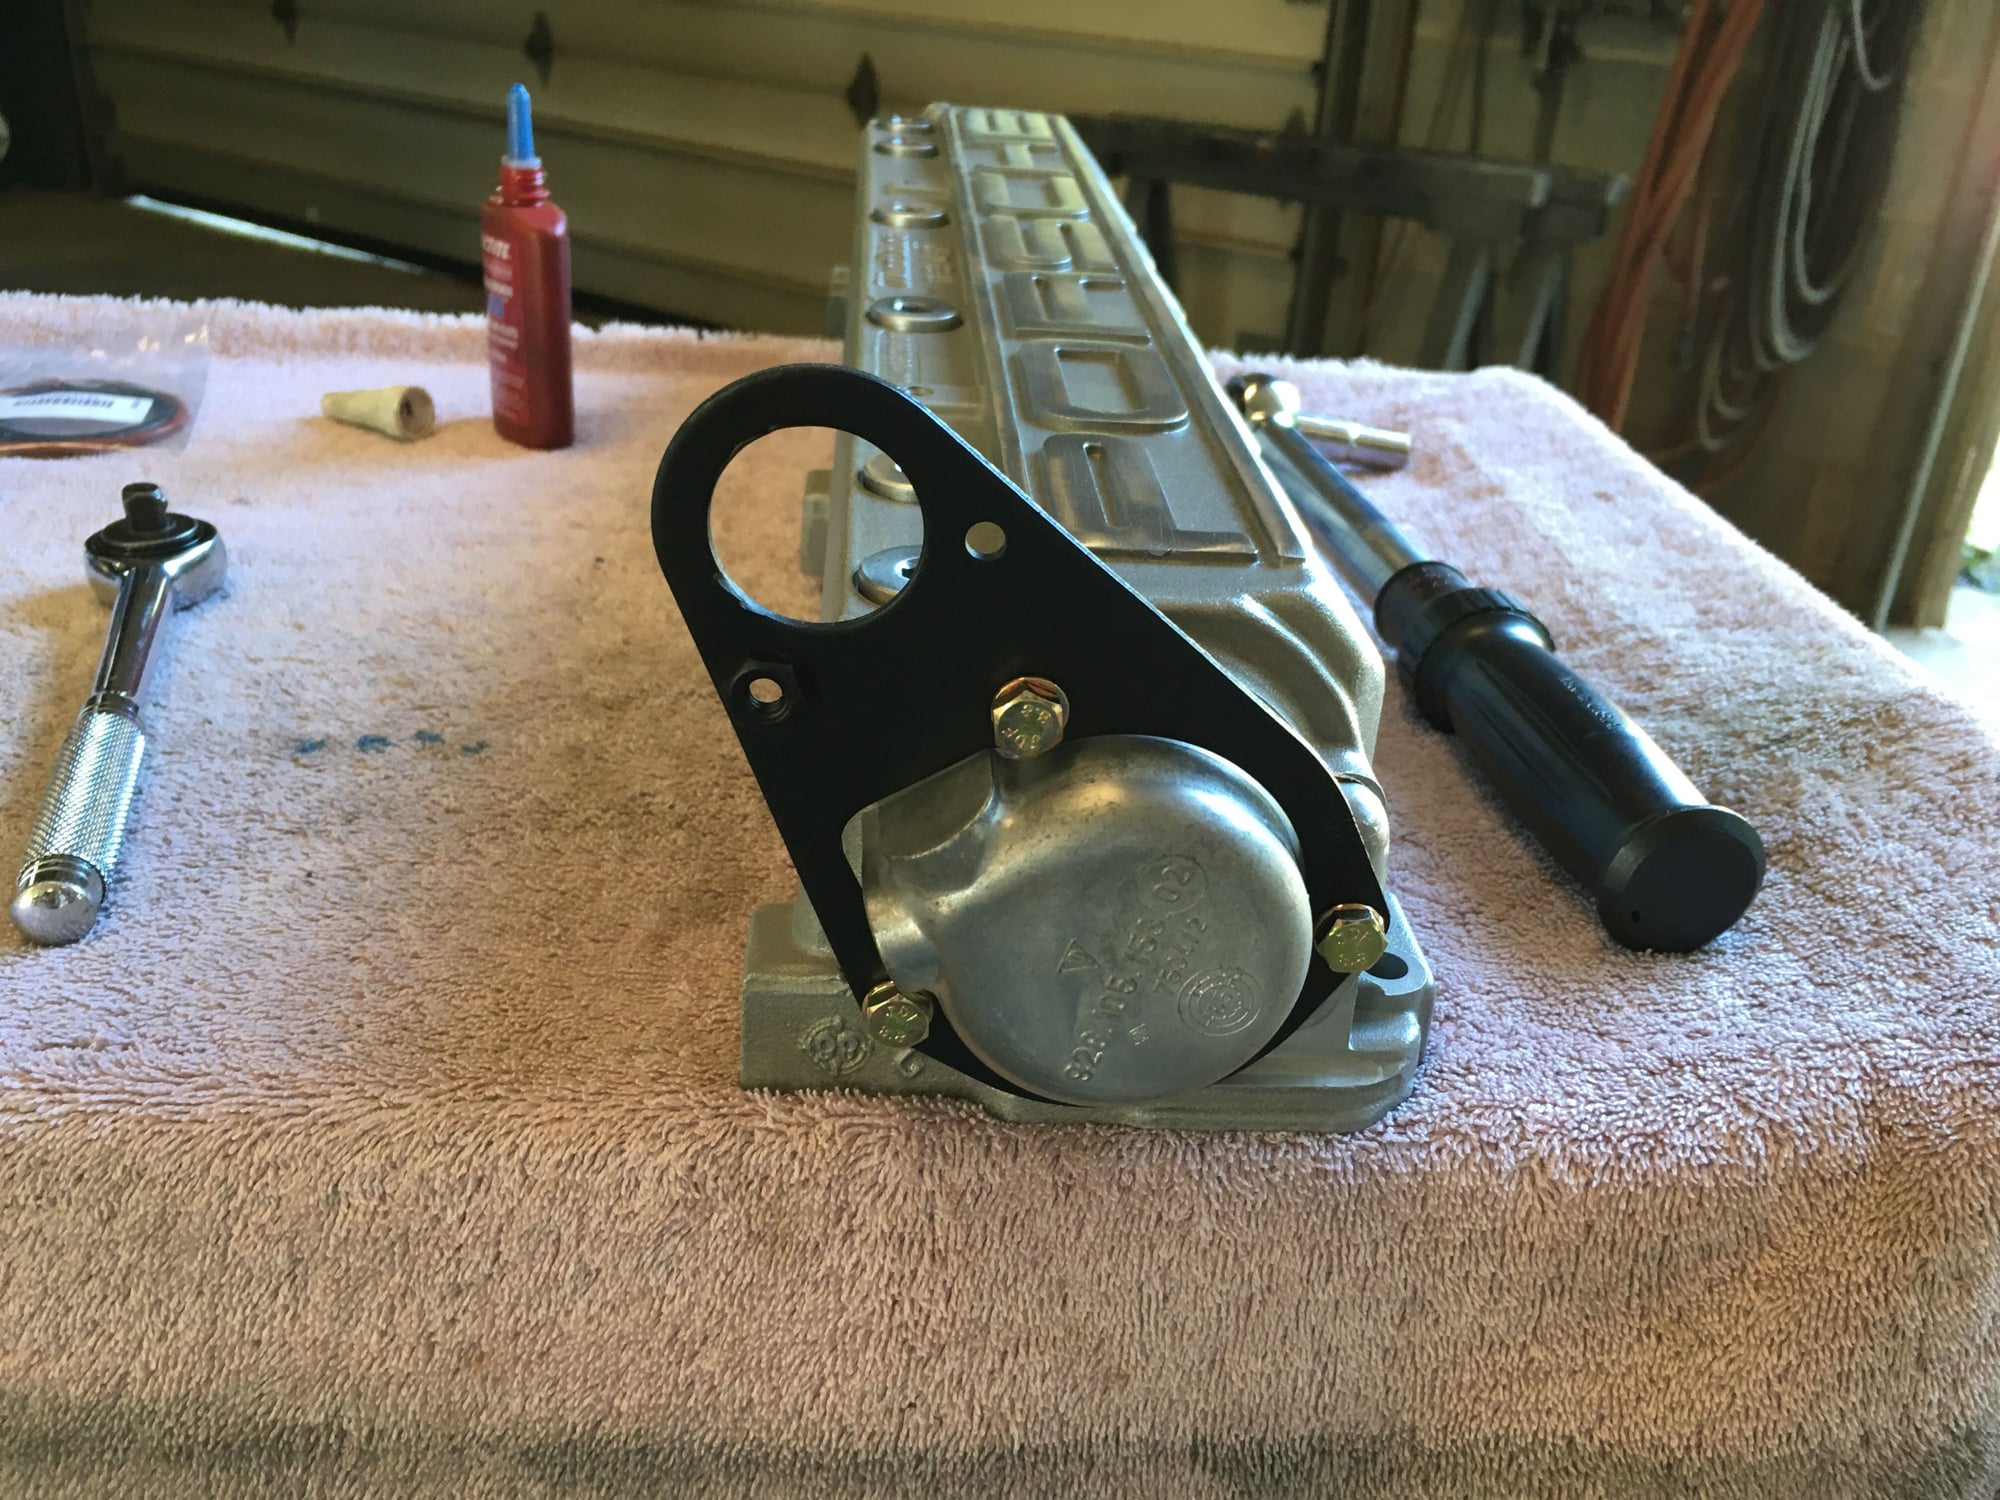
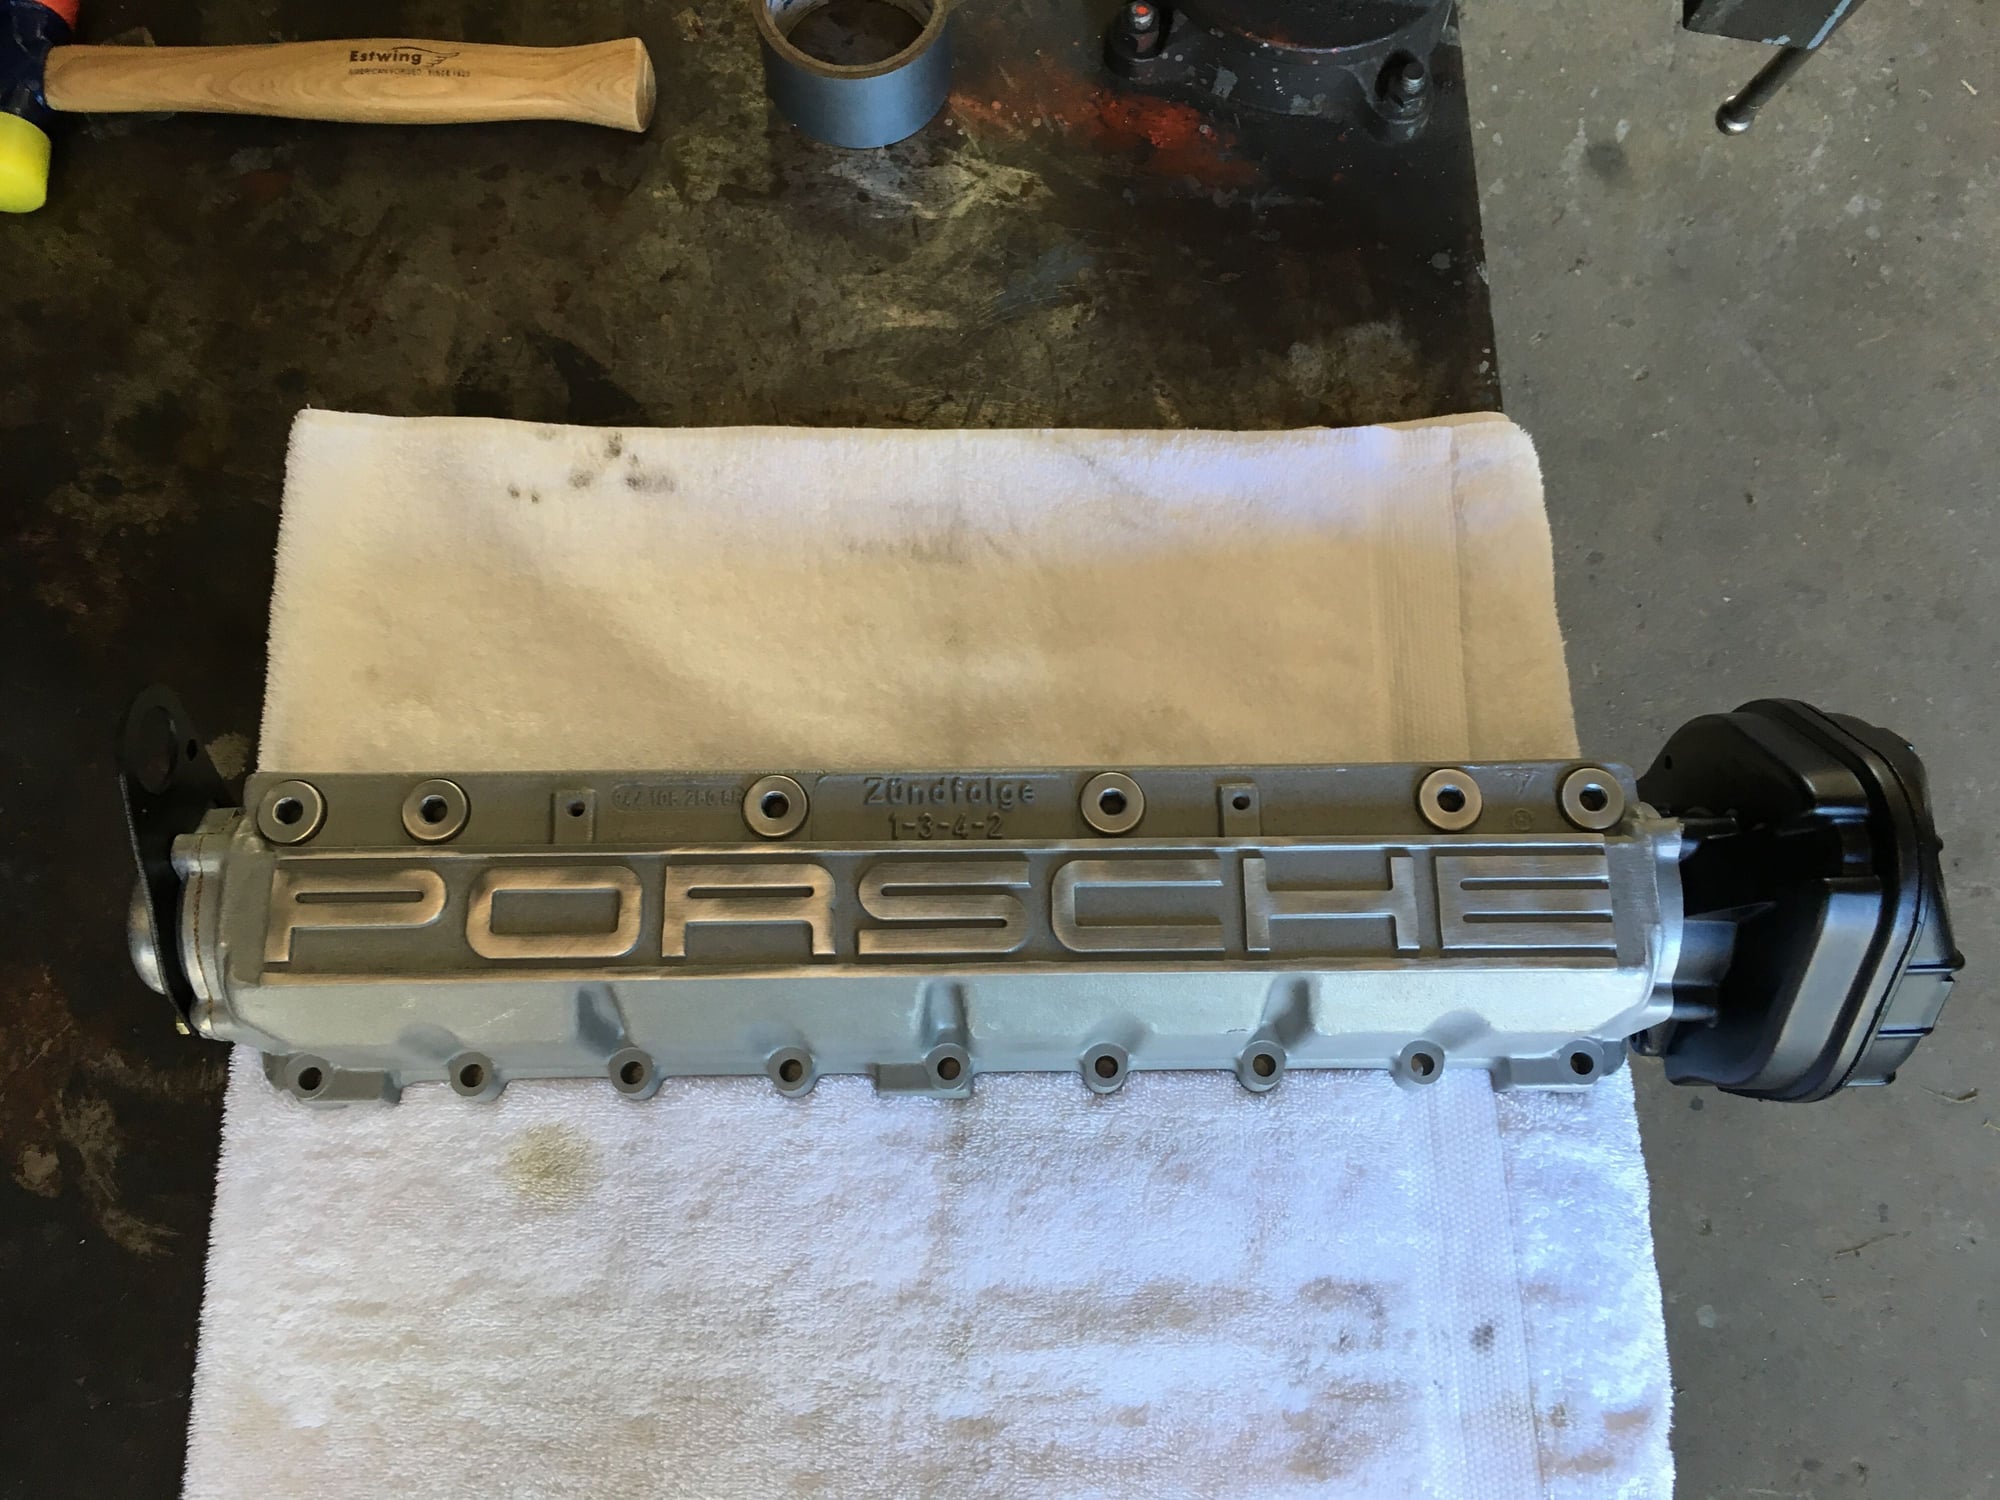
And the finished product.
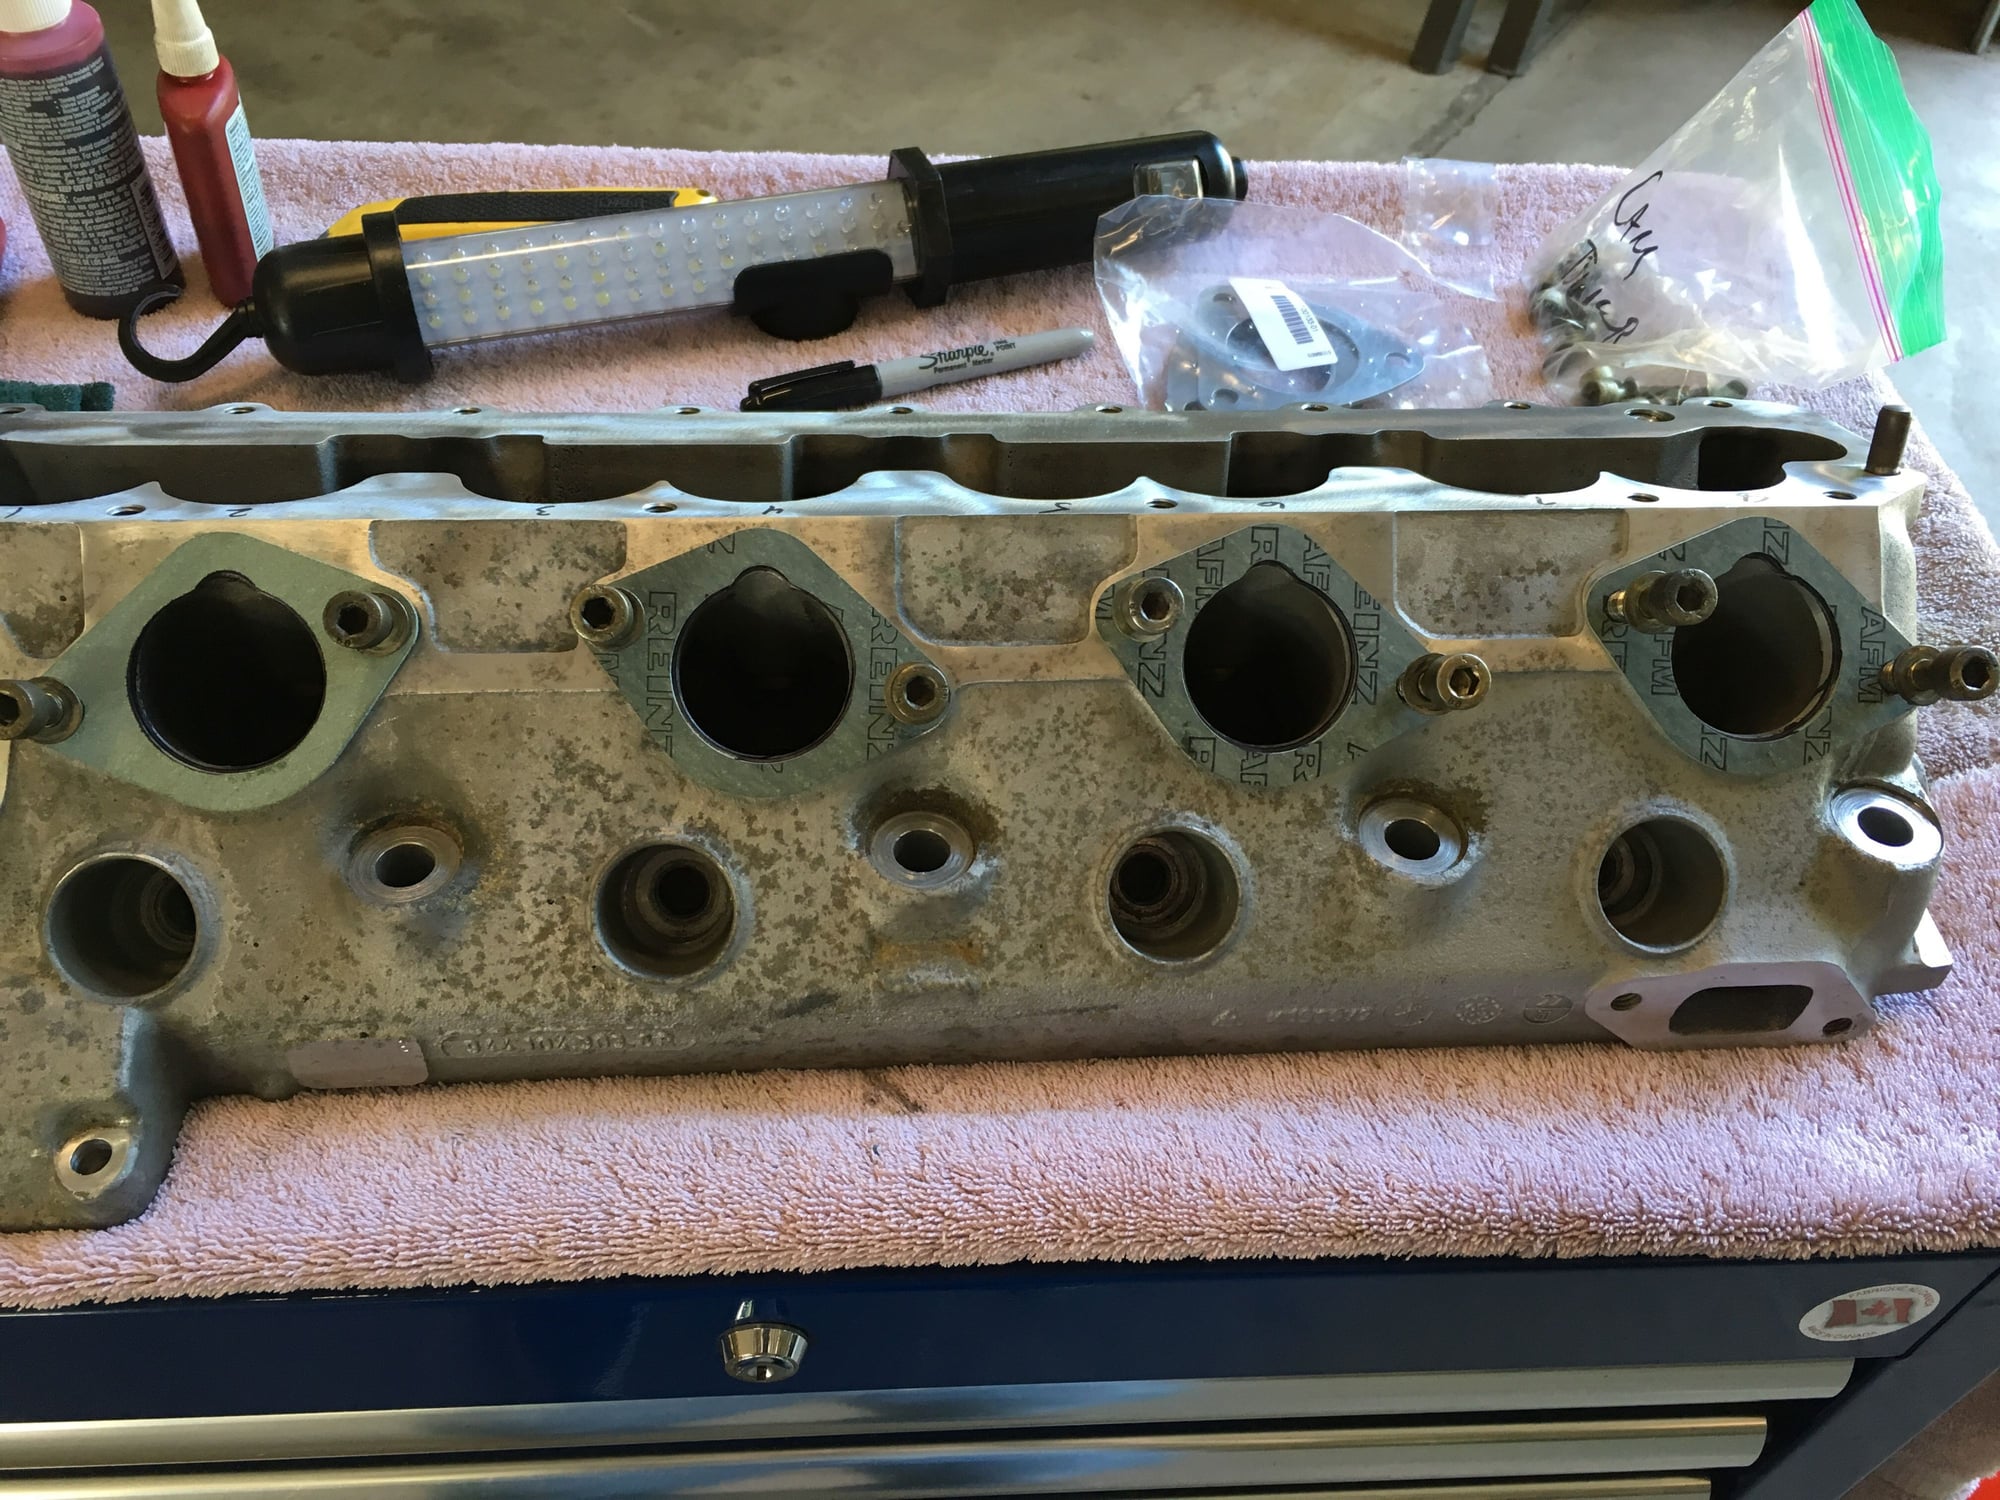
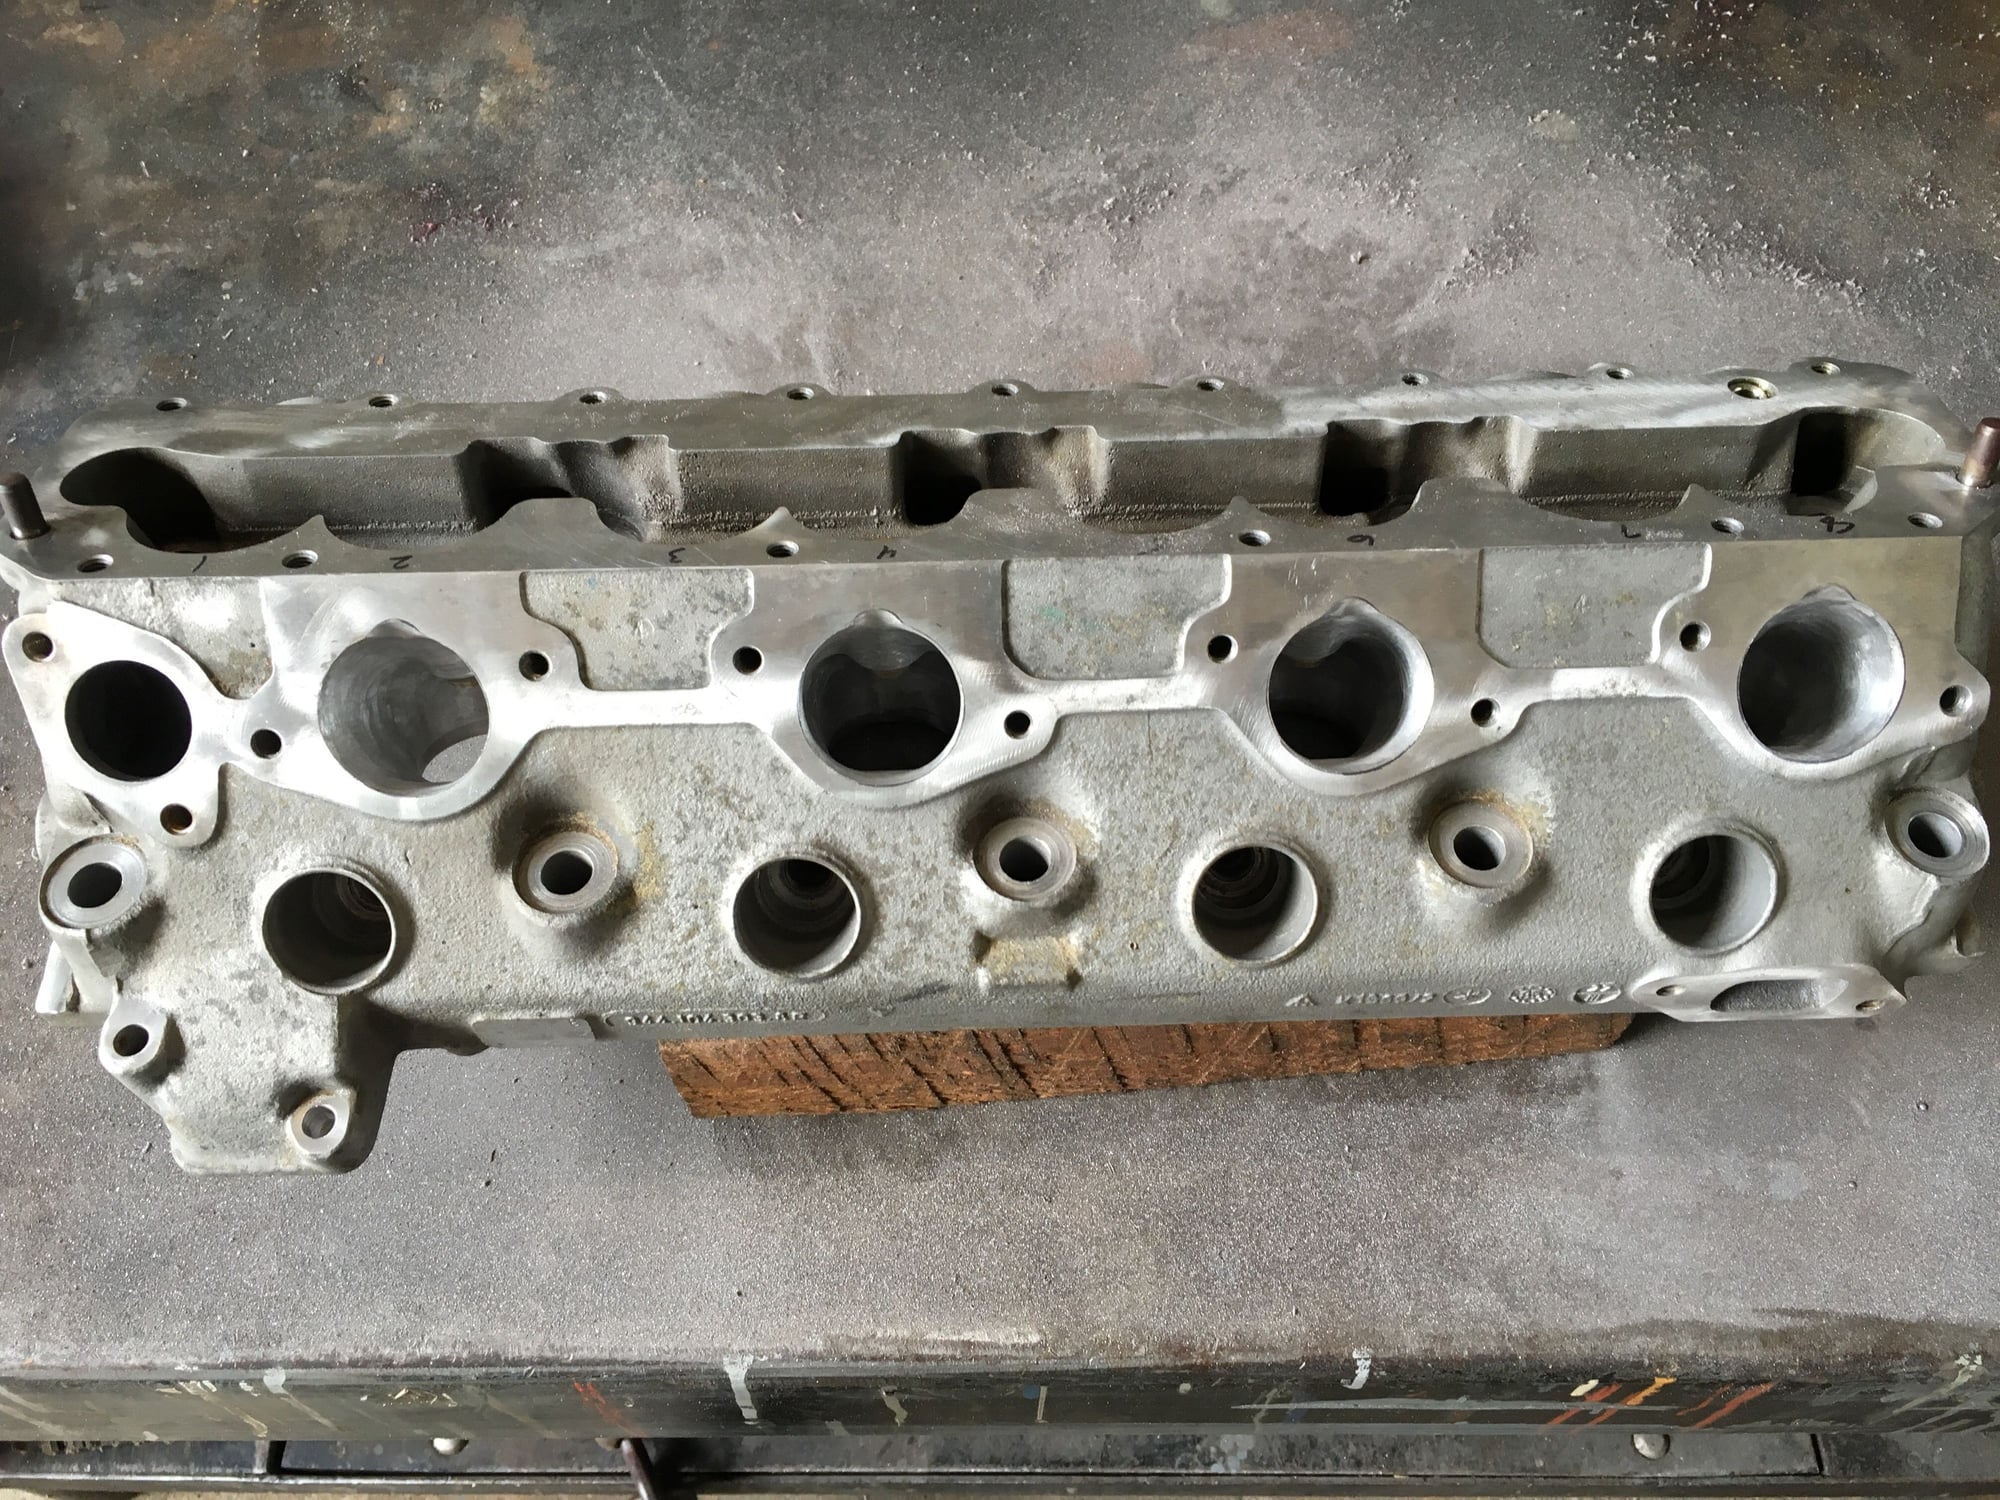
Since I have the cylinder head apart, I decided now would be a good time to do a little port work and gasket matching. Nothing too crazy - just enough work to clean up the casting lines and smooth things out a bit.
I started by placing the new intake gaskets on the head so I could trace out where to grind with a black marker.
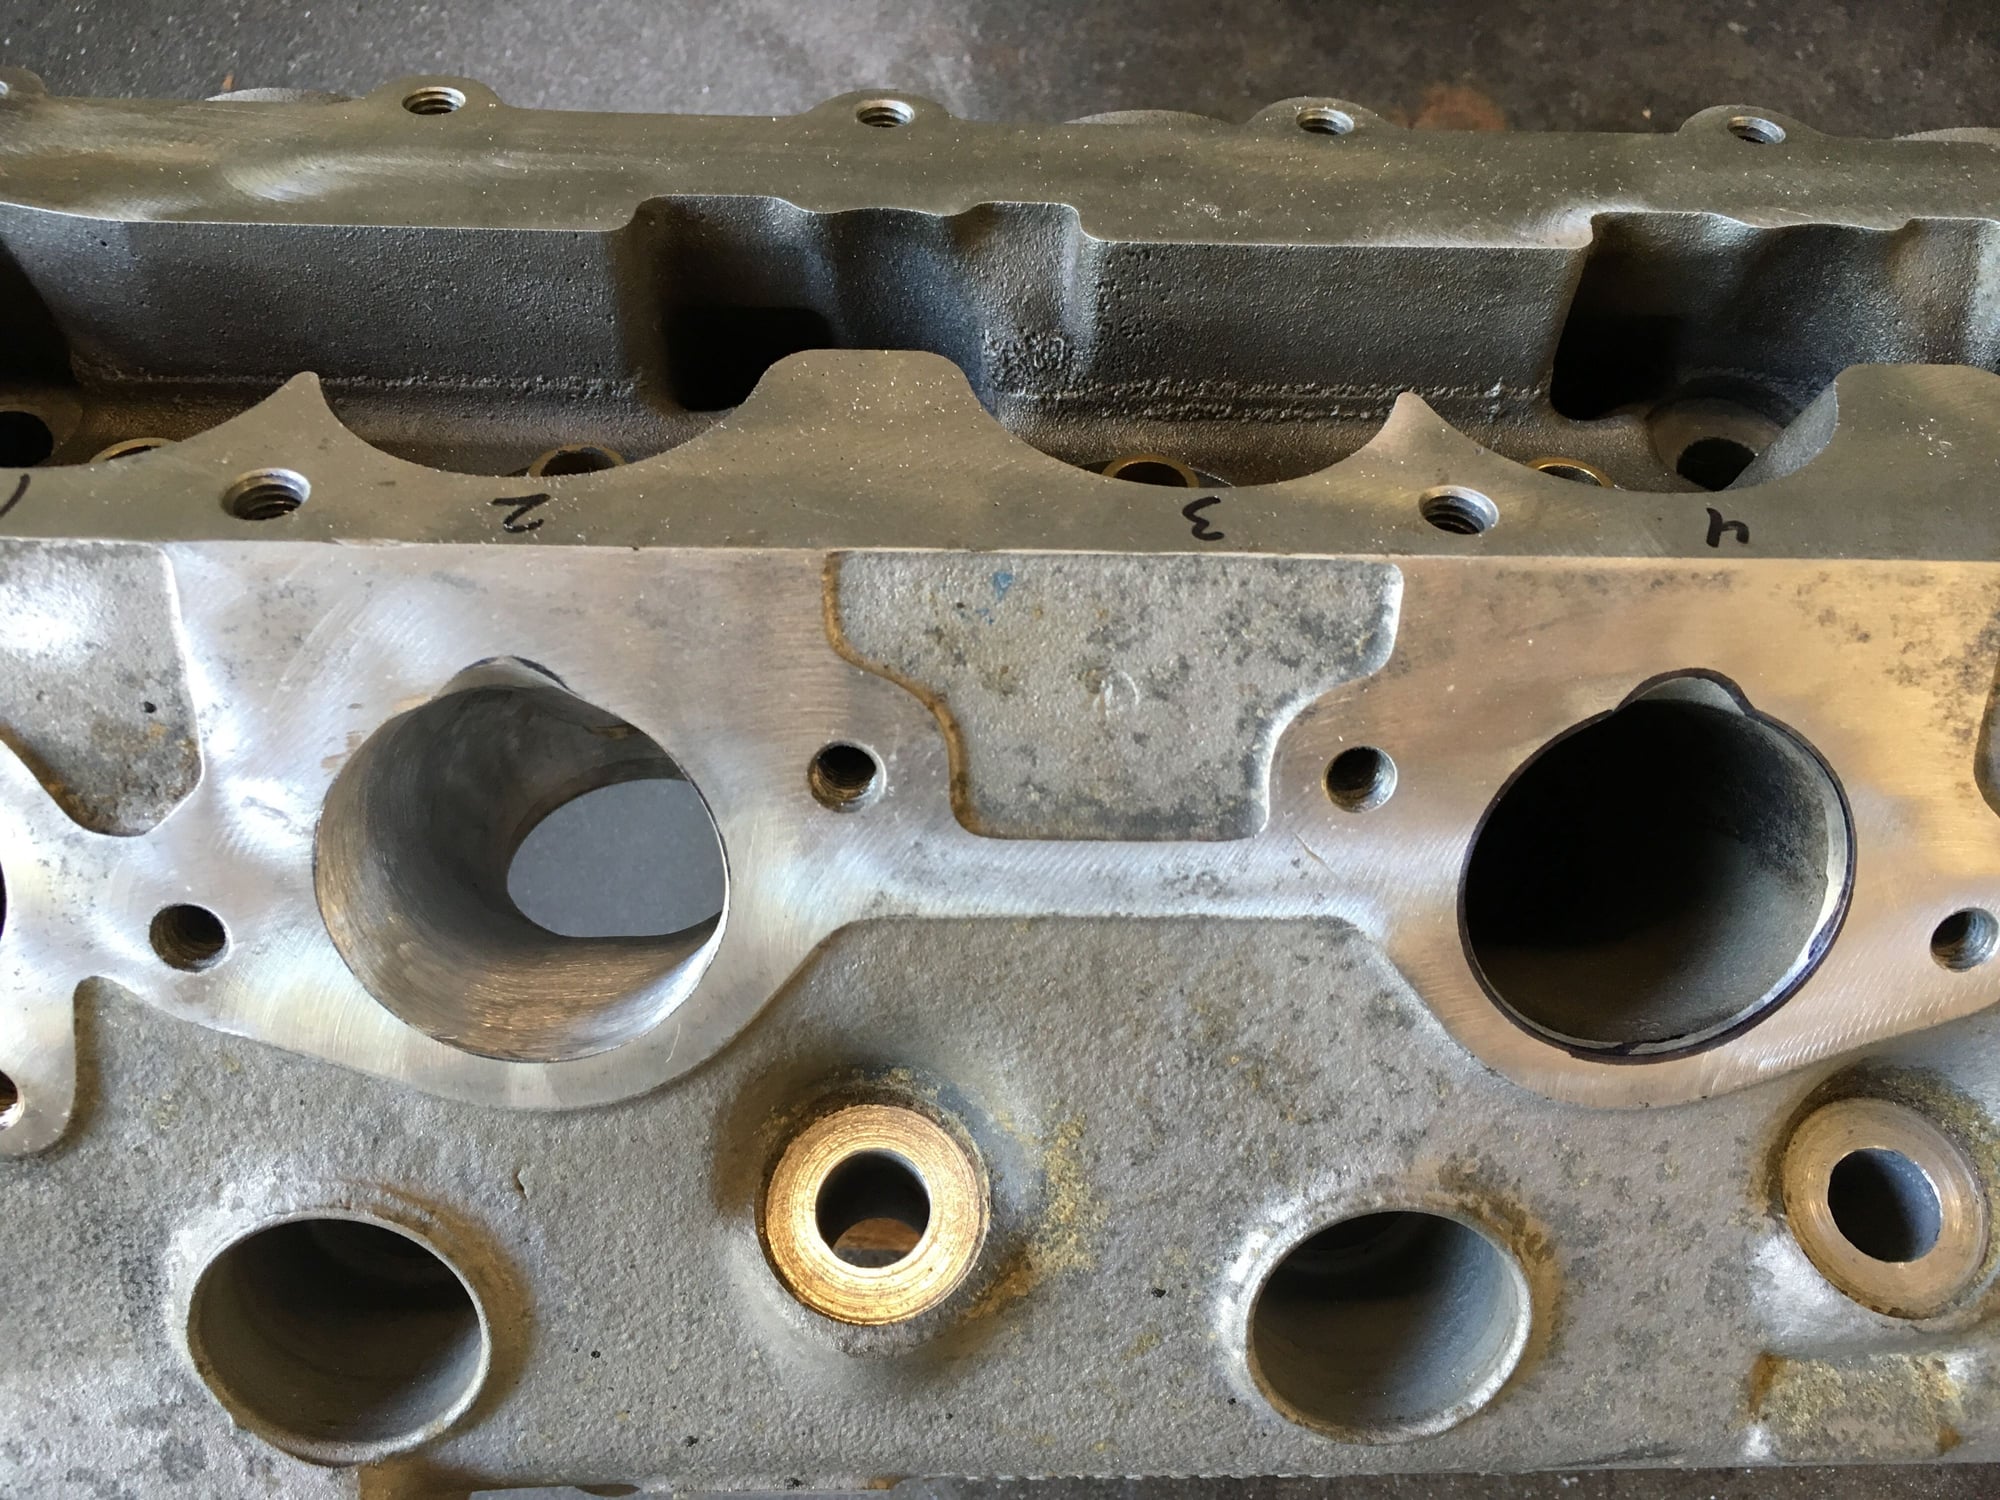
As you can see in the picture above, it's not much that needed to come off, but enough that it did take me a couple hours to do all the intake ports. Here's a comparison of a finished port on the left with an untouched port on the right.
And the finished product.
I believe I'm done with all the work I intend to do to the cylinder head. I need to get it to the machine shop in the next few weeks, but I suppose it's not a huge rush since I don't have a completed bottom end to install it on yet.
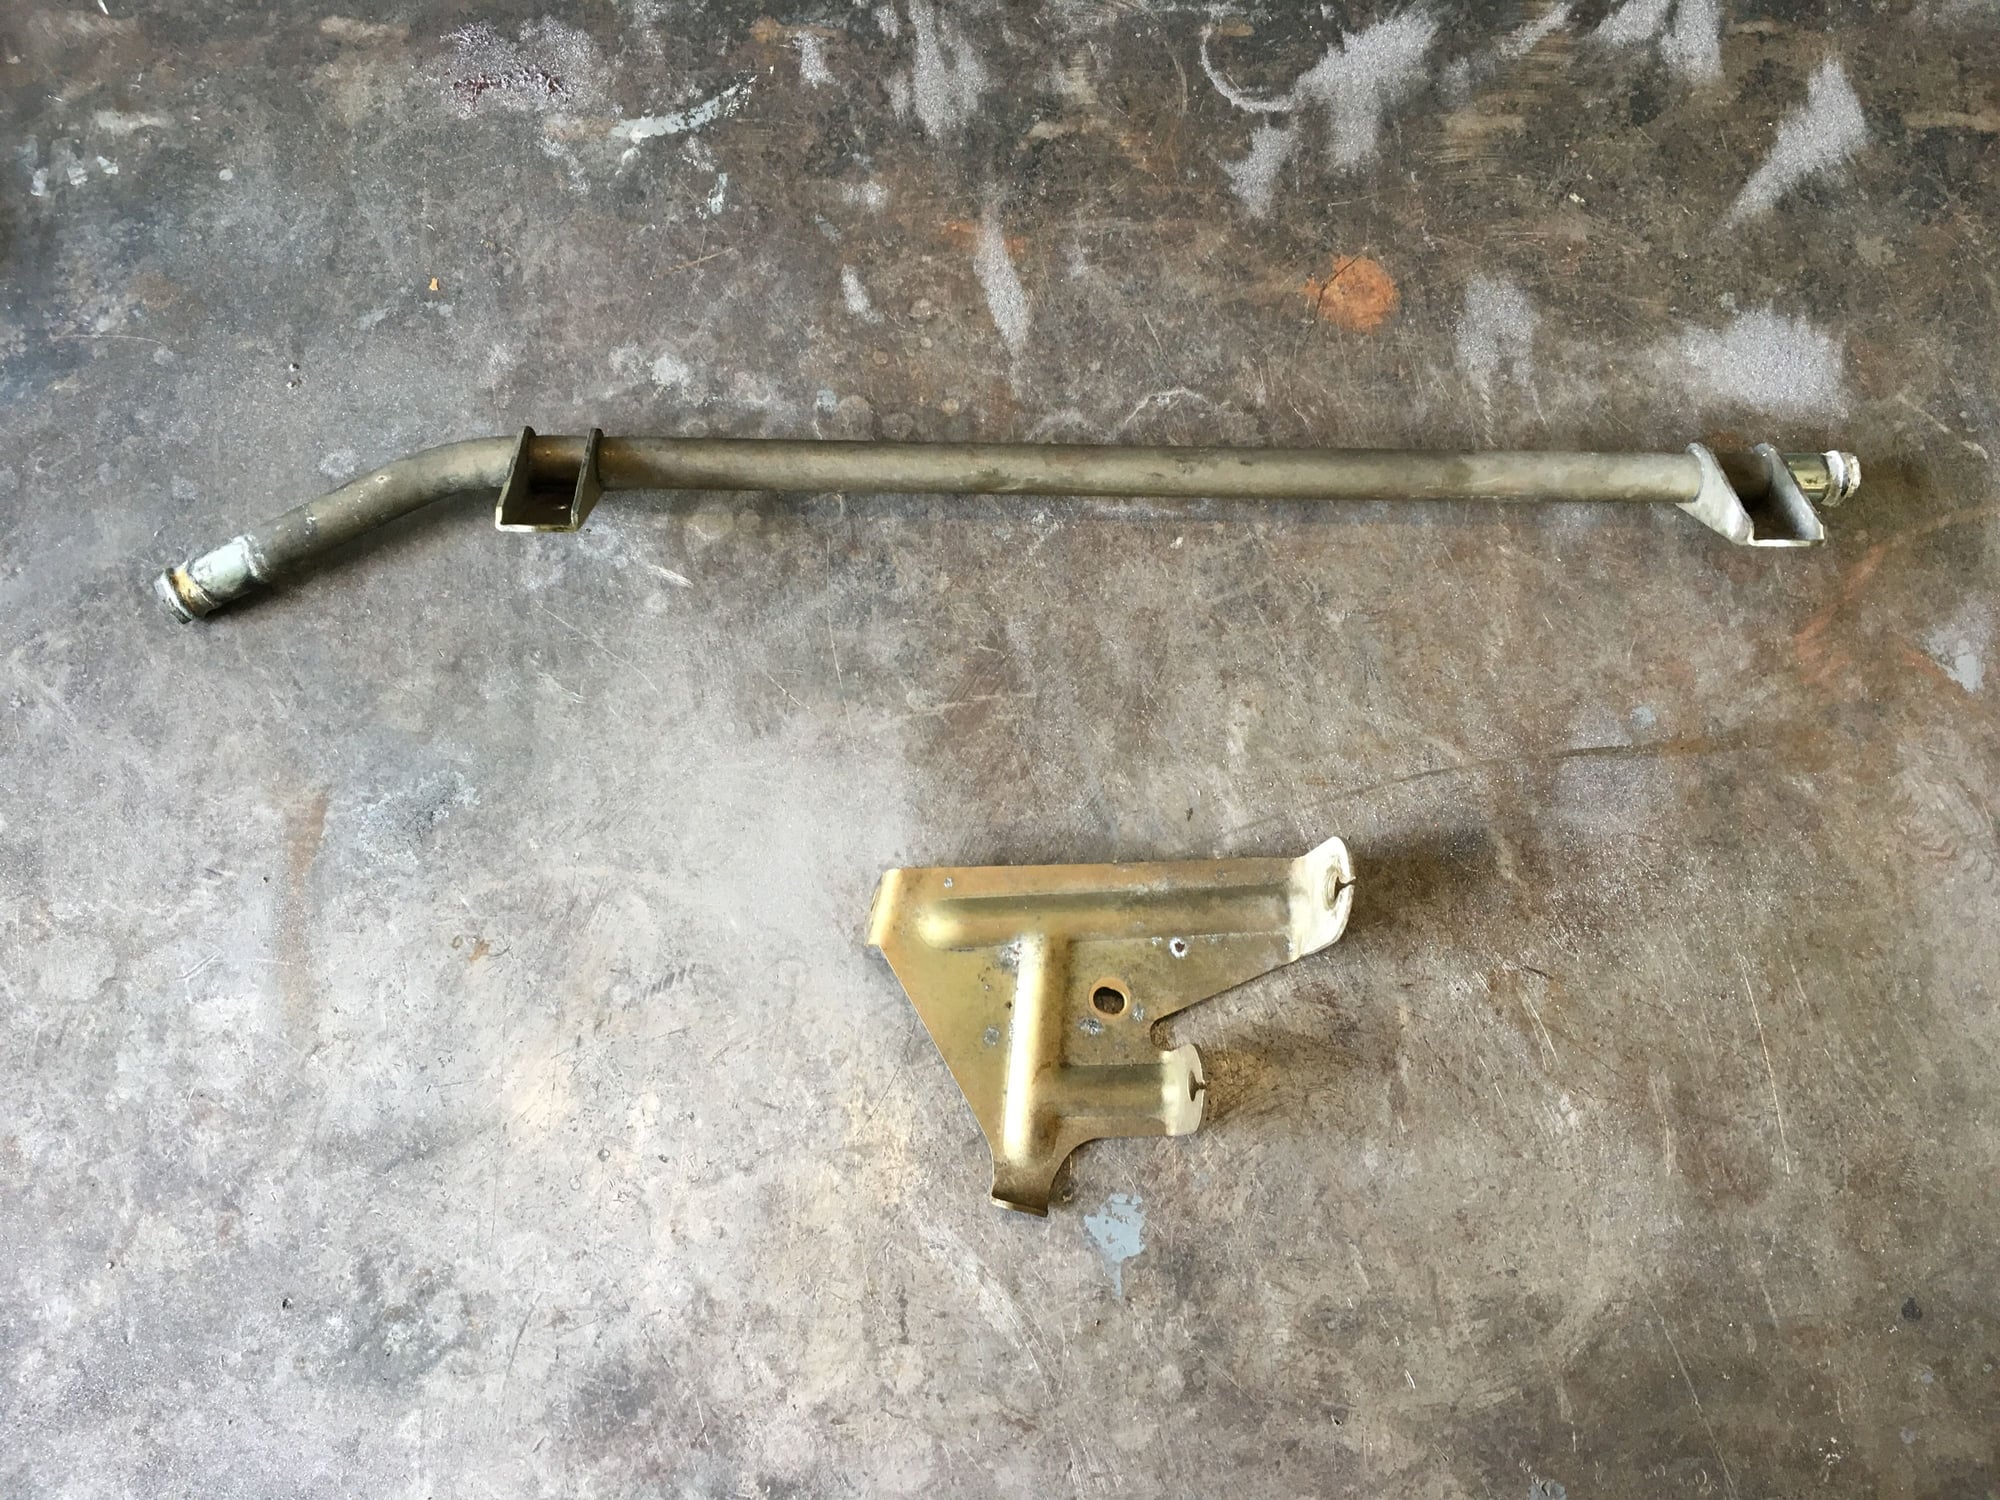
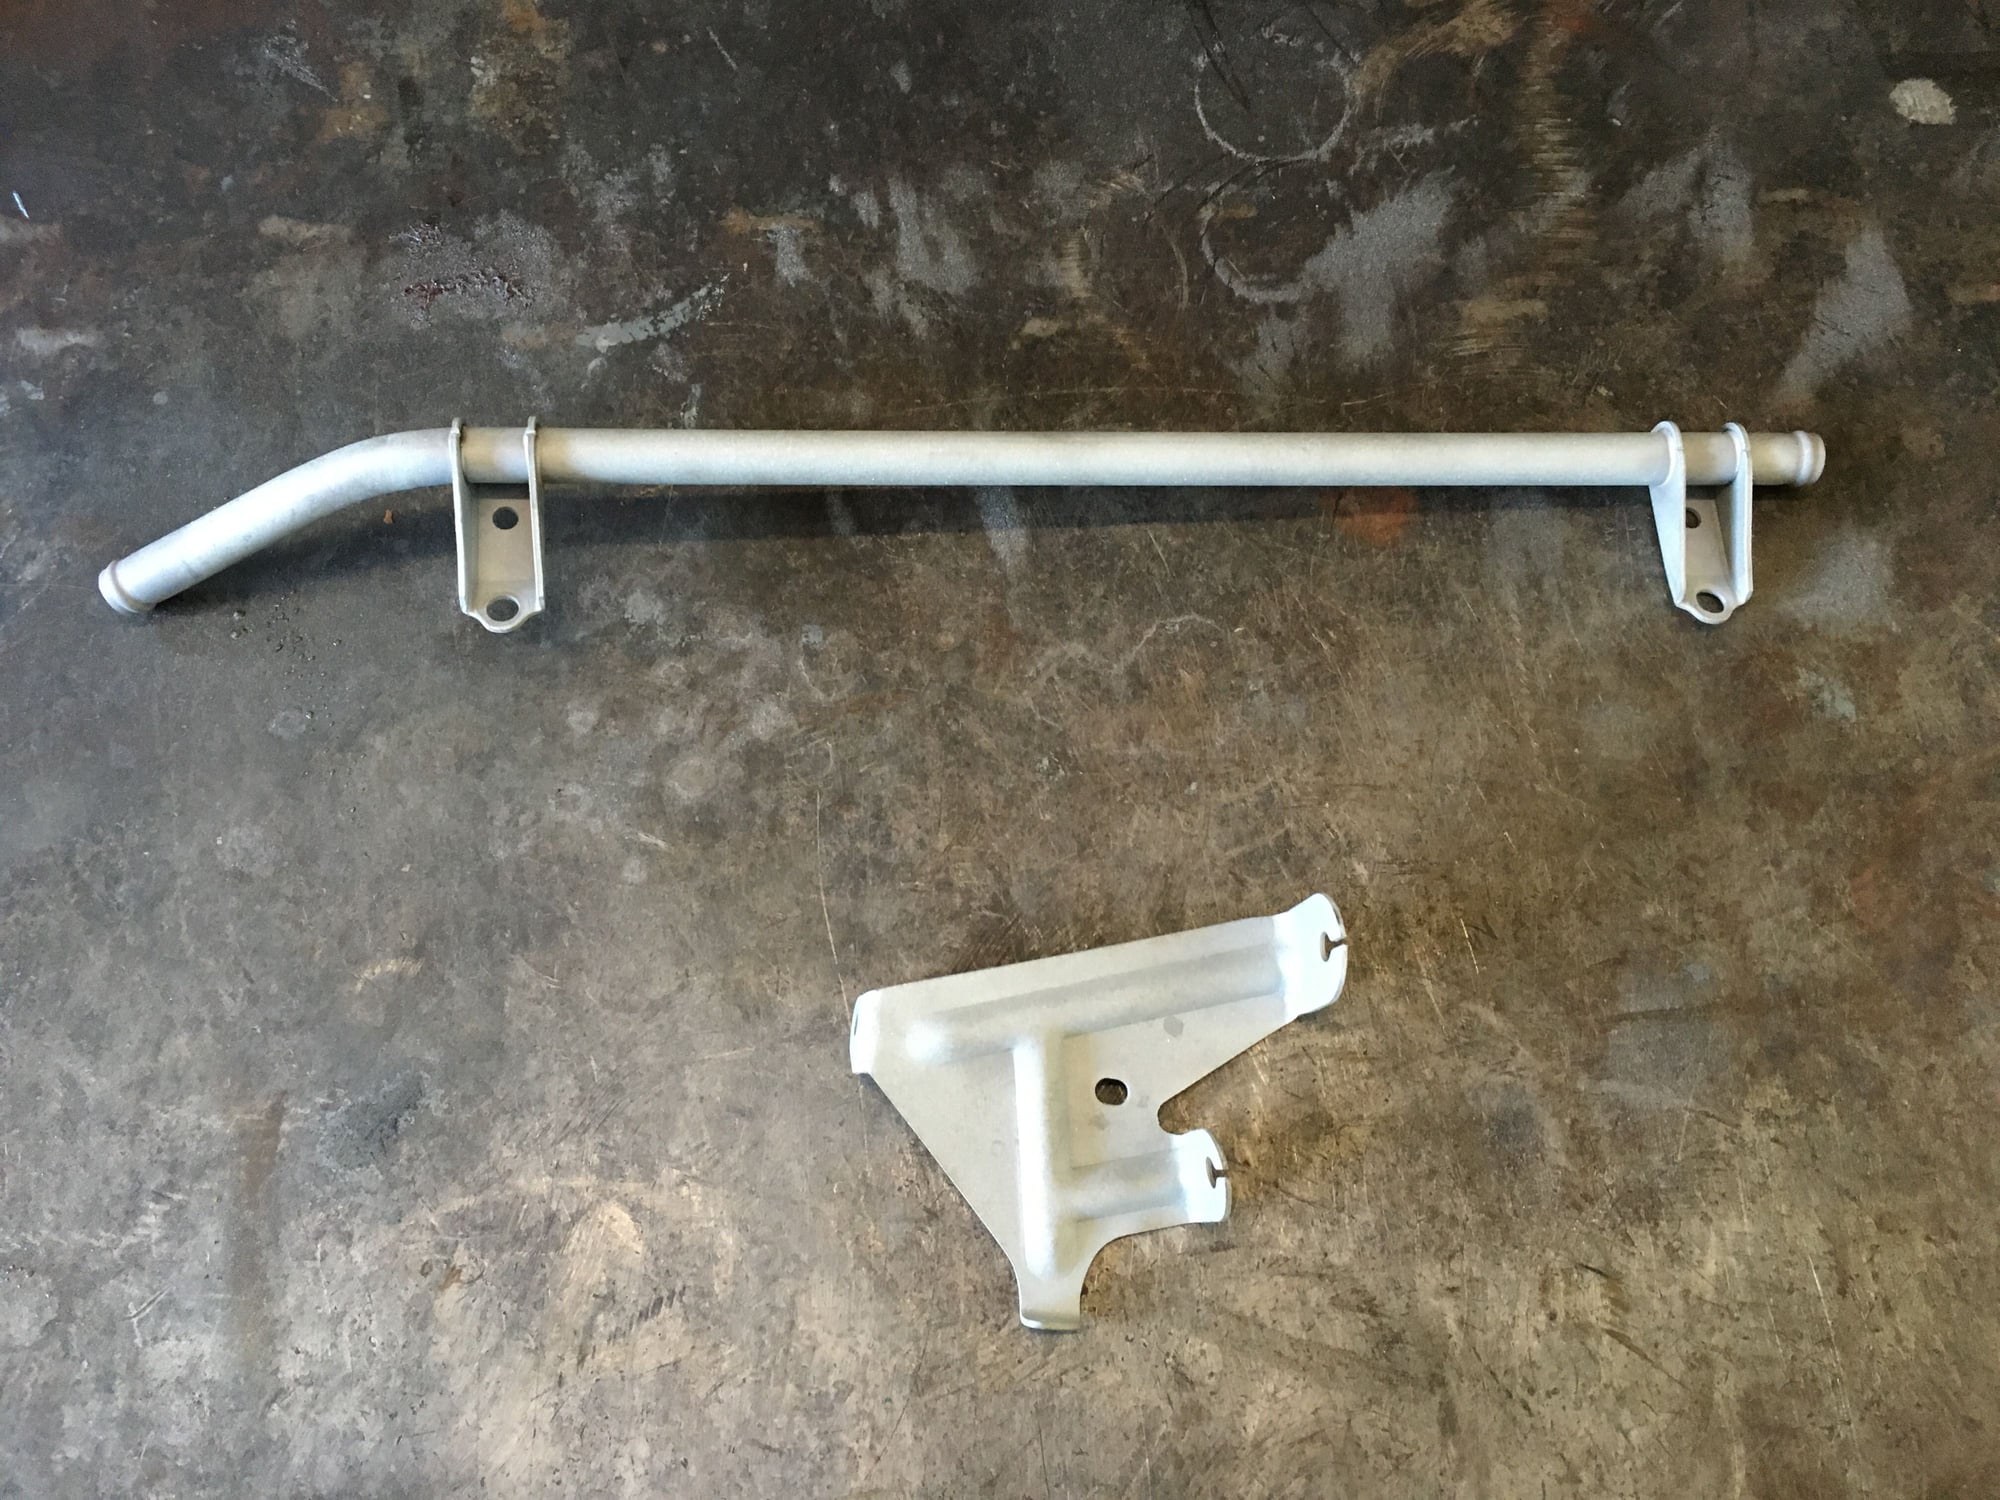
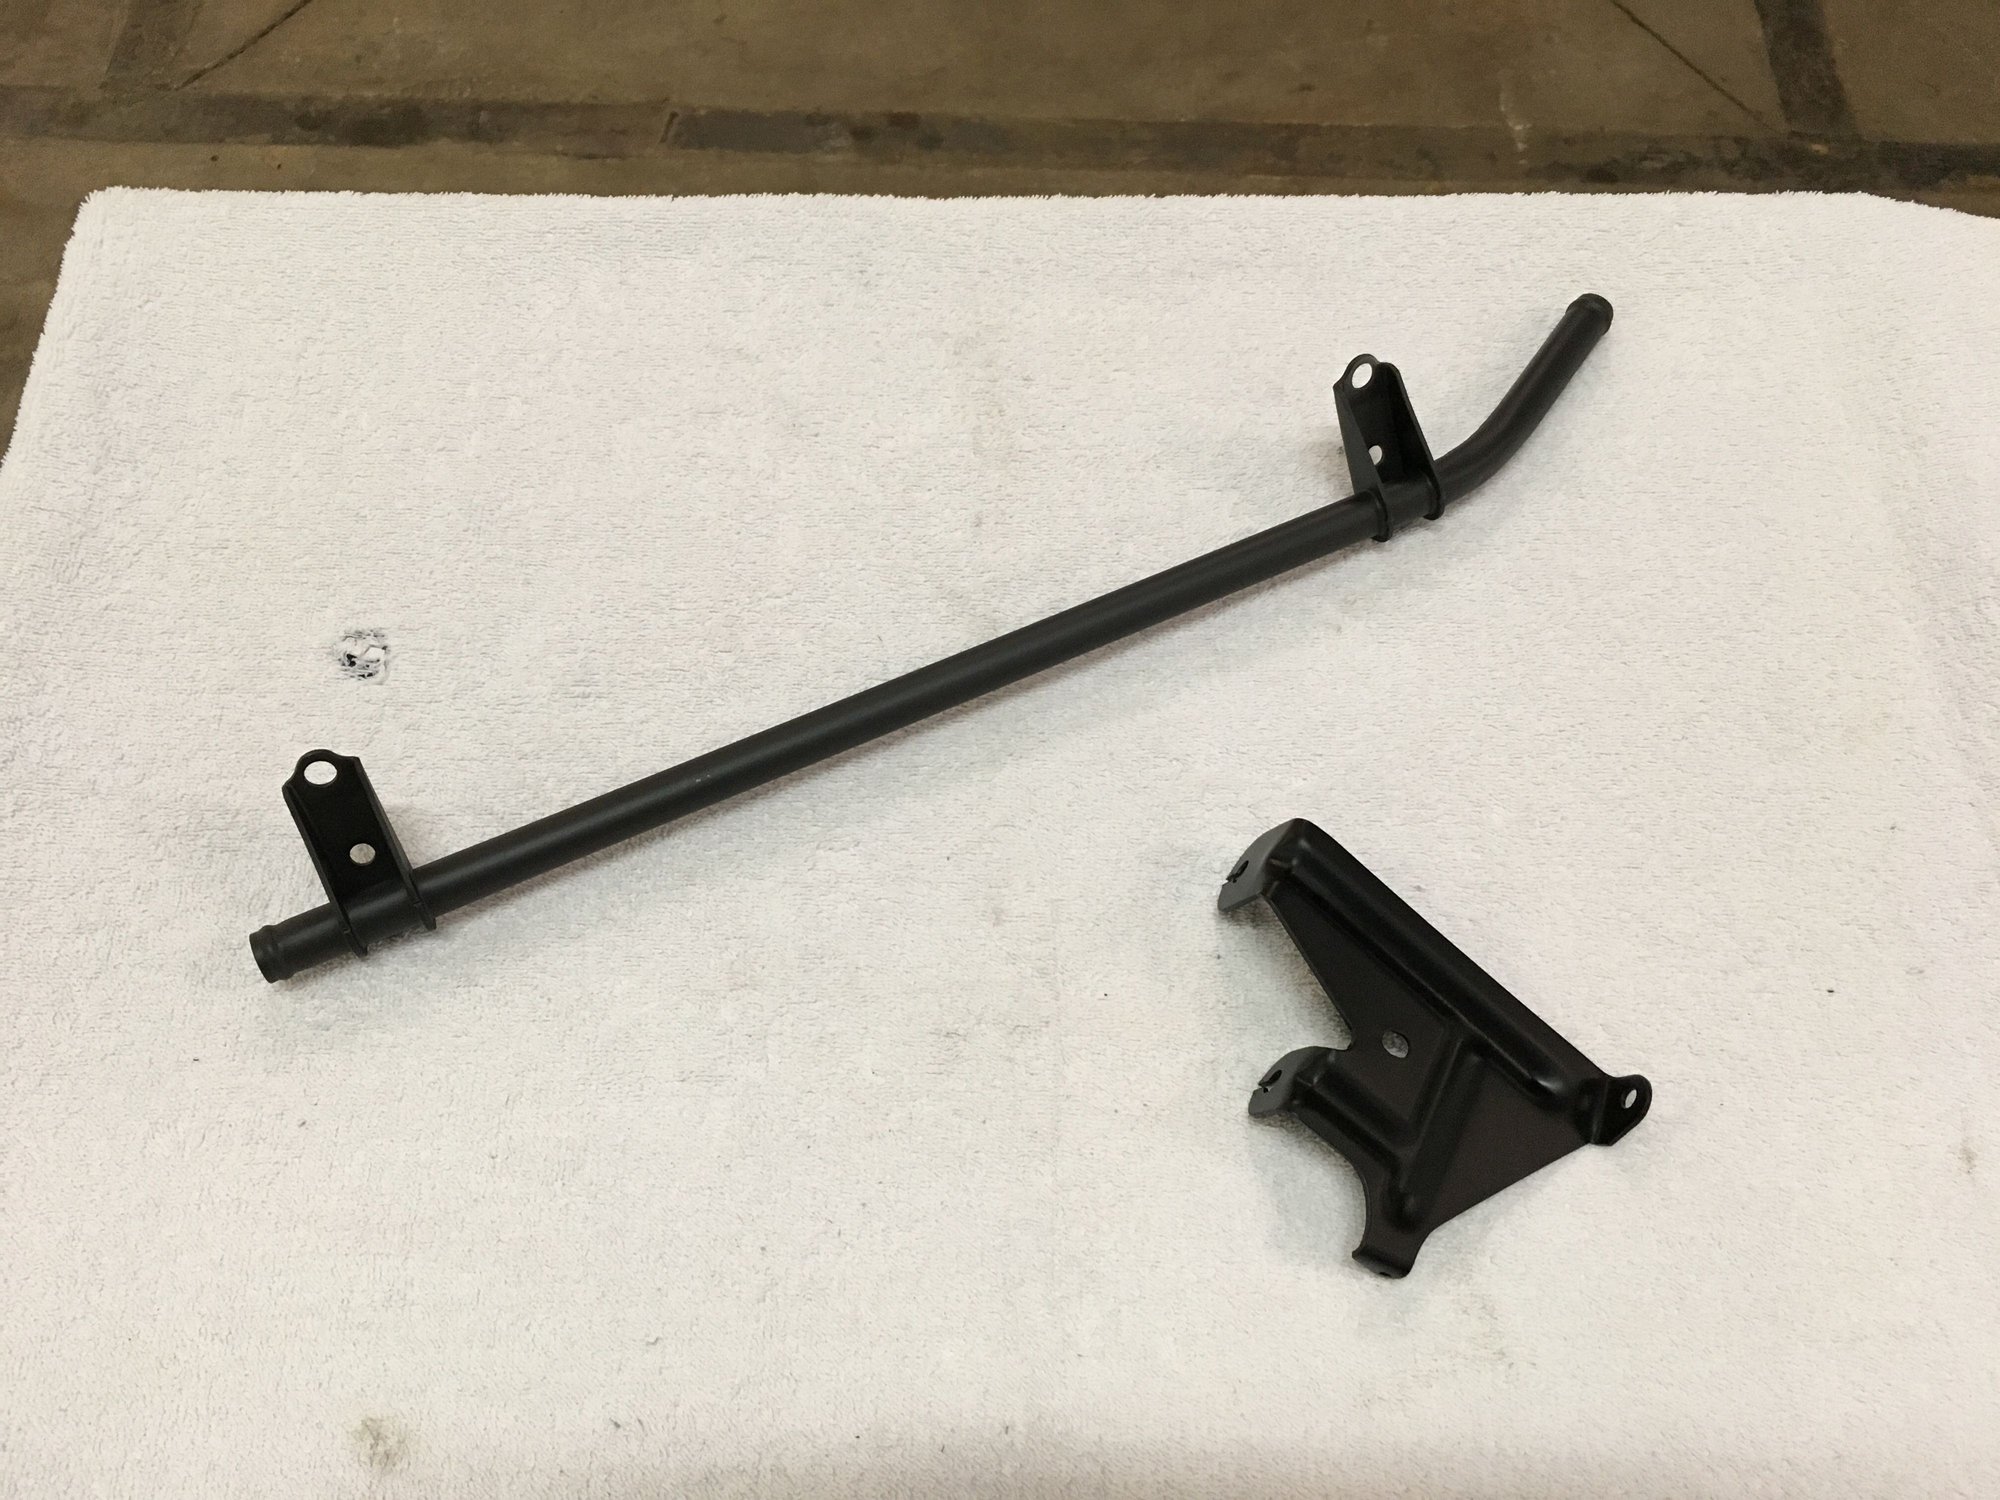
I was getting hot and had a little bit of time left so I decided to blast two more pieces - the crack pipe and the throttle bracket.
Still need to paint them, but that's for another week. Figure I'll blast a few more miscellaneous brackets so I can paint them all at once.
Some more work today. I'm working my way through cleaning up the ancillary components to like-new condition so that once I finally tear the block apart and start rebuilding it, I'll have all the other parts ready to put back on the engine. Maybe not the most efficient way to work through an engine build, but it is what it is.
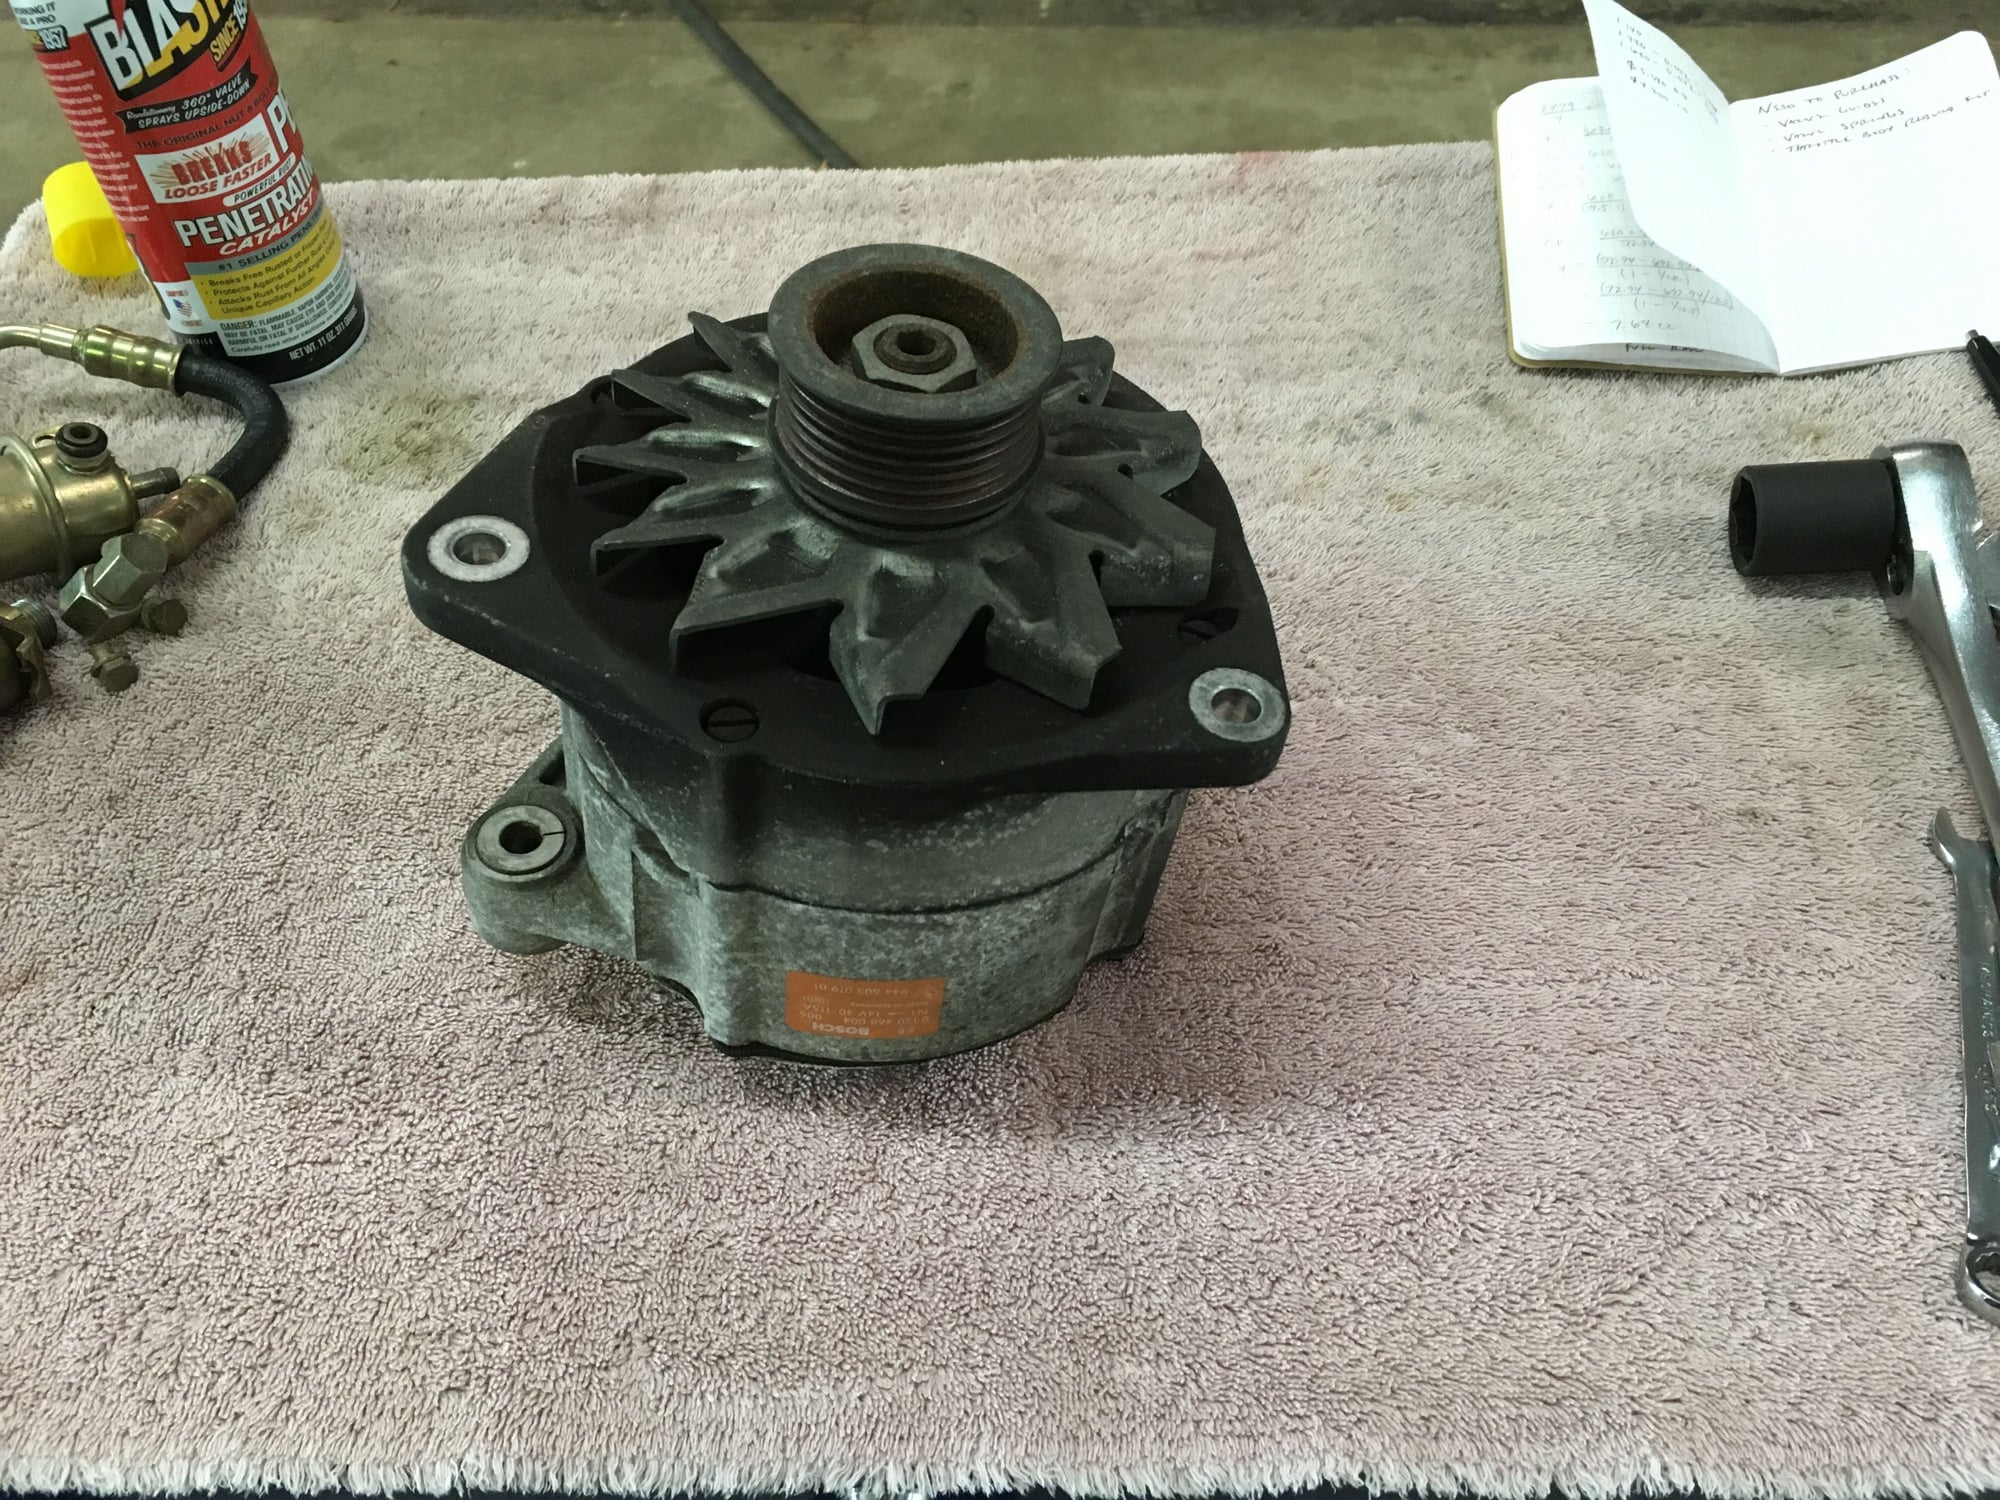
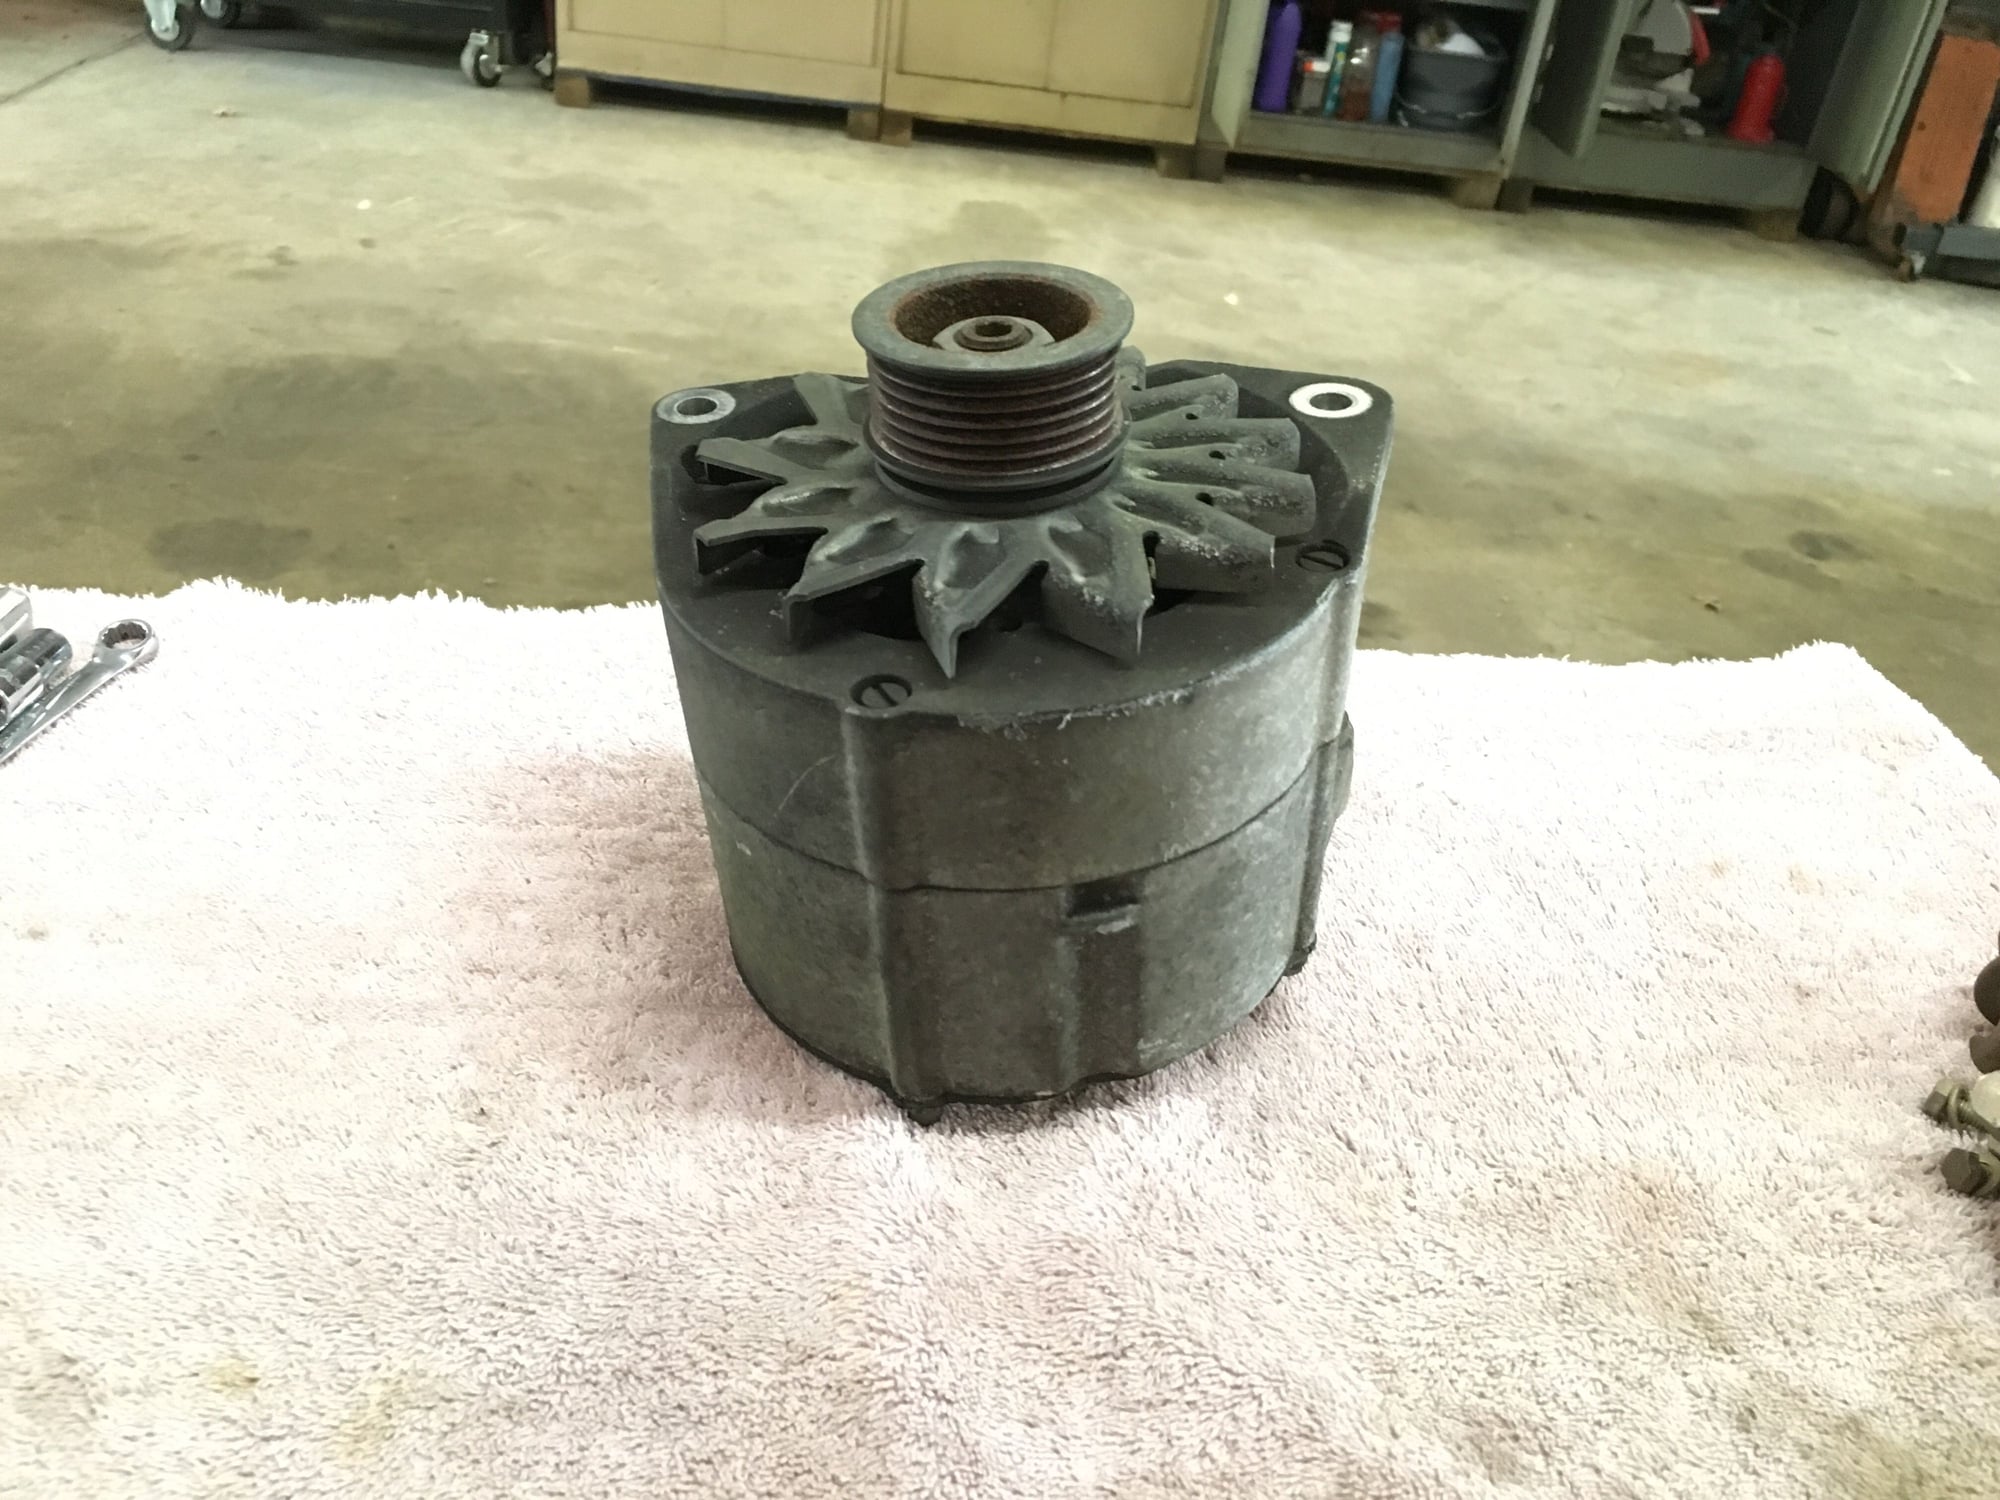
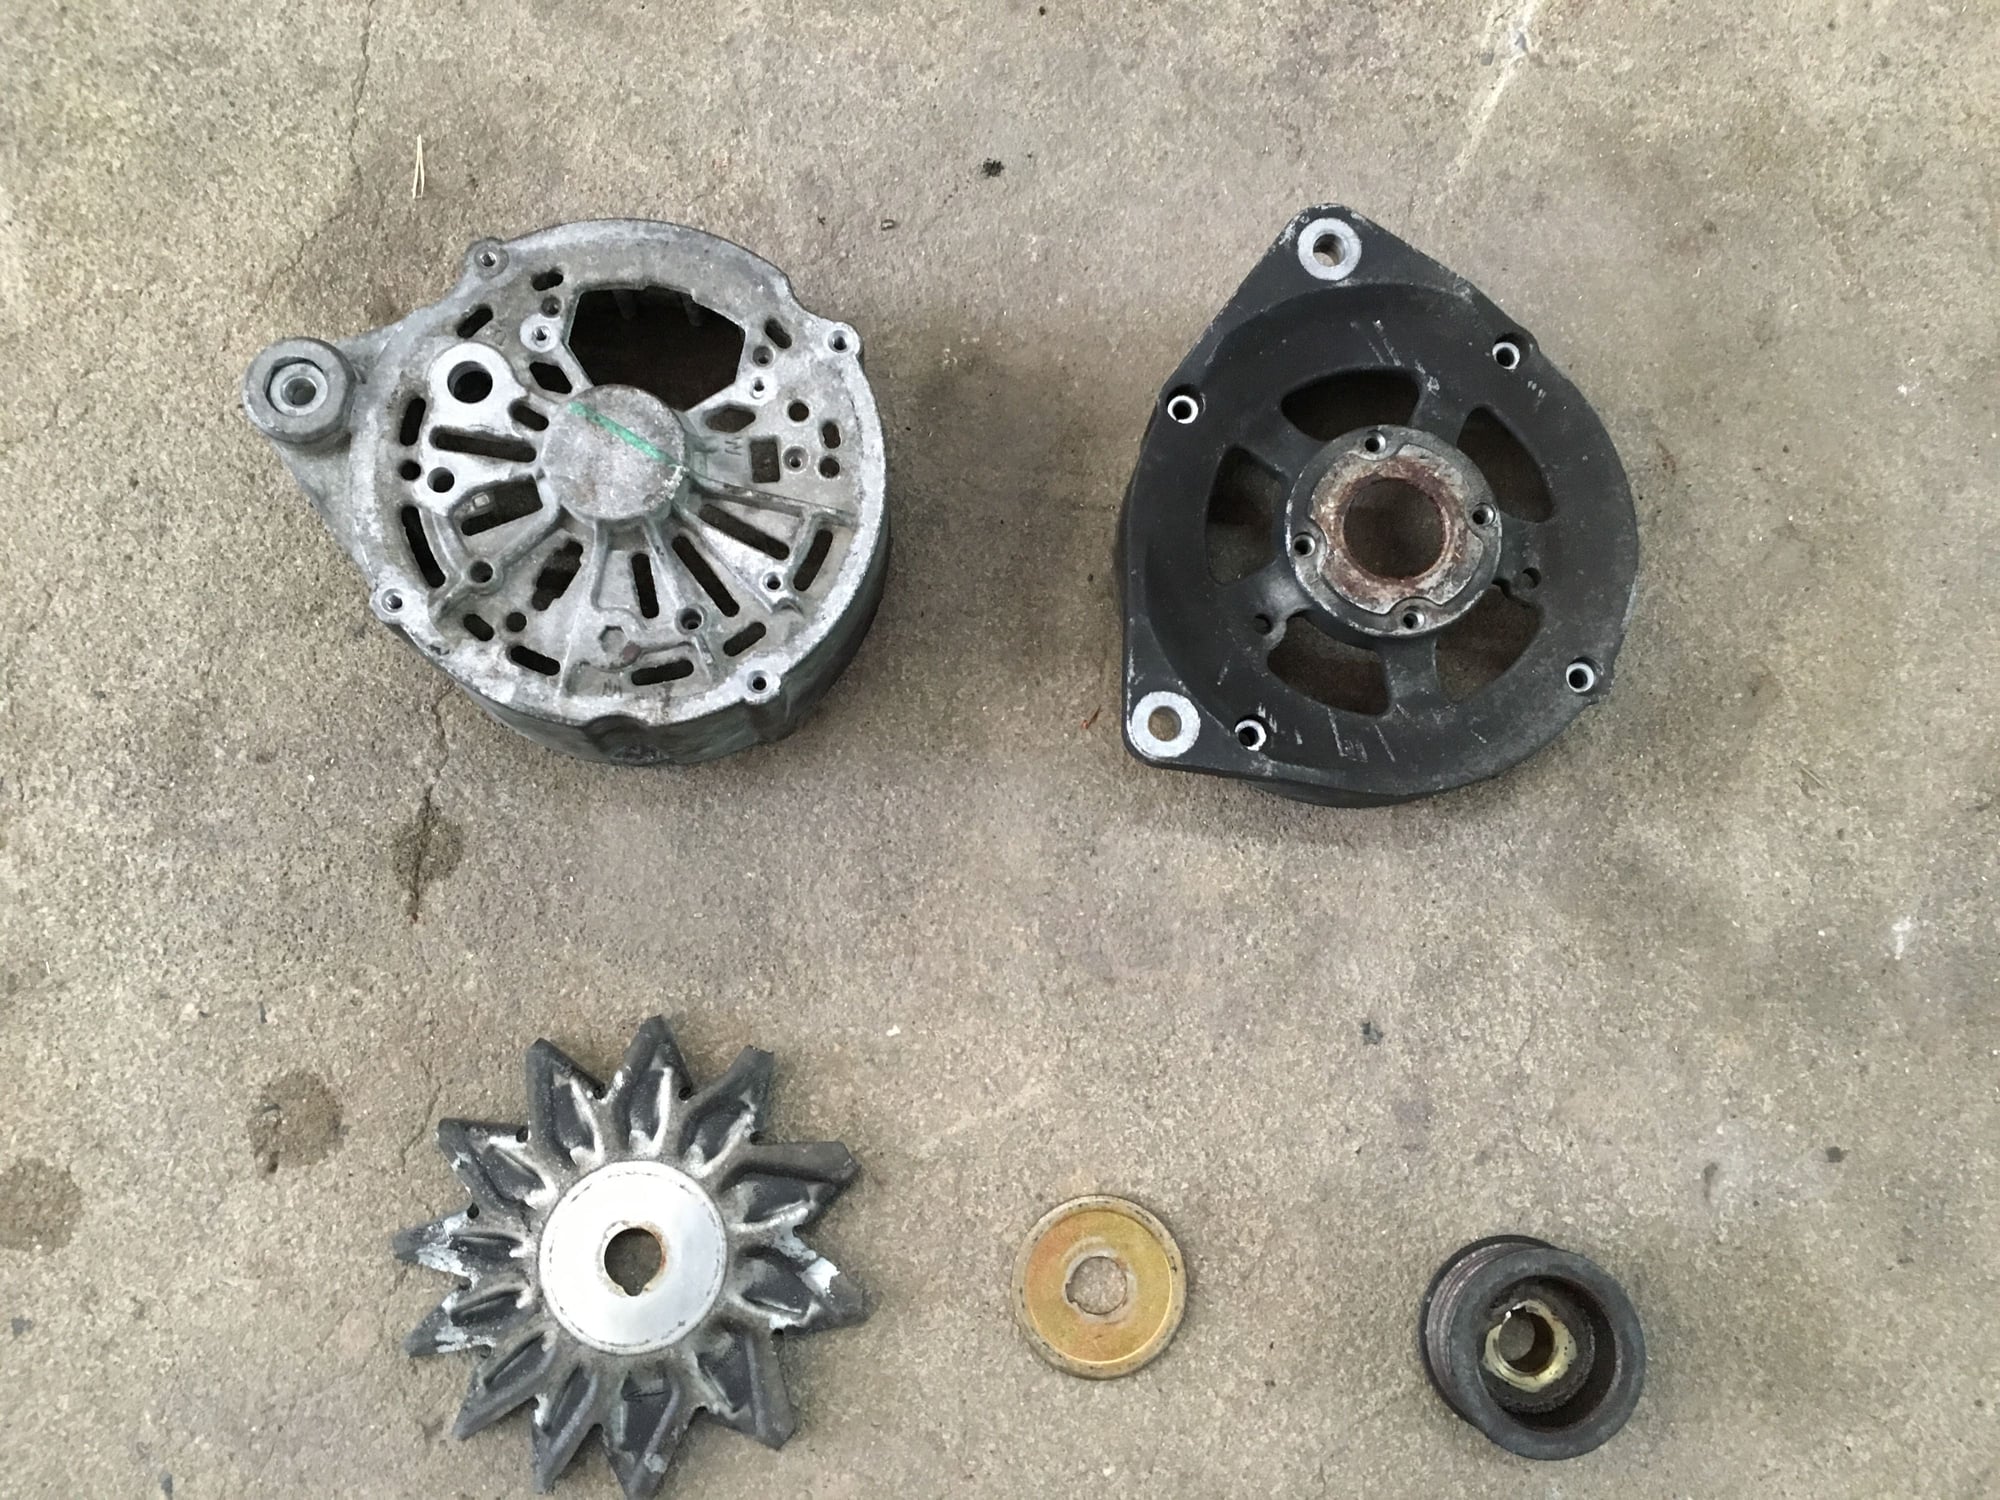
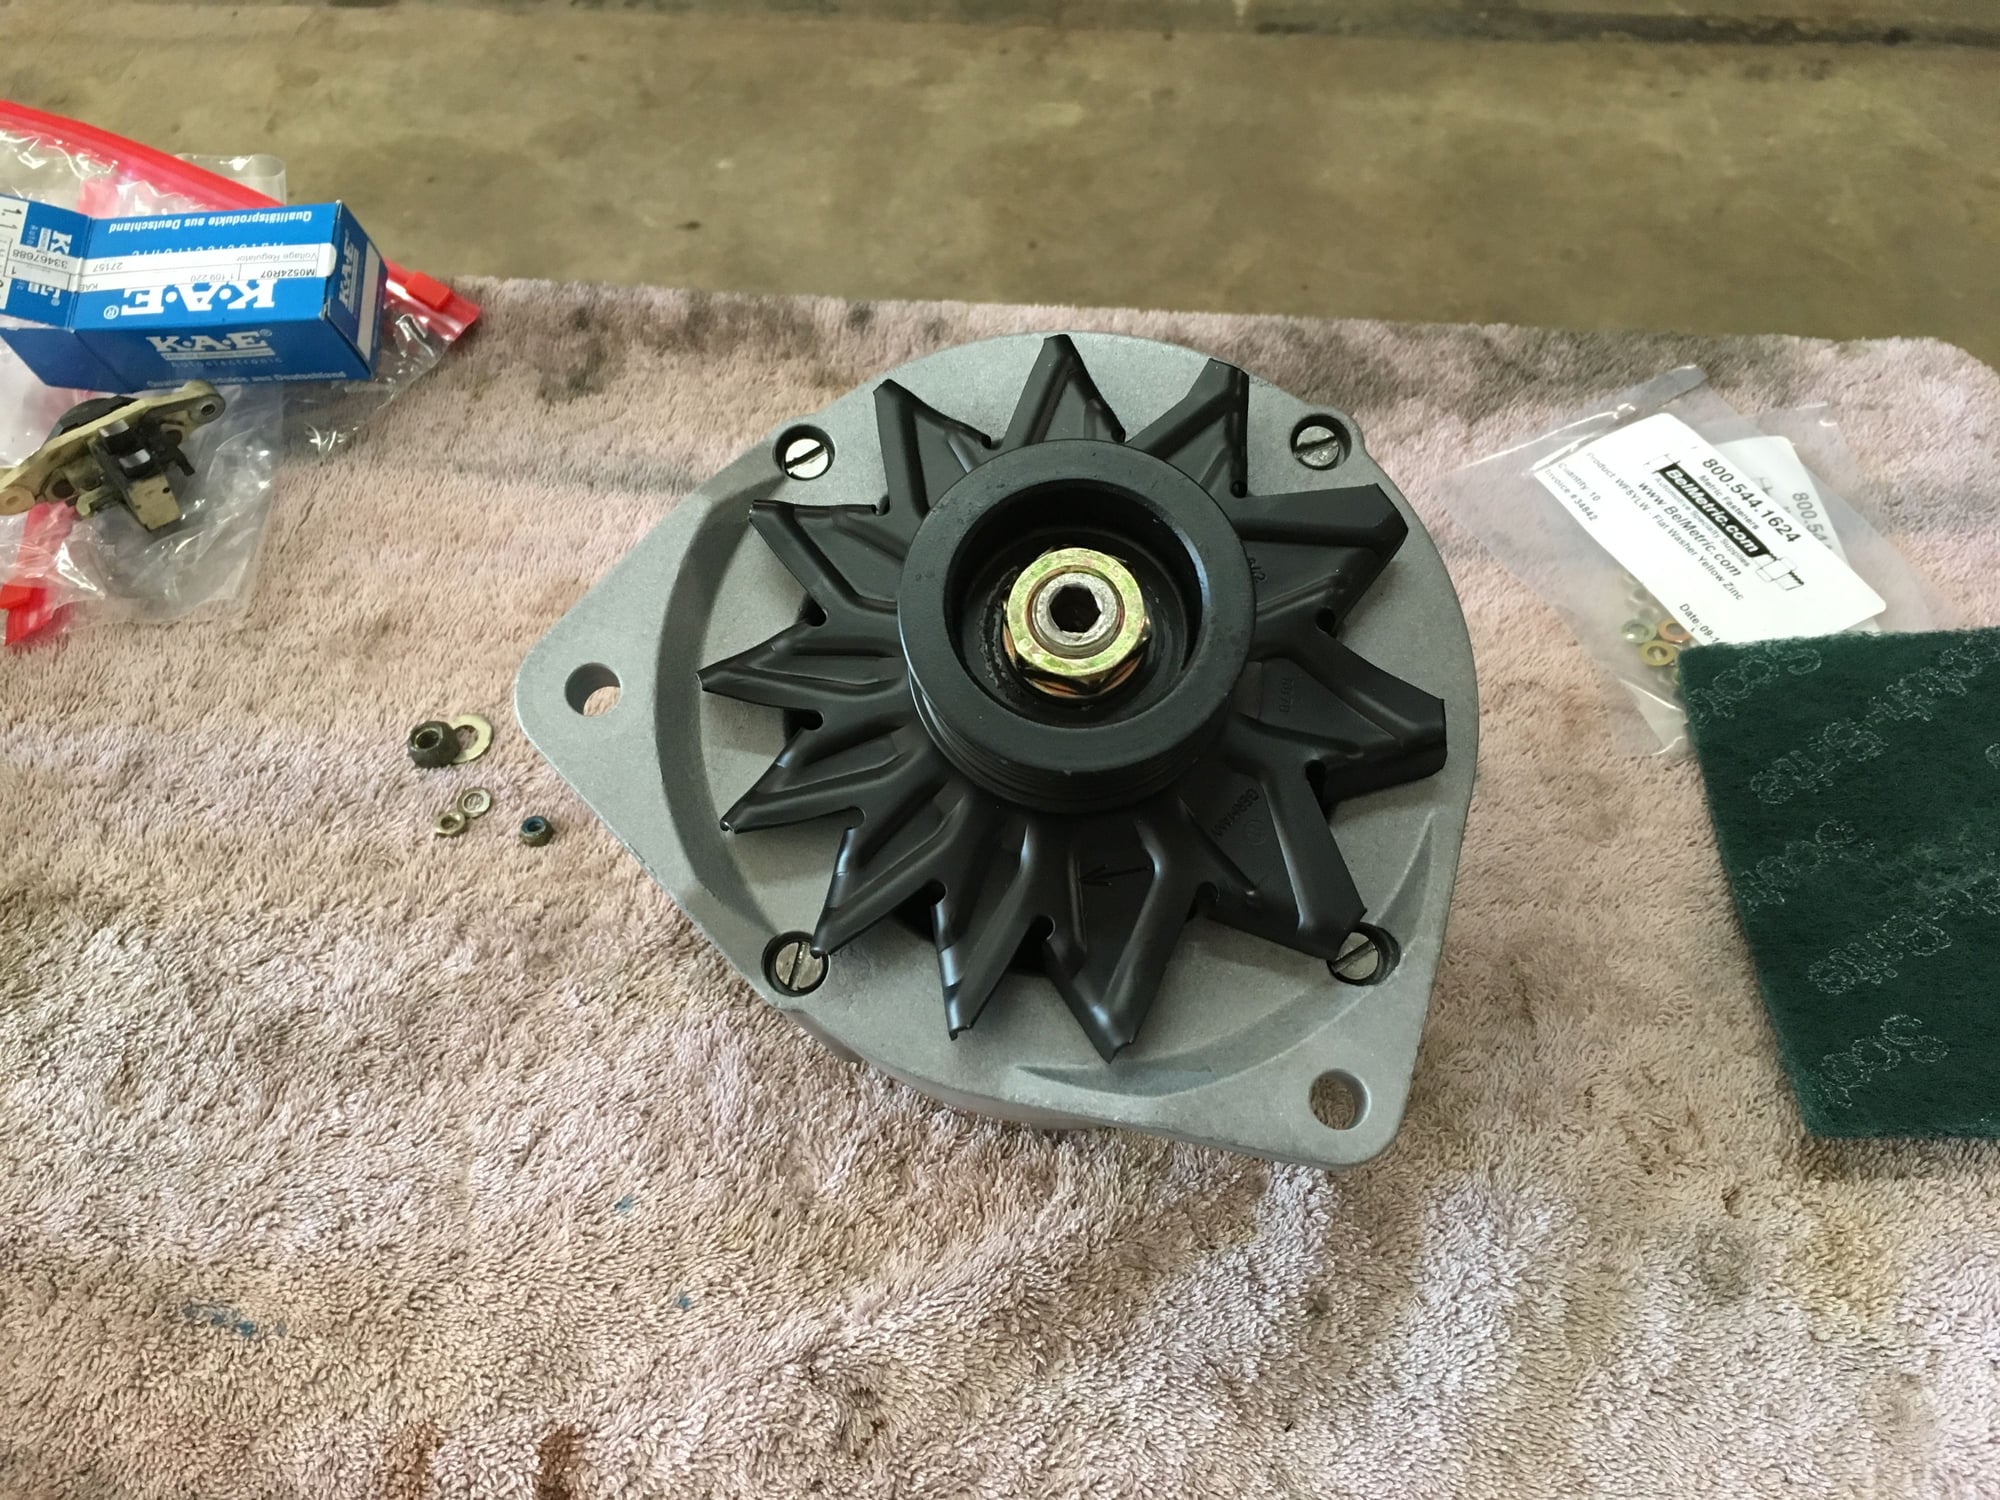
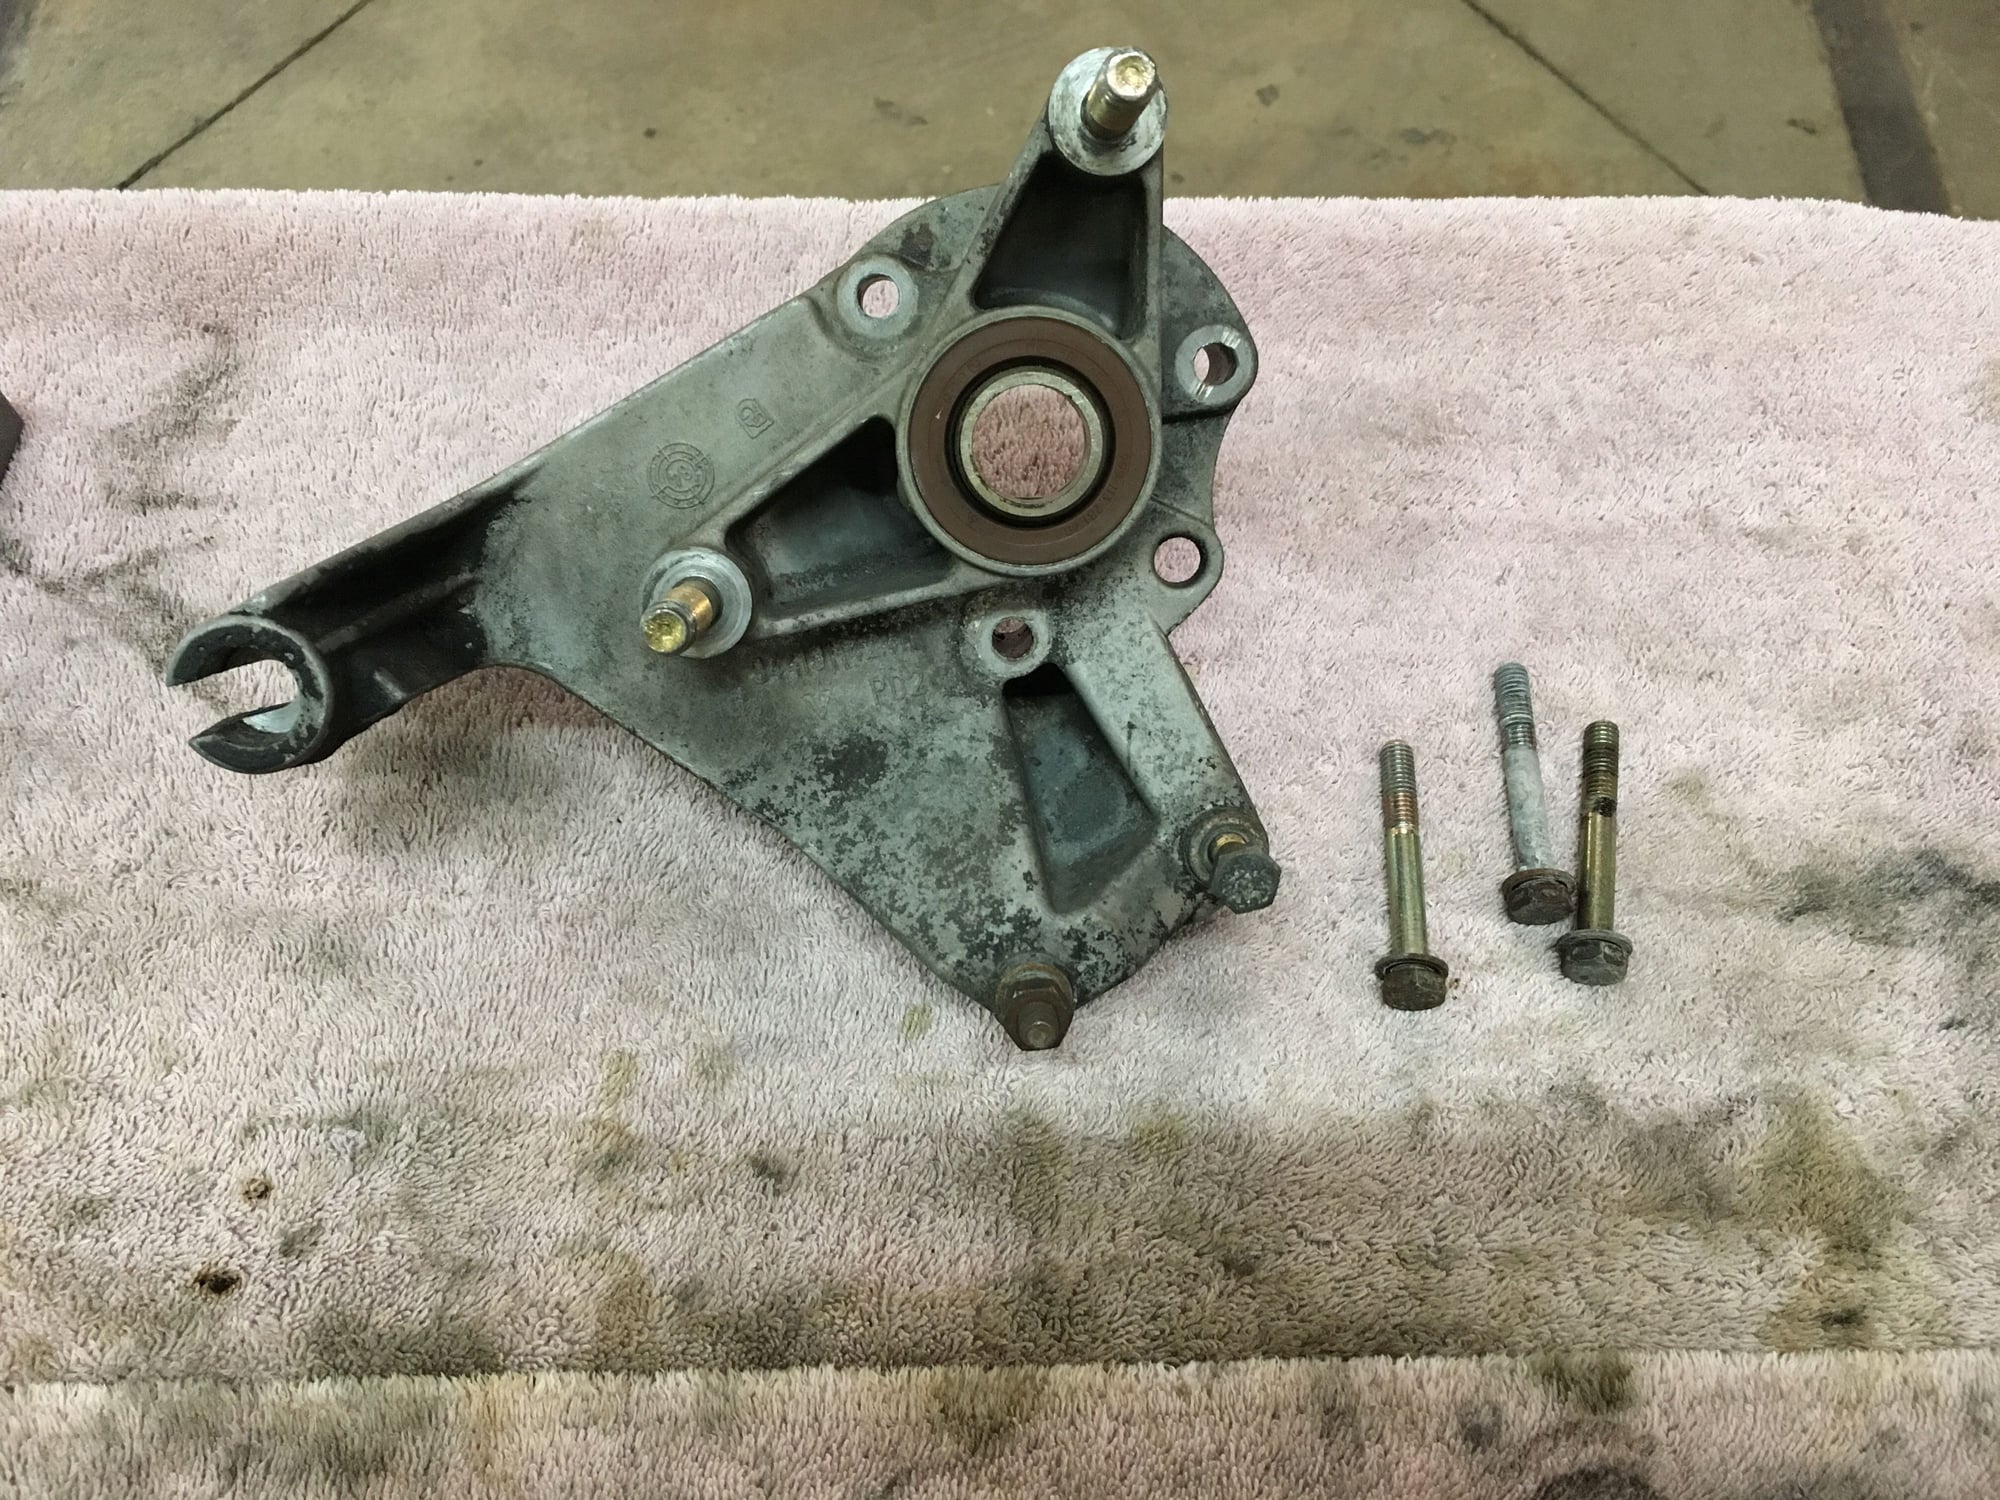
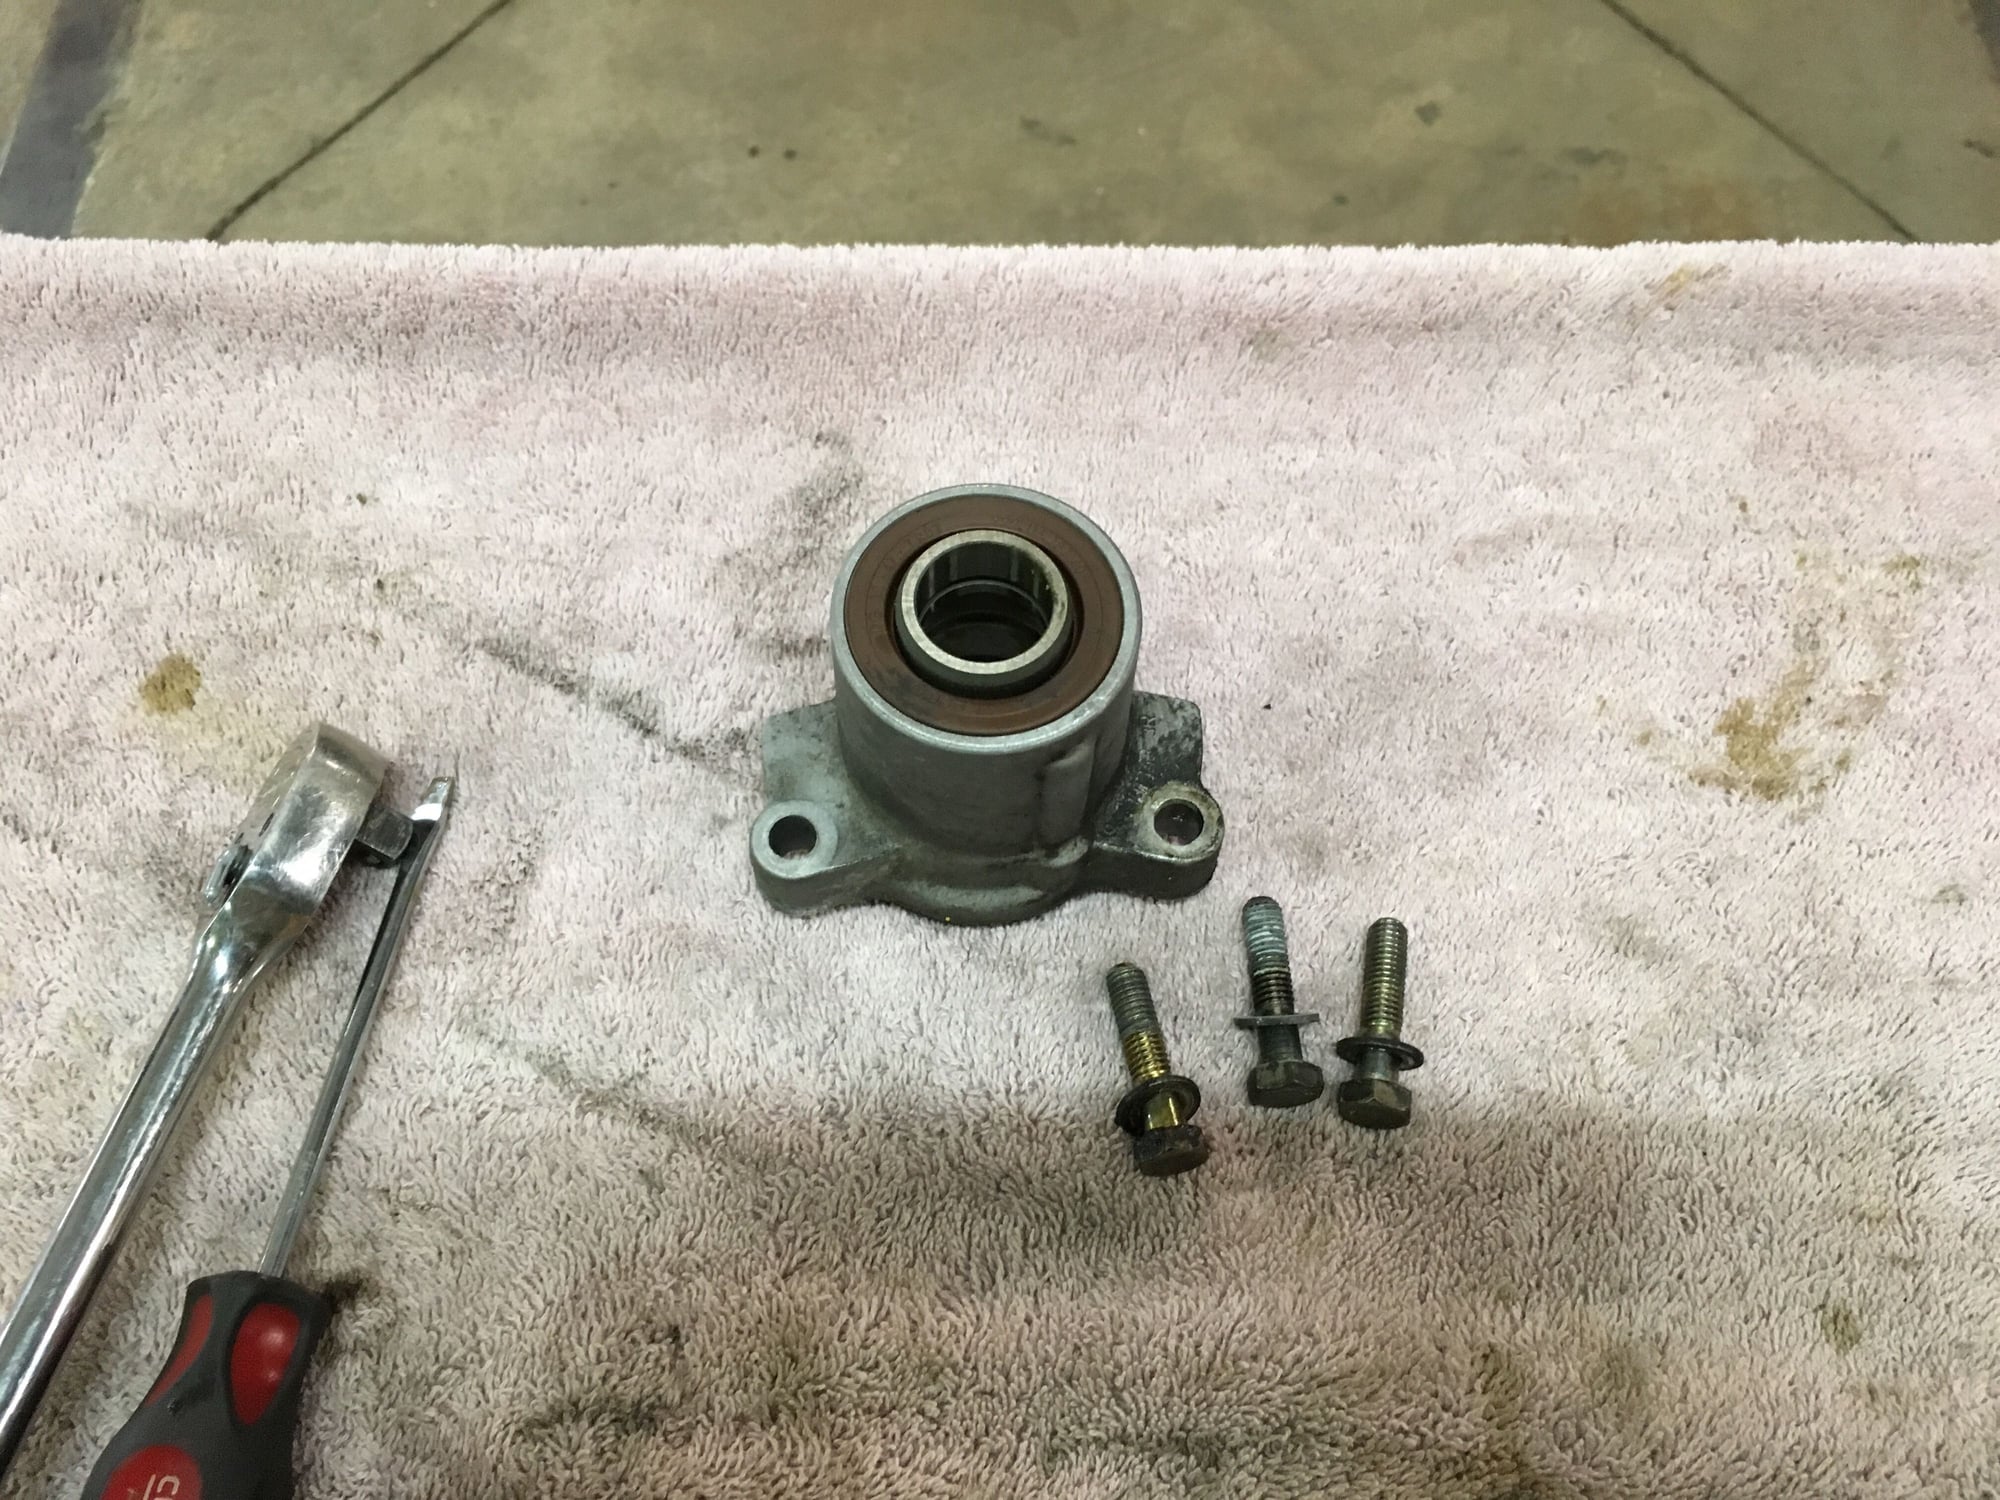
I took a look at my alternator and decided it was the perfect candidate for a clean and rebuild, especially given it's condition.
So crusty! But after a bunch of penetrating oil and a bearing splitter I was able to get the pulley off. I was rather surprised to see a key way with no key, but I guess that's why the fit is so tight.
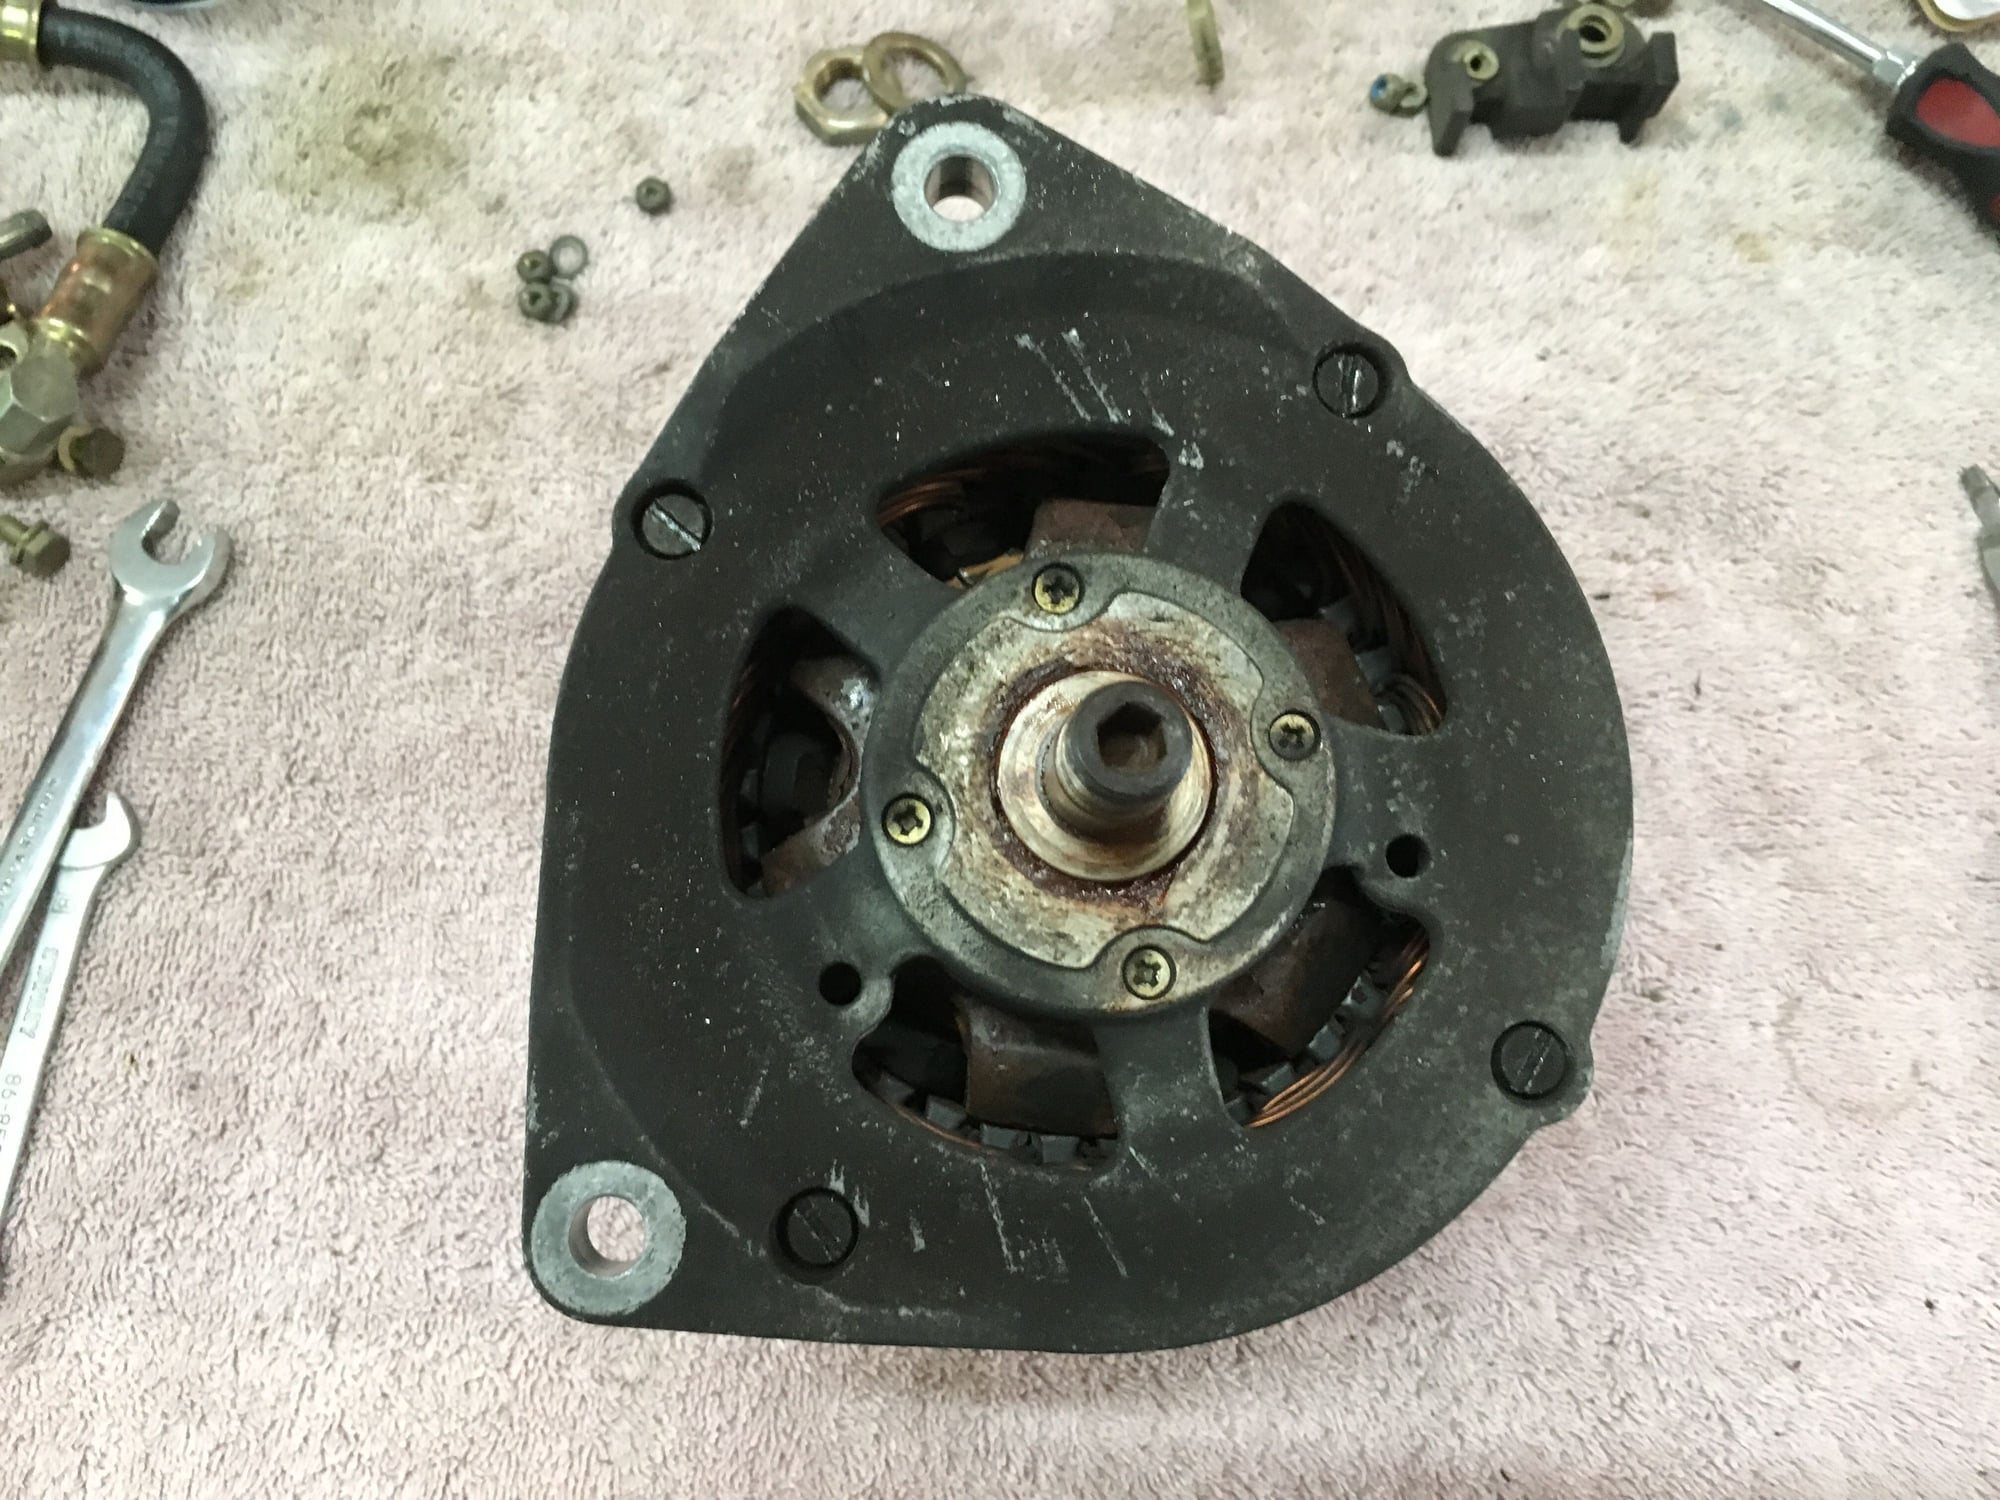
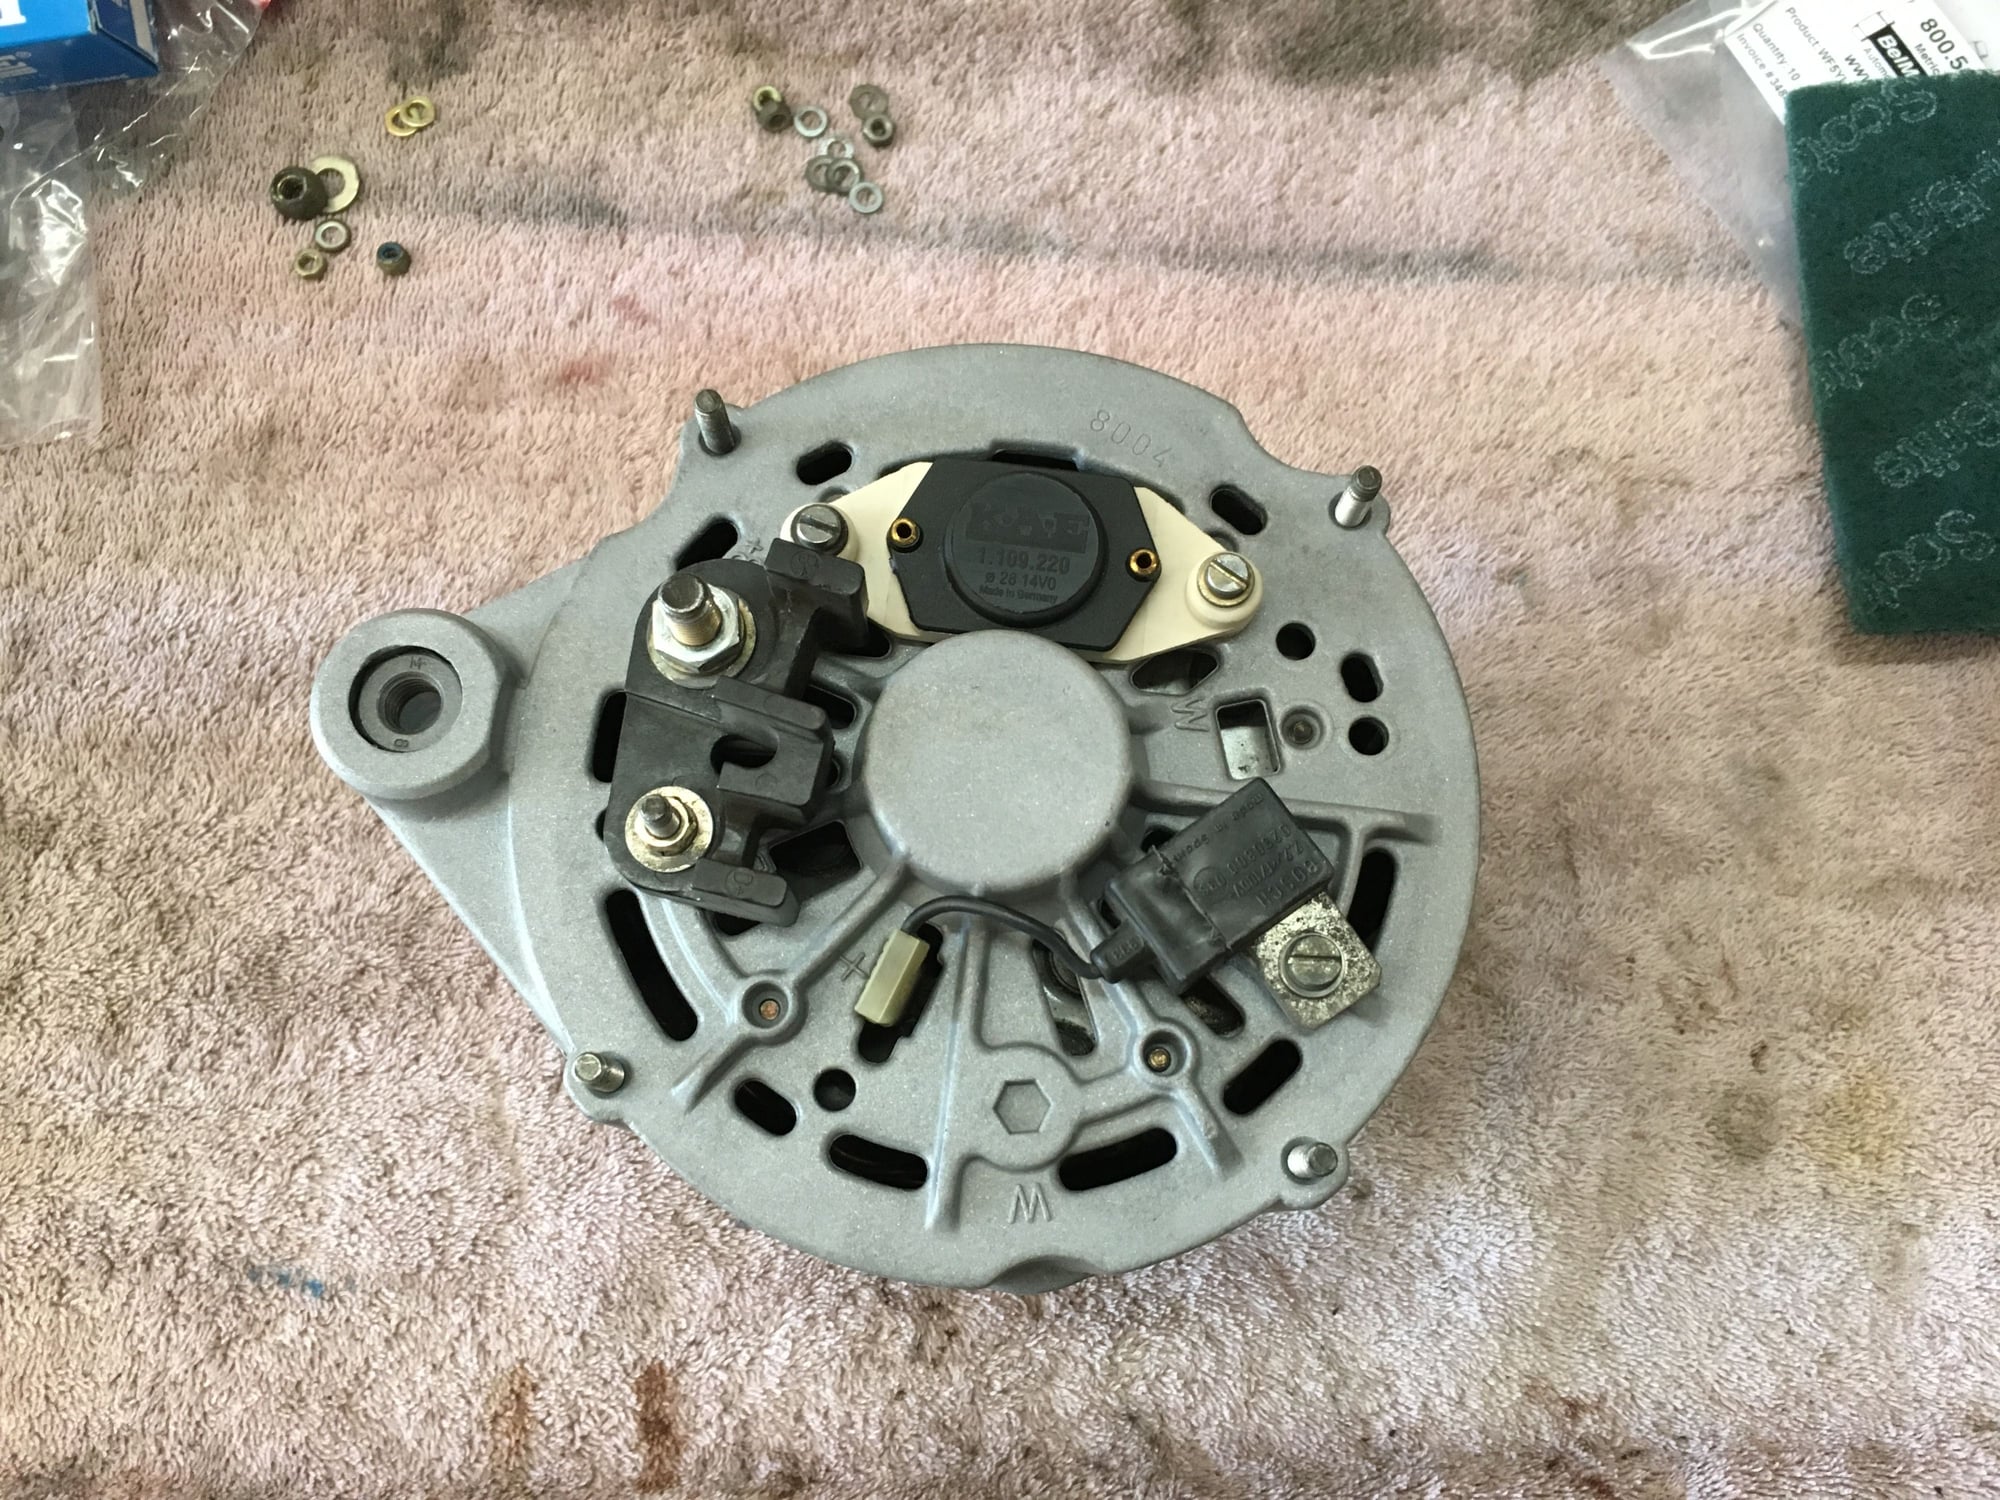
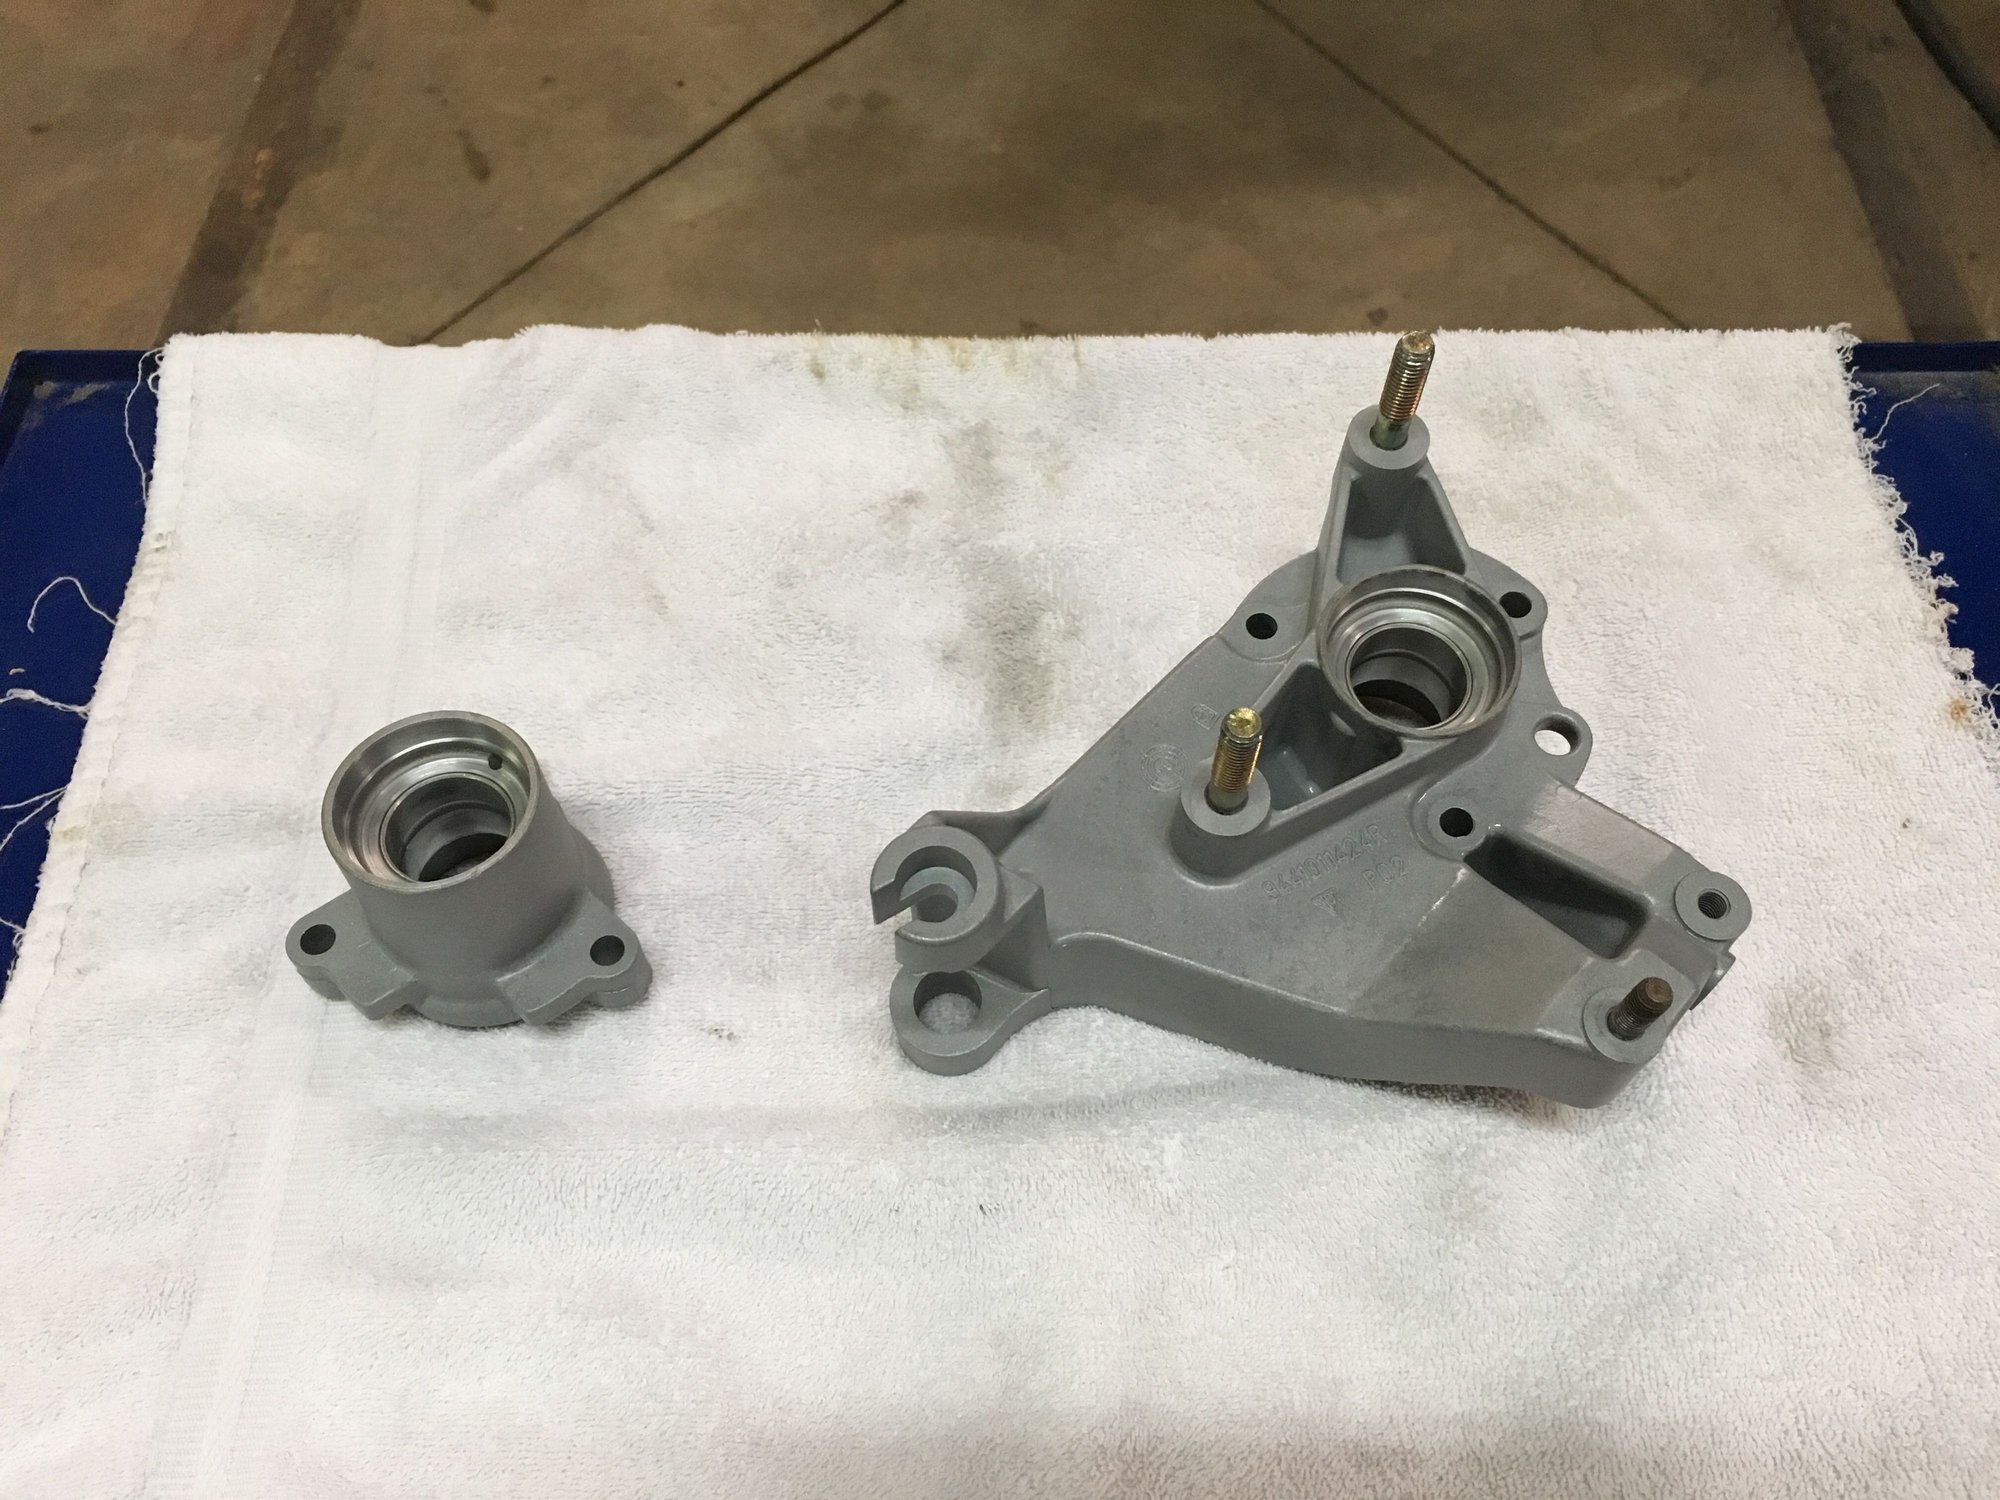
This definitely took longer than I was expecting. Everything seemed very stuck together. I guess that's what 30 years on the car will do. But I finally managed to get the main pieces apart.
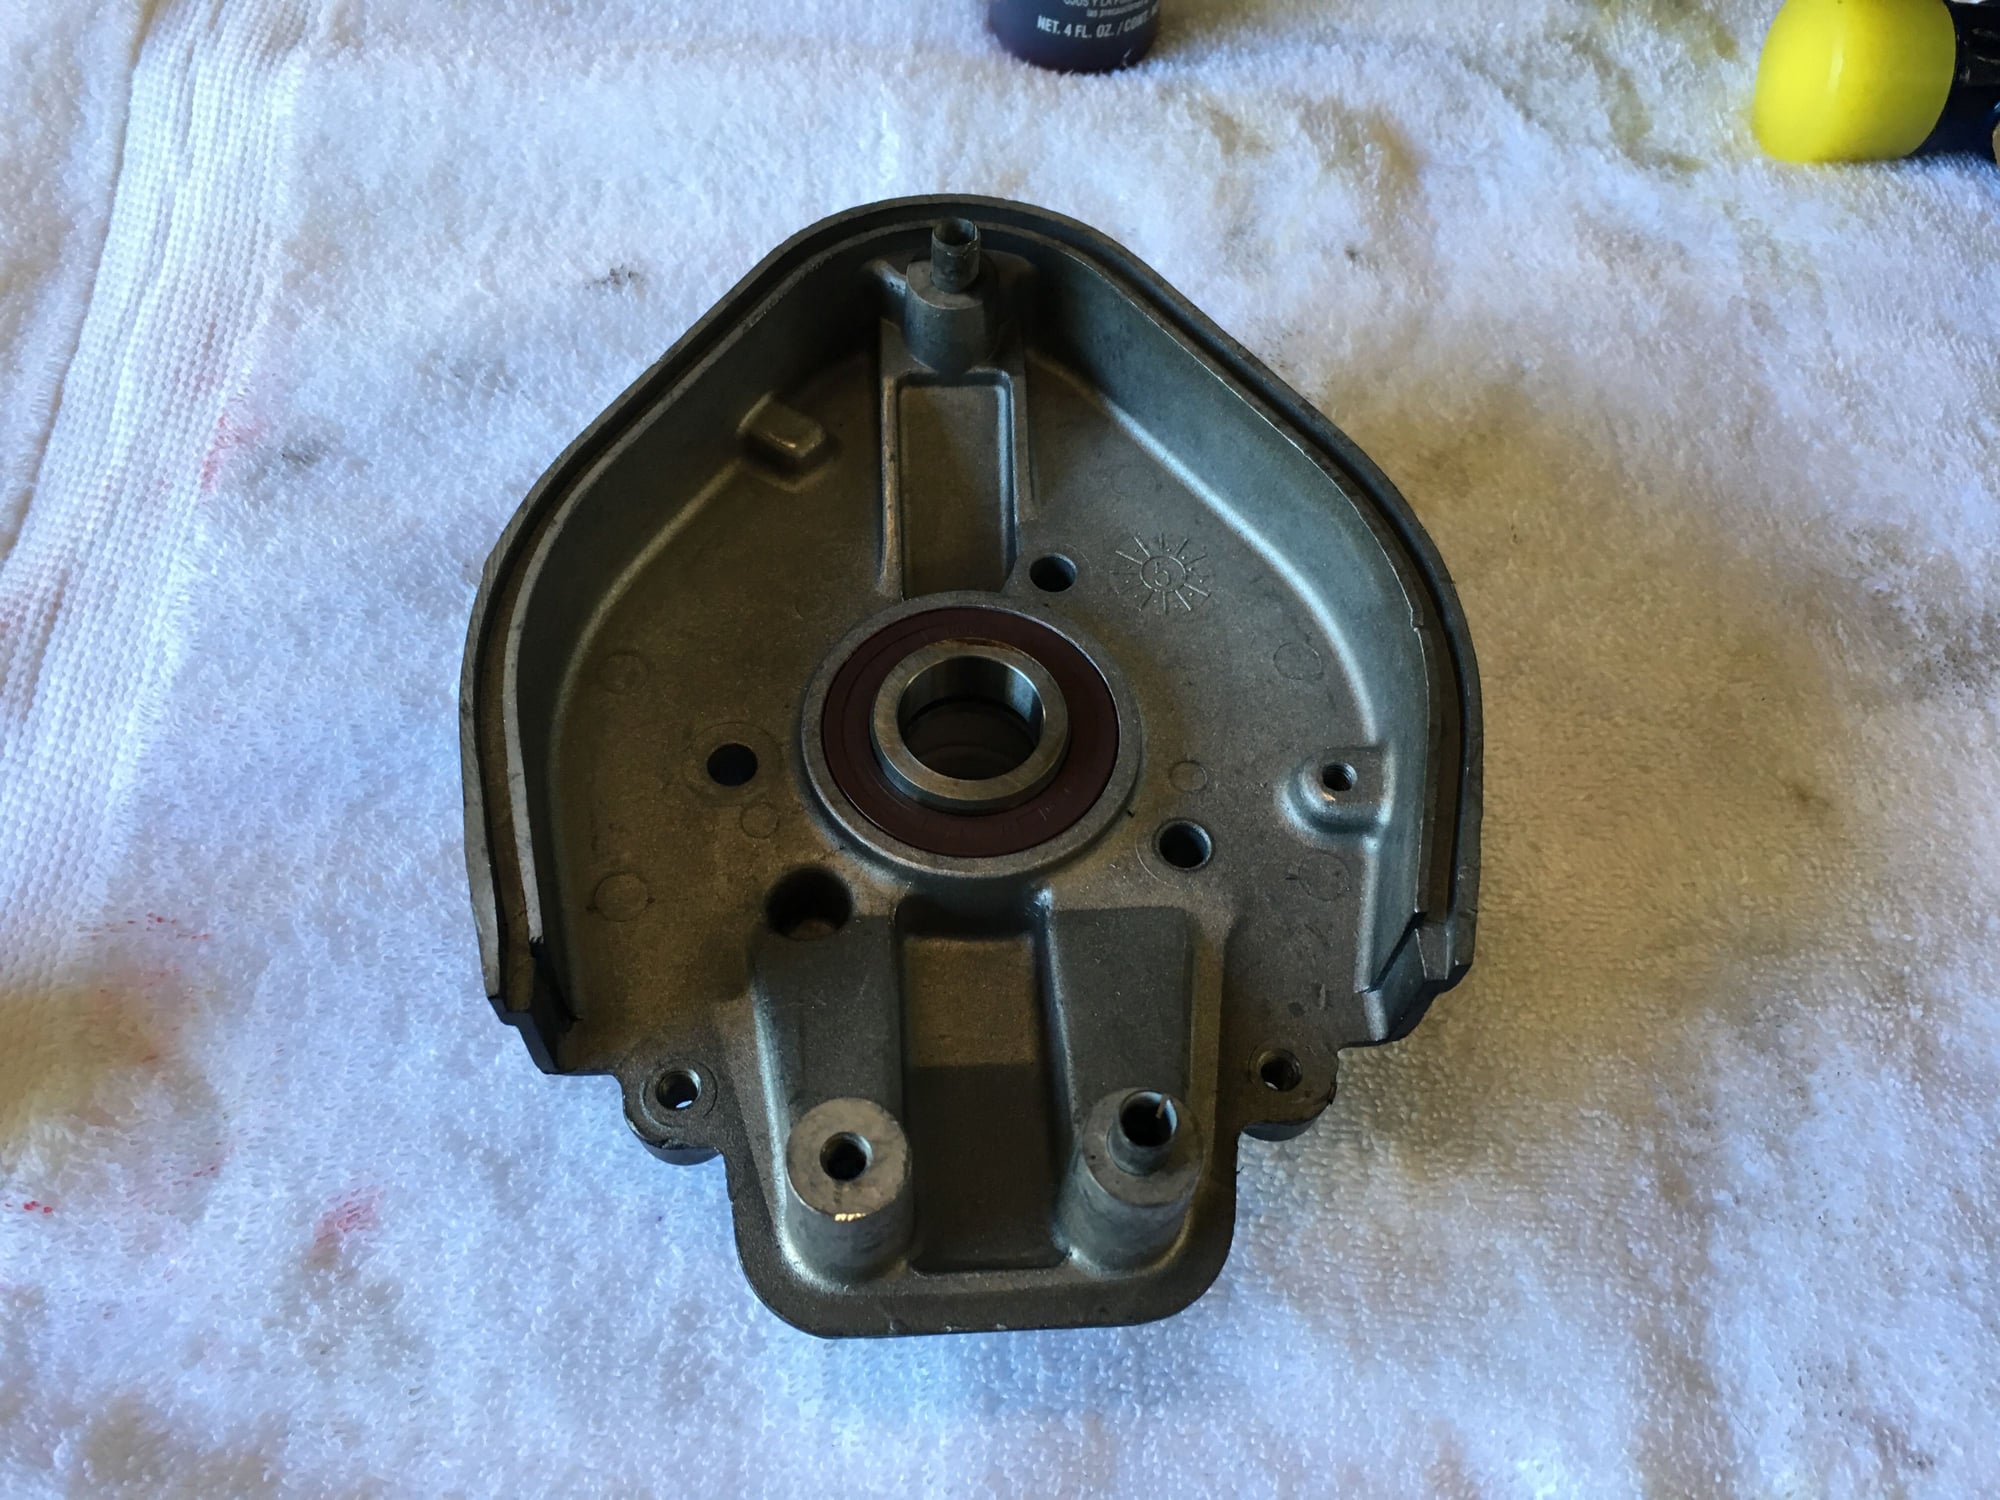
That front bearing retaining washer was definitely on there tight. Even with penetrating oil it was hard to get off.
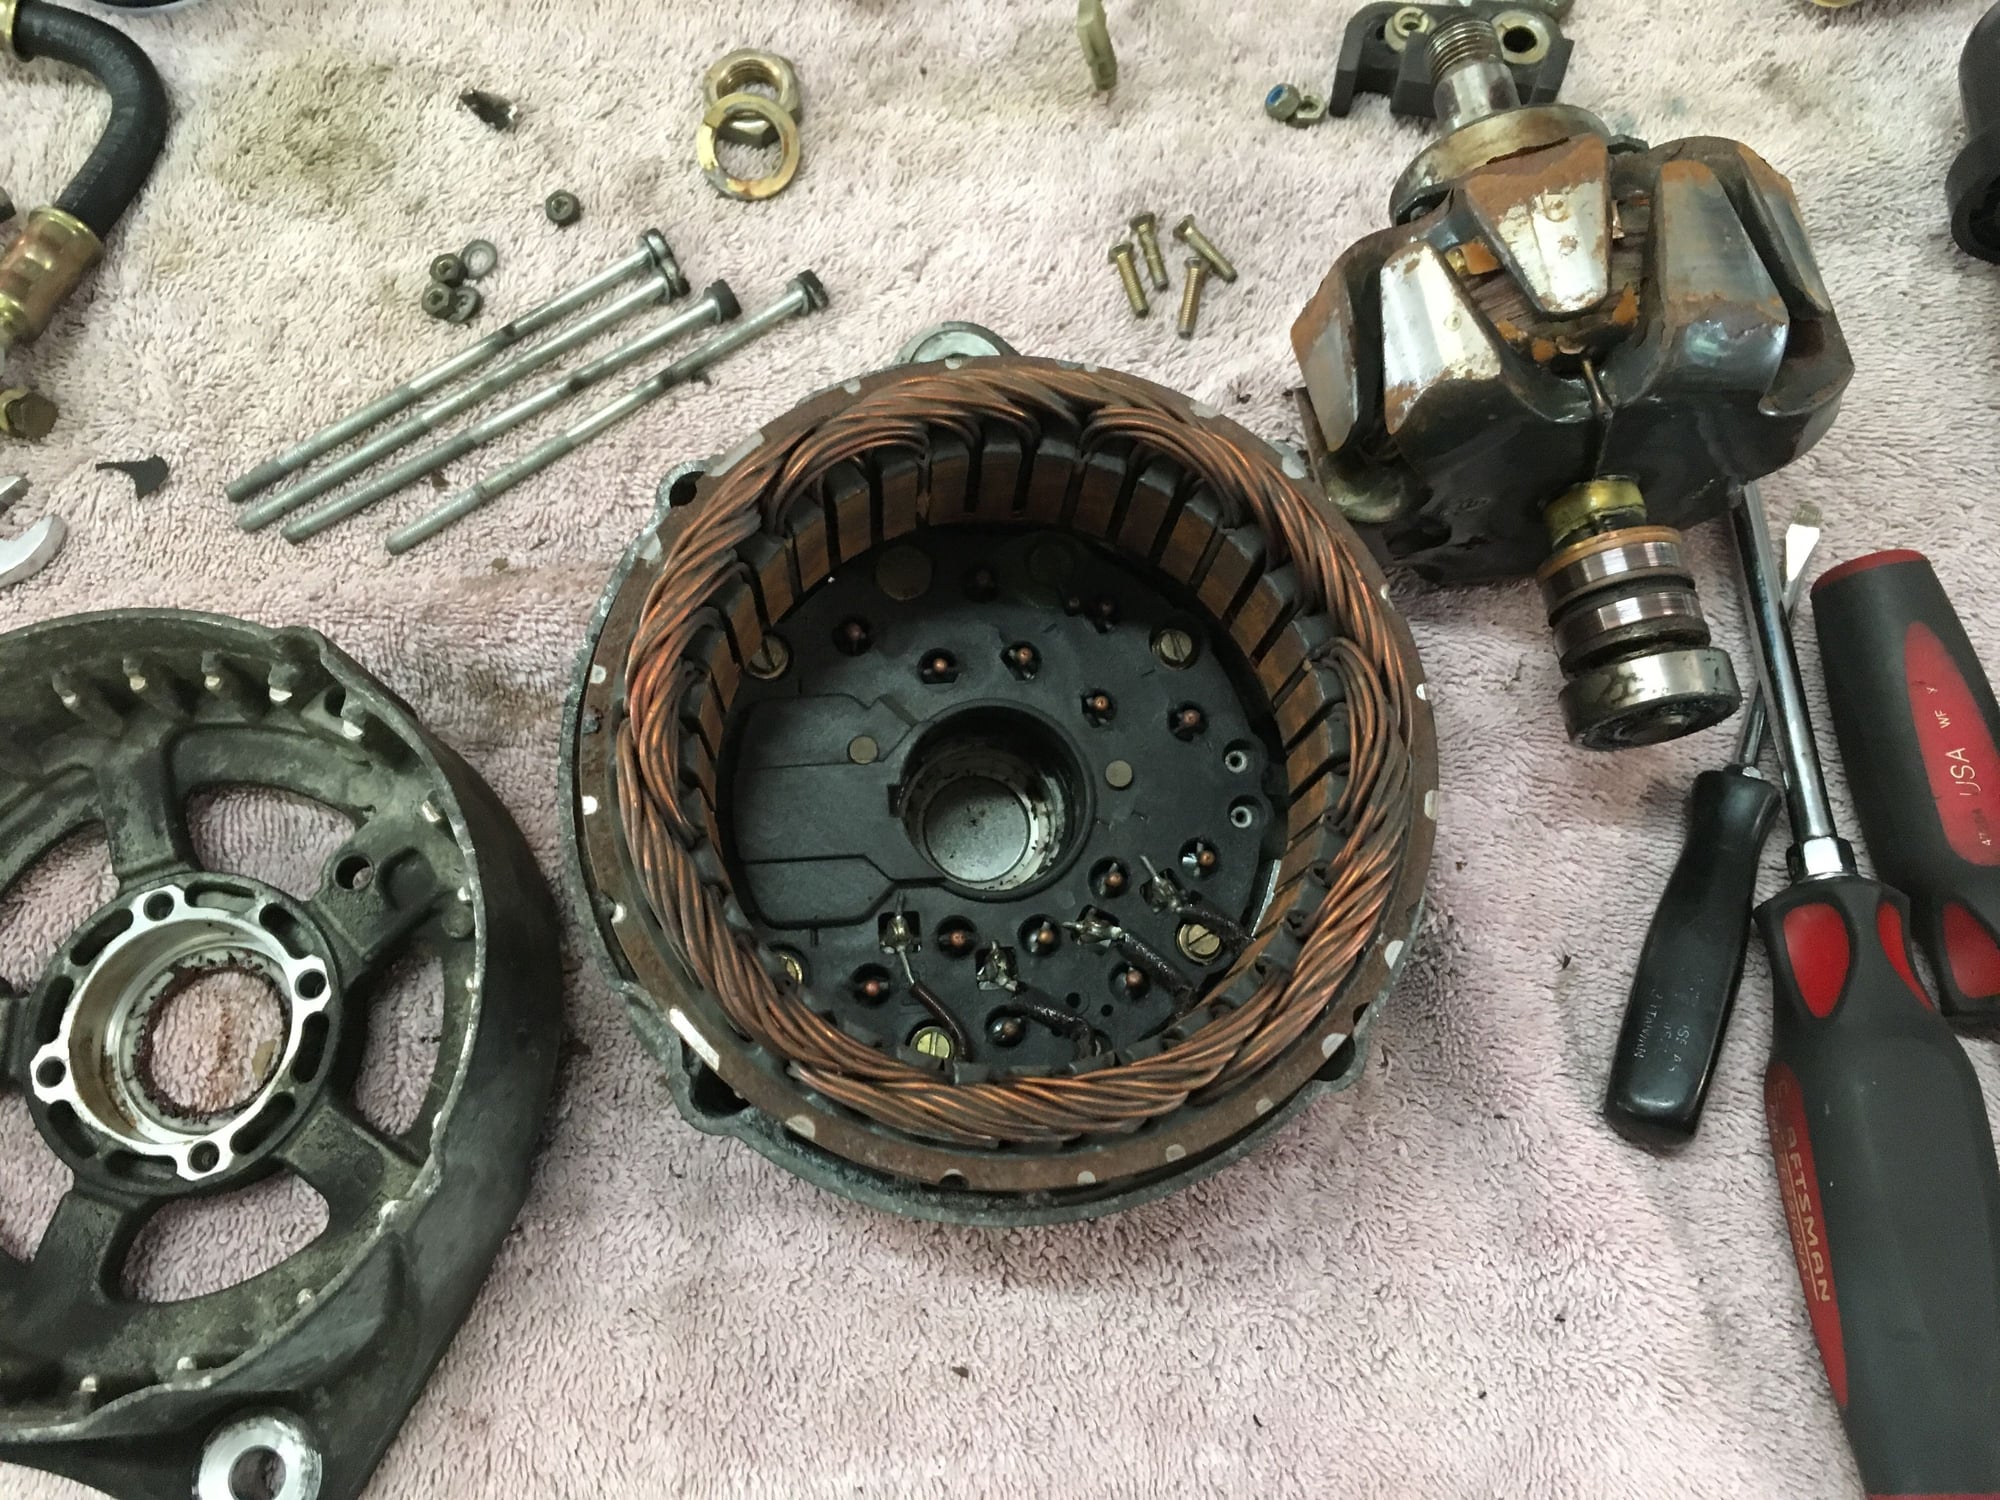
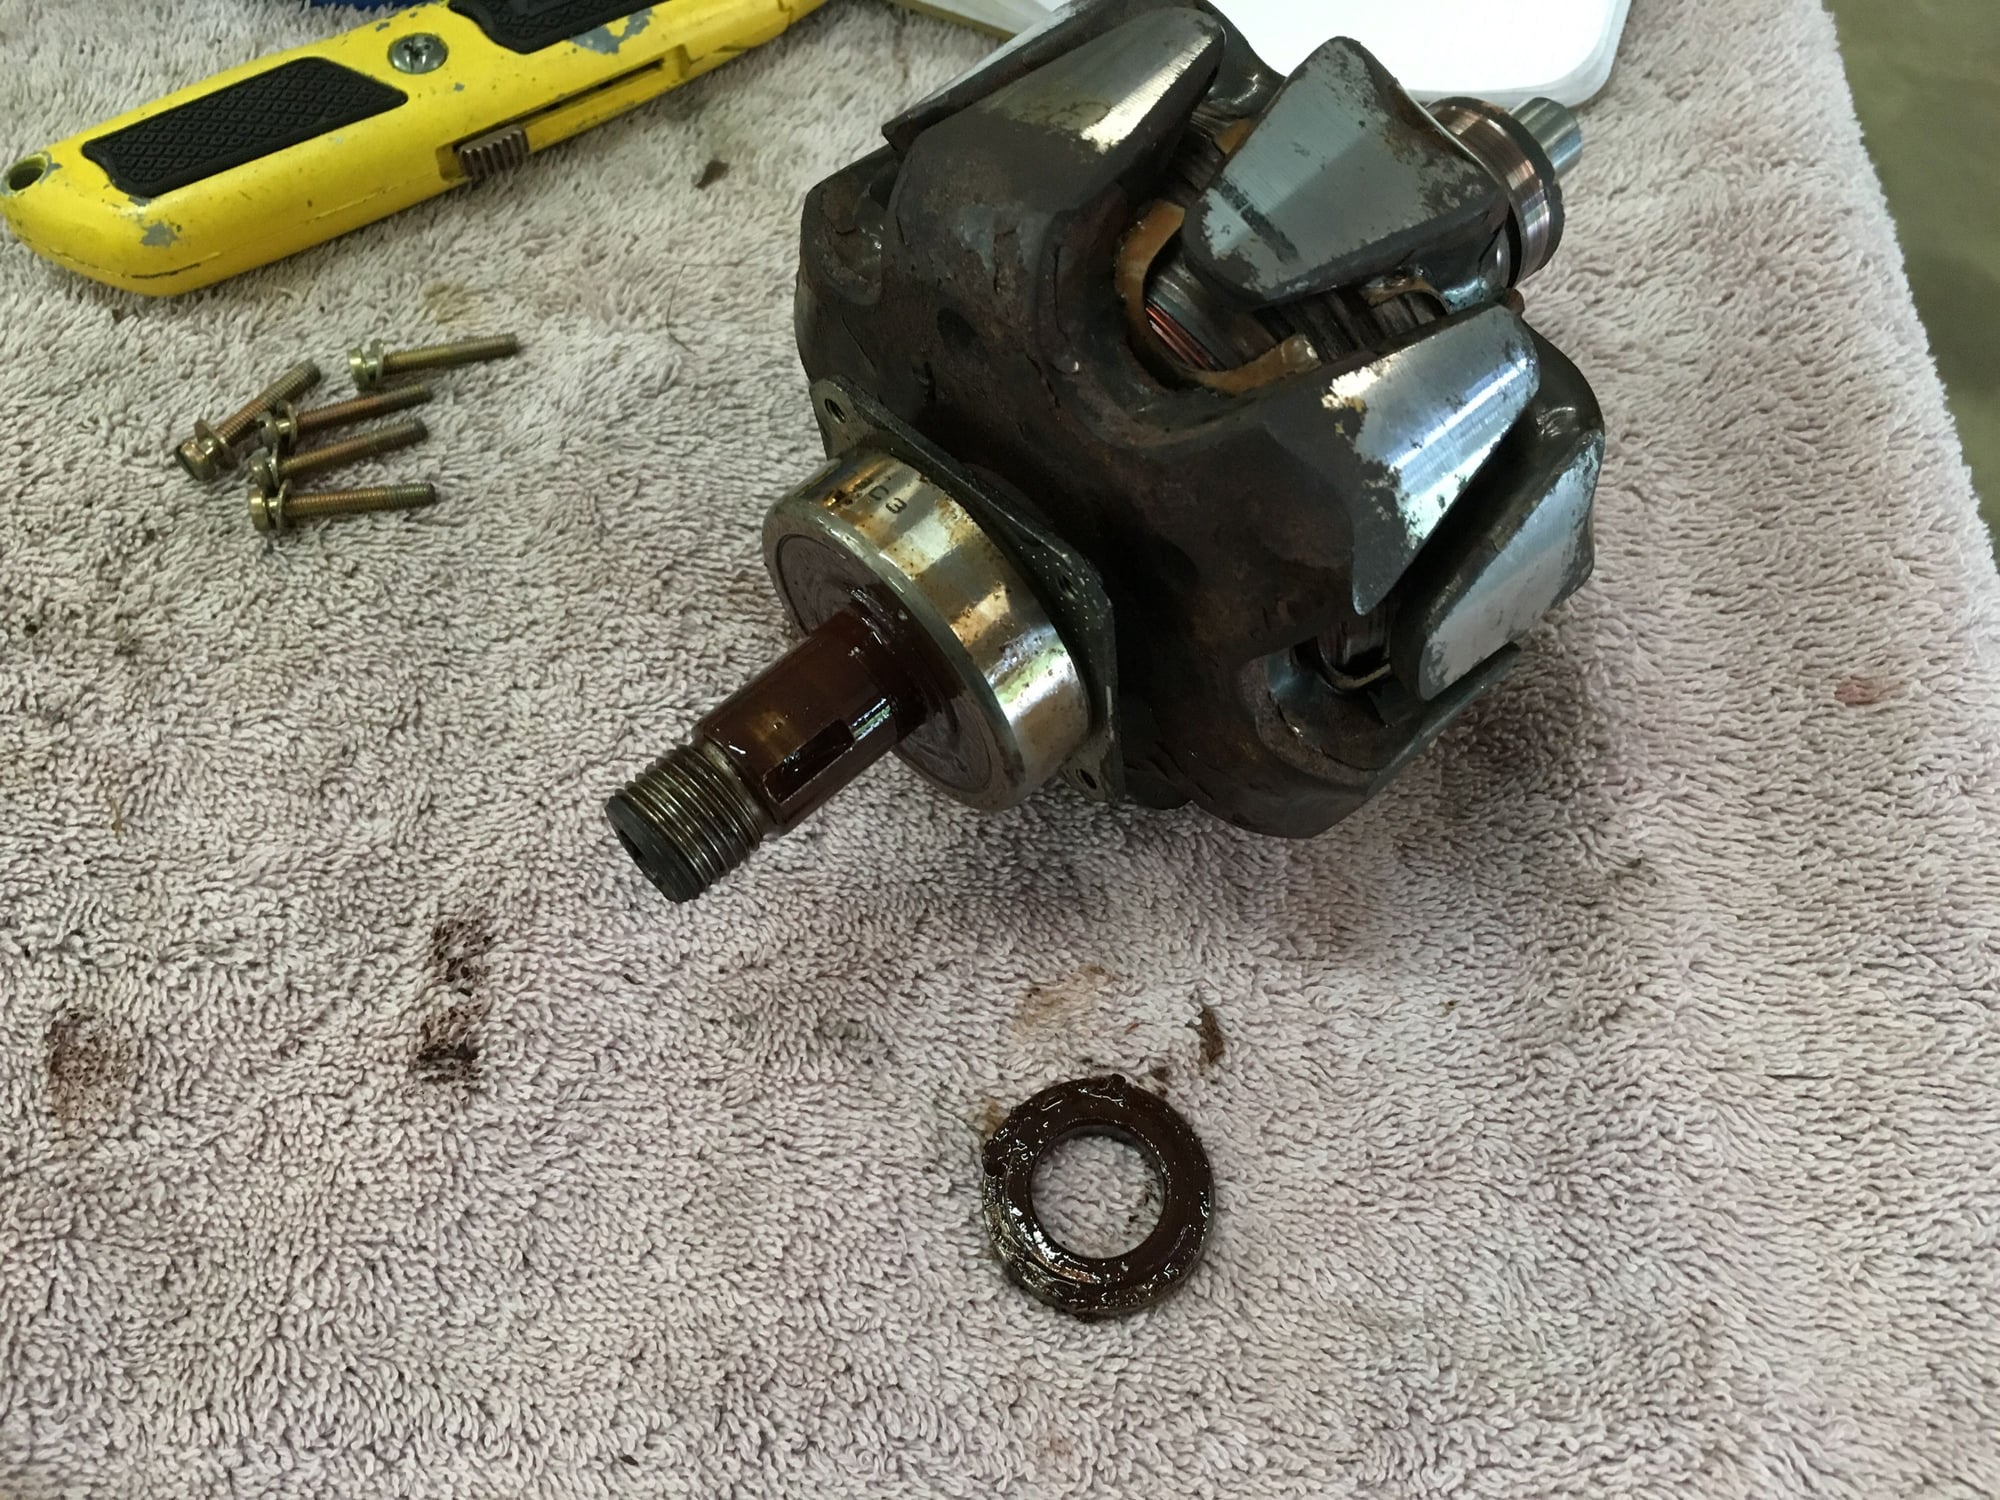
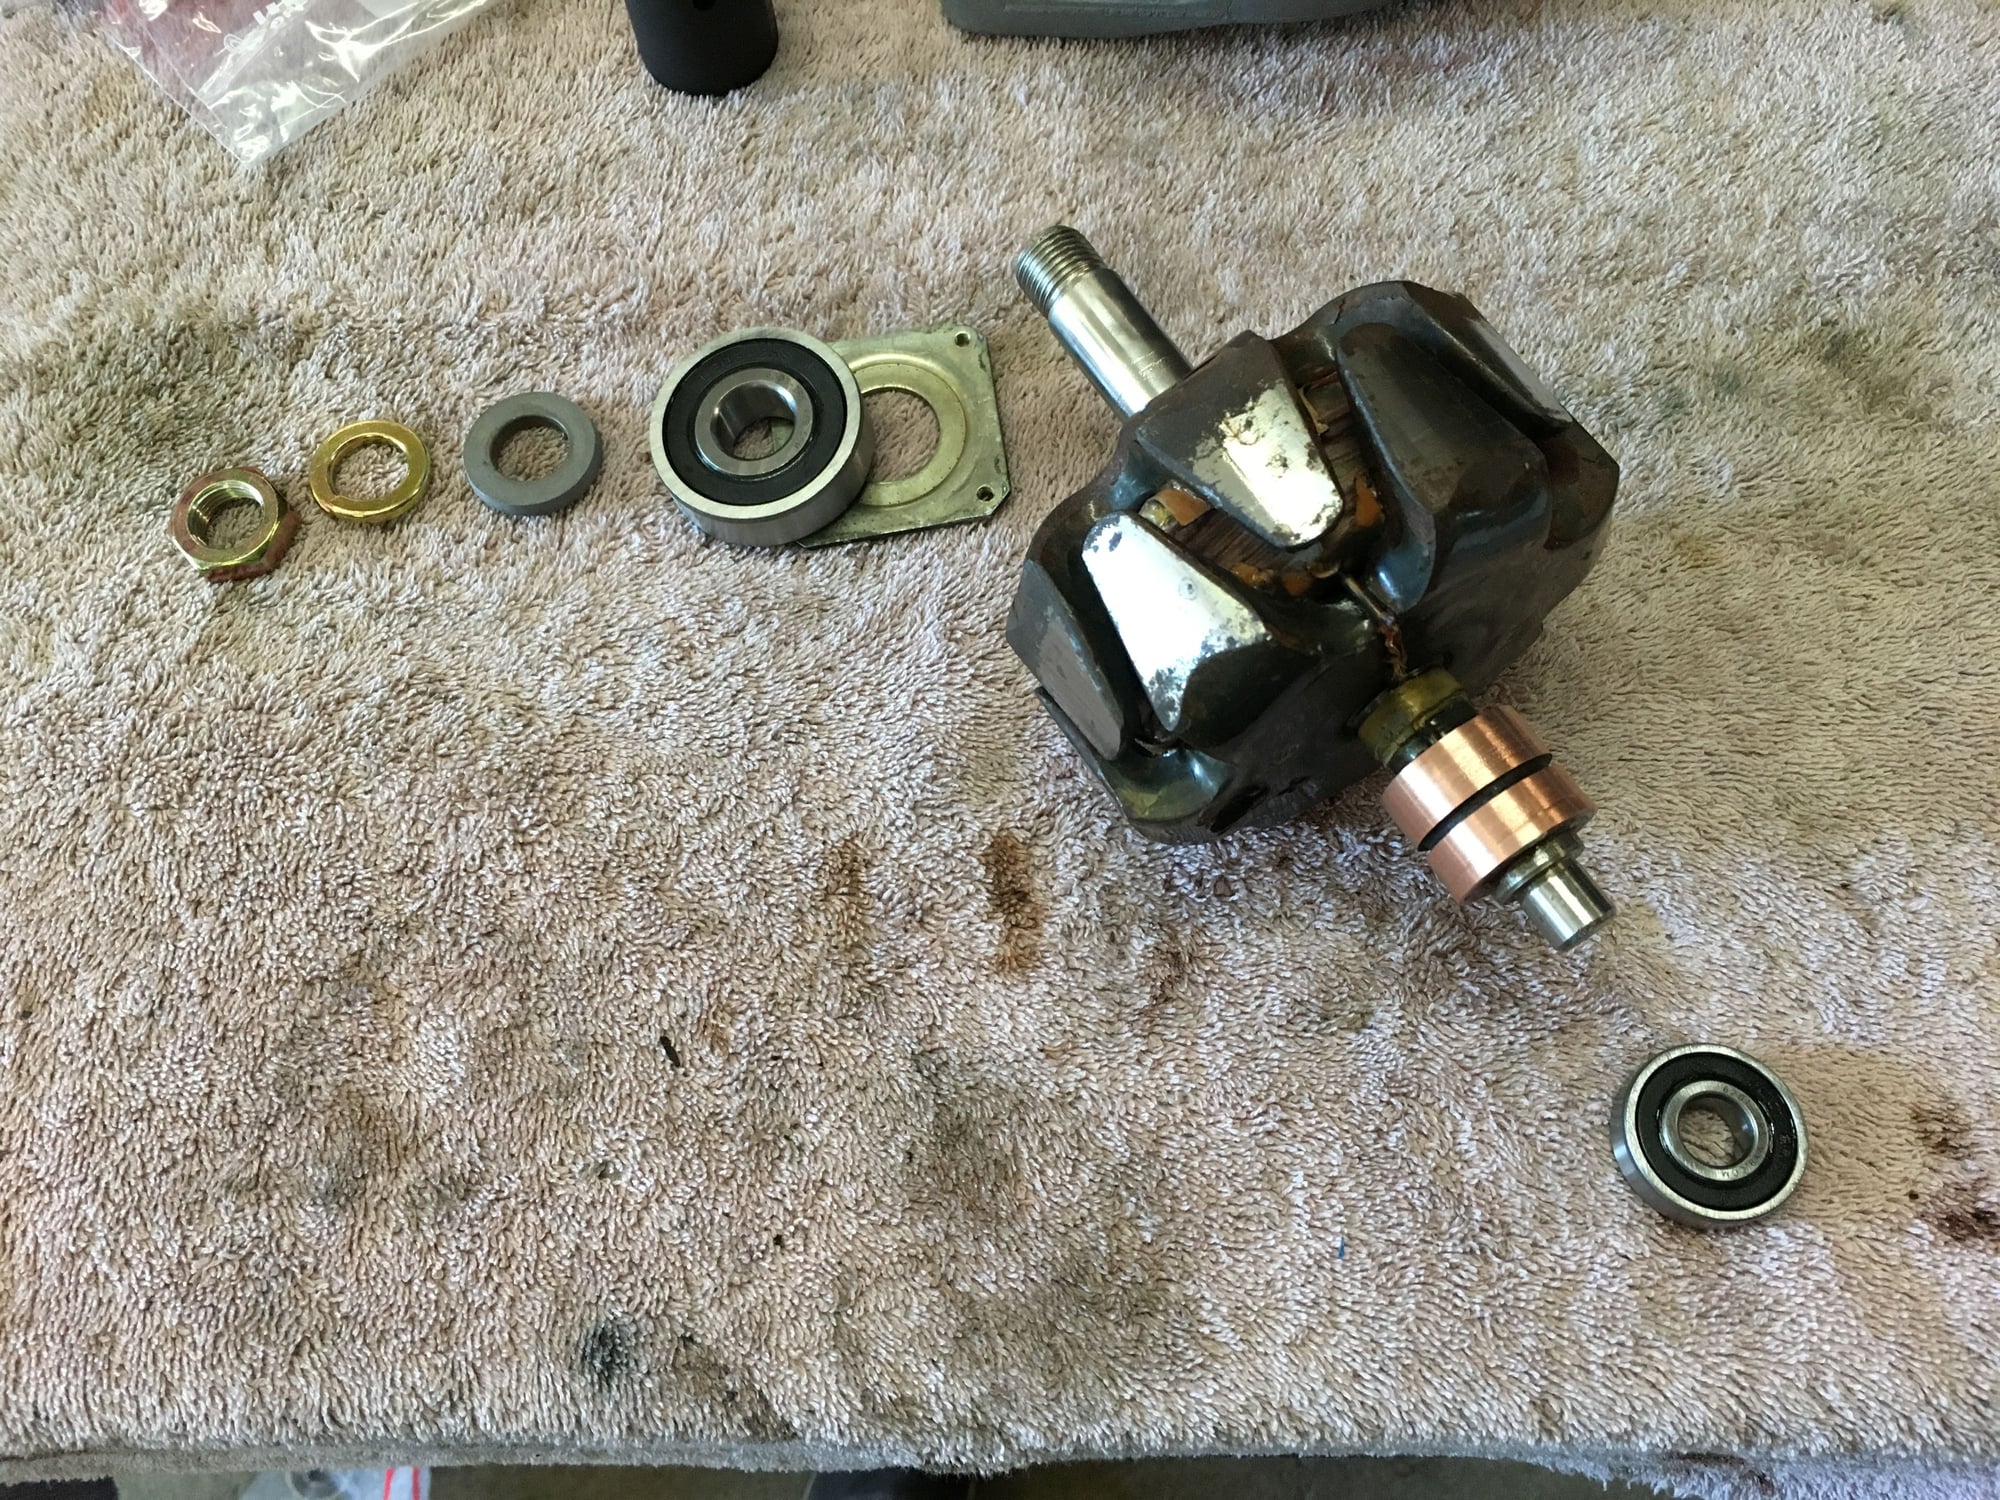
I was able to get the rear bearing off, but that front bearing is stuck on there pretty well. Figure I'll just take it to the machine shop when I take my cylinder head and have it pressed off and then the new bearings pressed on. Save me the trouble.
For those who are curious, the bearing part numbers are 6201 and 6303, both sealed units. What was odd on my alternator is that the rear bearing was a *** while the front bearing was an NTN. I would have thought the same brand would be used front and back, but I guess not. I've always been an SKF guy so thinking I'll replace them both with some nice sealed SKF bearings.
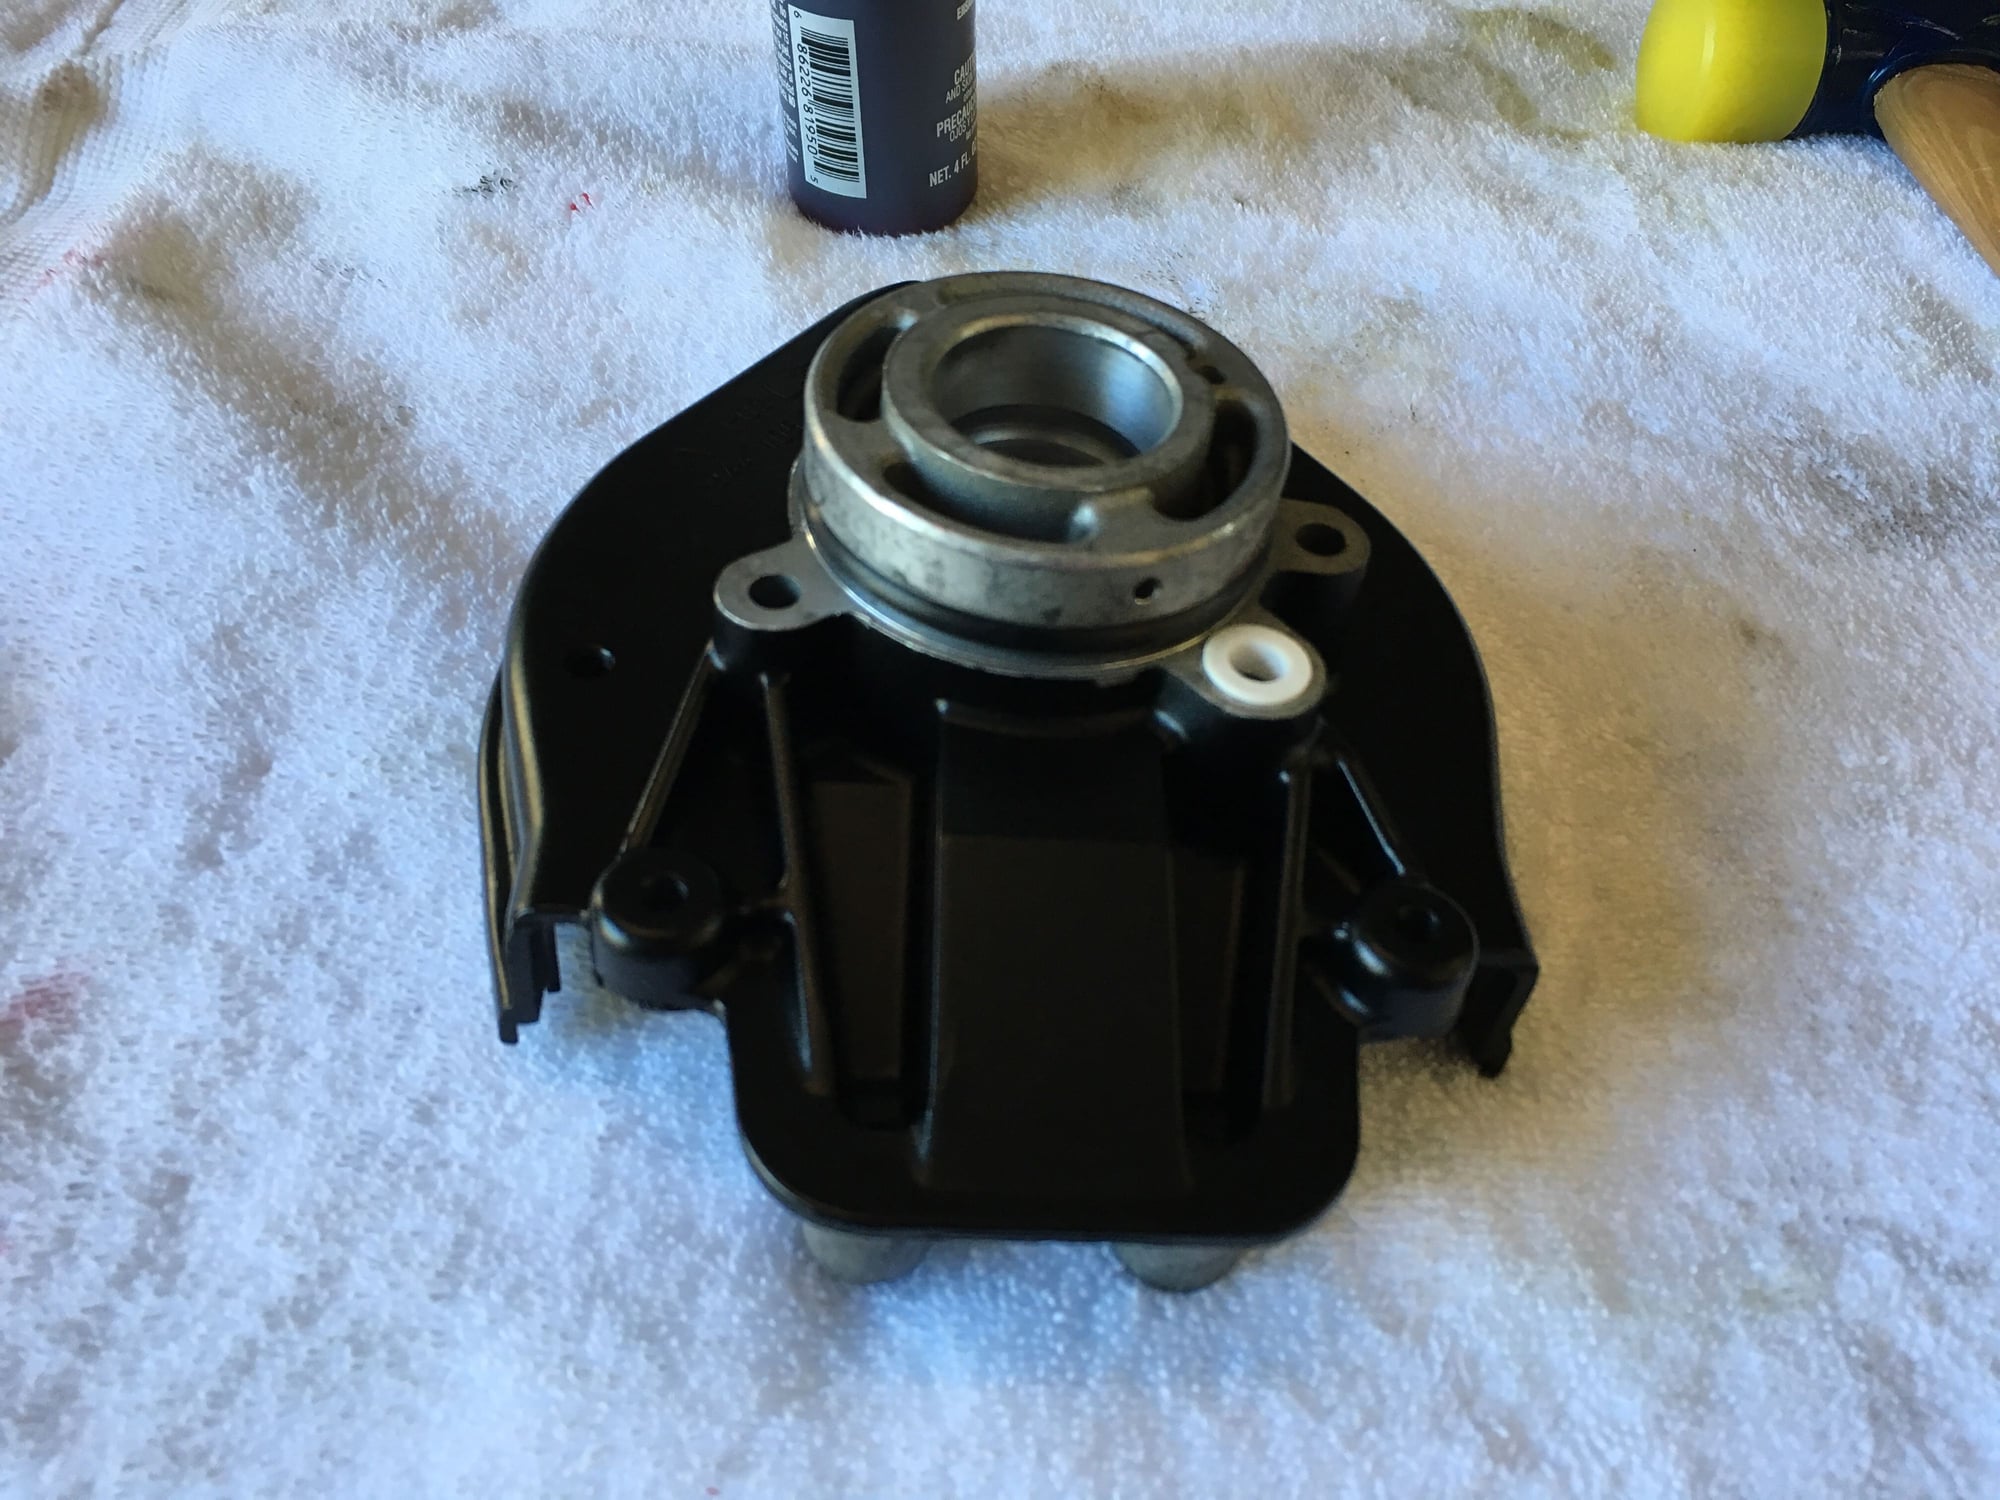
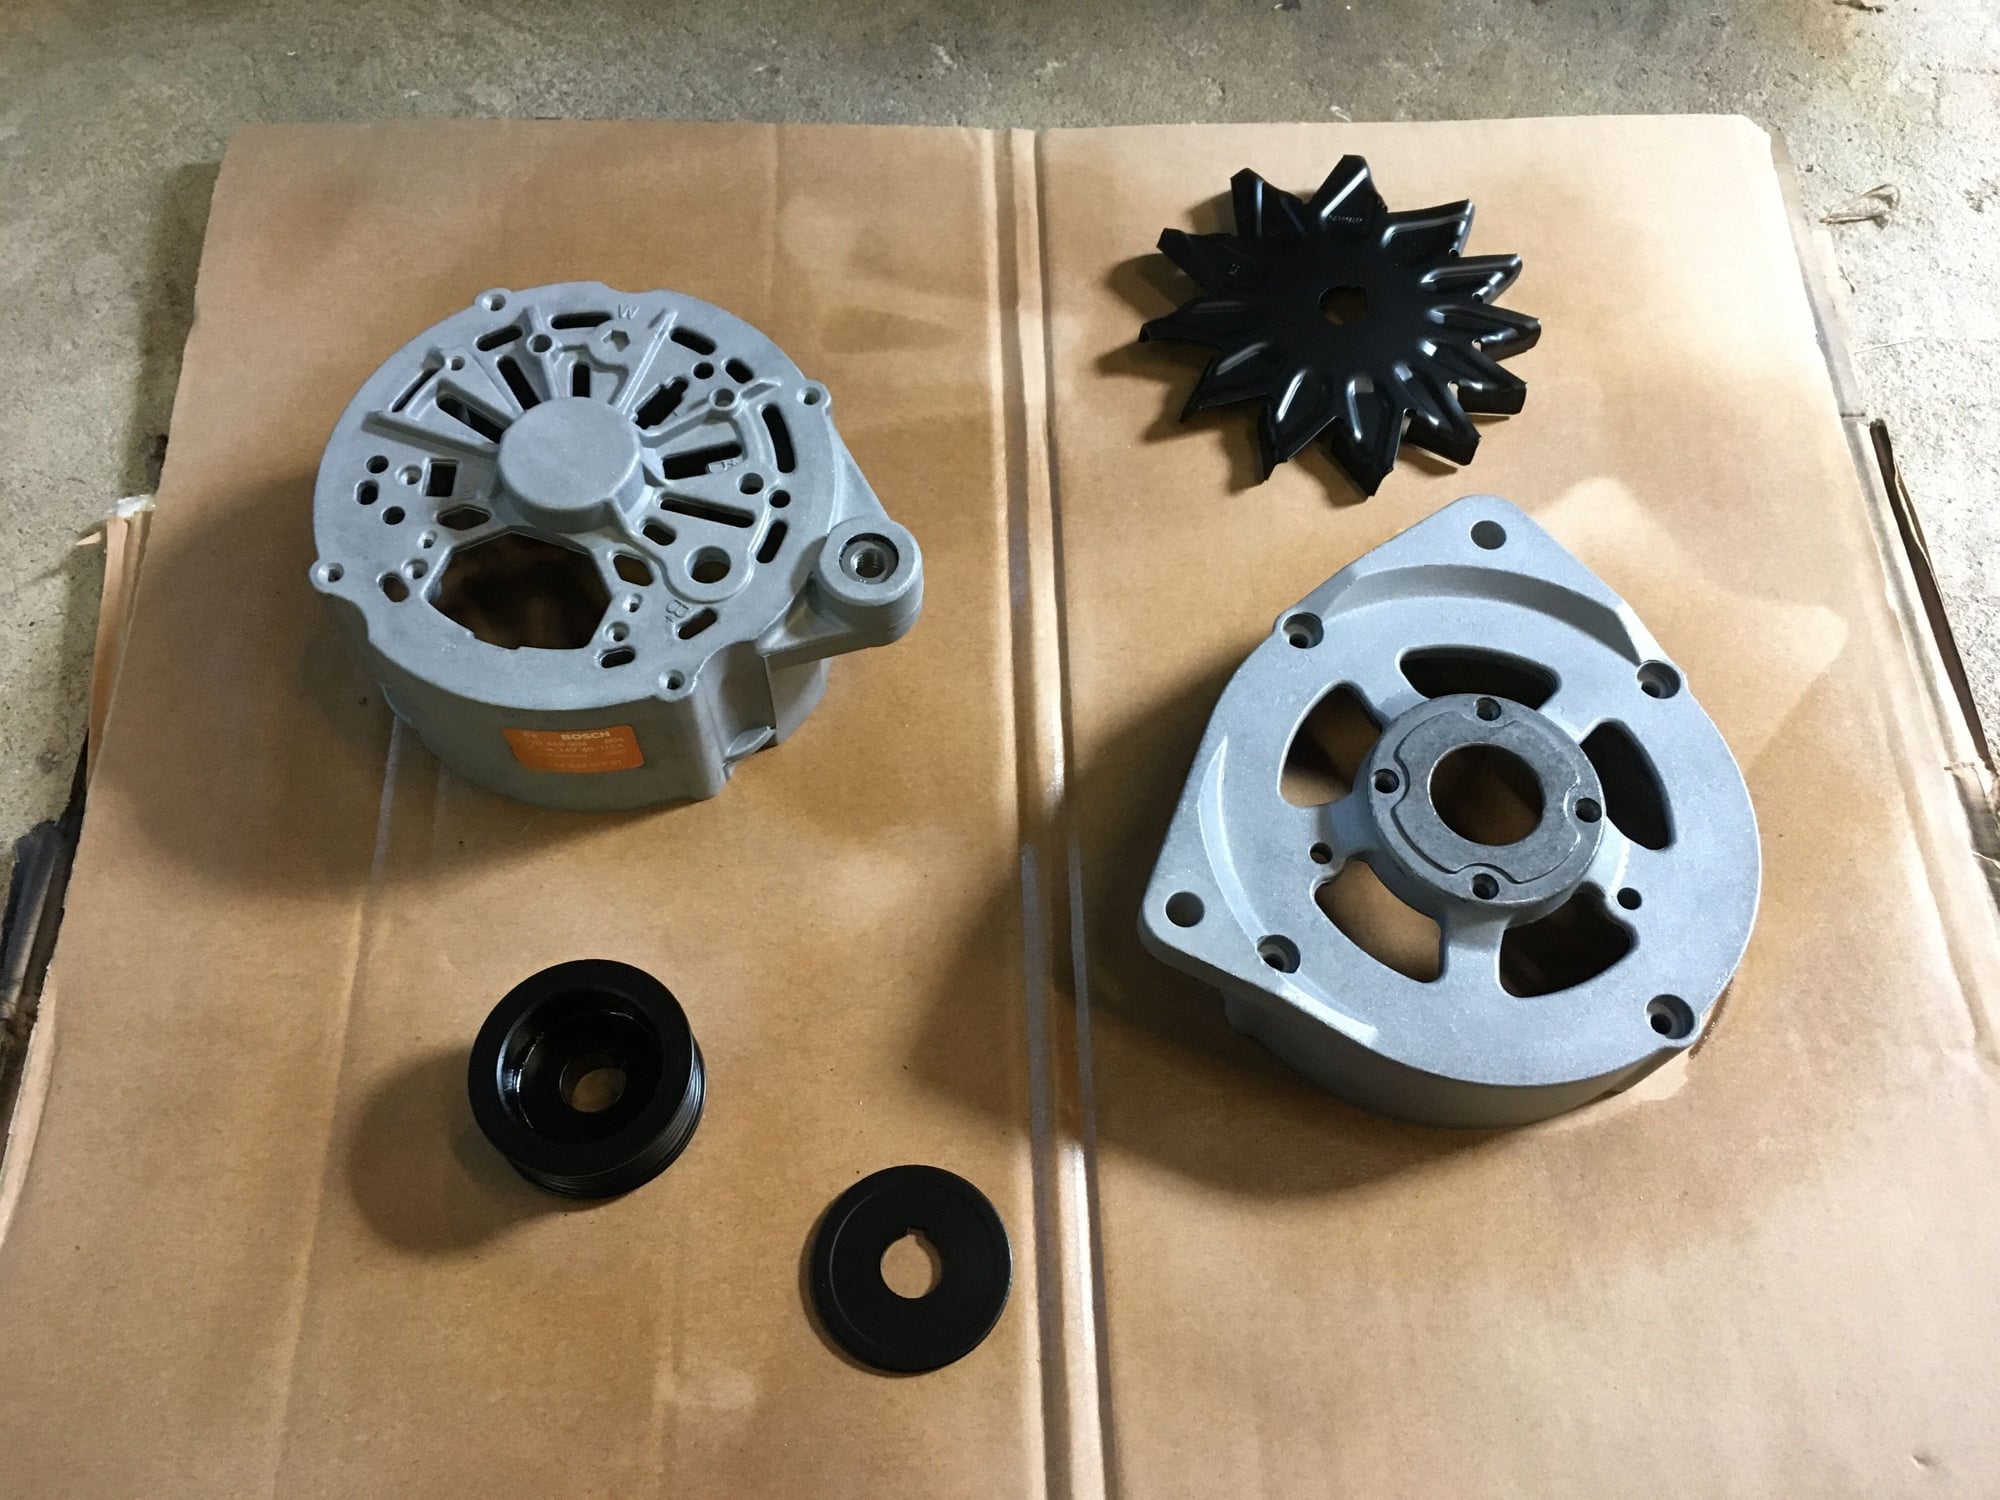
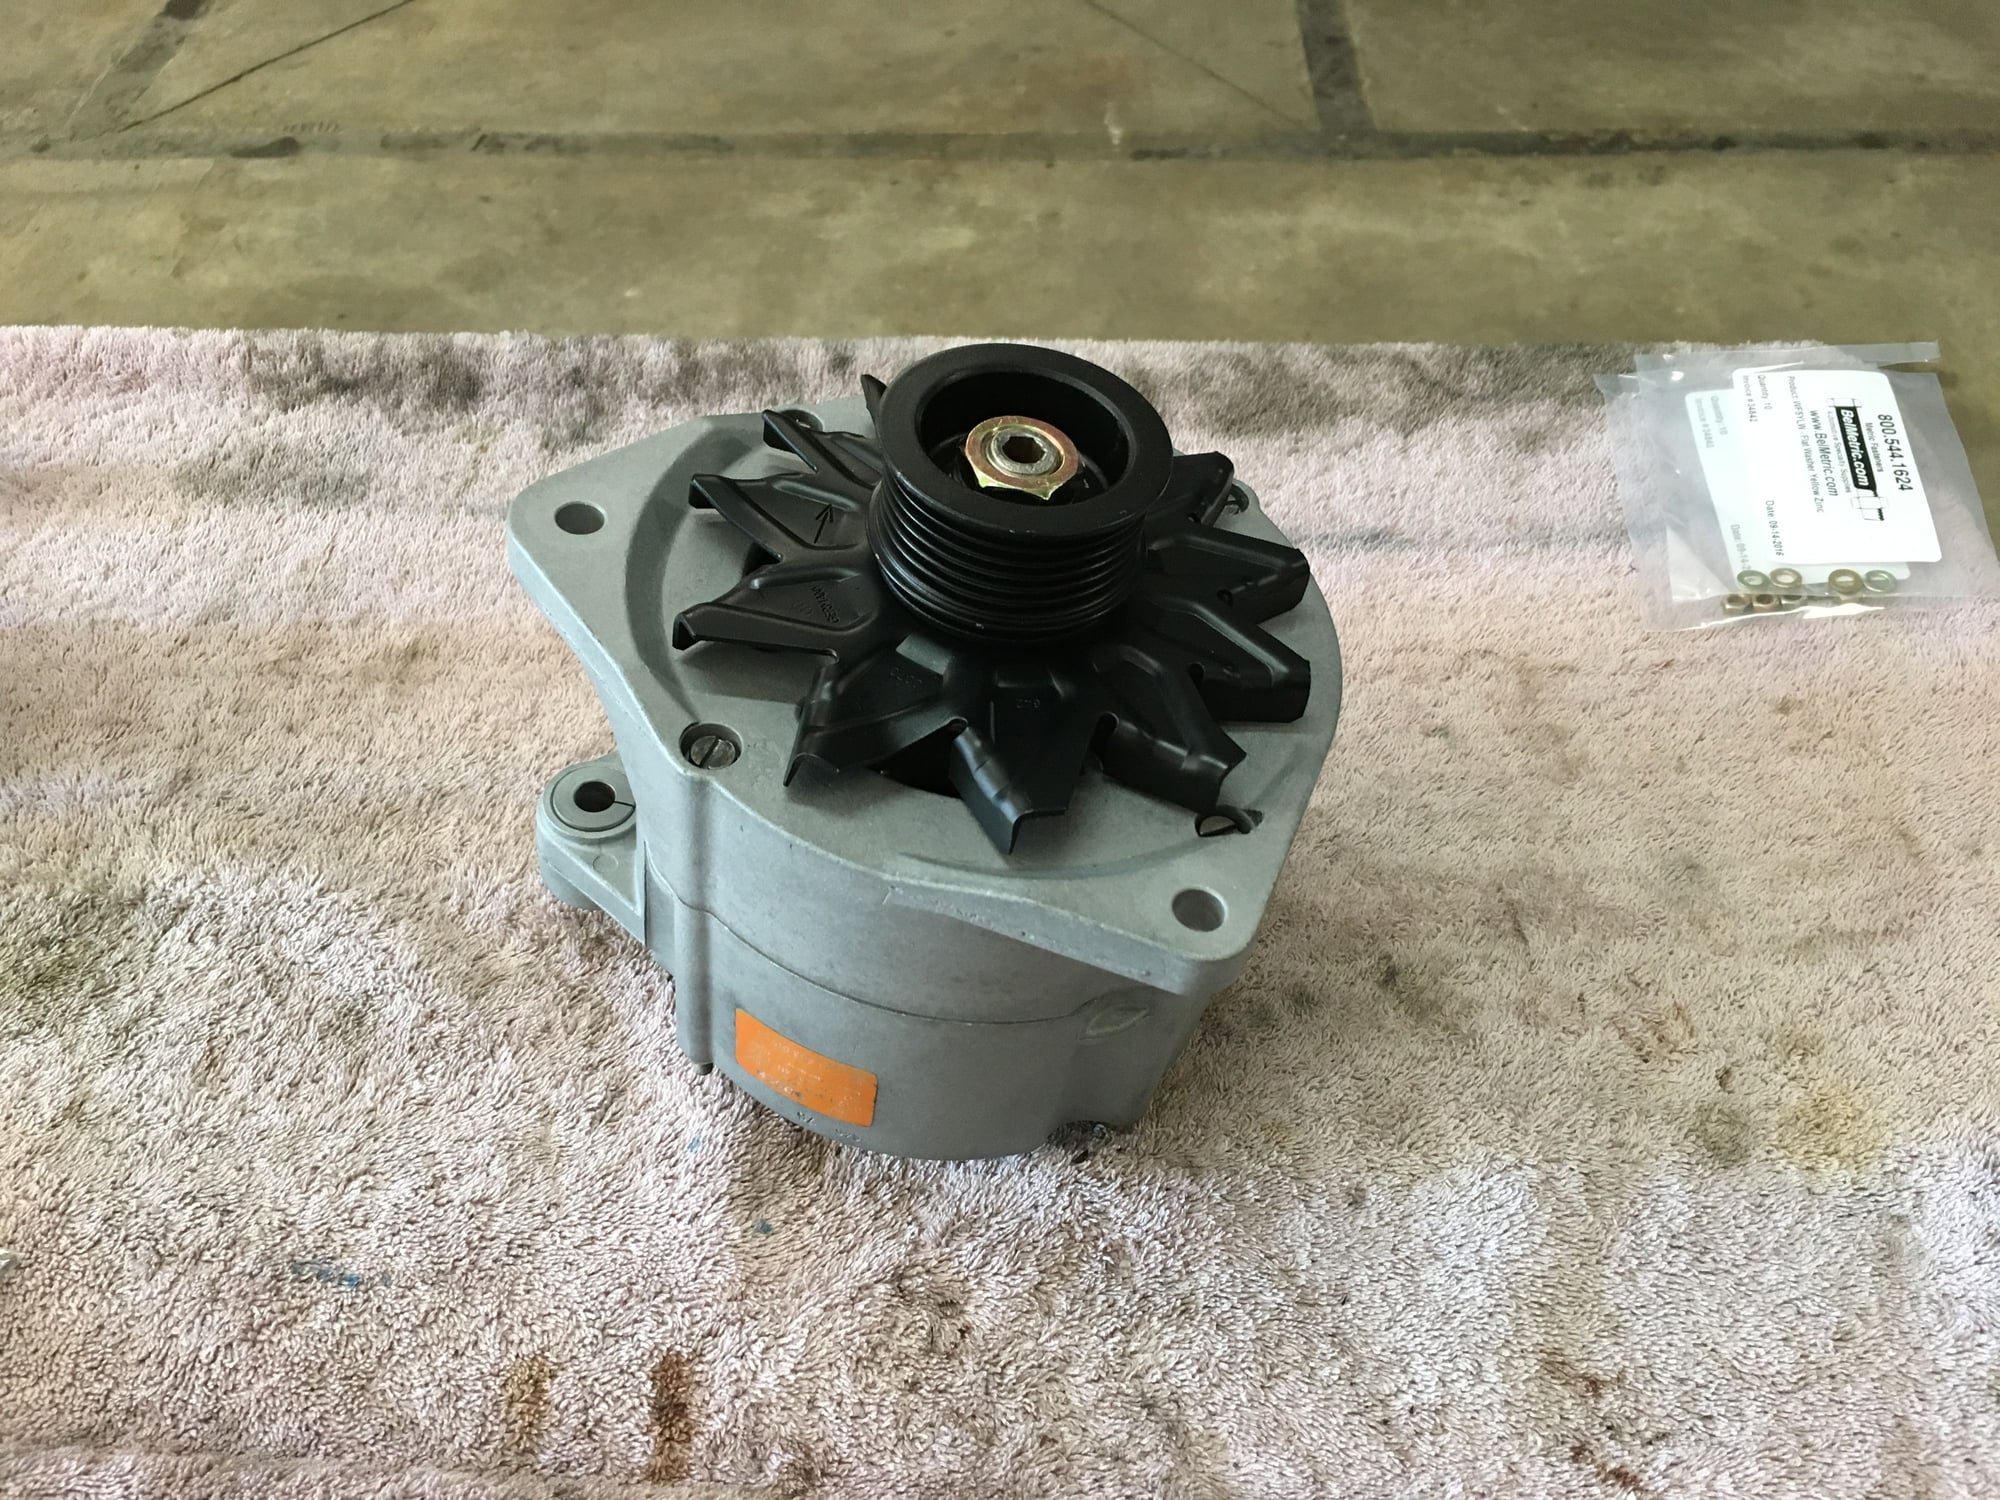
Final step for today was to clean up the housing and the fan and pulley. Turned out pretty swell.
Looking forward to putting it back together once I source the bearings and the voltage regulator.
That's it, just a small update. On a related note, who's going to 944Fest next weekend?
Purchased the bearings I needed to rebuild the alternator and a new voltage regulator and rear gasket. Decided to purchase the bearings from VXB and the regulator and gasket from 944Online.
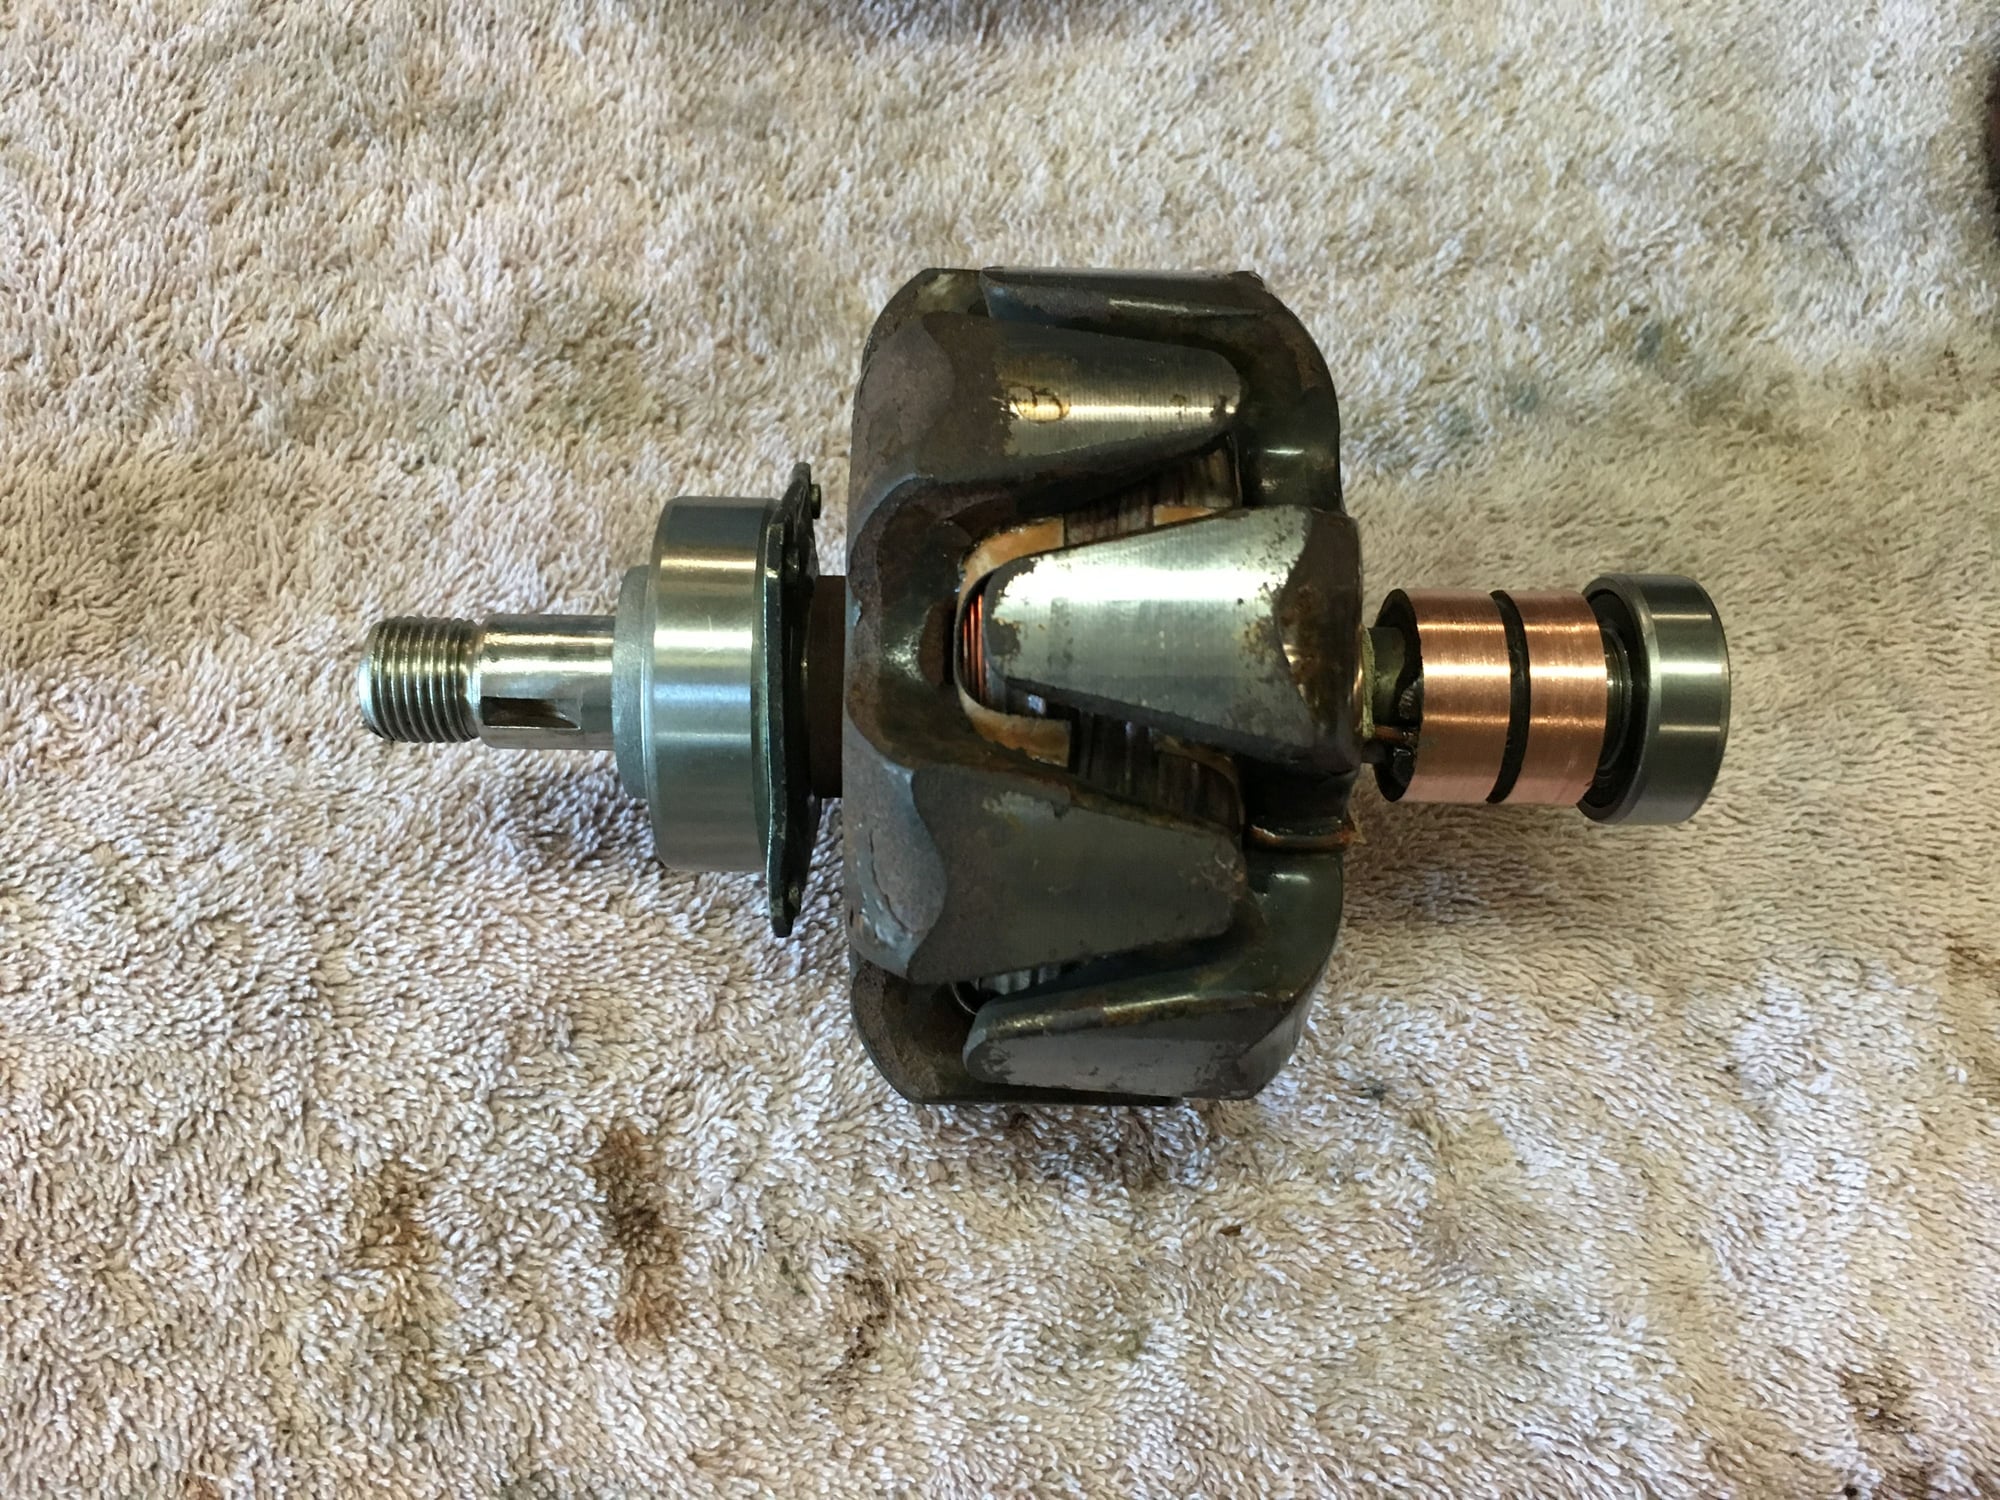
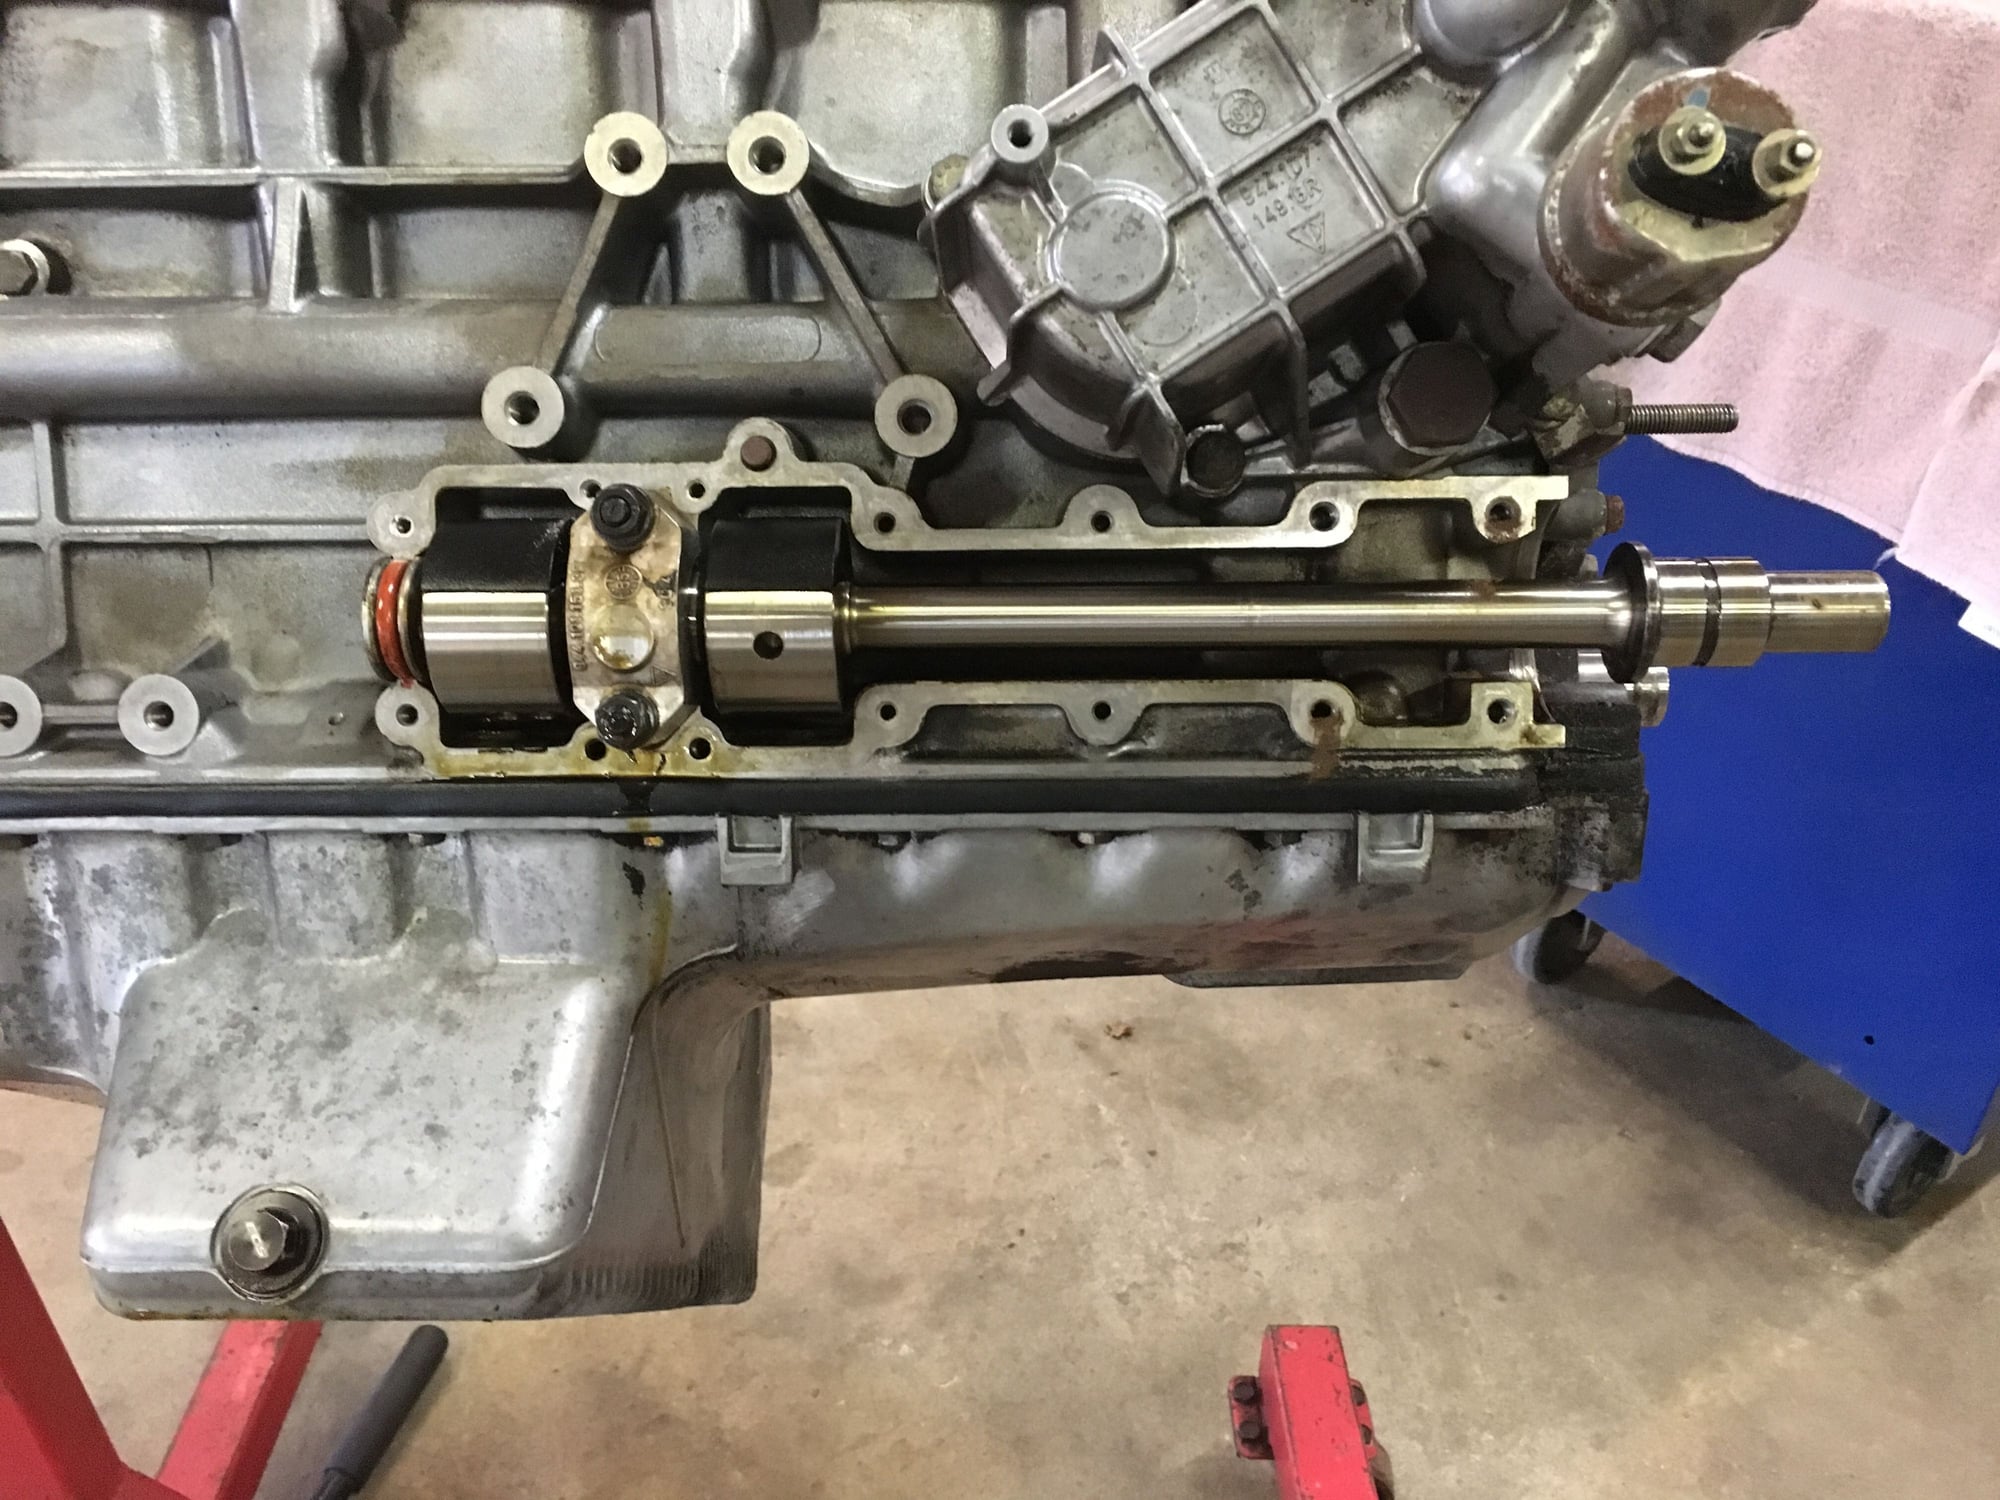
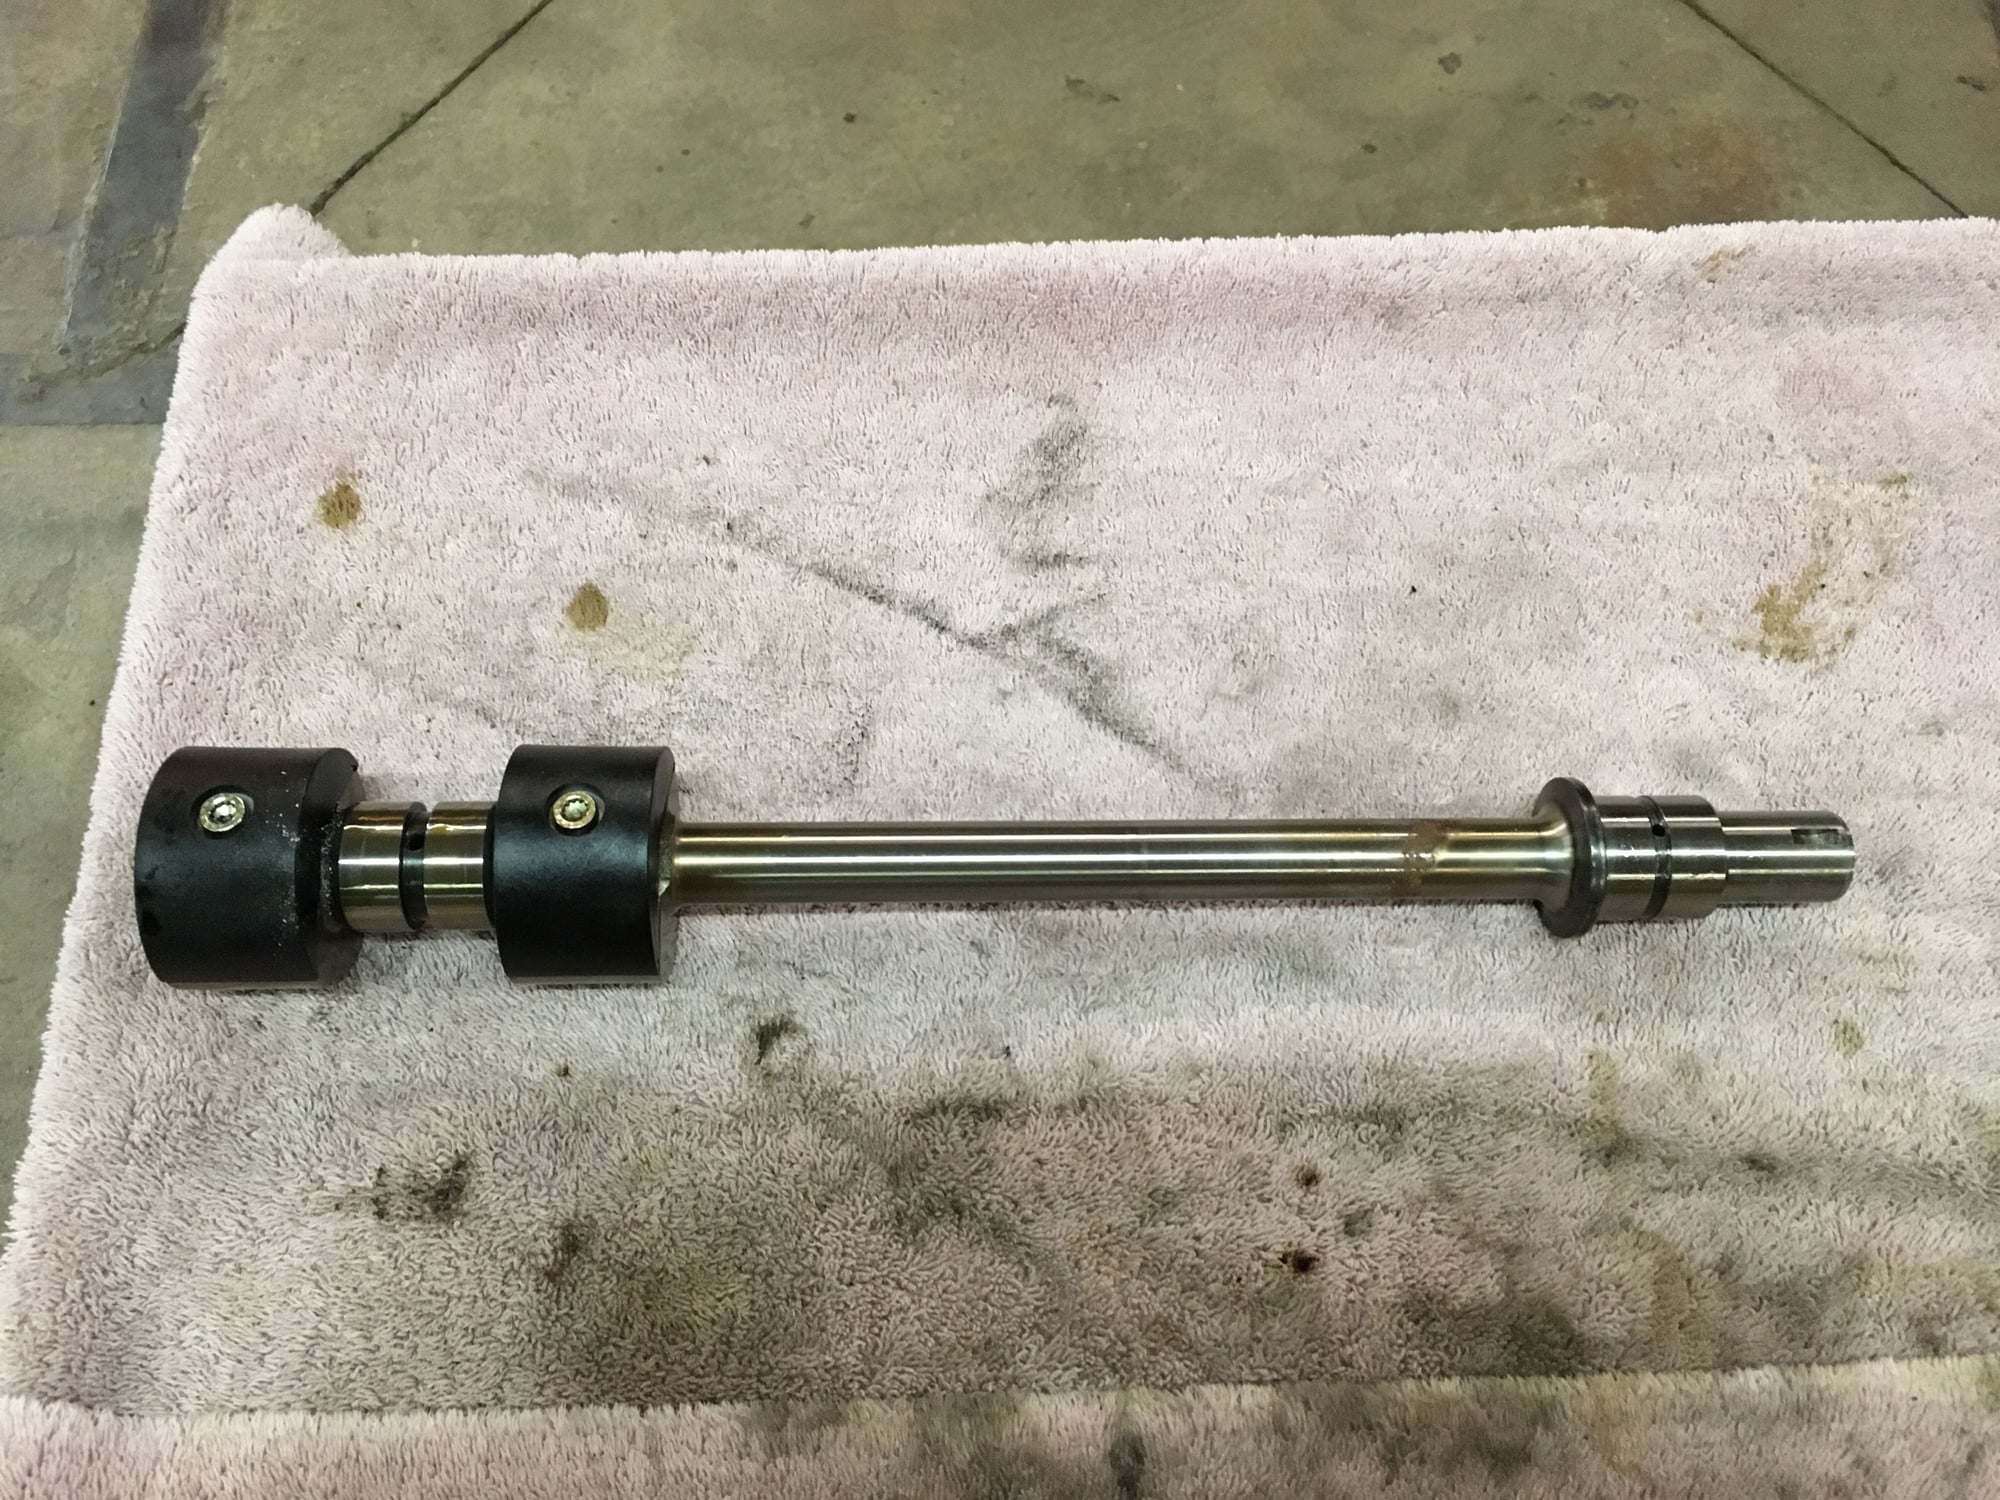
I used the Van Svenson method for cleaning up the slip rings on the alternator - this method entails holding the alternator shaft near the slip rings in a drill press and running a file over the rings while the drill press was spinning. Worked great and really cleaned them up nicely.
Cleaned up the threaded end of the shaft and installed the new bearings.
Popped everything back together and reinstalled the hardware.
New voltage regulator. Didn't both to replace the condensor, but it's easy enough to replace if it turns out to be bad.
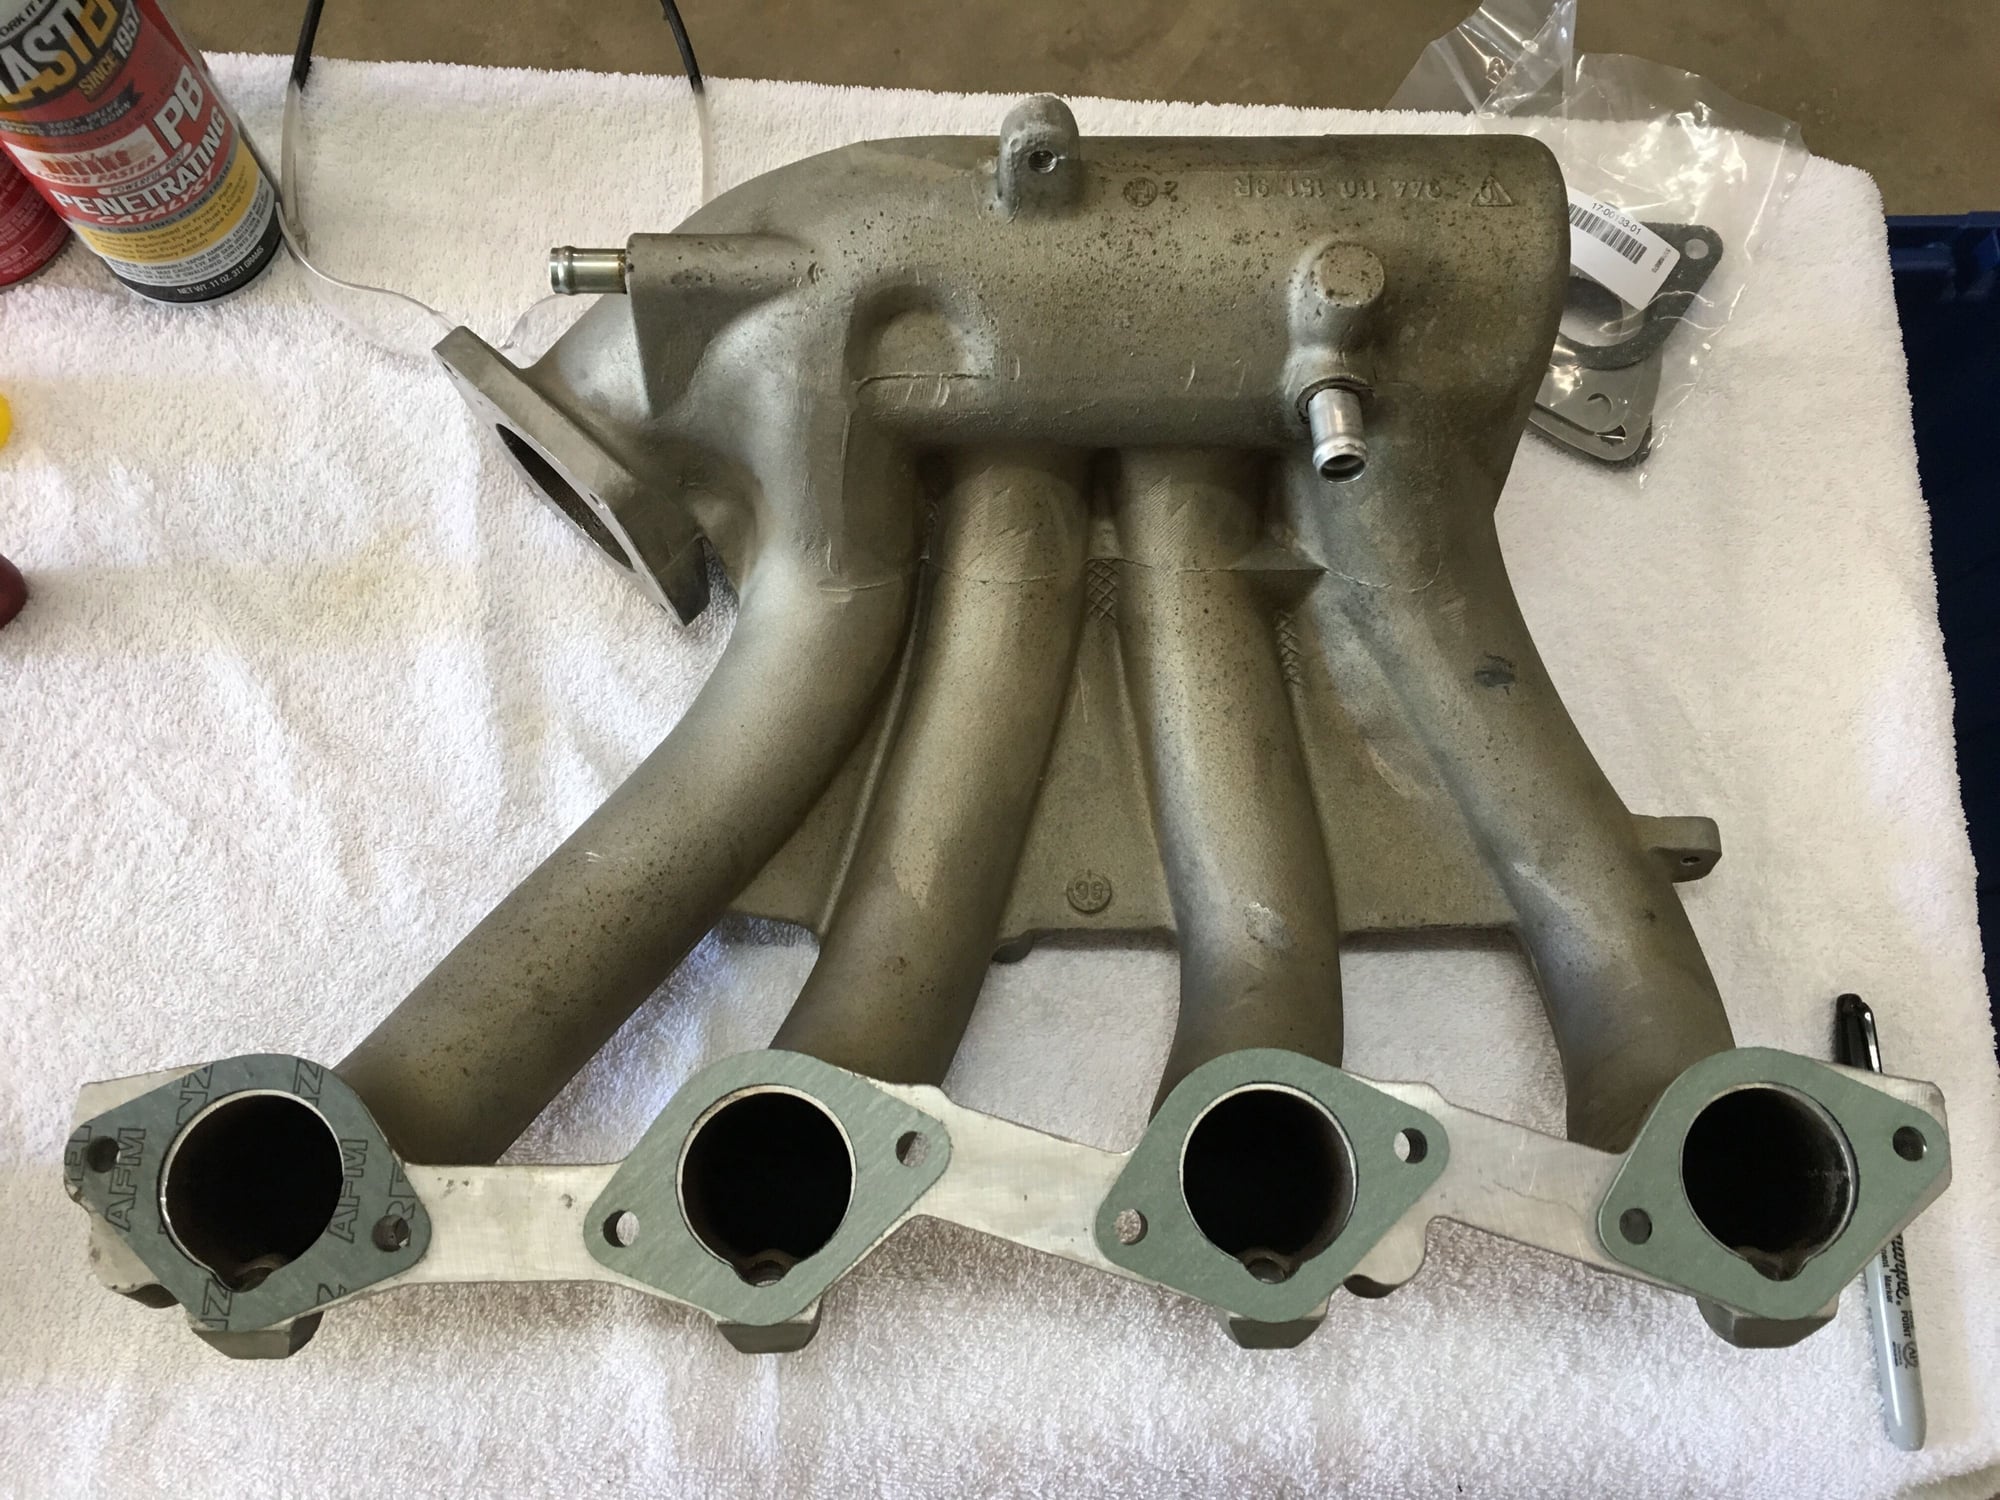
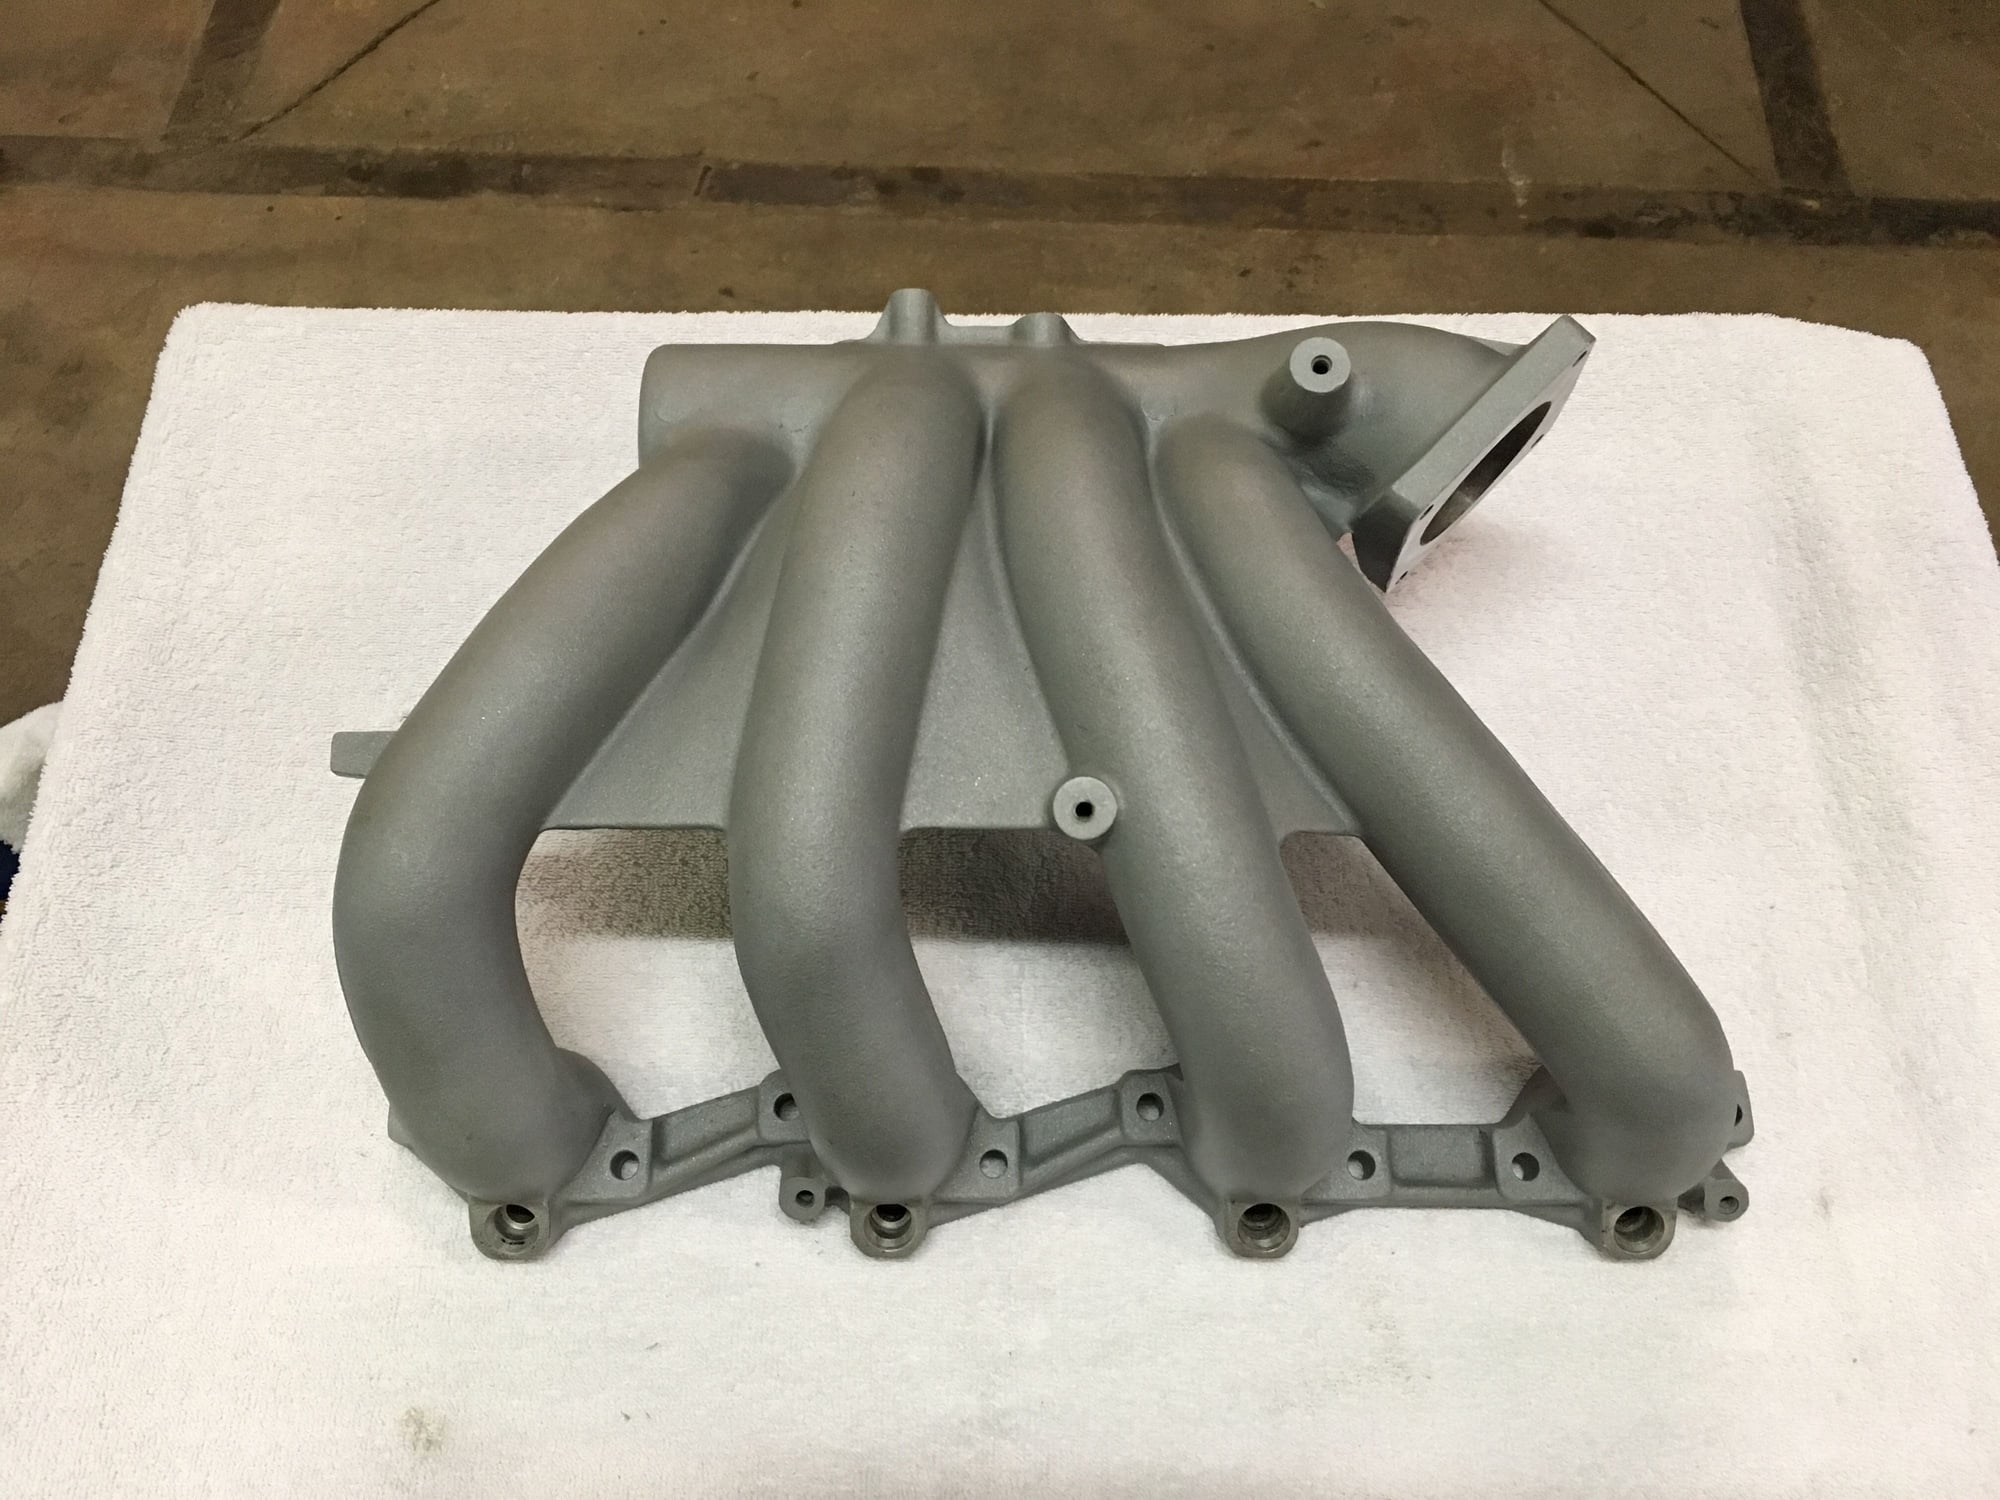
Decided the next piece to work on was the intake manifold. Started out pretty crusty.
Did the same thing to the manifold that I did to the cylinder head - traced out the gaskets so I could do some port matching prior to cleaning everything up. As you can see, just like the cylinder head there was a bit of material to come out to ensure the transitions are nice and smooth.
And post port work:
I did some port matching at the throttle body inlet as well since there was a nice little wall on one side where the cast inlet hole and the throttle body didn't quite line up.
Finally I glass beaded the manifold. I still have some more cleaning (both inside and outside to ensure any grit that managed to get in is gone) but the 95% finished version looks pretty good. Will look better than new once it's clear-coated.
Had to give the GTI an oil change and replace the cam follower, so that's it for the 944 work. Enjoy the week ahead, and the cooler weather (for those in the northeast).
Maybe too late but when I rebuilt my alternator (in 1987) I took the rotor into a local shop and had them balance it. Mine had failed after only three years (bearings) and balancing it kept it running for another 15. These alternators are heavy and a balance problem will really eat them up.
Maybe too late but when I rebuilt my alternator (in 1987) I took the rotor into a local shop and had them balance it. Mine had failed after only three years (bearings) and balancing it kept it running for another 15. These alternators are heavy and a balance problem will really eat them up.
The one I pulled out of the car was the original unit and it was still working fine after 30 years. Hoping that will still be the case now that I've messed with it!
A little bit more work today. Finished cleaning and clear coating the intake manifold.
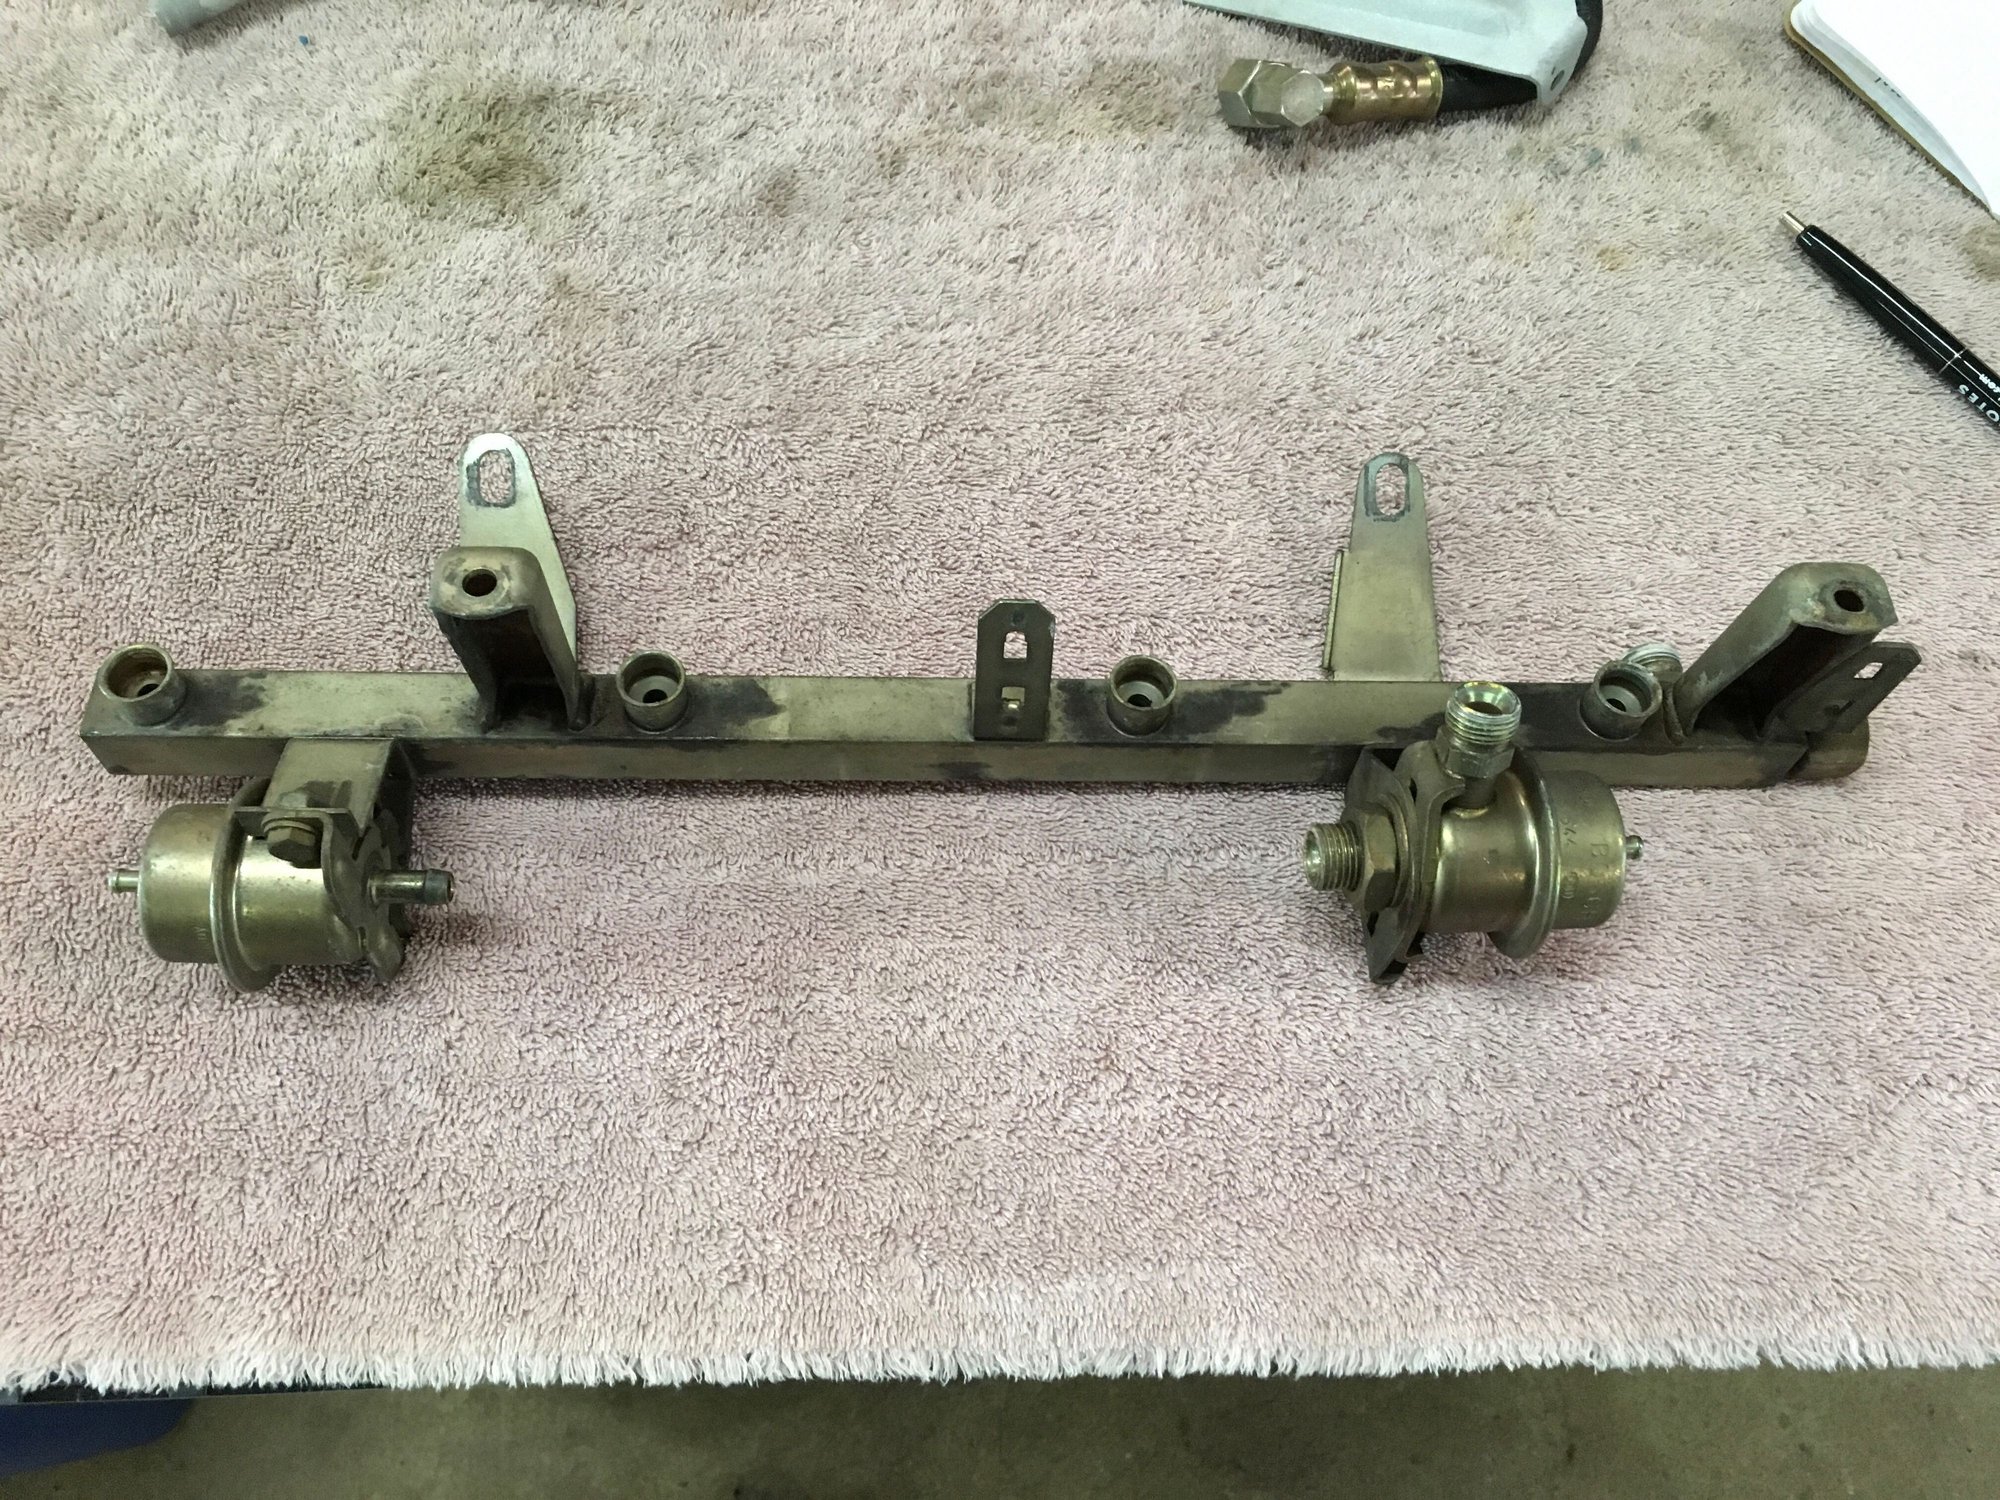
Took a nasty looking fuel rail, regulator and damper...
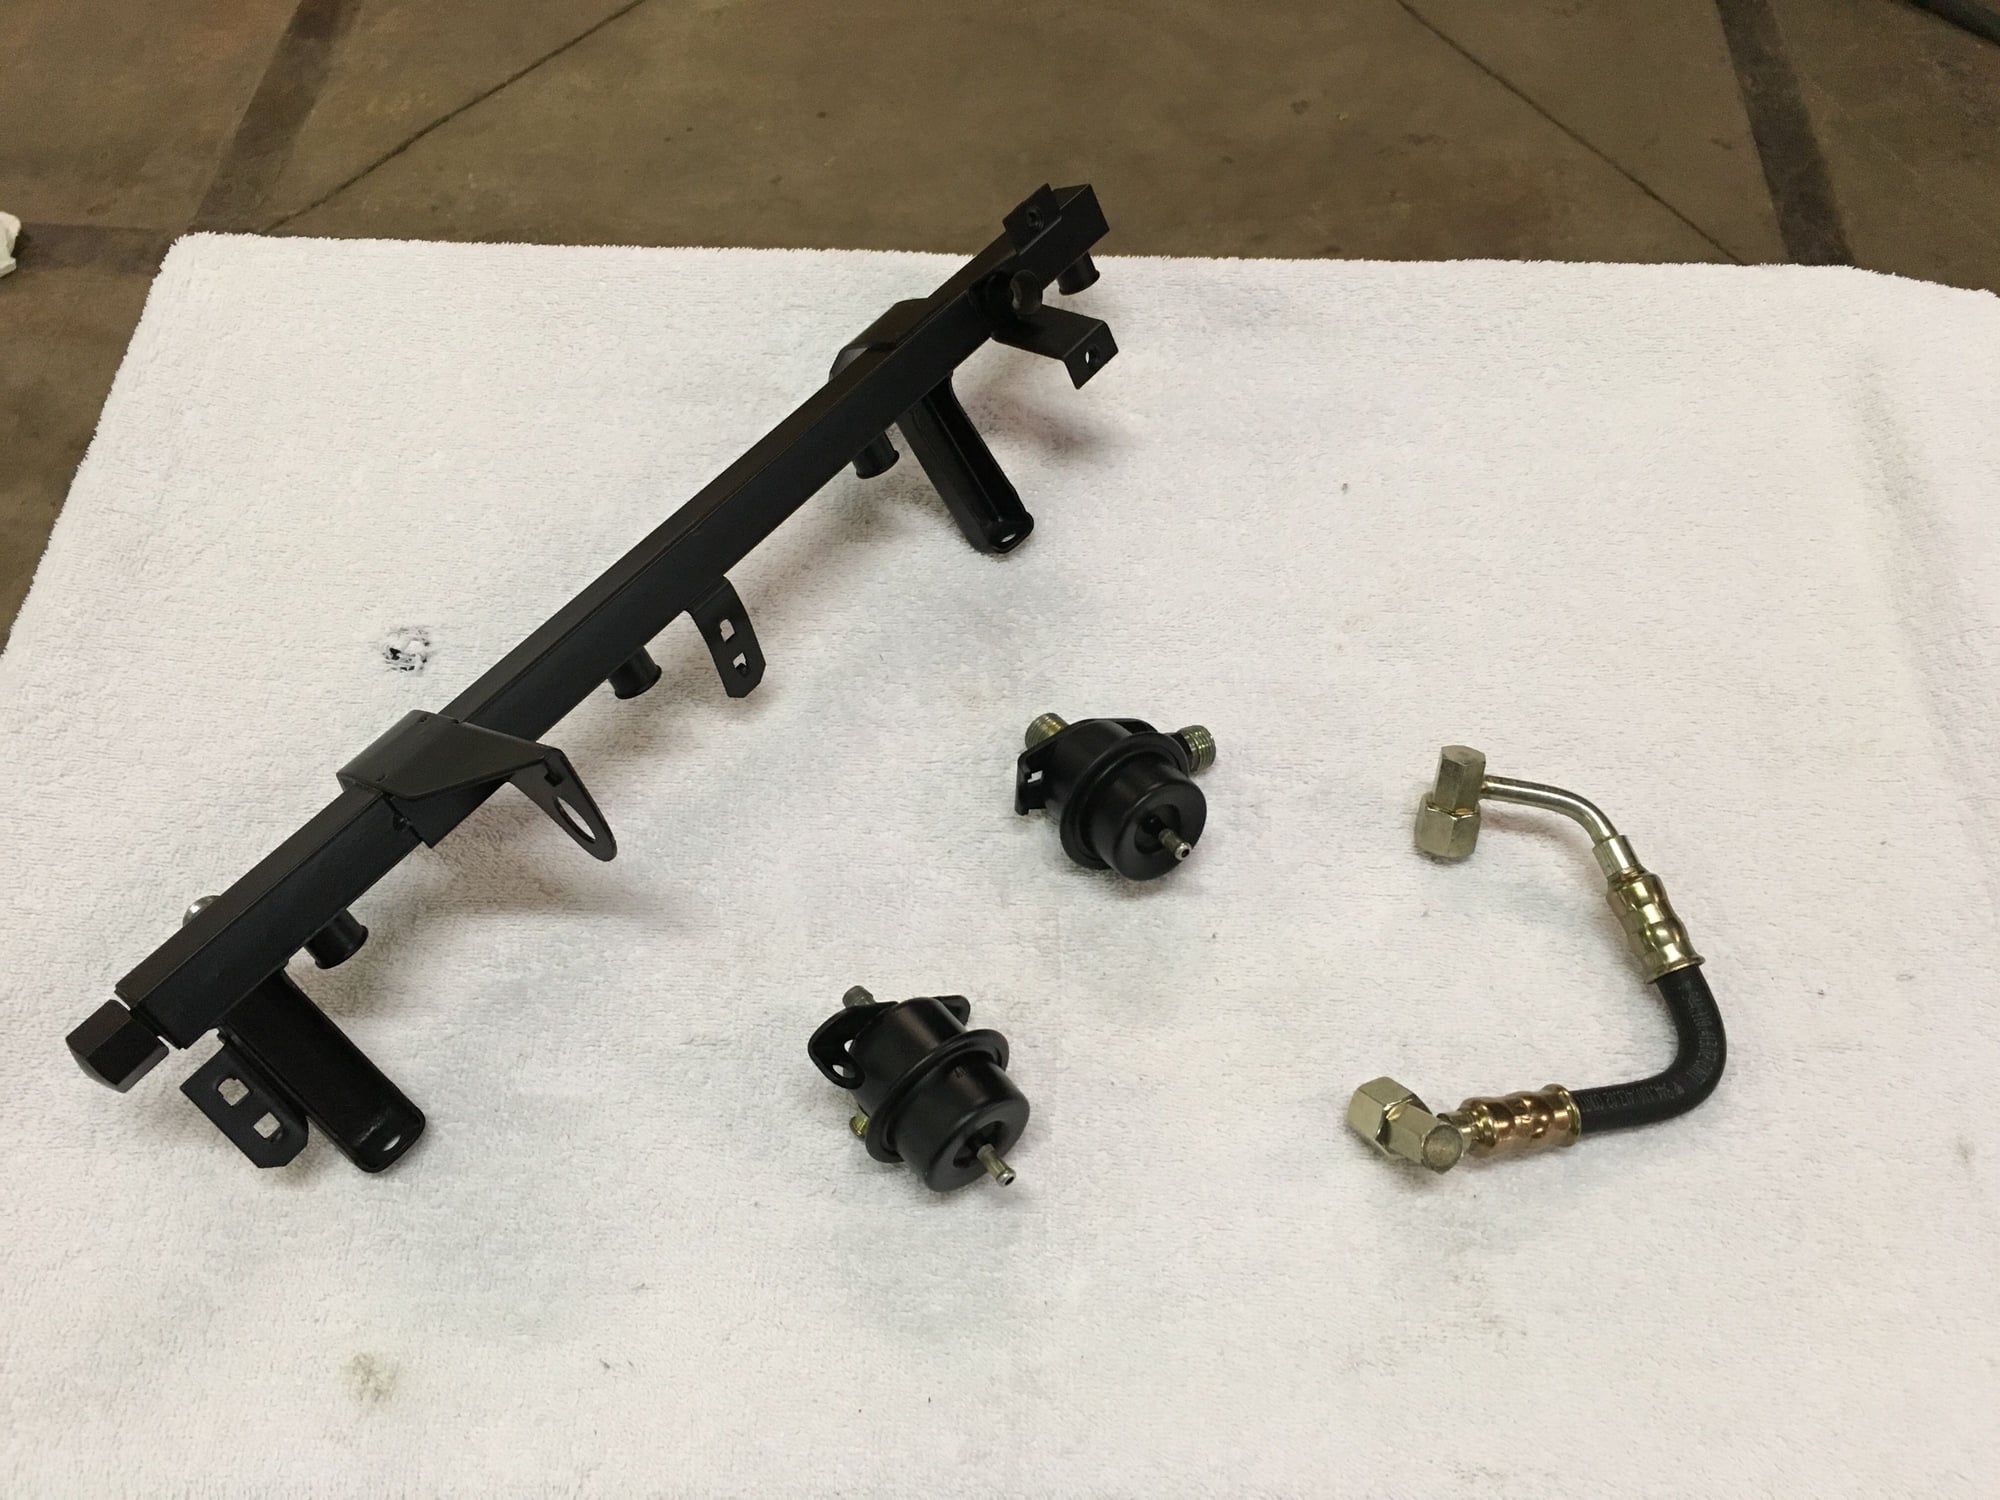
...and turned them into a beautiful, clean fuel rail, regulator and damper.
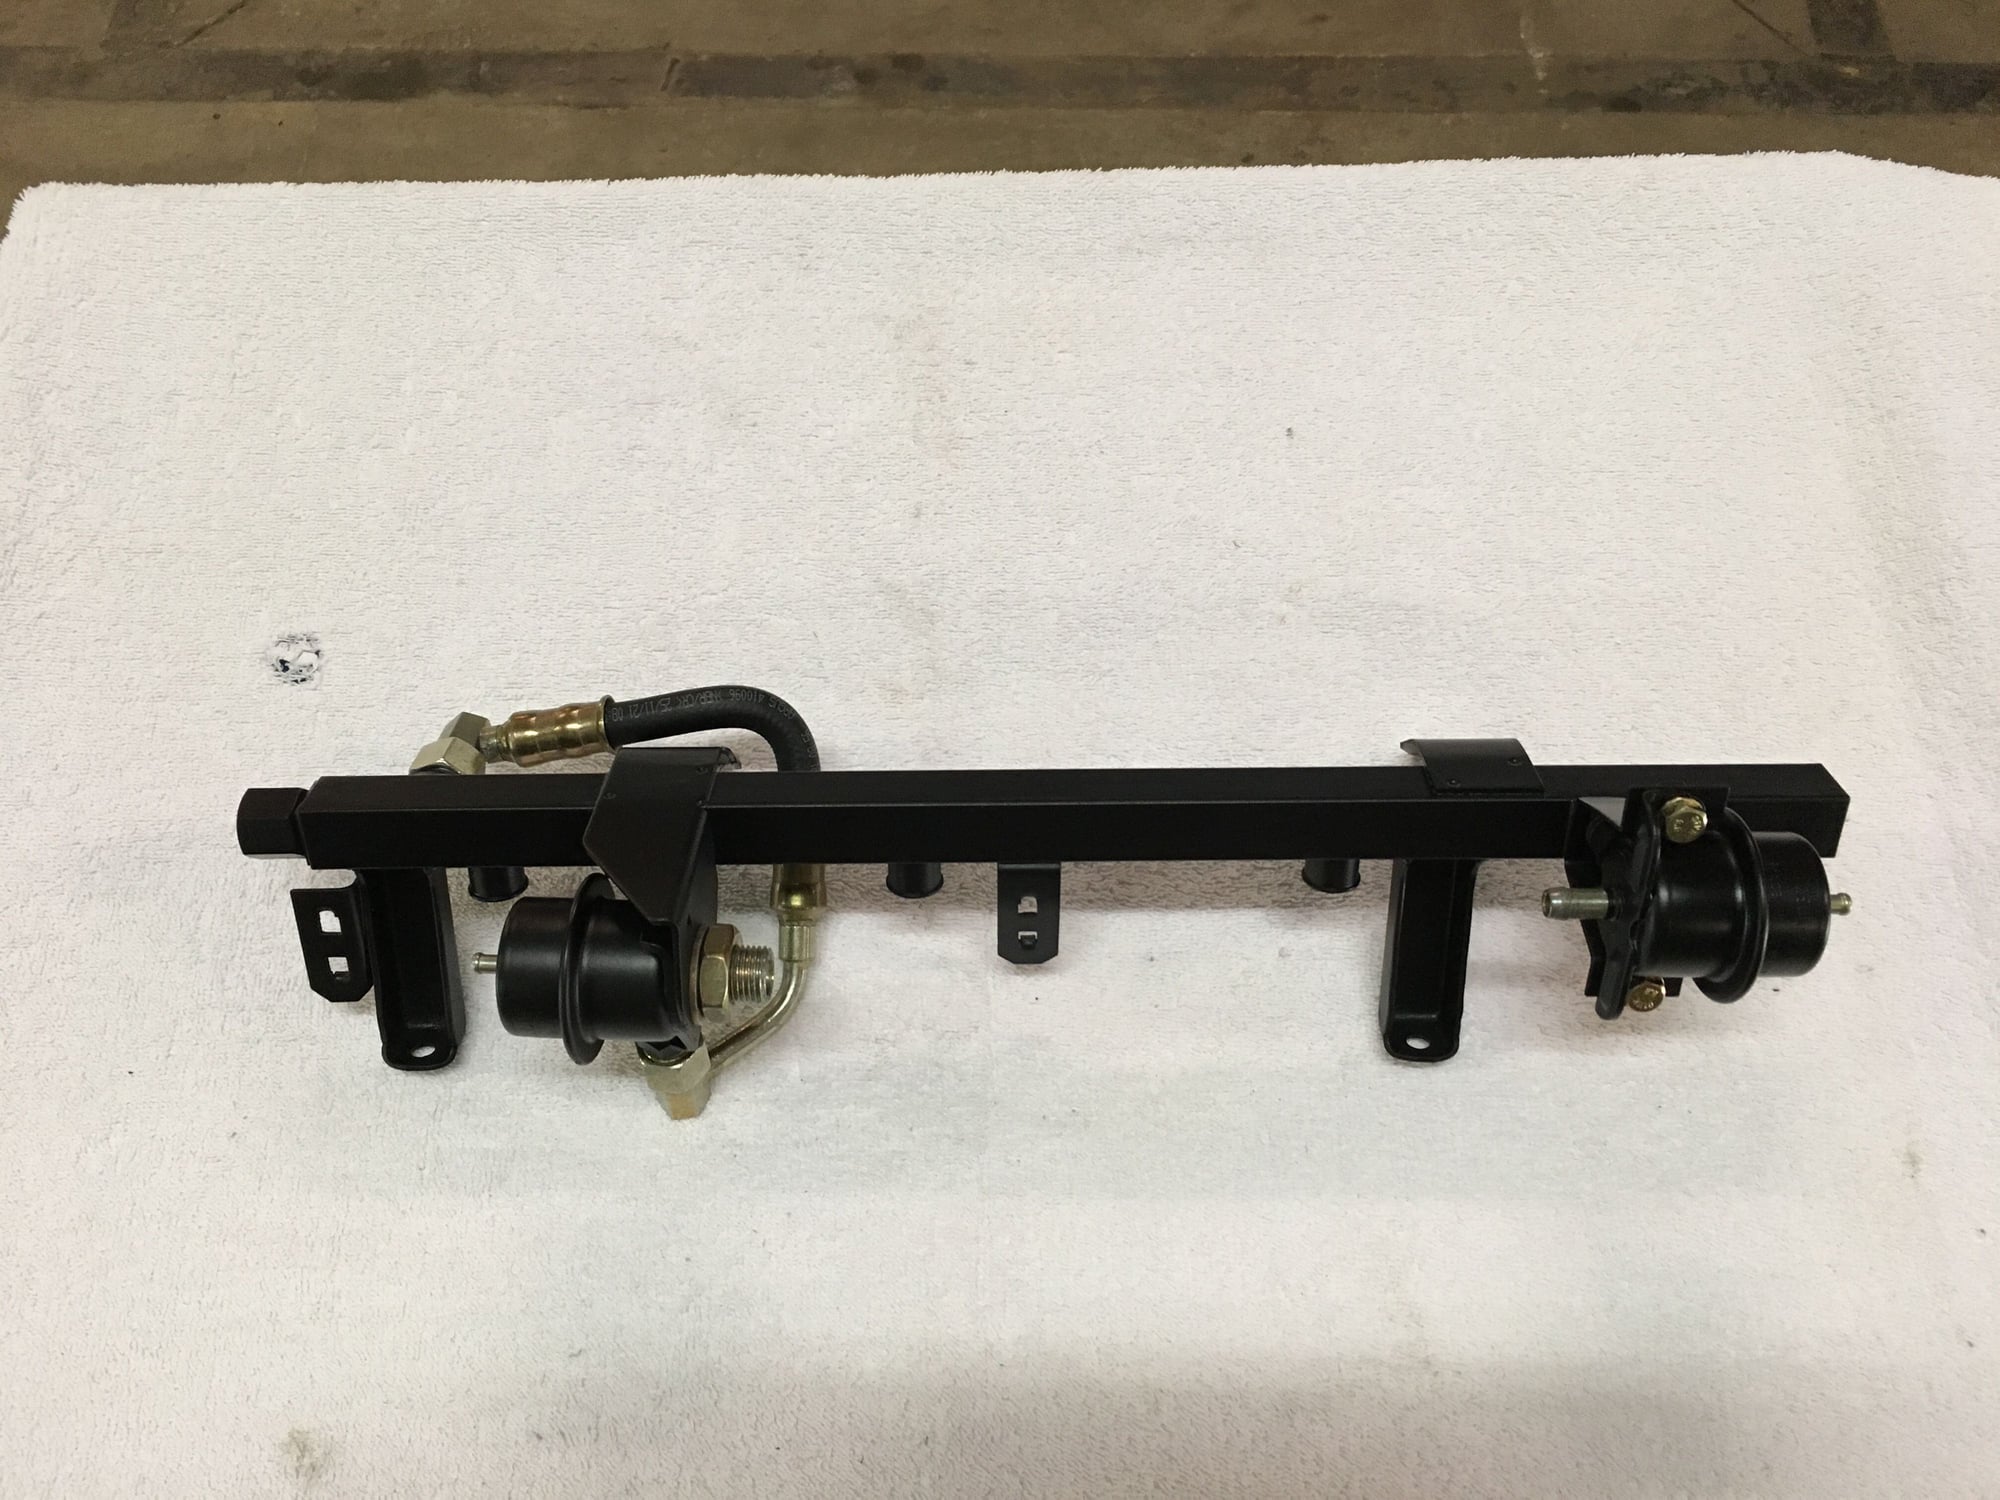
Temporarily assembled just to place it in the house for safe keeping since I forgot to purchase the fuel injection O-ring kit from Rennbay.
Painted the crack pipe with some high temp paint and the throttle cable bracket with the same matte black under hood paint I've been using for everything else.
The fumes from the pre-paint cleaner and the paint itself were really getting to me today and giving me a killer headache, so I quit after not a whole lot of progress and washed the GTI instead. VW's need love too.
I believe I am at a point where the next thing to do is starting tearing the old long block apart.
Awesome job, I love the blasted and clear coated aluminum parts. and the black painted parts too! are you blasting with soda or glass beads? Im glad I found this thread as I just bought a 1984 944 NA yesterday! I am halfway to pulling the motor... topside is all apart time to crawl under to get the rest unbolted.
I'm basically doing the same as you and now I guess I need to invest in a soda blasting cabinet after seeing how your parts turned out. I did buy a parts washer from Harbor Freight and solvent from tractor supply... best $150 investment yet... I really want to build a thread like the one you have here too...
Are you going to get a different cam or do any other performance mods? I like the porting, and plan to do the same... You should port match the exhaust side too.
good luck with your build, and I will be following you. Thanks for sharing!
@Hell2Go - I originally tried soda blasting with a home made setup. It left a bit to be desired and made a freaking mess. After that I decided to just purchase a small bench top blast cabinet from Eastwood. I've definitely got my money's worth so far!
Think I'm going to stick with the stock cam for now. I thought about a performance cam before I rebuilt the cam tower, but it just seemed the gains weren't quite enough to justify the price. Right now the tower is built with the stock cam.
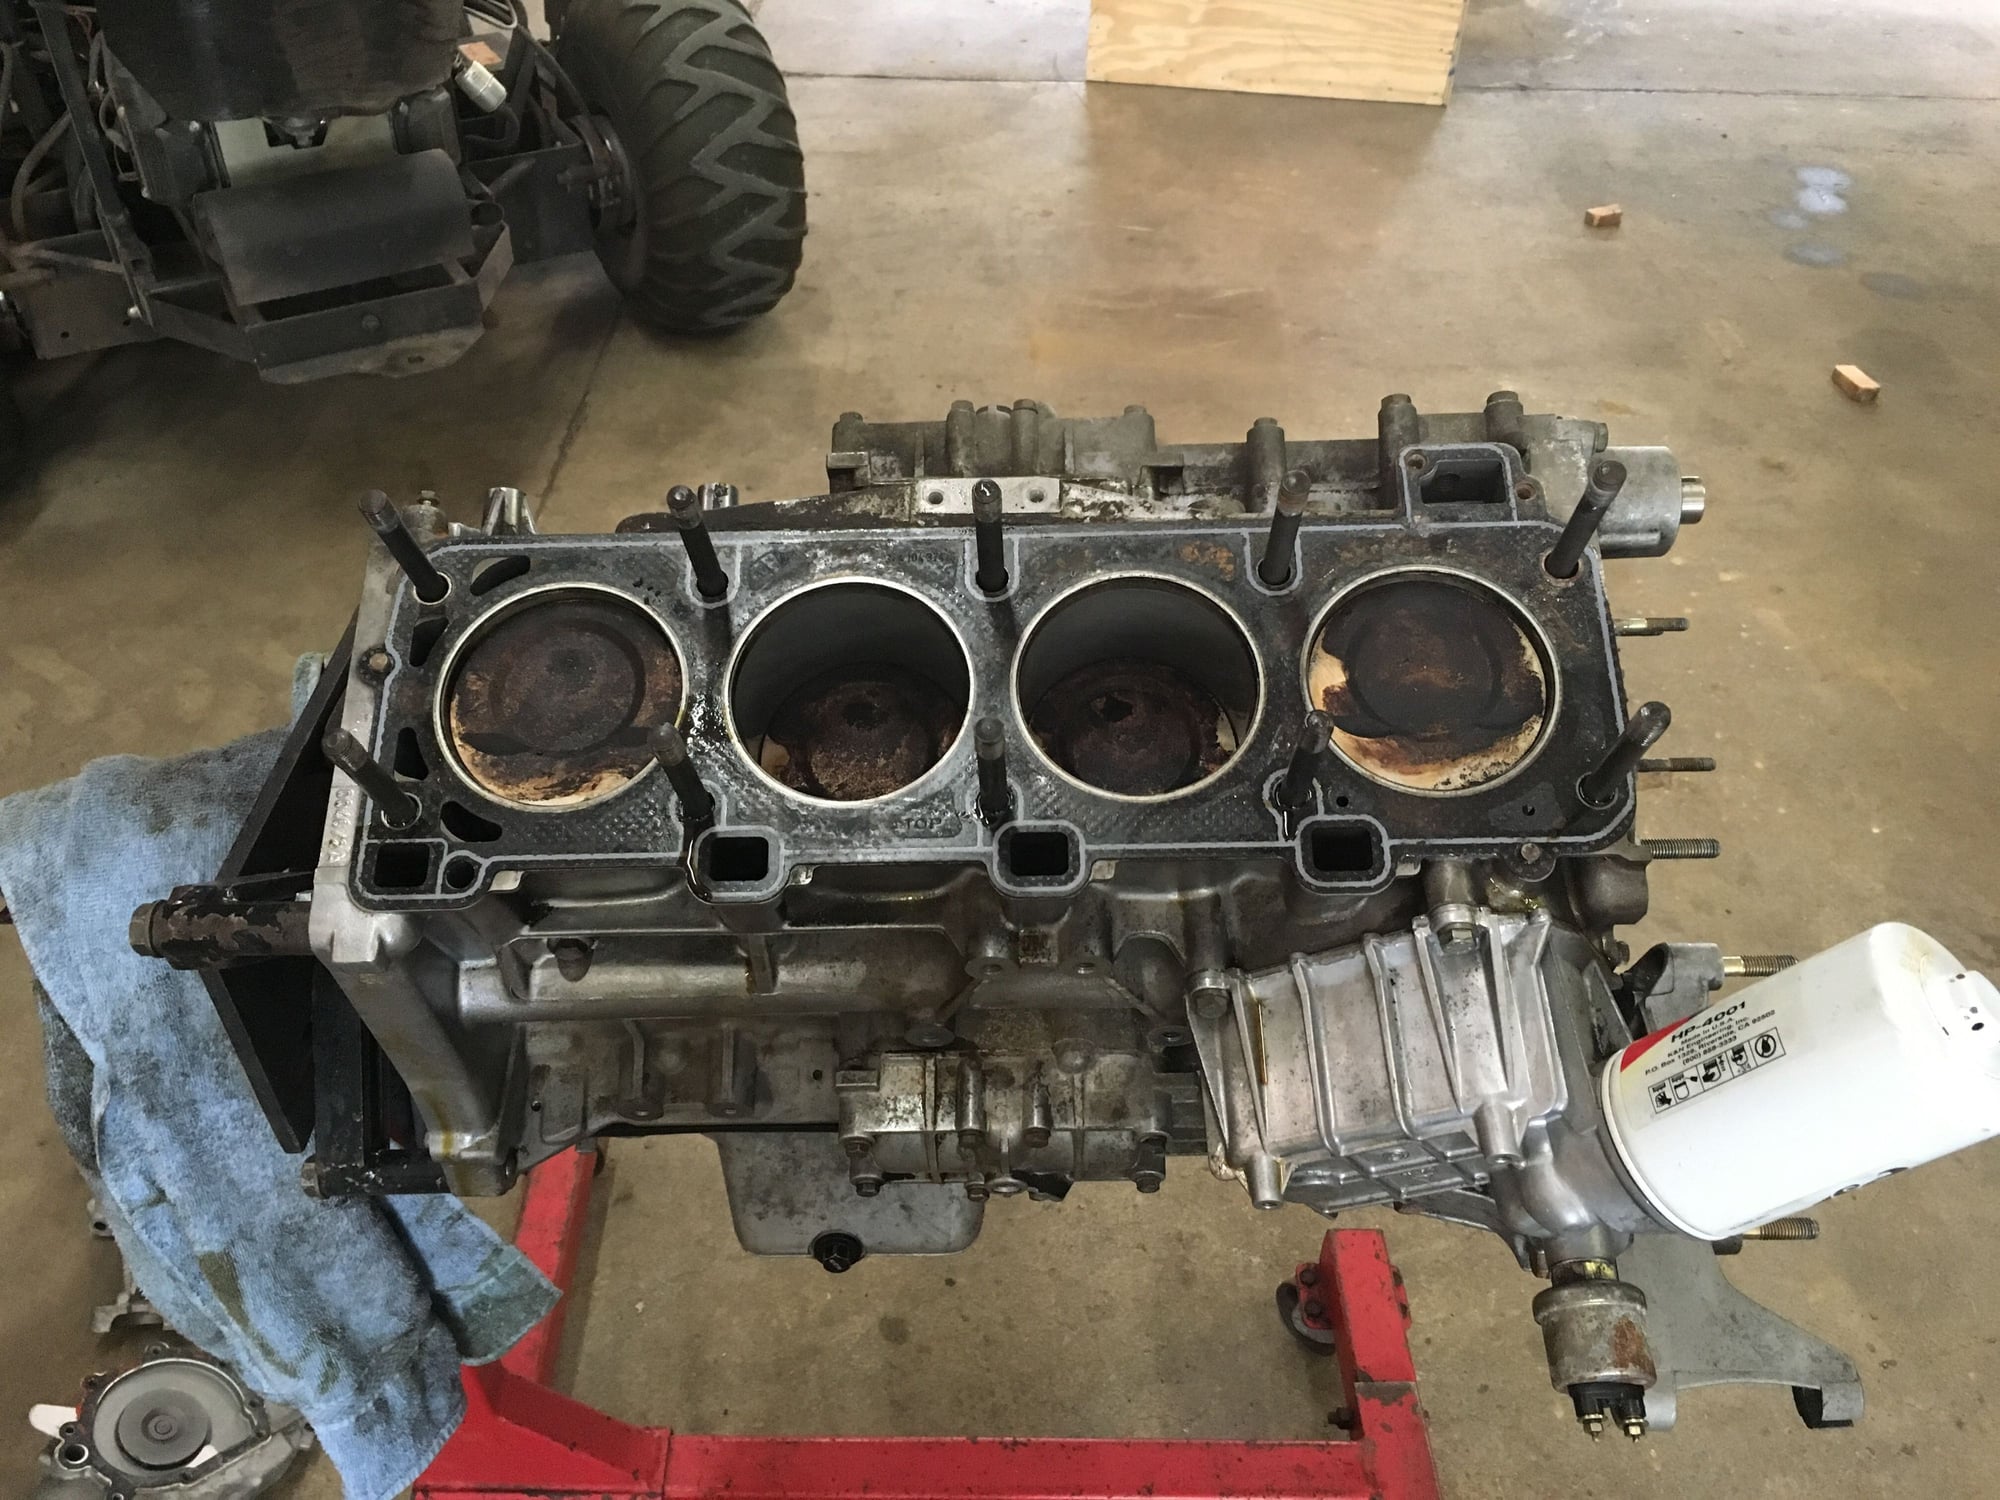
Some more work from yesterday. I always thought my motor was relatively clean until I started tearing it all apart. Quite crusty actually.
But of course, nothing that can't be cleaned up with a little patience, degreaser and some glass bead.
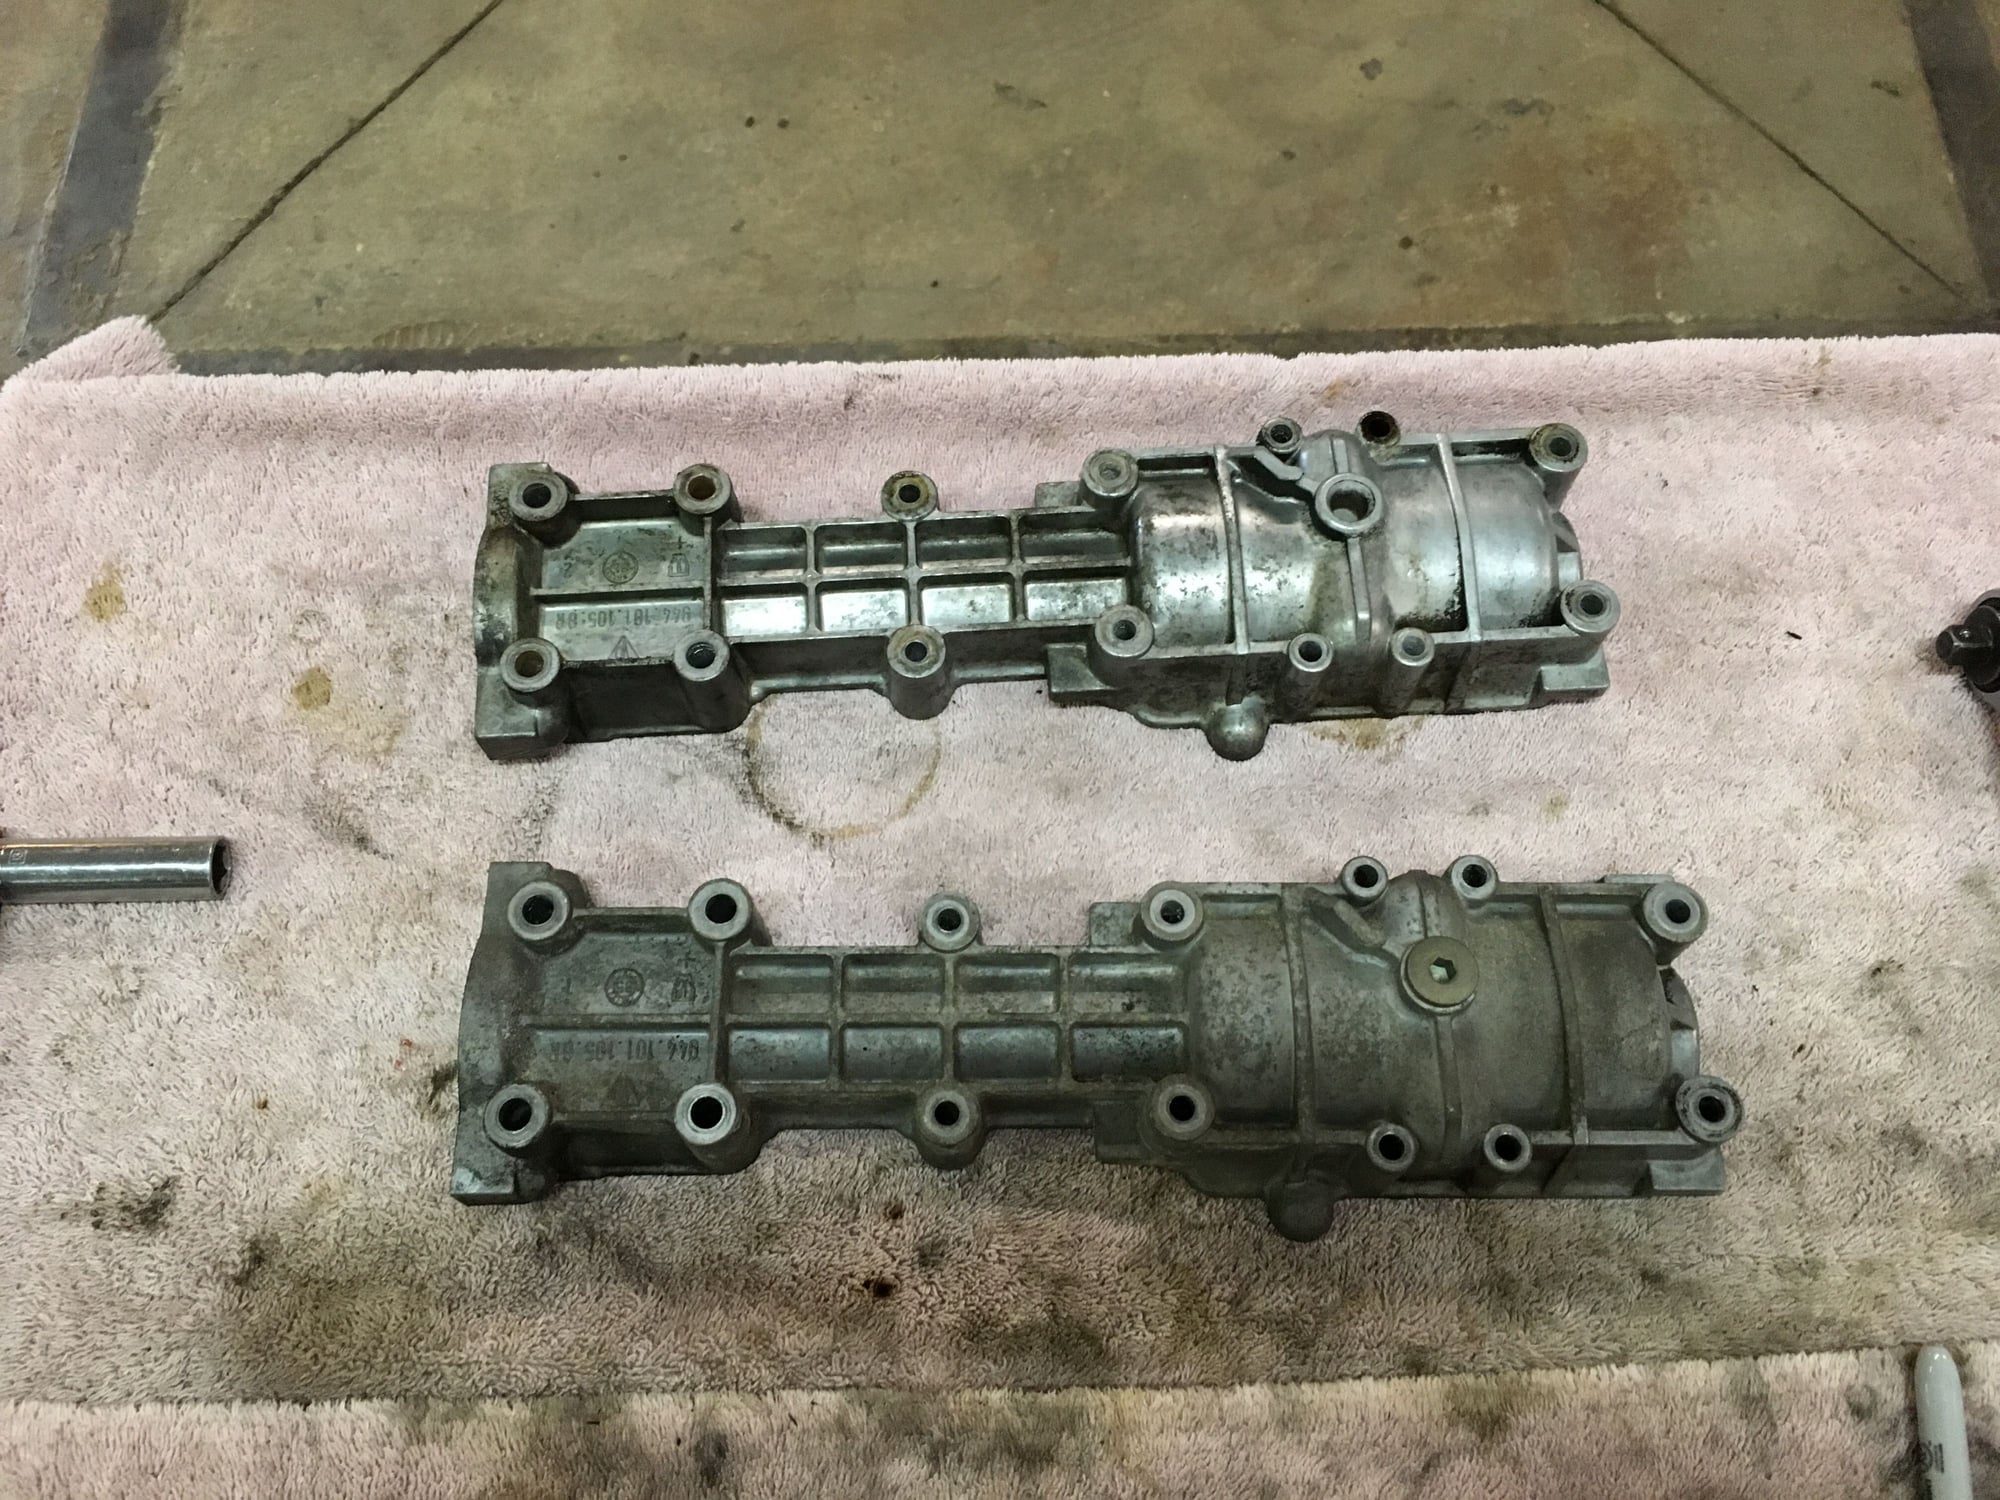
Balance shafts looked good and still spun very smoothly. Just got a bit of rust on them from removing some of the cover bolts. Amazing how some of the bolts can be so crusty while others are still in pretty good shape.
Balance shaft covers were pretty crusty, one worse than the other. Very minimal Loctite 574 used on these - kind of surprising but they weren't leaking after 30 years so I guess it worked.
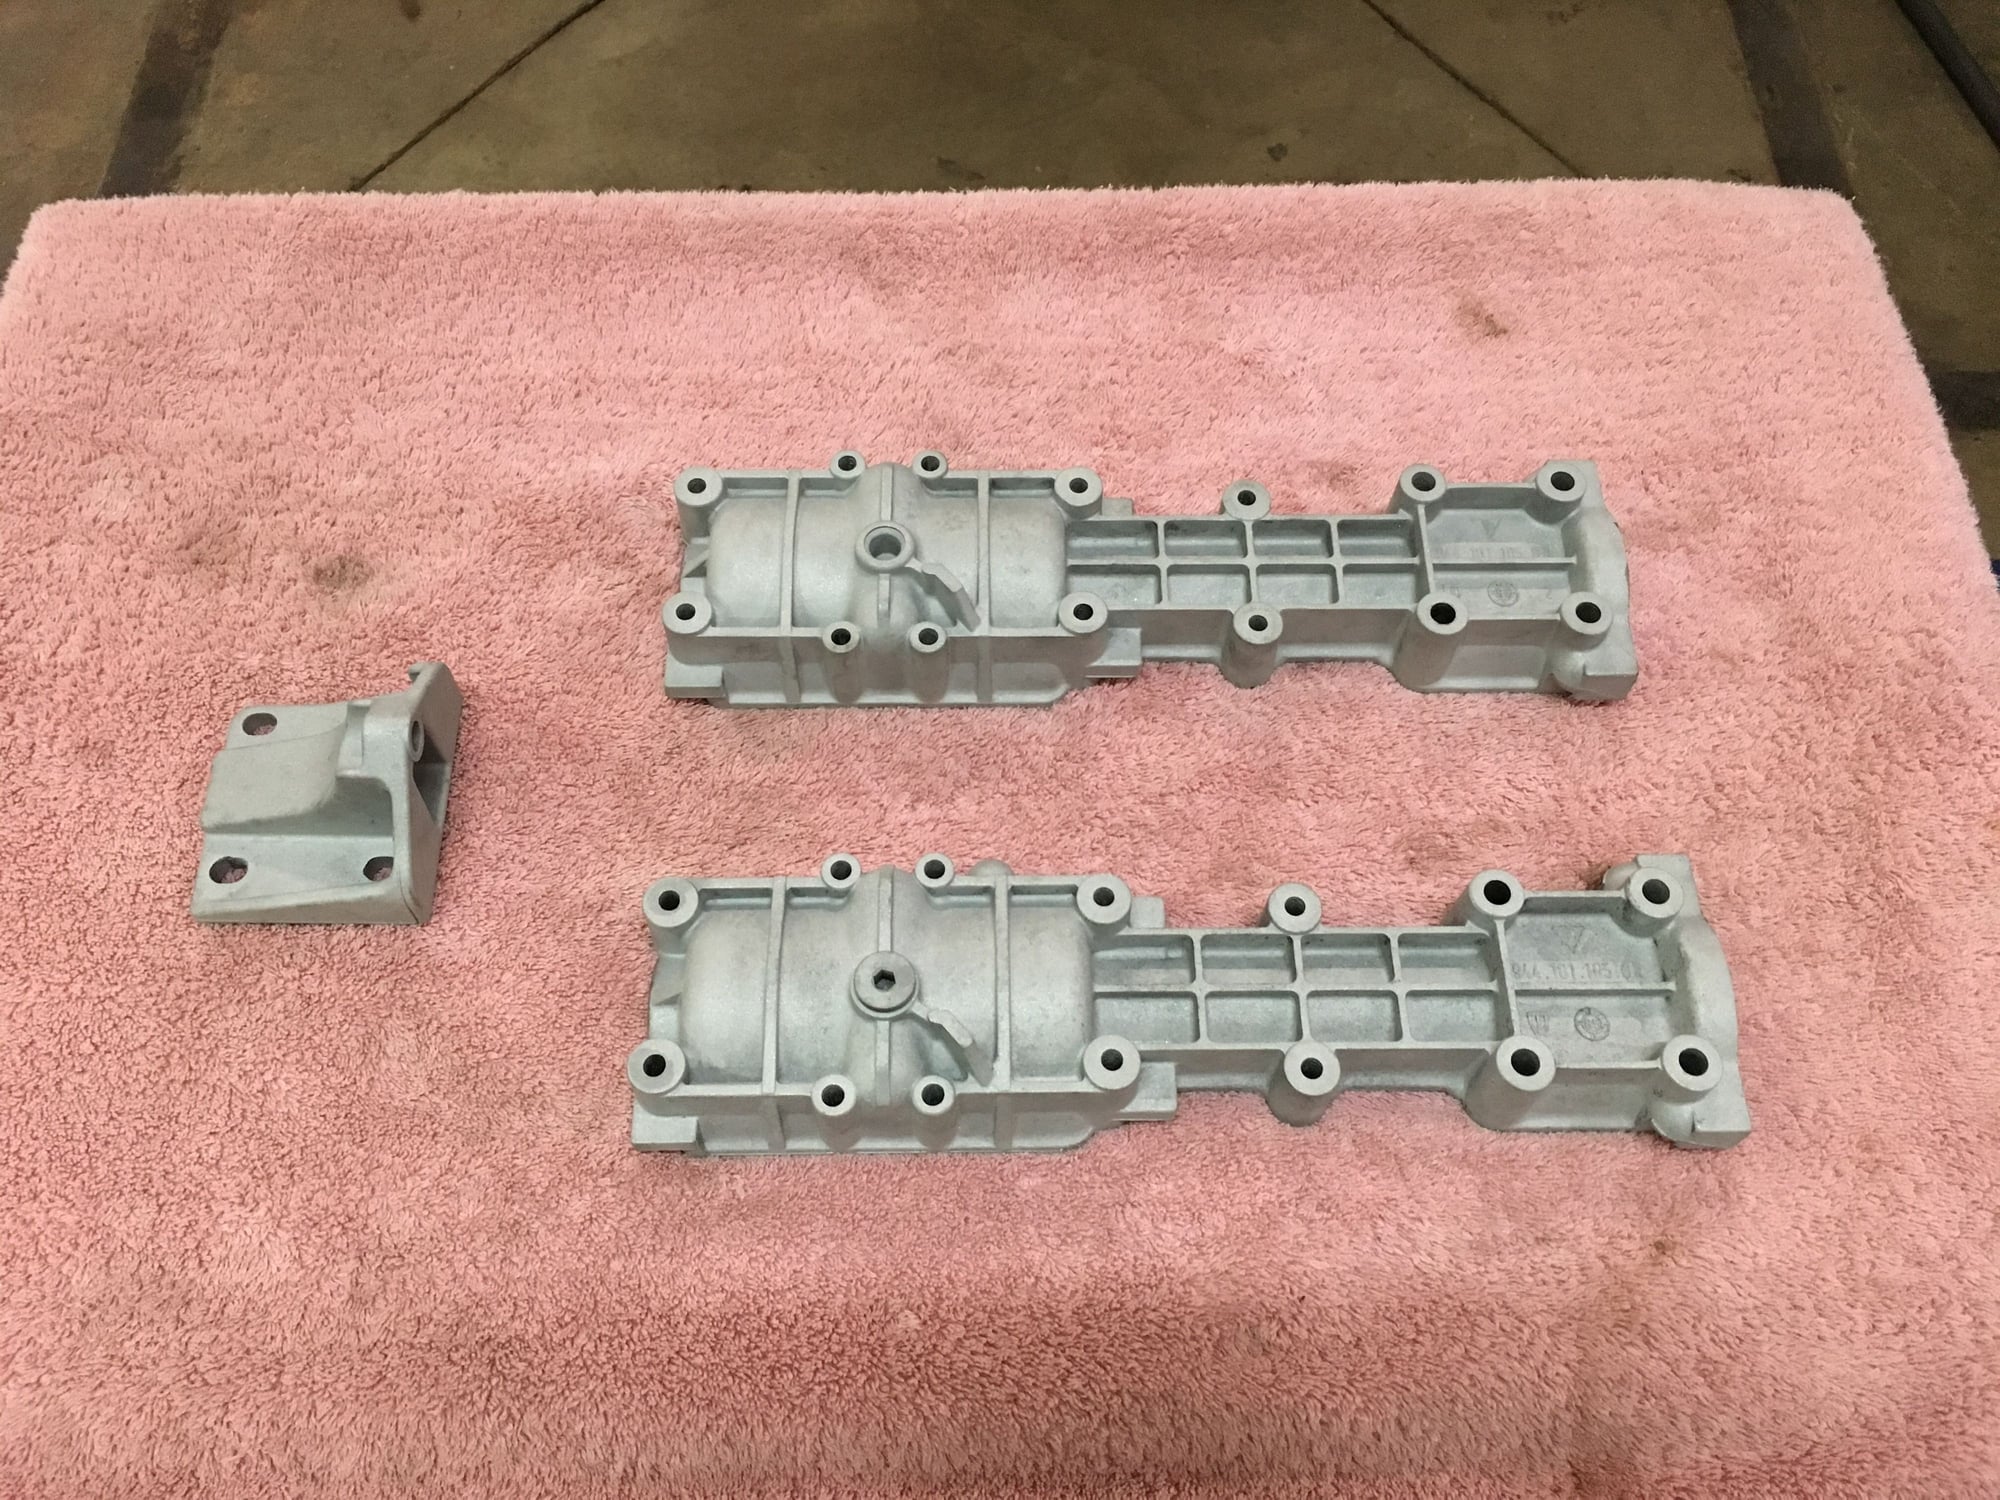
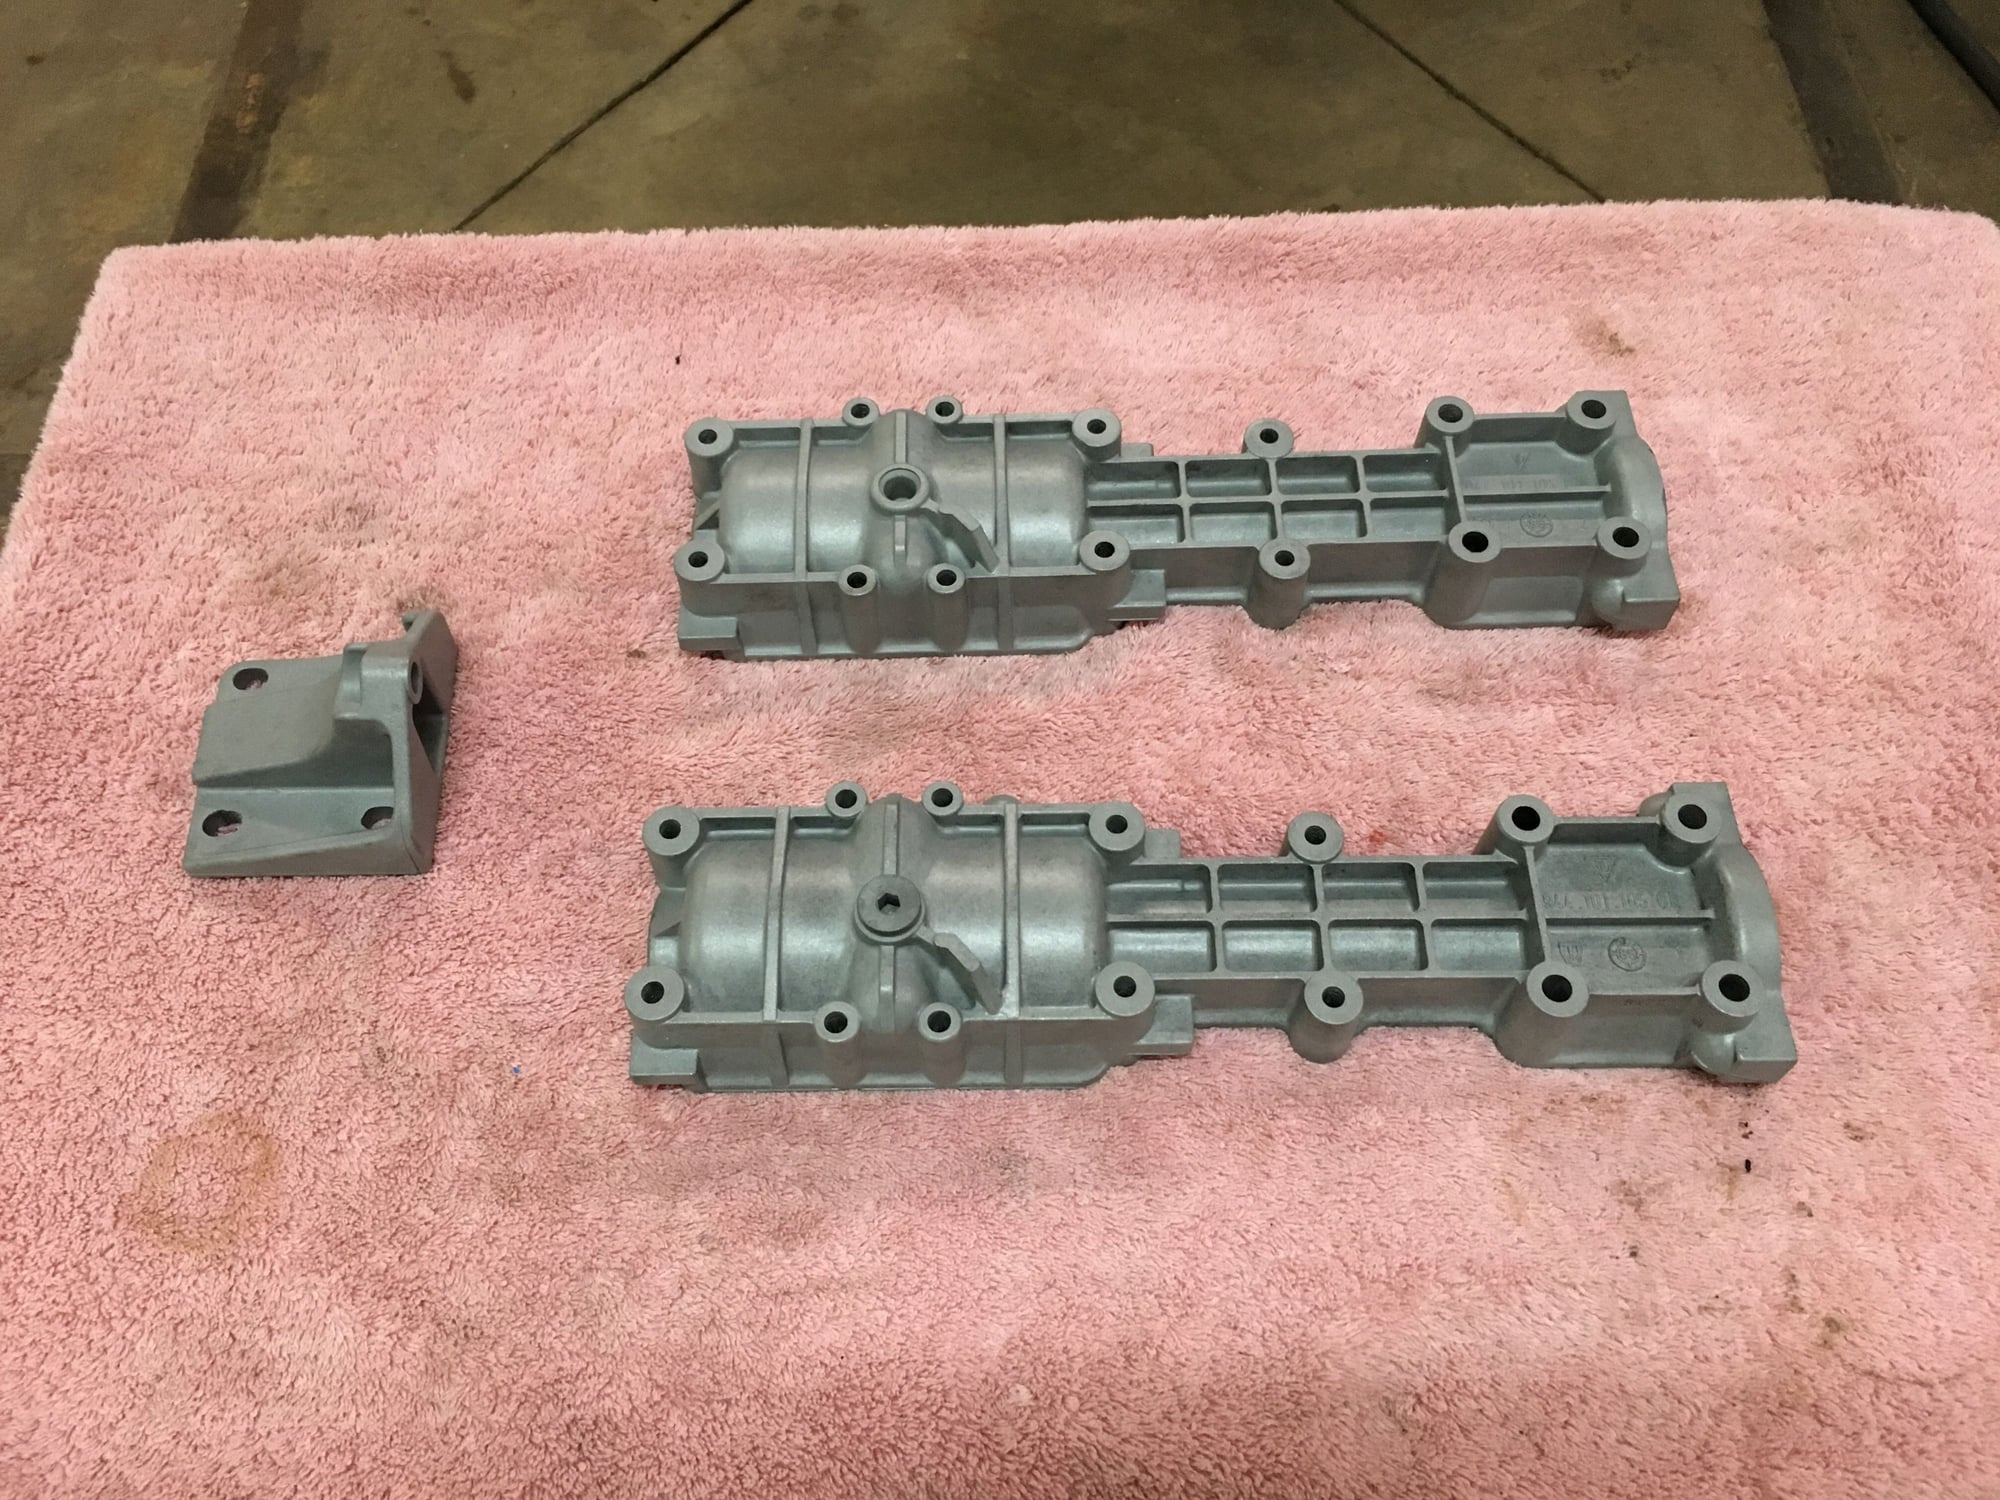
But nothing that can't be cleaned up!
And of course clear coated for protection. I really like the way the clear coat brings some luster back to the aluminum after the glass beading.
And that's it. Time flies when you're having fun. I definitely need to order some parts so I can put some of this stuff back together.
 08-14-2016, 10:15 PM