When you click on links to various merchants on this site and make a purchase, this can result in this site earning a commission. Affiliate programs and affiliations include, but are not limited to, the eBay Partner Network.
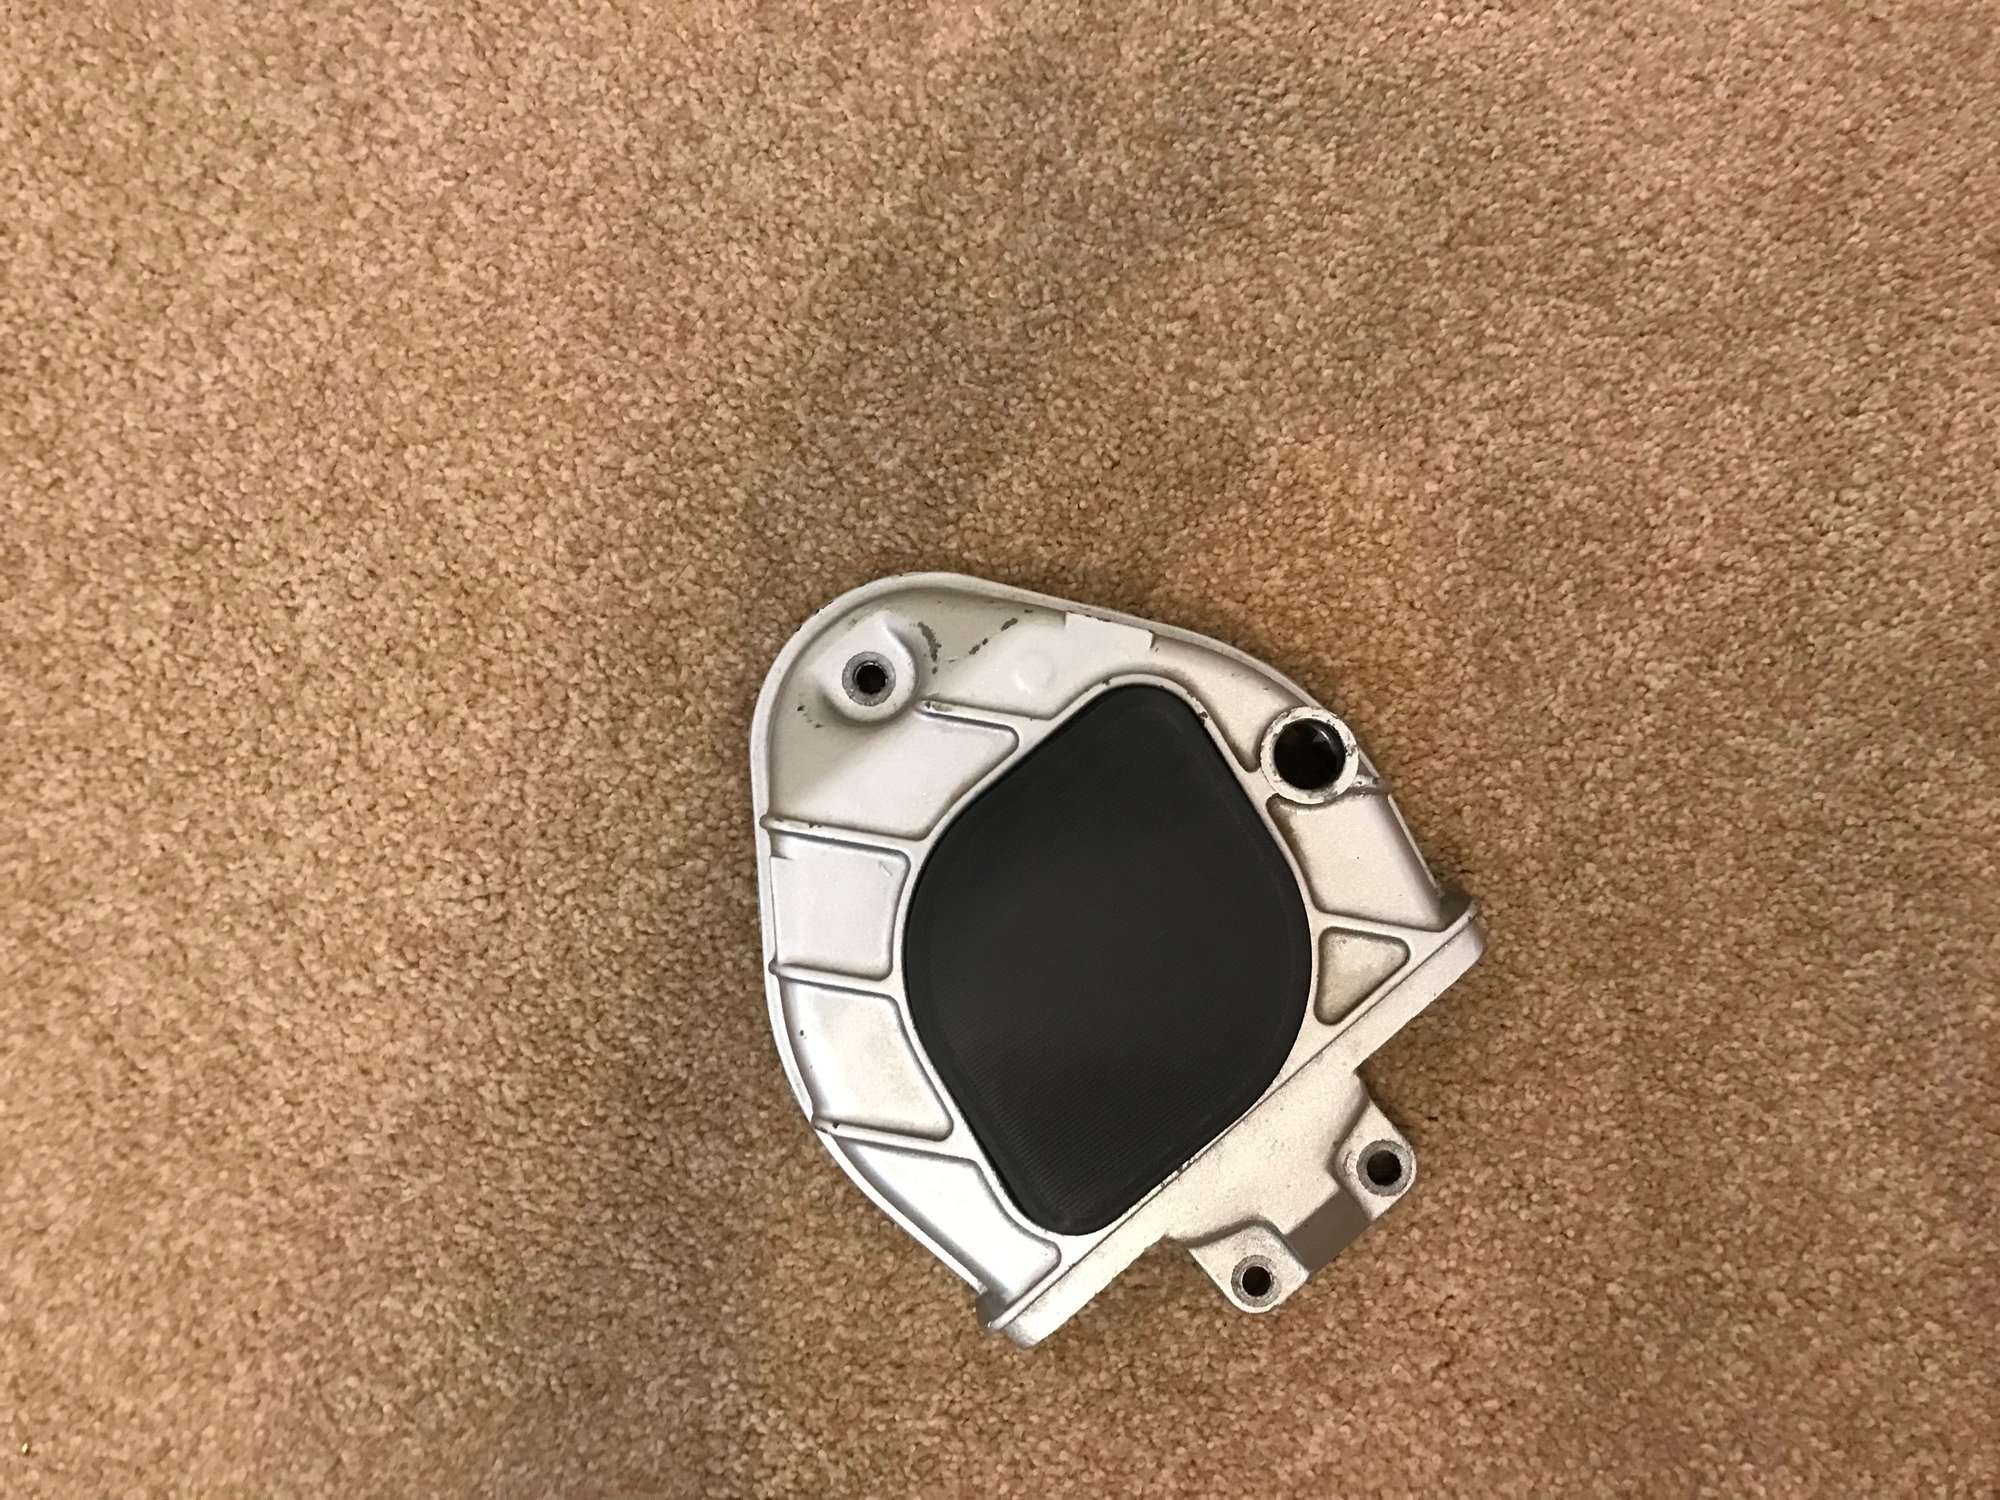
KVDR, thanks for that! In solidarity, I'm posting my rear main seal installation tool.
Recommended settings:
PLA at (minimum) 20% infill. Make sure you are dimensionally calibrated first, as best as you can. You can use any material within reason however removing supports from PETG (my usual material for functional parts) can leave scars and be tedious.
Supports: needed for sure. I use tree supports with a 60deg activation angle. Part cooling should be leveraged as much as reasonable (100% duty cycle with PLA, maybe 20% with PETG, can't comment on other materials).
Ironing feature used in Cura, top layer only (where the collar faces the seal to make it smoother). Not required but nice touch.
When both pieces are printed, you'll want to work the threads to bed them against eachother. A few smears of grease makes this easy and after a few minutes it should be pretty smooth.
Description has pretty much all the info required, this definitely needs to be printed from something like nylon or polycarbonate. ABS/ASA may be ok, not sure. Did mine in carbon fiber polycarbonate and it's great.
On the 944 I'll be starting with some grilles for the vents up by the windshield, a cup holder, and a rear license place relocation bracket to tuck it up a bit tighter.
On other cars, I've done vents/valves for a one-off heater, taillights, headlight adapters, wheel center caps, cruise control cable retainer, sun visor clips, random body plugs, mounts for radar and dash cams, switch mounting brackets, phone mounts, the list goes on.
I'm very keen for a large 3D print if anyone is able to give it a go?
I'd like a cut down version of the late 944 center console with no ashray or arm rest that I can add a thin layer of foam and some vinyl to for an OEM look.
I'm very keen for a large 3D print if anyone is able to give it a go?
I'd like a cut down version of the late 944 center console with no ashray or arm rest that I can add a thin layer of foam and some vinyl to for an OEM look.
e.g. Something like the one on the left
I built a custom printer that can accommodate 360 x 360 x 230mm build volume, I'm happy to print it for you, if you can provide a 3D model or STL.
I built a custom printer that can accommodate 360 x 360 x 230mm build volume, I'm happy to print it for you, if you can provide a 3D model or STL.
Modelling it is another shortfall for me. I know there is a fiberglass center console out there by one of the online vendors. It would be good to get a 3D scan of it.
Originally Posted by Tiger03447
If you eliminate the ashtray arrangement, how are you going to hide the two 10mm bolts that hold the console in position? Just wondering. Thanks.
Design in a blanking panel at the trailing edge of the factory one with a clip/slot-type arrangement that is discreet and can be removed with an interior trim tool to tidy up the console and expose said bolts.
I imagine it to look something like this, this is the underside. And this is the extent of my modelling ability lol
[edit] Oh, do you mean the rear mounting bolts under the armrest? It has a rectangle of missing carpet there. I was thinking of either patching it or mounting something else there like a wireless phone charger pocket, similar to the carbone one, or a magnetic one like from rennline.
Was looking into 3D printed suspension bushings (for non-critical locations in terms of safety). Seems to be a few guys who have had no issues over a few years so I took at a stab at the front sway bar outer bushings, for steel control arms:
This is sized for the larger / late sway bars, currently most of us have had to drill out the stock rubber bushings due to the larger ends. Not to mention only 1 vendor for poly replacements (and this still needs to be drilled out for larger sizes). More details, along with printing and installation instructions, are in the link below:
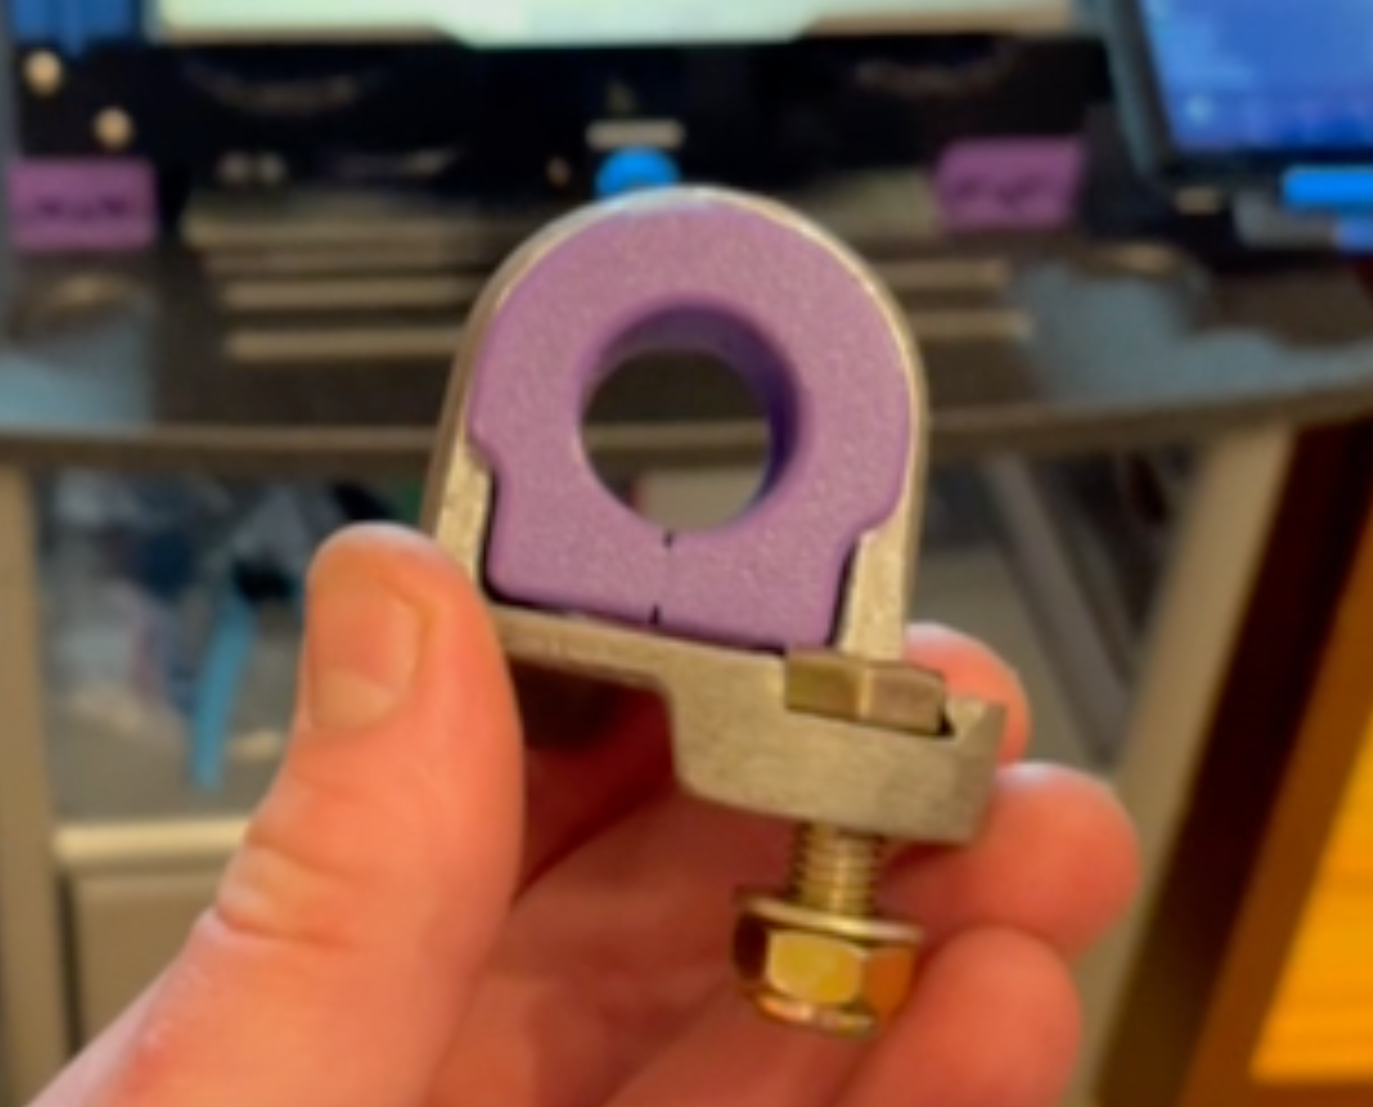
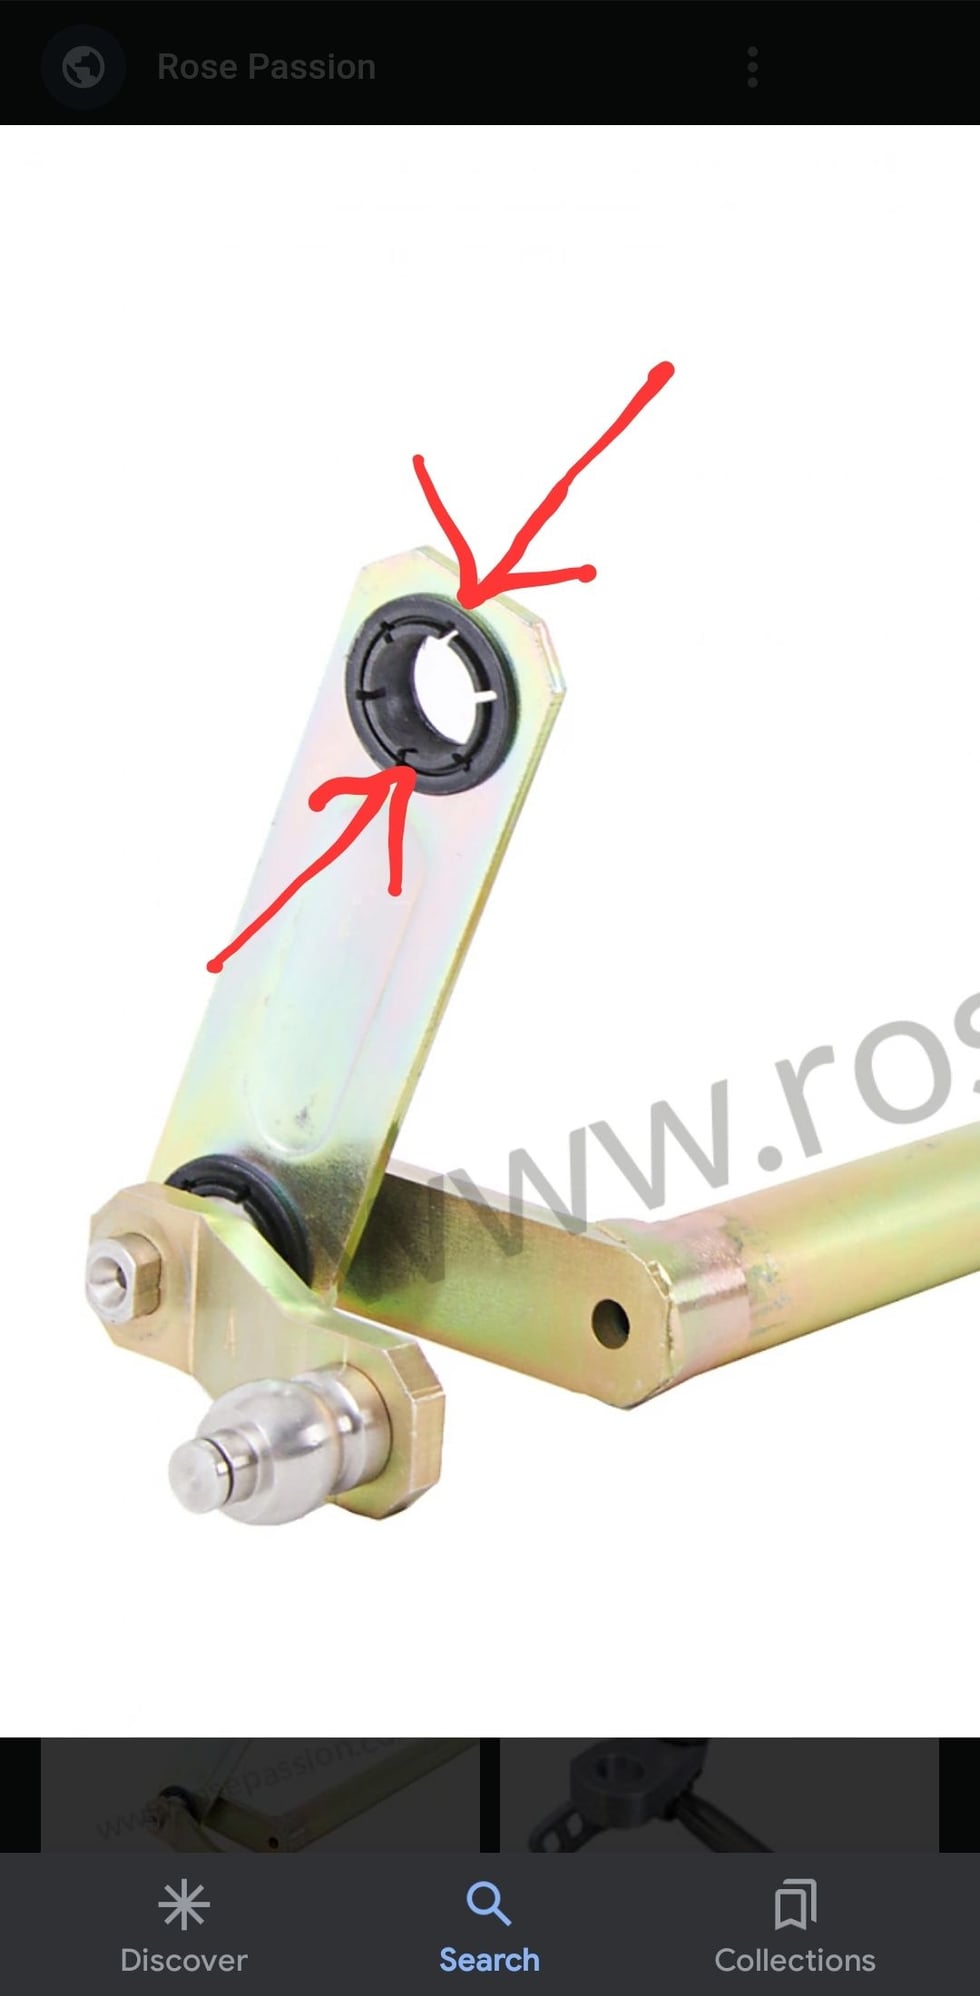
Would anyone be able to make a cad file for this headlight control rod bushing? It is the part where the ball for the headlight bucket meets the control rod (see picture). Mine broke and now I need to replace it with something to make my headlights work again but it isn't a part in the pet. @KVDR
Description has pretty much all the info required, this definitely needs to be printed from something like nylon or polycarbonate. ABS/ASA may be ok, not sure. Did mine in carbon fiber polycarbonate and it's great.
This is a pretty amazing thread. I haven't made anything for my 944S yet, however I have made the bushings that go on the seat rails for my 928S (should also fit 911's and possibly other cars with front/back power seats).
Question for all: I use PETG to print the parts, it's resistant to temperatures found in the car (unlike PLA) and is pretty strong (also unlike PLA). Anyone else use PETG, thoughts?
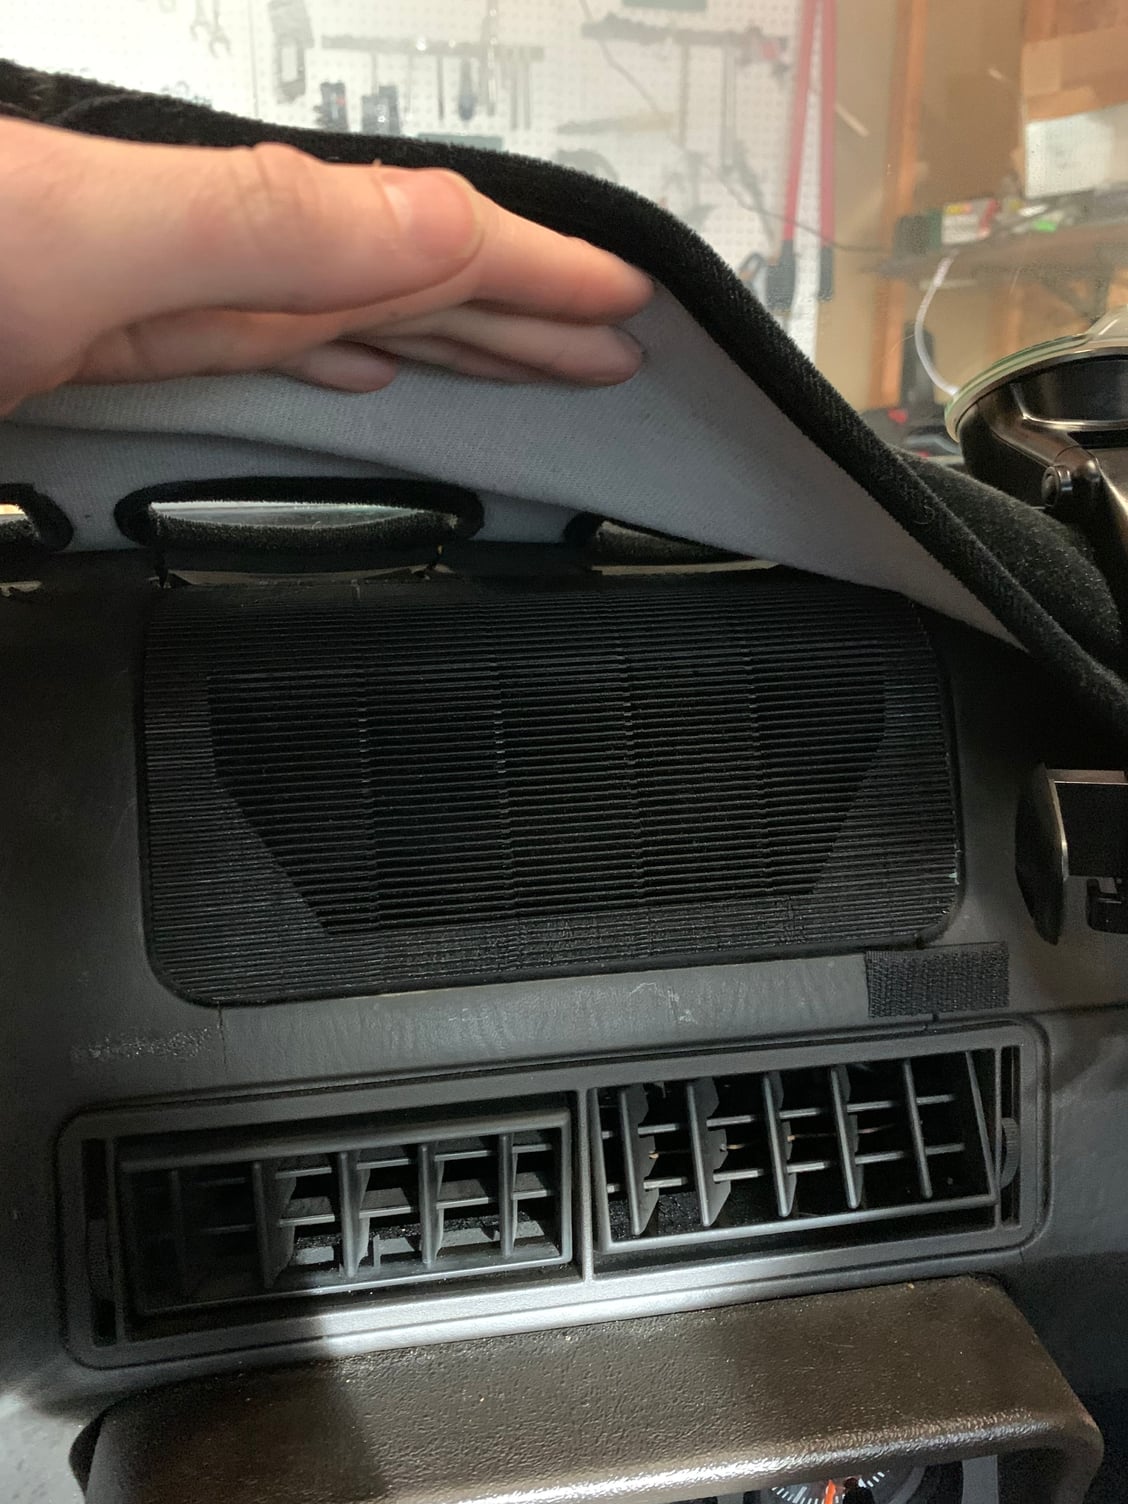
I�ve been working on a speaker grille for the center speaker of my 924S. I wanted to make an OEM style one so I could later update it with gauge holes for two new gauges!
The STL is available on Printables. See below the fitment! Feedback welcome

 04-24-2022, 01:19 AM