My timing belt / gaskets / exhaust replacement has begun
#31
im always amazed that people can strip out the cheesehead bolt.
that style head has the highest torque rating of any of the bolts that will fit in that location (hex head, allen head, cheesehead) which means they really need to f*** up to get it wrong.
tap the bit in before wrenching!
that style head has the highest torque rating of any of the bolts that will fit in that location (hex head, allen head, cheesehead) which means they really need to f*** up to get it wrong.
tap the bit in before wrenching!
#32
im always amazed that people can strip out the cheesehead bolt.
that style head has the highest torque rating of any of the bolts that will fit in that location (hex head, allen head, cheesehead) which means they really need to f*** up to get it wrong.
tap the bit in before wrenching!
that style head has the highest torque rating of any of the bolts that will fit in that location (hex head, allen head, cheesehead) which means they really need to f*** up to get it wrong.
tap the bit in before wrenching!
Now about the "drilling the bit out".
I used my corded DeWalt drill and the toughest bits I had.
It made a complete mess out of the head of the bolt. It just spread out
So after that I had my guys at Gerber Motorsports help out.
They ground off the rest of the head with a super-duper pneumatic drive with a hardcore grinding bit.
So I learned my tools weren't tough enough to do the job right.
Make sure you all have enough awesomeness in your tools before you try to grind the head off or you make make a bigger mess.
That being said, I will try to be more careful as well.
#33
im always amazed that people can strip out the cheesehead bolt.
that style head has the highest torque rating of any of the bolts that will fit in that location (hex head, allen head, cheesehead) which means they really need to f*** up to get it wrong.
tap the bit in before wrenching!
that style head has the highest torque rating of any of the bolts that will fit in that location (hex head, allen head, cheesehead) which means they really need to f*** up to get it wrong.
tap the bit in before wrenching!
#34
Now about the "drilling the bit out".
I used my corded DeWalt drill and the toughest bits I had.
It made a complete mess out of the head of the bolt. It just spread out
So after that I had my guys at Gerber Motorsports help out.
They ground off the rest of the head with a super-duper pneumatic drive with a hardcore grinding bit.
So I learned my tools weren't tough enough to do the job right.
Make sure you all have enough awesomeness in your tools before you try to grind the head off or you make make a bigger mess.
That being said, I will try to be more careful as well.
For future reference, you should have been using a Cobalt drill bit 5/16". Titanium will not work. You should also drill at a slow speed and spray the bolt head with a little WD40. You should see small chunks of the bolt being removed. After a little bit, you clean out the debris and go back at it. It should have only taken about 20 minutes.
#35
Hey Stanker,
For future reference, you should have been using a Cobalt drill bit 5/16". Titanium will not work. You should also drill at a slow speed and spray the bolt head with a little WD40. You should see small chunks of the bolt being removed. After a little bit, you clean out the debris and go back at it. It should have only taken about 20 minutes.
For future reference, you should have been using a Cobalt drill bit 5/16". Titanium will not work. You should also drill at a slow speed and spray the bolt head with a little WD40. You should see small chunks of the bolt being removed. After a little bit, you clean out the debris and go back at it. It should have only taken about 20 minutes.
I think I'll get that drill bit and try a test run.
#36
Update
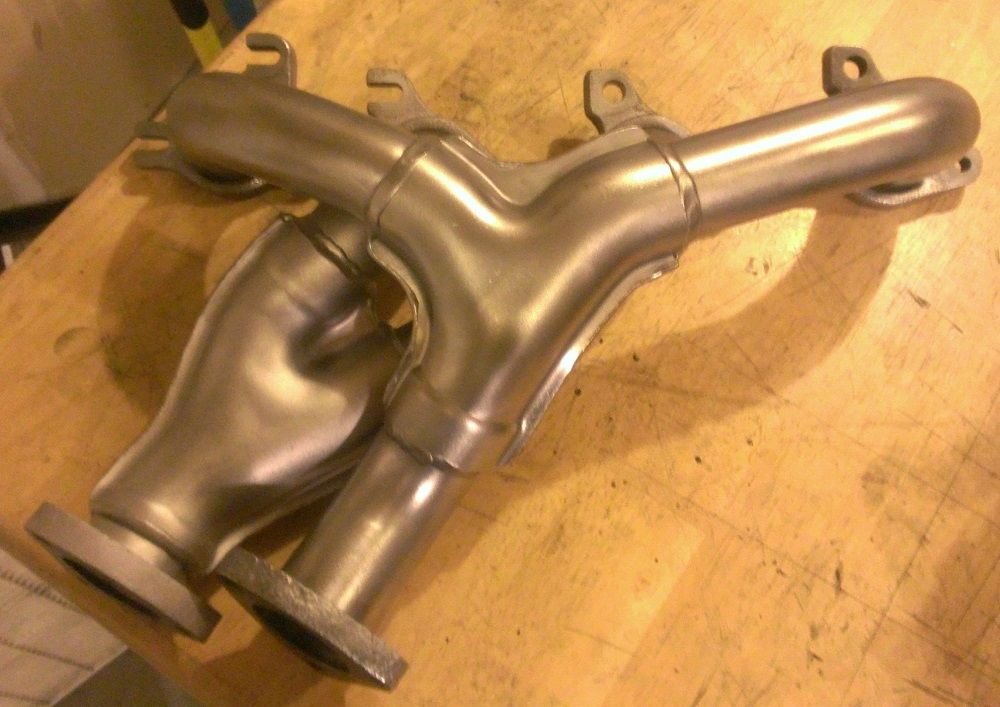
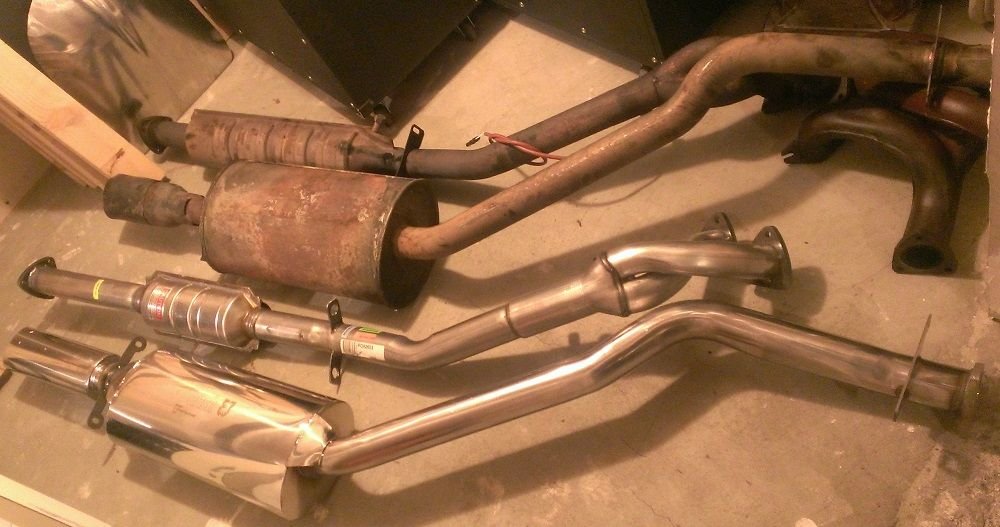
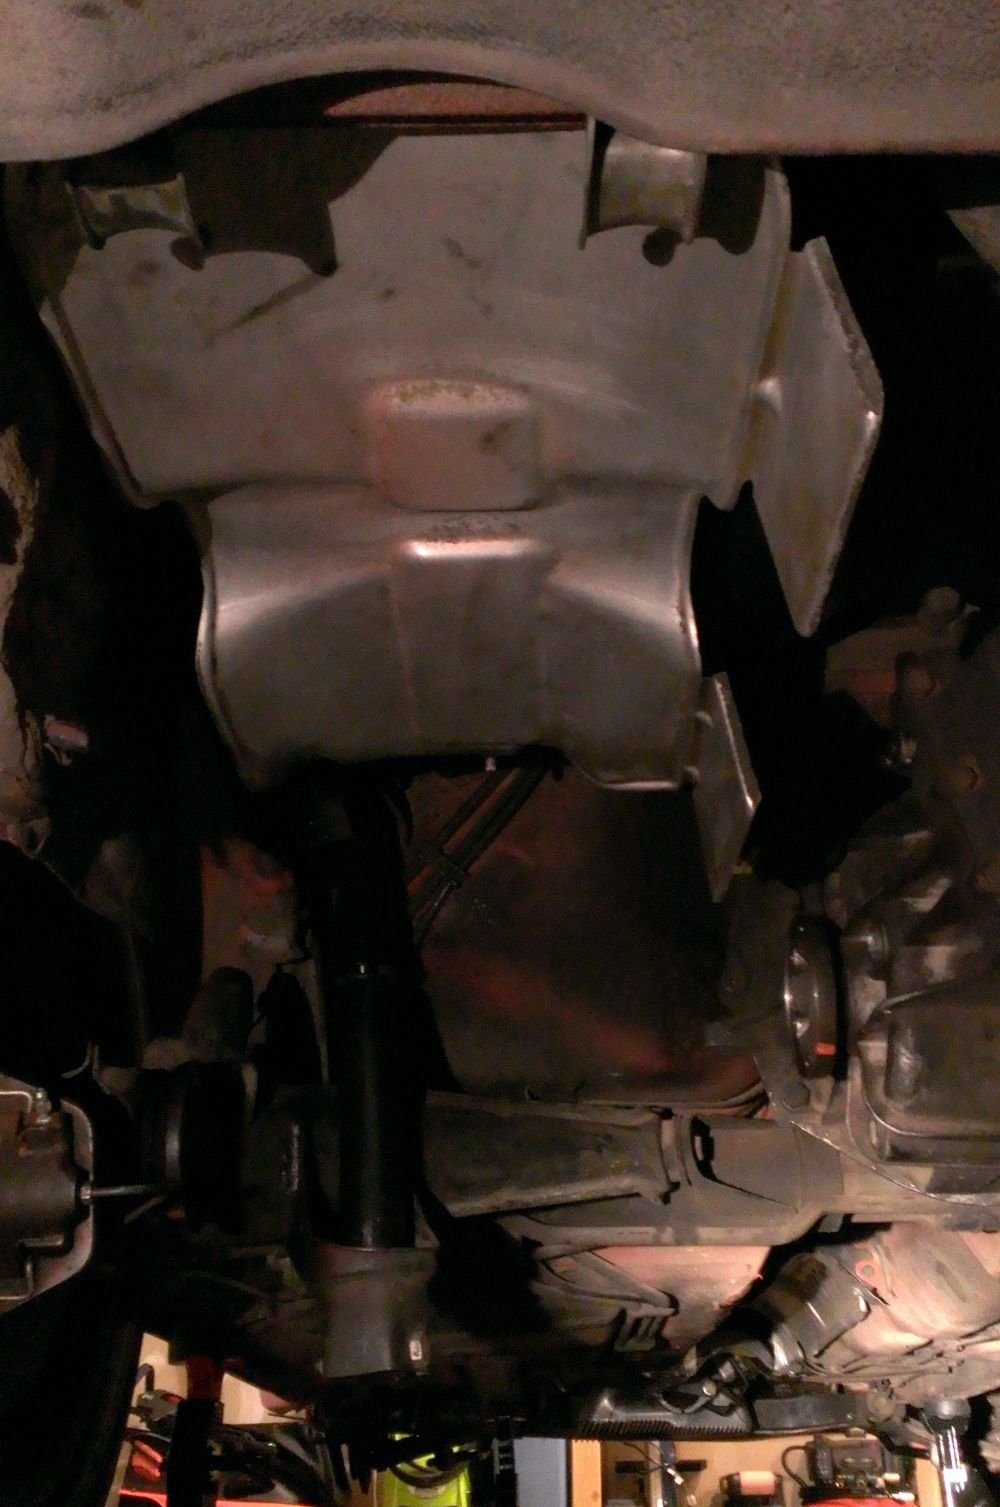
- Major exhaust components have arrived. Little pieces inbound
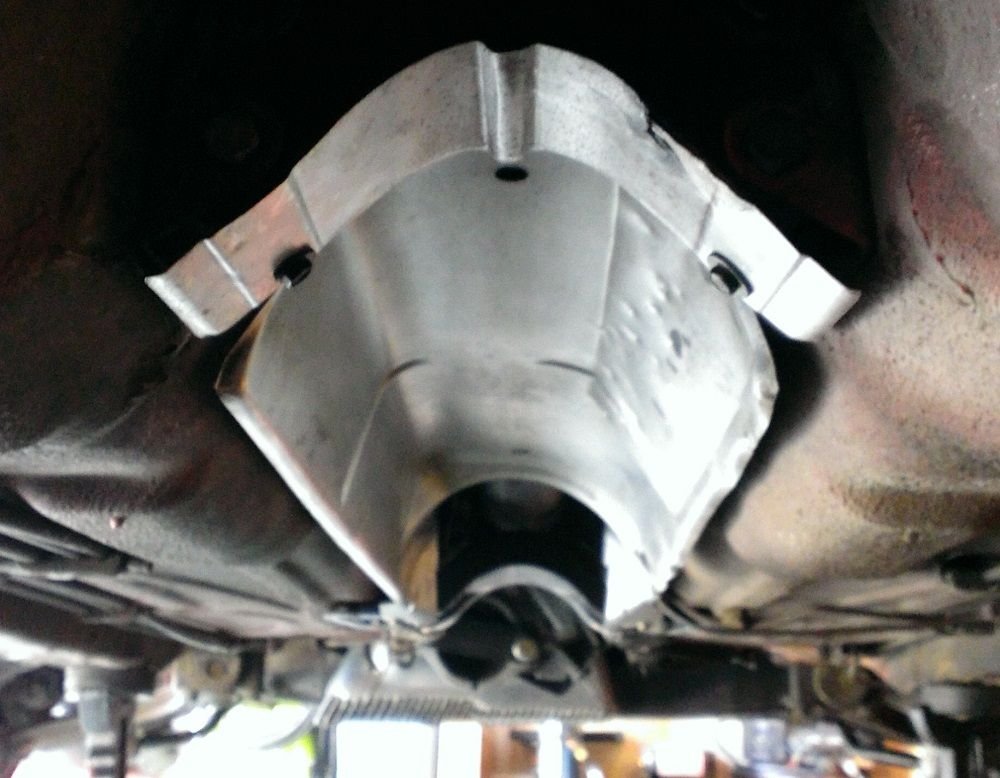
- Heat shields cleaned. Misc surface rust contained
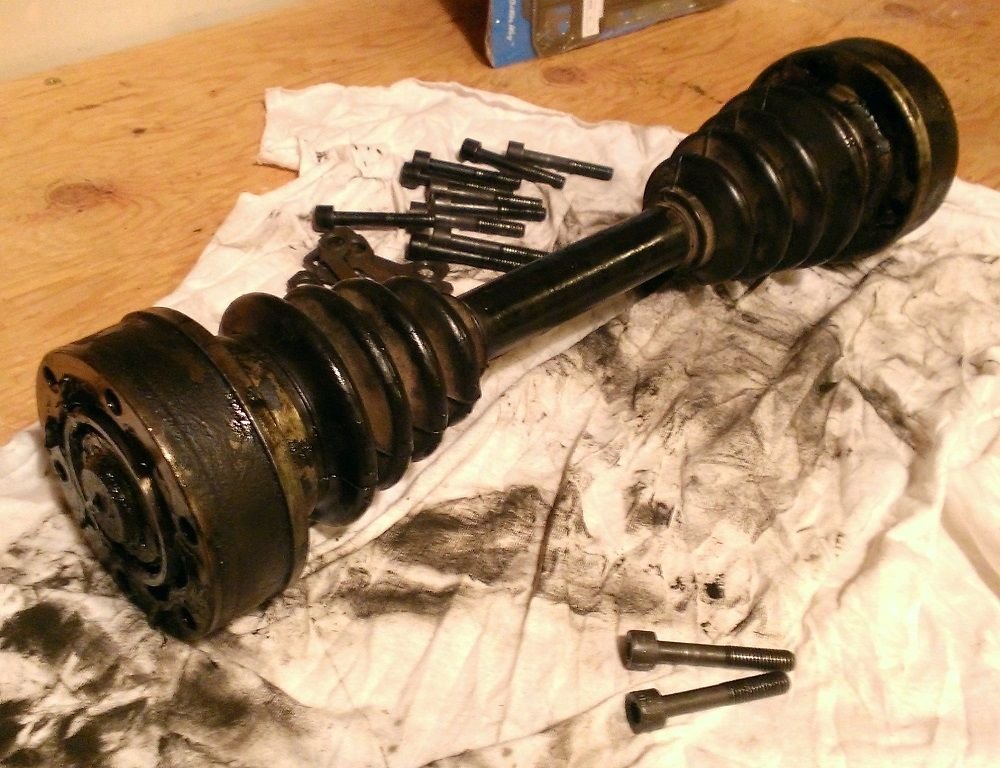
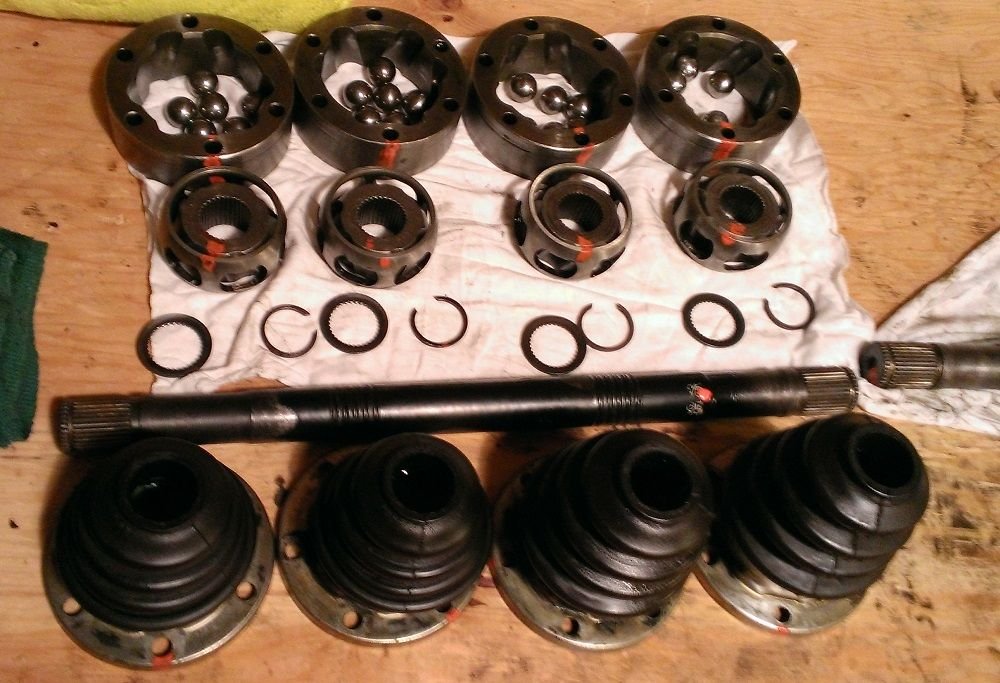
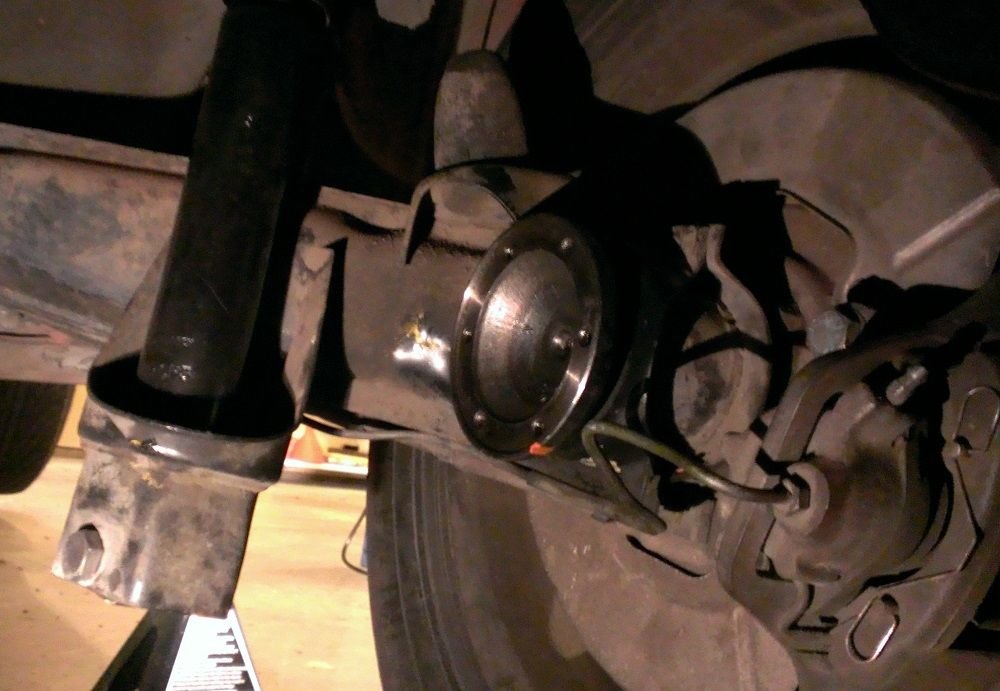
- CV Joint removed and cleaned. Boot kits inbound
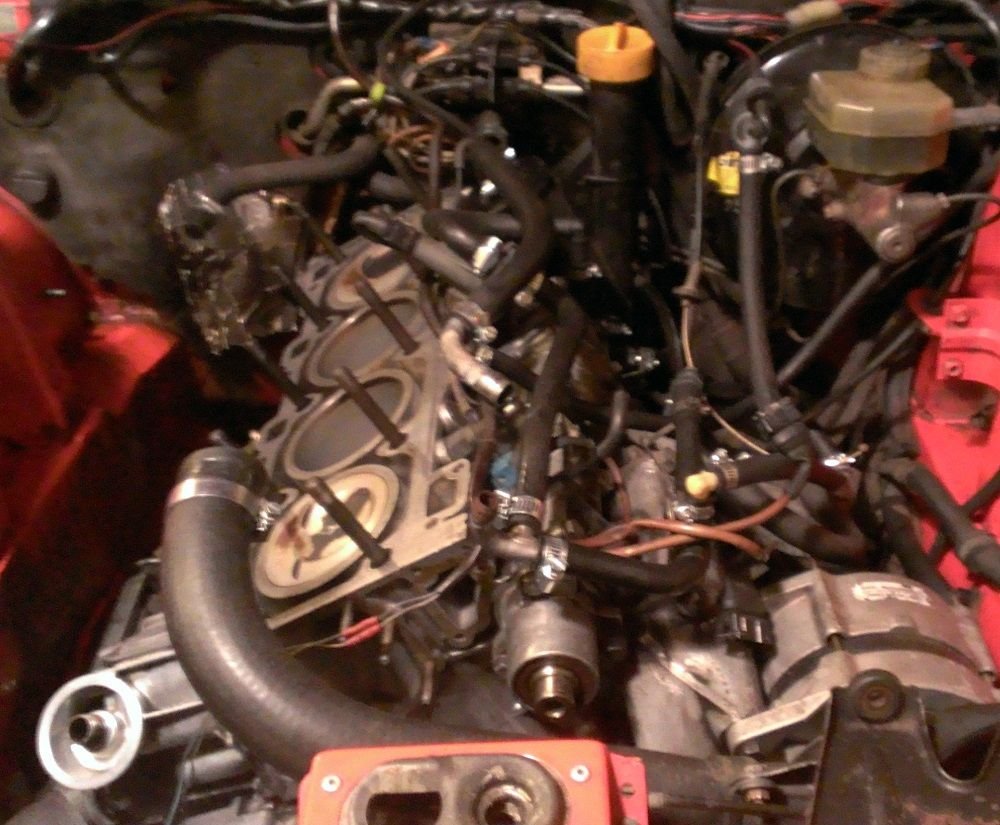
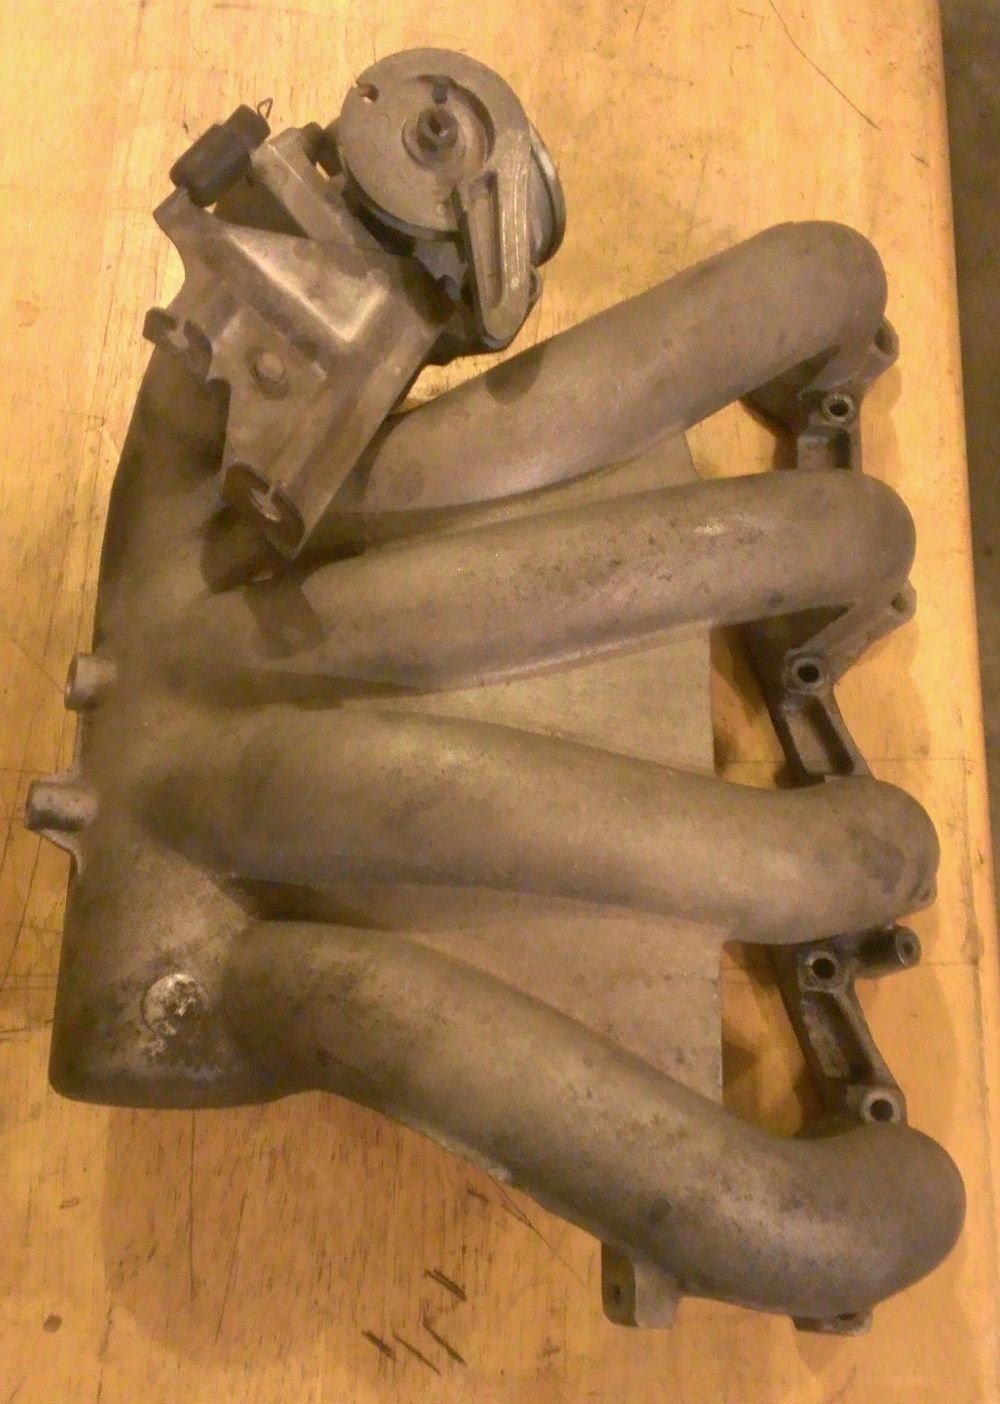
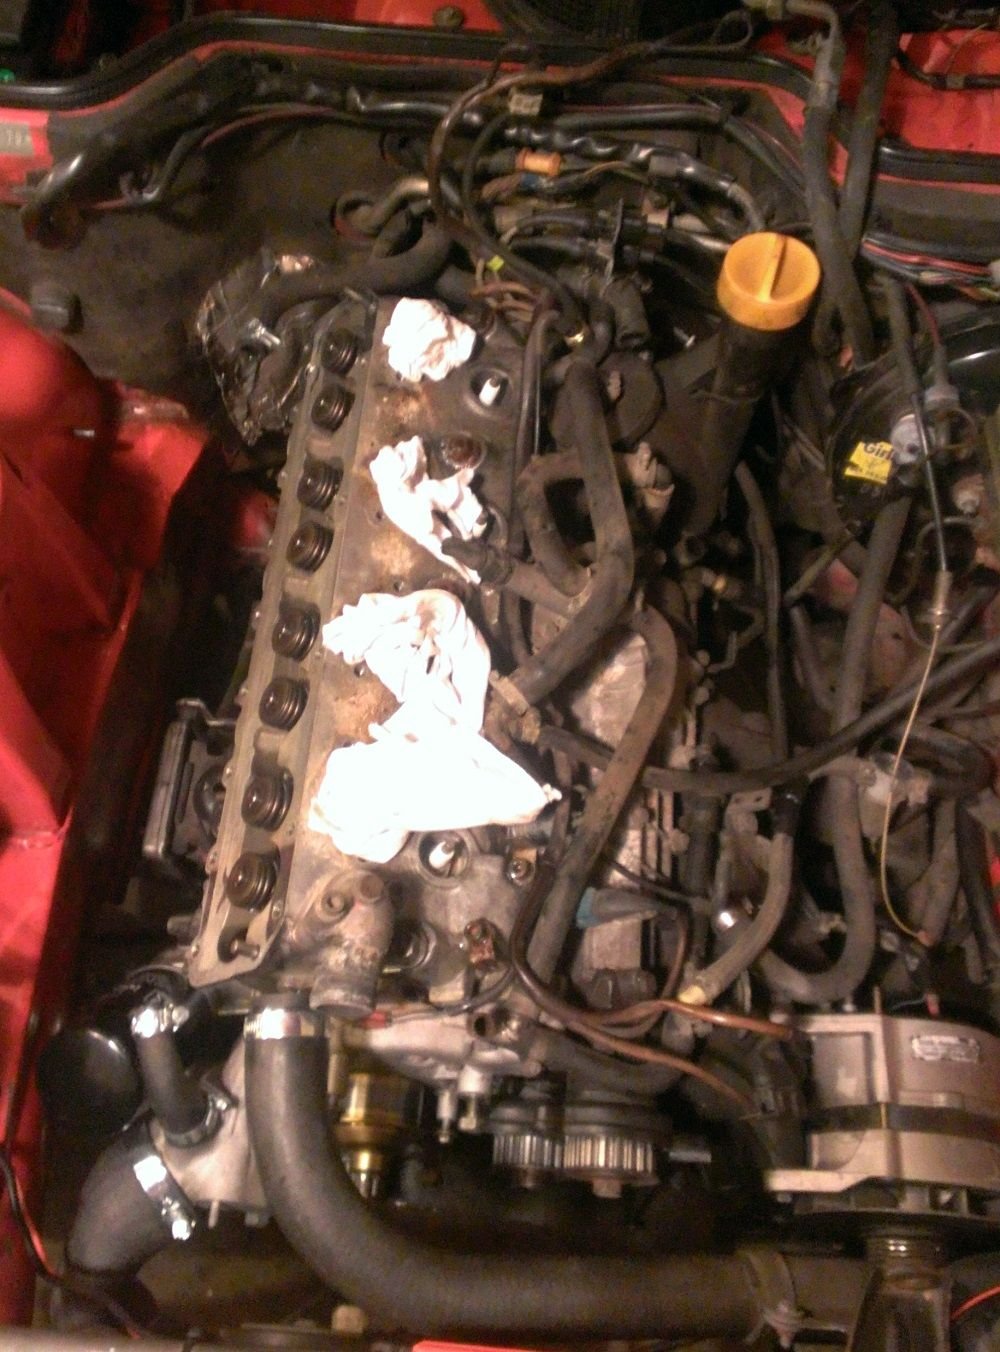
- Intake manifold removed today. The cylinder head is next
#41
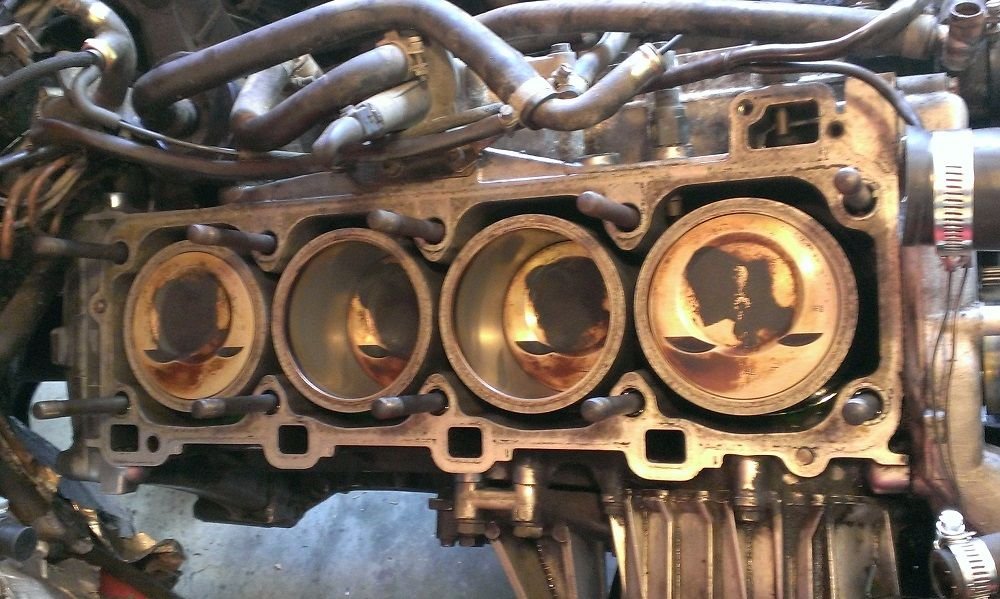
Everything looks good. How are the cylinder walls?
#42
#43
I pulled the cylinder head because I had a gasket to go underneath it.
After removing the intake manifold I saw a huge leak on the existing gasket.
I also found a 1/2 pound of leafy dirt junk all around the engine.
This experience had been an eye opener and I would suggest everyone that has not been this far in to do so.
There is a good chance that the PO that sold you the car didn't want it and treated it with a matching level of respect.
I've been renovating a ton of things I was driving around with and the car is now gonna be reliable as opposed to a liability.
#45
UPDATE
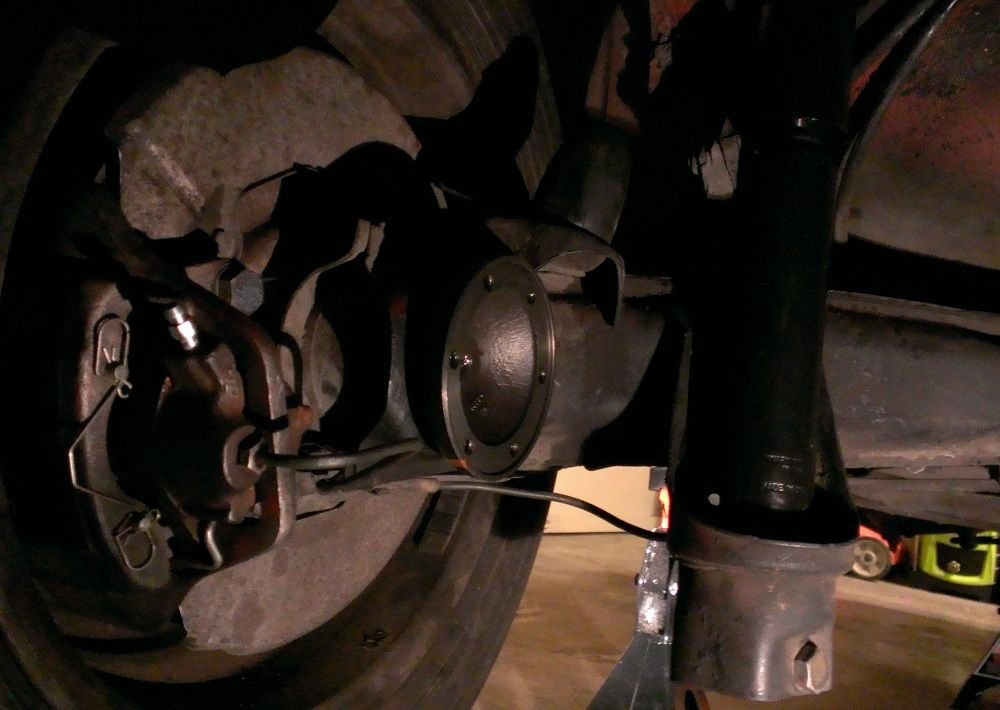
- CV Joints installed
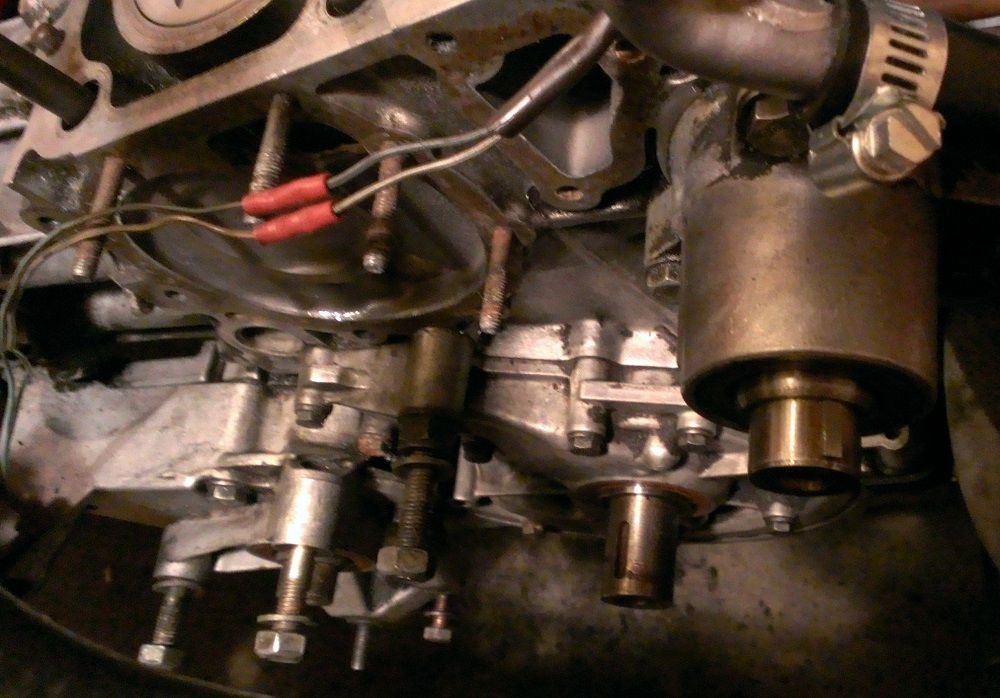
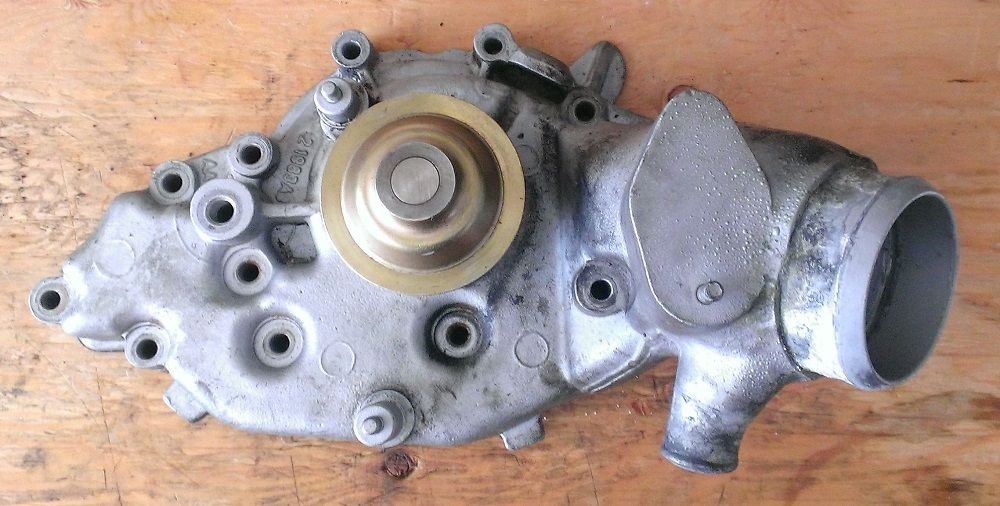
- Water pump removed, new one inbound
- Gear wheels removed and front seals inbound
- Old hoses cleaned and the broken replaced
- Old hose clamps and elbow replaced with new
- More engine cleaning performed
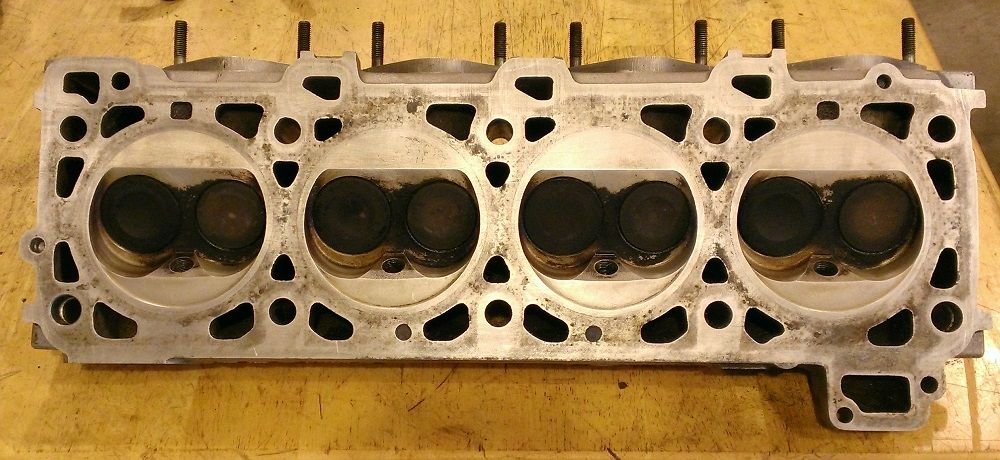
- Head cleaned
