When you click on links to various merchants on this site and make a purchase, this can result in this site earning a commission. Affiliate programs and affiliations include, but are not limited to, the eBay Partner Network.
OK - that's what I figured when two appeared from nowhere. The first one was discovered where it is shown in the photo, but there were no witness marks on the T-bar or on the housing to lead me to believe they originated there.
I get your point about making firm contact. I am still concerned that the button caps could walk a little unless there is very firm pressure. And I am concerned that too much pressure could lead to other issues (e.g. unable to clamp the t-bar down fully against the housing). A dimensional stack-up would be good to work from.
i had some of the same concerns. Particularly with the variability between washers, one side of the spool valves could have more clamping force, allowing the other side to walk.
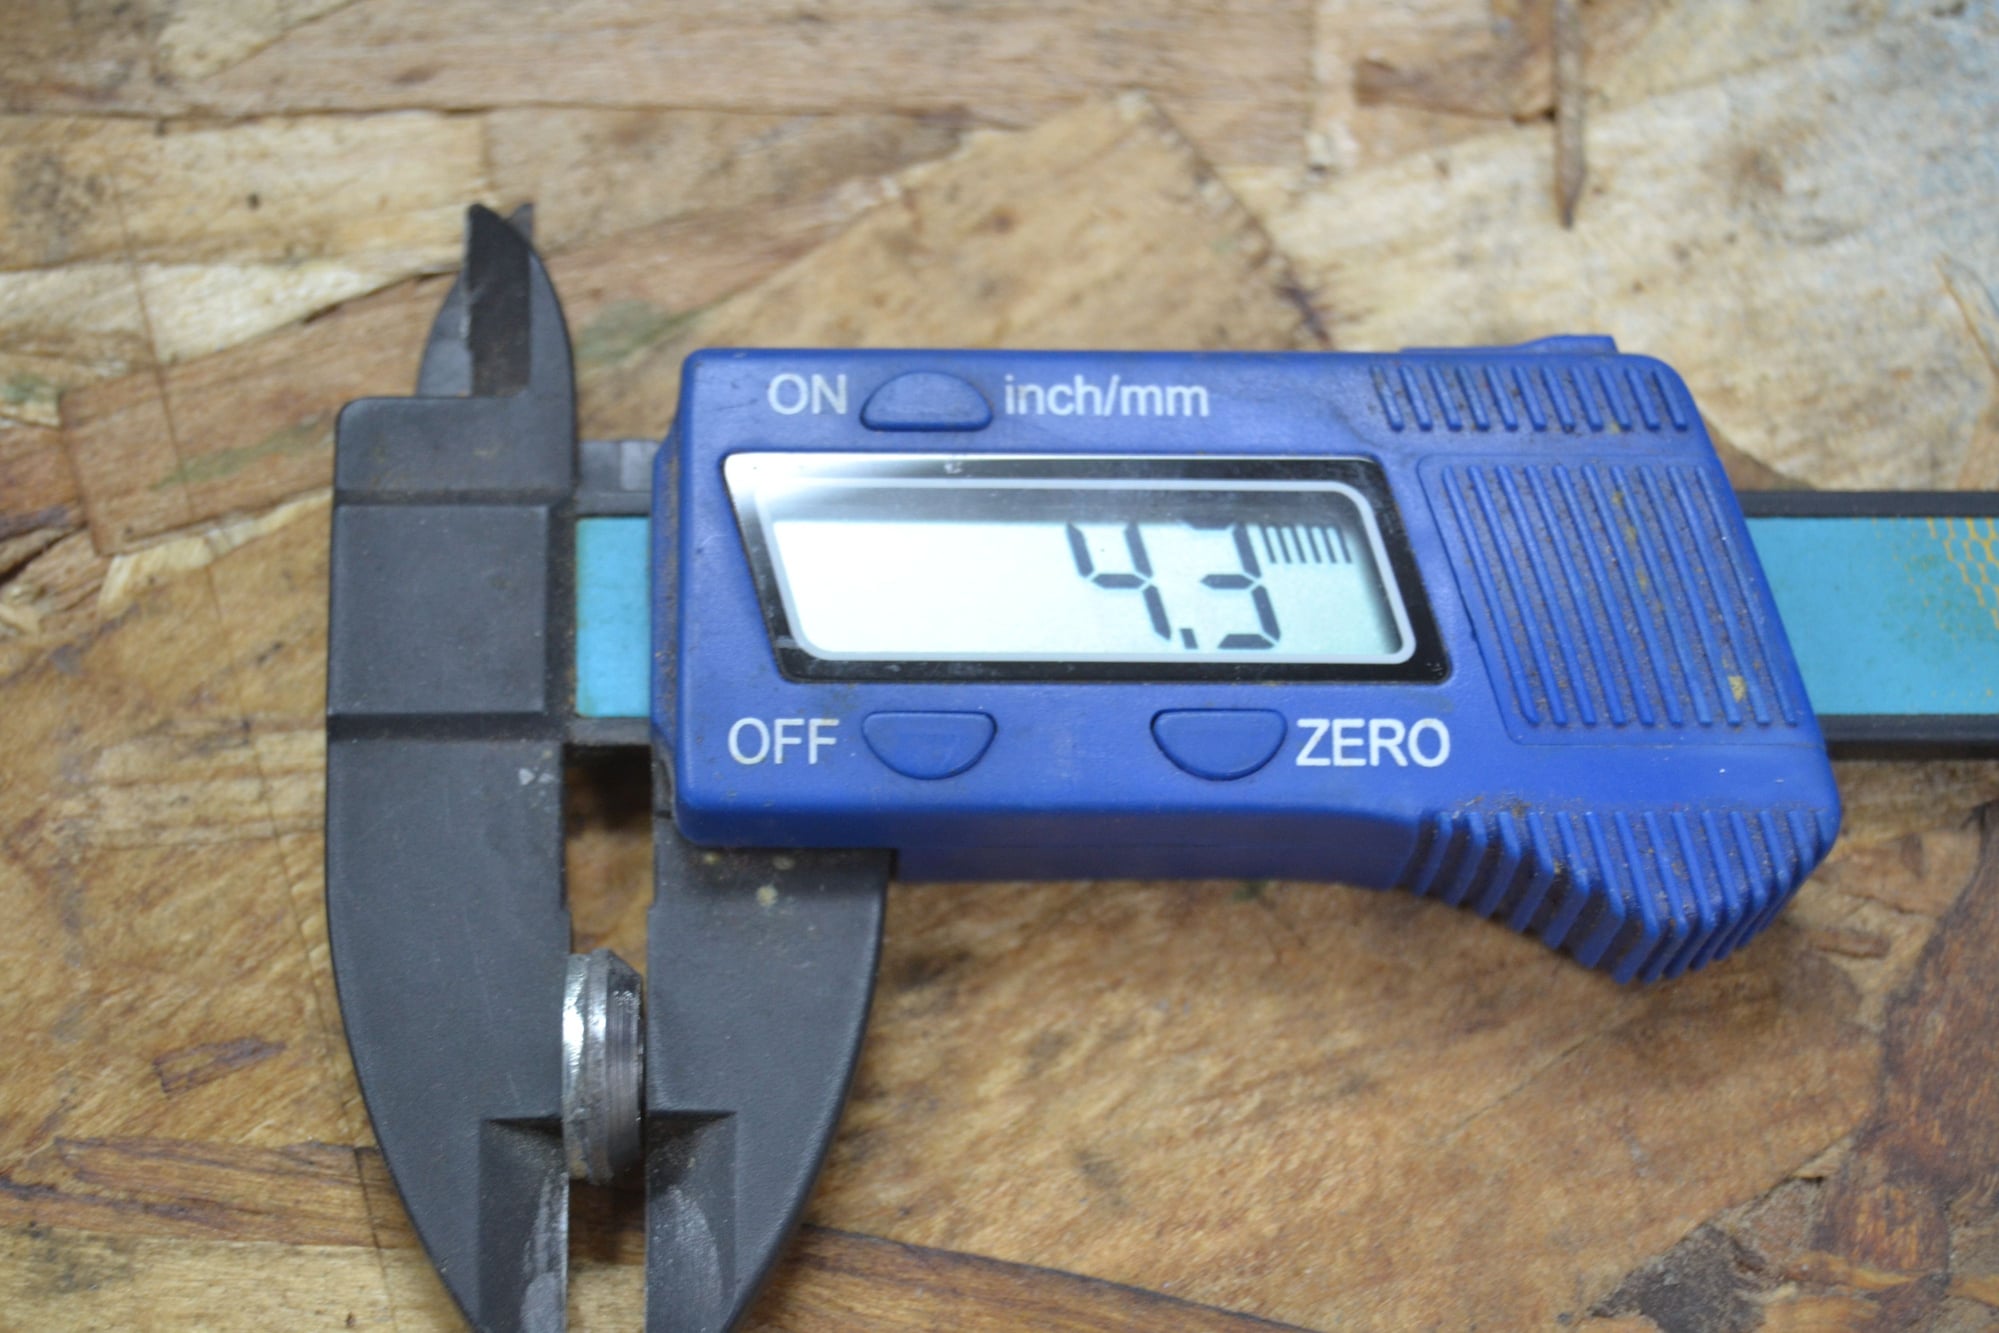
On My first attempt at making stainless spacers, I made them just a little too tall as Otto noted. This time I remade them at only .170 tall and added a chamfer. These fit down inside the cylinder that contains the spool so cannot move once the clamp is in place.
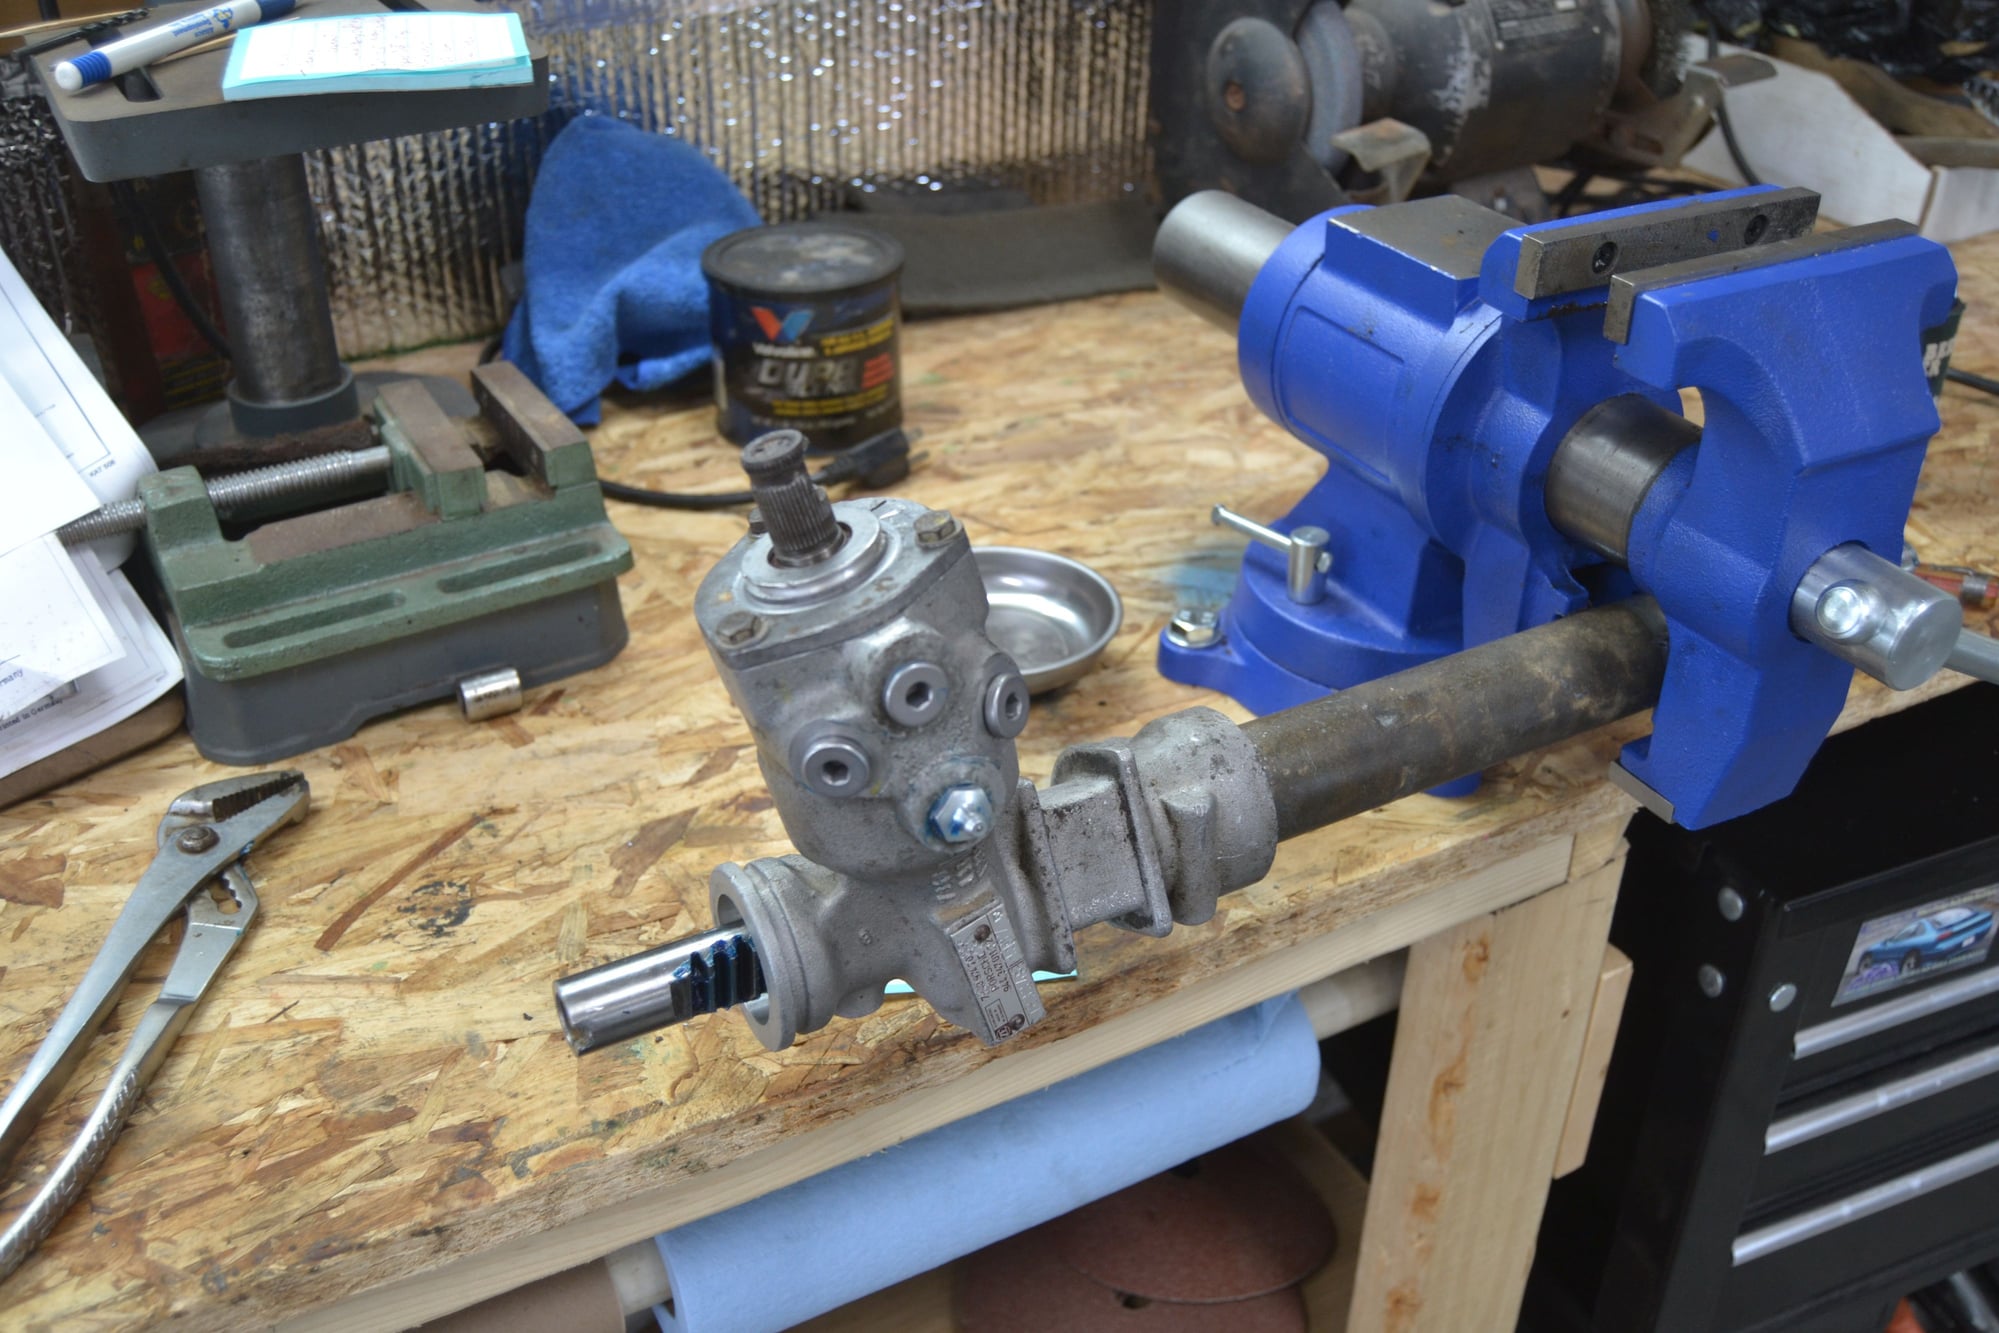
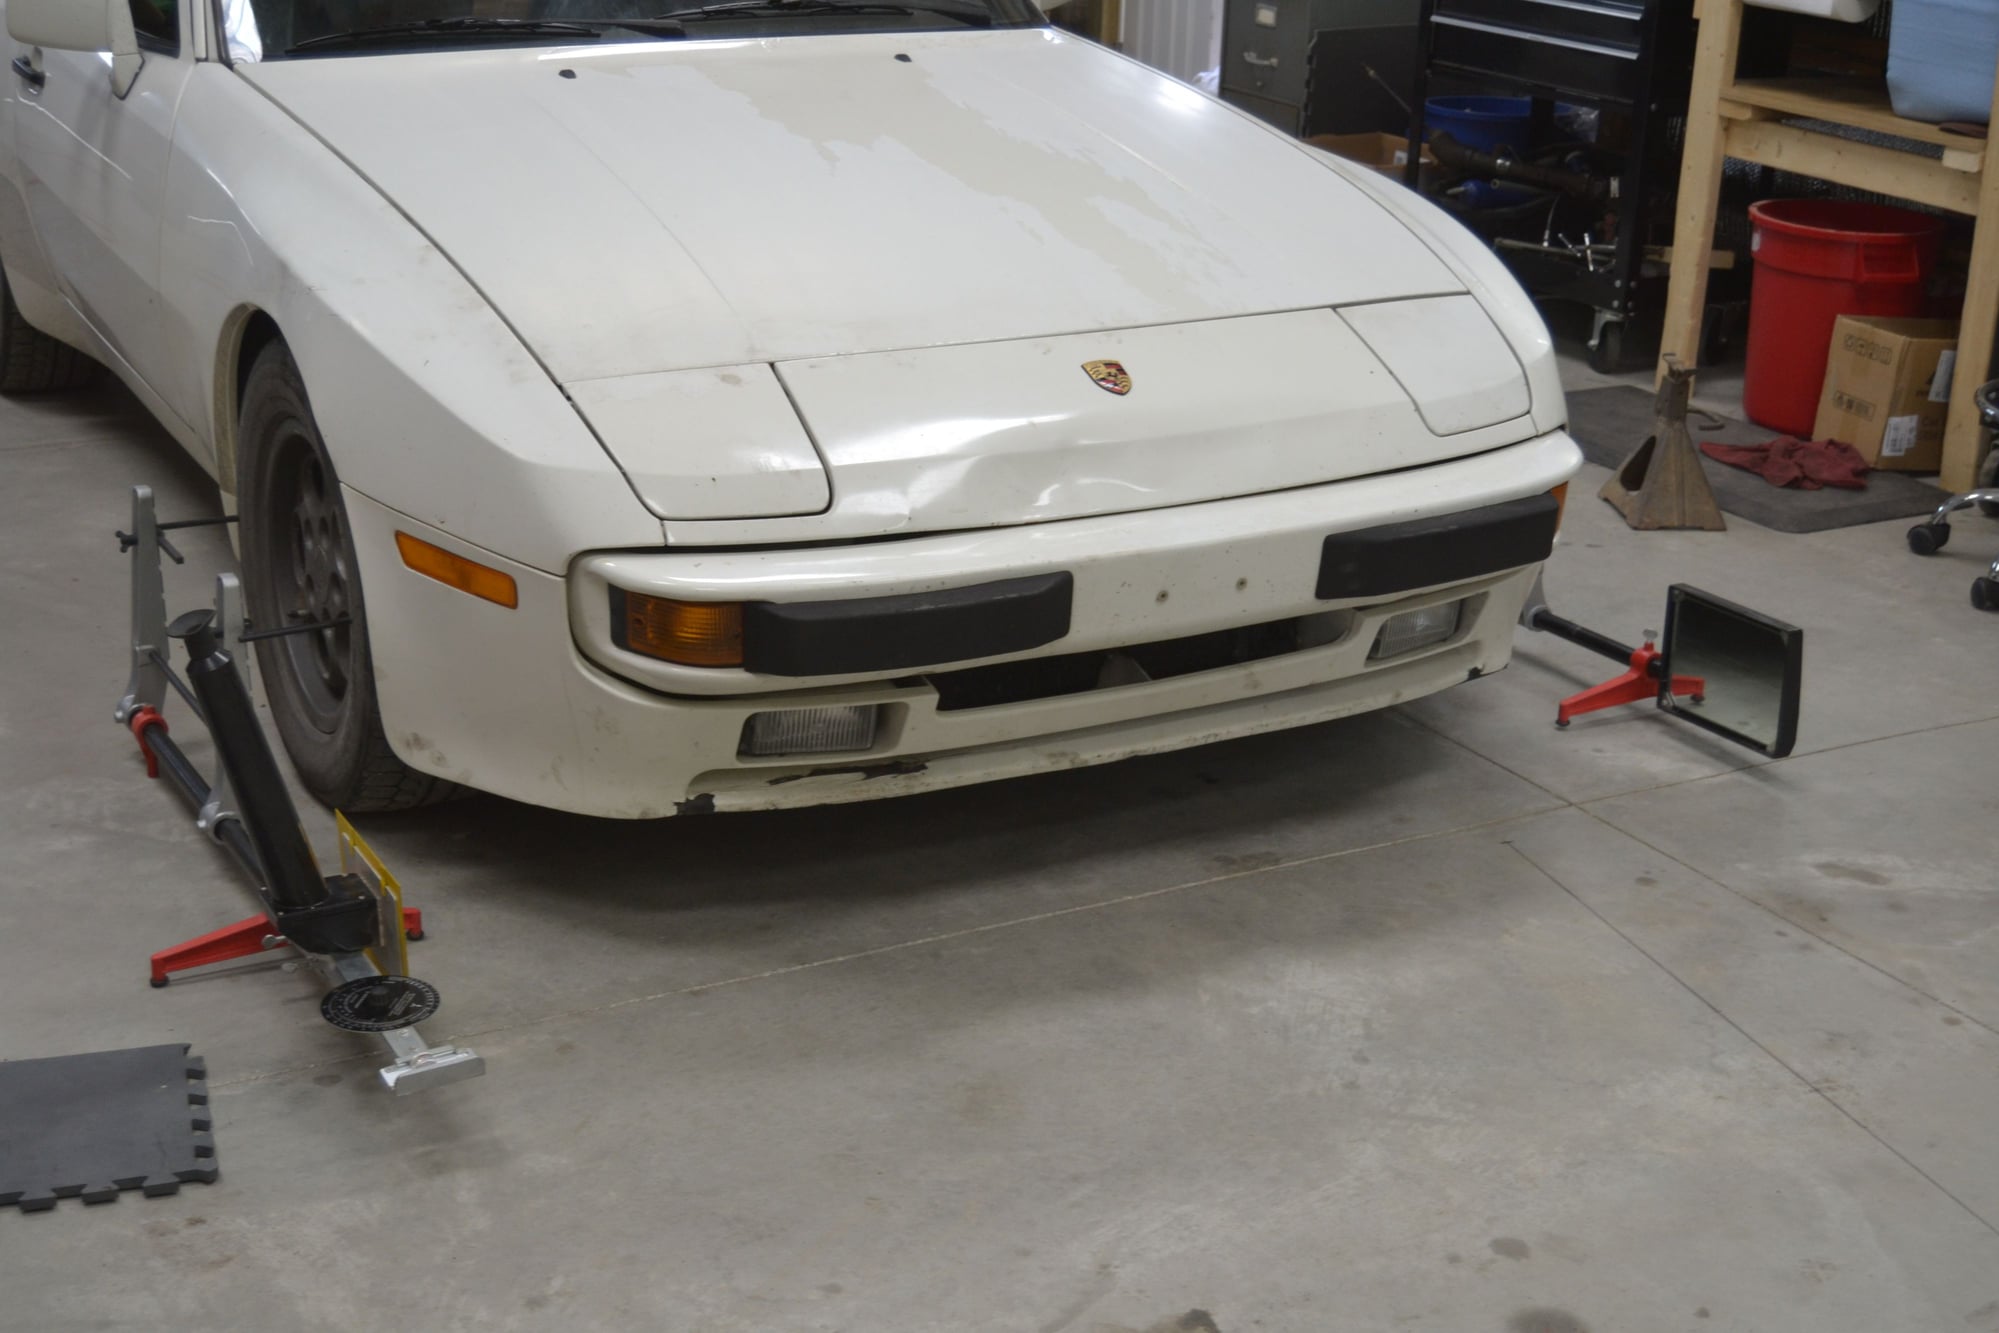
Took a lot longer than I would have liked, but the rack is back together and installed.
Spacer dimension compares favorably to Lamb/Lion's measurements. This is about 0.17 inches.
Had a struggle getting the pinion assembly into the housing. Did some buffing with a Scotch-brite pad to clean the bore up a little. Gooped everything up with Kendall grease and installed the plugs and Zerk fittings with a little blue Loctite. Pumped in a little grease afterward.
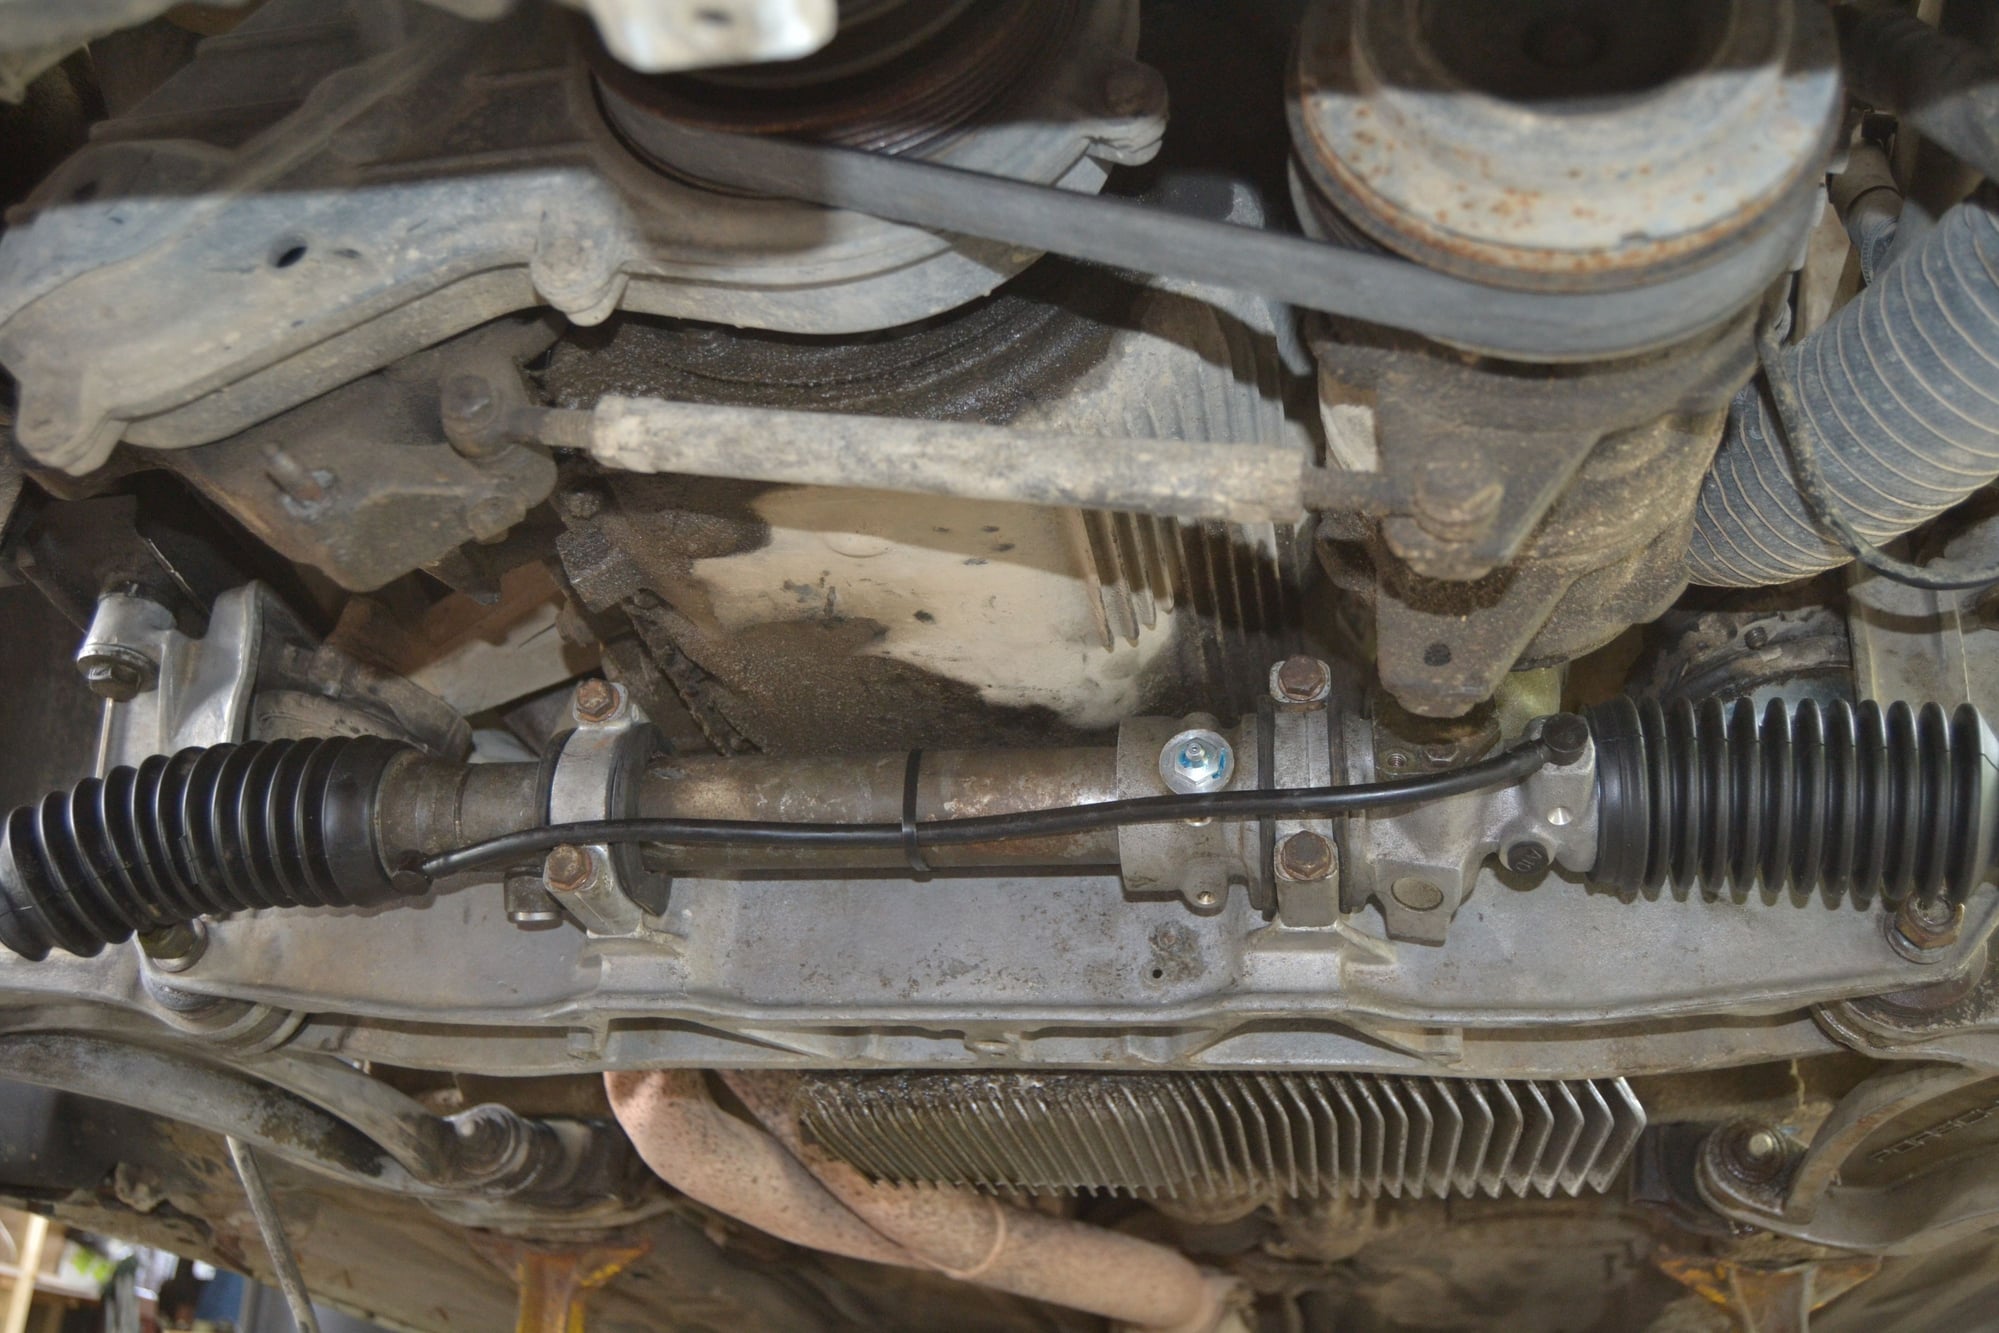
Rack in the car. Need to find some caps for the grease fittings. Oh and wash the layers of dirt and grime left from years of leaking P/S fluid. Took the time and effort to remove all components related to the P/S system (cooling pipe, pump, reservoir, hoses, etc). The only thing left is the mount for the reservoir (and pulley on the crank).
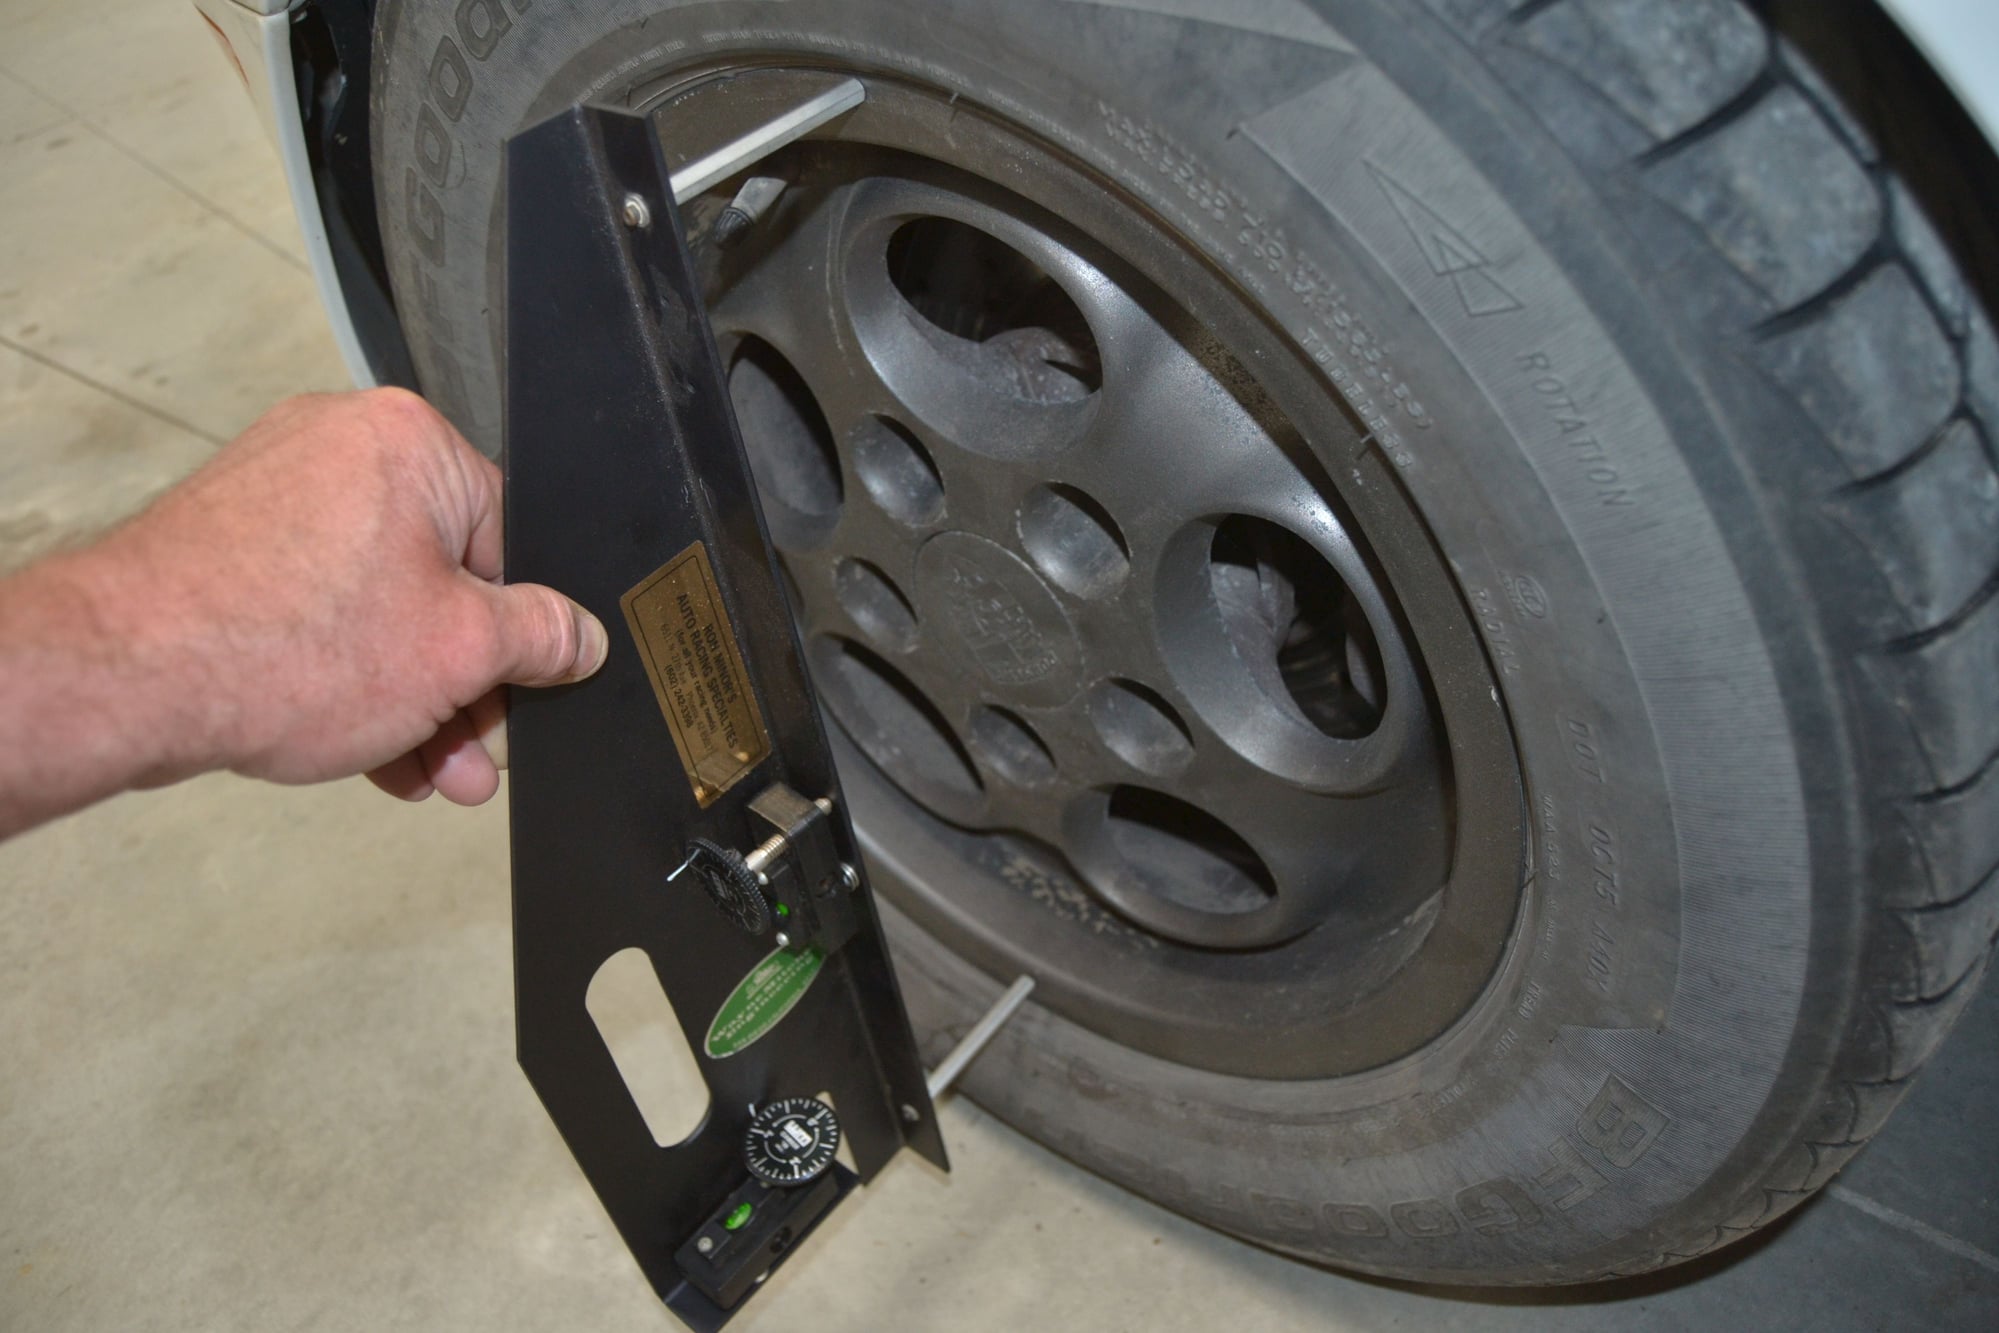
Got to use my "new" alignment tools for the first time. Here the camber is being tuned to a final setting of -0.5 degrees. Still need to set caster - using the same tool.
Here toe is set using a Dunlop optical alignment gauge. Nice piece of kit. Bought this and the camber/caster gauge for $75 from an old racing friend last year. Saw the Dunlop kit on eBay (today) for $1500! I think I did alright.
The little washer in the second photo is the one sitting between the two spool ports, about where the bolt would go? If so, that looks like one of the shims that go under the cap and over the spring. They get replaced by washers under the caps when the springs are removed.
As far as the other washers go, I didn't bond them to anything, just stacked them under the caps until they were thick enough to make firm contact with both the spools and the cap when the t-bar was bolted over the top of them.
Regard,
The other Scott.
So it turns out, those two little washers were indeed, below the T-bar. I took another rack apart to scam the thrust bearing and thin washer. I paid close attention this time and noted the little washers and their location. I left them off on the rebuilt (de-powered) unit. My reasoning being that the shims I installed are likely slightly smaller in thickness than the shim and spring set-up.
Looking forward to hearing your impression of the "new" de-powered rack. I'm very happy with mine but that's making me a little complacent about installing the factory manual rack I found. I'm not sure I'll be able to find an intermediate shaft that will fit an S2, I understand they're pretty hard to find even for cars that had a manual rack as an option. AFAIK, manual steering wasn't an option on the S2s unless you bought the Club Sport, of which I believe there were less than 10 ever made by Porsche.
Yeah - I think that has already happened to Nico, which is why there is urgency to getting a new rack in the car.
This video shows what I fear has happened - though the rack in the car has not been de-powered. Go to about 5:40 for the mess: https://www.youtube.com/watch?v=gcgb-SGf_jw&t=91s
Hopefully that was due to the guy doing a poor job of reinstalling the t-bar and bolt. Maybe he over-torqued it, or left the tabbed washer off...
Seeing this video on youtube made me paranoid about running a depowered rack so much so that i squashed the idea but thanks to this thread it is clear to me that this guy left off the retaining washer and that bolt backed out which led to its demise. If you go back to the first page of this thread the guy who made the video posted pics of his modded rack and clearly there is no lock washer.
I pulled my rack tonight and ripped all the power steering junk outta the car,better already.
On my display the pictures are on page 2, but you're right, the final assembly posted by 16valver is incorrect, as is the photo of the parts that go back in, neither shows the safety washer.
I had no idea it was the same person who then produced the video post-mortem, but it makes perfect sense and I believe the mystery is solved. The rack disintegrated when the bolt holding down the T-bar backed out, made contact with the pinion housing, then snapped the head of the bolt off, releasing all the parts and locking the pinion gear. The rest is history.
Ordered the bmw drain bolts from fcp euro..and new inner and outer tie rods and bellows...then bought some poly rack mounts and the zerk fittings off ebay...so much for free mod.
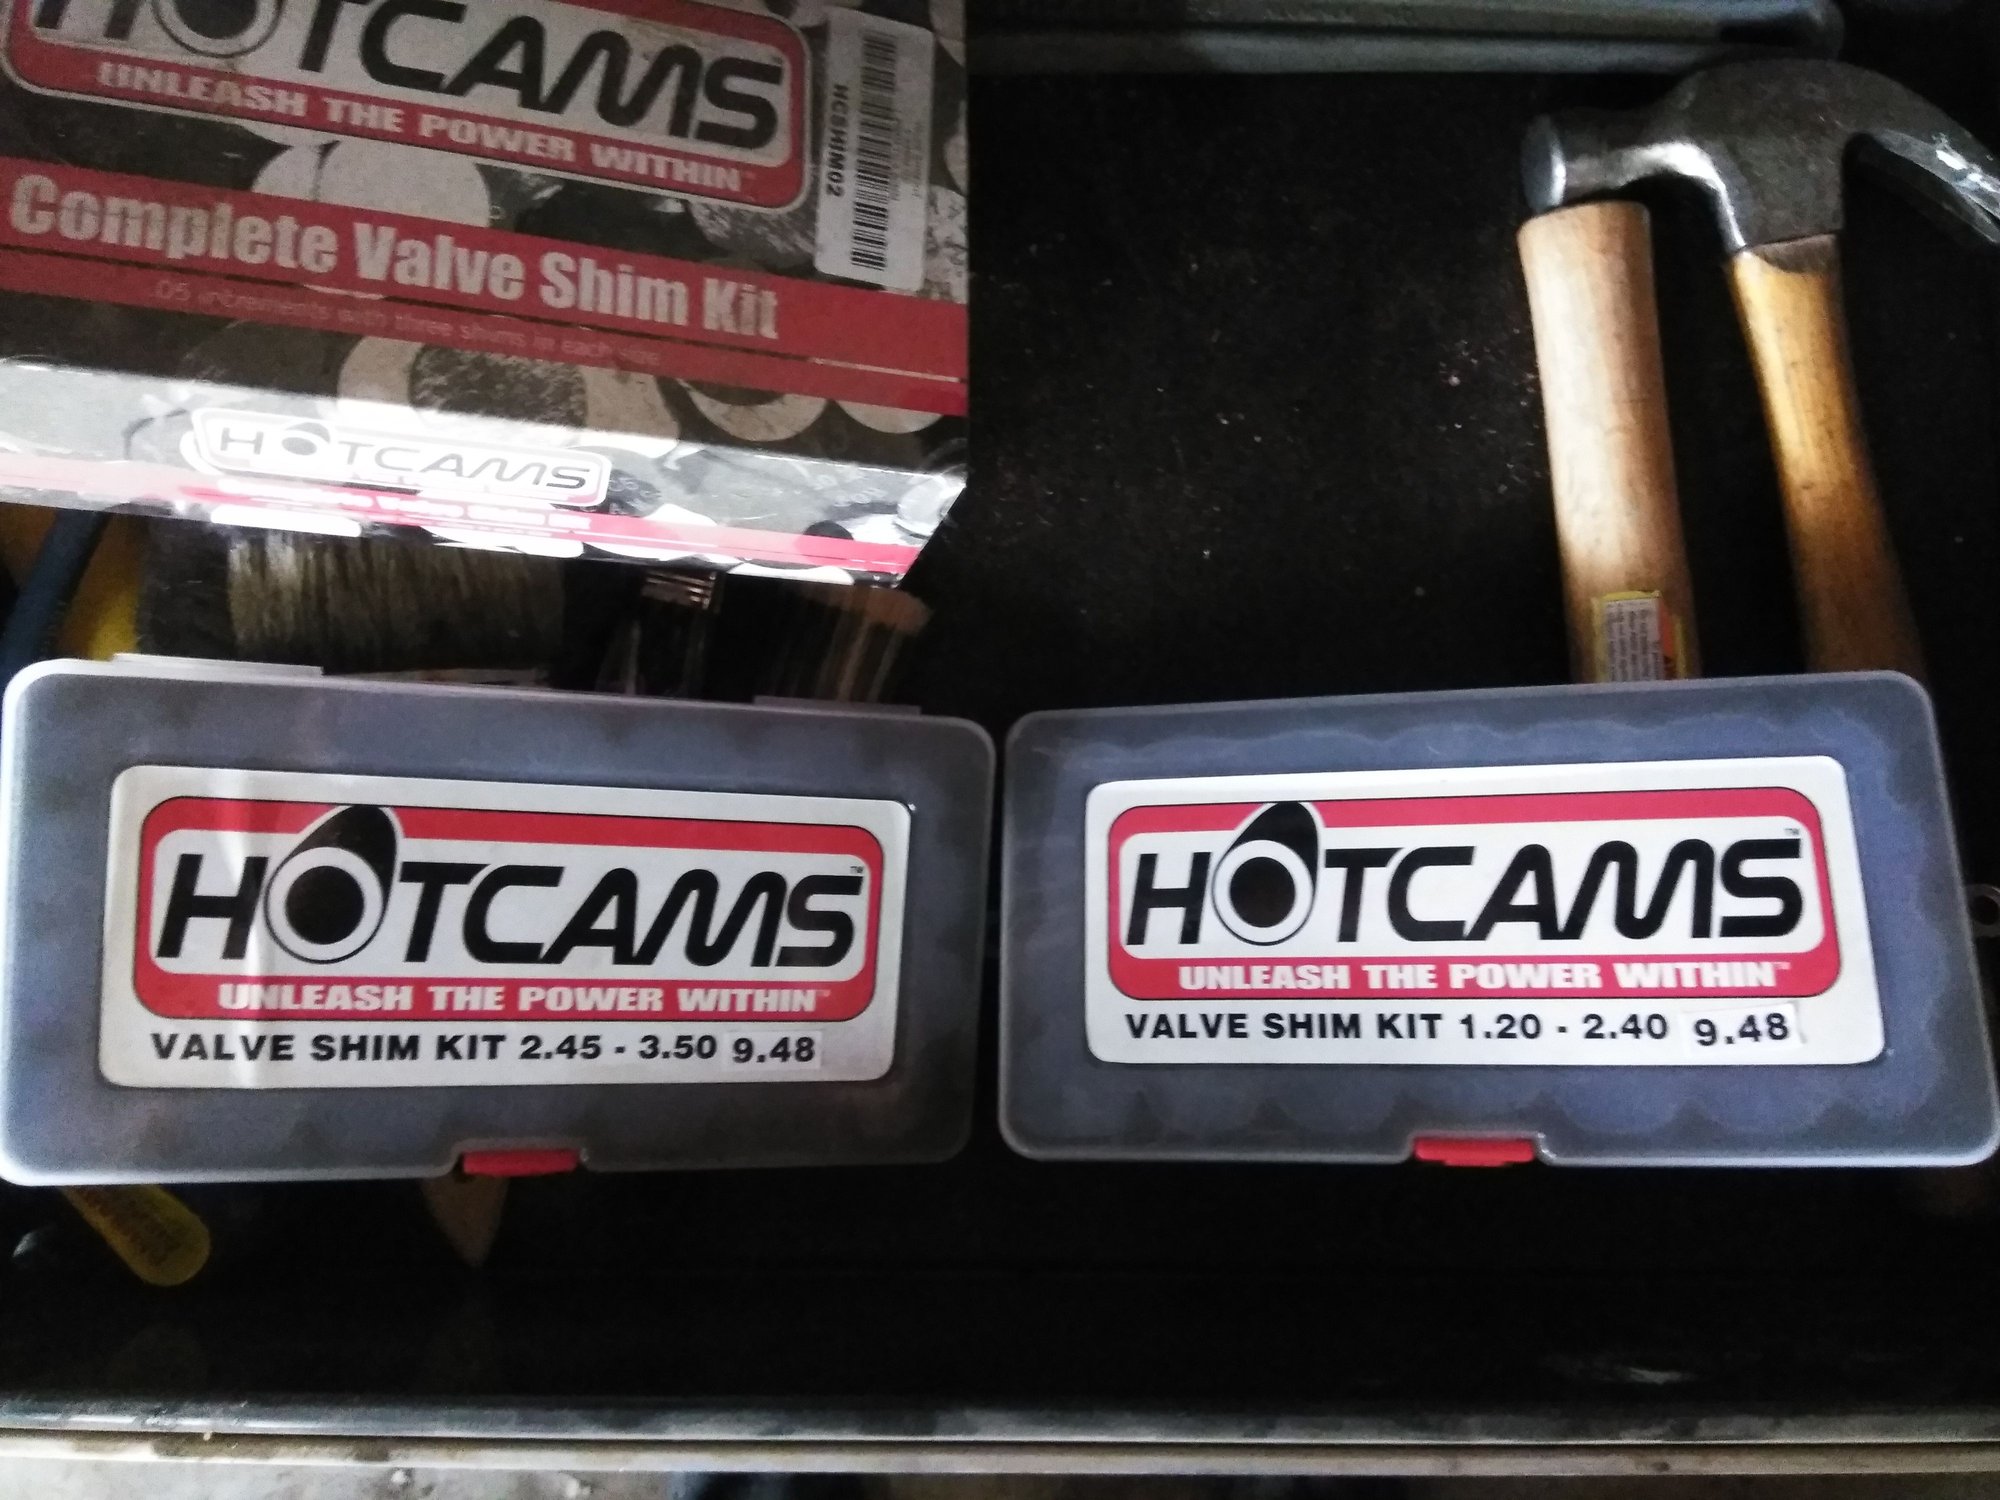
Ive been staring at all the pictures of people modding their racks and I realized the shims people have recently been installing look very close to something I have lying around- Valve shims for 4 stroke dirt bikes. I have a whole box of them and I currently dont even have the kinda bike that uses them. I tore my rack down today and threw one in there to see if it fit............Do you guys think these will work?? I was disappointed to see Its not a perfect fit there is some space around them....not sure if that will be a big deal. To be honest im not 100% sure how those valves function and what the mod does.
I have a bunch of them in all different thicknesses
I think the best way to understand what the shims do and how they work is to look at the cross sectional drawing of a power steering rack (see post #65 in this thread), then just turn the steering input shaft back and forth a little after you've taken the T-bar off the spool covers and observe the resulting motion of the spools.
The input shaft narrows down into a torsion bar as it passes through the hydraulic valve body. When the driver turns the wheel left or right using the full power assist hydraulics, it puts torque on the torsion bar. there are pins on either side of the torsion bar that move against the "A" and "B" (left and right) valves (also called "spools"). those pins engage beveled faces on the spools, causing one or the other to open, allowing the flow of hydraulic fluid on one side or the other of the piston that's connected to the rack gear, which provides a power assist in the direction the wheel is turned. Releasing the wheel causes the torsion bar to return to neutral, closing the ports. Springs under the T-bar allow the spools to move when torque is transmitted through the torsion bar to the spools.
By removing the springs and adding shims under the T-bar to fill the space they allowed for motion of the spools, the spools are locked in place. The torsion bar isn't allowed to move to open or close the valves (spools) and torque is transferred directly to the rack via the pinion gear with no assistance. If the spools are left unlocked, there will remain some free play in the steering.
I hope that makes some sort of sense, and that you understand the above is purely my own speculation. I didn't design the system nor am I in any way qualified to describe its operation.
Last edited by Otto Mechanic; 05-27-2018 at 04:13 AM.
Last week I successfully parallel parked the car in the only shady spot I could find in Moro Bay CA. It was more difficult than it would have been with power assistance, but I'm over 60 and I didn't break a sweat. First time I tried it. Seems OK to me.
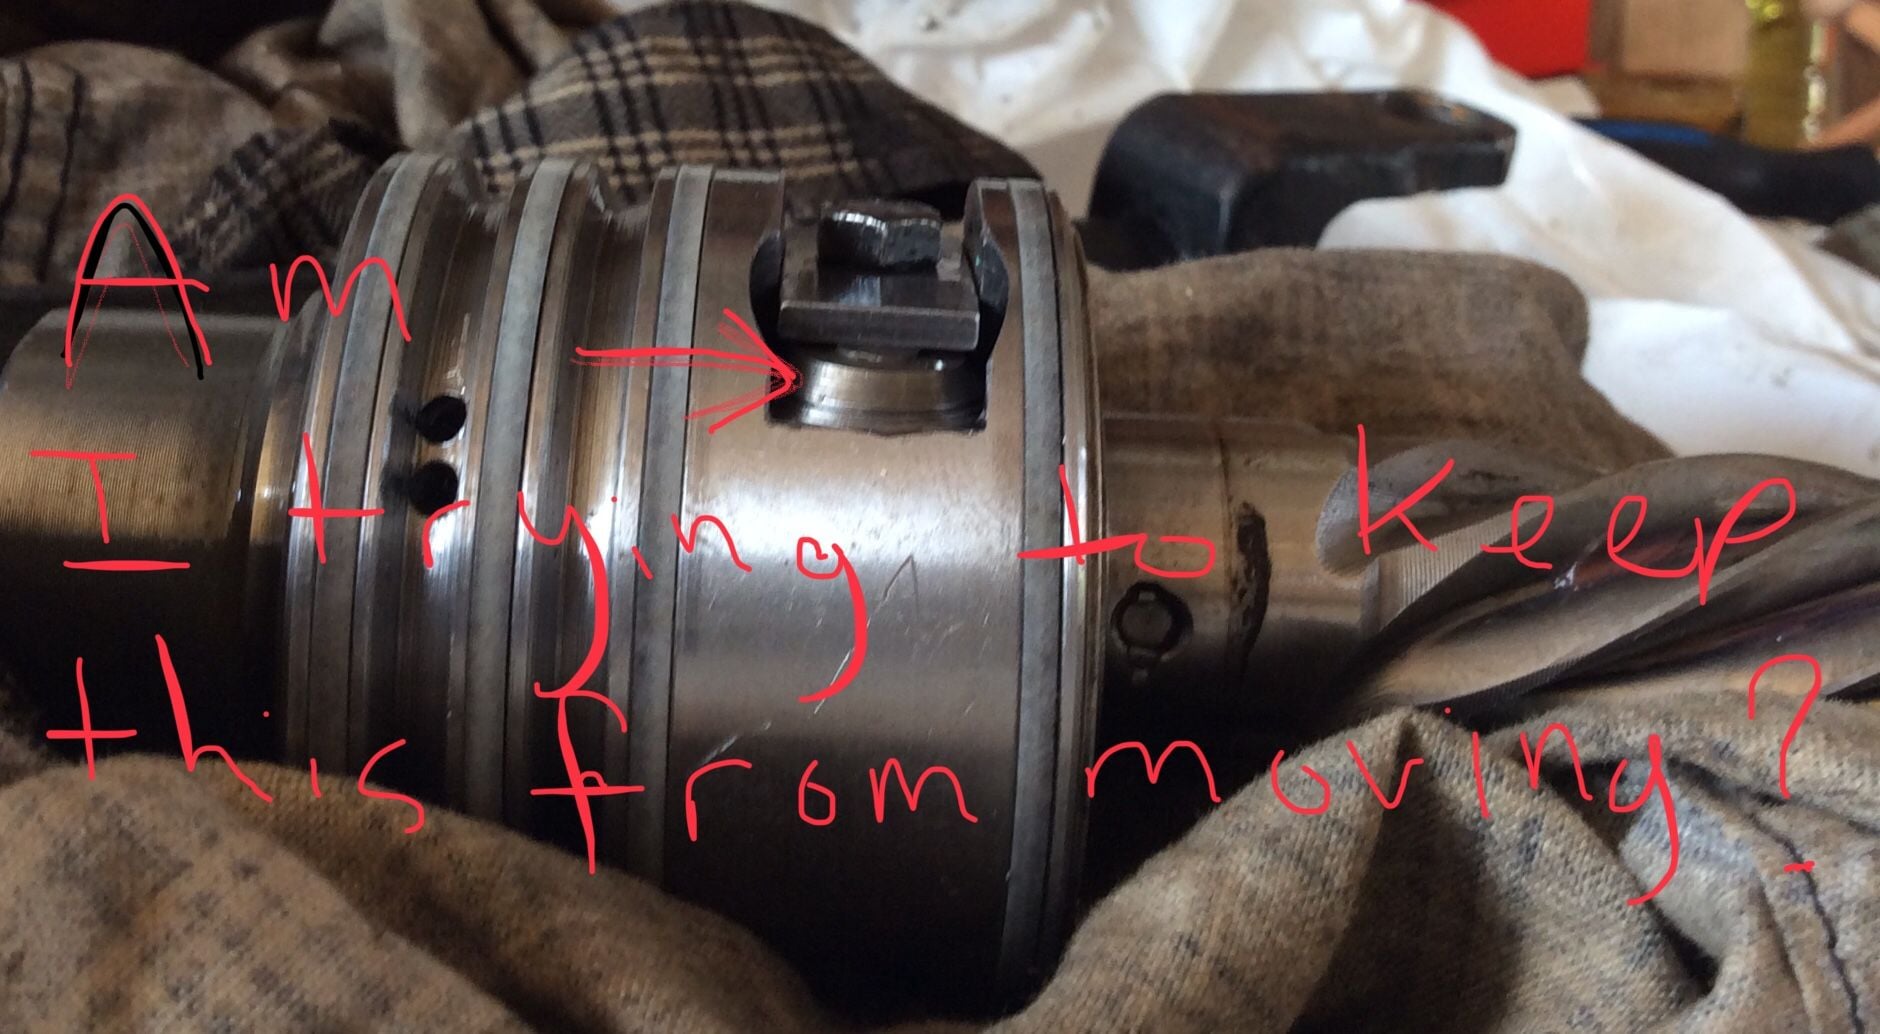
So sorry to bring up this old topic up again. I�m in the middle of the process of converting my powered rack to manual and am kind of stuck with the whole washer/shim idea. From what I can tell, when the t-bar bolt is fully tightened the spool valves can�t move because the t-bar is holding them. Adding washers/shims will only cause the bolt that holds things down to be engaged slightly less than before because there is now the height of the washers/shims to overcome. What am I missing? When I had the t-bar off and the spool valves and springs out, I twisted the input shaft hoping to see something moving that would lead me to think �aha, I see what I need to fix in place�. But, nothing moved so no clue what�s going on. After I figure this out I�ll post to you tube.
The T bar is a stop for the piston/spring inside.
What you are doing is removing the spring and using shims to take up the space between the piston and the T bar. The T bar still gets the same thread engagement as it did before.
The T bar is a stop for the piston/spring inside.
What you are doing is removing the spring and using shims to take up the space between the piston and the T bar. The T bar still gets the same thread engagement as it did before.
Really, is that it? I guess as long as the thickness of the shims isn�t too large that bolt interferes with reinsertion in the body then it should be all good.
The T bar is a stop for the piston/spring inside.
What you are doing is removing the spring and using shims to take up the space between the piston and the T bar. The T bar still gets the same thread engagement as it did before.
So whats the benefit of this part of the conversion? When I did mine on my old one I didn't mess with this part. Just removed some snap rings and the piston washers on the shaft. Also clamped the lines and filled with bearing grease.

 04-30-2018 | 02:25 PM