When you click on links to various merchants on this site and make a purchase, this can result in this site earning a commission. Affiliate programs and affiliations include, but are not limited to, the eBay Partner Network.
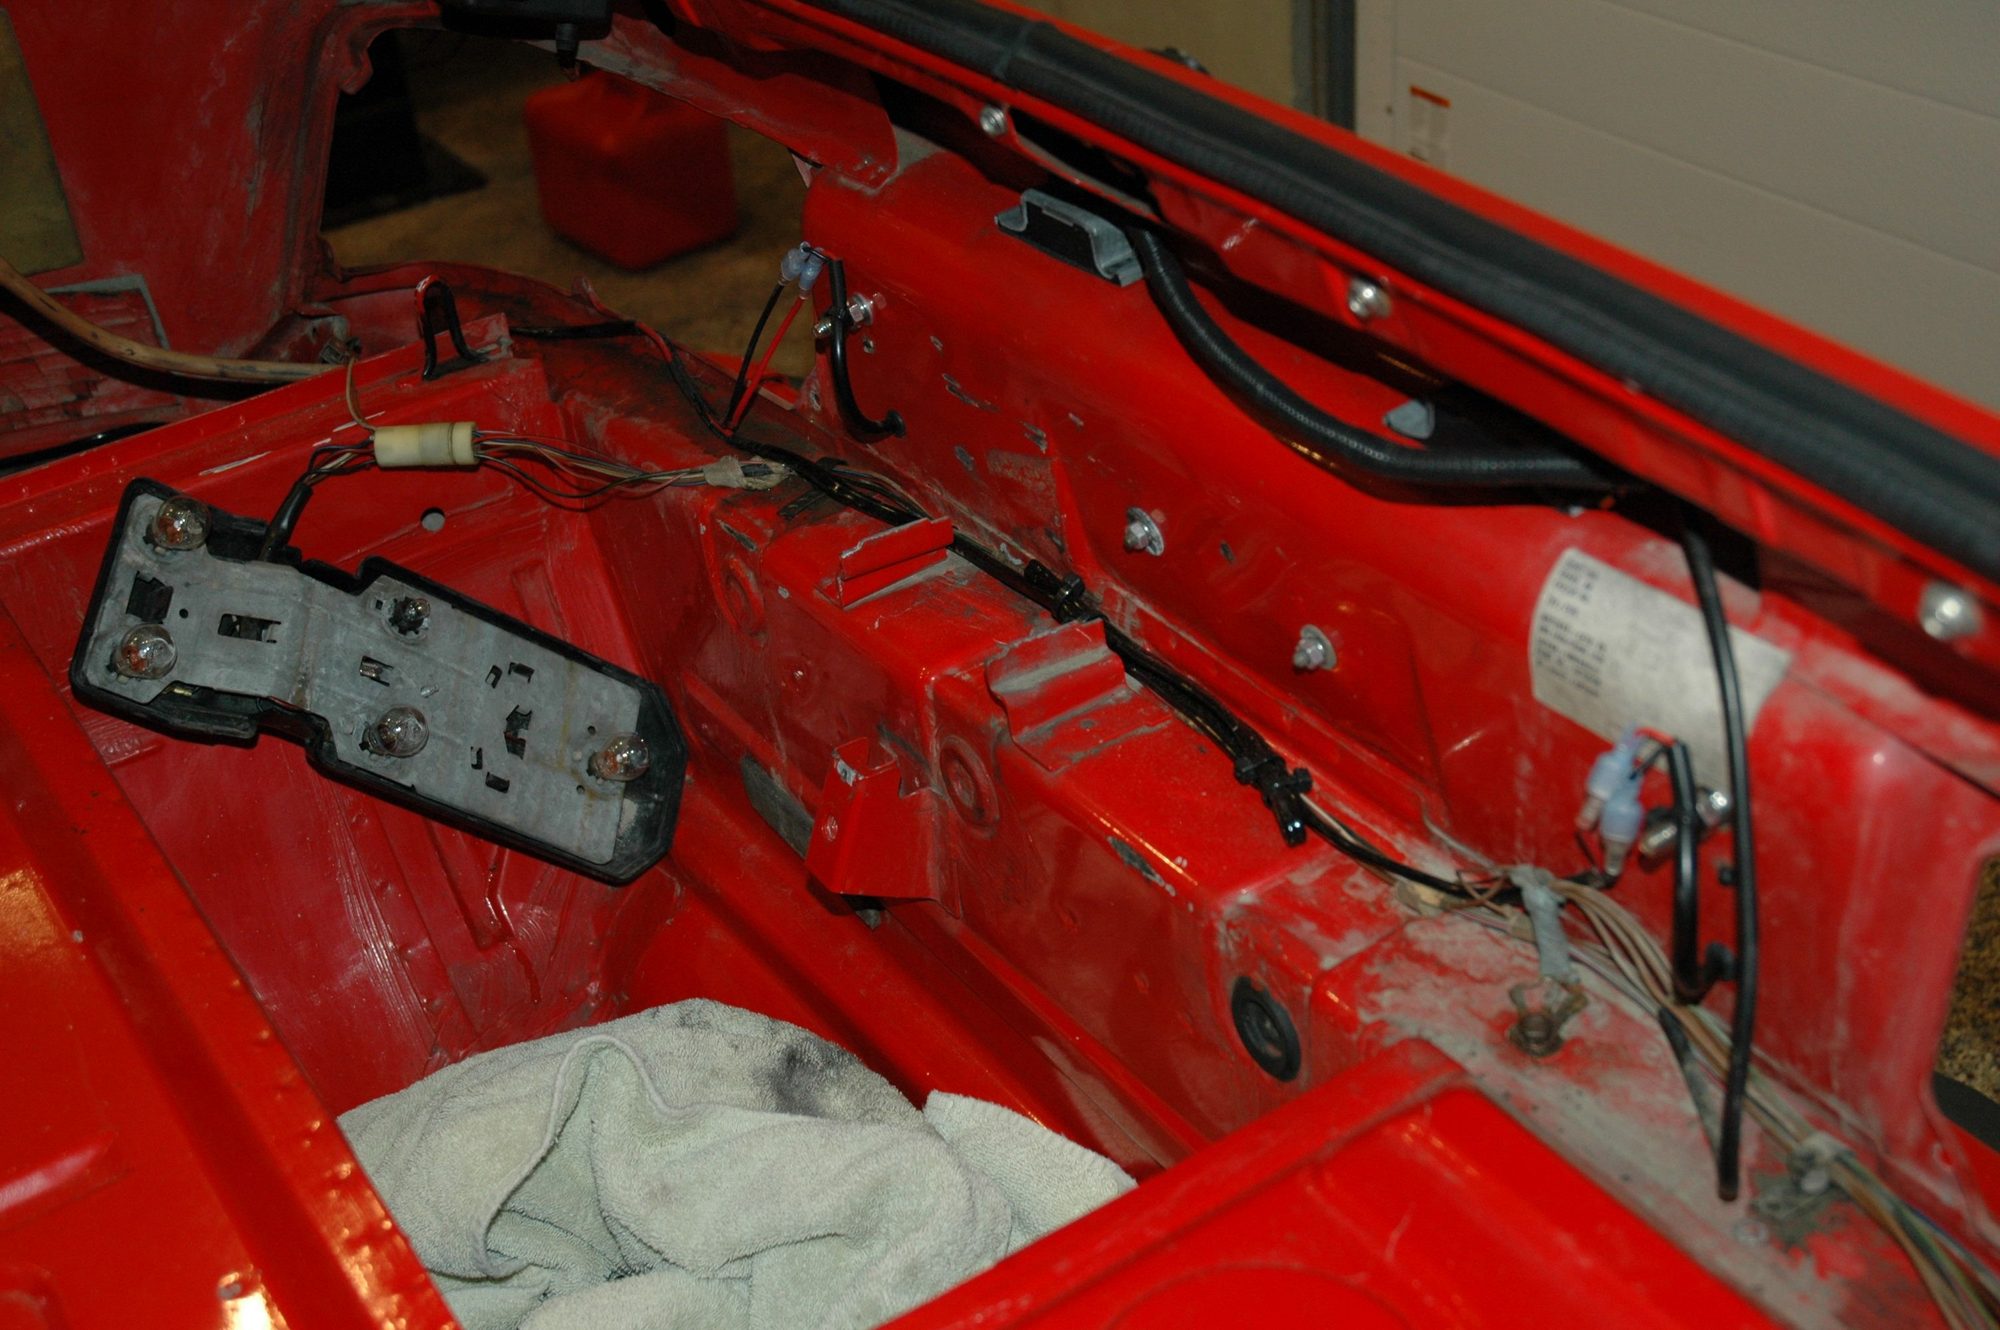
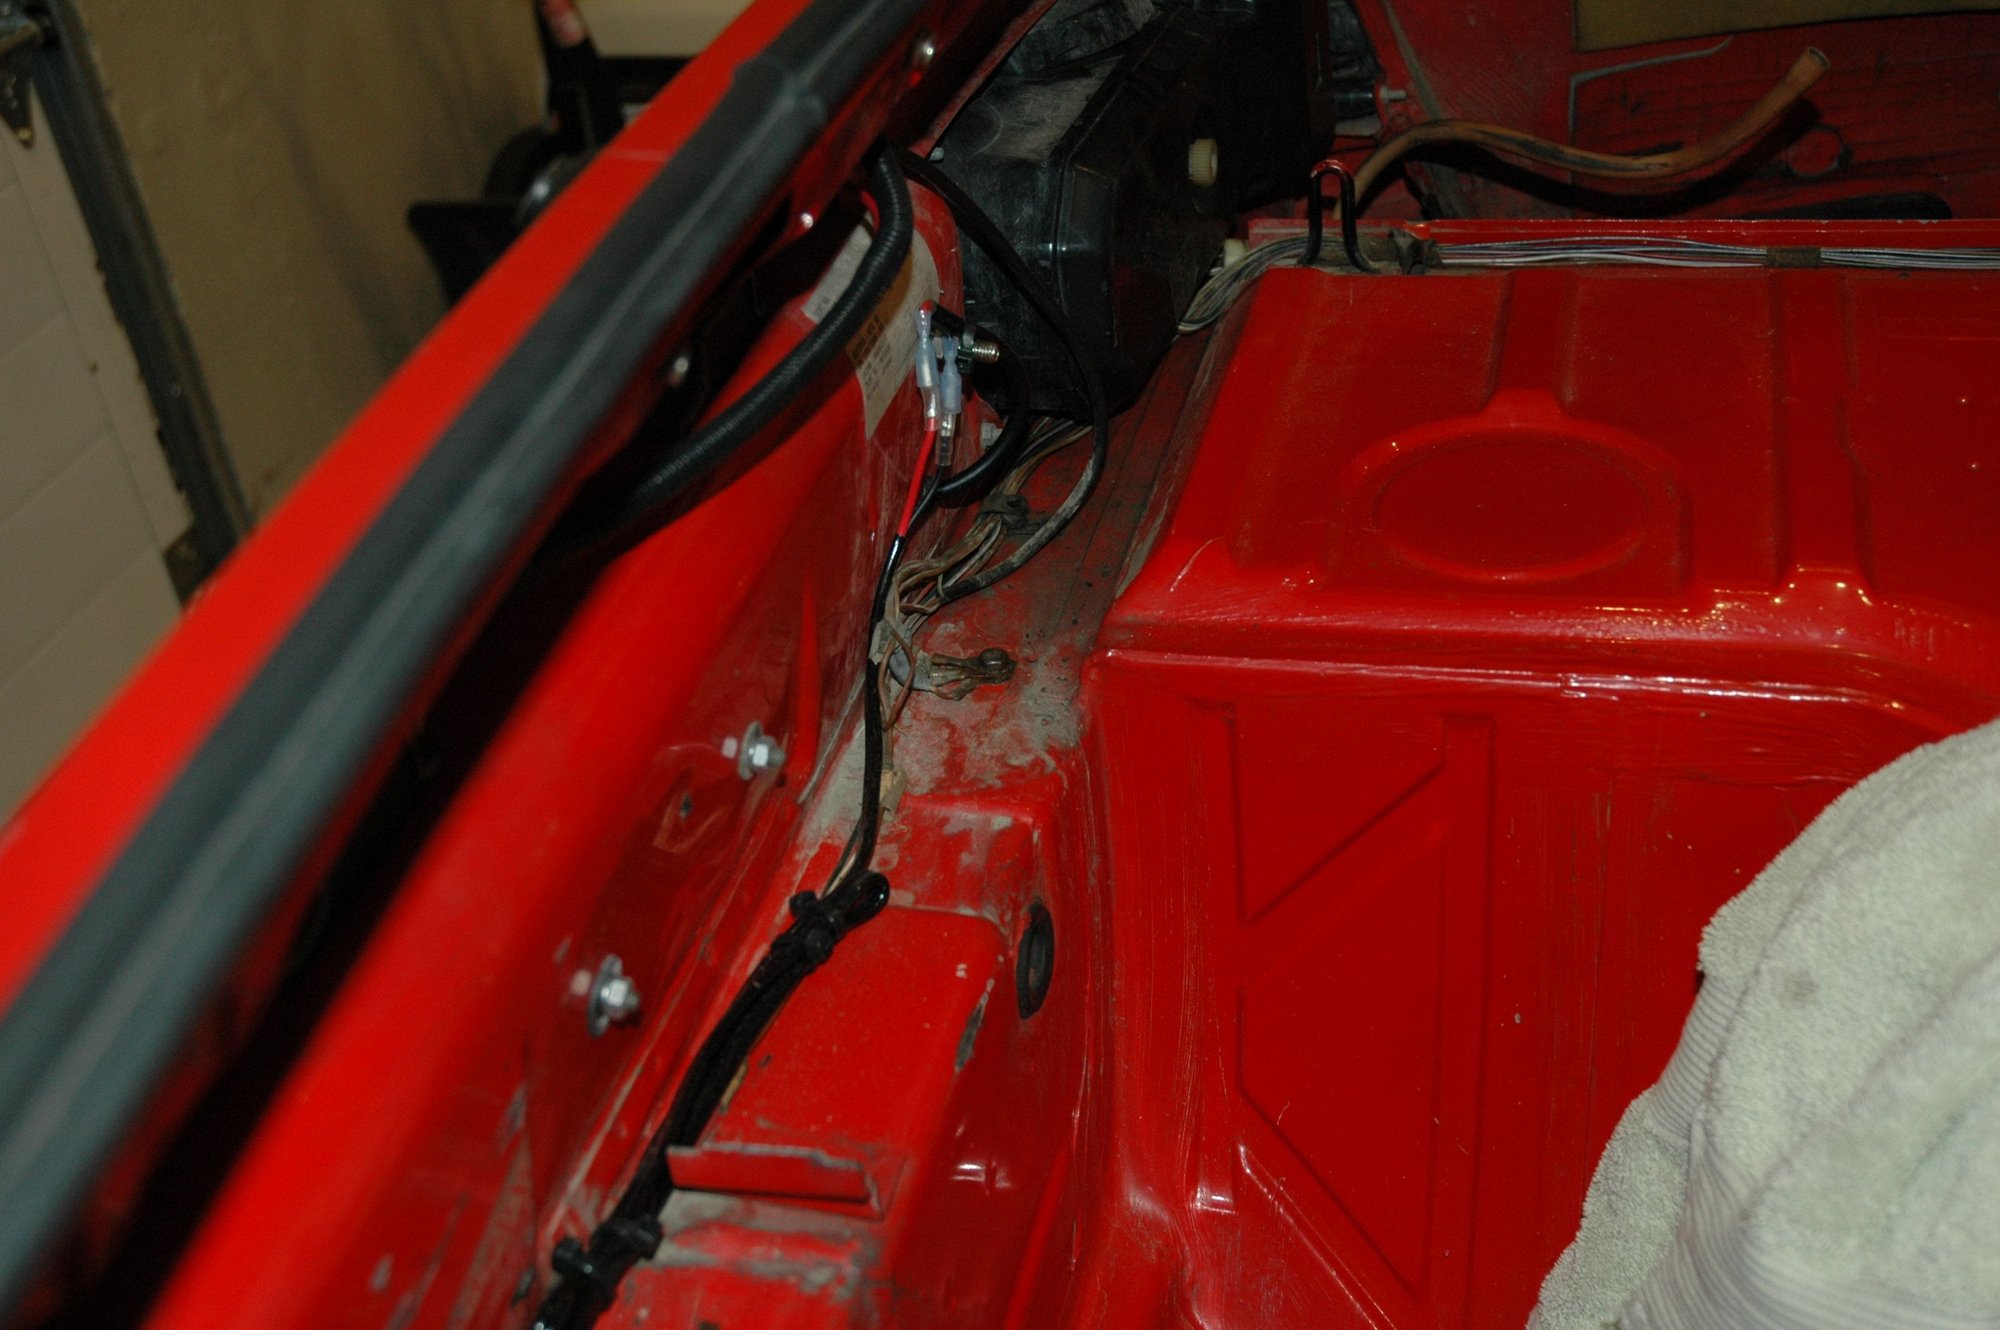
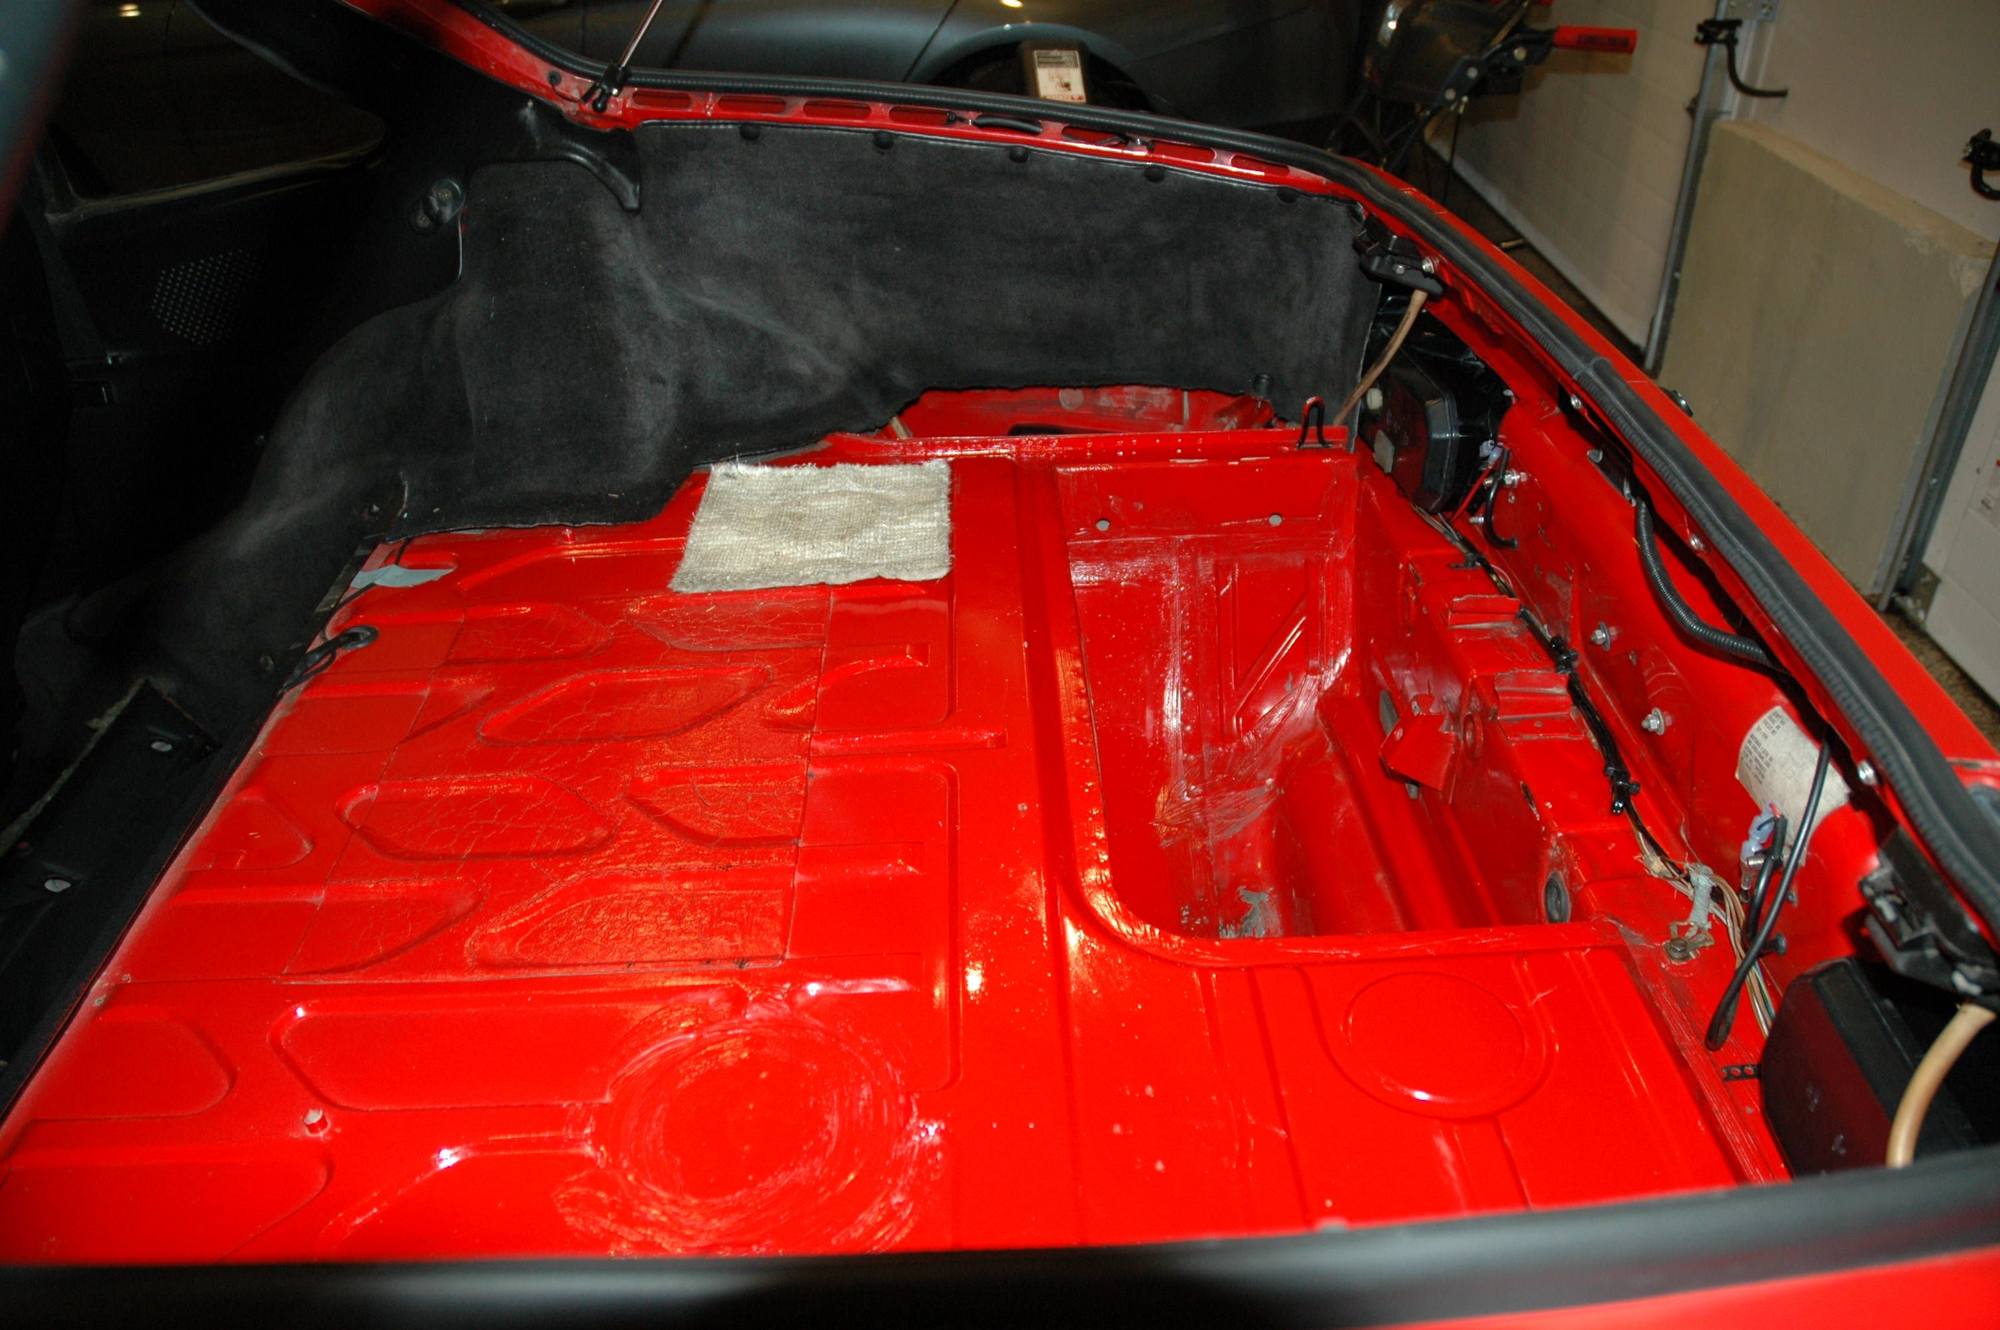
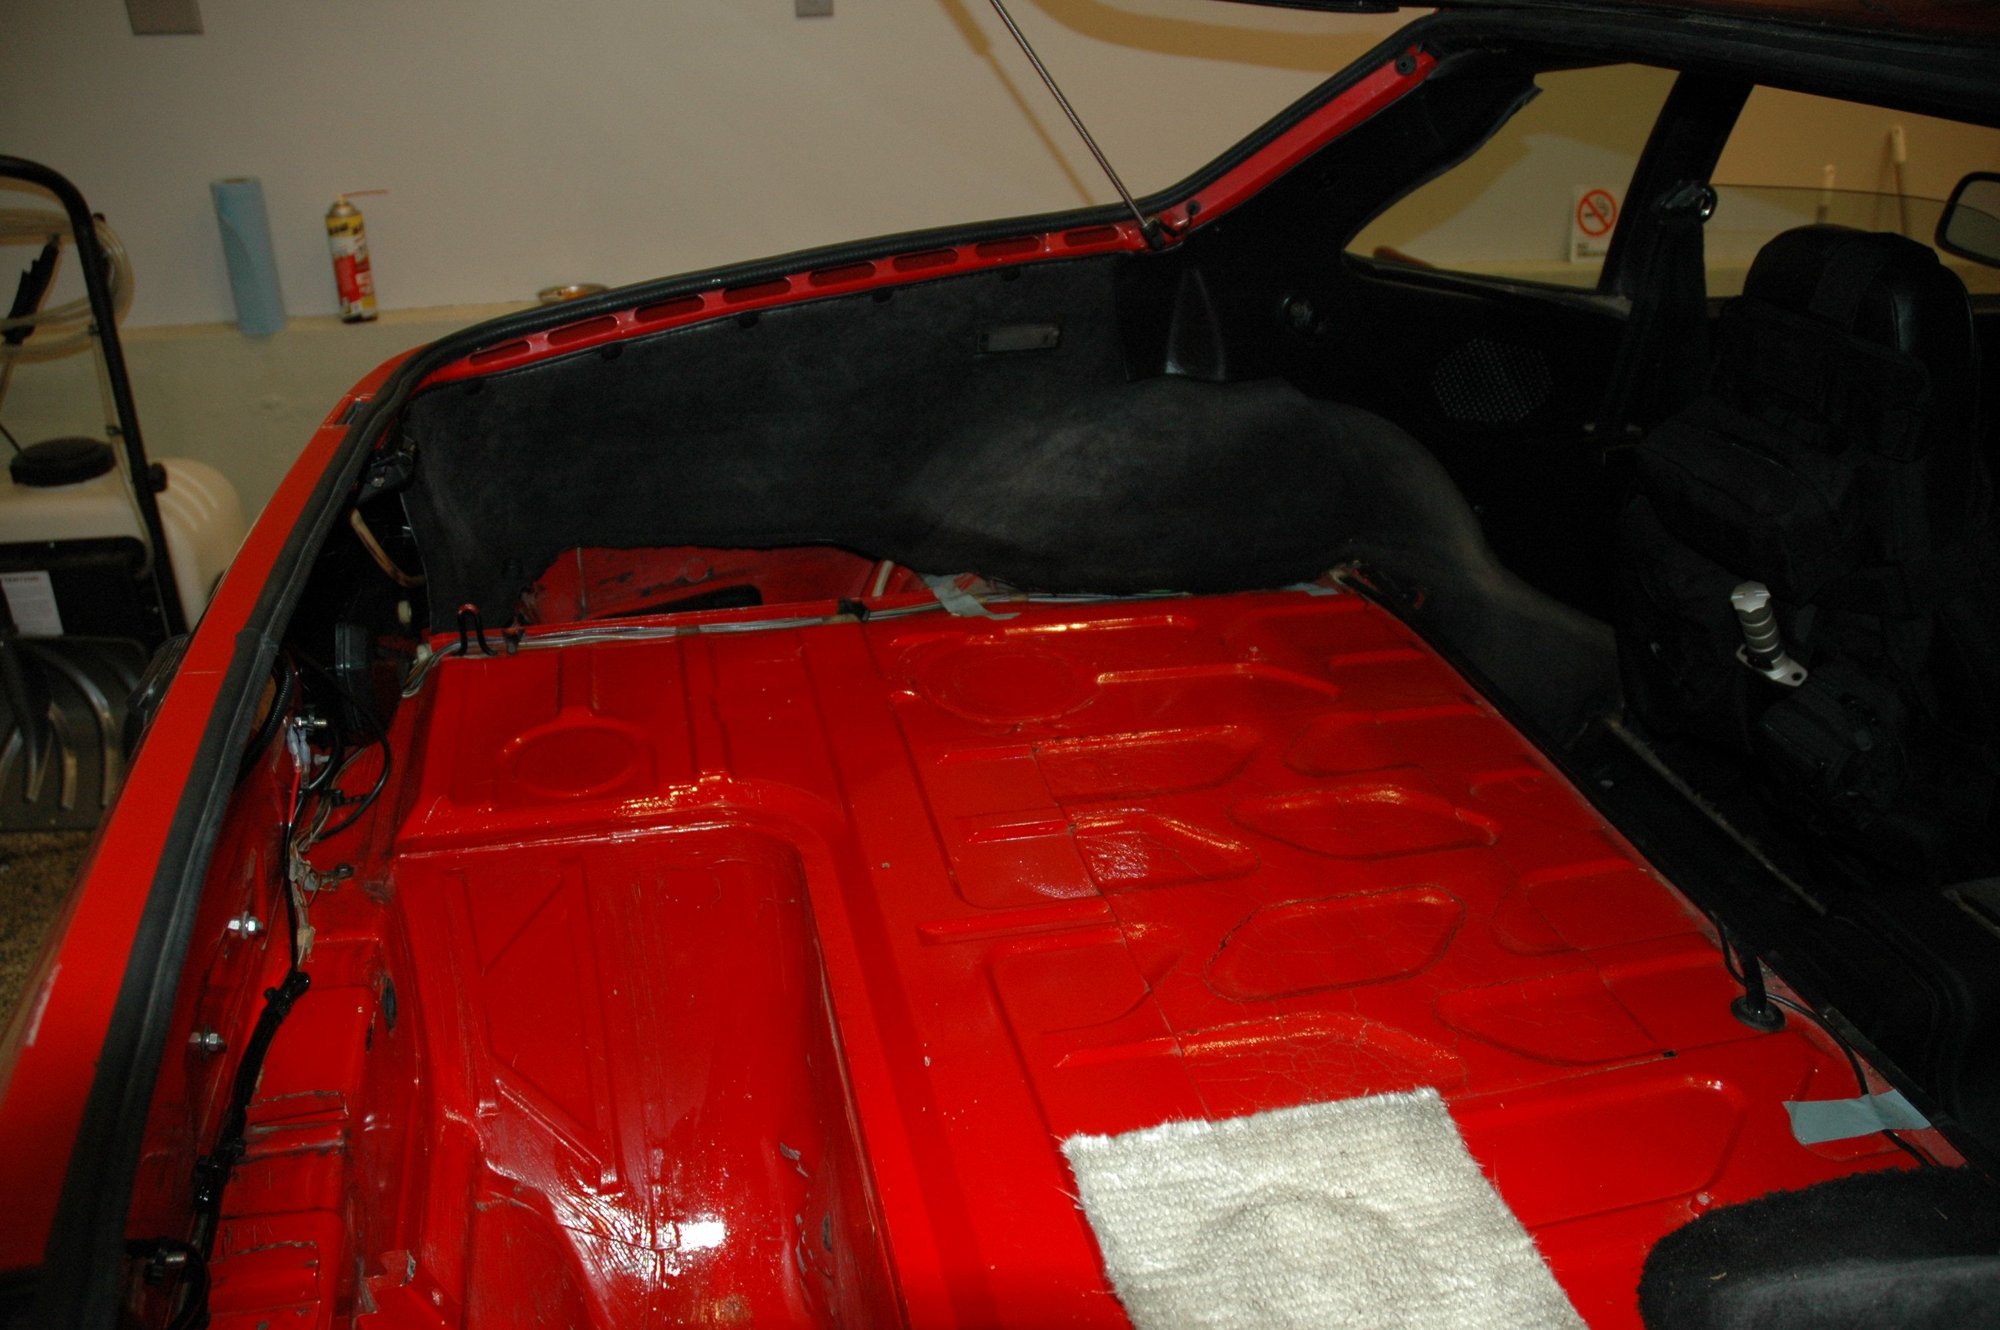
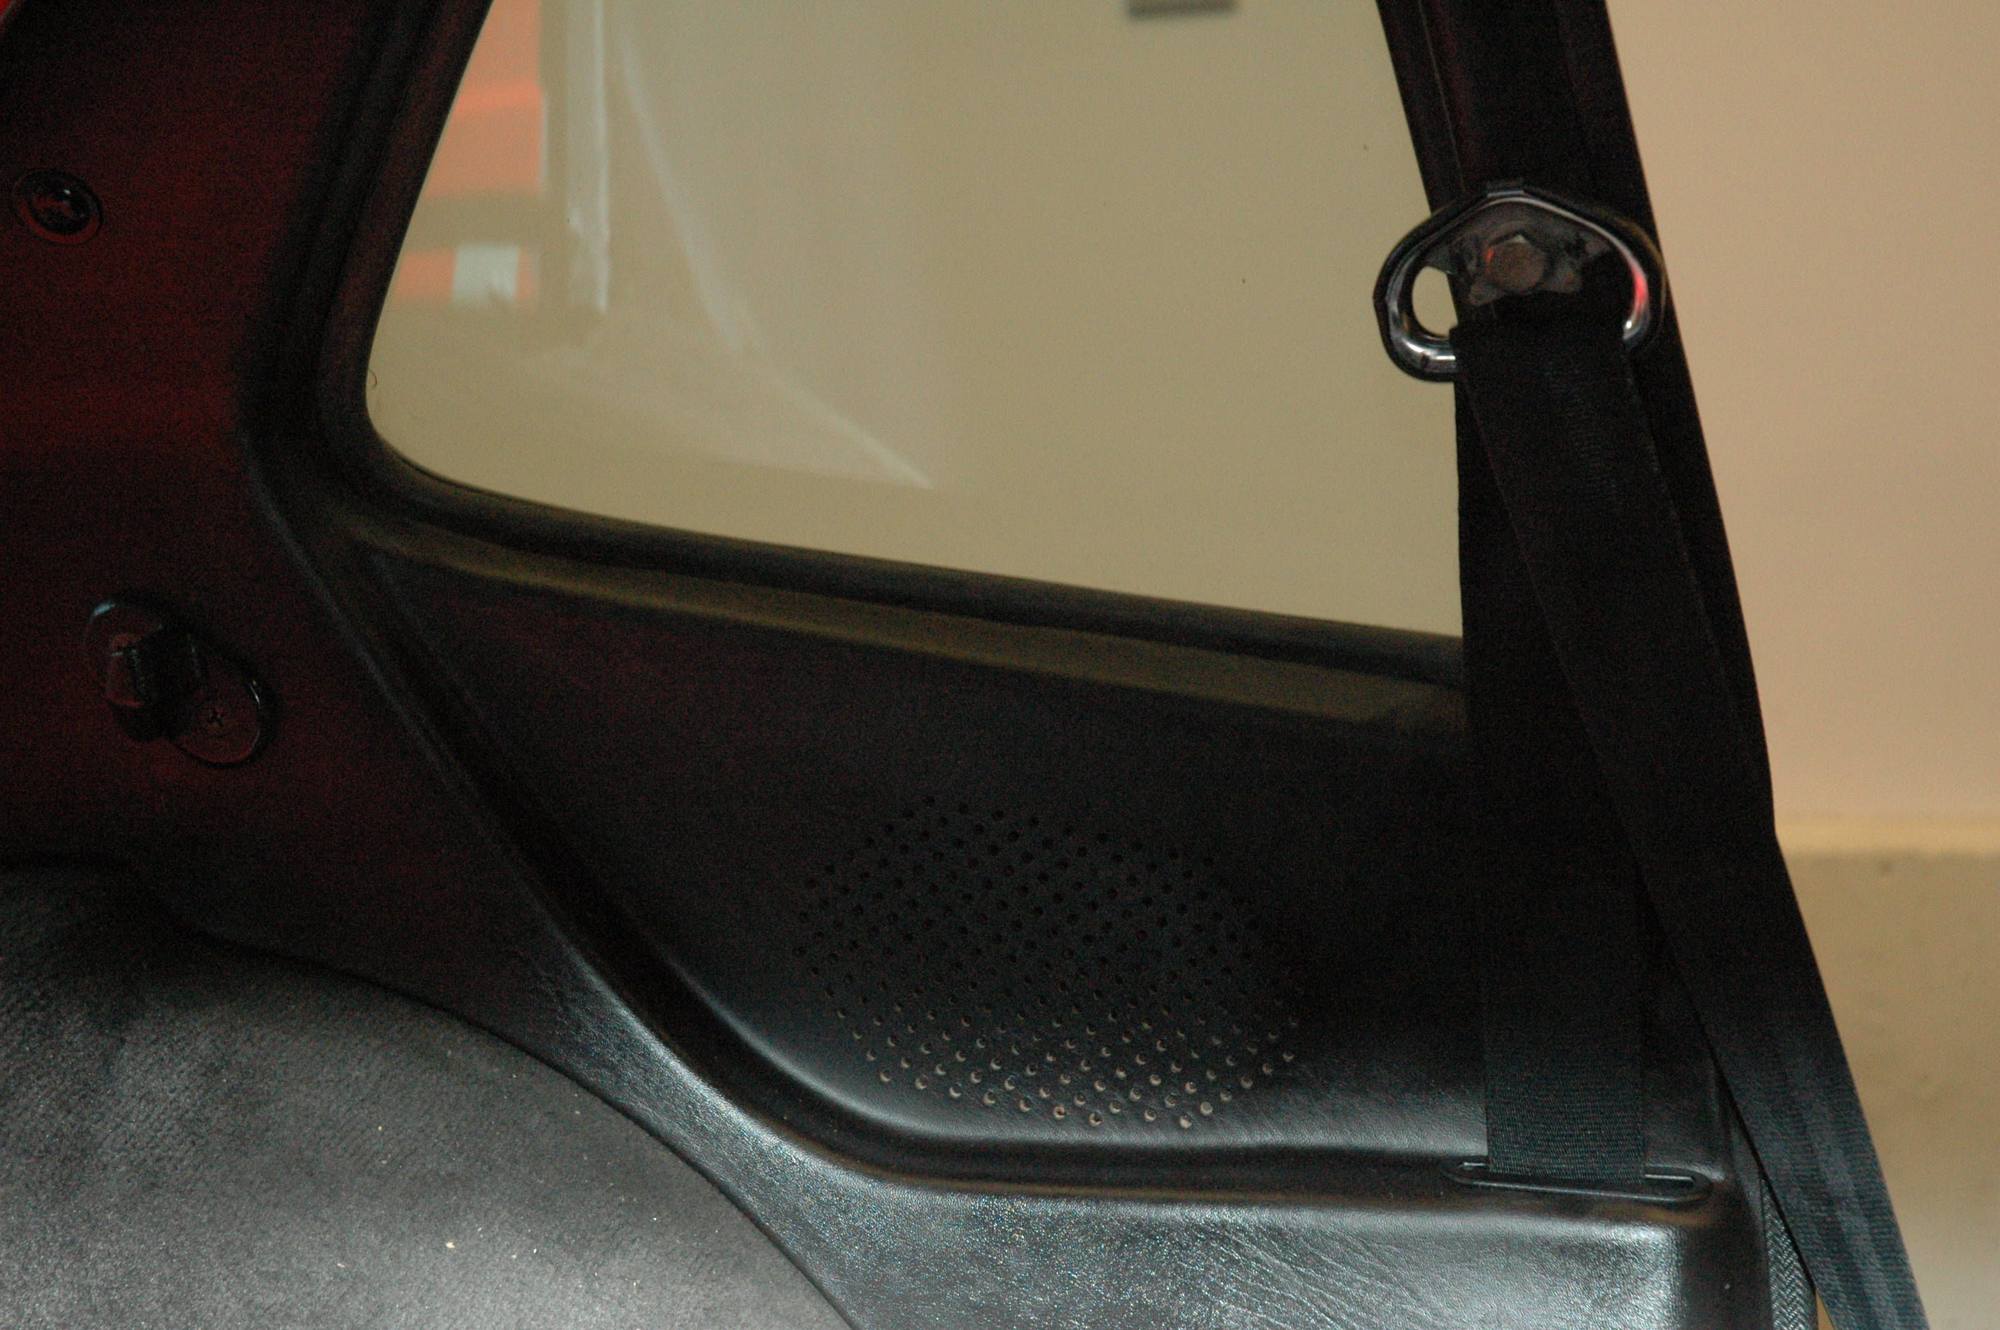
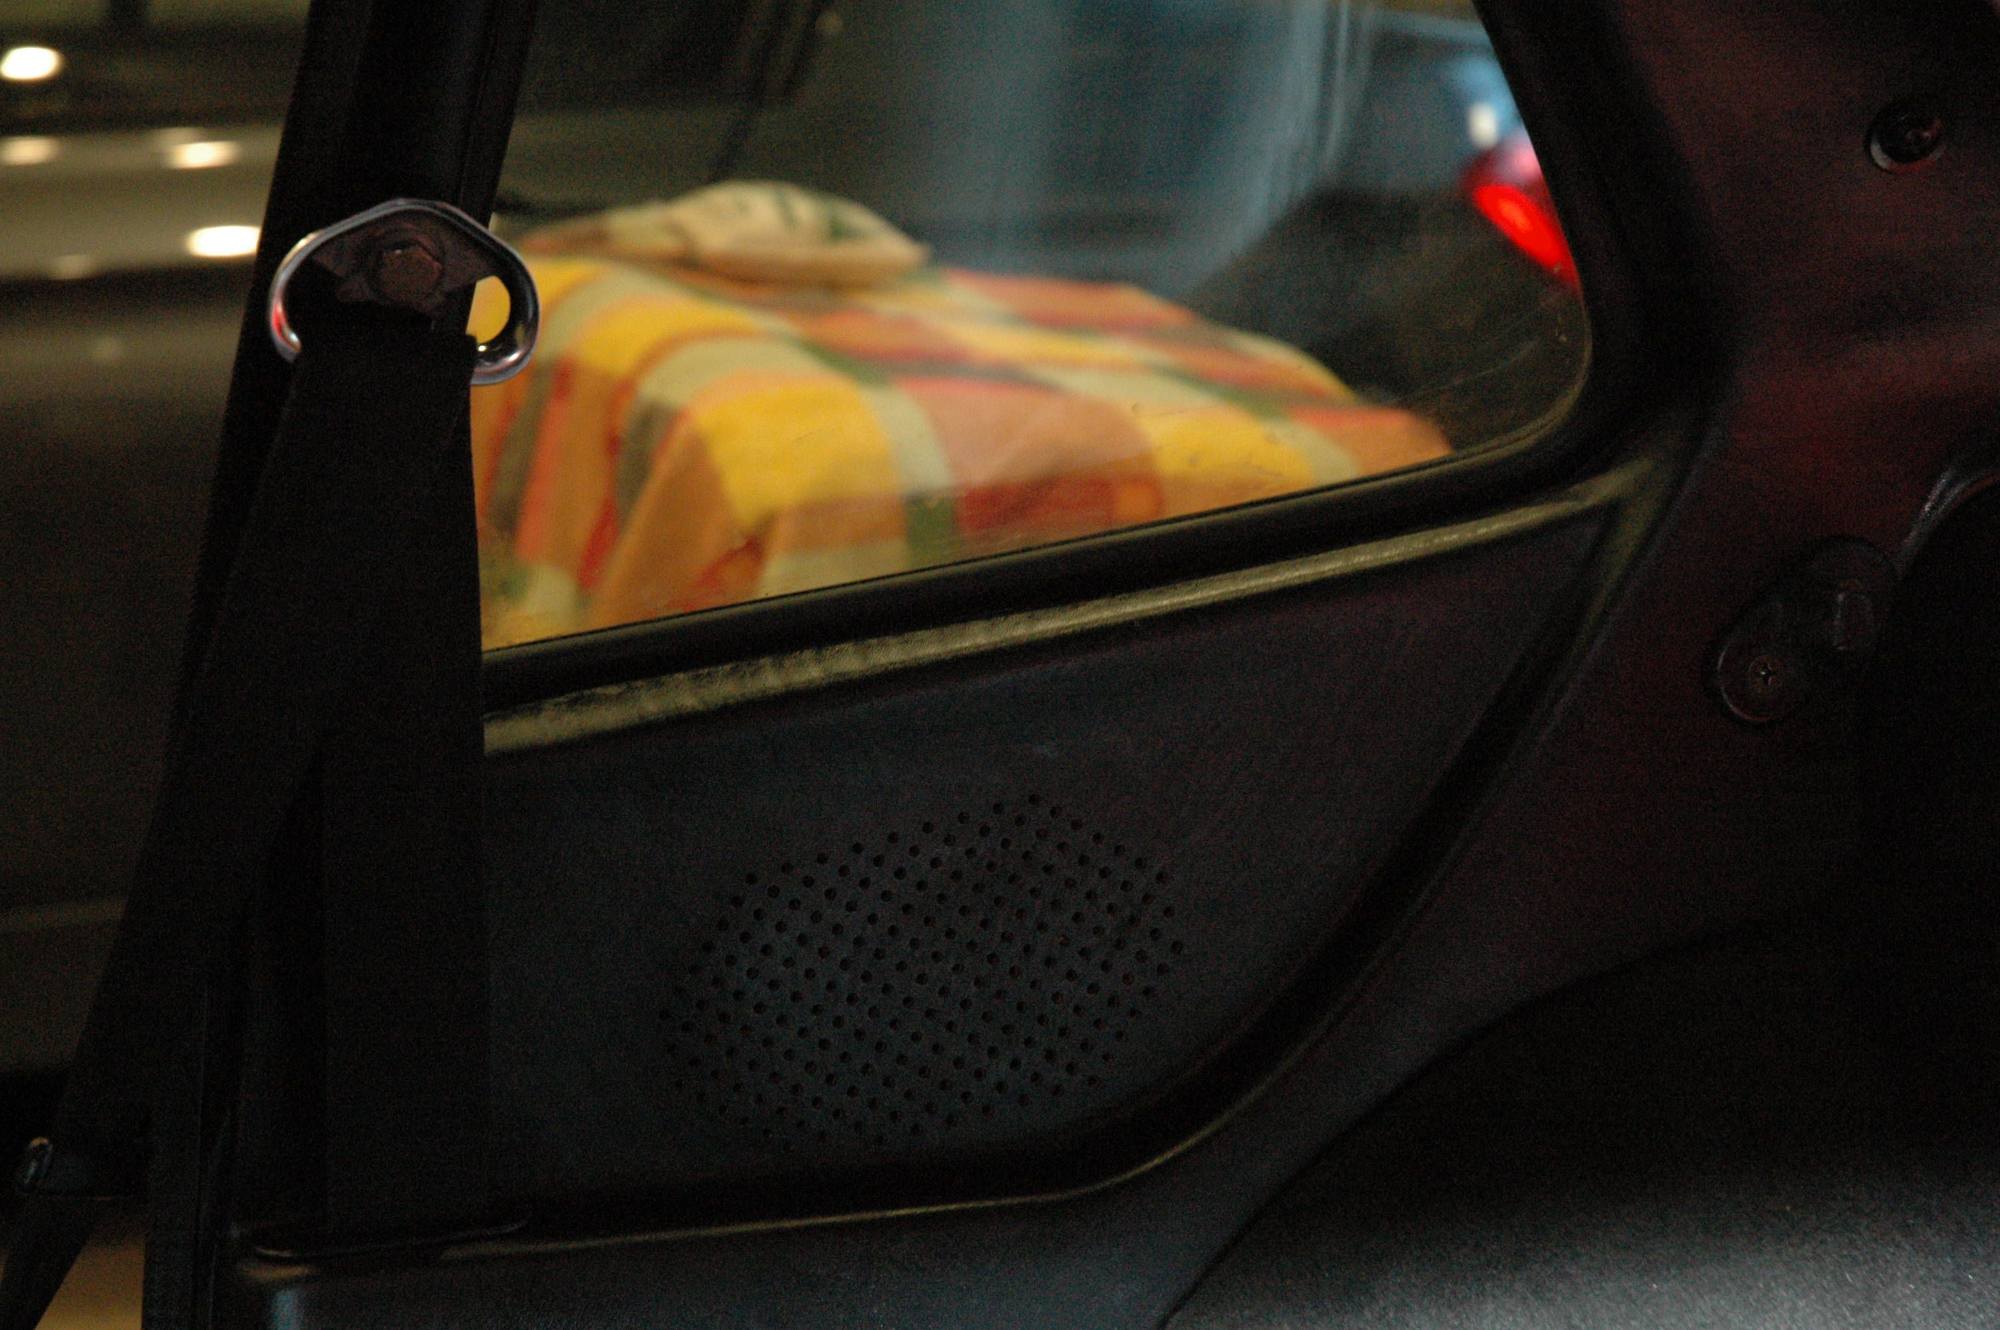
While waiting for parts to finish the AC, I decided to tackle a water leak running into both wheel wells whenever it rains. I remember having a similar issue on the 84 so out came the taillight assemblies. I also figured that I'd do a little cleanup/wipedown of the rear deck area, since I never got around to it earlier.
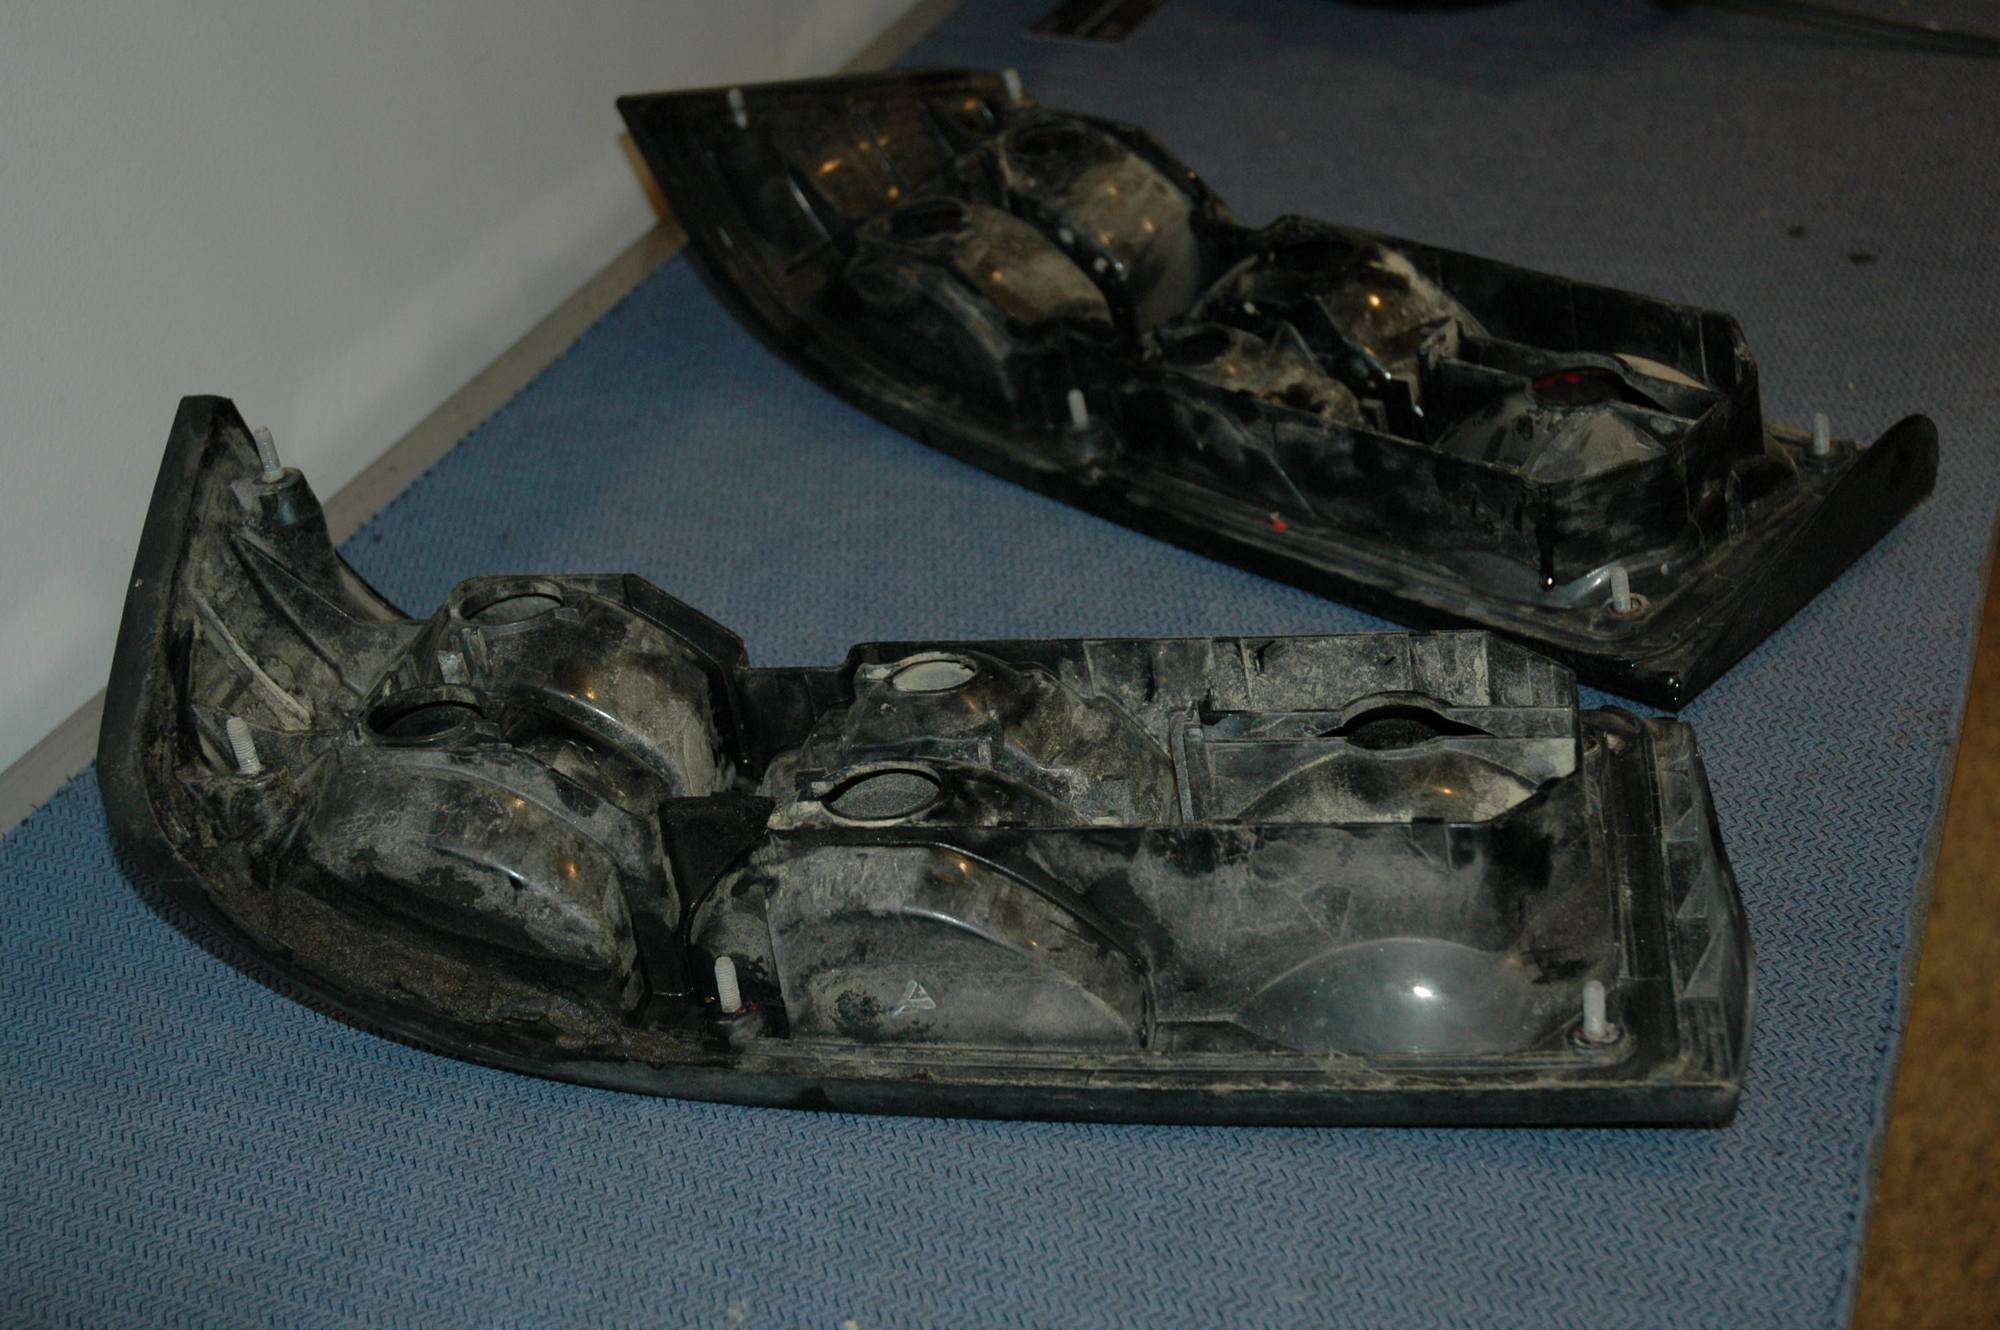
Of course half of the securing nuts were missing and someone neglected to install any type of gasket/caulk strip around each housing!!
I've used both Kyle's (Only944.com) gaskets, as well as the 3M Strip-Calk, in the past with good results. Since I didn't have any gaskets, the 3M stuff had to do... I think most of this evening was spent wiping all the metal surfaces with my favorite liquid - PB Blaster. Not perfect, but much more presentable.
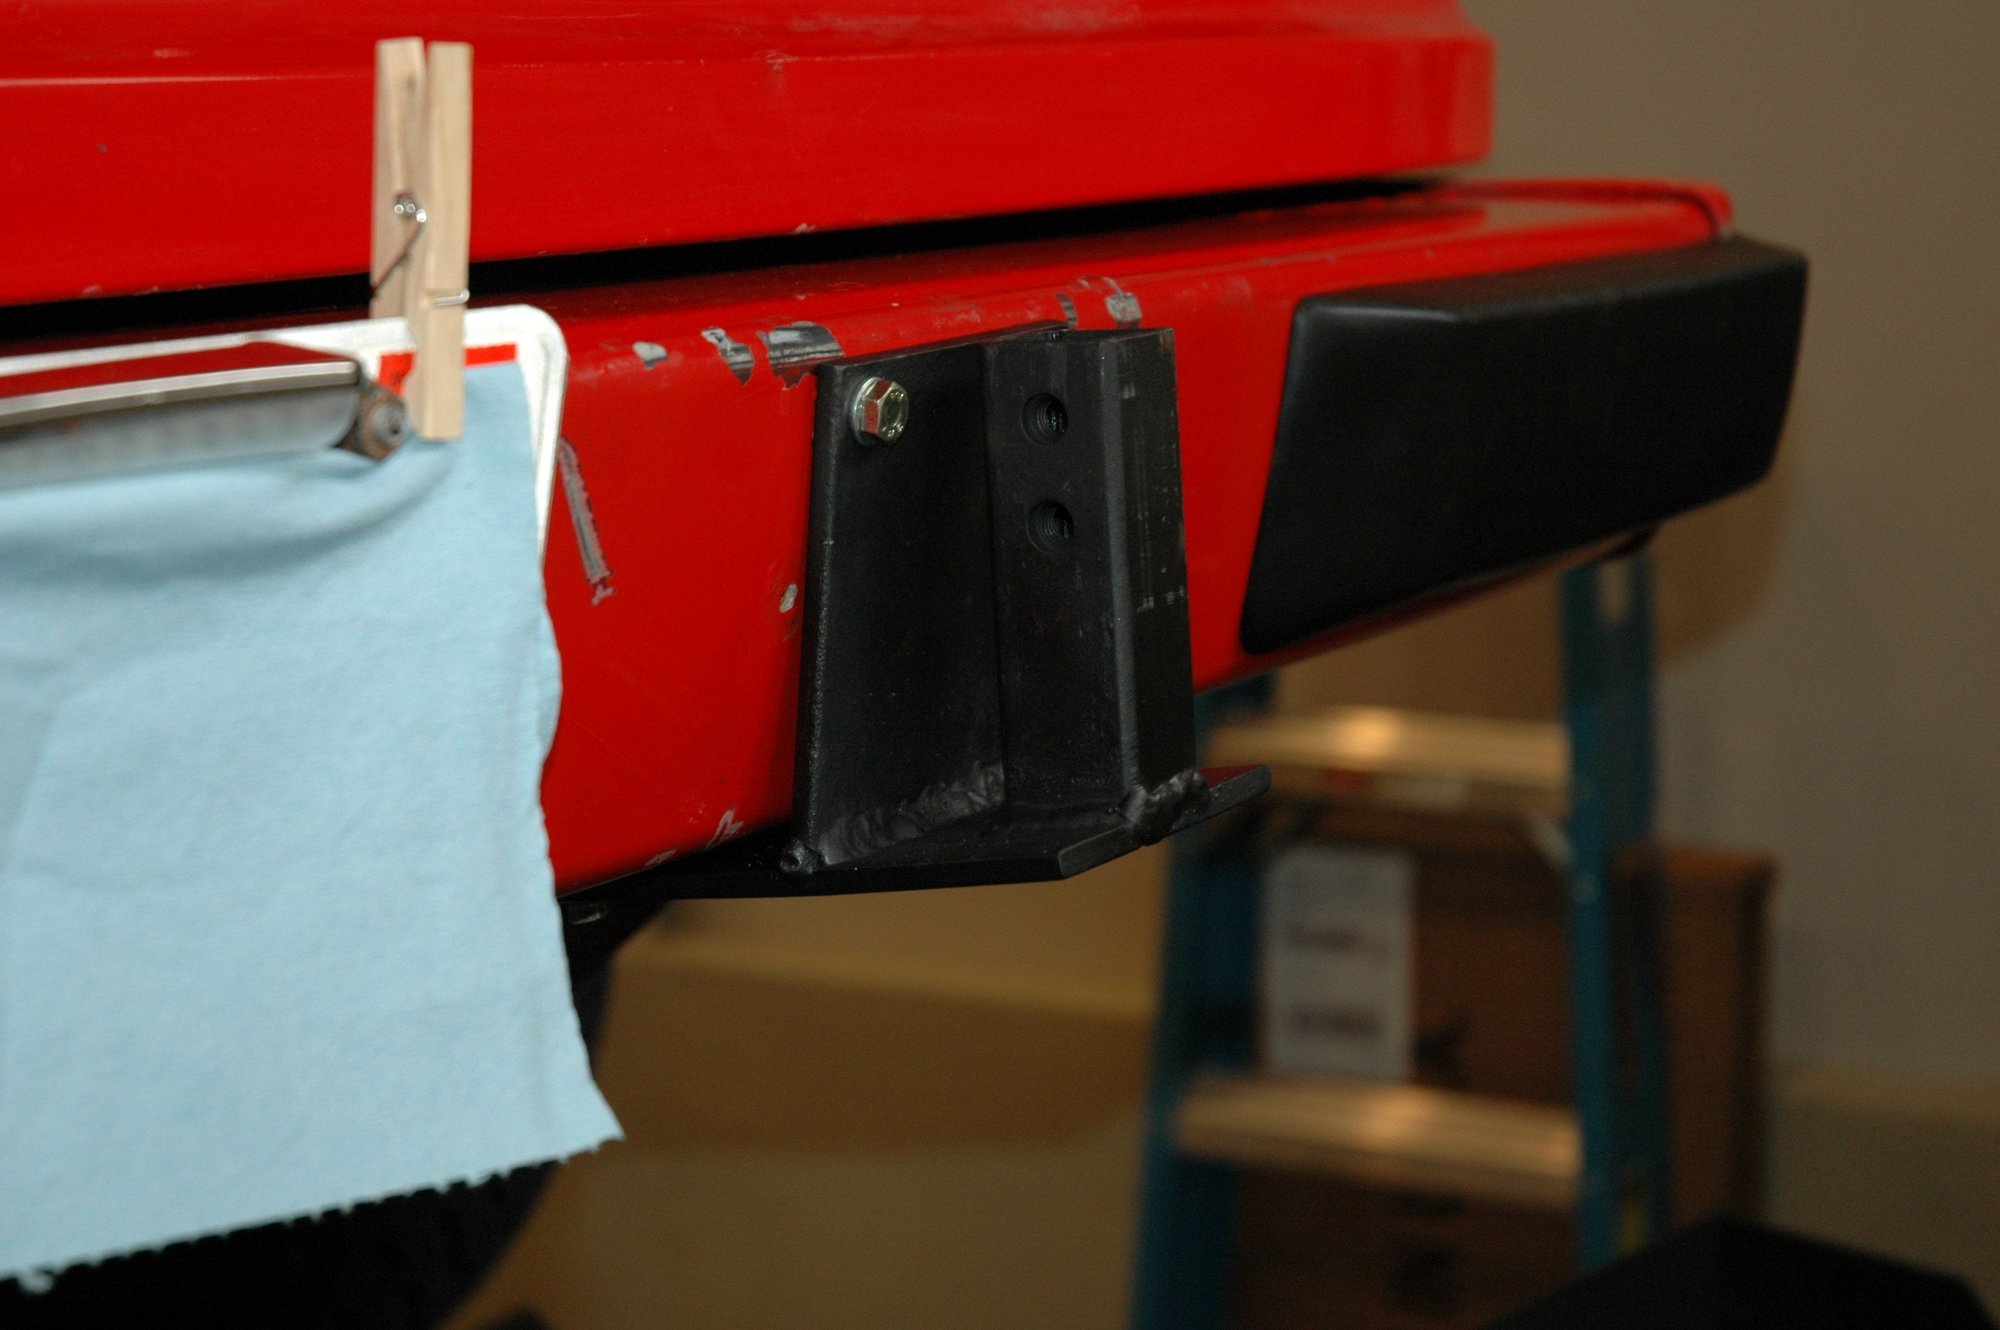
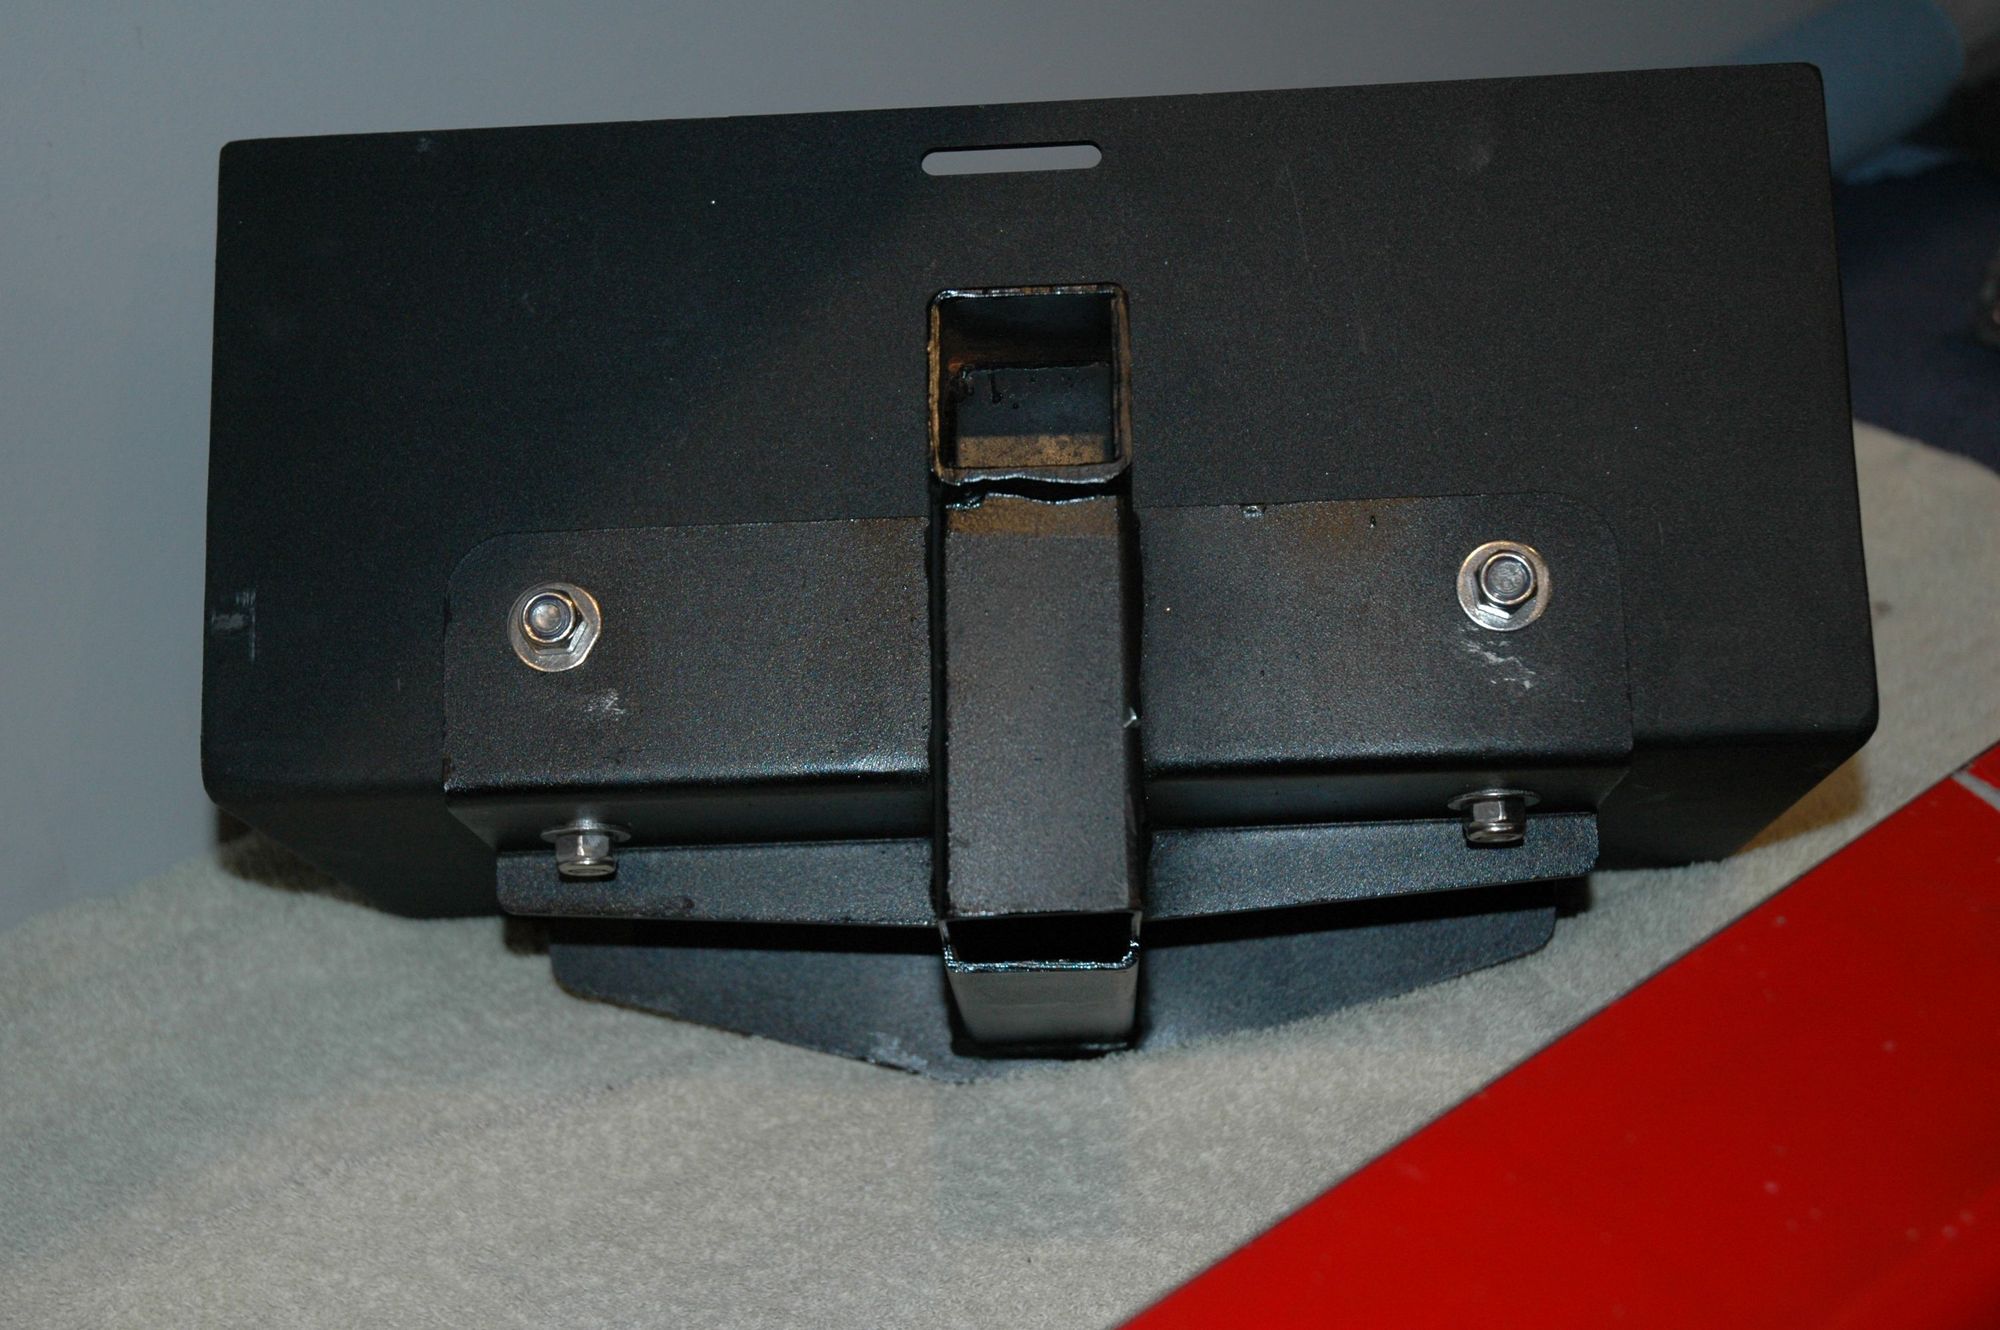
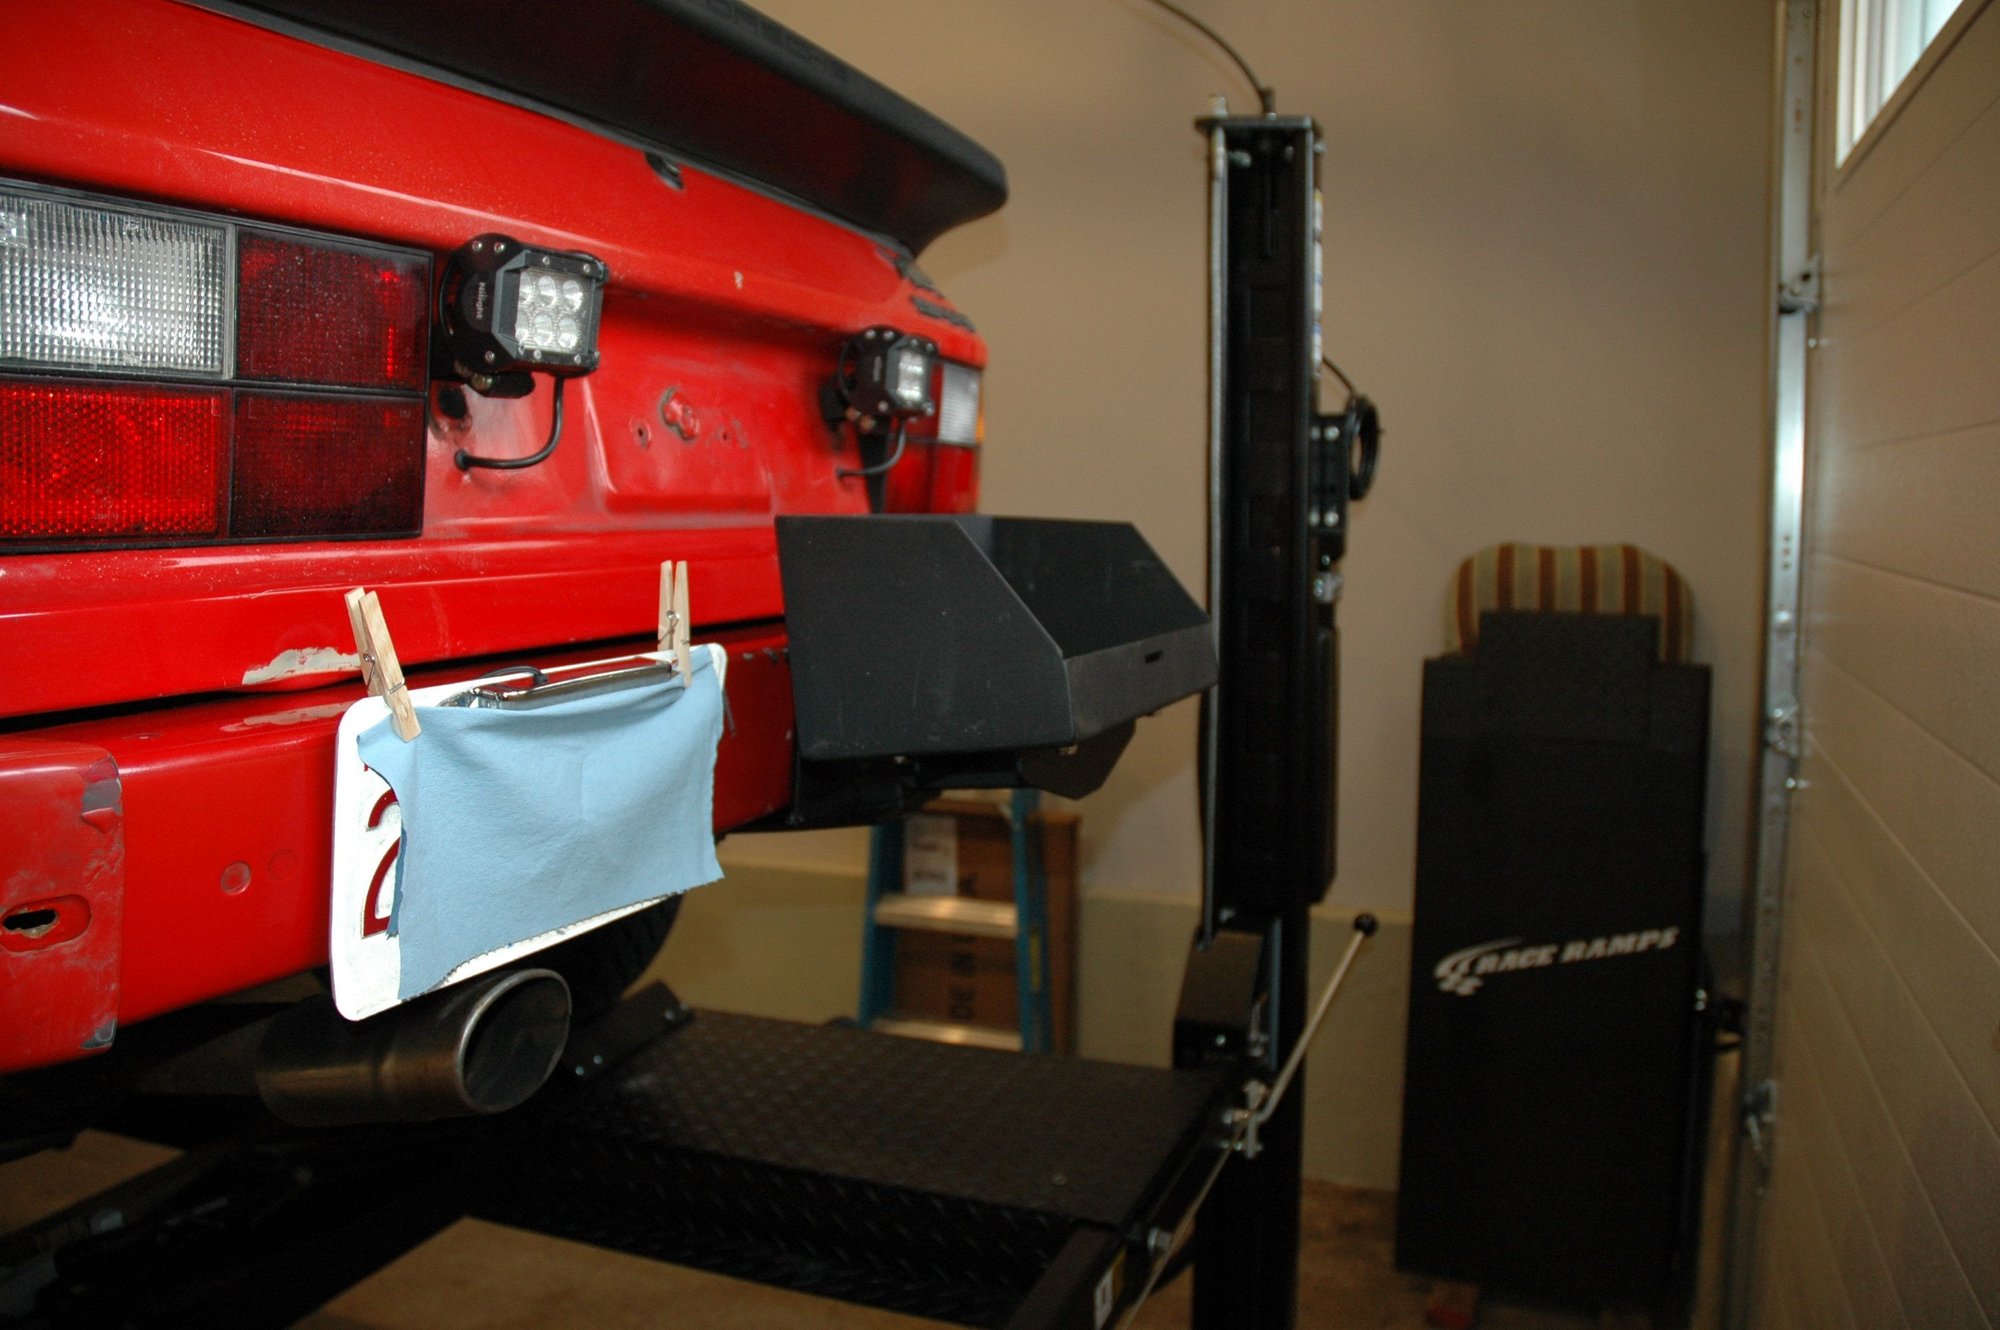
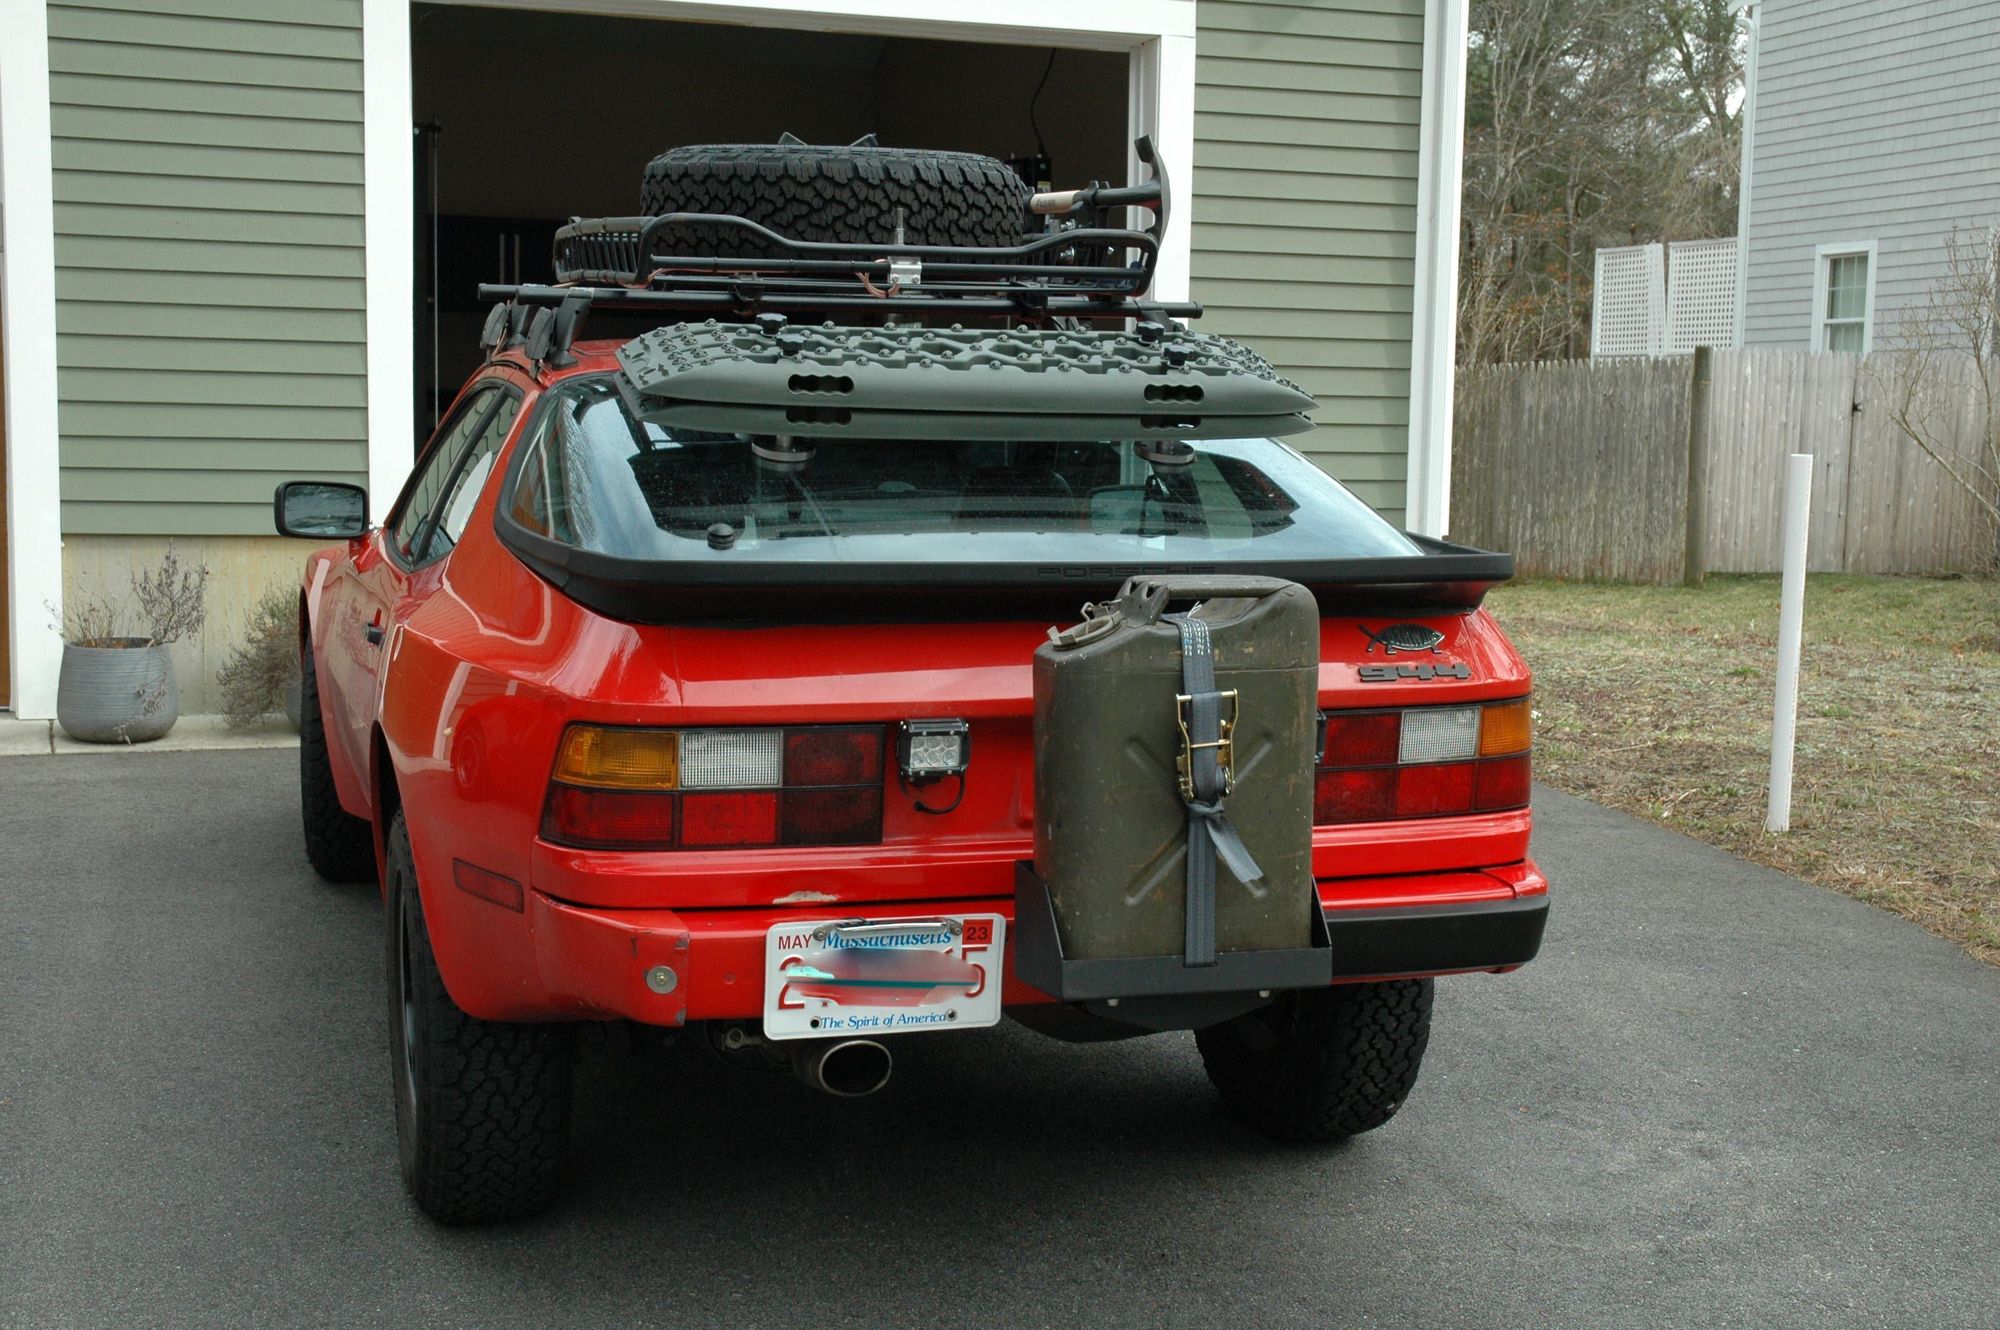
It's been a while since I posted any progress on the Beastie so here's the latest update: A custom Jerry Can bracket!! I bought a mounting bracket that fits on a Jeep YJ spare tire and had my machinist bud modify it, making it more low profile so it wouldn't stick out 18" or more from the rear bumper. He essentially cut off a few inches and re-welded the bar 90 degrees from its original orientation.
Same with the carrier end:
I had to relocate the rear license plate and run a plate light (as required in Mass).
I don't think anyone has done this before...
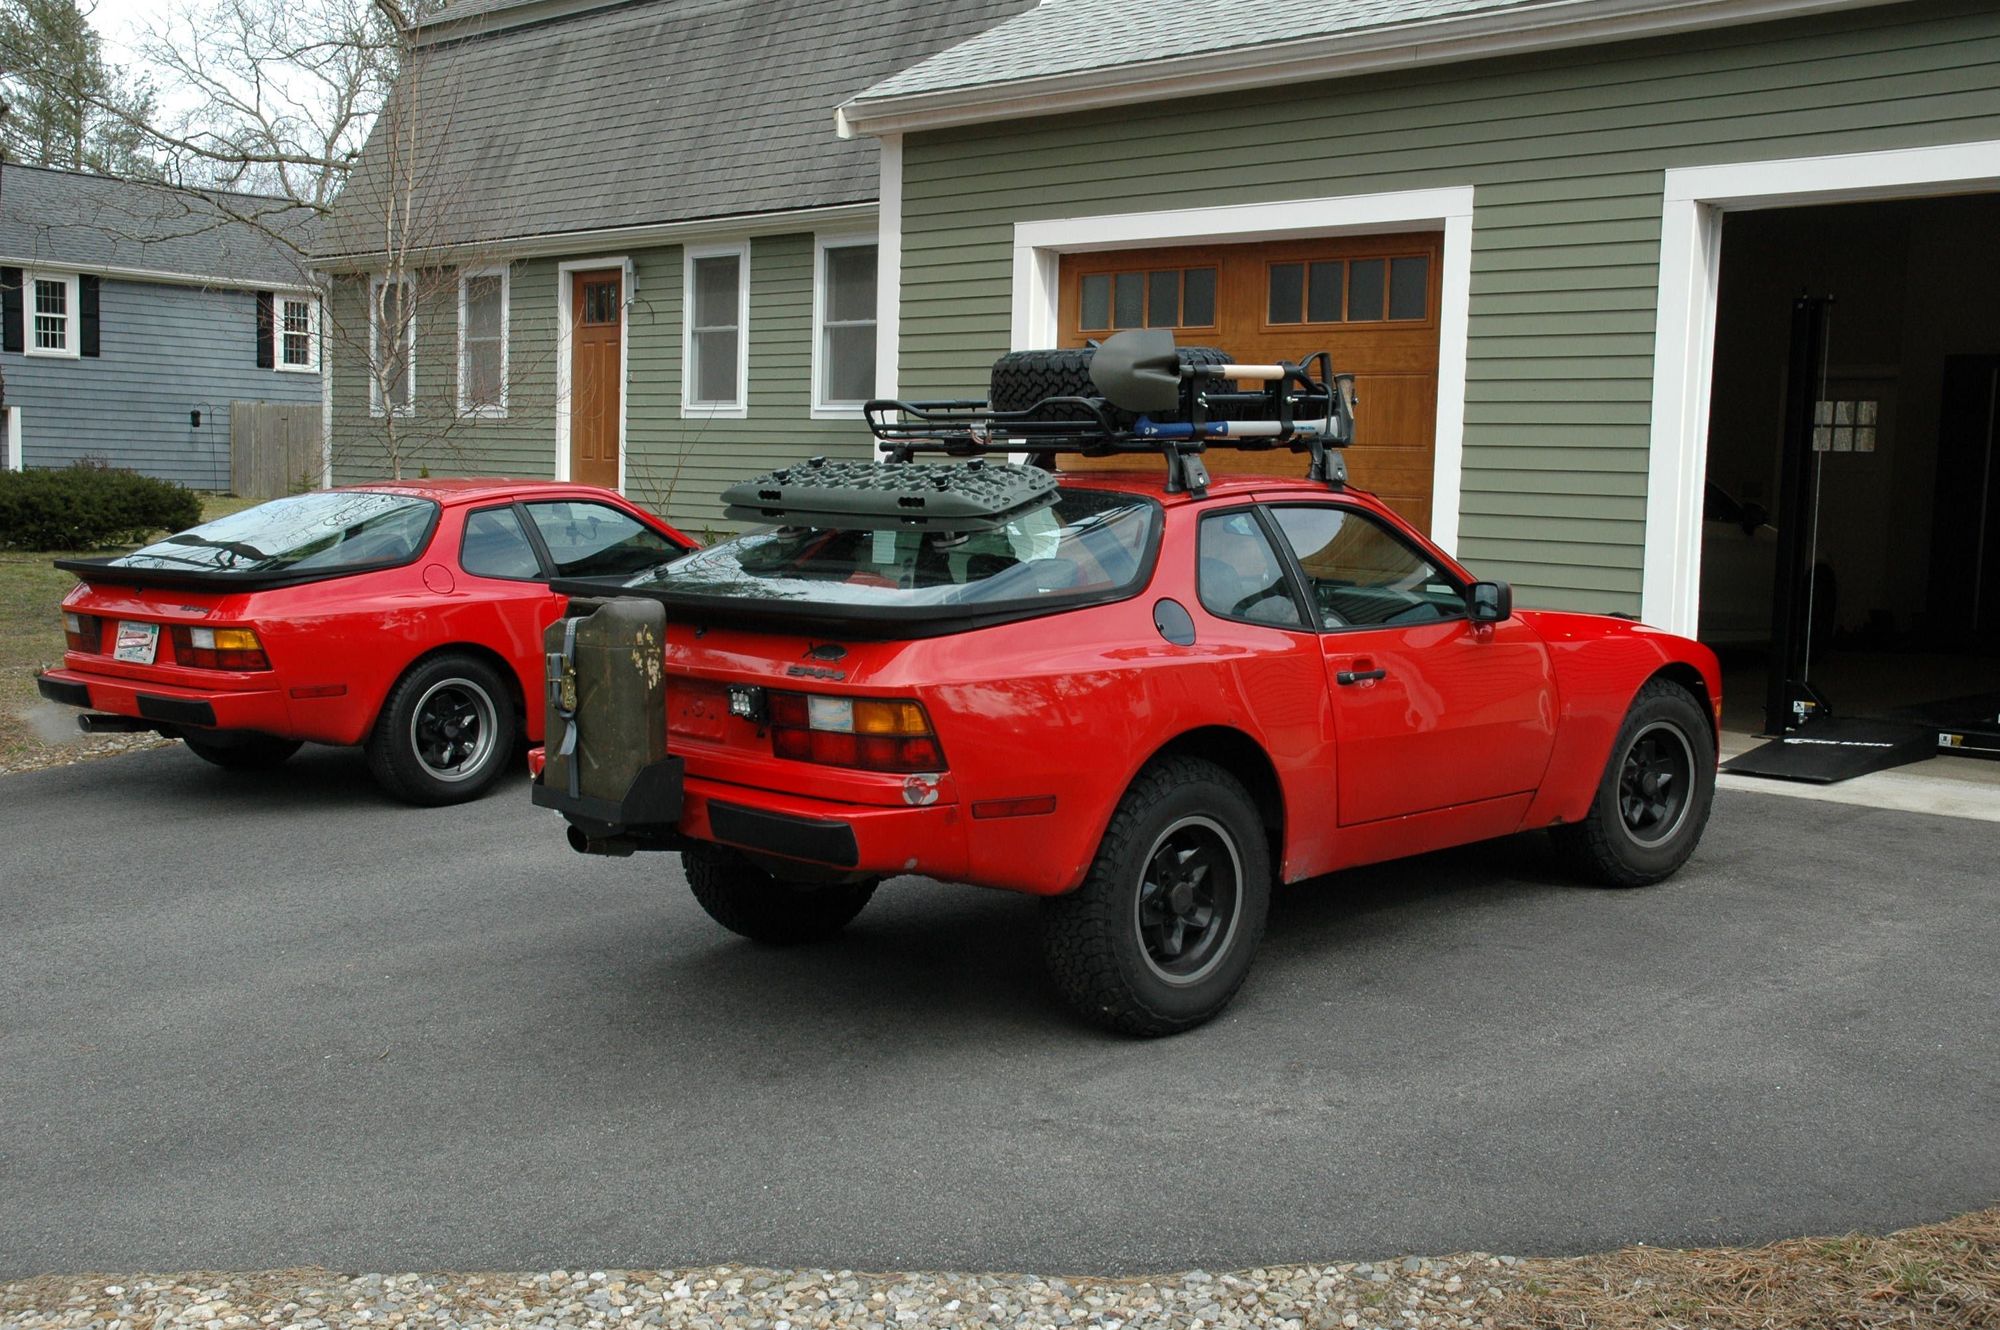
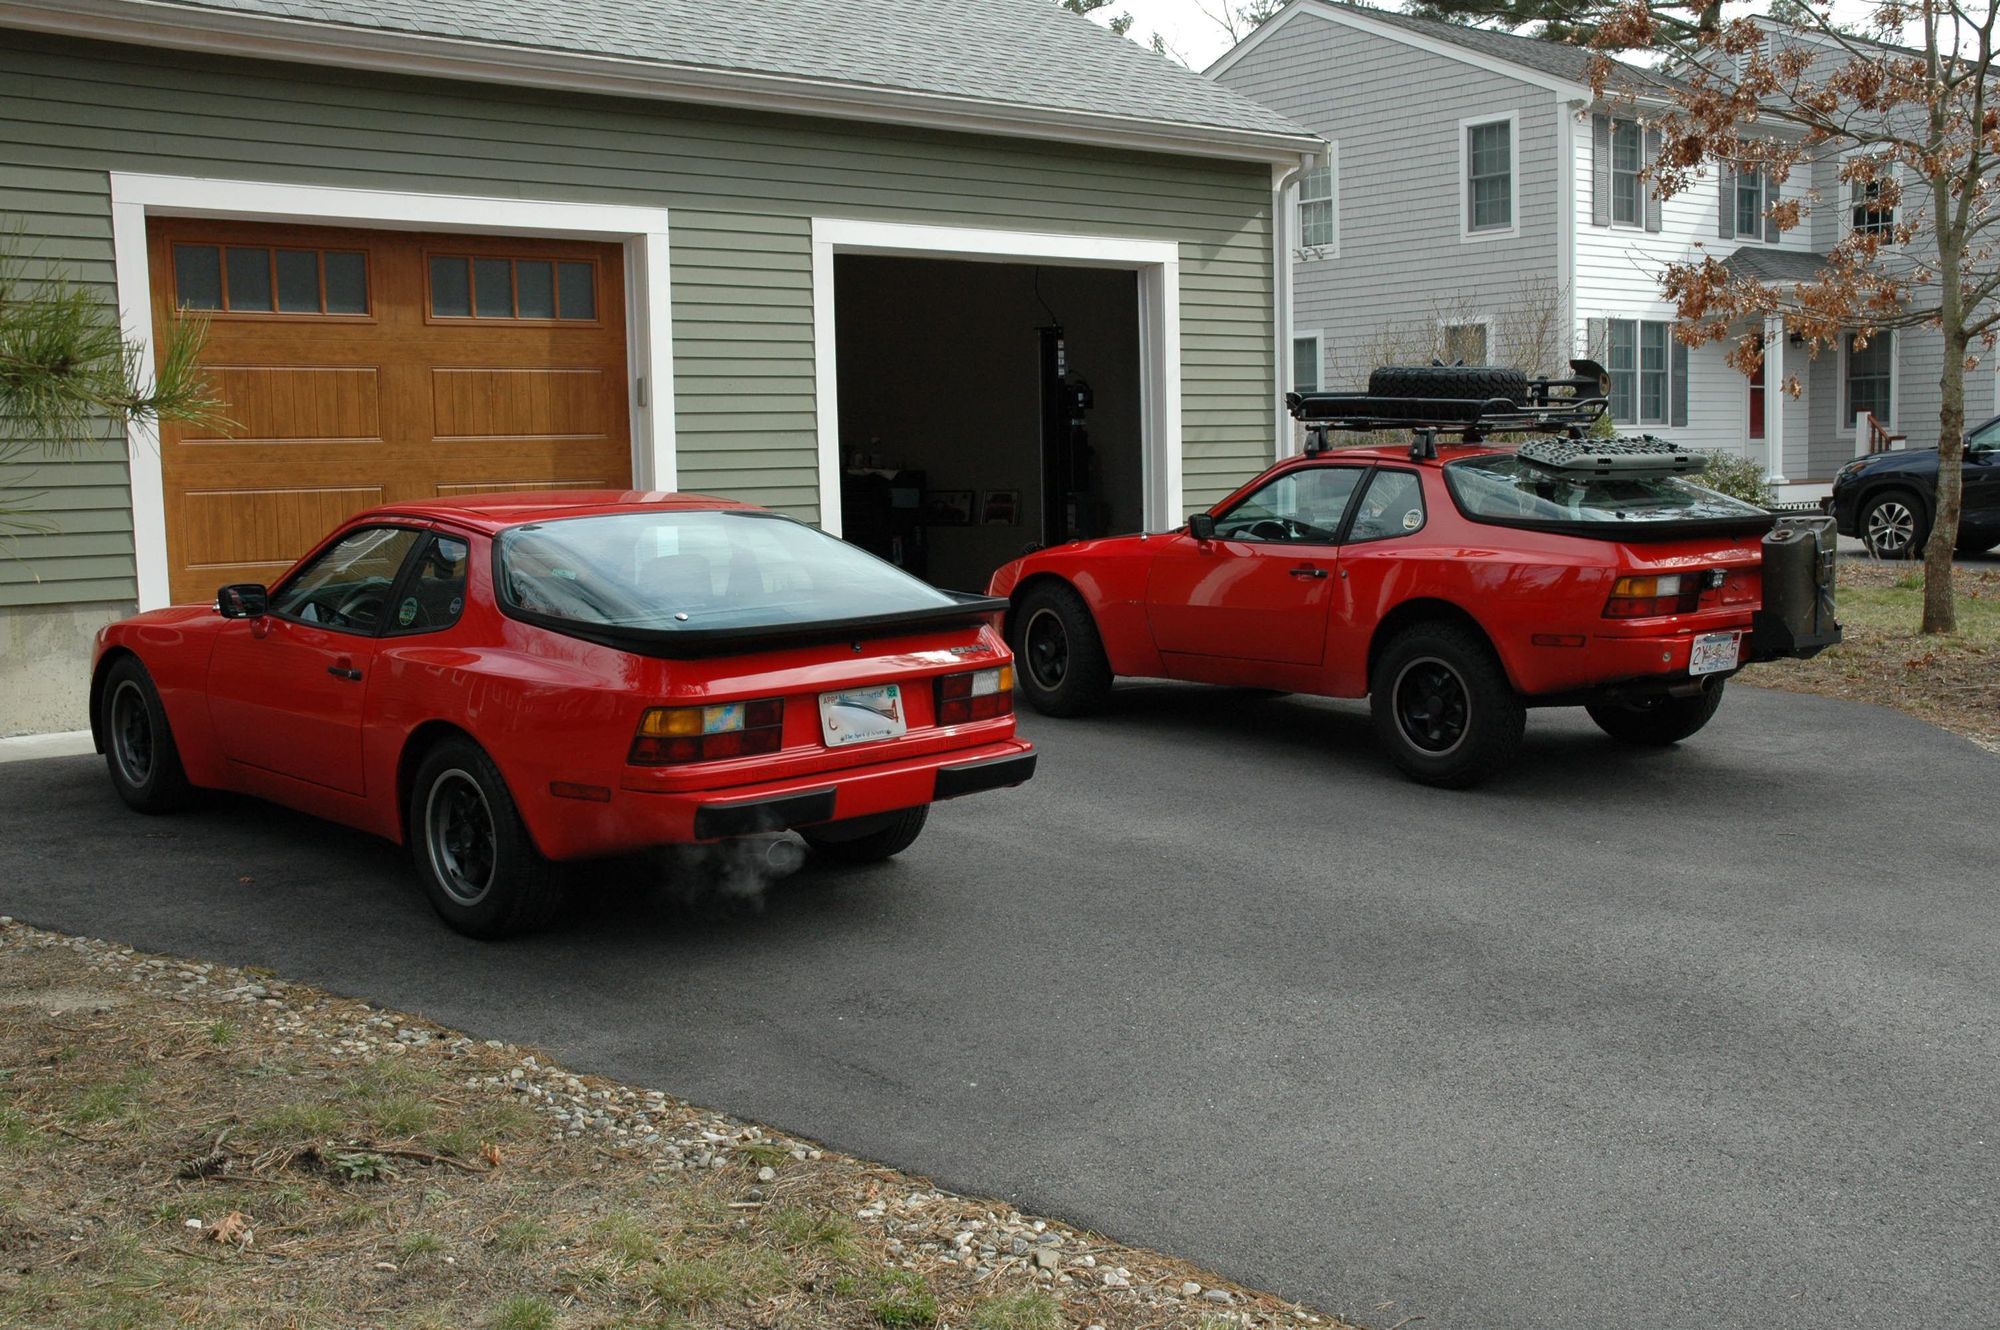
Both girls outside in some pretty cold weather for late March:
Been a few weeks but accomplished the following these past couple of days:
- Checked TB/BB tension
- Changed oil
- Changed air filter
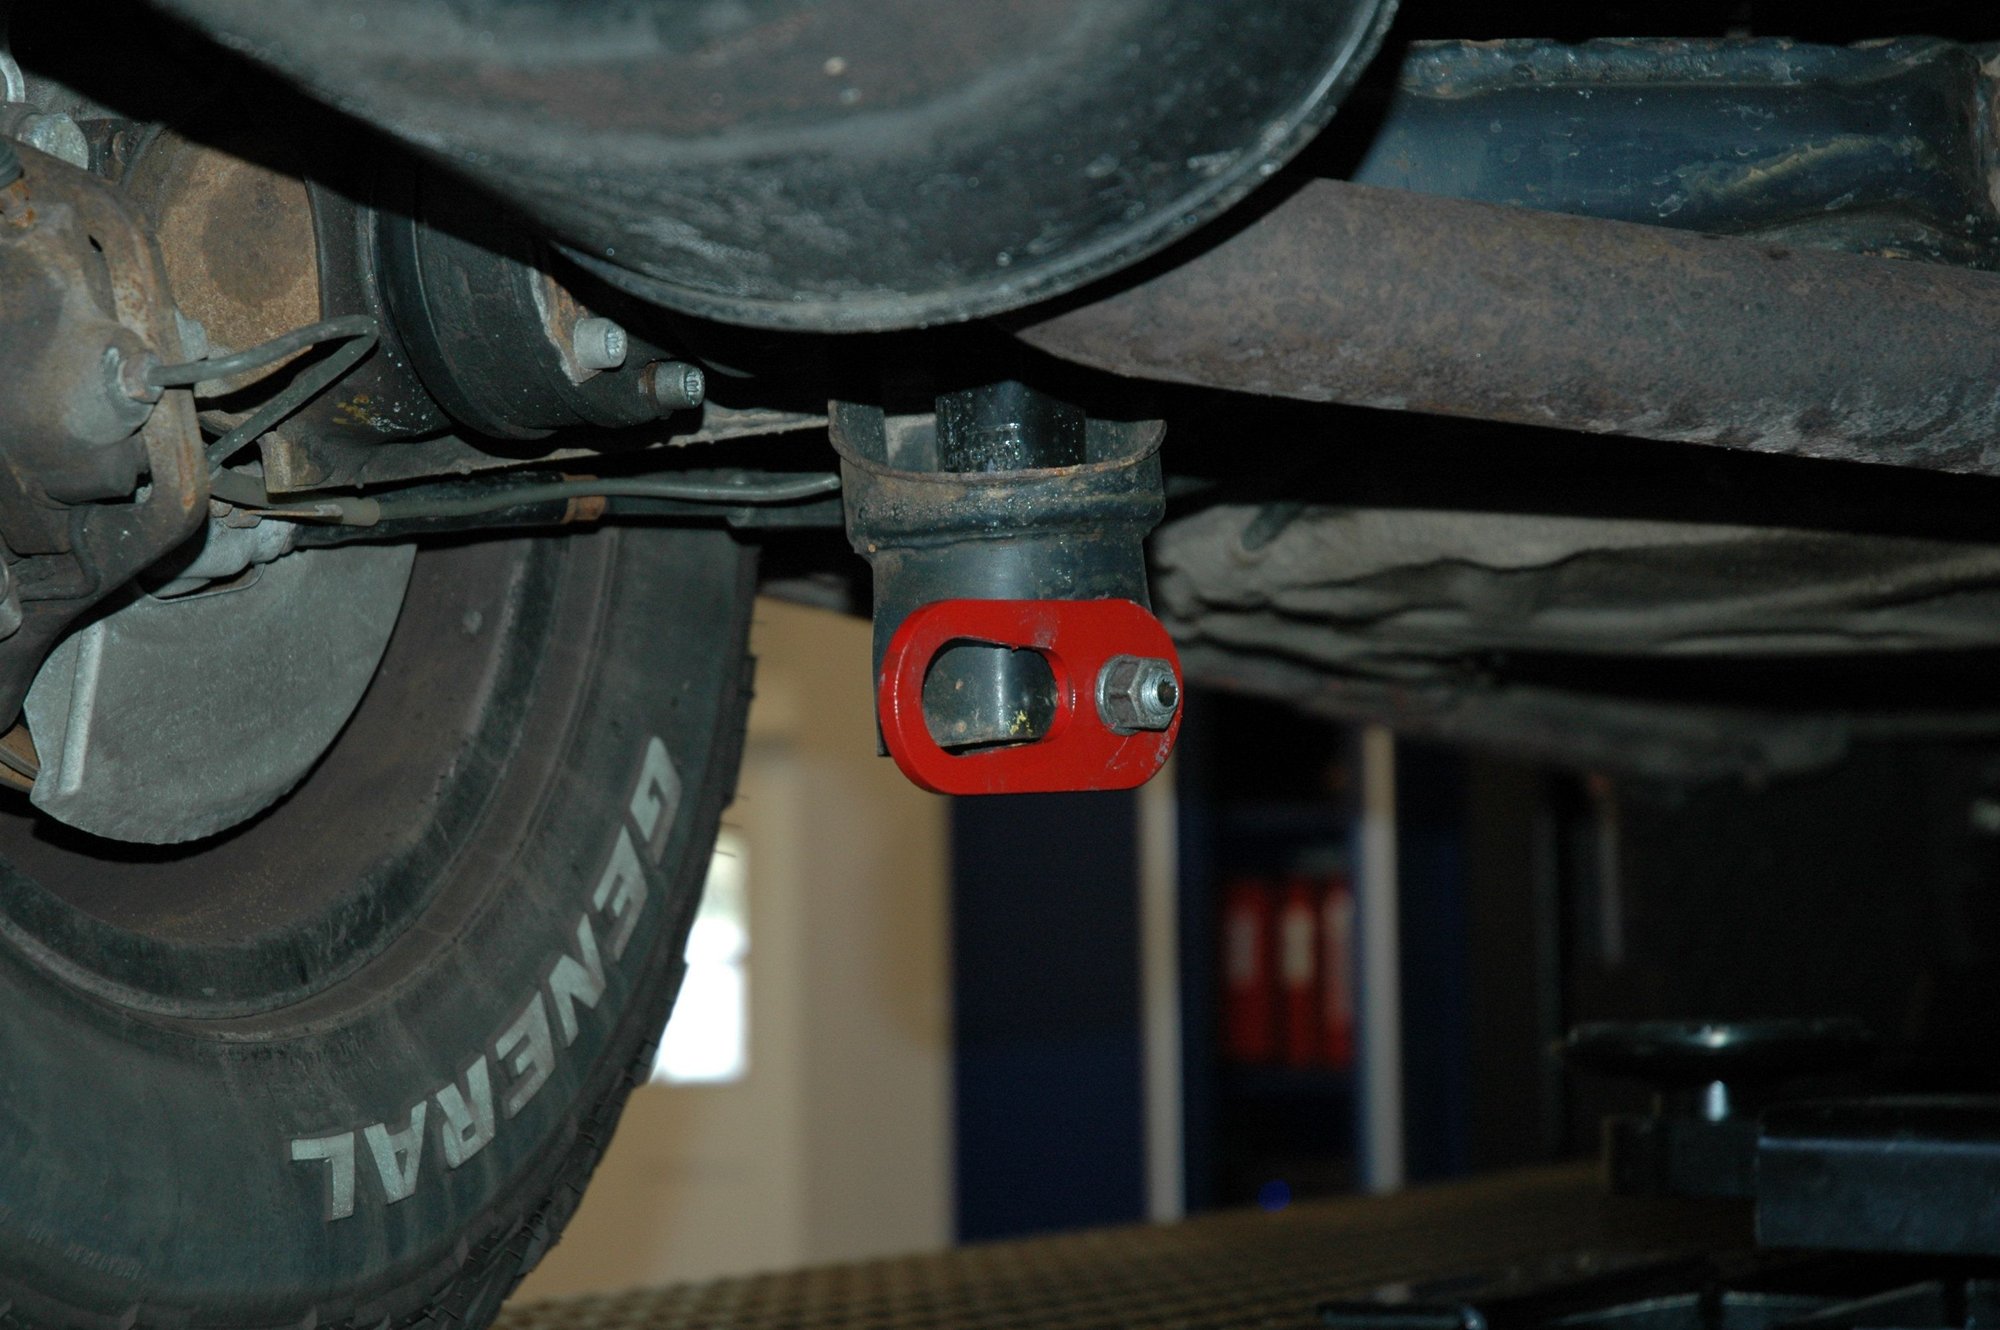
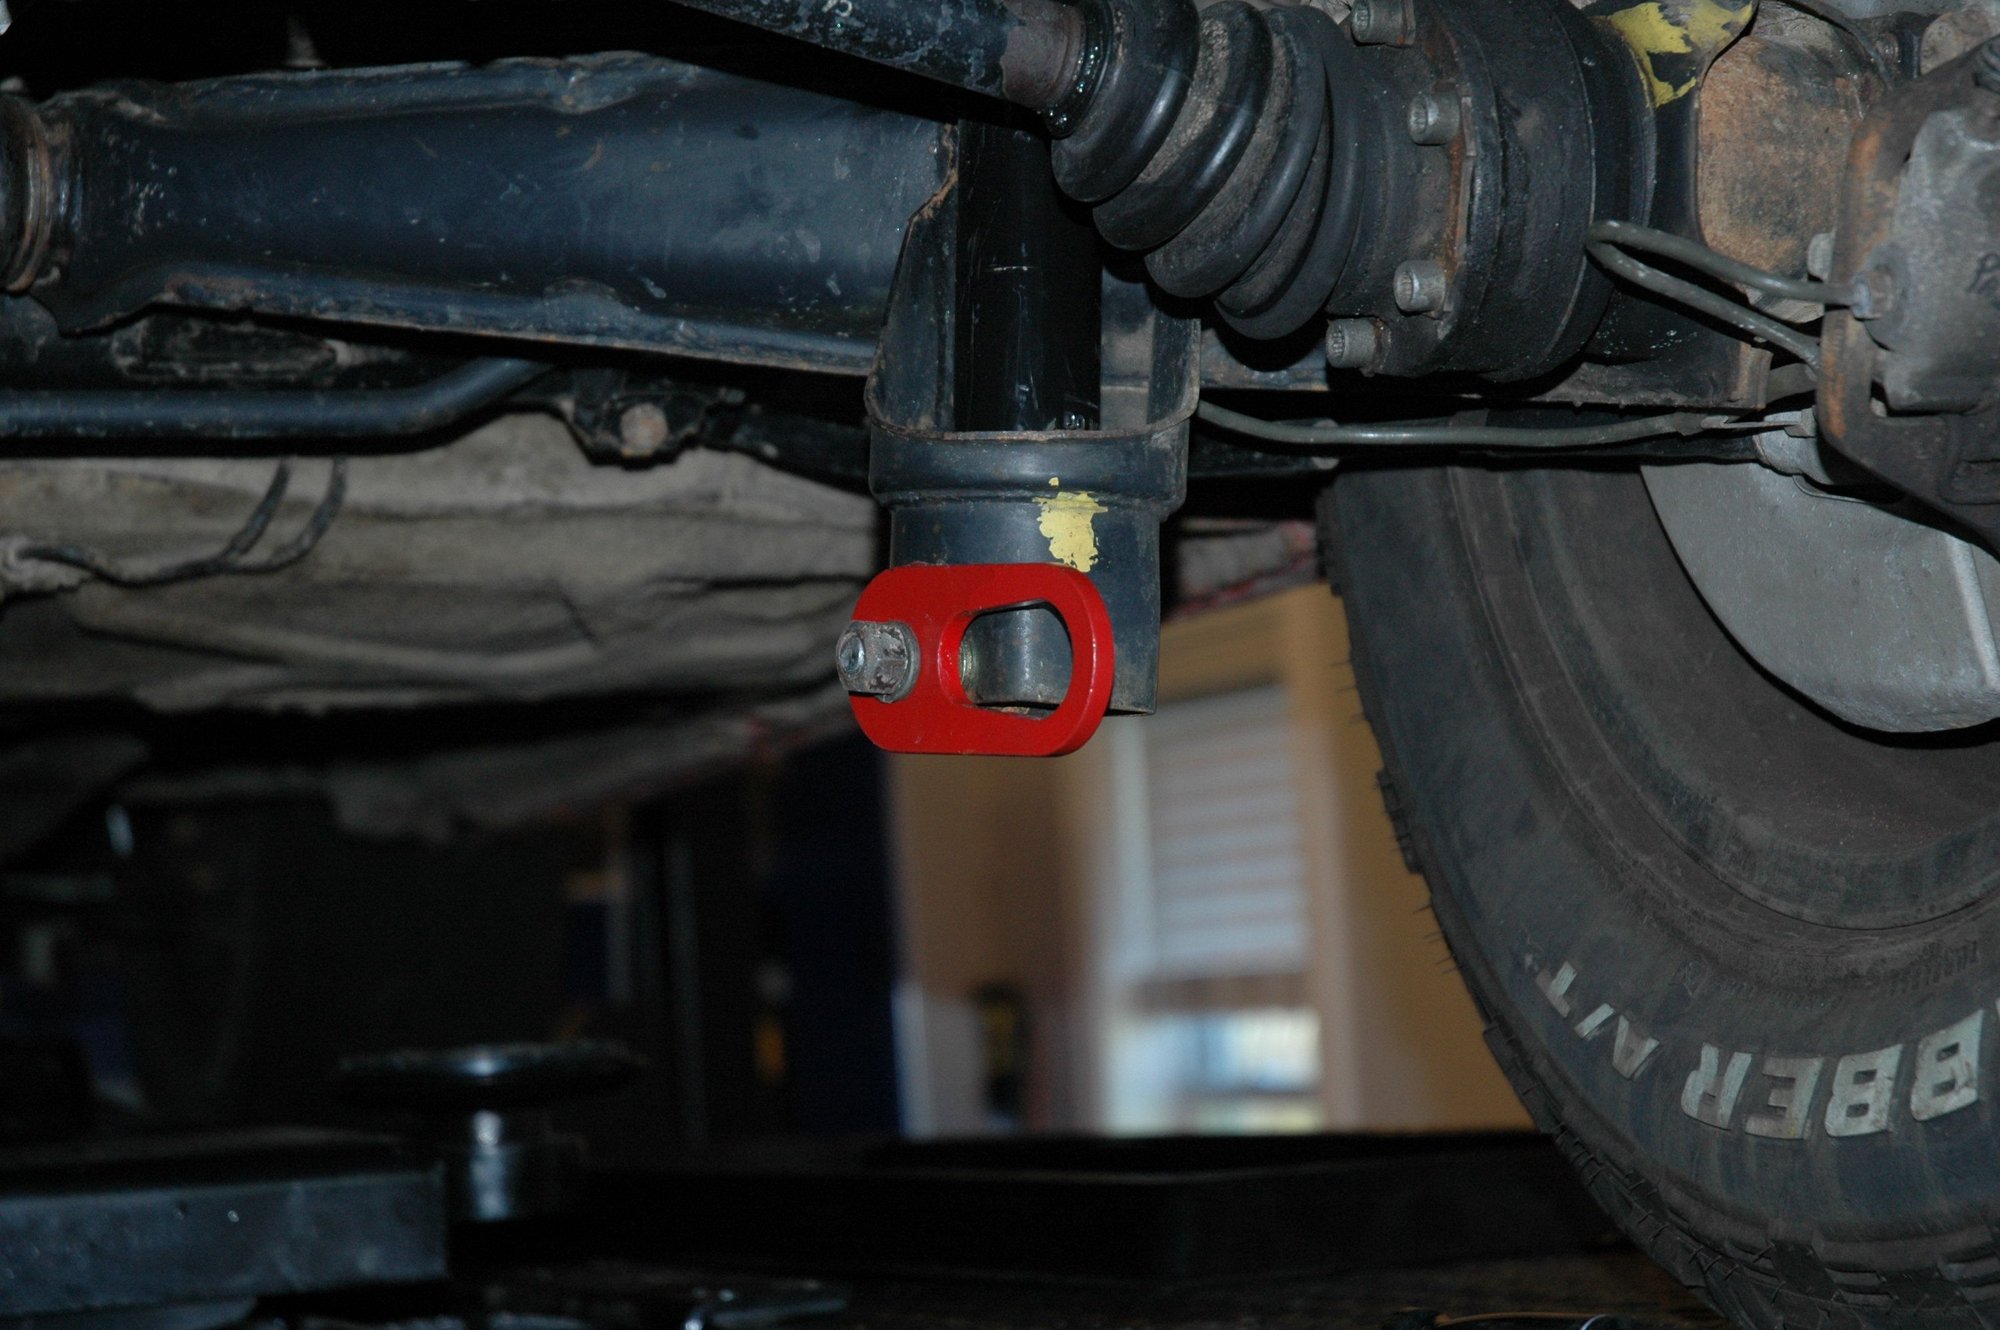
- Installed these tow hooks:
I think all is left to do before the Helen, GA Run is get the AC charged up, hopefully on Monday.
Great question Chris... Short answer, I haven't been able to find anyone to make me a low side extension hose so it's on the back burner until such time.
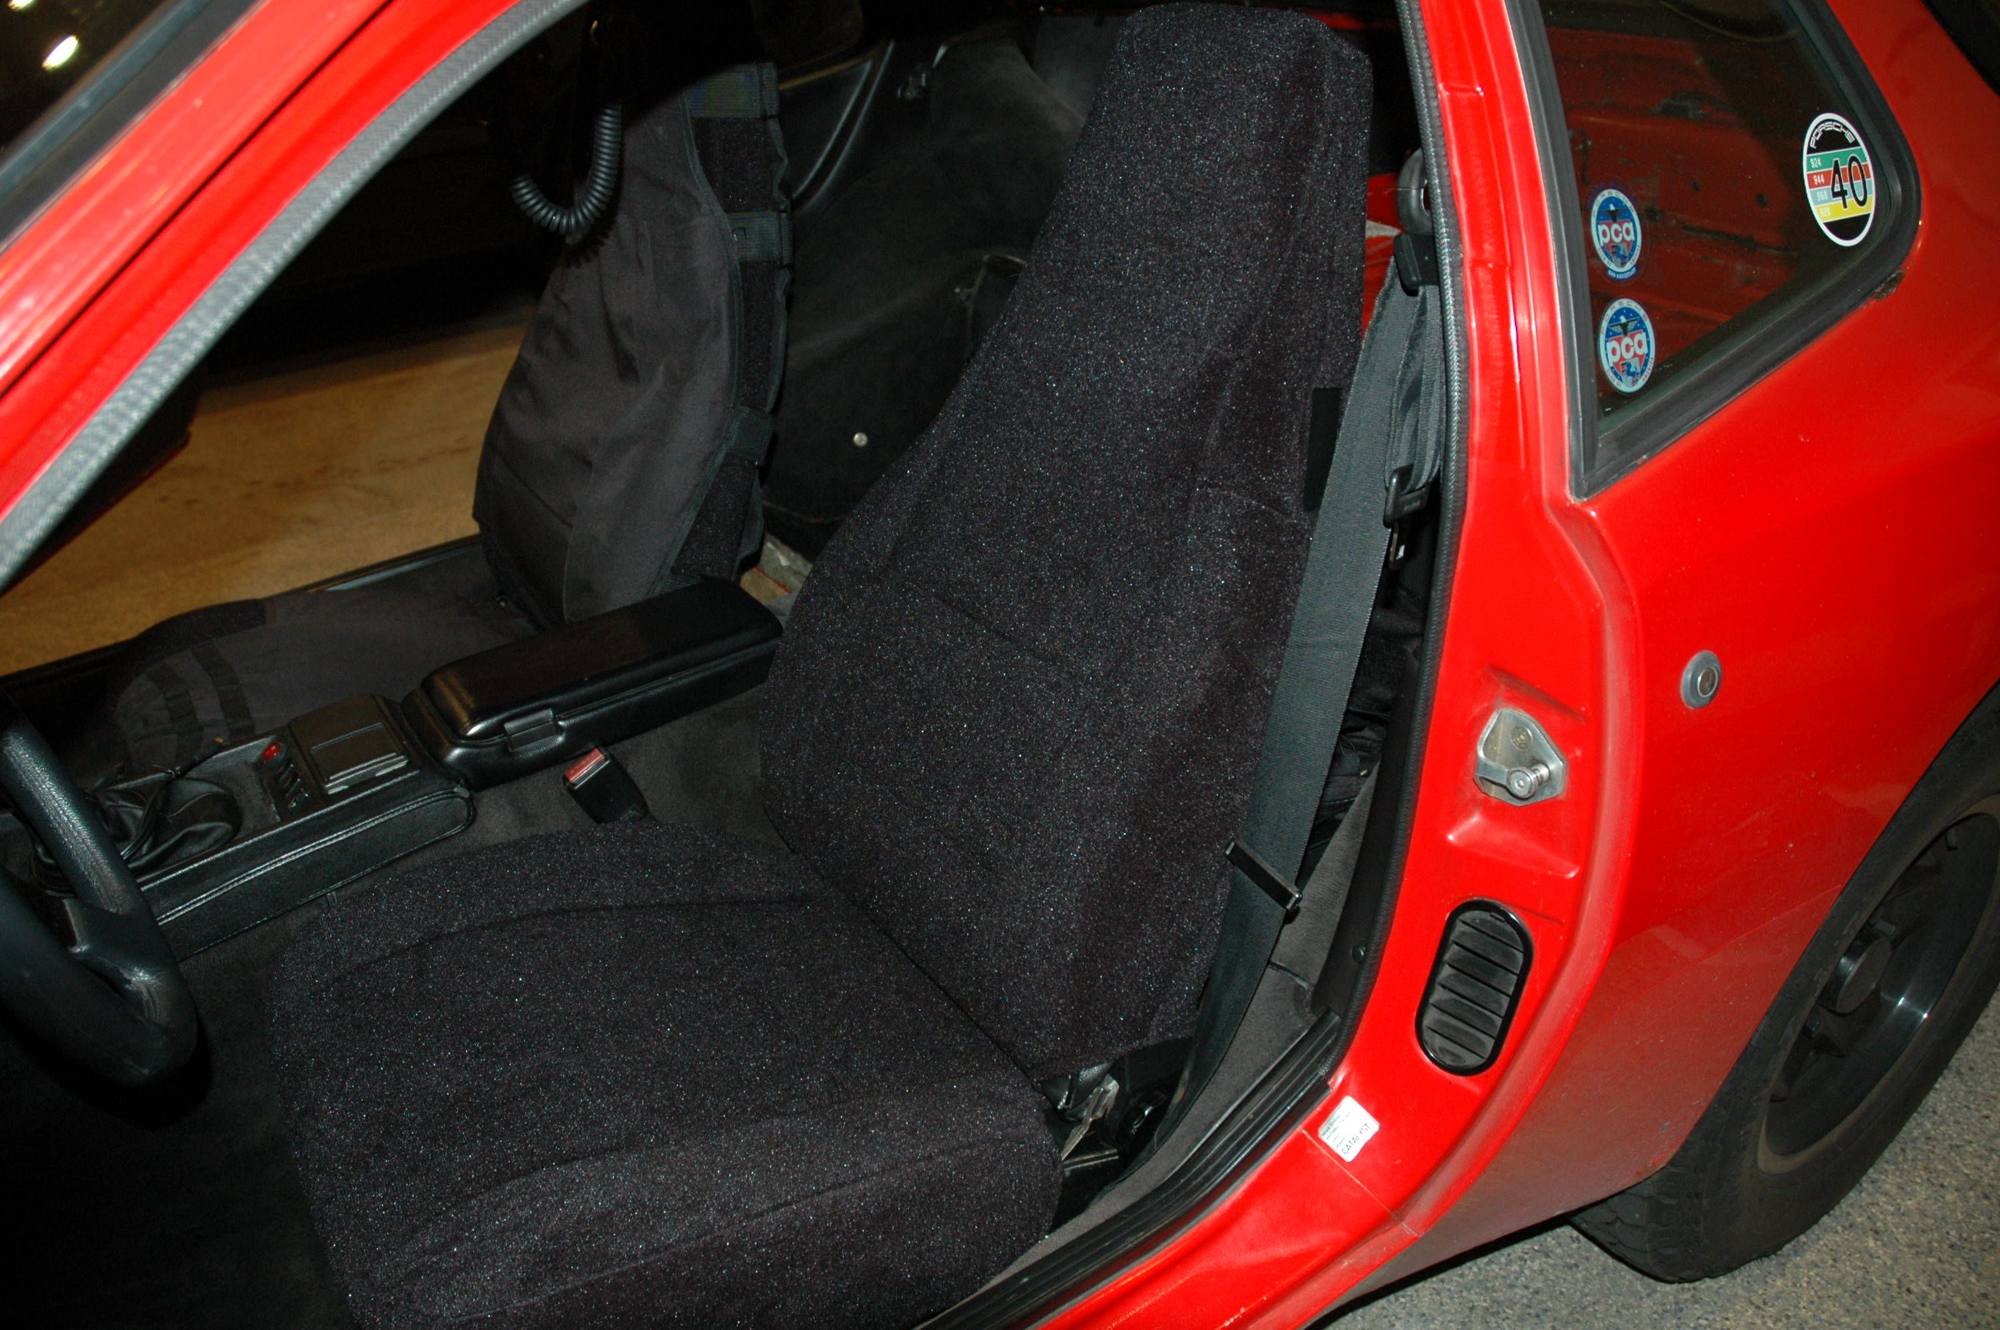
I definitely have been keeping the midnight oil burning the past couple of nights. I've been working on a friend's 84' by replacing the AOS seals and front suspension control arms/bushings/tie rods, etc. Once done, I turned back to the Beastie tonight by installing a pair of new seat covers. The tactical seat organizer was also removed and transferred to the passenger seat as the straps were causing some real discomfort after driving for about an hour (unless I threw a towel on the seat). Additionally, it was a good time to shampoo the carpets (again).
Next projects to be completed before the Helen, GA Run:
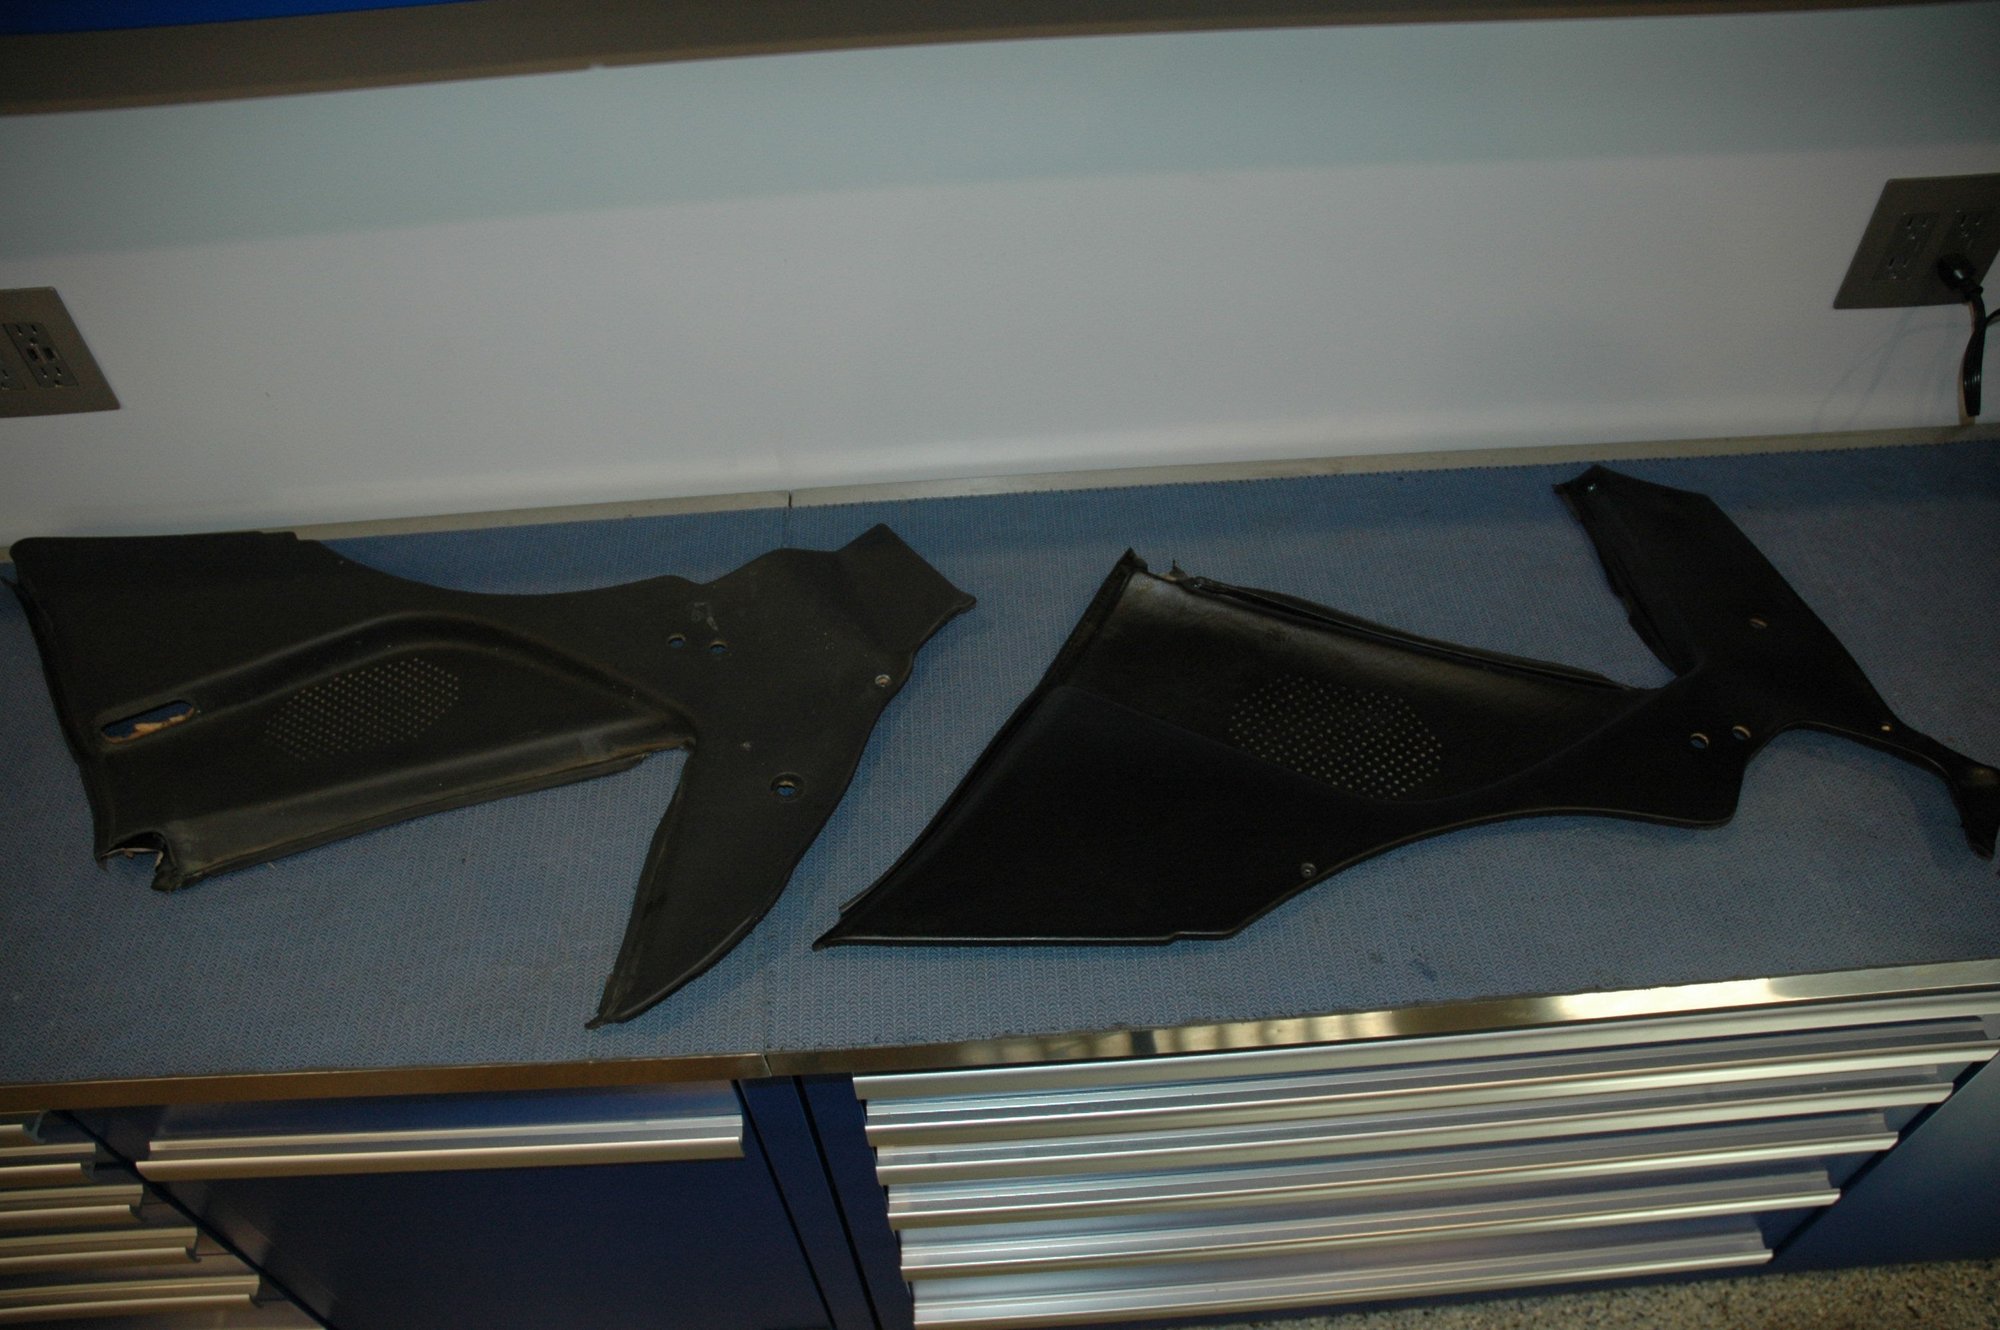
- Install additional sound dampening matting on the rear deck and seat area - She's a bit loud on the highway.
- Put her back on the lift and spend a couple hours verifying proper torque specs on every driveline and suspension bolt/nut. Ok, maybe a bit more than a couple hours...
Anyone in the New England Area planning on driving down to Charlotte, NC / Helen, GA , is welcome to bring their buggy over for a pre-run inspection.
More headway made today:
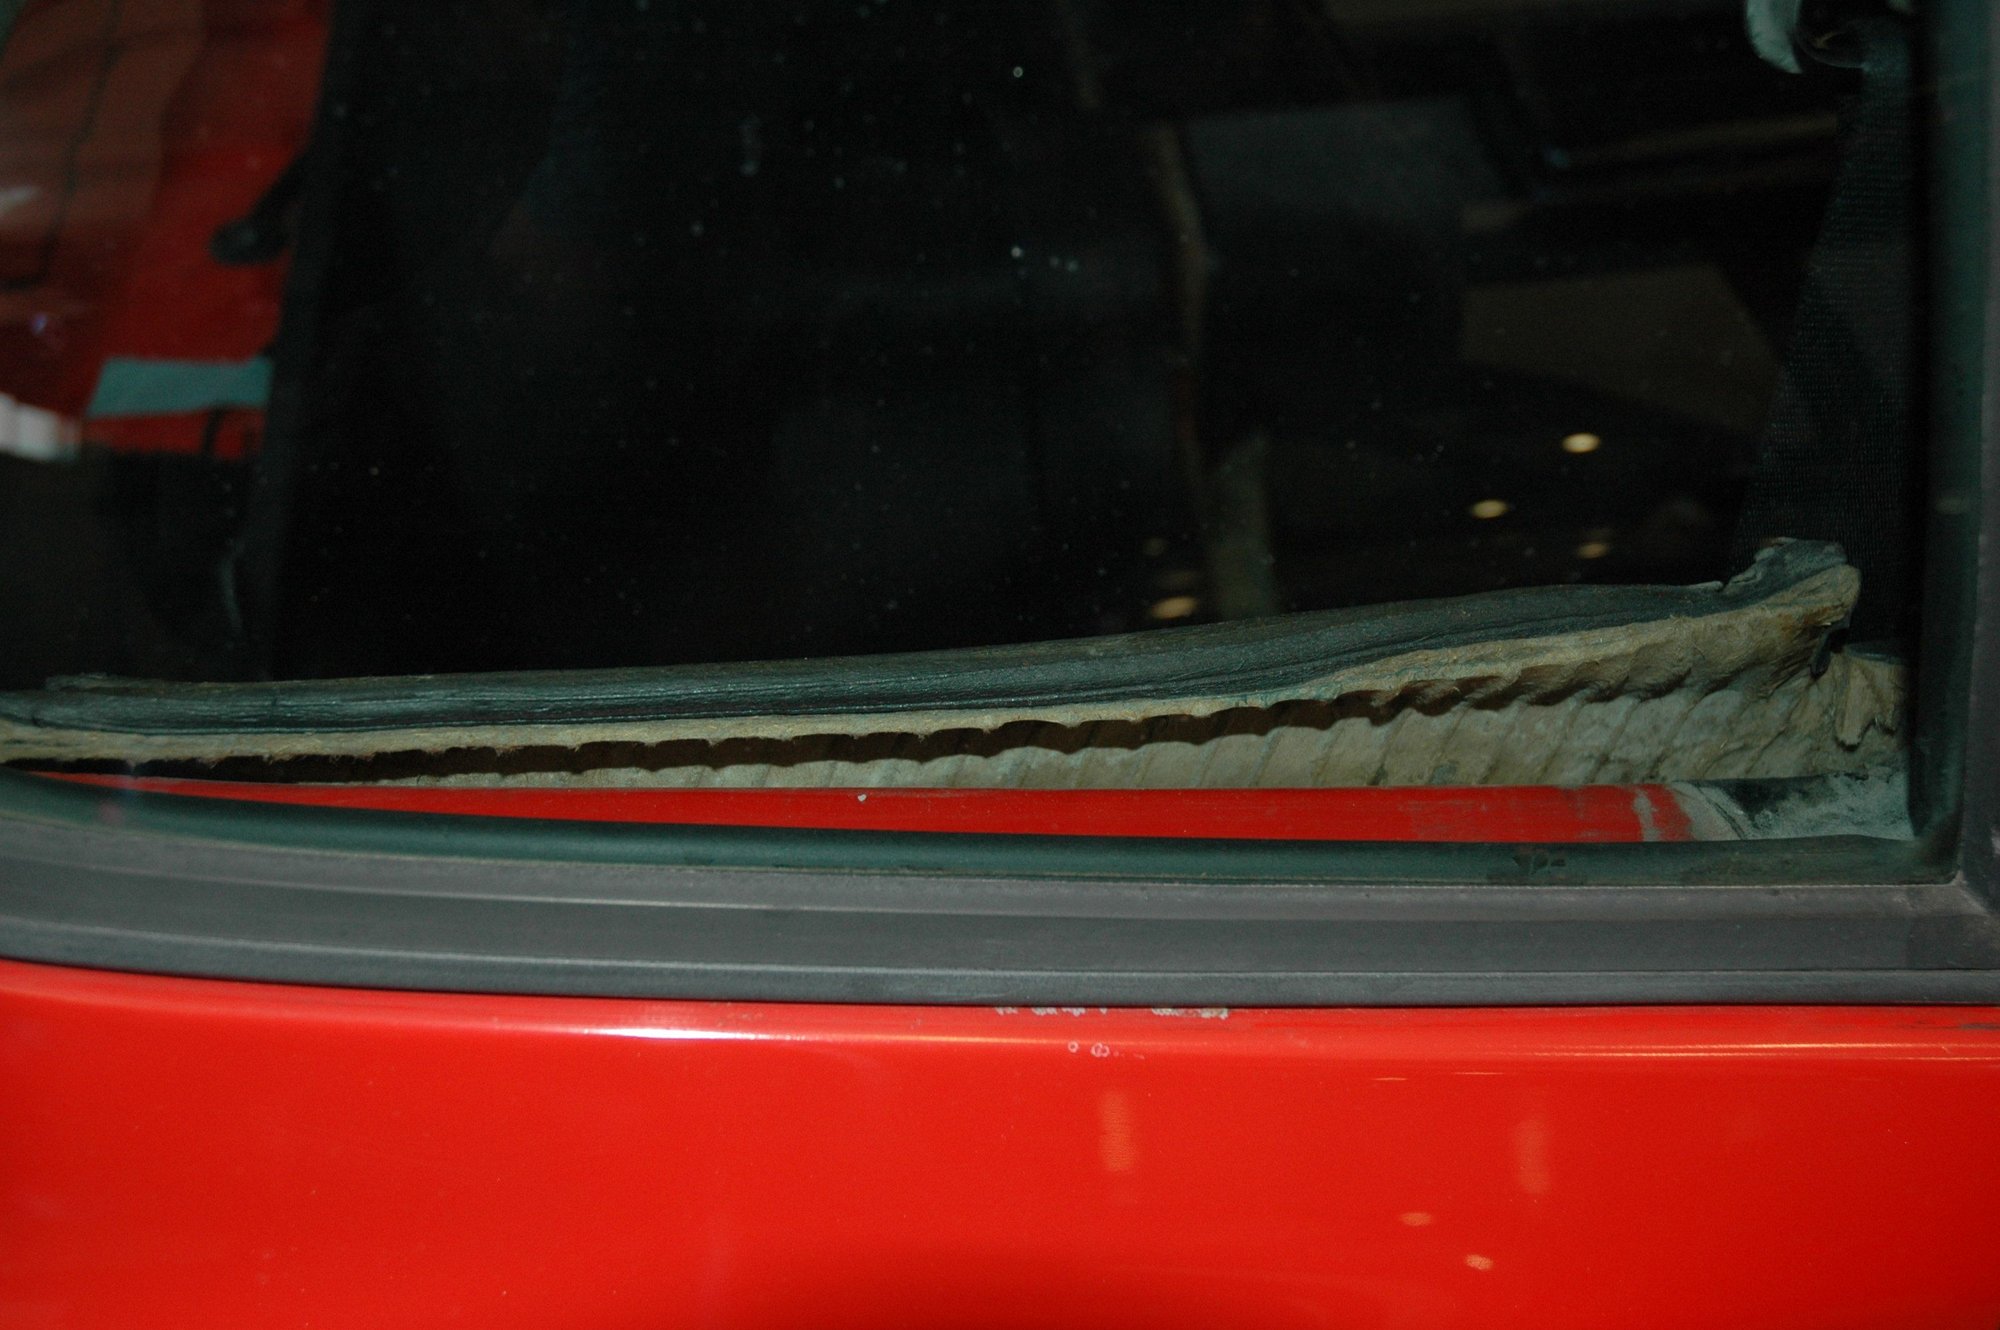
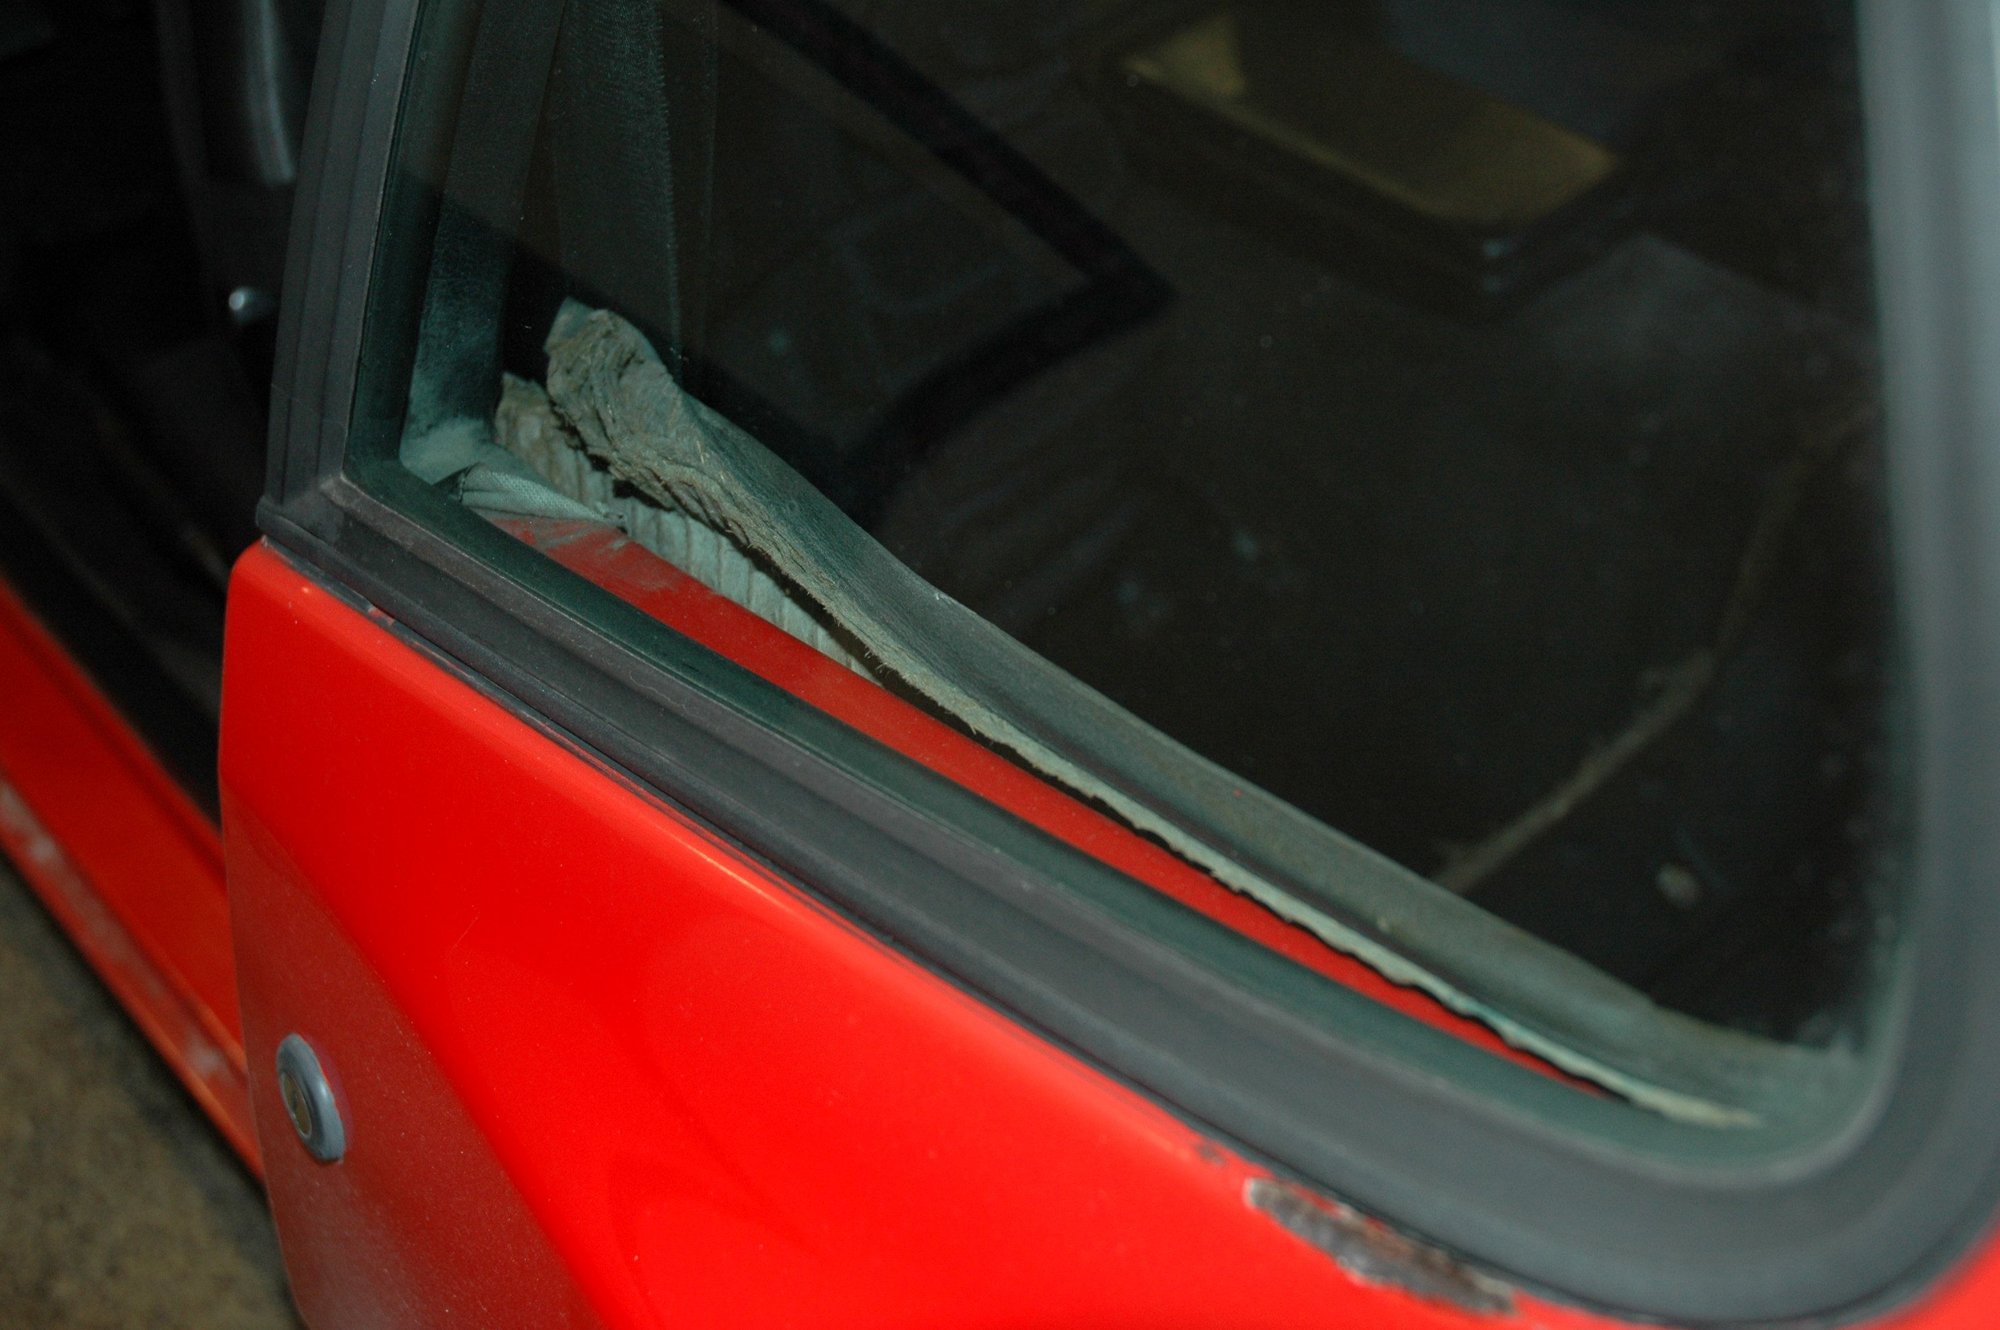
- Replaced the upper hatch seal.
- Replaced the drier filter (again) and had a buddy evac/recharge the system. WE HAVE AIR CONDITIONING!!!!!!!!!!!!!!!!!!!!!!!!!!! Let's see for how long...
Yes I did... While it's definitely preferable to also hook up the low port, this will have to do until I can find someone to make me an extension hose for the low side.
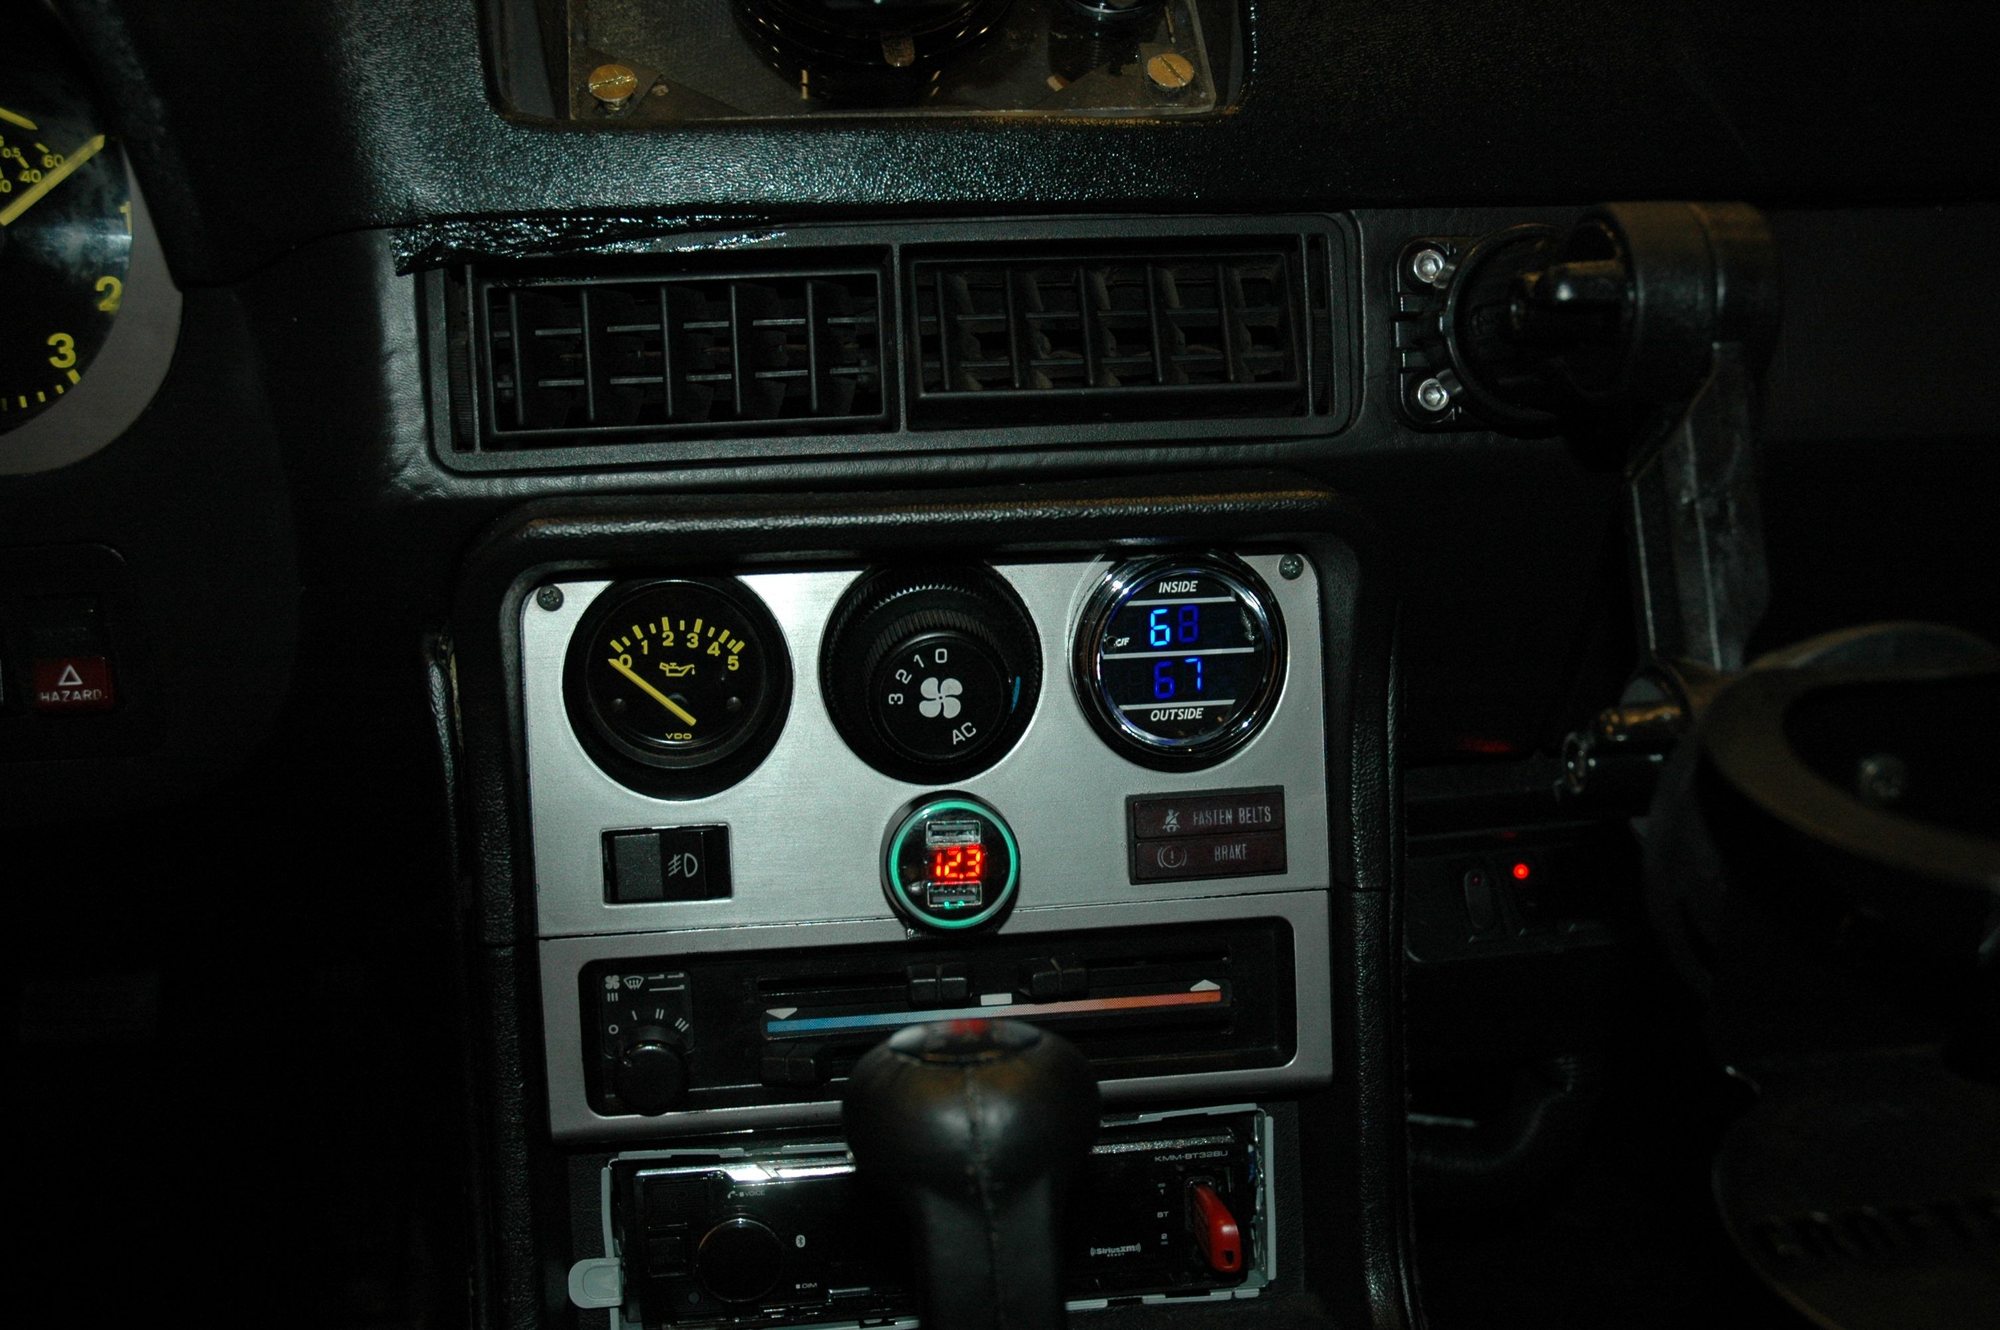
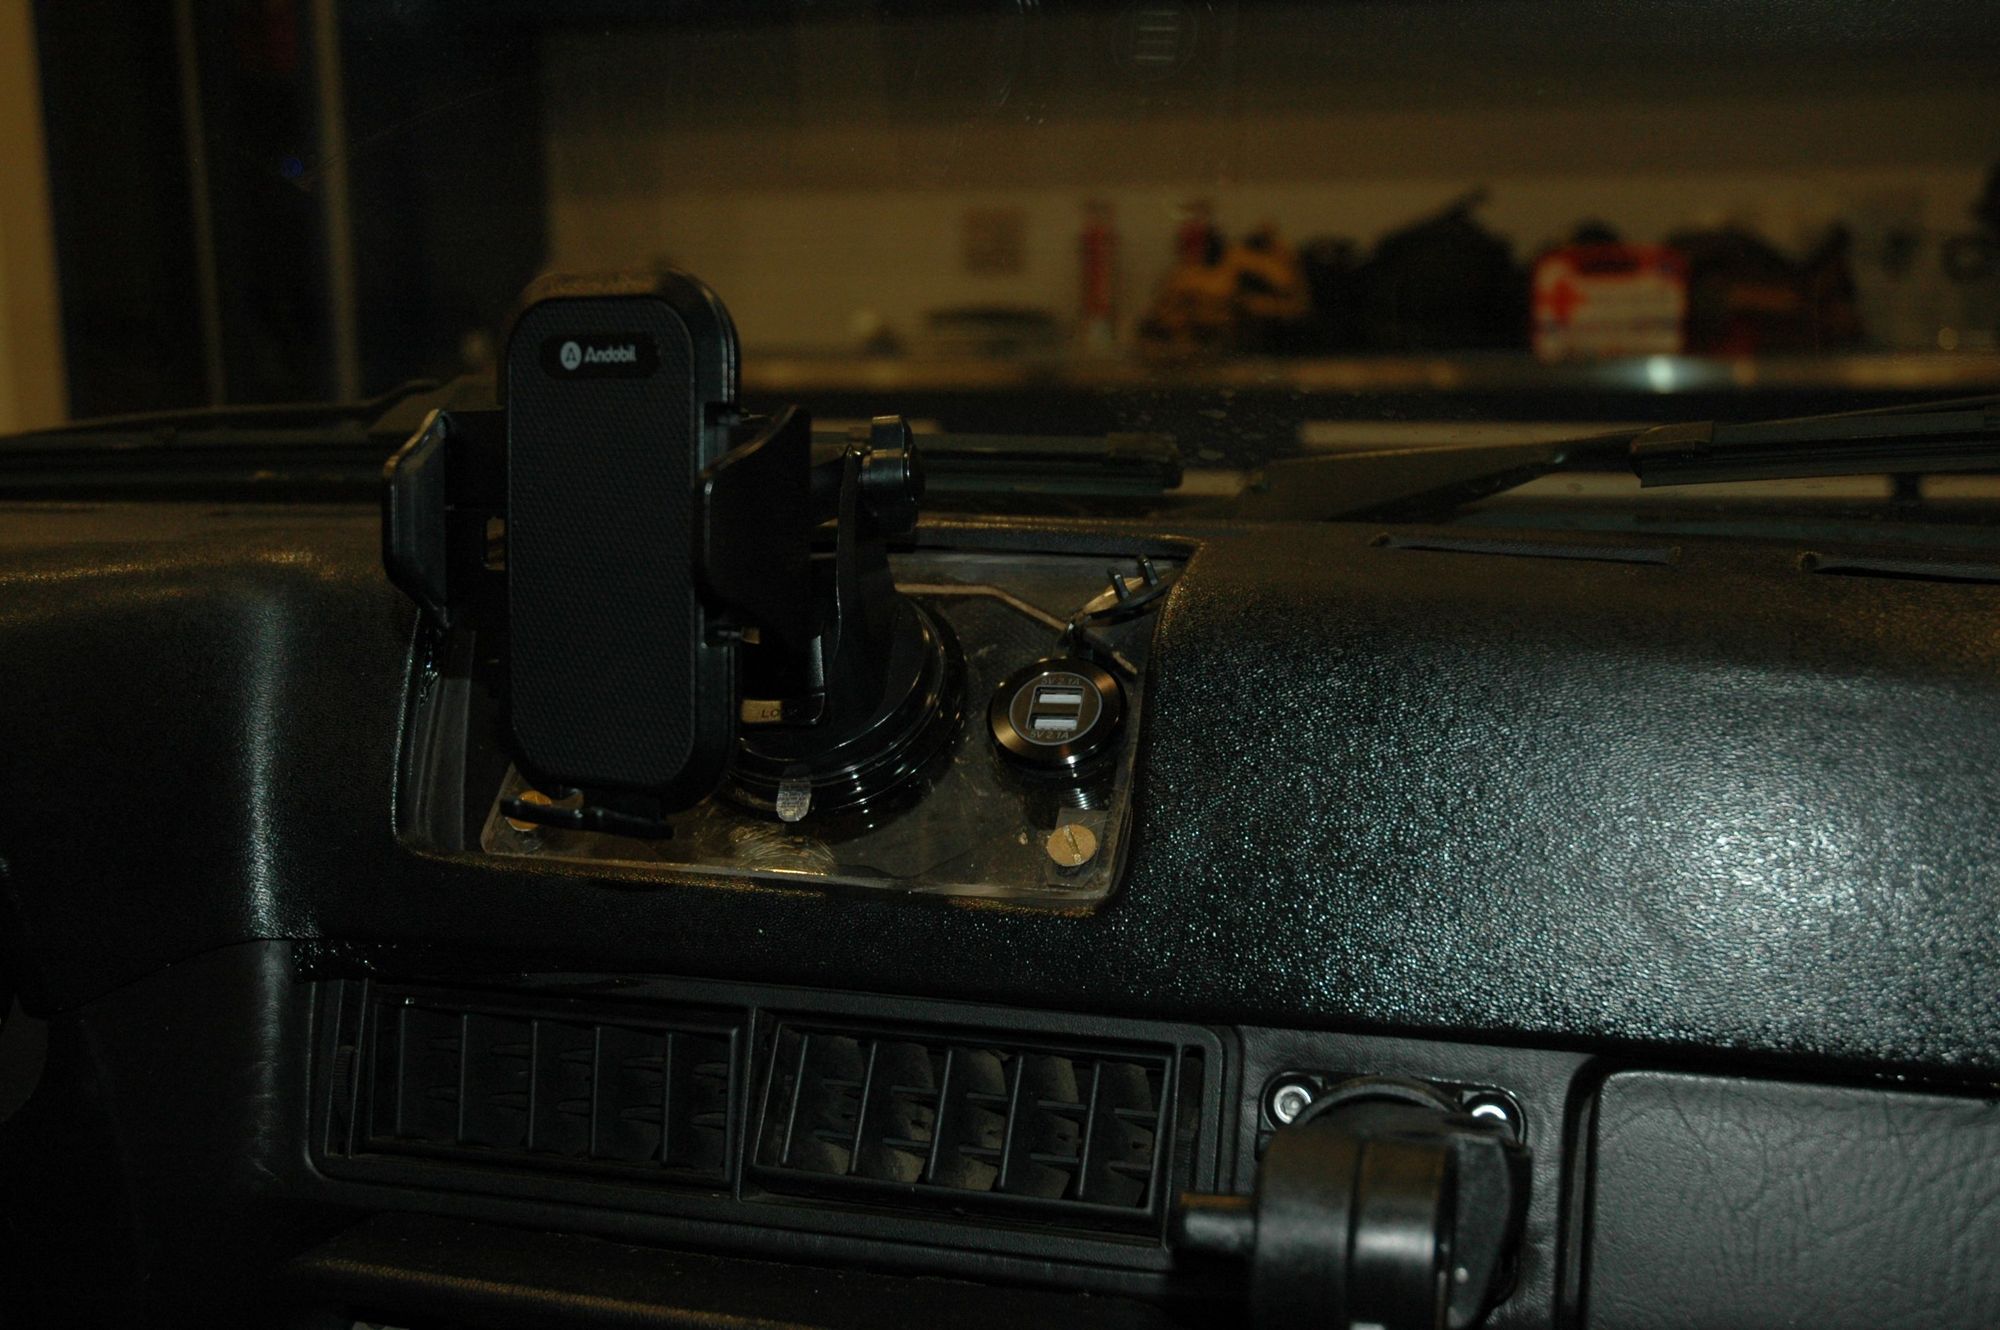
- Installed a Tel Tek inside/outside temperature gauge, which replaced the original clock. This actually took a lot more time than anticipated but it seems to work nicely.
- I also installed a flush-mount, dual USB port power socket for my phone and soon-to-be tablet install...
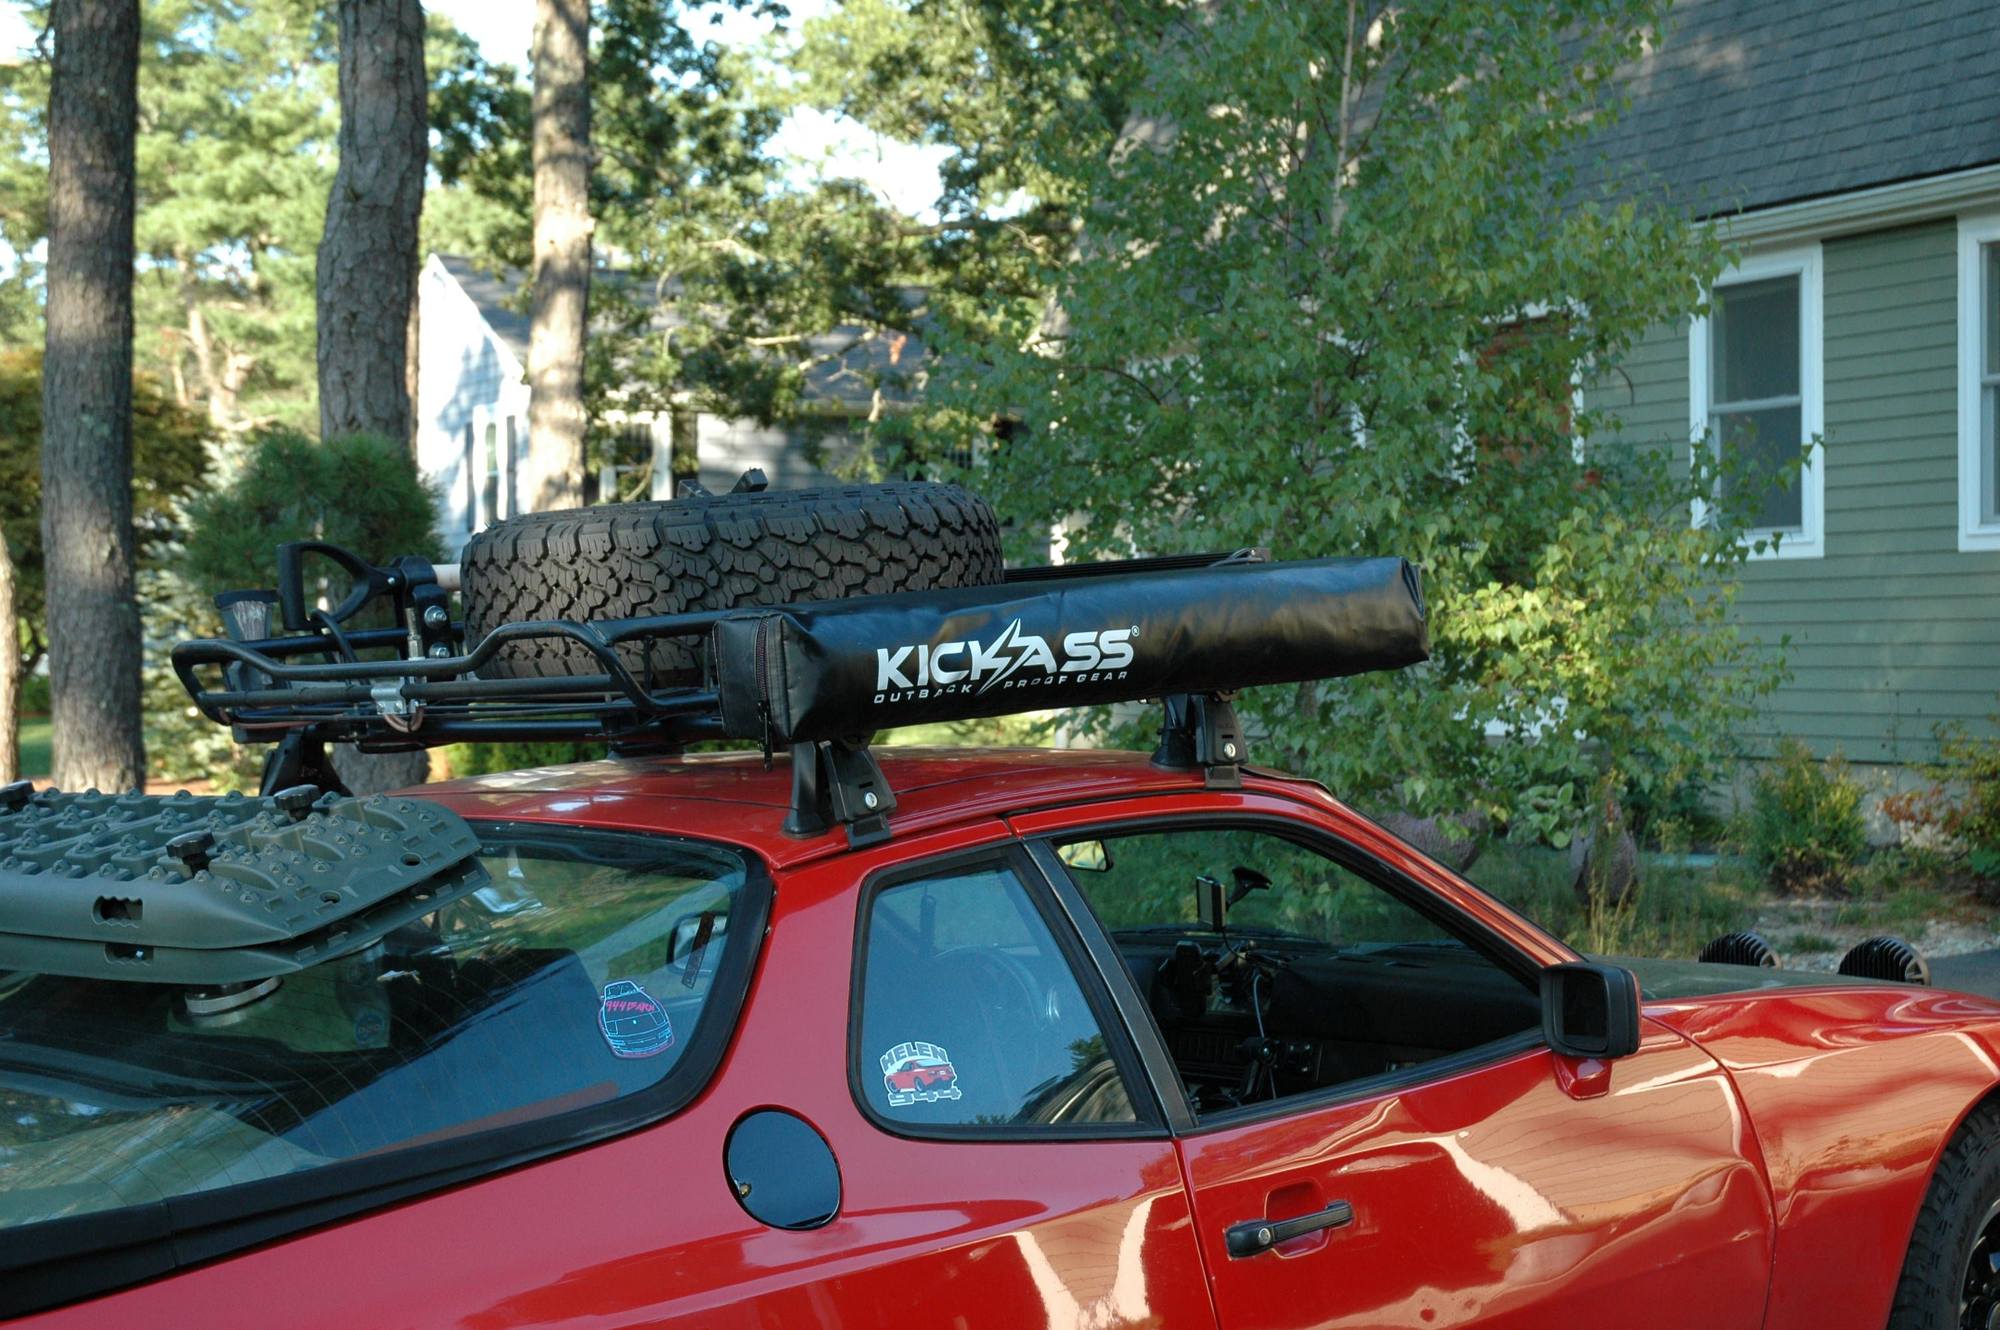
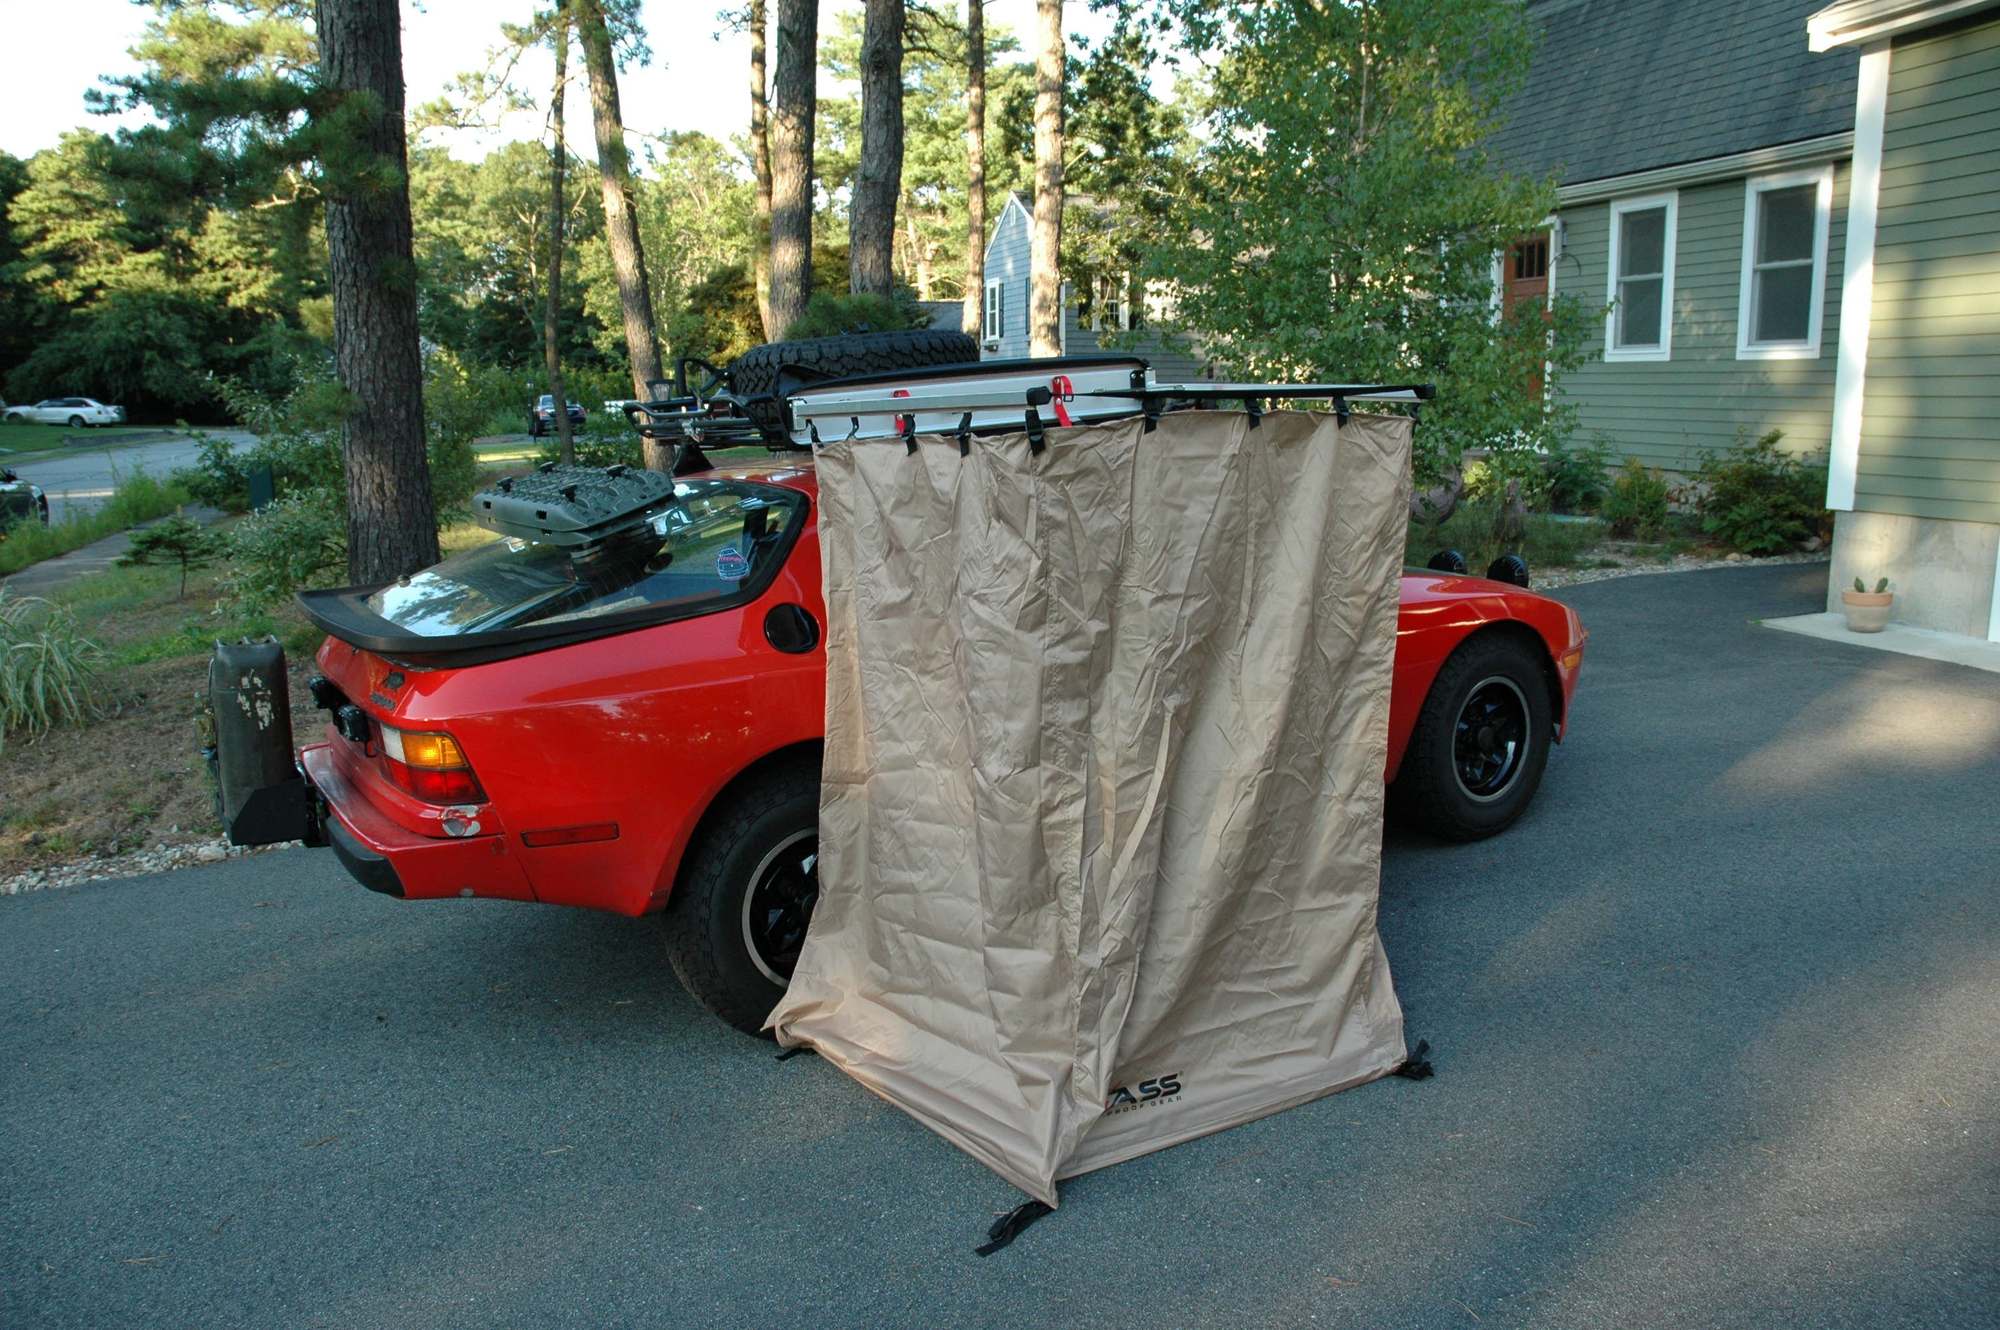
Hey Guys,
It's been a while - I haven't done too much to the car over the past couple of months but wanted to share the latest "improvement." Hope to see a few of you at 944Fest!
Patrick
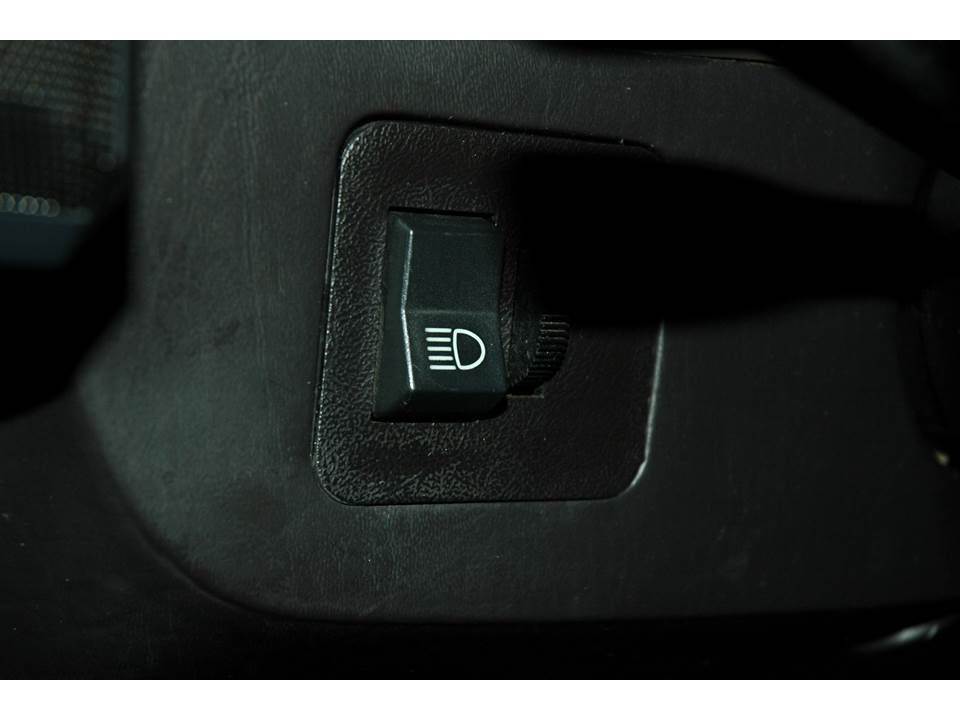
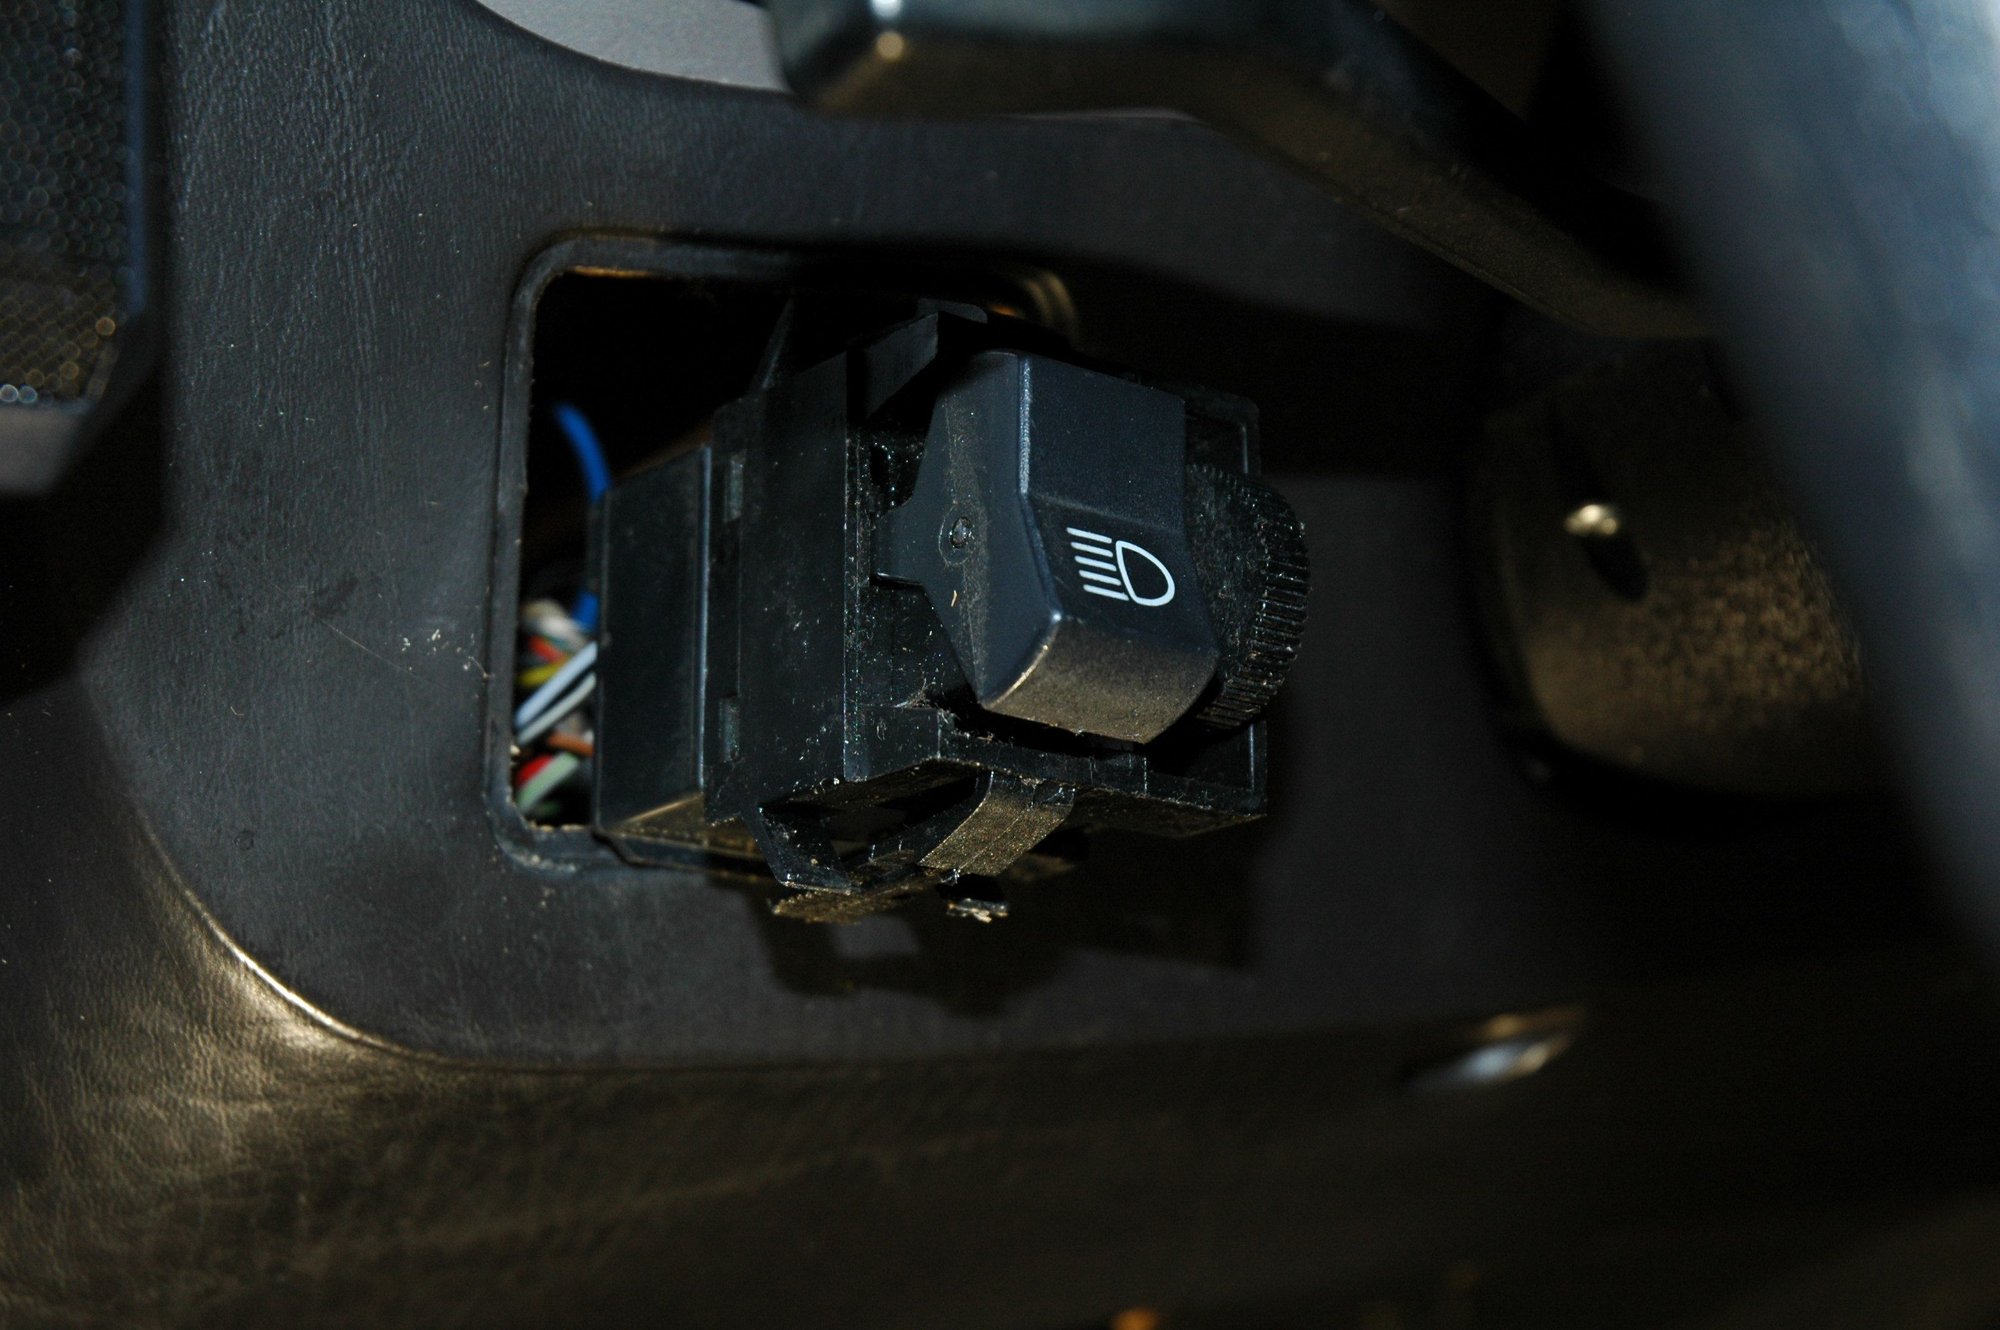
Well, it's been a while since I posted on this thread. She's been running great and just didn't have the need to fix anything recently (she's also been listed for sale so I haven't been driving her as much). That is until a friend of mine pointed out that the headlight switch housing has a lamp. Turns out that both of my cars seem to have faulty lighting so I put together the following simple test/repair procedure:
1. It appears that the lamp does not turn on when the headlight switch is engaged, but rather when the ignition key is inserted and turned to the RUN position (Thanks to Brent Burnett for that insight). The Porsche engineers cleverly designed this function so the driver can see the headlight switch when the car is started in the dark. Obviously, the first test would be to verify proper lamp function by simply turning the key.
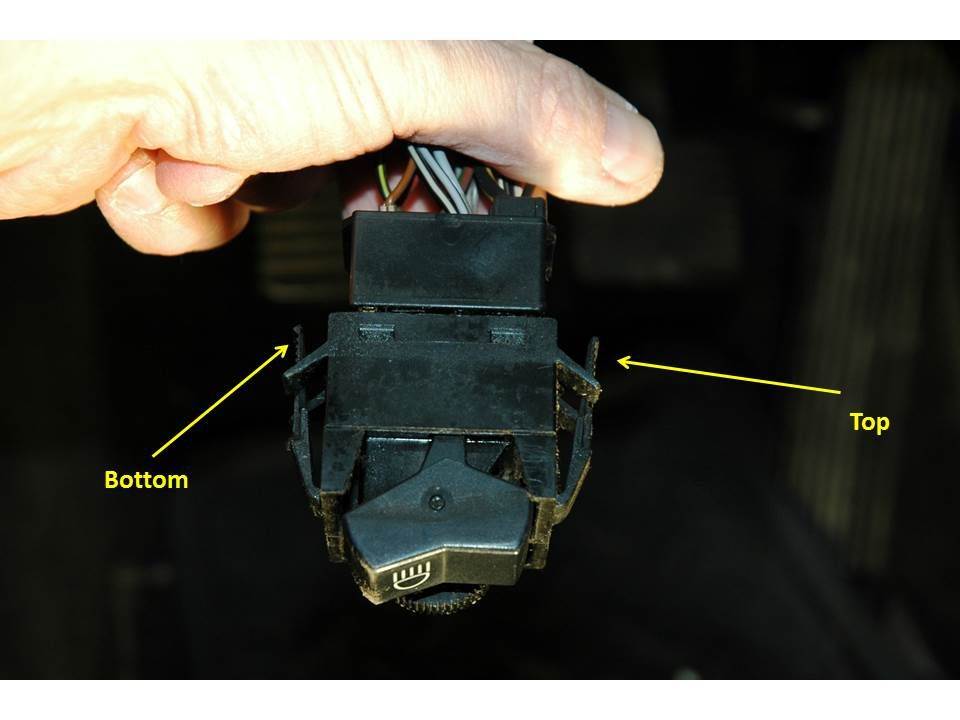
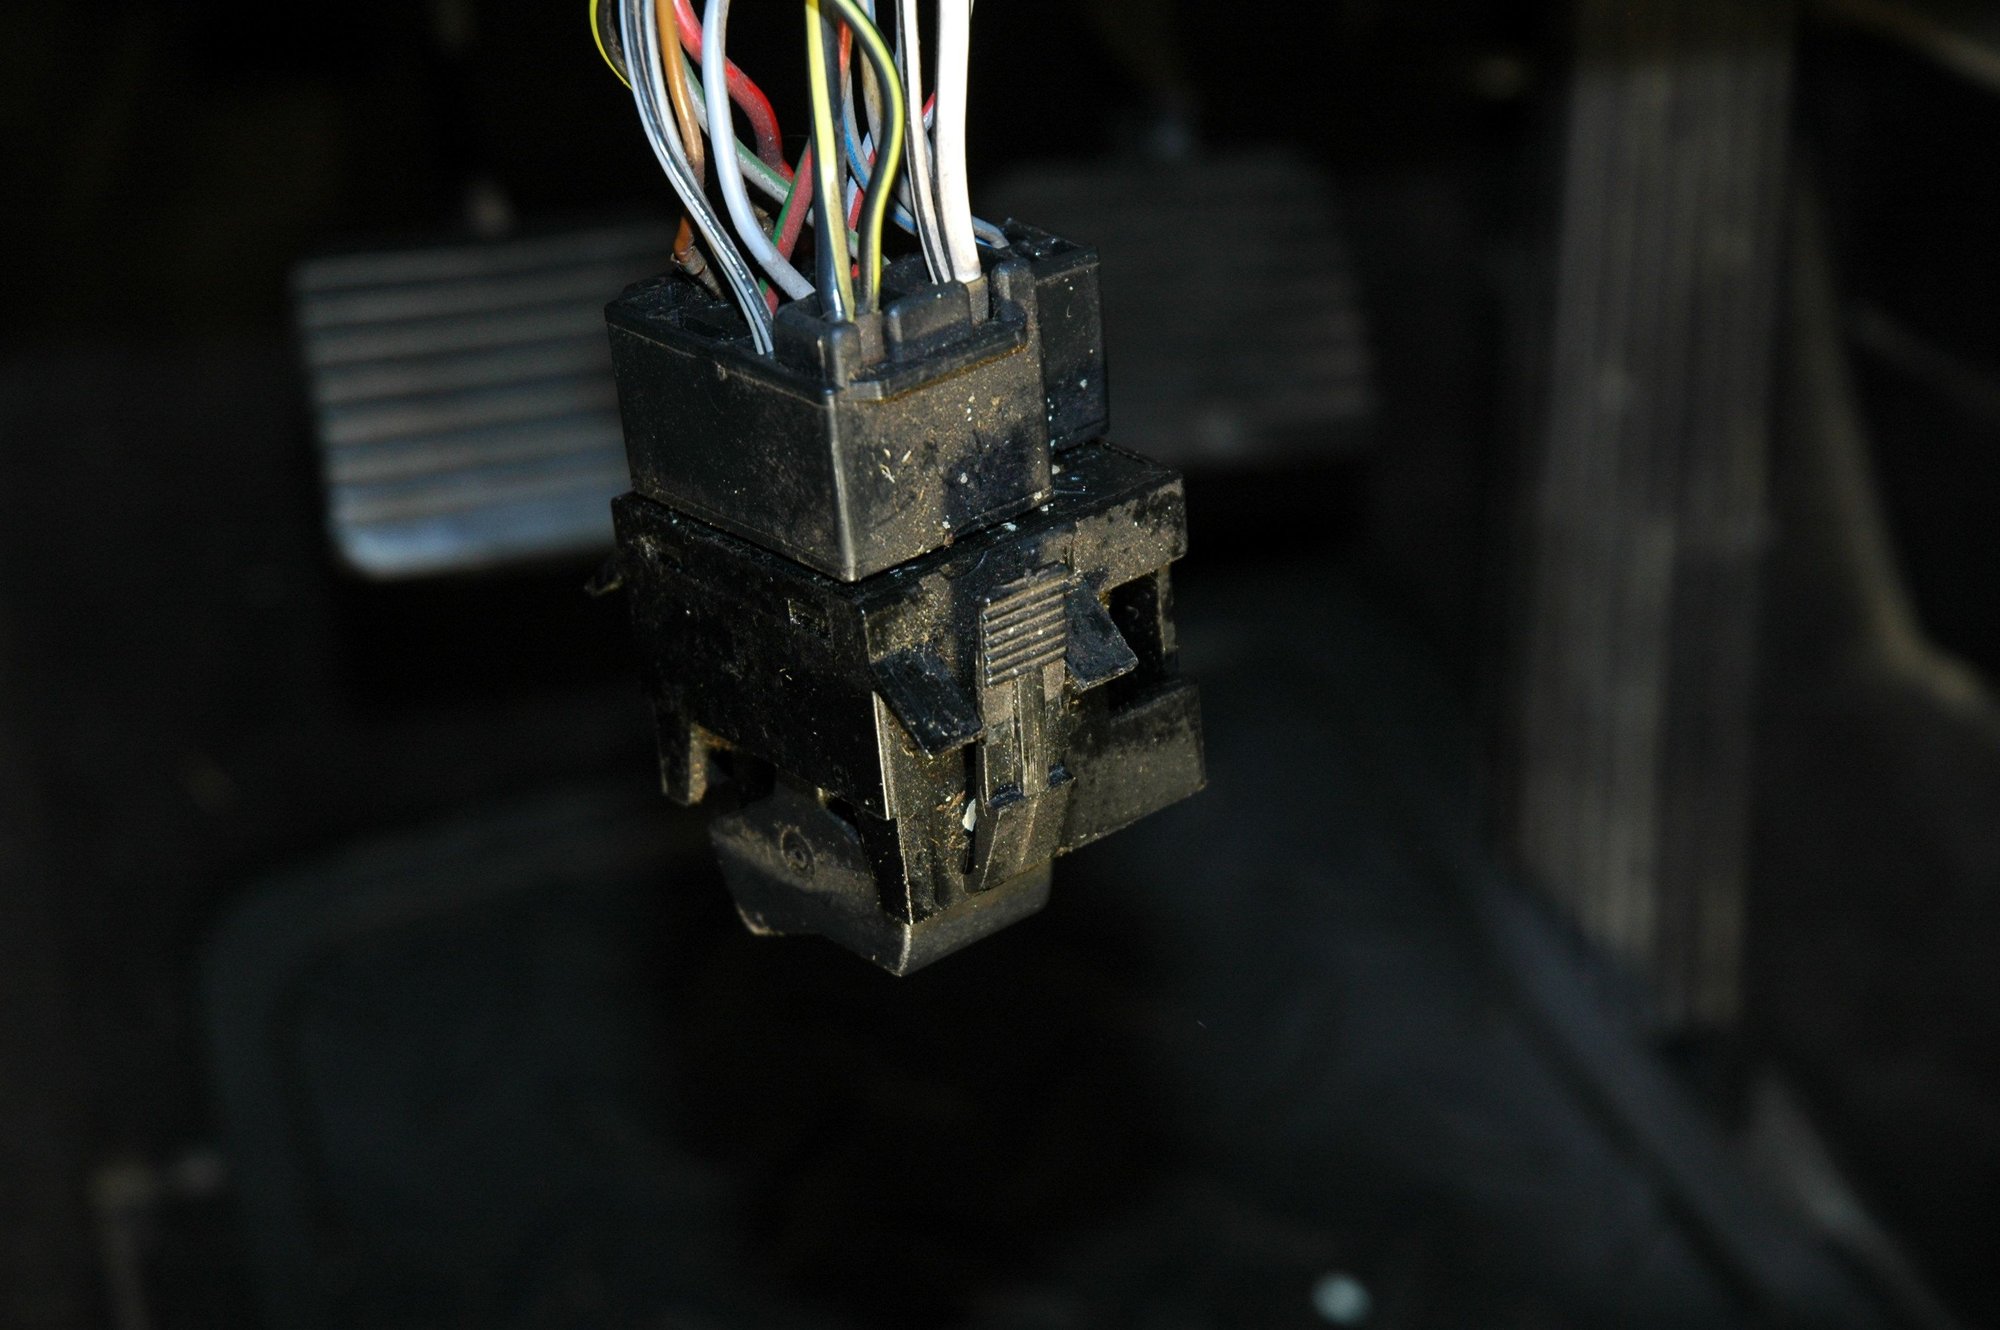
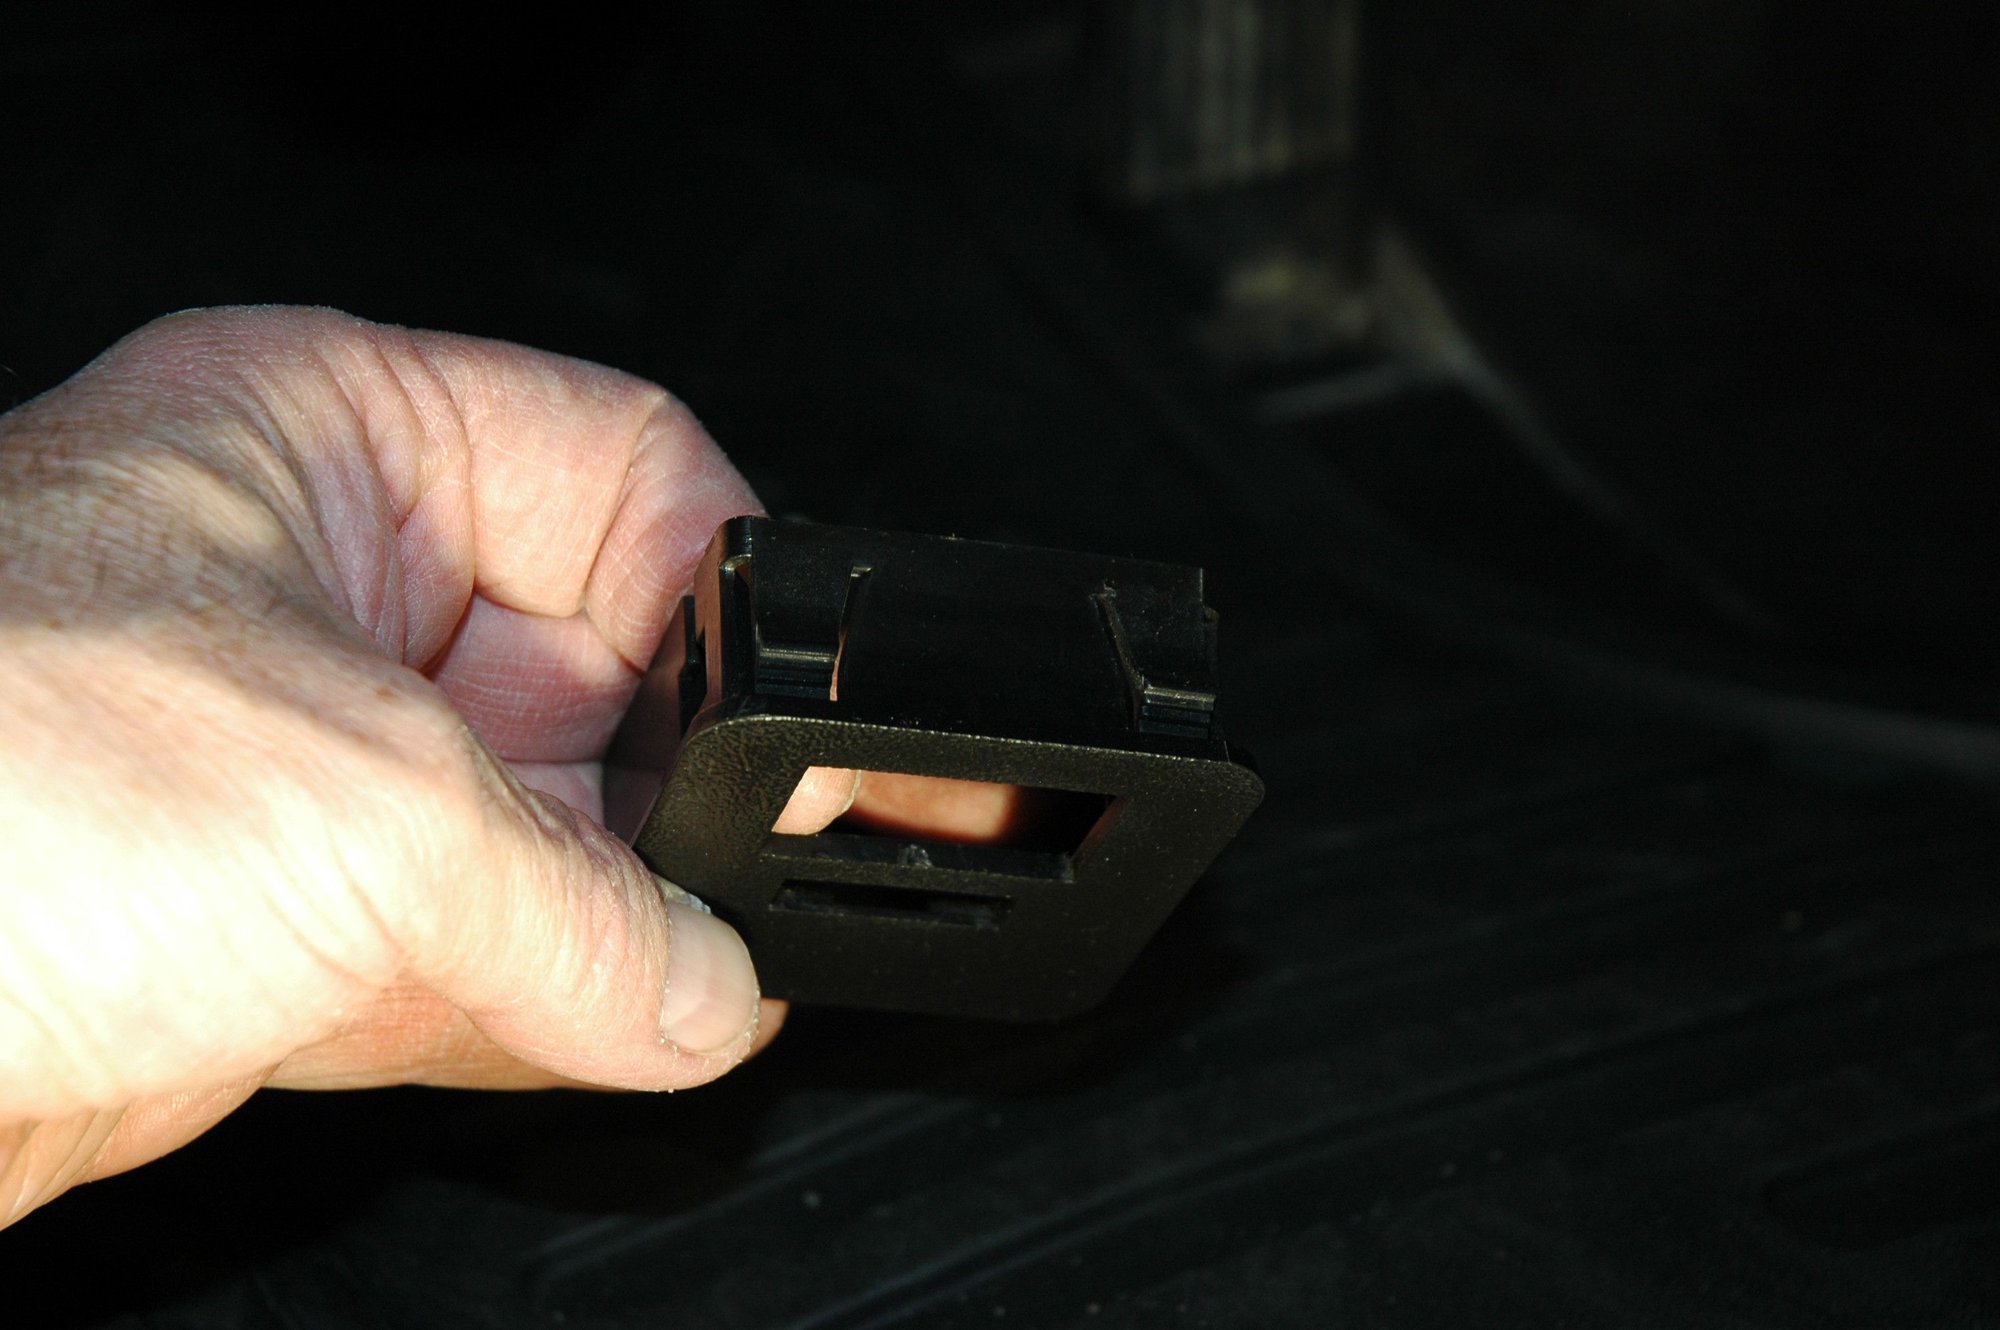
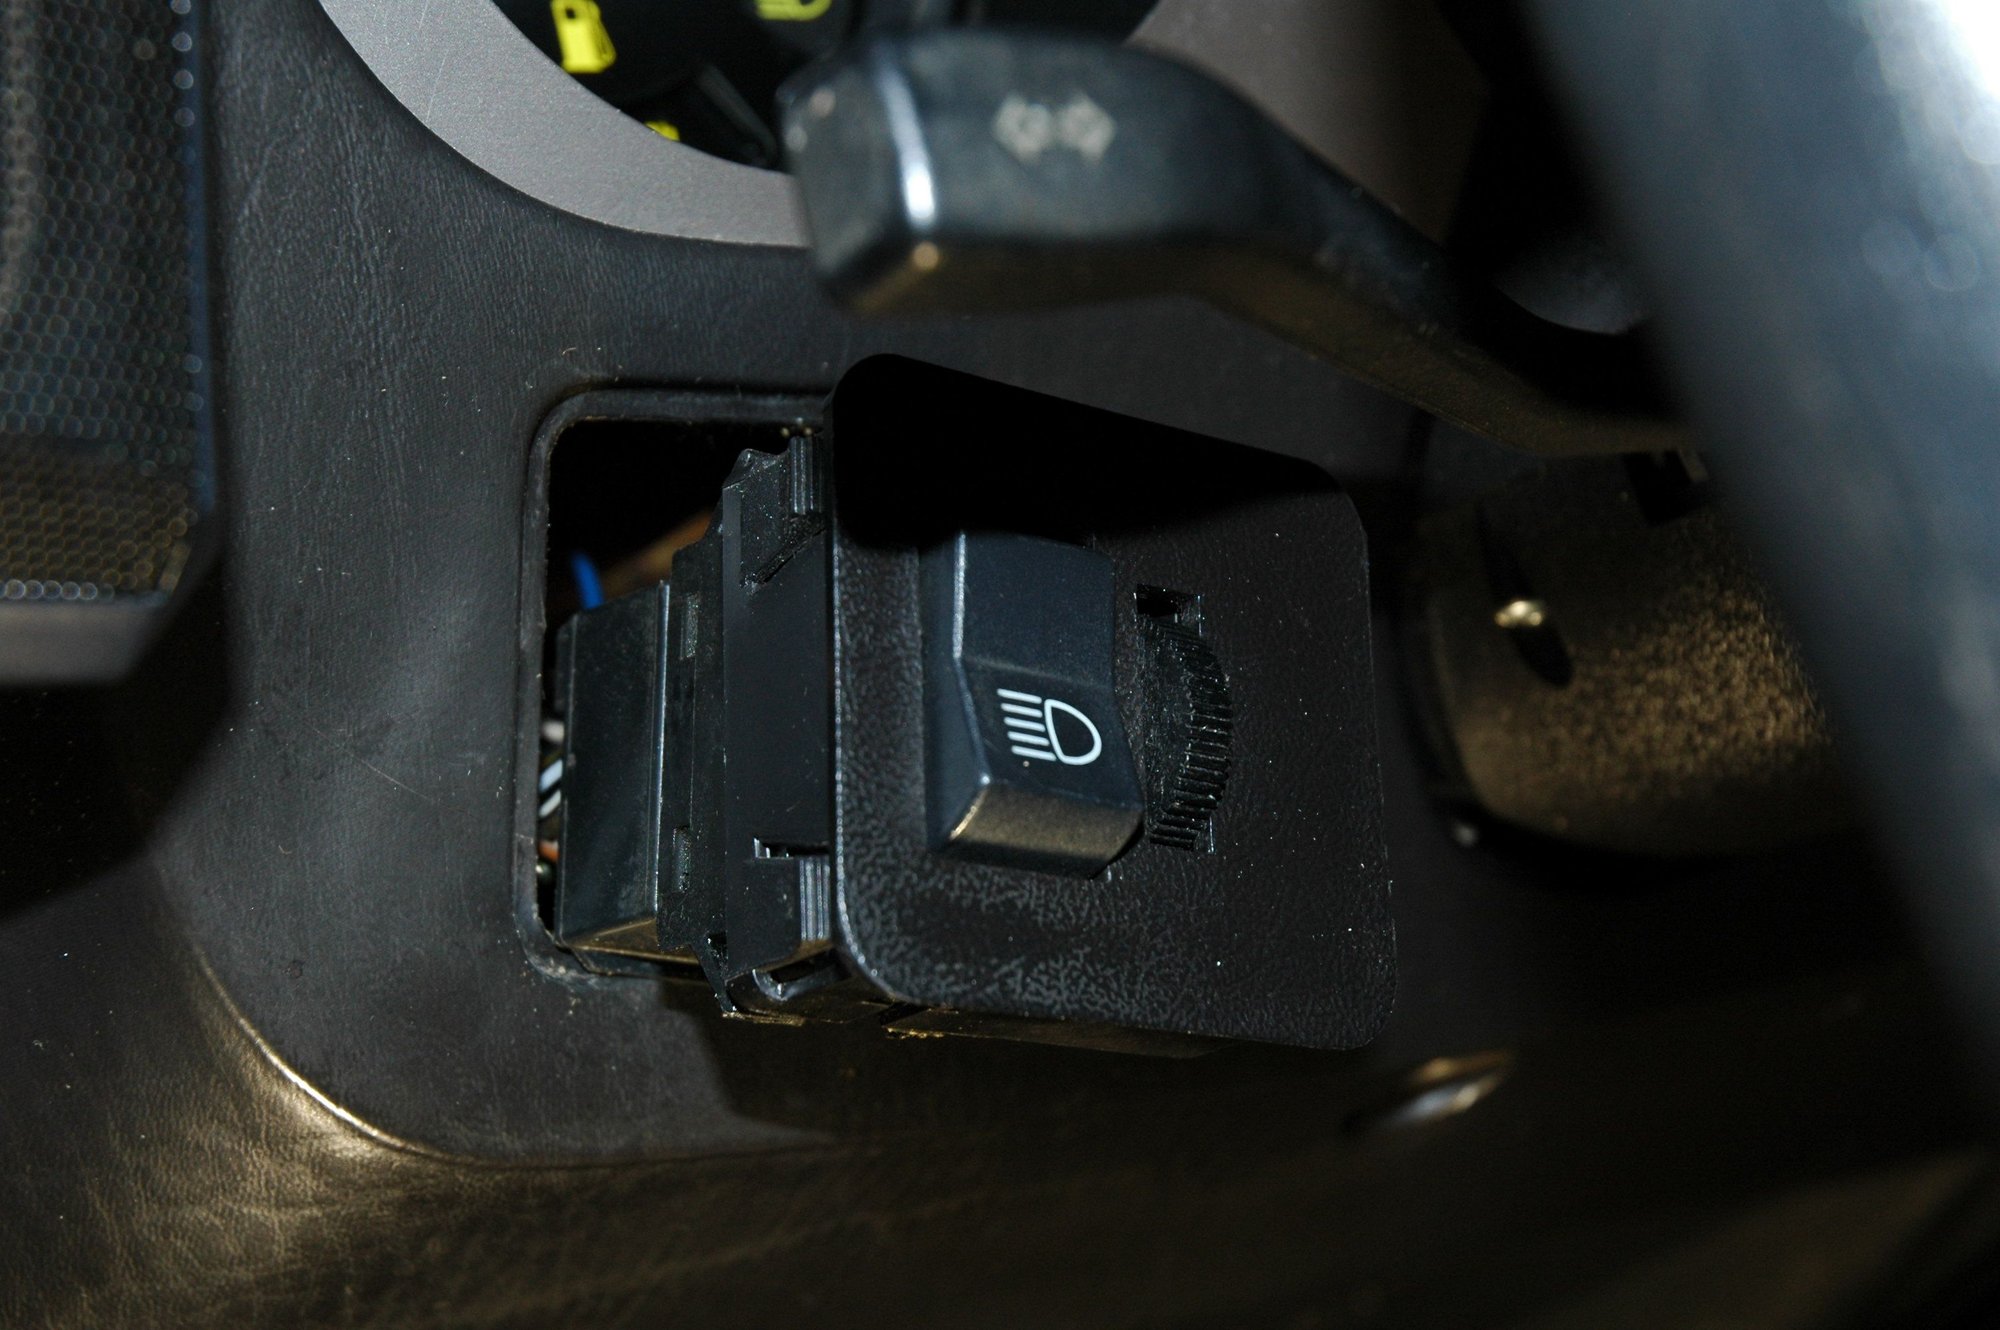
2. If nothing happens, then the switch assembly will have to be removed from the dash (easier than one would think). Reach under the dash and feel for two plastic tabs located in the center top and bottom of the housing. Squeeze both tabs and pull the switch away from the switch bezel. There is enough cable length to let the assembly hang under the dashboard.
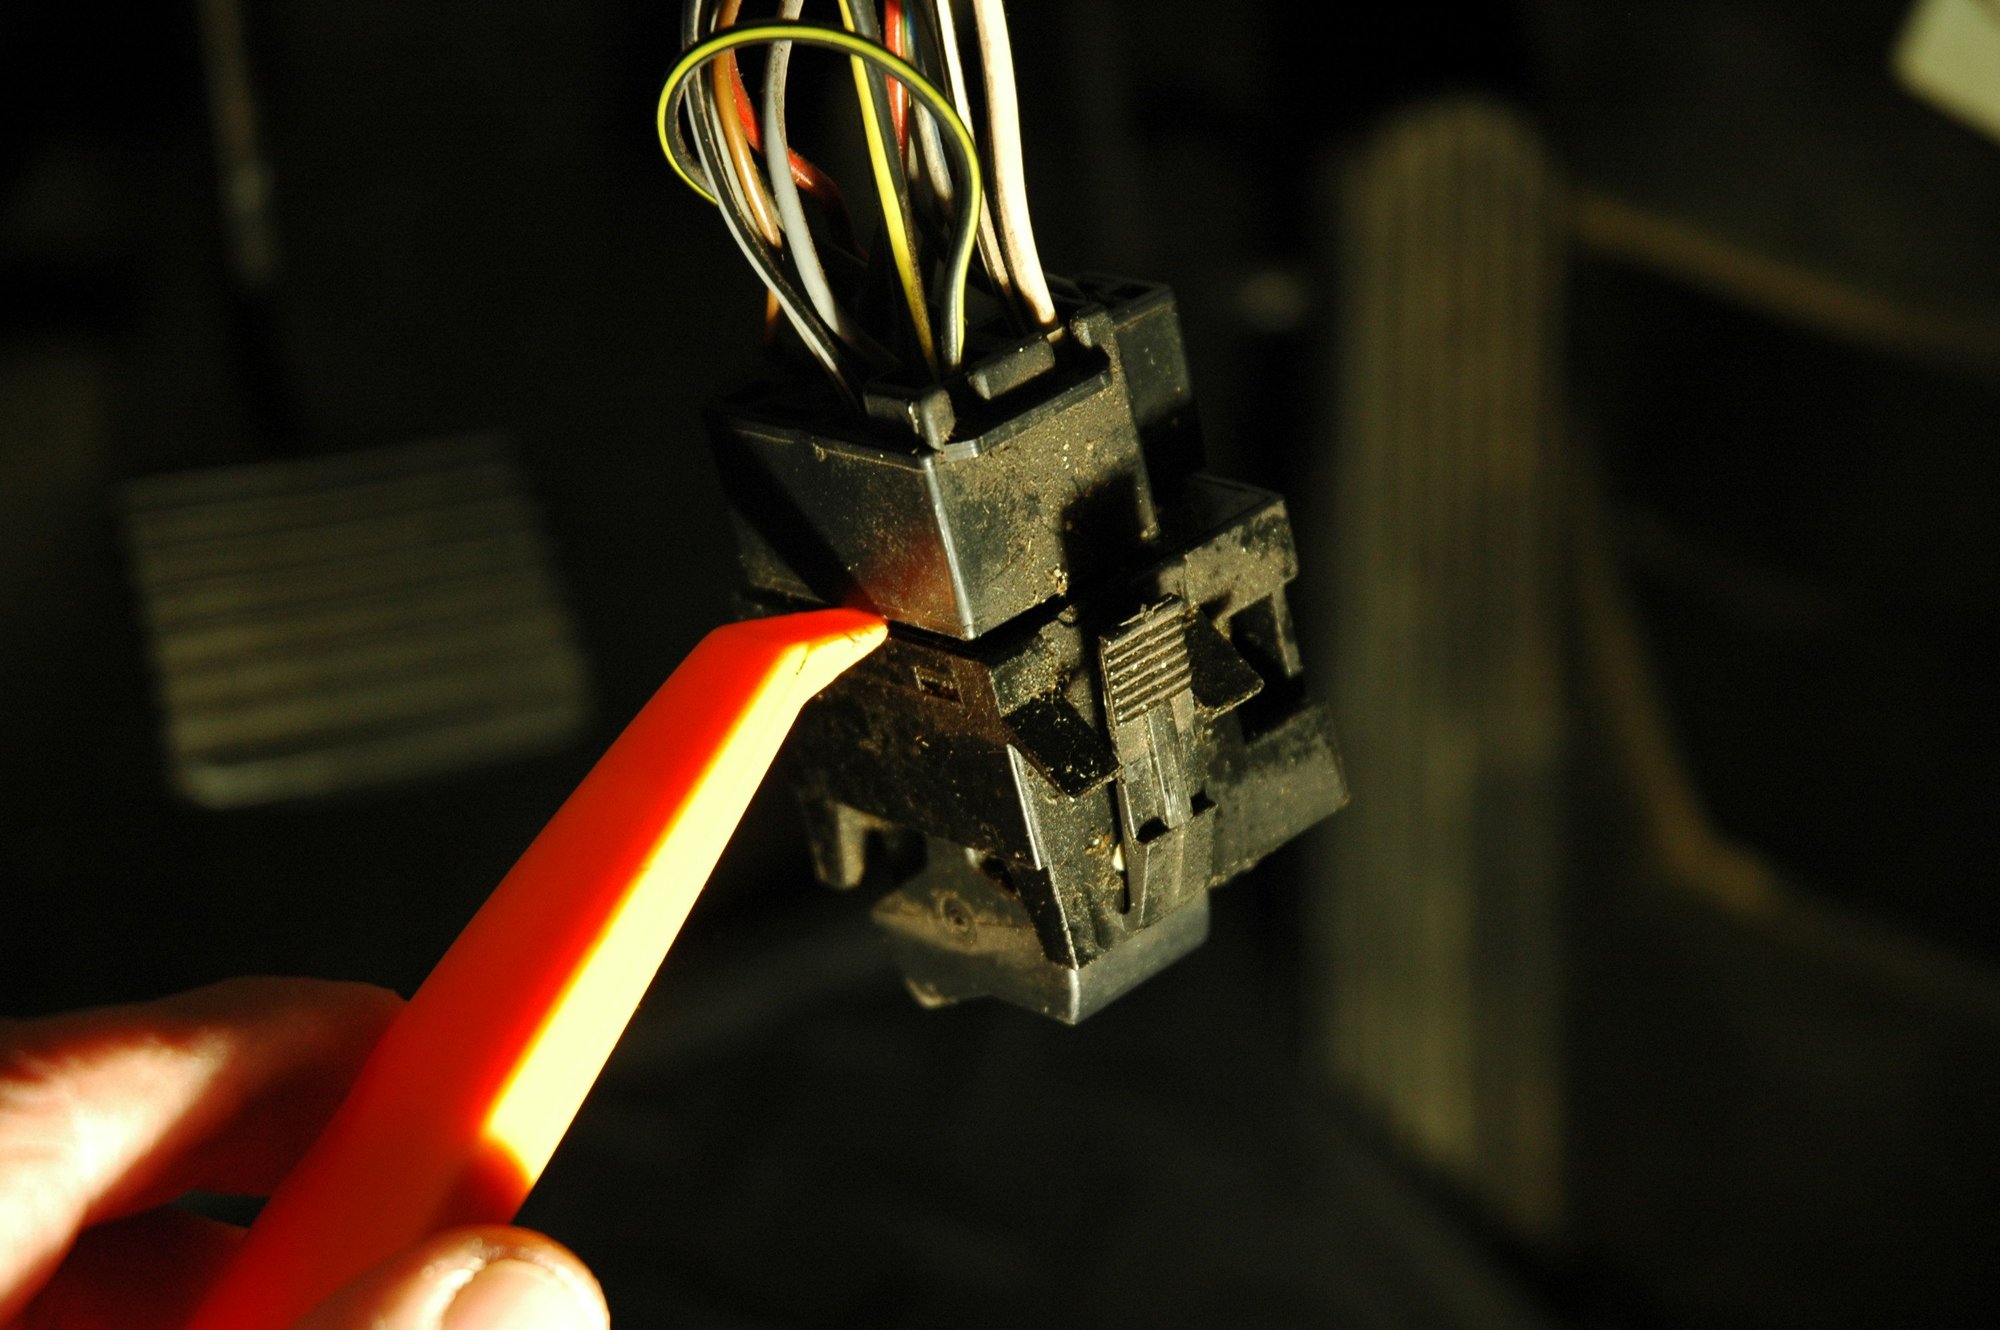
3. Using a plastic body tool, gently pry the switch connector from the switch assembly.
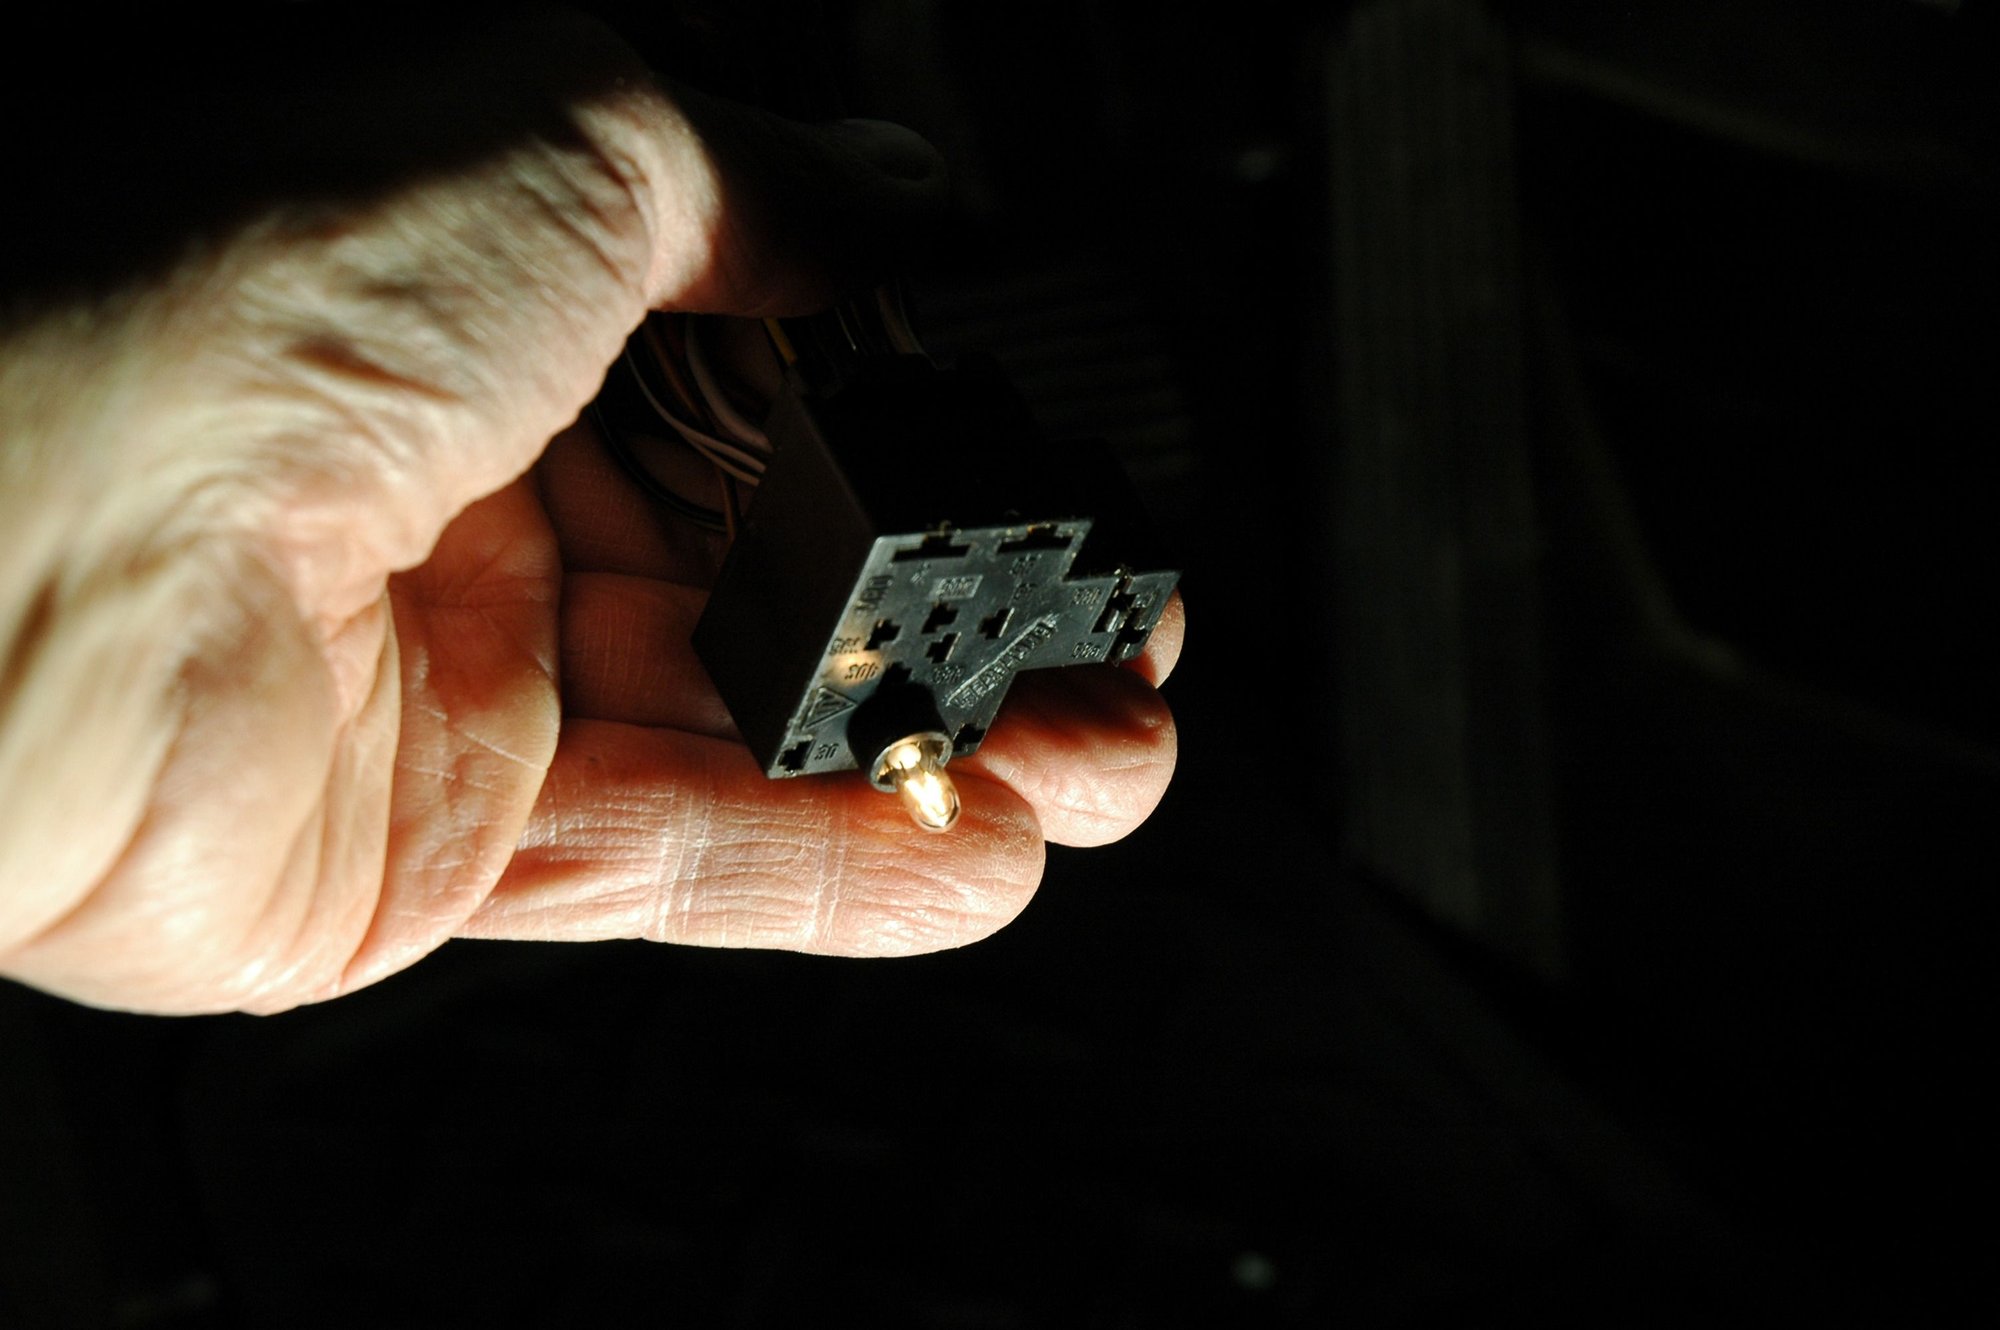
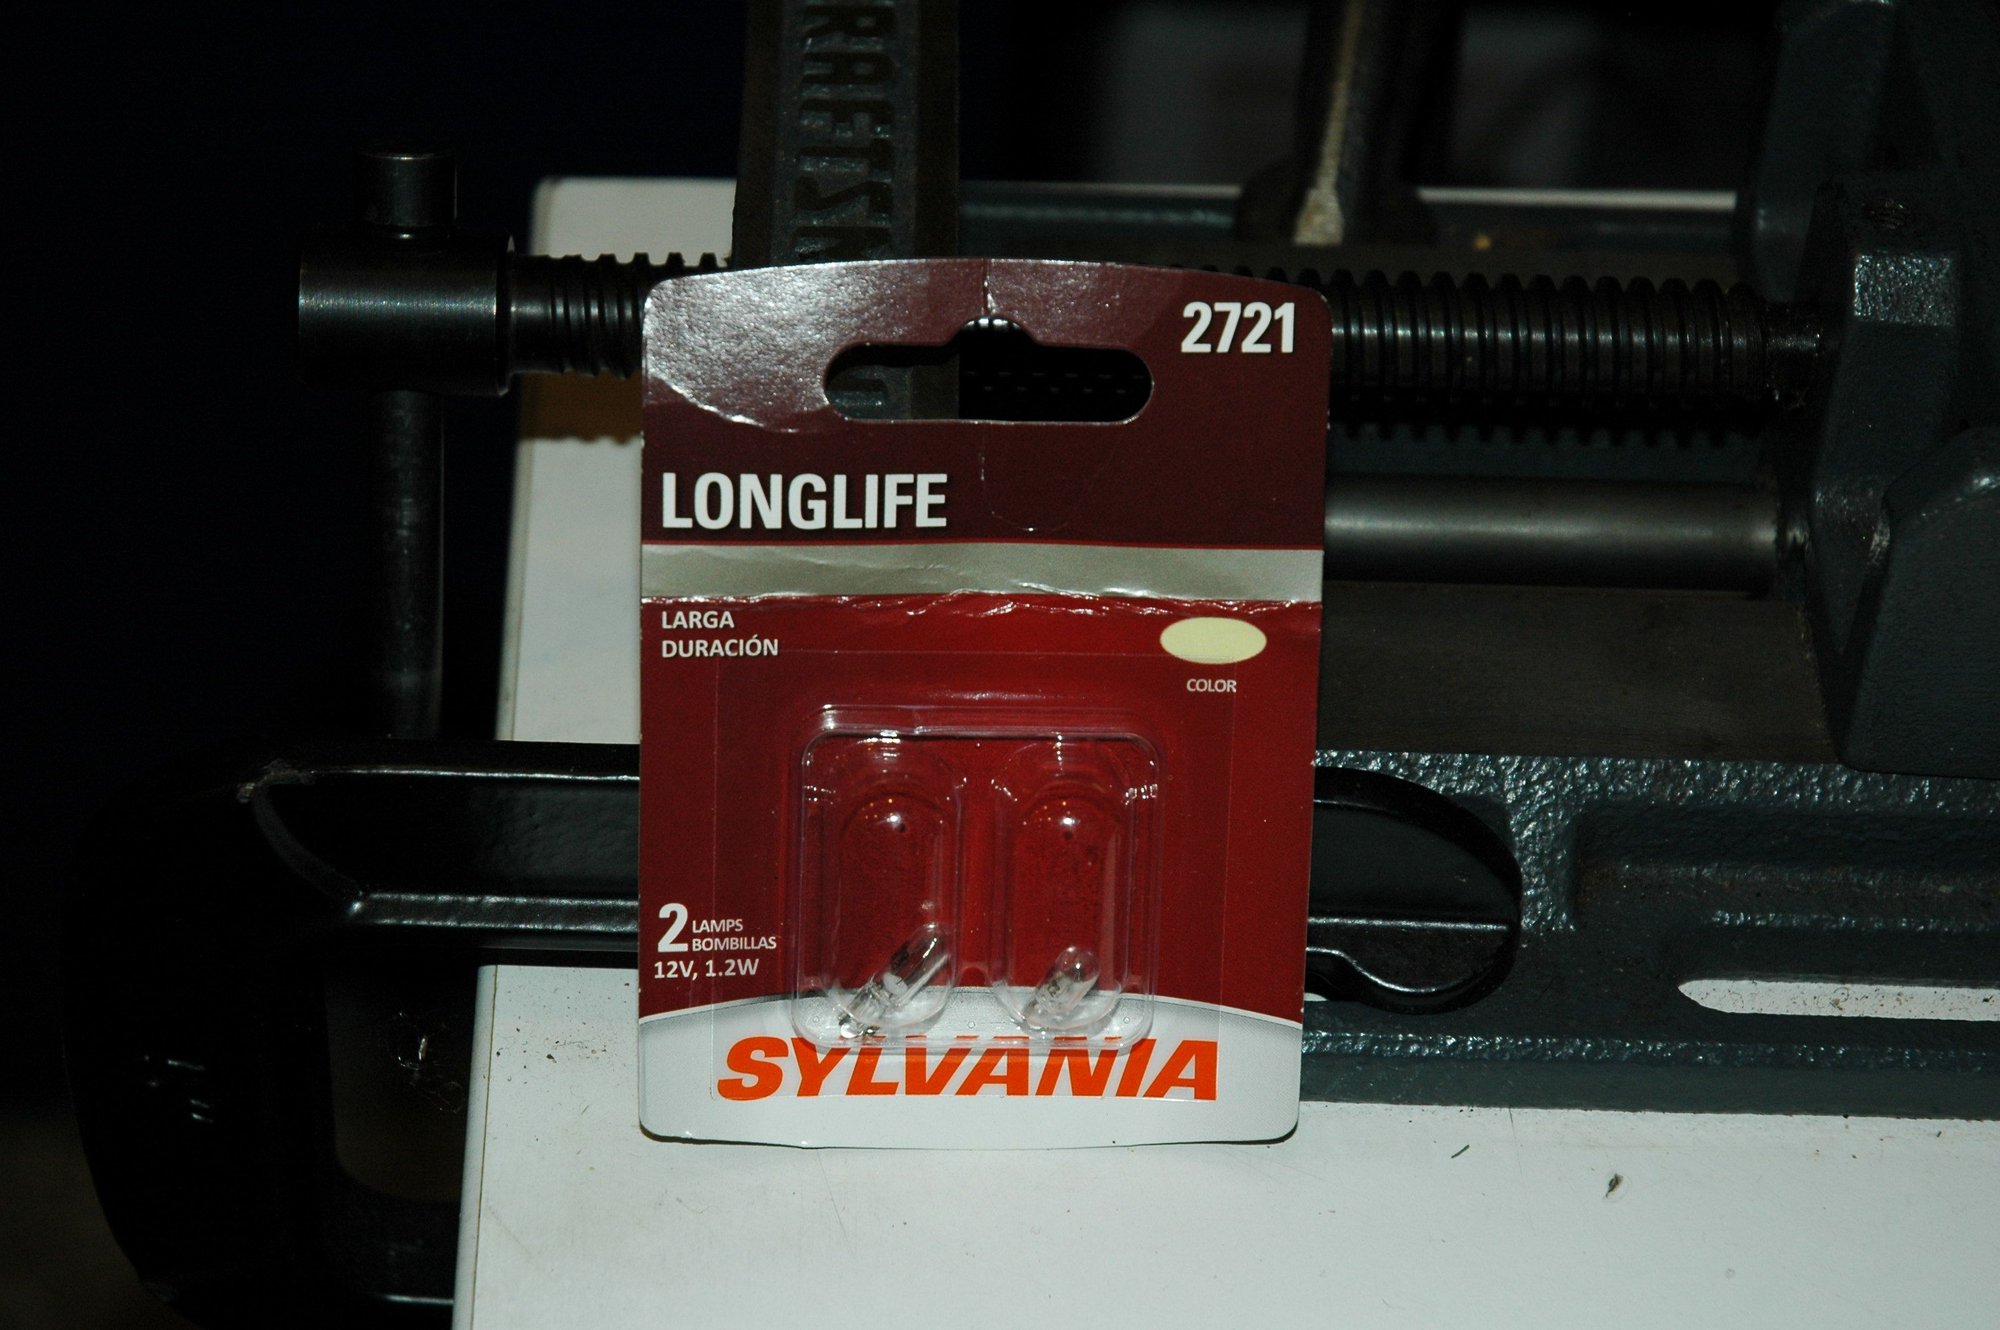
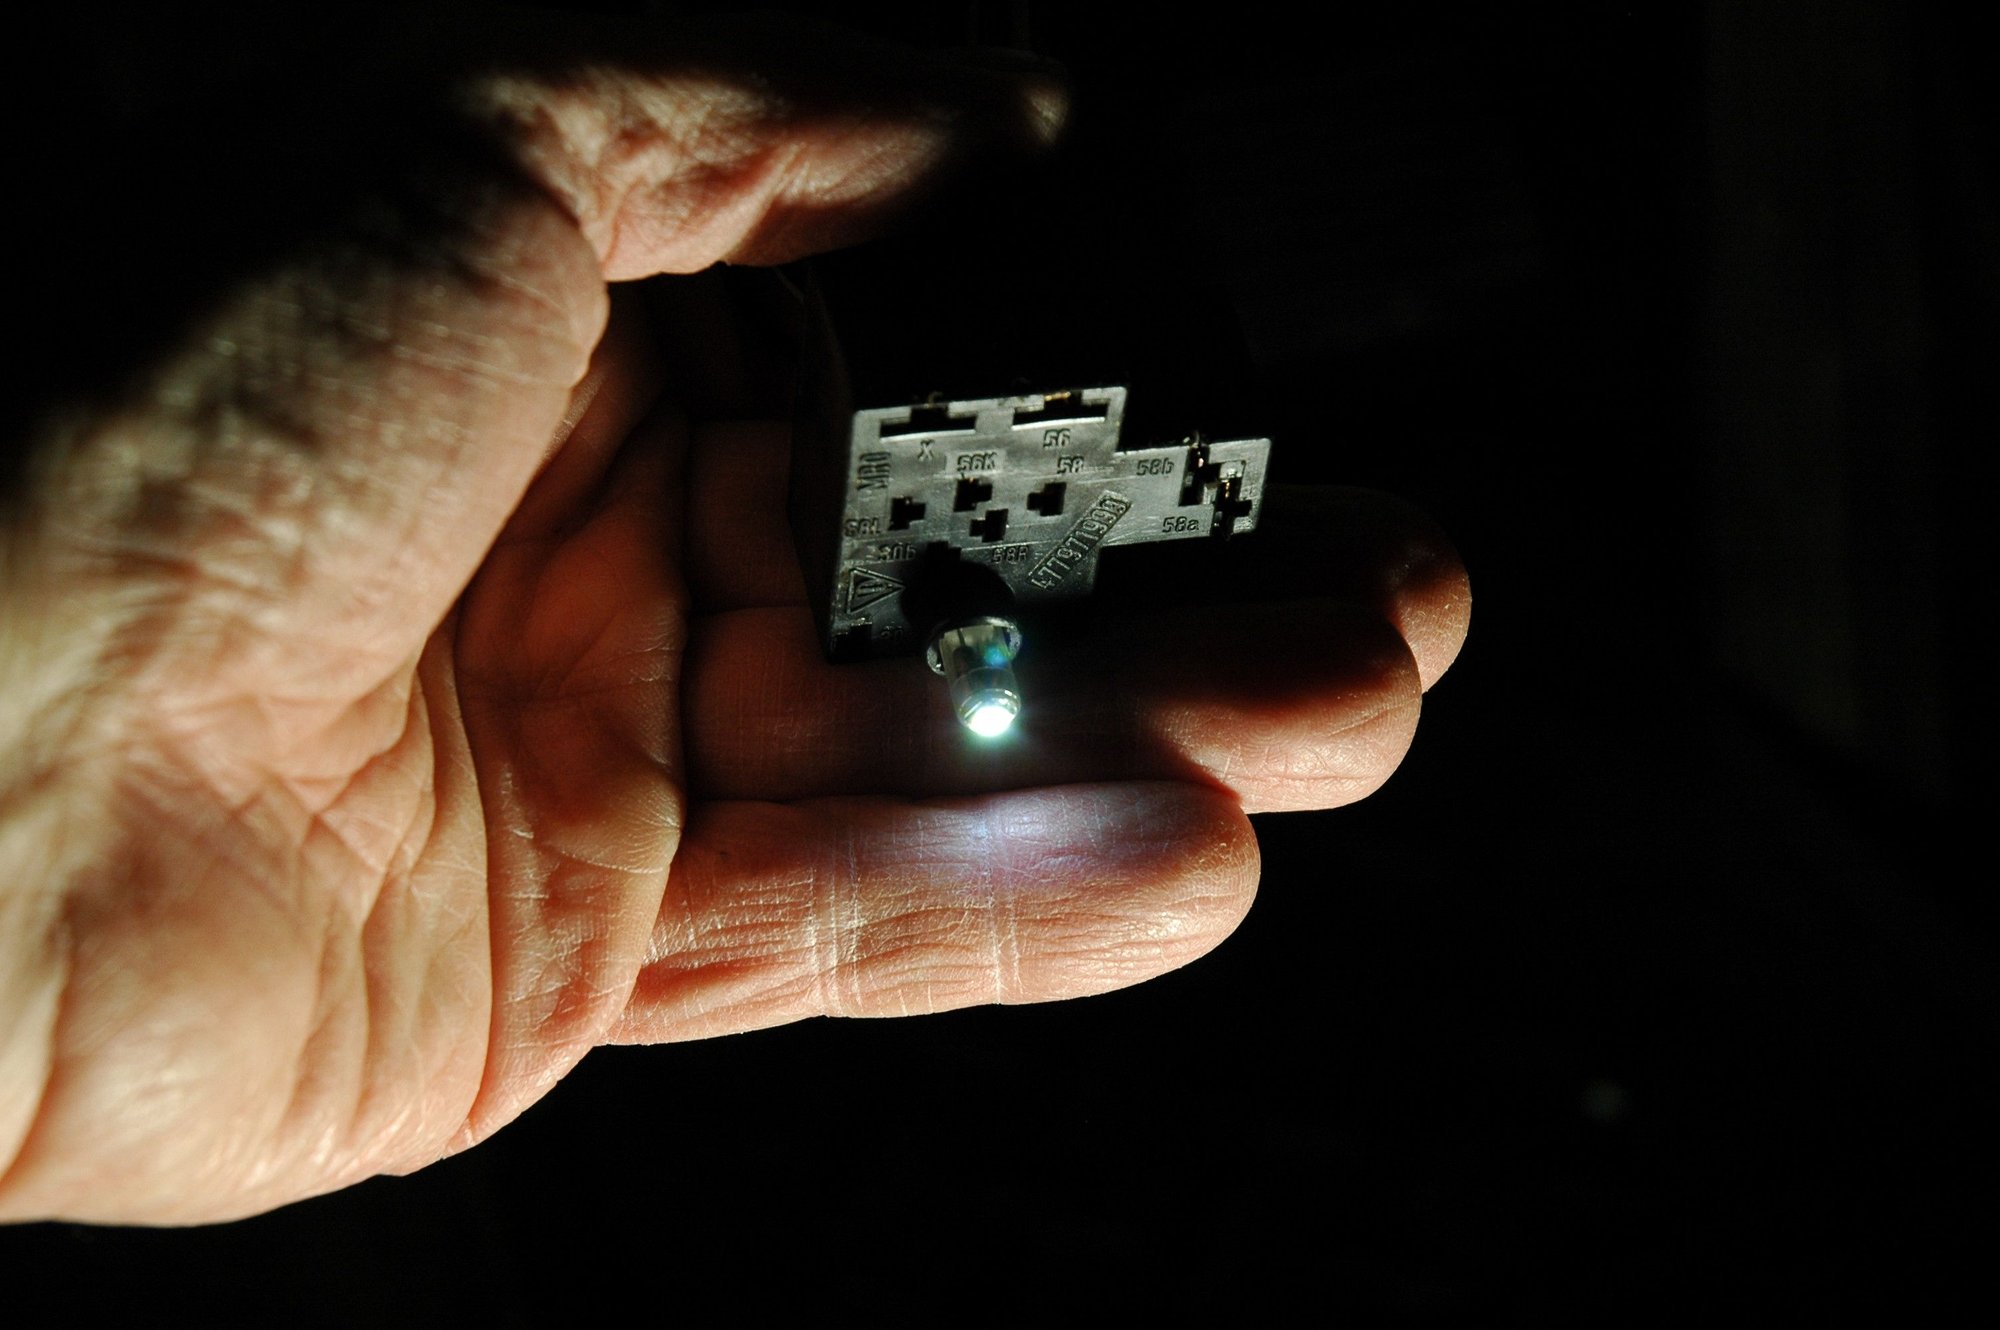
4. Gently pull the lamp straight out from its socket and replace the lamp. Be sure to use lens cloth as to prevent smudging the lamp with your fingers. Note that the picture shows an operational lamp. I found the Sylvania 2721 bulbs work nicely - they are easily found at any auto parts store.
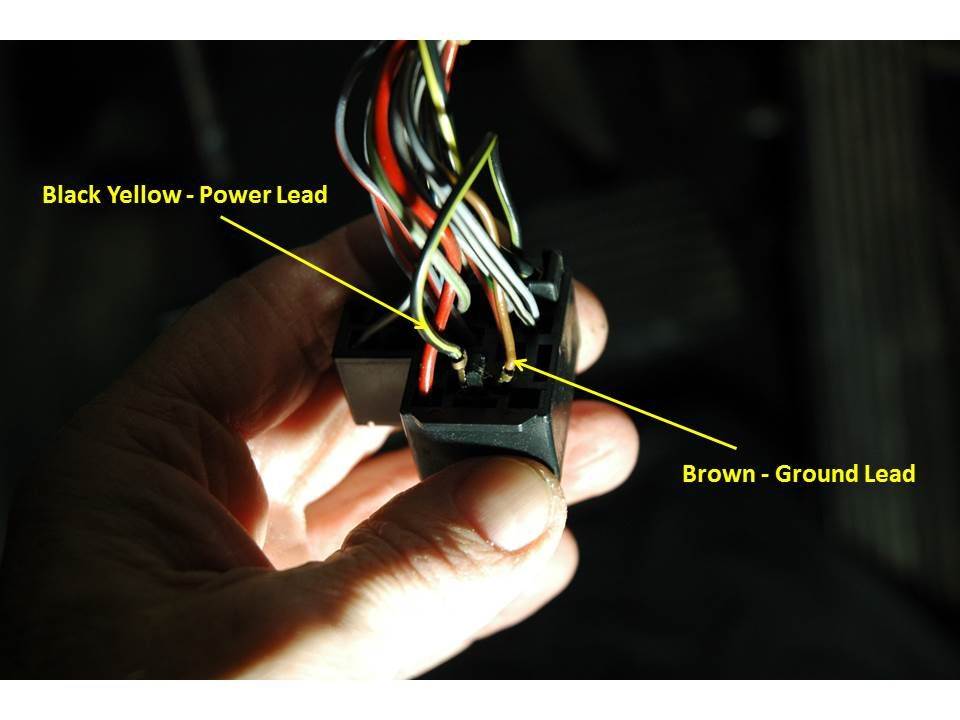
5. At this point, turn the ignition key on to confirm the light is getting power. If not, test for 12VDC between the black/yellow lead and brown ground wire as shown here:
6. If everything checks out, then it's time to reinsert the switch onto the bezel. I found that it's easier to remove the bezel and snap the switch assembly on it, instead of trying to push the switch from behind the dashboard. Using the same plastic body tool, simply go behind the bezel and gently pry each of the four plastic bezel tabs - the bezel should then be able to pulled off the dash.
7. Once the bezel is removed, run the switch assembly back up and through the bezel hole, then snap the bezel onto the switch housing and reinsert the entire assembly on the dash panel.
As a side note: I did use the Sylvania lamp on my 84, however; the Beastie was treated to a LED to complete the dash light replacement project back a few months ago...
Nice post and photos! I replaced that 2721 bugger about three years ago in my '84. Strangely, it was one of the first "repairs" I made after acquiring the car. Very good tip about removing the bezel prior to re-installation - I wasn't smart enough to figure that out.
I do remember having to take the switch apart a few times as it was somehow hard to get the little lamp sufficiently seated in the socket and it would jiggle loose shortly after re-installation.

 02-26-2022, 12:33 AM