When you click on links to various merchants on this site and make a purchase, this can result in this site earning a commission. Affiliate programs and affiliations include, but are not limited to, the eBay Partner Network.
Good info. Lets not get deep into Buyits thread on his car resto. Im good if you guys want to repost all this on my thread regarding repair sender and keep in one place that would be ideal. Once its done if Buyit want to delete or remove this than Im fine or leave it if you want that ok to just get to the specific thread. Im sure there a answer in all of this. Ill make a comment over there now.
OK Gassy Good idea, I'll repost all these pic over on your sender thread, keep it all in one place. Probably won't be for a day or so though, I'll be at work. We'll get this figured out
Great and rare color! Good luck with your restoration.
Color code is LY8V (Sable Brown Metallic) and I think it's unique for '83 and '84. My N/A was originally the same color, but some previous owner decided to paint it black... I hope someday I will restore the original color.
Great and rare color! Good luck with your restoration.
Color code is LY8V (Sable Brown Metallic) and I think it's unique for '83 and '84. My N/A was originally the same color, but some previous owner decided to paint it black... I hope someday I will restore the original color.
Yeah thx for the comment. I really like the color . To me its a sleeper understated color. As for the rarity I suspect its because no one wanted a poo brown car in 1984
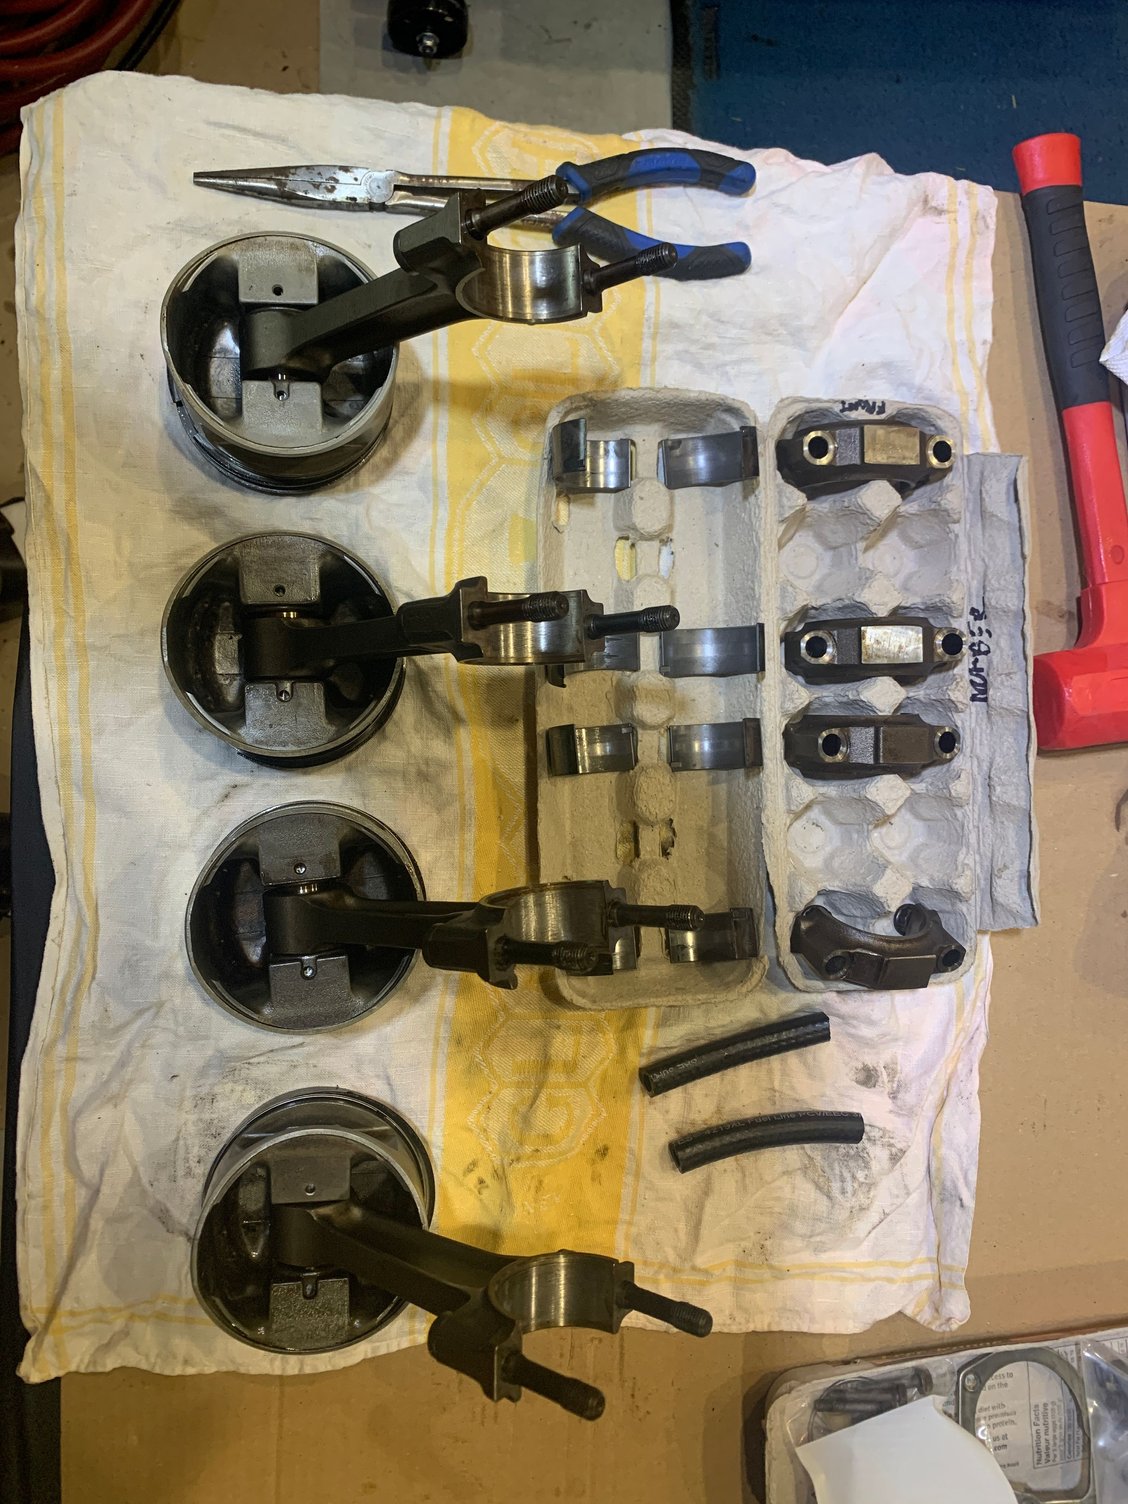
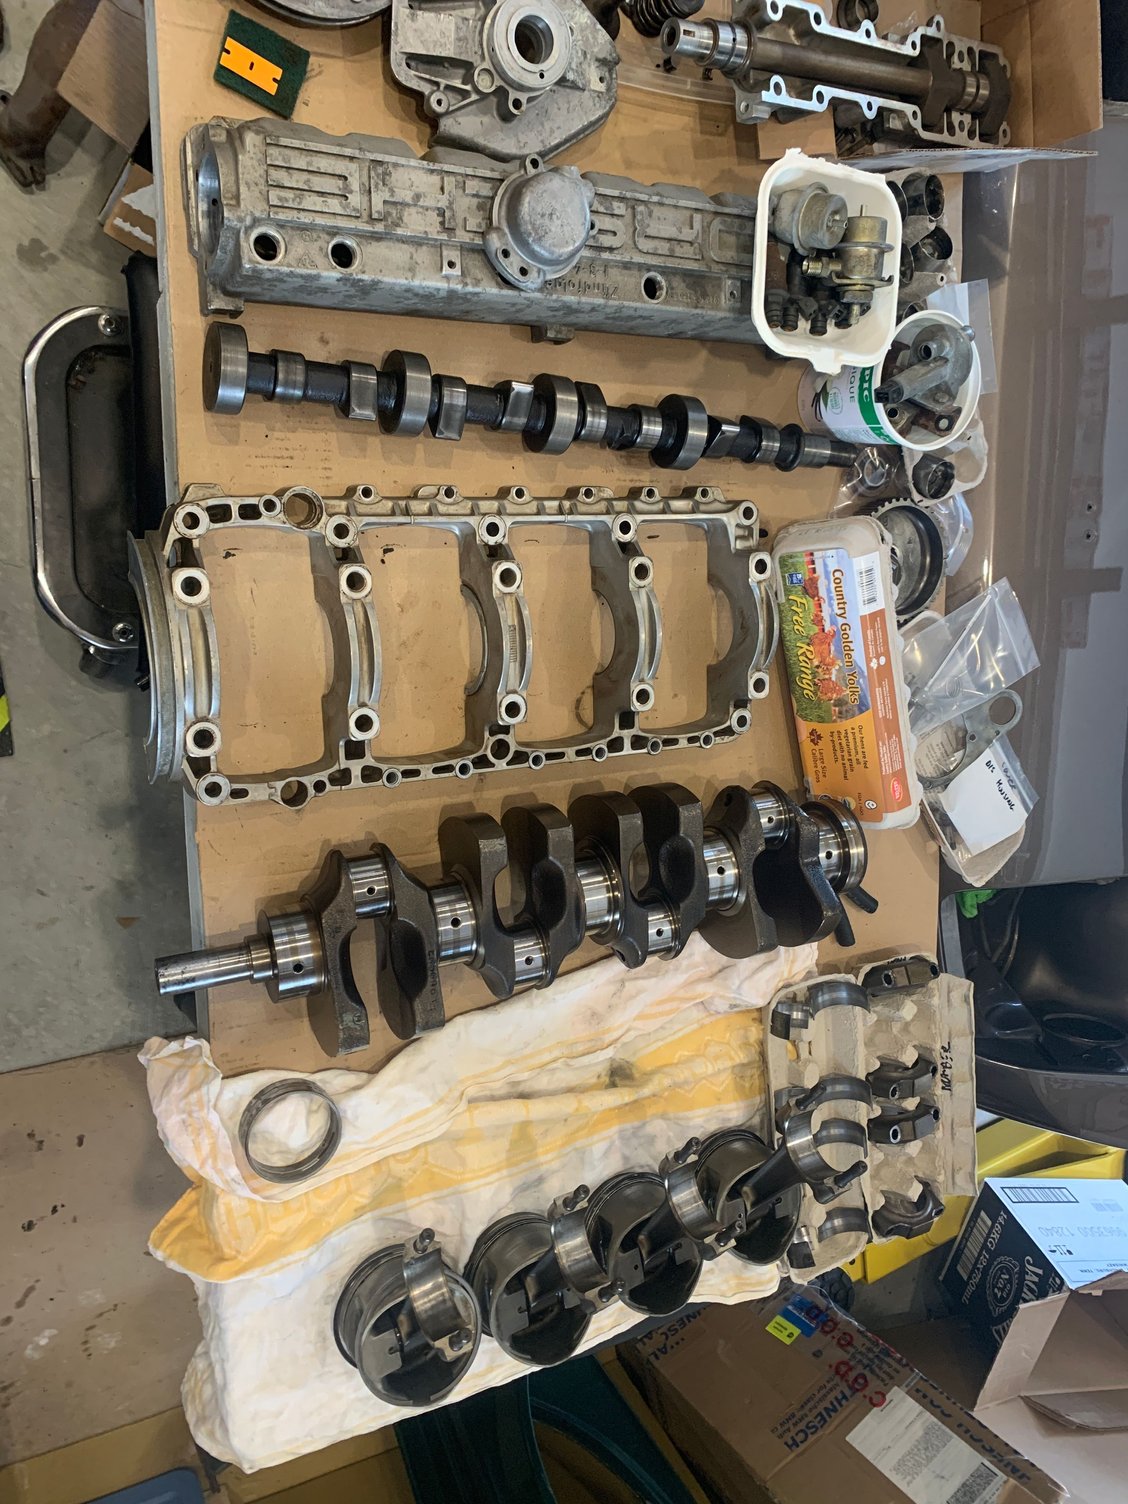
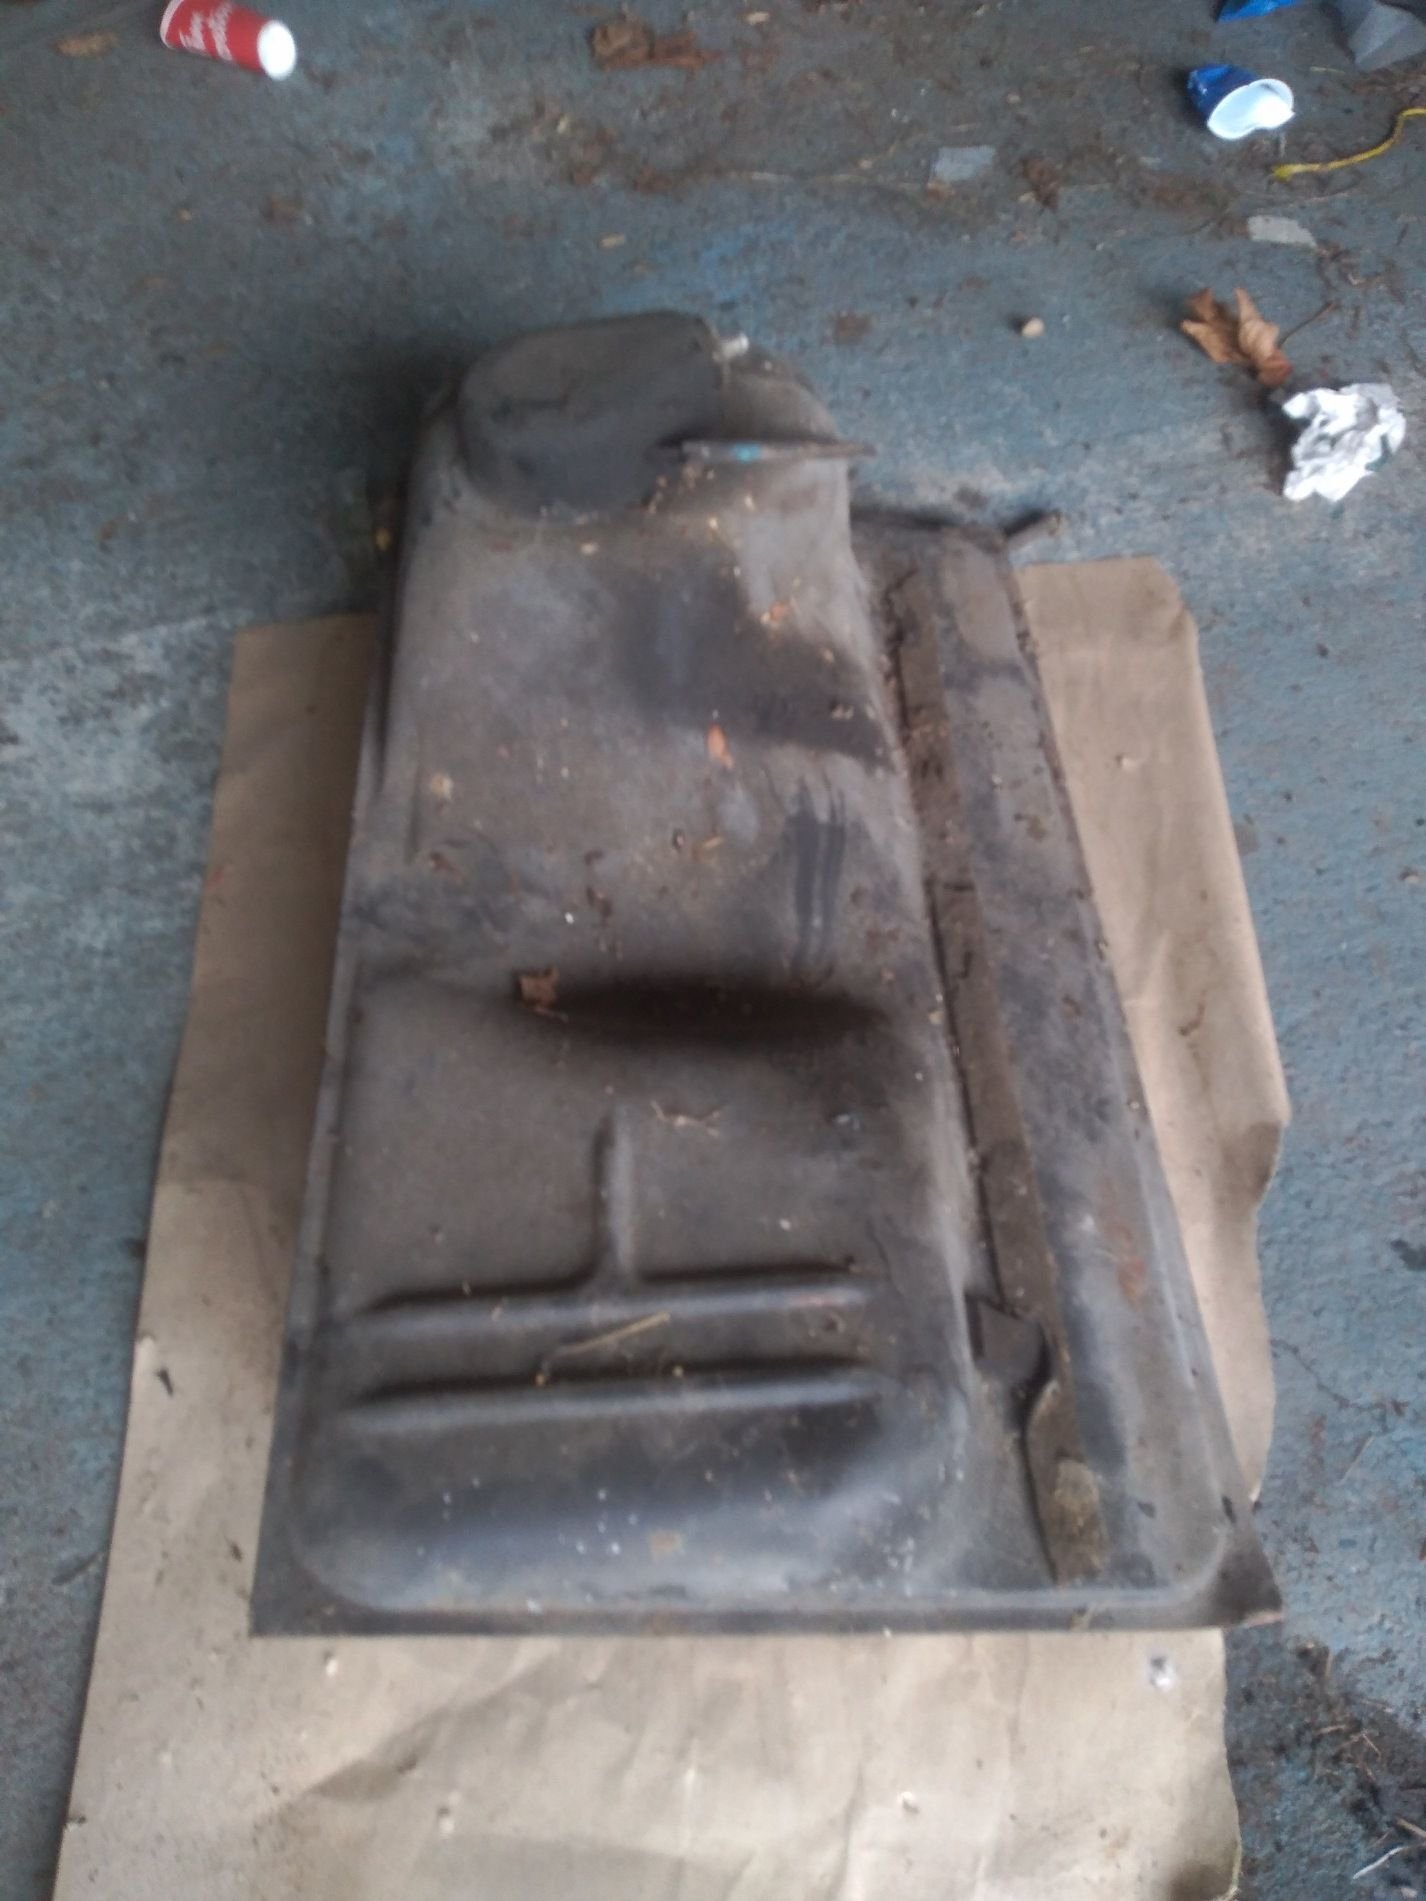
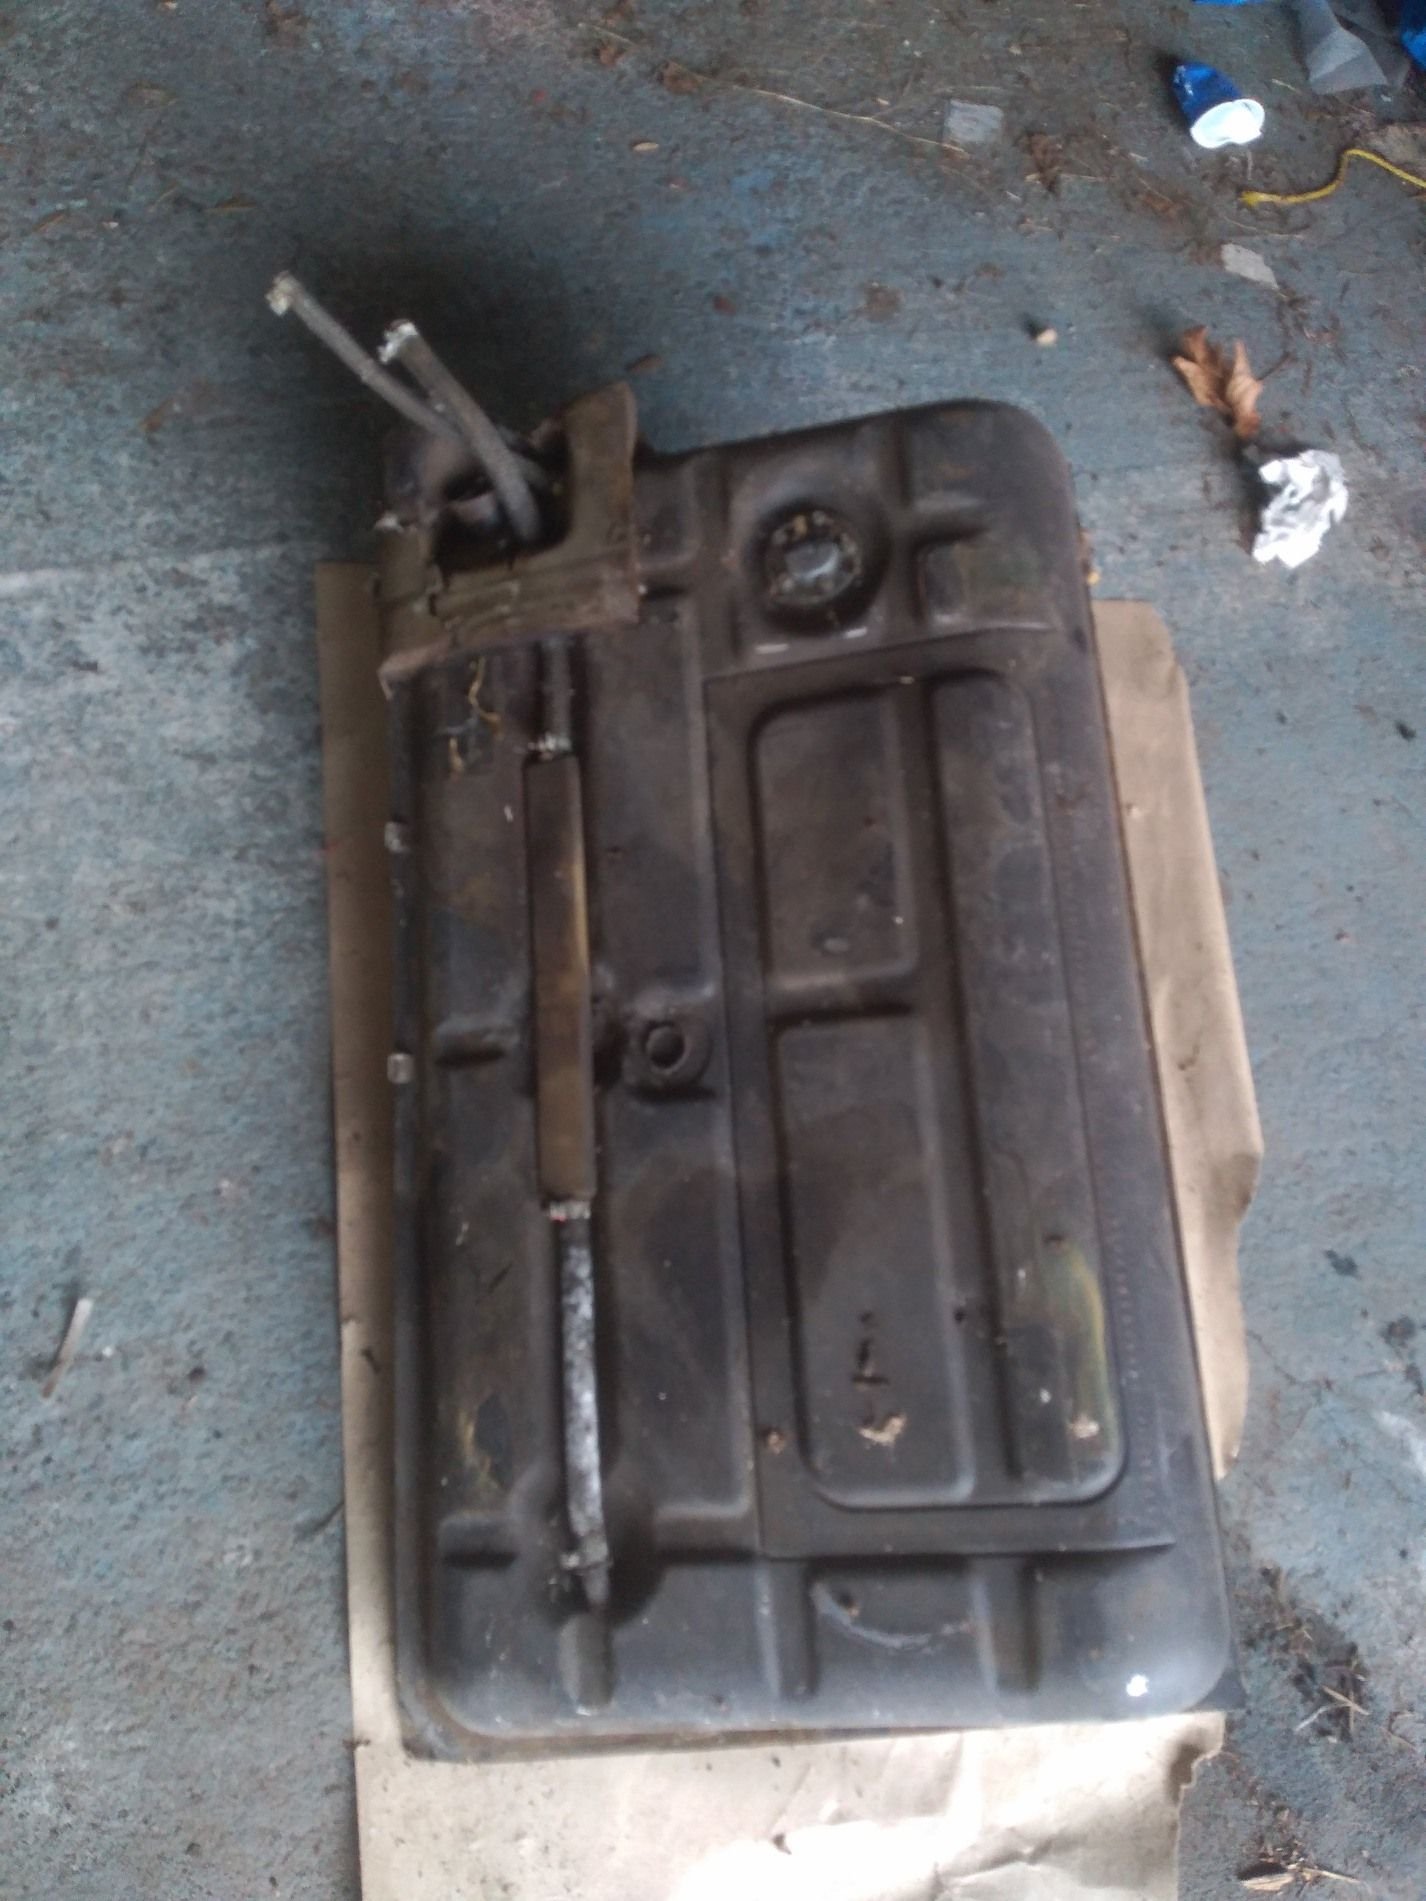
So have been working away at breaking down the engine. Pretty much all taken apart. Its in better shape than I was expecting we'll see what the machine shop says. I got a bunch of other random parts I may or may not need. I couldn't say no the seller had so much stuff from a 944 shop that used to strip these cars down. Most of the good expensive parts went with the owner when he moved but I did OK I think. Glad to have a gas tank , hopefully it will clean up an not have some unforeseen problem.
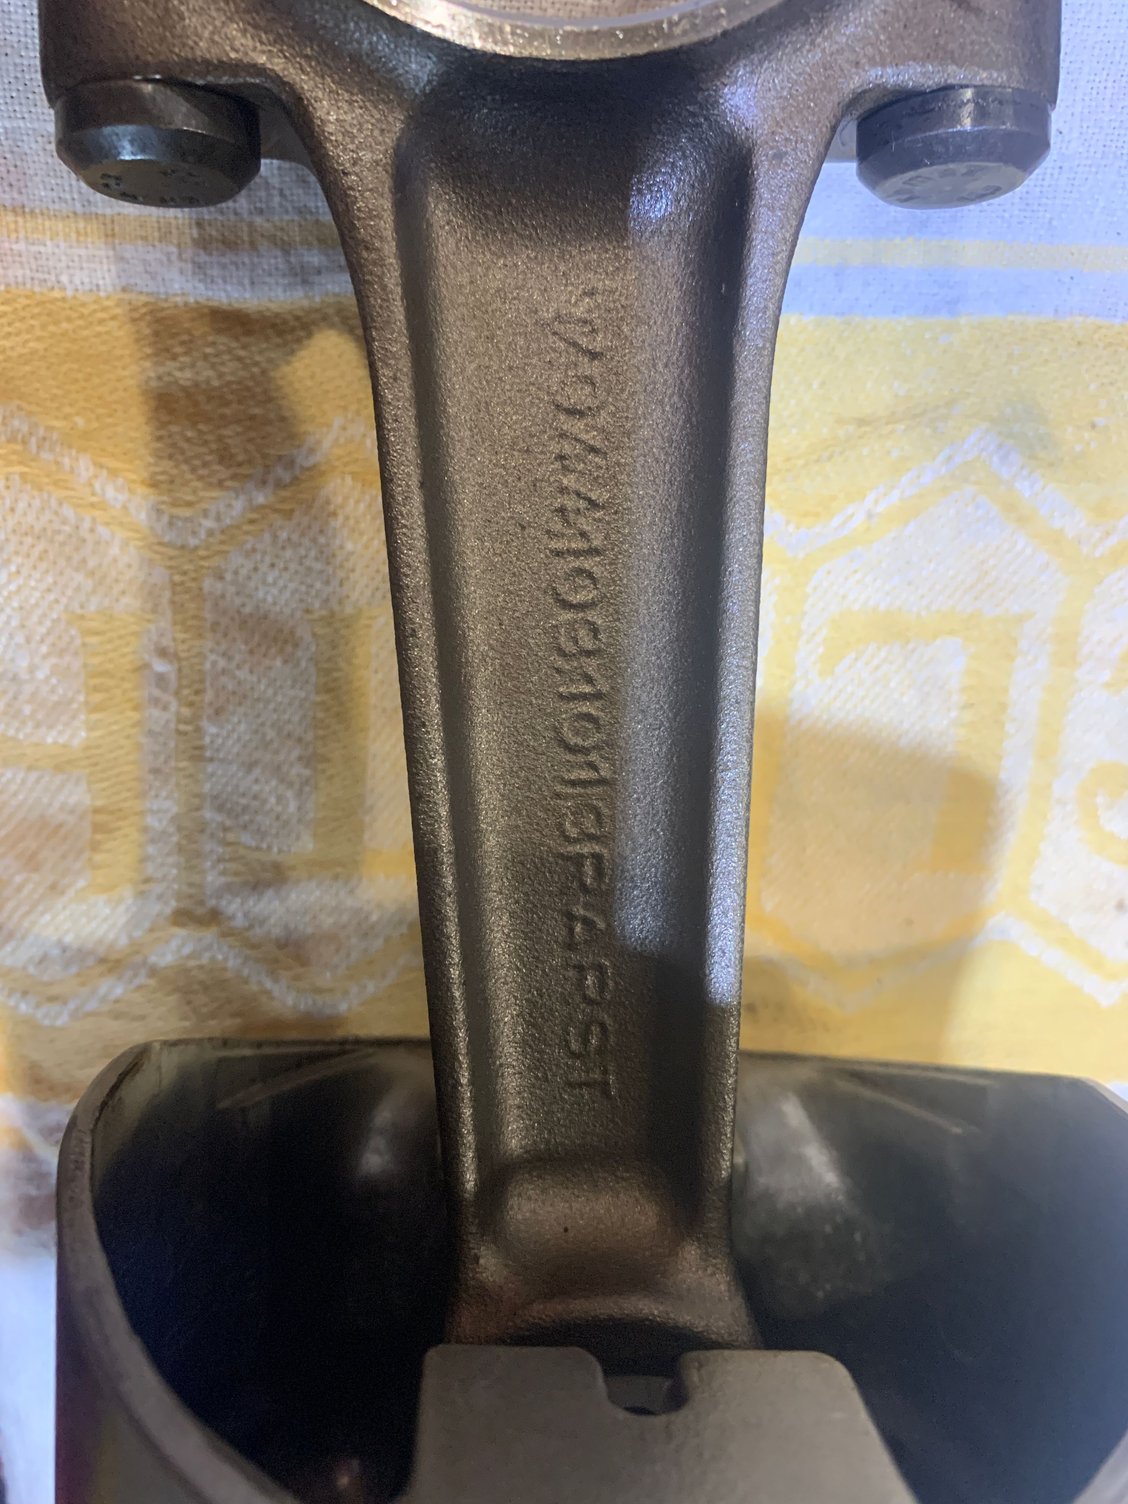
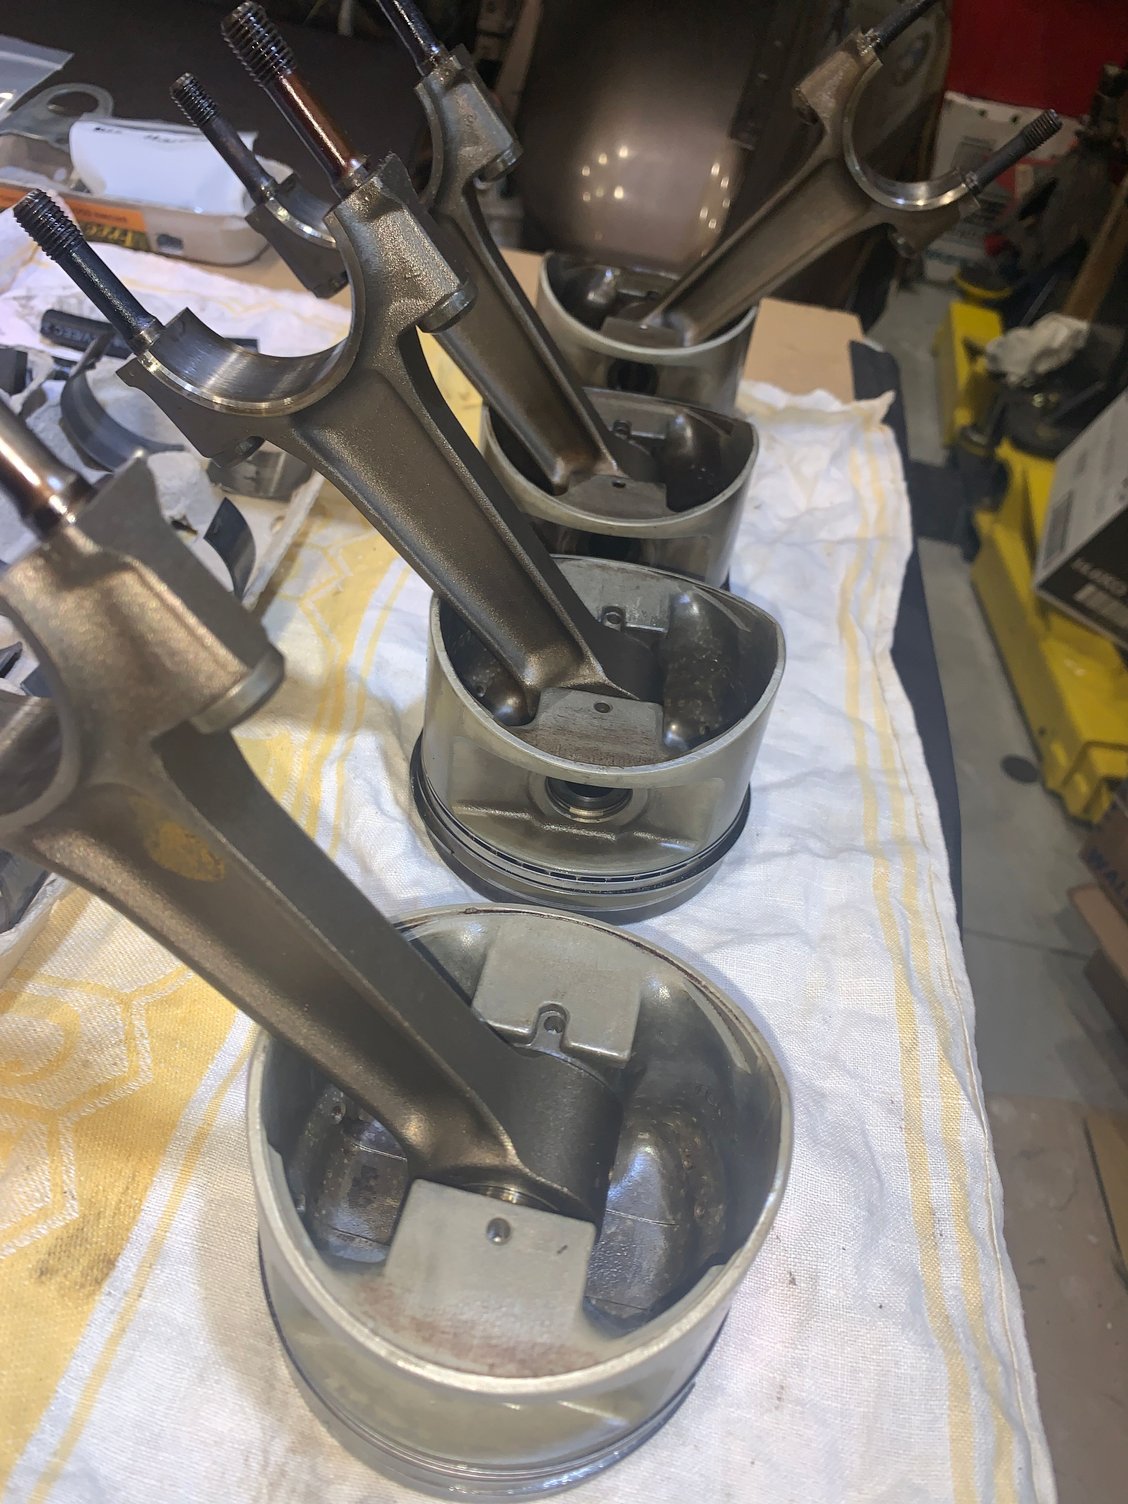
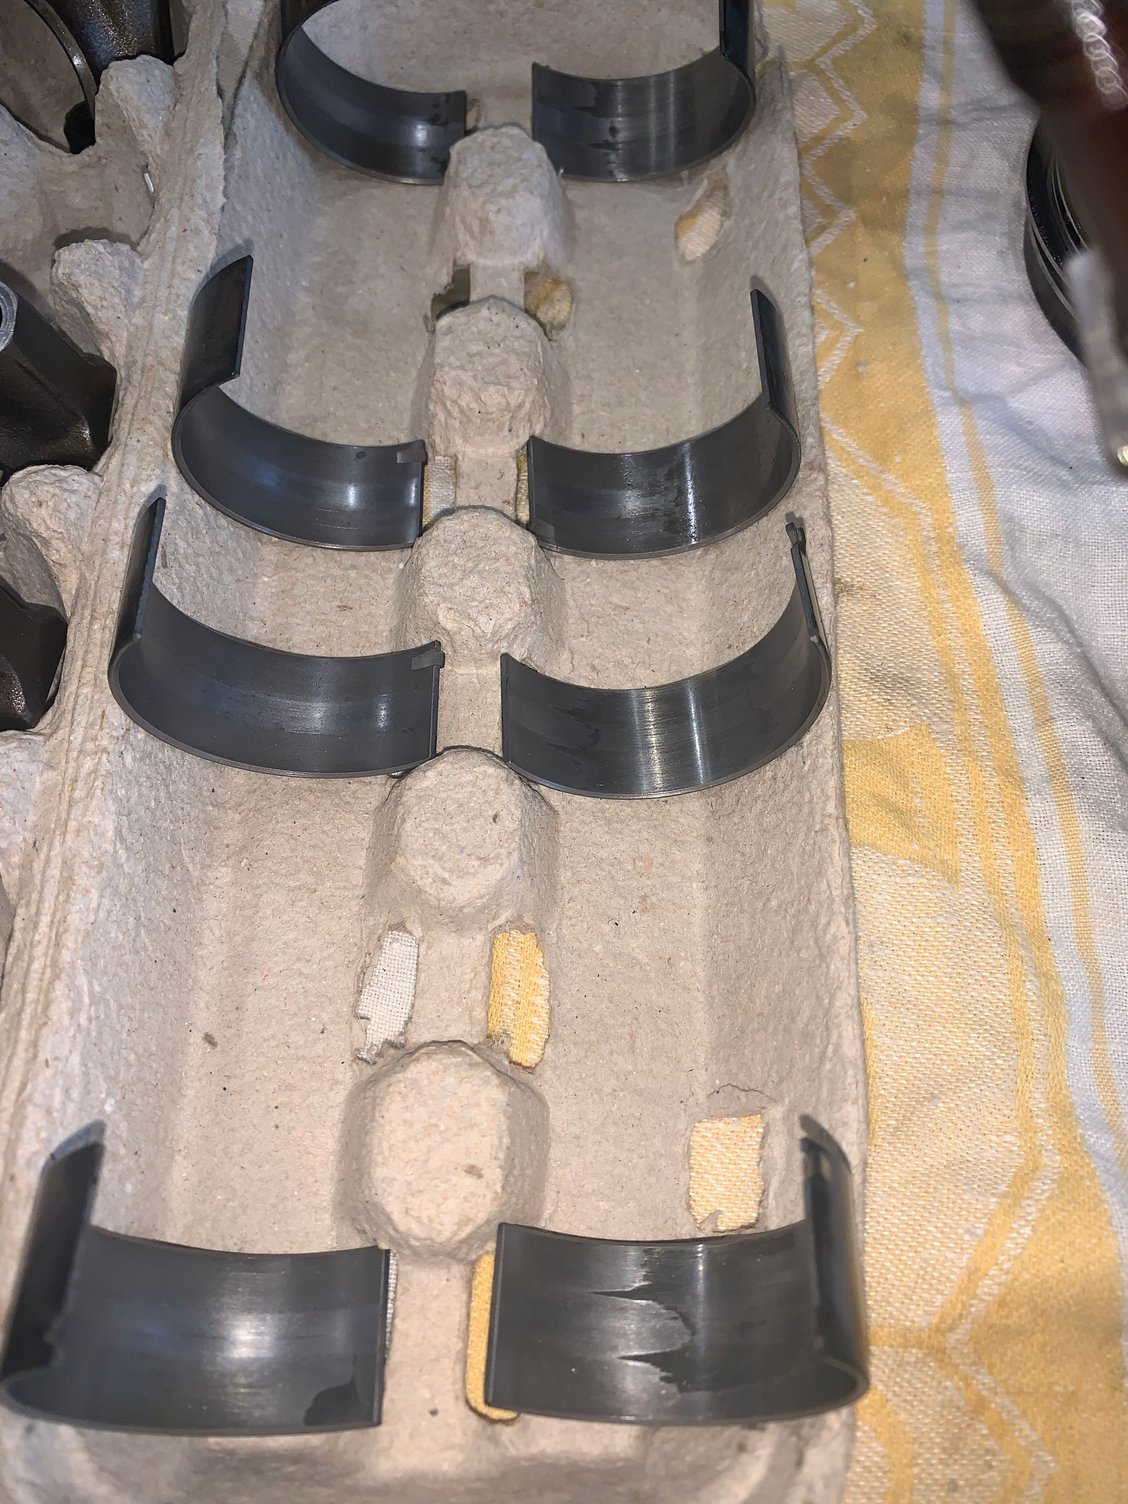
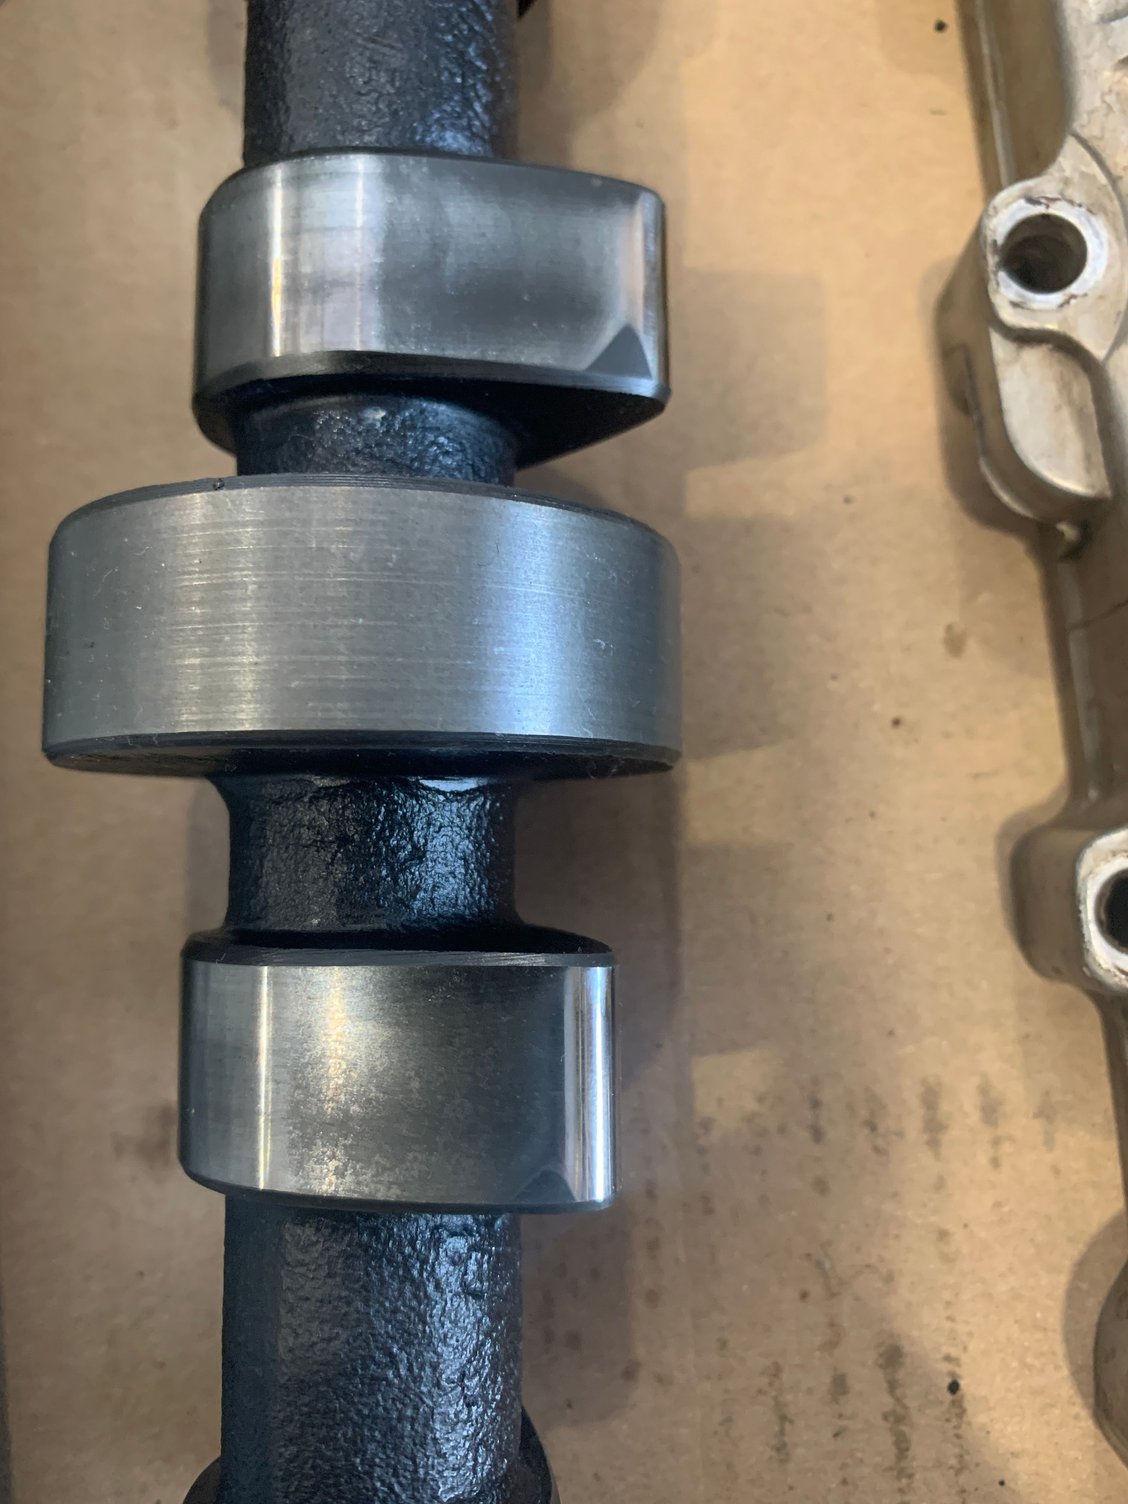
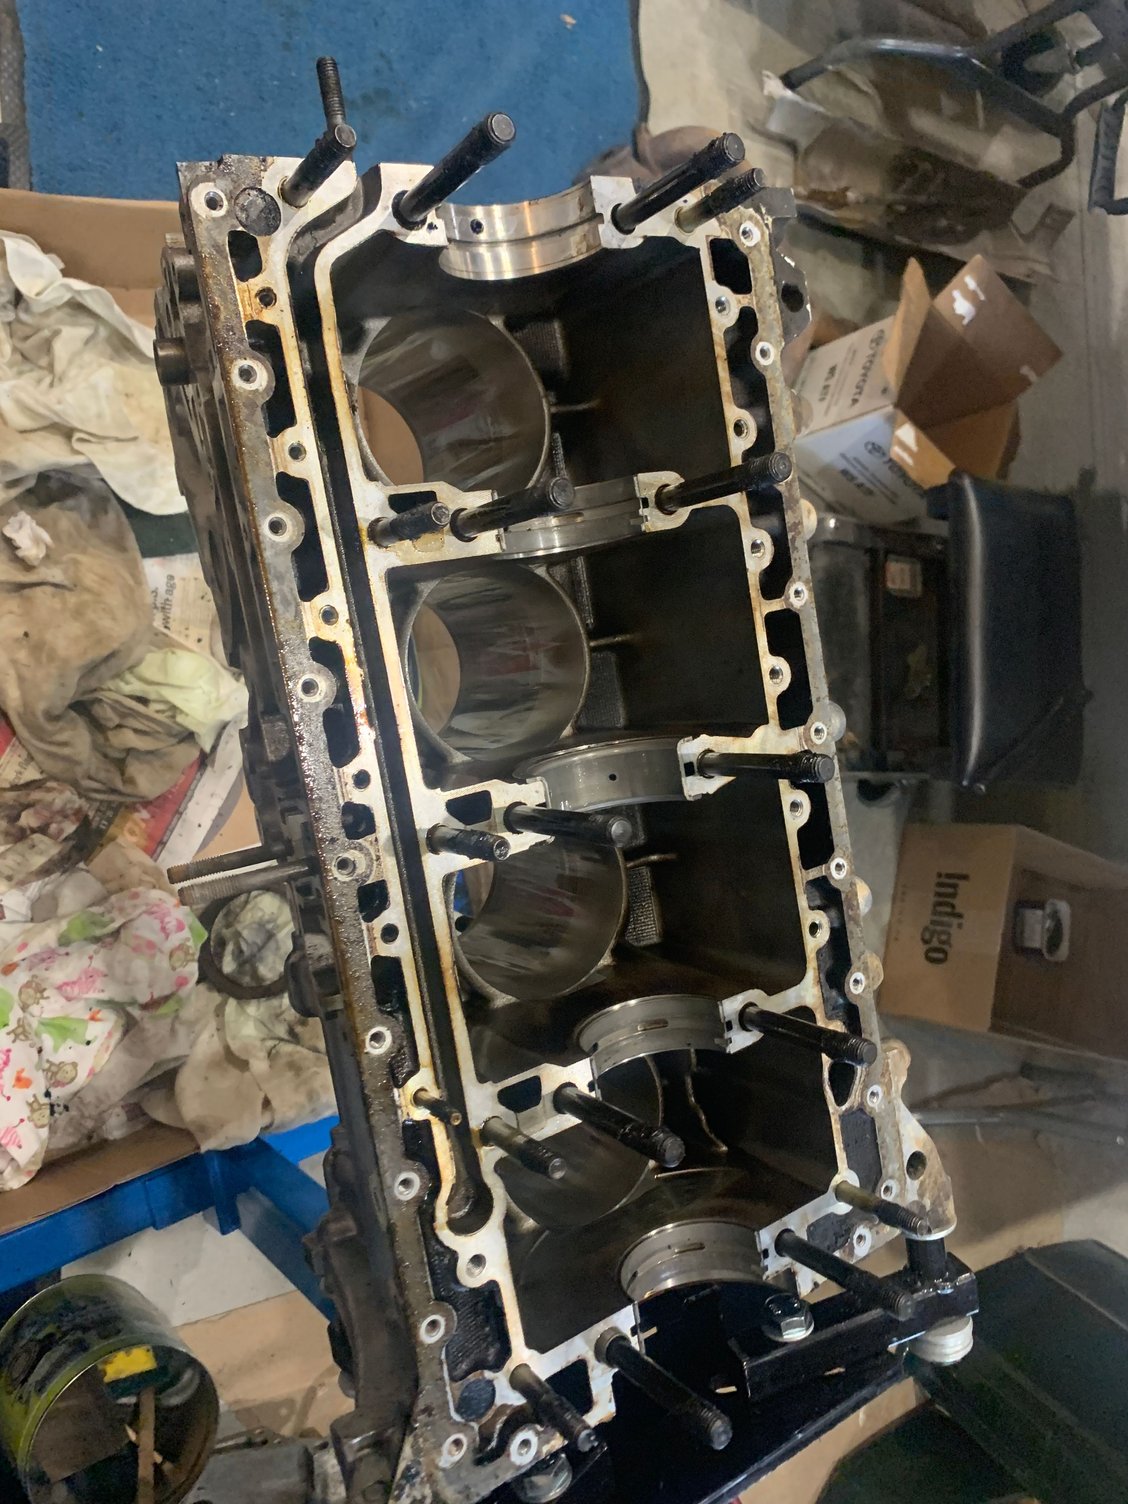
Looks like I have the foraged rods Im surprised to see the pistons and rings look pretty good to me. Not dirty like I expected and a little wear on the skirts Rod bearings look worn but not horrible Most of the lobes on the cam have this slight wear which I have found is pretty normal? Well the block is striped right down, the cylinders look ok to me. Couple very fine lines but nothing else really. I'll be taking to a shop to be hot tanked and rehoned unless its deemed unnecessary.
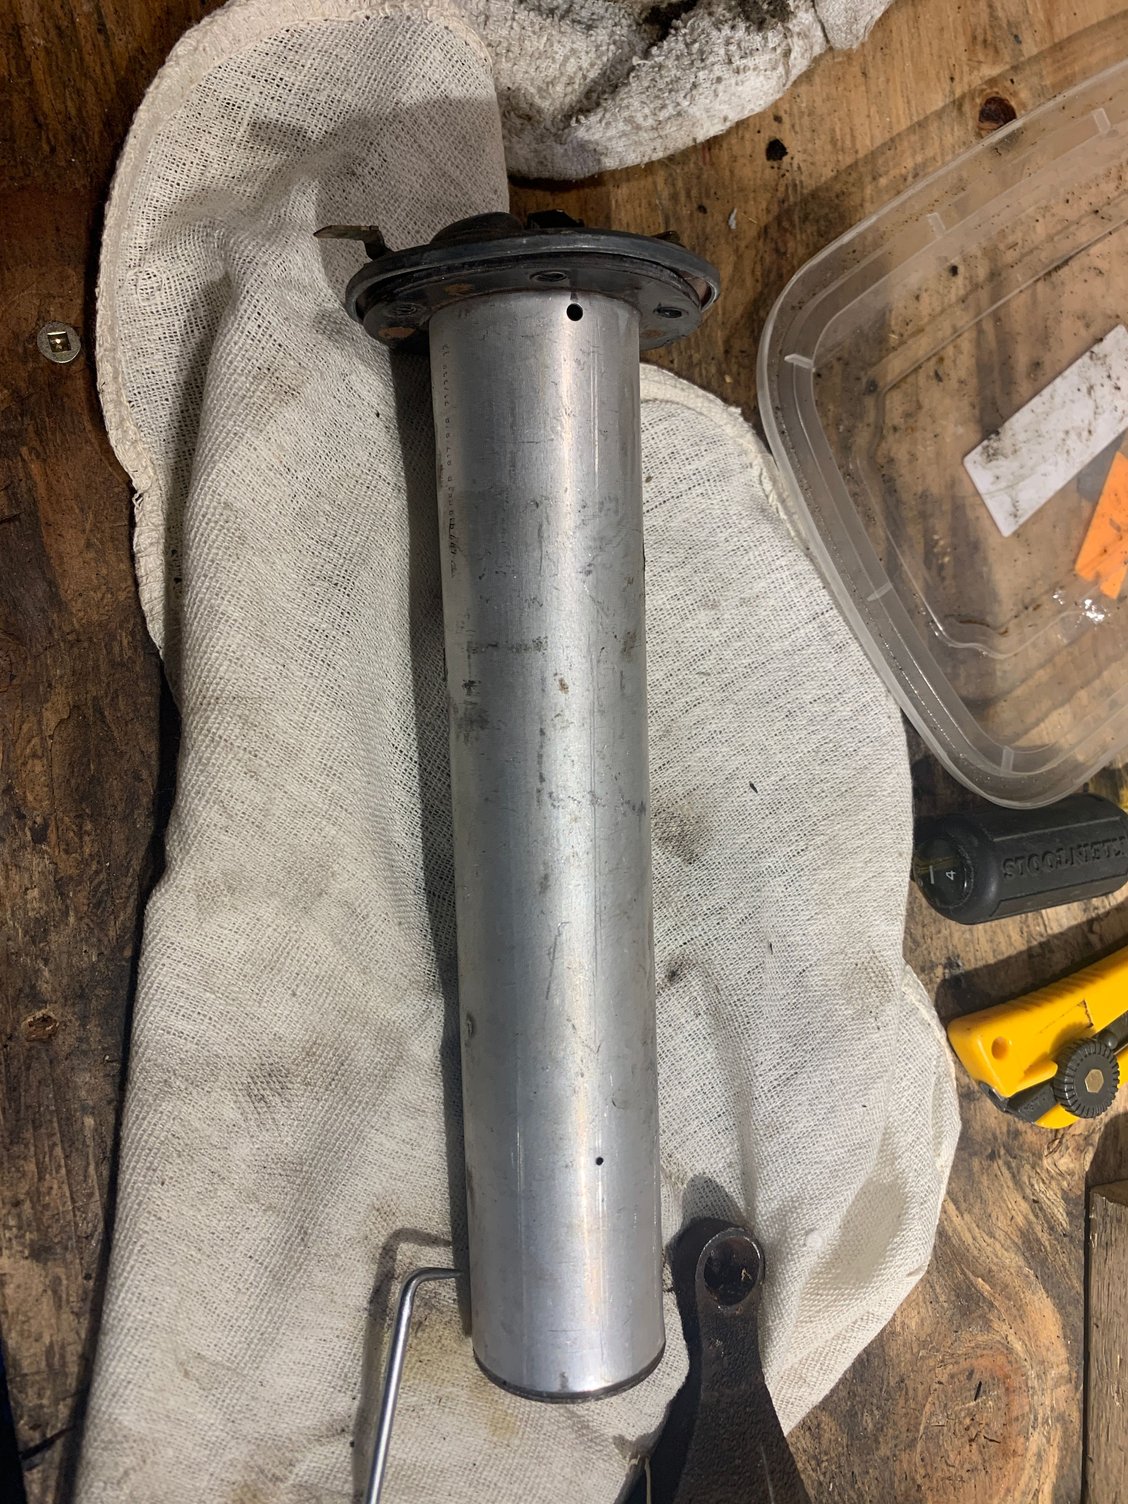
I also had some good luck and found a CL ad for a bunch of 944 parts recently. I got a very good shape clean rustfree ( mostly) gas tank and sender
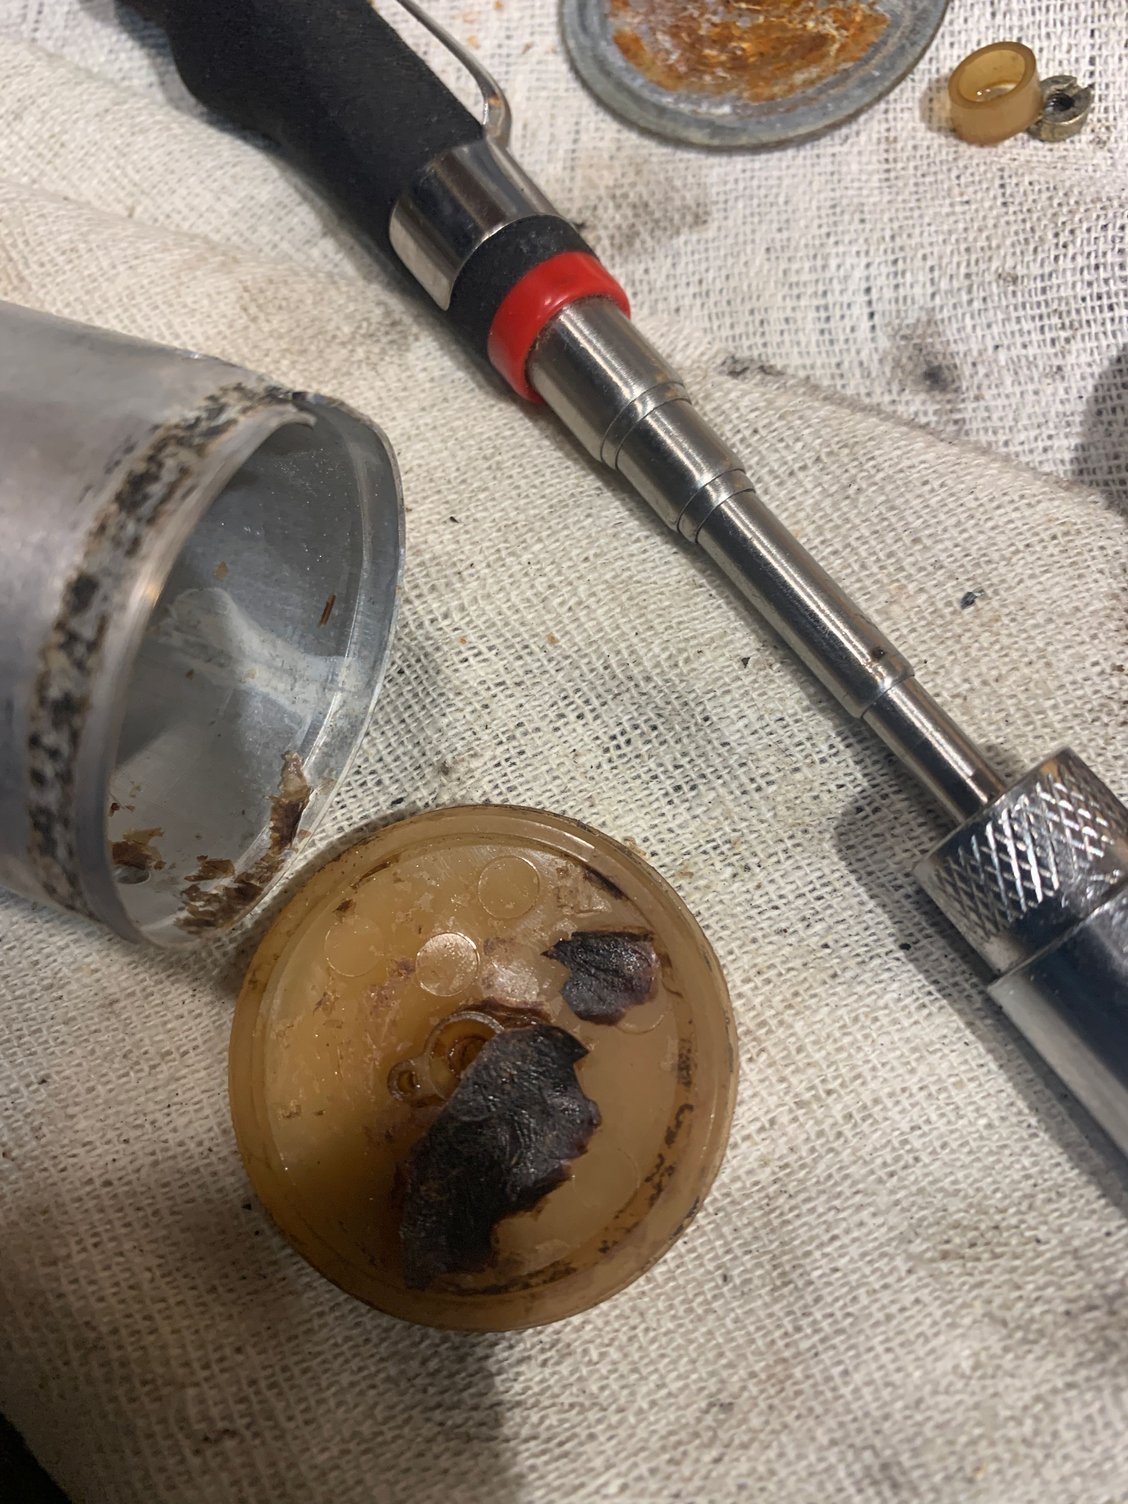
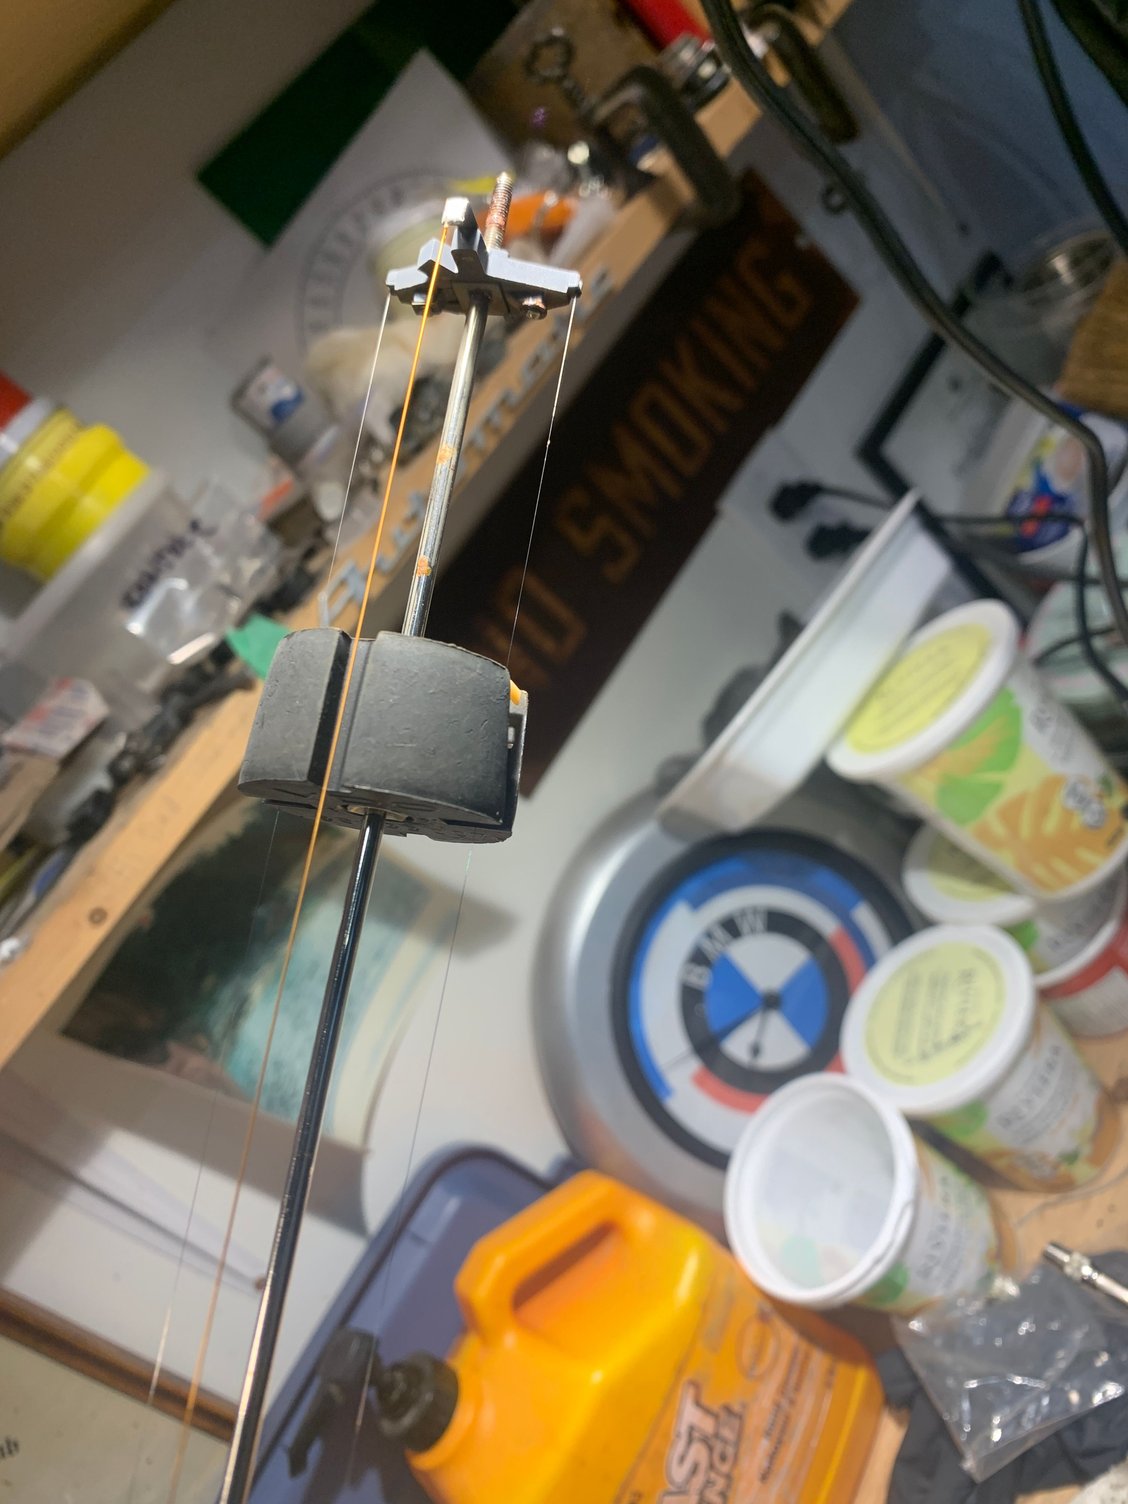
The sender had some dried up crap inside but it clean up very nicely
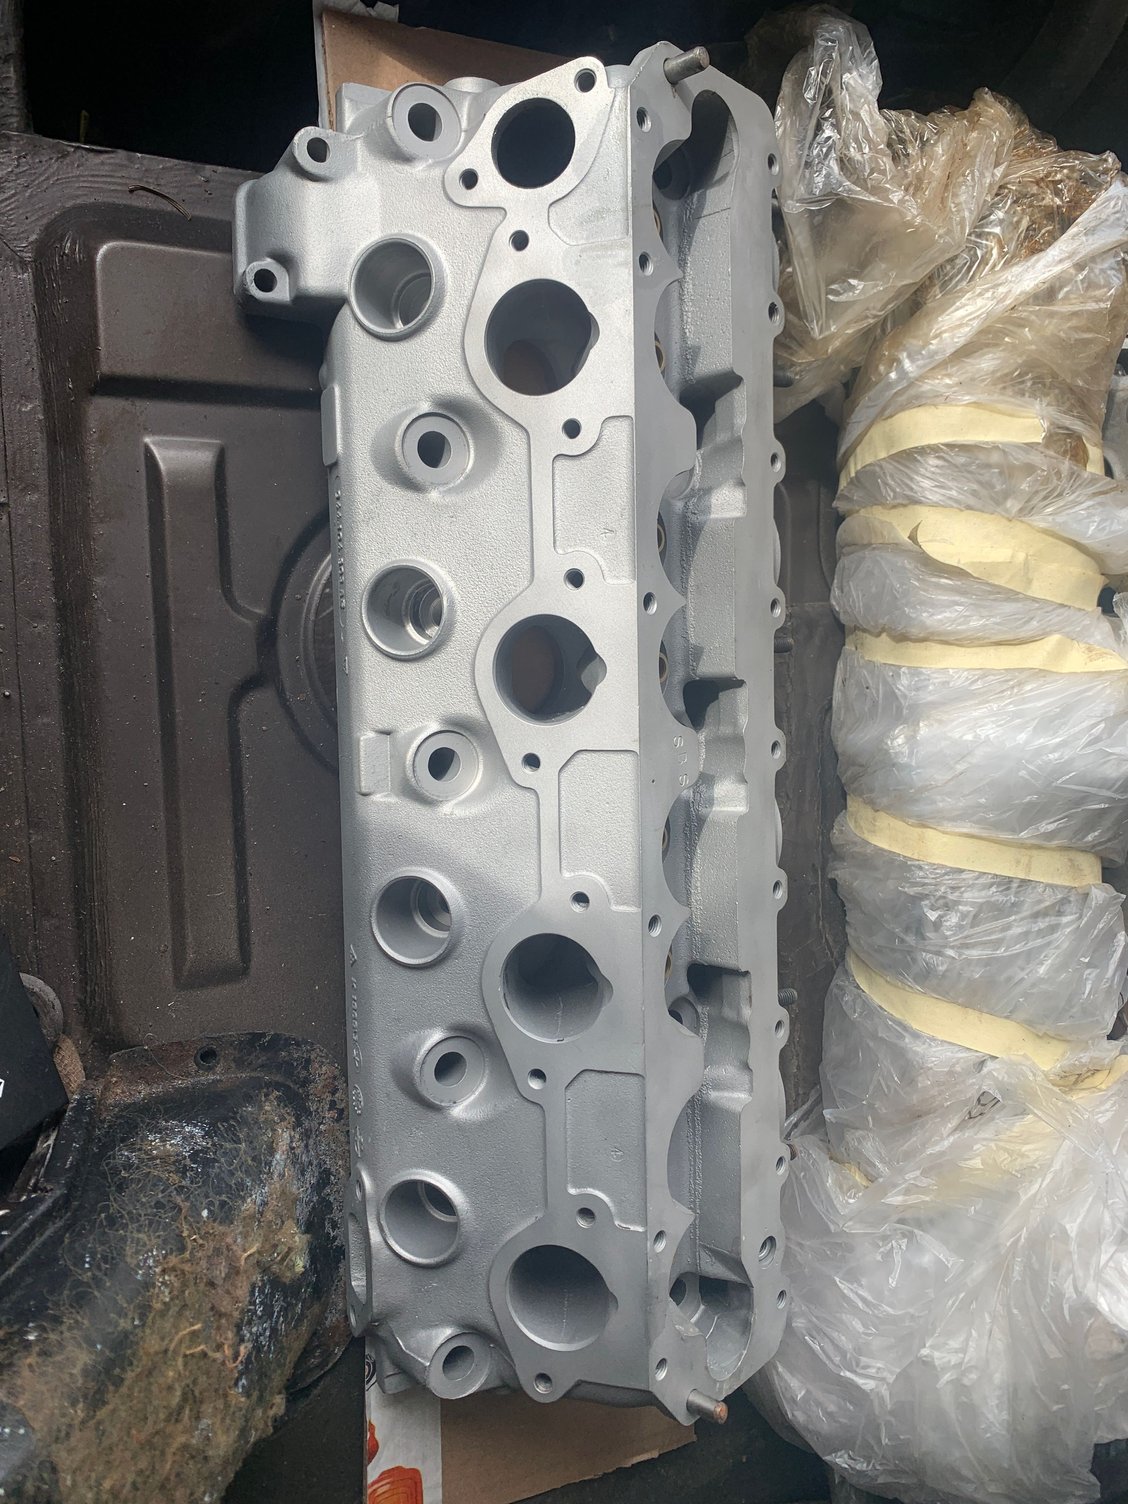
I also got a decent used OEM muffler to replace the damaged one that came with the car. And a cleaned and beadblasted head. I still need to check that out and see if its better than the one thats come off the engine
I've been cleaning parts and going to be using a buddies blast cabinet to sand and bead blast a bunch of the corroded parts. We'll also be trying walnut blasting and see how that does on the aluminum parts.
Last edited by maybeillbuyit; 04-04-2022 at 03:29 AM.
Reason: added info
Well the block is striped right down, the cylinders look ok to me. Couple very fine lines but nothing else really. I'll be taking to a shop to be hot tanked and rehoned unless its deemed unnecessary.
NO HONING PLEASE!
At least not in the conventional method. Great caution is needed here unless the machine shop is experienced with Alusil blocks and the specialized processes associated with them. Even a conventional tank cleaning process can ruin this block.
NO HONING PLEASE!
At least not in the conventional method. Great caution is needed here unless the machine shop is experienced with Alusil blocks and the specialized processes associated with them. Even a conventional tank cleaning process can ruin this block.
No worries Gage, thx for the heads up. I read up on the Sunnen Alusil rehone method and searched around for someone knowledgeable . The machine shop I contacted was recommended to me by an independent Porsche shop as the the best Alusil guy in town. The machine shop owner talked with me for a while and told me all about the 944, 928 and 911 engines hes rebuilt over the years. He seemed like a great guy. I'll also inquire about cleaning methods he uses for alusil blocks, I hadn't heard they were easily. damaged during cleaning
Last edited by maybeillbuyit; 04-06-2022 at 12:34 AM.
Reason: added info
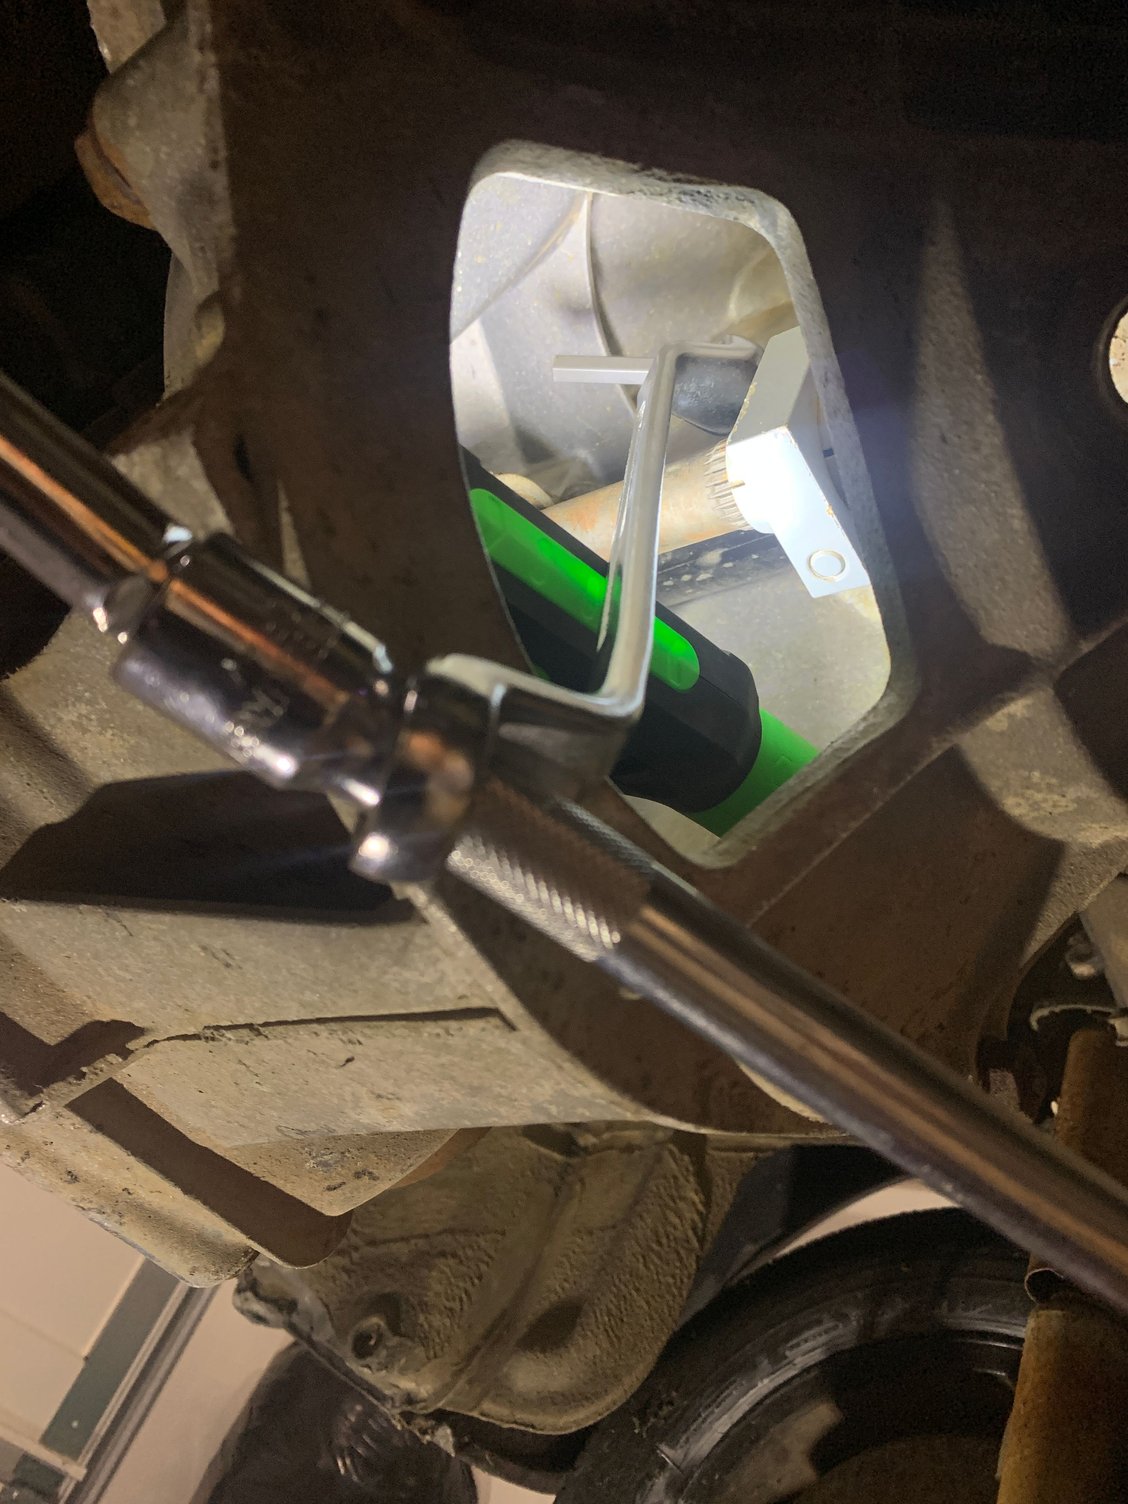
OK so more work on the TT connector problem today. I found what looks like a brand new clutch master installed but no hose connected from the res. just a plastic cap covering the feed line in the master. Despite it being new 28 years ago I'm sure its toast and I'll be replacing it. Since the clutch system wasn't even hooked up I looked at the clutch slave area on the bell housing and realized I could pry on the throw out bearing release fork. I did that but even with pressure released on the clutch disk, I still couldn't get the TT to rotate. I guess the disk is rusted and seized to the pressure plate? Not sure. I wasn't sure what to do to gain access to the rear bolt on that connector, which is pointing straight up. Then I dreamed up this hack:
L shaped allen key, with an offset box wrench and some socket extensions as leverage to twist the allen key. It worked first try to pop that allen bolt loose. I was surprised and happy to figure that out. Maybe something like this is old hat for you guys who've been working on these transaxle cars for years but for me this is all new.
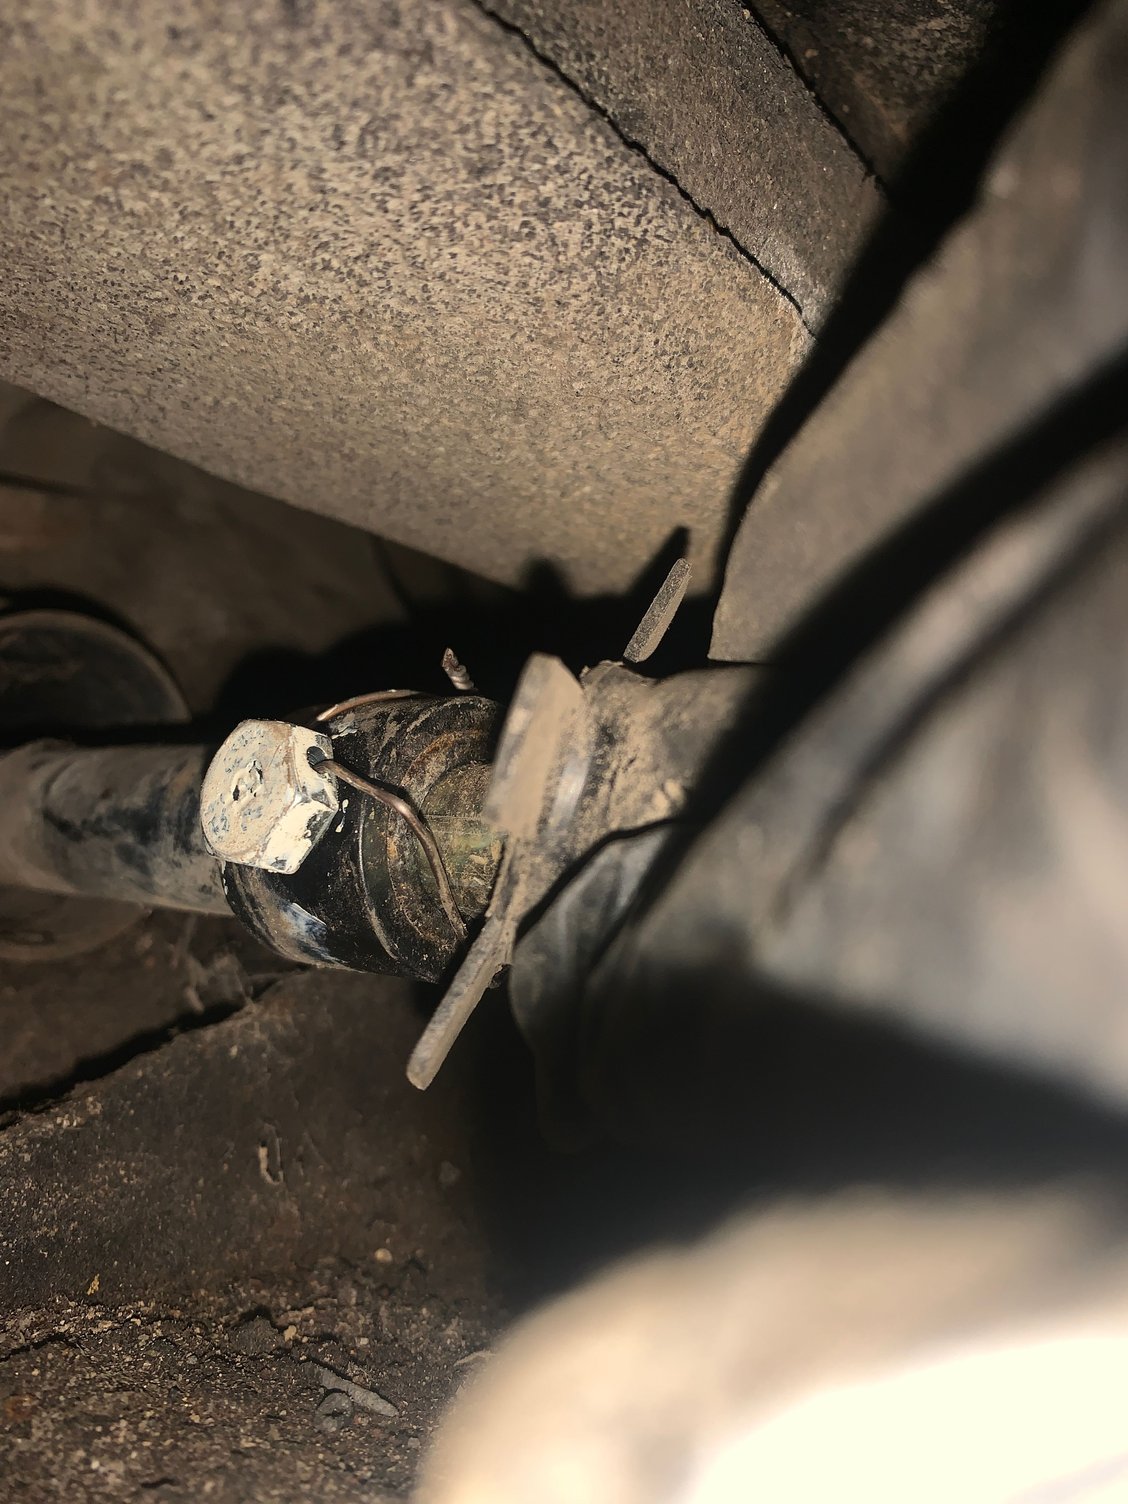
I undid the bolt that holds the shift rod linkage together. It was drilled and safety wired. Mmmm that can't be factory?
Next will be dropping the transaxle.
OK some long overdue updates. I have had my engine at very highly recommended machine shops in town for months, unfortunately the one man shop owner has had a number of family health issues lately and hasn't been working at all. Hopefully it will get resolved in the future. Until it becomes an issue with slowing me down I'm just going to leave it with him. I also have a buddy who has his engine there as well and hes doing the same. Hes used the guy for years and says it it will be fine.... We'll see
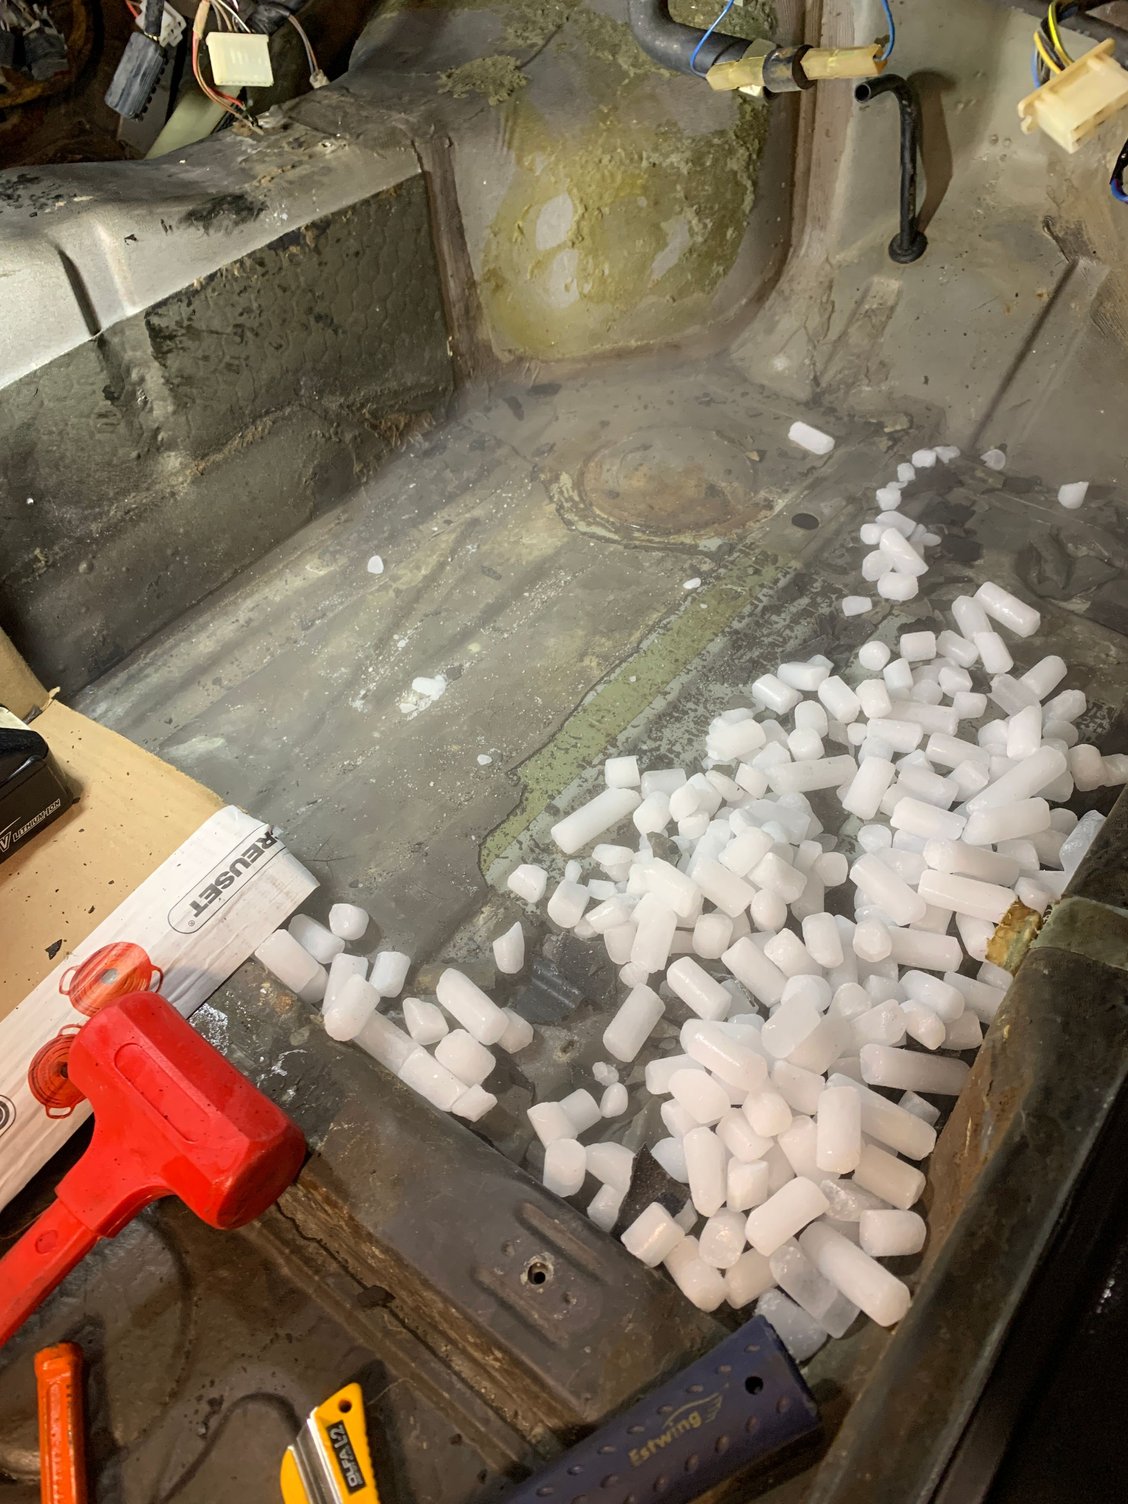
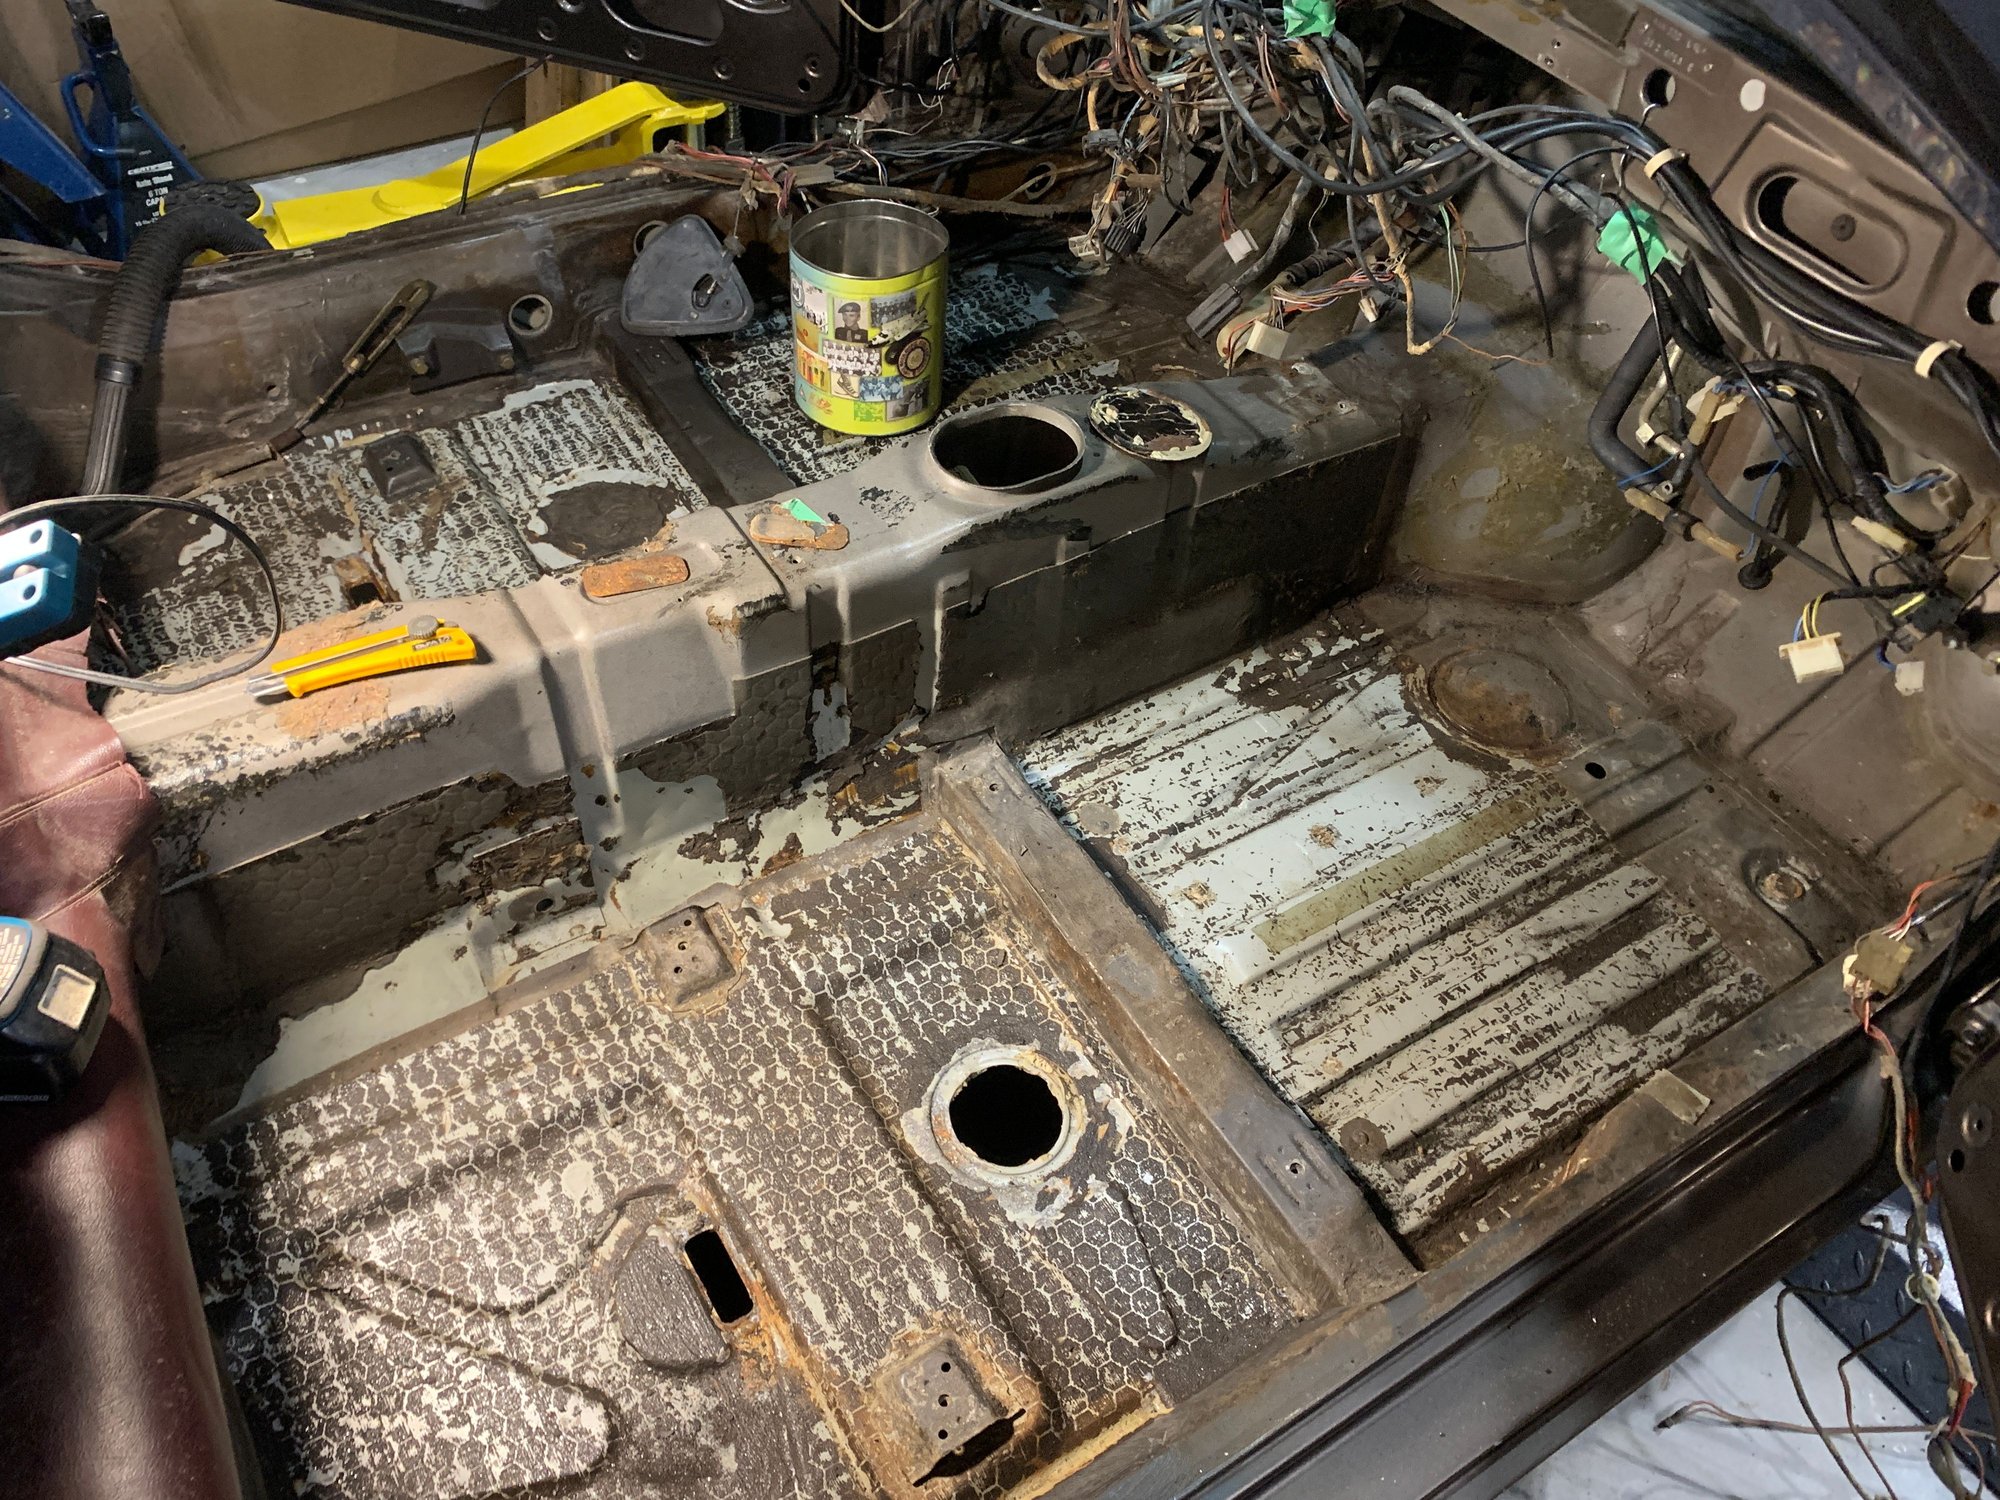
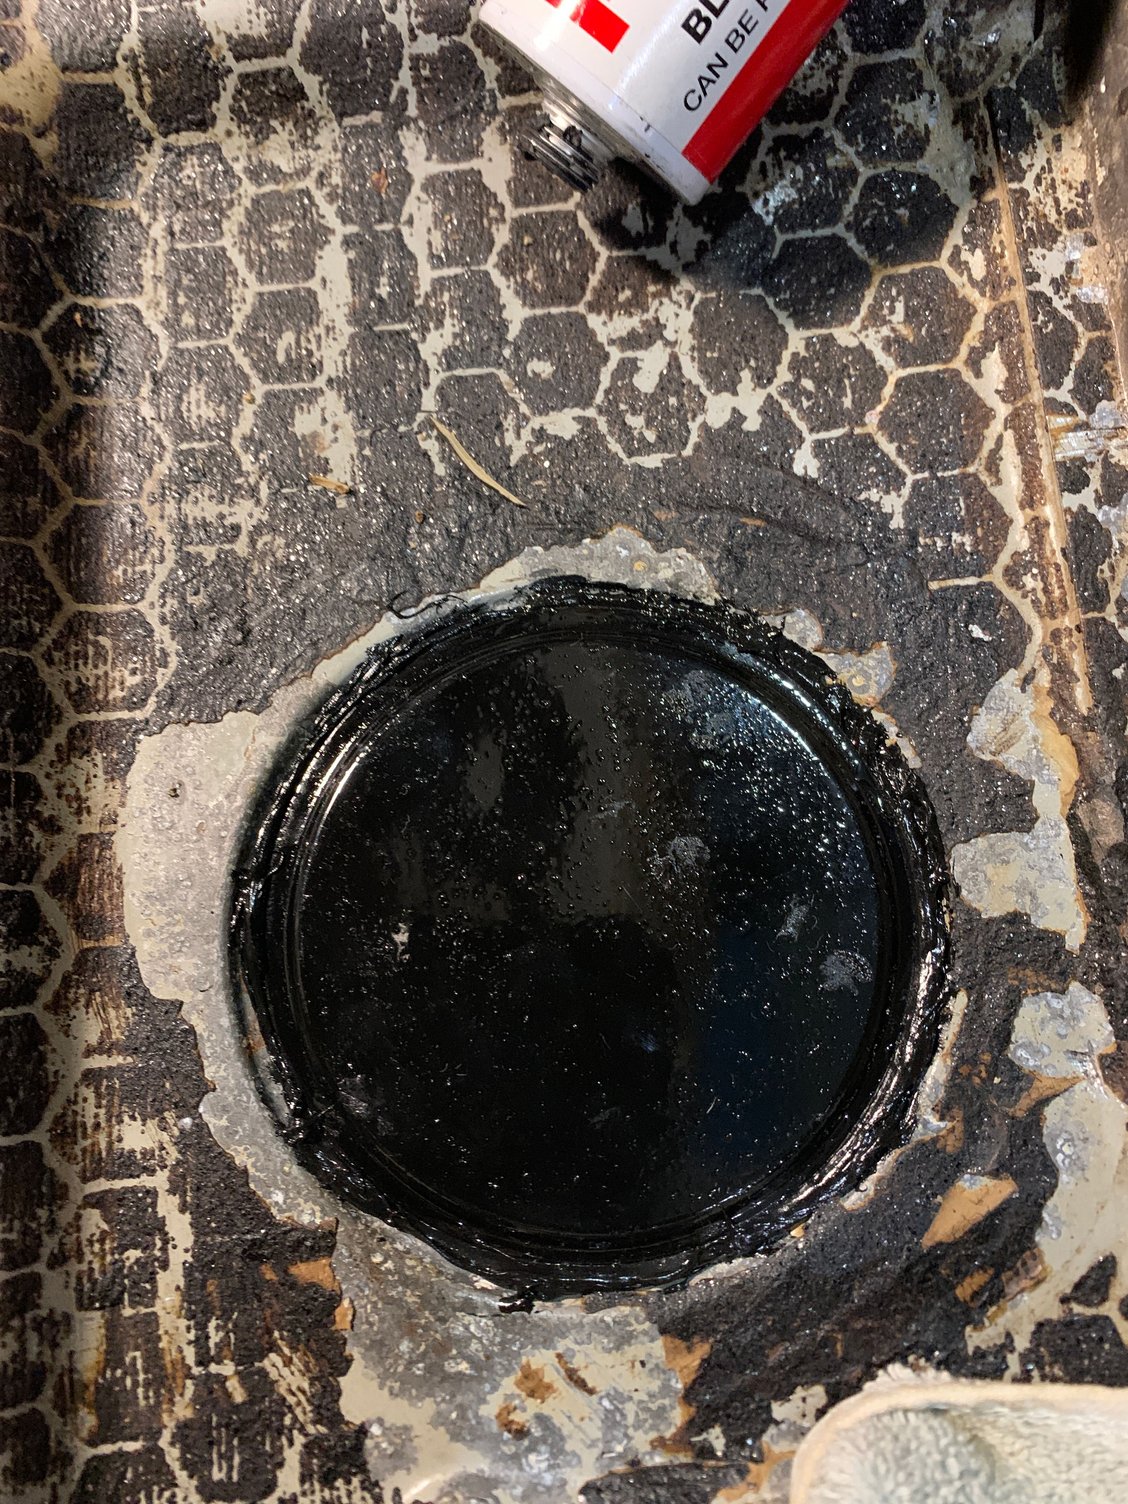
I used dry ice to remove all the tar sound deadening on the floor of the car
" target="_blank">
It took a lot more pounding than I was expecting to have to do. The floors underneath looked great but most of the body plugs were pretty rusty and all popped out
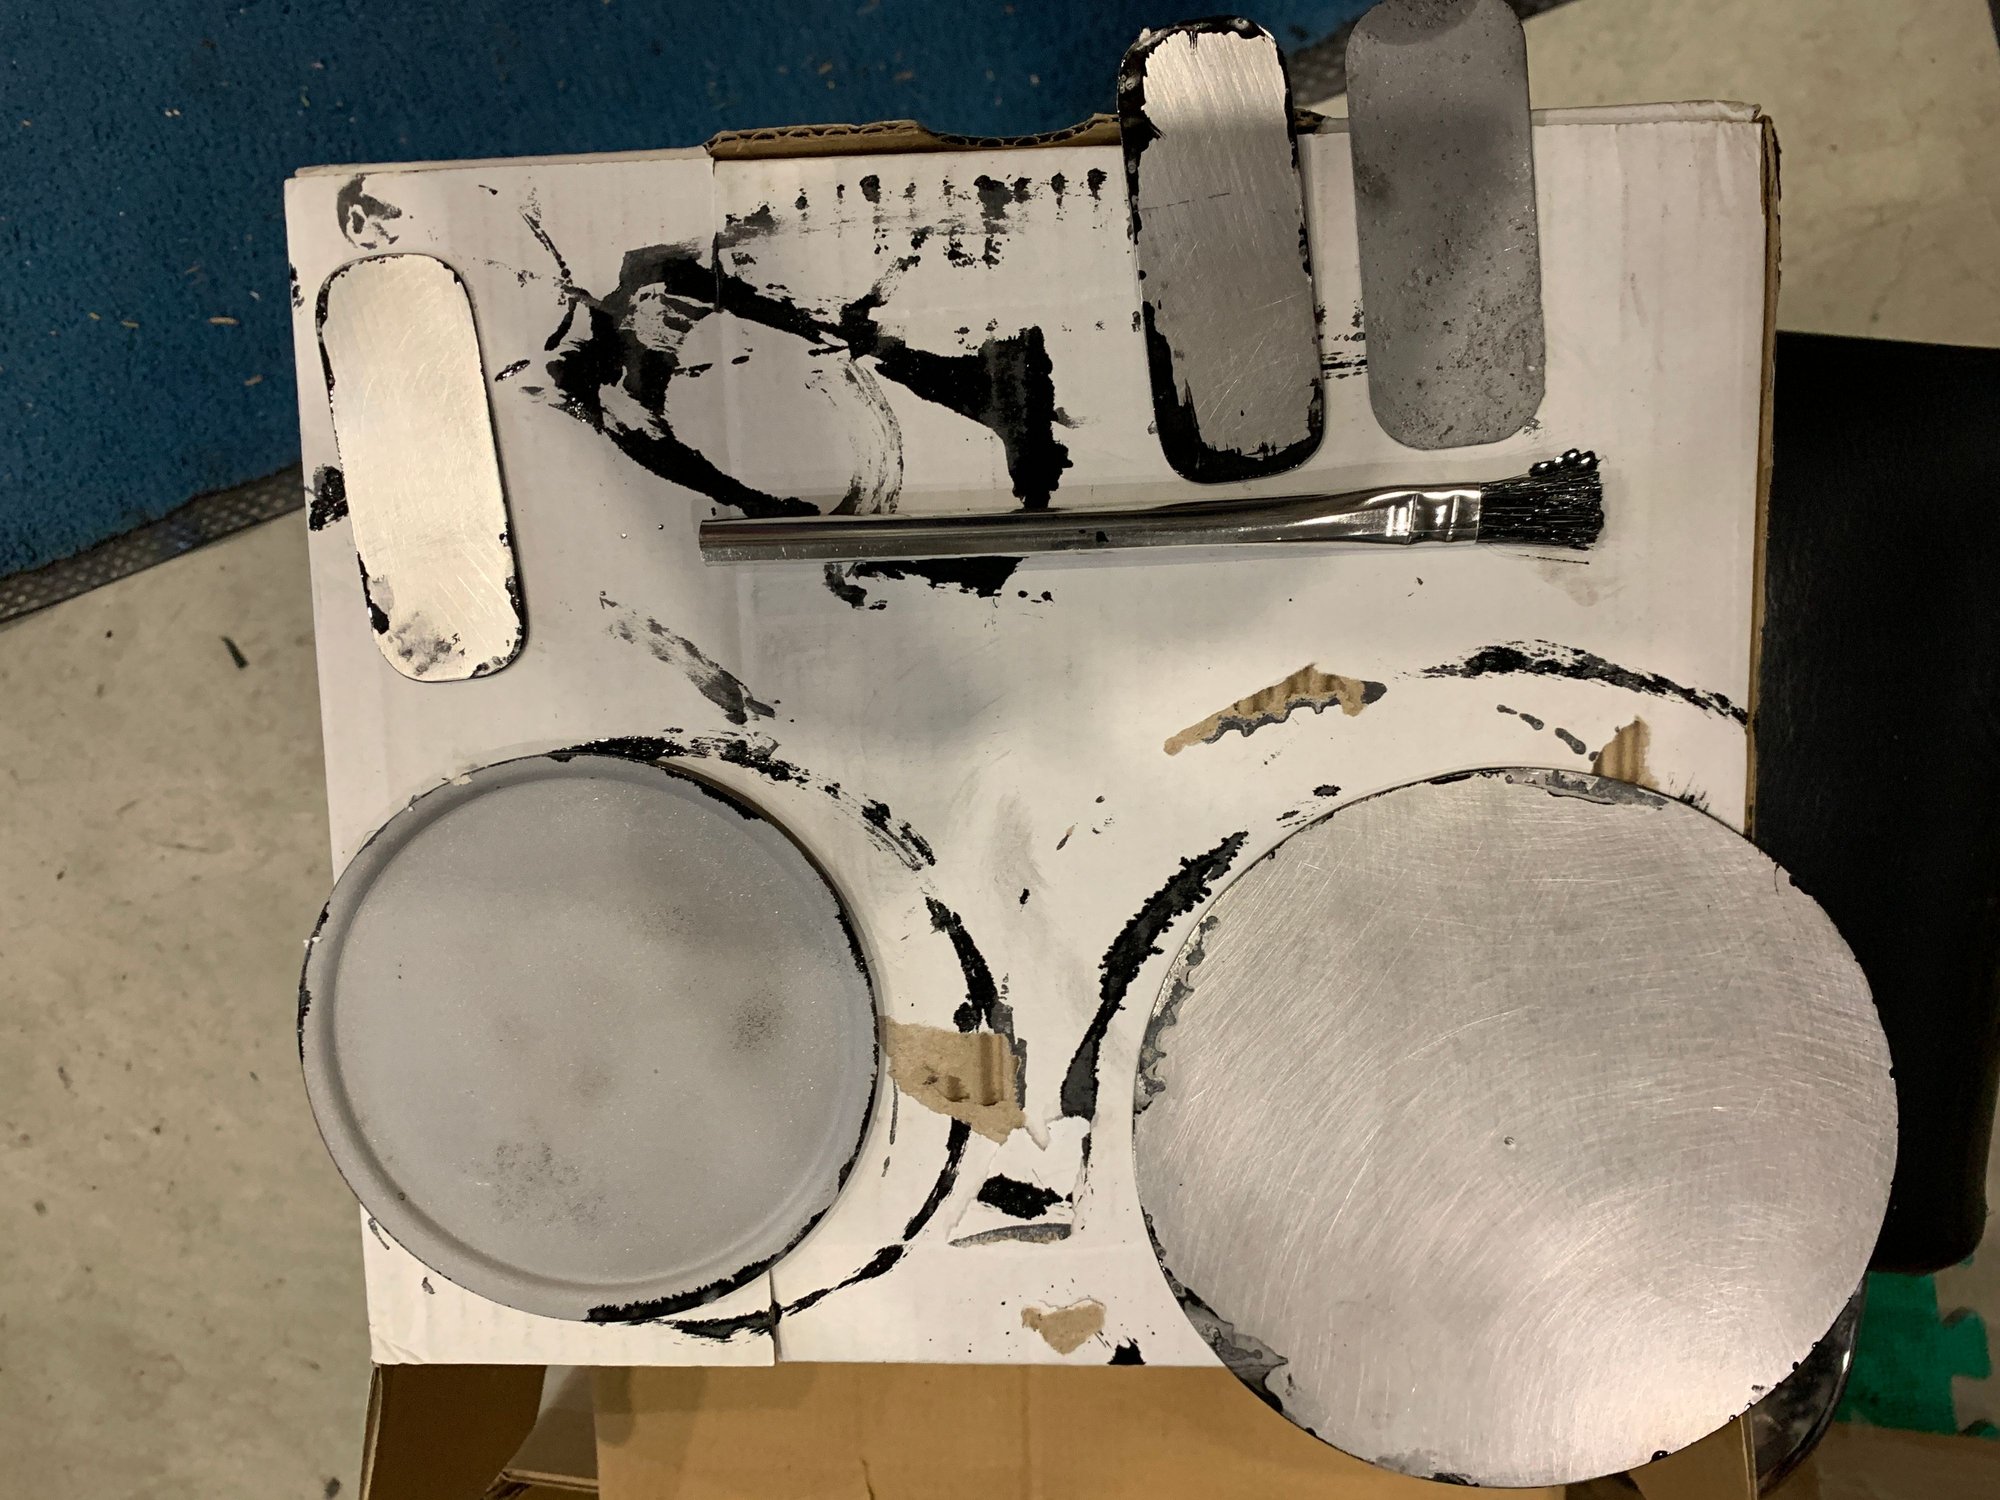
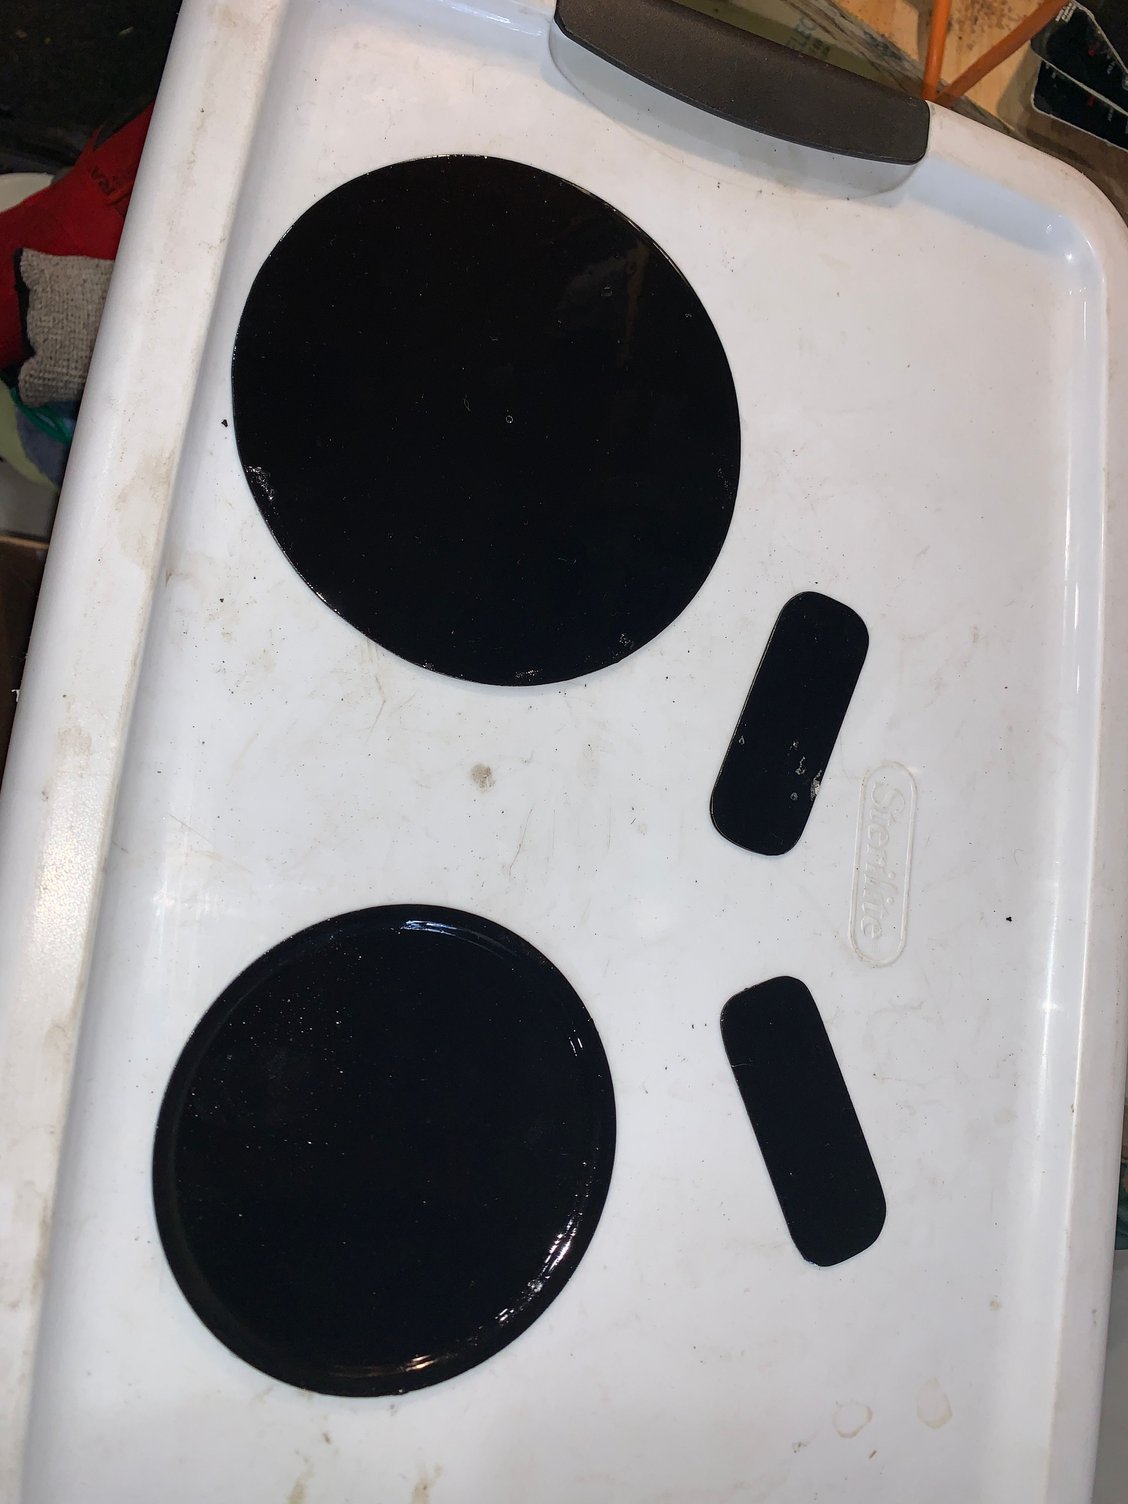
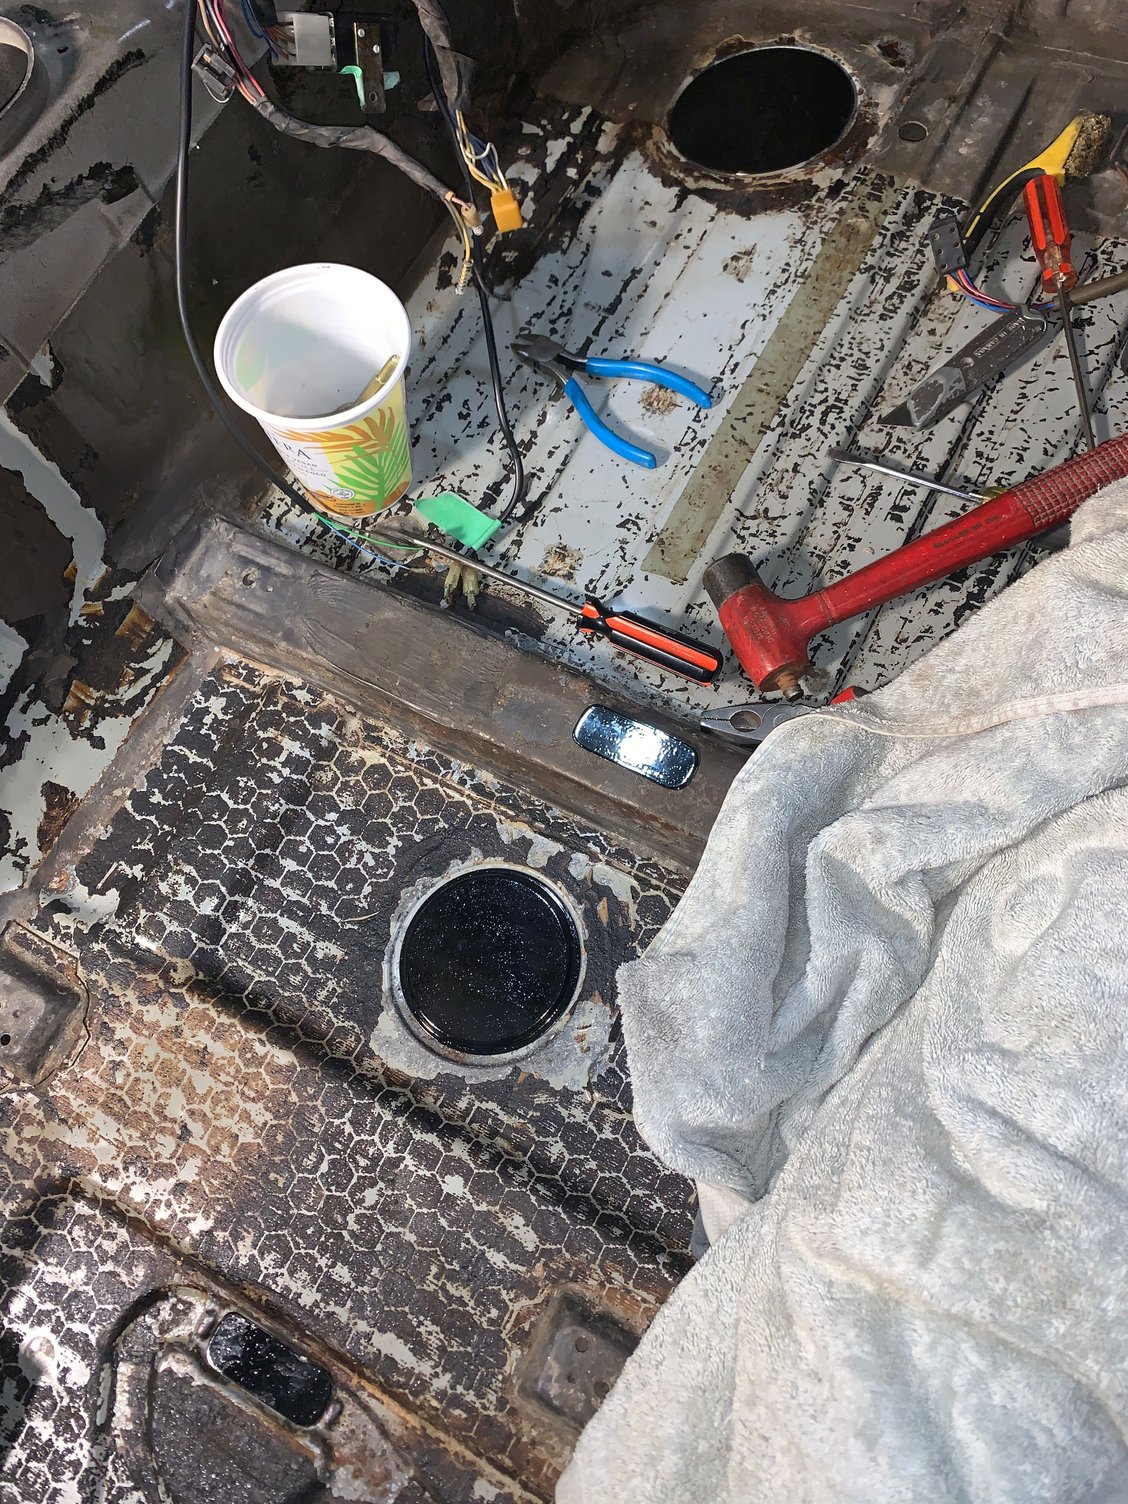
I made up stainless copies of the plugs or a few I just sand blasted and then Por15ed them all and seam sealed them back in.
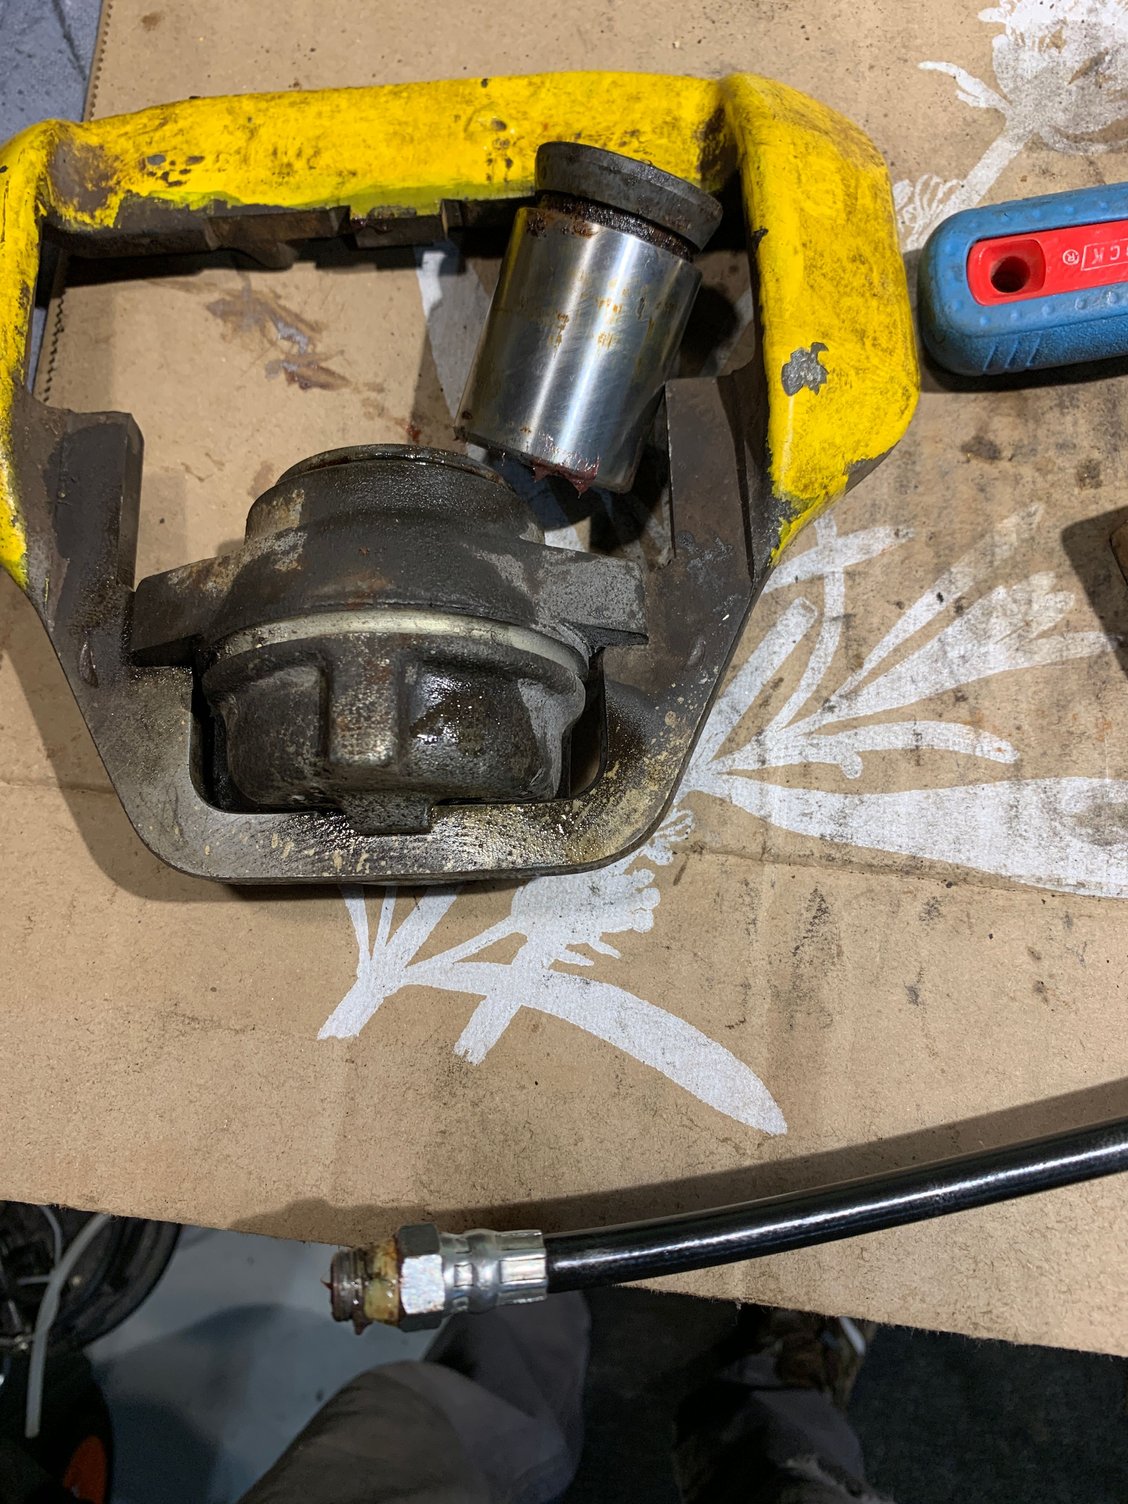
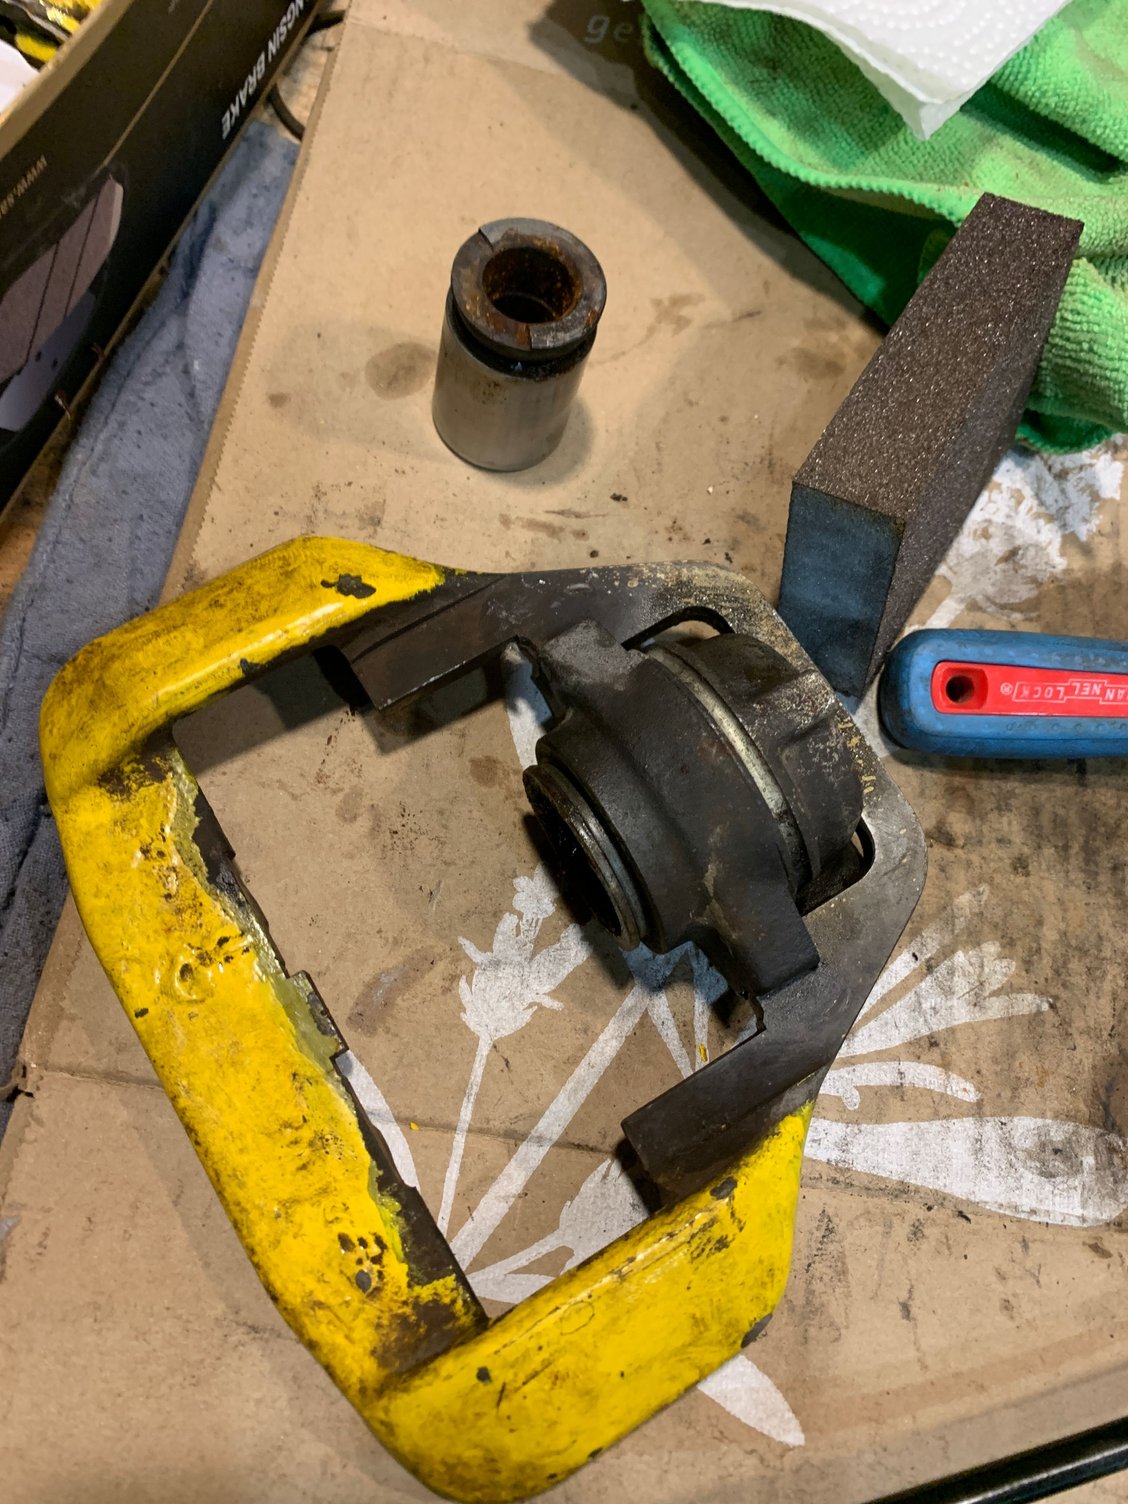
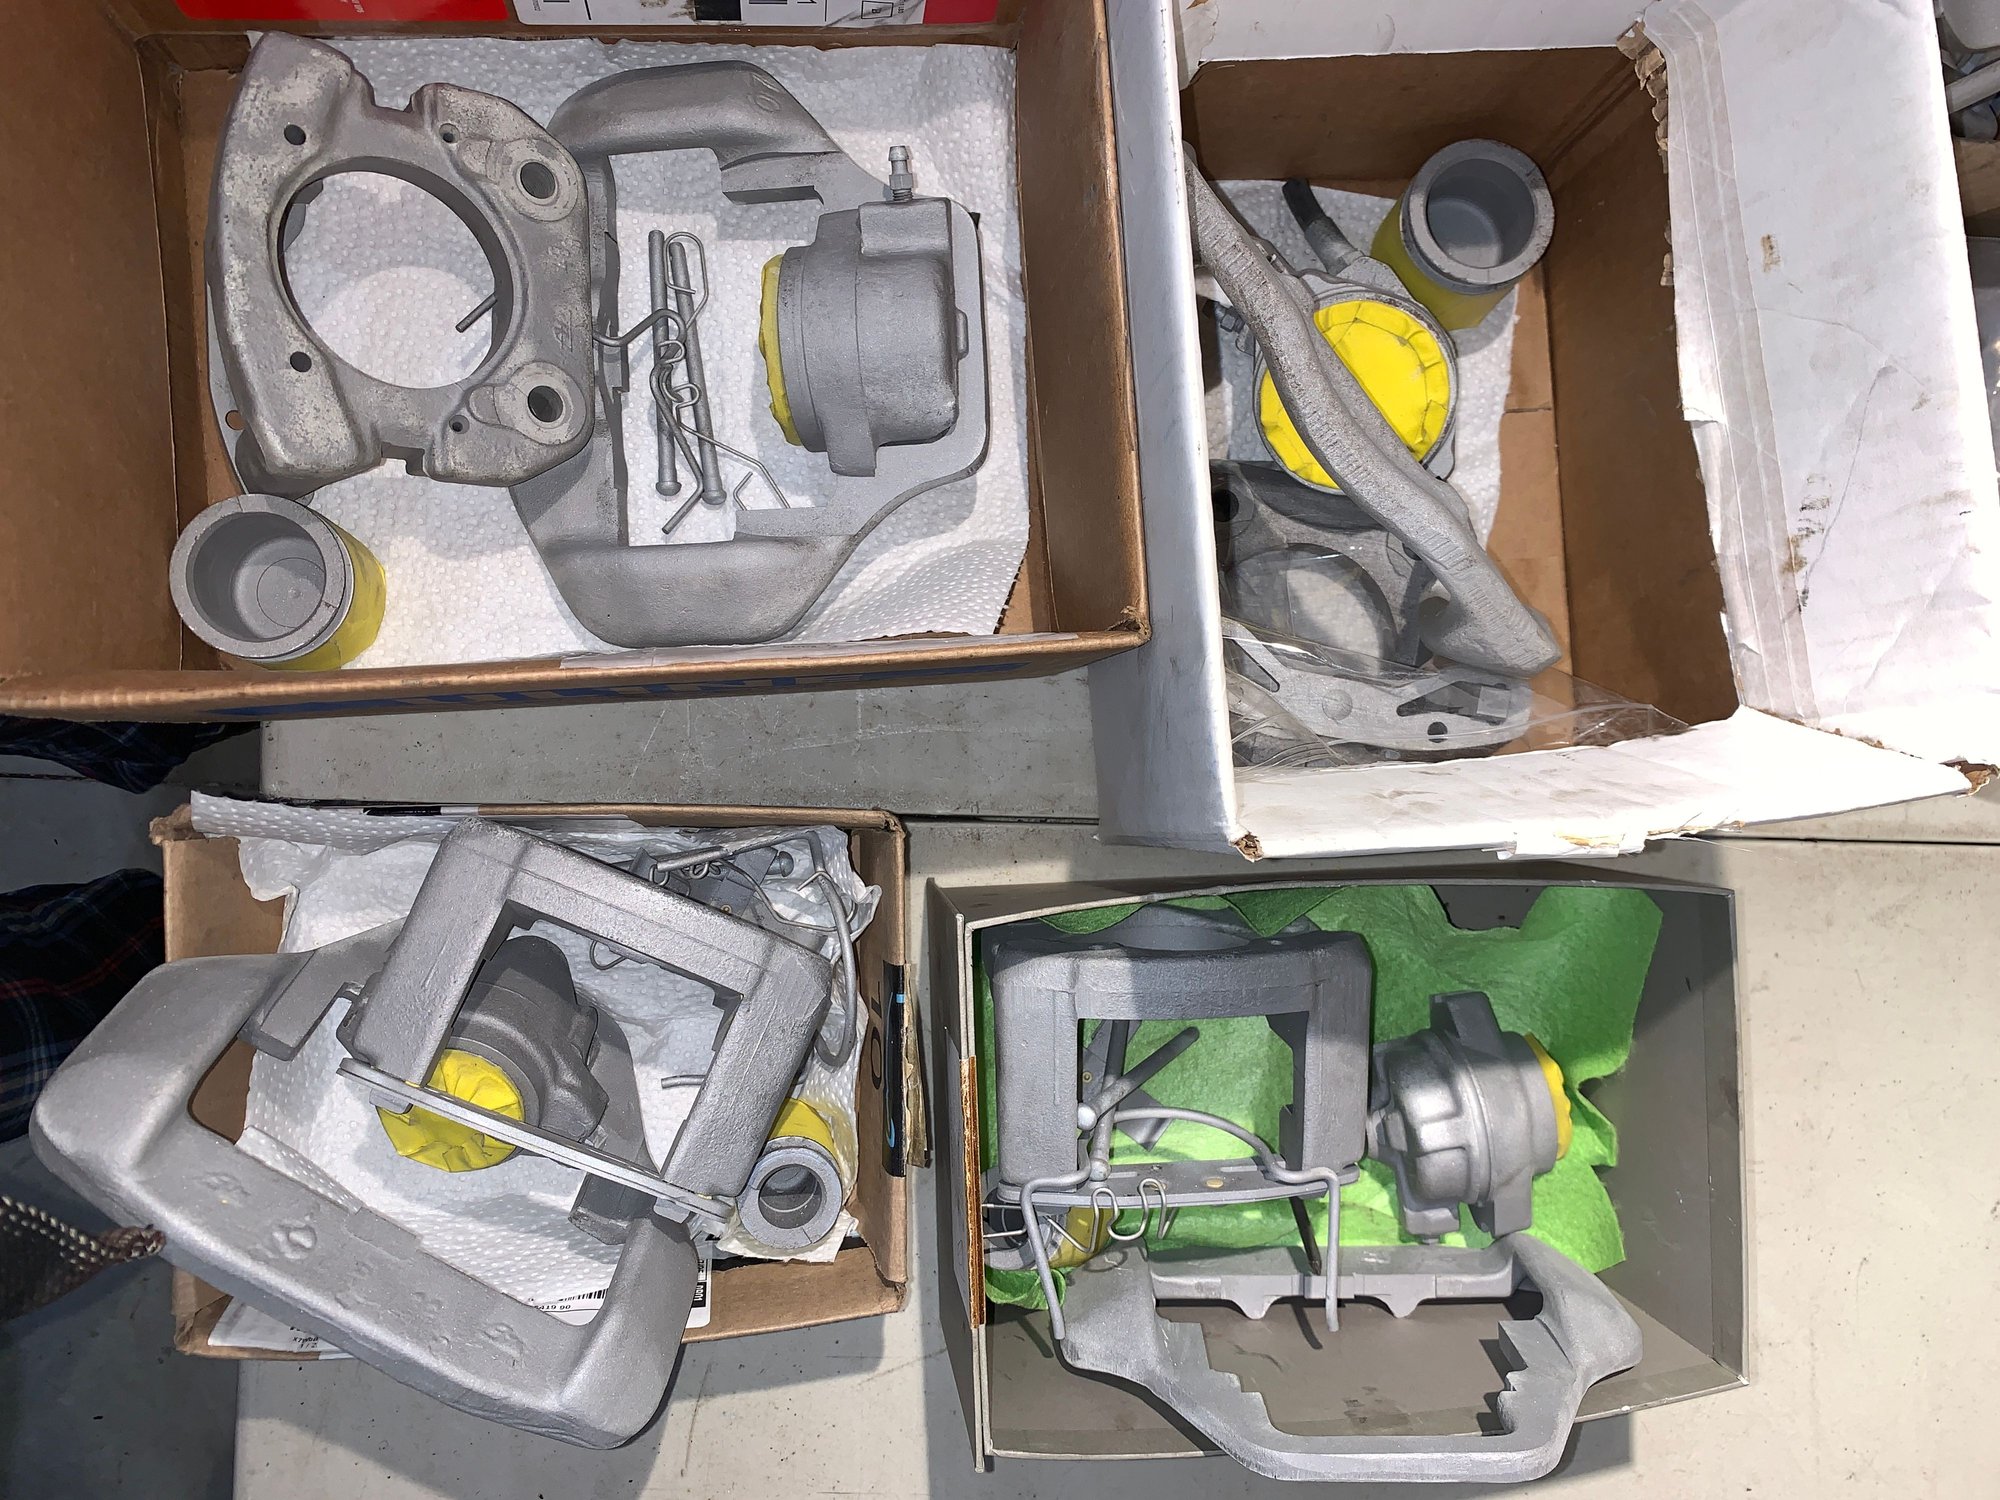
The original brake calipers in the car I assumed wern't going to be in great shape and I recently grabbed a full set of them from a junkyard. They seemed to come apart ok , with no rust on the pistons or bores
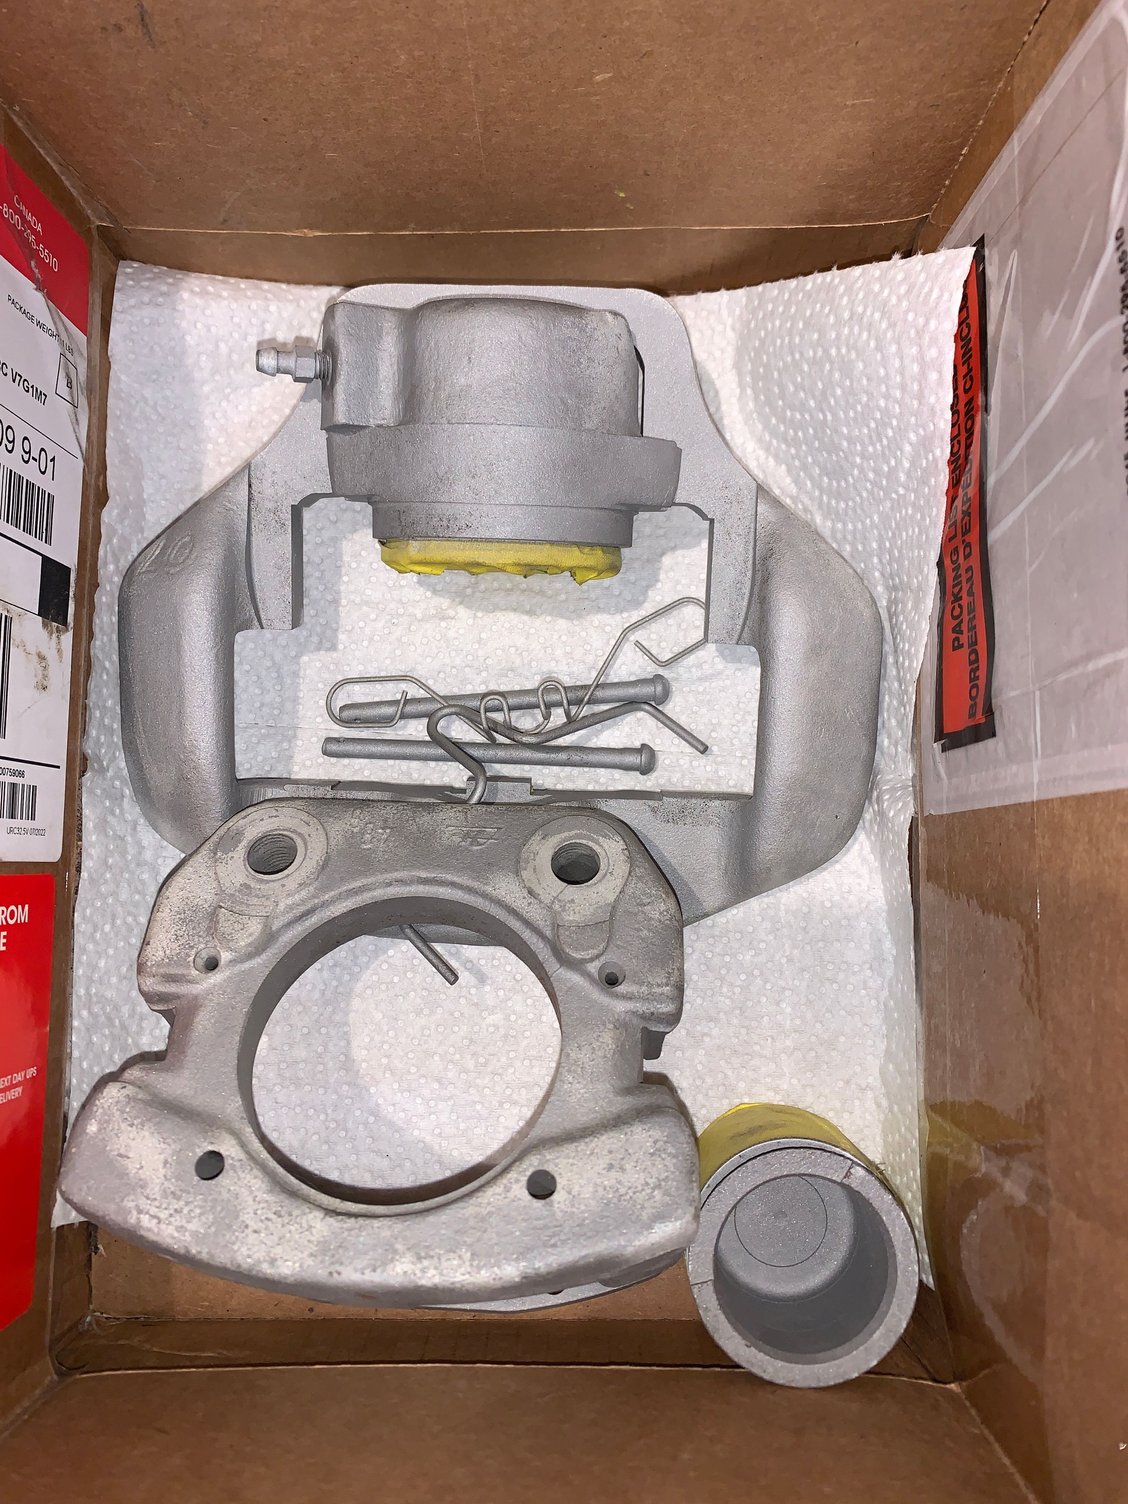
Next I bead blasted them all. Im planning on have them and a bunch of other parts yellow zinc plated. I saw the caliper hardware kits are pretty pricy for these so I blasted all the hardware and that came out ok. I'll have that plated as well but may buy new
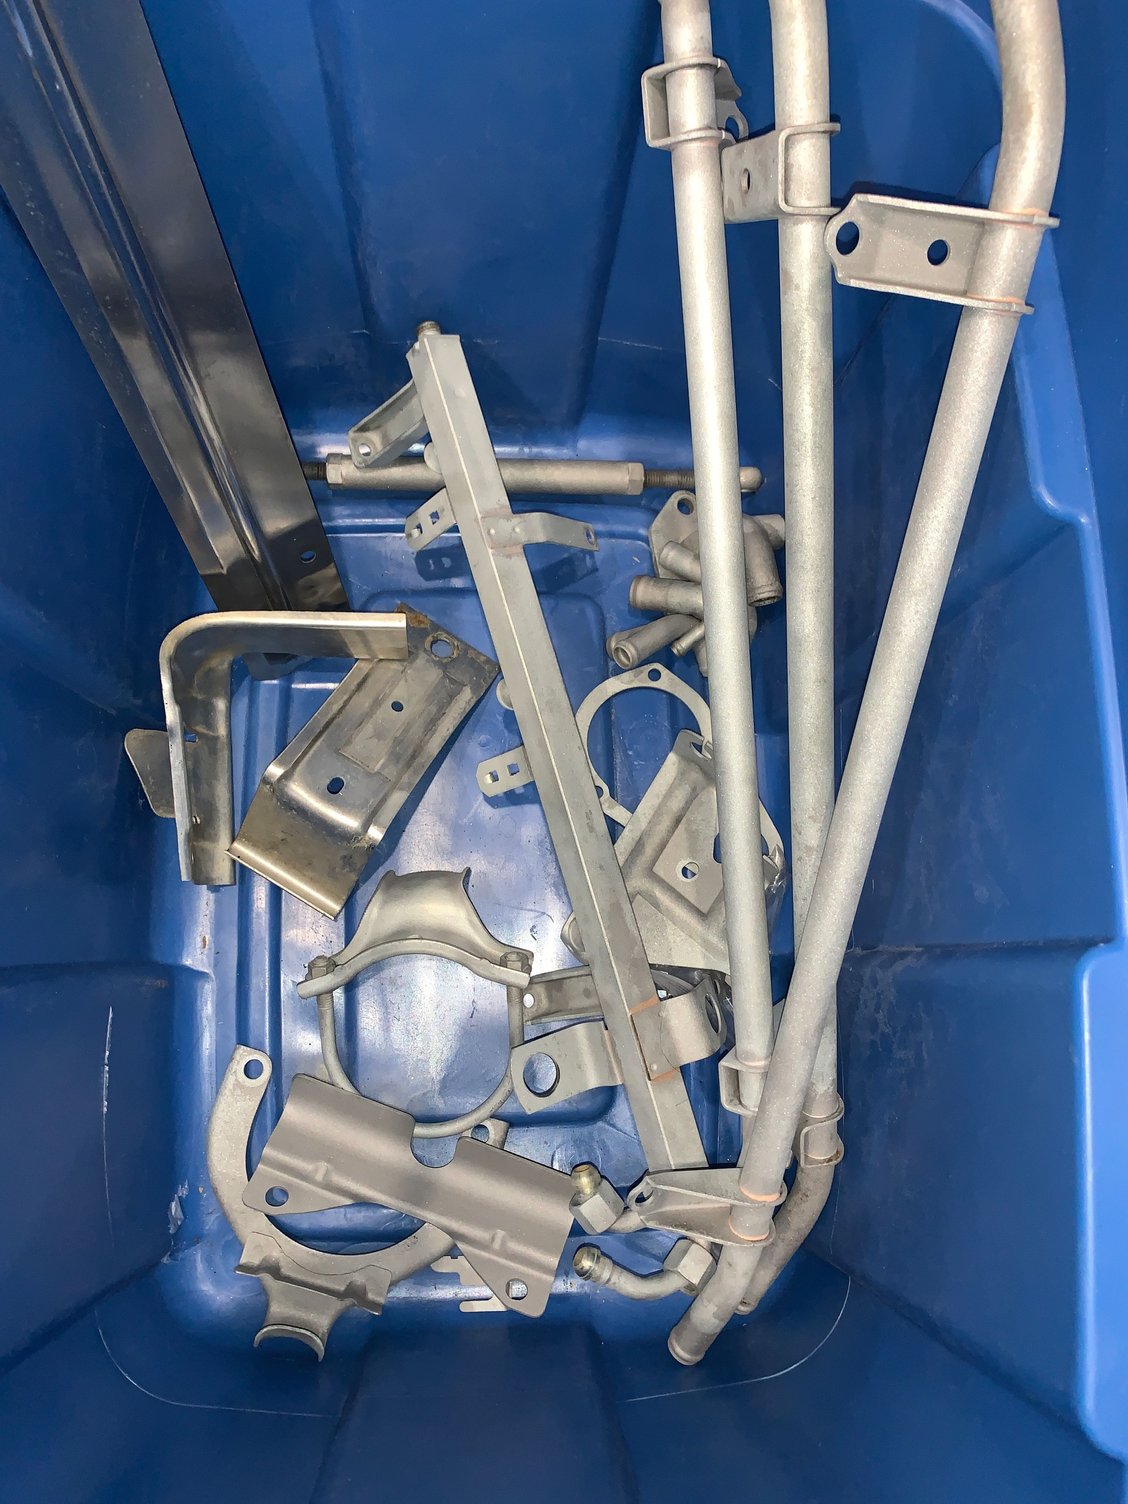
Some of the other parts that were blasted as well
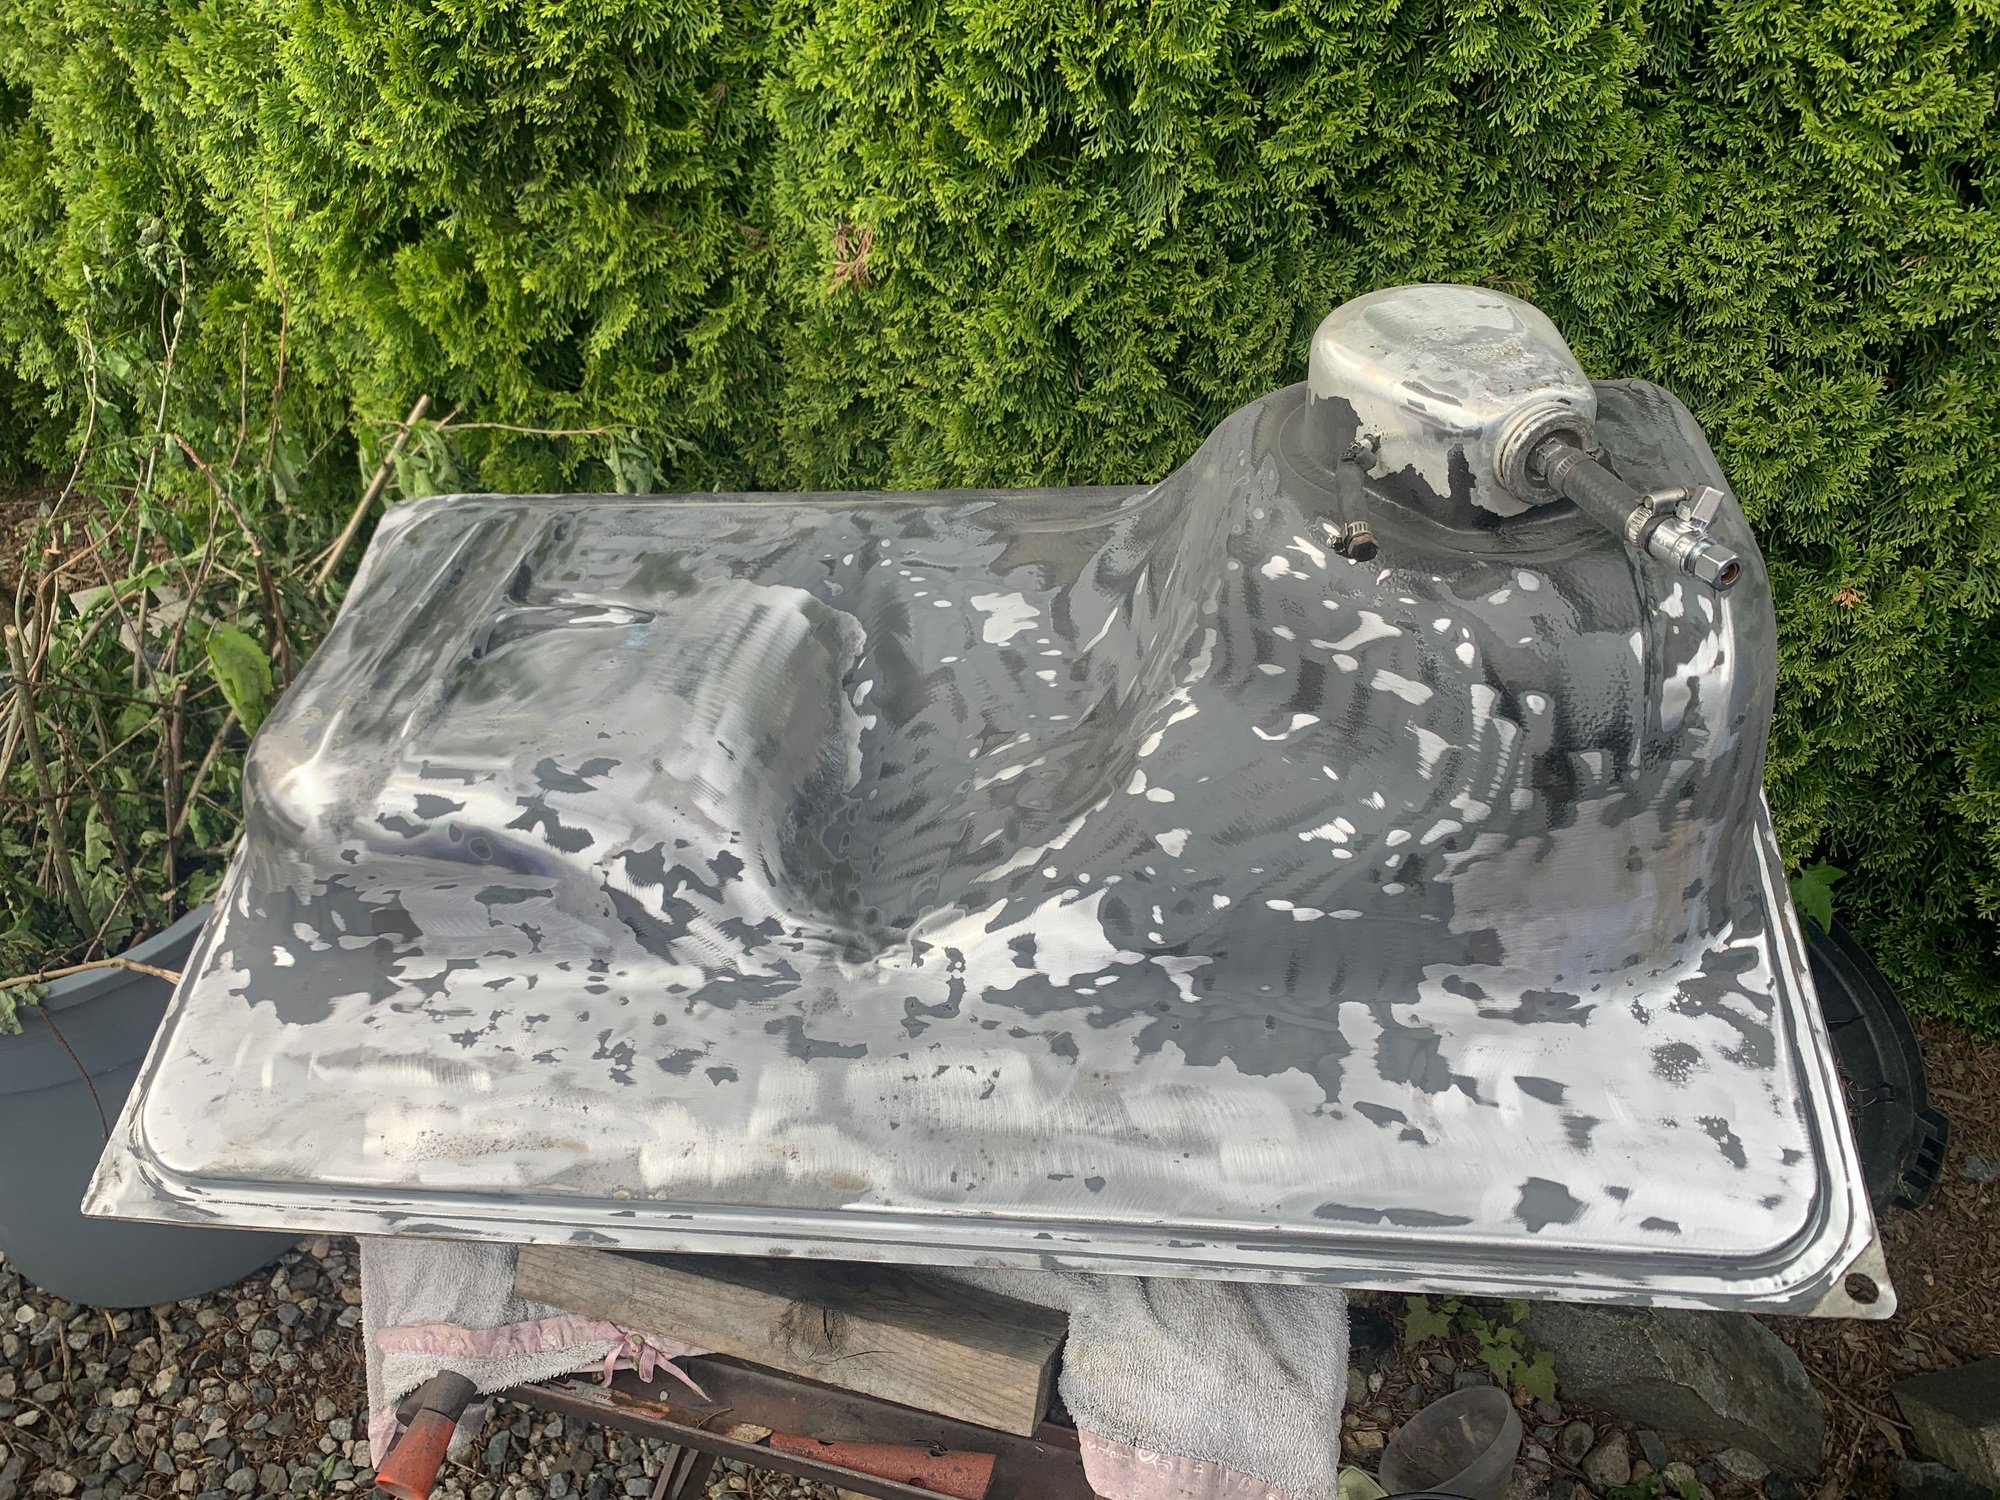
The nice gas tank I found ended up having enough rust that I had to take it in and have it boiled out. They also patched up some pinholes in the bottom of it right near the strainer.
Then I sanded it all down and used 2K epoxy paint on it. With the cleaned up sender its ready to go back into the car
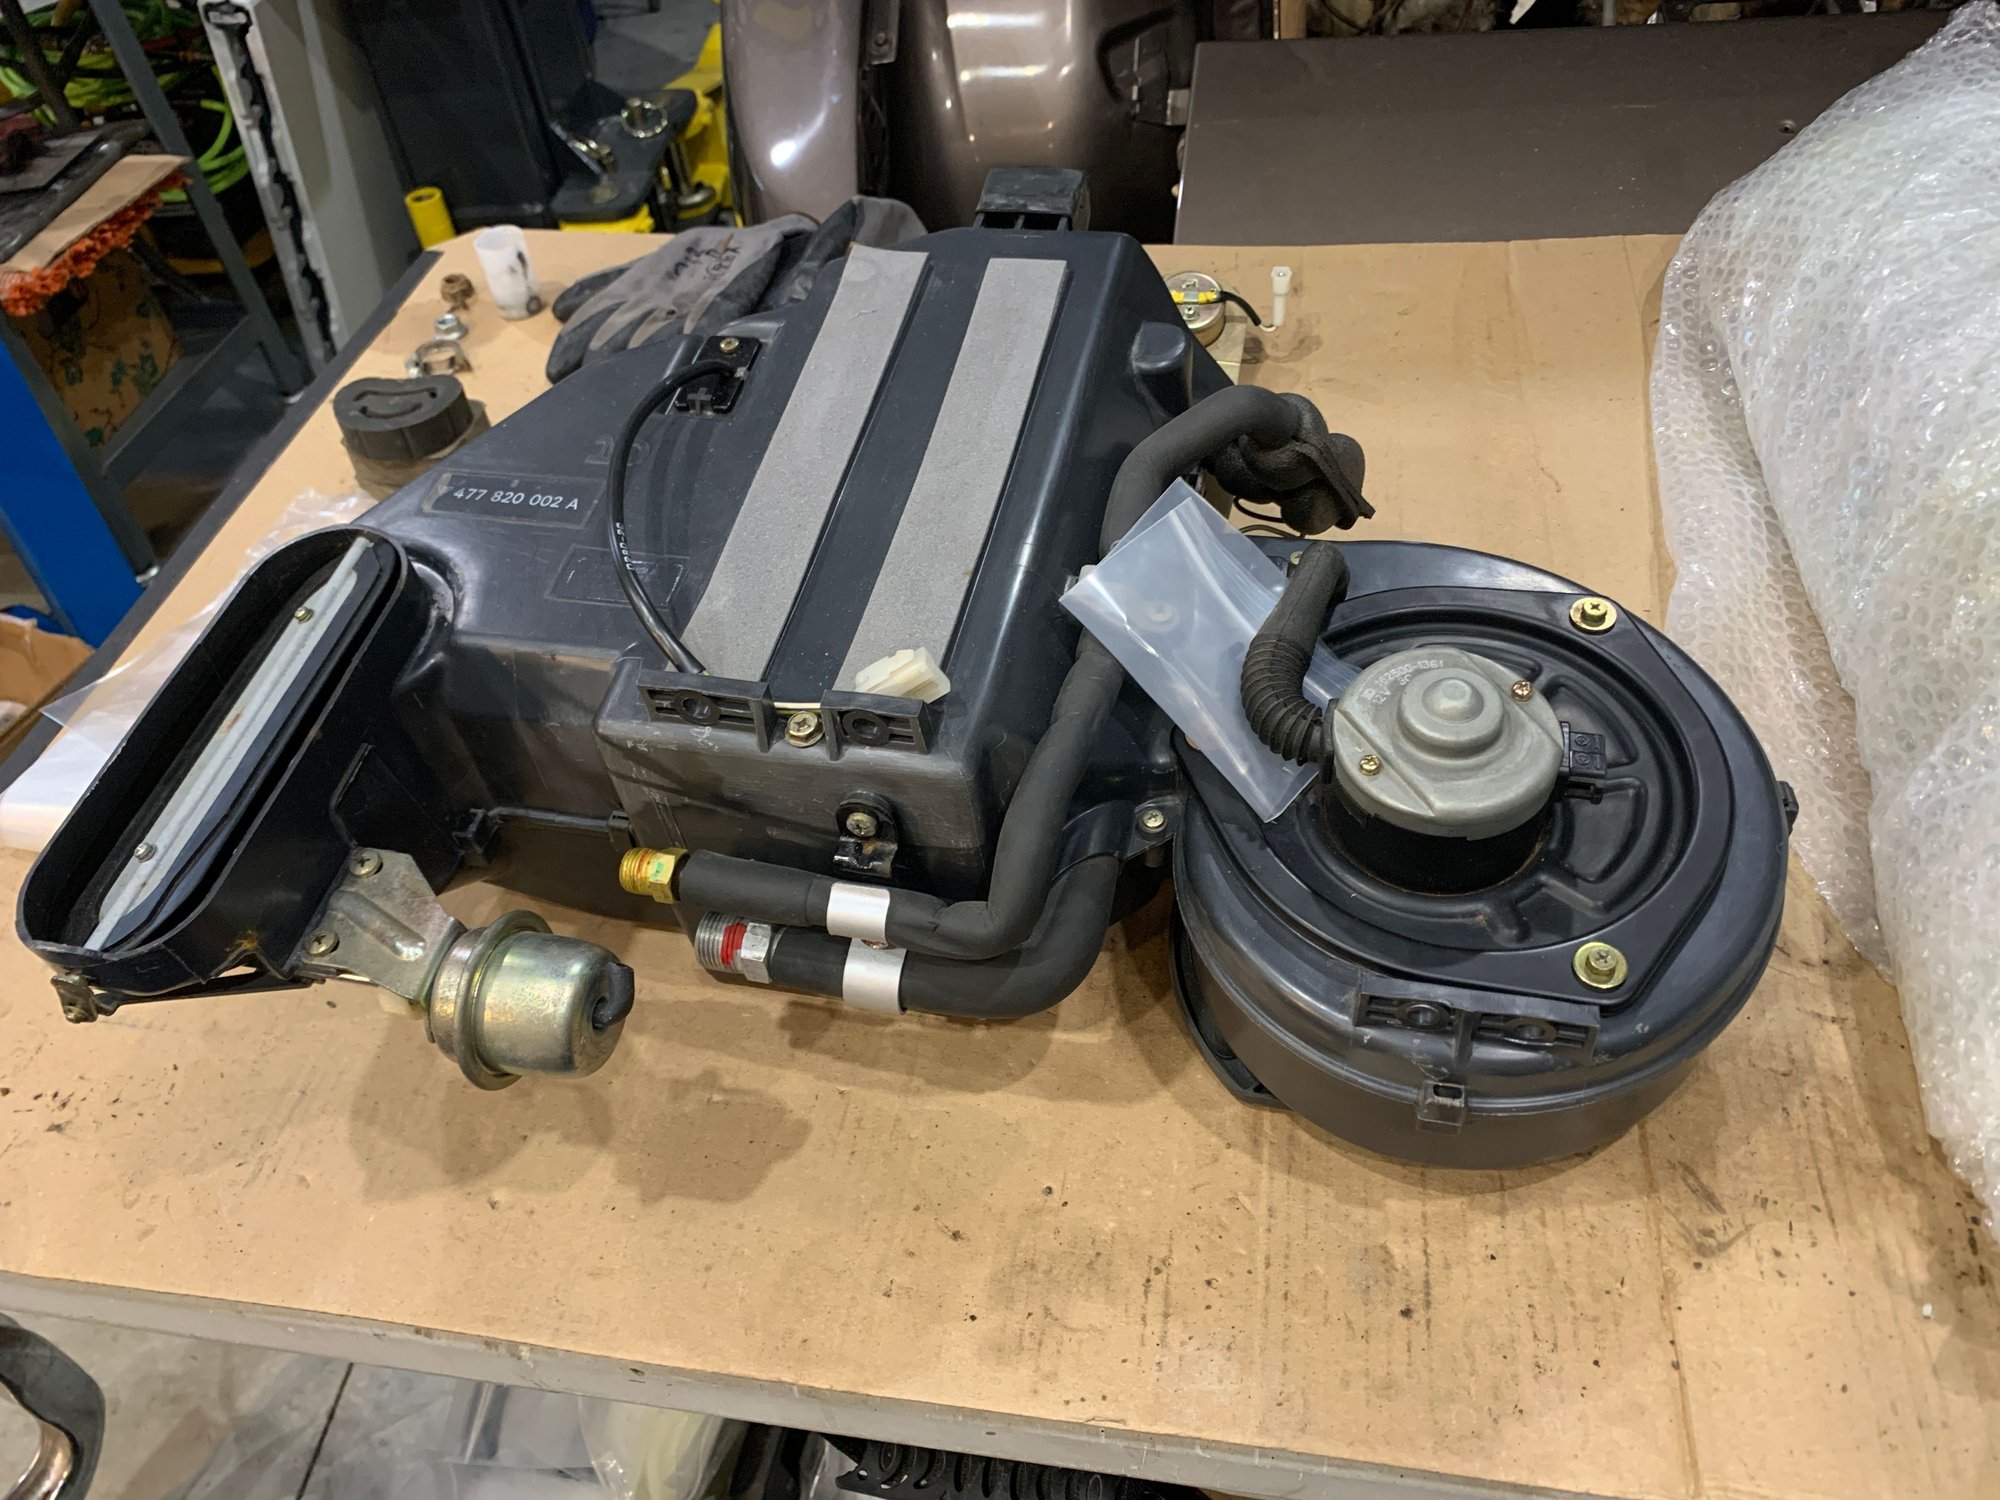
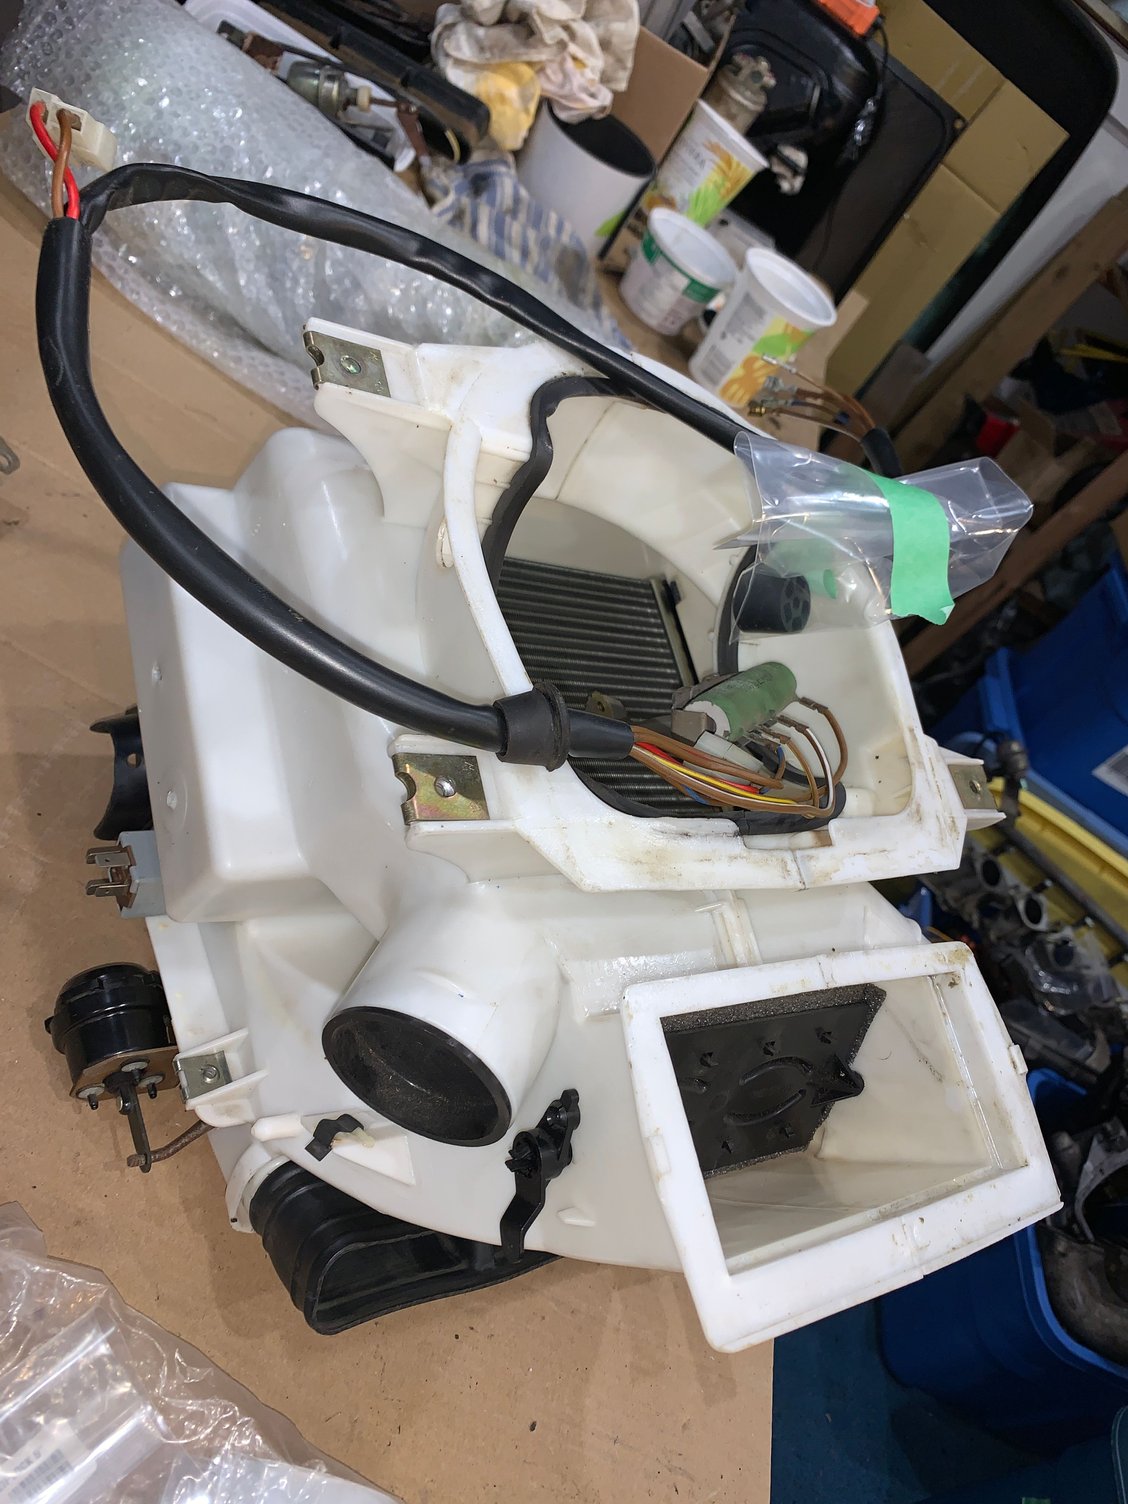
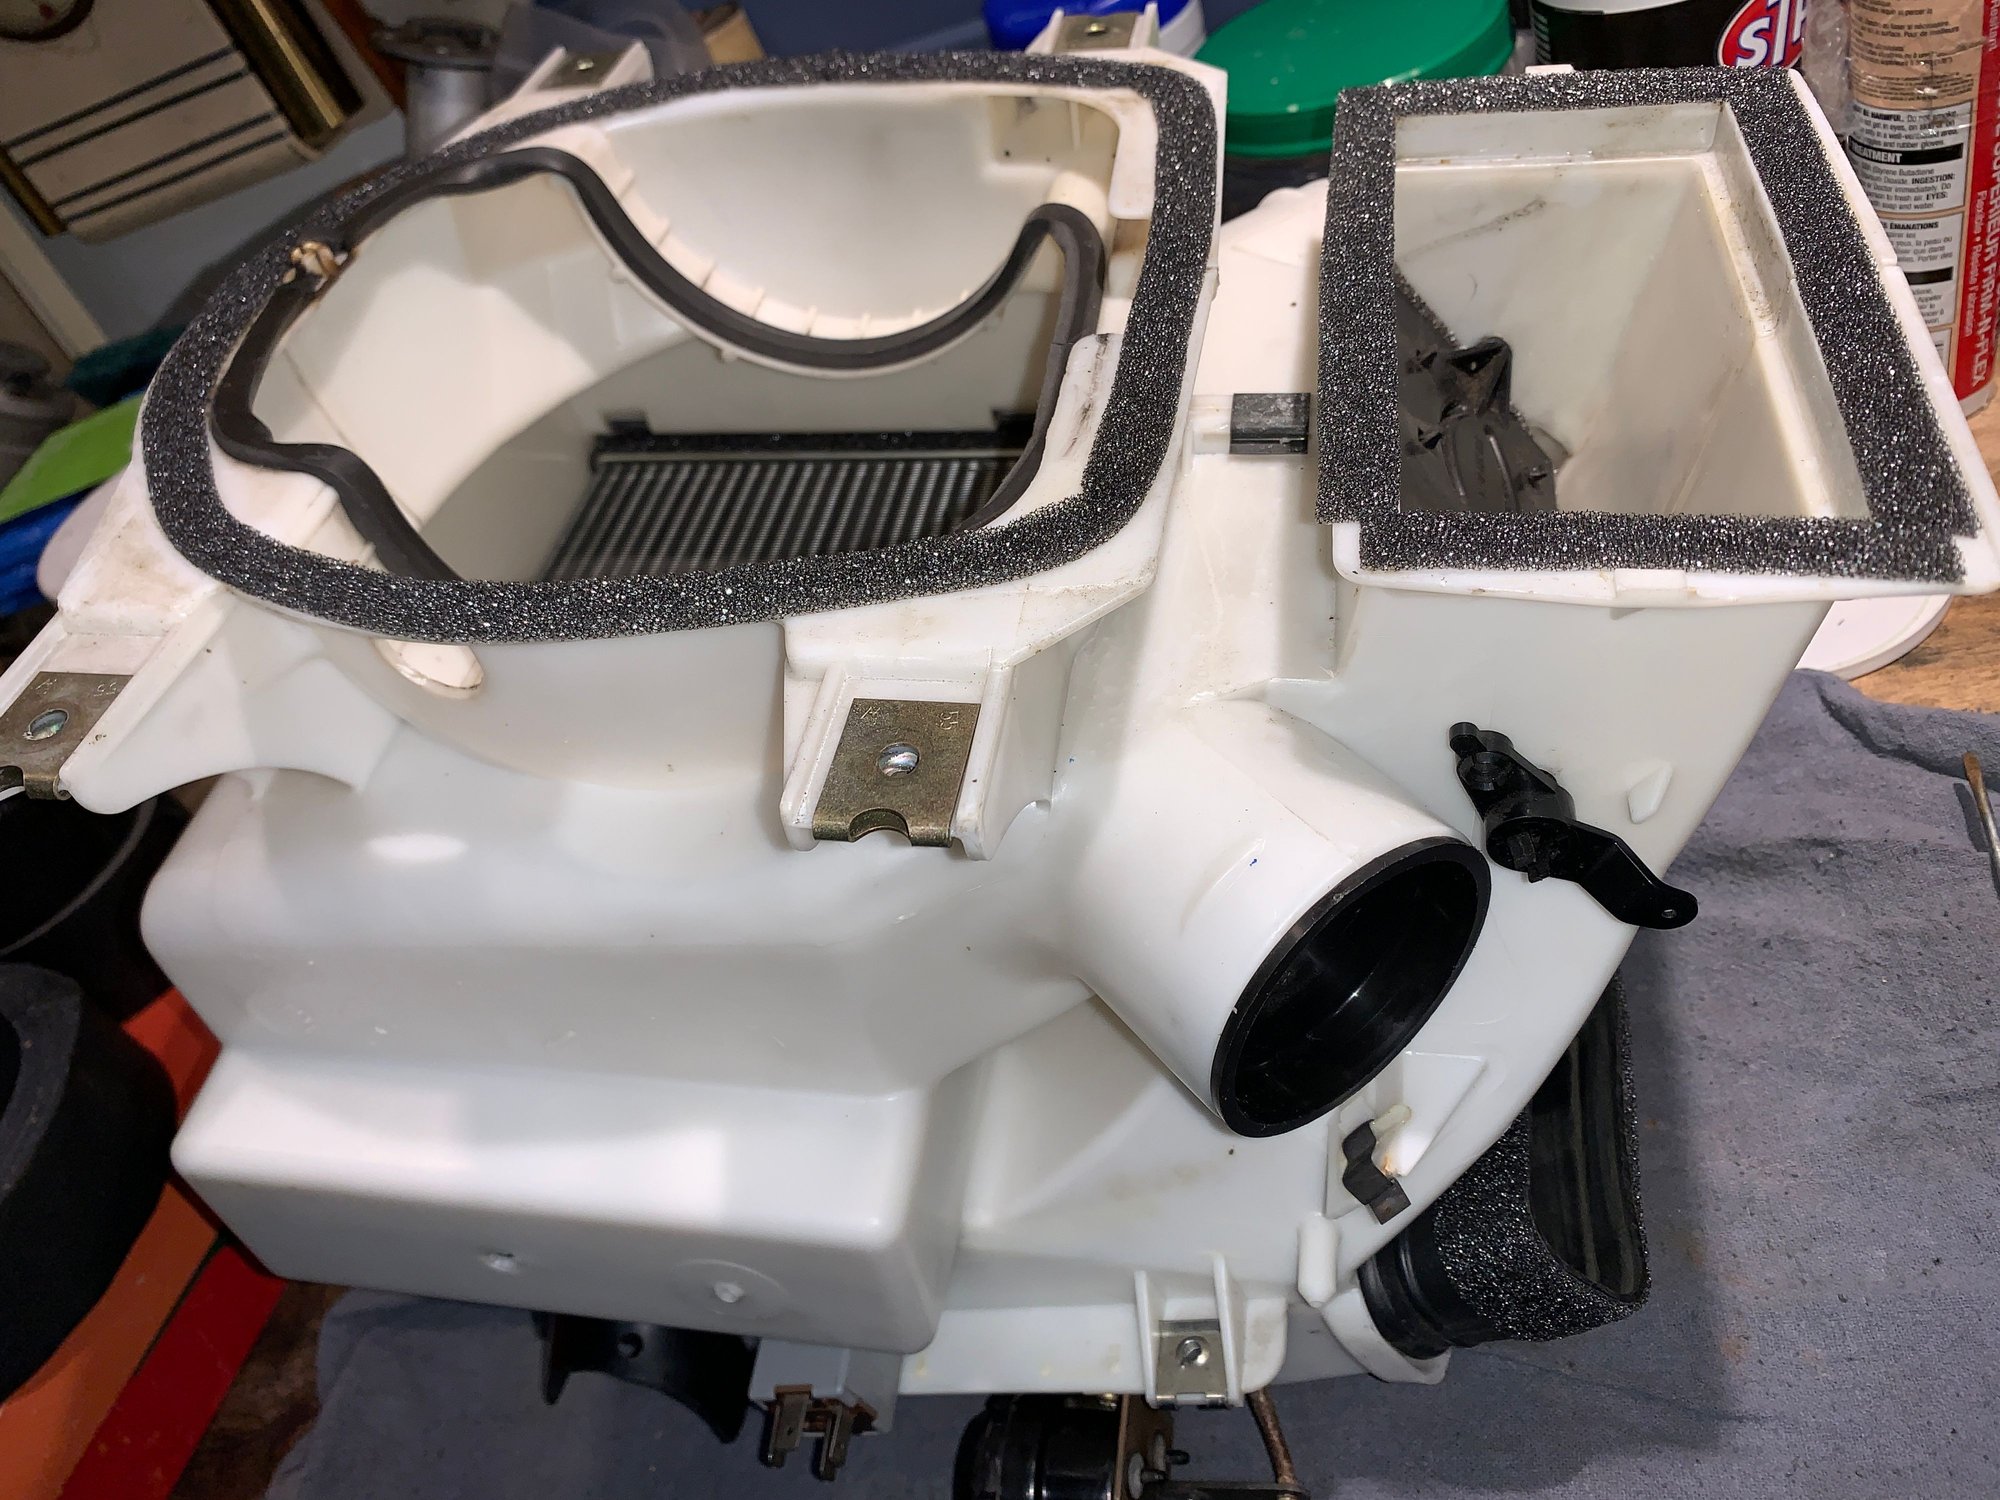
I got a decent AC evap housing and took it apart and cleaned it all up. Not sure if I'll replace the expansion valve or not. I probably should.
The heater housing got taken all apart, new heater core and new foam
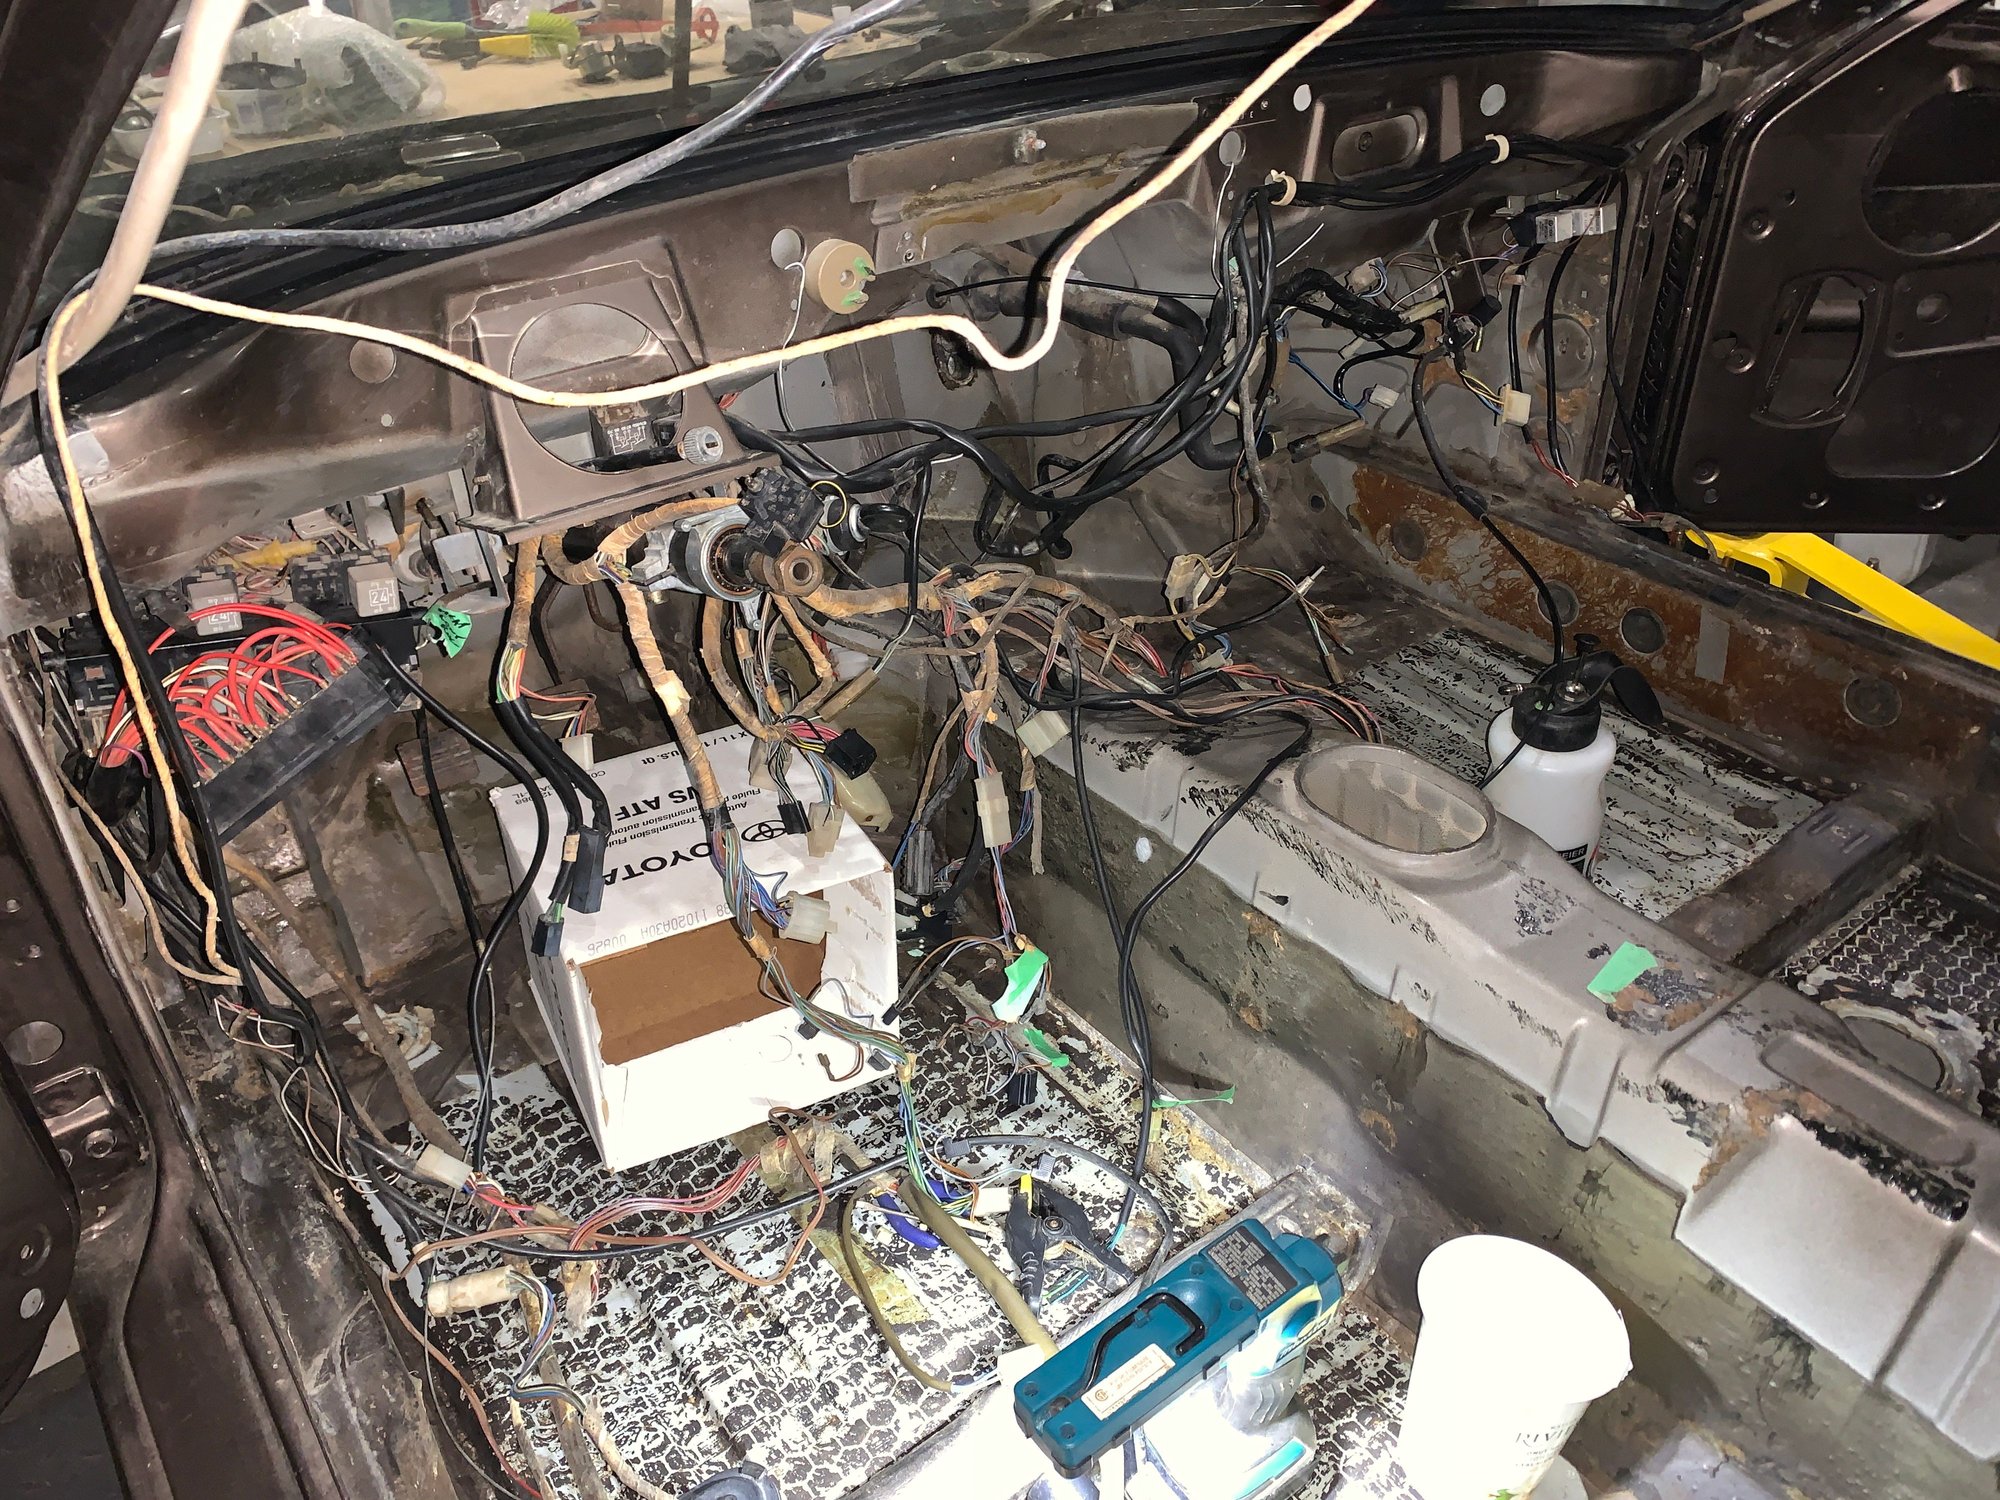
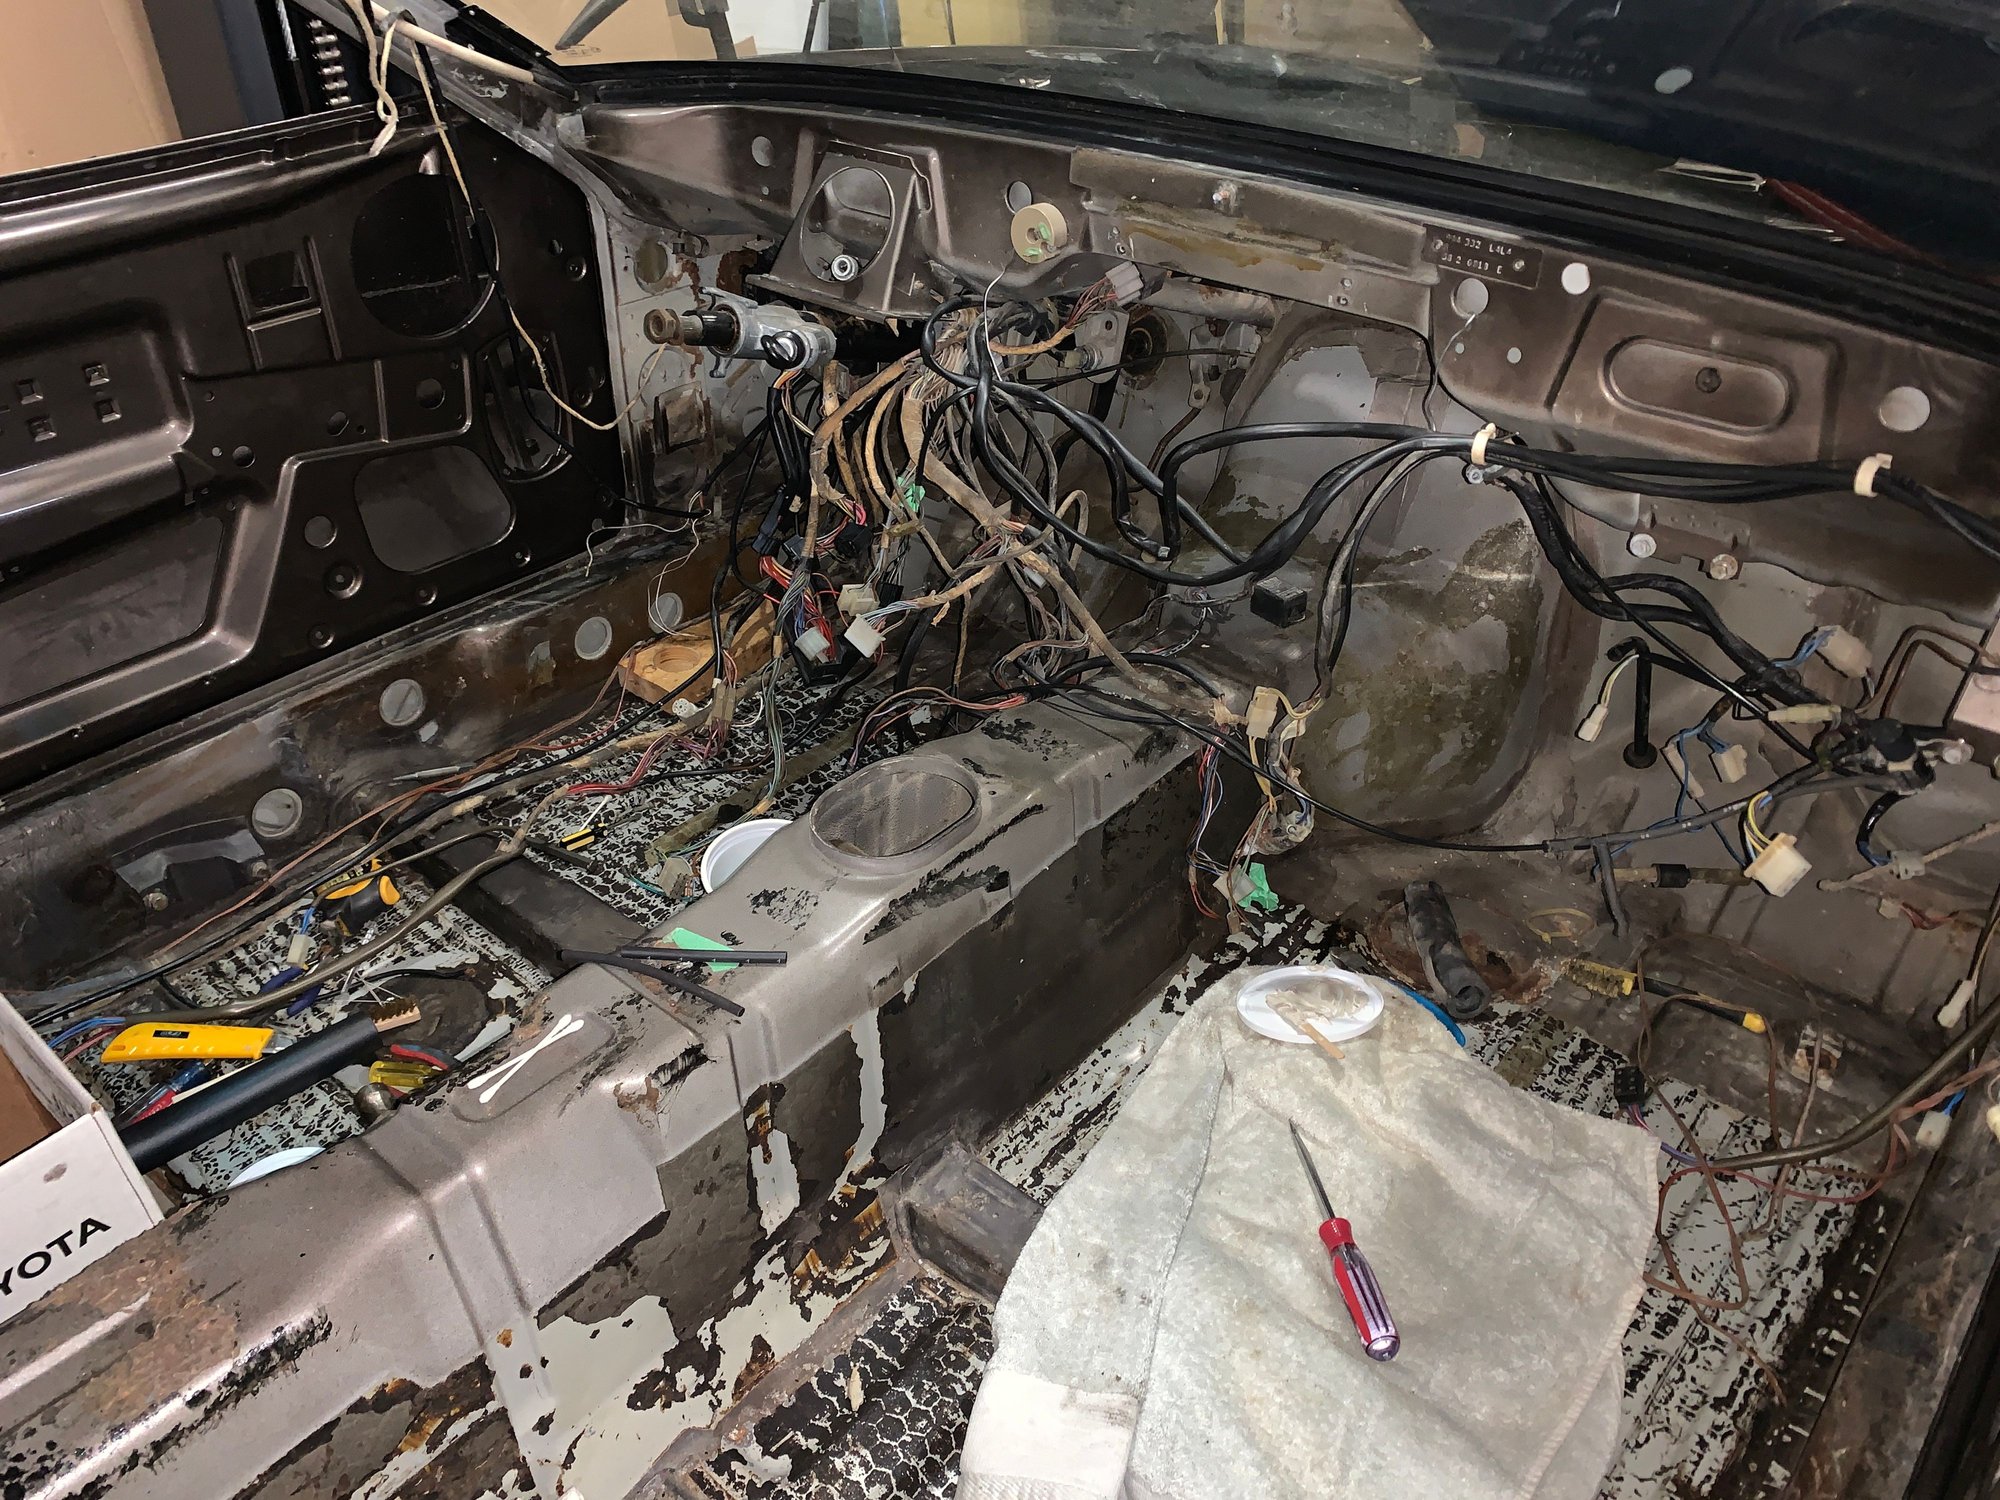
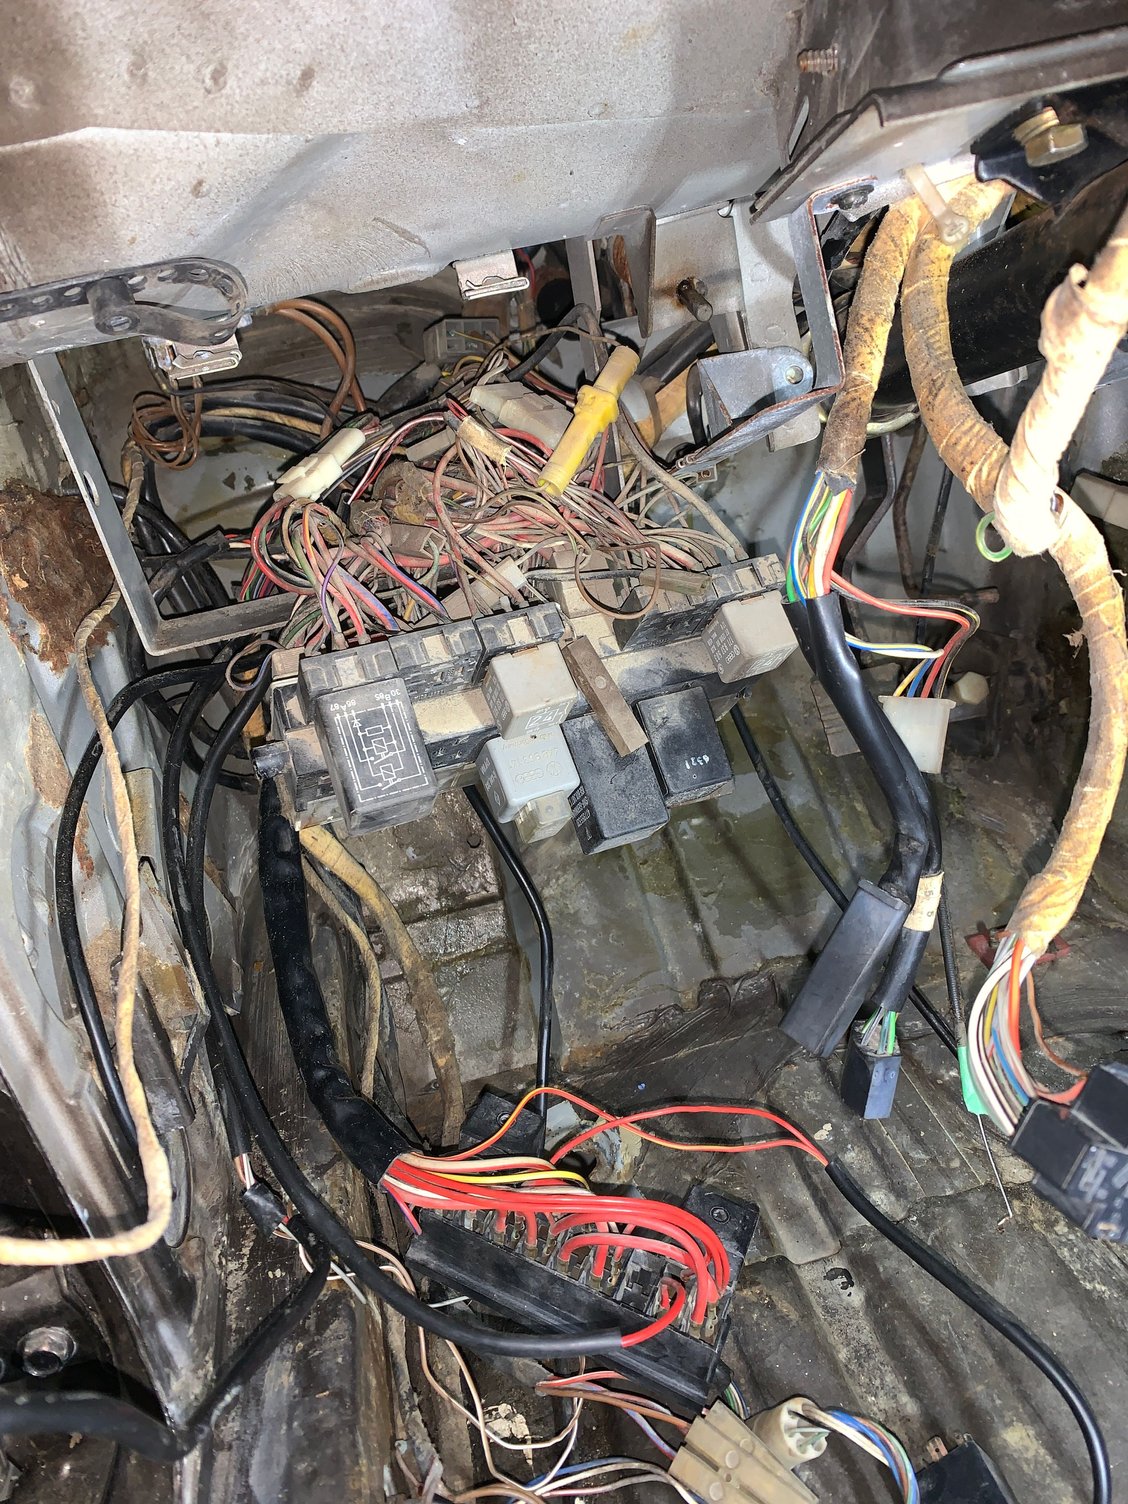
Most of my time recently has just been sorting through all the dash wiring, cleaning and de-pining all the connectors. Lots of green corrosion on many of the plugs and connectors but lucky for me none of the plastic connectors have crumbled which I was worried about. I'm also going to be rewrapping all the wires as that wrapping is gross
I have been hesitating to go near this bloody mess but finally dove in. What a rats nest. And a PIA to work on, now I see why the smart guys buy the later cars. LOL
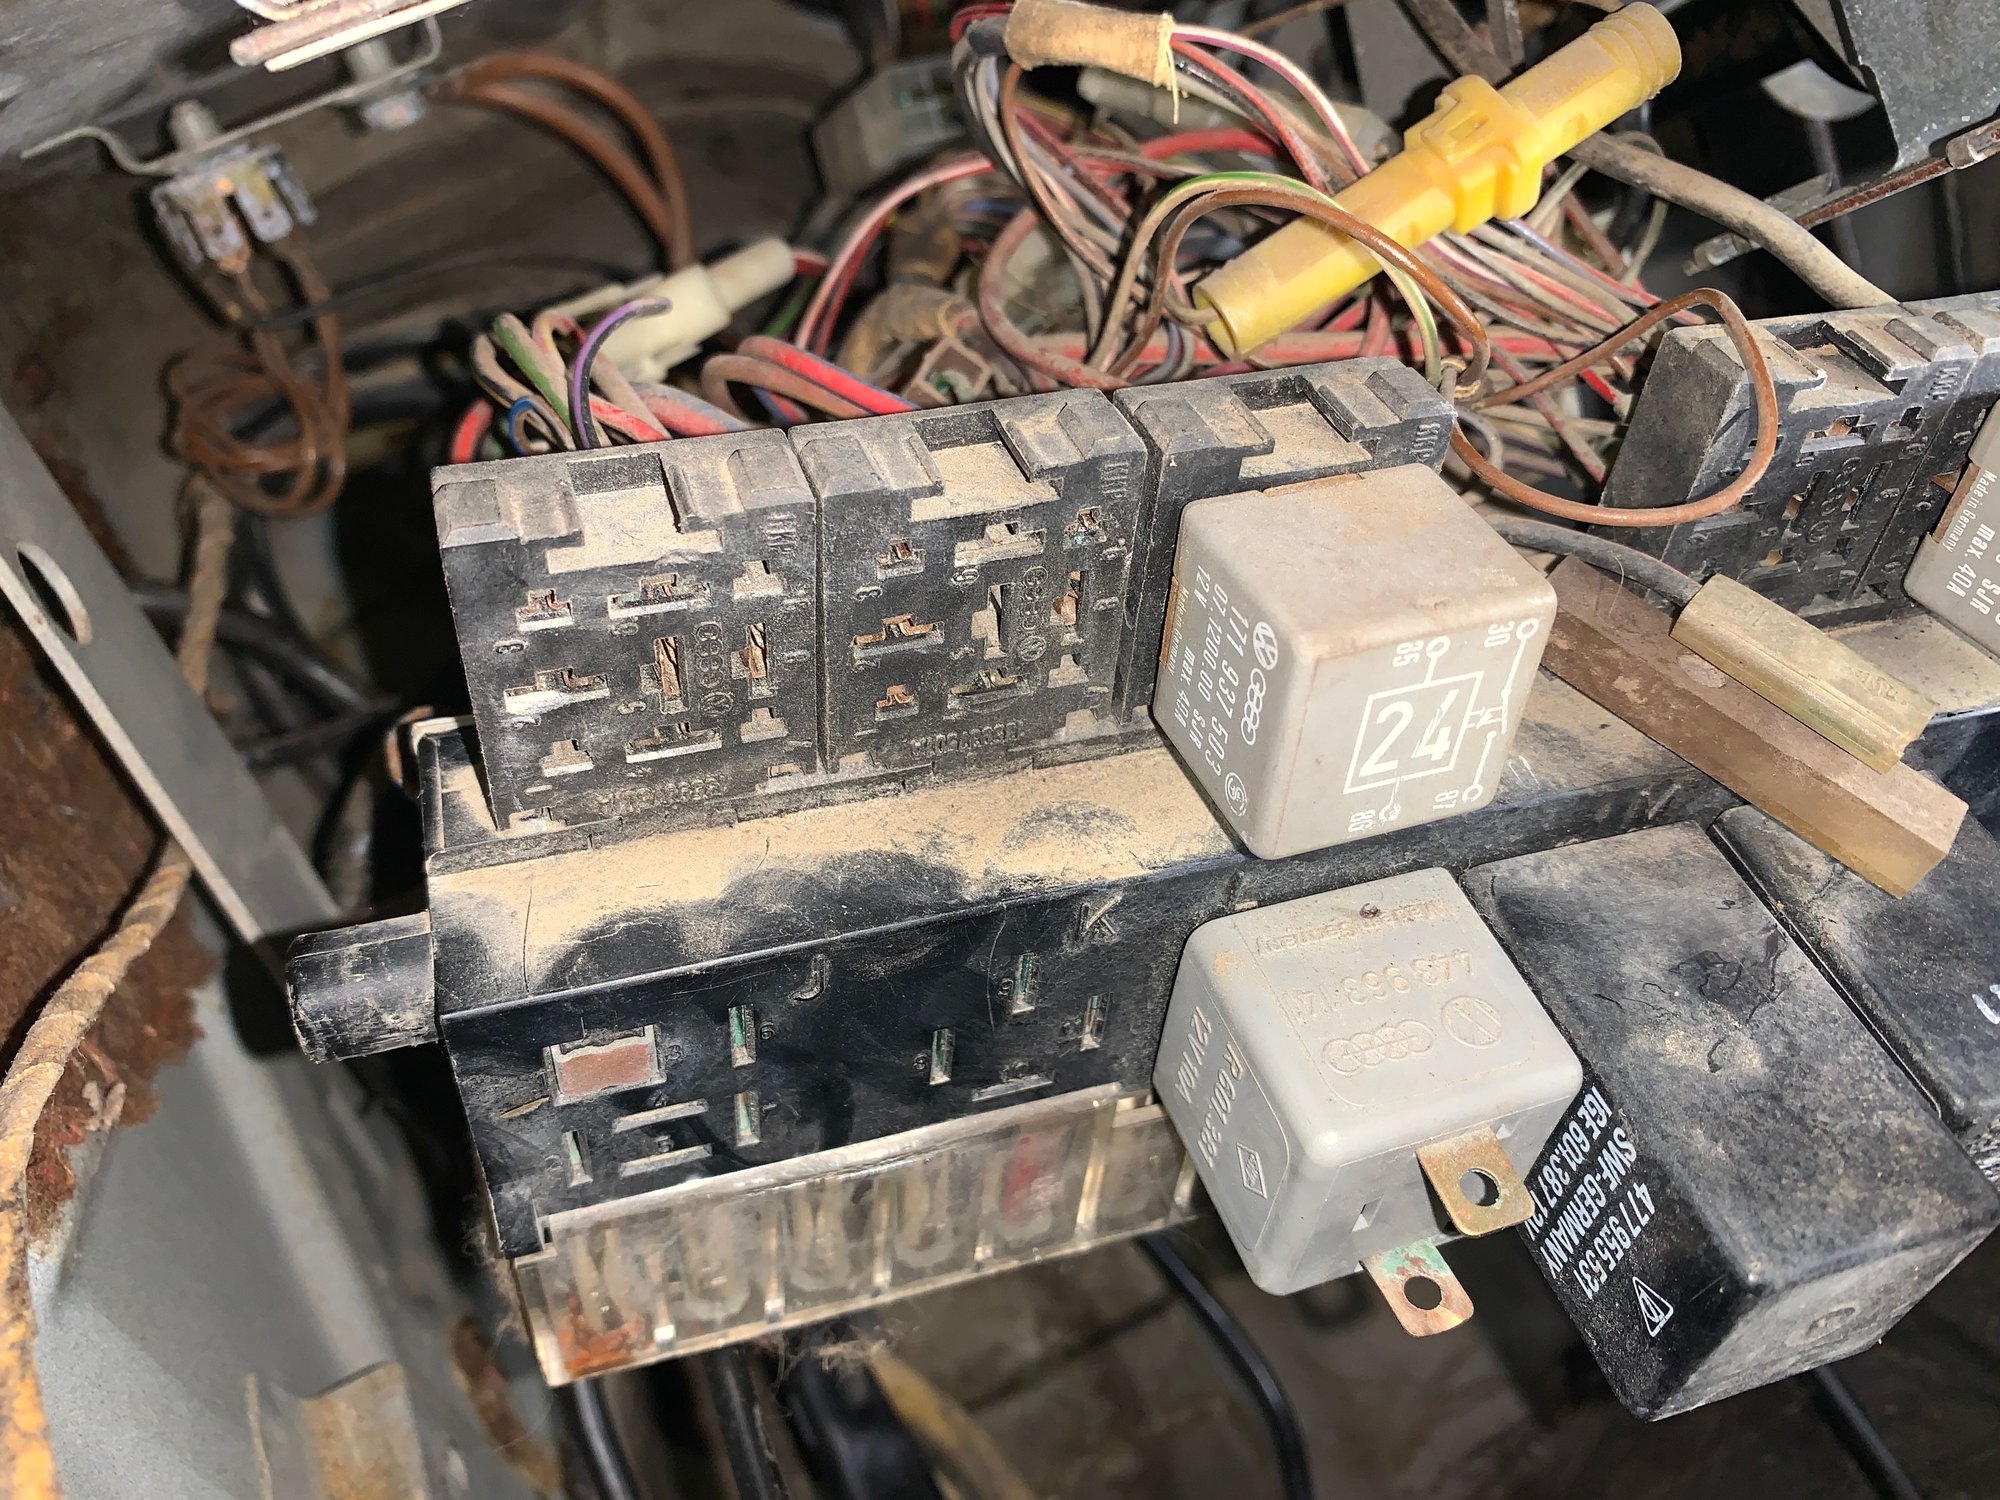
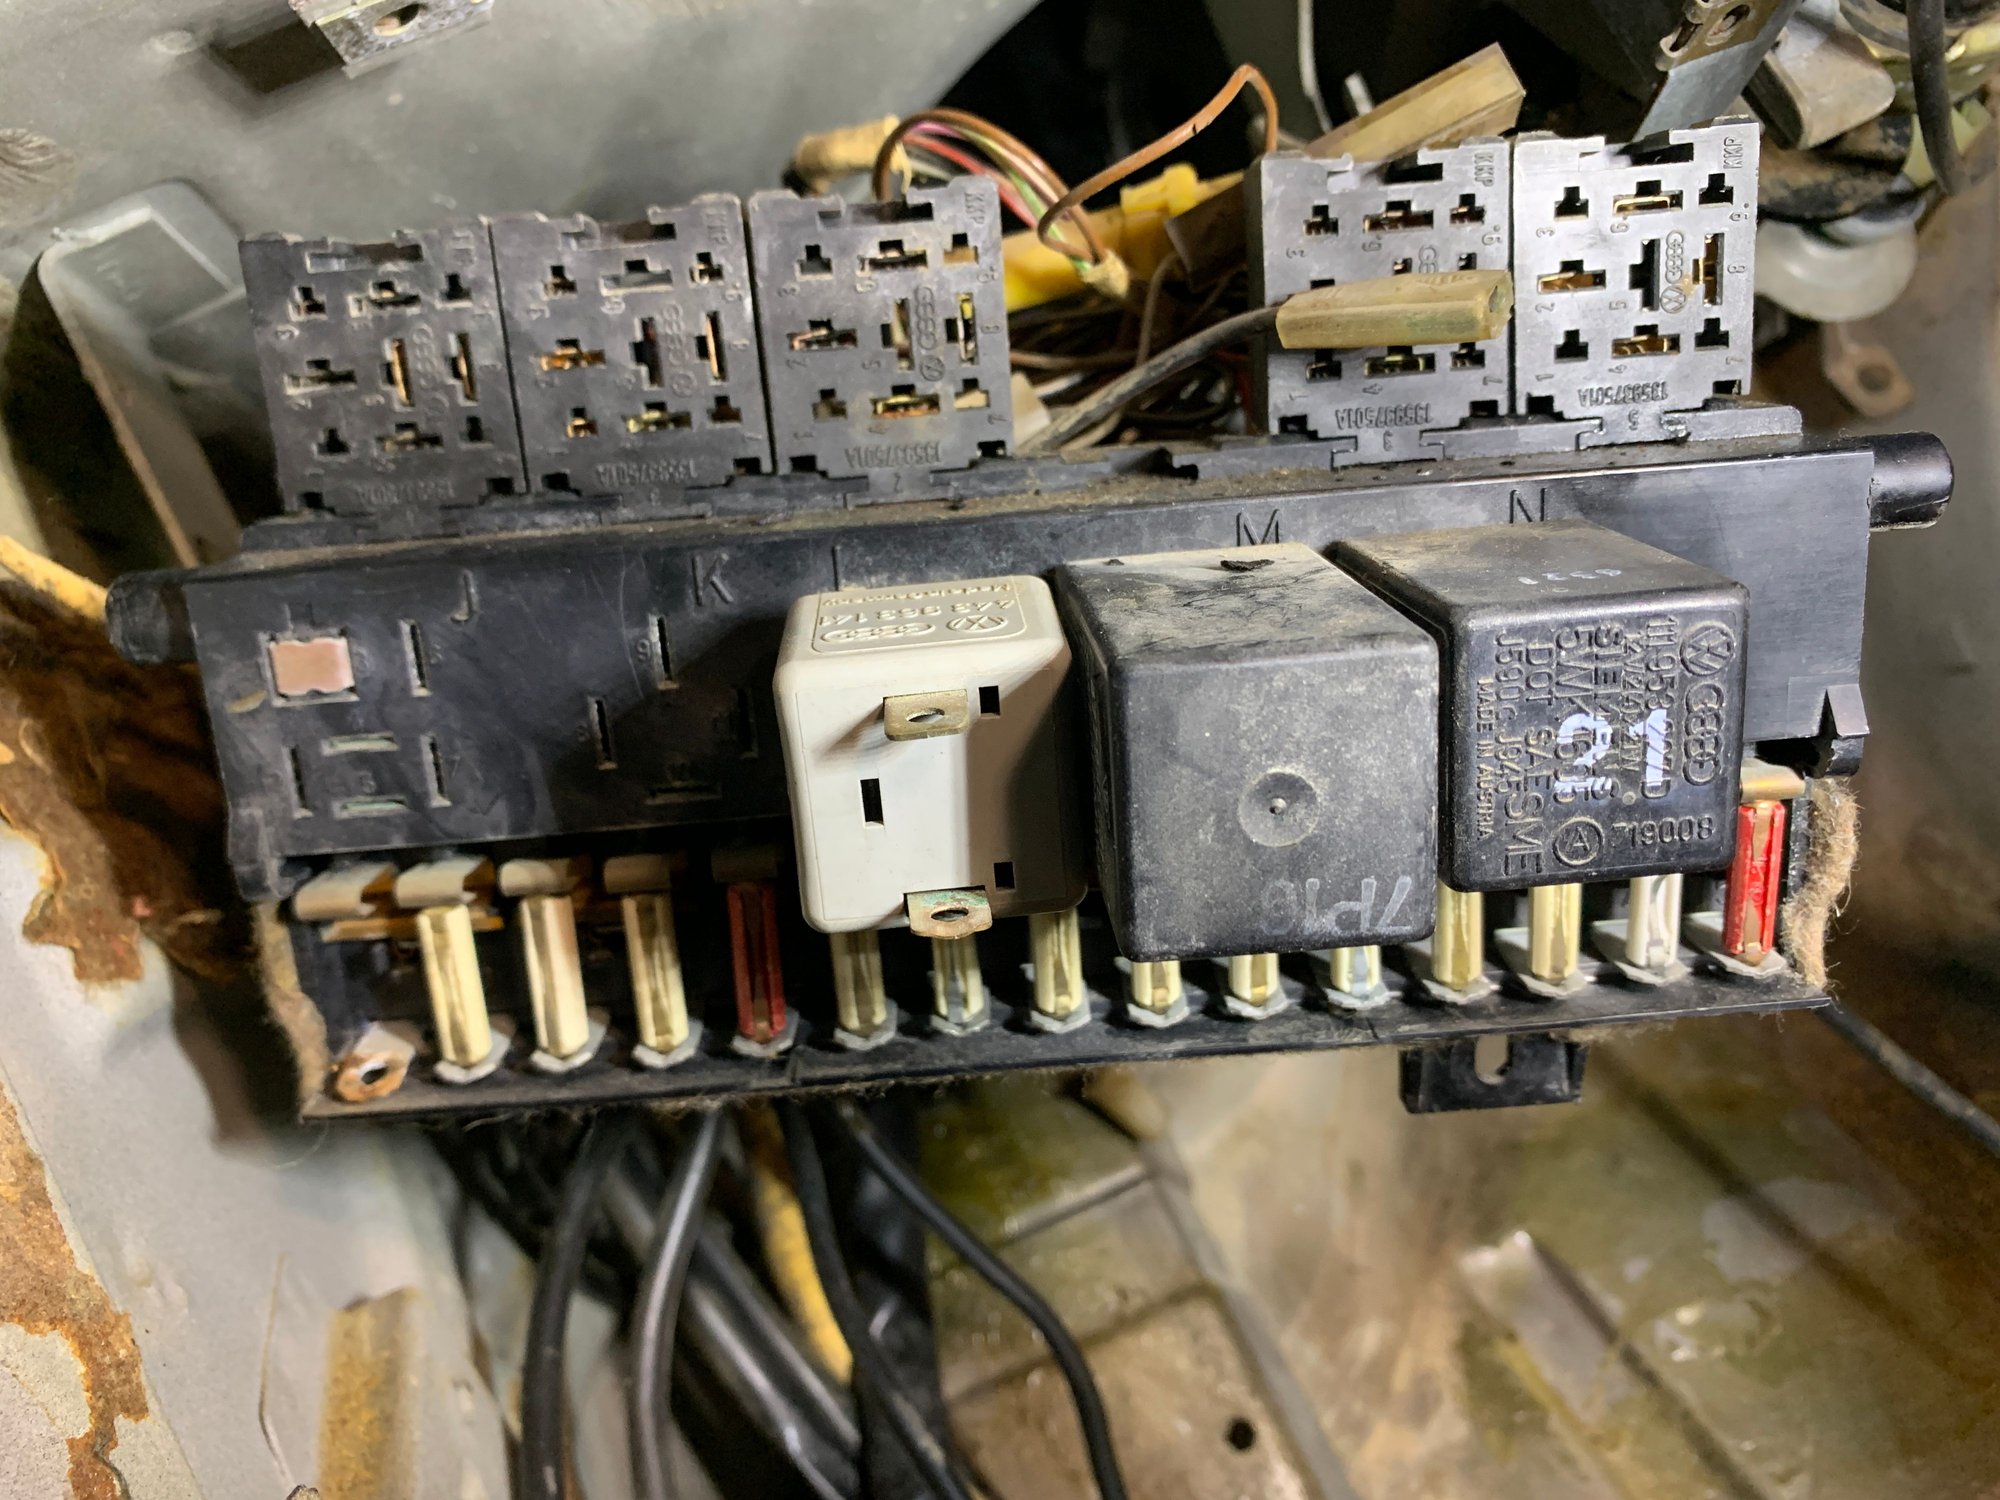
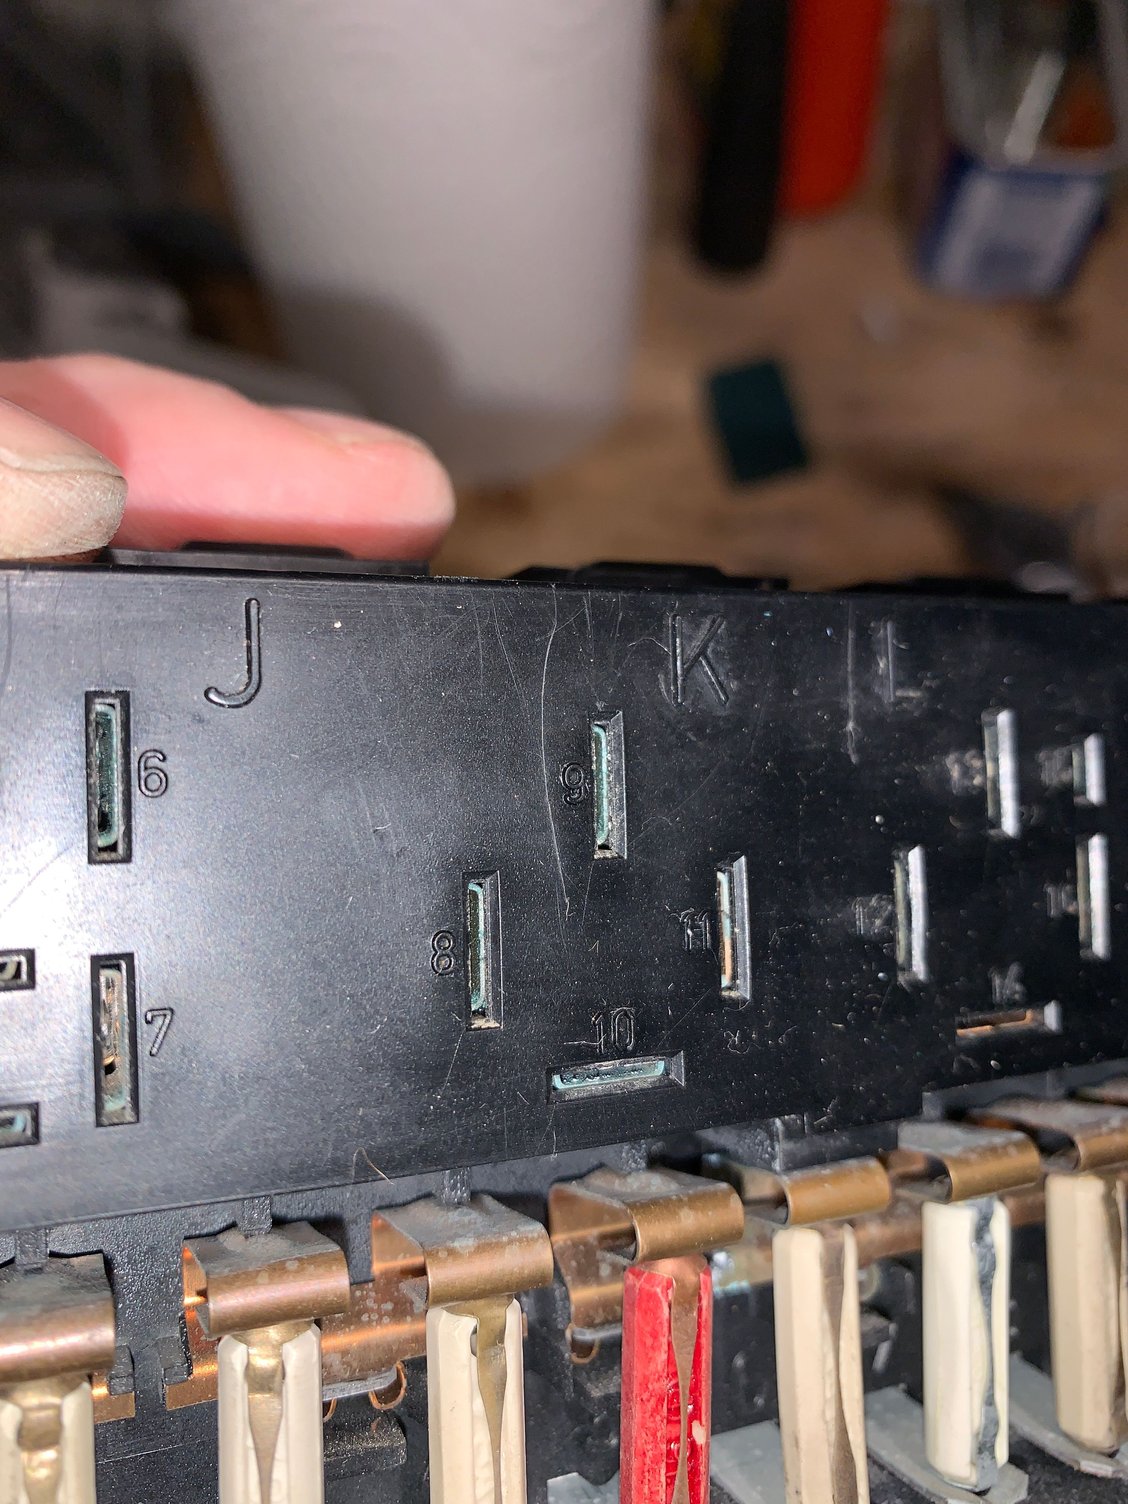
It took me forever to figure out how to slide out these relay block things. What a stupid system
Finally got them loose. Lots of swearing. Why Porsche had them release from the back? What a silly method.
So next issue is there looks to be lots of green corrosion inside the relay plugs. I've been using vinegar to soak the dash plugs and connectors in, which removes the corrosion quite well. I don't want to be soaking this whole fuse box in vinegar but I'm wondering how much more corrosion is inside there?
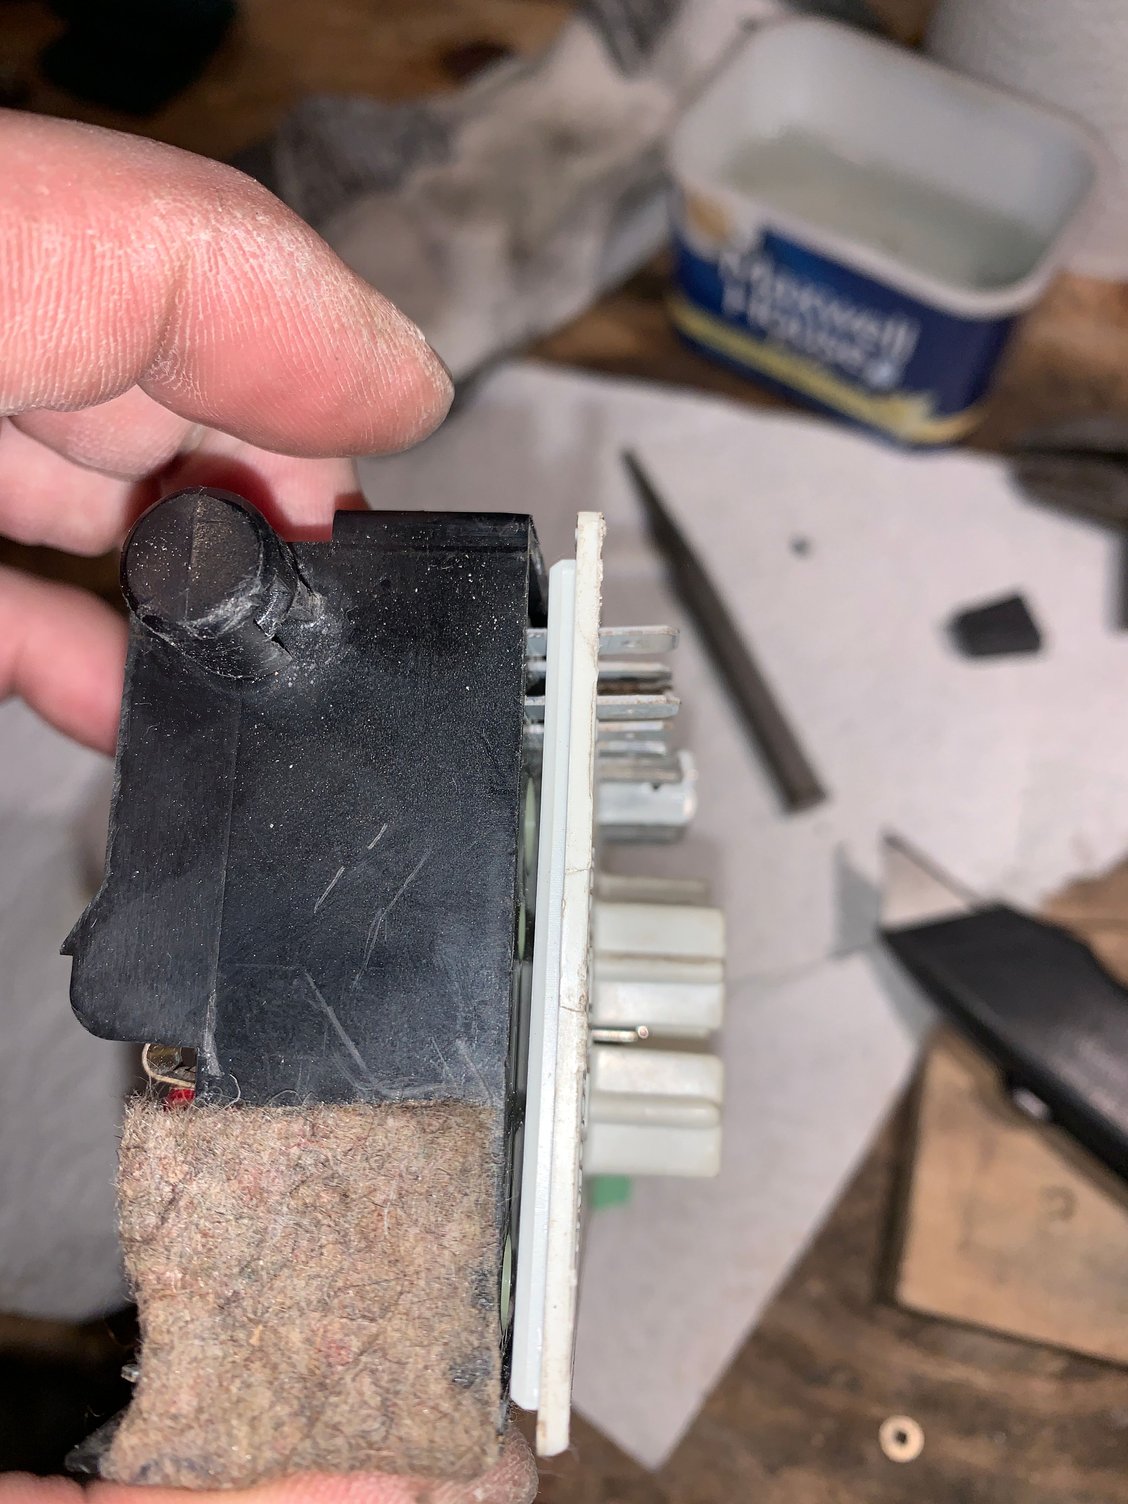
This whole block is glued together but I pried it apart with an exacto blade. It still doesn't want to come apart. Anyone take these apart and know whats in there? I'd like to take it apart and clean it or make sure its not a mess inside. Advice? I dont want to damage it
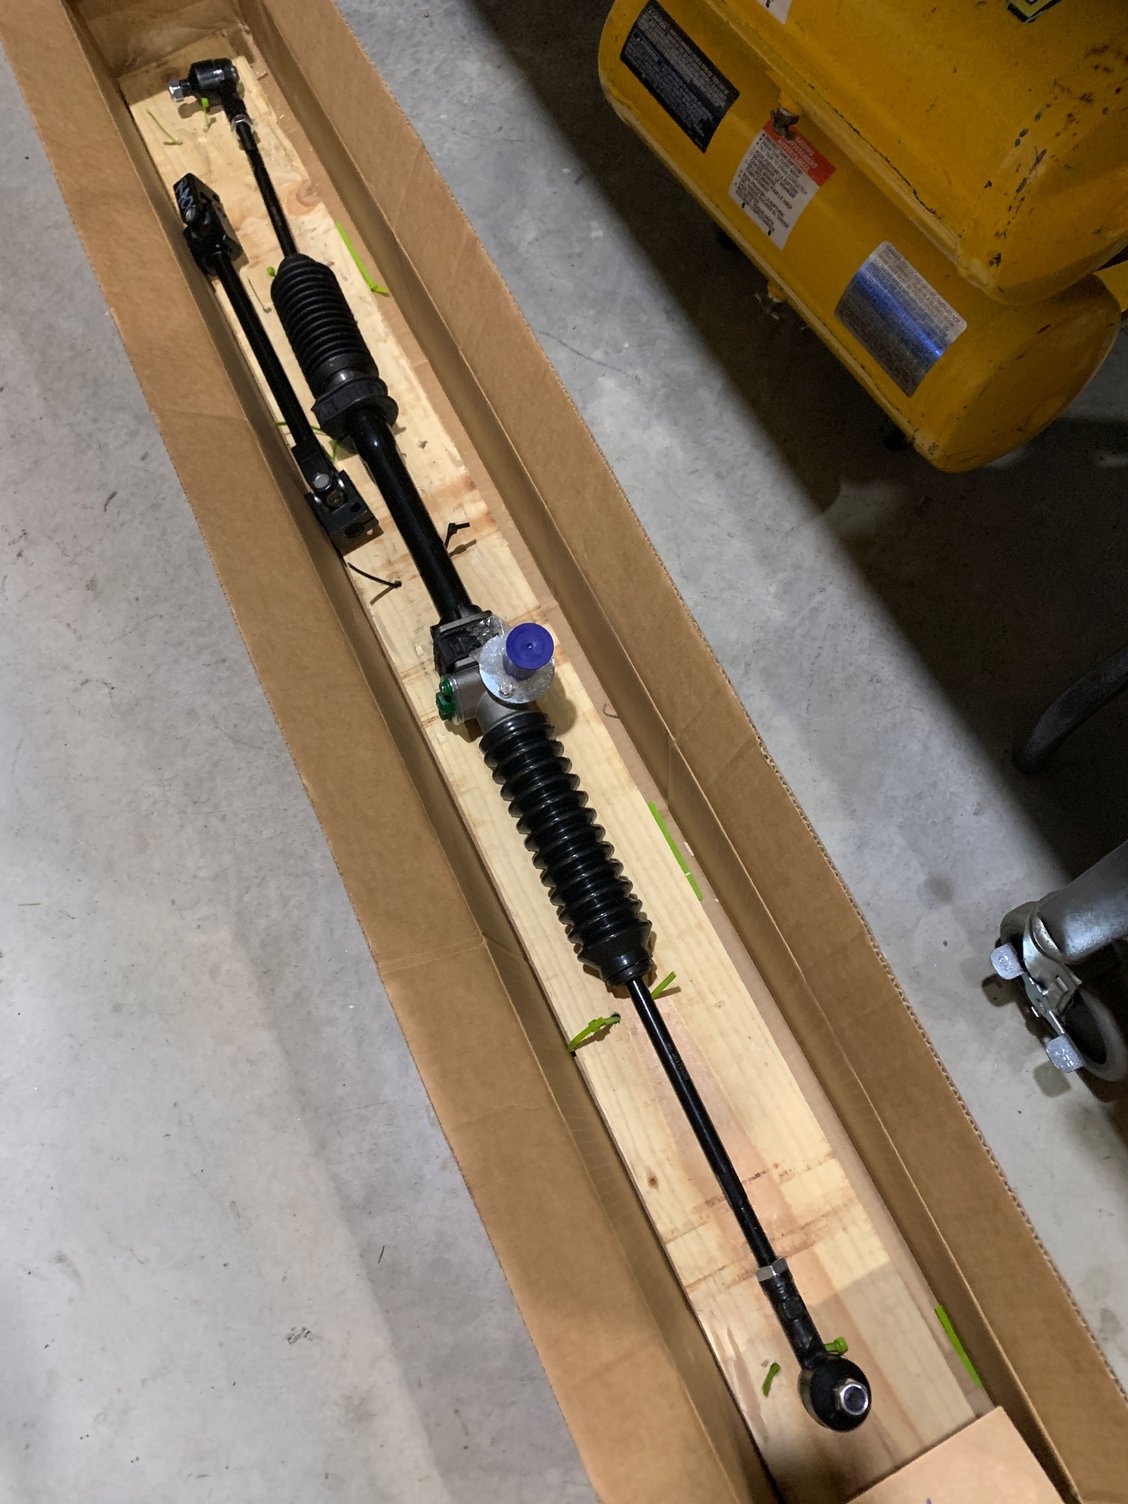
And one last thing, New manual steering rack!! I decided I didn't want to rebuild my obviously trashed power rack so this just saved me a bunch of time
Last edited by maybeillbuyit; 03-06-2023 at 03:13 AM.
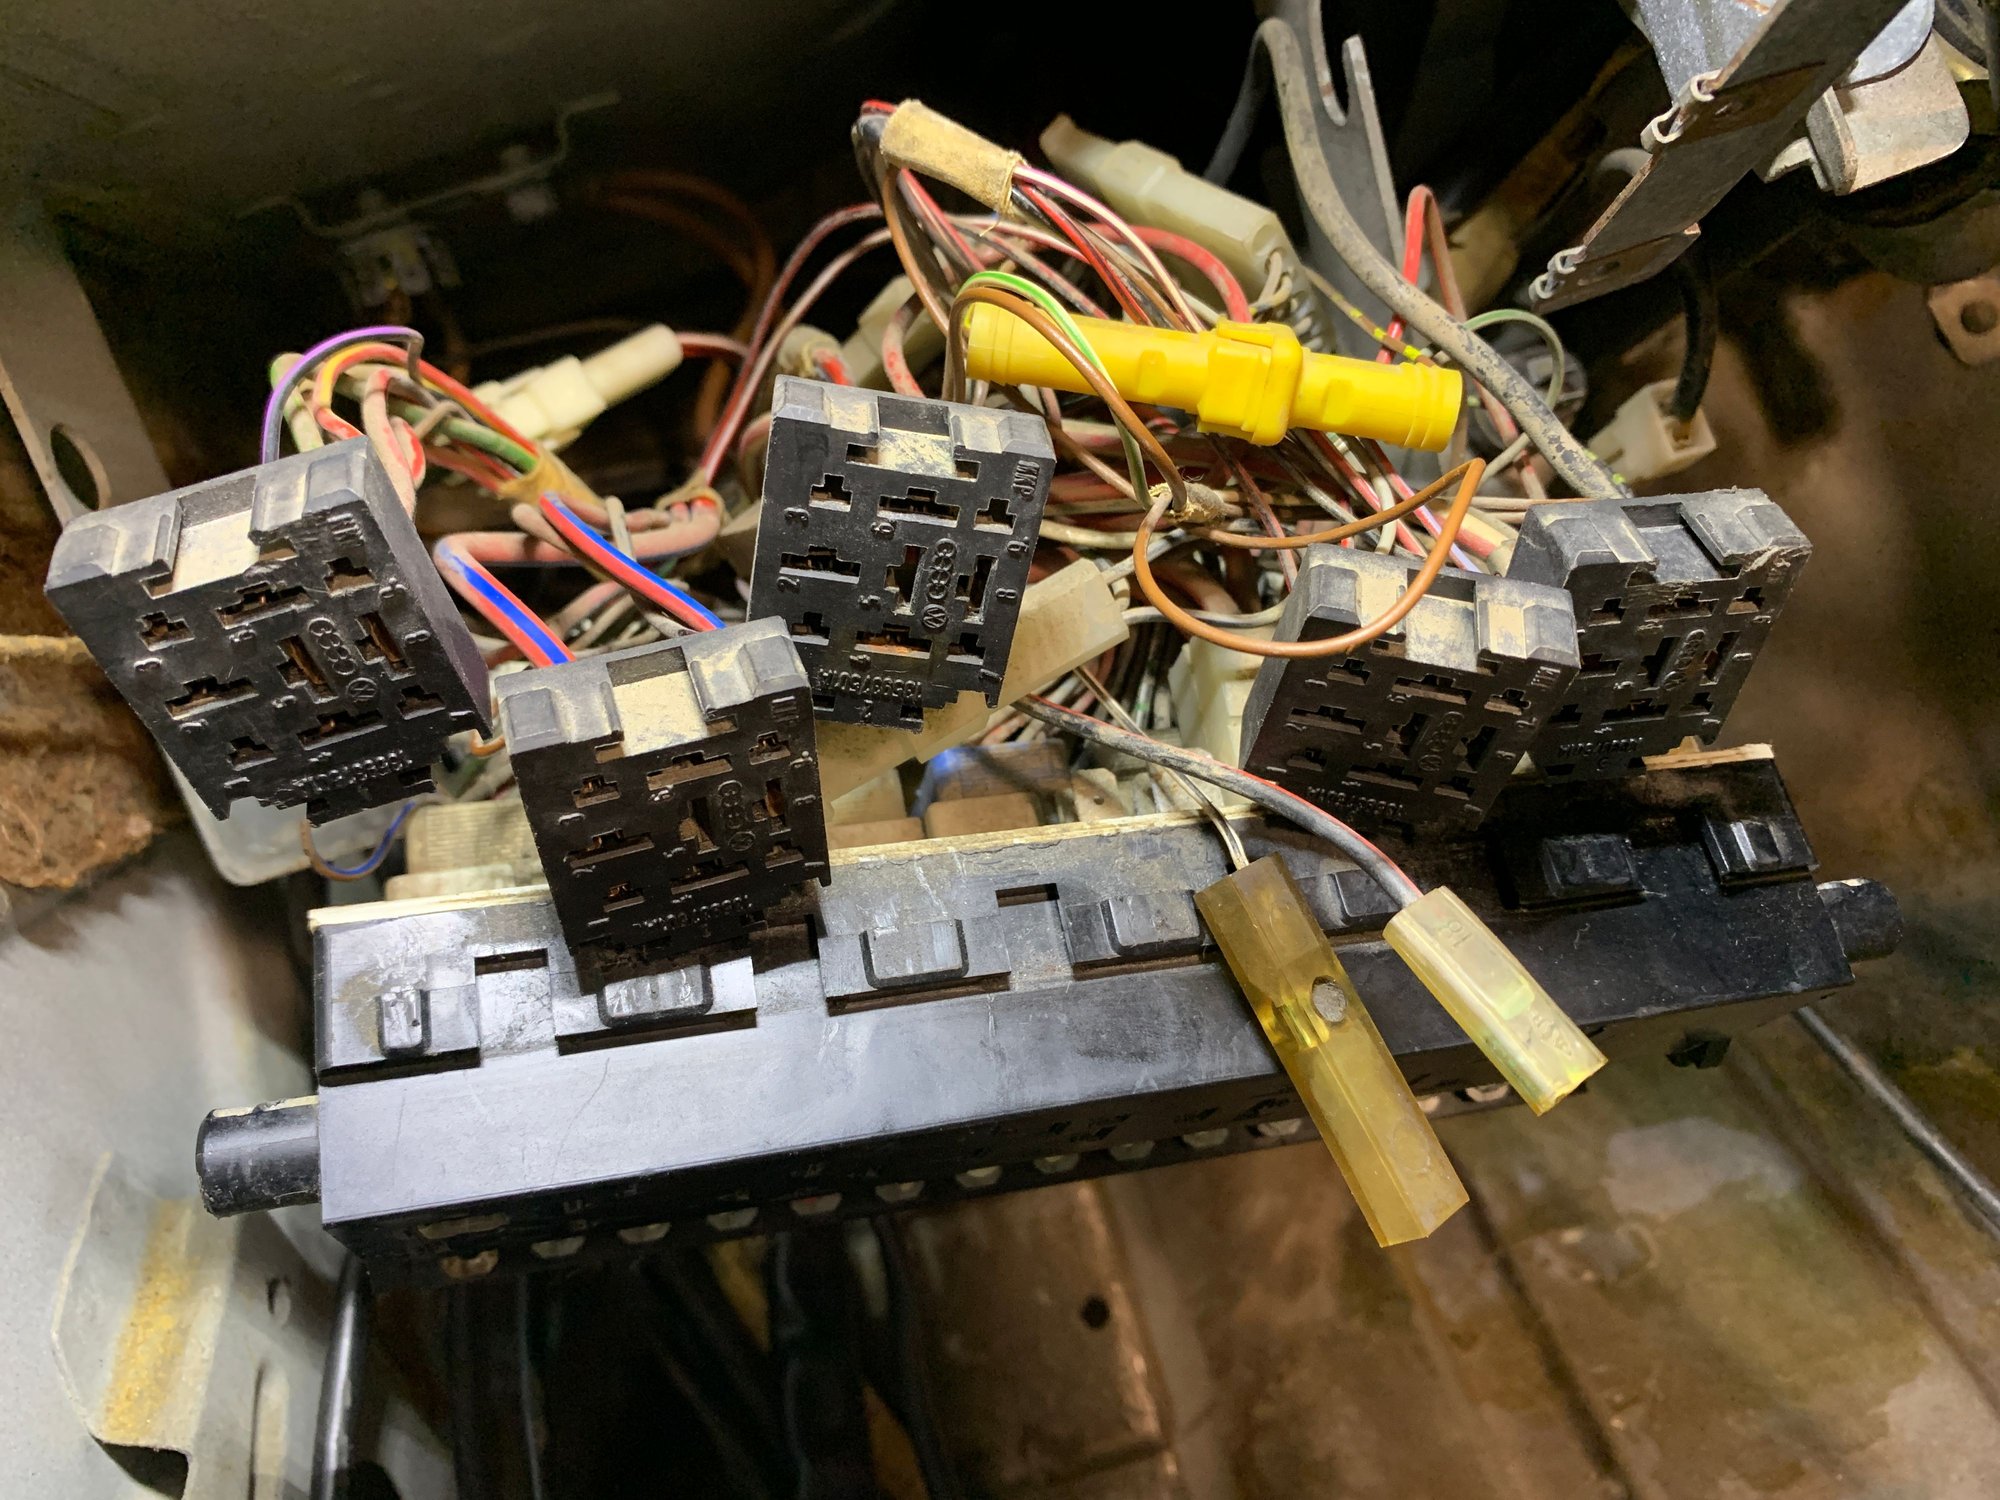
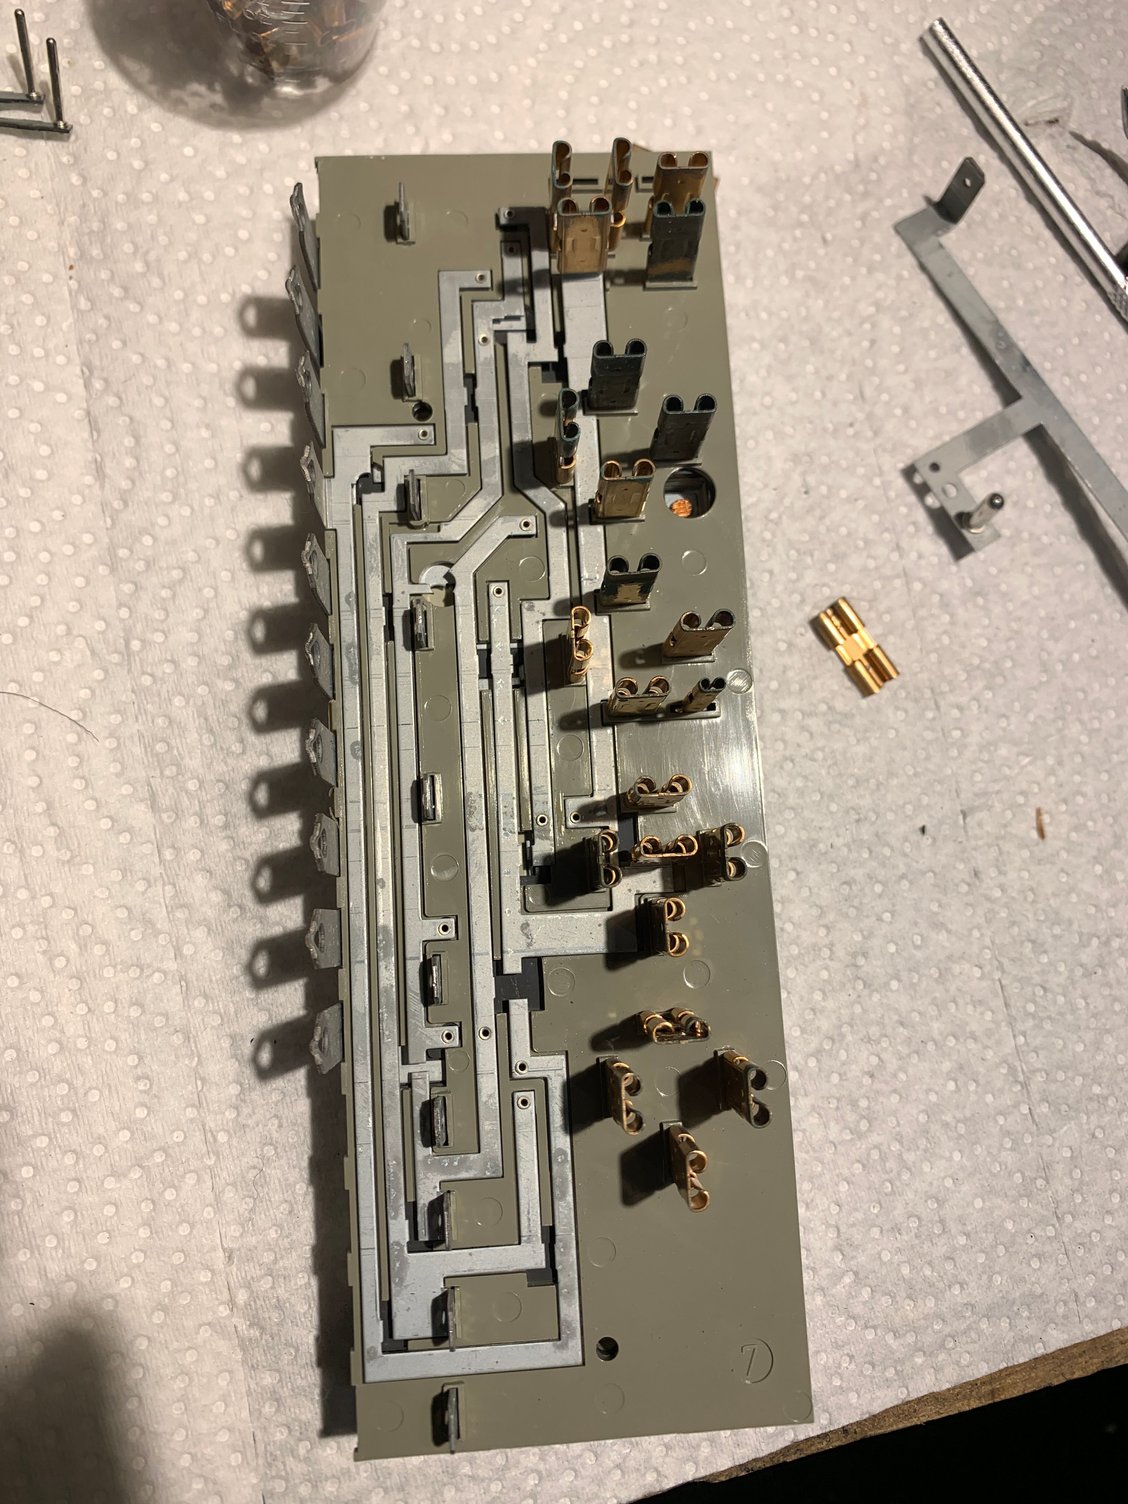
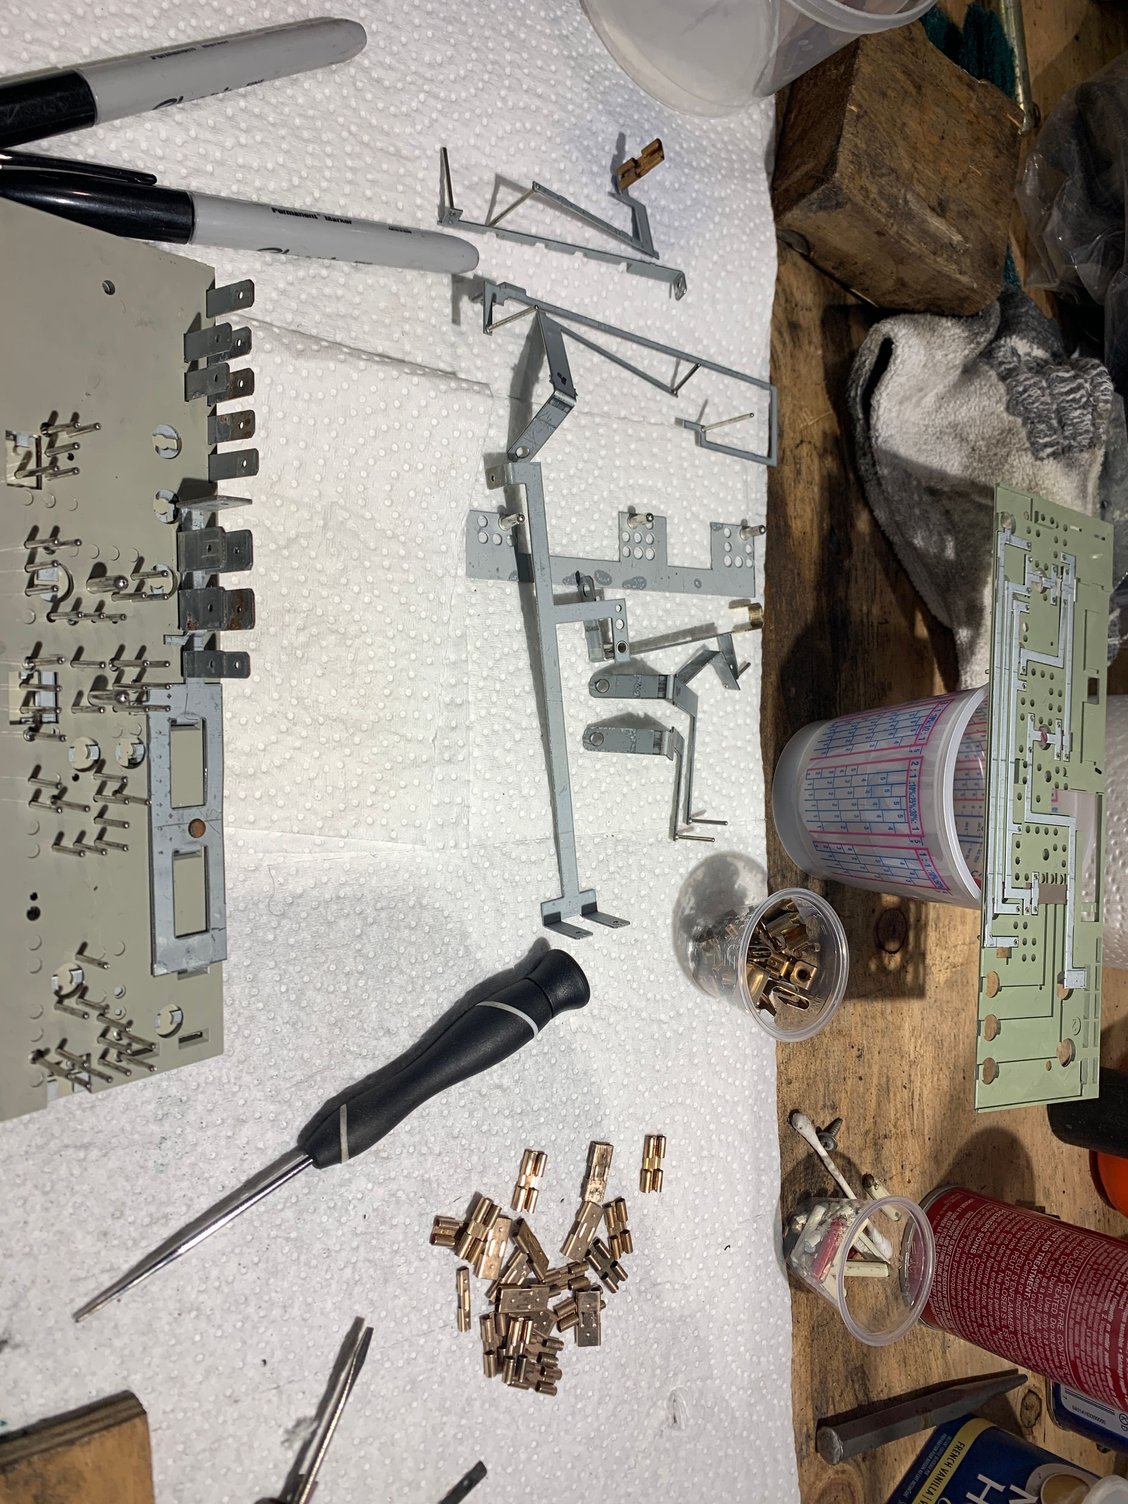
Well I got that fuse block ( electrical distribution box) apart. Its like an analog circuit board Lots of pieces
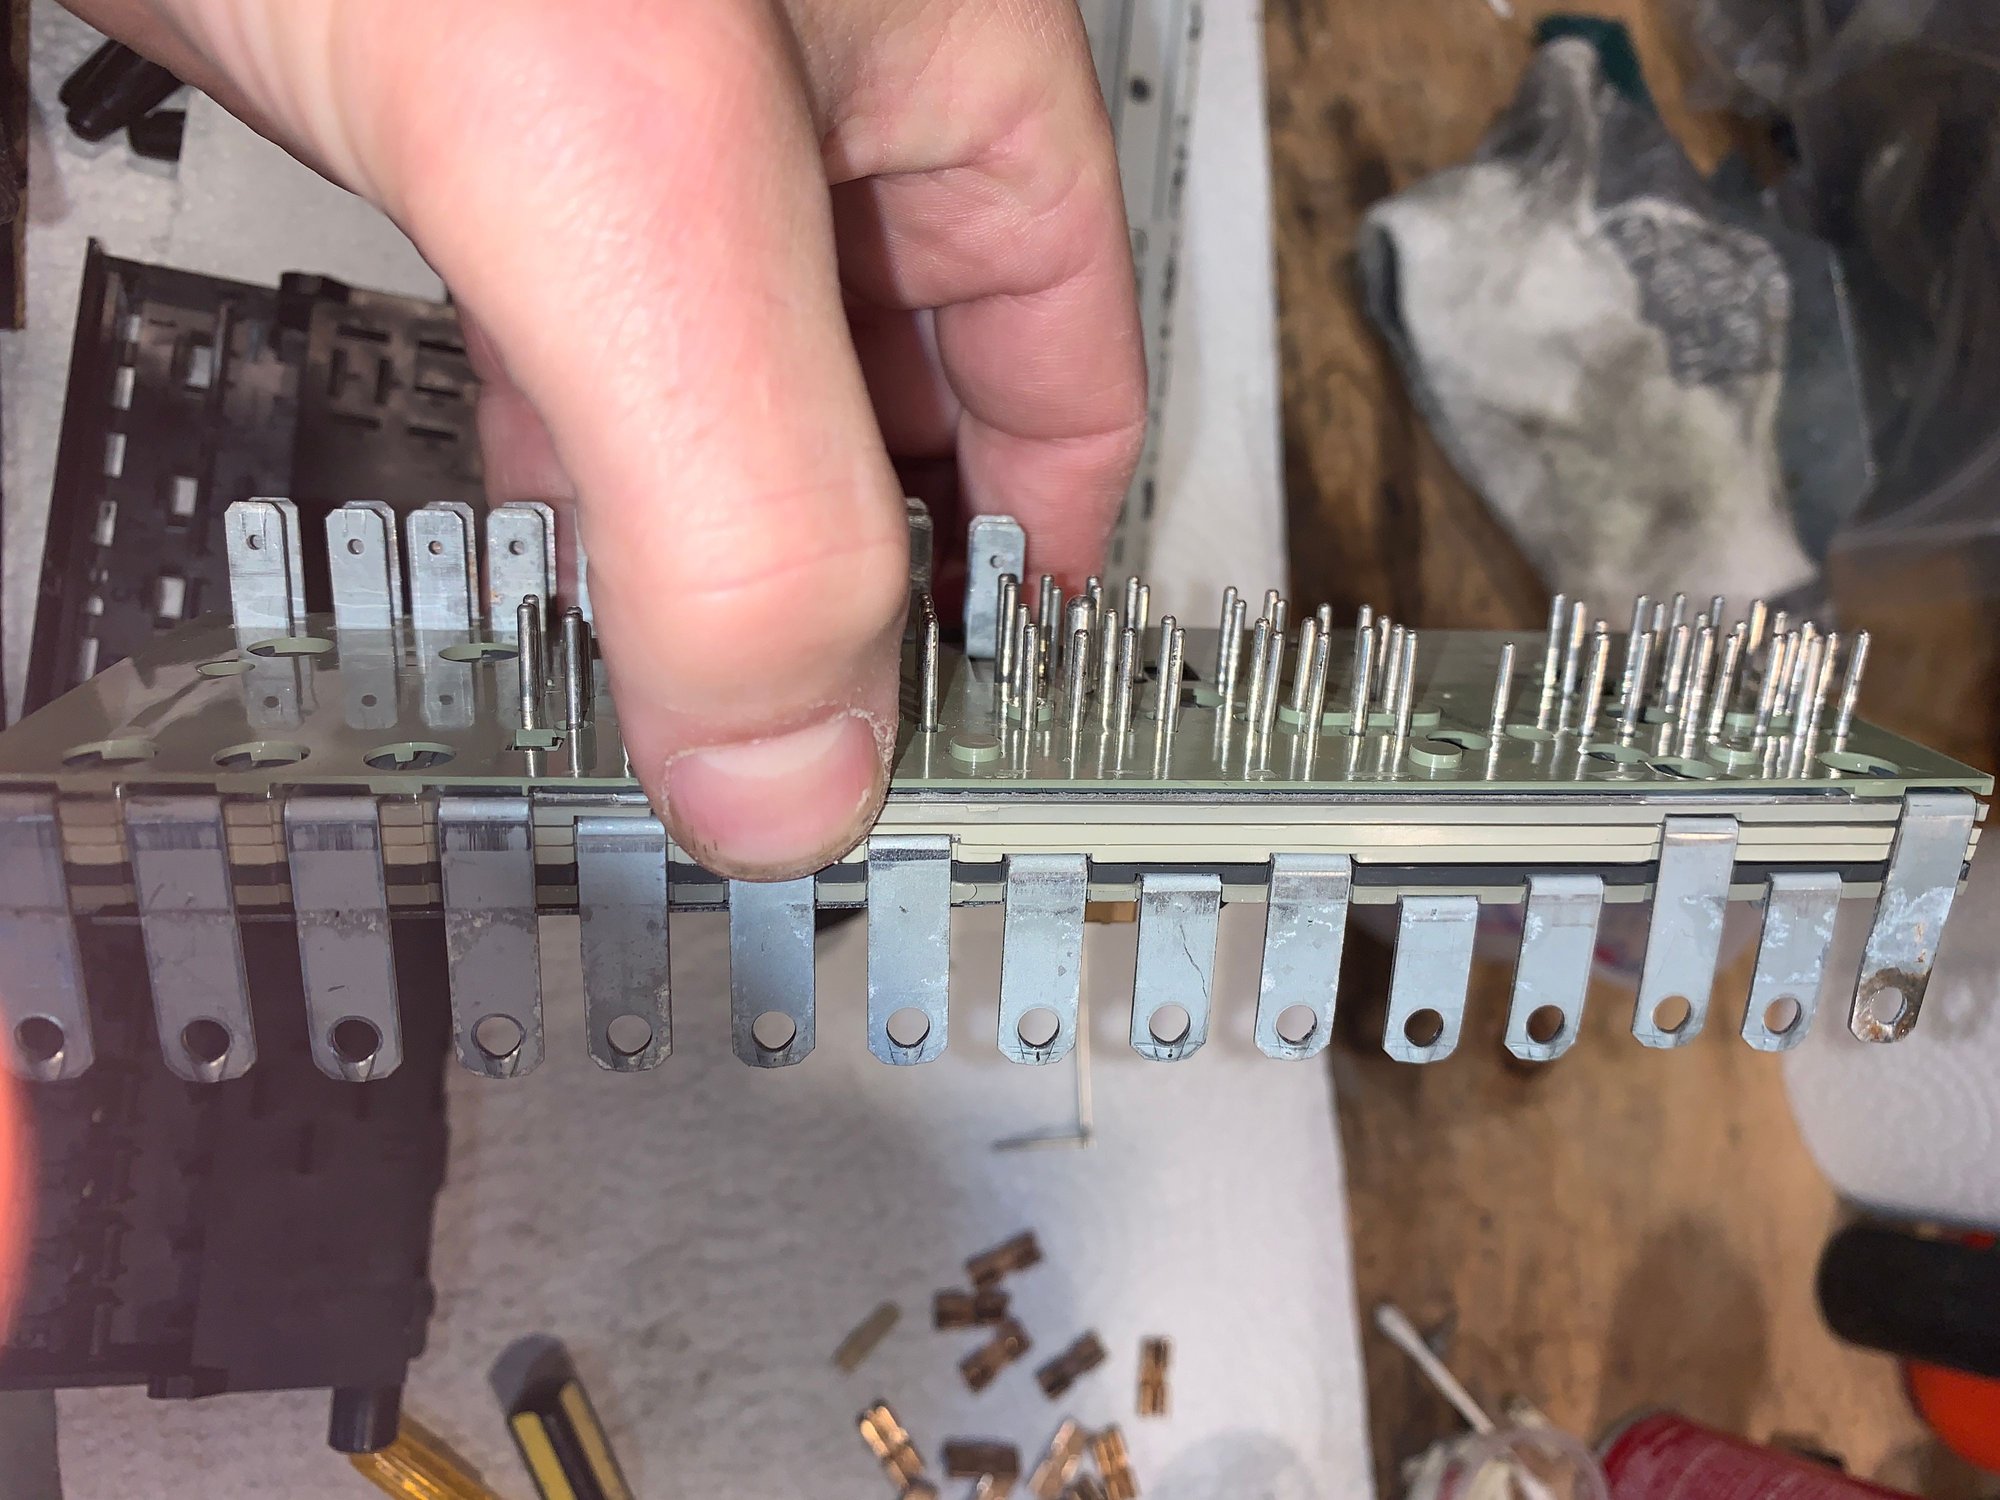
The back comes off after prying it up gently all around to overcome the friction fit of all the pins and blades
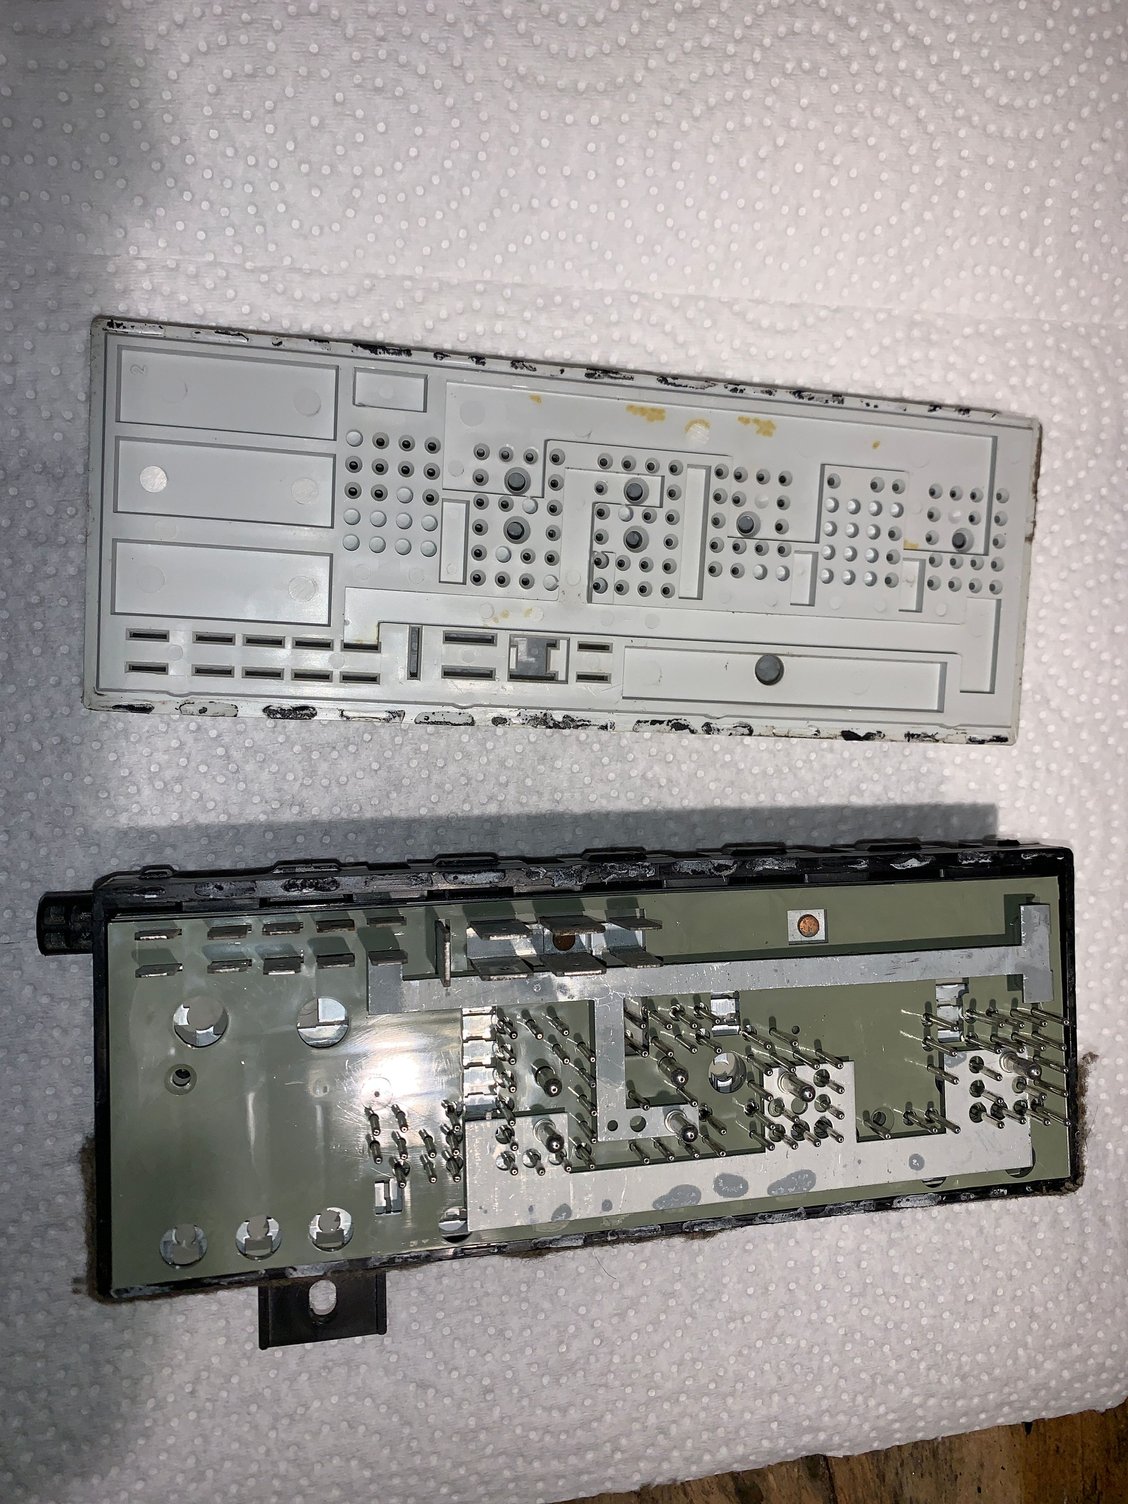
Next I pried up all the sprung fuse holders and removed them
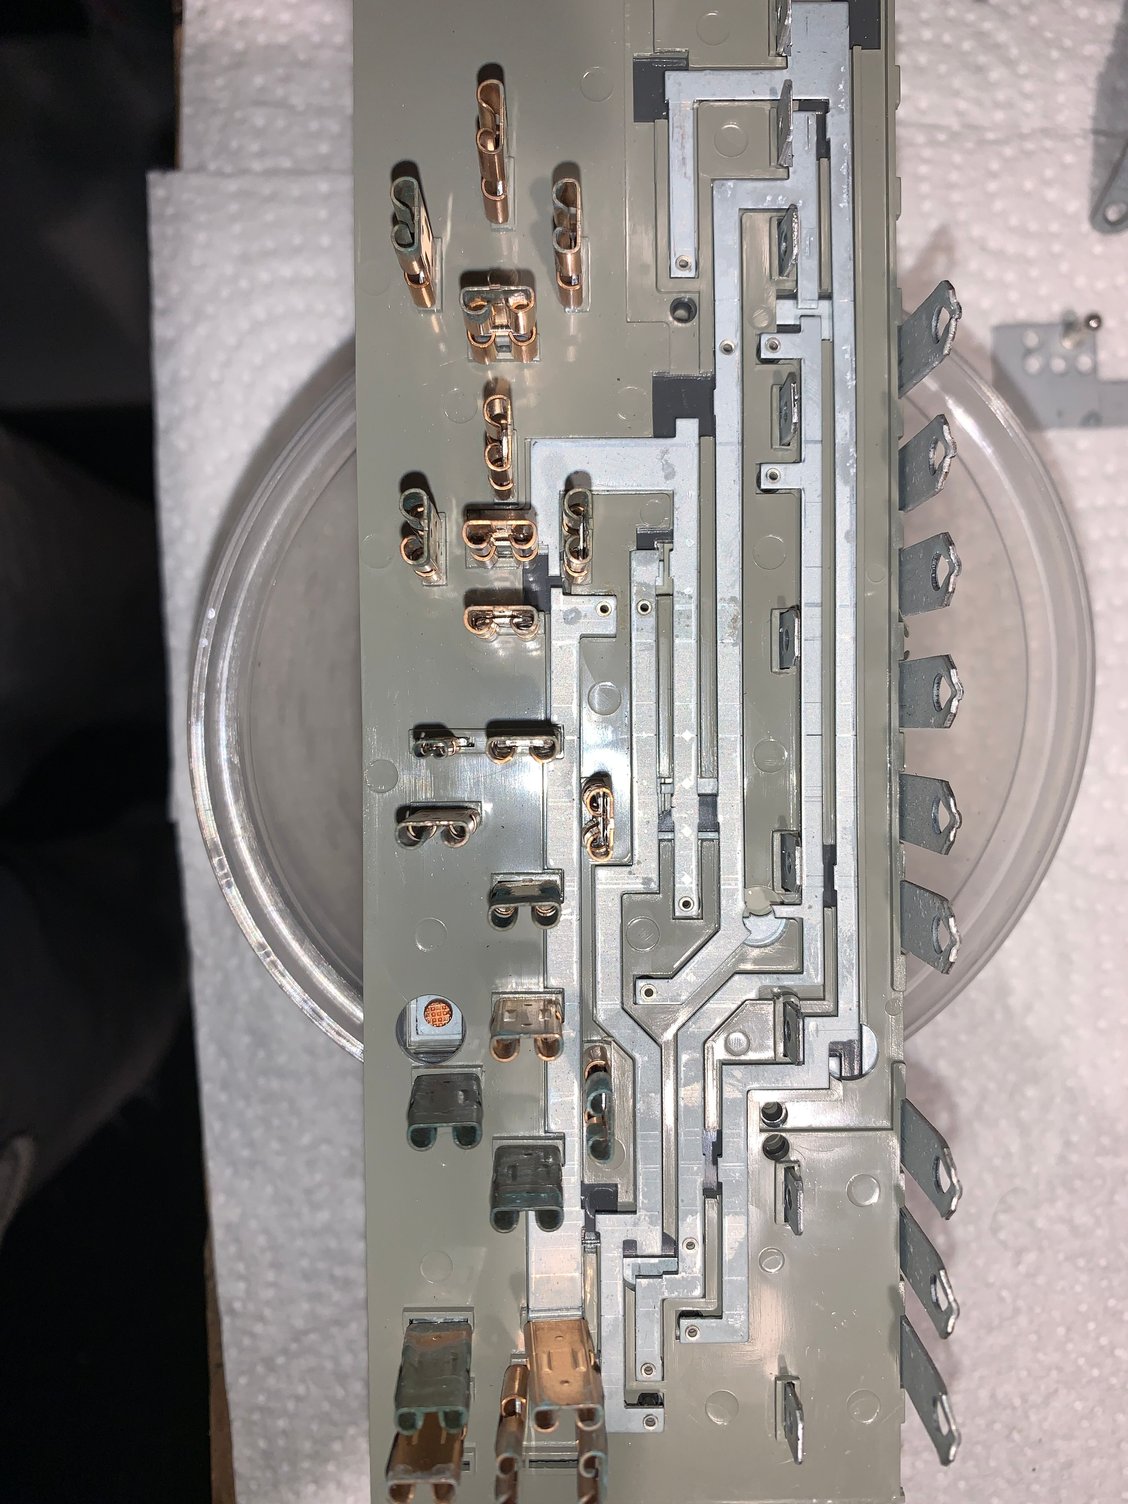
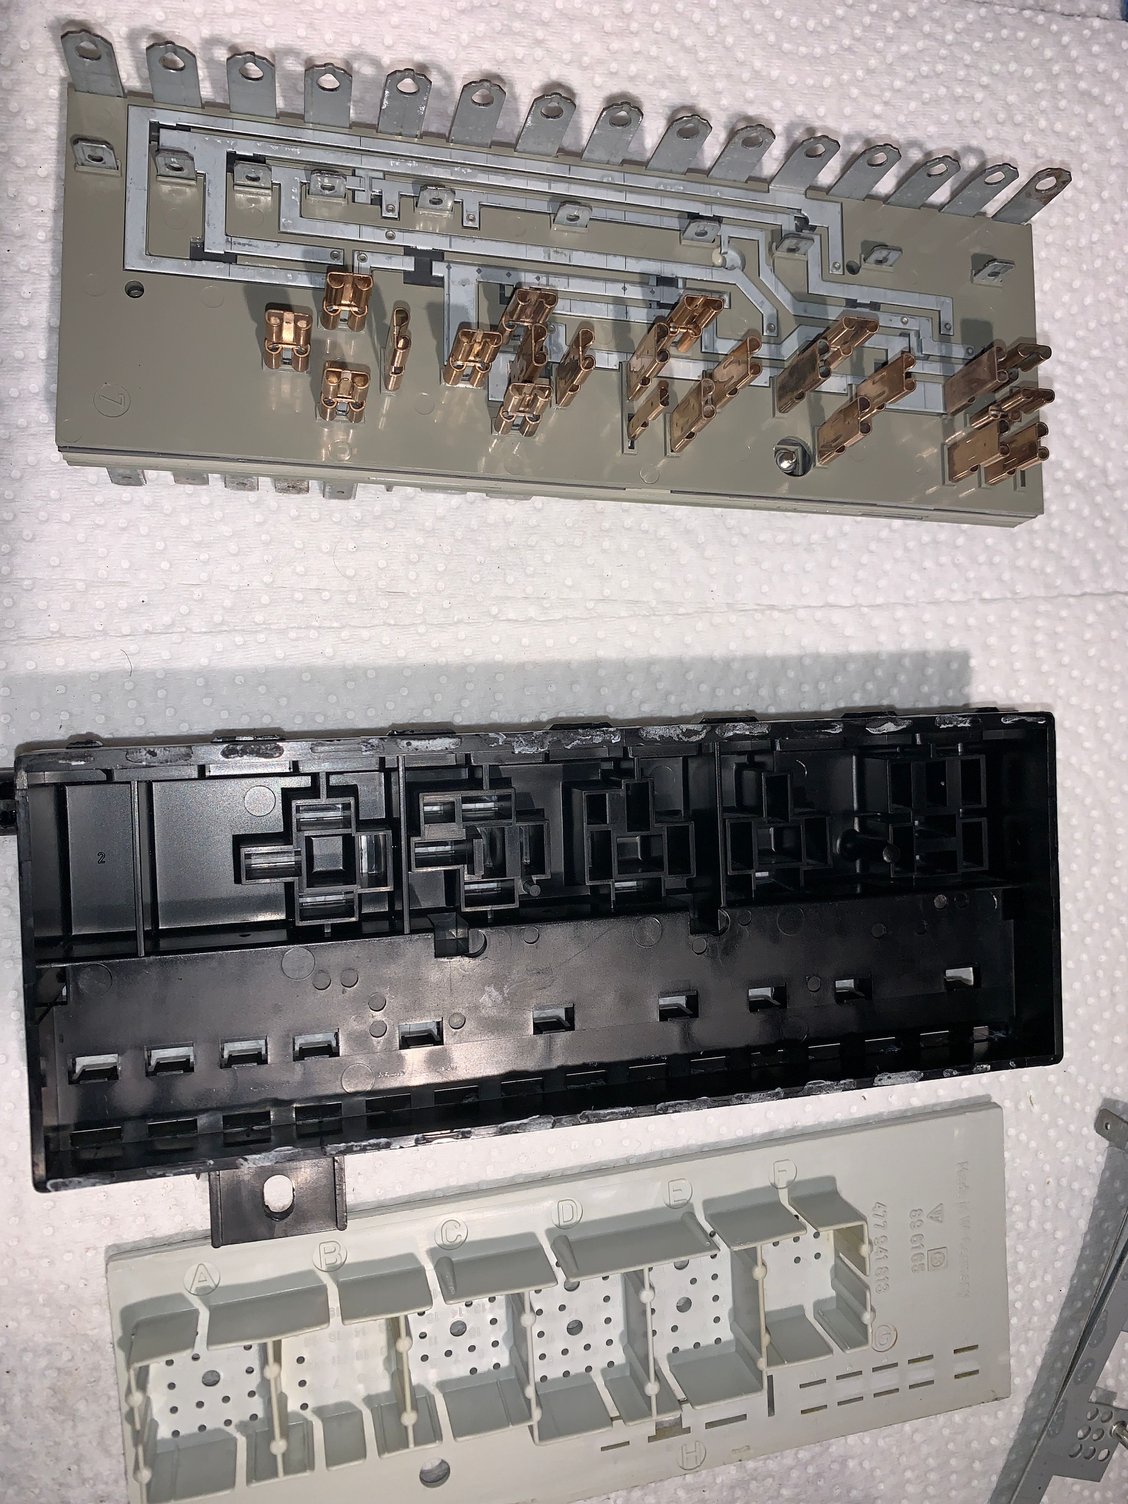
The main body of the unit comes out. some of the distribution pieces are loose and fall out but I think it will be obvious where they are placed in the unit
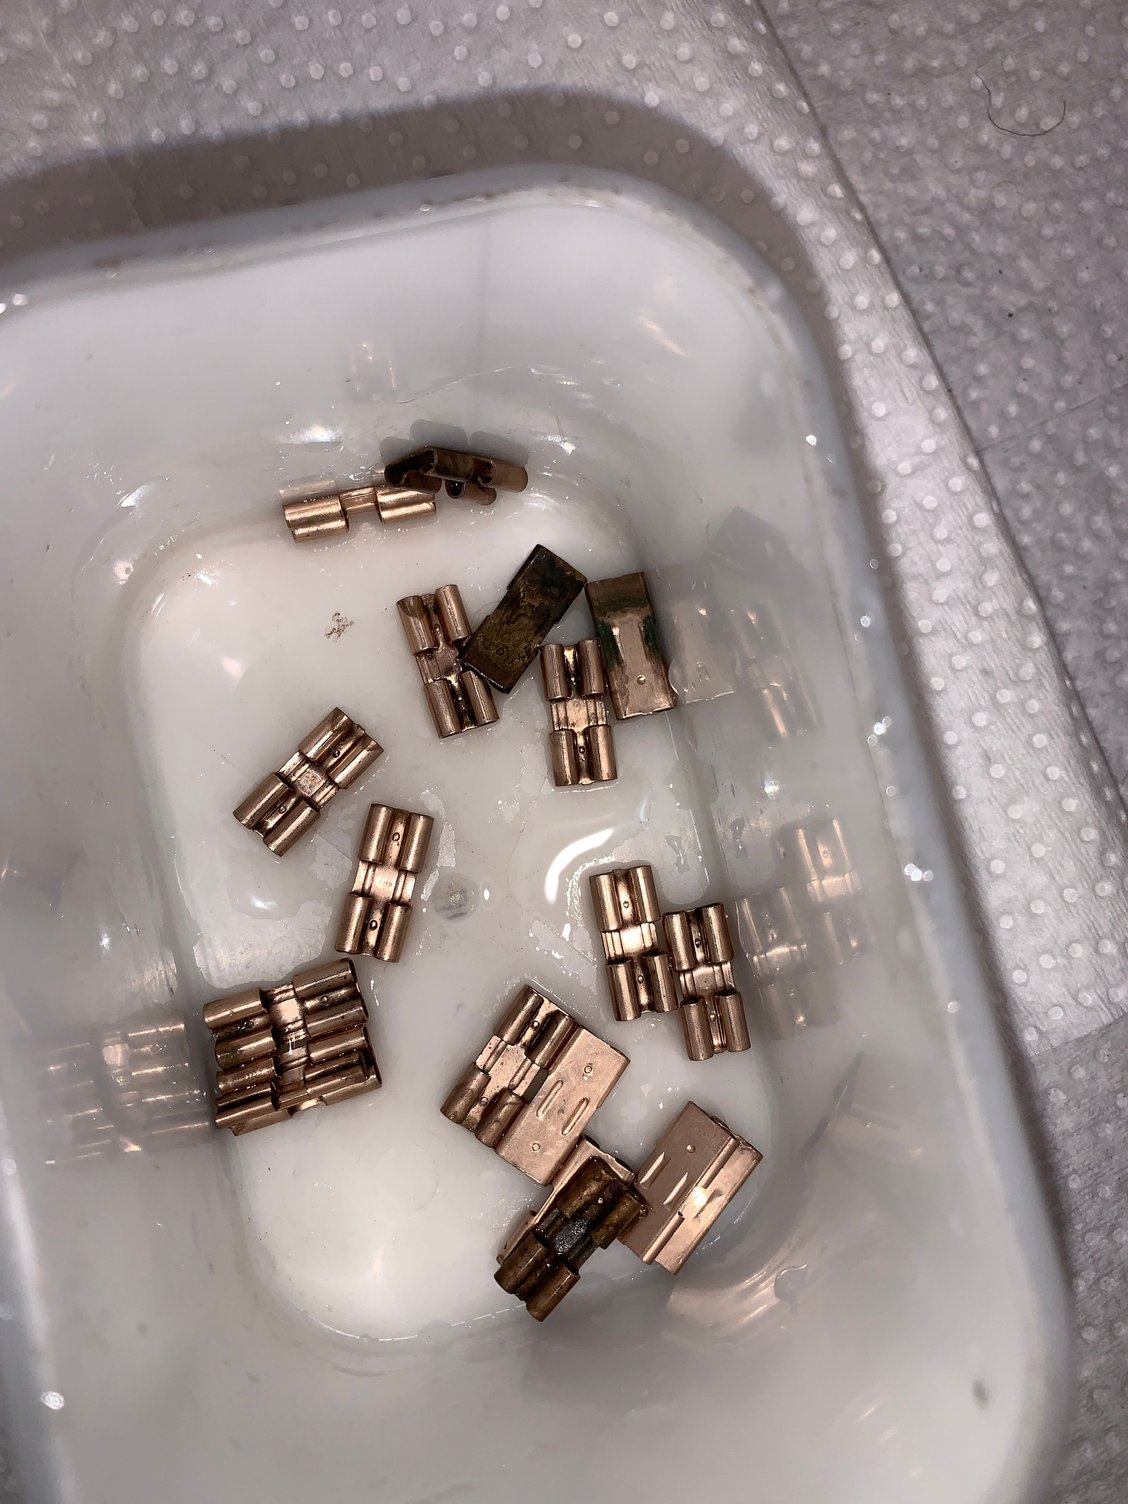
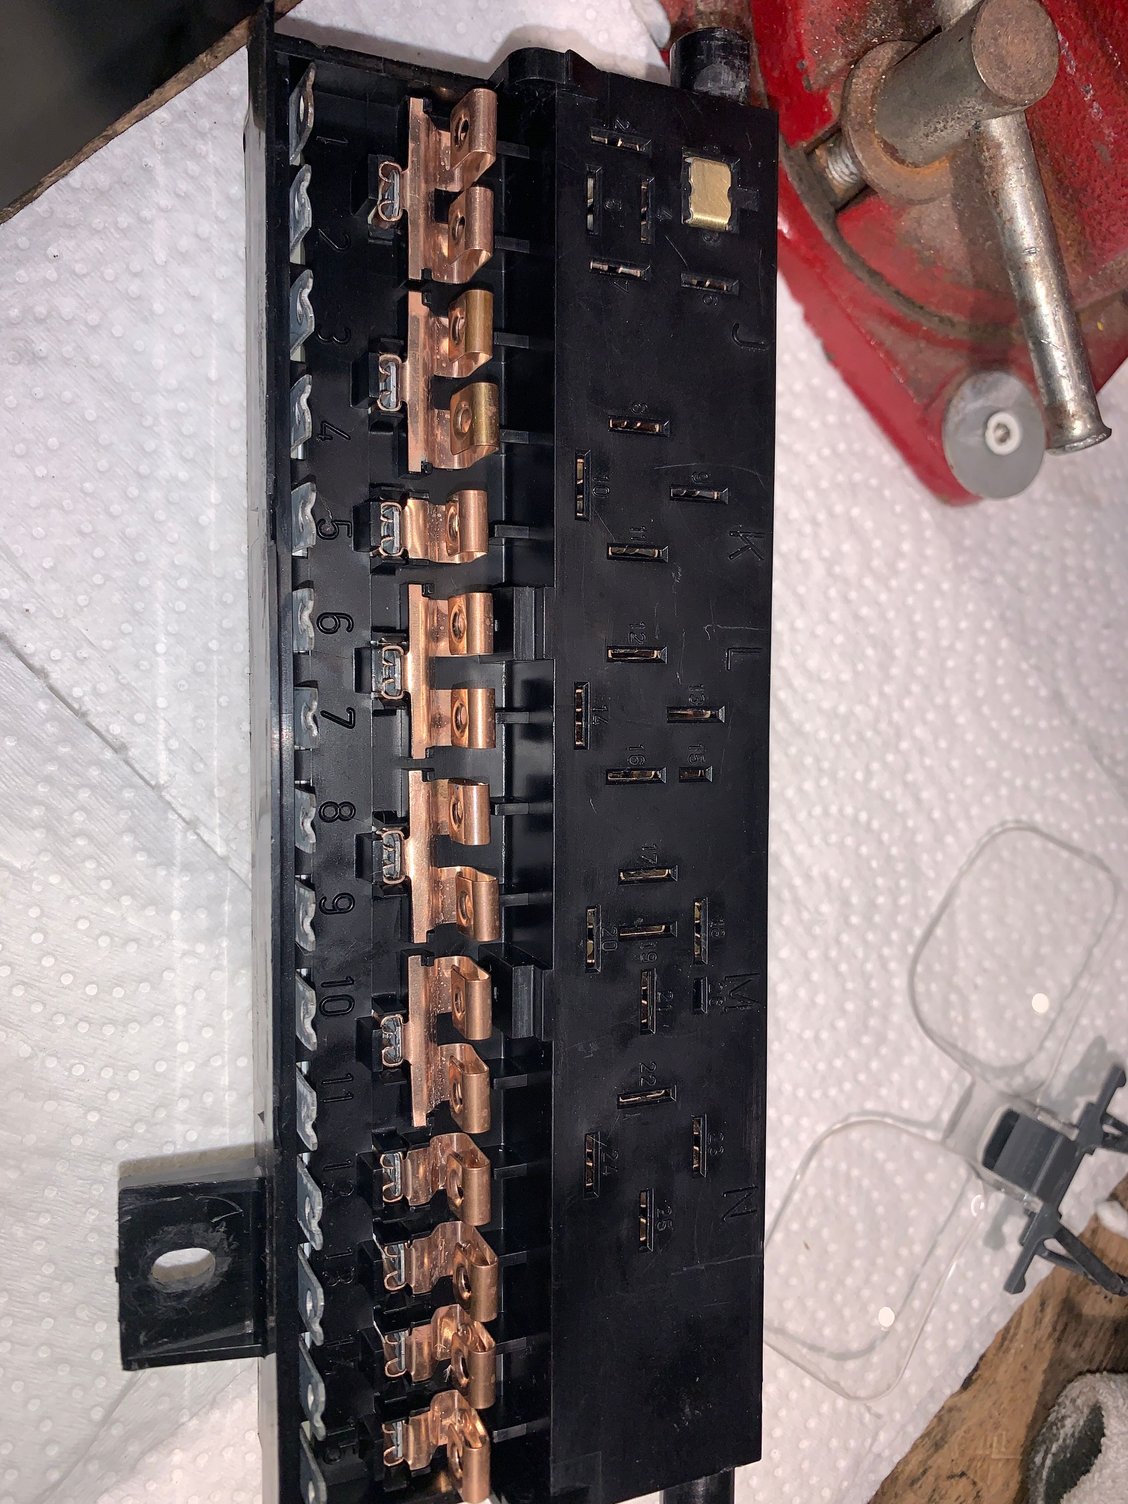
The copper relay plug connectors are just free pieces that unplug. They aren't that bad really but I'm still glad I took this apart so know I know it will be clean
They all just unplug and get soaked in vinegar and then wire brushed and maybe sanded a little. Thats it for now. Hope I can get this back together.
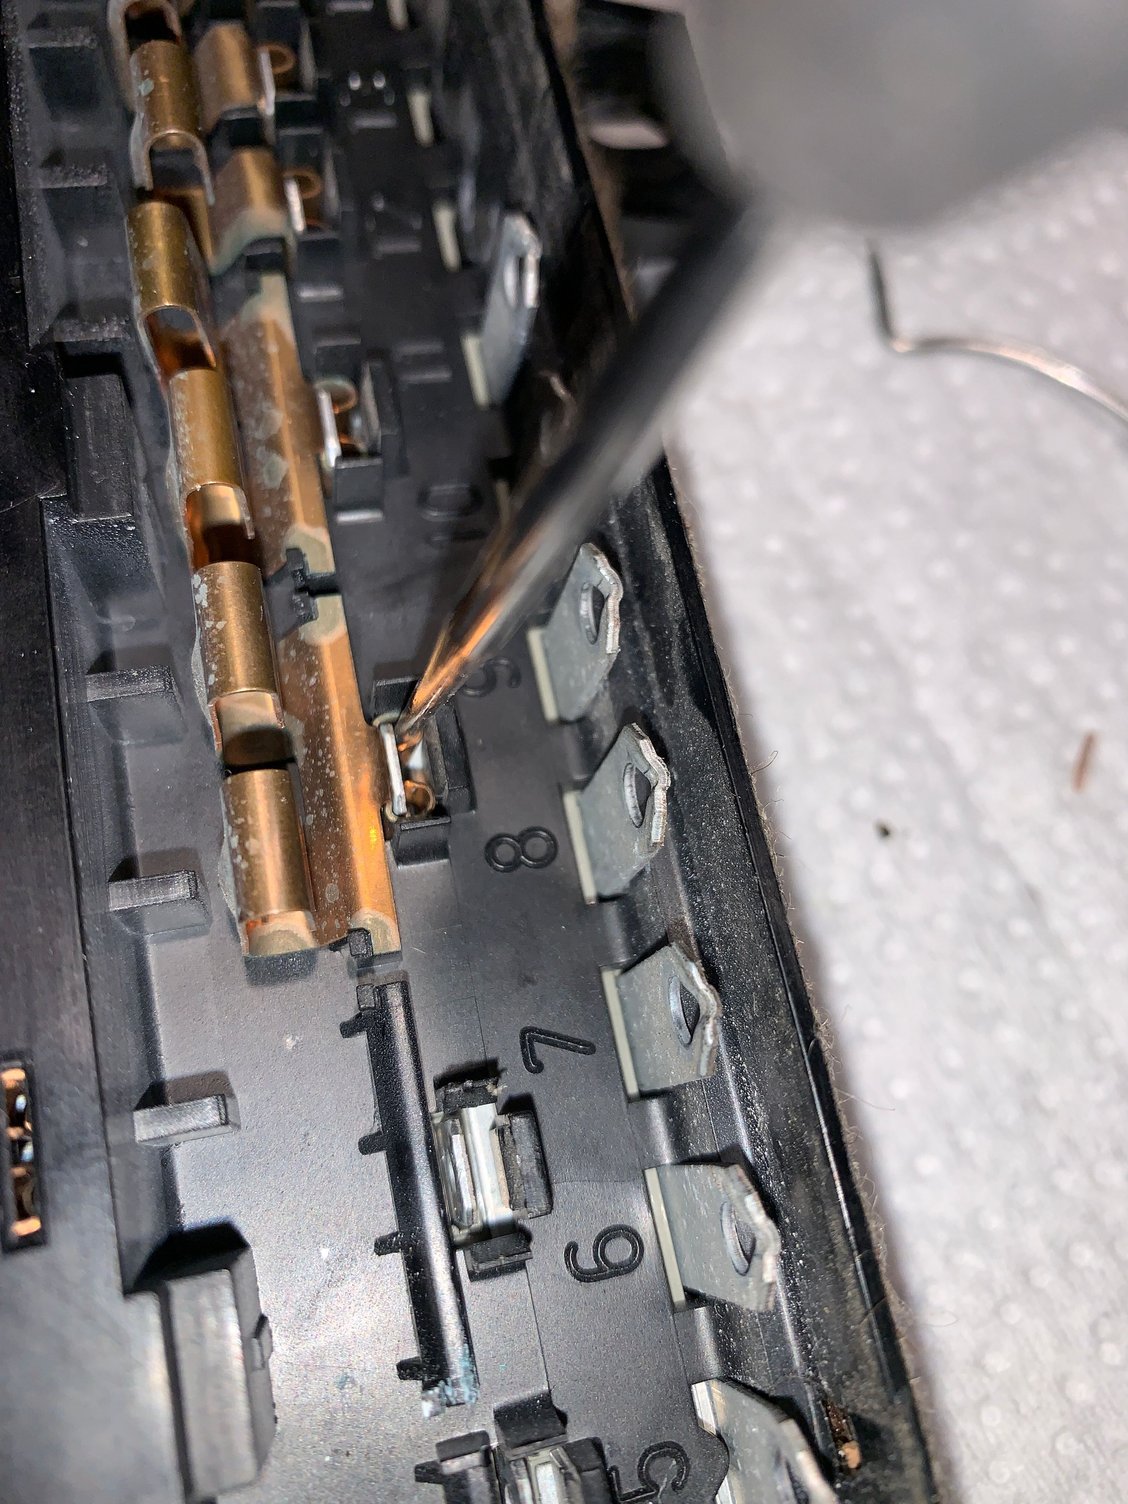
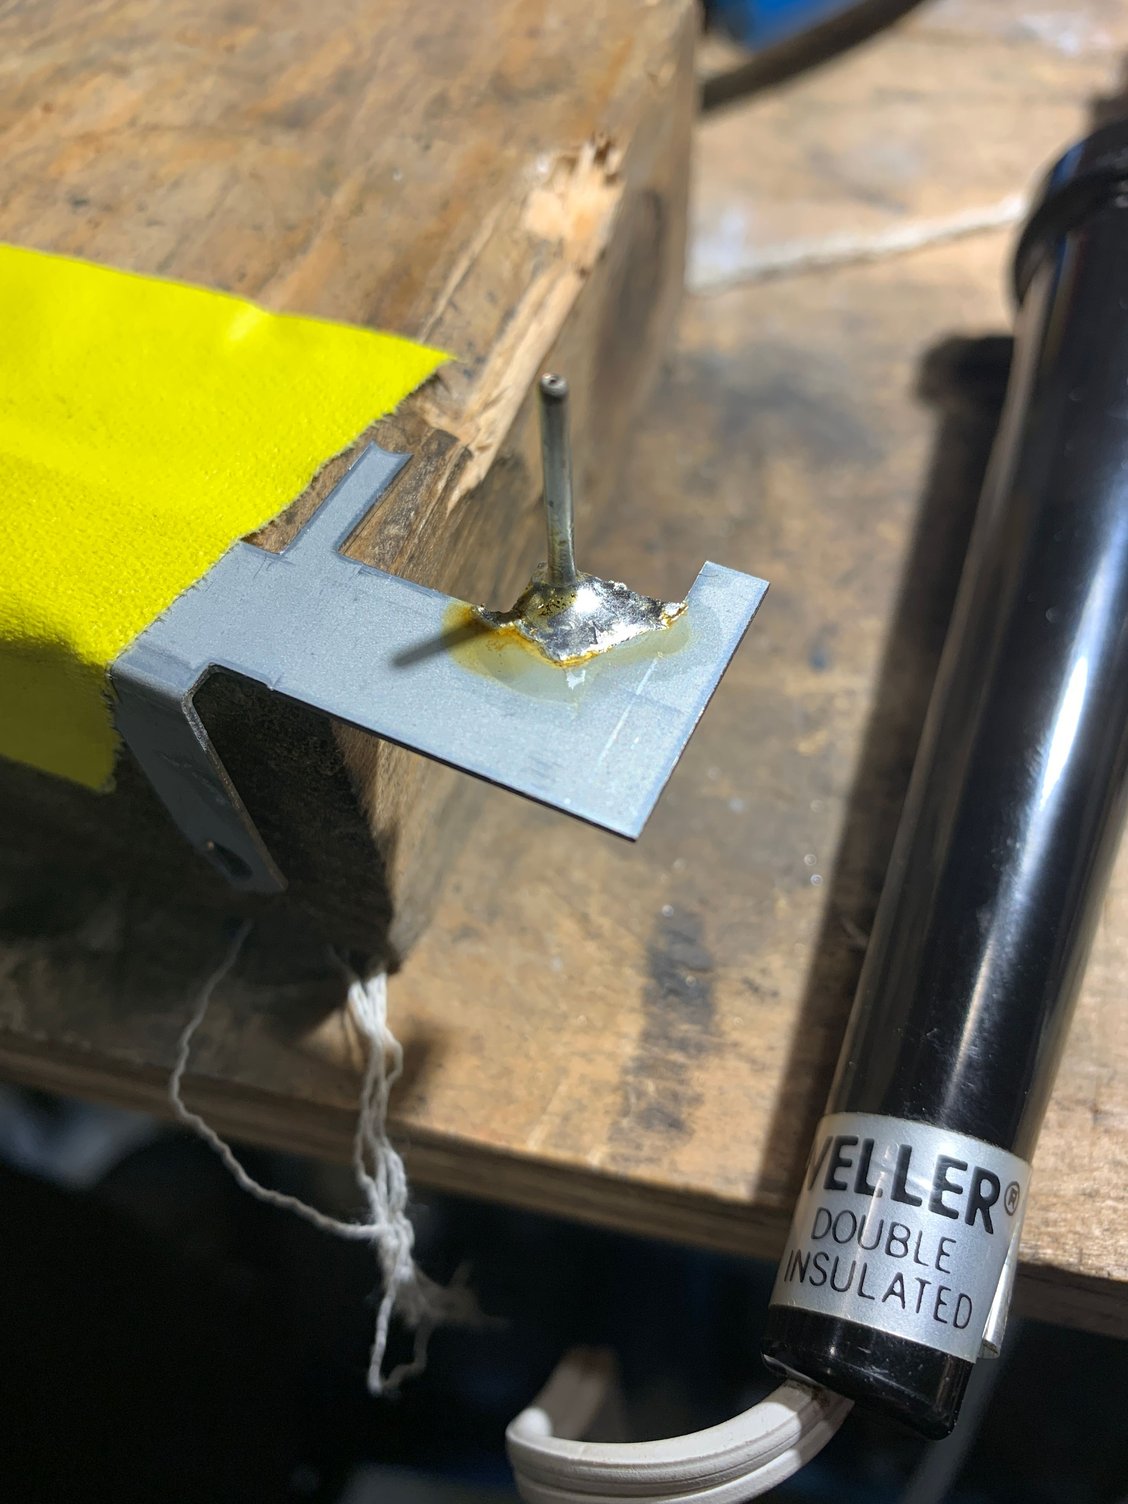
Lots of pieces to refit. Of course I managed to bend one of the pins while I was working on this thing, I had to take it apart even further to get to the piece that had the damaged pin in order to solder it.
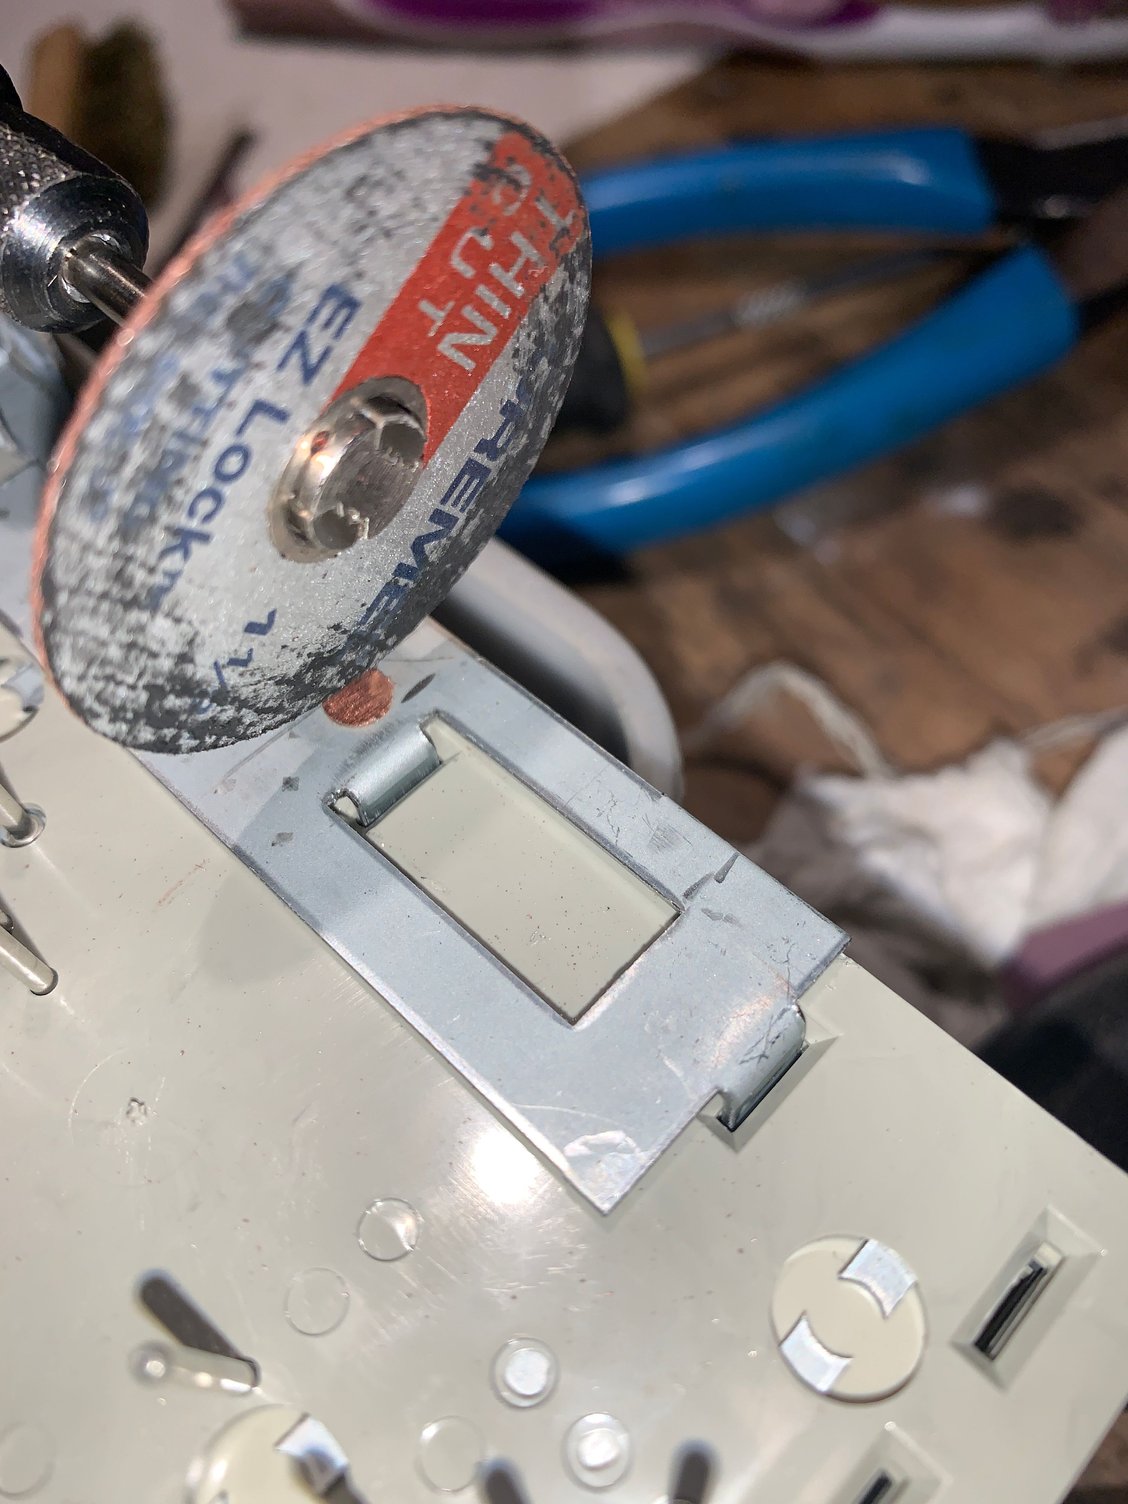
I had to demel off a rivet they had holding the bulk of the layers together
I recently got some better solder that said it was made for electronics made for electronics . Rosin core solder , worked really well
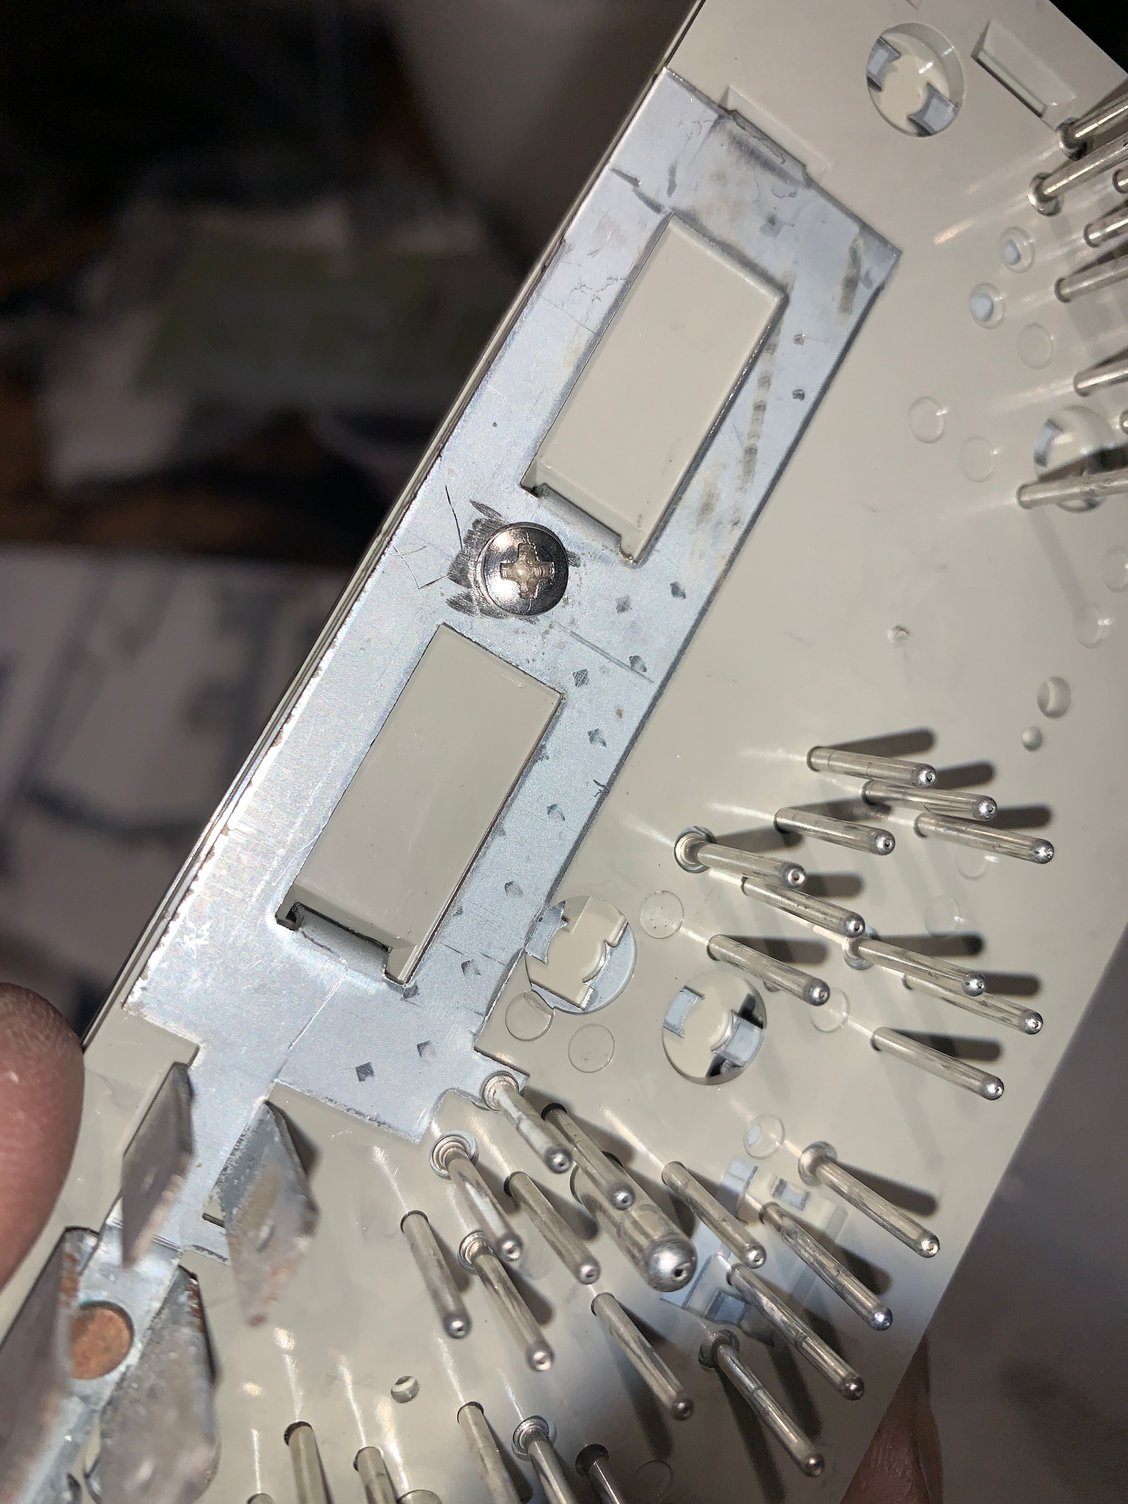
And put it back together using a tiny machine screw and nylock nut
Here you can see all the layers of plastic sandwiching the electric distribution pieces together
Cleaned up relay plugs and cleaned plastic case
Cleaned and put back together. I hope it works. I didn't know what to expect when I started to take this apart. I wasn't too bad to work on. I tried searching the web for info about this but I saw nothing. Anyone ever see any info on opening one of these up? I would have thought Clarks garage or this site would have had something.
Nice work! I recall seeing something about distribution box, might have been on YT with European Auto Craft Studios in Florida on their 944Turbo restoration series.
Nice work! I recall seeing something about distribution box, might have been on YT with European Auto Craft Studios in Florida on their 944Turbo restoration series.
Thx very much. I figured this might be interesting to early car owners. I've never seen anything about this item before. I have seen some of those EAC videos on YT. Thats a Turbo so, late car, it won't have this oddball panel. Its got the newer style distribution panel in the engine bay. I think.

 02-15-2022 | 02:19 AM
 Good idea, I'll repost all these pic over on your sender thread, keep it all in one place. Probably won't be for a day or so though, I'll be at work. We'll get this figured out