When you click on links to various merchants on this site and make a purchase, this can result in this site earning a commission. Affiliate programs and affiliations include, but are not limited to, the eBay Partner Network.
I like to know more about this and coolant expansion tank. Also great job! The 944 is looking awesome! What is the instagram name?
Gladly. This is only a drop on cover, I've also made a cover for the coolant expansion tank. Both are carbon fiber 2x2 twill. They will be added to the Project Nine program 944 lineup before years end.
Instagram. @ _projectnine_
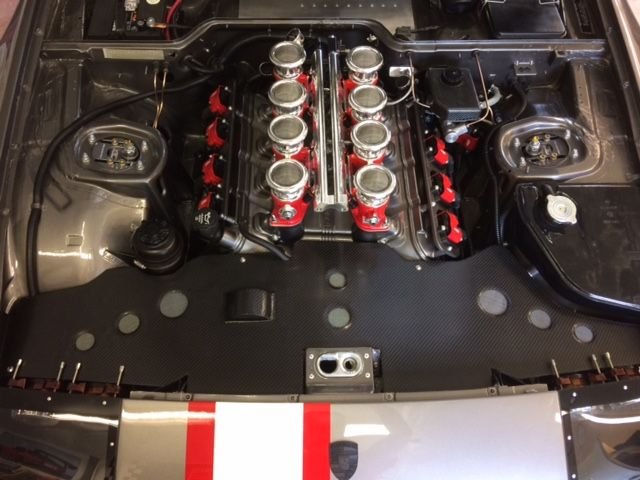
Here is a look at the cover installed on one of my Widerstandsfahig builds...#003. The large carbon fiber accent panel I designed and produced exclusively for this build after adding the Borla induction ITB system.
Gladly. This is only a drop on cover, I've also made a cover for the coolant expansion tank. Both are carbon fiber 2x2 twill. They will be added to the Project Nine program 944 lineup before years end.
Instagram. @ _projectnine_
Here is a look at the cover installed on one of my Widerstandsfahig builds...#003. The large carbon fiber accent panel I designed and produced exclusively for this build after adding the Borla induction ITB system.
Wow they both look great!! Please let me know when they are available to buy. I should have my 944 back on the road by the end of this year.
any thoughts on making some add-on hood vents that complement the styling of the 944? you know, with certain angles and curves built in, rather than HVAC register vents, lol.
Yeah I knew that! I was wanting more info on carbon fiber. But thanks for clearing that up for me!!!
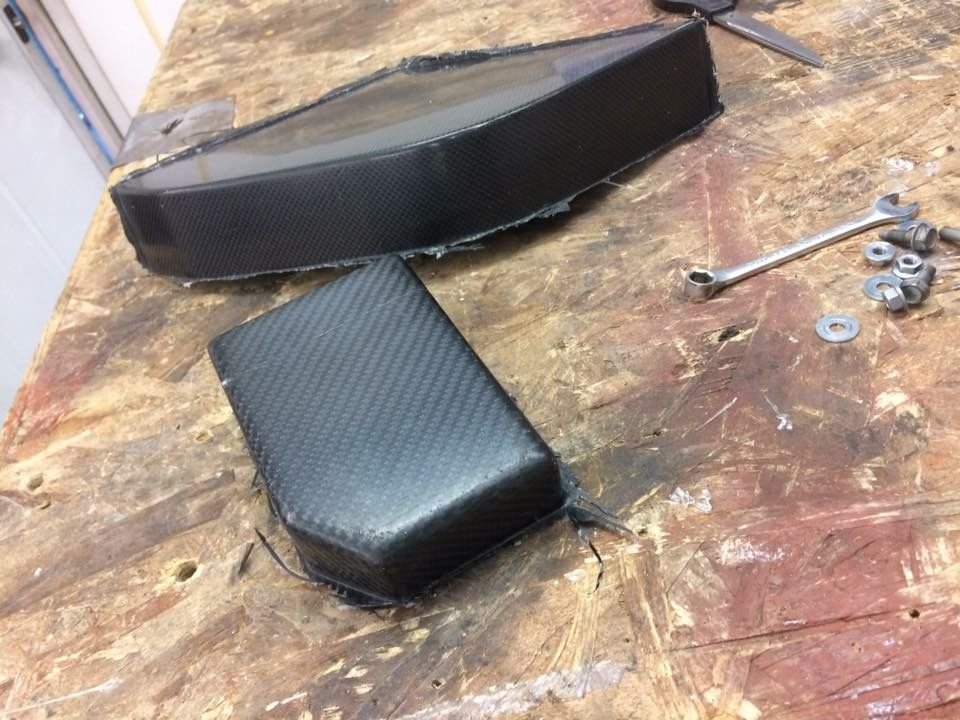
I finally found a picture of the carbon fiber coolant reservoir cover. This is a picture of the first production run of both covers fresh out of the molds. The coolant cover is just what is shown here, it consists of the top and the sides that are visible. The pieces have yet to be trimmed and have the holes for the caps and a fluid level window cut in.
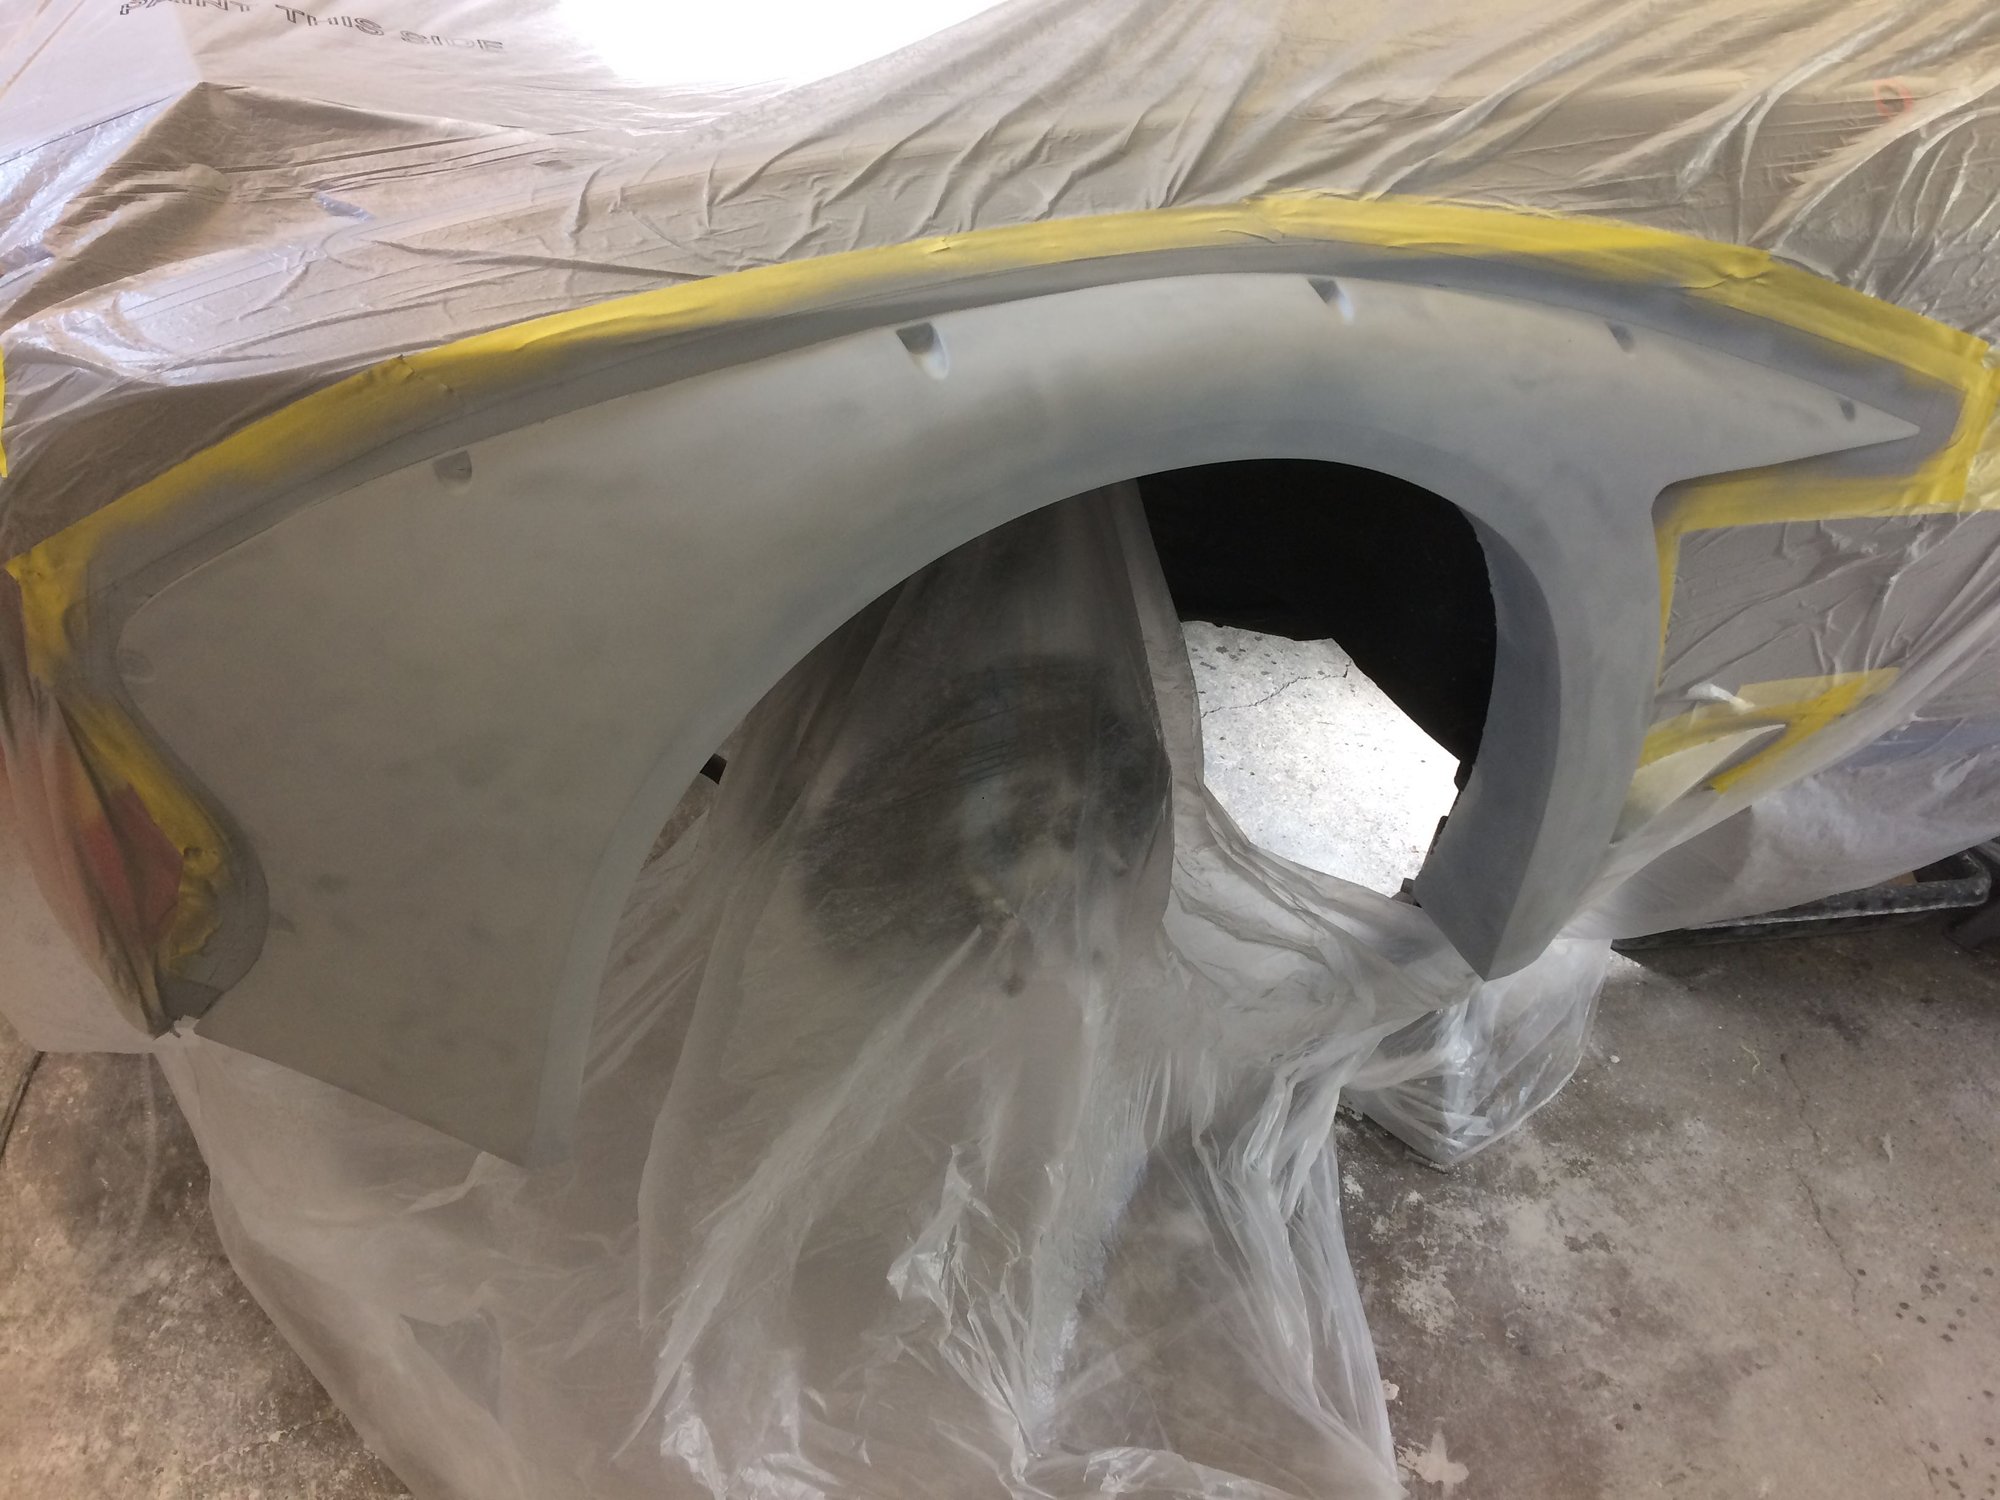
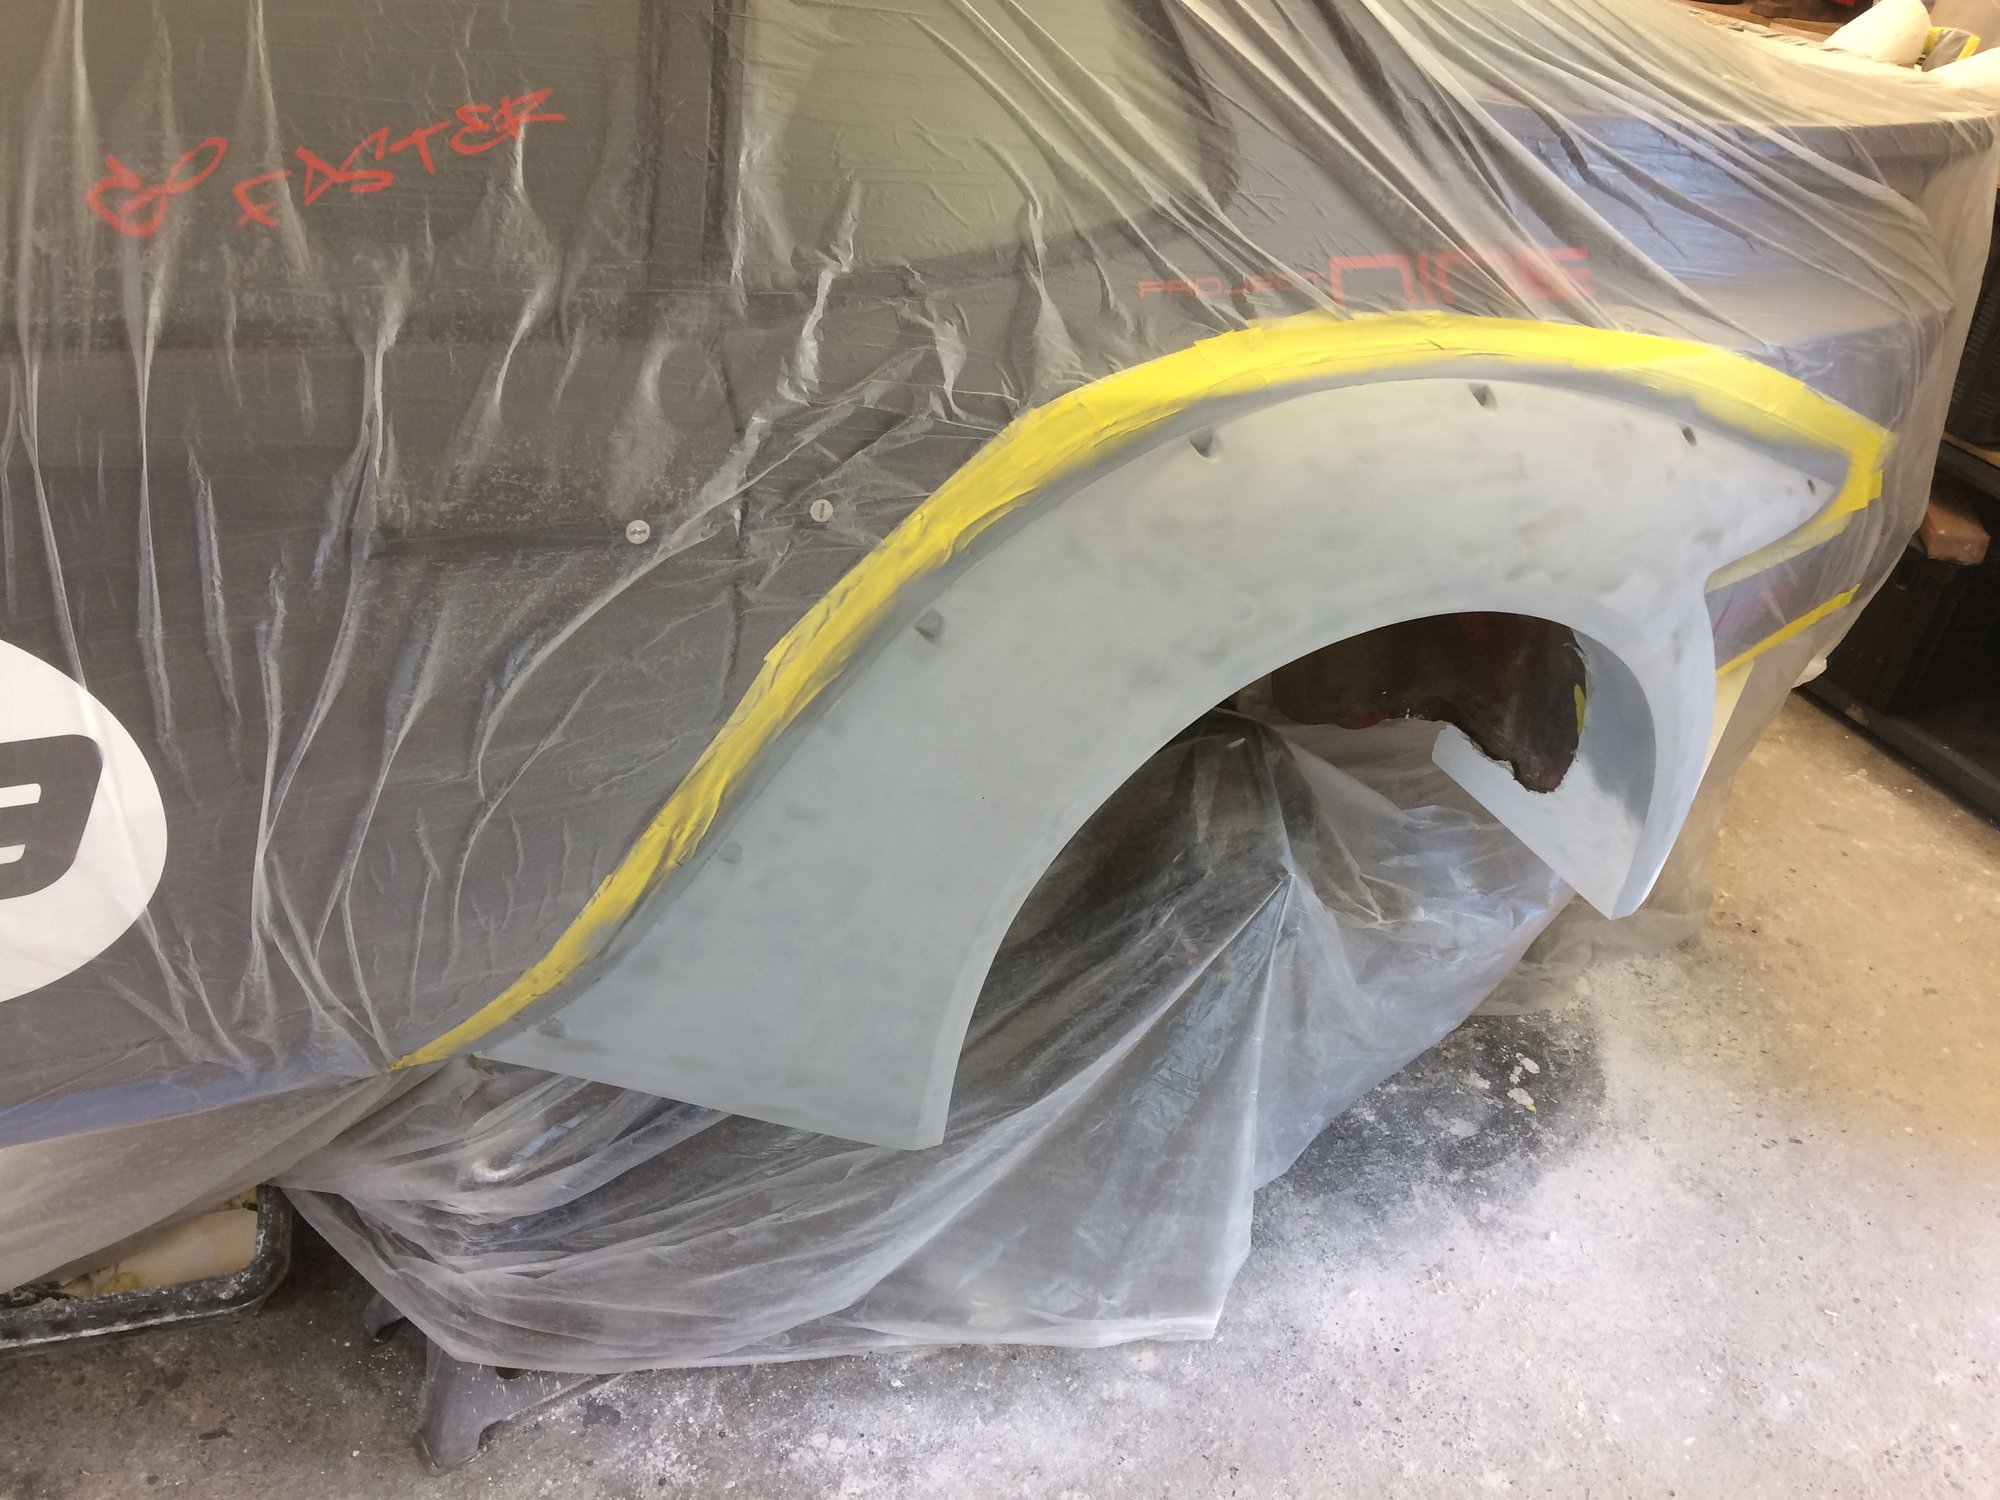
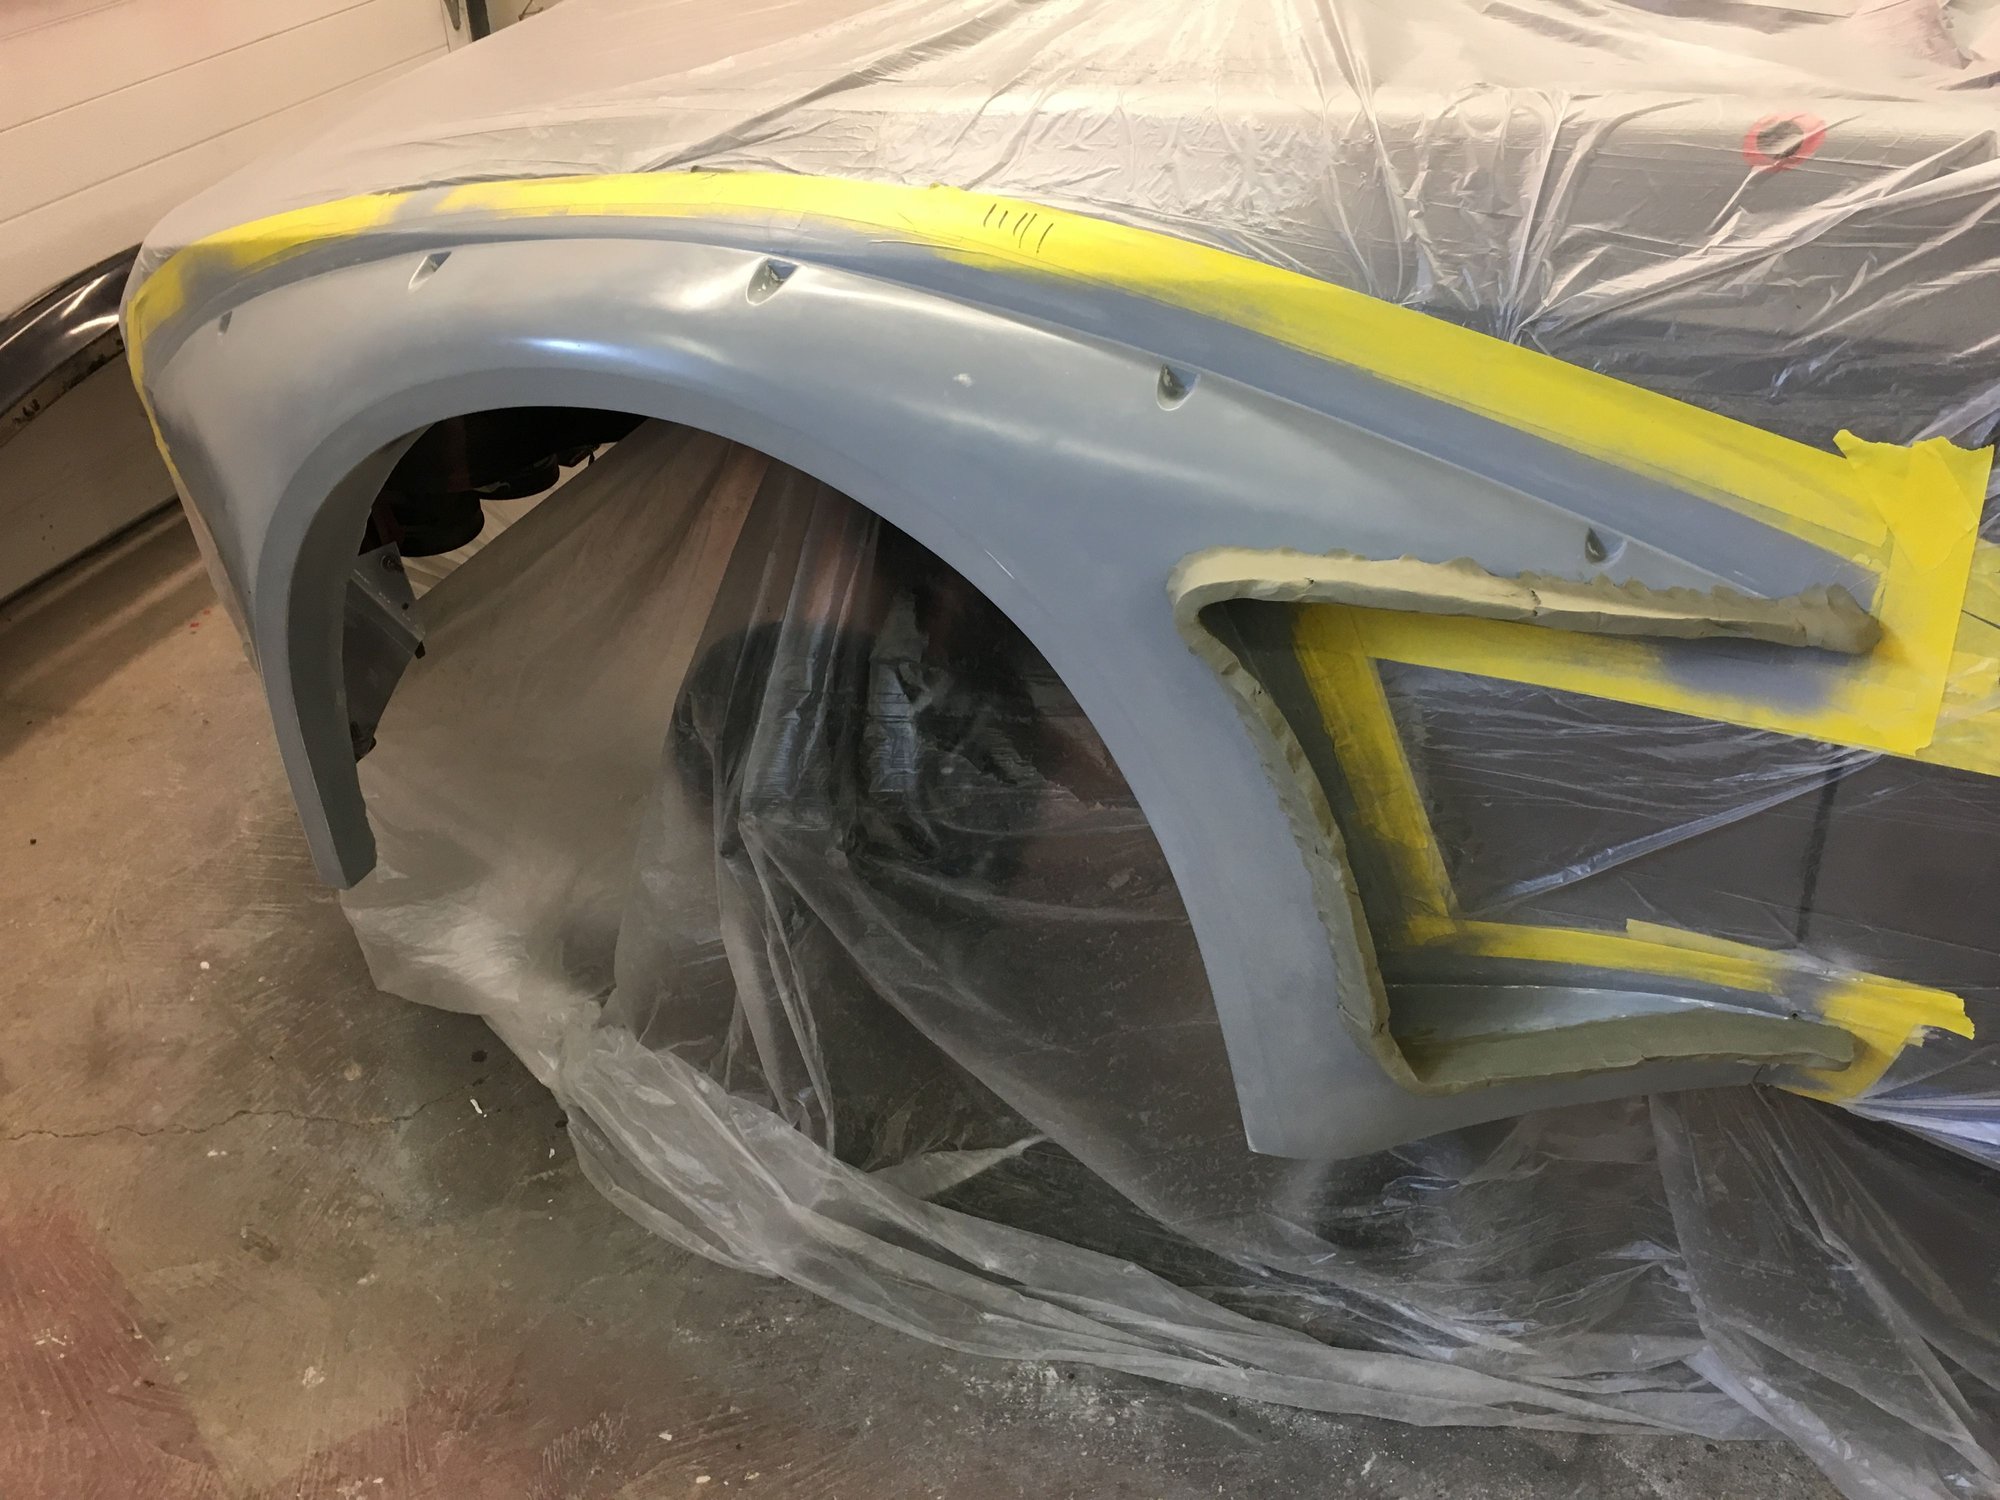
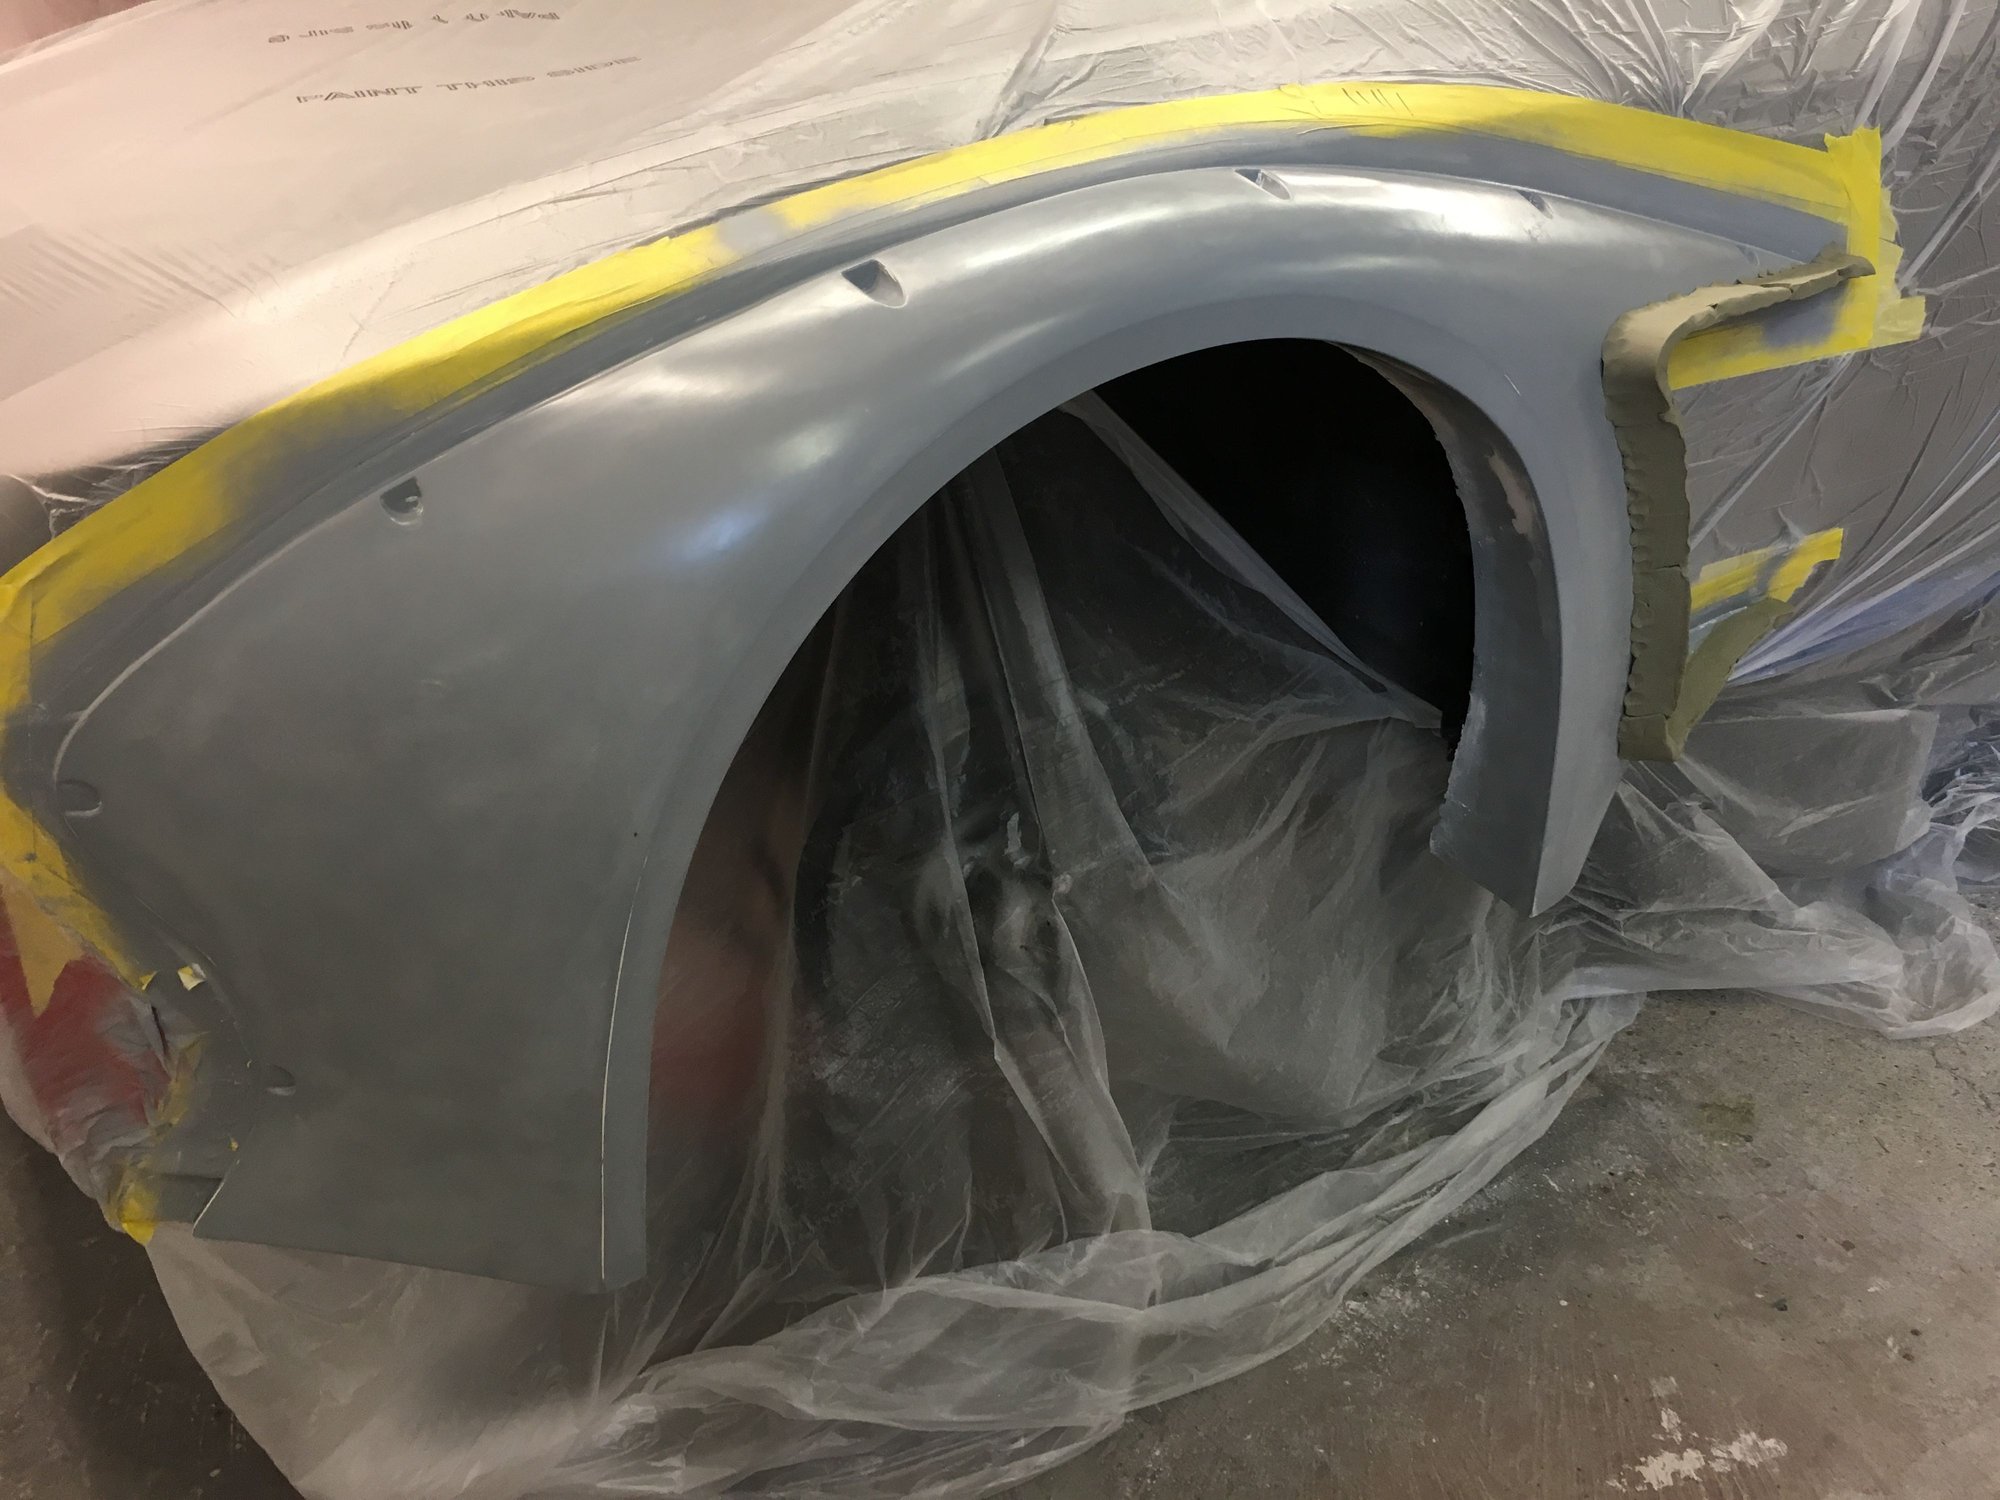
The fastener seats are now formed and the first coat of high build primer is being applied. At least two coats of primer will be used in these final steps before waxing.
I finally found a picture of the carbon fiber coolant reservoir cover. This is a picture of the first production run of both covers fresh out of the molds. The coolant cover is just what is shown here, it consists of the top and the sides that are visible. The pieces have yet to be trimmed and have the holes for the caps and a fluid level window cut in.
The fastener seats are now formed and the first coat of high build primer is being applied. At least two coats of primer will be used in these final steps before waxing.
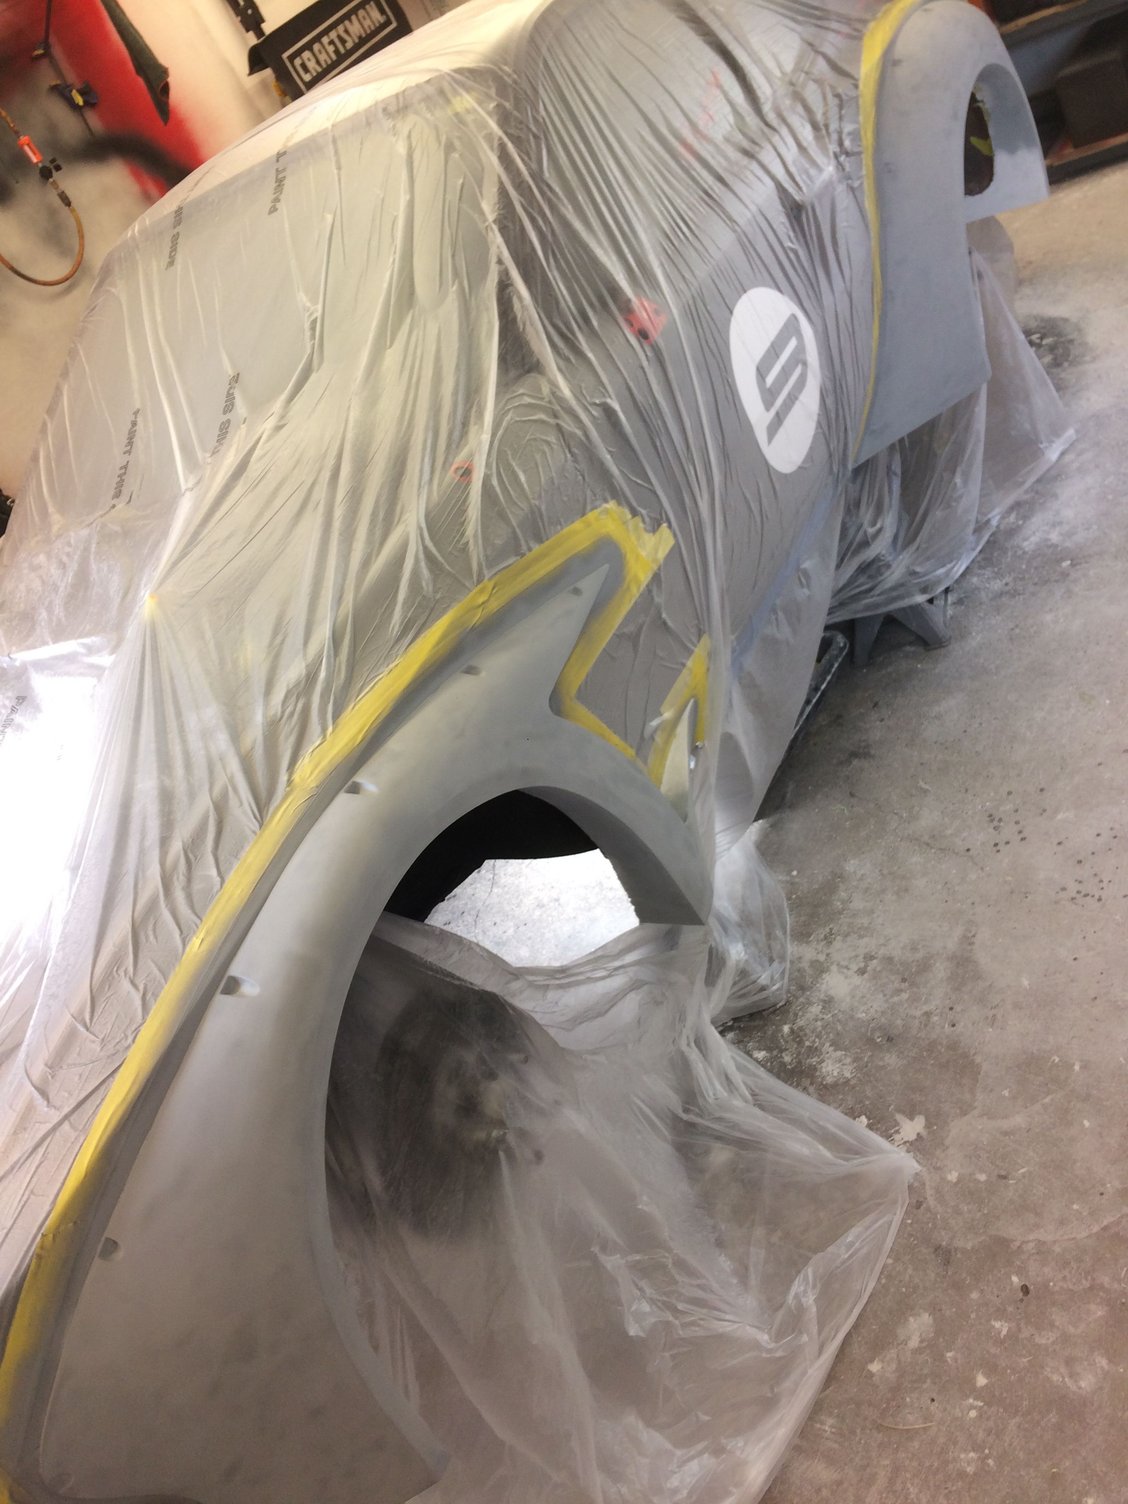
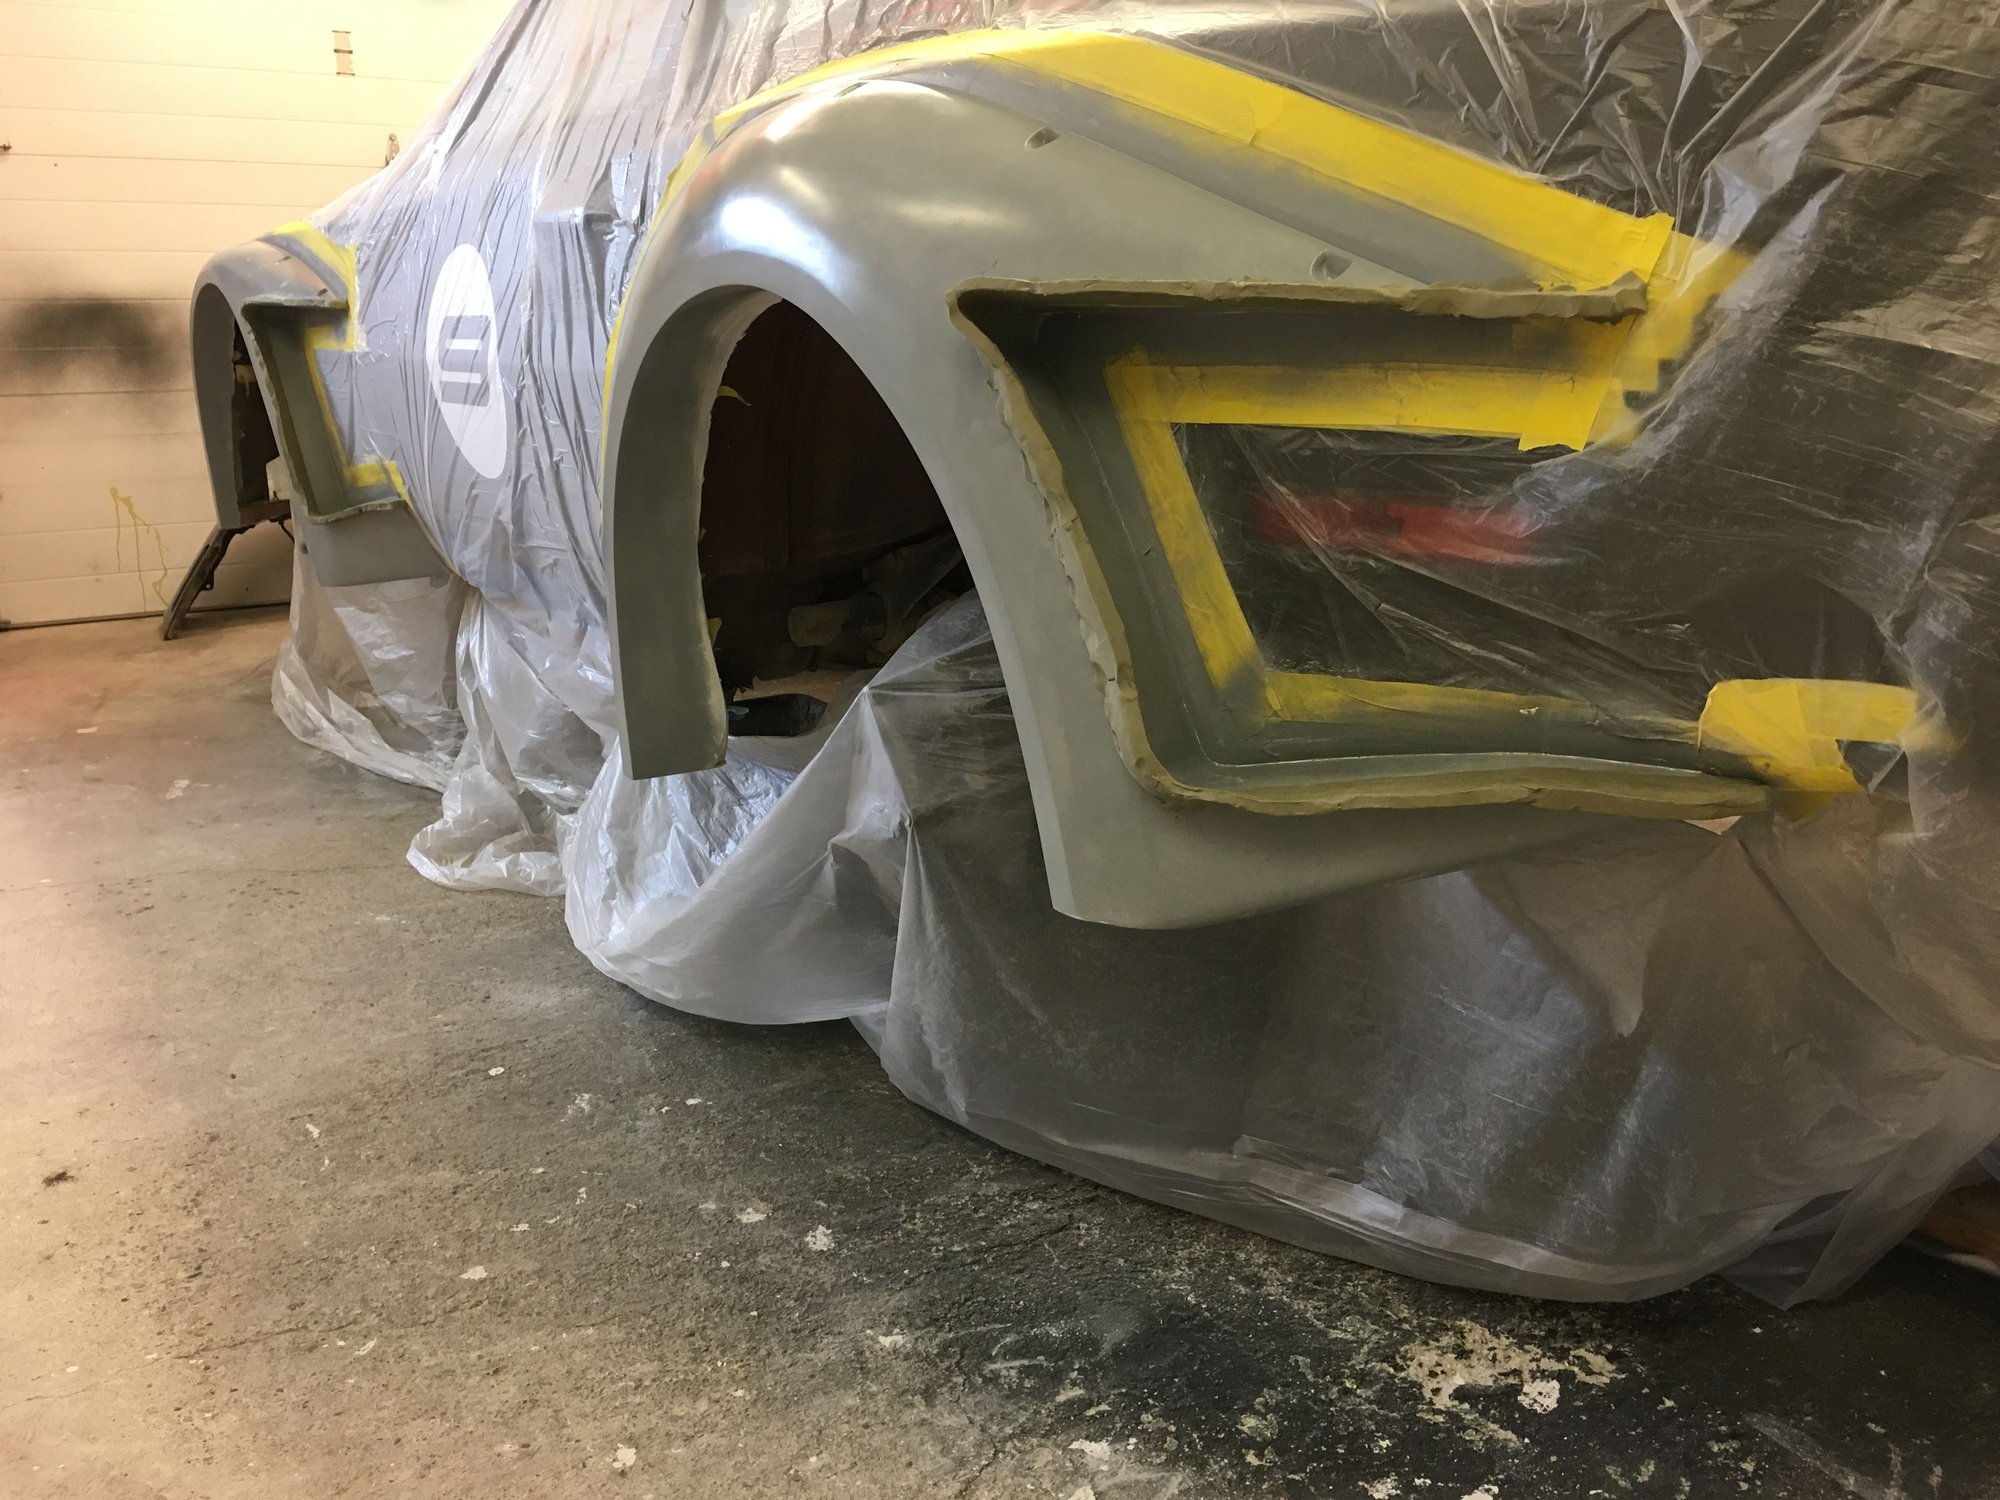
Because of the design around the vent openings, a two piece mold is needed. Otherwise, I'll never get the new fenders out of the molds.
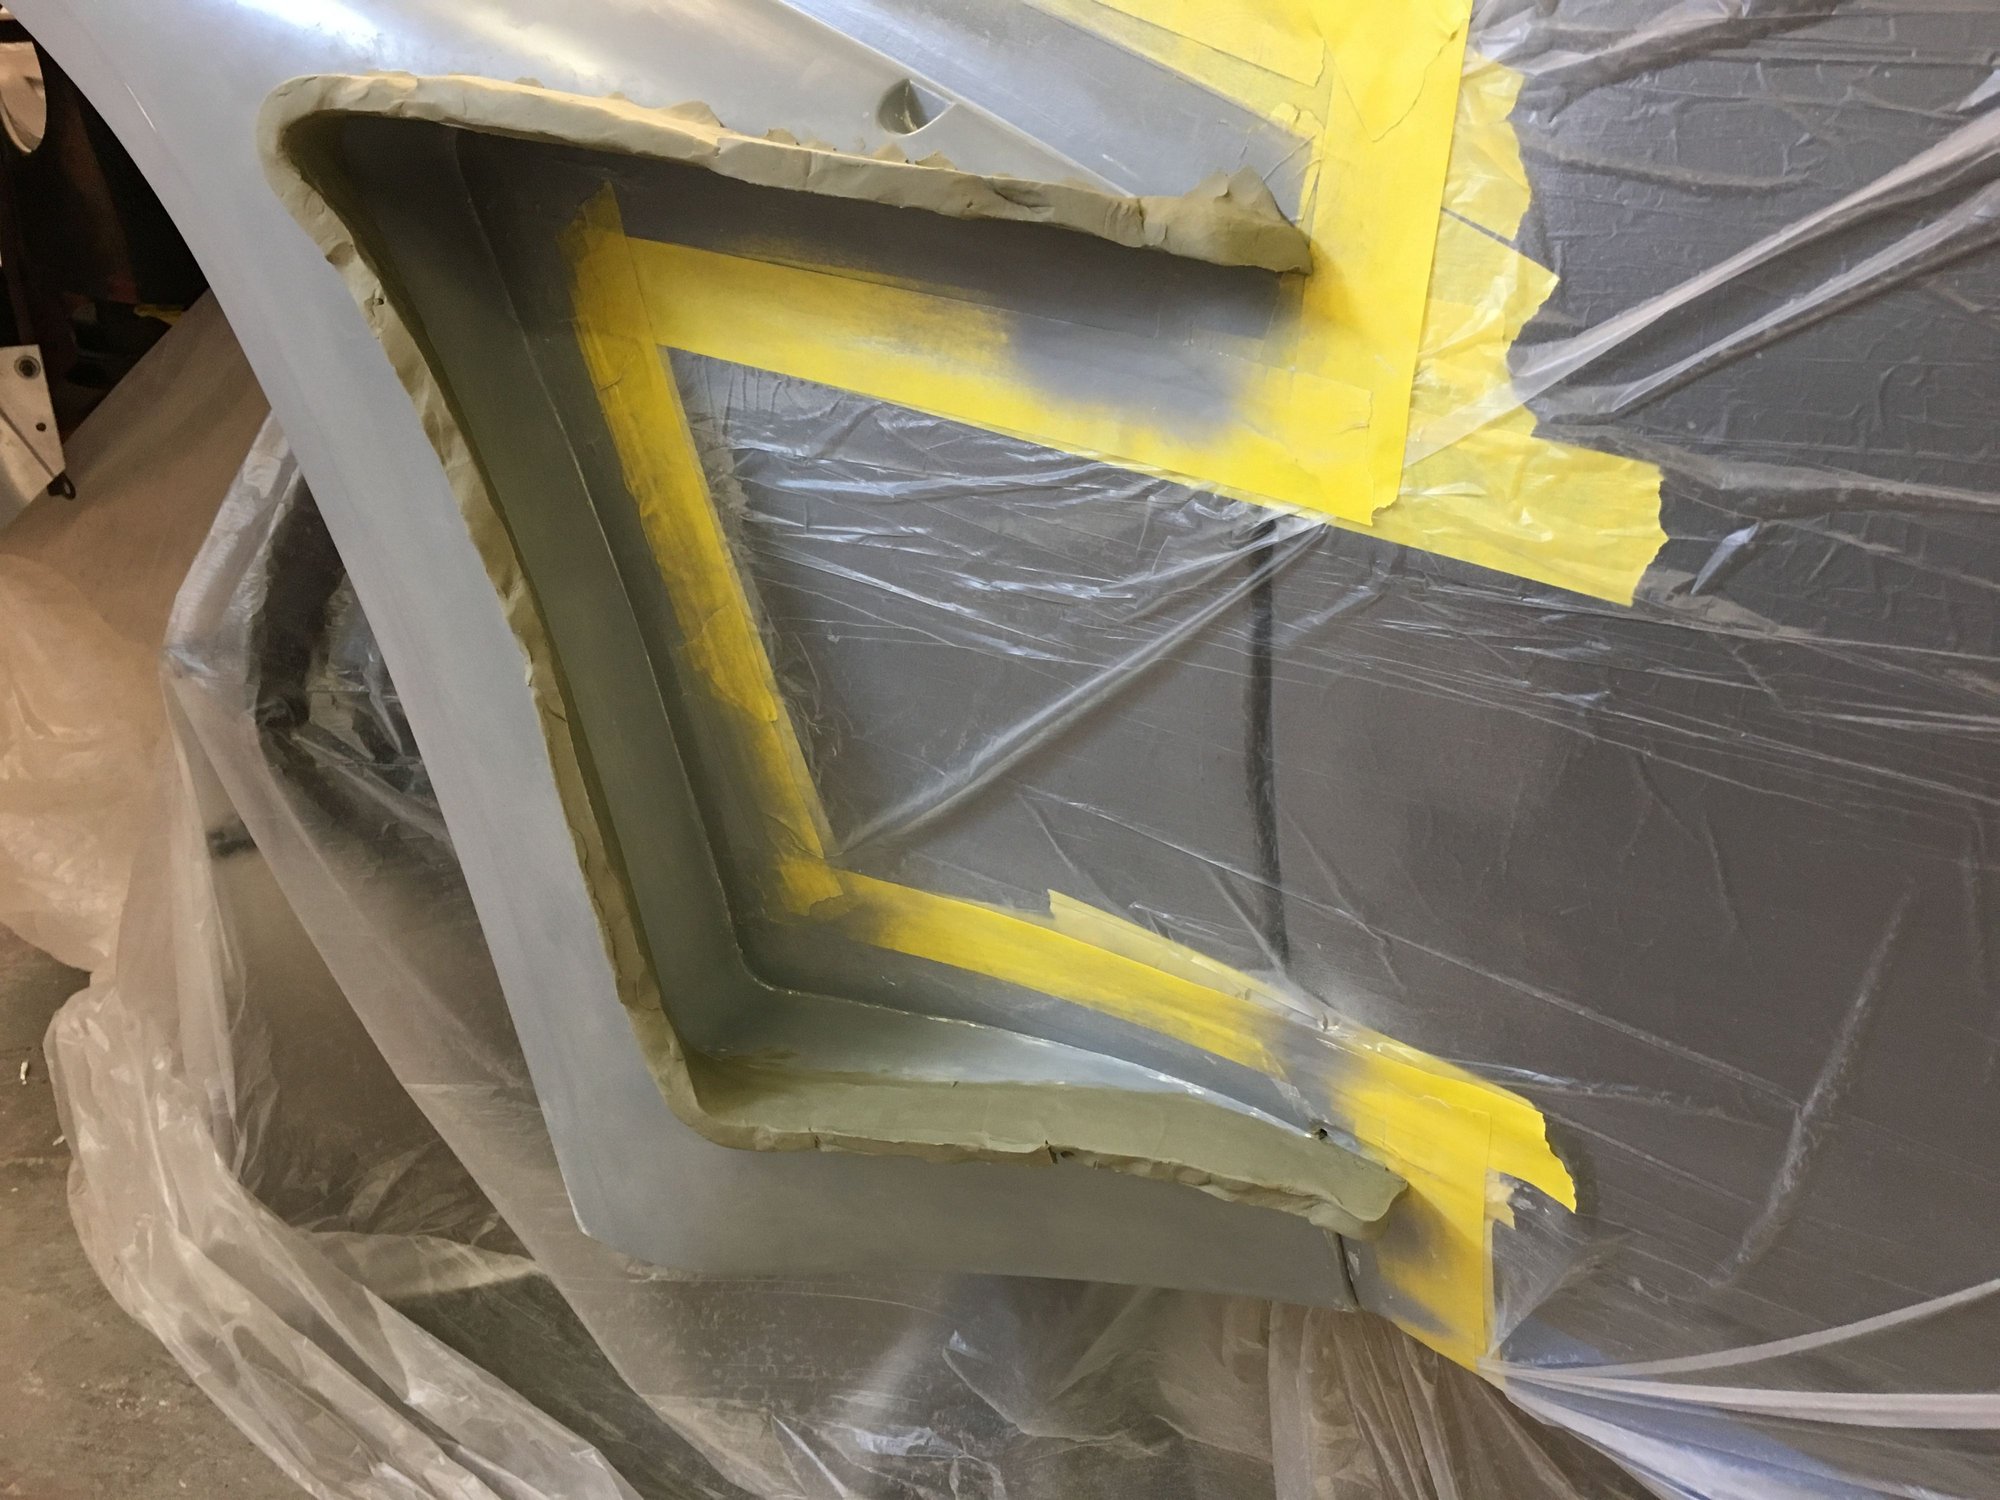
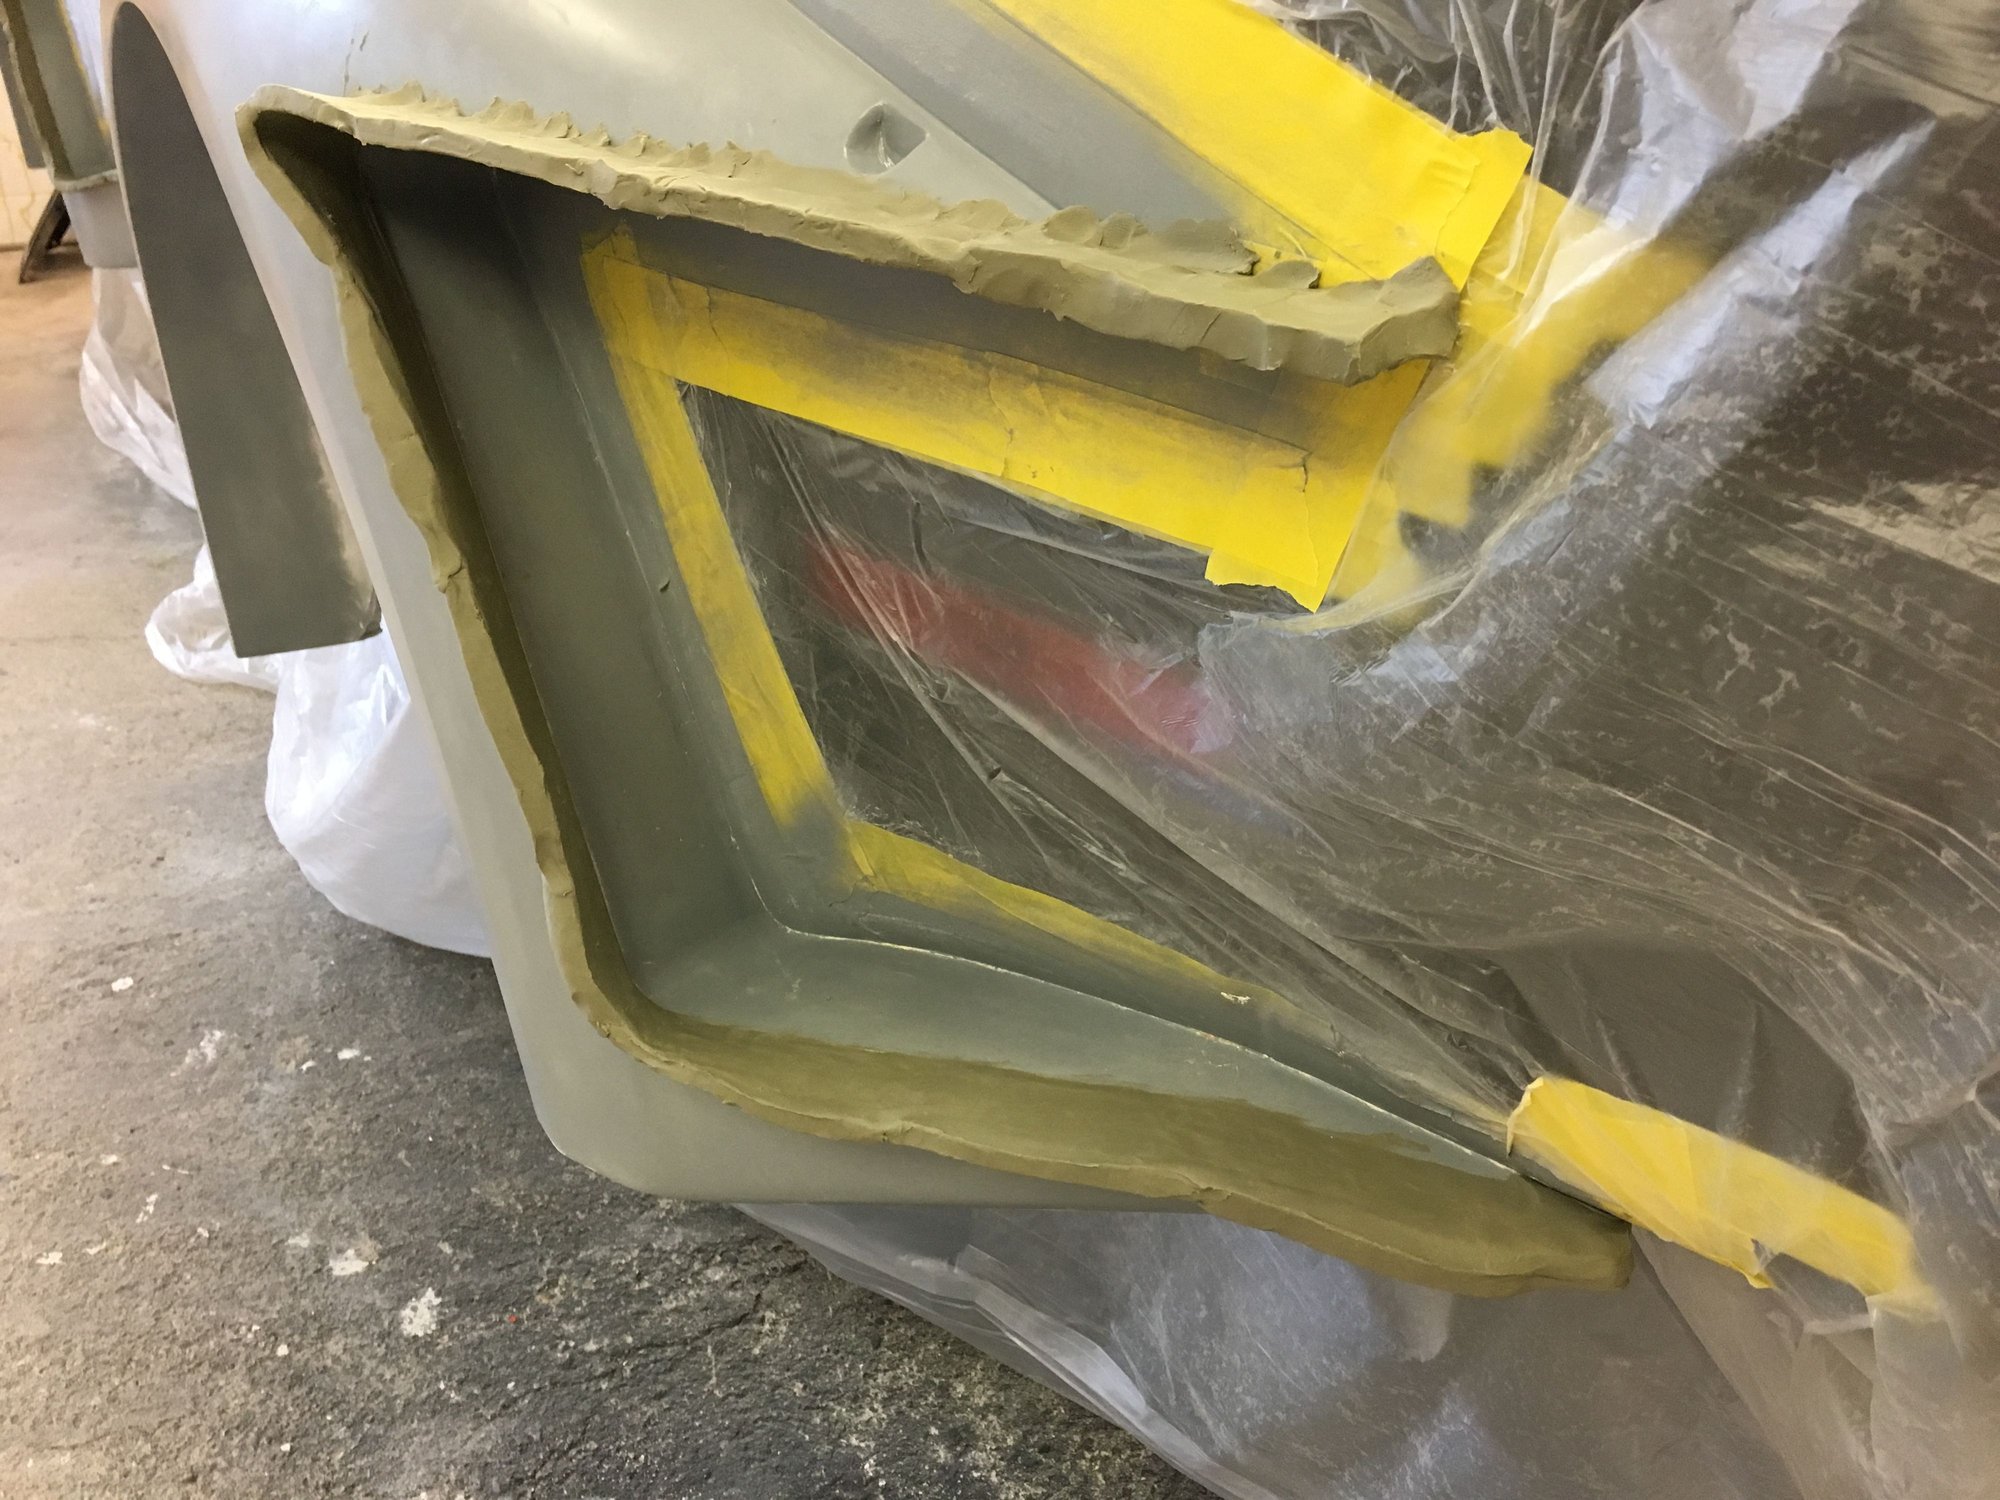
Here are the waxed fenders with a clay separation formed. The clay forms one side of what will become a flange joining the two pieces that make the mold.
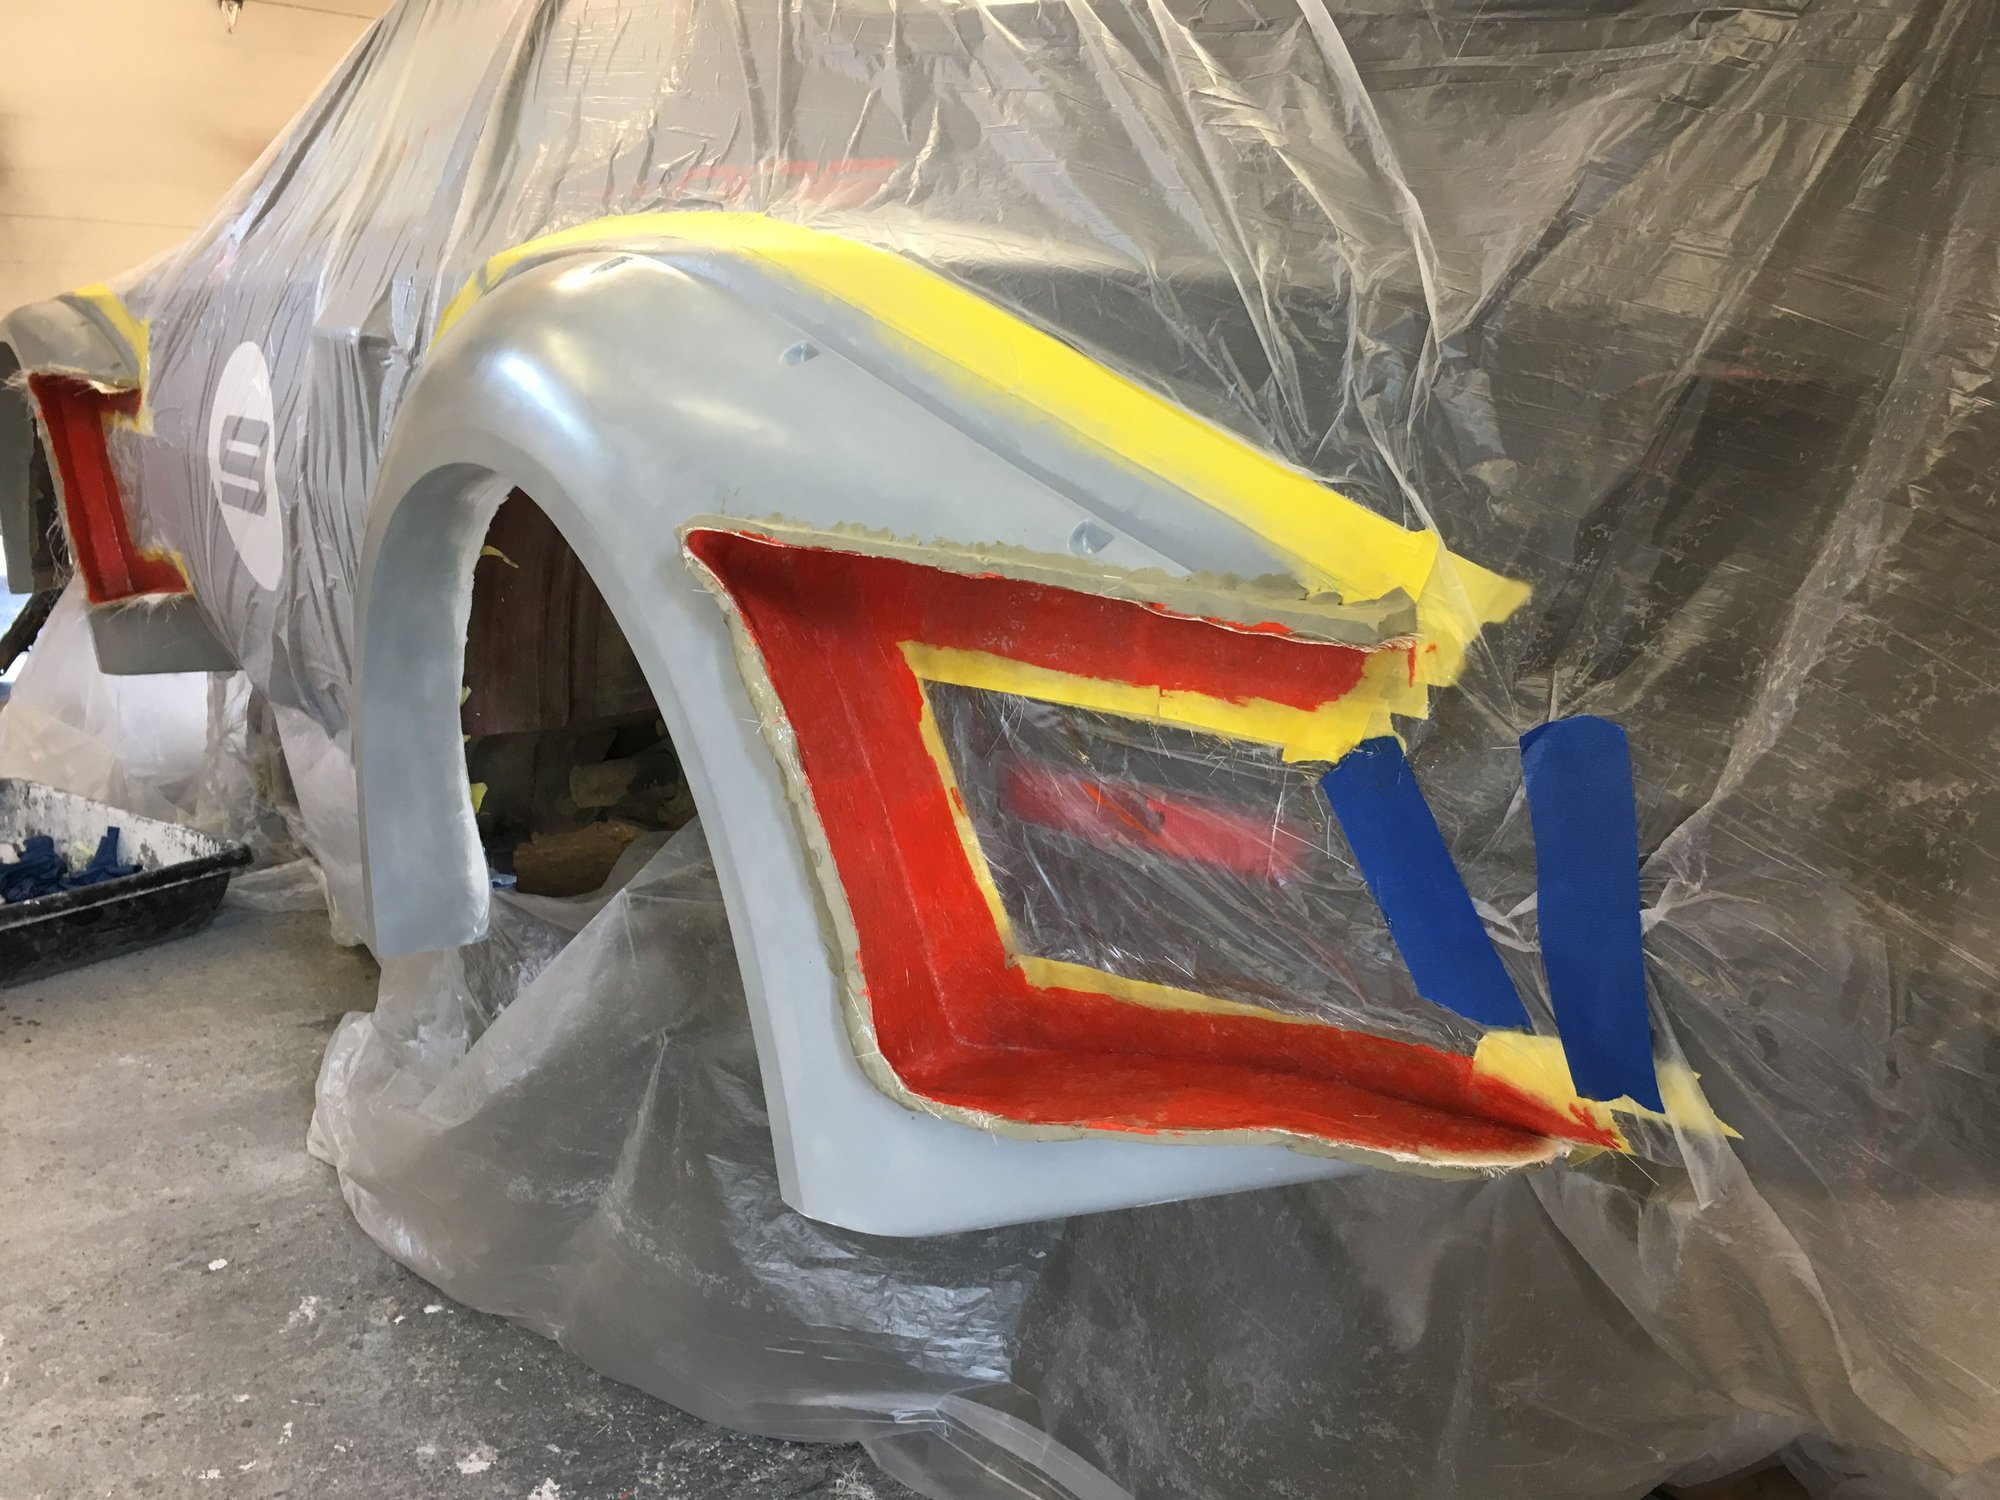
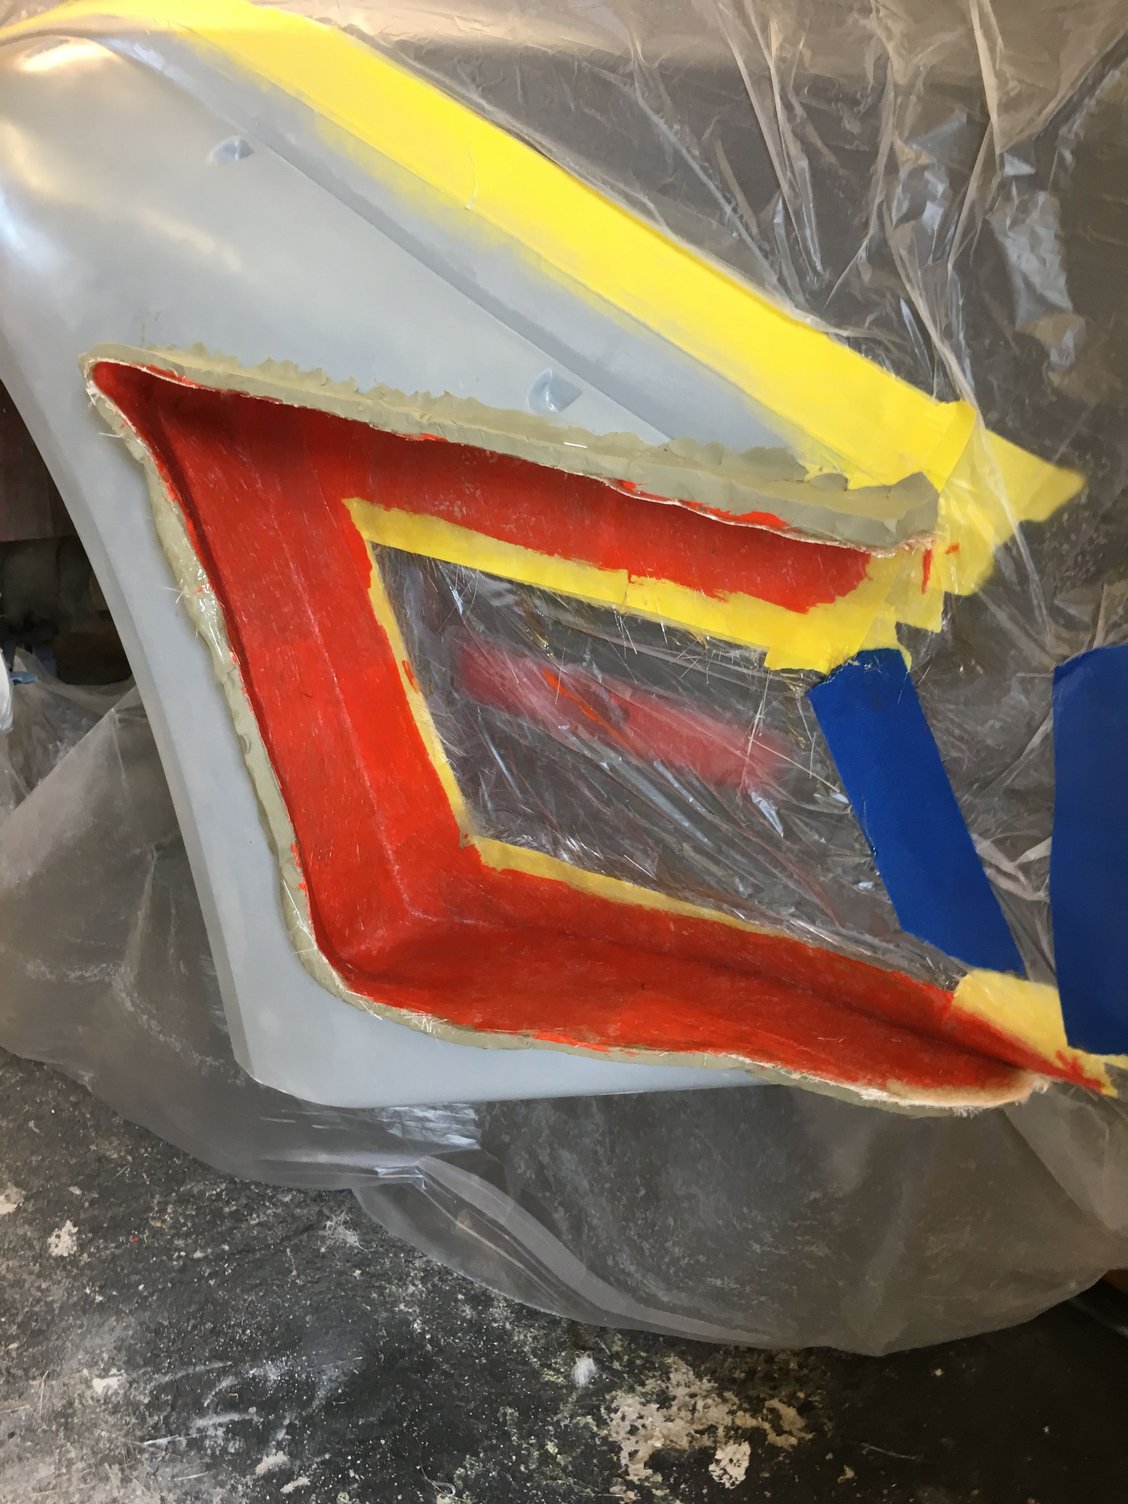
Laying-up the the smaller portions of the two piece molds. Once the fiberglass is built up on this piece, the clay will be removed and the area will be cleaned of all clay residue. Then wax, again, but only on the newly formed flange.


 07-28-2018, 02:44 PM