Side Air Intake Grills: Available
#76
Basic Sponsor
Rennlist
Site Sponsor
Rennlist
Site Sponsor
My first attempt to install these was a failure - I just couldn't get the side grill off, and I didn't want to damage the car or the paint. 
I did find another video showing the removal, but the camera is in the way for the most important part of the process (the start) and it's in Japanese. YouTube will translate the audio into English if you turn that setting on, but trust me, there is nothing to be gained from reading the translation:
https://www.youtube.com/watch?v=Y1zH34by38U
I may give it another shot this weekend, but I've got this "Do No Harm" rule with my cars when doing mods, and this is starting to feel too risky to me. I've got a couple sets of plastic trim removal tools, but it feels like a thin spackle knife might be required to pry the grill out and get things started. But metal and paint do not mix well, even with 3-4 layers of protective tape.
__________________
The following users liked this post:
slilley (10-02-2021)
#77
Rennlist Member
My first attempt to install these was a failure - I just couldn't get the side grill off, and I didn't want to damage the car or the paint. 
I did find another video showing the removal, but the camera is in the way for the most important part of the process (the start) and it's in Japanese. YouTube will translate the audio into English if you turn that setting on, but trust me, there is nothing to be gained from reading the translation:
https://www.youtube.com/watch?v=Y1zH34by38U
I may give it another shot this weekend, but I've got this "Do No Harm" rule with my cars when doing mods, and this is starting to feel too risky to me. I've got a couple sets of plastic trim removal tools, but it feels like a thin spackle knife might be required to pry the grill out and get things started. But metal and paint do not mix well, even with 3-4 layers of protective tape.

I did find another video showing the removal, but the camera is in the way for the most important part of the process (the start) and it's in Japanese. YouTube will translate the audio into English if you turn that setting on, but trust me, there is nothing to be gained from reading the translation:
https://www.youtube.com/watch?v=Y1zH34by38U
I may give it another shot this weekend, but I've got this "Do No Harm" rule with my cars when doing mods, and this is starting to feel too risky to me. I've got a couple sets of plastic trim removal tools, but it feels like a thin spackle knife might be required to pry the grill out and get things started. But metal and paint do not mix well, even with 3-4 layers of protective tape.
Be careful and take your time as you stated. Even though I did the same, I did break a tab on one side, but upon reinsertion of the trim piece, it still "popped" back in and feels tight. If it tends to loosen over time, I'll just replace the black trim piece. I think that had I expected the perimeter tabs to be attached with some sort of adhesive, I likely wouldn't have broken that one tab.
Last edited by Der Tgr; 10-01-2021 at 11:06 AM.
The following users liked this post:
slilley (10-02-2021)
#78
Rennlist Member
Thread Starter
Join Date: Jul 2001
Location: Marineland FL
Posts: 12,535
Likes: 0
Received 3,460 Likes
on
2,361 Posts
One can also use a small piece of 3M tape or two to help hold them in if a tab breaks, which works well...I know from experience!
#79
Rennlist Member
Join Date: Sep 2011
Location: Long Island, NY; South Florida
Posts: 4,083
Received 4,066 Likes
on
1,761 Posts
Let me ask you all this: is the object to get the trim tool right on the clip which would move the tab/clip out of the locking position? (sort of like a wire harness clip)? Or is the goal to get the trim tool above/below the tab and pop it out by leverage/pulling?
#80
Rennlist Member
@slilley UNDER NO CIRCUMSTANCES USE ANY METAL TOOL!
I had the same "challenge" as you did, but I persevered, I used a slightly stronger plastic trim tool
- start at the bottom "front" edge of the vent, insert the tool, then slide it slow up the leading edge of the vent, you will feel the location of the 1st tab
- push the trim tool in towards the tab, then lever it in order to free the tab, you will hear it release
- slide the tool up to just above the mid way split in the vent, you will feel the location of the 2nd tab, repeat
- finally repeat with the 3rd and last tab above
now all that is actually hold the vent piece in are the (new) top and bottom tabs (the tab on the trailing edge of the vent will release easily otherwise)
you may have to use a small tool to release those top and bottom tabs, however I simply pulled at the lead edge corners top and bottom and it came out
but it requires some force to do so!
good luck
now only the
The following users liked this post:
slilley (10-02-2021)
#81
Rennlist Member
the "fly in the ointment" is the presence of the (new) tabs top and bottom of the vent ...
The following users liked this post:
slilley (10-02-2021)
#82
Rennlist Member
this video is pretty informative, although I dont think that it has the (new) top and bottom tabs that the Spyder does!
#83
I have a question. The instructions from Radiator Grill require side panel removal (not just the grill) for GT4 installations. The above examples, as challenging as they were, only required grill removal. Is that because they are all GTS 4.0's and Spyder's, or does the GT4 not require side panel removal? Thanks.
Howard
Howard
#84
Rennlist Member
I have a question. The instructions from Radiator Grill require side panel removal (not just the grill) for GT4 installations. The above examples, as challenging as they were, only required grill removal. Is that because they are all GTS 4.0's and Spyder's, or does the GT4 not require side panel removal? Thanks.
Howard
Howard
#85
I have a question. The instructions from Radiator Grill require side panel removal (not just the grill) for GT4 installations. The above examples, as challenging as they were, only required grill removal. Is that because they are all GTS 4.0's and Spyder's, or does the GT4 not require side panel removal? Thanks.
Howard
Howard
Here is the scoop setup for the GT4. It clips onto the black intake.
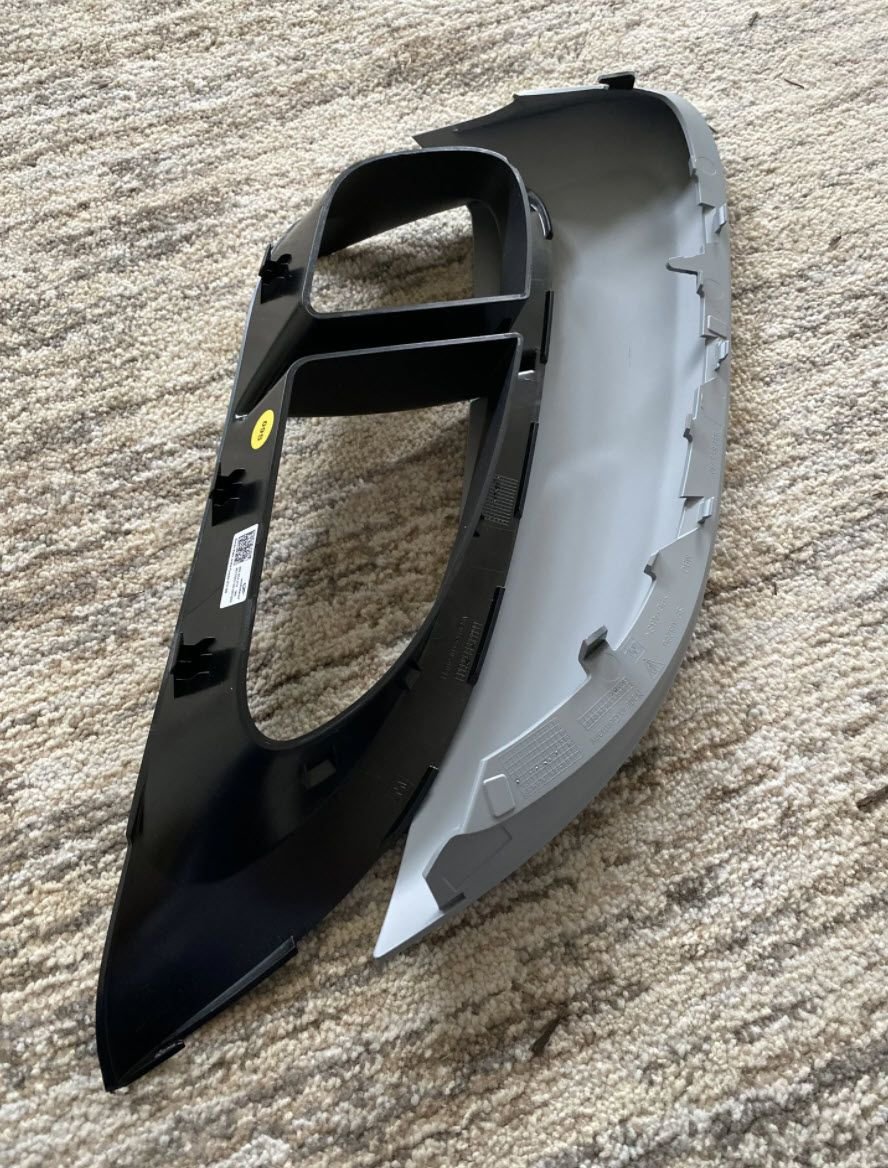
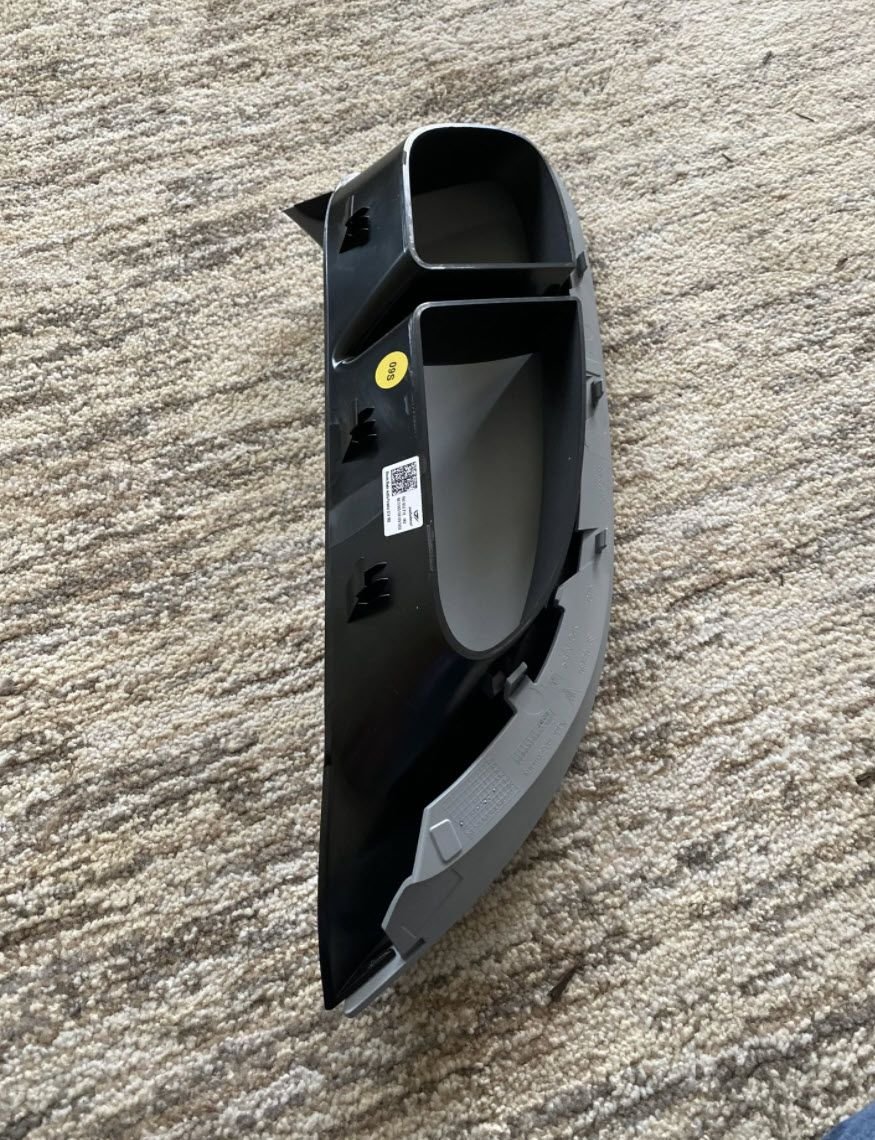
Last edited by RoadrunnerGTS; 10-02-2021 at 09:51 AM.
#86
Burning Brakes
#87
Burning Brakes
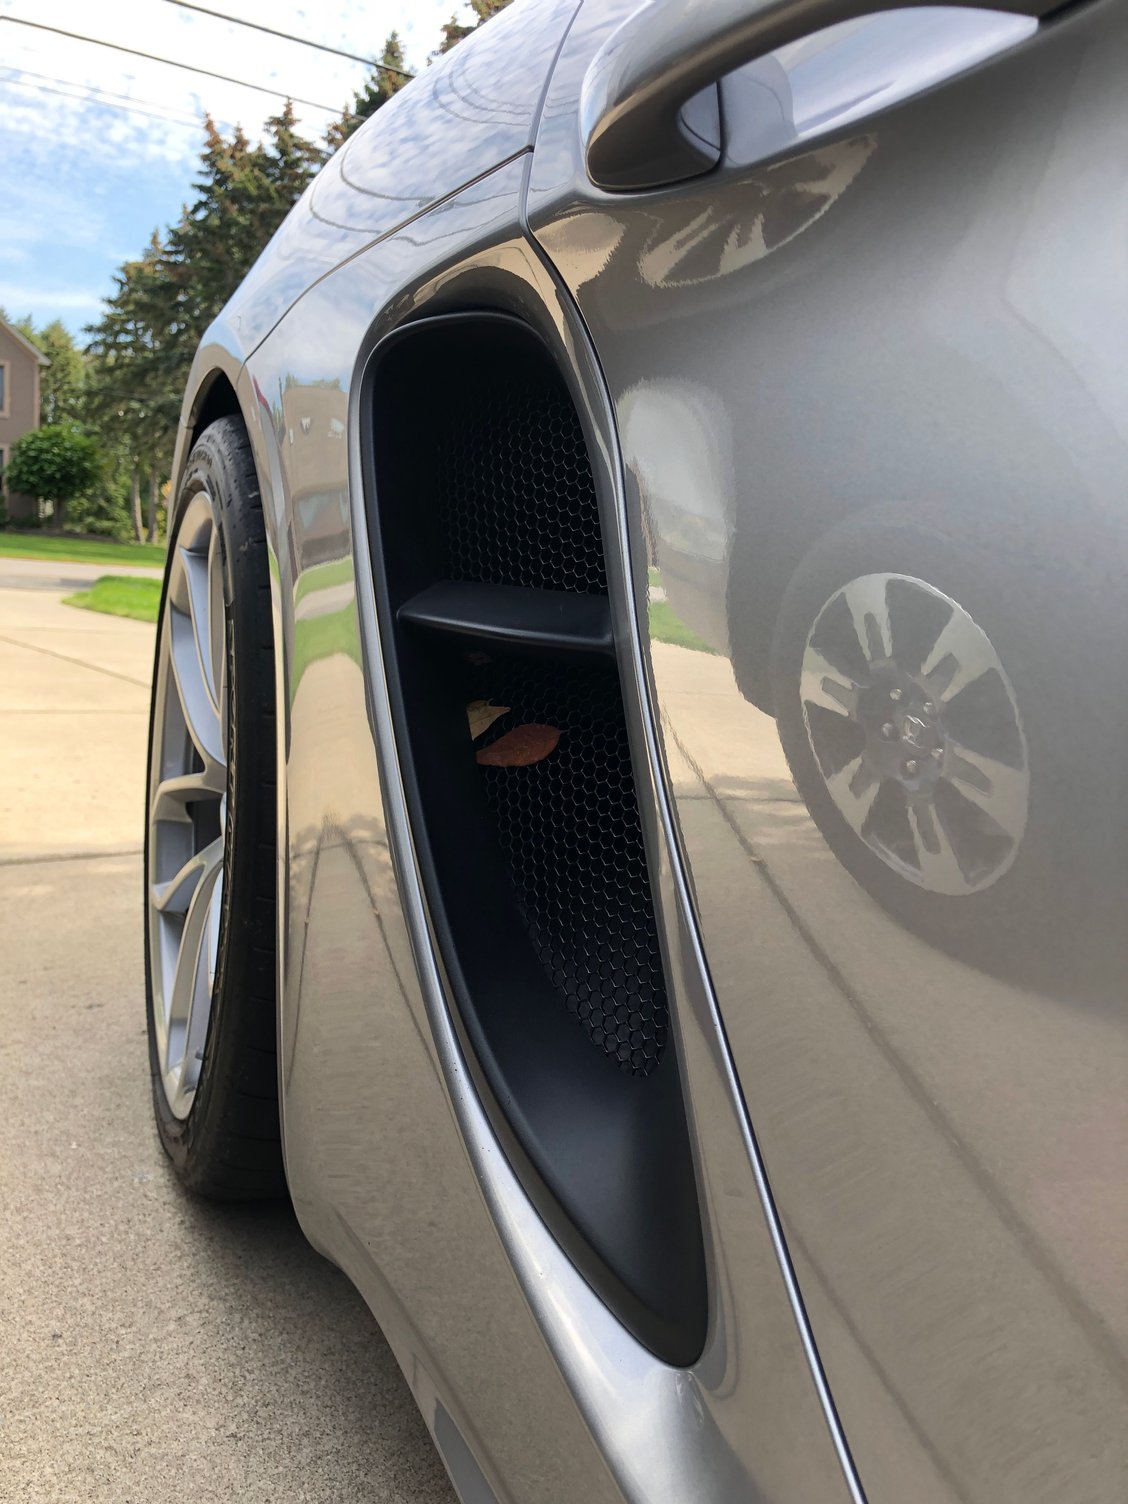
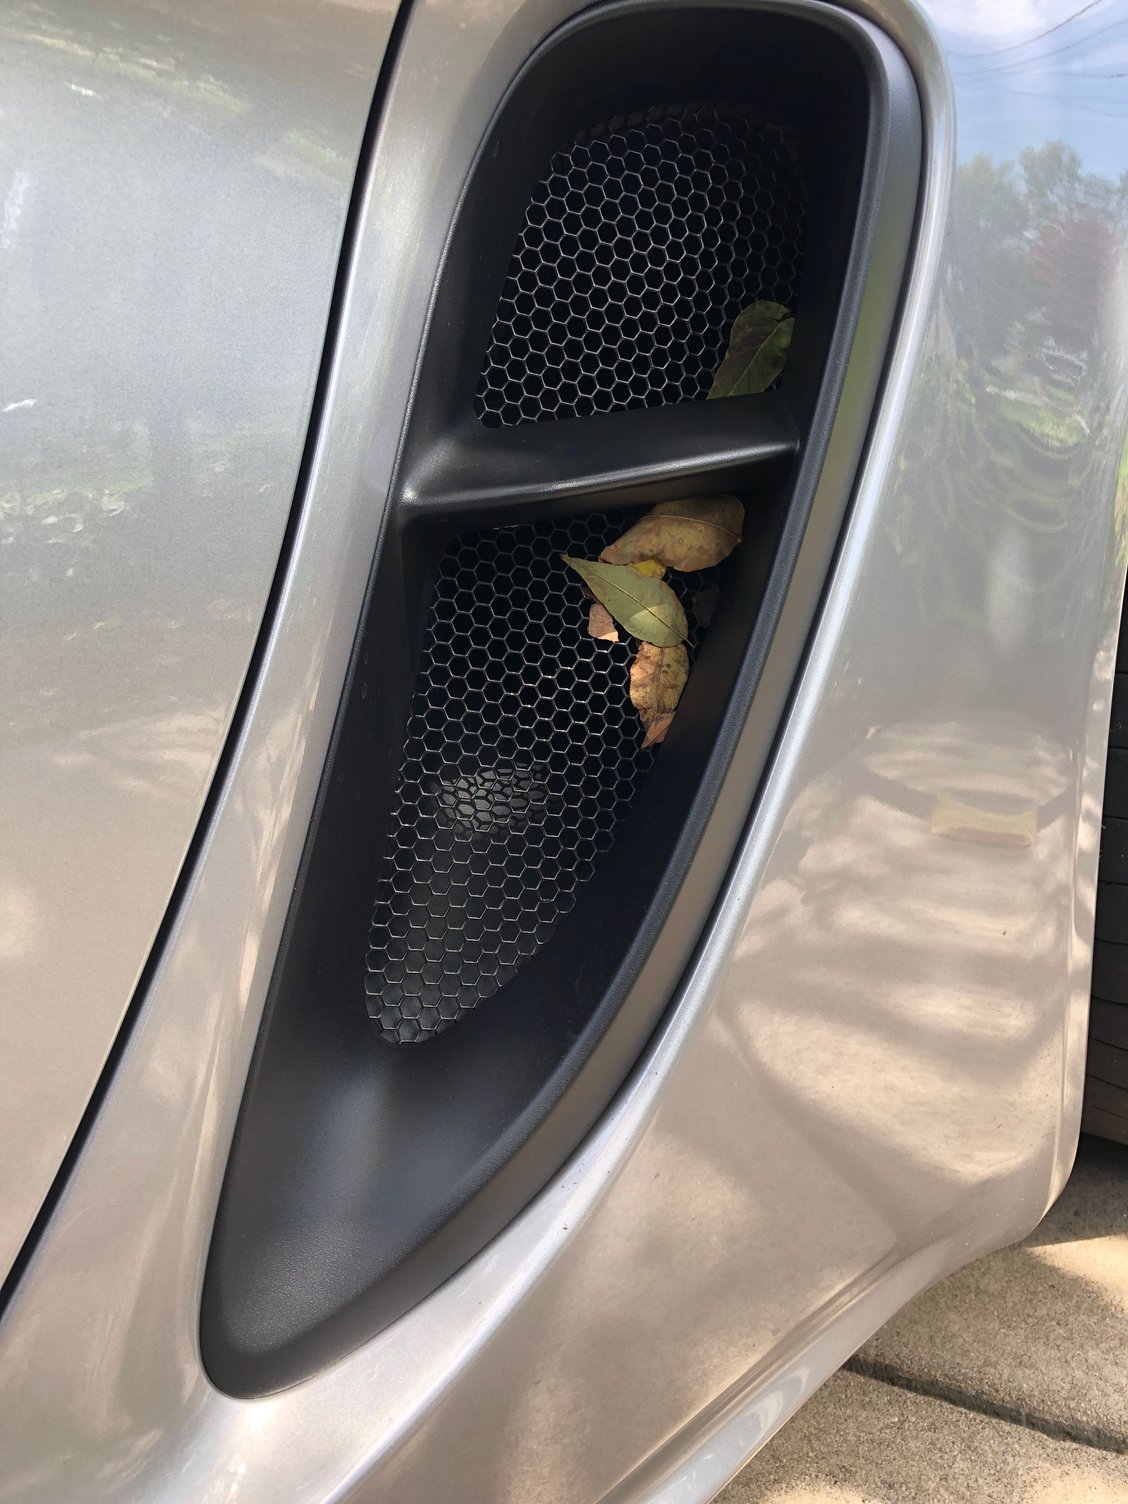
From today’s ride… the beer koozie isn’t the only functional thing!
The following 3 users liked this post by SpeedySpidey:
#88
Rennlist Member
#89
Rennlist Member
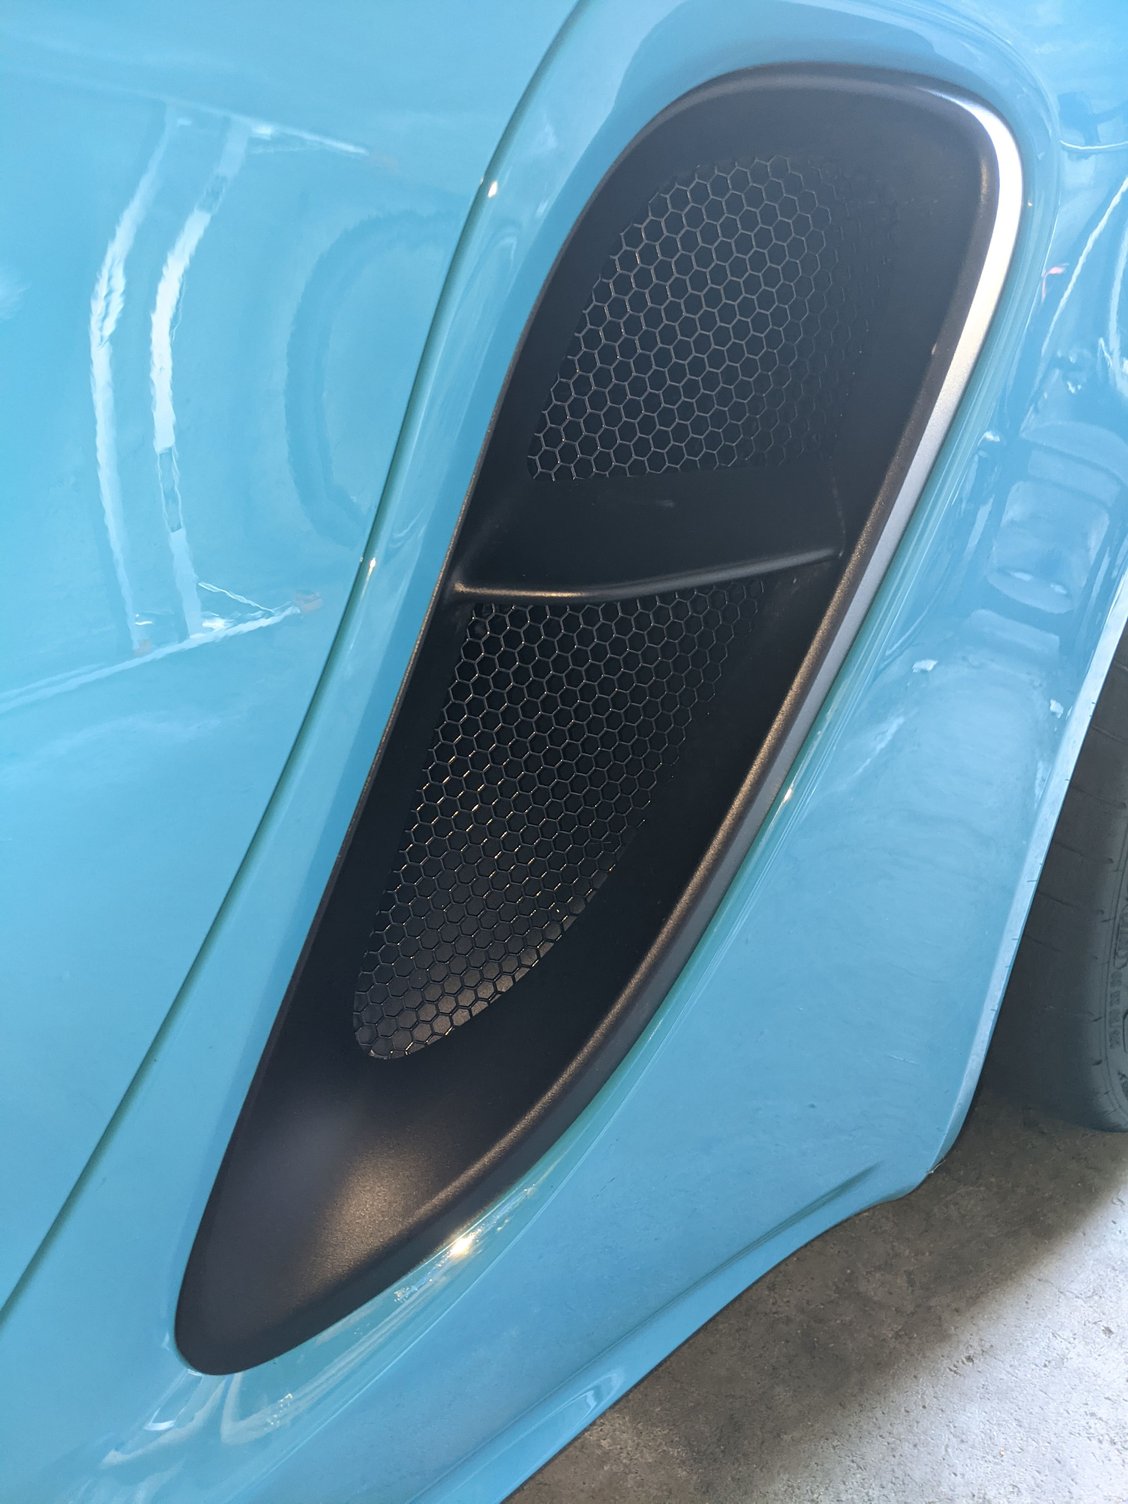
not the best photo ... however look'in good.
The following 3 users liked this post by Larry Cable:
#90
Instructor
So I'm confused by these chats. I assume all the incoming air from either intake grill is going to pass through the air filter so nothing bad is going to make its way to the engine anyway so why would I need them? Seems like an expense I can do without.
Am I missing something?
Am I missing something?


