
Home Built Hot Rod (With full build videos)
 09-28-2016, 12:53 PM
#106
Professor of Pending Projects
Rennlist Member
Rennlist Member
The idea of using boxes and labeling everything is spot on. With projects like these that could take months or even years to finish... can't rely on memory alone!
I do something similar, but never thought about using those inexpensive plastic boxes. I use ziploc bags... still have to go back to looks at PET diagrams, workshop manuals, and the forum when the label is lost, erase with age, etc... lol
I do something similar, but never thought about using those inexpensive plastic boxes. I use ziploc bags... still have to go back to looks at PET diagrams, workshop manuals, and the forum when the label is lost, erase with age, etc... lol
 09-28-2016, 01:14 PM
#107
Professor of Pending Projects
Rennlist Member
Rennlist Member
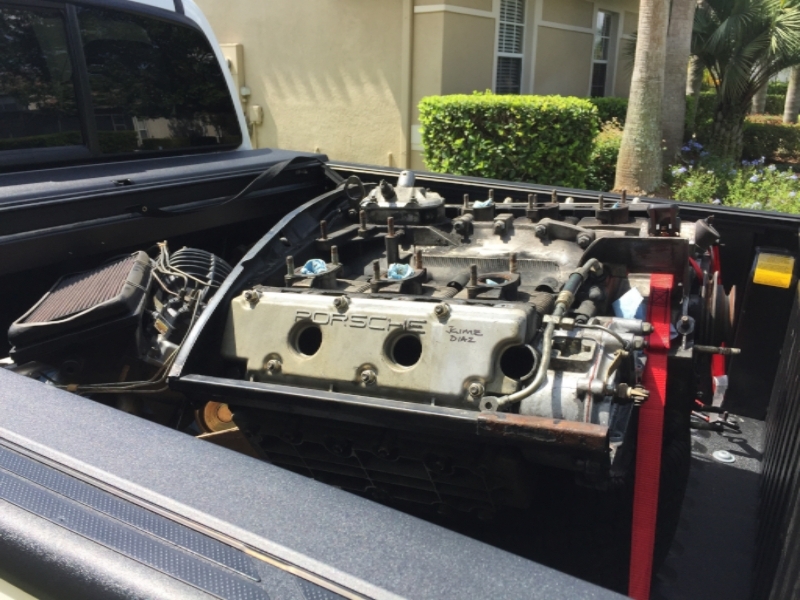
I have a spare engine that was running fine and got replaced when we dropped a 3.2 on the RSR project... The only thing that the engine needs is a reseal to fix a few leaks...
Please take more videos on the rebuilt process... I would love to be able to use them as reference.
I have never done a 911 engine rebuild... simply too scared to do so... but since this engine is just sitting in my garage on a stand... well... why the heck not. I get to refresh the internals with new rings, seal the case again, and make it look pretty again...
09-28-2016, 01:48 PM
#108
Professor of Pending Projects
Rennlist Member
Rennlist Member
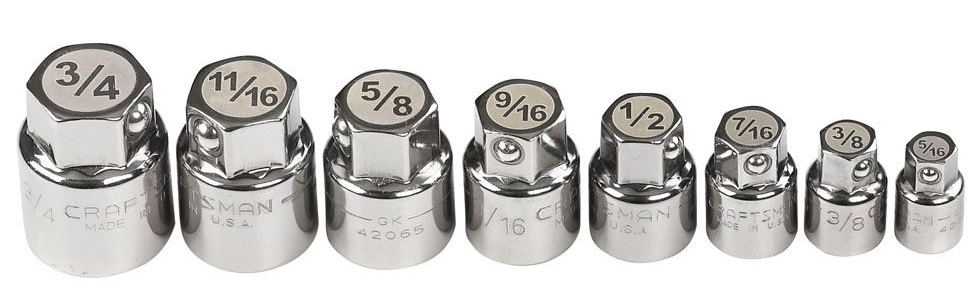
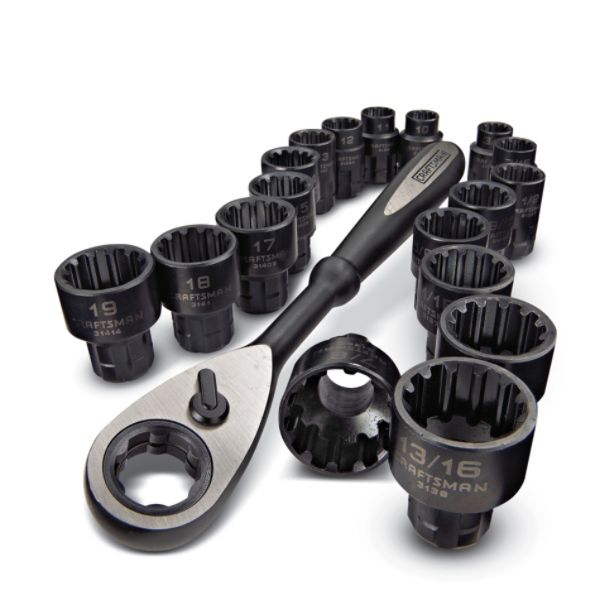
As to the tools you could have used before drilling that hole 
This one, if you had the space, allows you to use a regular socket and use an open wrench to turn it...
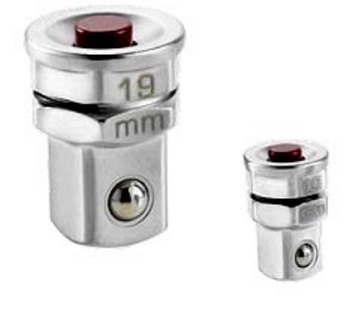
If the normal socket is too tall, then you can use these... lower profile, same concept, but the hex portion is directly on the socket so that you use the open wrench or, even better, one of those ratchet open wrenches (a set of those is a must!).
and yes, the come in metric as well... this was just the first photo I found. I have this set in both metric and standard...
As you work in cars with such tight/limited space you start building up the tool box with all sorts of special tools... I just love tools so I get them even if I have not found a task for them
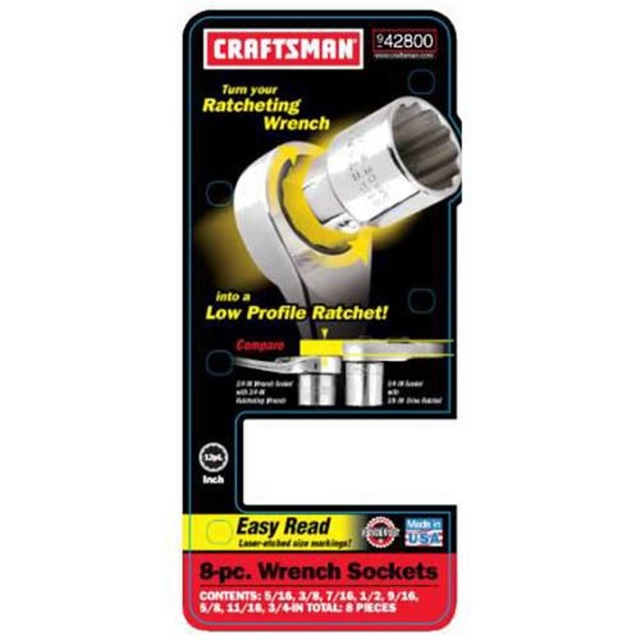
Another version of a similar tool... I do not like this one that much since it uses a specialized wrench instead of common ones...
This one, if you had the space, allows you to use a regular socket and use an open wrench to turn it...
If the normal socket is too tall, then you can use these... lower profile, same concept, but the hex portion is directly on the socket so that you use the open wrench or, even better, one of those ratchet open wrenches (a set of those is a must!).
and yes, the come in metric as well... this was just the first photo I found. I have this set in both metric and standard...
As you work in cars with such tight/limited space you start building up the tool box with all sorts of special tools... I just love tools so I get them even if I have not found a task for them
Another version of a similar tool... I do not like this one that much since it uses a specialized wrench instead of common ones...
09-28-2016, 07:00 PM
#109
Racer
Thread Starter
Thanks guys.
As for your wire, I have no idea at the moment, but I took a video getting in and showing the detail of the wiring and the vacuum lines for my future reference. I will have a look, or if you send me your email address I can forward it through to you. Not sure if it will help, but it is worth a look.
I can't take credit for the boxes for the bolts, etc, as I saw it on someone else's thread somewhere. It is such a great idea, because I used labelled zip lock bags when I stripped the car, and they have already become a mess, from me sorting through them to find bolts for refitting bits and pieces.
I have had some really great suggestions for tools since this, and they are no exception. I think the most common suggestions, is that I need to get some more cheap sockets, etc, that I can cut up, weld onto, or basically butcher as needed.
I just finished stripping the engine down last night, so the next video will be up tomorrow. I have never rebuilt an engine either, but you have to start somewhere
09-30-2016, 01:02 AM
#110
Racer
Thread Starter
This week I have finished tearing down the engine, which meant splitting the case and seeing what else I inherited for these previous dodgy engine builders.
09-30-2016, 06:23 PM
#111
Professor of Pending Projects
Rennlist Member
Rennlist Member
Wow.... silicone to seal the case??? What a lousy job was done during the previous time that case was open.... you are supposed to use Loctite 574!!
Good thing you are going into it all the way...
I need one of those valve compressor... missing that tool...
Good thing you are going into it all the way...
I need one of those valve compressor... missing that tool...
09-30-2016, 08:26 PM
#112
Racer
Thread Starter
As for the valve compressor, that was just an cheap generic one I got from my local autoparts store, but it does the job
10-01-2016, 11:21 AM
#113
Pro
@ "bodgyness". What an awesome word!
10-08-2016, 02:45 AM
#115
Racer
Thread Starter
Another week of messy work. This week I went through to check that all the parts are within spec and in good condition, then I get to cleaning them up ready to be shipped off for machining.
10-14-2016, 03:46 AM
#116
Racer
Thread Starter
This week I had big plans to get the dash and the fuel tank painted up, but once I started in on the fuel tank, I realised it was more work than I planned.
10-20-2016, 05:50 PM
#118
Racer
Thread Starter
Back out in the garage this week, and I got into painting the dash. After a lot of requests I included a new segment called "Fun Facts with Mrs Jeff"
 10-28-2016, 08:13 AM
#120
Racer
Thread Starter
Well since my car was looking all nice and painted, I decided it was time to cut it up again. This week I get stuck into mounting up the front mounted oil cooler.