When you click on links to various merchants on this site and make a purchase, this can result in this site earning a commission. Affiliate programs and affiliations include, but are not limited to, the eBay Partner Network.
Hi everyone, just tackled this project over the past few days. Figured out stuff as I went along. This may be useful to others. The rear window regulator on my 2001 Porsche 911 C4 Cab got stuck one day and fell down. Took some effort to pull the window back up with my hand and a combination of pressing the switch but I was able to get it back up. I purchased a rear window regulator kit on eBay for around $50 and decided to tackle the project.
I noticed there wasn't many videos on this project and decided to show myself figuring it out as I went along. Use this as a reference guide. I by no means believe I was 100% correct on everything in this video. If you should attempt this watch the whole video as I made mistakes and figured stuff later on in the video I should've done earlier.
It should be noted that this job is a million times easier if you can get your rear window to roll up all the way. Try to grab it and yank it while messing with the switch if you can. There is a trick that I didn't mention in the video, but if you press the microswitch where the convertible top latches into when you close the top (near the dome lights above the rear-view mirror) It will allow you to press the rear window switches at the same time to roll up the window while the top is down.
DISCLAIMER: I am not responsible for any damage you might do if you tackle this yourself. There are inherent risks to working on cars yourself.
ONCE YOU SHIM THE REAR CABRIO TOP BRACKET DO NOT OPERATE THE CONVERTIBLE TOP AGAIN UNTIL IT IS BOLTED BACK INTO PLACE.
Some useful resources that I found helpful on this subject are here:
Awesome, thx for posting. I had to replace my rear window regulator as well, it�s a pain. Went through many of the same things you did. The video is helpful.
Awesome, thx for posting. I had to replace my rear window regulator as well, it�s a pain. Went through many of the same things you did. The video is helpful.
@Josh Randall thanks for posting this as I am currently trying to repair a rear window rattle on my 996 turbo and for the life of me cannot figure out how to remove the last clip that holds that rear panel in???
I removed the seatbelt screw and cover, plus the speaker (2 screws), plus removed the one interior screw on the far left side of the panel interior and removed the seatback bolt.
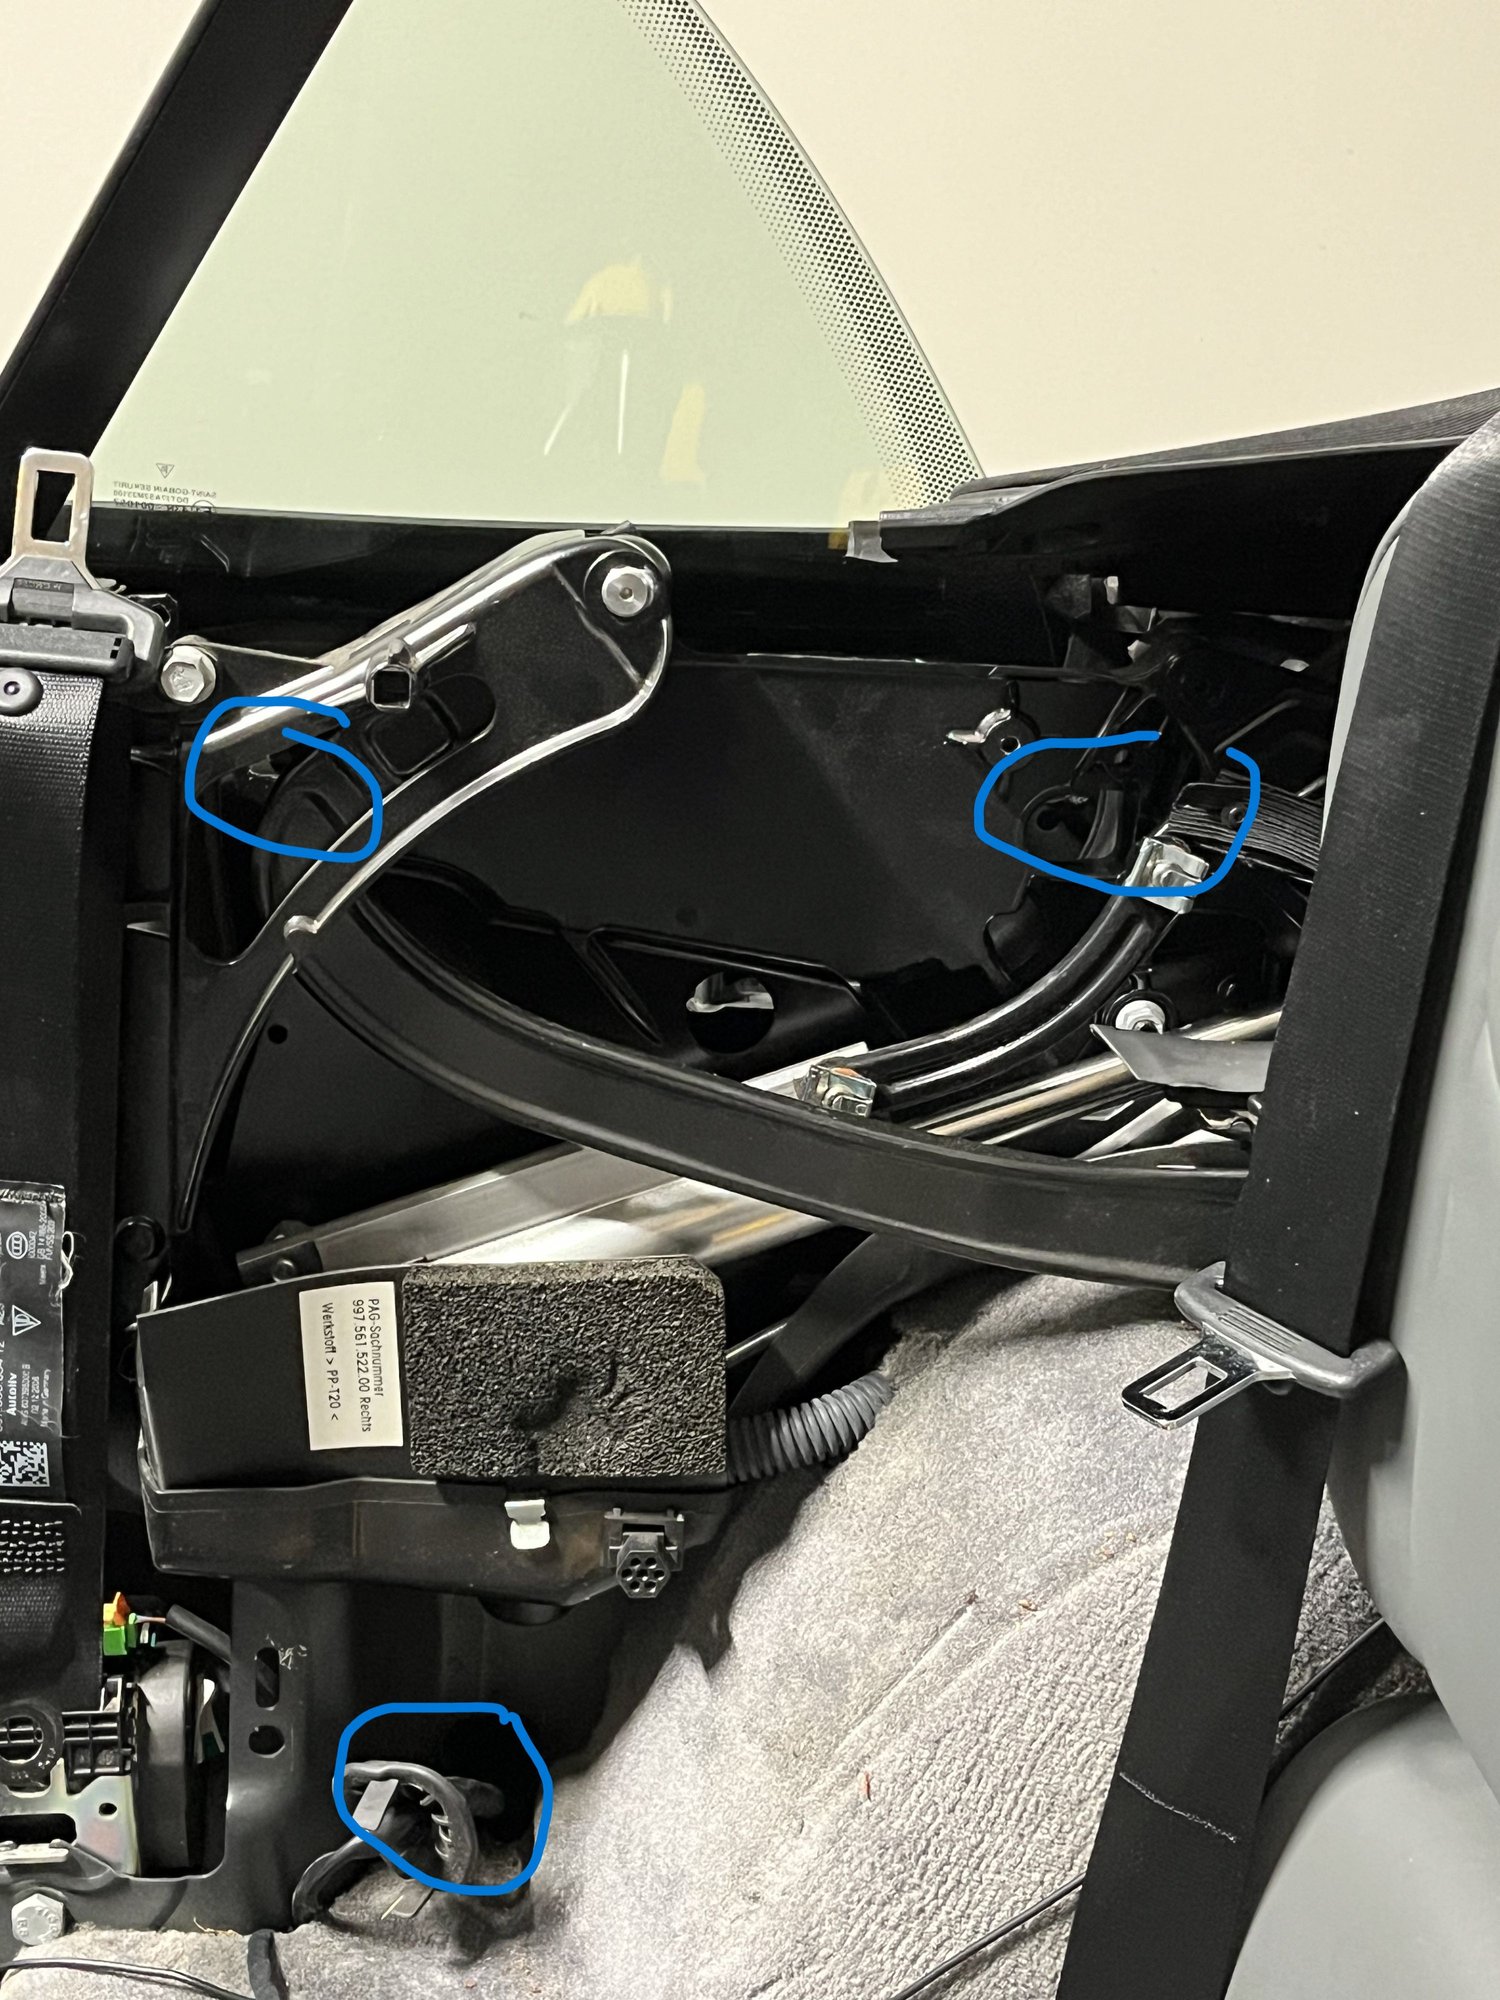
There is a nice video you listed and the guy mentions this interior clip (circled in red in the attached photo) and you need a flat head to carefully remove it, but I cannot figure out where to apply pressure to release it?
Any suggestions would be greatly appreciated!!!
996 cabriolet driver side rear window panel inside view
Hey Kenny that's actually my video! I'm not sure if you can see it but in the center of your red circle there is a bit of silver there. That is the general location of the clip. You want to get a flat head screwdriver wedged between the metal of the car body, and behind that plastic close to that general location as possible. And then simply just twist the screwdriver and it should pop right out.
Hey Kenny that's actually my video! I'm not sure if you can see it but in the center of your red circle there is a bit of silver there. That is the general location of the clip. You want to get a flat head screwdriver wedged between the metal of the car body, and behind that plastic close to that general location as possible. And then simply just twist the screwdriver and it should pop right out.
@Josh Randall hey thanks so much for the awesome video and your reply here! I took a super long needle nose pliers and use it to pry off that clip. I tightened up the 2 window regulator bolts which were just slightly loose and that fixed my rattling noise and the car is quiet again! Super appreciate your help this forum has been amazing with experts like you helping other 996 newbies like me
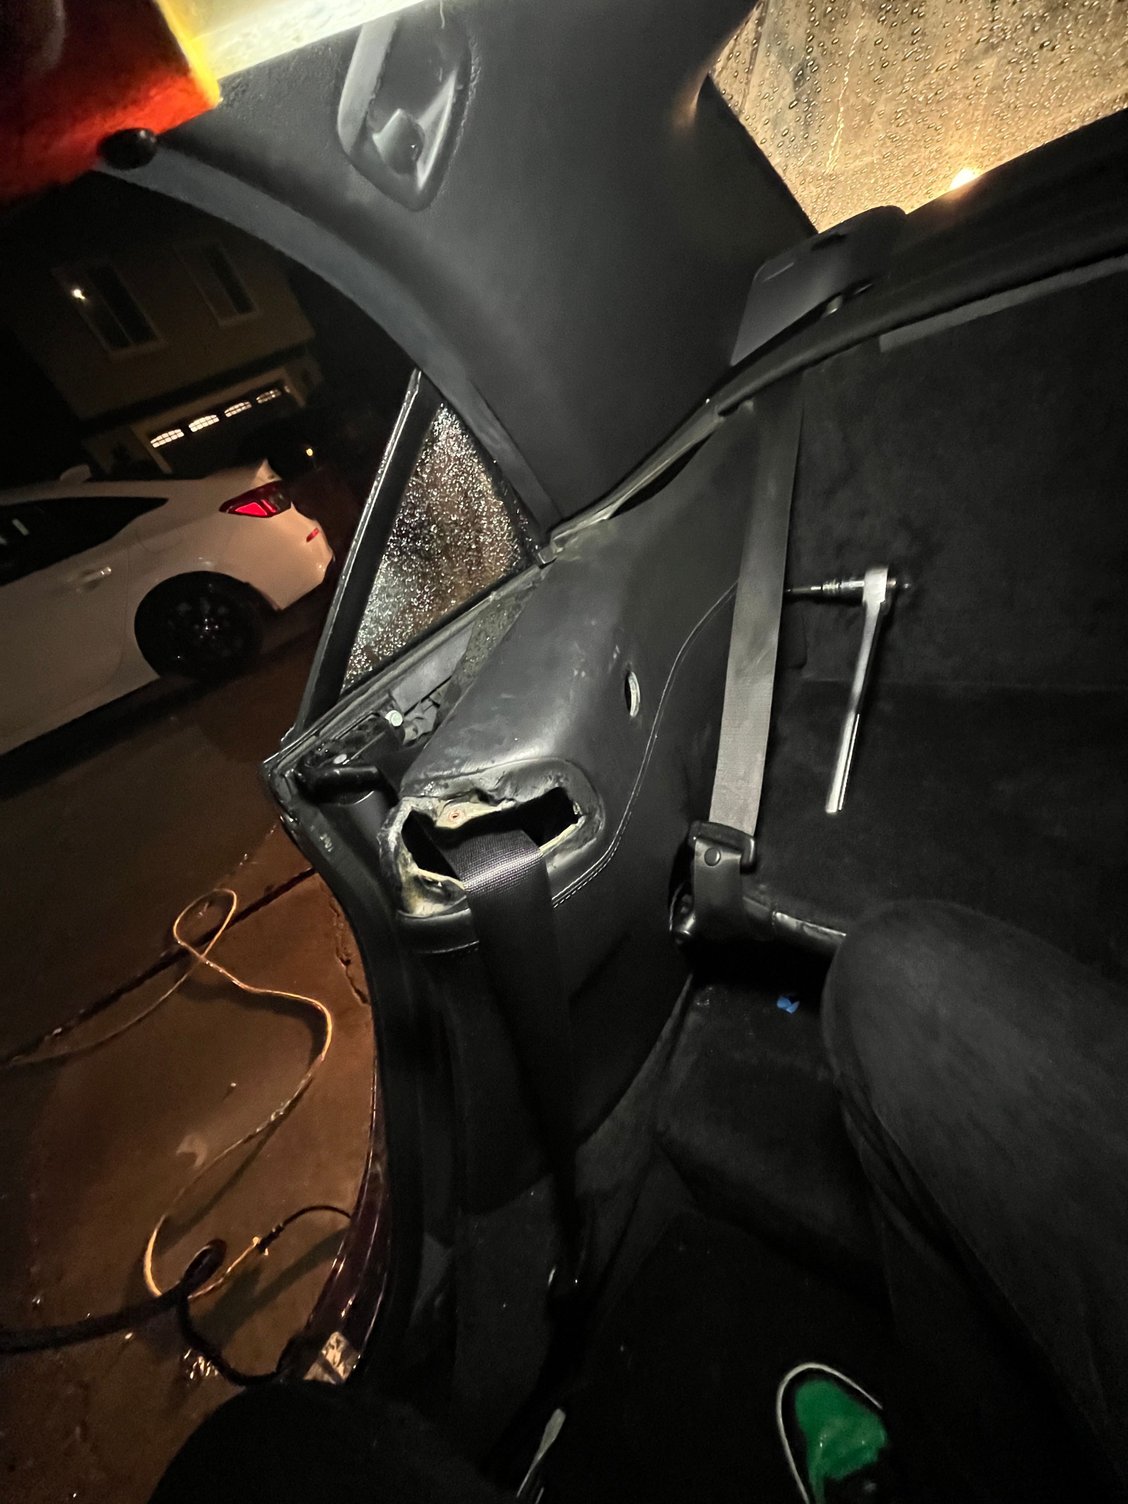
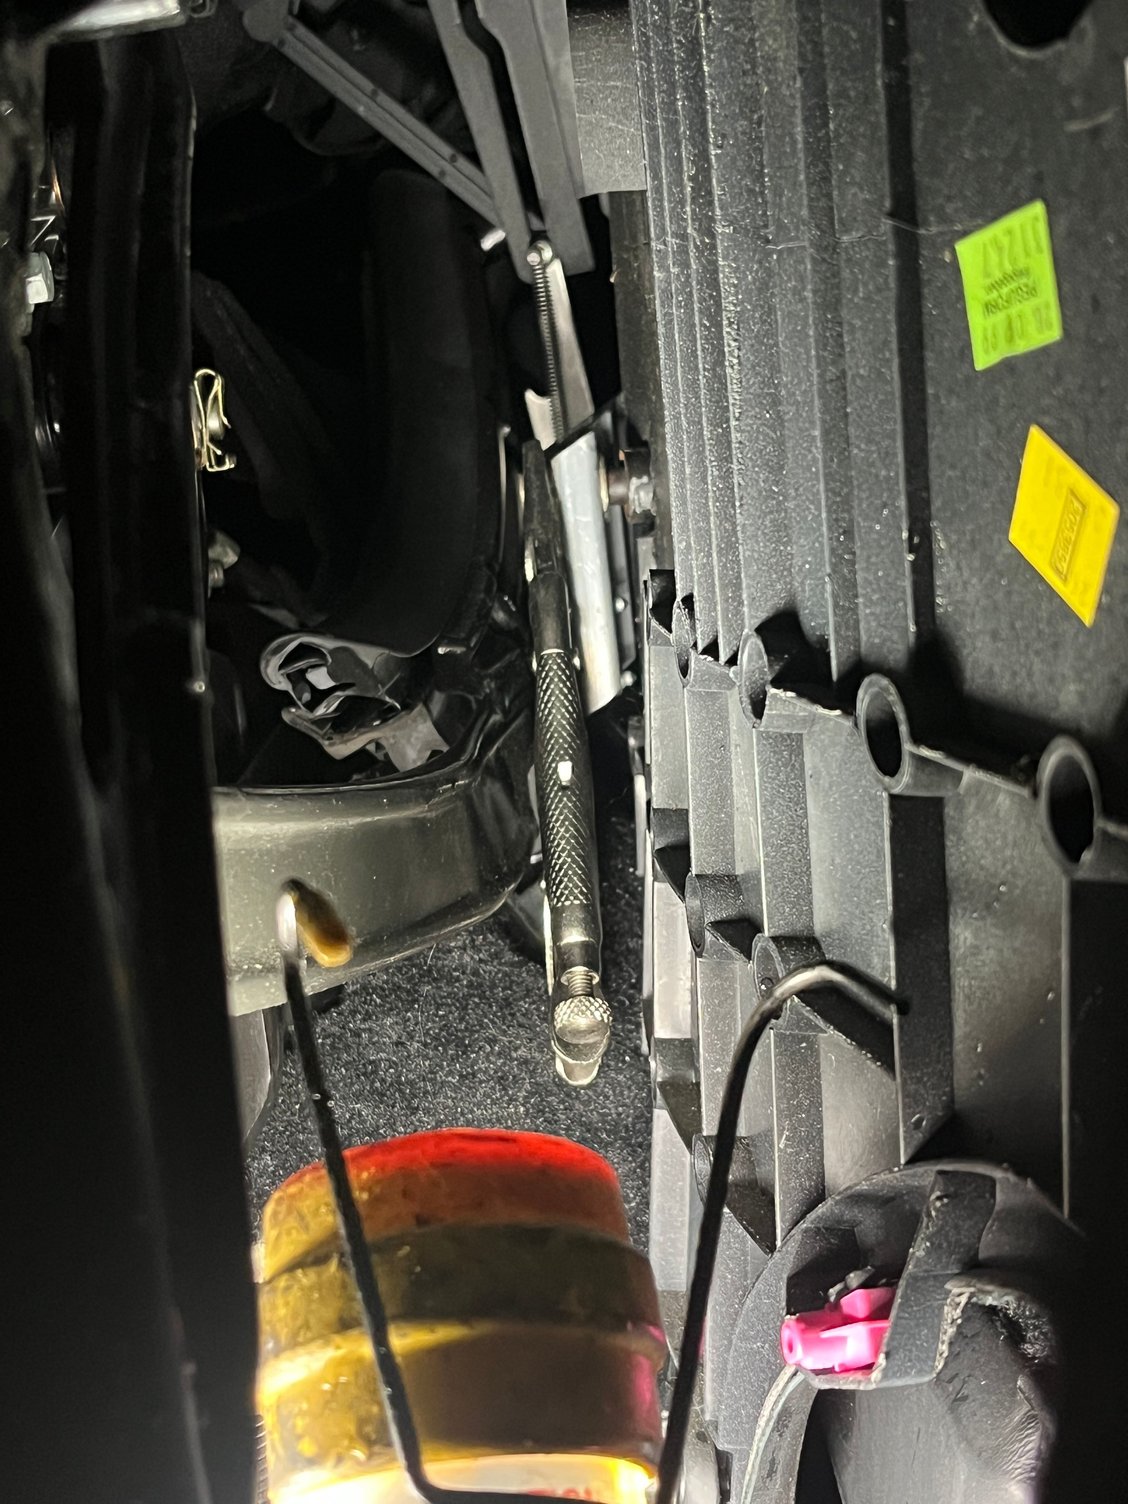
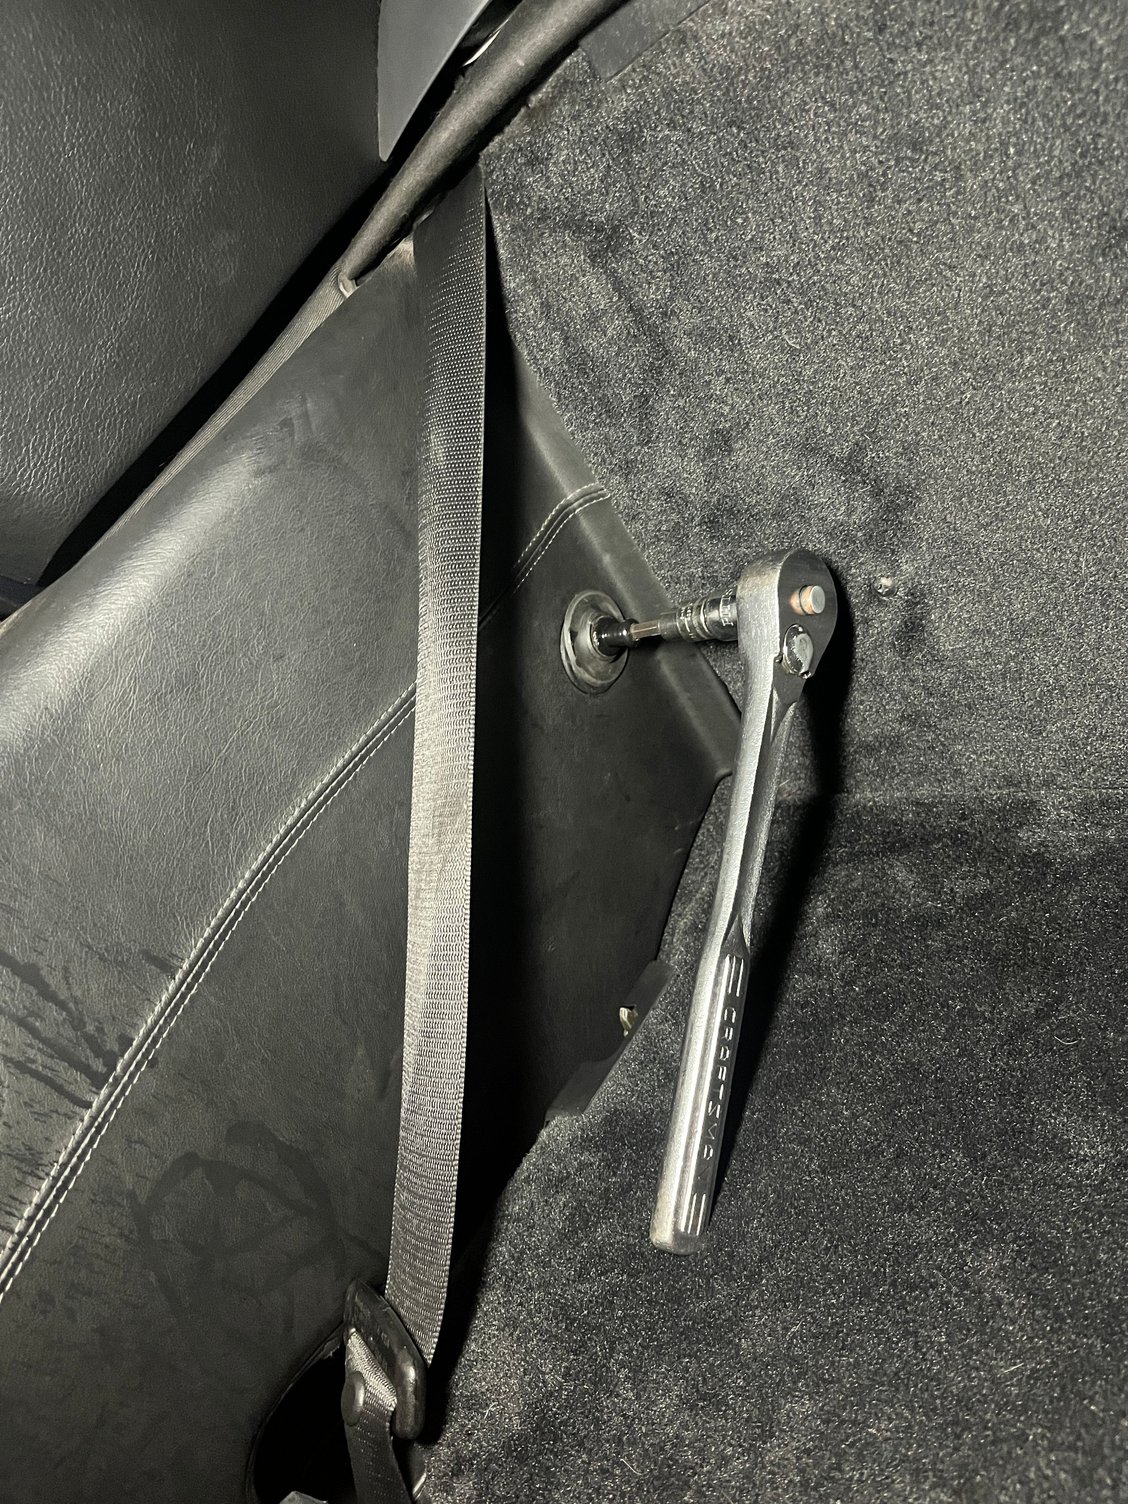
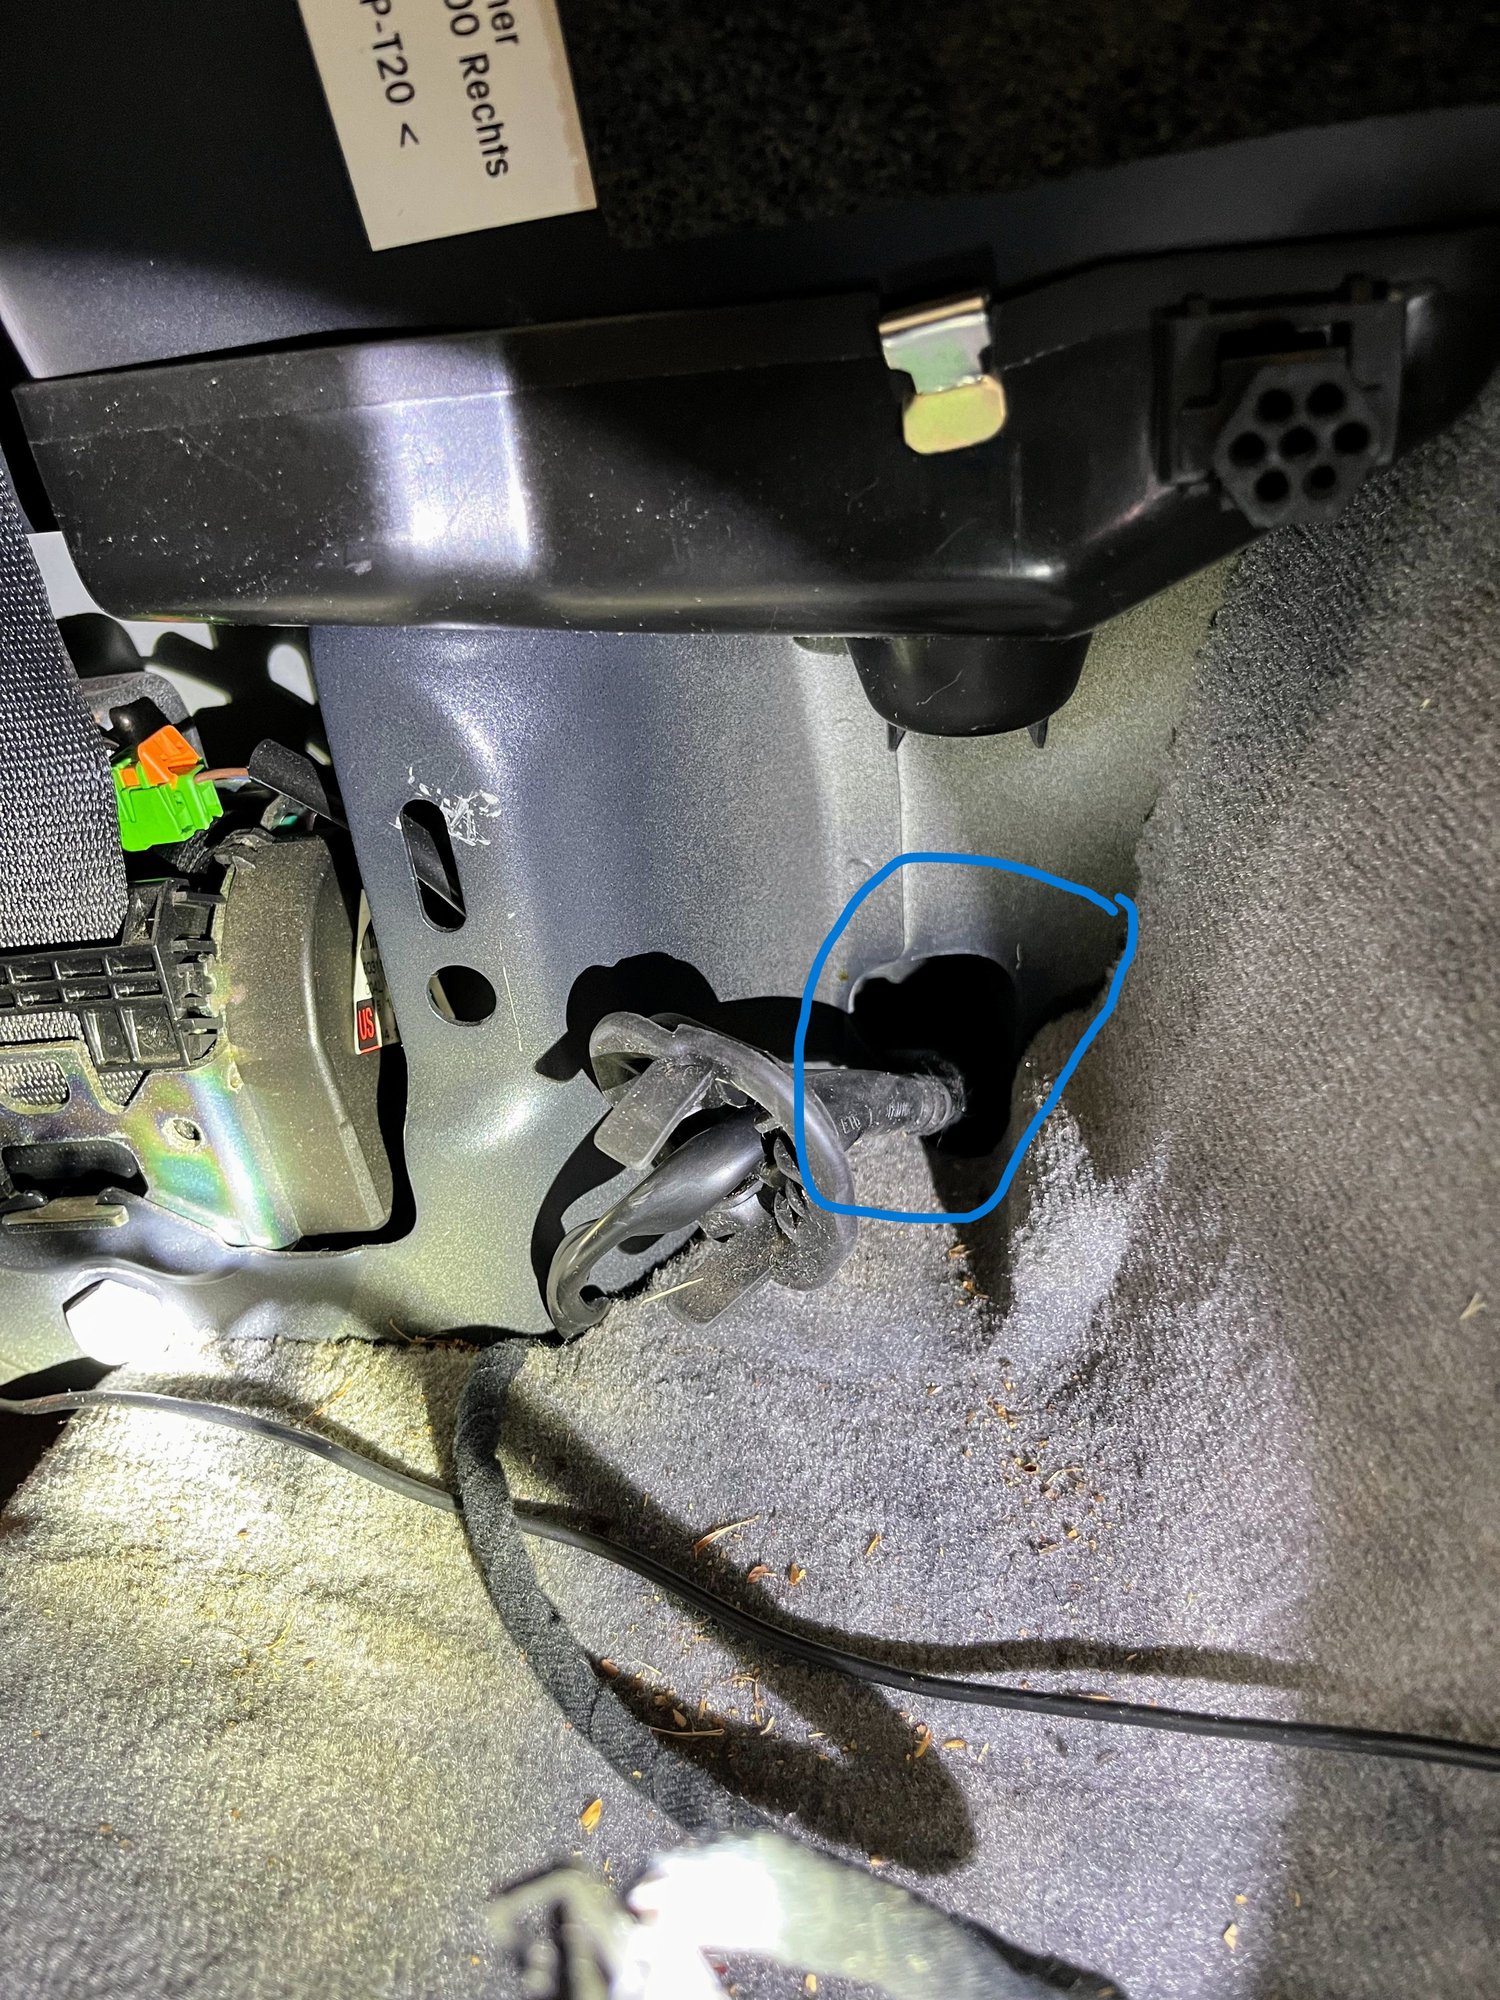
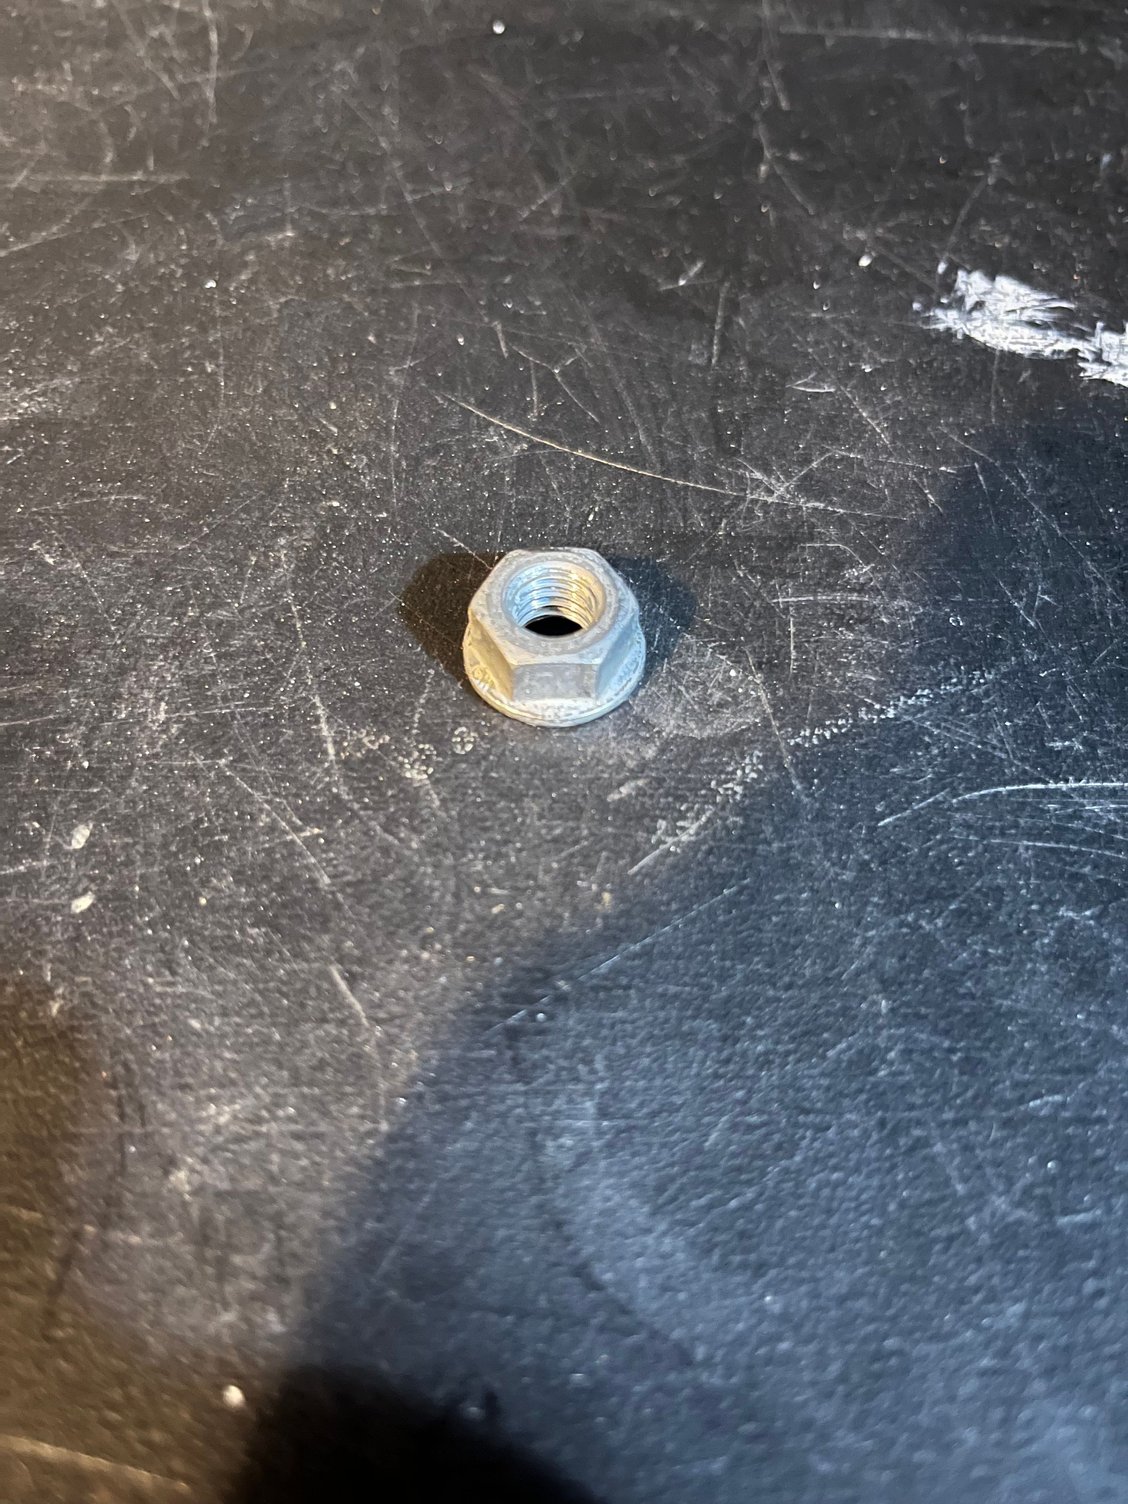
I want to share my experience with the 6mm allen pin which the rear folding seats latch onto incase anyone else has troubles. The video points out at the 3:40min mark that this pin may spin freely and I had the unfortunate luck to experience this. My work around was to pull the side panel out as much as I could to have enough space to put a small set of vise grip pliers on the captive nut the pin screws into. Once the captive nut was secure with the pliers, I was then able to loosen the 6mm allen pin from the other side. Opening the side panel Placing vise grip pliers on the captive nut to secure it Finally loosening the 6mm allen pin
Hi Josh, hope you are still around. I am attempting to repair my regulator for the passenger side window in my 09 C2S Cab. I removed the top two bolts but the one at the bottom, it has been referenced as #9, spins when attaching a socket to this bolt. Apparently the bolt is not fixed as I dropped one of the top ones into the frame bottom while moving the regulator frame around. I don't see anyway to put a grip on the bolt in order to remove the nut. Any suggestions?
I vaguely remember that bottom bolt could be unique. It may not be a traditional bolt. It could be the type to turn 90 or 180 degrees and then you just pull it out. Try using a flashlight to see from one side while grabbing it on the other side.
I think I have contributed to other threads for this repair in the past. See if a search turns up any other threads.
Mike, I took a closer look at that bolt and the end does indeed accept a 6/32 allen but all that does is spin the bolt and nut around. The others have the same setup. Worse case would be to remove the convertible top mechanism and see if I can get a wrench on the backside.
Mike, I took a closer look at that bolt and the end does indeed accept a 6/32 allen but all that does is spin the bolt and nut around. The others have the same setup. Worse case would be to remove the convertible top mechanism and see if I can get a wrench on the backside.
Bob
I believe I did use a wrench on both side. You shouldn�t have to remove the entire convertible top assembly, but you could move part of it out of the way after removing most or all of the bolts.
I think I adjusted the convertible top past the service position - mostly closed - in order to find the best possible setup for access.
Here�s my thread: post #4 has several links. The first link has a lot of info.
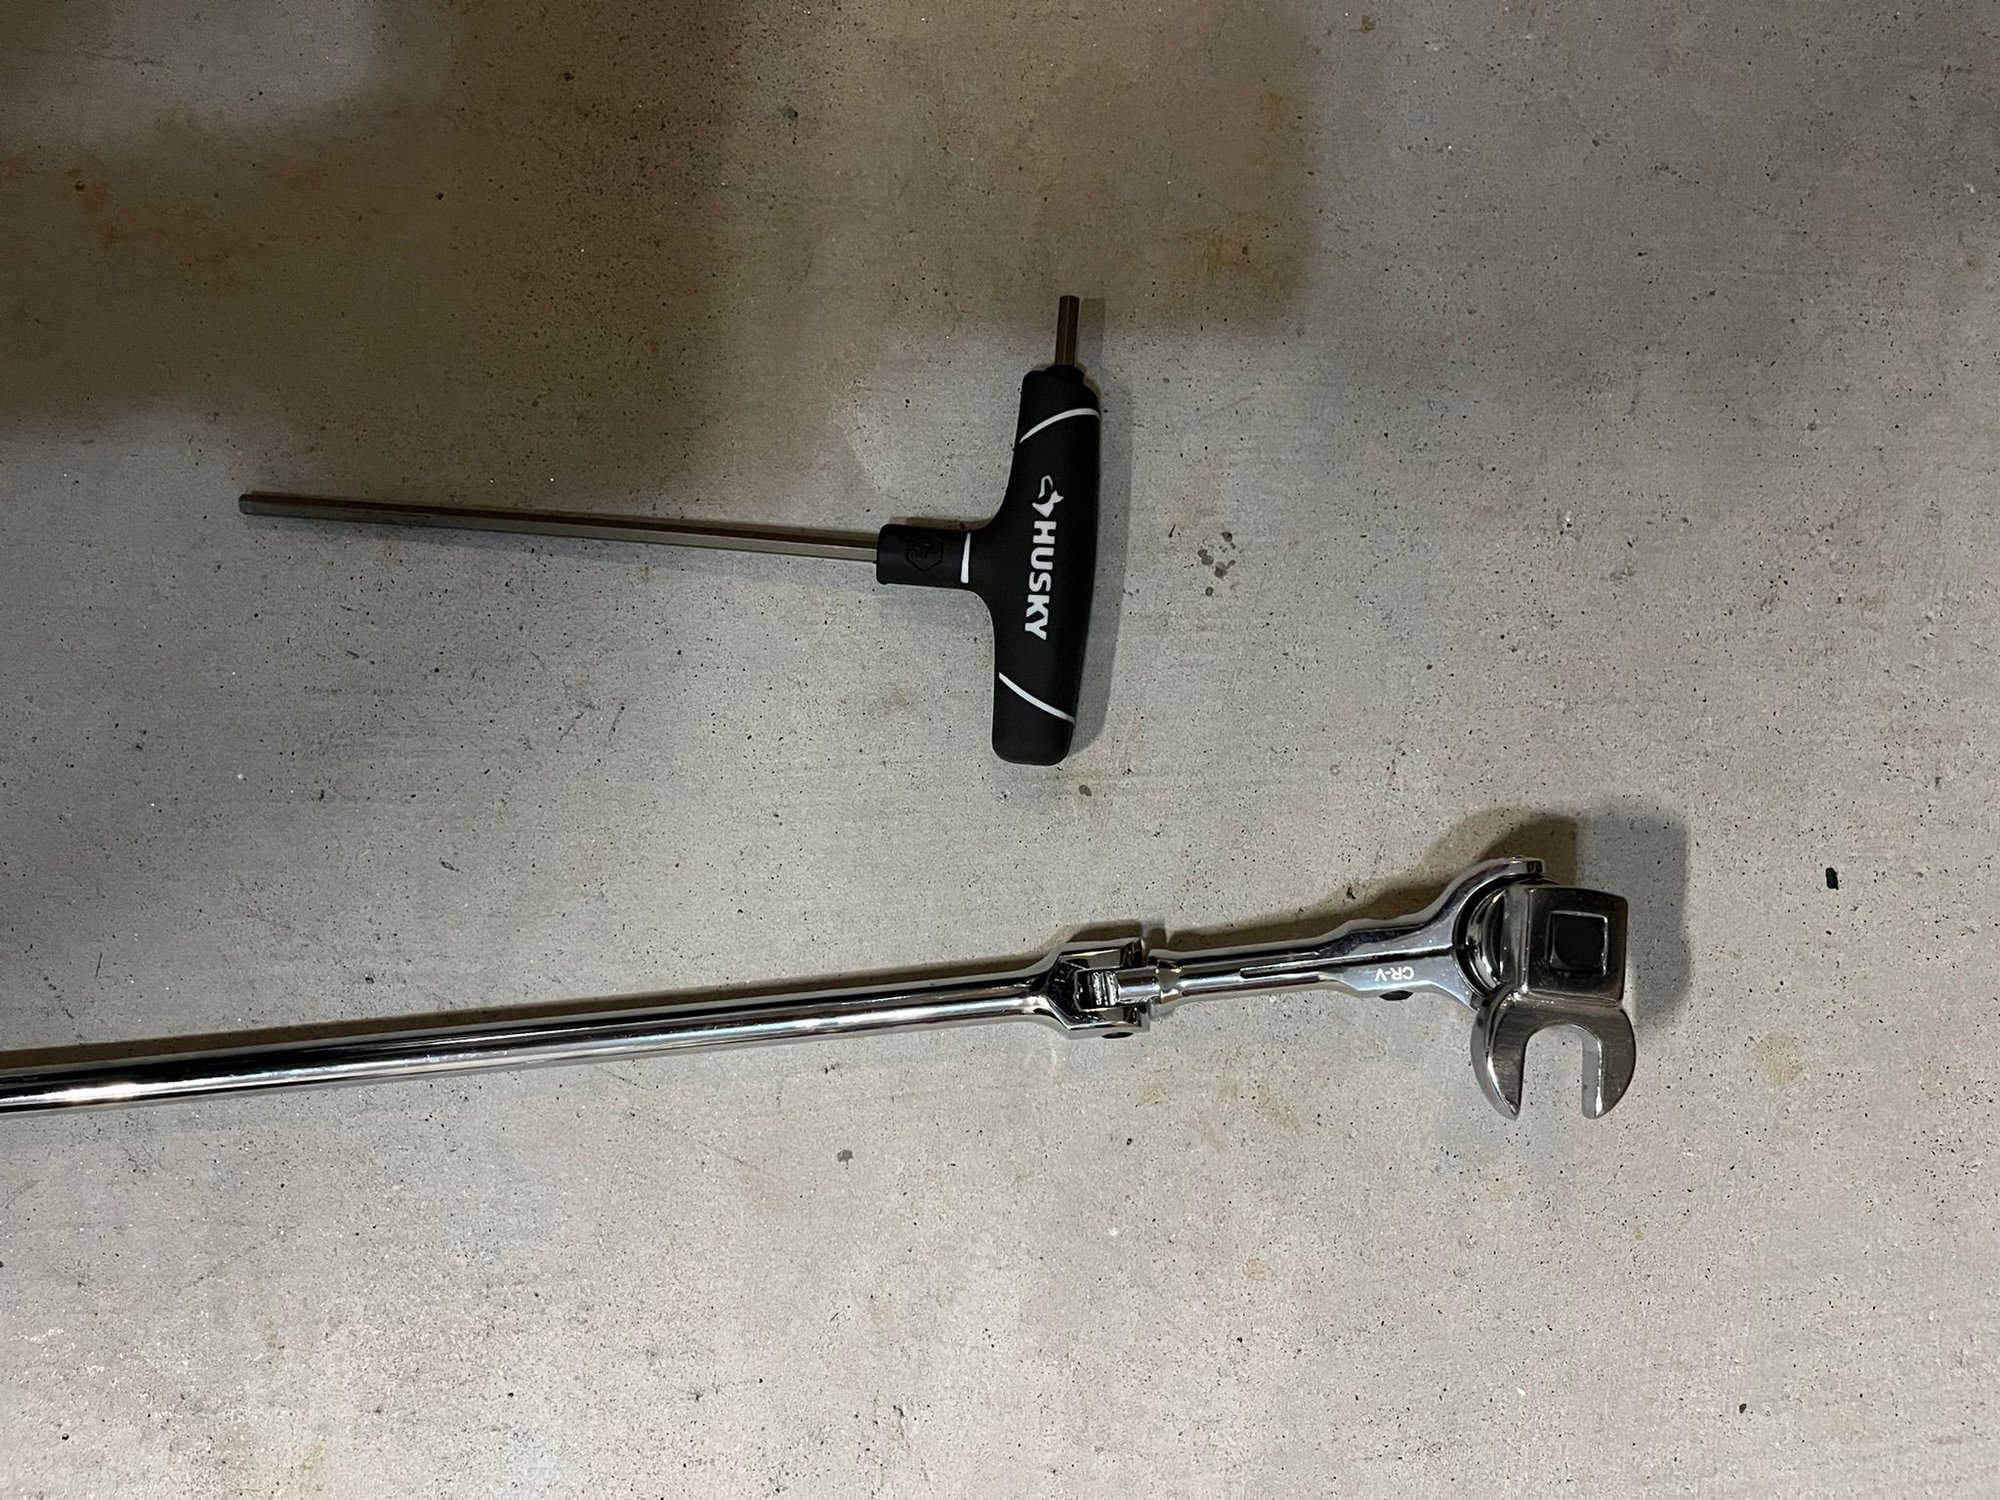
You use a allen socket with a 6 inch extension attached to a small ratchet. Insert the allen socket into the end of the screw.
Then you use a 13mm crows foot around the nut, attached to a 8 inch extension attached to another ratchet.
Your a genus Yelcab, it worked as described. took a bit to get the claw foot in the opening and around the bolt but I got it on and used the allen to unscrew the bolt from the nut. Of course, the nut fell into the bowels of the frame so I'll have to fish that out once I remove the regulator. What a PITA this was so far.

 06-30-2022, 02:02 PM