Notices
991 2012-2019
Sponsored by:
Sponsored by:

991.1 gt3rs side skirts on narrow body

Thread Tools
 
Search this Thread
 
Old 02-07-2020, 11:38 AM
  #1  
polobai
Drifting
Thread Starter
 
polobai's Avatar
 
Join Date: Dec 2017
Location: Jupiter FL
Posts: 2,844
Received 1,125 Likes on 670 Posts
Default 991.1 gt3rs side skirts on narrow body

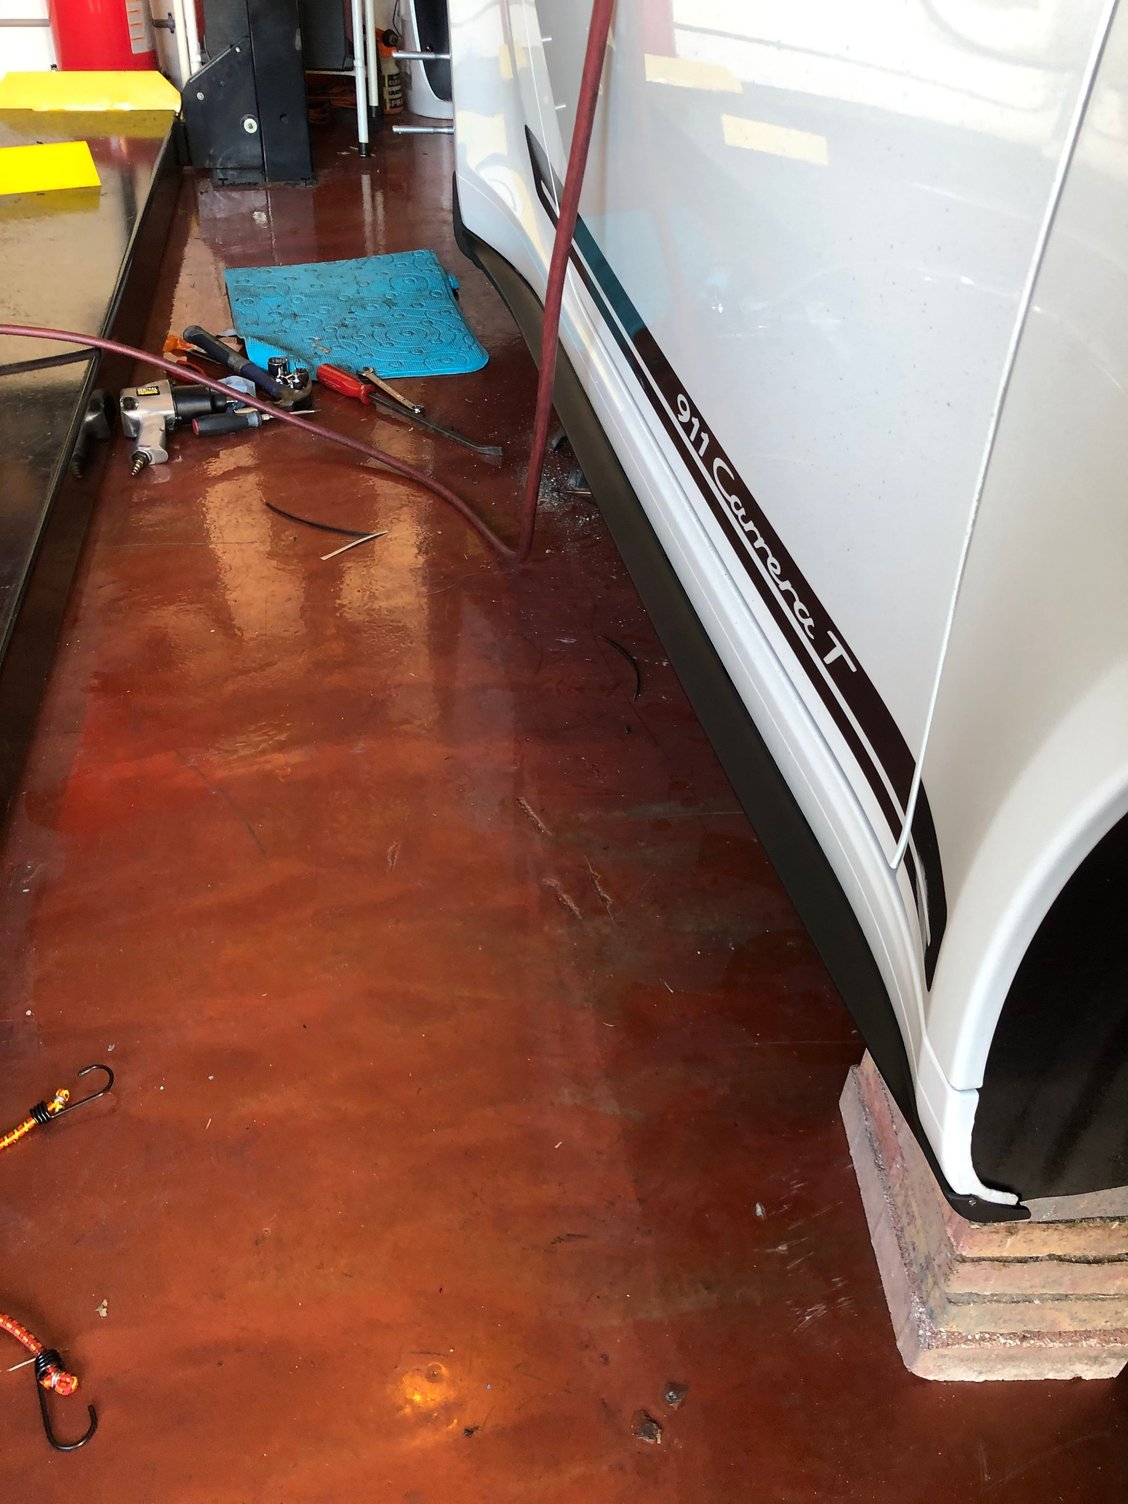
Good morning guys, a few people have been asking for a write up on how I was able to do this on my car (991.2 Carerra t). A word of caution-you will have to modify the skirts and wont be able to return them as you will have to cut them extensively. You will also need to drill two small holes into the car on each side (will explain below). What you will need:

Sideskirts (got mine from getporscheparts.com):
991504595901E0
991504596901E0

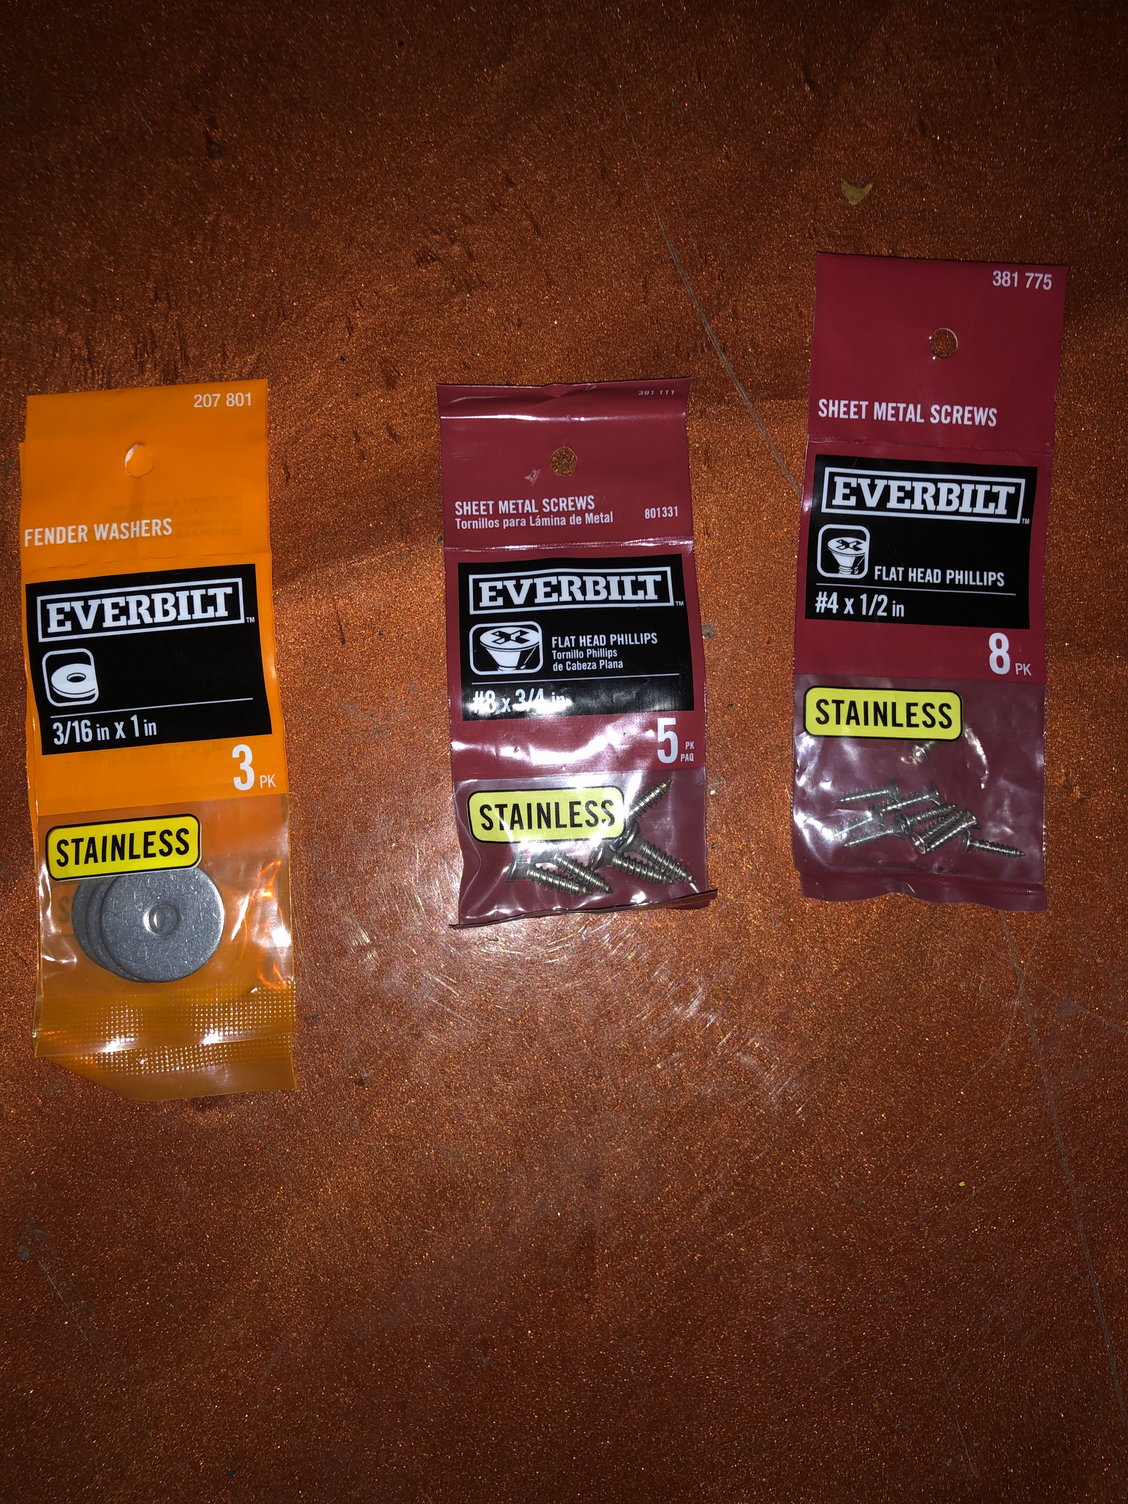
6x 3/16 fender washers
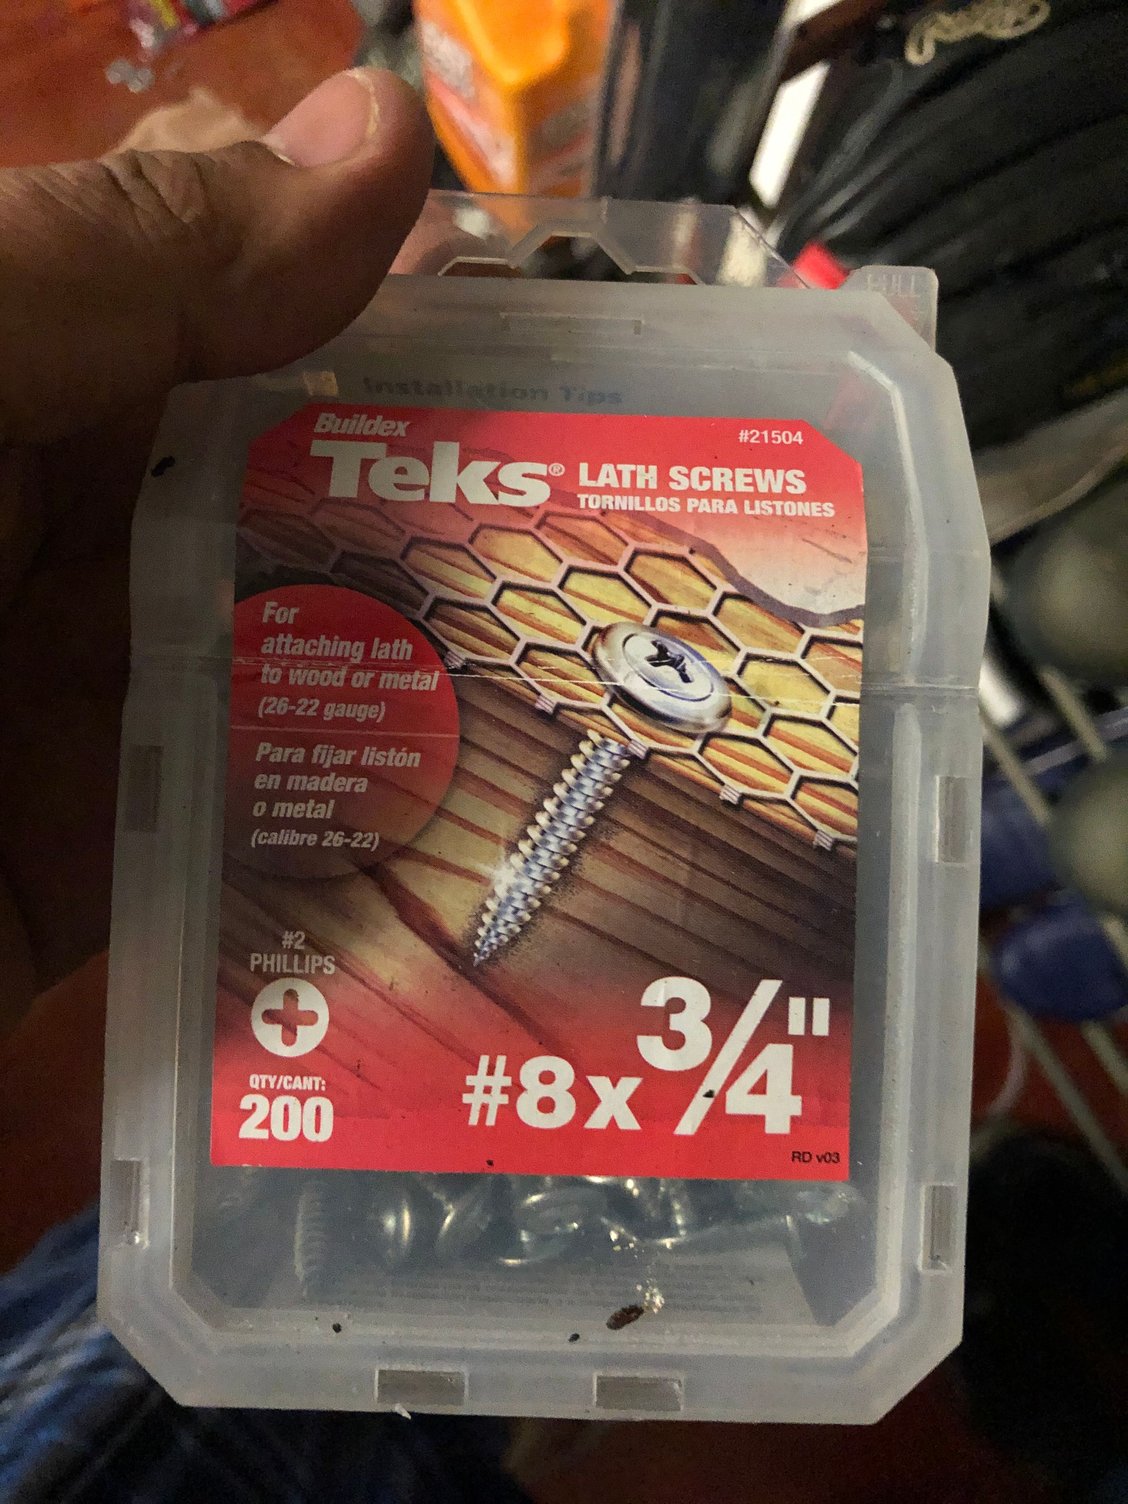
6x 3/4inch tek screws
2x #8x3/4 sheet metal screws
2x #4x1/2 sheet metal screws
Very sharp blade
Drill with various bits
torx drivers


The following 3 users liked this post by polobai:
awfilms (04-16-2020), browncf (05-01-2021), jesm (02-29-2020)
Old 02-07-2020, 11:46 AM
  #2  
polobai
Drifting
Thread Starter
 
polobai's Avatar
 
Join Date: Dec 2017
Location: Jupiter FL
Posts: 2,844
Received 1,125 Likes on 670 Posts
Default

Basically you would have to cut all the tabs off the rs side skirts and create new mounting points to mate to the body.


Cut all the tabs and protrusions off with a sharp blade-be careful!!!


Old 02-07-2020, 11:48 AM
  #3  
polobai
Drifting
Thread Starter
 
polobai's Avatar
 
Join Date: Dec 2017
Location: Jupiter FL
Posts: 2,844
Received 1,125 Likes on 670 Posts
Default

Before


Cut these off and also remove the white clips on the bottom (just twist off)

You will pull these clips off before cutting.
Old 02-07-2020, 11:52 AM
  #4  
polobai
Drifting
Thread Starter
 
polobai's Avatar
 
Join Date: Dec 2017
Location: Jupiter FL
Posts: 2,844
Received 1,125 Likes on 670 Posts
Default

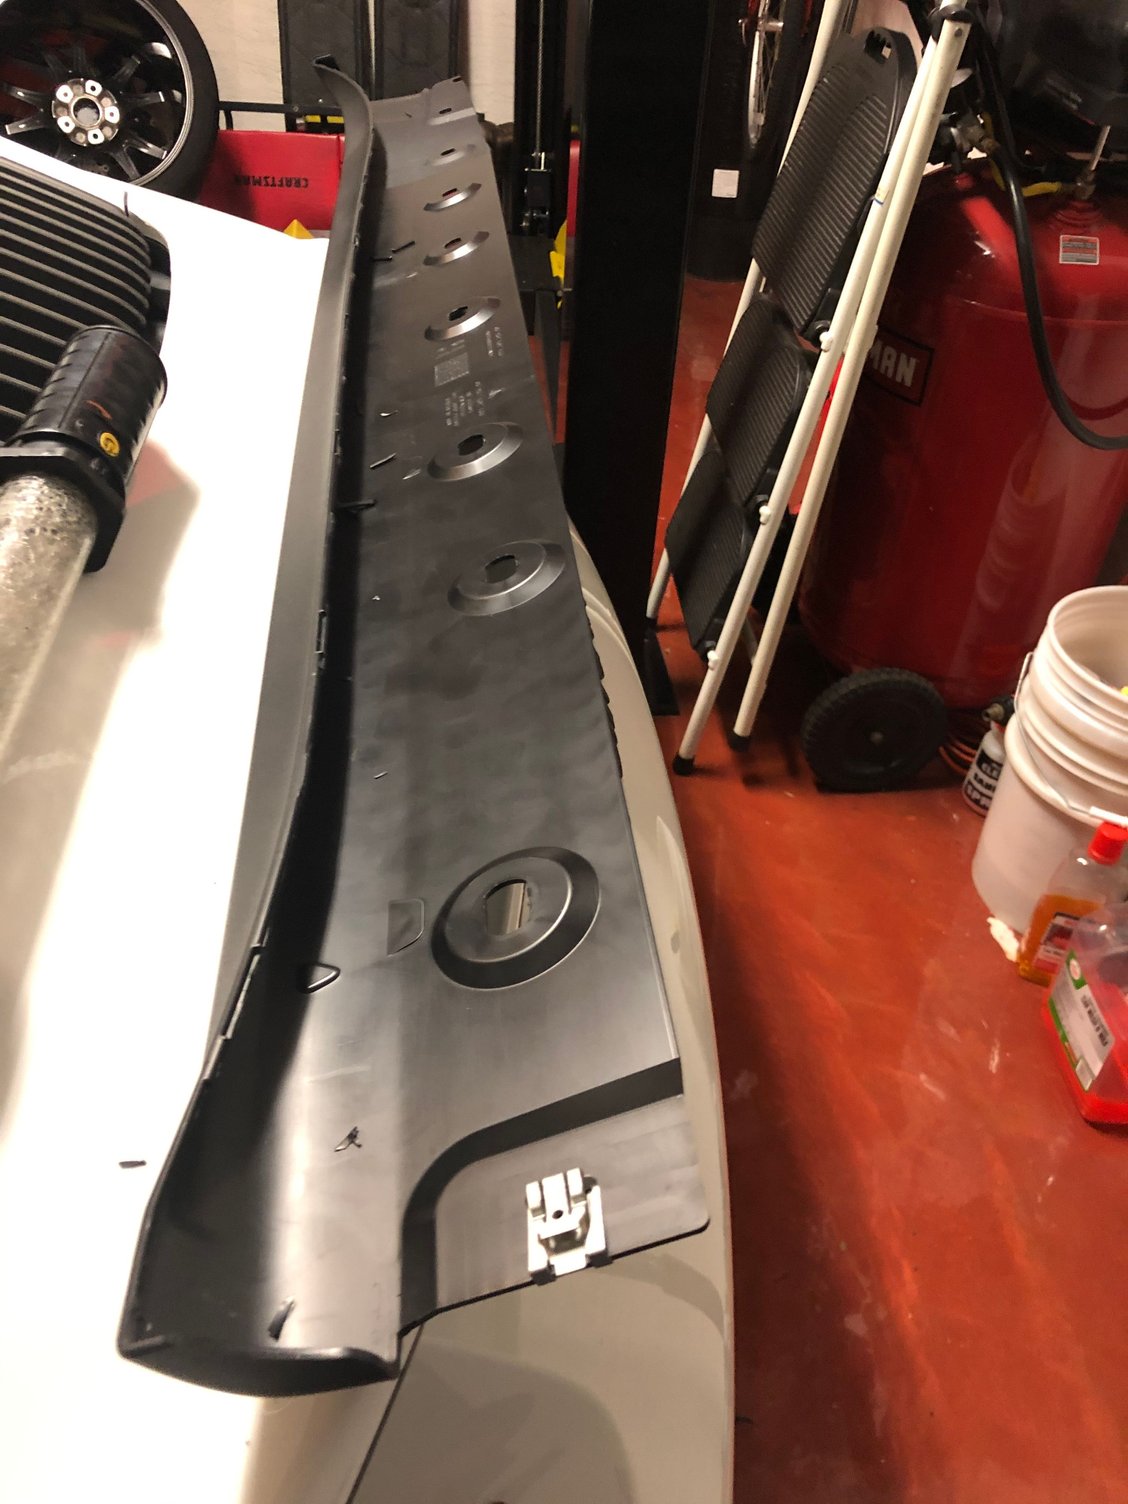
You will also need to remove anything that will get in the way of the skirt sitting flush against the body


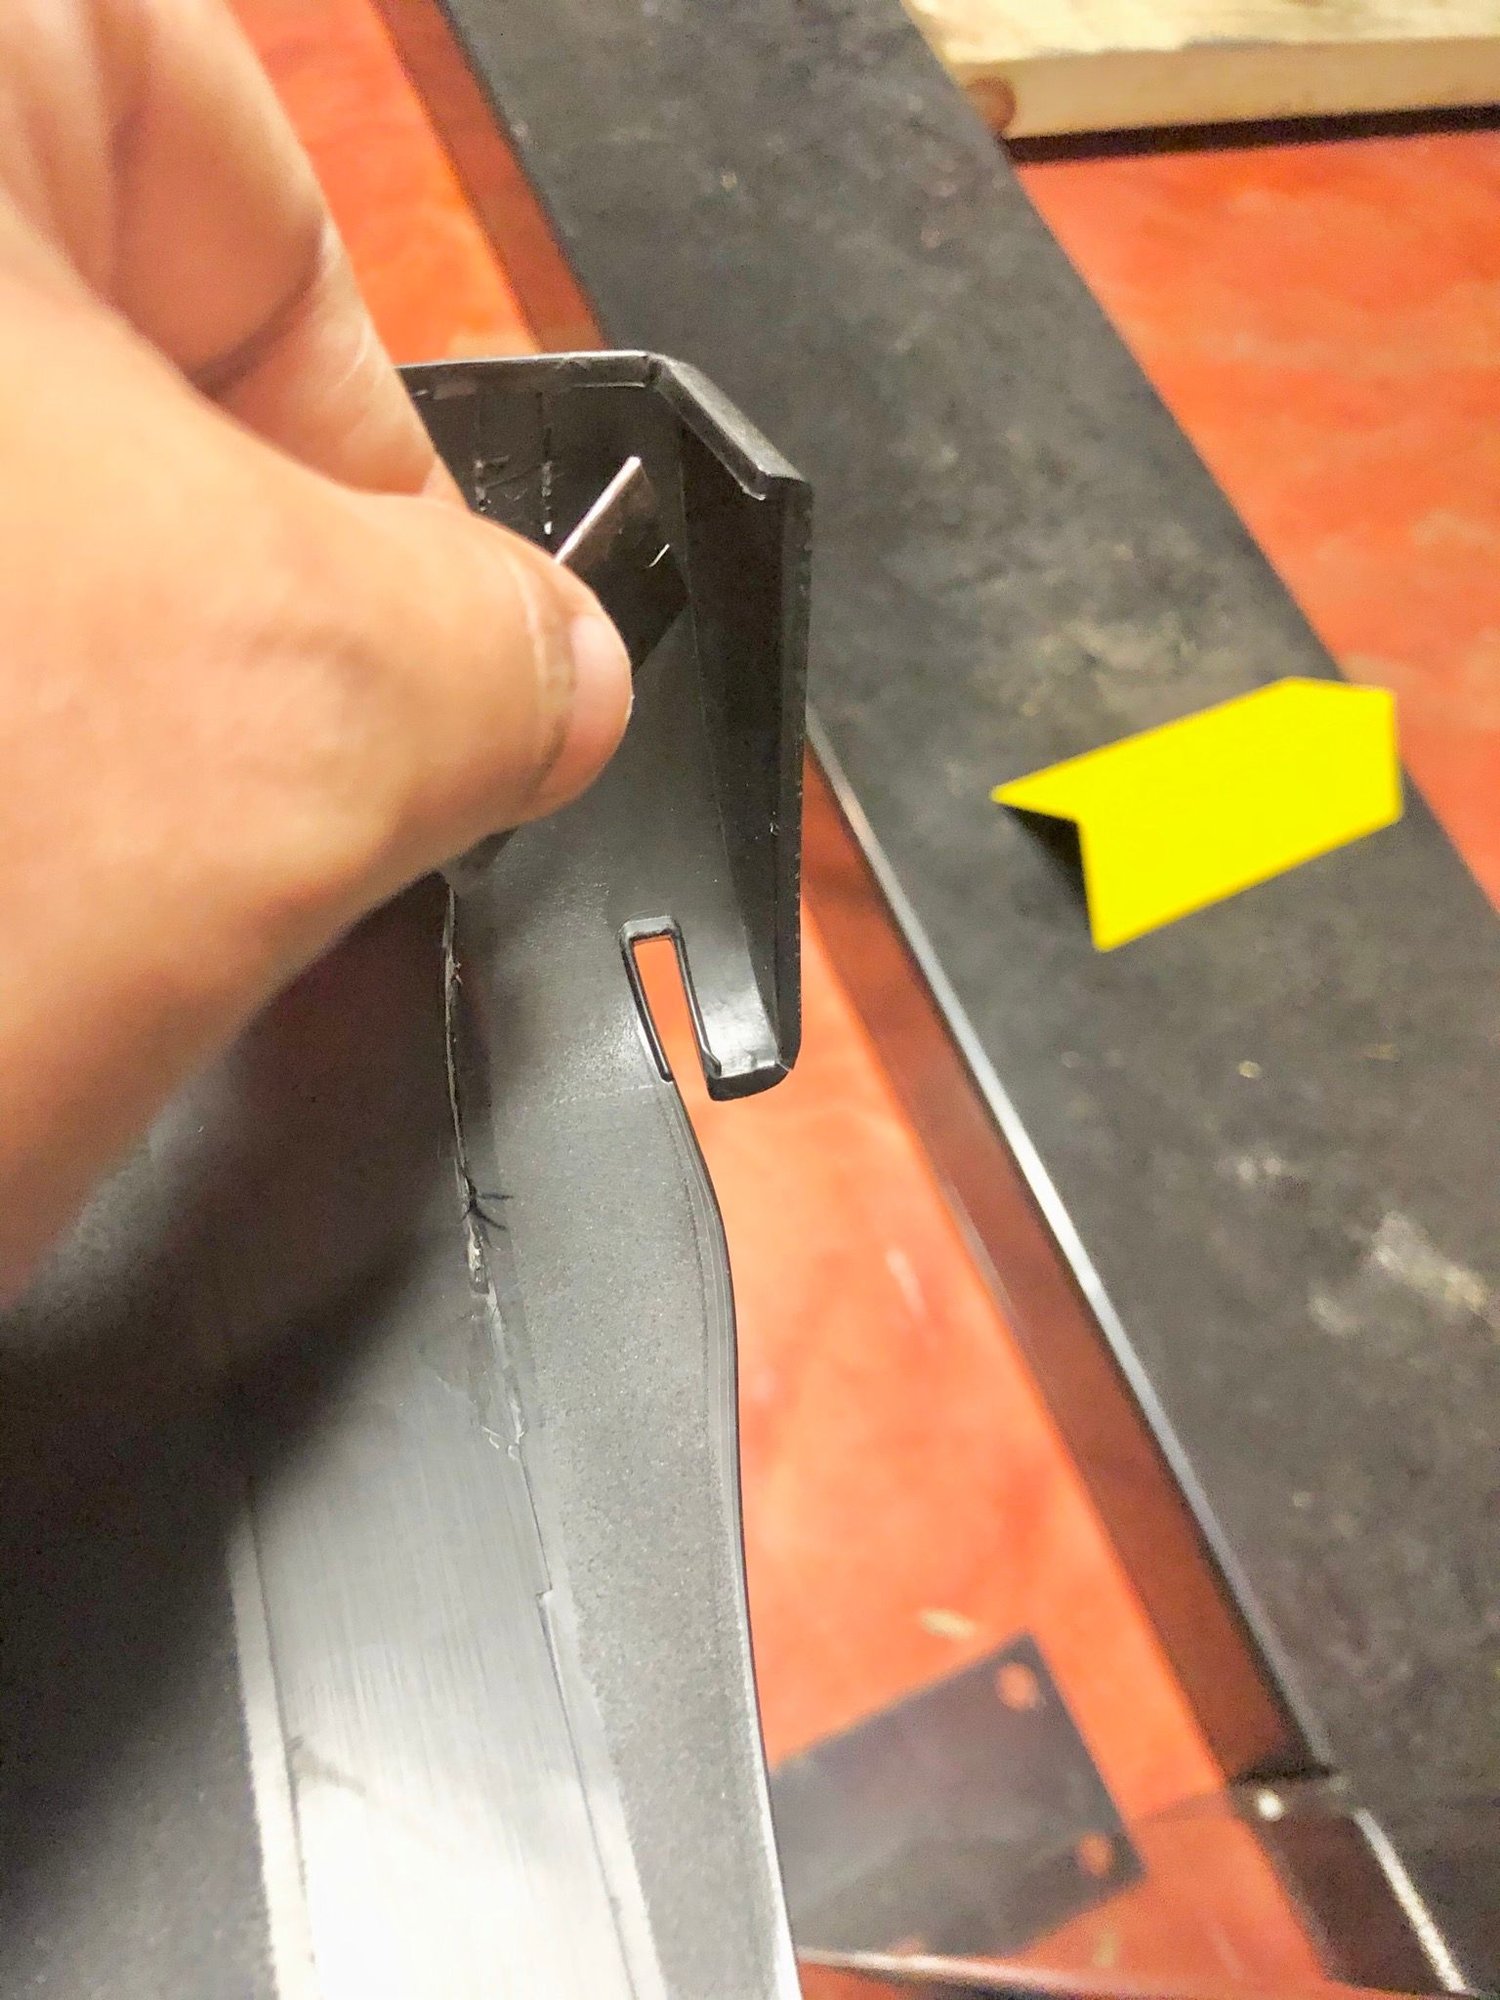
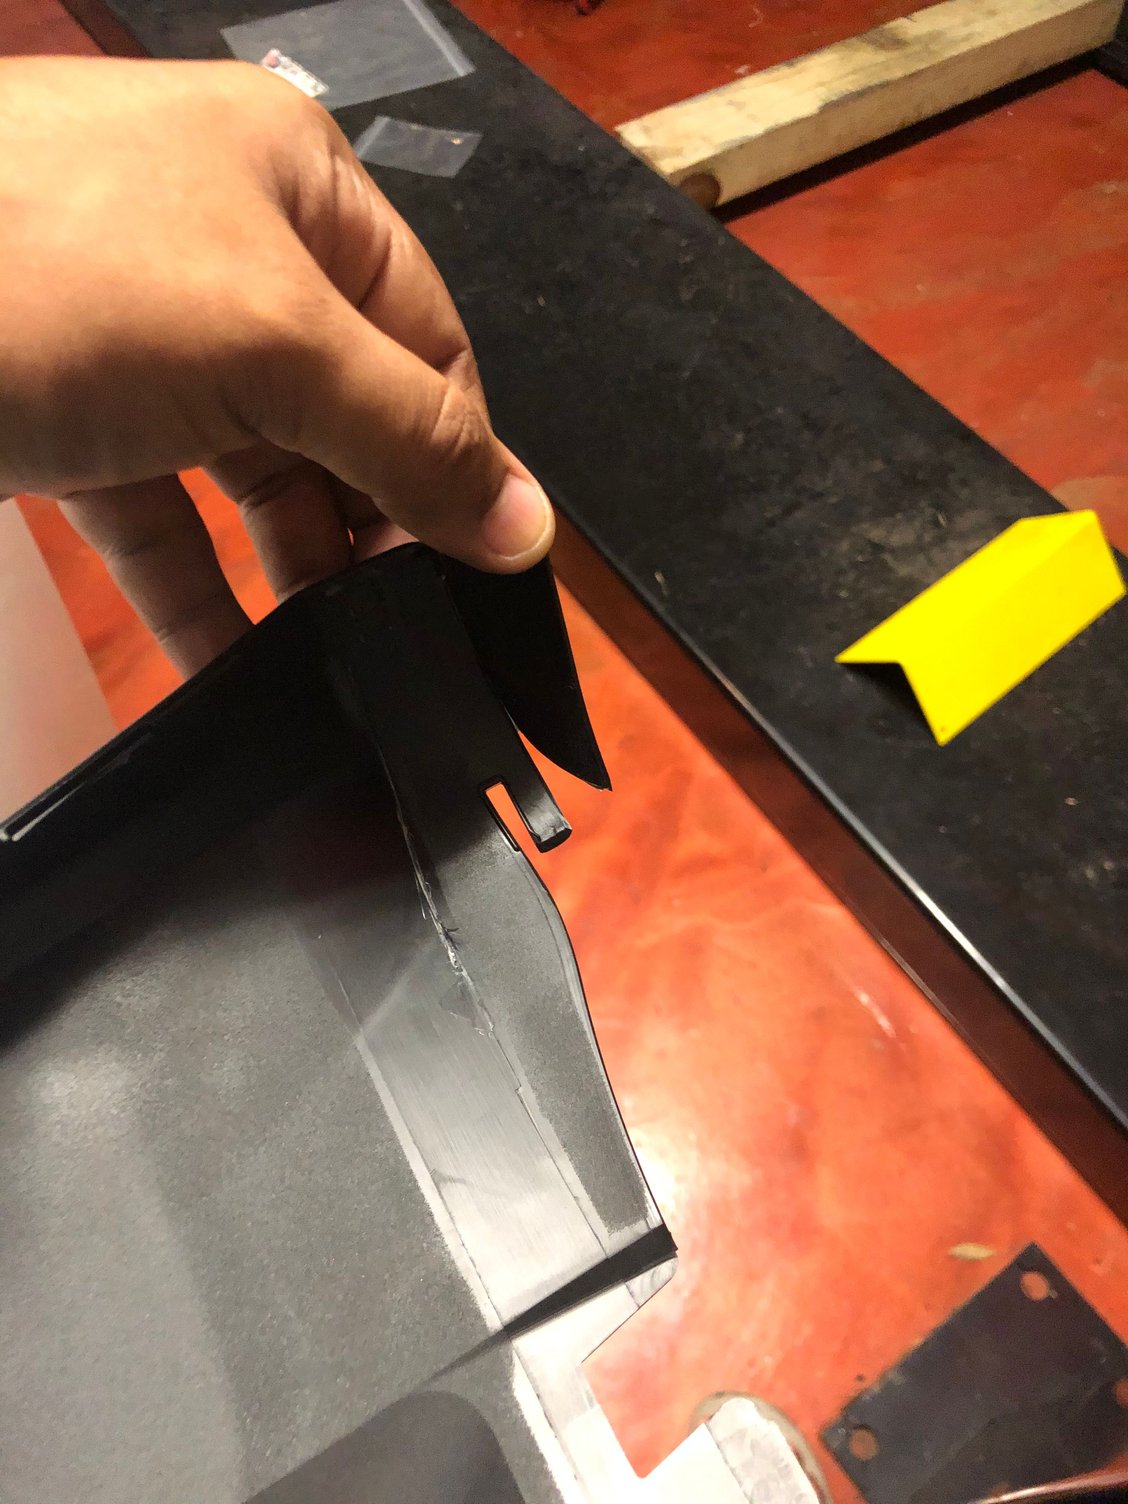
Cut this off from the front

Should look like this when done

Trim this (keep the speed nut-will need it later)

Will need to remove this from the back as it interferes with the rear mud guard


Like this
Old 02-07-2020, 11:57 AM
  #5  
polobai
Drifting
Thread Starter
 
polobai's Avatar
 
Join Date: Dec 2017
Location: Jupiter FL
Posts: 2,844
Received 1,125 Likes on 670 Posts
Default

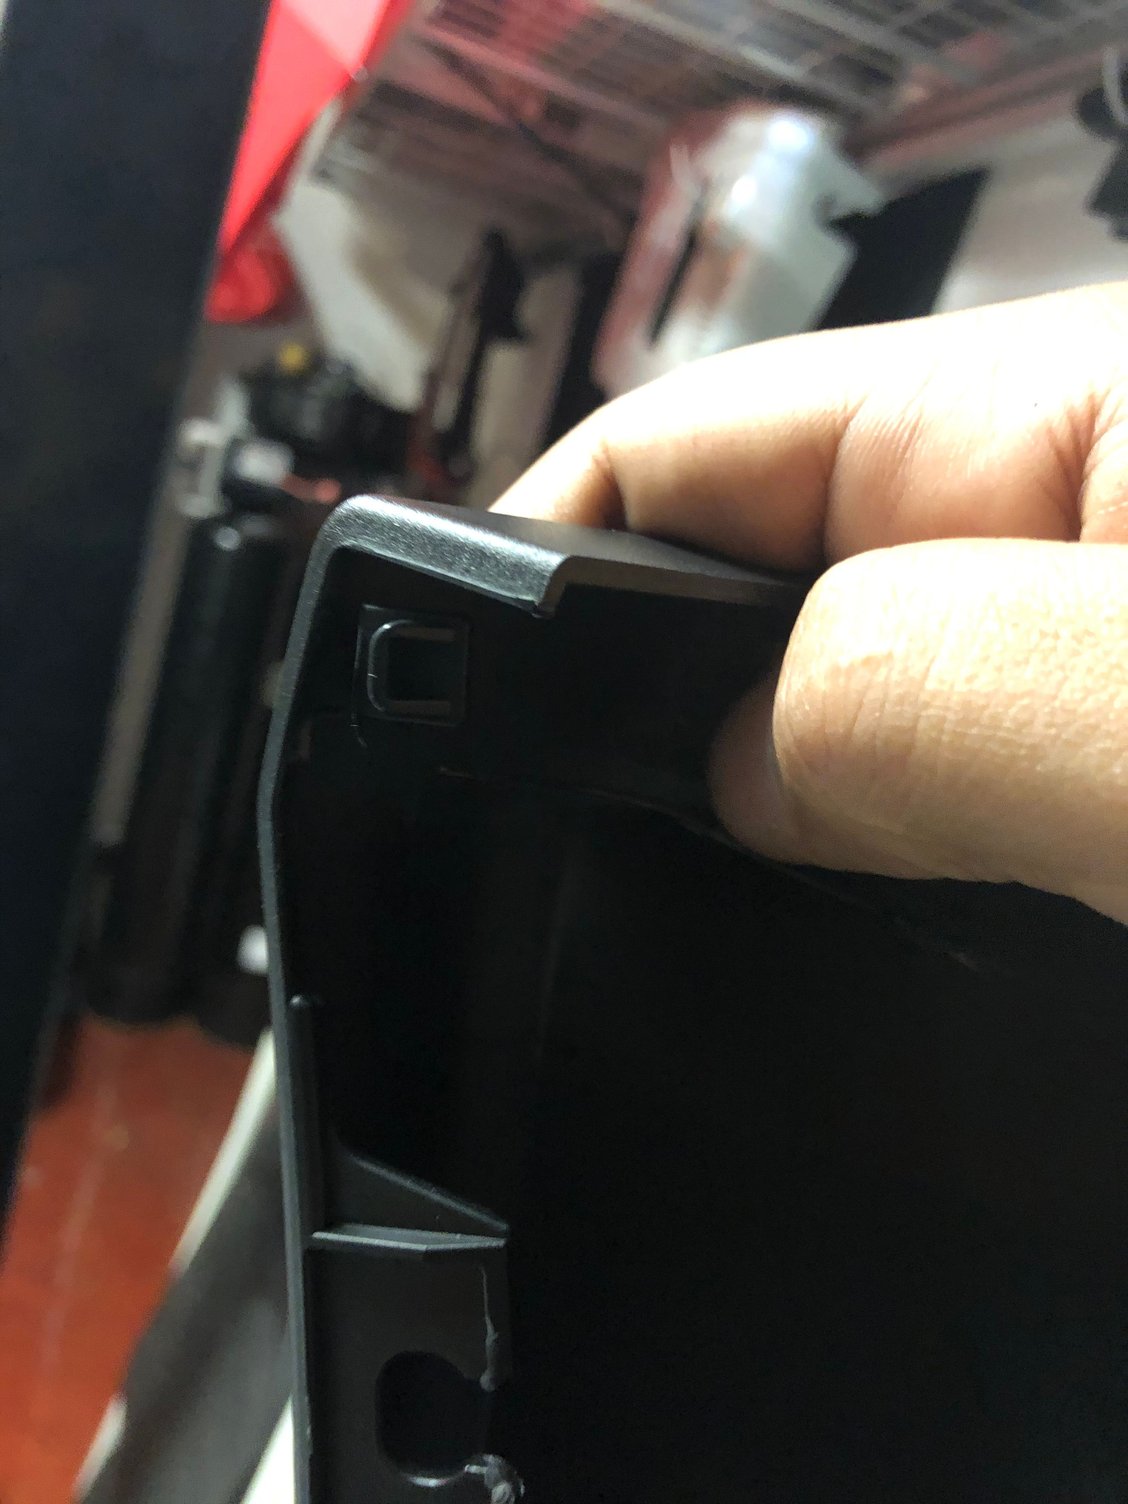
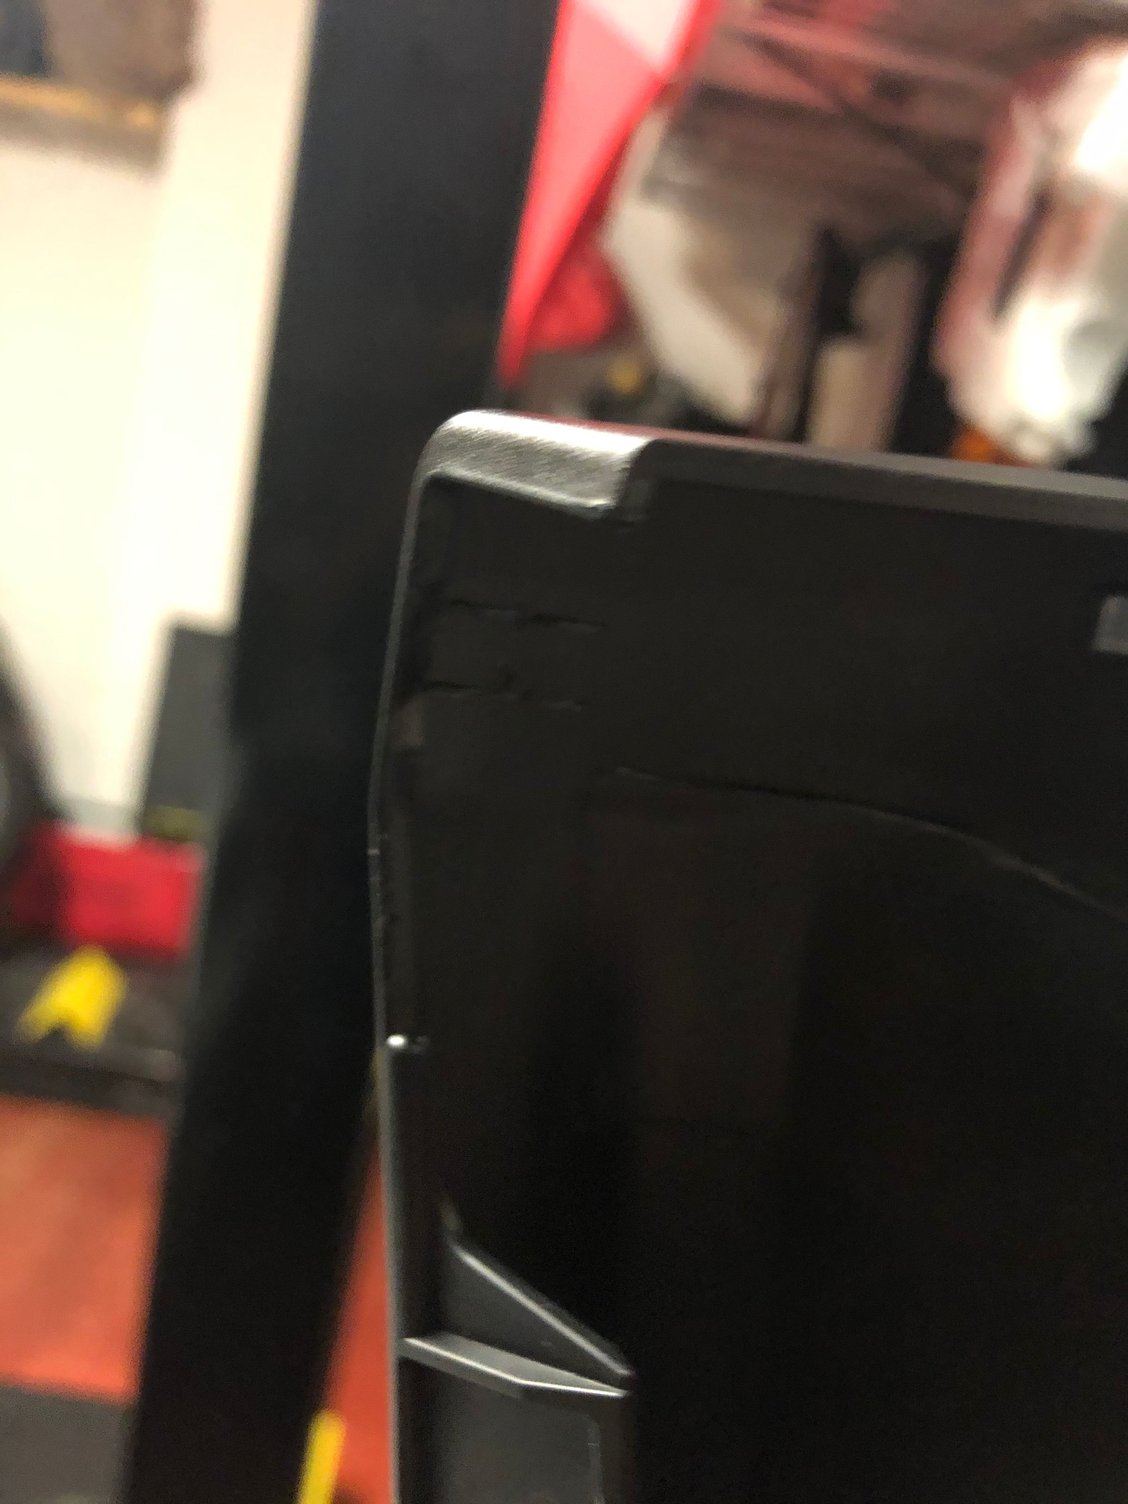
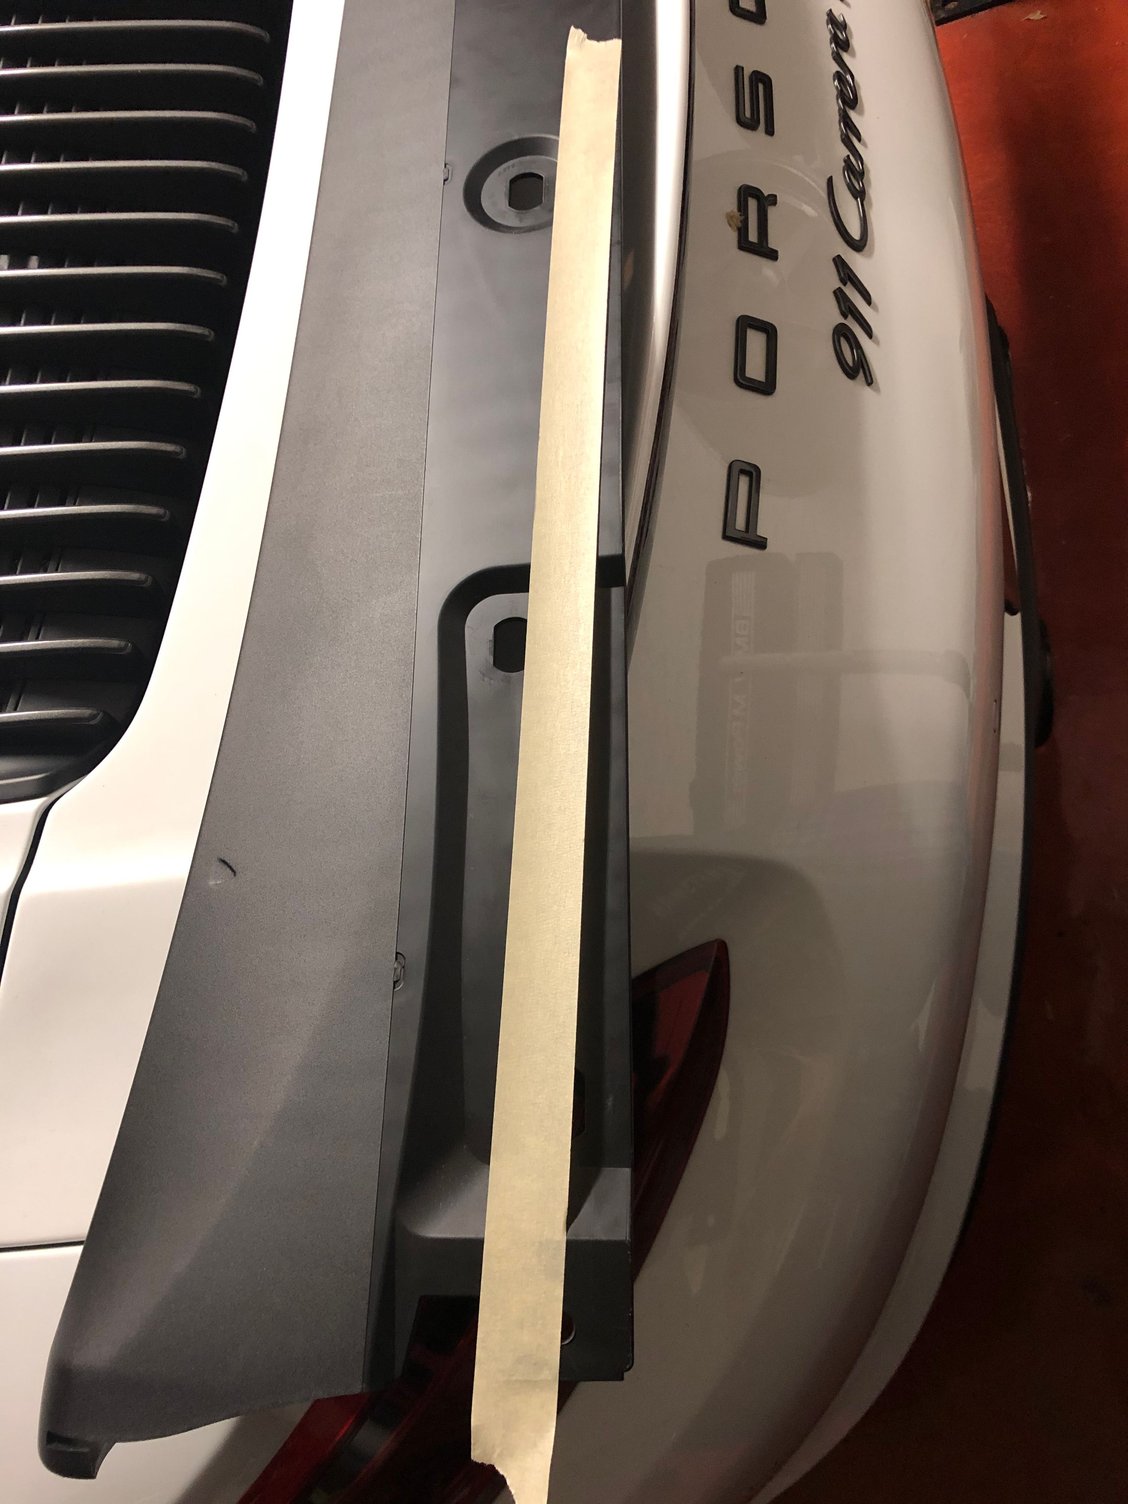
You will also need to trim about 3/4 of an inch from the rear of the skirt on the bottom as it interferes with the lower sill panel on the chassis


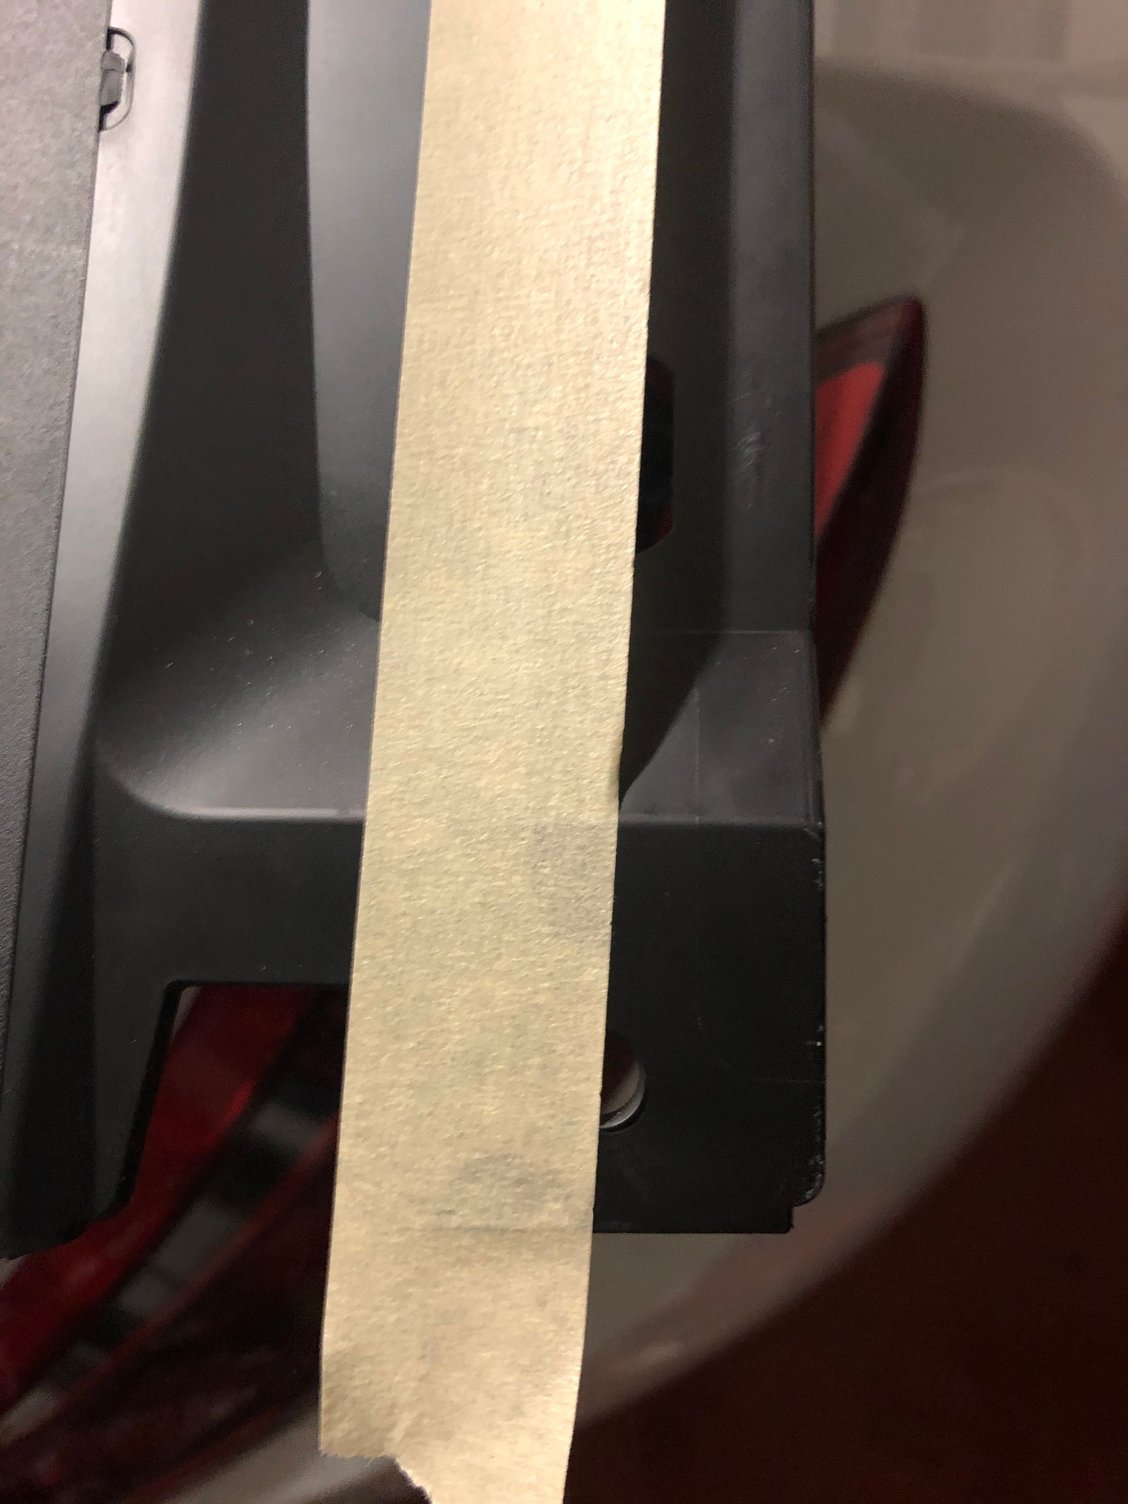
Trim inside the tape line

Closer pic-you May have to trim more or less depending on your fitment (I noticed I had to trim more on the passenger side than the drivers side)
The following users liked this post:
9ONCE (07-27-2020)
Old 02-07-2020, 12:04 PM
  #6  
polobai
Drifting
Thread Starter
 
polobai's Avatar
 
Join Date: Dec 2017
Location: Jupiter FL
Posts: 2,844
Received 1,125 Likes on 670 Posts
Default

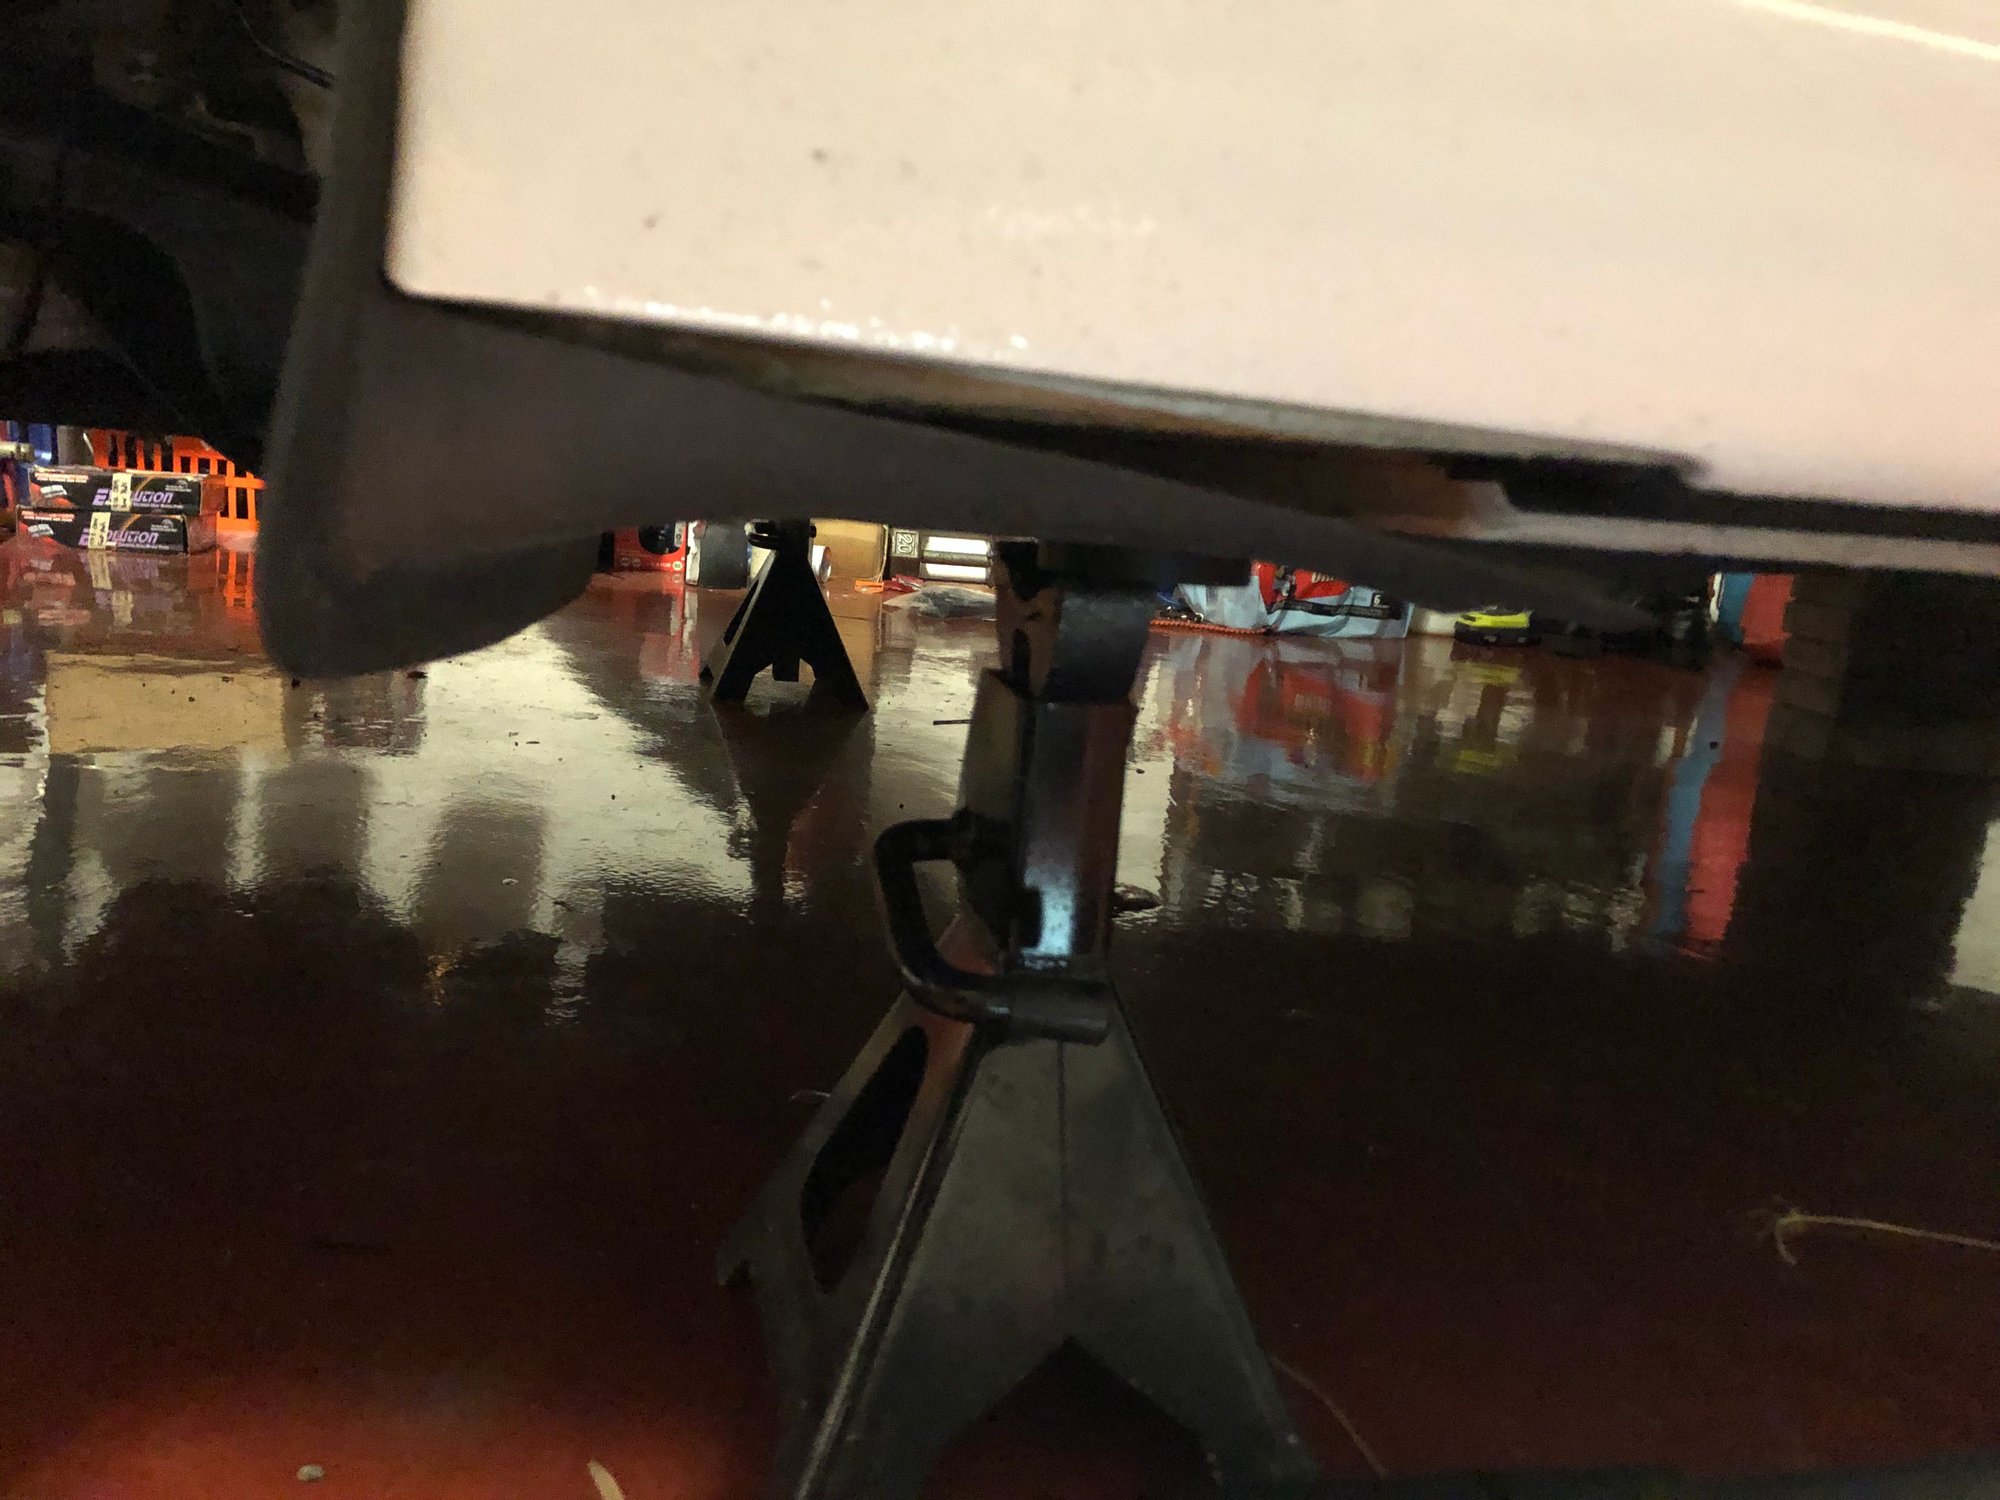
Now that everything is trimmed, time to work on mounting. I secured mine with 4 screws on the bottom, one in the rear and one in the front. Holds steady and strong.


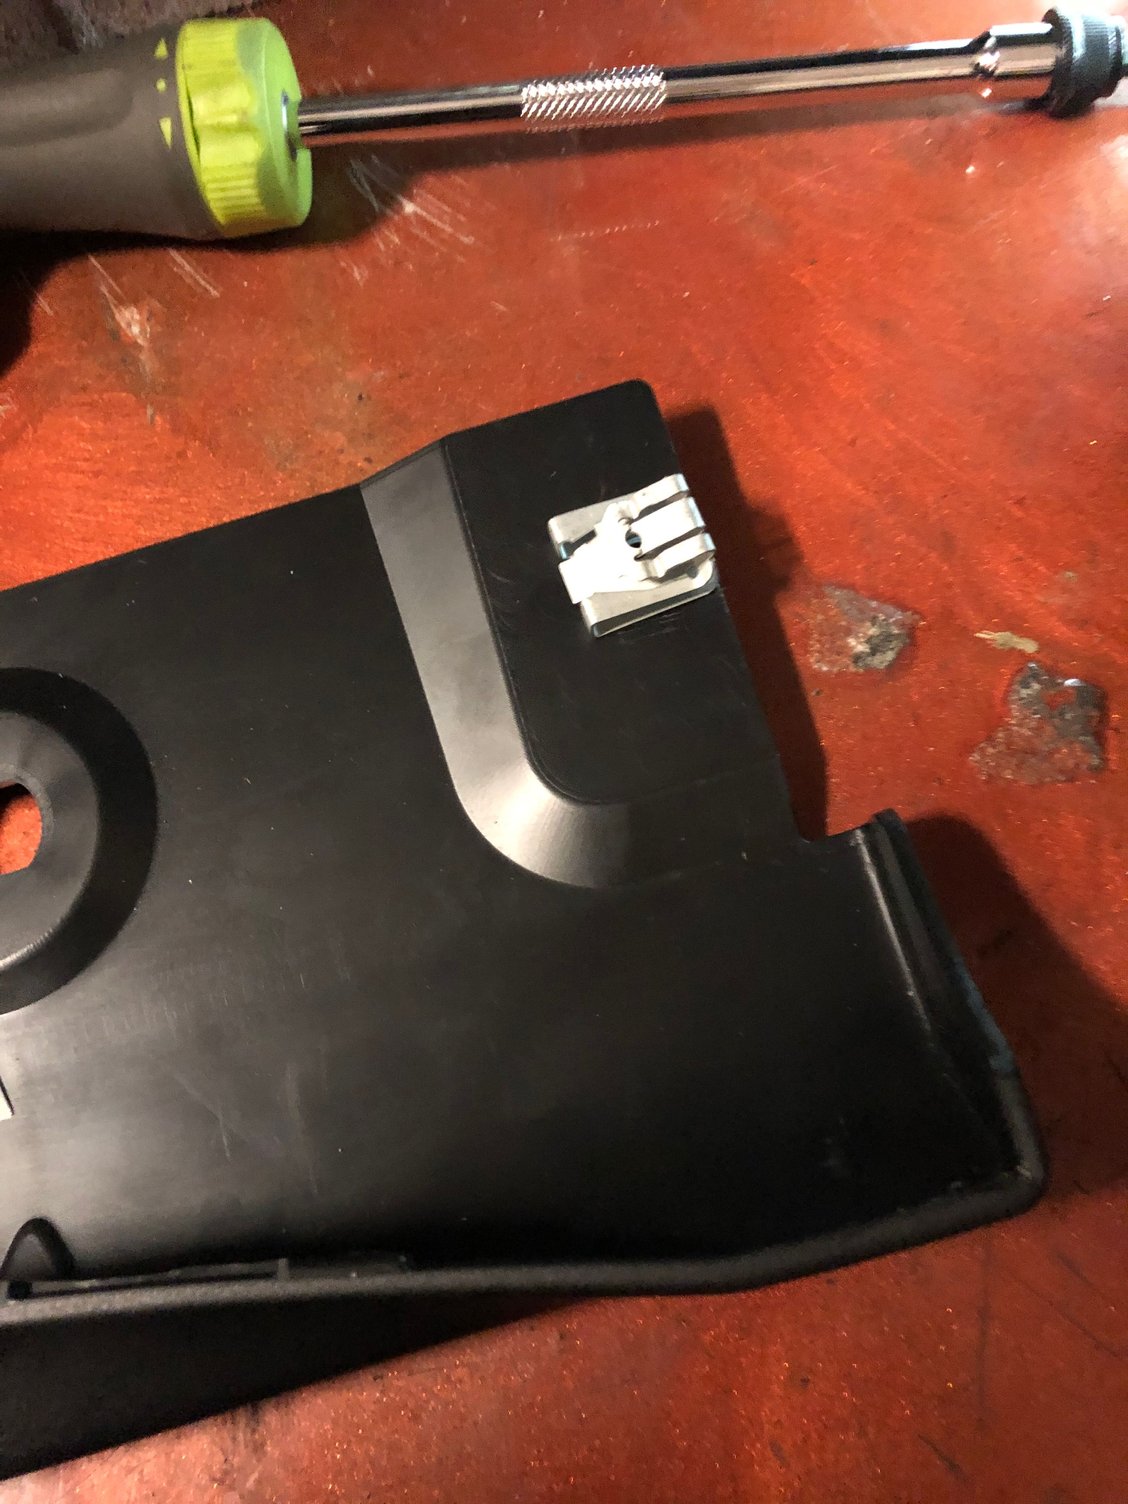
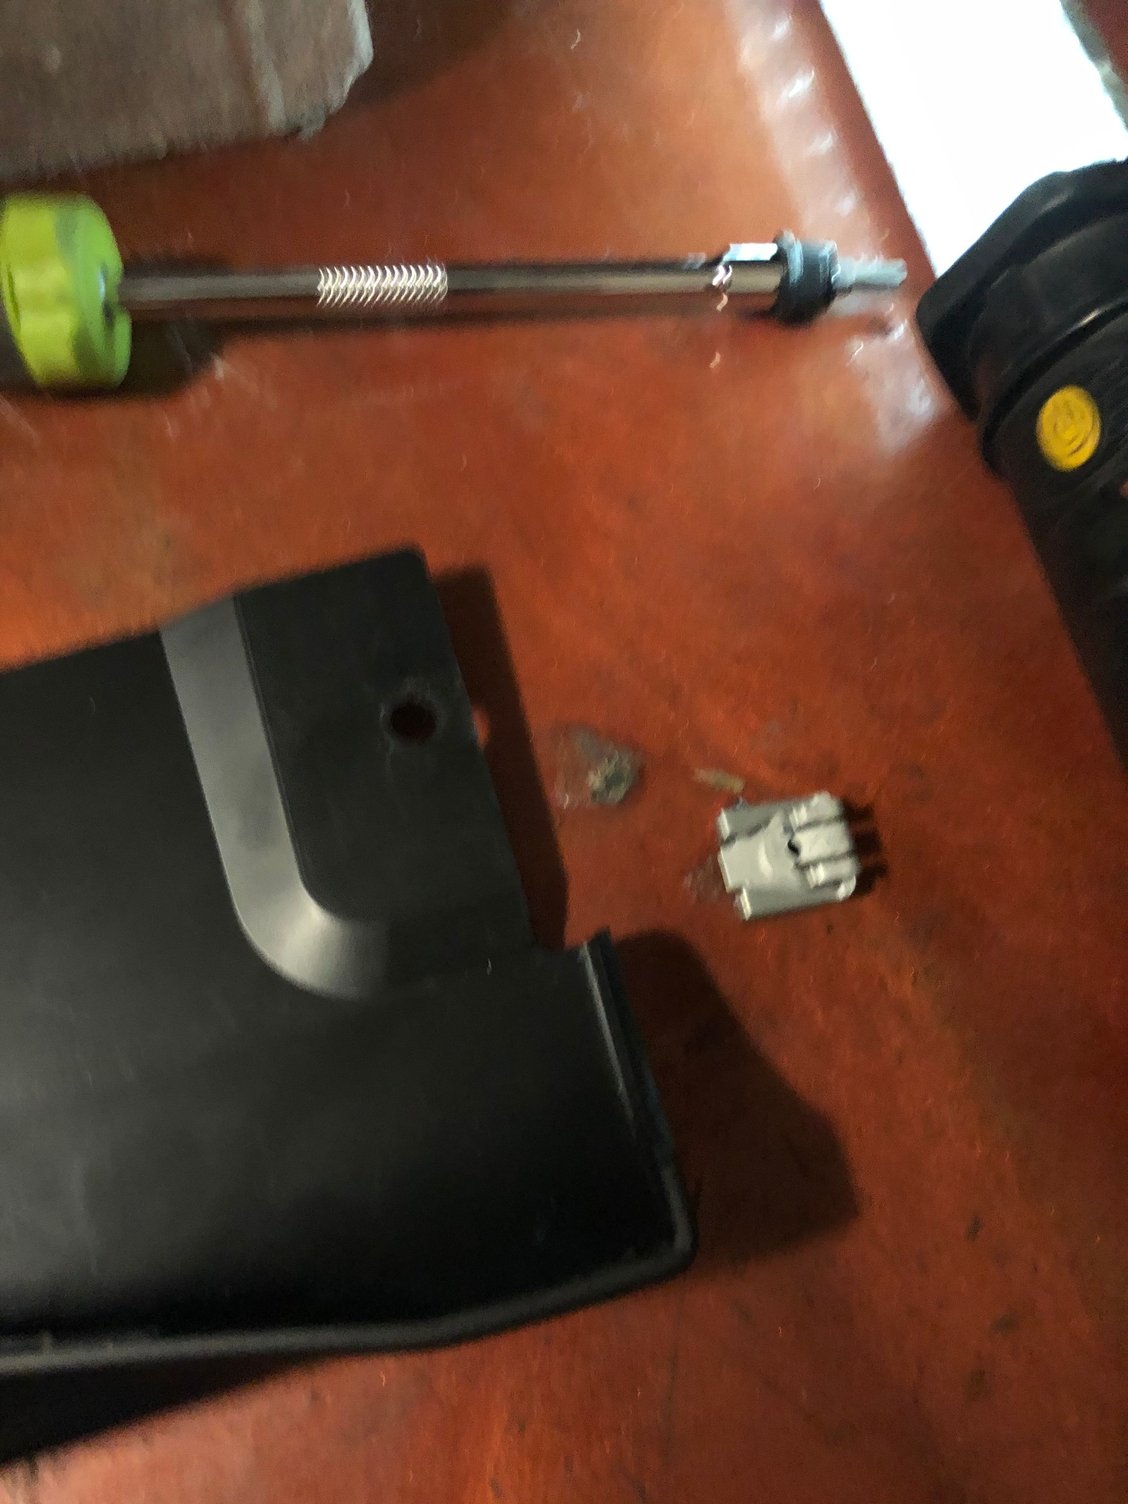
Remove this fastener from the front of the car

Remove this speed nut from the front of the skirt and keep it handy

Like so

Clip you will need for next step
Old 02-07-2020, 12:08 PM
  #7  
polobai
Drifting
Thread Starter
 
polobai's Avatar
 
Join Date: Dec 2017
Location: Jupiter FL
Posts: 2,844
Received 1,125 Likes on 670 Posts
Default

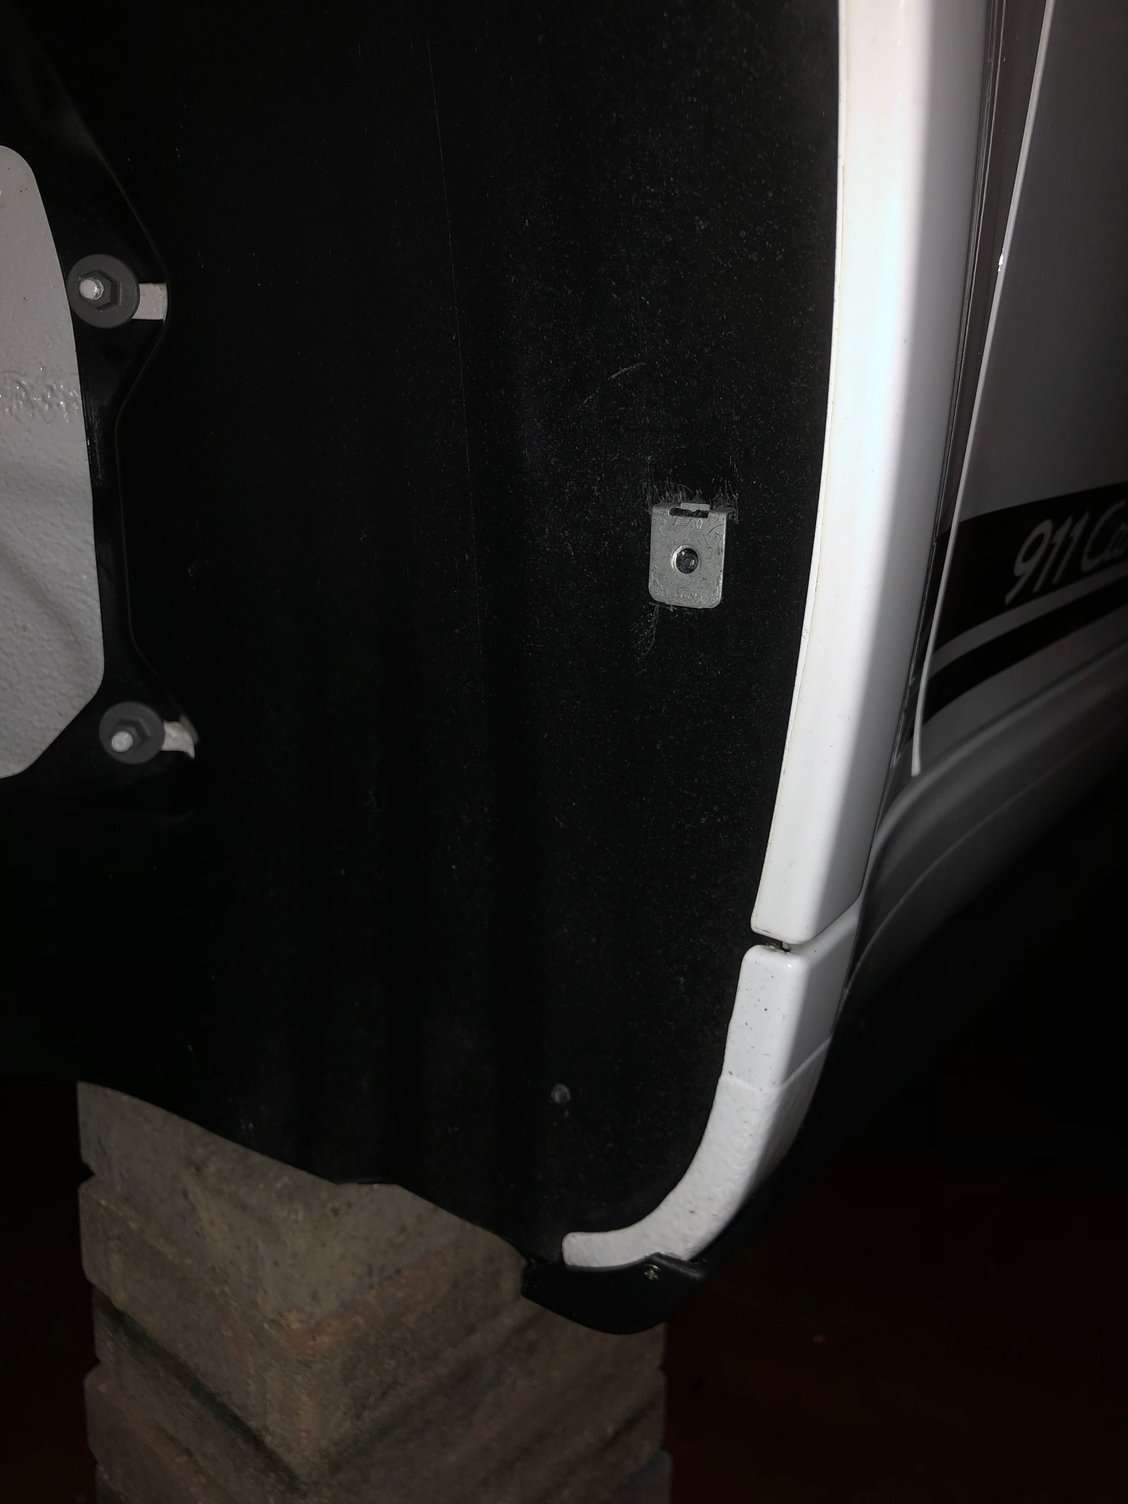
Here is where you have to drill a hole in the factory mudflap out back


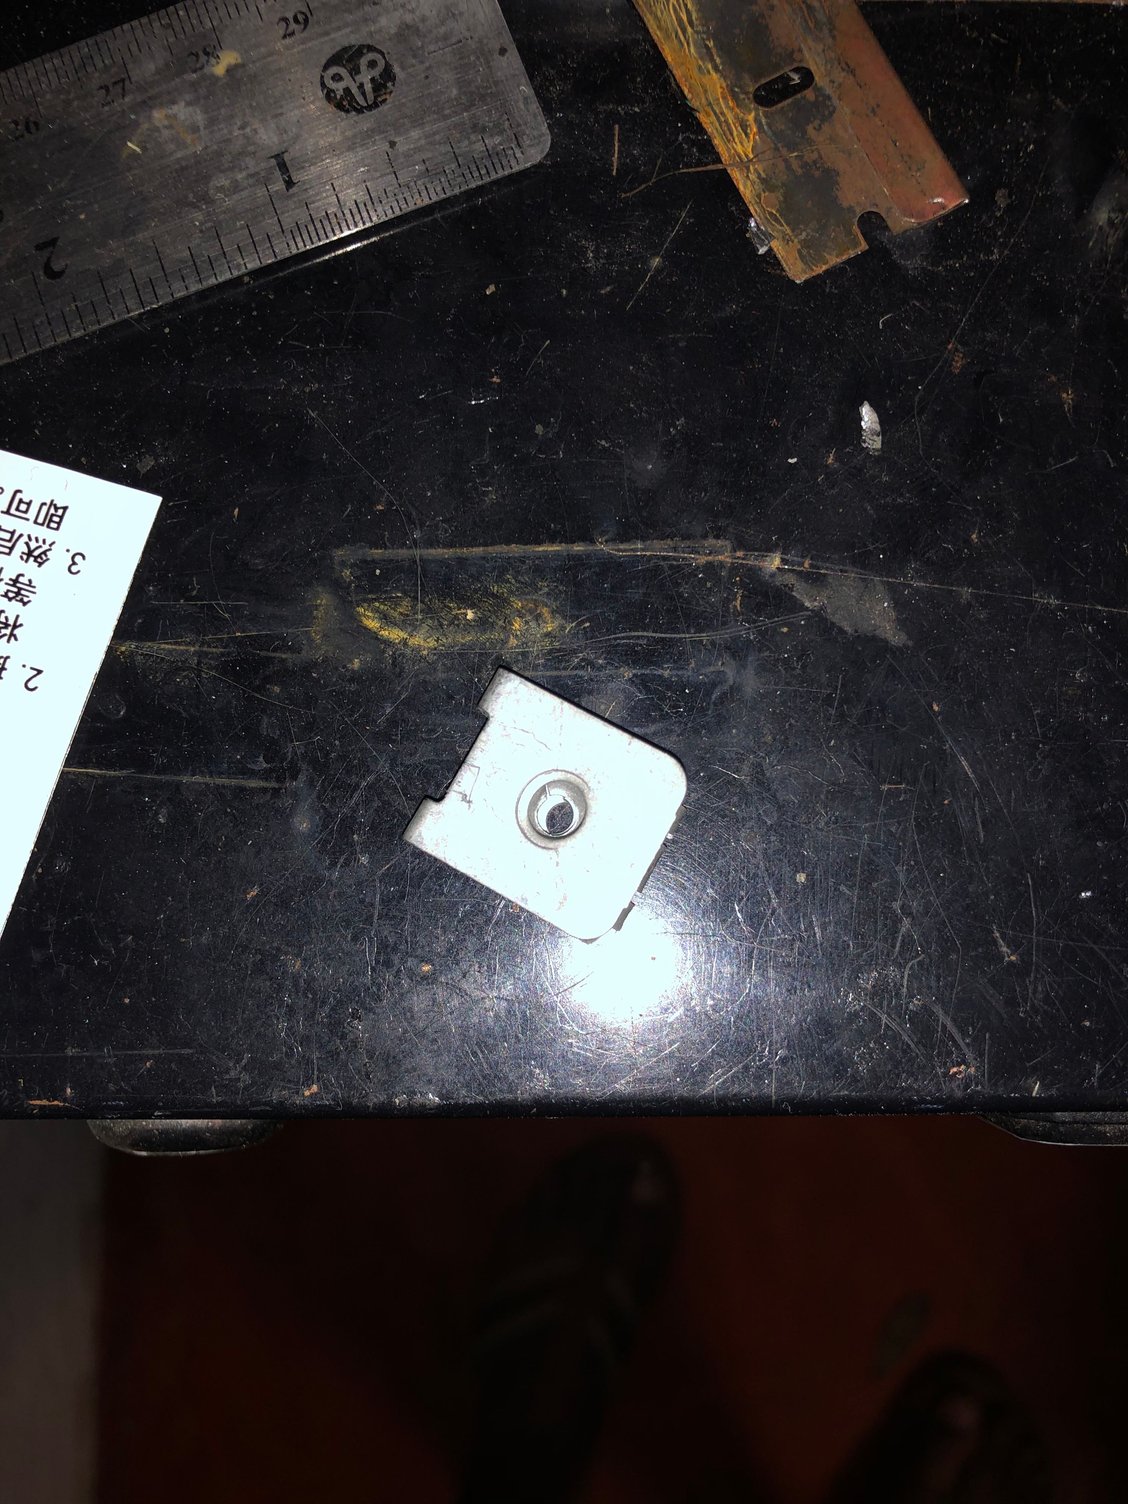
Remove the fasteners on the bottom of the factory mudflap so you can tilt it down

Take the speed Nut and install as far back as you can on the mudflap

Mark where the screw will go through and drill a hole (I used a 3/16 bit I believe). From there reinstall the speed nut and mud flap

Last edited by polobai; 02-07-2020 at 12:36 PM.
Old 02-07-2020, 12:13 PM
  #8  
polobai
Drifting
Thread Starter
 
polobai's Avatar
 
Join Date: Dec 2017
Location: Jupiter FL
Posts: 2,844
Received 1,125 Likes on 670 Posts
Default

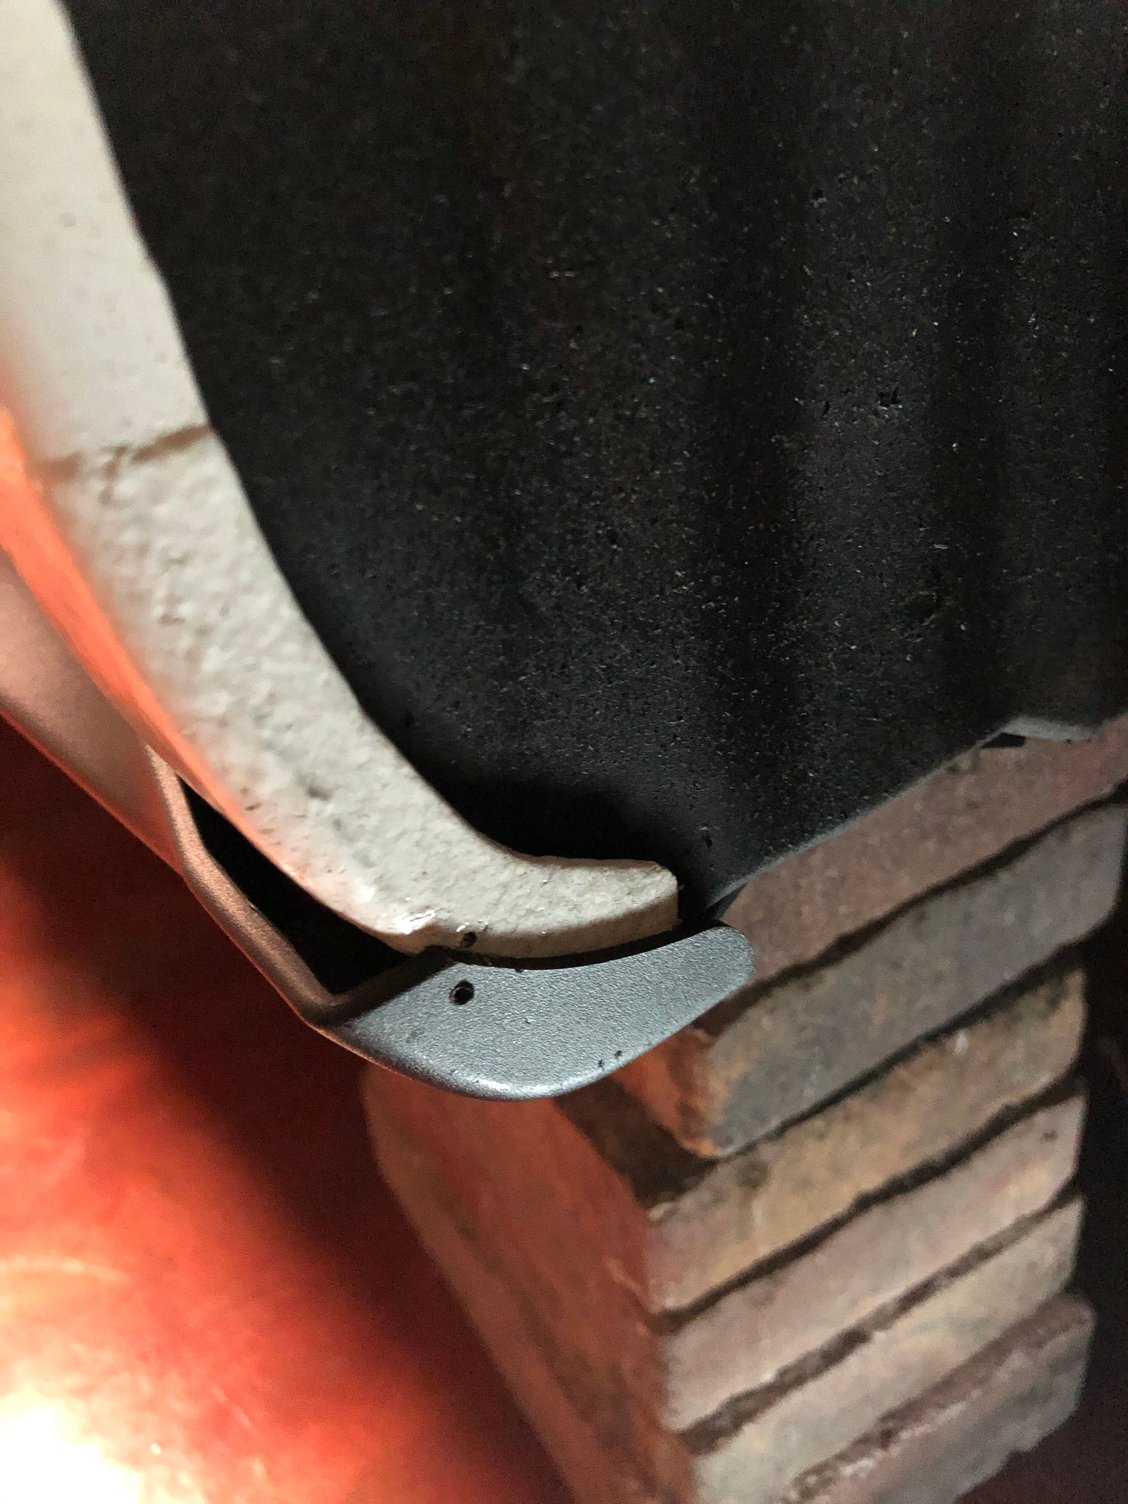
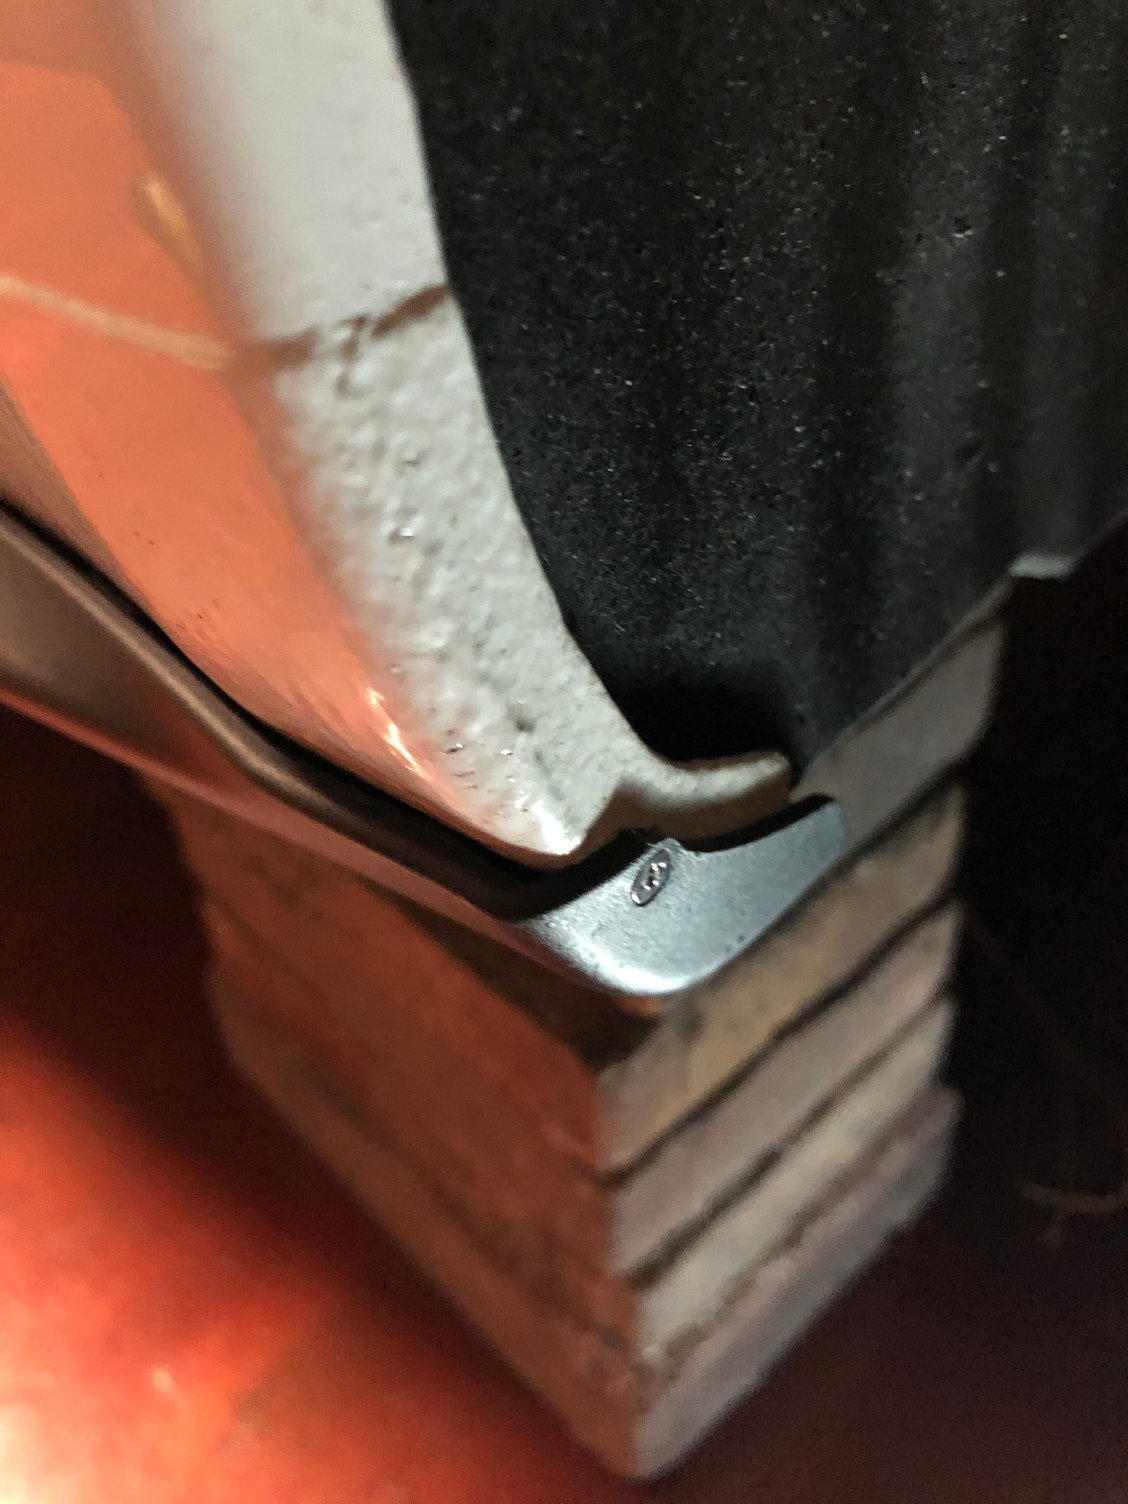
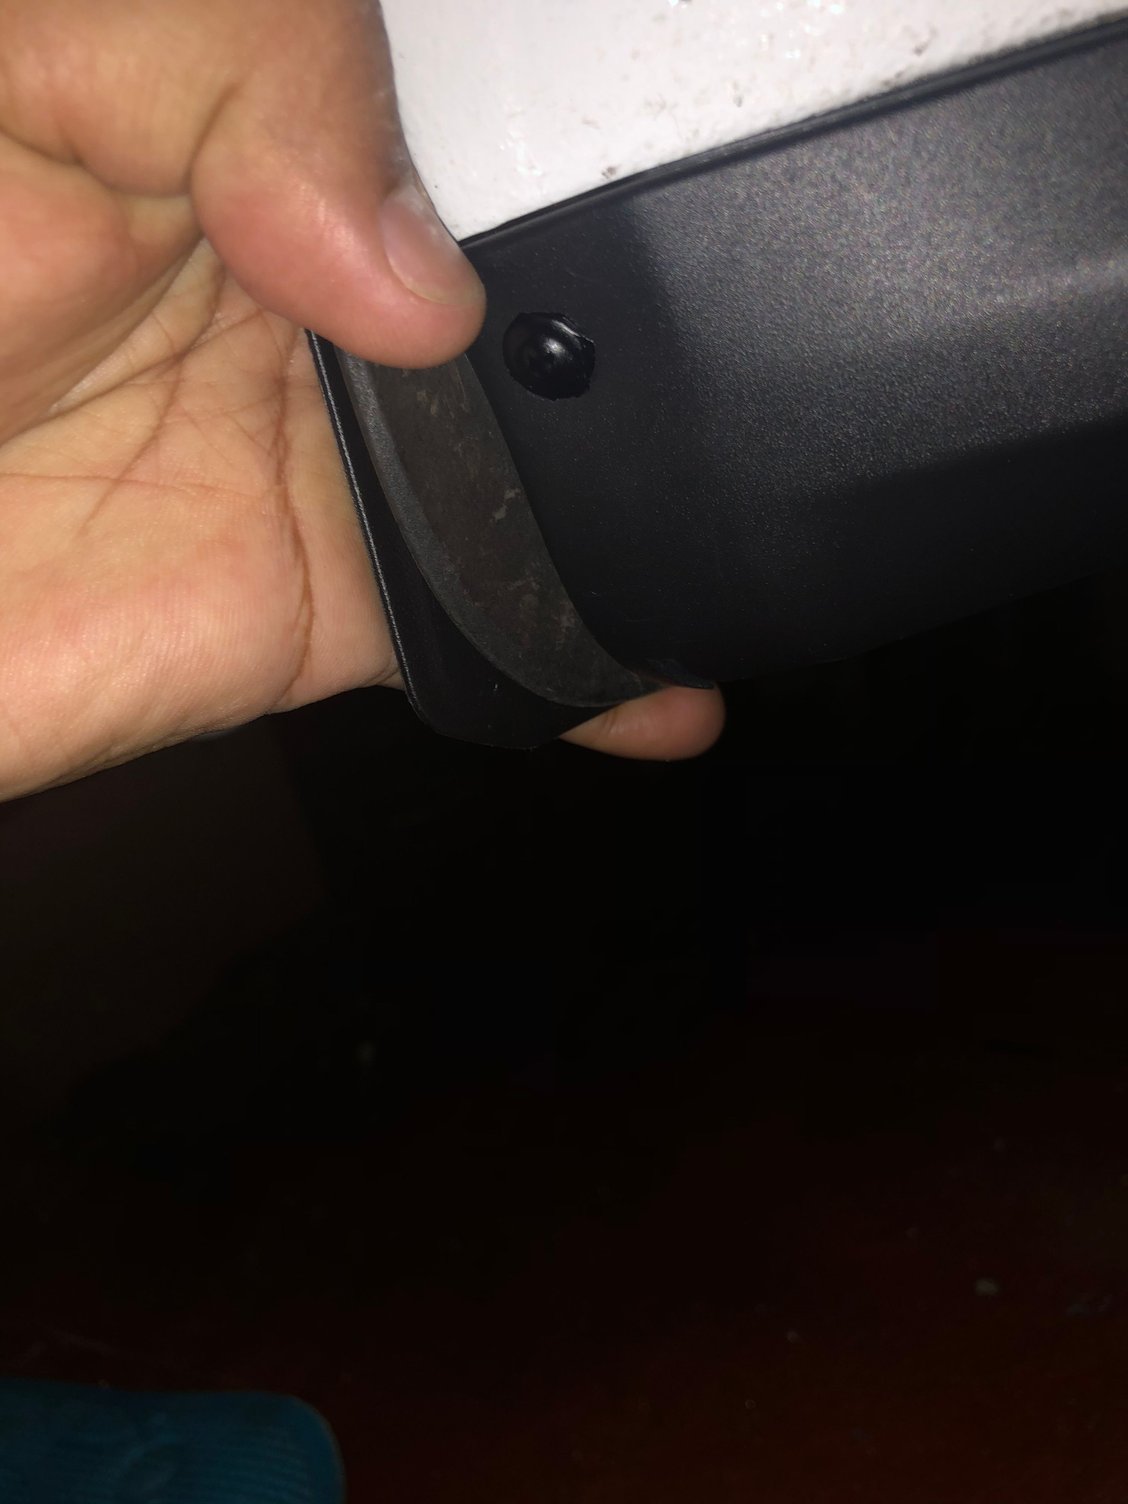
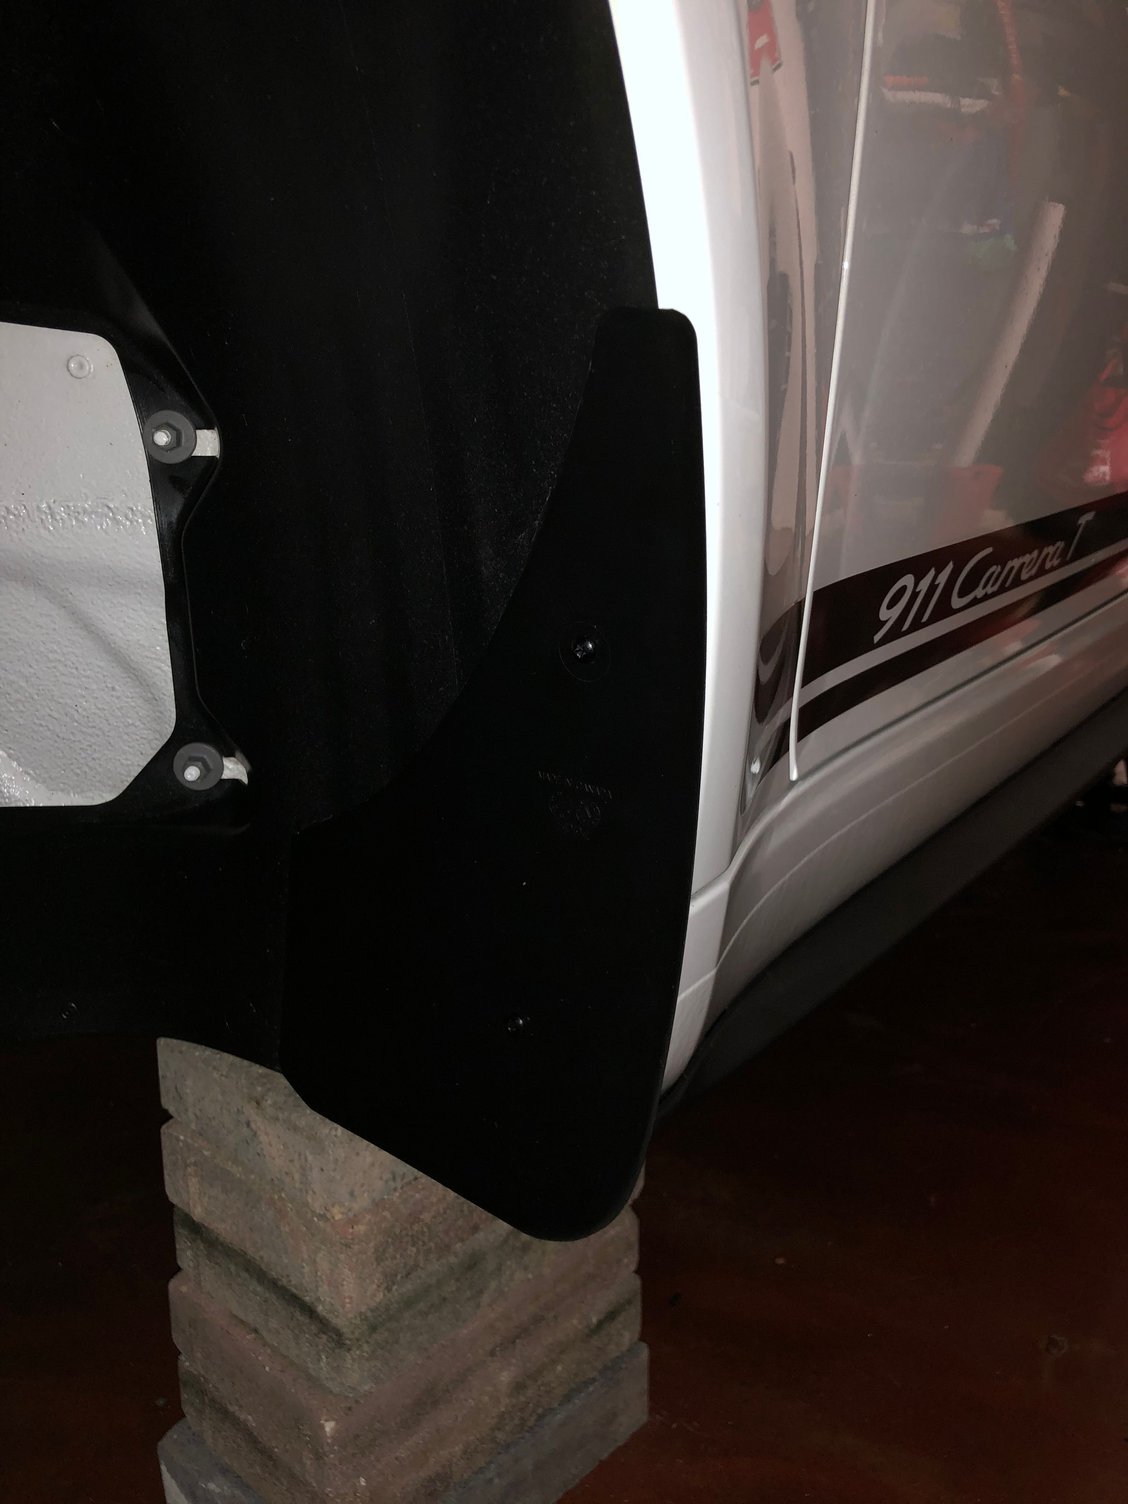
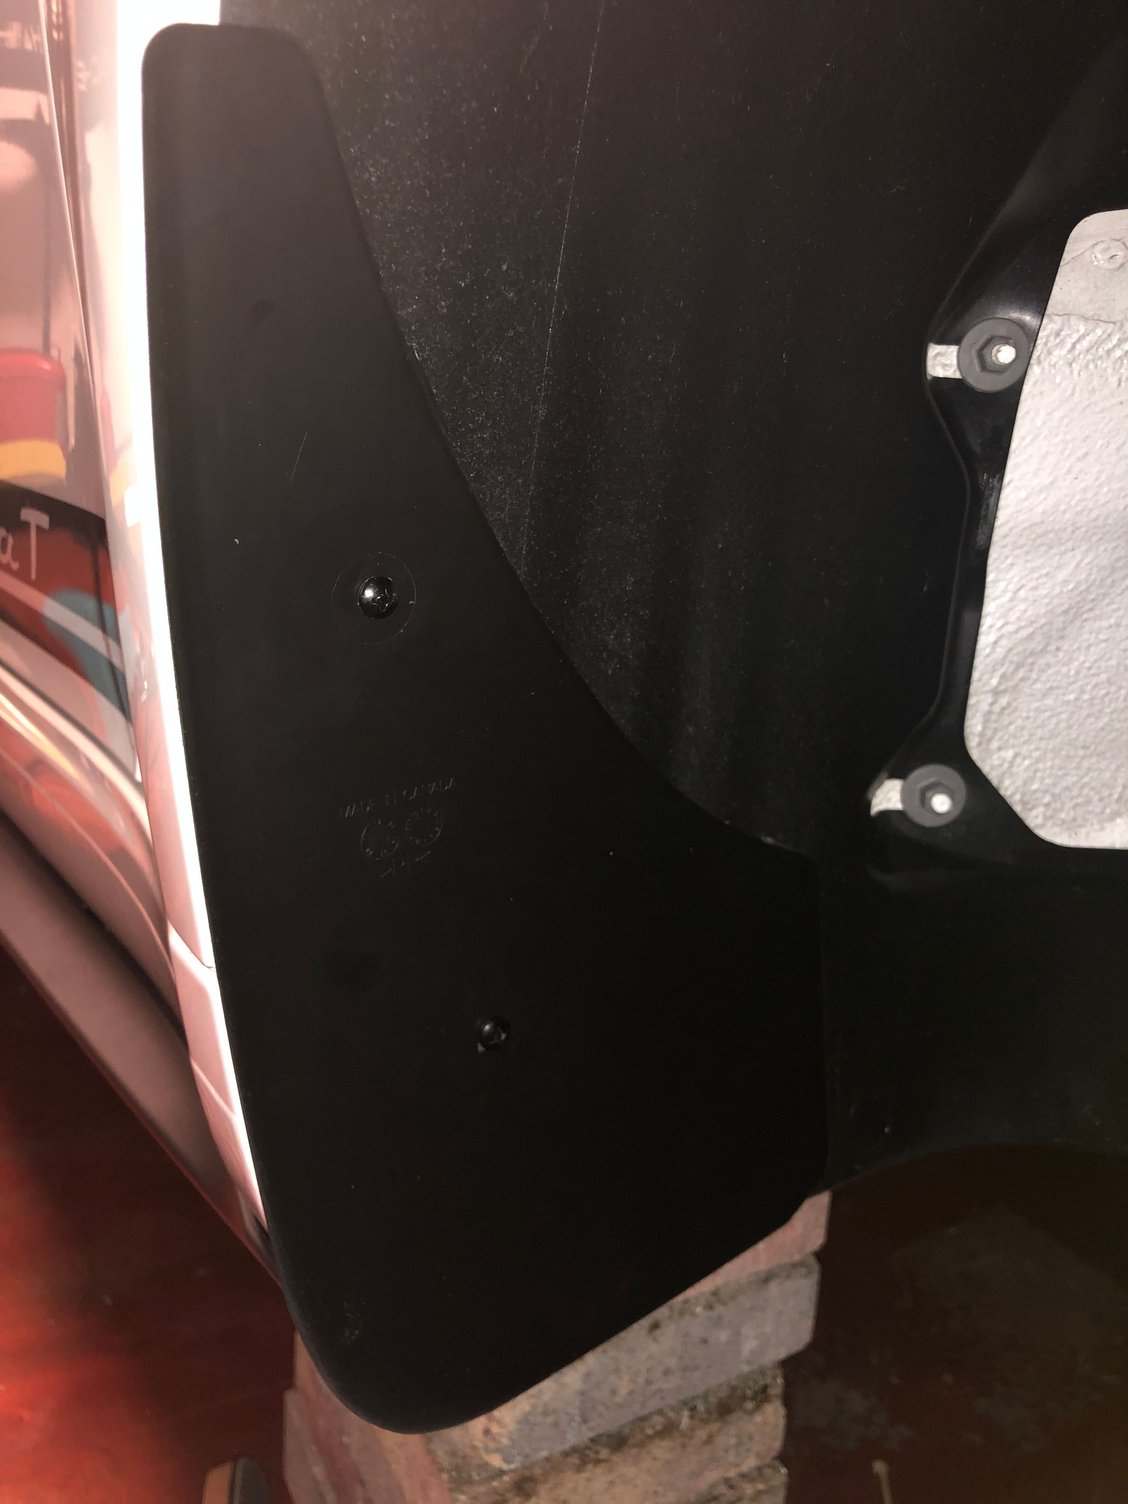
This will serve as the rear mount for the skirt. You will now need to drill a corresponding hole in the back of the skirt and mount using one of the two methods below


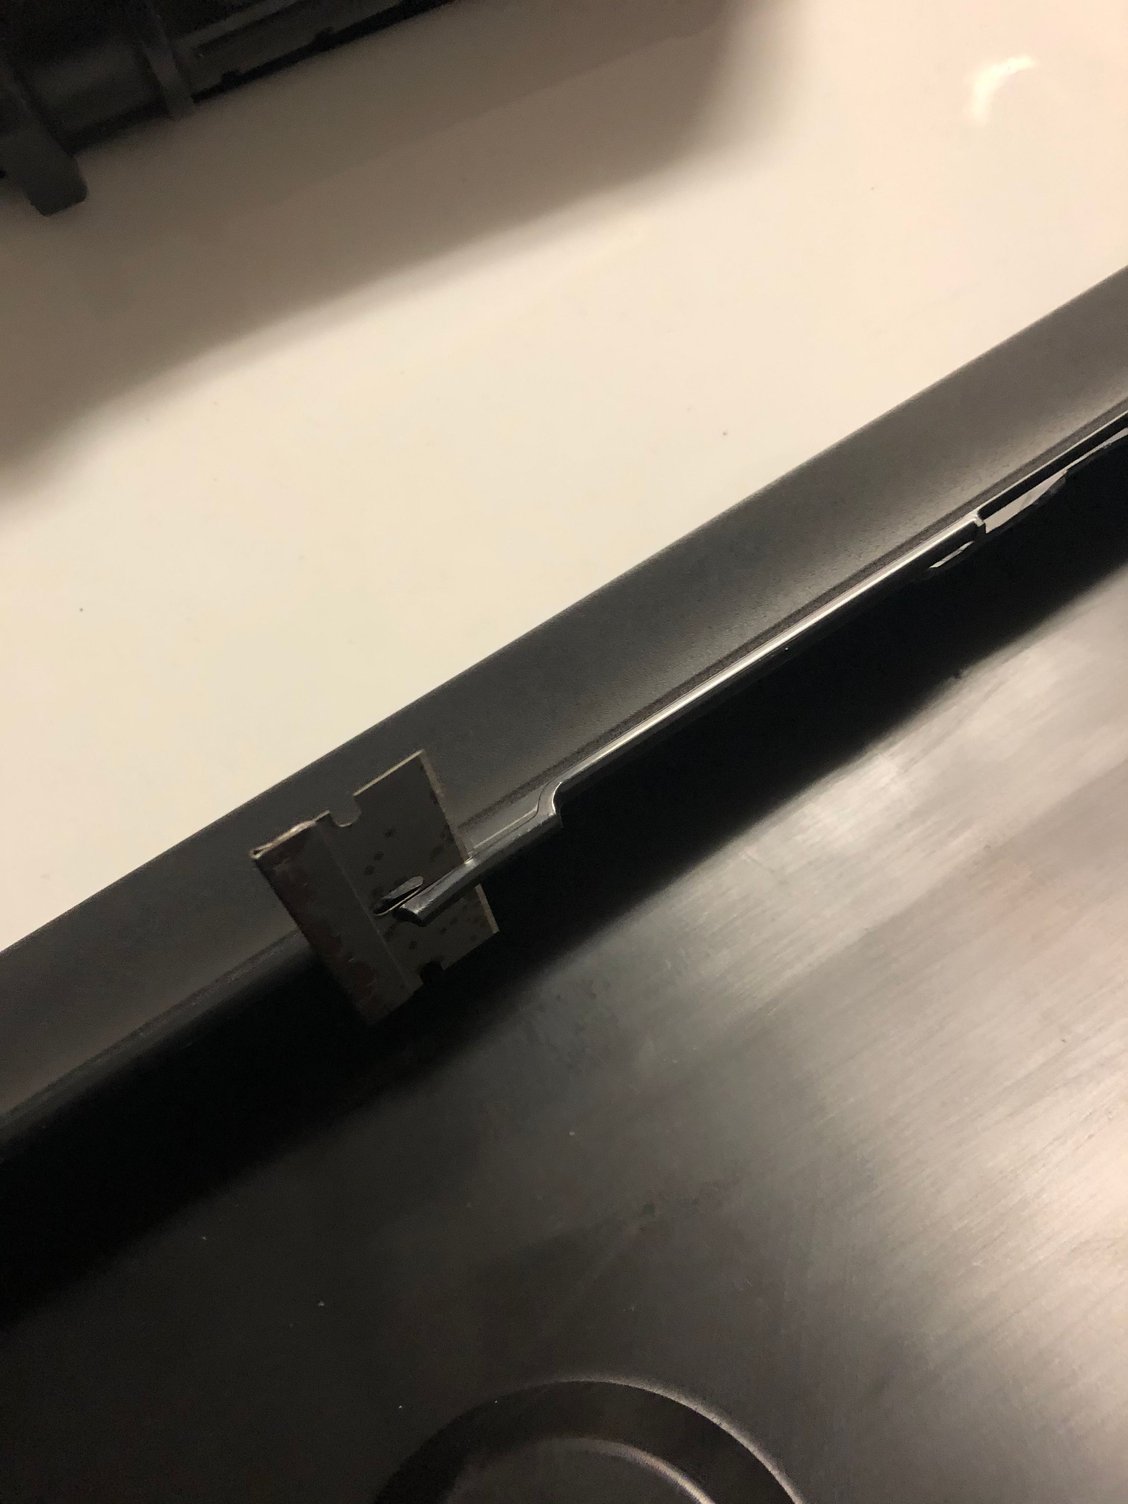
Using #8 x3/4 inch sheet metal screw counter sunk and then covered with a piece of Matt black vinyl (use a hole punch to get a perfectly round circle)

Or you can use a #8 tek screw and cover. Both are not too noticeable once covered in Matt black vinyl
Old 02-07-2020, 12:21 PM
  #9  
polobai
Drifting
Thread Starter
 
polobai's Avatar
 
Join Date: Dec 2017
Location: Jupiter FL
Posts: 2,844
Received 1,125 Likes on 670 Posts
Default

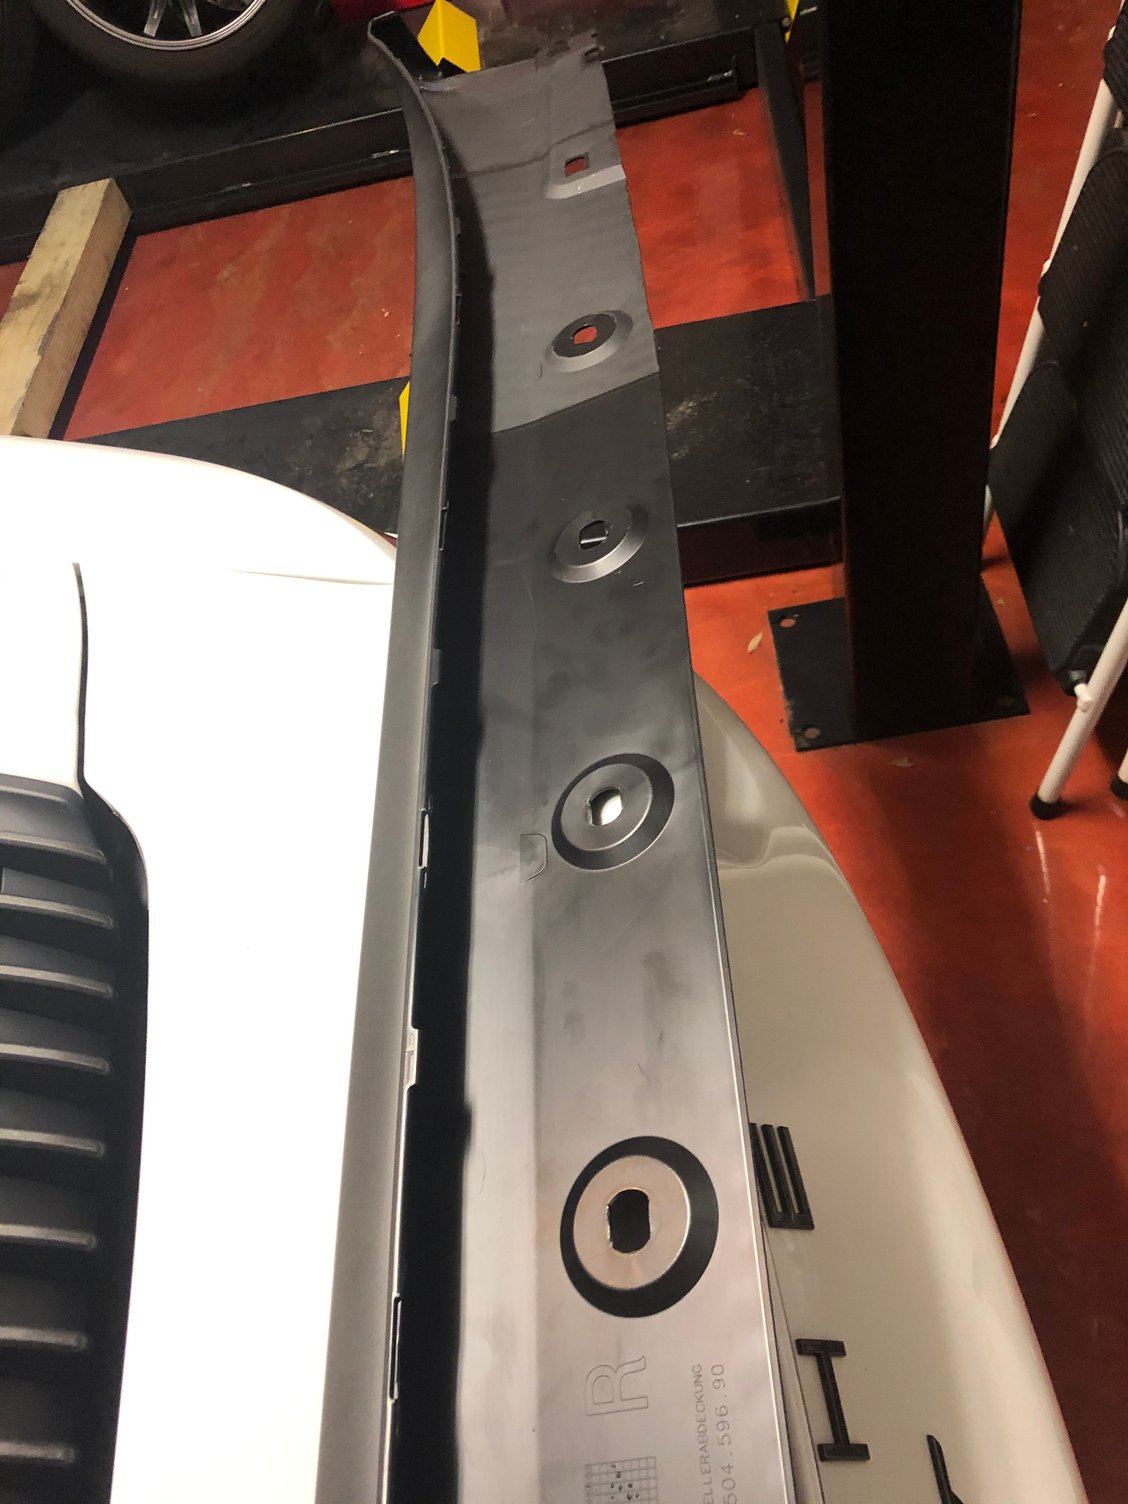
Time to make the rest of the mounts. Utilizing the existing hole in the front of the skirt (where you removed the speed nut) mount to the body using the existing body mount and faster here


Mount using the oem location here

You will drill the tek screws into these three other spots on the bottom of the skirts on each side

Like so
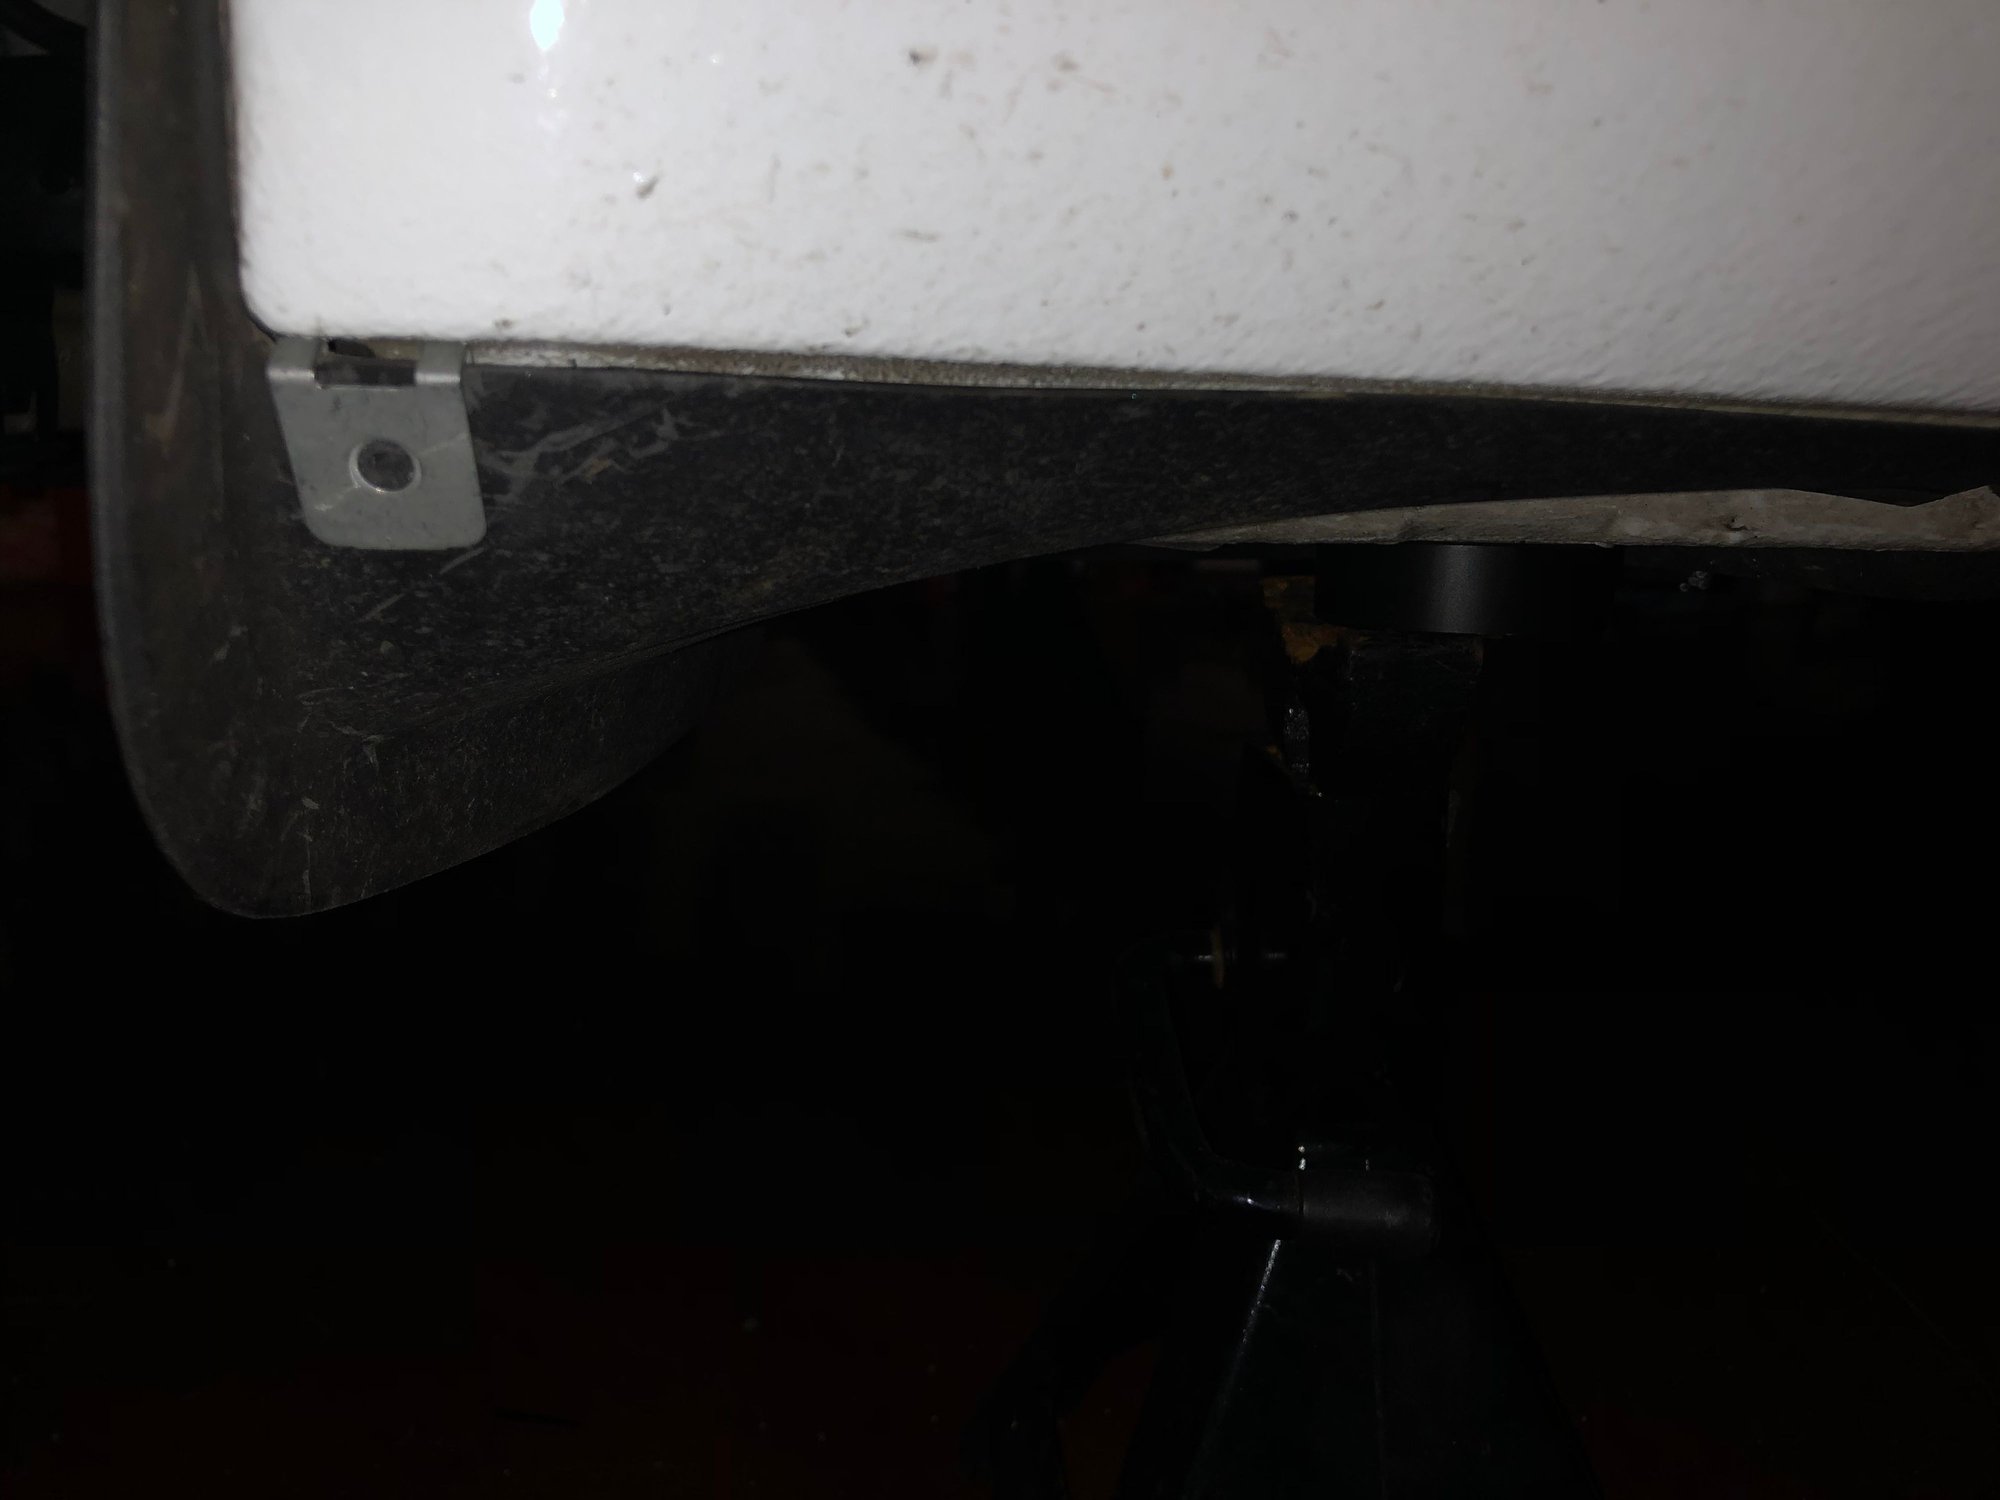
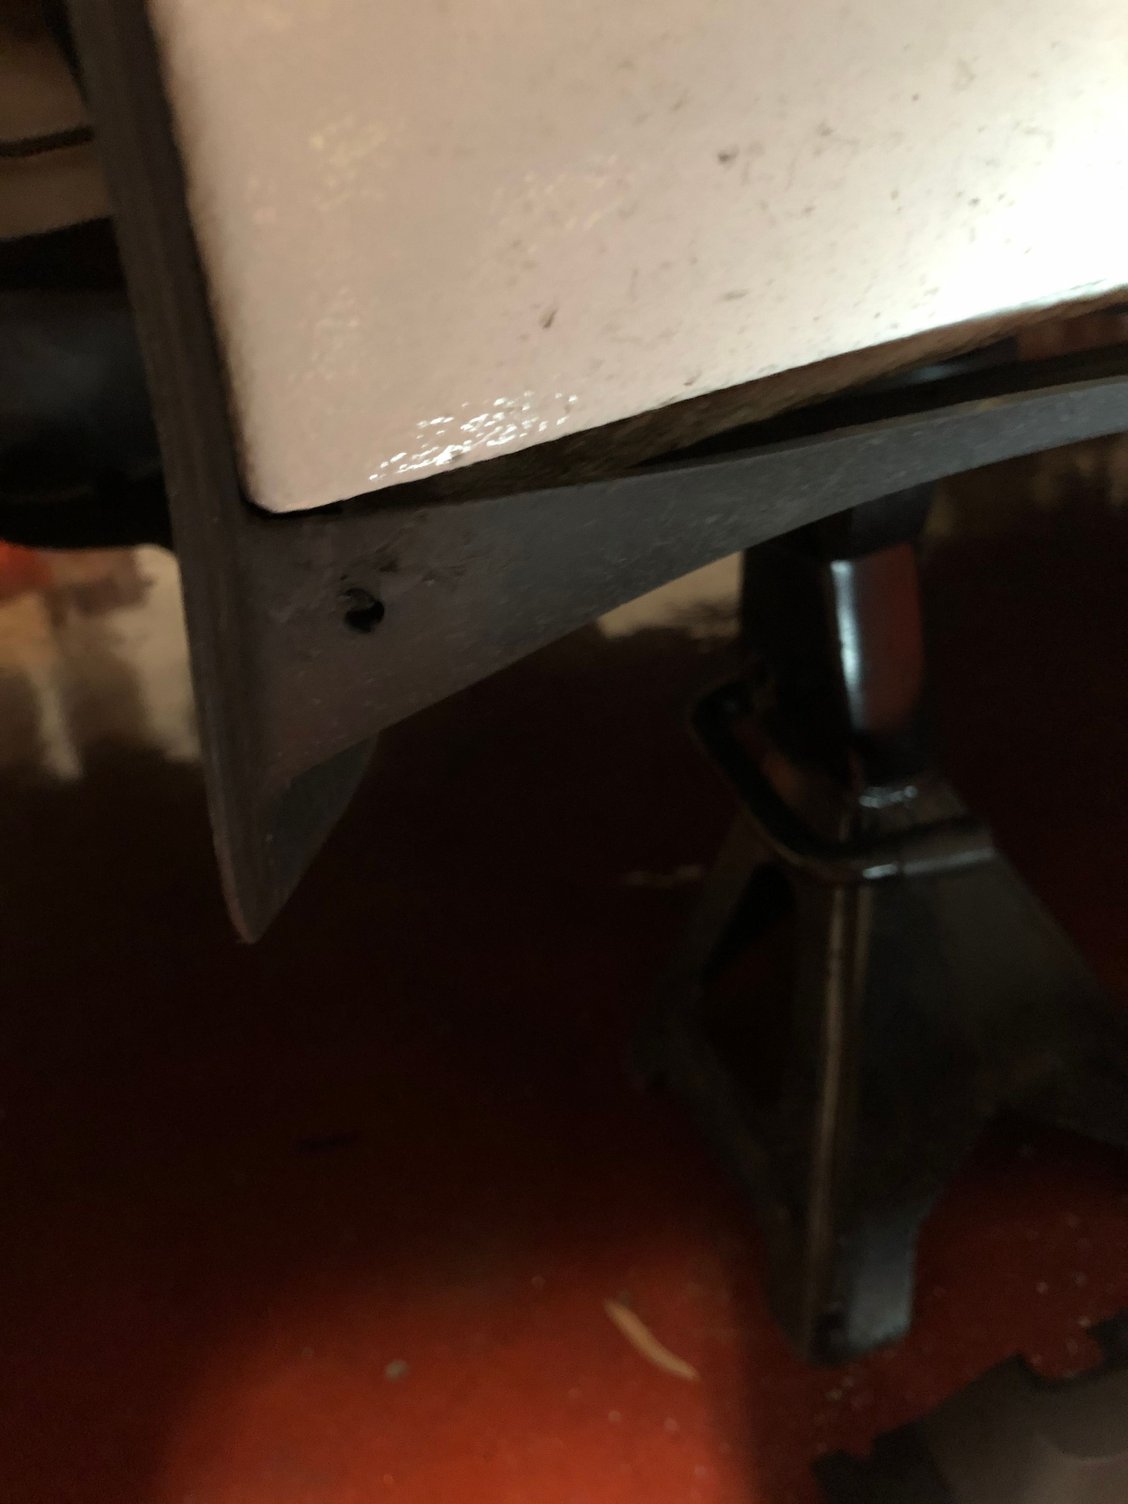
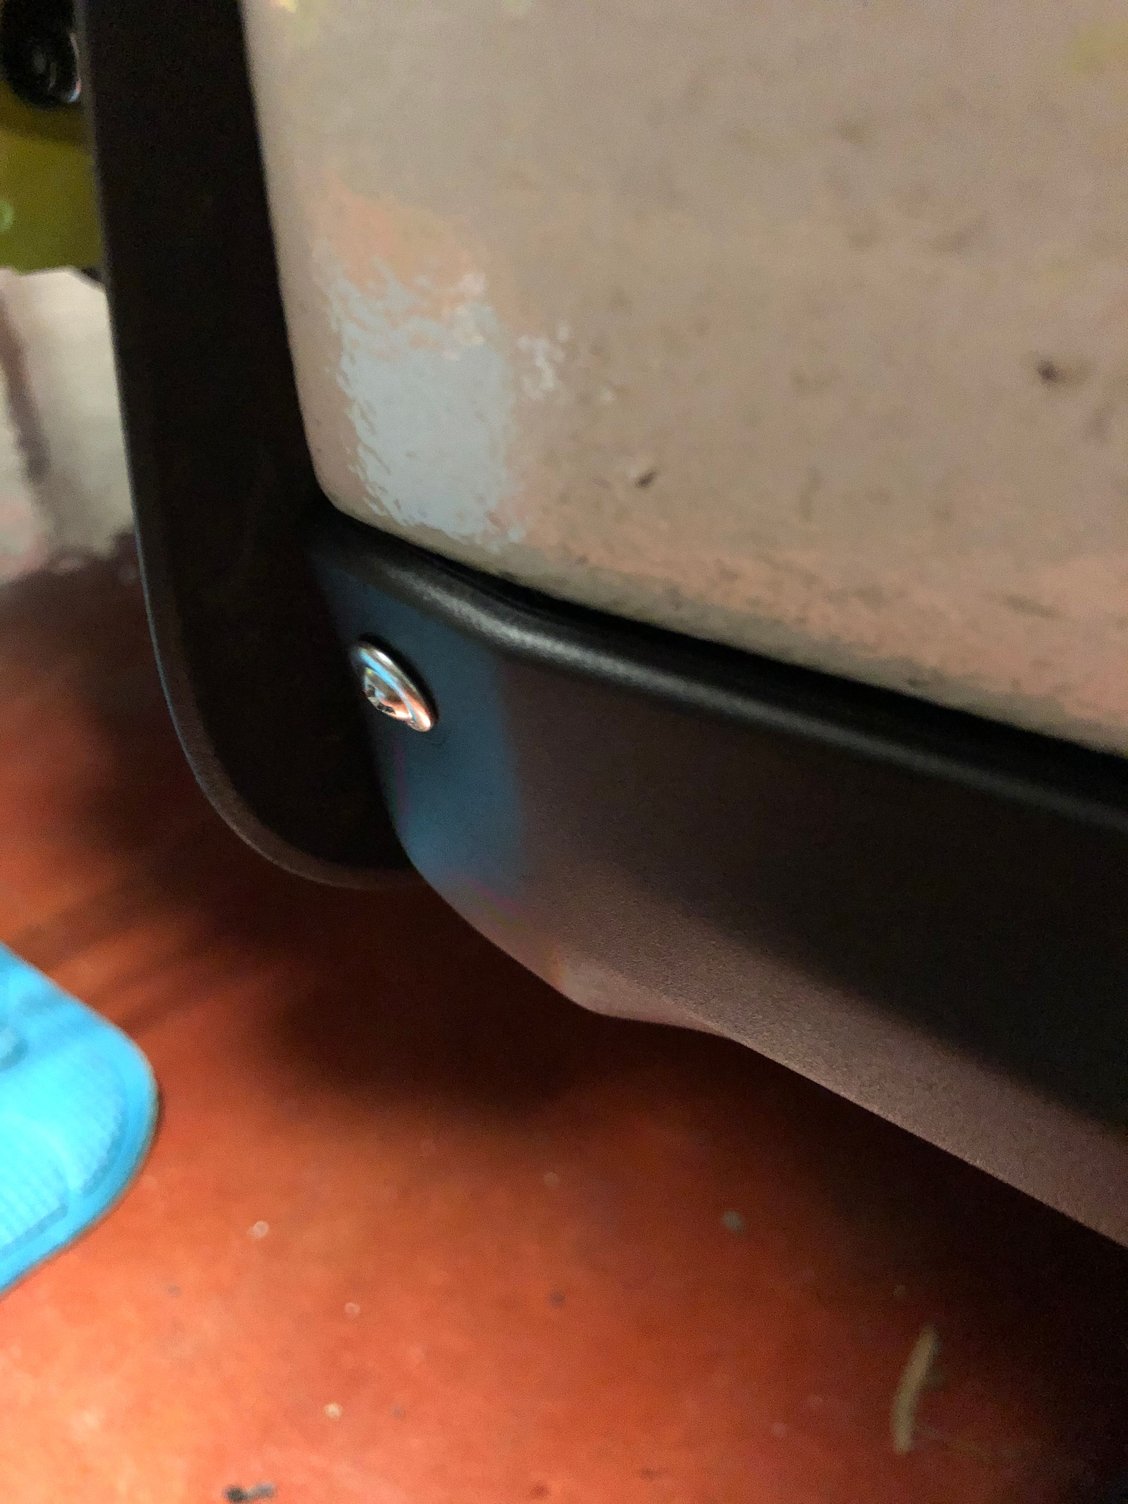
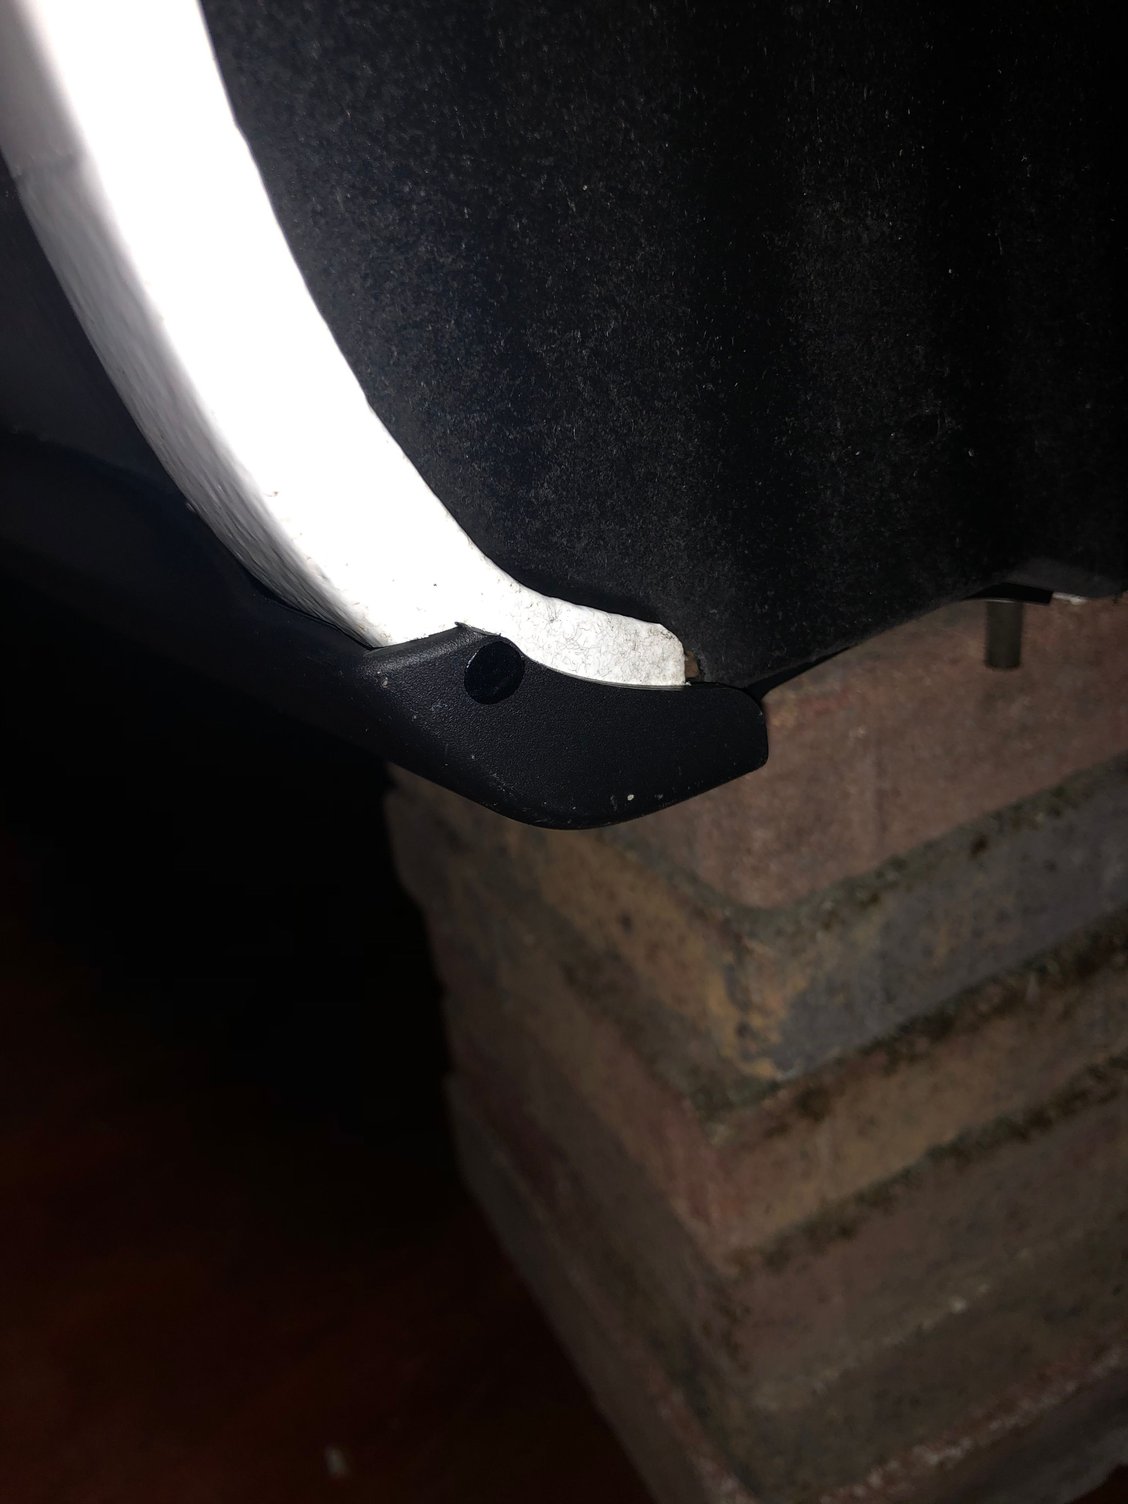
Old 02-07-2020, 12:24 PM
  #10  
polobai
Drifting
Thread Starter
 
polobai's Avatar
 
Join Date: Dec 2017
Location: Jupiter FL
Posts: 2,844
Received 1,125 Likes on 670 Posts
Default

Now it’s time to take care of the front. Here is where you have to drill a hole into the body-super tiny.


Pull the front into position and drill a corresponding hole for the #4 screw to hold

Countersunk and screw installed

End result

Covered screw head in Matt black vinyl
Old 02-07-2020, 12:32 PM
  #11  
polobai
Drifting
Thread Starter
 
polobai's Avatar
 
Join Date: Dec 2017
Location: Jupiter FL
Posts: 2,844
Received 1,125 Likes on 670 Posts
Default

If all goes well, you should end up with something like this


Front fitment

Rear fitment
The following 3 users liked this post by polobai:
jesm (02-29-2020), tourenwagen (07-27-2022), Wilder (11-27-2022)
Old 02-07-2020, 12:39 PM
  #12  
LargePuppy
Rennlist Member
 
LargePuppy's Avatar
 
Join Date: Mar 2019
Location: San Diego
Posts: 830
Received 339 Likes on 186 Posts
Default

You sir, are magnificent. I look forward to many many more of your guides

Also, is your front lip different?
Old 02-07-2020, 12:46 PM
  #13  
polobai
Drifting
Thread Starter
 
polobai's Avatar
 
Join Date: Dec 2017
Location: Jupiter FL
Posts: 2,844
Received 1,125 Likes on 670 Posts
Default

Thanks, glad it helps! Yes, my lip is a bit different-please see this thread on it:

https://rennlist.com/forums/991/1157...ubber-lip.html
Old 02-07-2020, 12:53 PM
  #14  
polobai
Drifting
Thread Starter
 
polobai's Avatar
 
Join Date: Dec 2017
Location: Jupiter FL
Posts: 2,844
Received 1,125 Likes on 670 Posts
Default

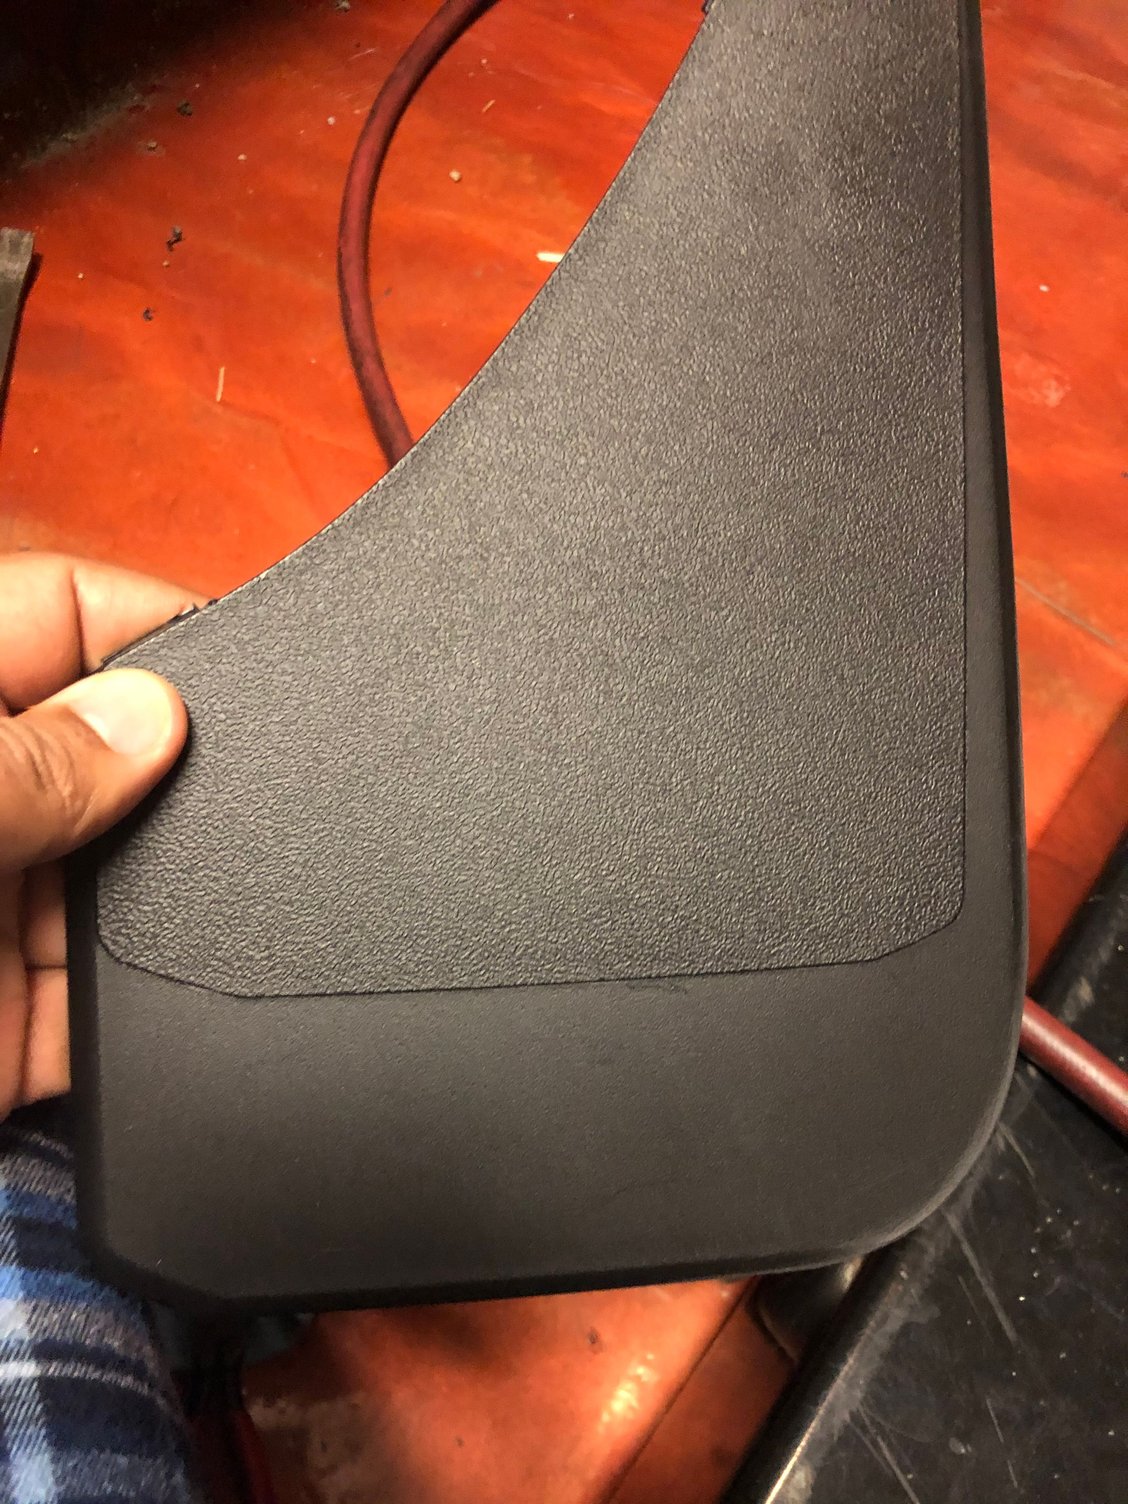
Also for those interested I added front mudflaps as well. I mounted these using two extra speed nuts I removed from the skirts and trimmed the profile of the mudflap the match the rear oem flaps

Amazon Amazon


Mudflaps from Amazon (after trimming on one side)

Using the oem rear mudflap as a template

Put a slit in the fender liner and install the speed nut

Drill the other hole directly into the fender liner to hold it in position. Drivers side installed

Passenger side installed.
The following users liked this post:
AdamSanta85 (02-07-2020)
Old 02-07-2020, 12:54 PM
  #15  
ShaunP
Racer
 
ShaunP's Avatar
 
Join Date: Nov 2014
Location: Media, PA
Posts: 472
Received 168 Likes on 92 Posts
Default

Very nice!


Quick Reply: 991.1 gt3rs side skirts on narrow body


All times are GMT -3. The time now is 07:50 AM.