When you click on links to various merchants on this site and make a purchase, this can result in this site earning a commission. Affiliate programs and affiliations include, but are not limited to, the eBay Partner Network.
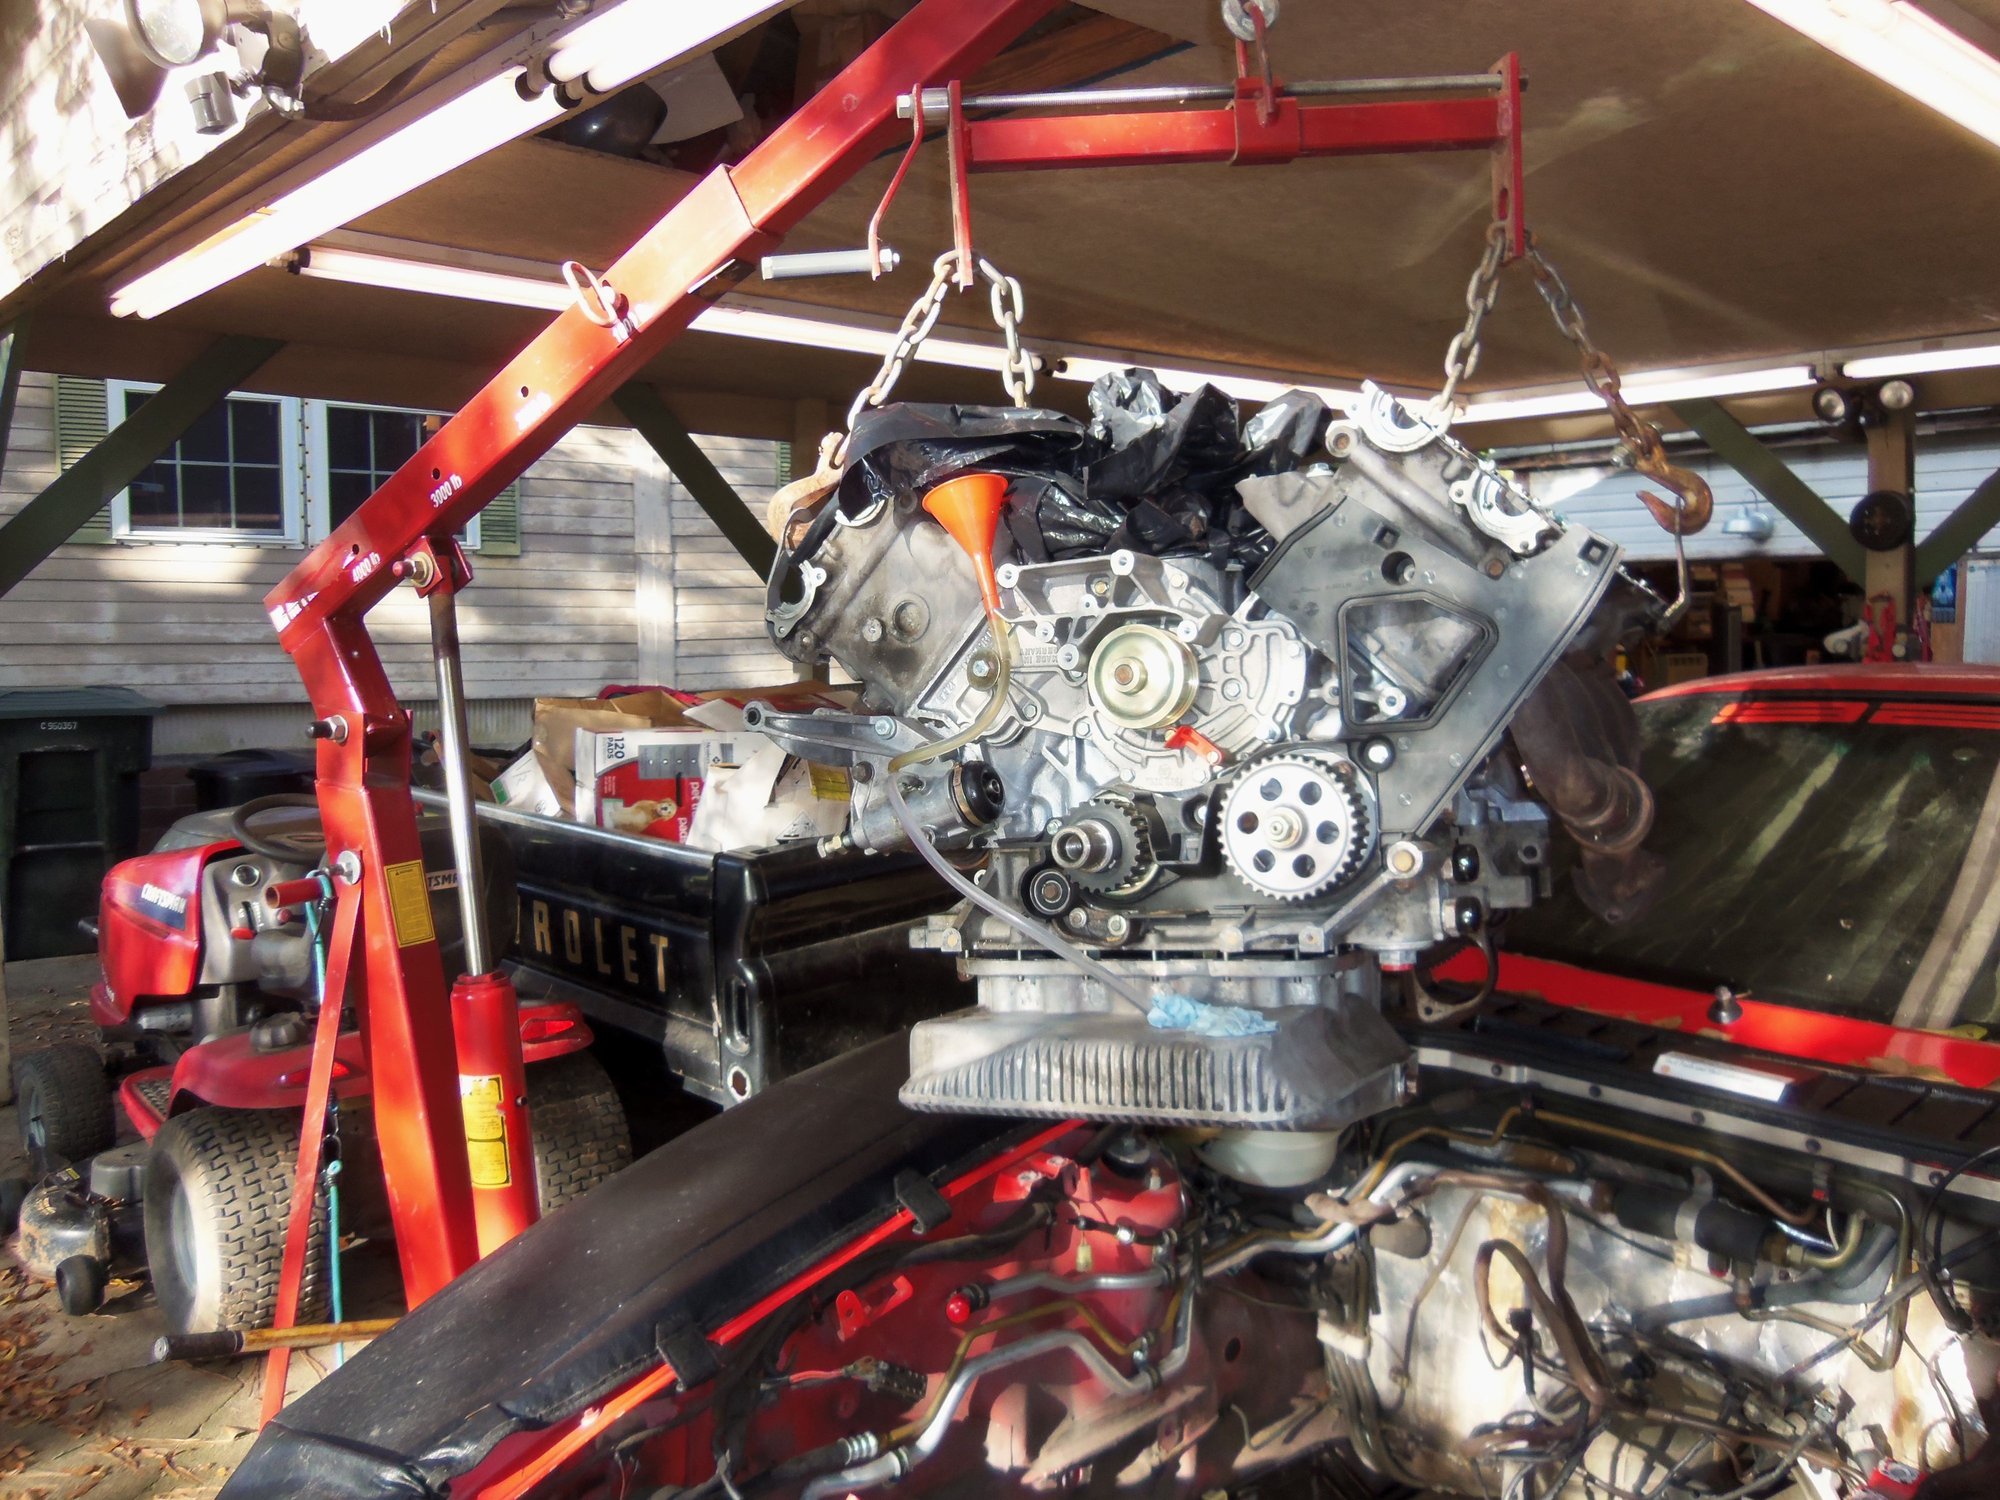
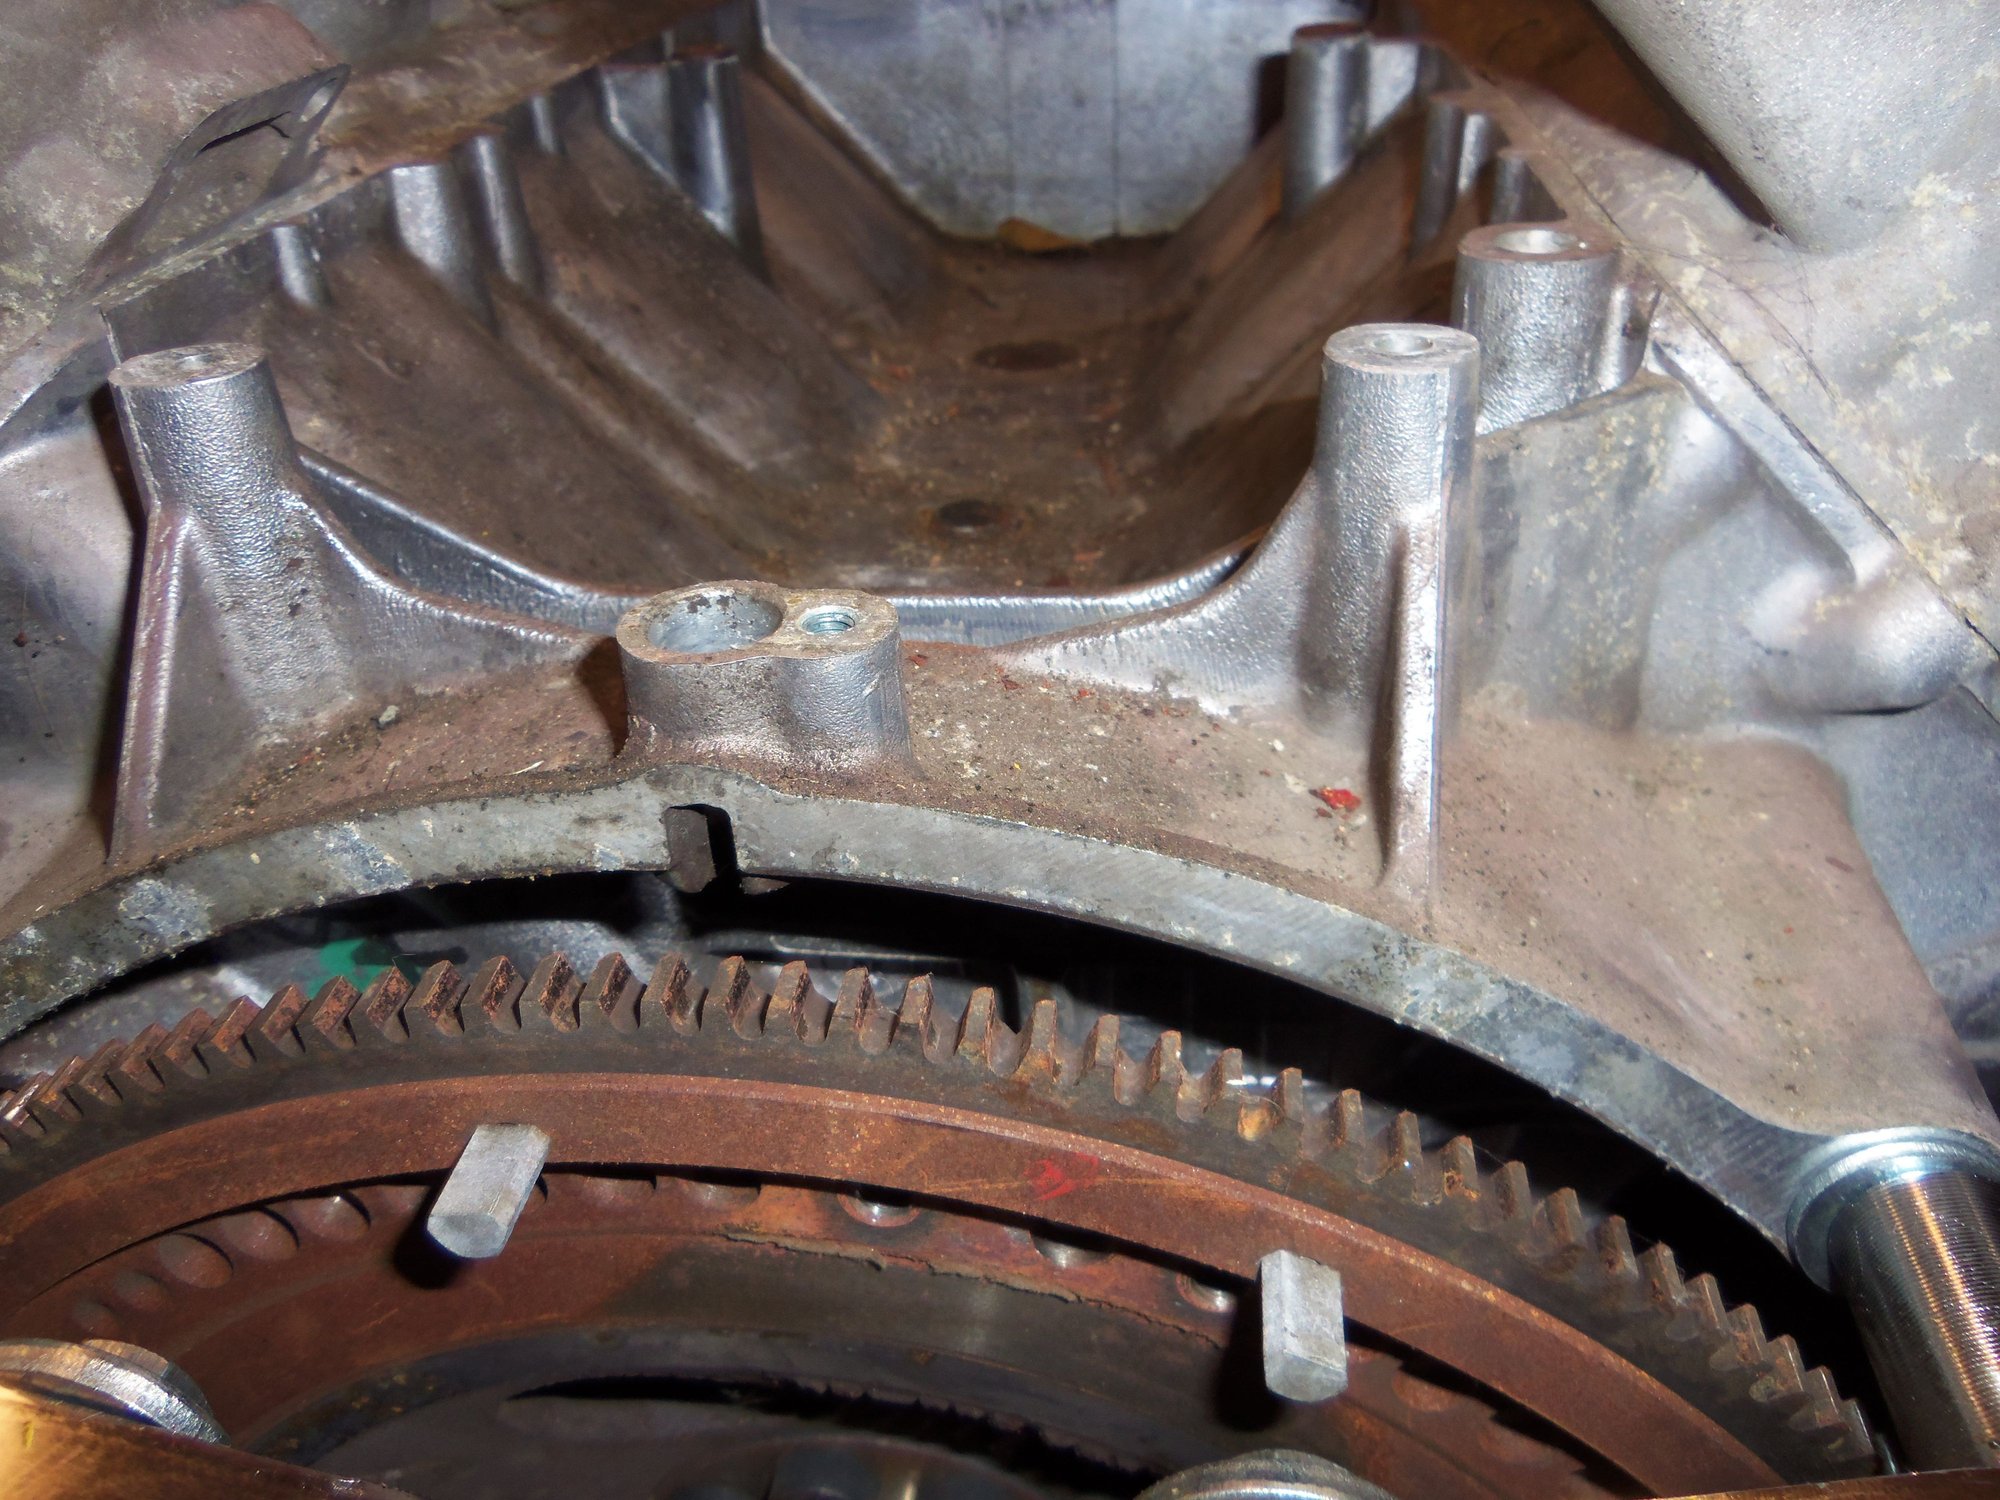
This is an awful lot of wear on the timing belt crank gear for only being 65,000 miles.
...
Yep. The scuffing is likely related to the bottom-end problem the seller reported, oily exhaust ports is not a good sign.
The good news is that those heads were almost free, but with the repairs and general condition I am guessing you will want to stick with your original heads.
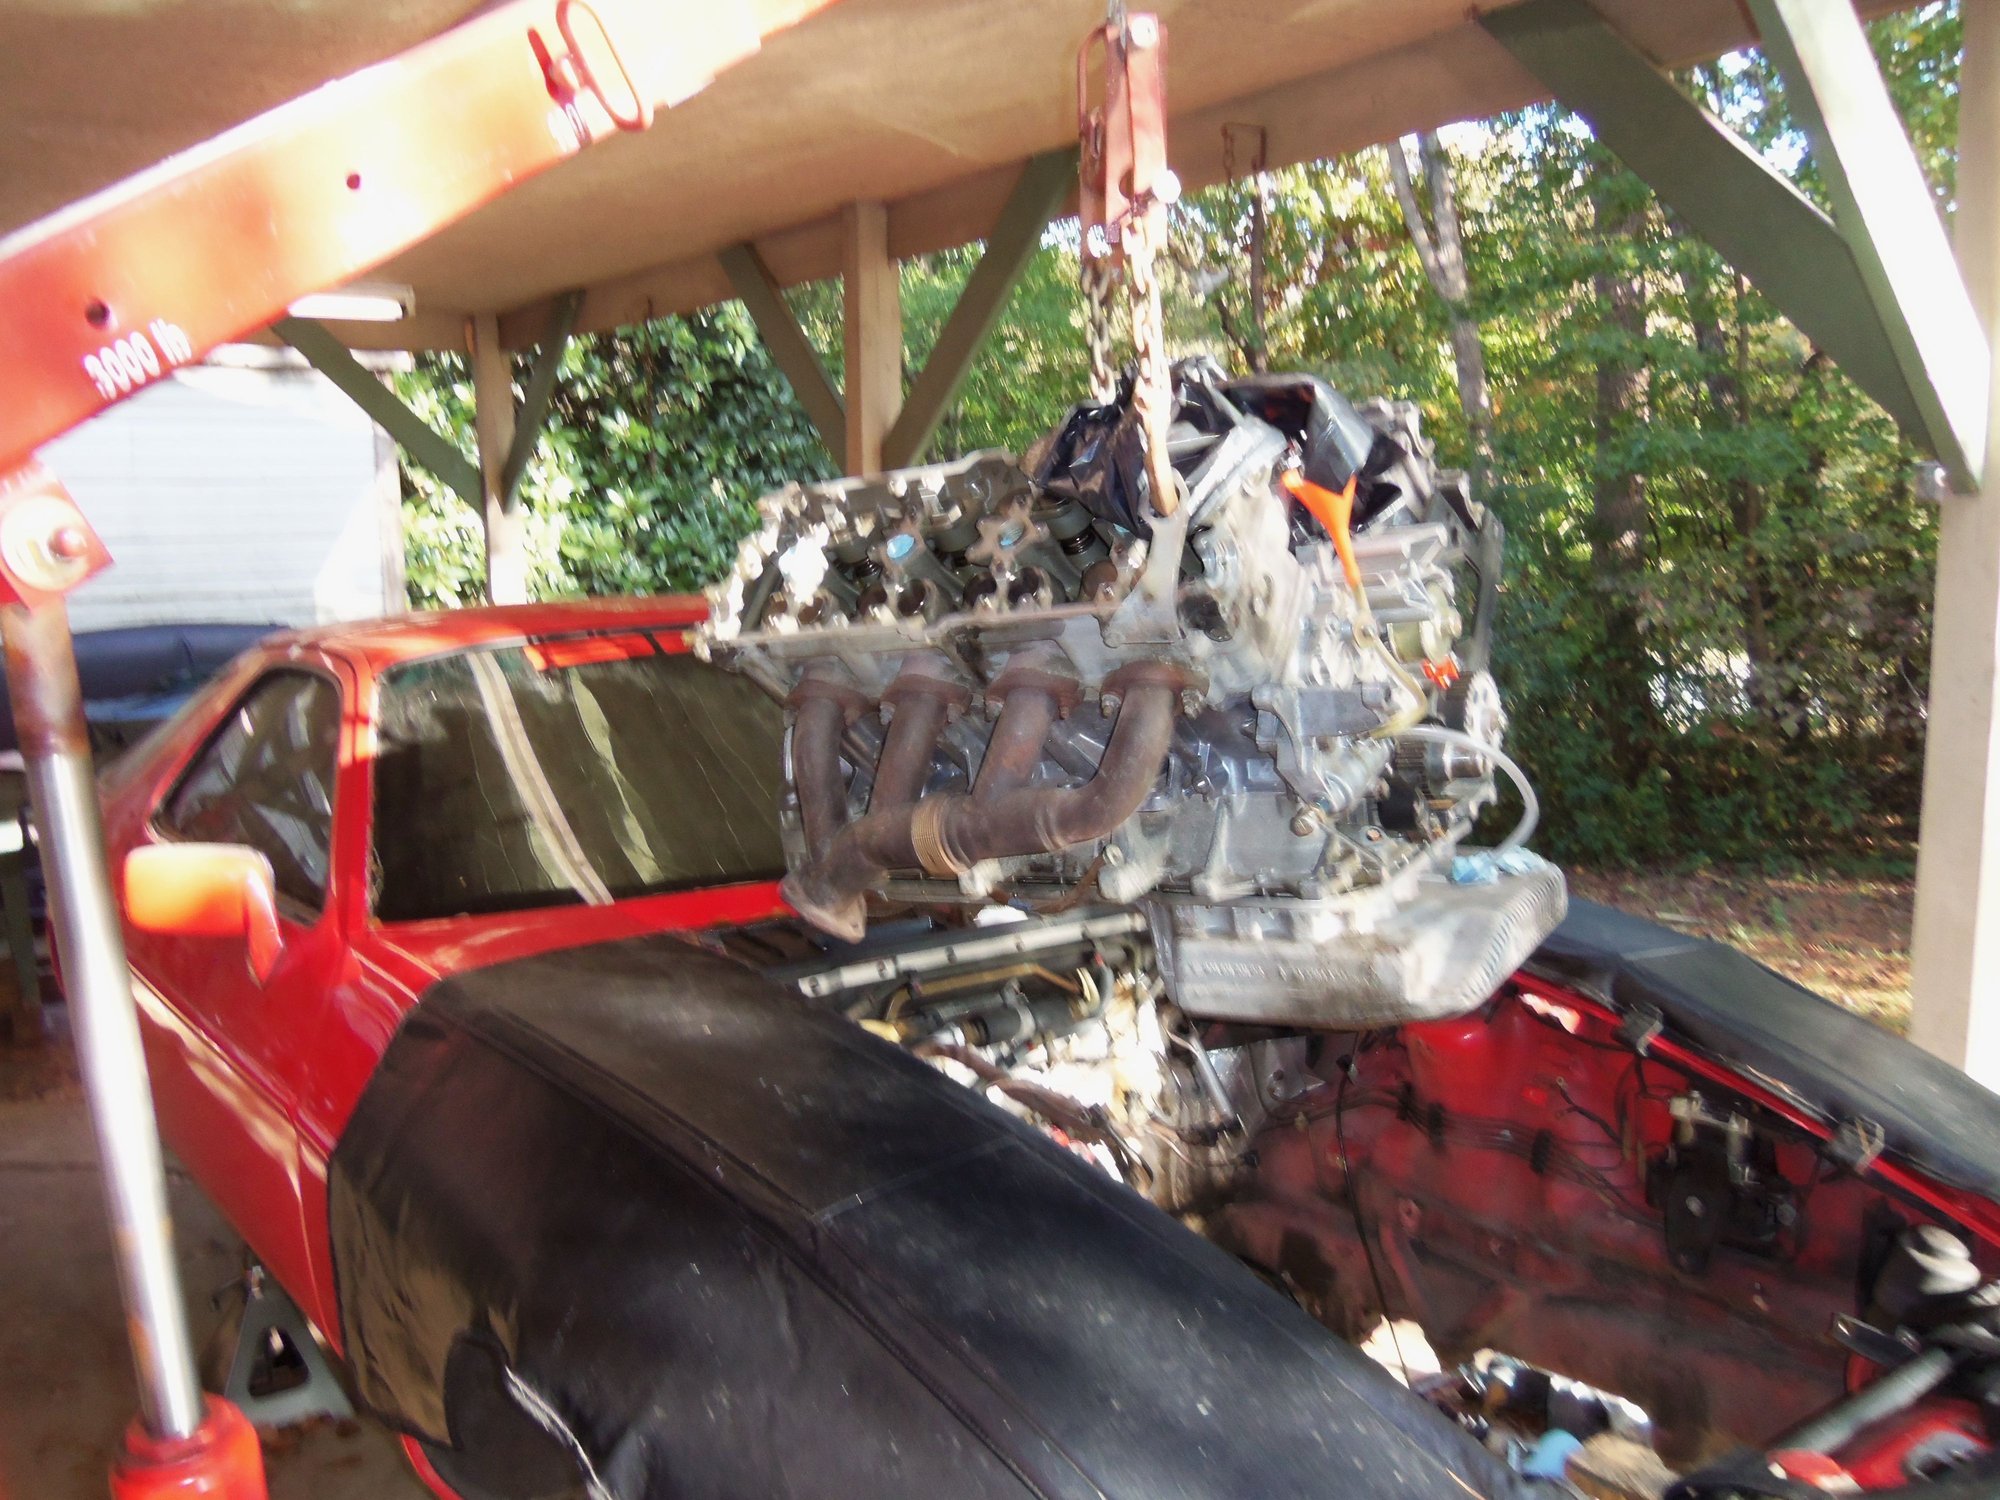
Pulling it did not go too badly. Only had a few hiccups.
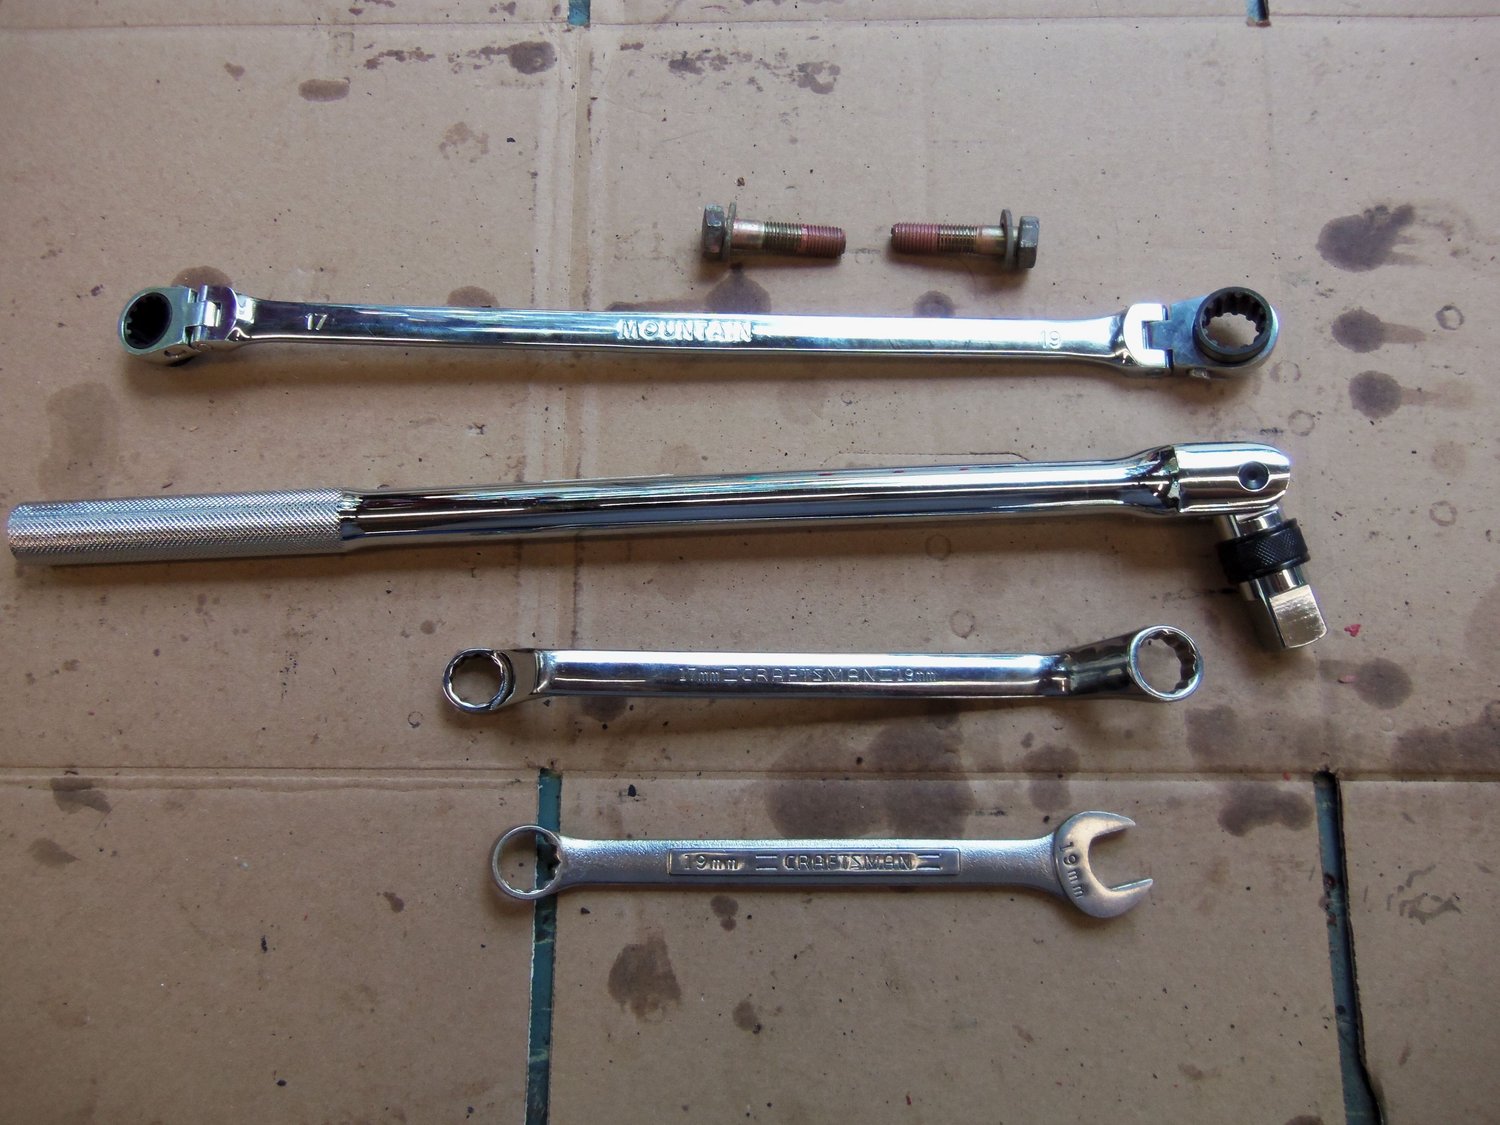
Started off on the wrong foot trying to get the upper bellhousing bolts out. I read a suggestion to put the box end of a 19mm combination wrench on the bolt head. Then, use a 3/4" breaker bar in the open end of the wrench. That failed miserably. Due to the angle of applied torque, the box end wanted to twist off the bolt.
I tried double wrenching the 19mm combination wrench with a 17/19mm offset wrench. Still no good. Then, I remembered a suggestion from Rob Edwards...
The almighty Mountain 17/19mm ratcheting wrench!
I was concerned about stripping the gear mechanism, but this wrench worked like a charm. Both upper bolts came out no problem.
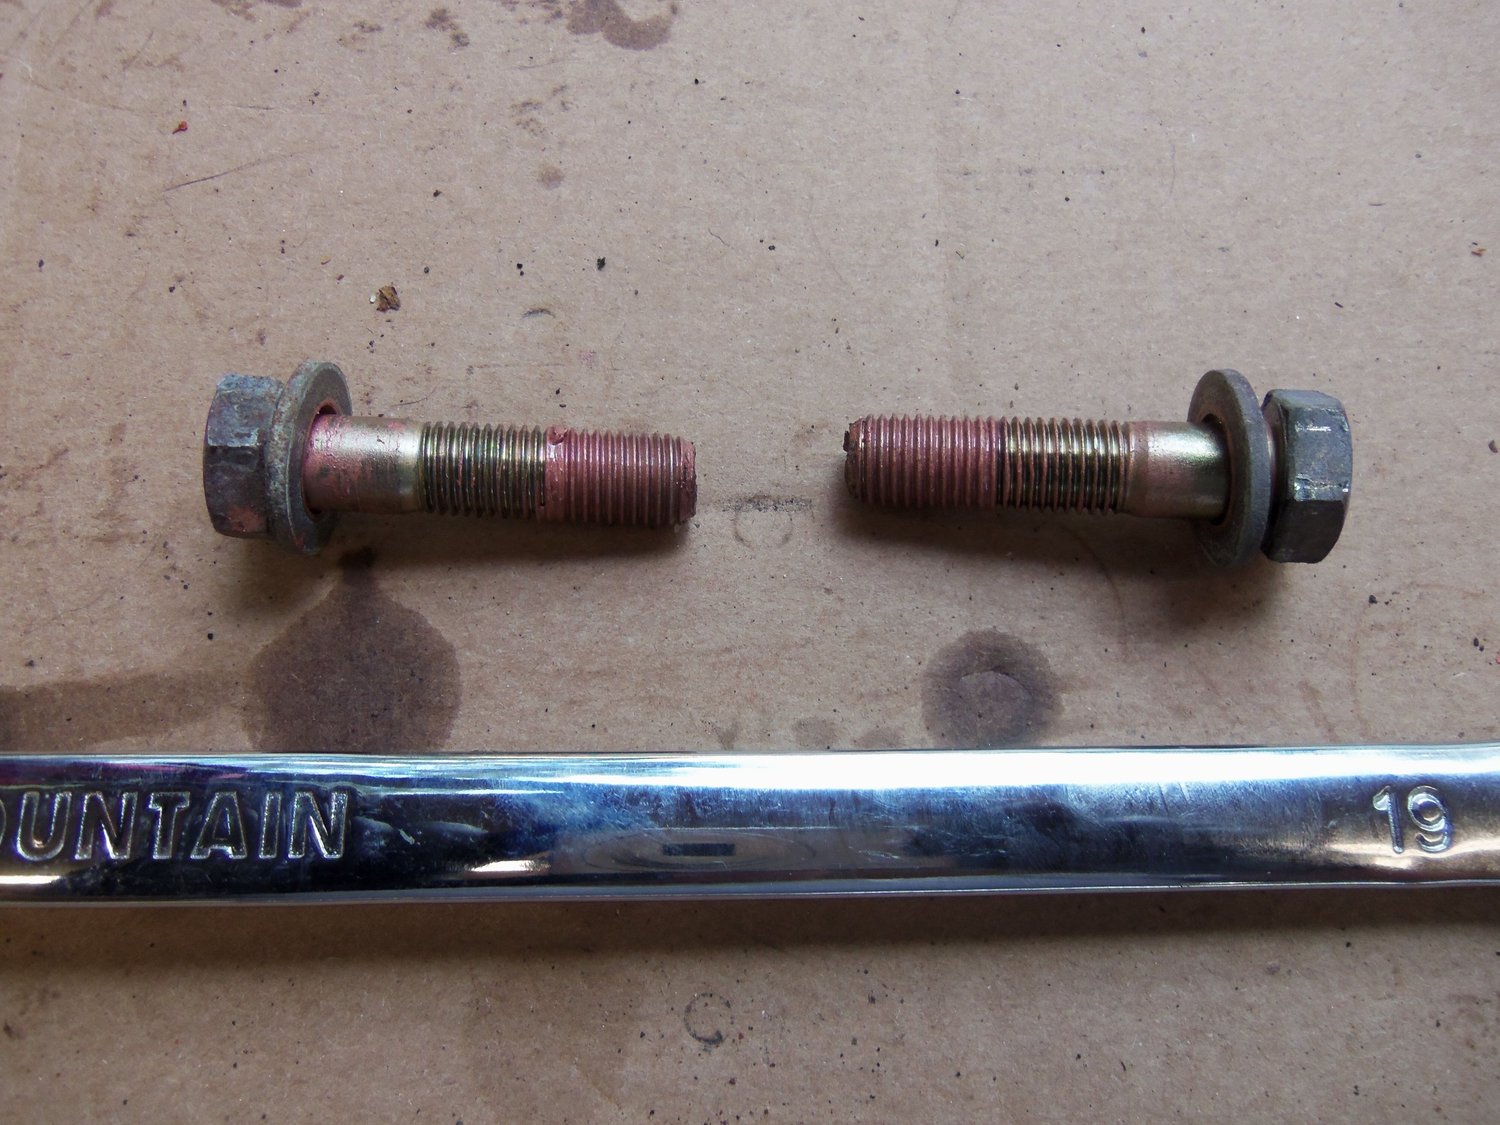
The bolts shanks looked good, even had the factory Optimoly HT anti-seize on the threads.
I got into trouble with the lower bellhousing bolts. I removed the two bottom ones. Then, wasted quite a bit of time searching for the nonexistent middle bolts. My fault. I had earlier in the day remounted one of my spare SBC's to a rolling stand. I had the bellhousing 7 bolt pattern stuck in my head.
The only real hiccup was the front pinch coupler. I removed both the front and rear pinch bolts without any issue. I removed the bolts that secure the coupler to the flexplate by the 'screwdriver in the teeth of the flywheel method.'
However, the coupling did not slide back like I thought it would. I tugged on it a couple of times, got nothing. I figured it would move when I loosened the engine from the bellhousing.
Wrong. With tension on the load leveler at the engine hoist, I started wiggling the engine to loosen it from the bellhousing.
It started to give, but did not want to fully release.
Underneath, I found the pinch coupler was moving off the driveshaft, still attached to the flexplate!
Some quick jimmying with a small screwdriver and the coupler popped out of the flexplate.
I don't think I bent the drive shaft. I rotated it several times, and saw no deflection. When I remove the torque tube for rebuild, I will carefully inspect the drive shaft.
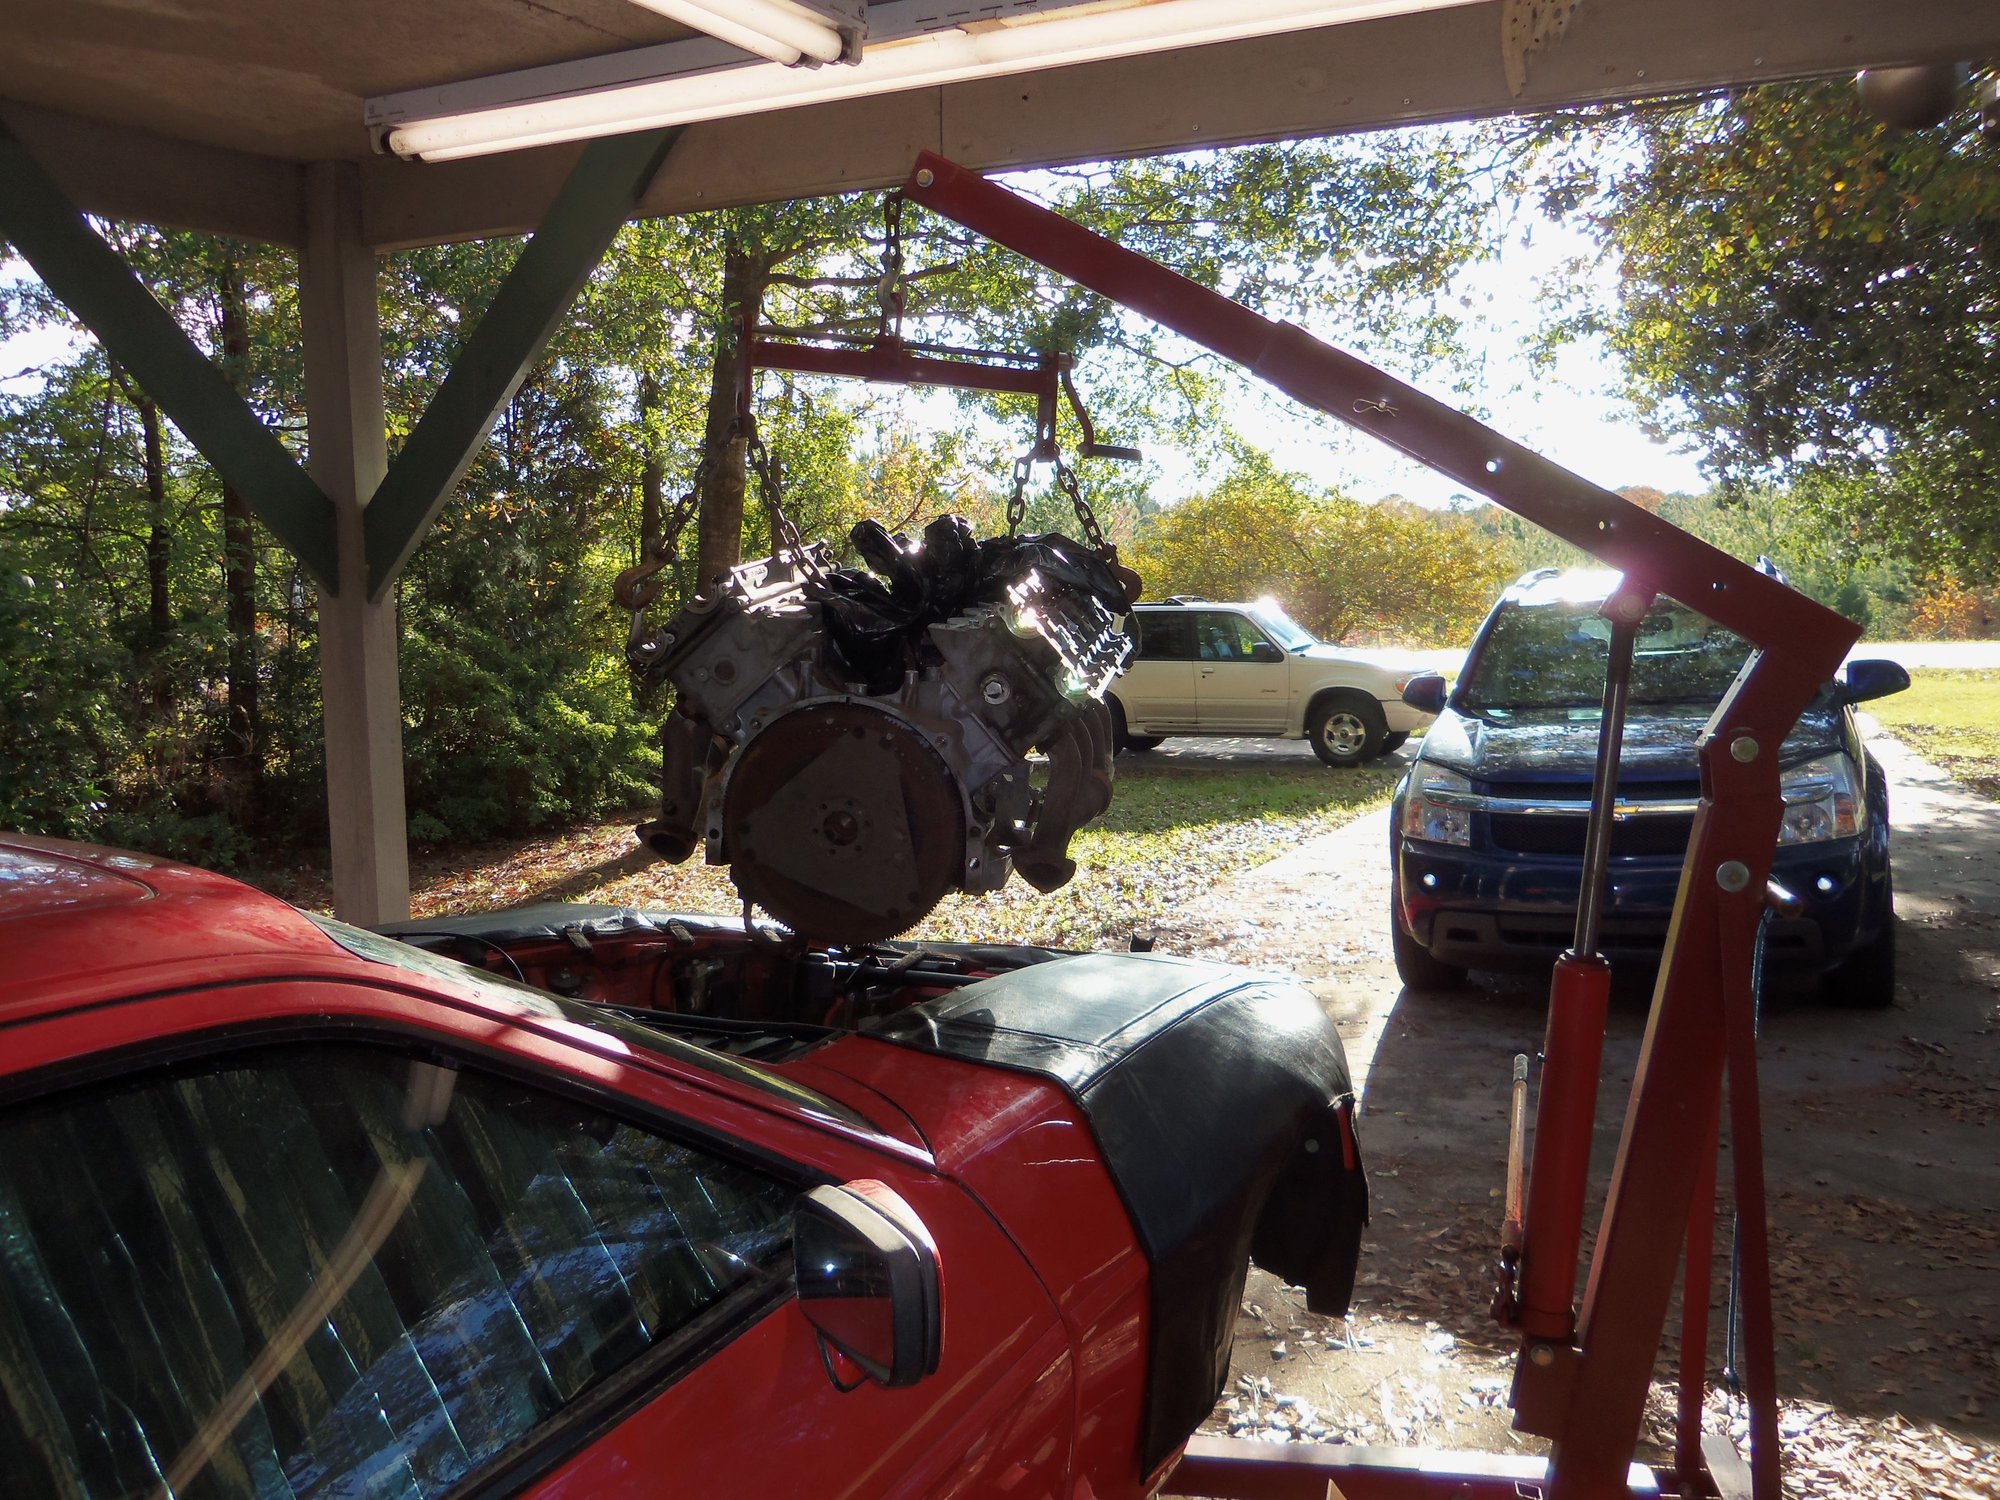
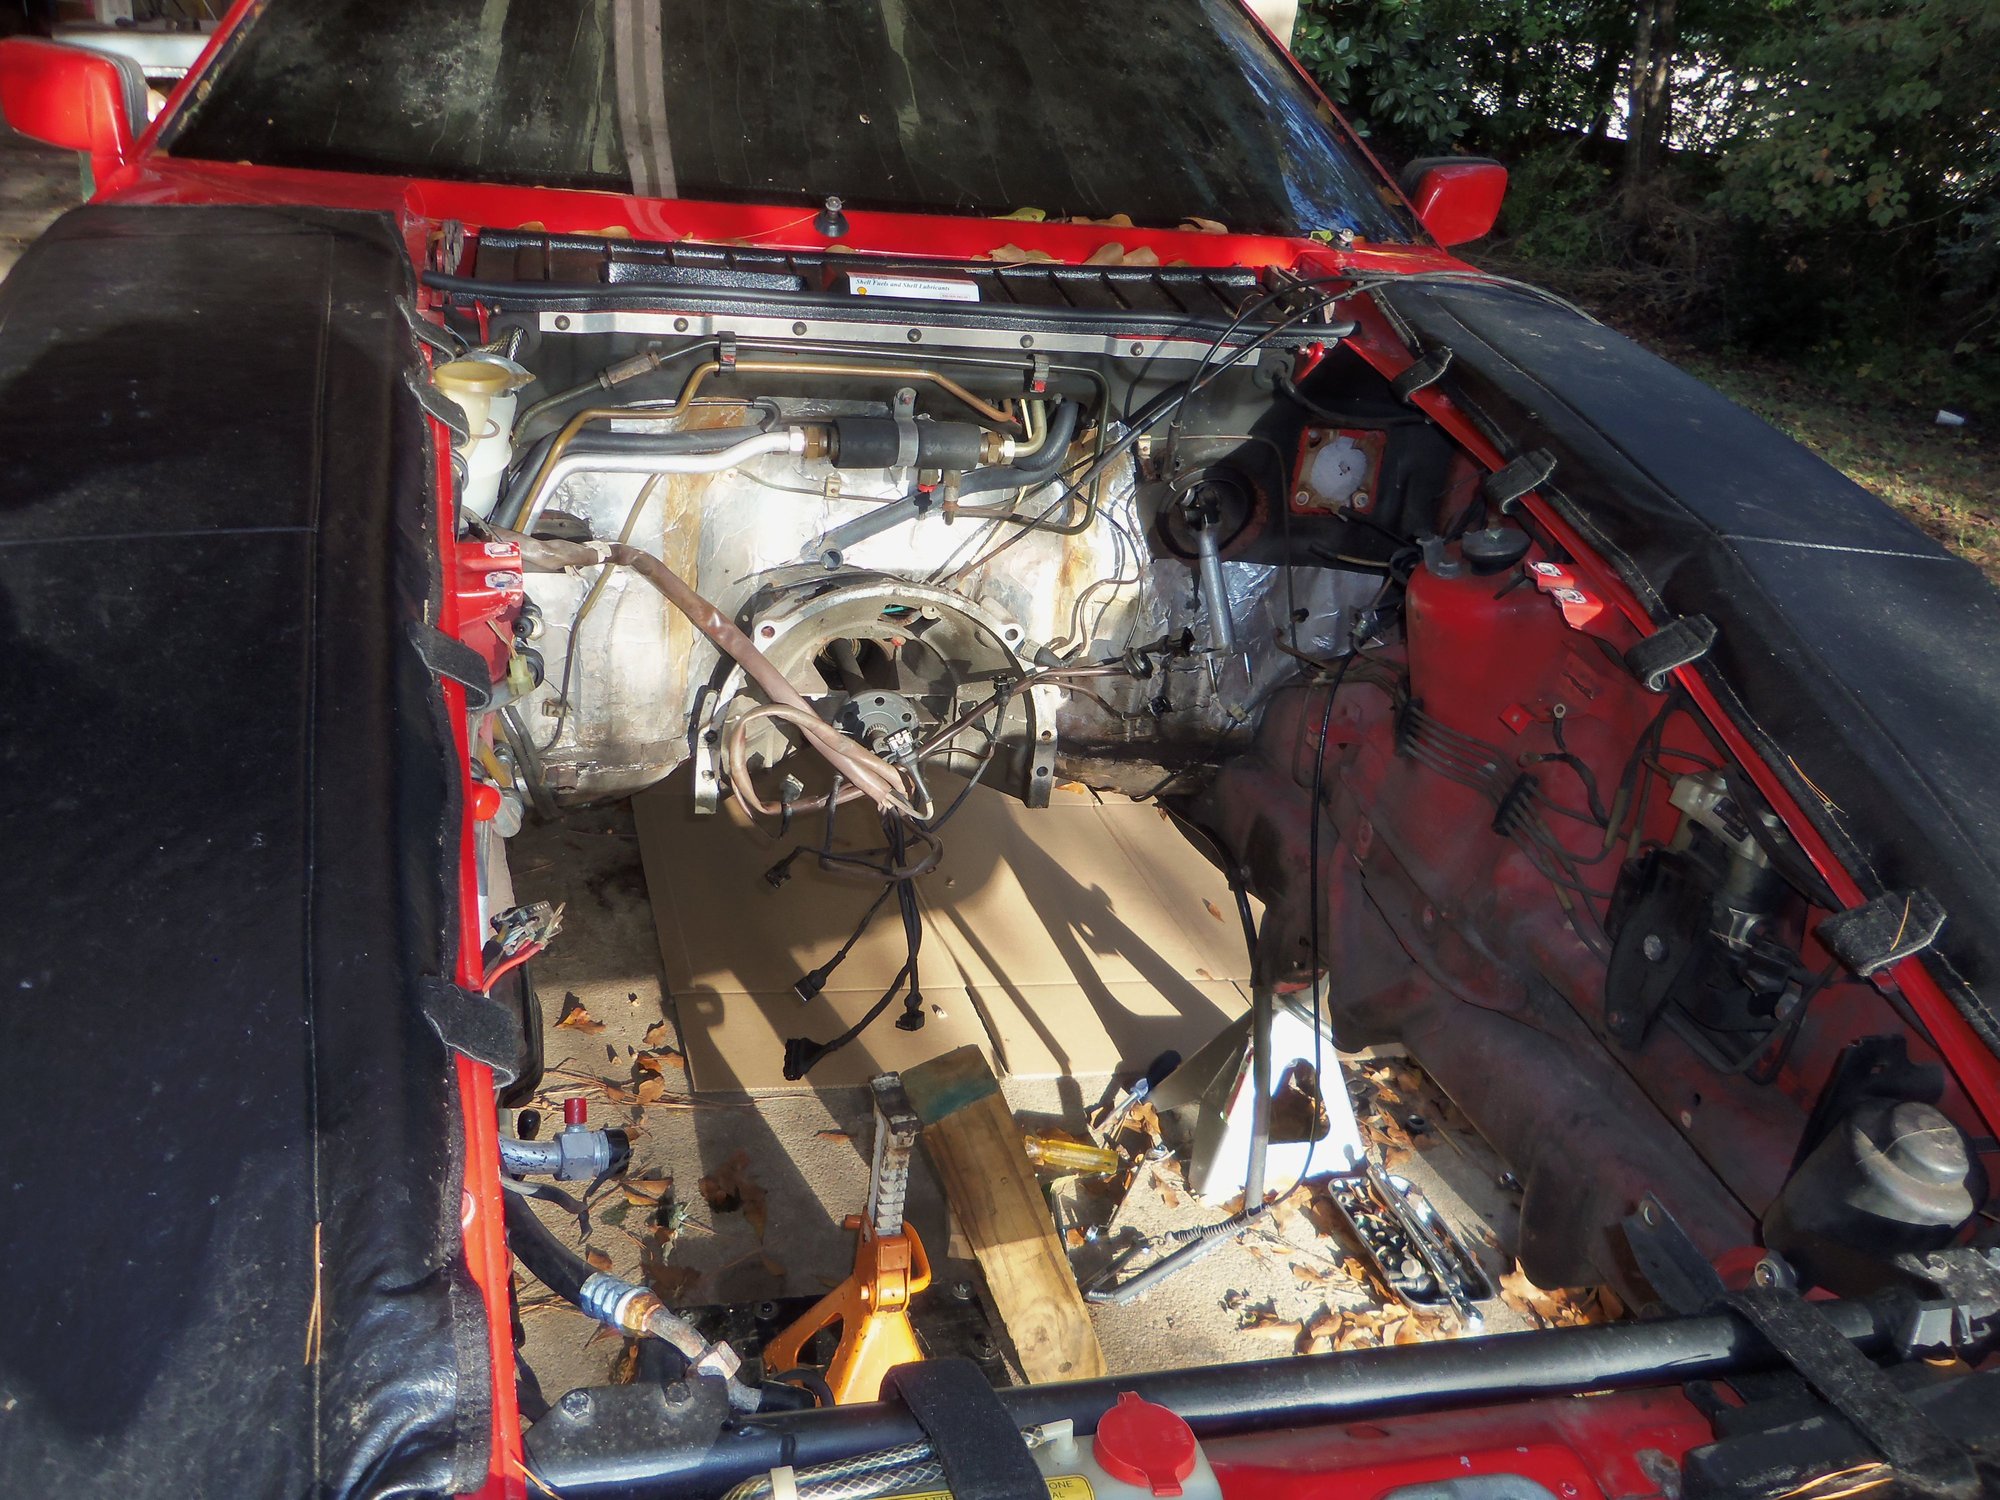
With everything now free, it was just a matter of jacking the engine up high enough to clear the fender. Man, that went REALLY high...
But, it came out, no muss, no fuss.
Implements of destruction. Mountain ratcheting combination wrench saved the day!
Upper bellhousing bolts still have factory Optimoly HT anti-seize on them.
Very scary for a first-timer...
Man, that engine is HIGH!
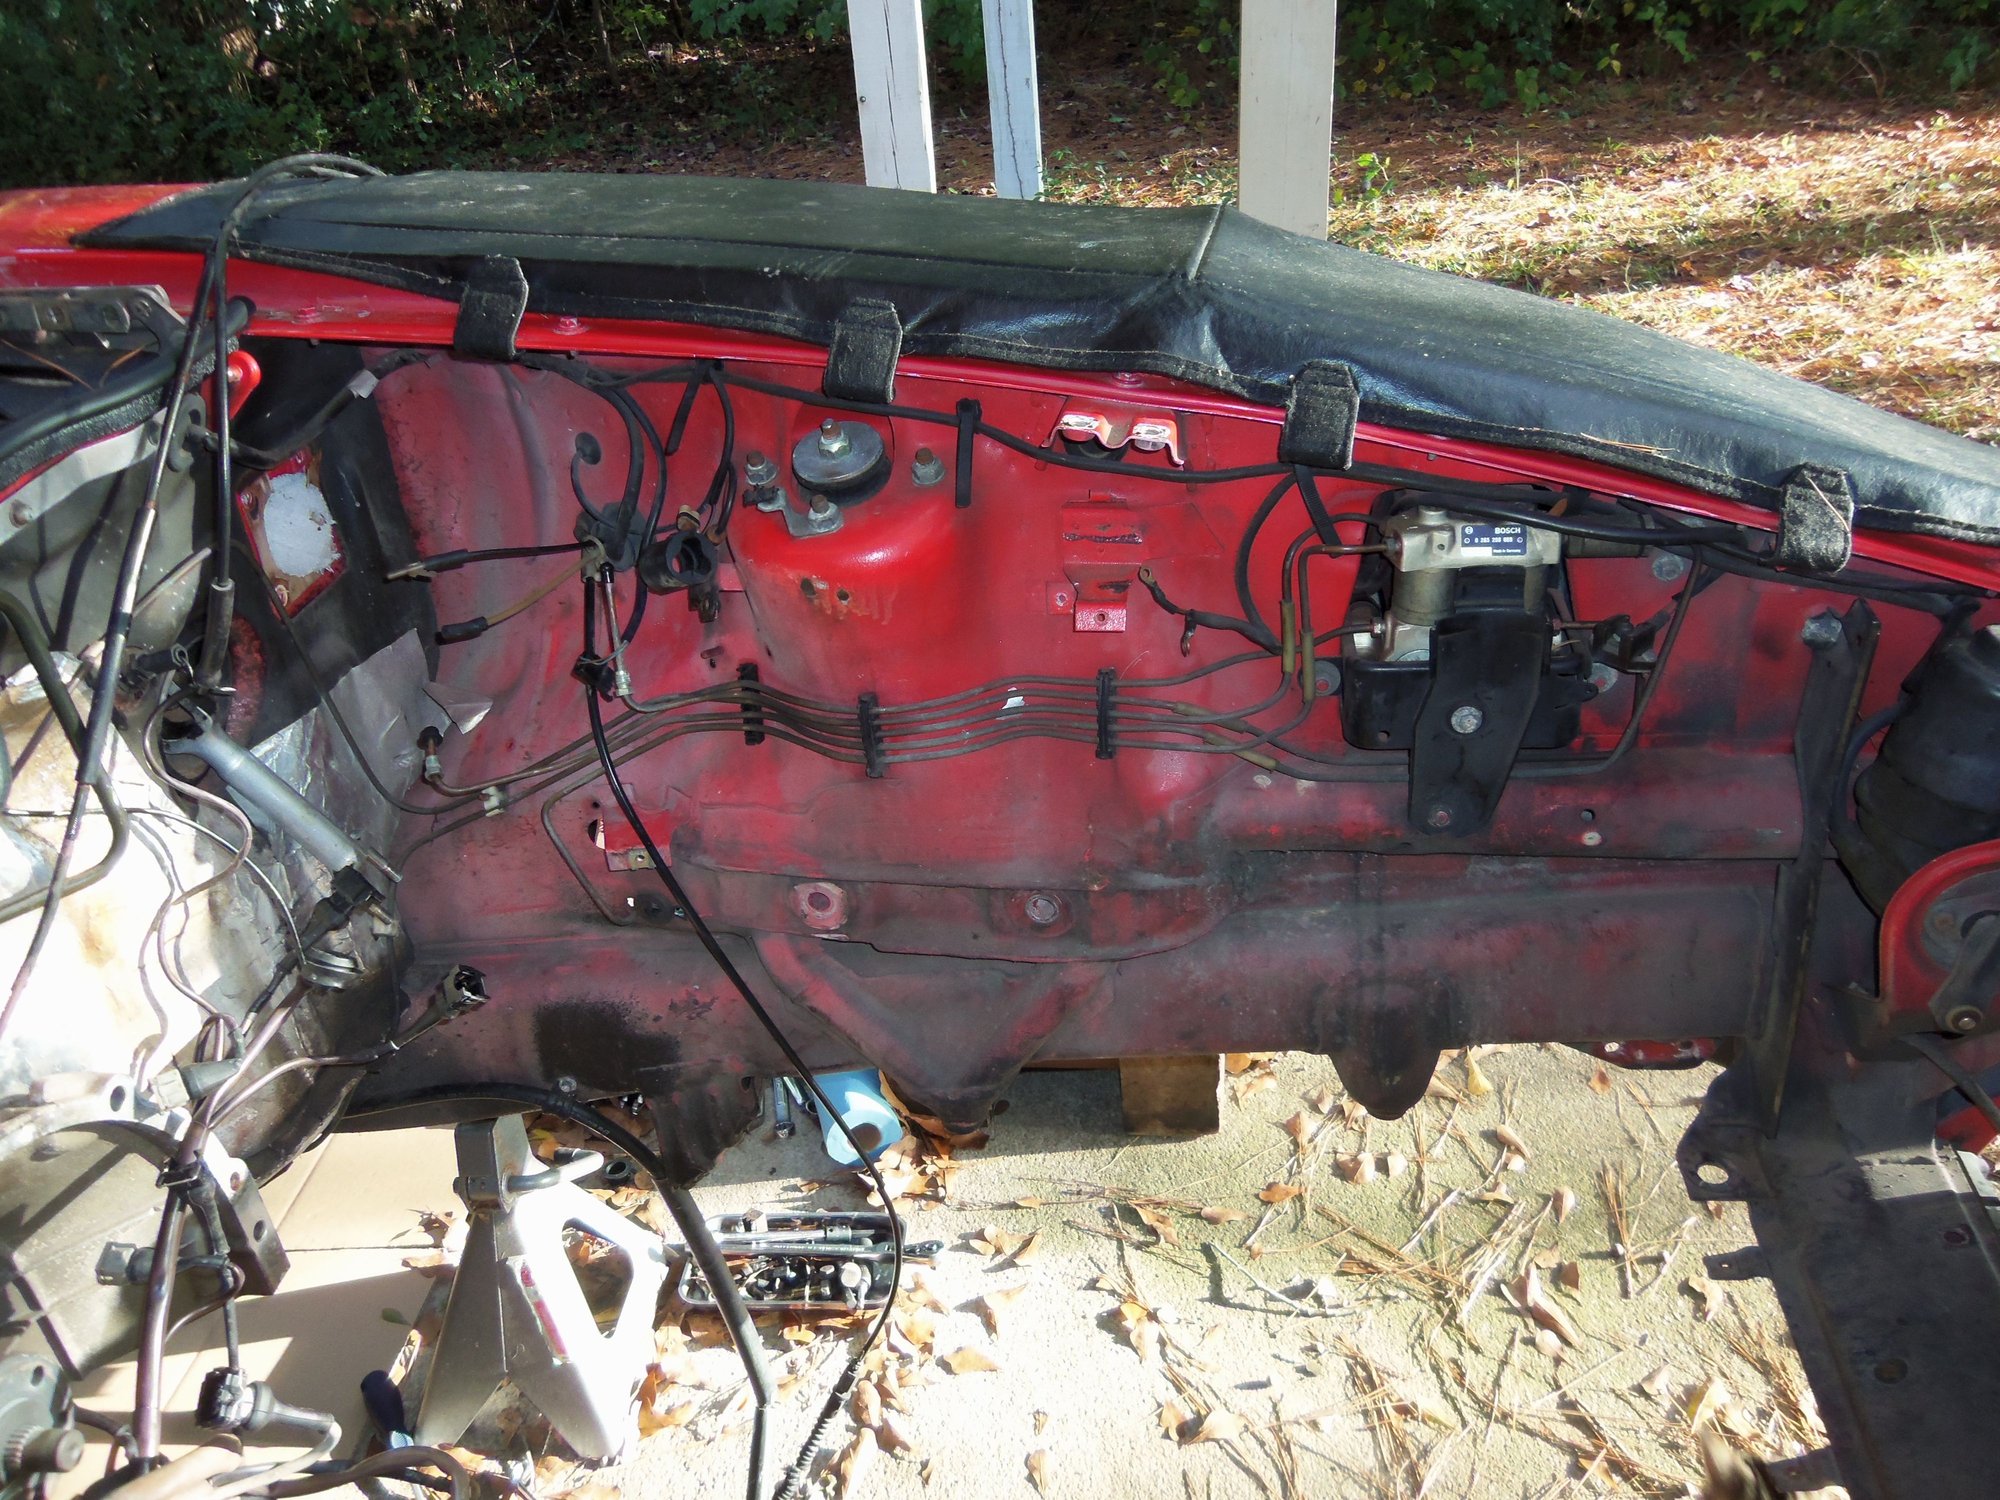
Much lower now. Better.
Now I can get started with some cleaning and such in the engine bay.
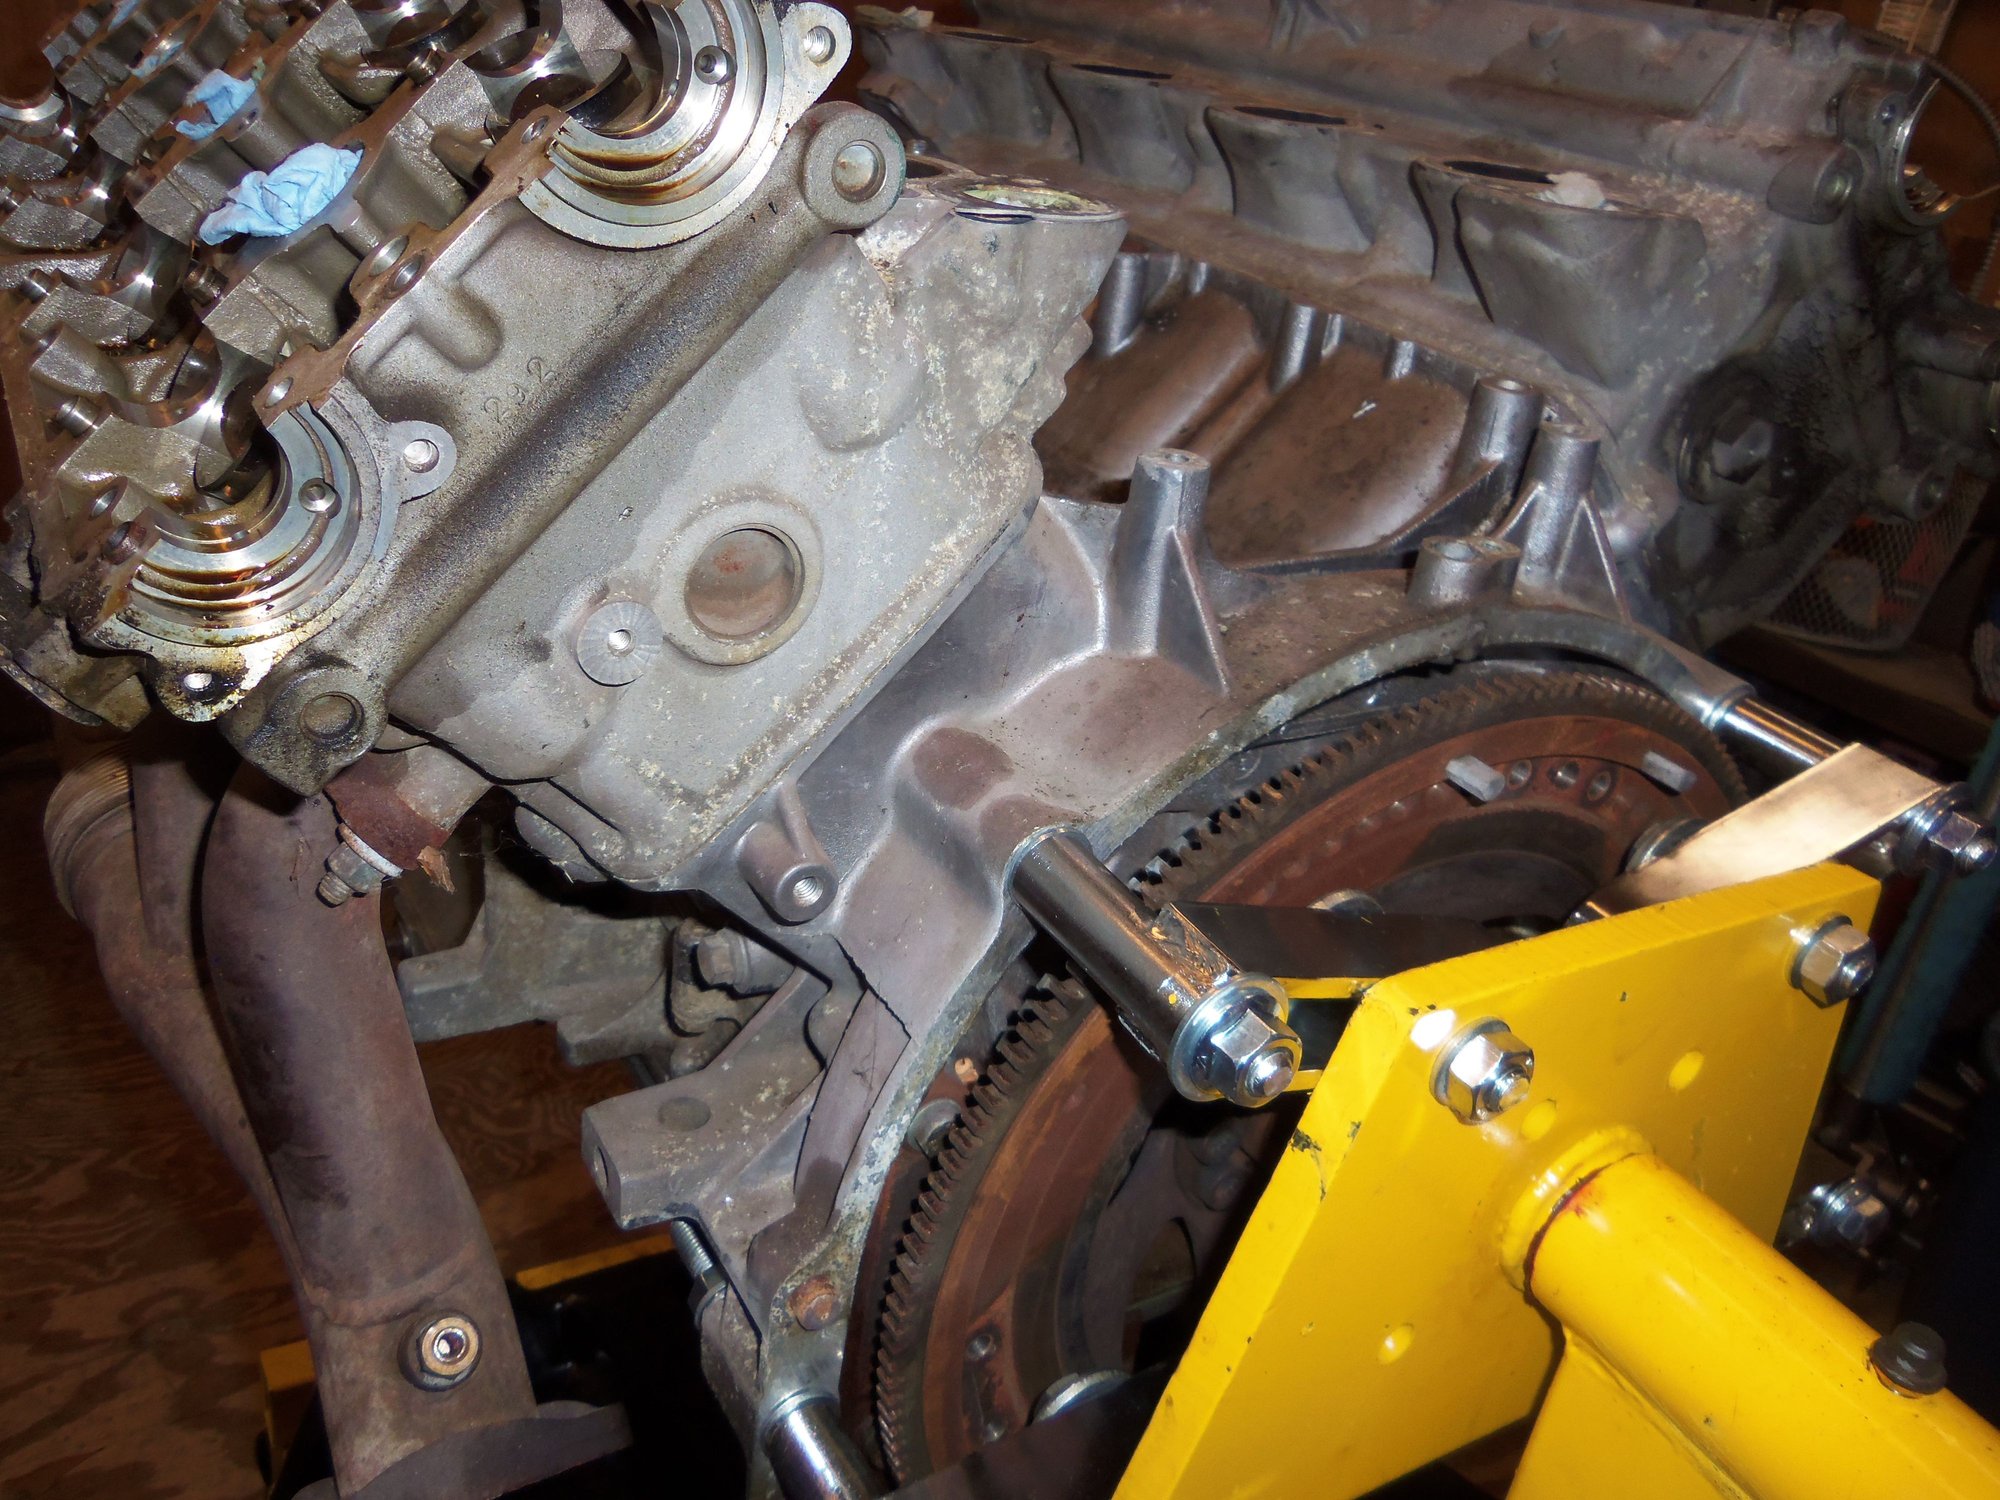
I had no real difficulty hanging the engine from the geared head engine stand. I cut lengths of M12 x 1.5 all thread for the upper mounting holes. I secured them to the engine stand arms with large flat washers and M12 hex flange nuts. I goofed and only ordered 4 flange nuts because I didn't know what I was getting into. I didn't understand that the lower bellhousing bolts went through the engine flange and threaded into the bellhousing. So...I needed 6 M12 x 1.5 nuts, not 4.
I rummaged around my bolt stash and improvised. I found a couple of M12 x 1.75 bolts that were long enough for the bottom holes.
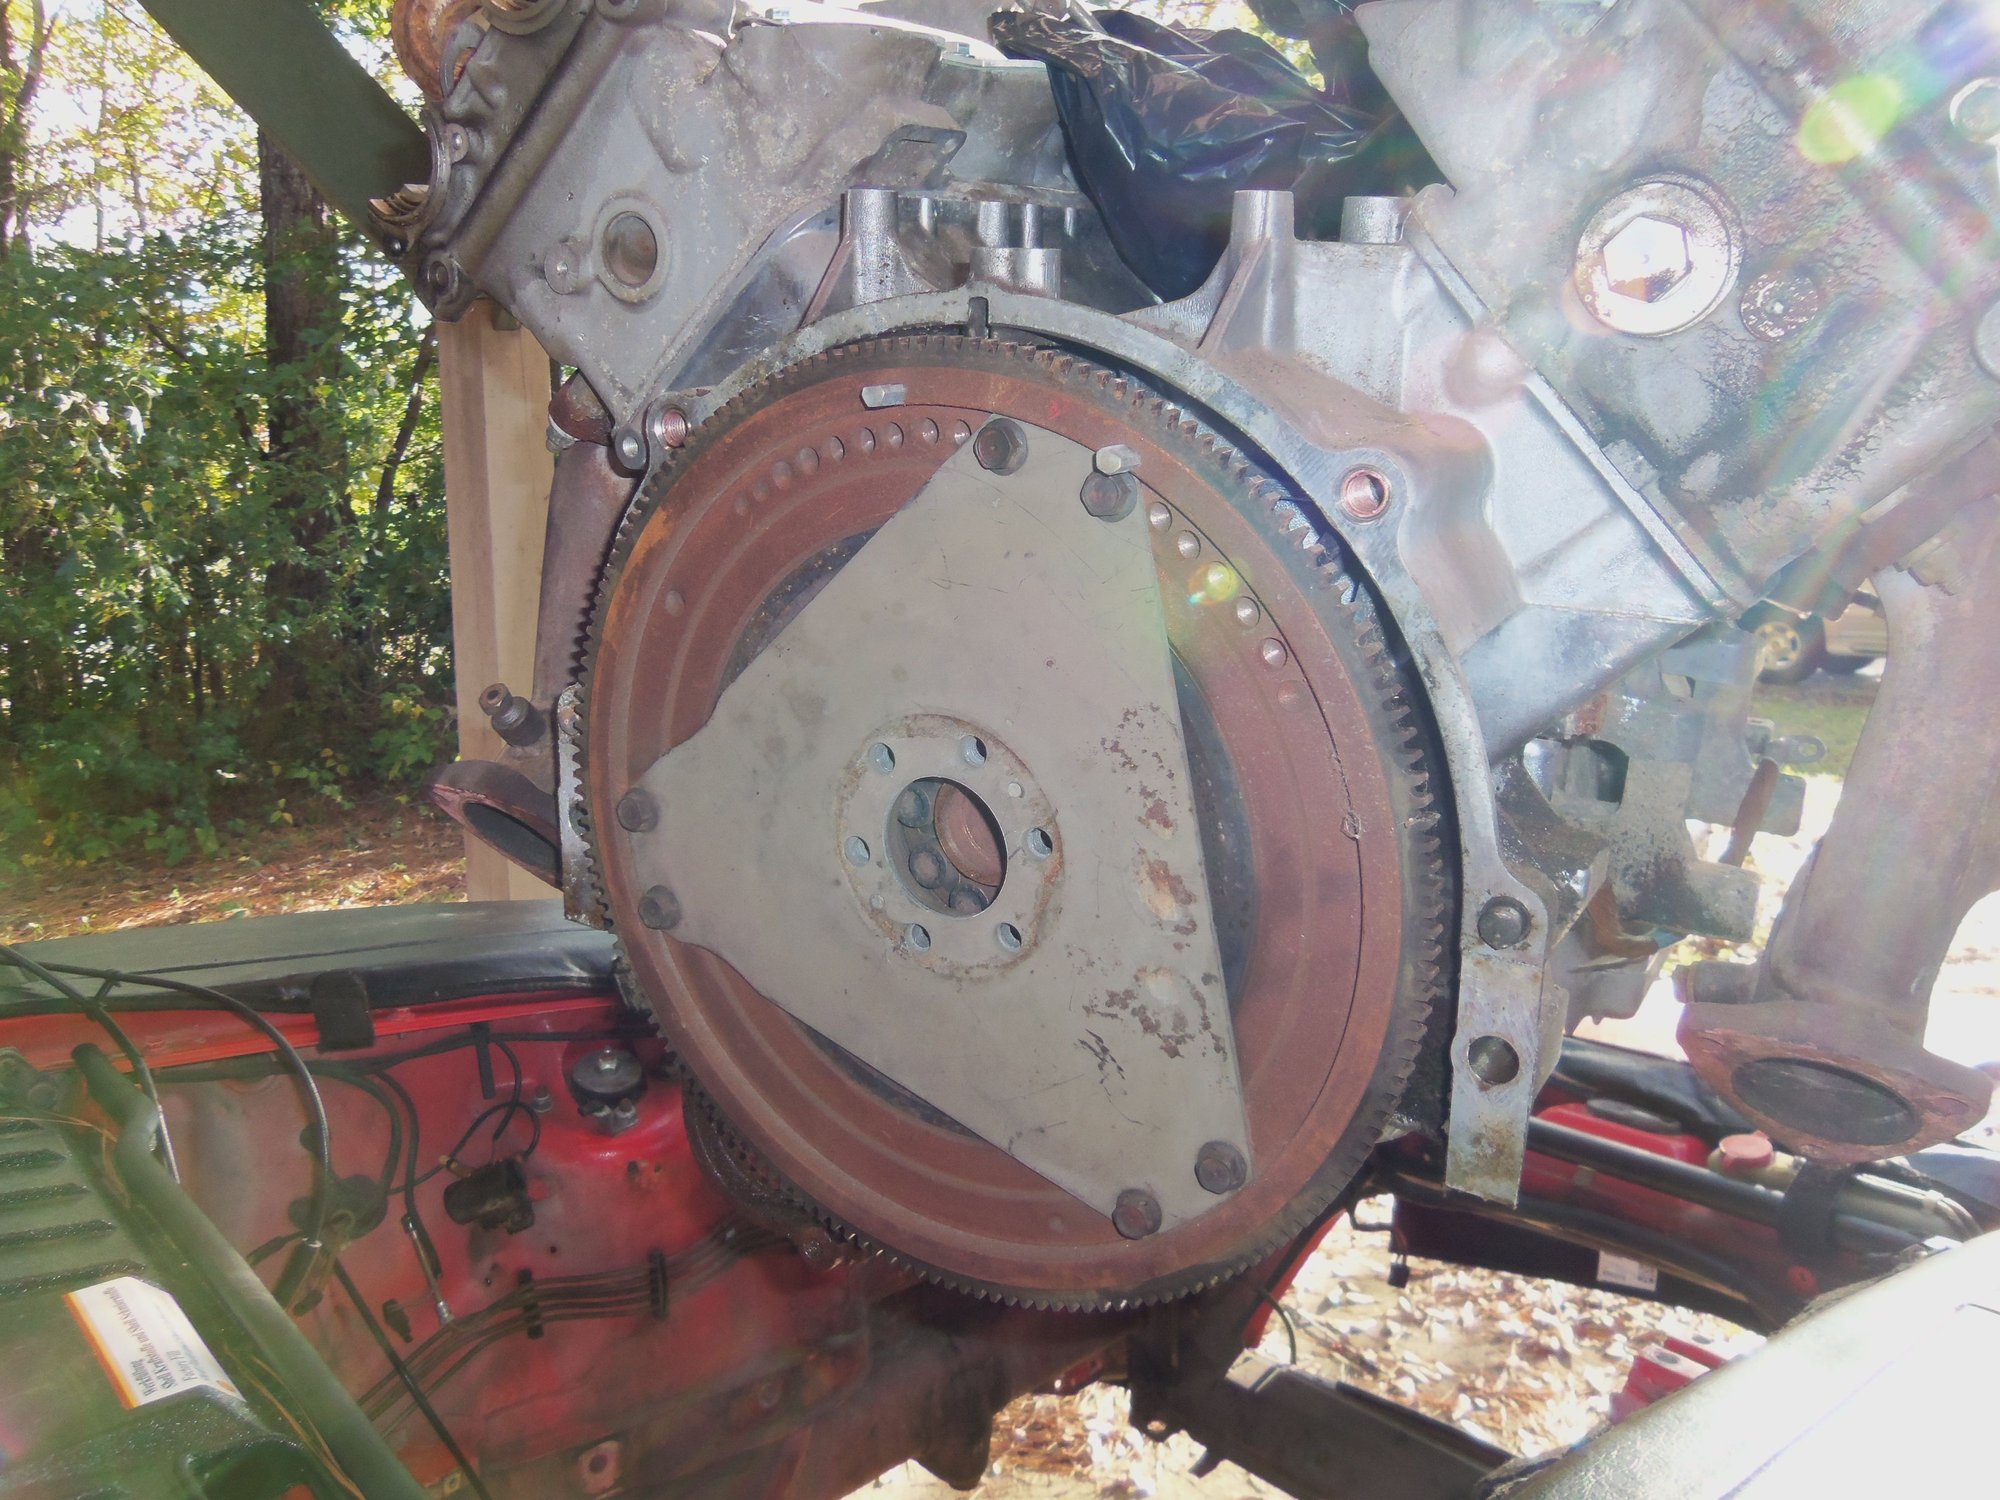
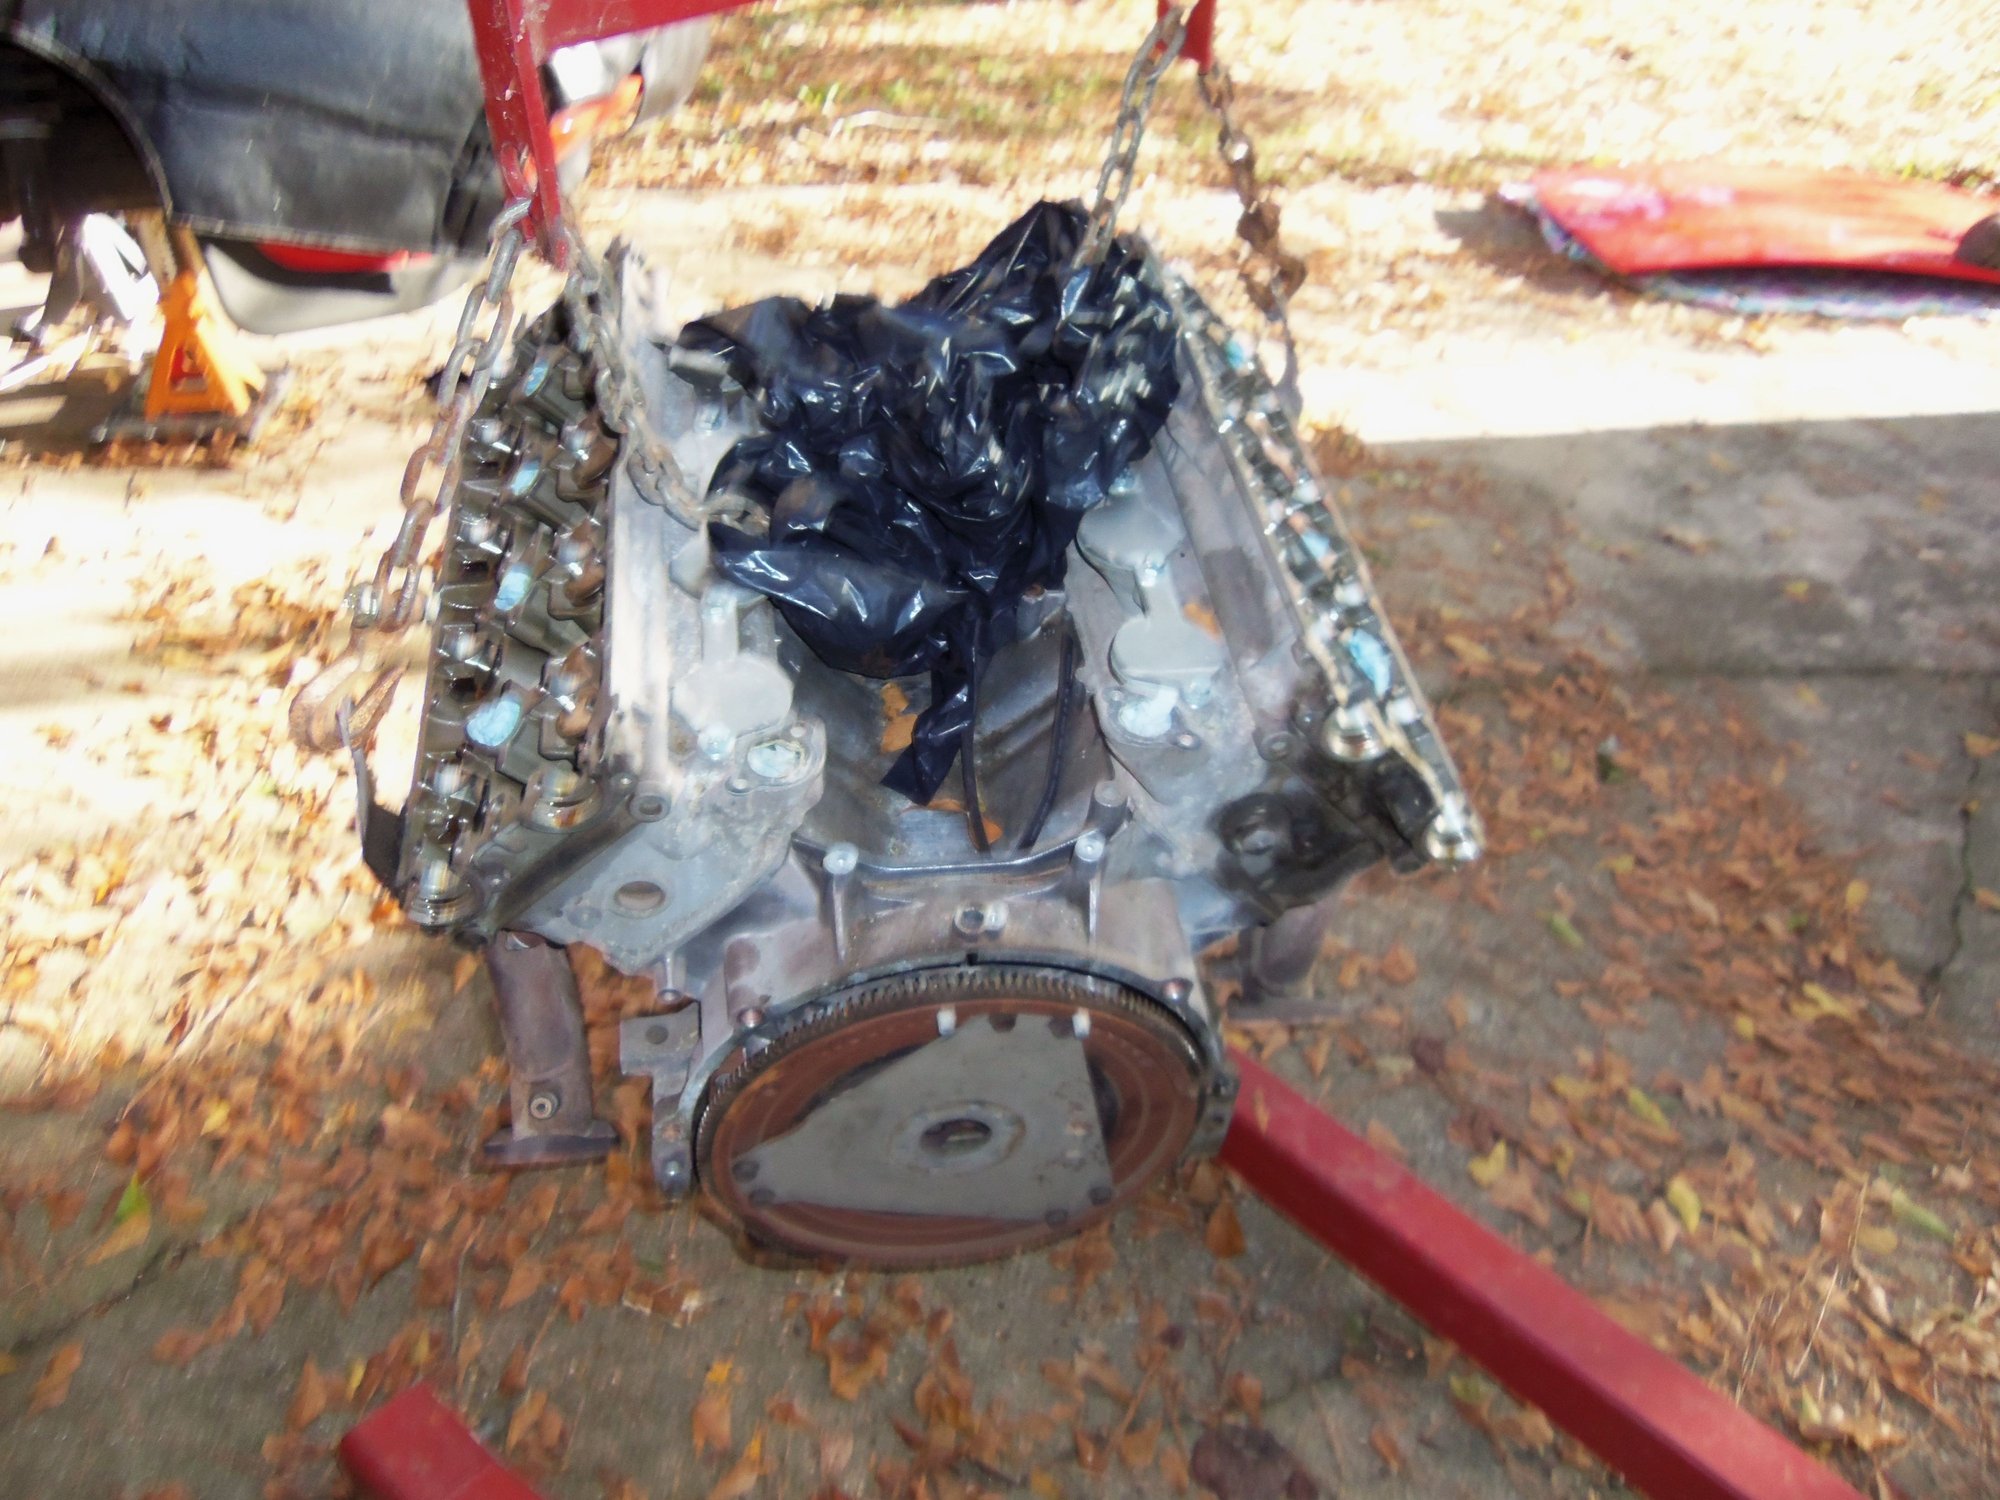
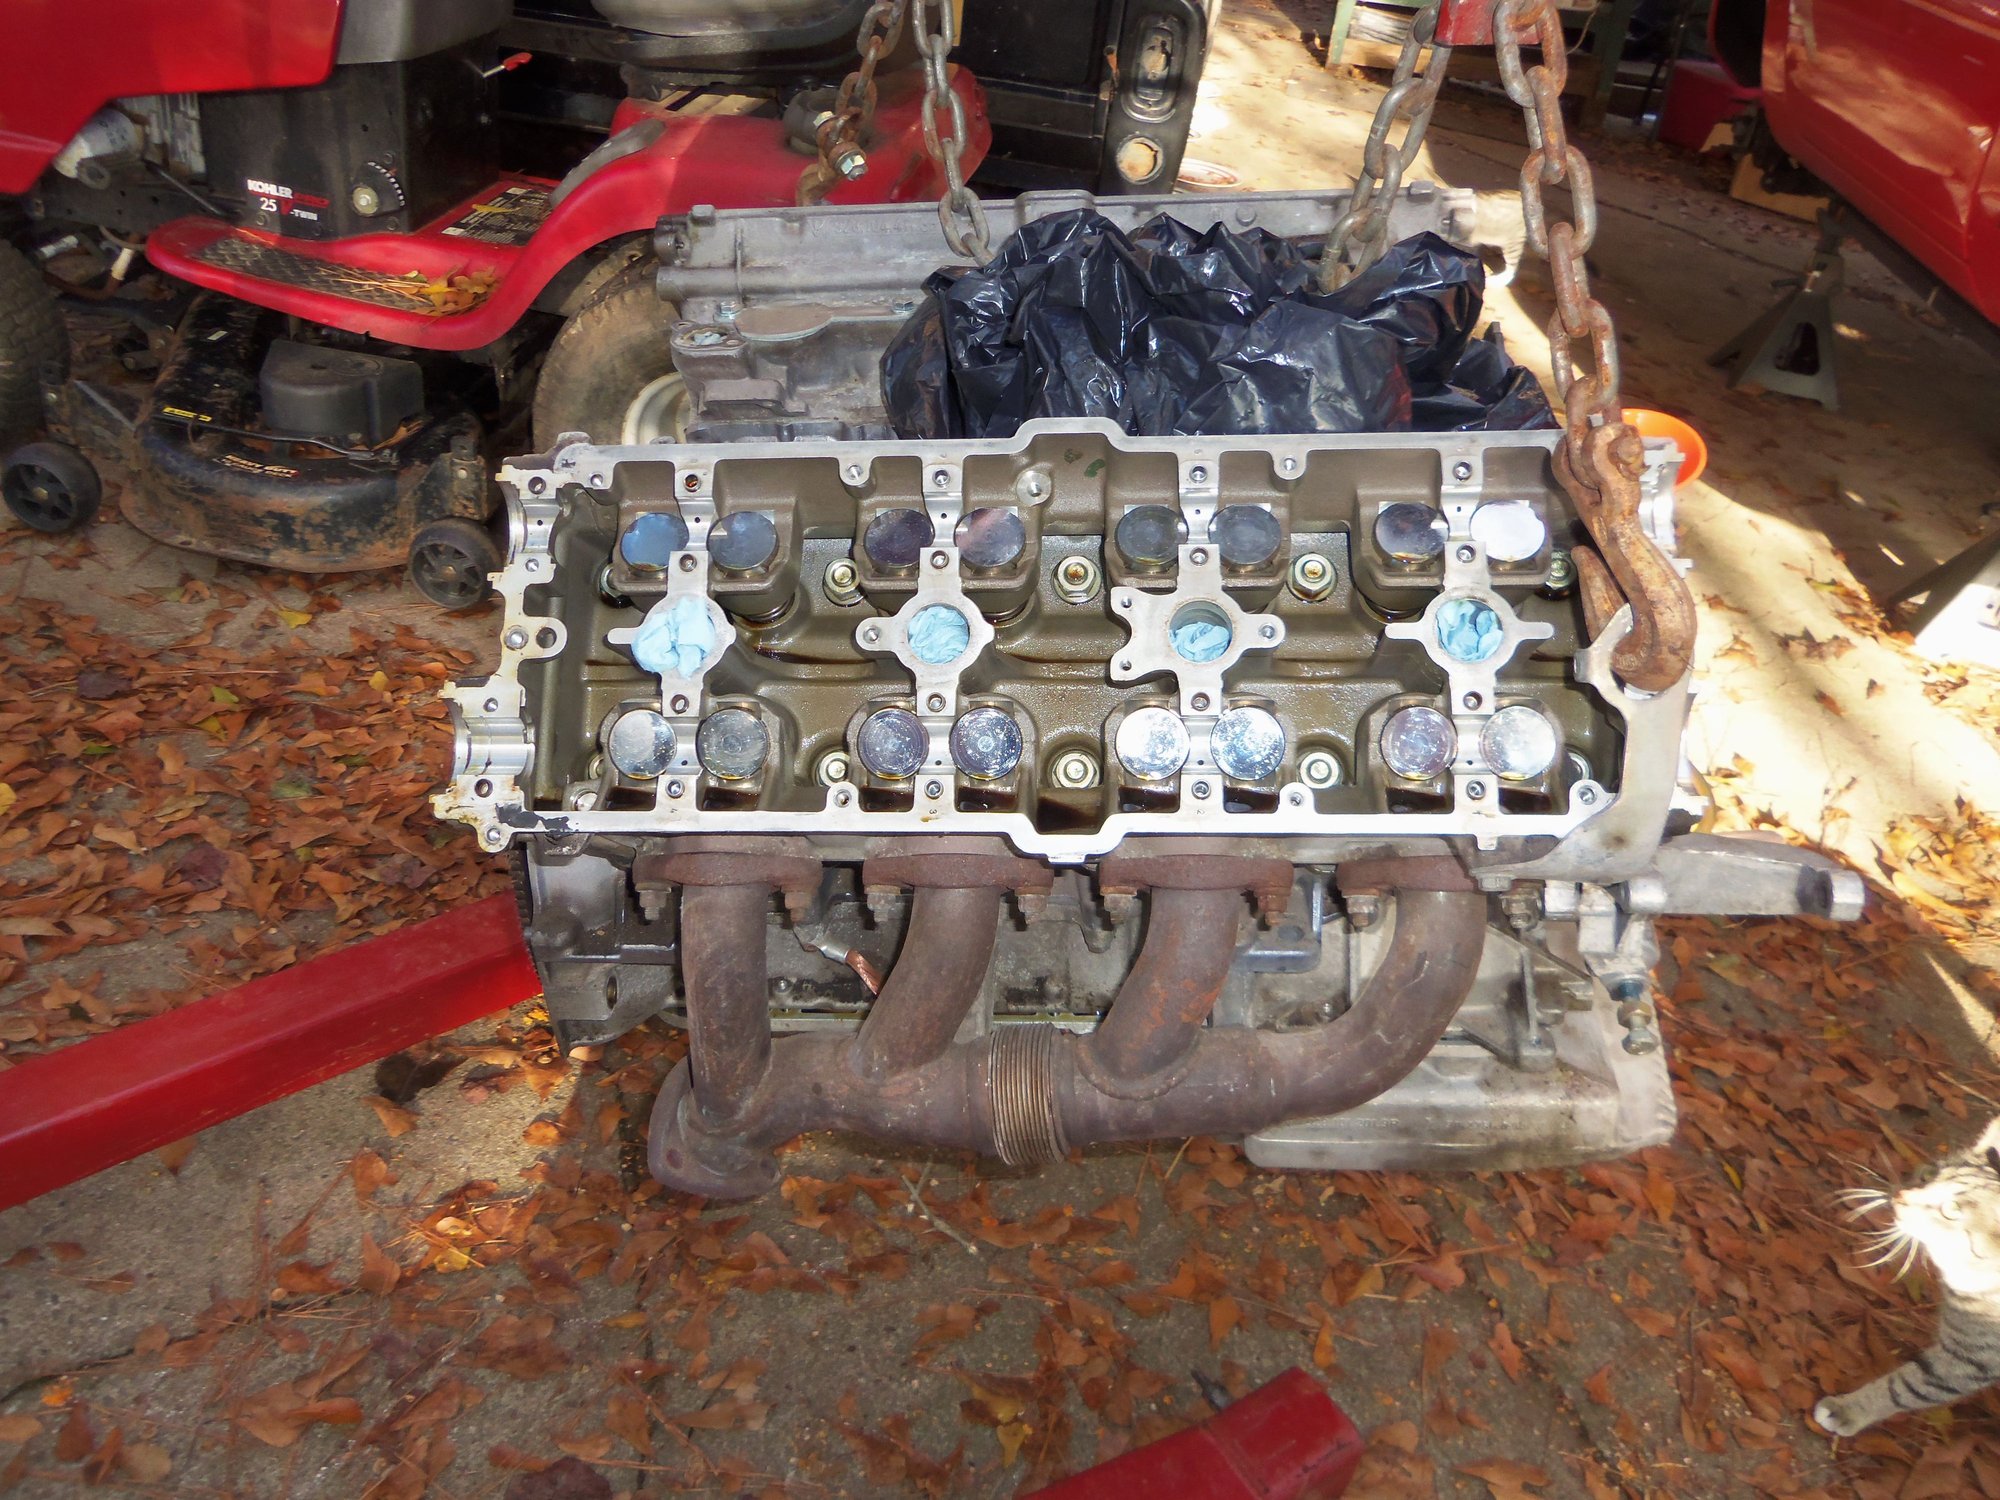
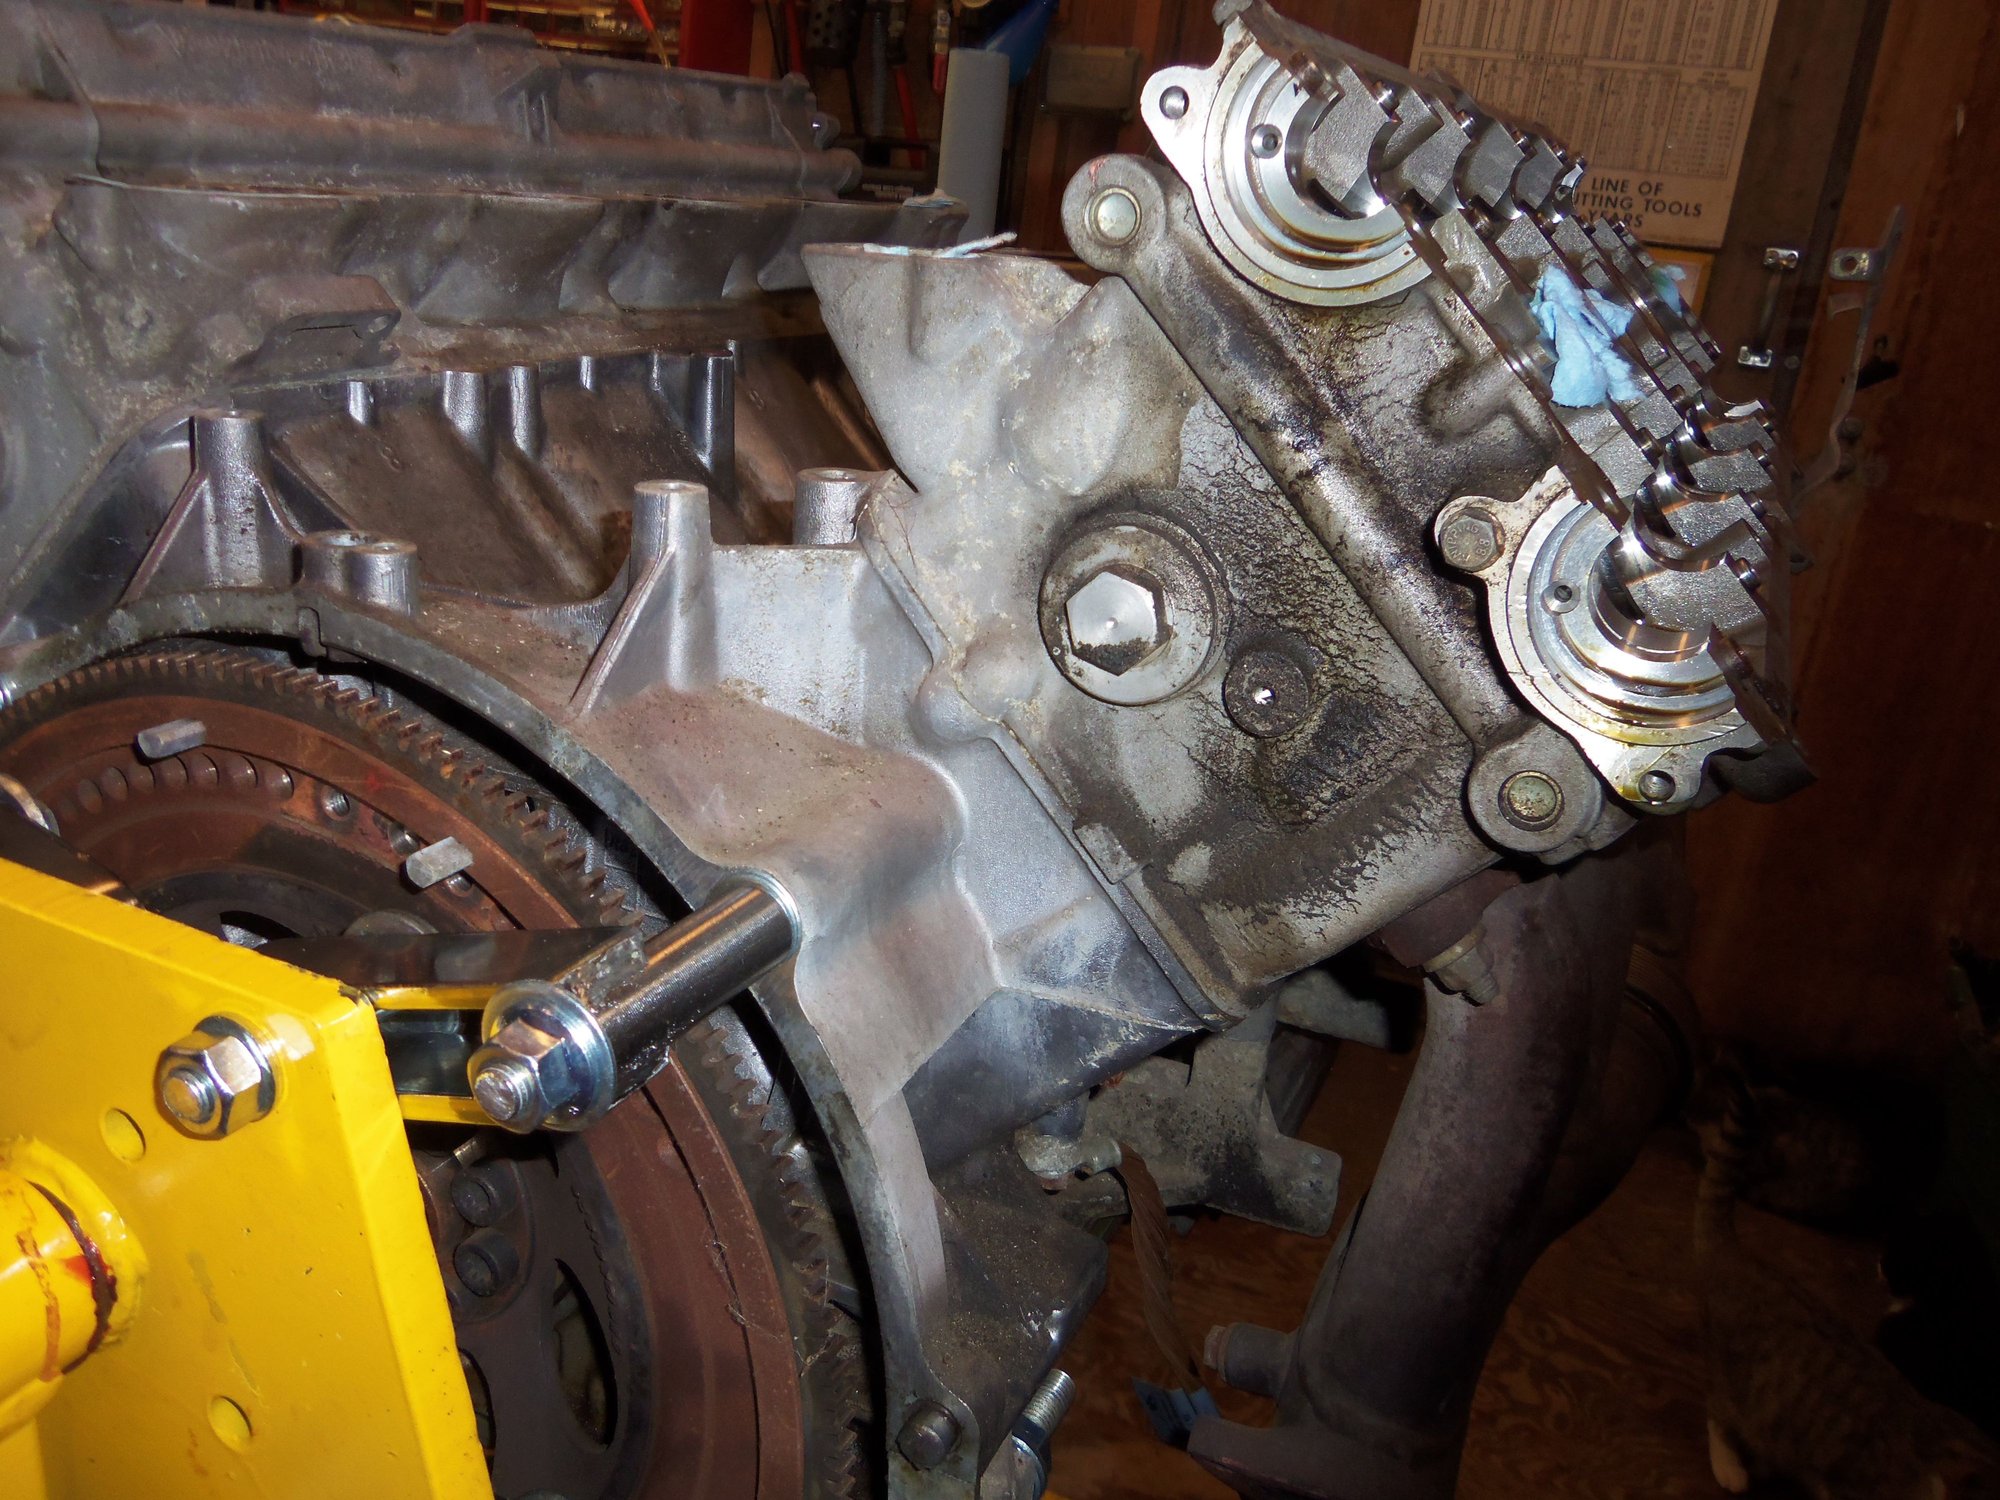
With the engine now securely mounted to the stand, I took a few photos for posterity. First time the engine has been out of this car since being built.
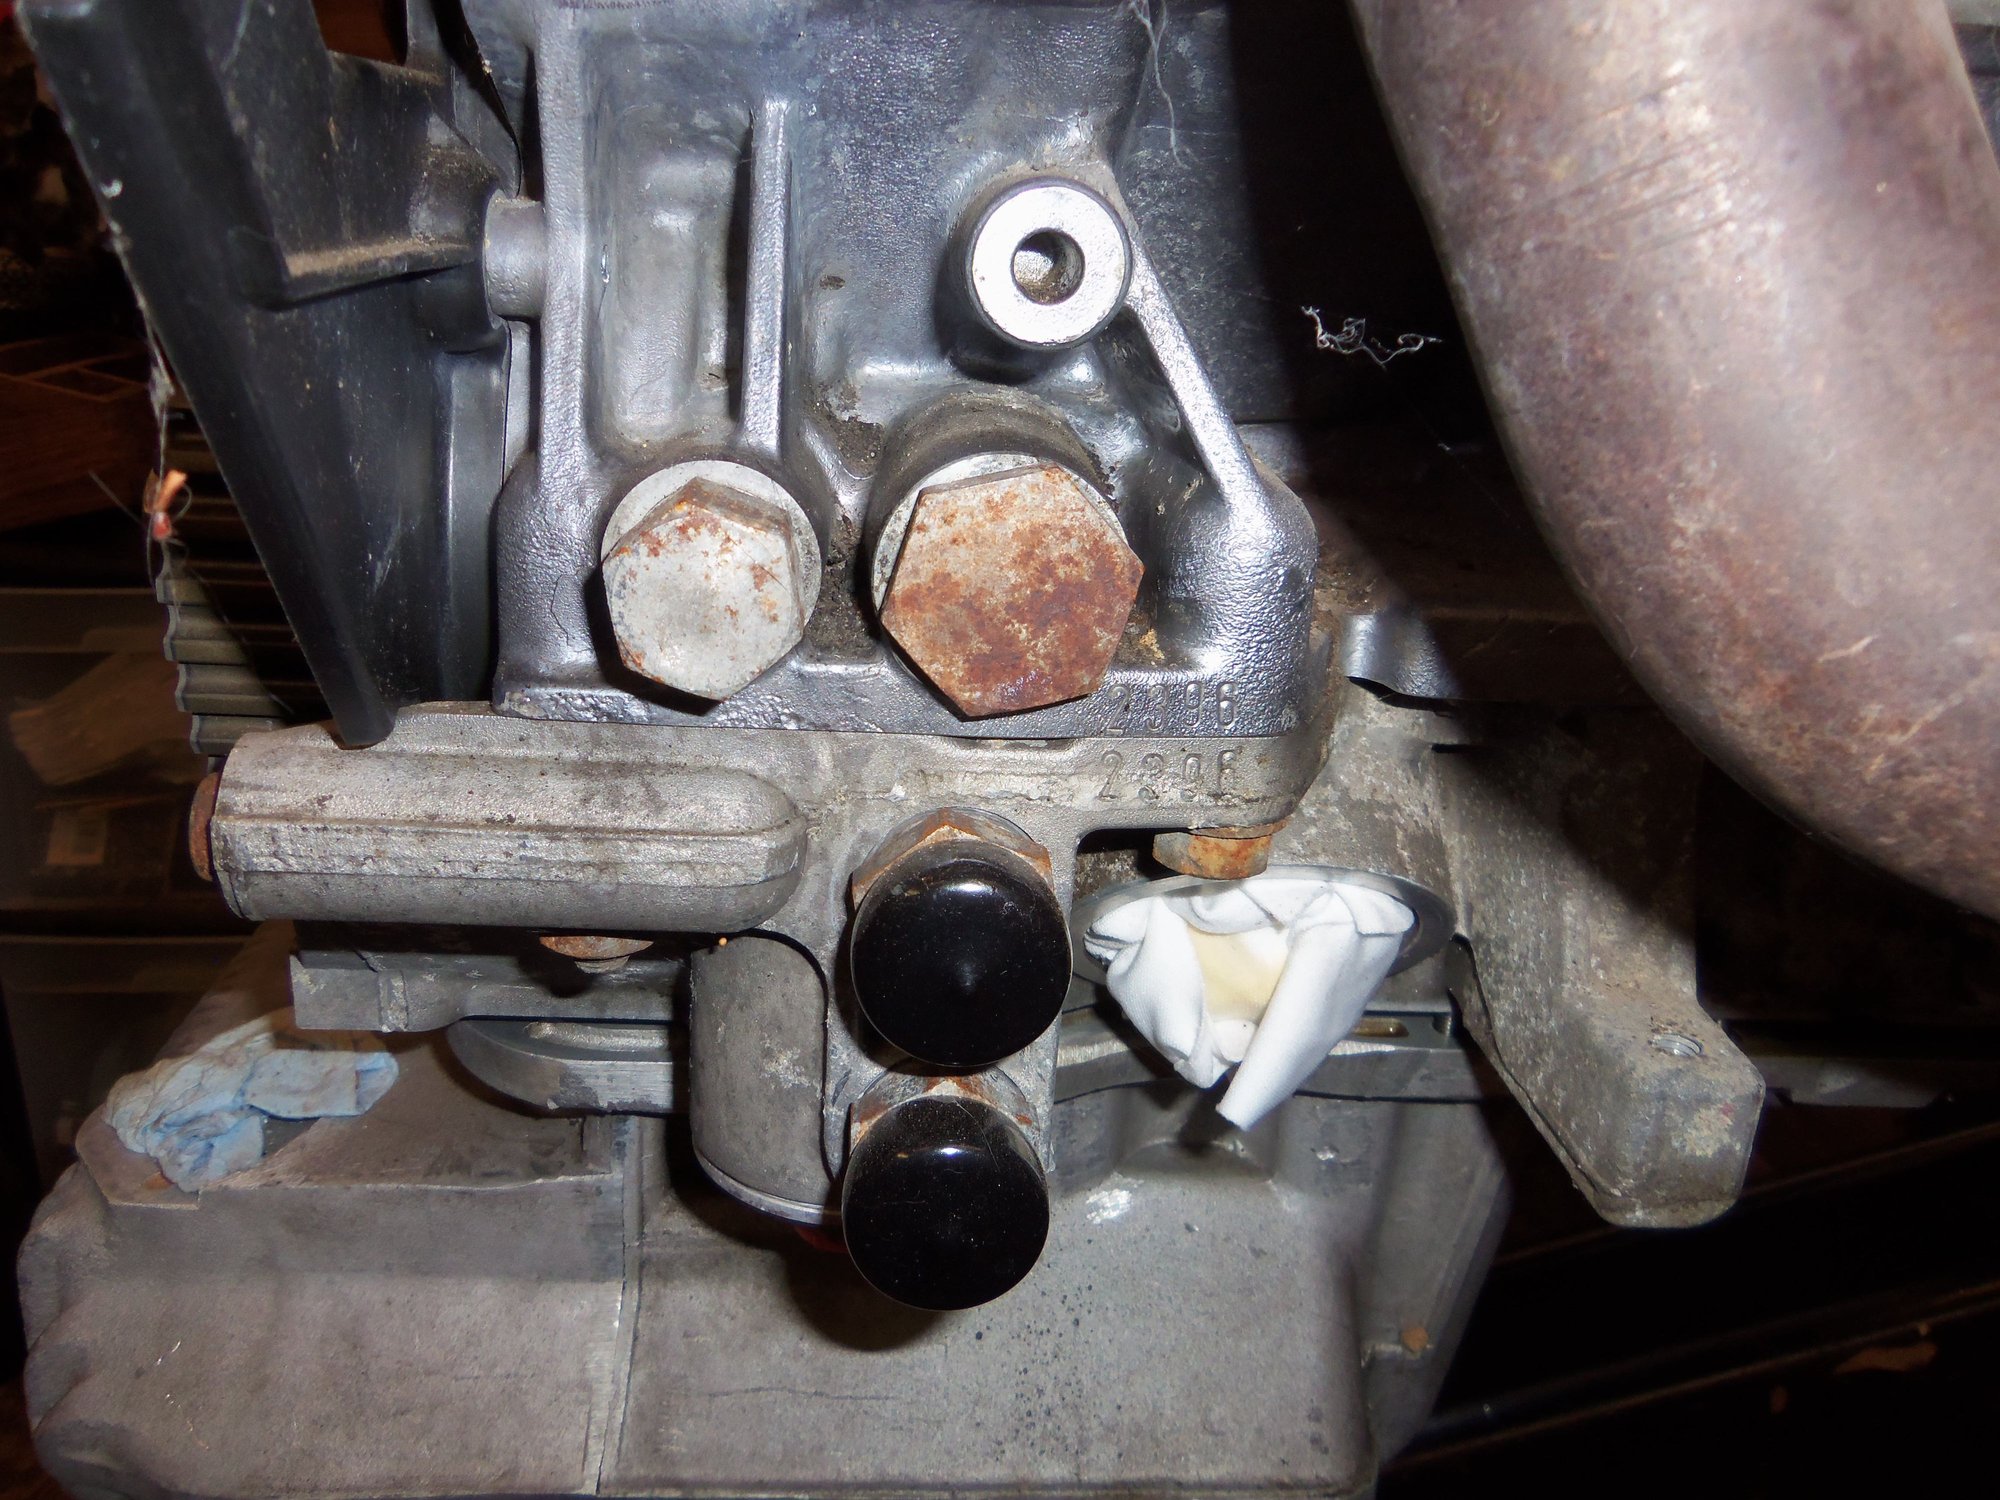
Note threaded stud, flat washer, flanged hex nut, and engine stand arm at top left. Also, note the top right bellhousing bolt hole. Is that a threaded steel sleeve?
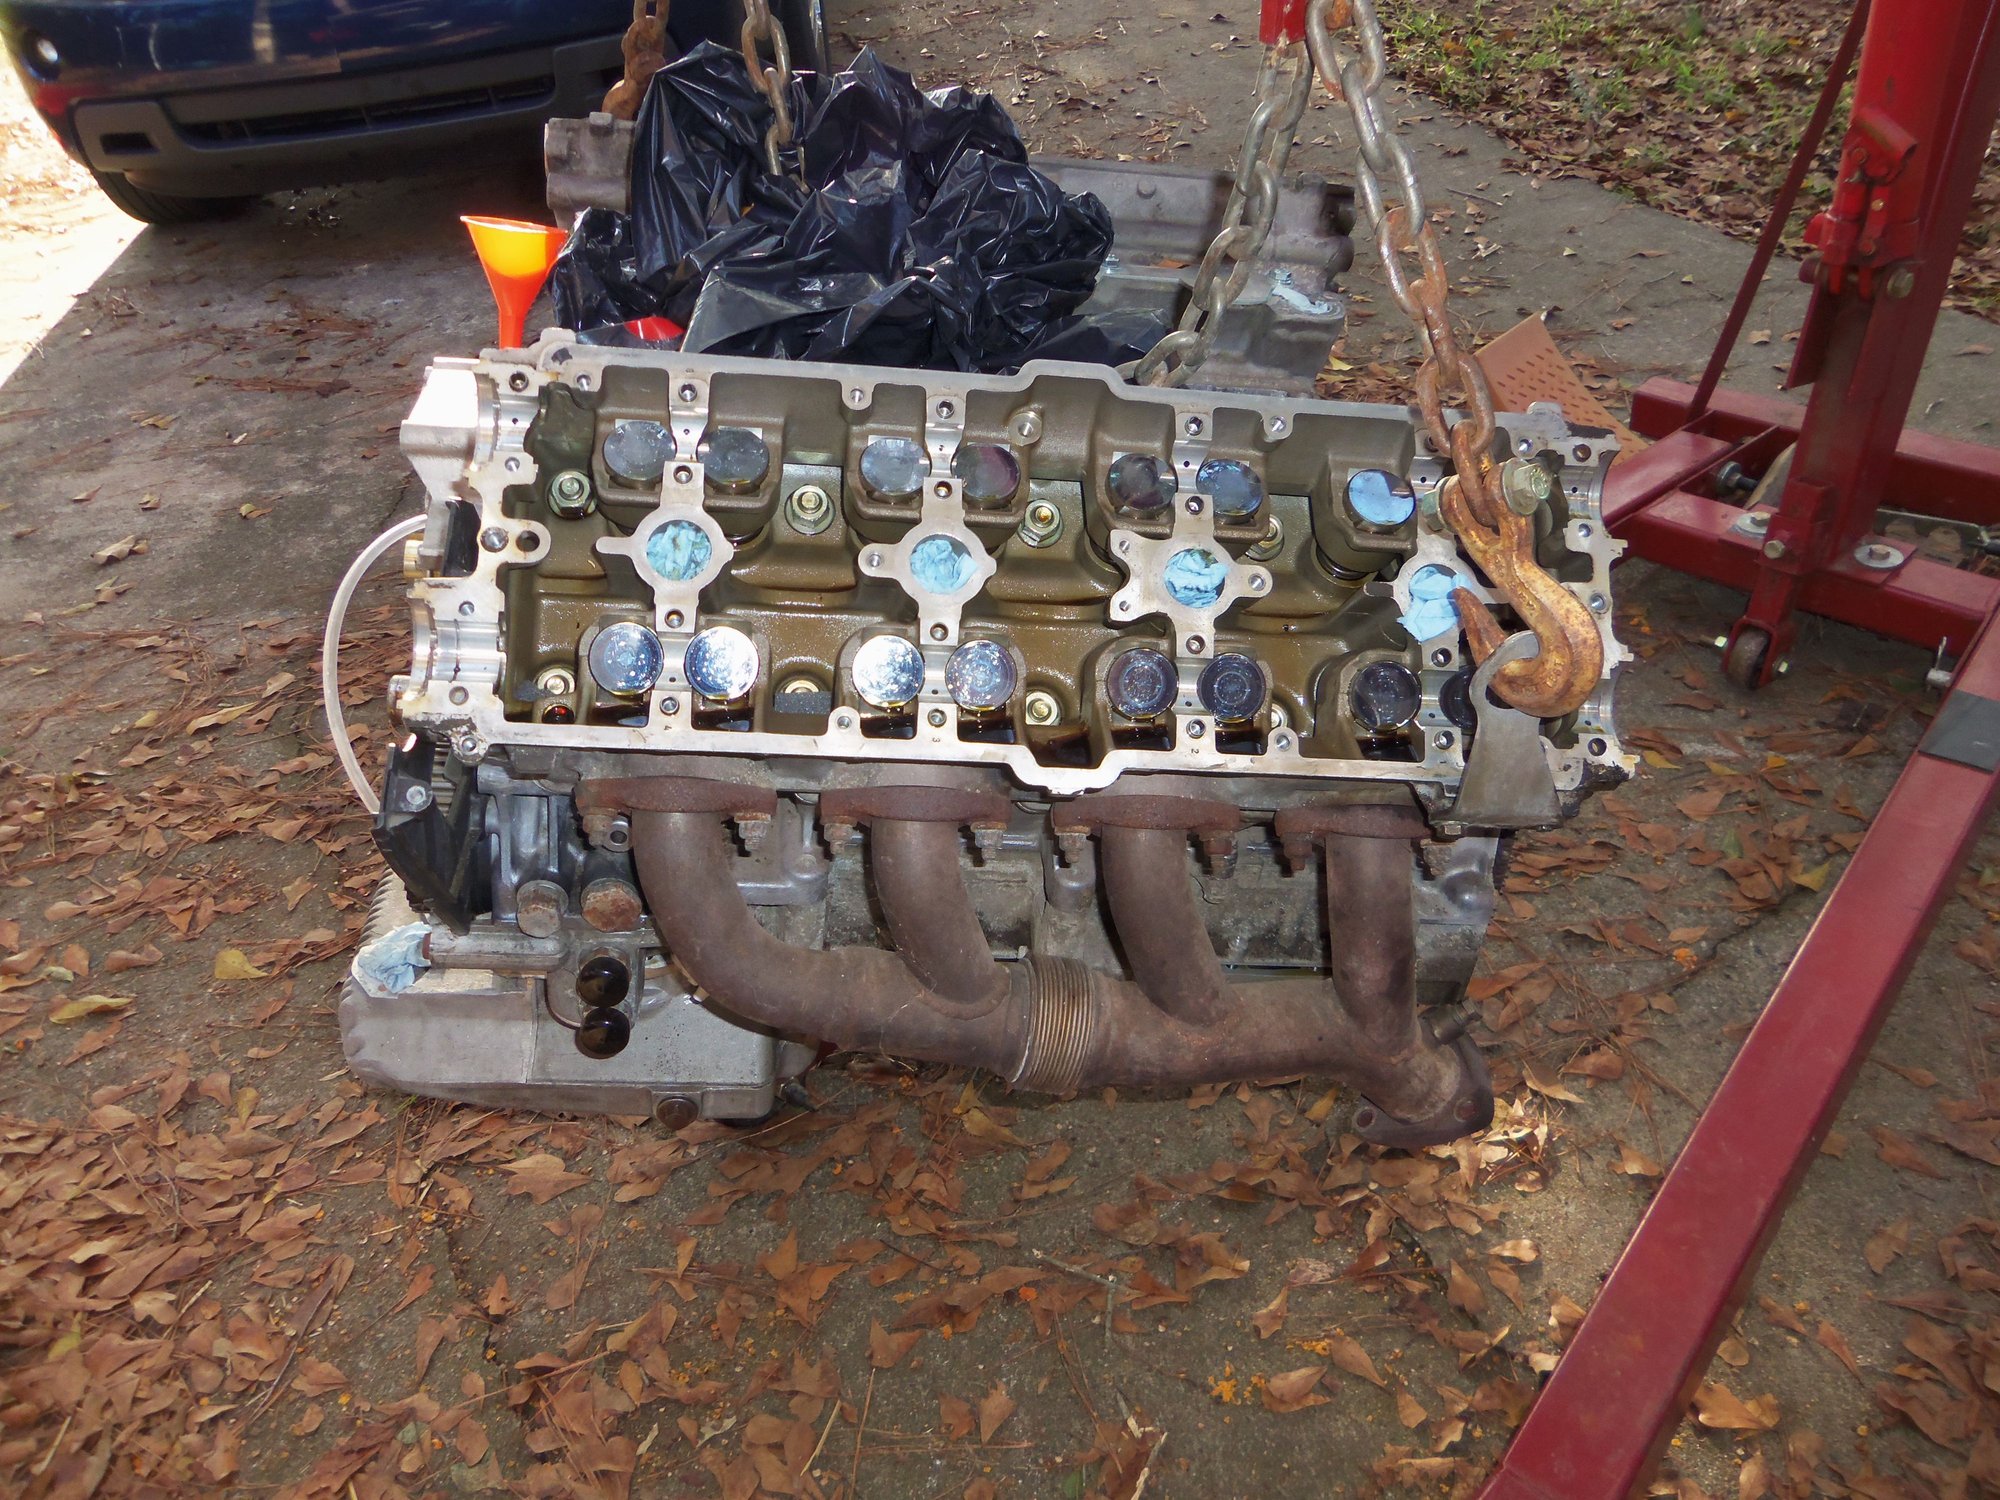
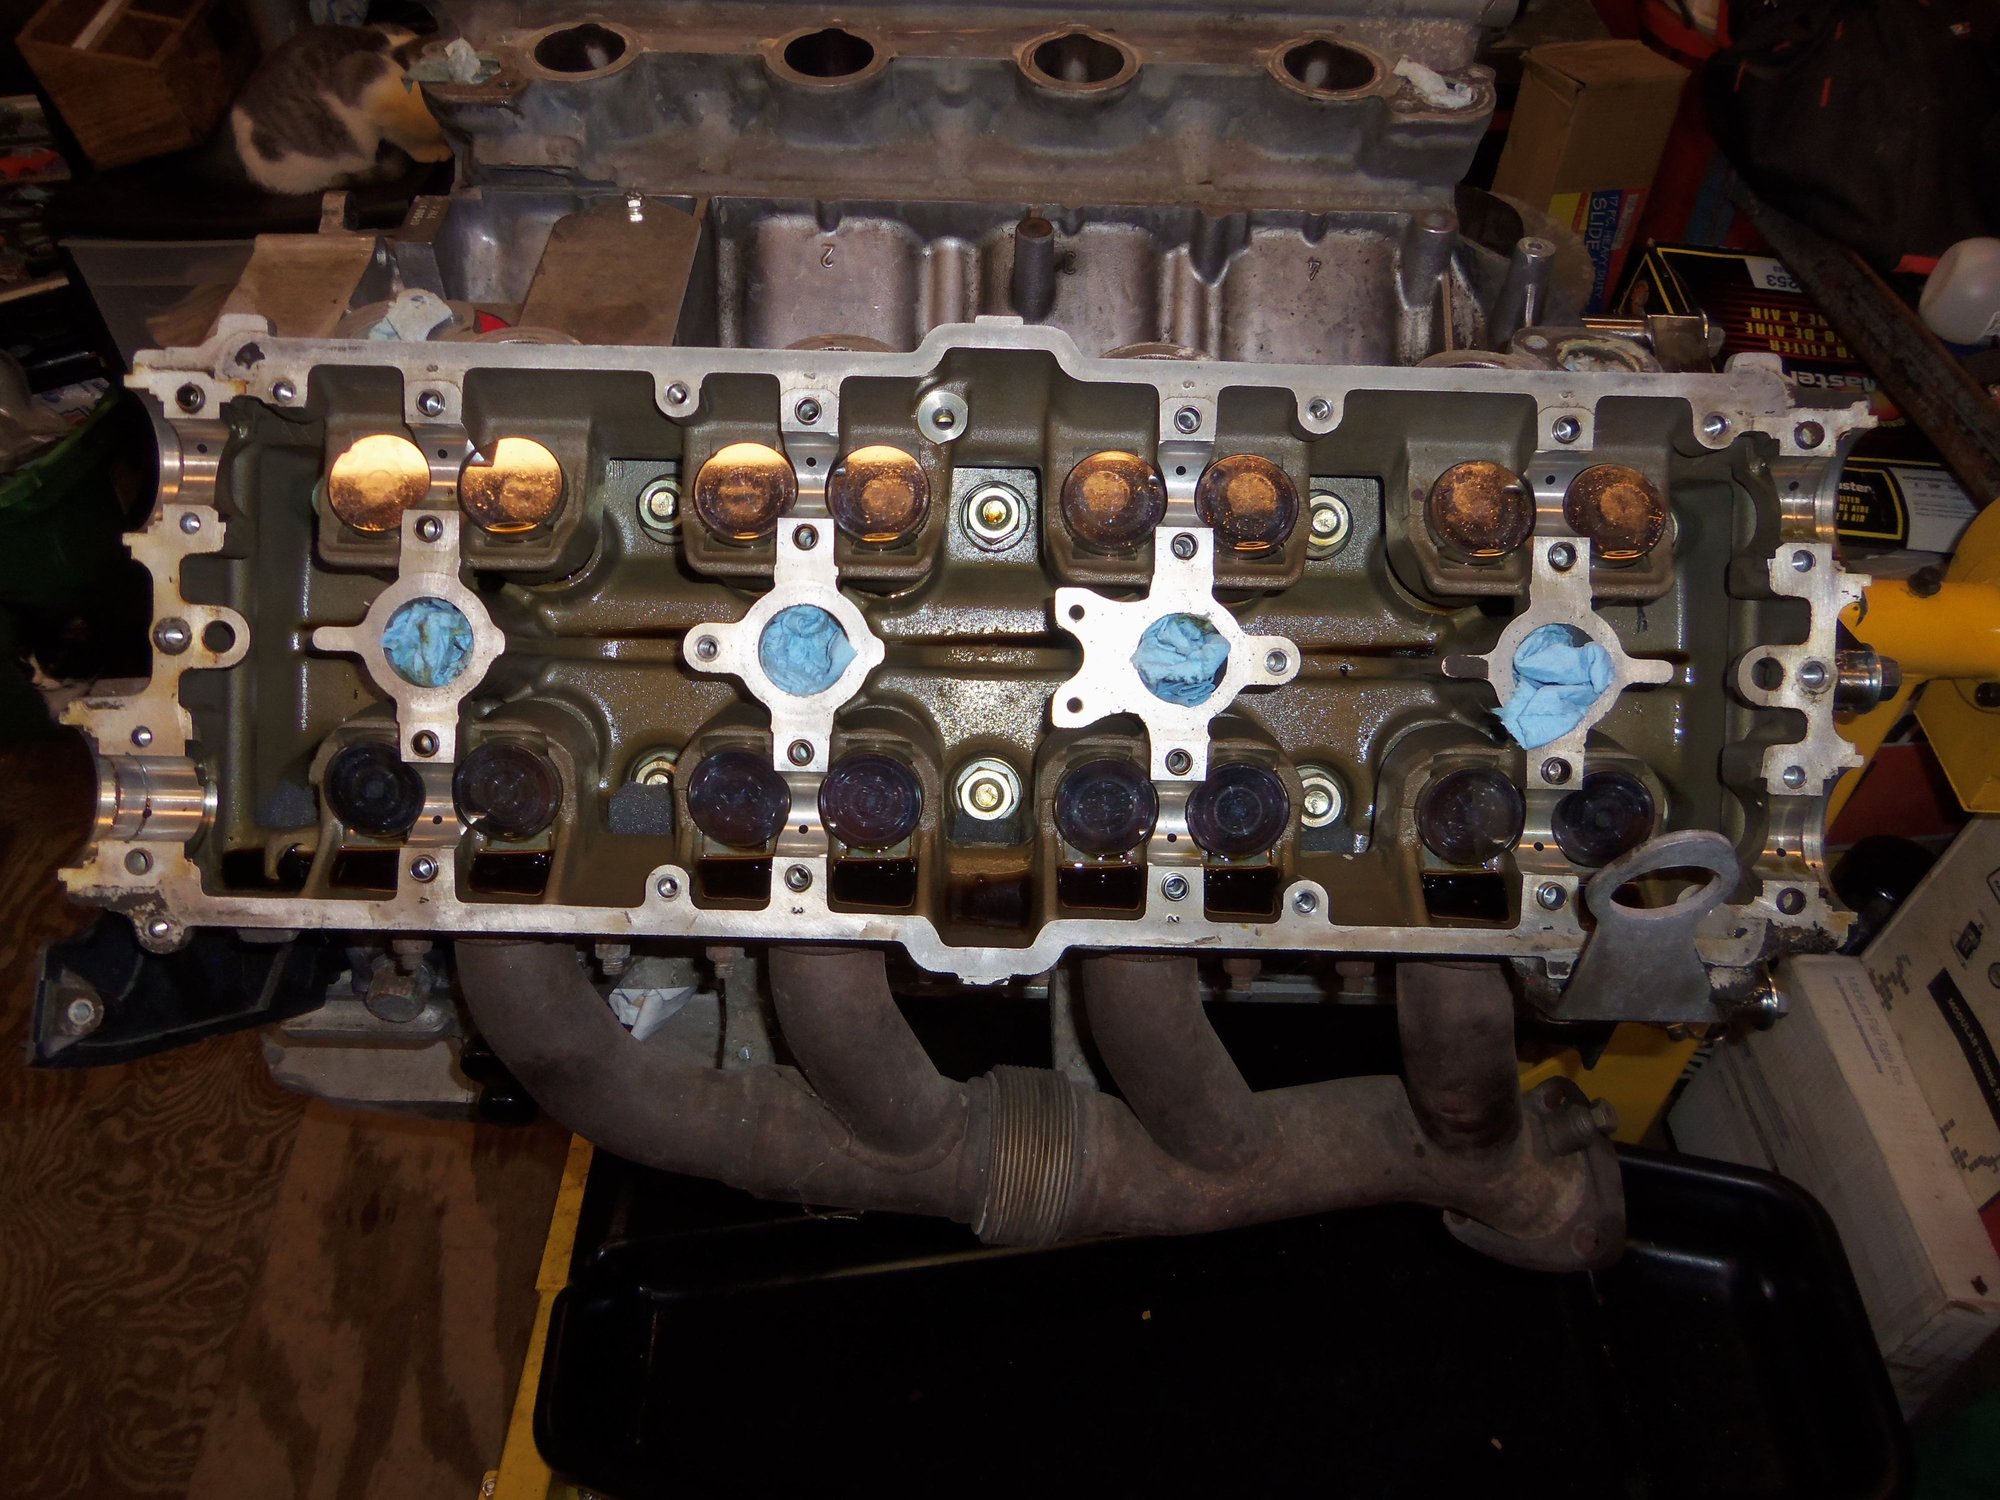
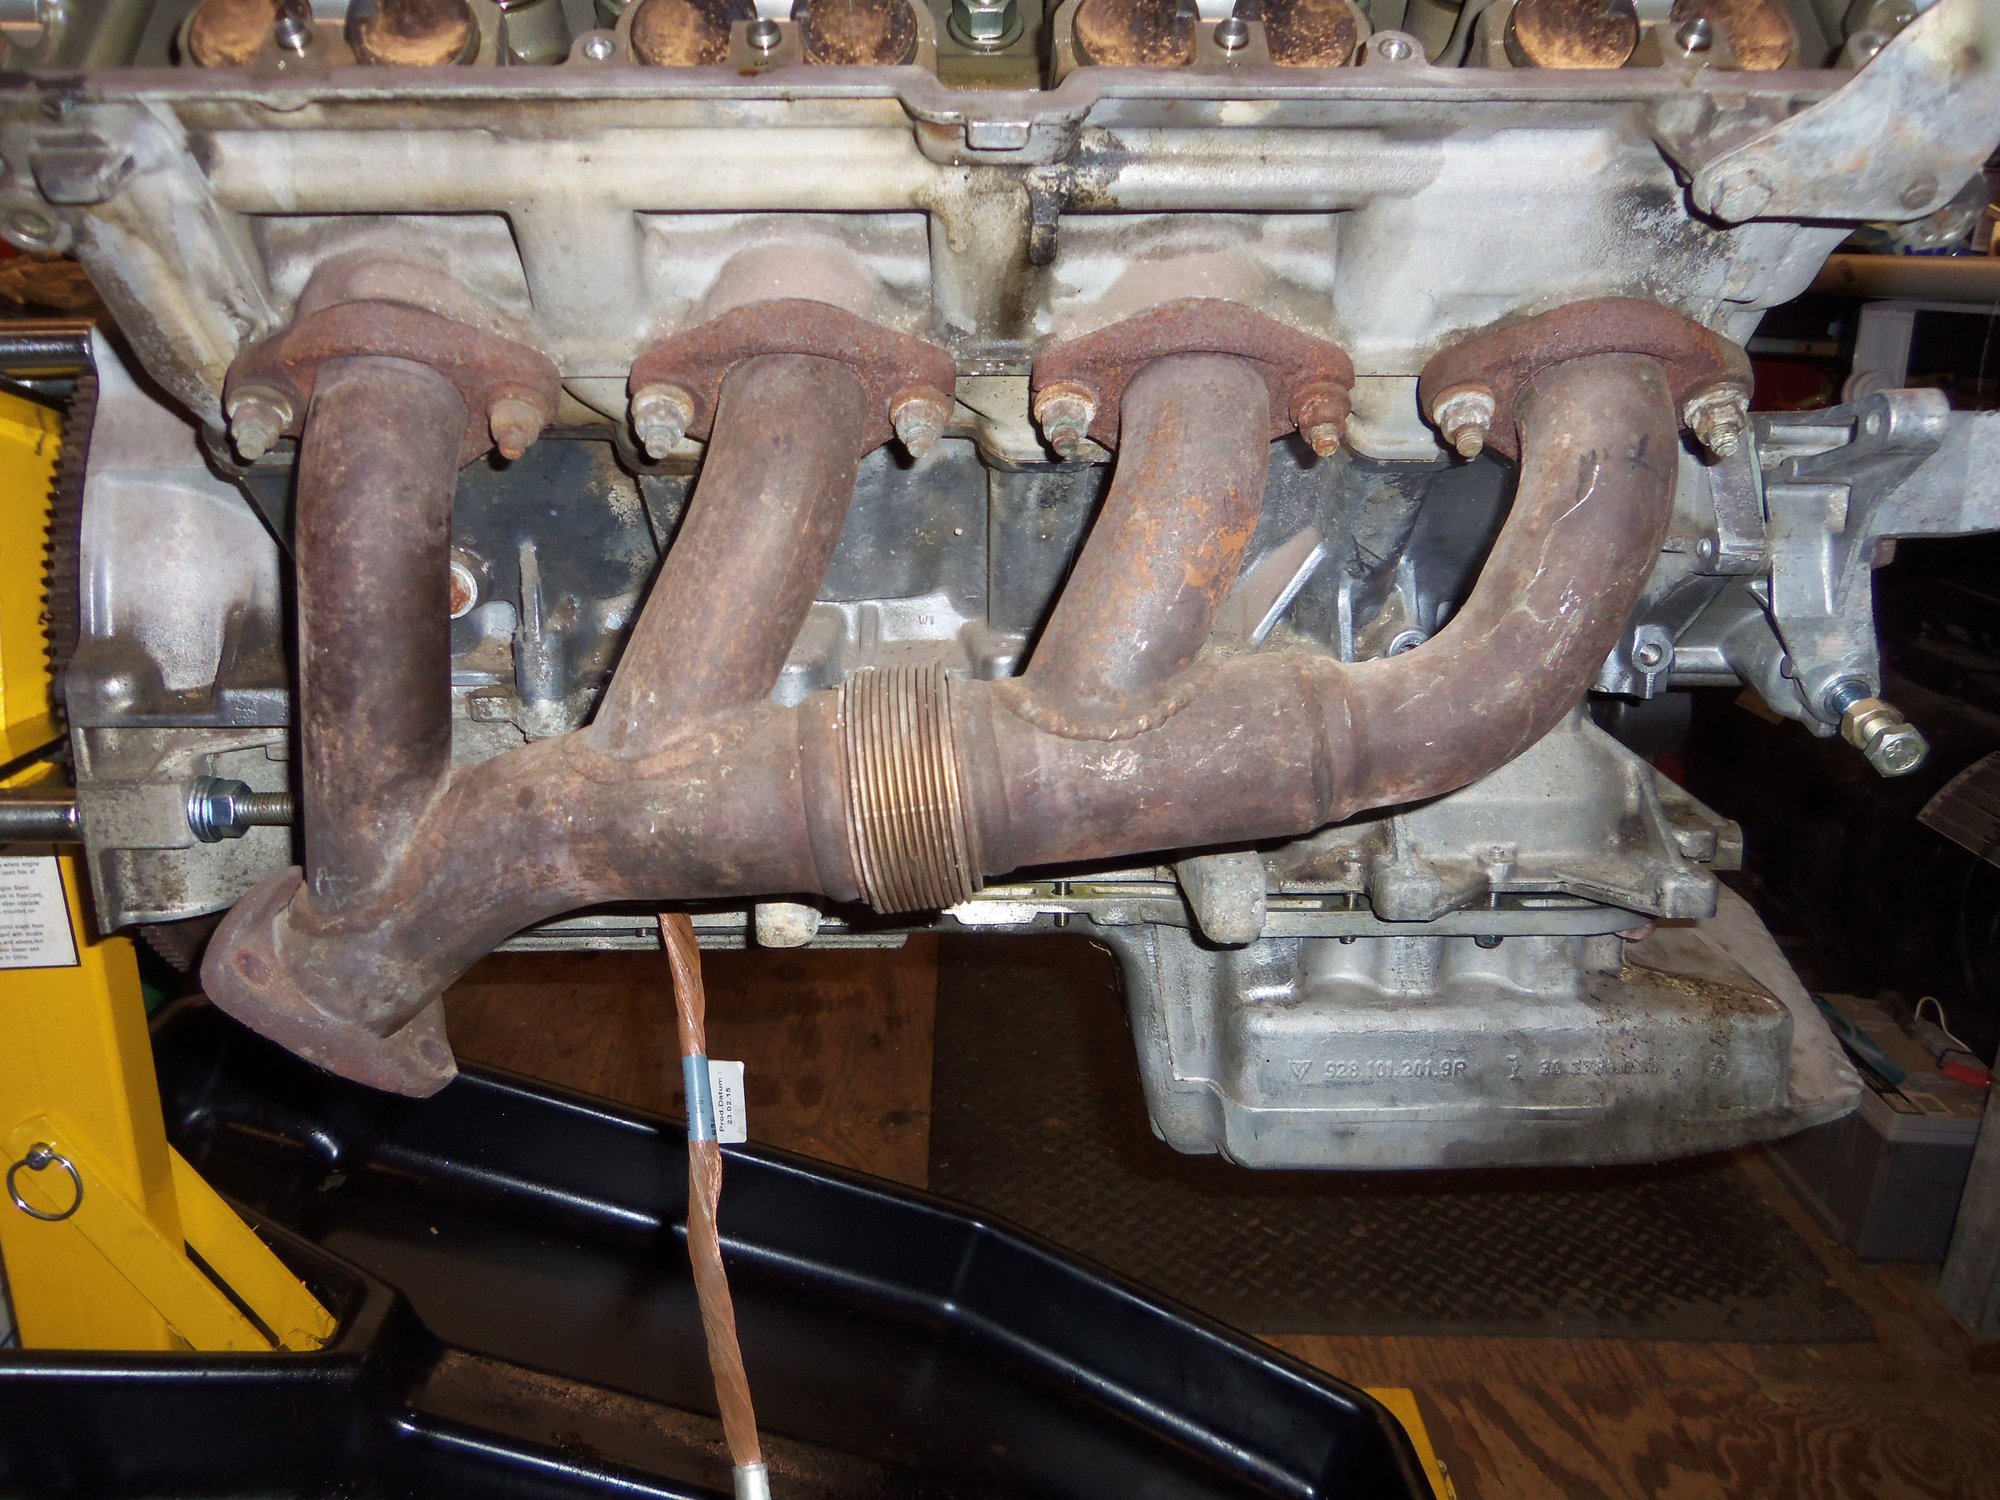
Driver's side head.
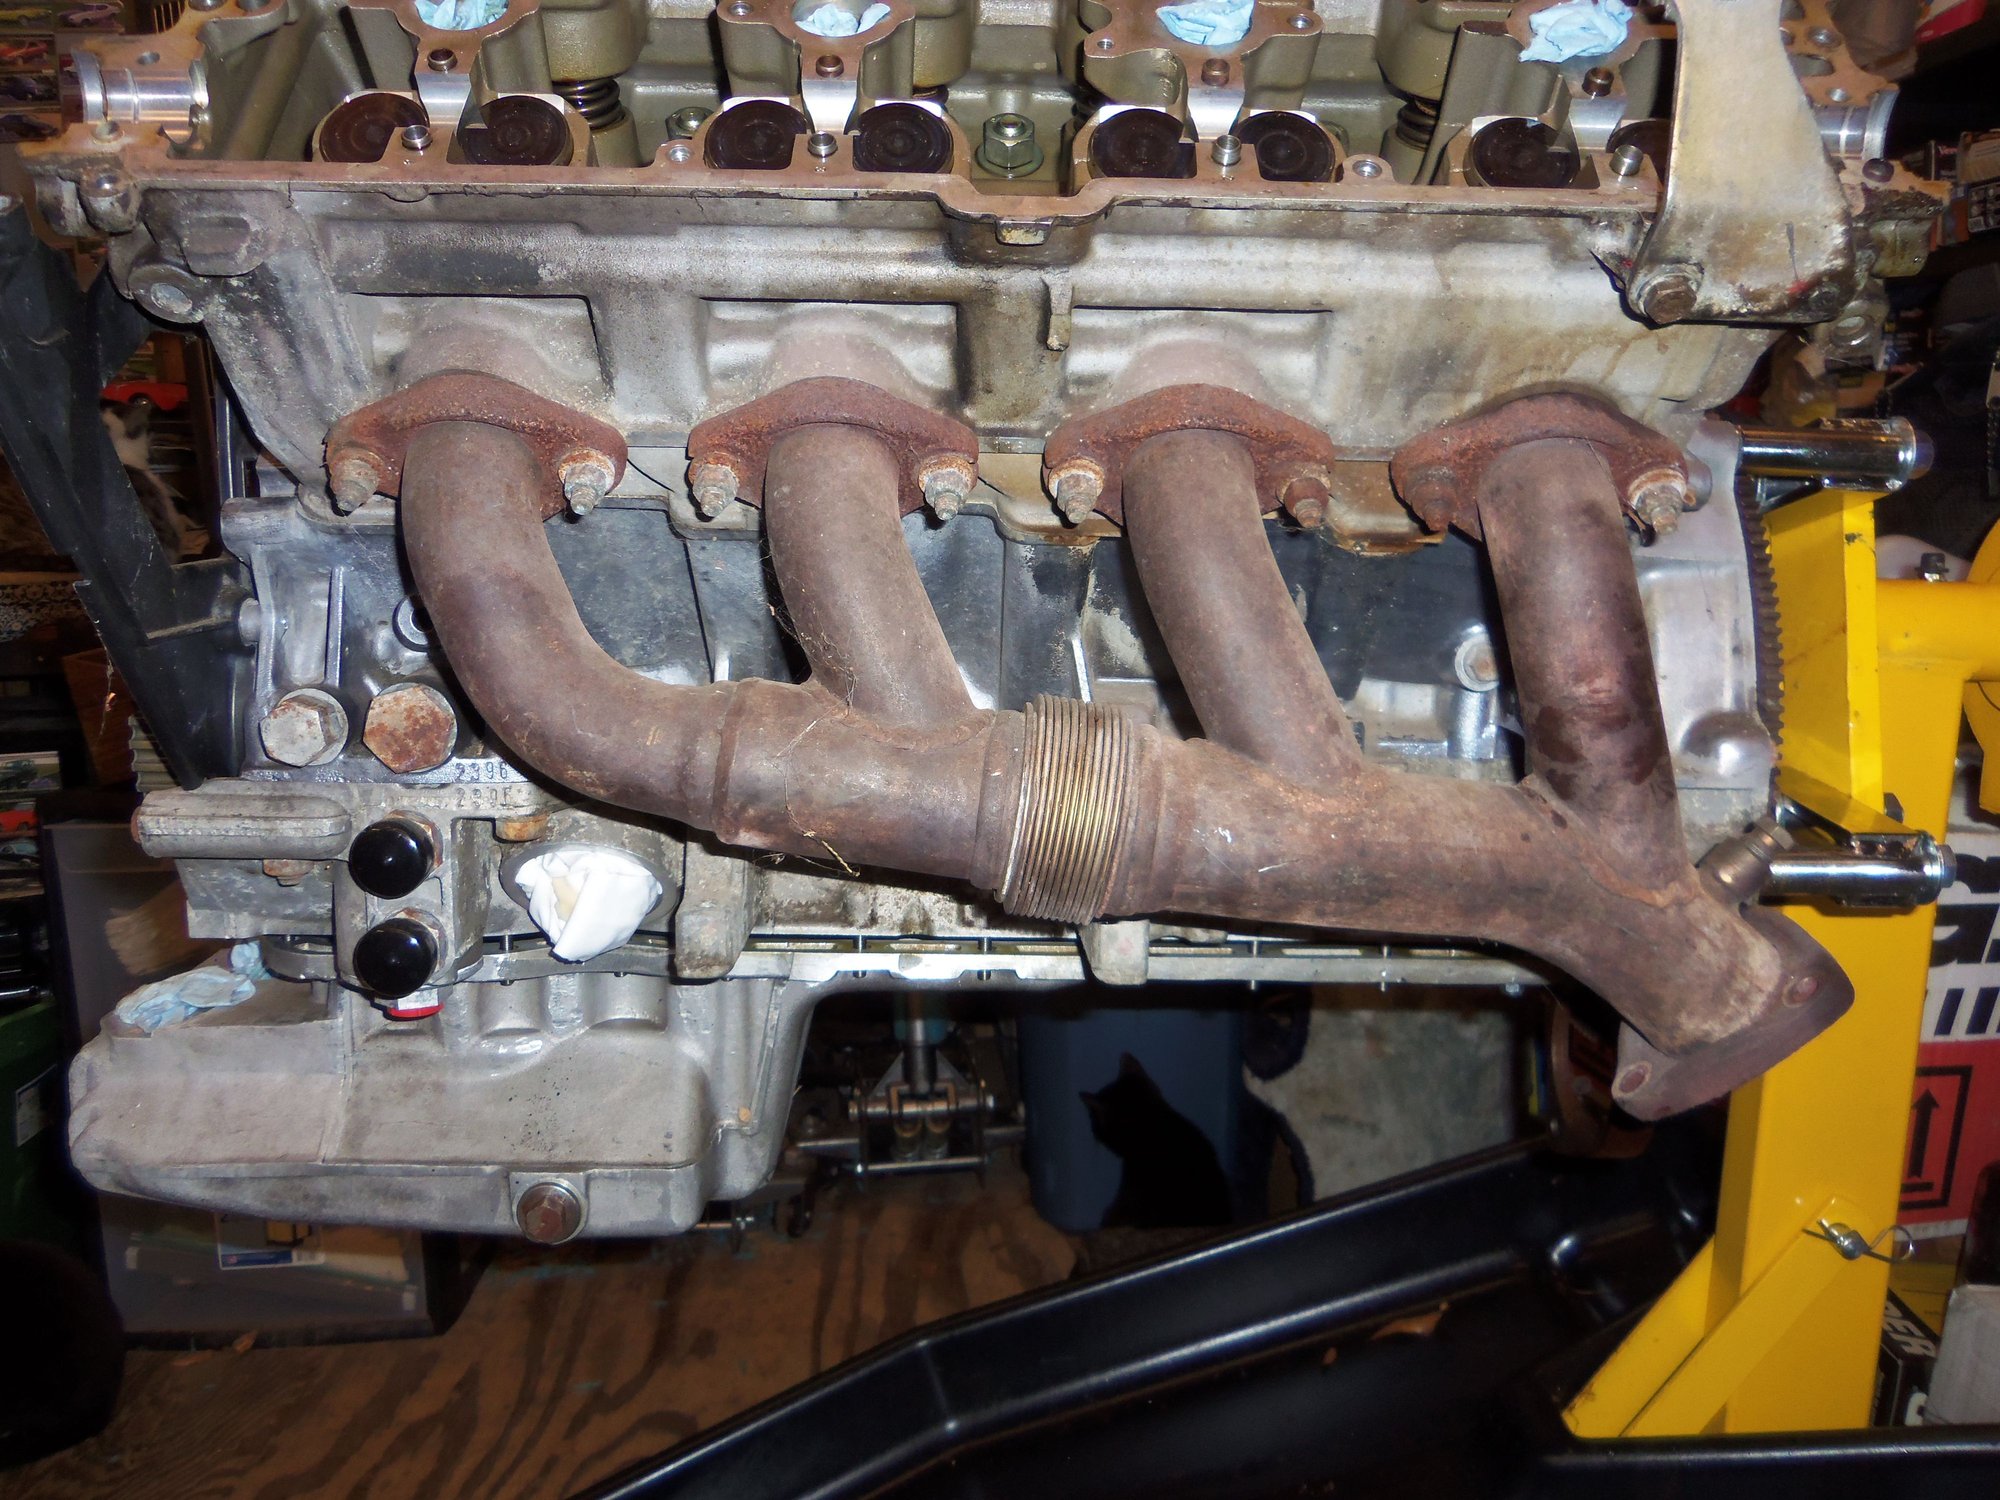
More driver's side. I need to start soaking the exhaust manifold nuts in penetrating oil.
Already been in here. Fittings and such have been removed, cleaned, repaired, and reinstalled.
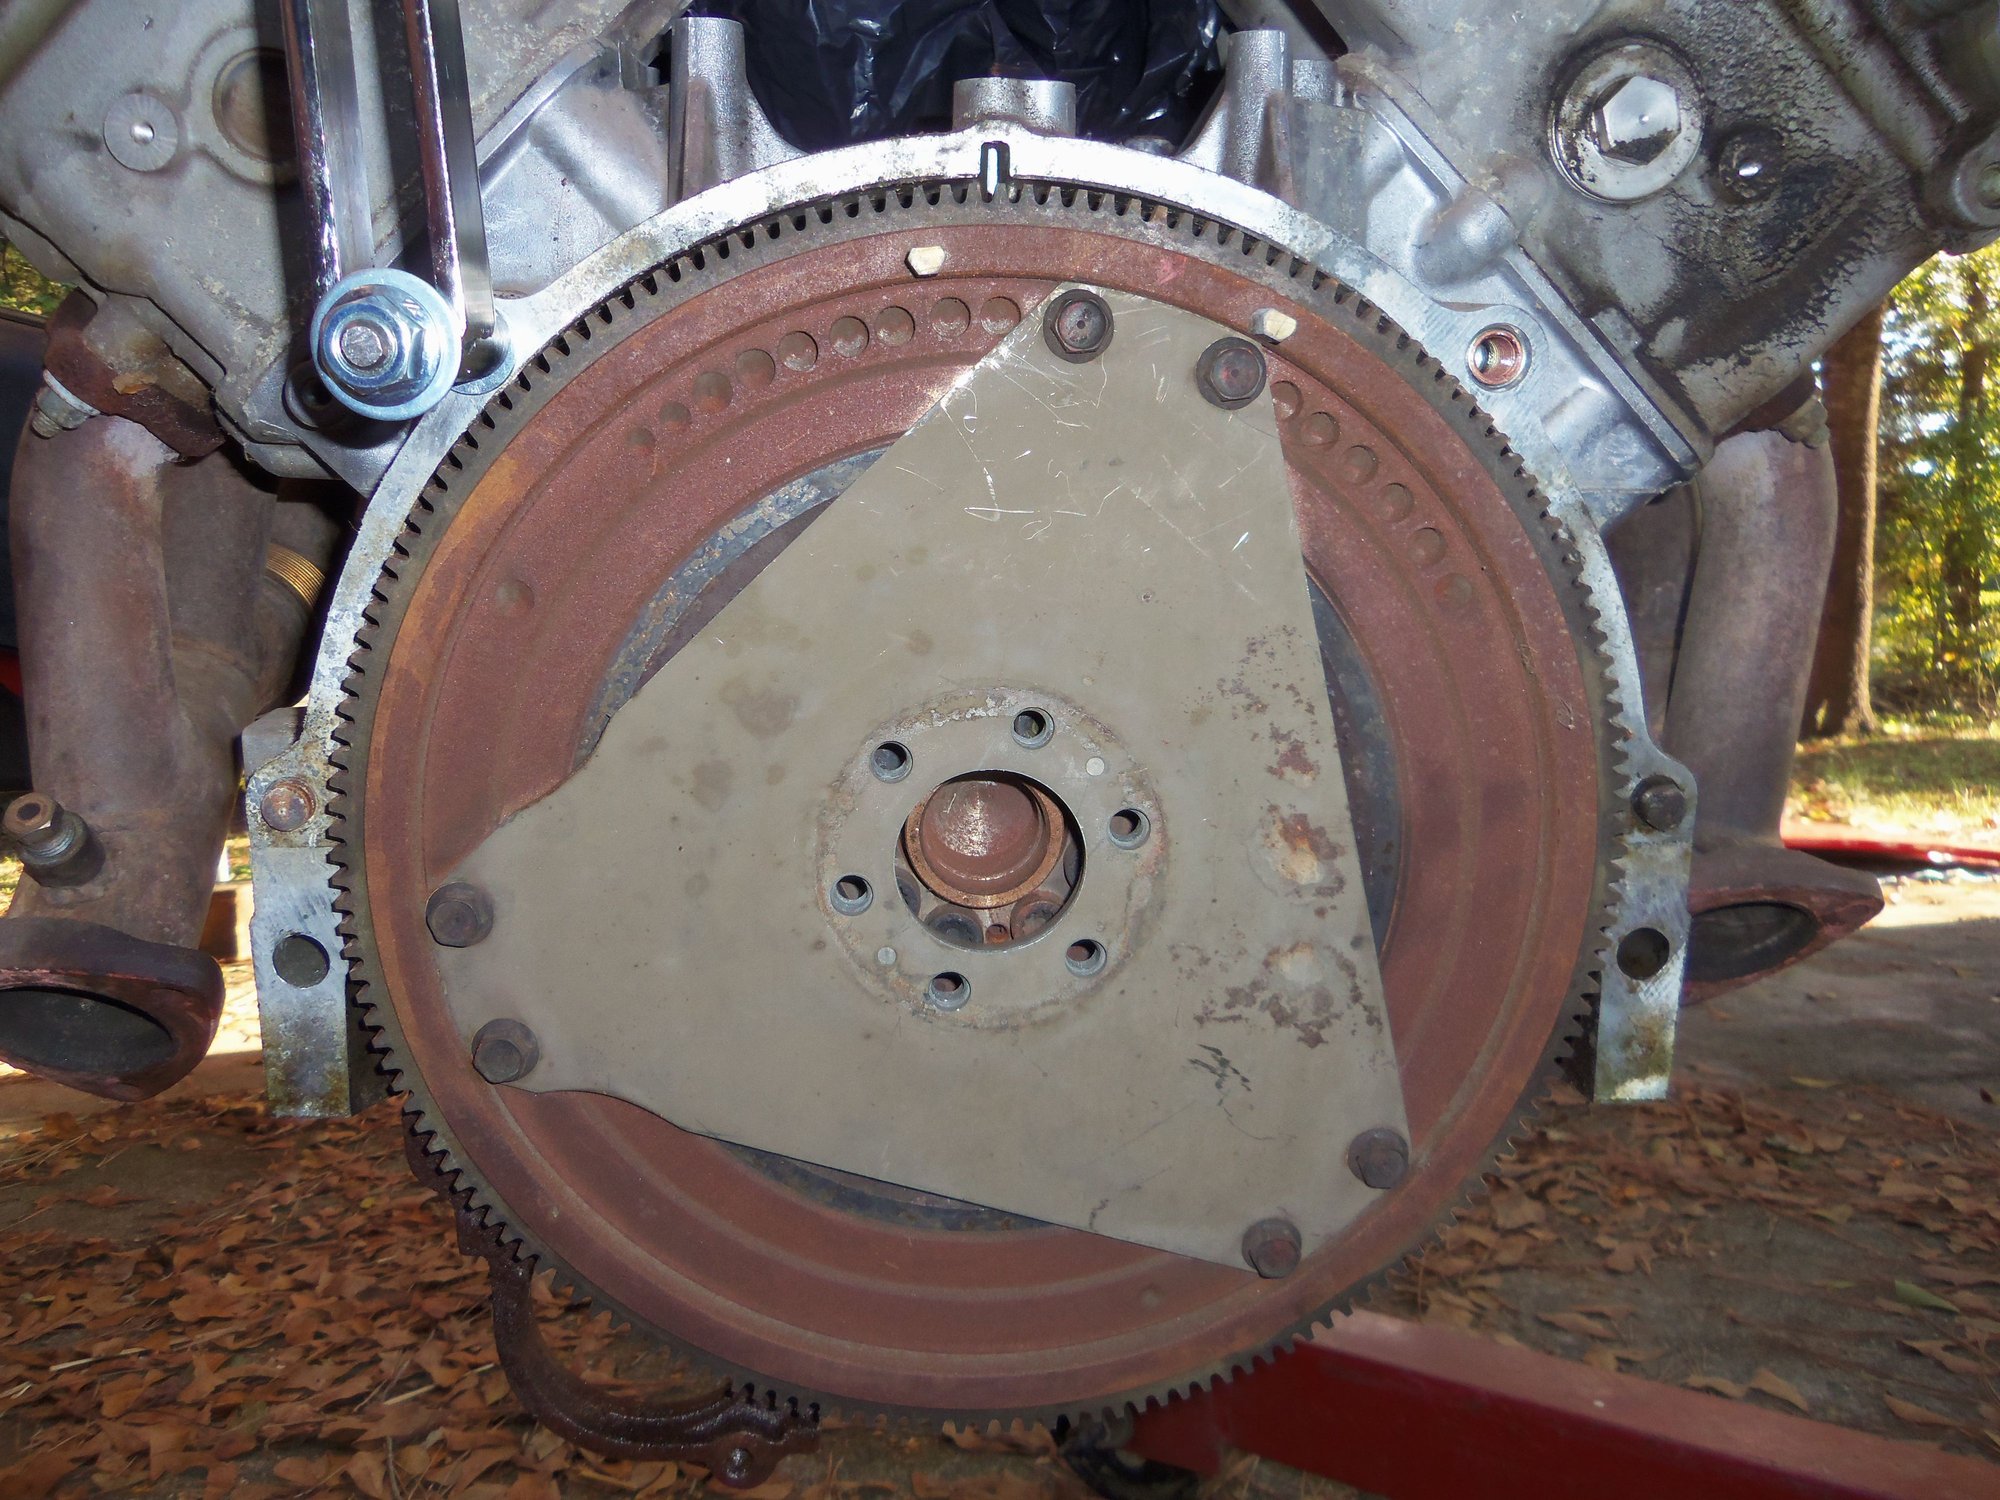
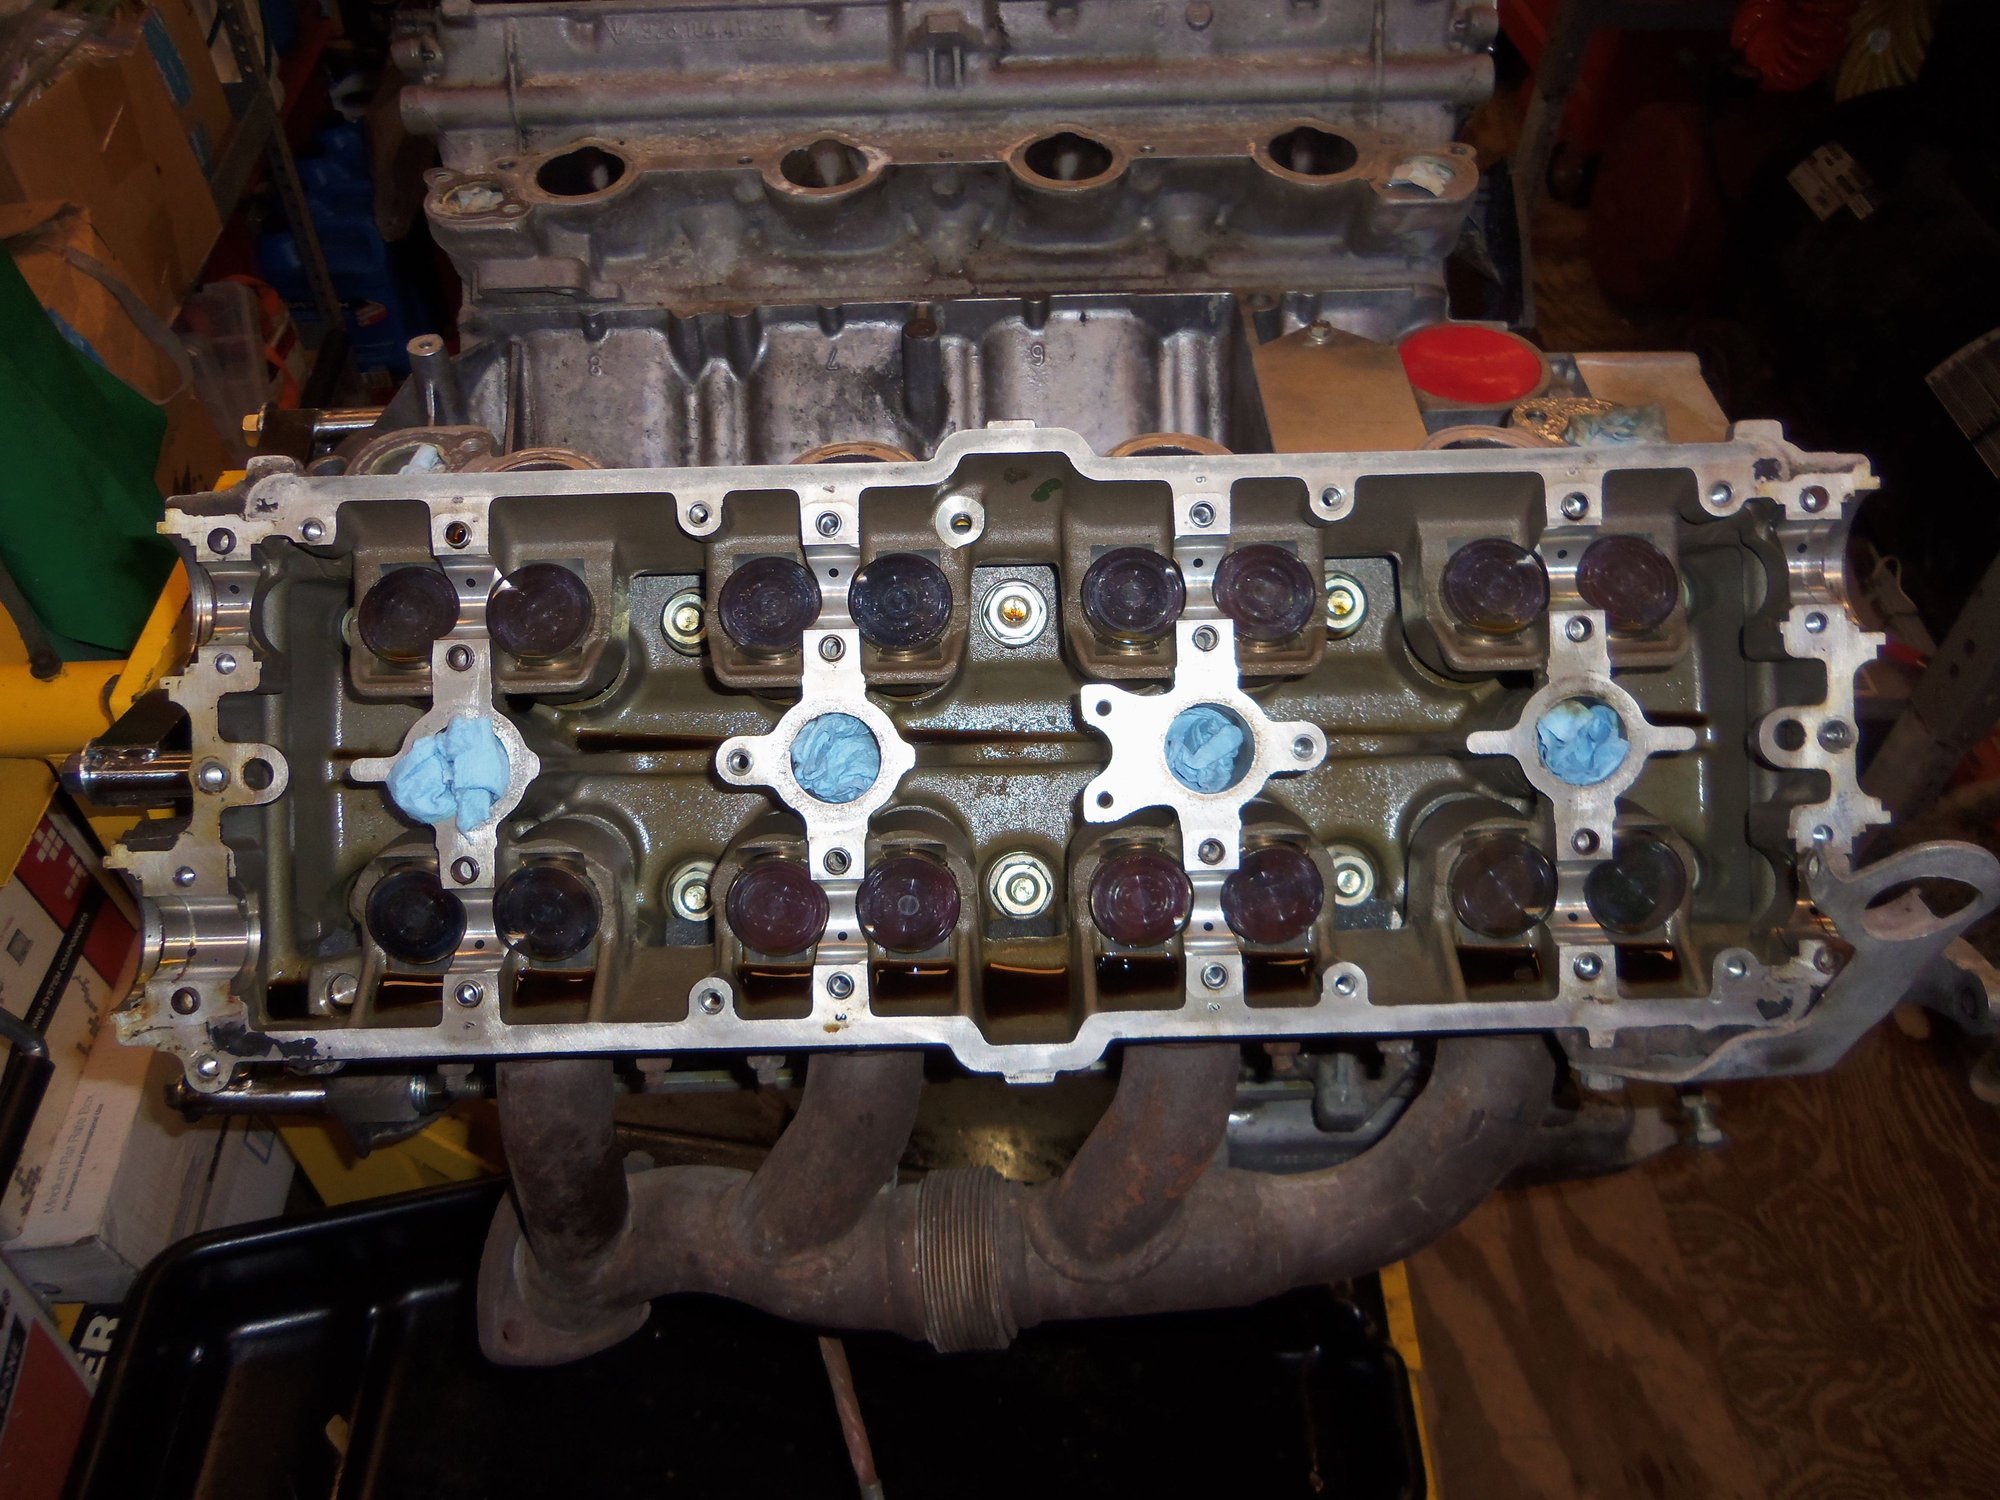
Passenger's side head.
Flywheel is still on because I don't have the correct cheese head socket bit. Its on the 'to buy' list.
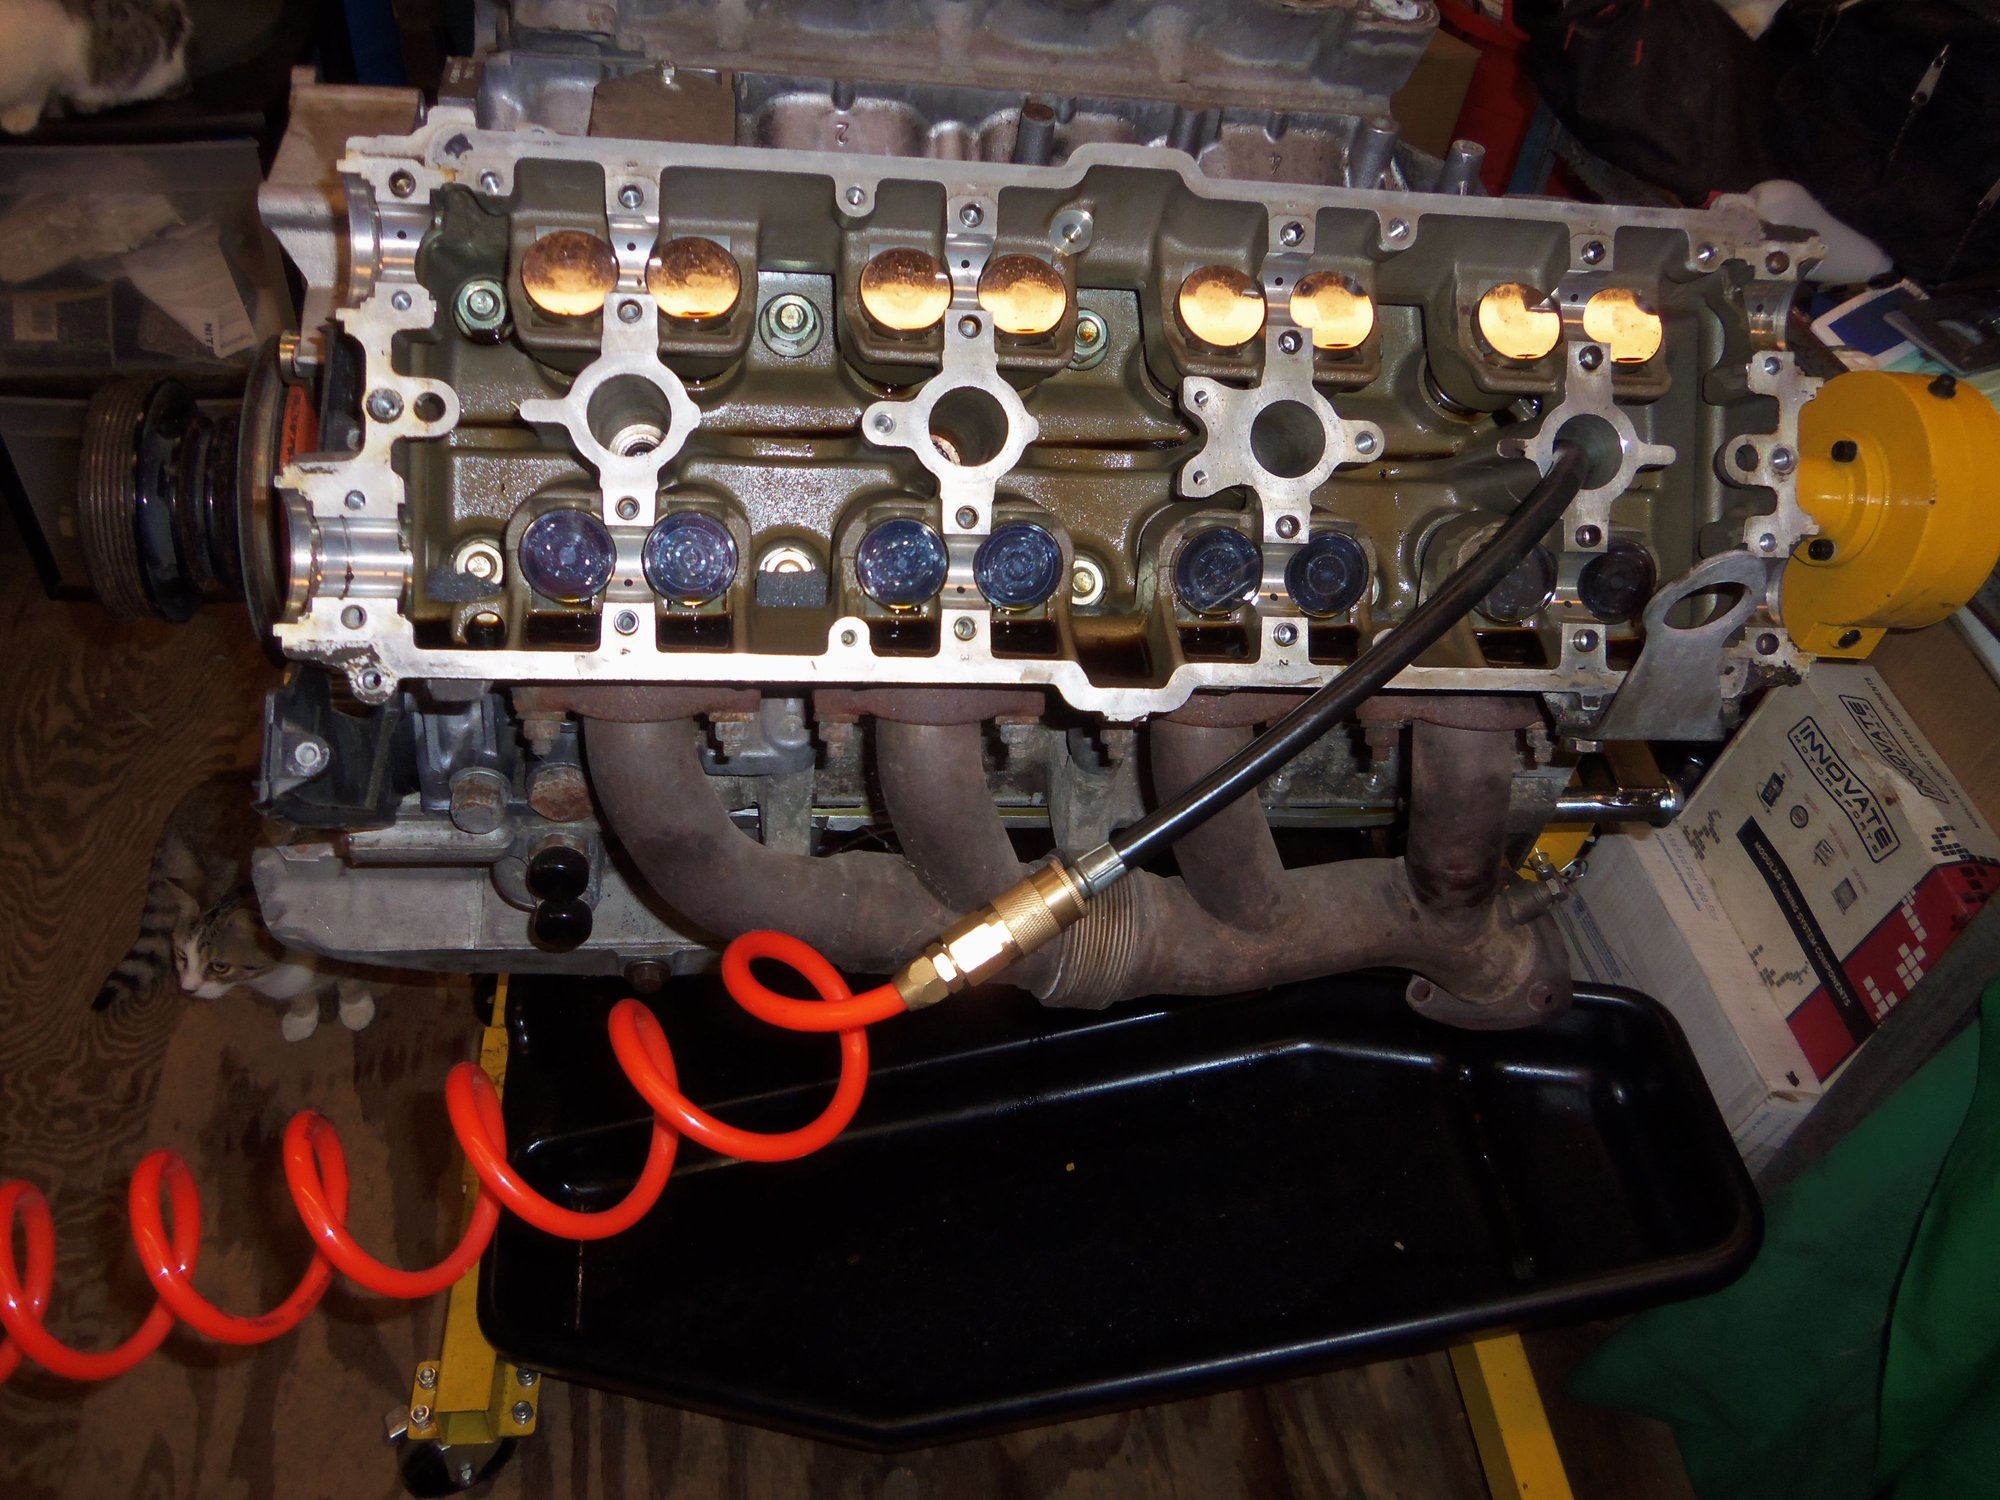
Before I pull the heads, I wanted to get some leakdown numbers.
I know these numbers will pretty much be useless, due to its a cold engine and I put some MMO in the cylinders last month.
I still want to know.
I set a regulator to 100PSI, then connected it to a compression tester hose to each spark plug hole. I turned the crank until each piston was at TDC. I gently used a long screwdriver to watch the motion of each piston.
Here are the numbers:
1: 94PSI, air out intake and exhaust
2: 88PSI, air out intake and exhaust, more air out intake
3: 89PSI, air out intake and exhaust, more air out of exhaust
4: 88PSI, air out intake and exhaust
5: 96PSI, air out intake and exhaust, more air out intaske
6: 96PSI, air out intake and crankcase, a little air out exhaust
7: 96PSI, air out intake and crankcase, a little air out exhaust
8: 92PSI, air out intake
Granted, on some of these, there could have been more air leaking out of the crank case, but I couldn't hear.
For all the air leaking out the valves, I am not sure if there is just crud on the seats?
Glad I am pulling the heads and having them redone. At 168,*** miles, its time.
Nice work. Where did you get the temporary hose caps from?
Thank you! Over the years, I have collected any cap or plug that I come across, for just this purpose. IIRC, these caps are from new sensor heads for Ammonia Detectors from my last job.
Originally Posted by jbrob007
Seth, You amaze me man! Wow!! I'll fly you up to Columbus when my engine needs a refresh!!!
Joel
Thanks, Joel! I am making this up as I go, but I have a plan.
Eh...I'm too slow to work on other people's Sharks.


 10-29-2017 | 01:41 AM