When you click on links to various merchants on this site and make a purchase, this can result in this site earning a commission. Affiliate programs and affiliations include, but are not limited to, the eBay Partner Network.
I'm running 245/40 18 in front and 305/35 18 out back. I was running 315 in back last year but didn't like the way the sidewalk flex on 315 upset the car on turn in. 305s tighten that up.
I'm honestly surprised you can feel sidewall flex with 315 on 12 especially on an NT01. What pressures are you running?
My company WheelFlip makes replacement lips/barrels for all wheels. Have E88 pattern as well if you need anything.
Not here to promote and can't receive PM's, but just FYI in case you just needed anything.
Well this is good to know. Based on how I hop inside curbs at Road America you'll probably be hearing from me.
Originally Posted by alexisthemovie
I'm honestly surprised you can feel sidewall flex with 315 on 12 especially on an NT01. What pressures are you running?
32/34 to 34/36 hot.. starting around 24/26 cold
sidewall flex on 315 is very noticeable until they get up to temp and then it's still loosening the rear on turn in. 305 has some of that property but i cant feel sidewall flex when they are up to temp. this is basically the same story from all the 3RS guys too
Your car and thread are making me drool. I am looking for basically the exact setup you originally bought for personal use and track. Maybe I'll see you at VIR or Road America!
Your car and thread are making me drool. I am looking for basically the exact setup you originally bought for personal use and track. Maybe I'll see you at VIR or Road America!
Road America absolutely. VIR maybe next year but not this season. Got your PM. Happy to help.
Had a great day on Friday with LAPS at Road America. Kept it shiny side up, no brake fade, nailed tire pressures on the first session, did some passing, let some people by, had a schnitzelburger, set a PR. Here's a video link from the Snap Spectacles I wore. The format is a little wonky but they are so easy to use on track safely that it would be dumb not to use them.
Had a great day on Friday with LAPS at Road America. Kept it shiny side up, no brake fade, nailed tire pressures on the first session, did some passing, let some people by, had a schnitzelburger, set a PR. Here's a video link from the Snap Spectacles I wore. The format is a little wonky but they are so easy to use on track safely that it would be dumb not to use them.
Look into the Garmin Virb Ultra 30 with the auto racing bundle. You may need to find a place that still sells the OBDII input, but the thing is awesome. I use it for my motorcycle track days, lean angle, accel, decel, altitude...all of it.
Here's a collection of short vids filmed by a friend at the track from various spectator spots (Turn 5, Turns 10-11 at the Carousel heading into the Kink, and standing over track at the start/finish flag station.)
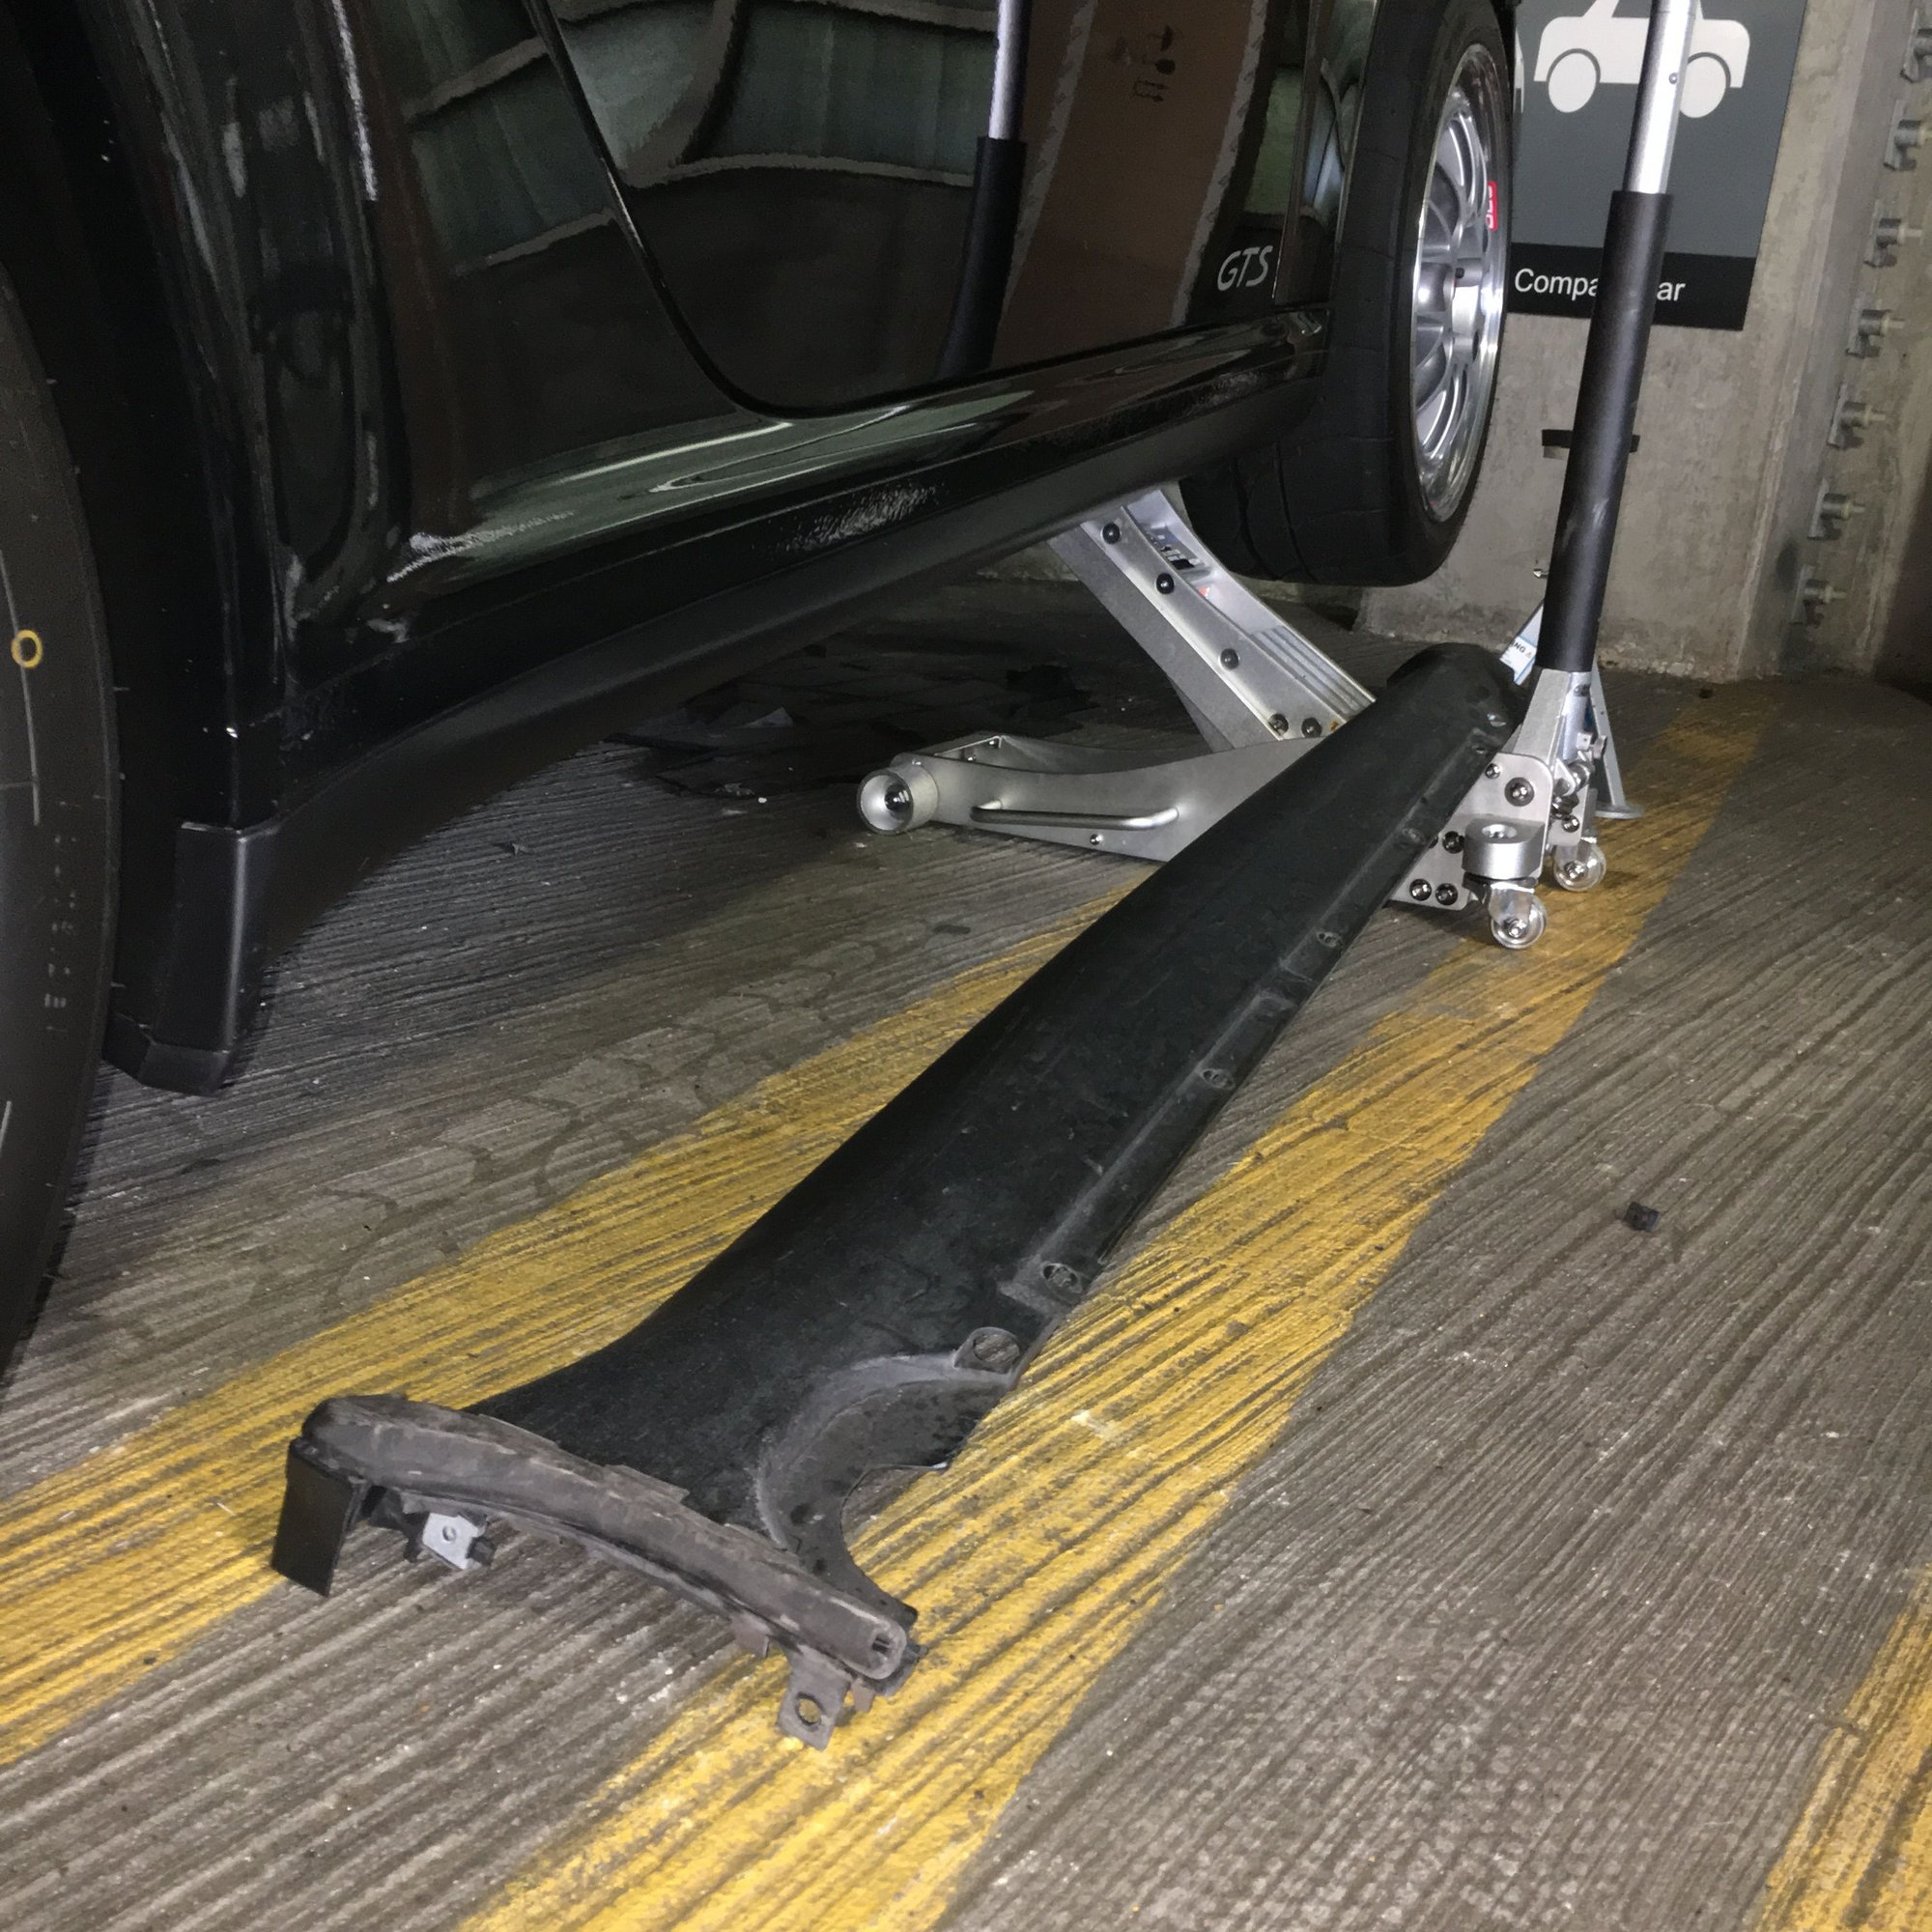
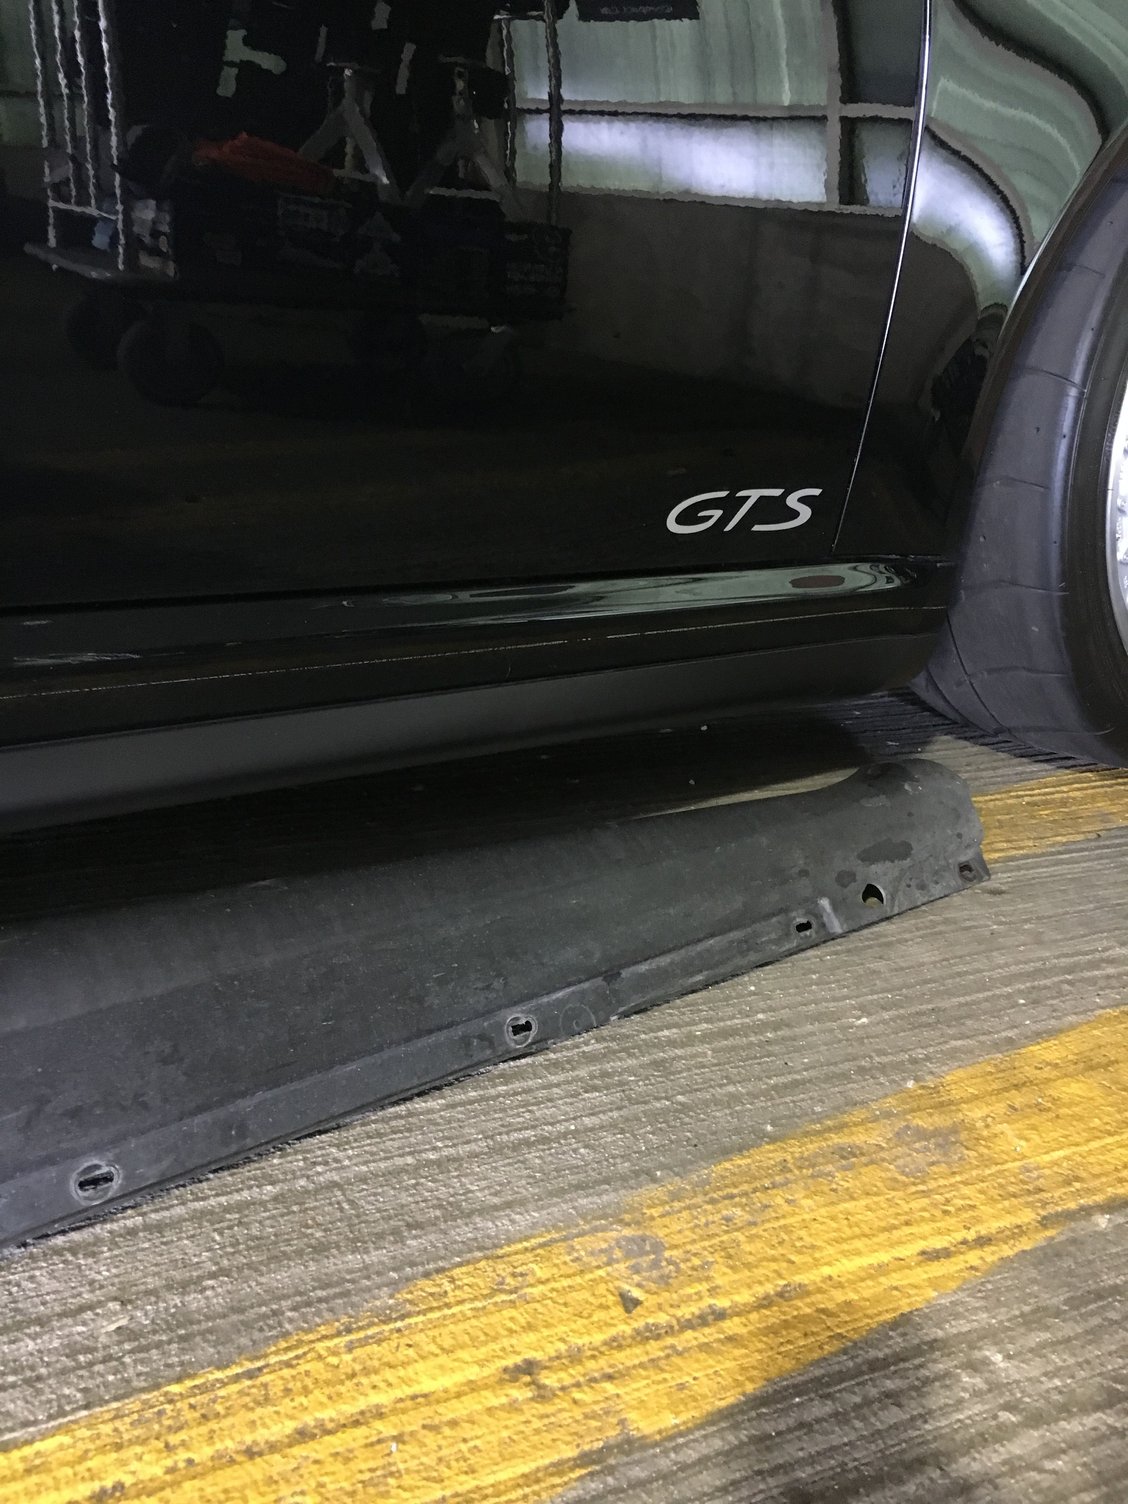
I used the slow Friday before the long Memorial Day weekend to swap the GT2 rocker trim and the front under-tray.
The rockers were scuffed from debris beyond repair and one of the soft rubber mud flaps dislodged from curbing the car at Road America so much.
The rear wheel needs to come off to get access to the two screws holding the rocker trim to the car. There are about 6 more screws underneath too. The rest of the attachpoints are pronged tabs. In removing the first rocker panel I pulled down on these hoping they would pop out. Most did but several broke off. I found that they are actually two pieces and if you first pull the rocker away from the car laterally instead of down you will remove the rocker from these tabs. The rocker won't be damaged and you can then remove the tabs from the body and replace them. They are sold separately for a buck or so each and there are about 8 of them.
The front undertray was drooping after my post track day inspection and I noticed a tab that holds the tray up had broken. You can see the broken tab in the picture of the trays below.
Getting to the panel without a lift was a pain but the process was straightforward. About a dozen screws and a pair of plastic flange nuts hold it in place. You do need to remove a few flange nuts from the center under tray because the center rests on top of the front. The whole process takes maybe 15 minutes. Also a good time to shake any road debris like rocks and leaves out of adjacent panels.
One thing I found interesting is the venting on this panel. There are two part numbers for this tray. One with vents and one without. The tray without vents is for the RWD cars. The part with vents is for AWD cars. The vents are, I presume, to direct cooling air to the front differential which of course a RWD GTS does not have. Yet my car still has the vented panel and a big void where a front differential could go. I suppose one could increase under-car aero efficiency by using the non-vented panel, but I decided to stick with the vented panel since that's what the engineers decided to use originally.
Thanks for the excellent write-up. I also need to change my side rockers. Mine are pretty beat up and flaps on both sides are gone. Care to share what you paid for the replacement pieces from Prosche; here or in a PM?
Thanks for the excellent write-up. I also need to change my side rockers. Mine are pretty beat up and flaps on both sides are gone. Care to share what you paid for the replacement pieces from Prosche; here or in a PM?
Thanks again.
ill do you one better:
Everything was from www.genuinenewparts.com, was 30% cheaper than dealer and cheapest I could find online. You don't need the end caps. I didn't realize this but they already come attached to the trim.
Another track day in the books yesterday at Autobahn's full course with SCCA. Set a PB 2:49.5!
I headed to Autobahn this past Friday for a day with a pair Cayman driving friends in R and S guise.
We had clear skies all day until it poured buckets just 20 min before the first run group. Luckily it lasted 15 min and the first two groups dried the track for us. All was clear after that and we had another safe and fun day with all three cars performing tip top.
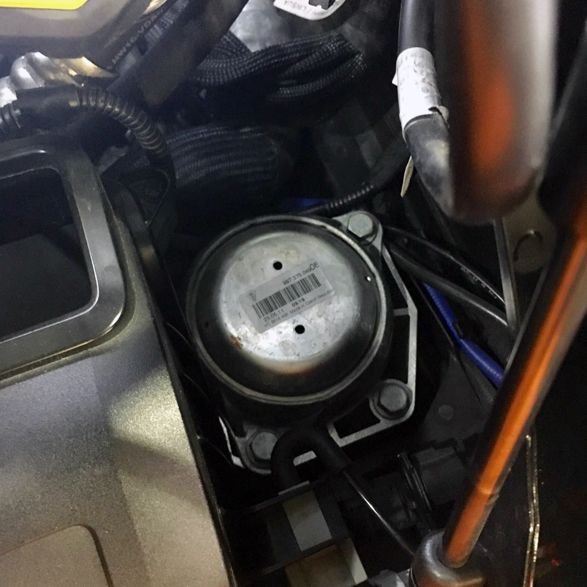
I took a quiet morning at work last Thursday to install the Rennline Semi Solid mounts that I had sitting in a box for over a year. Long story short, I went to install them when I first received them and found one of the studs was stretched (prob from over torquing) and a galvanized flange nut was cross threaded. Unable to source replacements locally I just stuffed them in the box until finally calling Rennline for replacements.
The only difference with mine was that there was no need to remove even the cover of the air box except to remove the OEM driver's side mount from the space between the air box and fender.
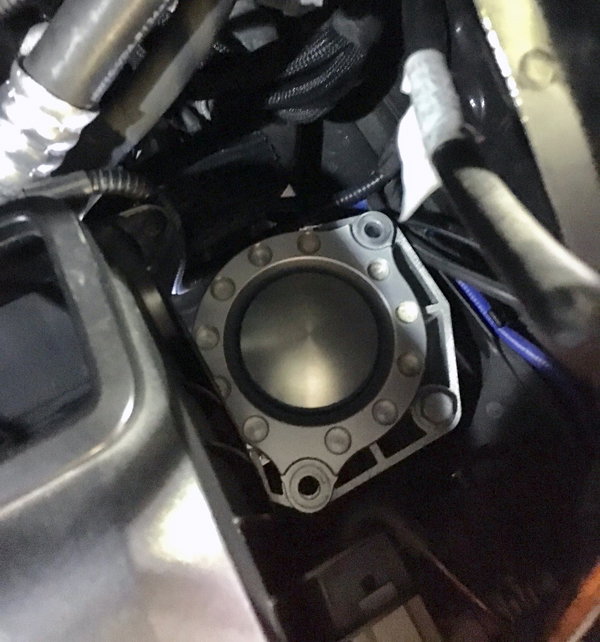
The right side has plenty of space to remove the OEM mount and install the Rennline SS without even touching the air box.
Easy placement of the new mount with the air box top in place on the right side.
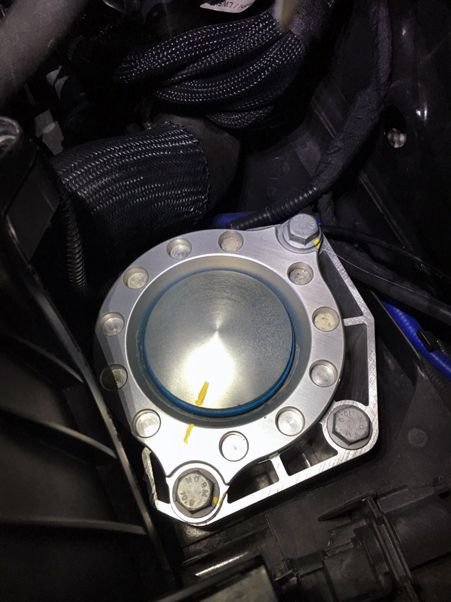
The far bolt needs a universal joint on your torque wrench to finish the job. The bolt closer to the rear of the car is easily torqued with a short extension.
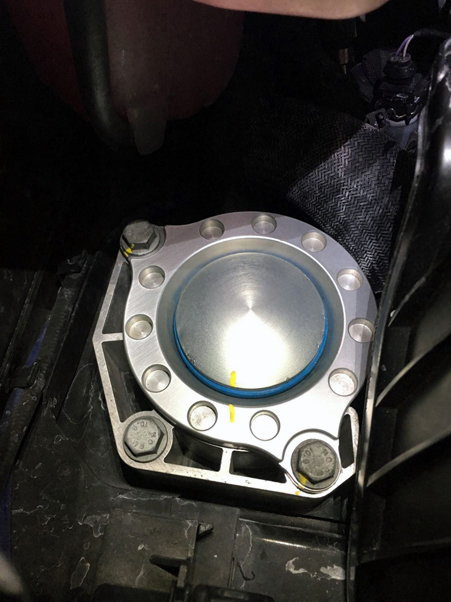
This is the passenger side nut from underneath looking straight up. This is easily accessible with an extension for your torque wrench. The rear of the car is toward the bottom of the image for reference.
The left side is SO close but the coolant expansion tank blocks the OEM mount from being removed. So you have to take just the top of the air box off to remove the left side. The Rennline mount can be inserted and installed with or without the top in place.
And add those torque marks if you plan to do anything strenuous to the connecting points which of course as a 50/50 street/track car, I do.
I'll echo what many others have said, the car feels more 'alive' after this mod (I'm using the blue, "track" mounts). Essentially, imagine what would happen if you eliminated the dampening affect of any high frequency oscillation. That is exactly what these do. Additionally, they remove dramatic changes in direction. So, turn-in is tighter instilling more confidence, gear changes are sharper. The car just feels more solid all around. There is definitely some 'constructive interference' of engine pitch happening around 3k RPM. So cruising at 80 mph will get tiresome but I never do that if rarely.
More to come from how these behave on track tomorrow.

 04-27-2017, 06:48 PM