When you click on links to various merchants on this site and make a purchase, this can result in this site earning a commission. Affiliate programs and affiliations include, but are not limited to, the eBay Partner Network.
When I first got the Red Witch, it was pointed out that her cross brace was bent.
Thanks to Chris Lockhart, I now have another one. Thanks!
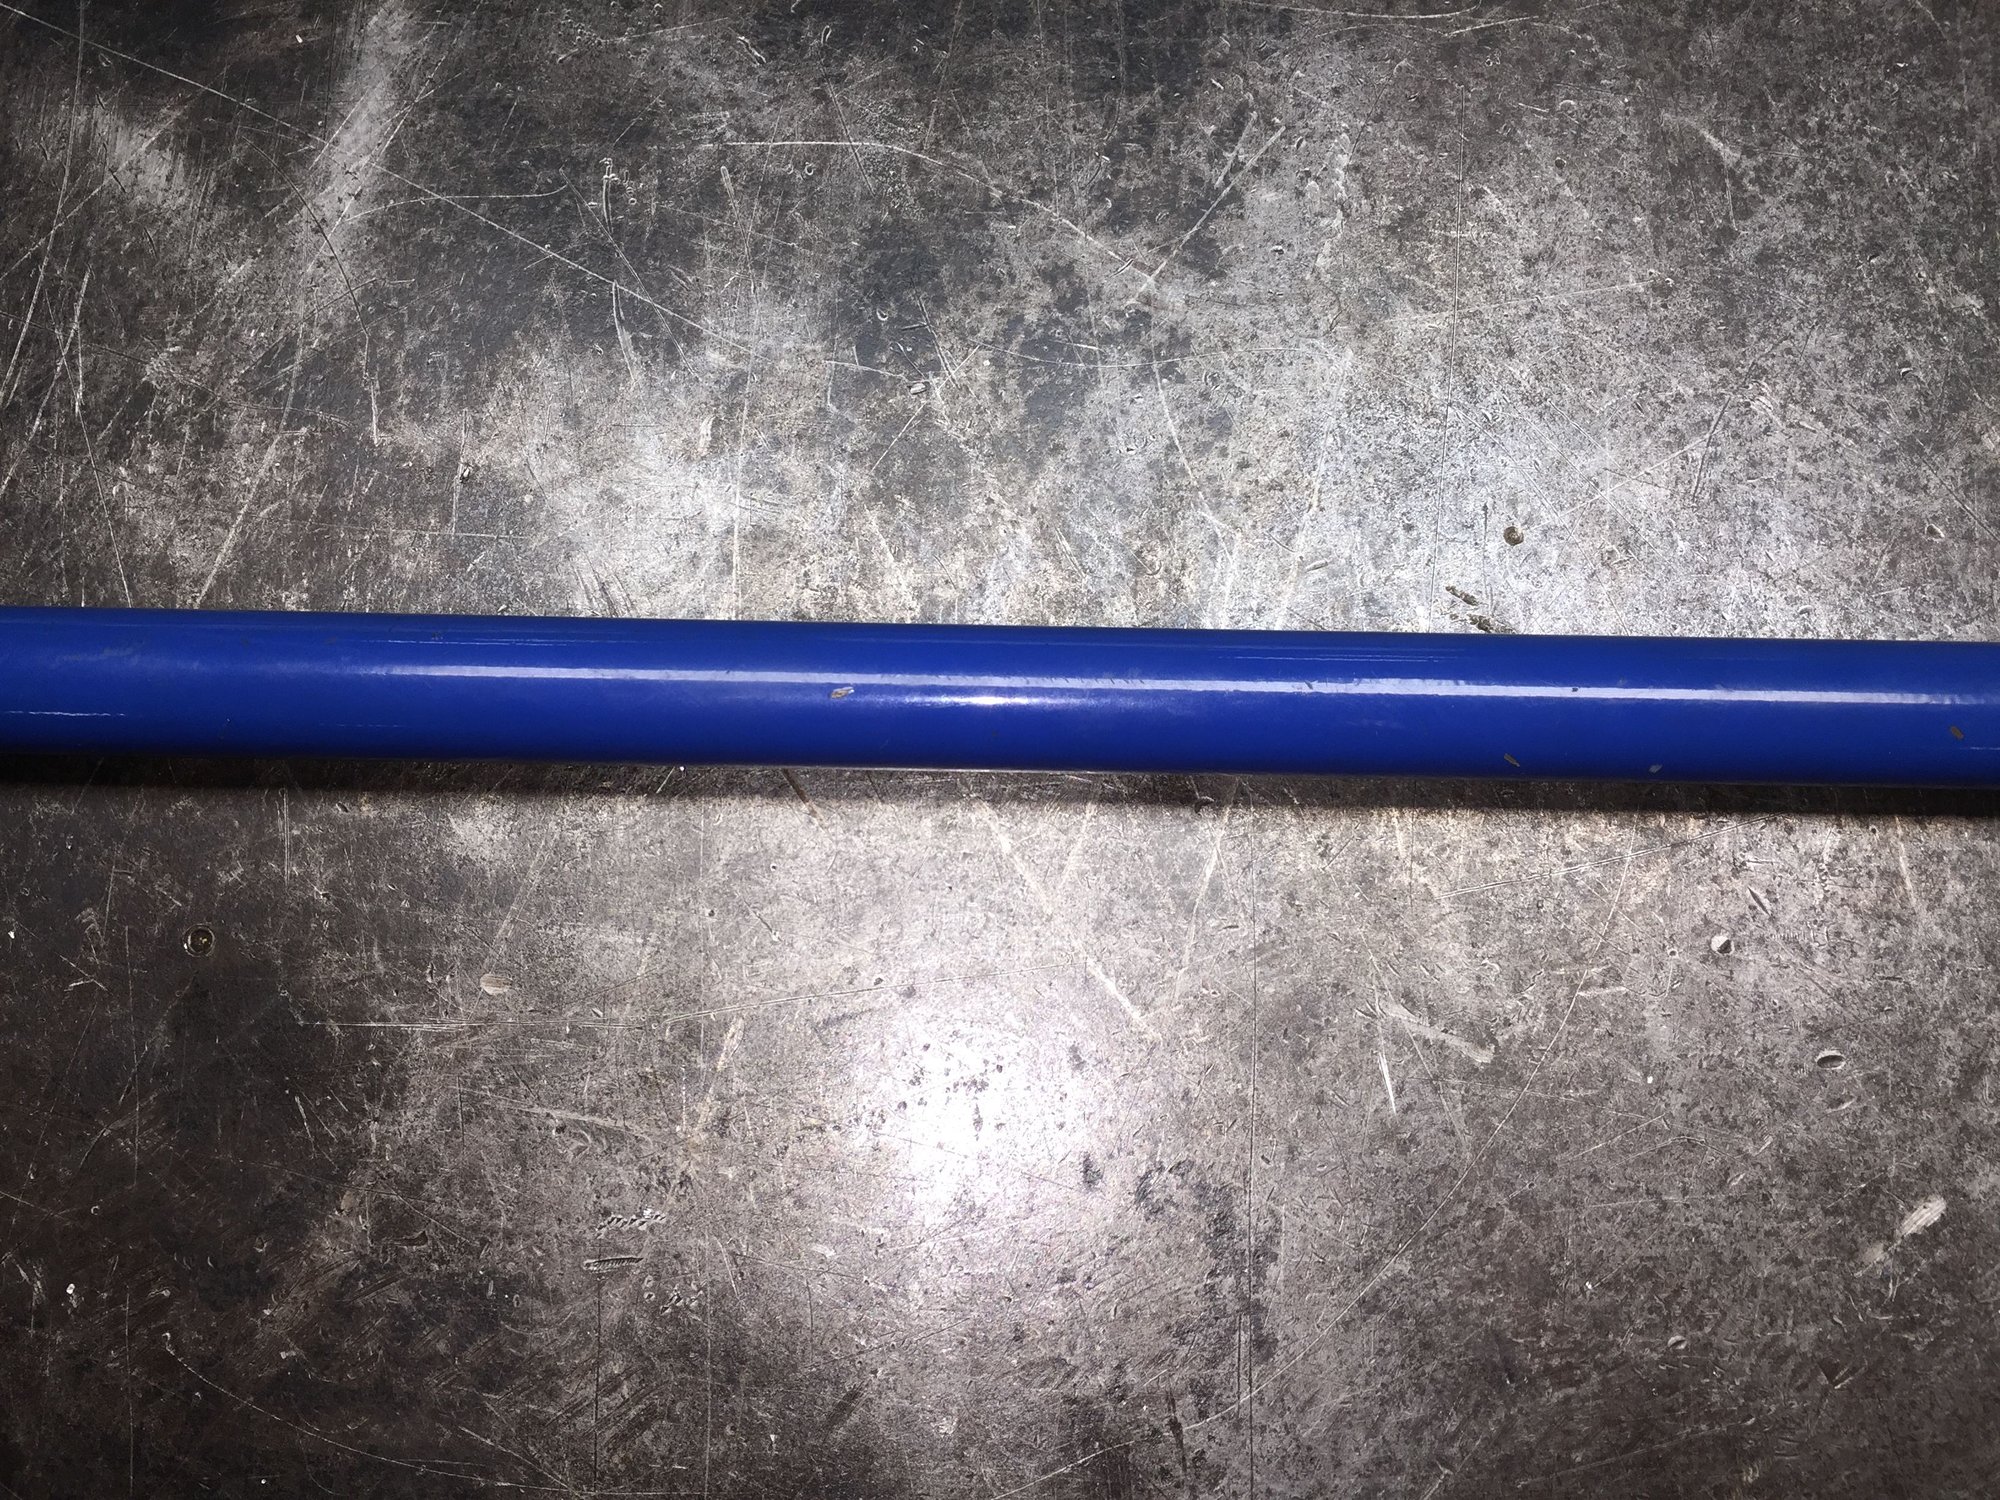
Of the two he offered, I chose the steel cross brace. It was not bent, but was painted in a hideous shade of blue.
No problem, sand blaster at work. Too bad it didn't work when I needed it.
The condition of the paint was not awful, so I scuffed it. I went to town on the paint with new red Scotchbrite pads. They did an excellent job of knocking down the surface of the paint. After spraying the cross brace with contact cleaner I wiped it down with lint free rags.
I built stands out of 2 1/2" long 1/4-20 bolts and nuts. The stands let me spray paint the cross brace in a horizontal position without the top or bottom touching anything. The 1/4-20 nuts are just big enough to grab, but small enough as to not leave a big unpainted area. Washers will cover that at installation:
All this time, a can of Krylon Extreme satin black enamel spray paint was soaking in a bucket of hot water. I painted both sides of the cross bar with several light coats to lay the color, then a final relatively heavy coat to get the finish. I gave each coat 10 minutes to flash off in between.
Once all the coats were on, I hung the painted cross brace in the 125 degree ambient compressor room at work. I let the paint cure for 24 hours. The finish turned out great!
Ah...gotta love weekend work.
I installed the cross brace with new M10 socket head capscrews, flat washers, and schnorr lock washers. Granted, the capscrews are black oxide coated, and can rust. Its all I could get my hands on. Soon, I will get some stainless steel capscrews and washers.
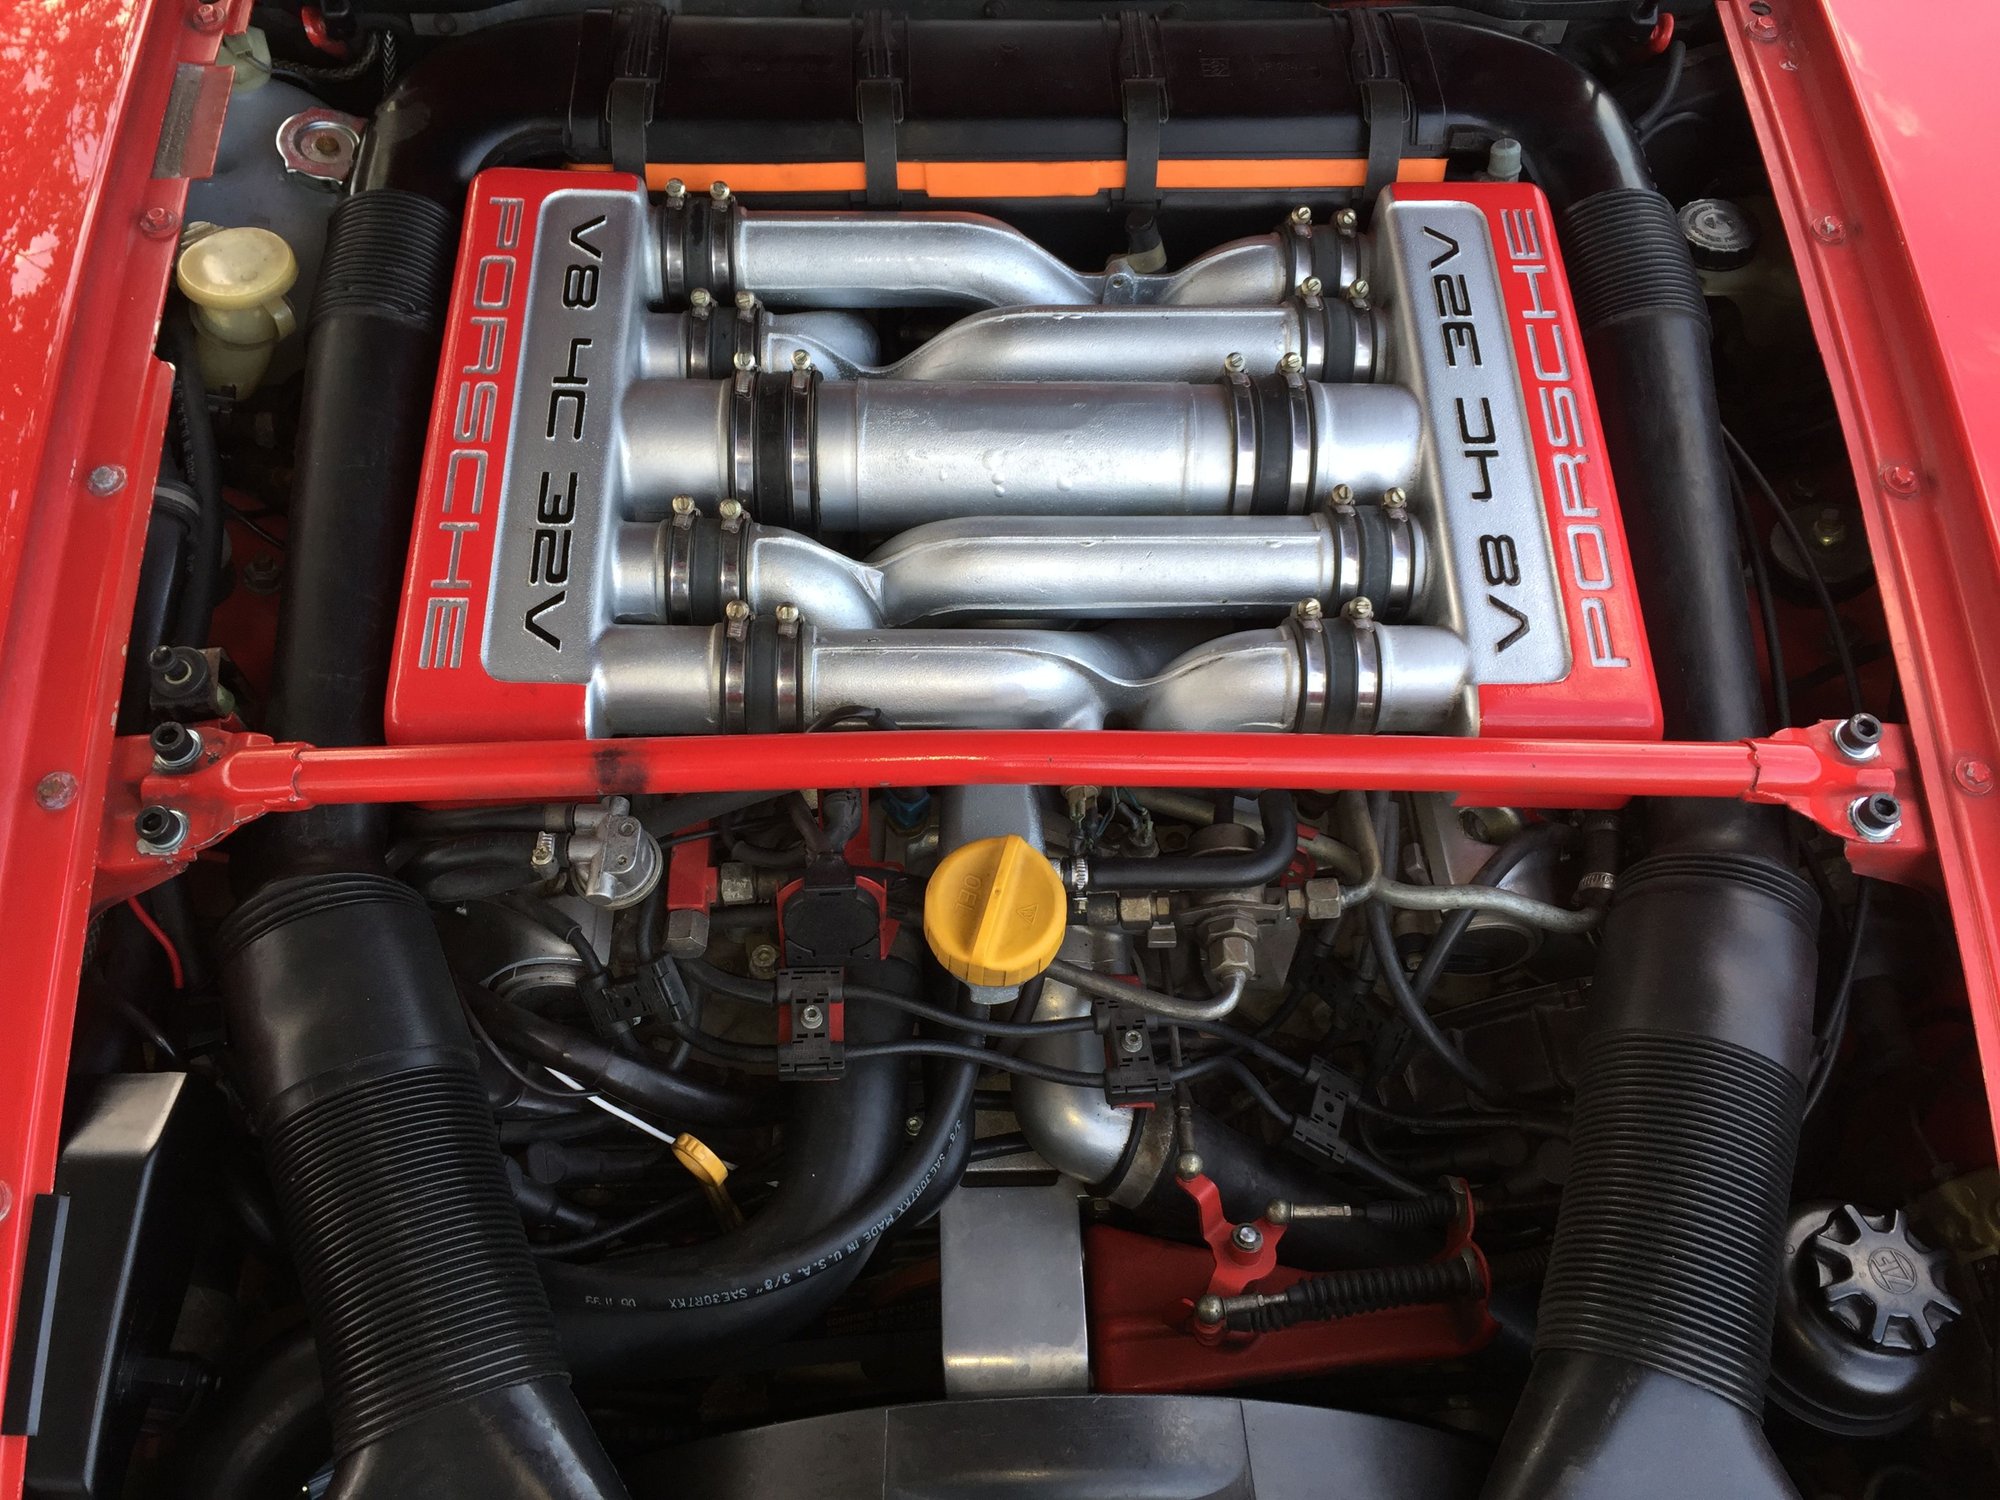
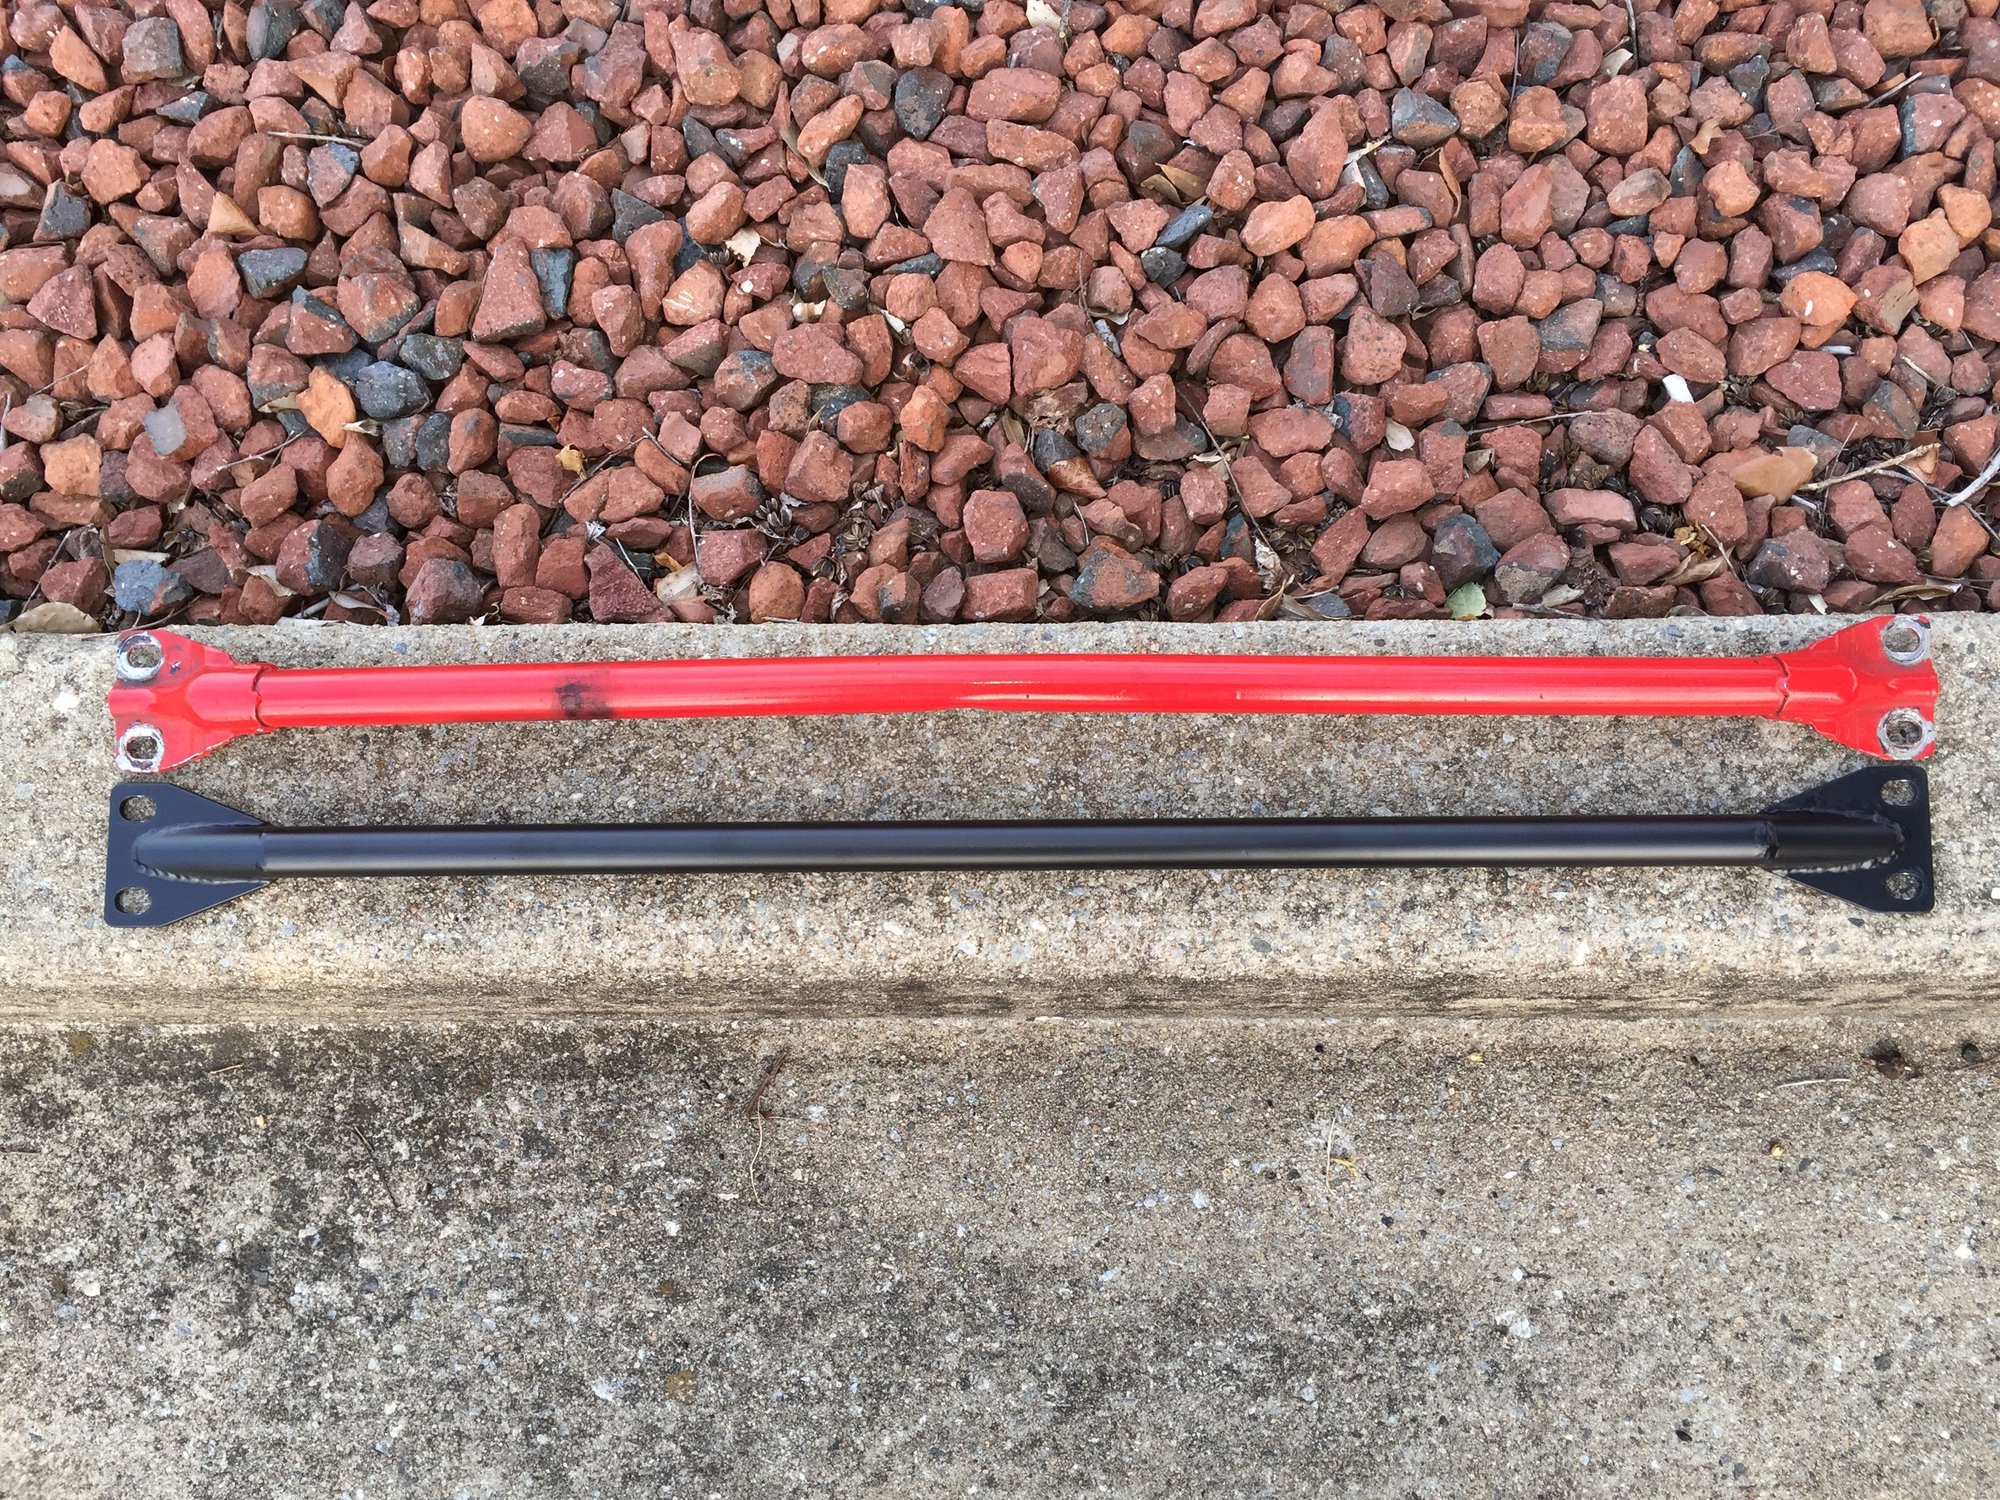
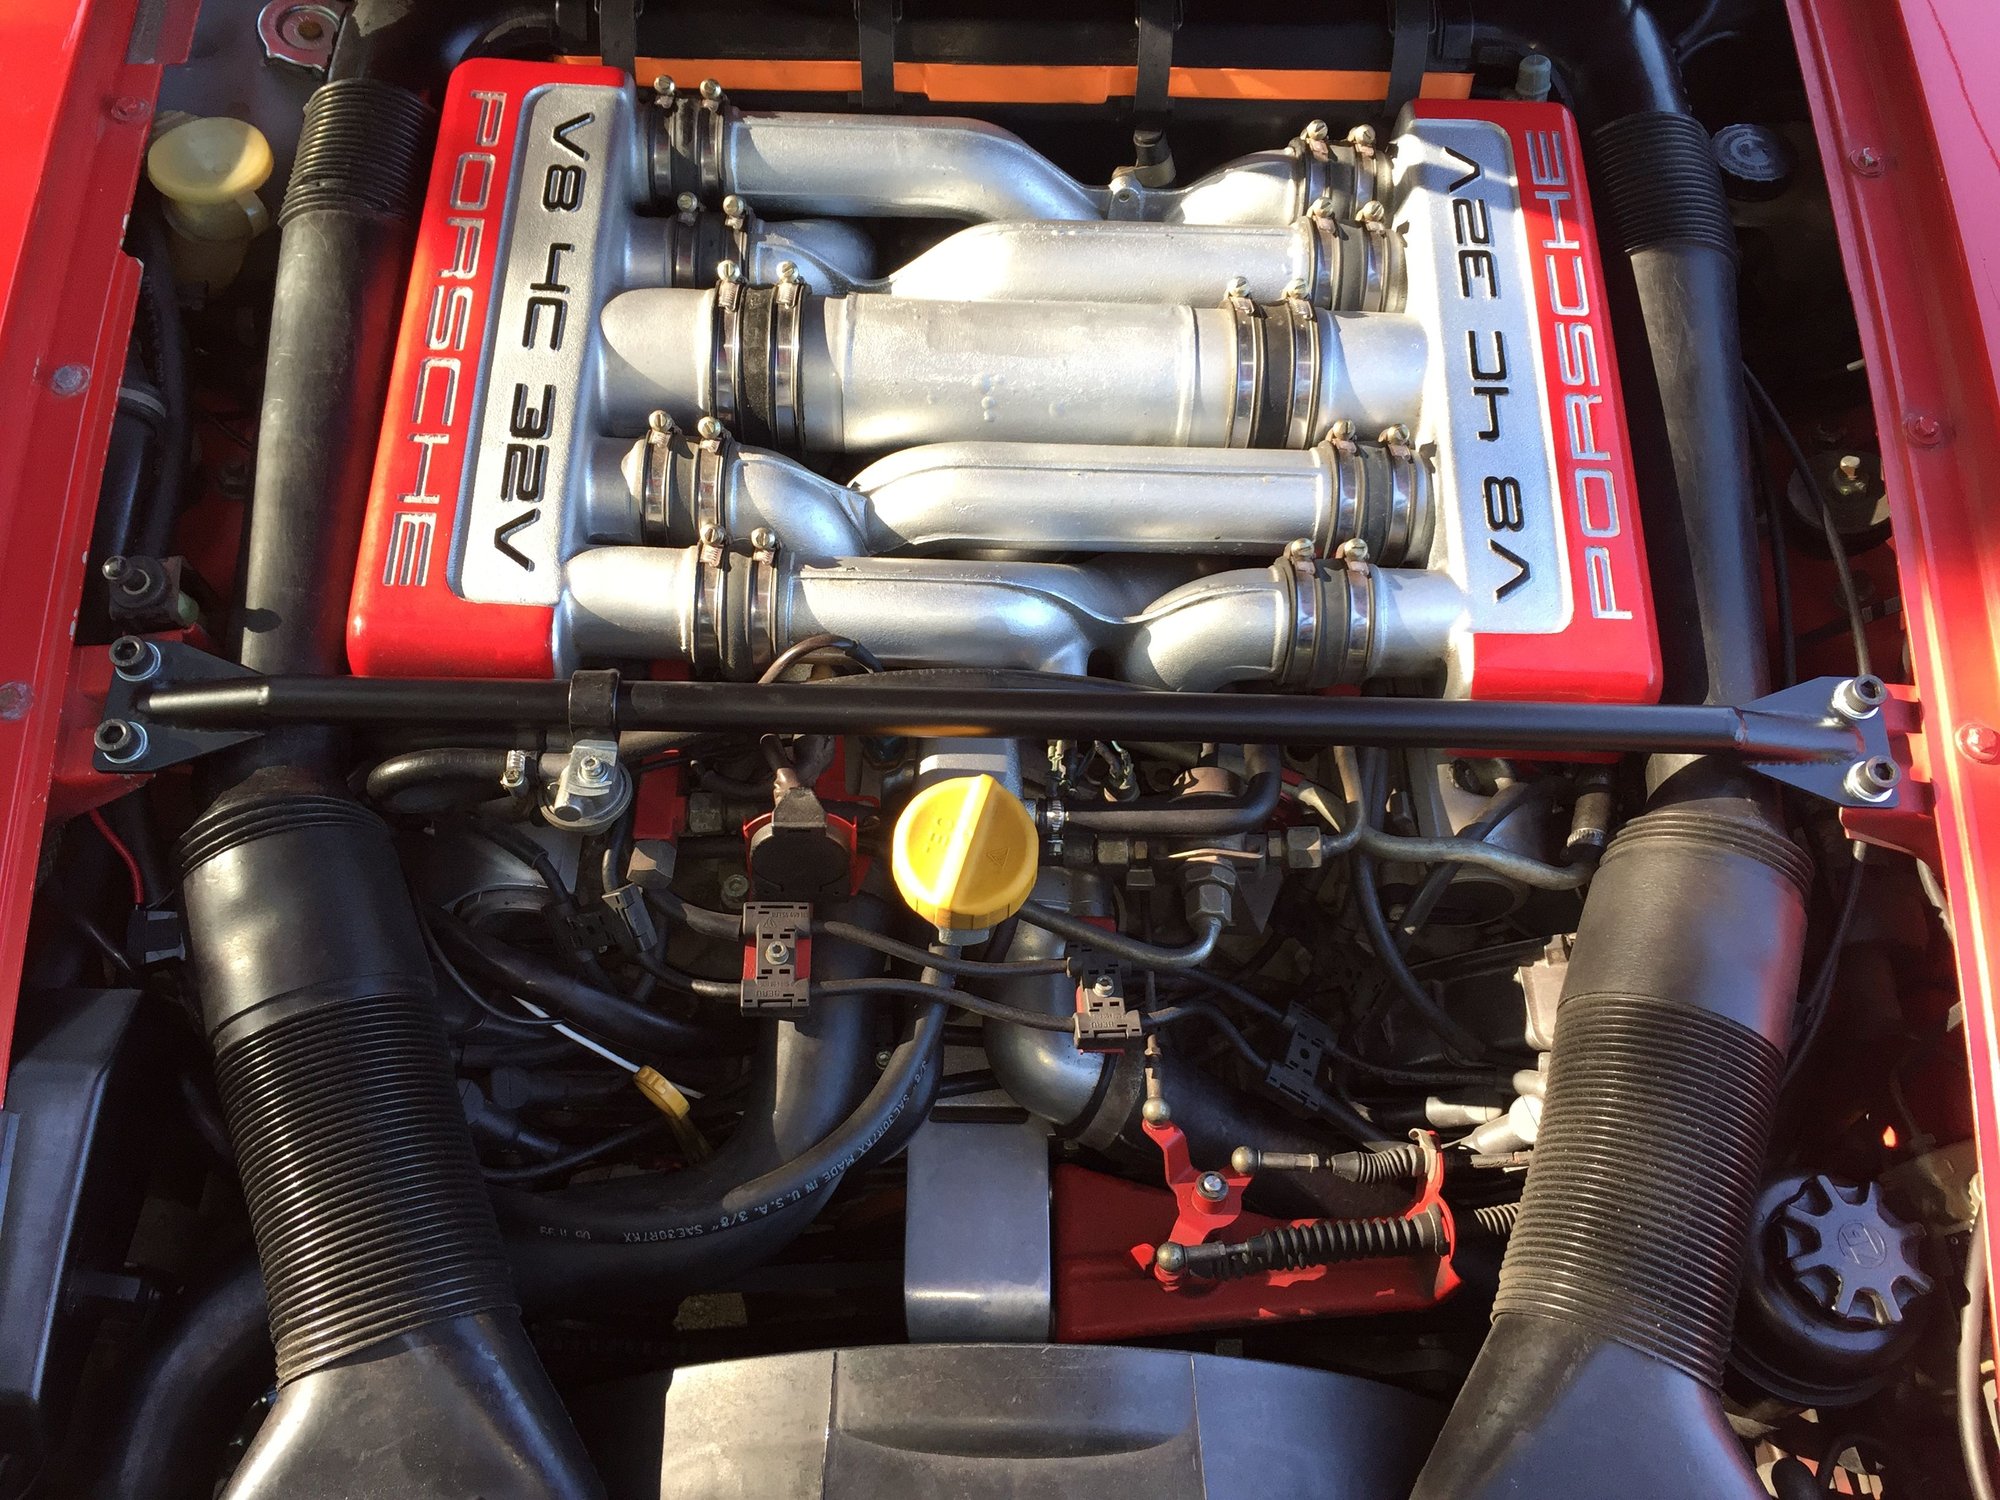
When I removed the old cross brace, I noticed it was quite light. Okd brace was aluminum, new one is steel. I like how the satin black finish makes the cross brace kind of disappear in the engine compartment now.
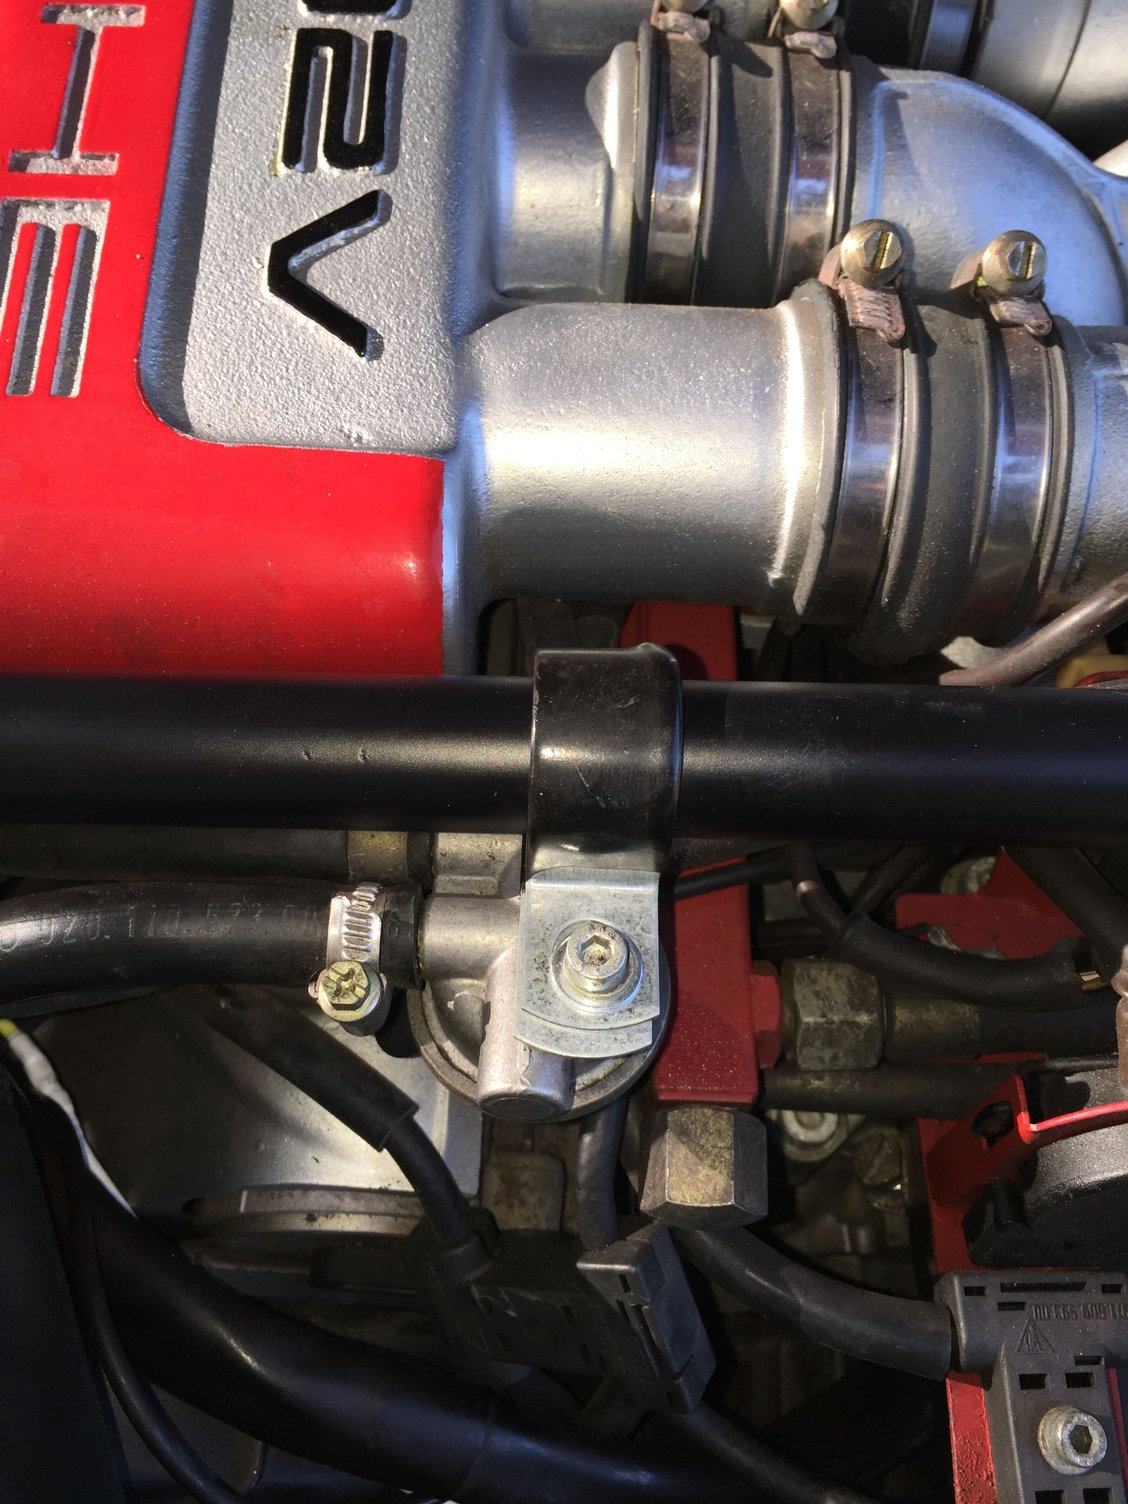
I also replaced the cushion clamp for mounting the valve. The old clamp was quite ratty.
Pictures or it didn't happen:
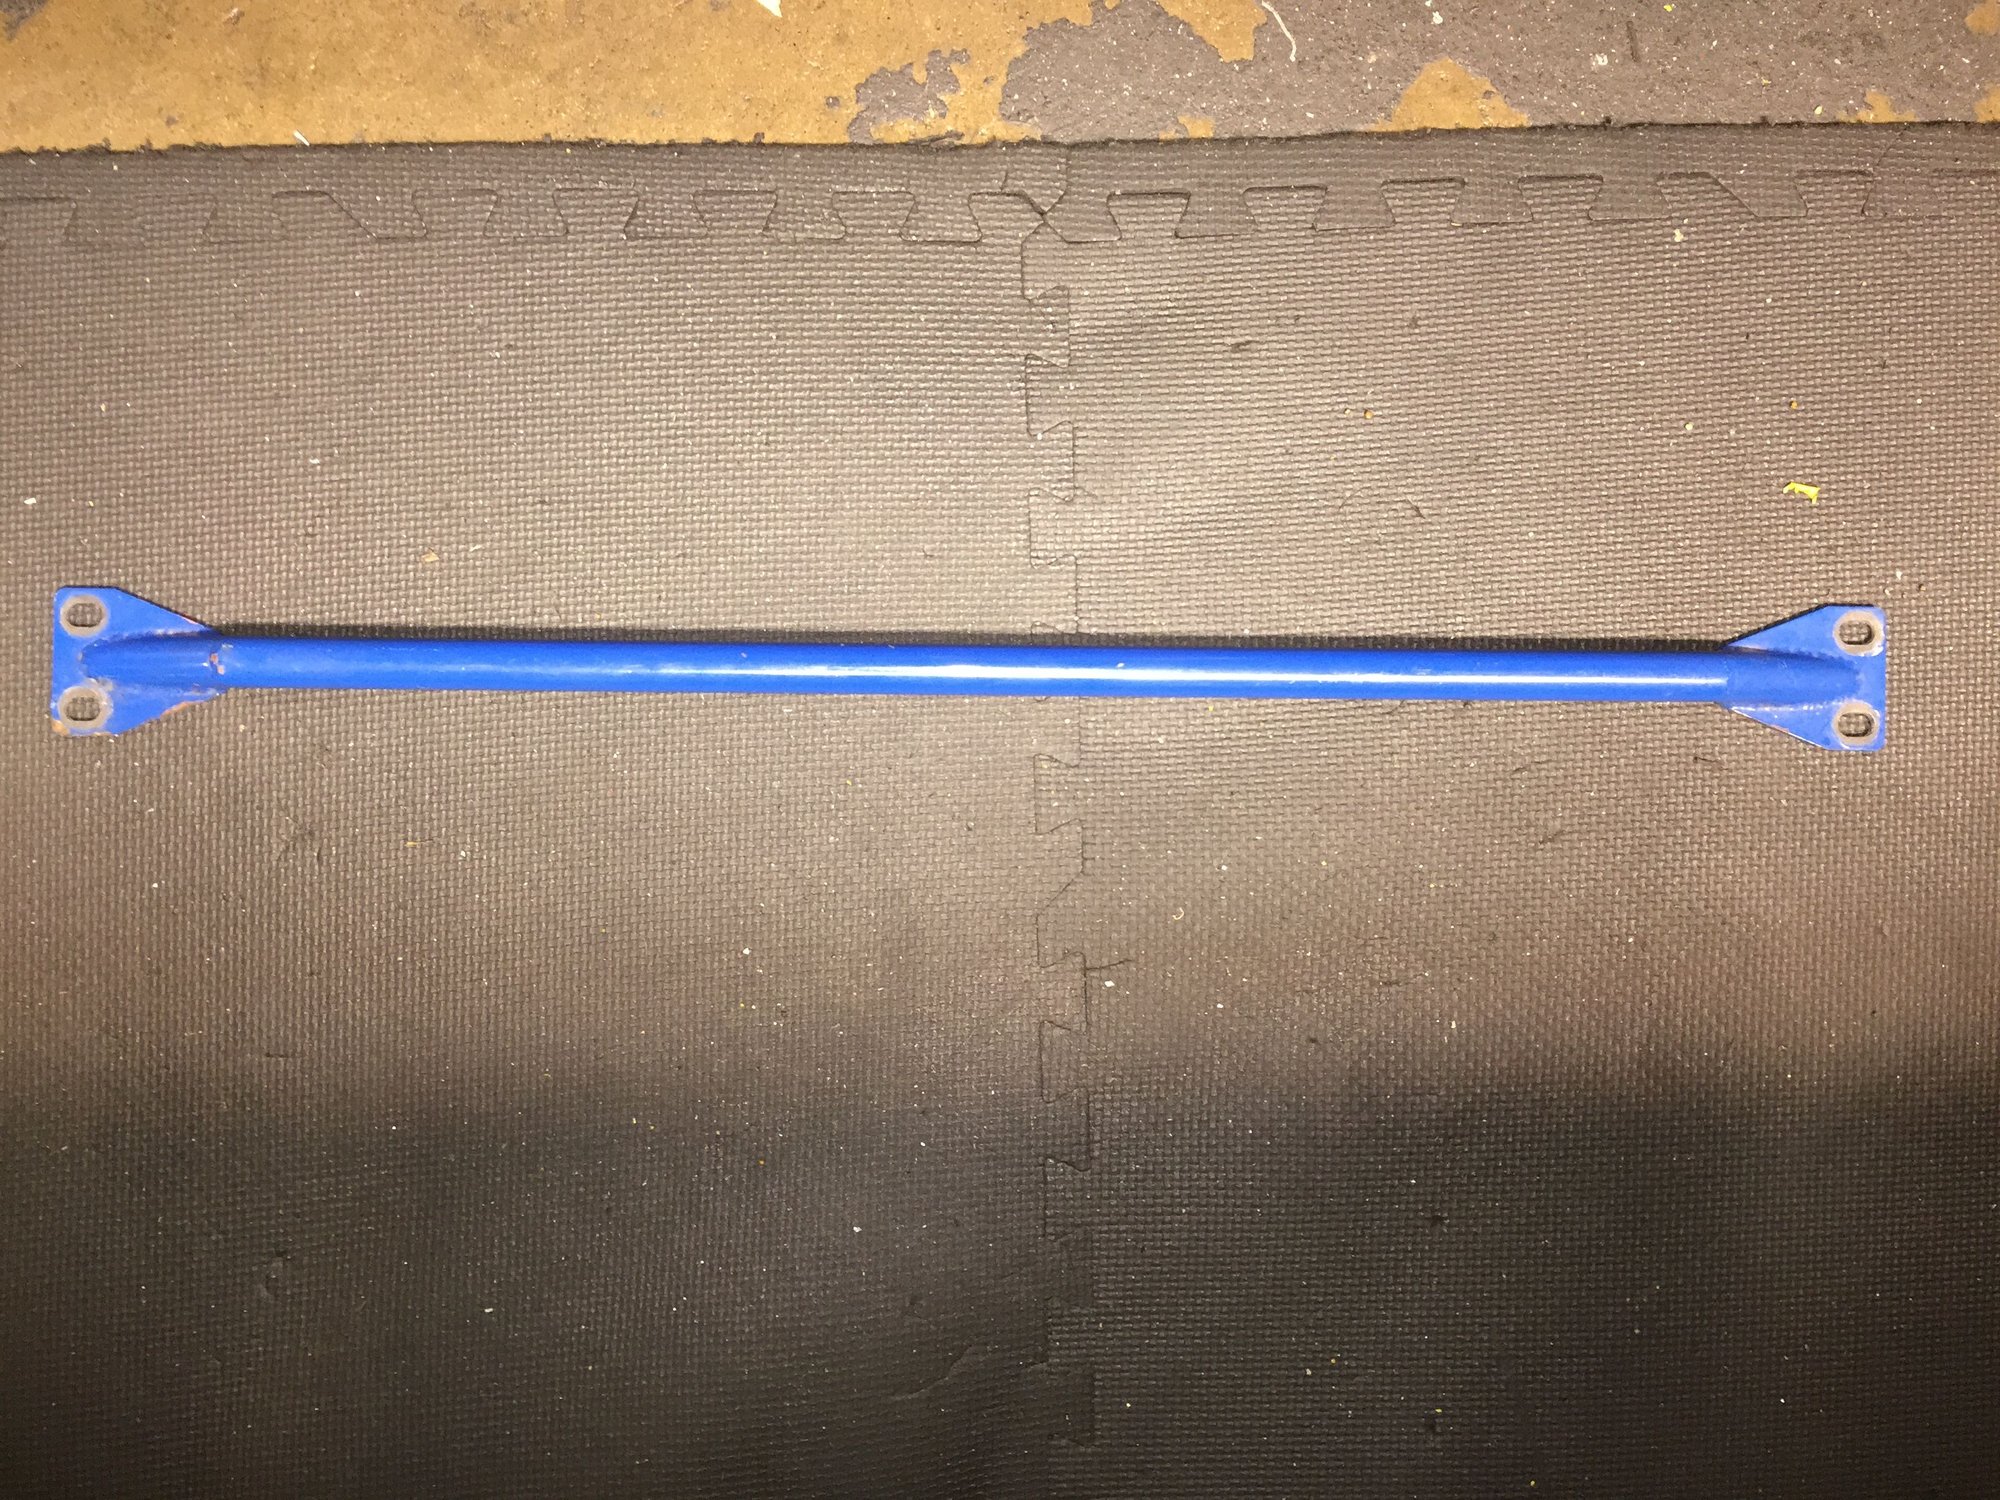
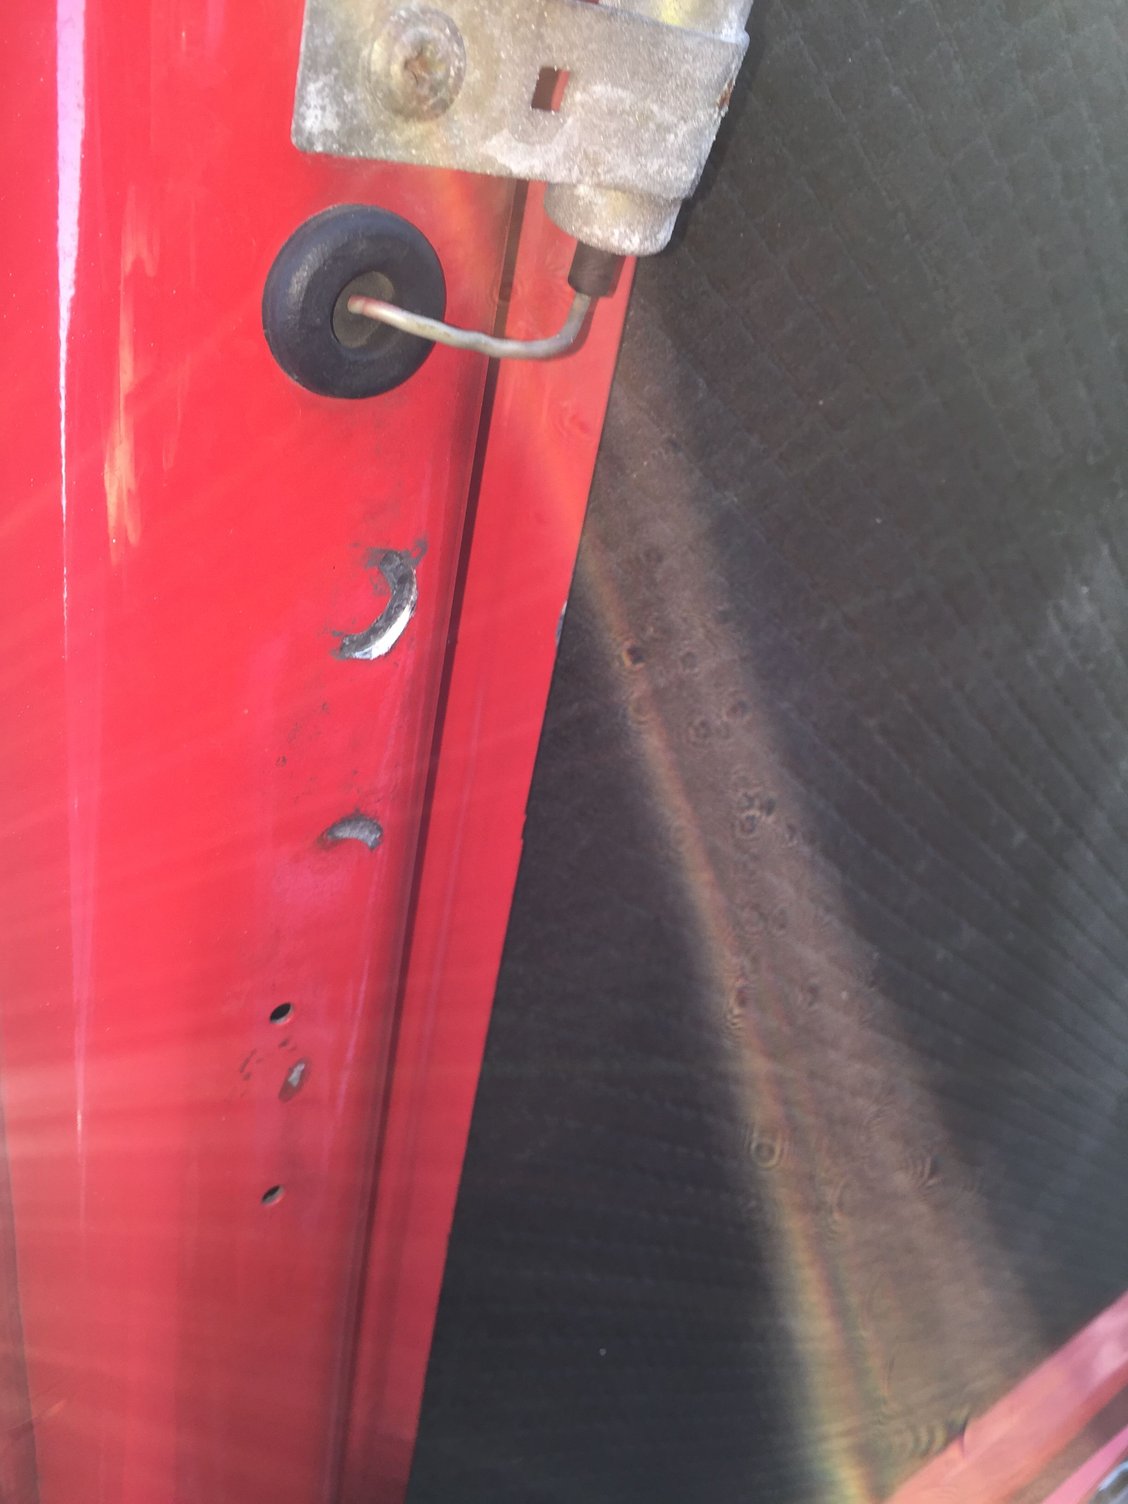
Cross brace as I got it from Chris.
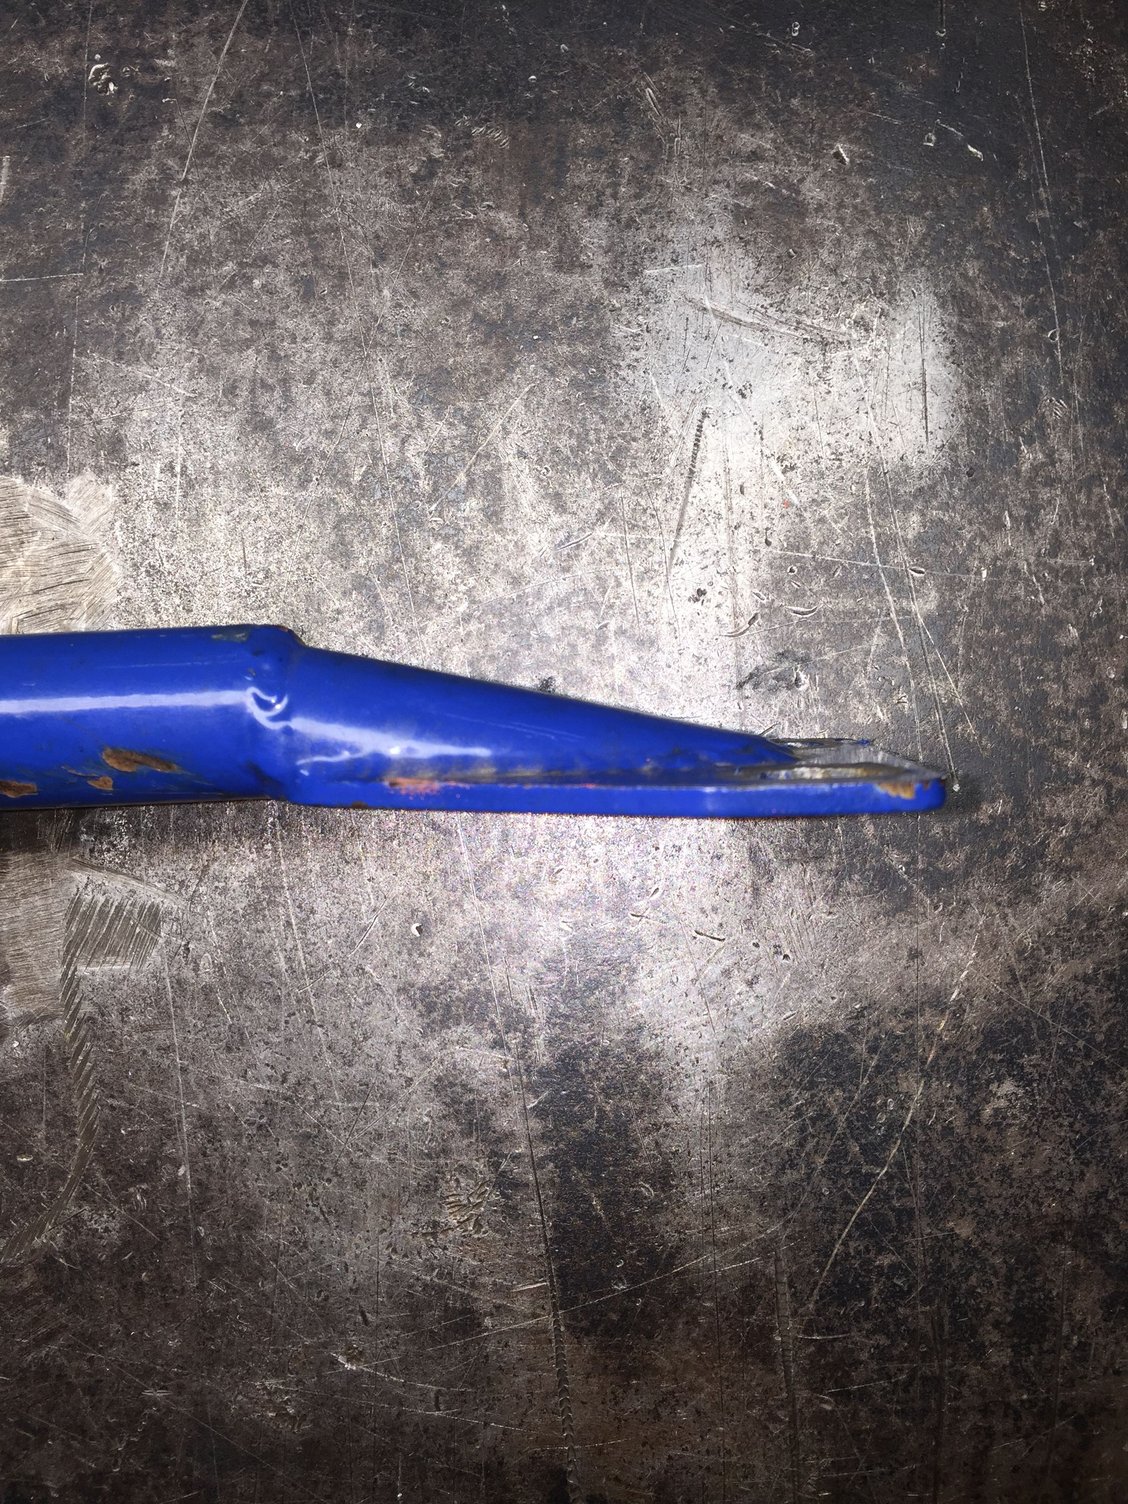
Paint is a little roughh, but the metal is undamaged.
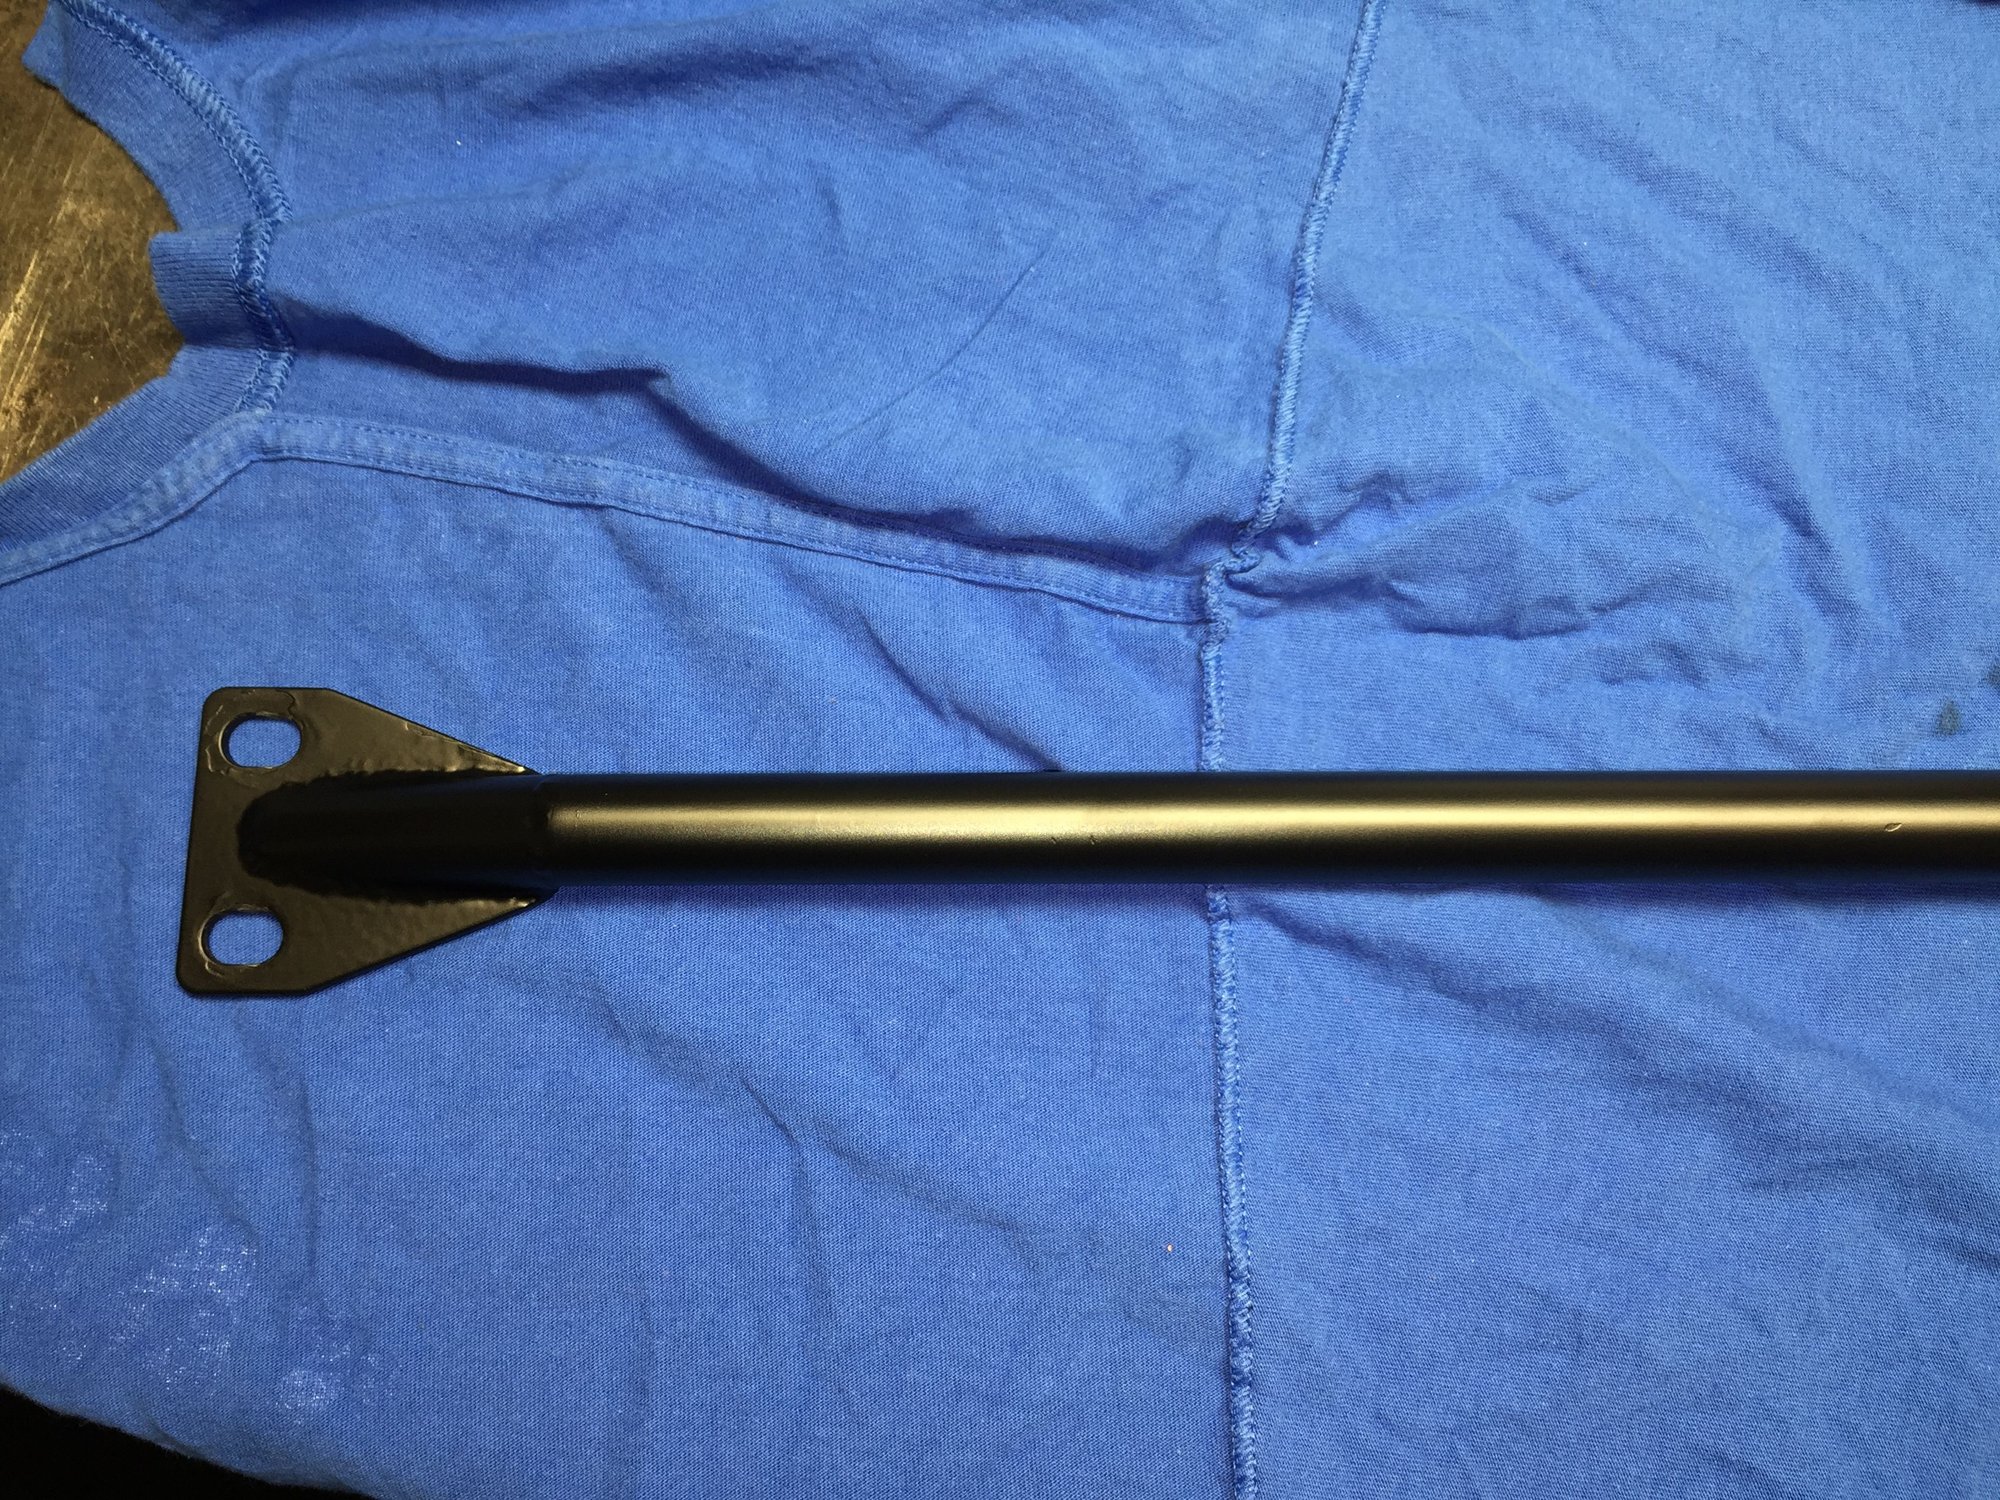
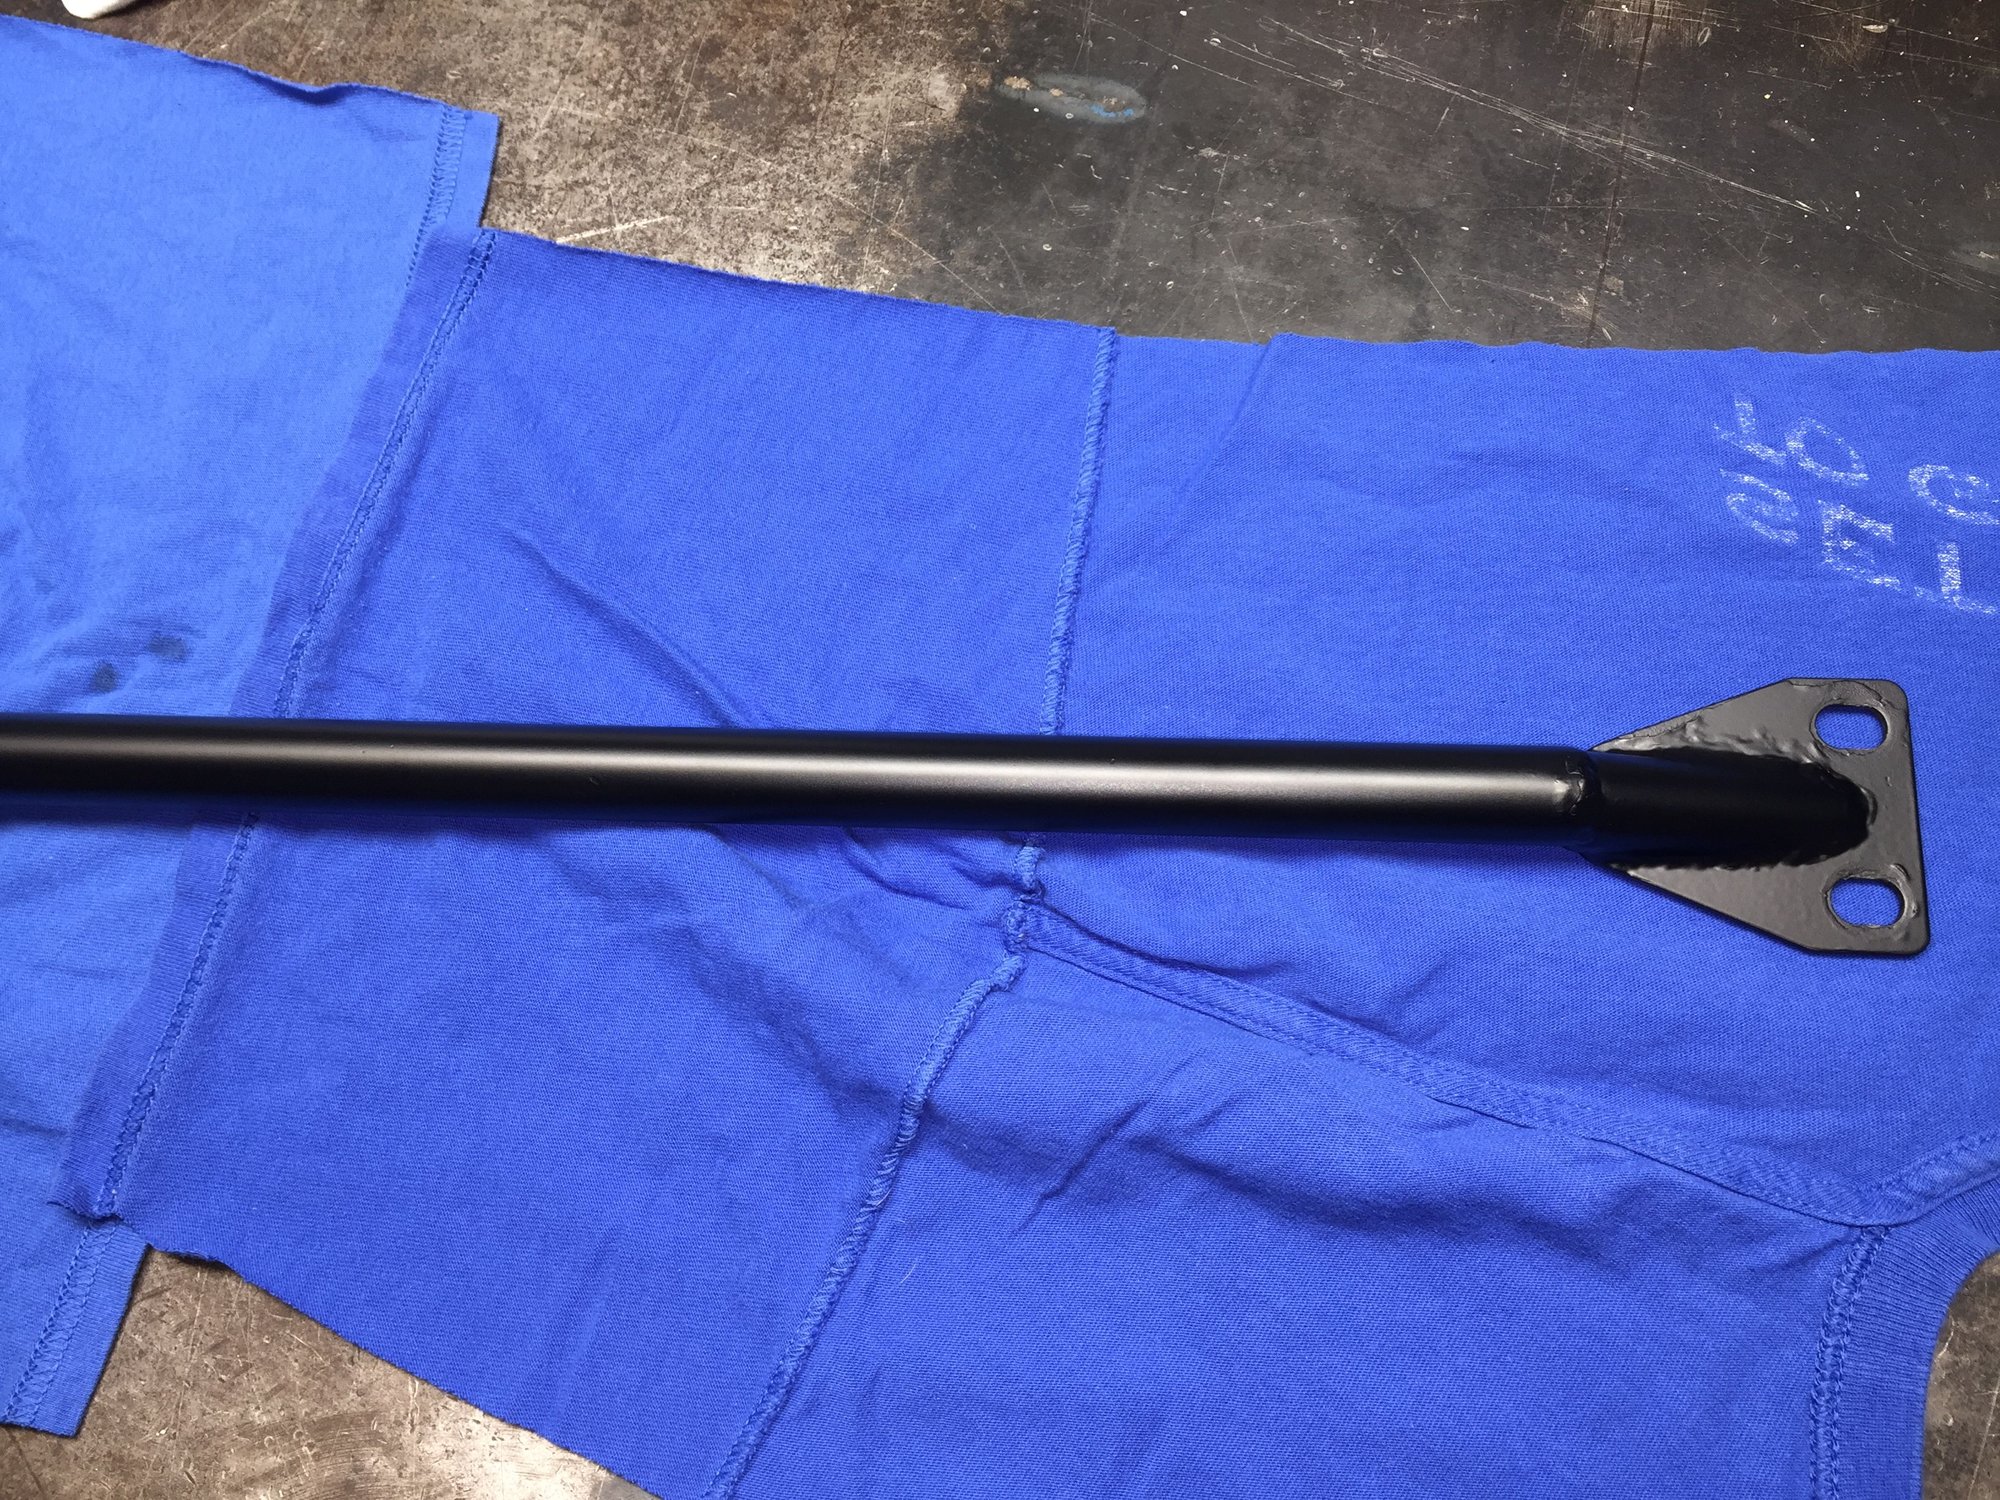
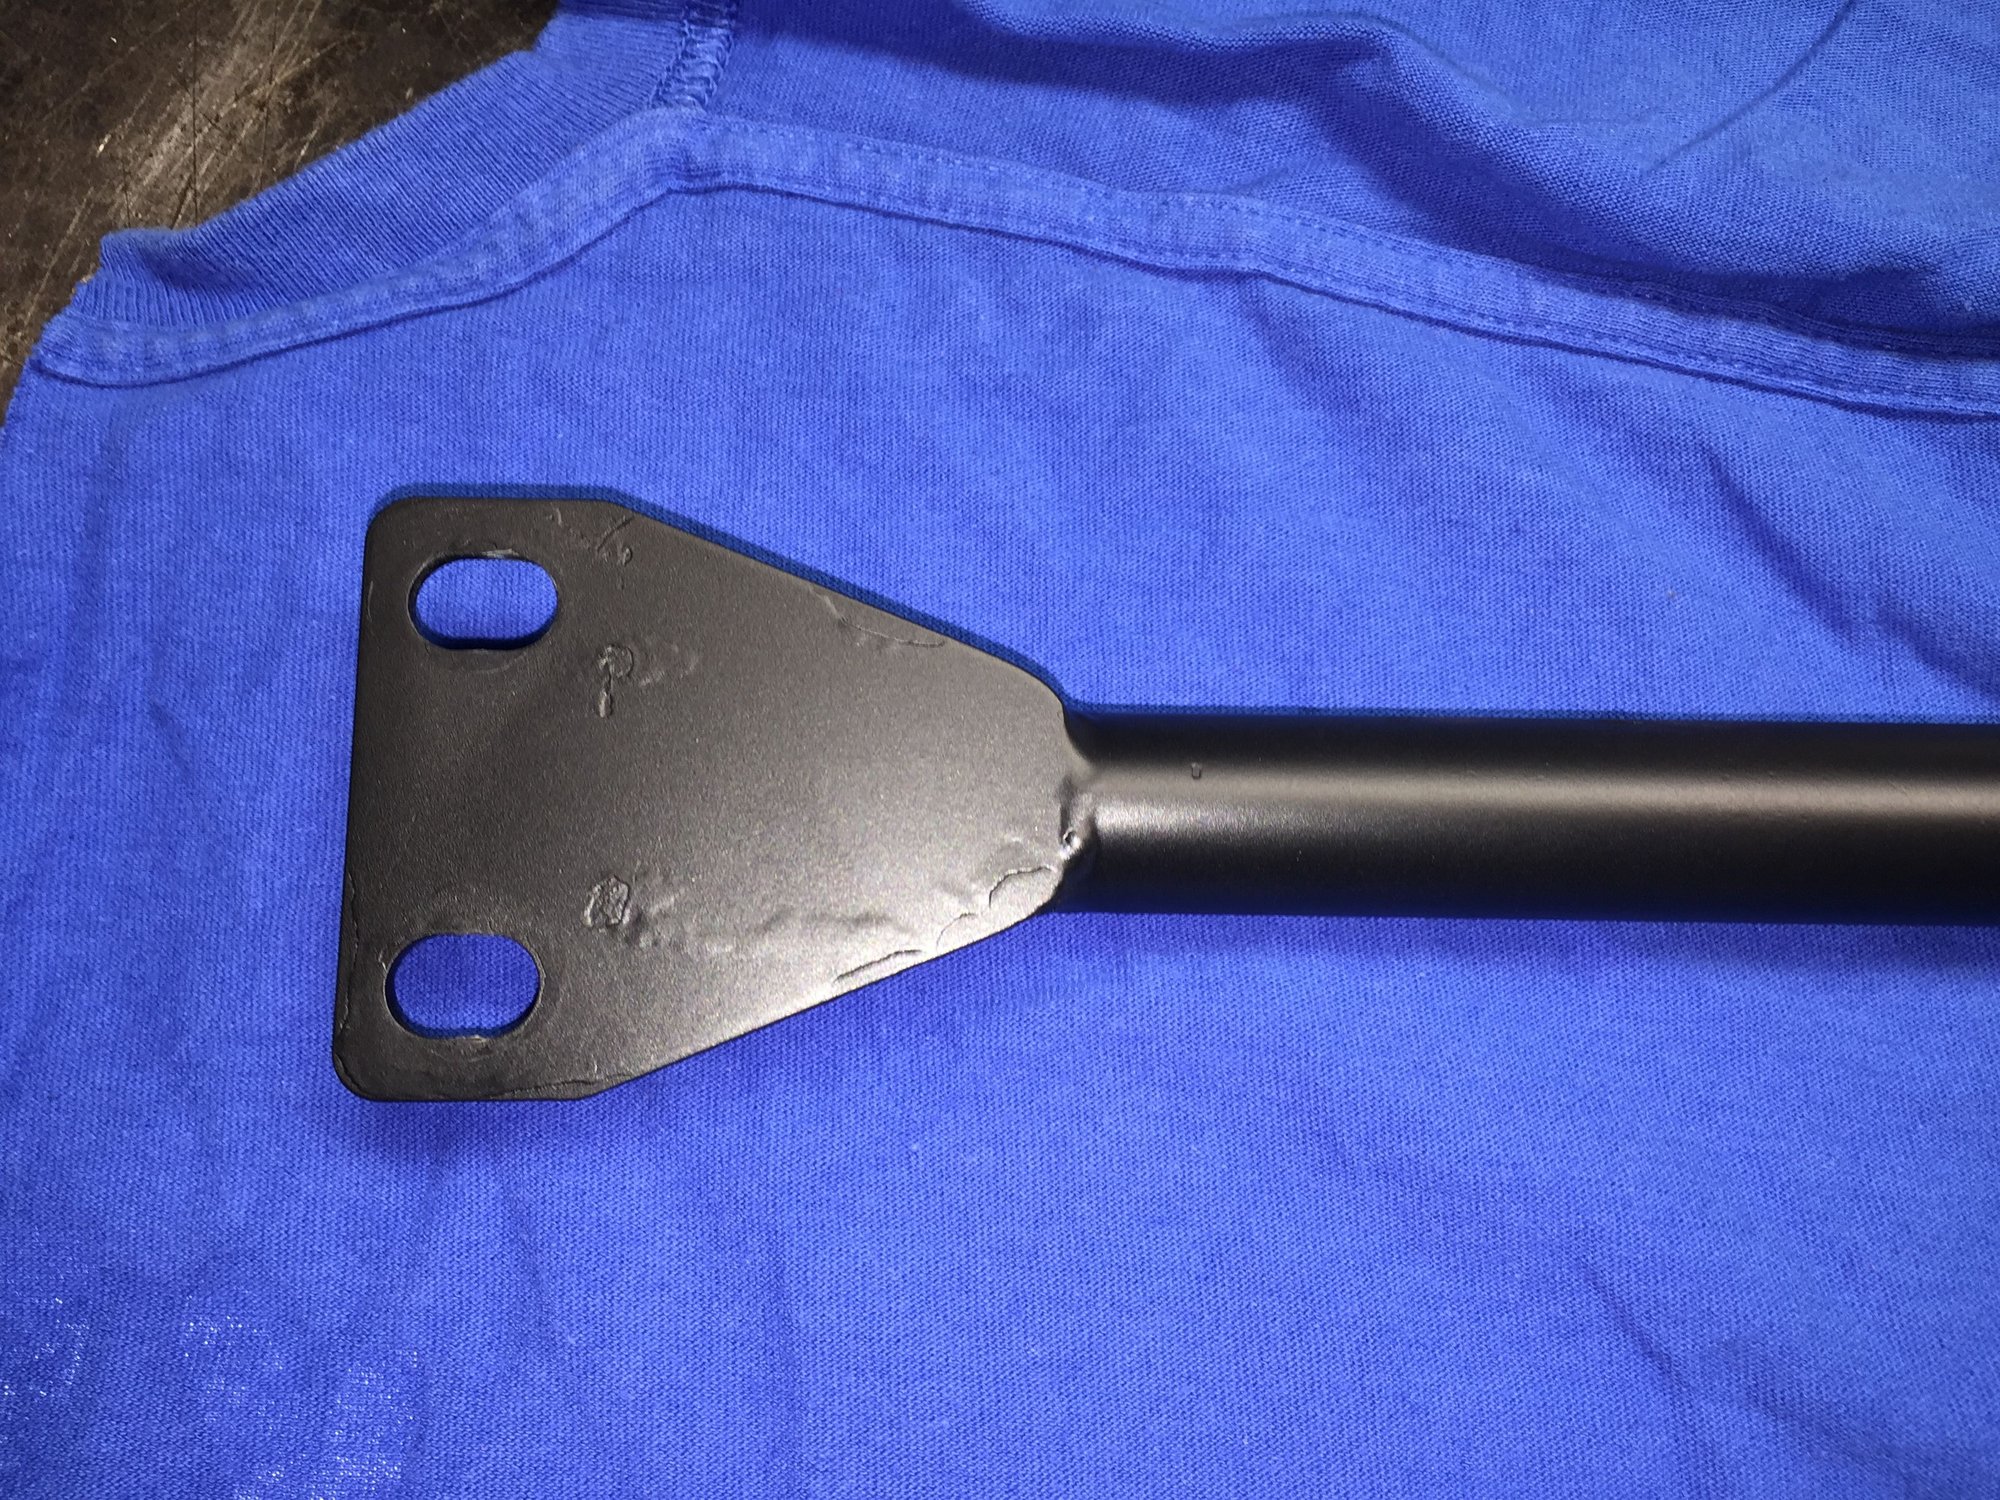
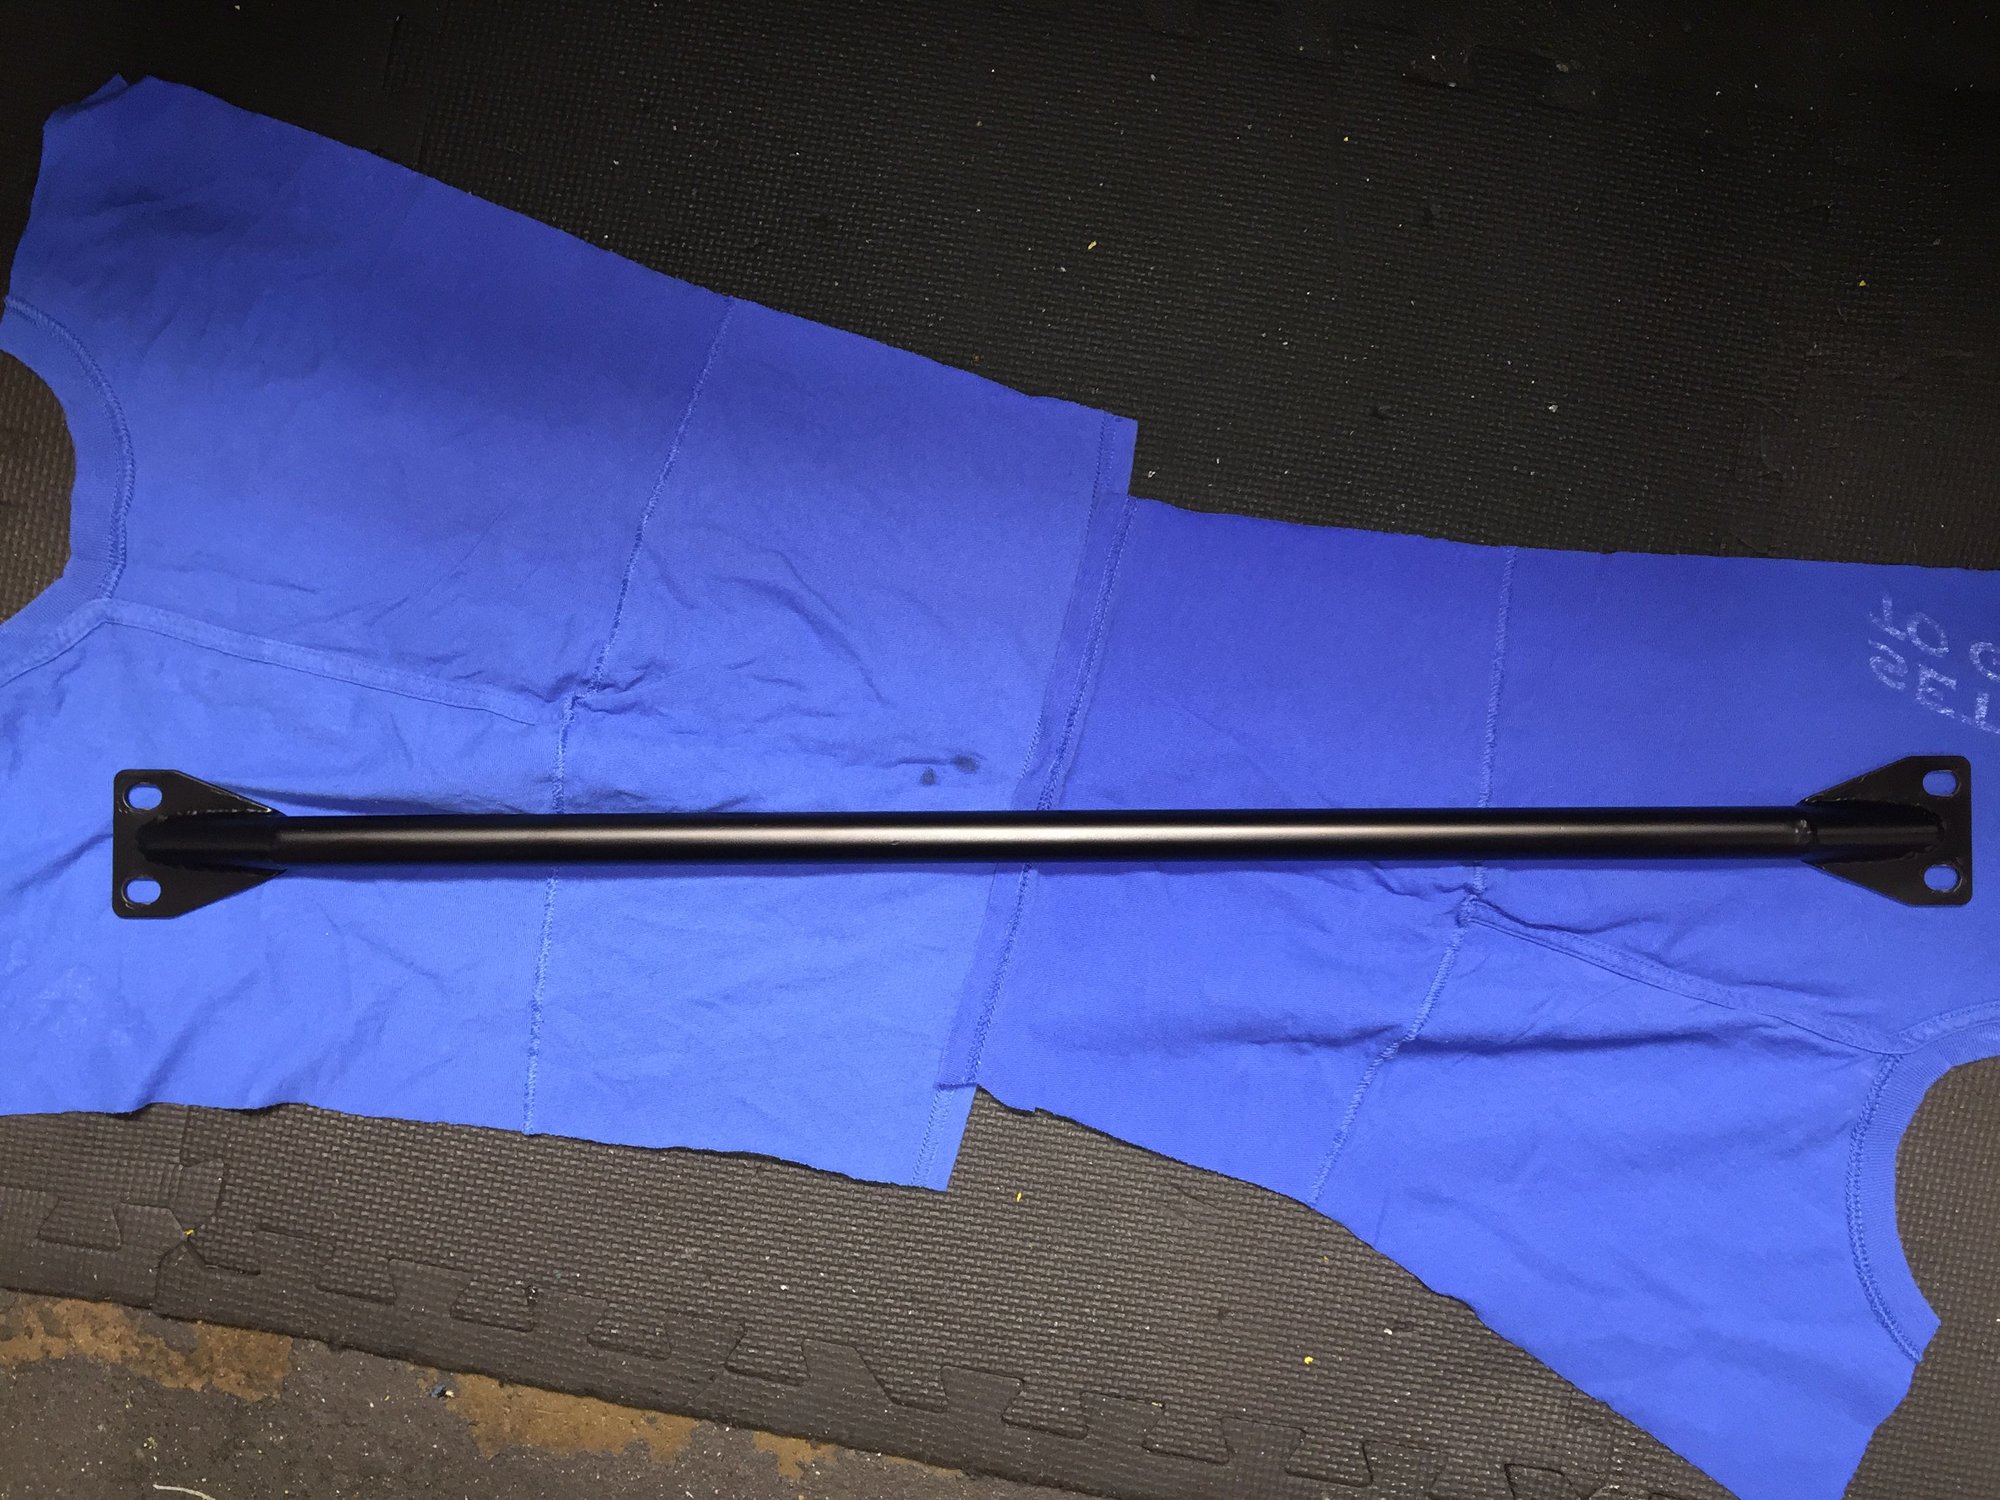
Finish on the bar turned out really well!
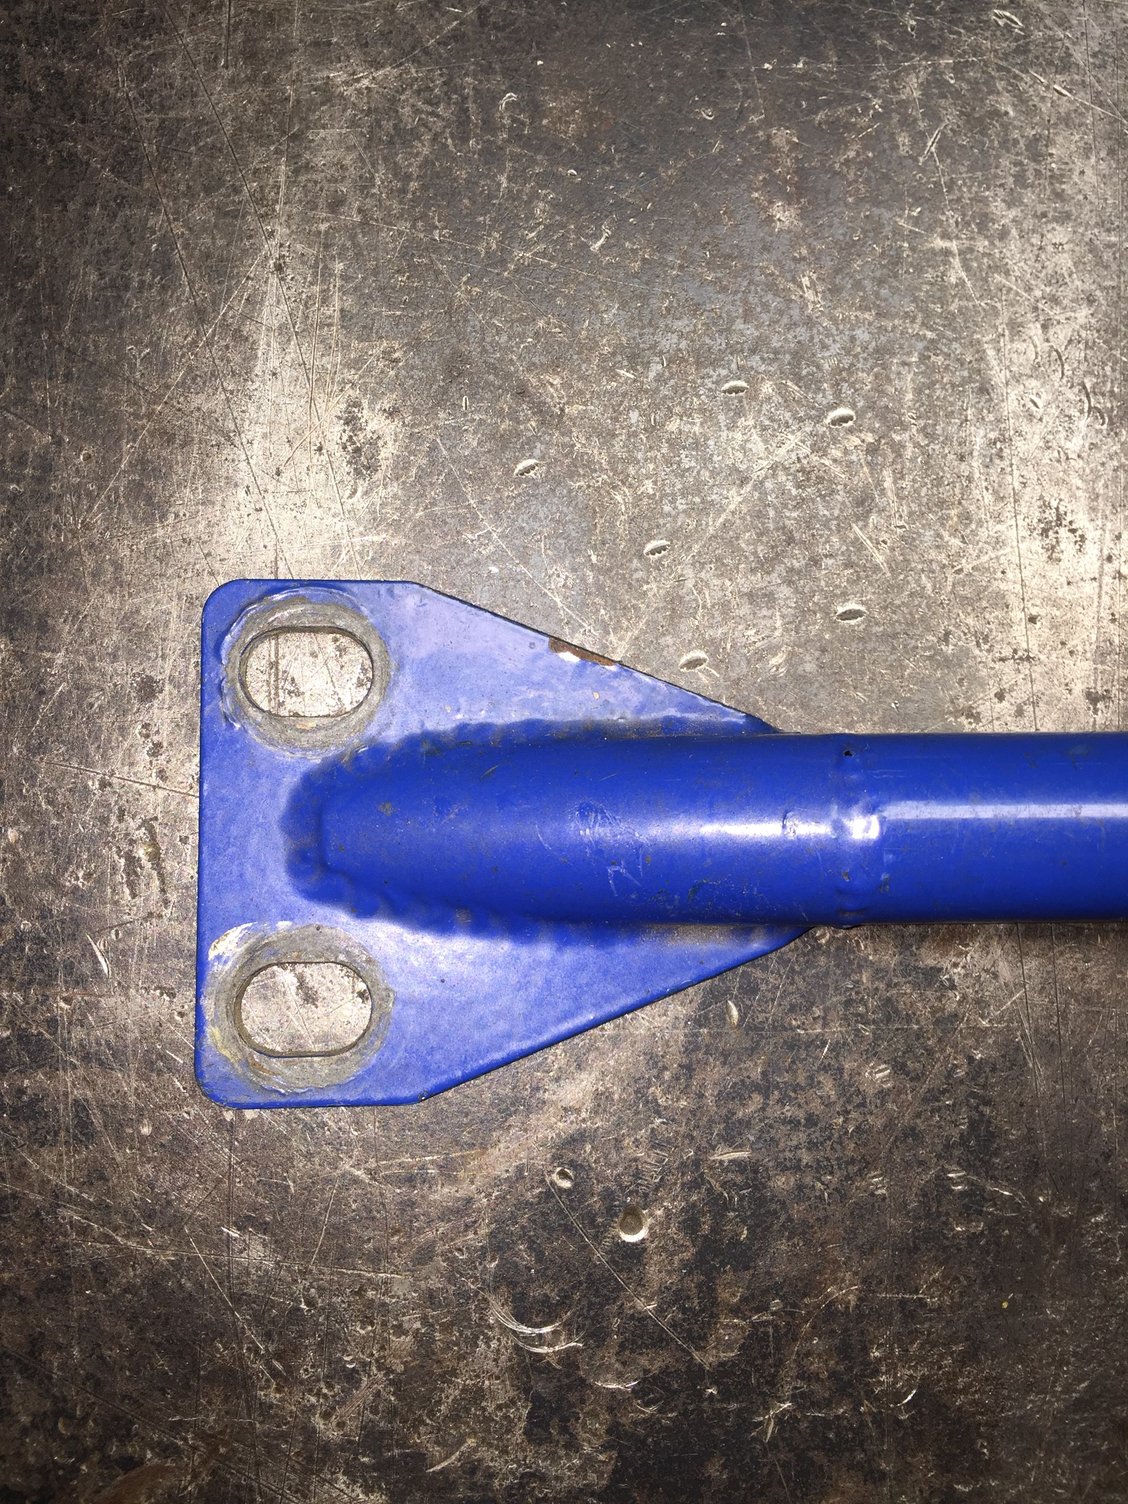
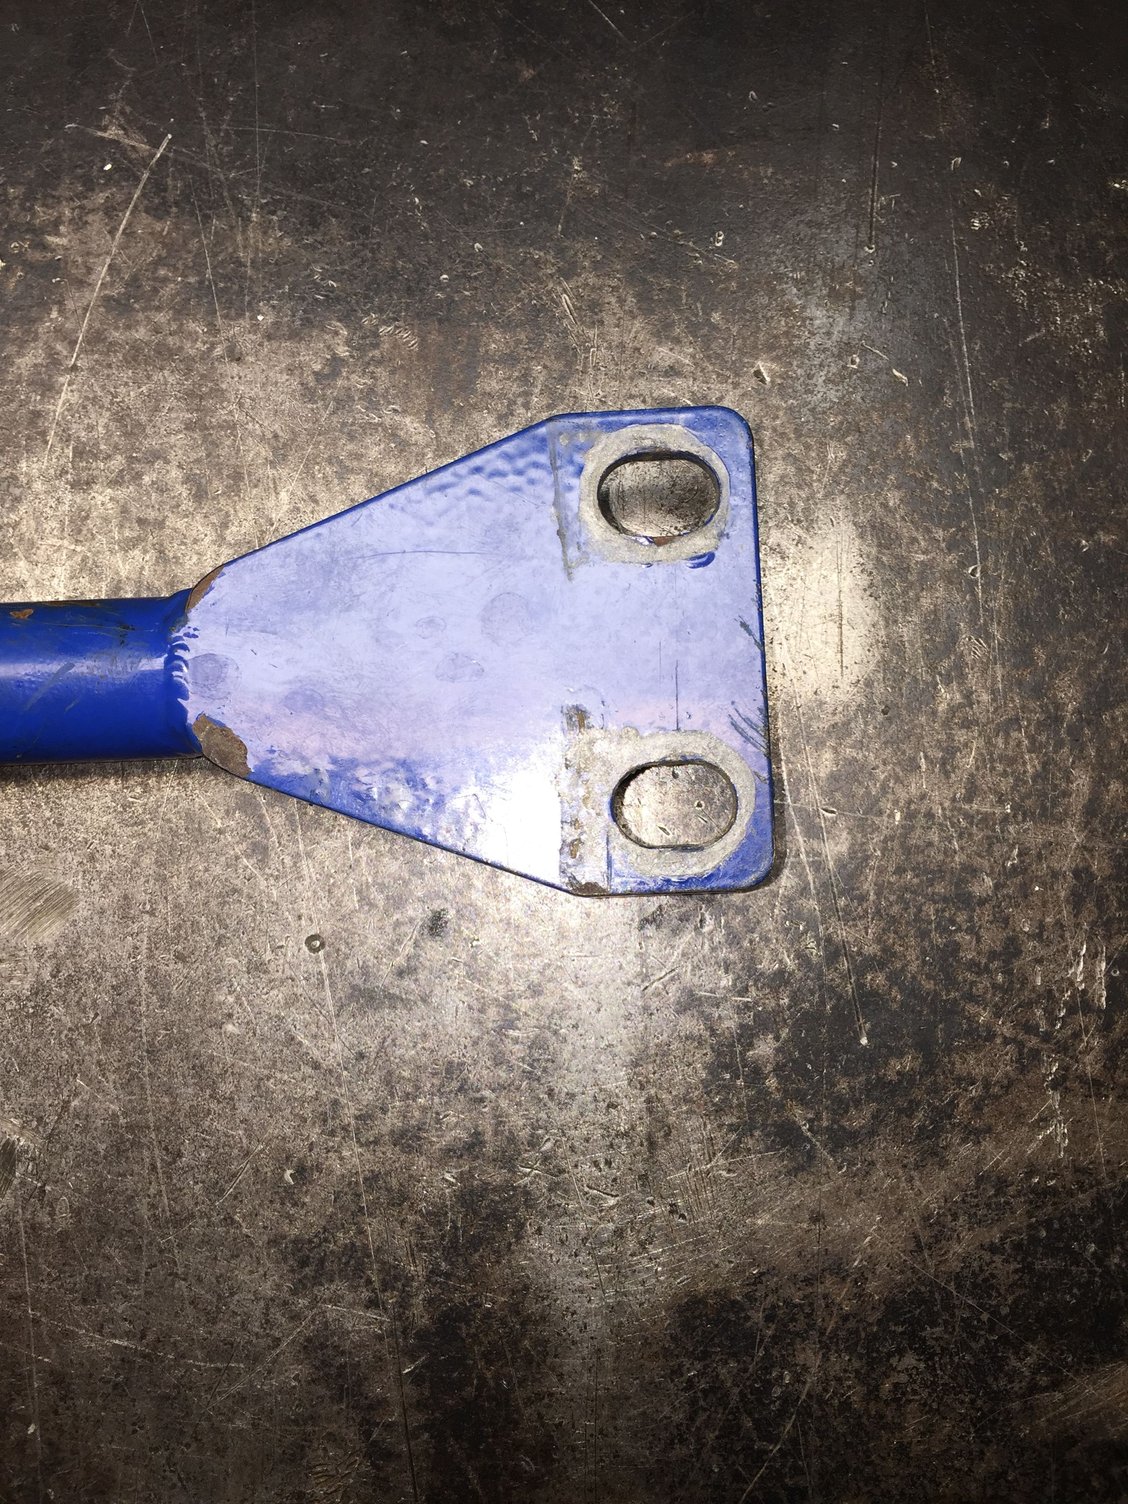
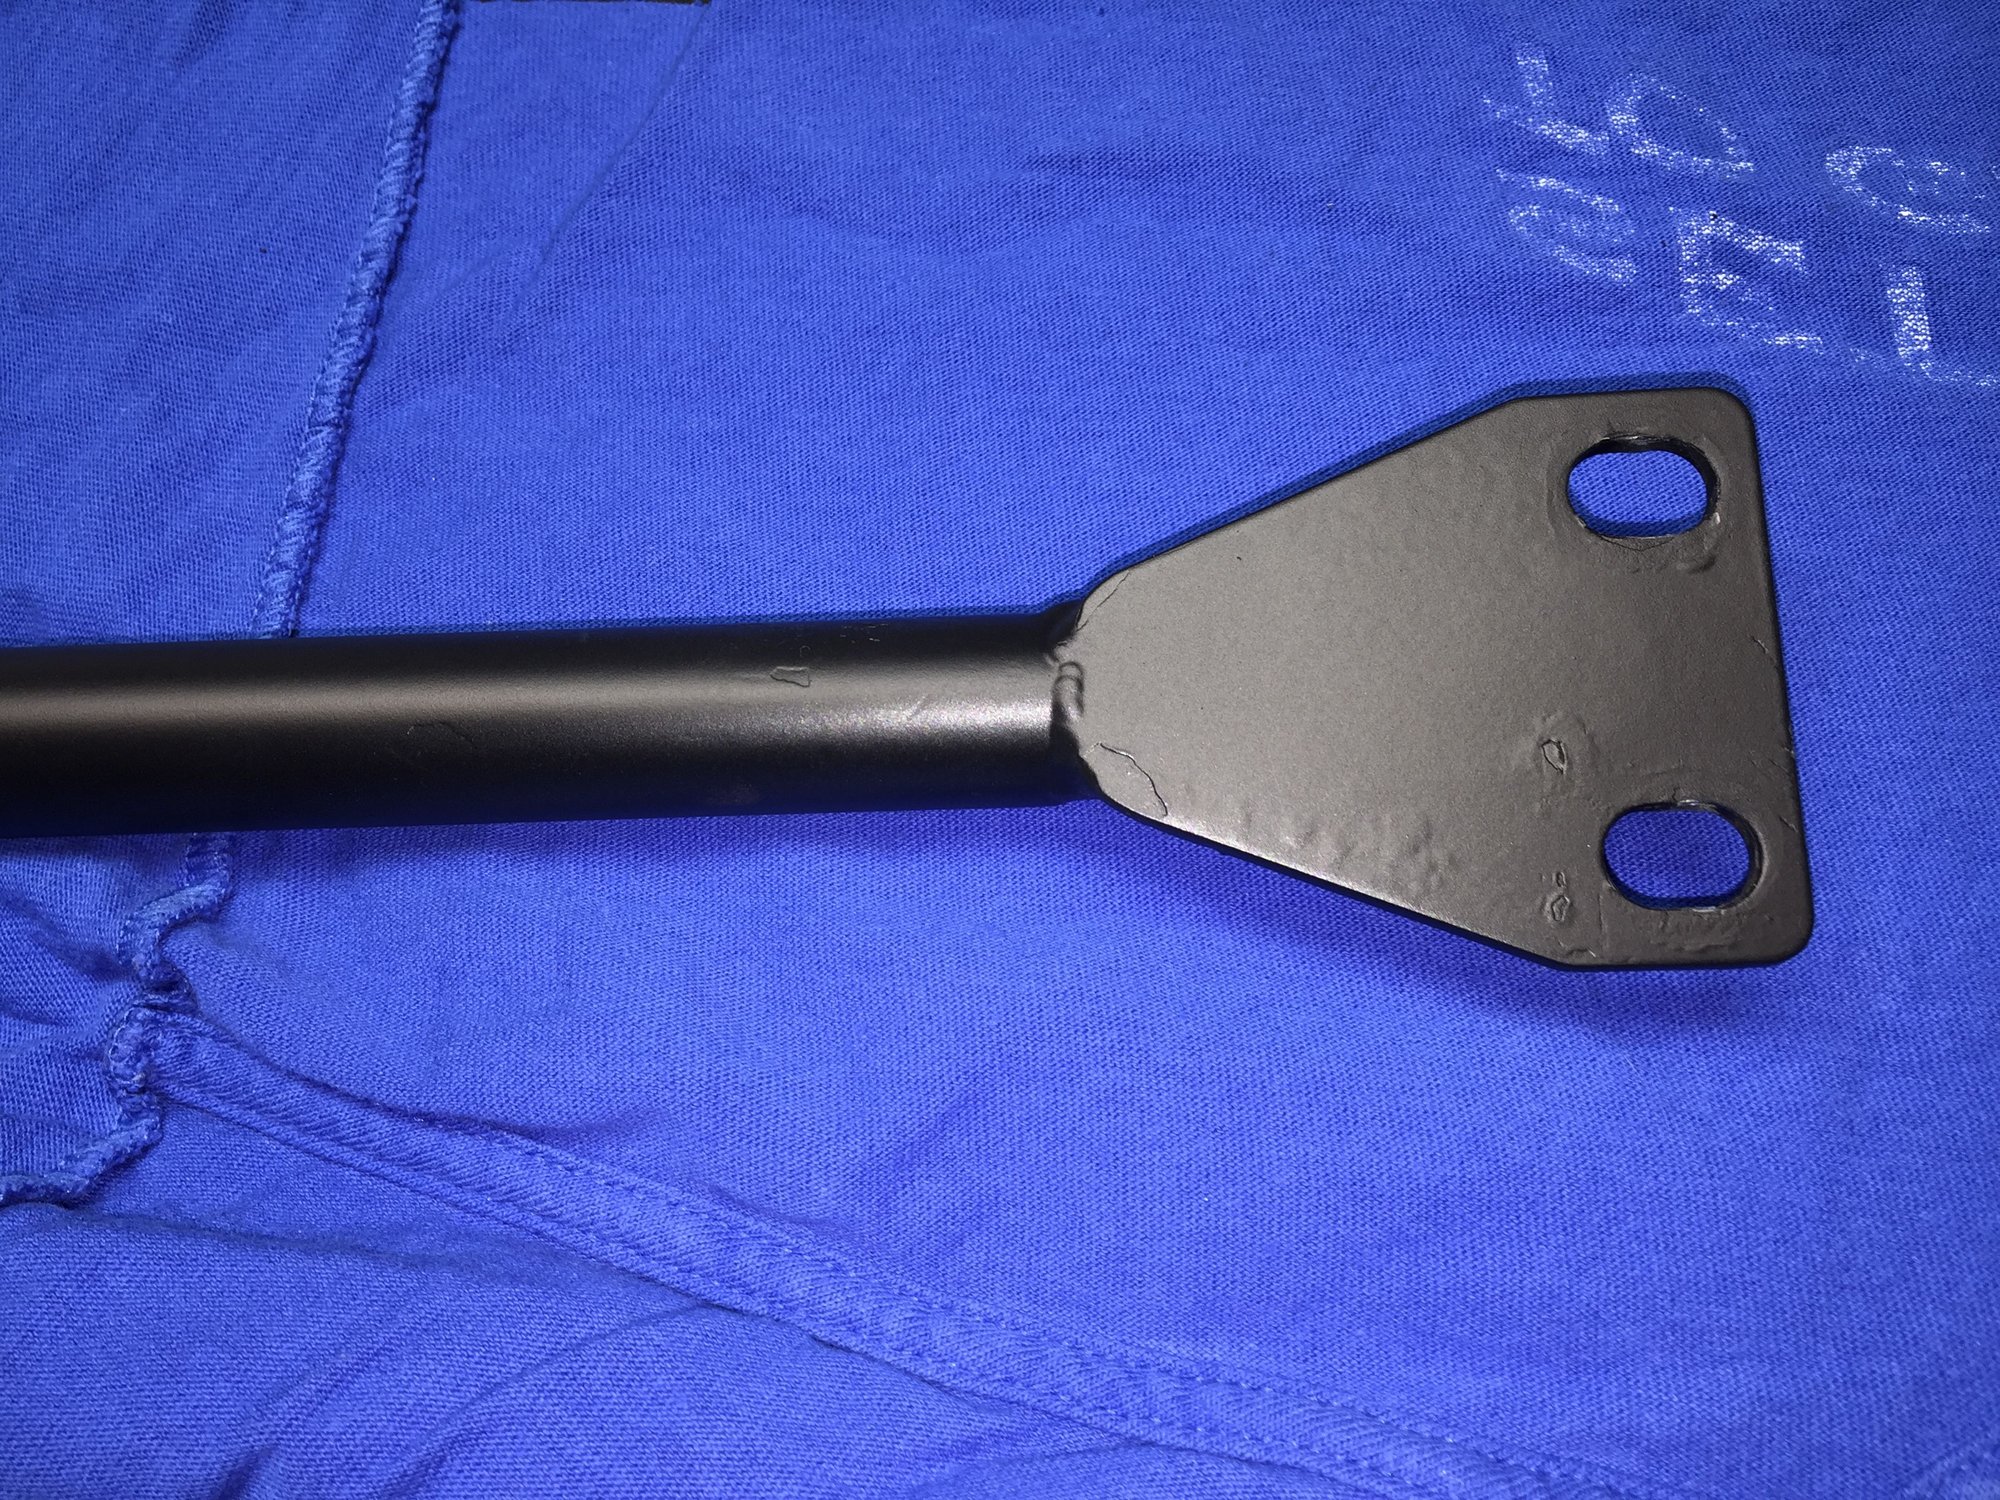
The fnish on the mounting ears is not as good, but is still quite acceptable.
Before...
Old vs. new.
After.
The original clamp for this valve was quite ratty. I replaced it with a similar sized cushion clamp.
The point of the brace being to add stiffness, I like steel over aluminum even if it weighs a little more. For axial stiffness, the tube's gotta be straight. You don't want the brace to draw the eye away from the machinery, so black is best. Three cheers!
s54venture: Thank you! I agree about the black. A little more subtle. I can't take credit for the engine compartment. The PO did an excellent job of taking care of this car.
Adk46: I wholeheartedly agree. This is a road going GT, not a stripped down track car. The weight penalty of a steel cross brace over an aluminum one does not matter a whit. In my mind, the steel brace is a stronger piece, better able to withstand the compressive loads.
Heating spray paint in a bucket of hot water makes it spray better. The warmer paint flows out of the nozzle smoother and lays better on the part. At least that is what I have been telling myself for years.
I learned that trick years ago when needing to spray paint in cold weather. Heat the paint, heat the part, you can get away with it.
Daniel5691: Thank you! I am still a touch ghetto, but I take pride in my work.
Adk46: ...Heating spray paint in a bucket of hot water makes it spray better. The warmer paint flows out of the nozzle smoother and lays better on the part. At least that is what I have been telling myself for years.
I learned that trick years ago when needing to spray paint in cold weather. Heat the paint, heat the part, you can get away with it.
Daniel5691: Thank you! I am still a touch ghetto, but I take pride in my work.
Seth K. Pyle
Any petroleum based product will get thinner with heat. Up to a point, thinner will spray better. FWIW, I volunteer at a shooting range. We have steel "swinger" targets that we just throw a coat of paint on to "refresh". In the winter, we will put the cans of paint on the electric baseboard heaters to help them spray better. I like the hot water idea, and may steal it.
Not "ghetto" at all. Improvising, adapting and overcoming obstacles is part of 928 ownership. Doing so by yourself, saving having to pay someone else, frees up money for...
All the other stuff the car needs.
It looks nice. I agree that the black makes the engine stand out all the better.
Seth FWIW I would suggest to replace the cross brace bolts with factory low profile bolts, and new factory washers.Roger has them.
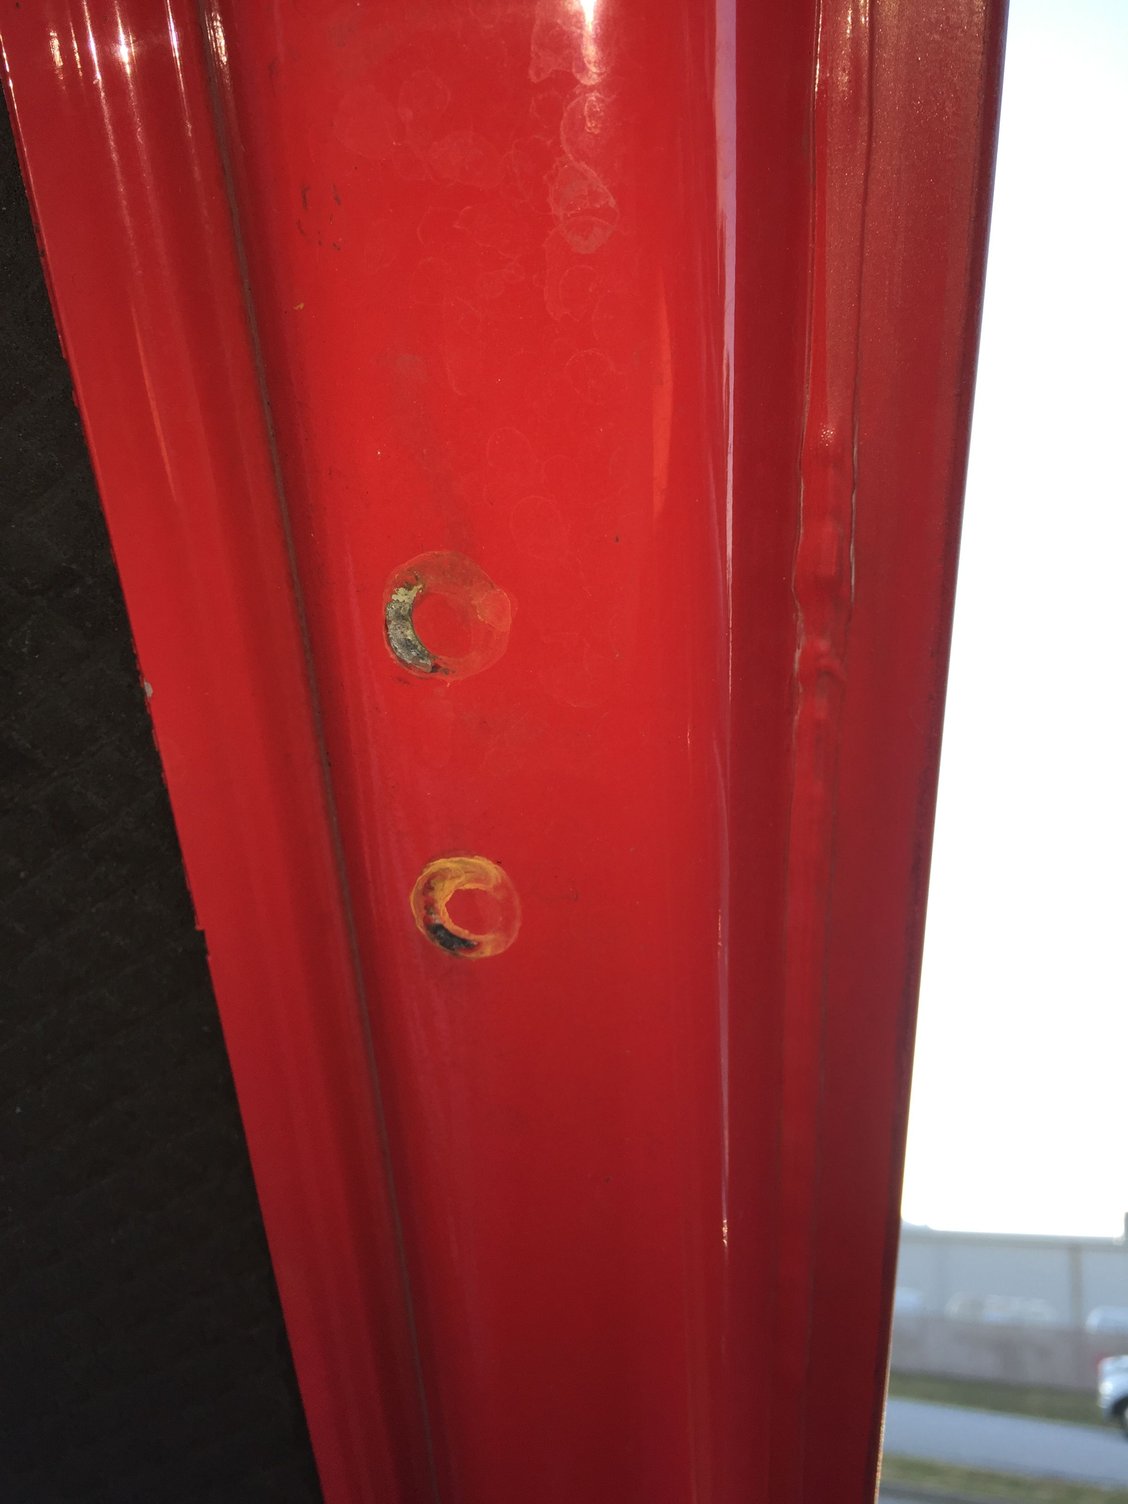
NOTE dont use lockwashers use blue loctite as this will raise your new bolts even higher
Otherwise the new bolts can wear divots into the bottom of the hood and then you have 4 nice circles of worn paint on the hood .
Your old cross brace can be straightened .with some careful placement of wood blocks and pressing on the bar.
NOTE with some paint stripper applied you can remove the old paint and then some mothers metal polish will bring out a super polished finish wax the bar a few times before installing it.
NOTE the side brace mounts can also deform upwards from hitting bumps.
solution put a 2x4 block on the mounting pad and hit with a big sledge hammer till it is pushed down, then install the bar,
NOTE your hint the mount is bent is if the bar collar is rubbing on the lip of the hood
use your eyes to gauge this
Use some of your shop toys to straighten the original brace. A little paint stripper will get everything off of it, especially the places where the ends are swaged onto the tube. Then do a similar finish job on it.
I like the detail that went into making the original part, particularly how the ends are shaped with just the right amount of ribbing to keep them straight.
I'm always wondering how someone manages to bend one of these braces in the car. But we see them bowed in the middle. I look at those little formed brackets that are spot-welded to the inner fender wall by the shock towers, and how they could transfer impact or race-level side loading to the brace to the point of bending it..
The original bolts for the brace in my '89 are gray cad plated short-head socket capscrews with similar-finish washers. On my car, there were/are both red and yellow factory QC marks on the tops of the bolts. I use cheap nail polish to maintain those, rather than the paint pens that the factory used during assembly. So the old marks can be easily removed with acetone and redone after any service that includes crossbar removal. The paint marks extend into the hex opening, and across the top face but not down the sides to onto the washer, as one would add a telltale line. They are, after all, just QC marks.
Looks good Seth. You have a choice to make on the diverter valve, some of us have relocated them, with the advantage of not having to mess with it each time you need the brace off. Pretty easy to fabricate a bracket. Disadvantage is that it's a departure from "stock", and that becomes a slippery slope sometimes.
Cheers.
One couldn't be faulted for thinking that Porsche should be able to come up with something a bit better than a hose-clamp to match such a nice looking motor could they?
Once upon a time I fantasized about writing just such a suggestion on a student's report card...
Originally Posted by Wisconsin Joe
volunteer at a shooting range
I respectfully suggest that things would look even better with one these:
Wisconsin Joe: Thanks for the kind words! I am making this up as I go, but I believe in what I am doing.
You bring up a good point. You don't want to go too hot. I have heated flat spray paints too much to the point that they dried in the air and hit the part as dust.
Mrmerlin: Thanks for the heads-up! I was unaware of all this. I had been led to believe the socket head capscrews were correct by the owner's manual. It mentioned placing the (-) cable on a cross brace mounting bolt when jump starting a 928. I didn't see that happening with a low profile button head cap screw.
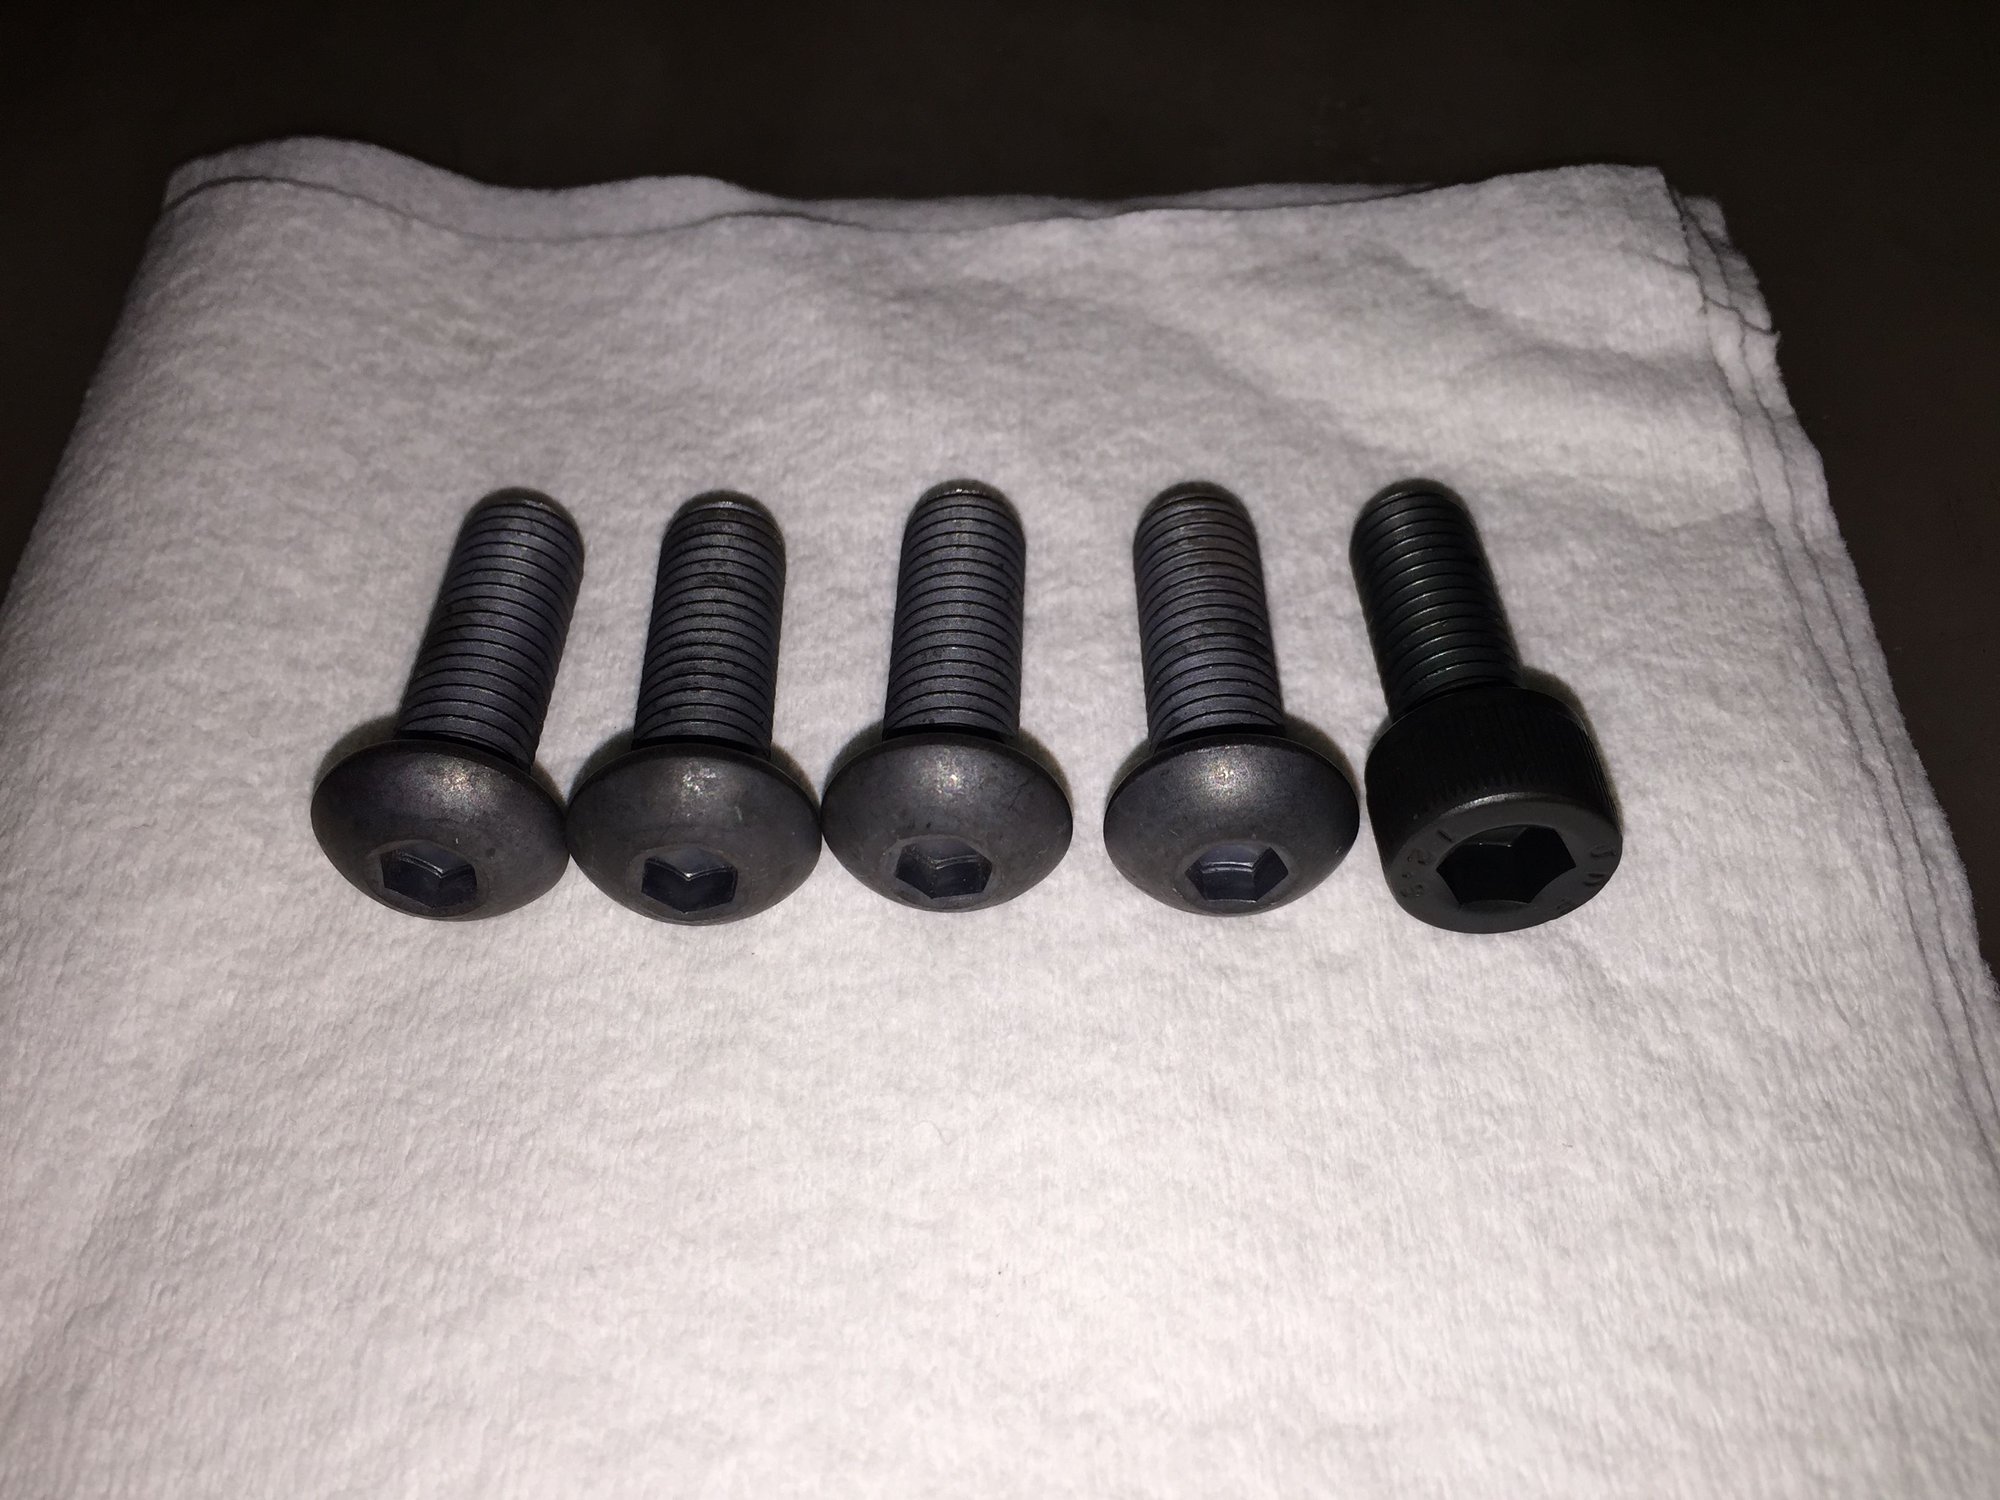
I will order the correct fasteners from Roger soon. For now, I have sourced a set of low profile button head M10 cap screws.
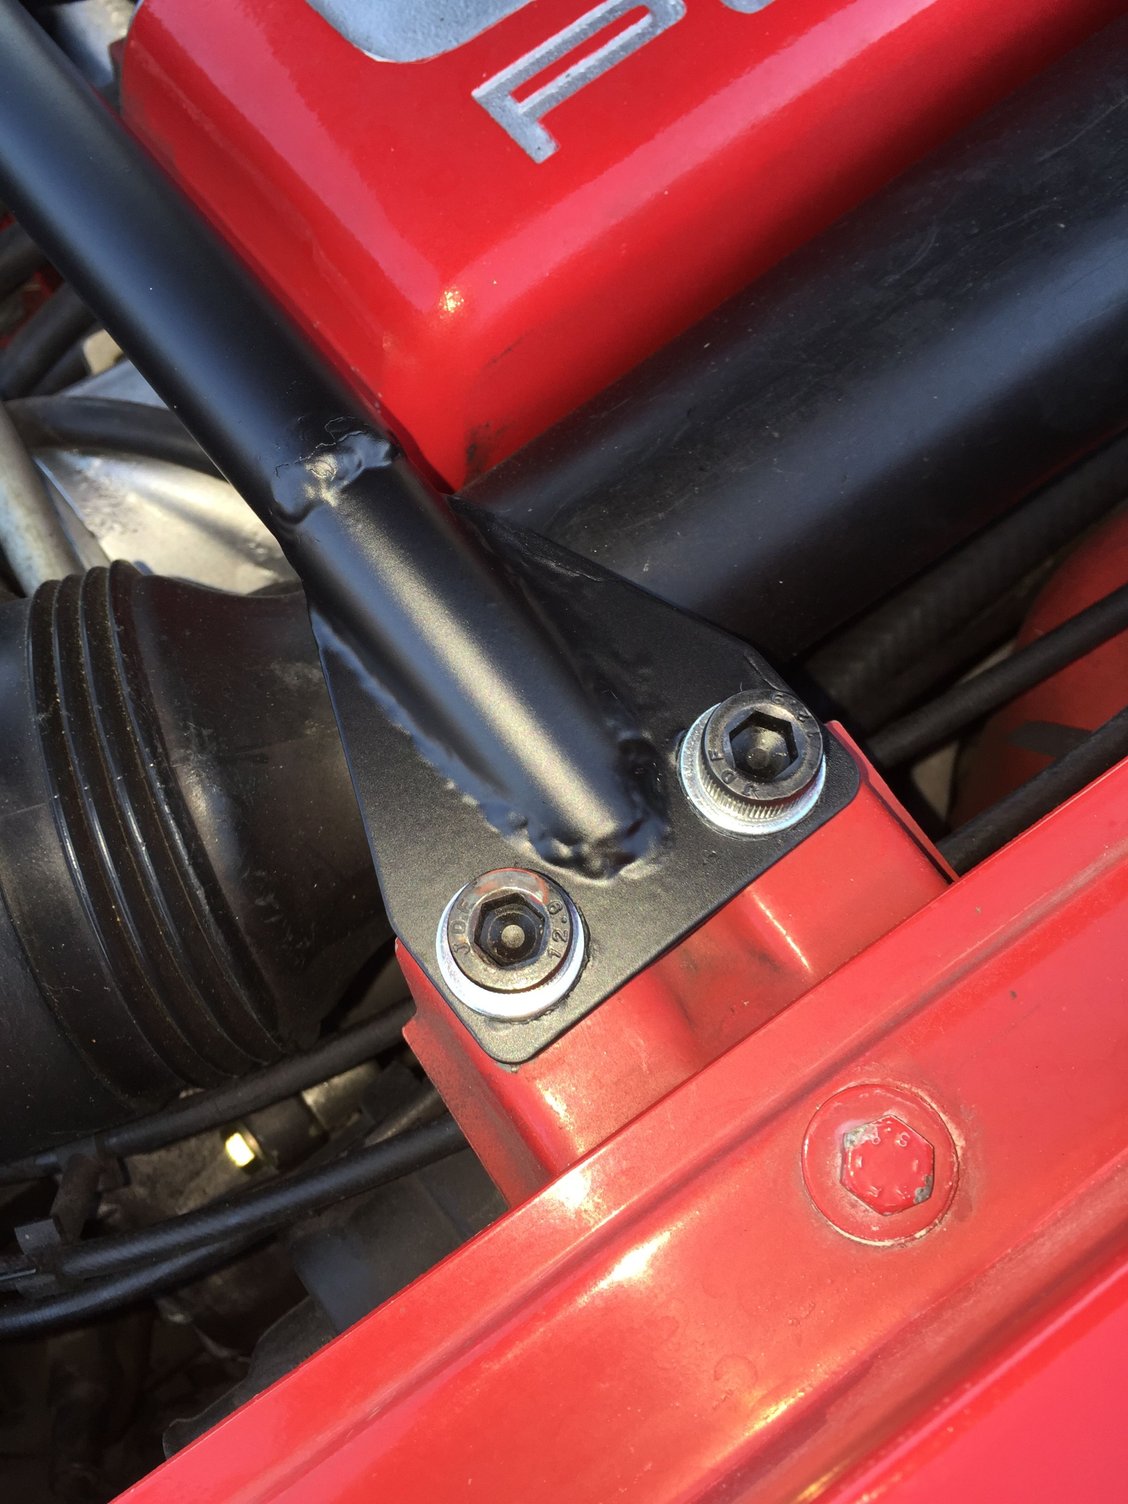
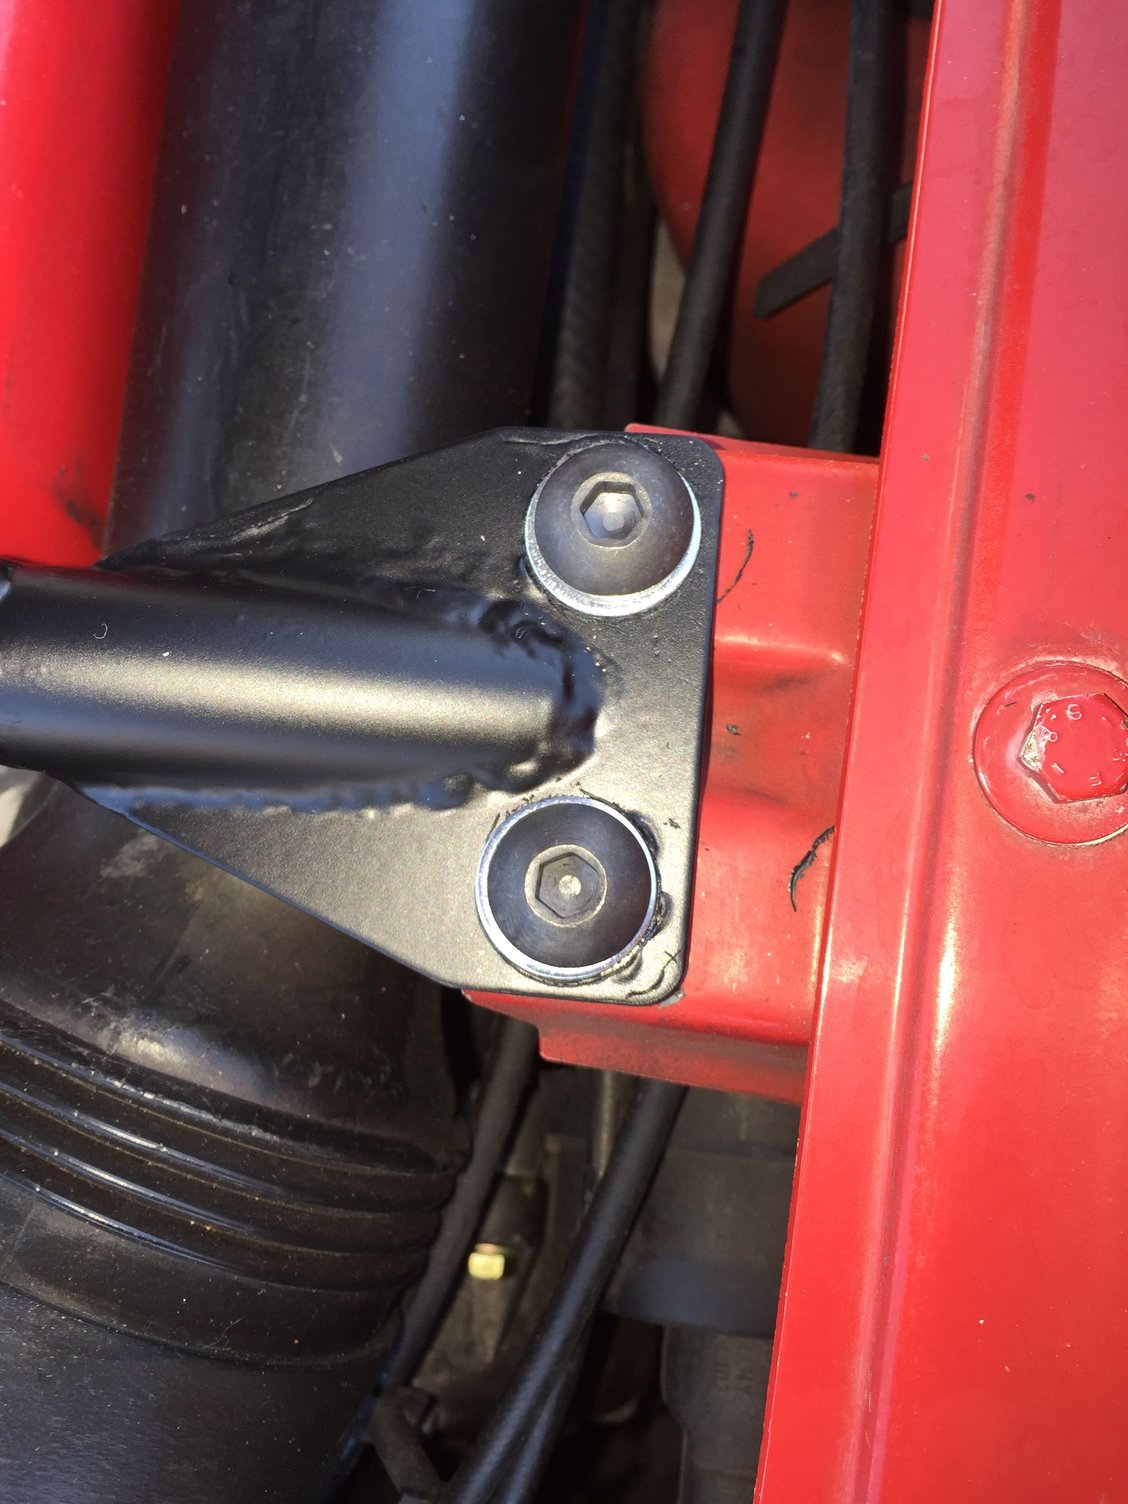
M10 button head low profile cap screws in place of the socket head cap screws.
I will install them in the morning. I will leave out the schnorr lock washers and use blue loctite instead. I will check the installed height of the bar to look for deformation of the mounting pads. I think(?) they are OK as I did not see any rubbing on the original brace. Good idea for how to straighten them, thanks!
I am not going to try to straighten the original cross brace, as it also has a dent in it.
dr bob: I had not noticed the difference in the ends of the cross braces. I wonder where my replacement came from.
For giggles, I may buy the other, aluminum cross brace from Chris. I will strip and polish it as an option. We shall see.
Thank you for the installation details for the mounting hardware!
jwyatt8171: Thanks! Yep, straight is a plus.
Crumpler: Thanks! Good point about making a bracket for the diverter valve. I will think on that some. My 'fab-fu' is OK, but it requires alot of forethought.
I am already on a sled, swooshing down that slope, yelling, "Whoooohooo!!!"
curtisr: I agree, that clamp looked a little 'low rent'.
That is a nice oil fill cap. I had not thought about one of those.
Thanks!
Mrmerlin: Thanks for the heads-up! I was unaware of all this. I had been led to believe the socket head capscrews were correct by the owner's manual. It mentioned placing the (-) cable on a cross brace mounting bolt when jump starting a 928. I didn't see that happening with a low profile button head cap screw.
I will order the correct fasteners from Roger soon. For now, I have sourced a set of low profile button head M10 cap screws. ...
Please don't use the button-heads. Those are M10 fasteners, torqued to 34 ft-lbs. With that, and blue Loctite in mind, consider the size of the hex socket on the button-dead: quite a bit smaller than a M10 socket-head. There is a high probability that you will be drilling them out when time comes, assuming you can properly torque them at all. Use the old hex-heads, or grind down the new ones until you can get the proper fasteners.
The Porsche part# for the correct (short) hex-head screw is 900-119-053-02, washer is 900-025-008-04, available from Roger, 928 Int'l, or any Porsche dealer for a couple bucks each.
I understand what you are saying about the button head cap screws. There were no old hex head cap screws. PO had installed the same socket head cap screws.
I will put in a rush order to Roger for the correct fasteners. Thank you for the part numbers, that is quite helpful!


 06-28-2016, 05:22 AM