

Help with RS carpet set.
 01-03-2008, 06:59 PM
#1
Burning Brakes
Thread Starter
Join Date: Aug 2007
Posts: 955
Likes: 0
Received 0 Likes
on
0 Posts
I can't find much help from anywhere here or on the net in reguards to installing my RS carpet set. Looking over all the pieces it just looks daunting to say the least. Just a bunch of random looking cuts with no instruction.
Any links you guys could give me? I could only figure out 5 of the pieces for sure and the rest is just a guess and its not that obvious when I put them in the car and start trying to fit them. I have a buddy with a RSA that has this kit but not sure how much it will help looking at it in person with everything installed.
Any help would be appreciated.
Any advice...
Jeff
 01-03-2008, 07:09 PM
#2

Try this. There used to be a really good instruction sheet on-line. The link is in this thread but it's not working.
Hopefully there's enough information here to get you through it.
http://forums.pelicanparts.com/showt...uctions&page=3
Hopefully there's enough information here to get you through it.
http://forums.pelicanparts.com/showt...uctions&page=3
01-03-2008, 07:12 PM
#3
Also go here and look for the posts from user Rouxroux. It looks like he has a file he can email you.
http://forums.pelicanparts.com/showt...t+instructions
http://forums.pelicanparts.com/showt...t+instructions
01-03-2008, 07:30 PM
#4
Burning Brakes
Thread Starter
Join Date: Aug 2007
Posts: 955
Likes: 0
Received 0 Likes
on
0 Posts
Thanks. Most of the pictures I saw were of older cars. I am doing a 993 and the interior is basically the same as a 964. I have a 964 with a kit already installed a long time ago so I may just use it as a referance but not sure if the kit is the same or not. I don't live in the same place and I really want to do everything my self.
If anyone has some files or pictures of an install on a 964 specifically of the Applebiz kit let me have it
Thanks for your help. If I get it installed and done right I will post my own instructions.
If anyone has some files or pictures of an install on a 964 specifically of the Applebiz kit let me have it
Thanks for your help. If I get it installed and done right I will post my own instructions.
01-10-2008, 08:41 PM
#5
Burning Brakes
Thread Starter
Join Date: Aug 2007
Posts: 955
Likes: 0
Received 0 Likes
on
0 Posts
Well, got the carpet set in. I bought the kit for the 964 RS and put it in my 993. Fit perfect. Really turned out nice.
If anyone is going to do this, it is definatly a weekend project you can do. Just take your time.
I may post some pics later once the fumes get out of my head!!!
If anyone is going to do this, it is definatly a weekend project you can do. Just take your time.
I may post some pics later once the fumes get out of my head!!!
01-10-2008, 09:42 PM
#6
Drifting
Gasser-
I installed my RS carpet set about a year ago as well ( I also used the 964RS version in my 993)...and I have to say it was NOT fun....like one big puzzle, but the end result was very nice. Look forward to seeing how yours turned out.
I installed my RS carpet set about a year ago as well ( I also used the 964RS version in my 993)...and I have to say it was NOT fun....like one big puzzle, but the end result was very nice. Look forward to seeing how yours turned out.
01-11-2008, 01:26 AM
#7
Burning Brakes
Thread Starter
Join Date: Aug 2007
Posts: 955
Likes: 0
Received 0 Likes
on
0 Posts
I took a few pictures but I should have taken a few of the rear with the race seats out as now I can't get a good shot back there to save my life. The part I thought would be the hardest turned out looking the best of all. The front. I think the front turned out looking factory. The rear was a lot harder to get wrinkle free but it turned out great. Since there is no padding and all the wires running back there that made it much harder.
I found the best game plan on installing this set is to start dry fitting all the pieces. Through the process of elimination I finally got everything in place. I really suprised myself on how good it turned out.
Jeff
Here is a poor picture of the rear.
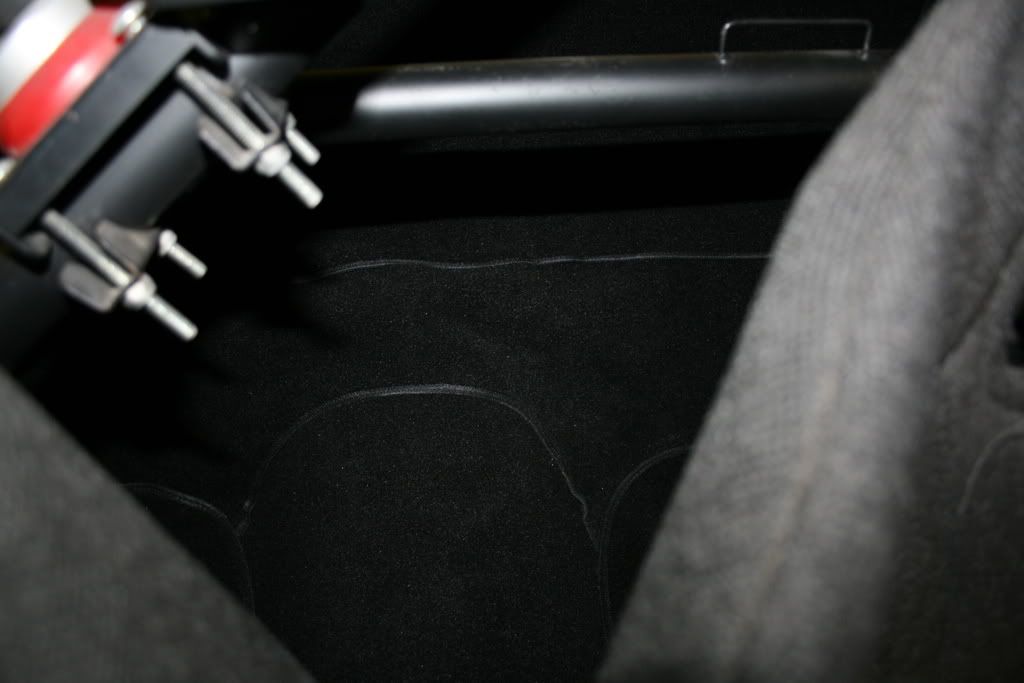
Here are the pics of the front.
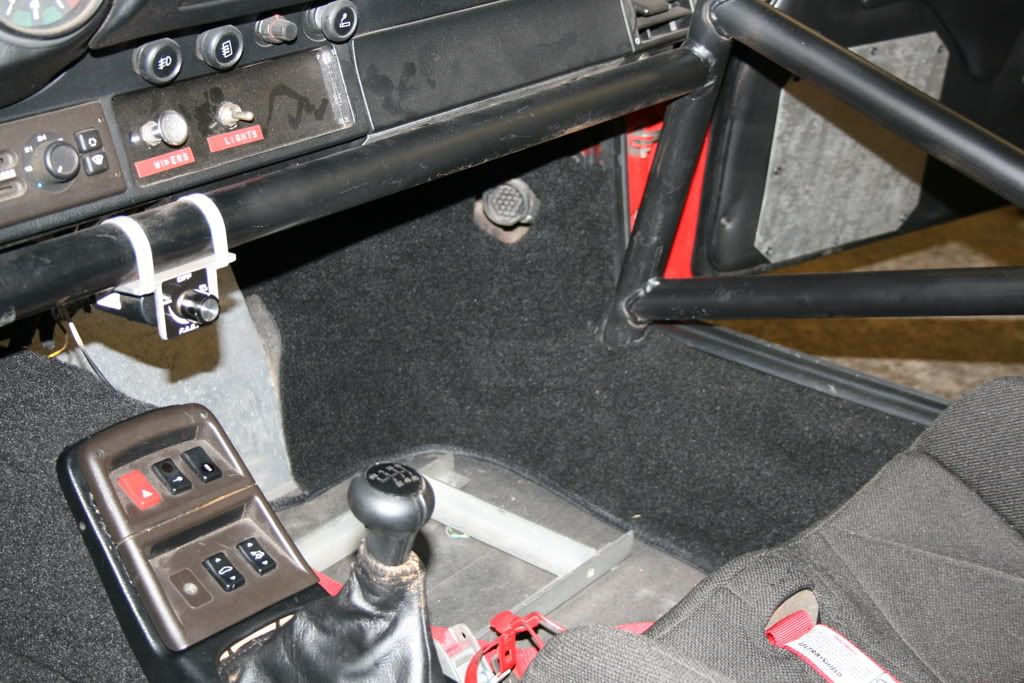
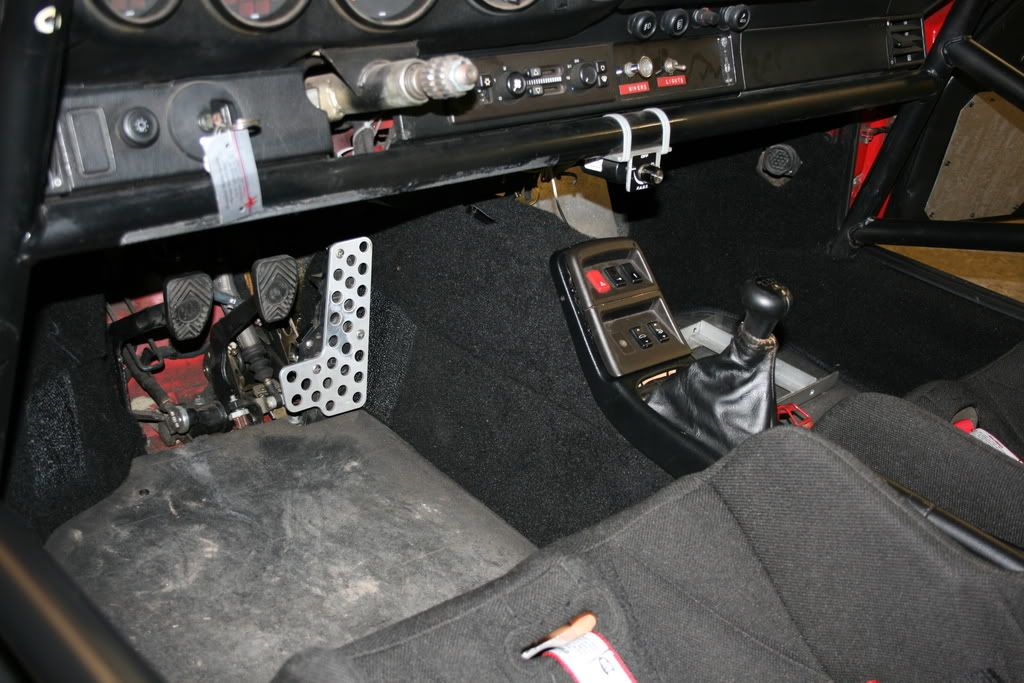

I found the best game plan on installing this set is to start dry fitting all the pieces. Through the process of elimination I finally got everything in place. I really suprised myself on how good it turned out.
Jeff
Here is a poor picture of the rear.
Here are the pics of the front.
Trending Topics
01-11-2008, 10:04 AM
#8
Drifting
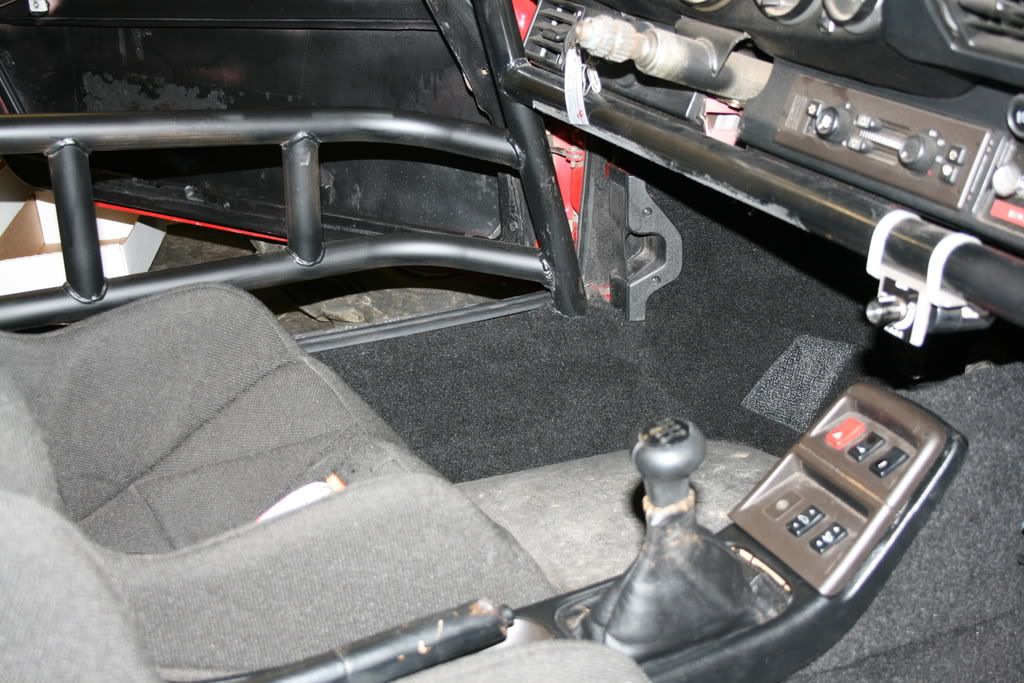
Looks good...here are some pics of mine, although I dont have any real good ones of the front....and I agree, the rear was difficult to get to look factory, but the front was a breeze.
01-11-2008, 05:16 PM
#12
Drifting
I bought a sheet of it from JC Whitney a while back. This is not the typical "soft" velcro...its the much harder, plastic version. I've seen it in Auto Zone, Pep Boys, etc. as well. This same stuff is holding my headlight covers on....its very strong.
01-11-2008, 08:23 PM
#14
Rennlist Member
Gasser, looks real nice. What type of adhesive did you use and what was your process for final install after the dry lay up. Did you put adhesive on one side, both sides. Thanks, I have a similar project going also purchased from Appbiz.
01-11-2008, 10:46 PM
#15
Burning Brakes
Thread Starter
Join Date: Aug 2007
Posts: 955
Likes: 0
Received 0 Likes
on
0 Posts
I used a heavy duty carpet adhesive from O'rielys. Its in an orange can. It was 5 bucks cheaper than the 3M stuff and did great.
Here is my procedure.
I dry fit the pieces and decided which went in first. I sprayed the metal with plenty of glue and also put a light coat on the back of the carpet. I then used a heat gun to heat up the glue on the metal until tacky. I then placed the carpet on the spot and it was STUCK. You can pull it up several times if needed. For the pieces around my cage I cut to fit first and then glued it in. I trimmed last to get those perfect edges. The knife I used was by craftsman. Its is basically a utility knife that folds like a pocket knife and the blades can be changed in about 5 seconds. Always keep a sharp blade in and it goes much better.
For the plastic pieces up front like the side pieces under the dash and the center upper console I sprayed it well and again heated it up with a heat gun, then placed the carpet on it and trimmed it after it set up well.
If you need any help let me know. Its pretty fresh in my head minus the brain cells I killed off.
Jeff