When you click on links to various merchants on this site and make a purchase, this can result in this site earning a commission. Affiliate programs and affiliations include, but are not limited to, the eBay Partner Network.
Hello, i have a problem with my suspension. The car is 2014 CTT, in service I did replace front left bag because the car is fall on the left. Whit the new bag instead the car every morning fall down and when i open the door it�s self levels. I have no errors on the screen. When i change the bag they fill the sistem whit notrogen. The problem is why the car drop down every morning. I drive the car about 4 months and 5000km. and check the nitrogen is full.
4 months ago when replace the bag in service they fill the system . I went this Friday again in service to see why car drop and they check system and said is full.
In this service they have NOT software for the suspension. Maybe this is the problem.
If is necessary to lear the computer after change the bag and refuel the system?
Trying to boil down the process here, for us peasants with no PIWIS or icarsoft or icarscan or whatever it's called these days. This is how you can get by enough to get the car driveable to a shop that can do the nitrogen fill.
In my opinion, these repairs can be done at home, without a computer, but you need a good large floor jack (or lift), and you need someone (unfortunately, a dealer probably) who can fill the accumulator with nitrogen afterwards.
There are 2 main failure modes.
Failure 1: Strut air bag leak.
Failure 2: Compressor doesn't work.
Normally Failure 1 happens slowly and is noticed by such symptoms as
-1.a. "not possible" going above normal height
-1.b. car drops level as parked (left it parked in normal, return to low level)
-1.c. one corner of the car seems to droop
-1.d. "chassis faulty" or "chassis failure"
Failure 2 occurs over time but is exacerbated by a Failure 1. Symptoms:
-2.a. "not possible" going above normal height
-2.b. lots of blinking of arrows when changing heights but the height won't change
-2.c. can't hear compressor run (because it's not running)
-2.d. "chassis failure" due to compressor running too often, or to it not running at all (broken wire or relay
In the case of failure 1, strut replacement is somewhat straightforward, with the following extra precautions:
1. before starting work, disable level control (hold level switch in "up" position for 10 seconds).
2. replace spring/damper/strut and reinstall wheel. allow the wheel to touch the ground but DO NOT fully release the jack/lift. Allow the jack to support most of the car's weight on that corner. adjust the jack so that the car is mostly level
3. undo the battery ground that's just in front of the driver seat (there's a little plastic rectangle frame in the carpet you pull forward from the top, and a body-color 13mm nut that holds the cable on) for 10 minutes.
4. replace the batter ground you just undid then start the car and re-enable level control. ensure the hood and doors are closed. since you made the car level with the jack, it probably won't do anything.
5. with the car still running, get out and close the door again. slowwwwly release the jack to drop the car about an inch or two onto the new strut, but then tighten the jack again to support the car at a lower level. the car should respond by pumping enough air into the strut to get it to come back up a bit.
6. repeat step 4 a couple of times. You don't want to put full weight on the strut until the car has pumped a good amount of air into the strut.
7. If possible, take the car to a shop (drive on low level or tow it) that has dry nitrogen and the correct fitting to purge and re-fill the accumulator, to help dry the system out some.
7. Exercise car through the different heights. be sure to allow LOTS of time for the compressor to cool off between changes. It gets VERY hot in a hurry.
For failure 2,fix your leak first, then replace the relay second:
1. On left hand drive cayennes, its under the dash.
2. remove the one torx screw to get the beauty cover out that's above the pedals.
3. You'll see, just to the right of the brake pedal, a big (t30 I think) torx screw. undo it.
4. The top of the relay panel is hinged in place; just rotate towards you a bit and push the panel up, and it'll pop out so you can pull it down and work on it.
5. the "top left" (I use this term loosely since it matters which way you hold the panel) of the relay panel is slot number 1. each slot has a number cast into the plastic. hard to see, but it's there.
6. Remove the relay from slot one (there's a tiny tab you have to pull to get the relay out) and replace it with a new one
If your problem persists, you can then replace the compressor $$$ using the following precautions:
1. inspect your new compressor. look at the wires. make sure they are all connected! if you decide to bench test using 12V, be sure you know what you're doing because reverse polarity would probably damage the compressor
2. disable level control (up on the level switch 10 seconds)
3. jack up the car and USE JACK STANDS because there's a chance you'll lose air pressure and the car will drop on any wheels that are still on the ground!
4. remove the passenger side plastic rocker panel protector (lots of torx screws)
5. unplug the two electrical connectors and cut the zip ties holding them in place
6. undo the 3 13mm bolts that mount the compressor/valve block to the car
7. support the assembly so you can work on the FRONT END of the compressor for the following fittings:
8. undo the small black air line on the bottom (12mm wrench...flare wrench is nice for getting it going but not necessary),
9. undo the larger inlet hose (for all you people screaming "it's a closed system," yes there is a big hose right on the compressor that pulls in ambient air lol) which has a collar you depress into the pump and then the hose male nipple just pulls out
10. undo the blue air line at the top (12mm again)
11. undo the bolts that attach the compressor brackets to the mount (10mm)
12. undo the black brackets that attach to the compressor (torx) and reinstall them on the new compressor
13. assembly is the reverse of removal. If you replace the brass fittings (my new pump came with them already threaded into the ports), they are a pain because the little collar has to be situated just so. There are two white lines on each air hose- you want to see one but not both of them after it's installed.
14. if done correctly, the valve block prevents loss of nearly any air. only the air in the lines between the compressor and valve block escape (negligible)
15. place the car back on the ground but AS BEFORE be careful not to just drop the car- if you lost any air, you'll need to support the car a bit until the compressor can refill lost air
16. undo the battery ground that's just in front of the driver seat (there's a little plastic rectangle frame in the carpet you pull forward from the top, and a body-color 13mm nut that holds the cable on) for 10 minutes.
17. replace the battery ground you just undid, make sure hood is closed, get in the car, close and lock the doors, turn ignition to position 1, and wait to see if any failures pop up.
18. Normally the car runs the compressor for a split-second right as you turn the ignition on just to test it. if you listen closely you'll hear it.
19. if all is well, or even if you have a chassis failure or faulty code, go ahead and start the car and listen for the compressor to kick on.
20. re-enable level control. keep listening.
21. if the compressor runs and runs and doesn't want to stop, check again for leaks AND get a shop to fill the accumulator with nitrogen.
Codes that you'll probably see:
354 (haven't figured this one out; I think it's related to low air volume or compressor fault
284 don't know but may be level out-of-range, can't adjust (too high or too low) or could be from unplugging the connector on the strut
257 don't know but may be level out-of-range, can't adjust (too high or too low) or could be from unplugging the connector on the strut
312 don't know but may be level out-of-range, can't adjust (too high or too low) or could be from unplugging the connector on the strut
1D1 compressor changeover valve (the small, 3-wire plug) is broken
1E1 compressor changeover valve (the small, 3-wire plug) is broken
anyone with a shop manual please help me out with the meanings of these codes so that future DIYers will know
1.a and 1.b , how �low� is when it said car low itself when parked. mine low itself for 2 mm - 5 mm after 5 days. dealer said no leak etc.
Out of curiosity how hard is it to do this swap? Is it plug play w new air spring or does it need to be compressed like steel springs for removal?
Originally Posted by 8389D
Hi guys, just thought I�d share some of my experience with the air suspension issues I�ve been having.
1. Front right and left was dipping overnight, noticed compressor running whilst driving for extended periods of time, and one time when stopped compressor ran right front lifted compressor stopped and right front dipped a bit.
Right seemed always to dip further than left.
Where I am labour is cheap, parts are new from dealer or used(imported) from outside workshops. I went with an imported original which I regretted but had no choice at the time.
Replaced the bag using original fork, still sagged a bit and was driving me crazy.
2. After reading the forums had the valve block tested, no leaks and mechanic said quite rare more than likely the front bag leaking from the left (some right was swapped) and could be inner bag so only can be tested by taking it off.
(note this is a different Indy than the first shop that did the replacement)
Took off the left this time. Tested it under pressure and surely enough was leaking, replaced with chinese bag from AliExpress.
Drove for a few days but right front would still sag a bit overnight, left was much better. Went back to mechanic swapped the used bag I put in 4-5 months ago for the new chinese bag from AliExpress.
FIXED NO MORE LEAKS, NO MORE COMPRESSOR FREQUENTLY RUNNING🙏🙏🙏
I know some of the members bought chinese bags and were criticized, however where I am there are no wrecks we can salvage parts. All used parts are imported, and the other option is dealer which is about $6k usd for 4 bags.
My cost was:
used bag and fitting usd $850 (turned out faulty and I had a bad feeling from day 1 about this)
2x $35usd for left and right install
2x $180 usd (approx) for the front chinese bags
2x rear bags as a spare.
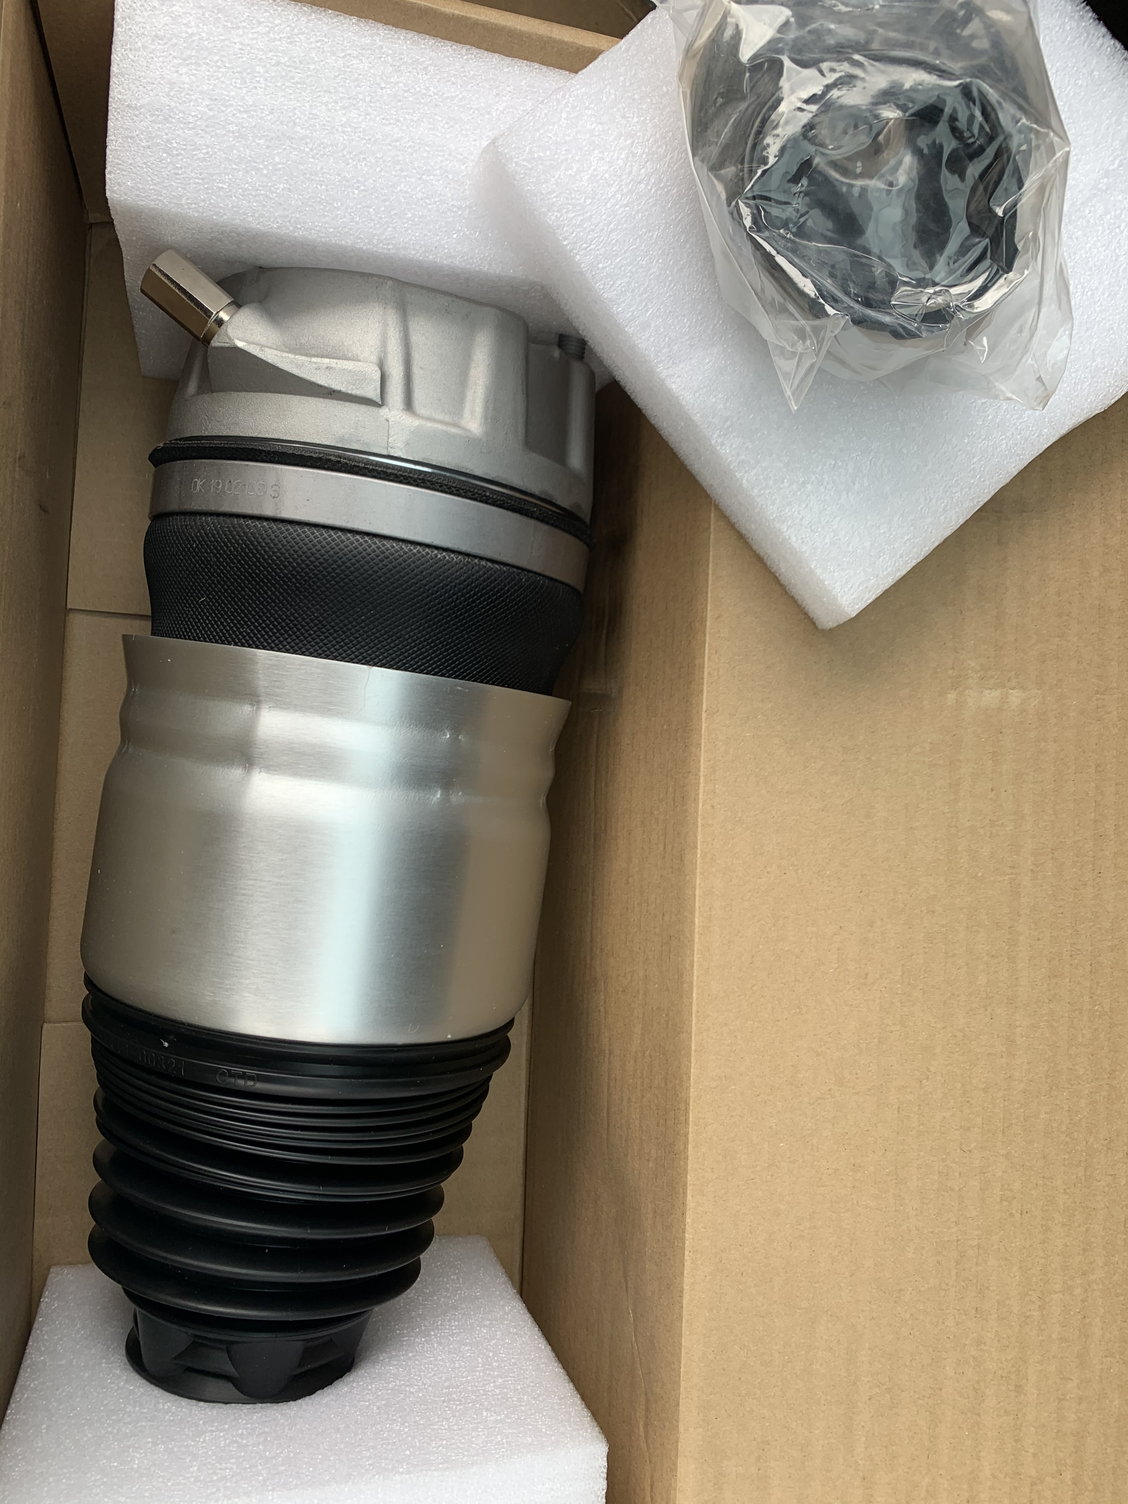
So far I would honestly have to say I�m really happy with the ride quality and the parts supplied with the new bag.
If installation would have cost a few hundred dollars each I probably would have gone with an oem new or used from a wrecker but in this case I didn�t know the root cause and simply had enough so bought all 4 bags from AliExpress.
If I we�re asked I would recommend considering the AliExpress bags if you were open to the idea.
The link for the bags is below for those who may be interested, and goodluck hopefully this helps.
Tried to upload some videos of the original bags that were pressure tested and failed but couldn�t.
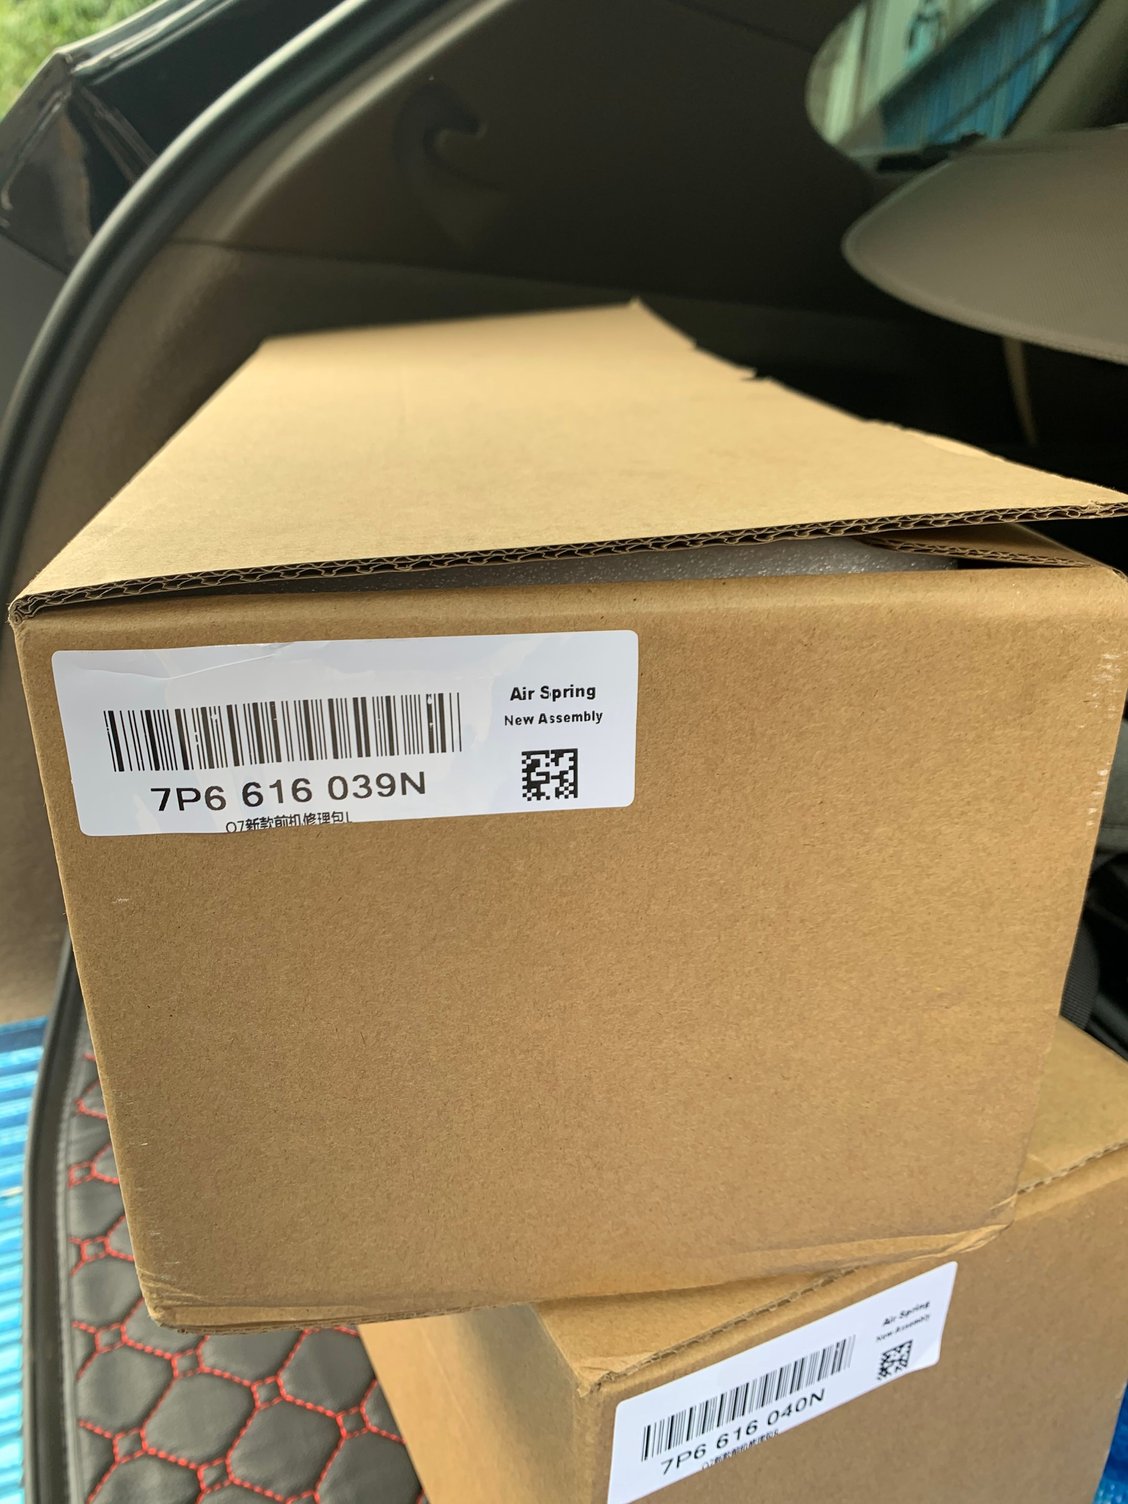
AU $212.04 24% Off | Luftfederung 2010-2012 Right Front Air Shock Air Bag Suspension Air Shock Air Ride Fit Audi Q7 CAYENNE VWTOUAGE 7P6616040N https://a.aliexpress.com/efhqFrC4
AU $212.04 24% Off | Luftfederung 2010-2012 Left Front Air Ride Suspension-Air Strut Air Bag Repair Kit Fit Audi Q7 CAYENNE VW TOUAGE 7P6616039N https://a.aliexpress.com/KbpWbpnw
AU $424.09 24% Off | Luftfederung 2pcs 2011-2016 Rear Air Ride Shock Absorber Suspension Kit Fit Audi Q7 VW Touareg Cayenne 7P6601020K(019KL) https://a.aliexpress.com/dTVvLSeG
New bag from the Alibaba link New left and right bag packaging from Aliexpress
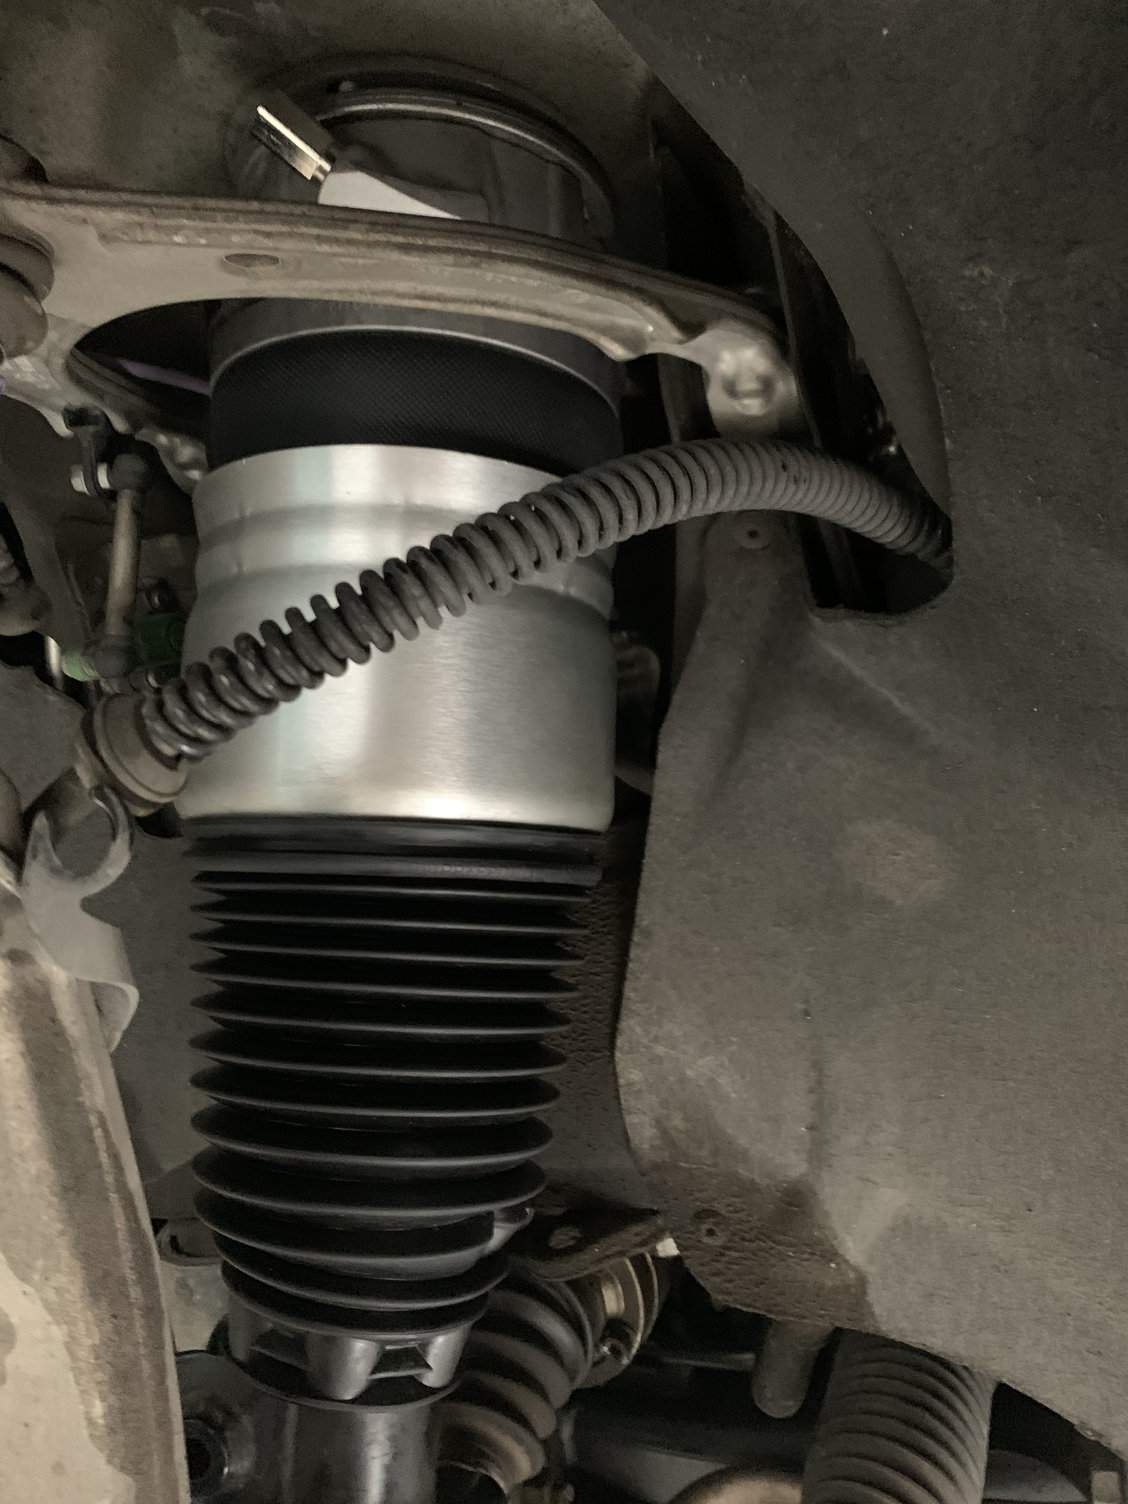
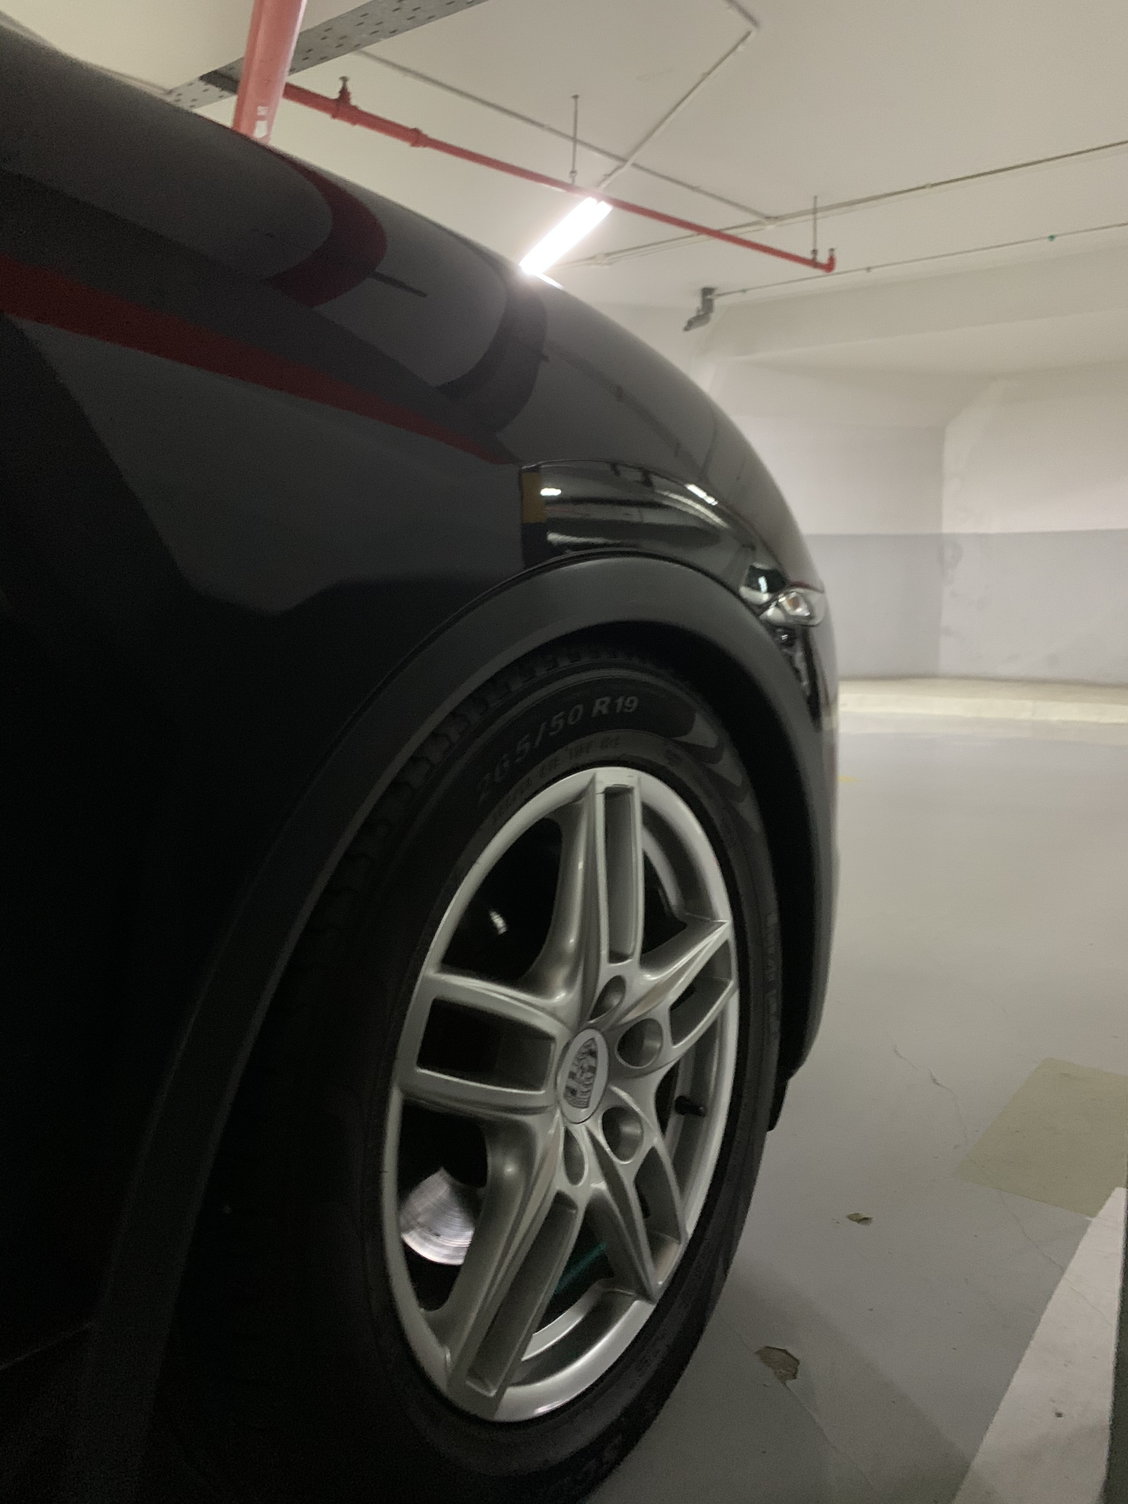
Left front after being installed to the original fork and pressure tested. Left front sagging overnight Right front overnight
Out of curiosity how hard is it to do this swap? Is it plug play w new air spring or does it need to be compressed like steel springs for removal?
The guys that did mine do only suspension and used an air gun, took about 30 mins for one side.
remove the wheel, detach the sensors from the clips one the strut, remove the bolt from the bottom, top then the bolts from the top of the engine, push down on the knuckle and wrestle the old unit out, pull off the old bag, slide on new bag, swap over the cable on the middle top then reverse the uninstall procedure.
I have seen it done so many times now i think i could do it with the correct tools, but then again paying a pro to avoid all the cursing probably would make sense, just shop it around for the install, shouldnt take more than an hours labour.
I just did a s class they only used hand tools no lift etc took less than an hour.
Im no expert, maybe somebody can advise hand/machine tighten vs torque spec/wrench issues, but so far no issues on both cars.
thanks. Do you happen to know if you can detach one shock w it jacked on that one corner. Eg does detaching one release air to all shocks or the one. Asking as I read there should be no pressure on suspension when air shocks are deflated. I won't have a lift to suspend them all while replacing one corner.
thanks. Do you happen to know if you can detach one shock w it jacked on that one corner. Eg does detaching one release air to all shocks or the one. Asking as I read there should be no pressure on suspension when air shocks are deflated. I won't have a lift to suspend them all while replacing one corner.
Releasing the brass nut on the top of the strut/bag slowly will release the pressure in that bag, and will release the pressure throughout the rest of the system.
Releasing the brass nut on the top of the strut/bag slowly will release the pressure in that bag, and will release the pressure throughout the rest of the system.
This statement is not correct.
First, anytime you work on your suspension, rule #1 is to turn off the unit. What this does is isolates each individual shock away from the rest of the system. Air is now locked in each shock and acculumator is also isolated. You can now raise and lower the vehicle, one wheel at a time, without any adverse effects on the system or other shocks.
The top side of each shock has a brass nut that threads into a pressure control valve. Removing the brass nut does not release air from the shock. To get air out of the shock, you actually need to unscrew the pressure control valve. Doing this will allow the air in the bag to escape. It will not release pressure in any oter shock or the system at all.
To remove the PCV, you first have to unscrew the brass nut (line holder) that is screwed into the PCV. This will release air that is in the line only. It does not empty the air from the system or the shock.
Hope this helps.
thank you. Very helpful. Gives me some confidence I could potential swap air spring myself w standard floor jack hopefully.
ive done a lot of service on vw and audi air suspension. ive never refilled the systems with n2. never had a complaint from the owners. i can imagine if you were in super cold climates that more humid air can cause problems but how about other 99% of the cars?
if you hook up an empty bag on 1 corner or a set of fronts will the pump not fill it? i imagine if the car is on the lift, you hook up the bag/strut assembly with the car slightly lifted off the ground and let the pump go to town. we do this all the time with other air systems...


 04-11-2020, 04:25 PM