When you click on links to various merchants on this site and make a purchase, this can result in this site earning a commission. Affiliate programs and affiliations include, but are not limited to, the eBay Partner Network.
A few updates: charge pipe o ring replaced, as well as intake plenum. I chose the $30 porsche plastic one. Sorry IPD, I really like the aluminum one, but not $800 worth.
I also replaced the crankcase vent line and plastic tee that hooks up to the rubber hoses in the back of the engine. PITA.
I still have the idle dip, and recently it's had a sort of crappy idle at startup.
I did succeed in changing one side marker and the windshield washer filler neck. I also reprogrammed the instrument cluster for no seat belt warning and no dinging when the door is open. Amazing mod!
It also appears that my expansion tank is starting to leak. I had to add a half gallon of coolant, and then only a few days later another half gallon. Cleanup and investigation revealed traces of coolant below the tank, running down towards the passenger side exhaust manifold.
Replacing the coolant expansion tank was the first thing I did on my 2004 CTT after I bought it. It wasn't terribly difficult but because of the things in the way I wish I had done the coil packs and spark plugs at the same time.
How did you accomplish the reprogramming you described?
The headlight and top engine mount had to come out. It was more a matter of wishing I had done the coils and plugs then because of the engine mount which interferes with the plastic coil cover. Easy job on the whole. Thanks for the tip on the Durametric.
An update: coolant expansion tank changed. It was indeed cracked, although not along the seam.
Passenger door shimmed to fix the sagging issue. I wet sanded and polished one of the headlights back to near-perfection and replaced an H3 turning light. I then discovered that my driver's headlight had what was basically a hard ball of painter's tape stuffed behind it! I guess it was to try and reduce rattling or something, or a really hack way of aiming the light. I keep finding hack stuff like that, unfortunately...
I also re-calibrated the ride height sensors and discovered that my car had been lowered at least 15mm via durametric at some point. I was sad to raise it back up, but I've got to figure out this high headlight thing...maybe the big ball of tape was part of the culprit.
Next on the list is installing the cabin air filter.
Ball joint boots in the front control arms are torn, so that's not far down the road.
The purpose of the tape ball has been discovered. Now that I removed it, the driver's aux high beam (h7 halogen) won't work. Trying to research a way to make it work. One of the plastic "fins" on the bottom of the headlight is partially broken.
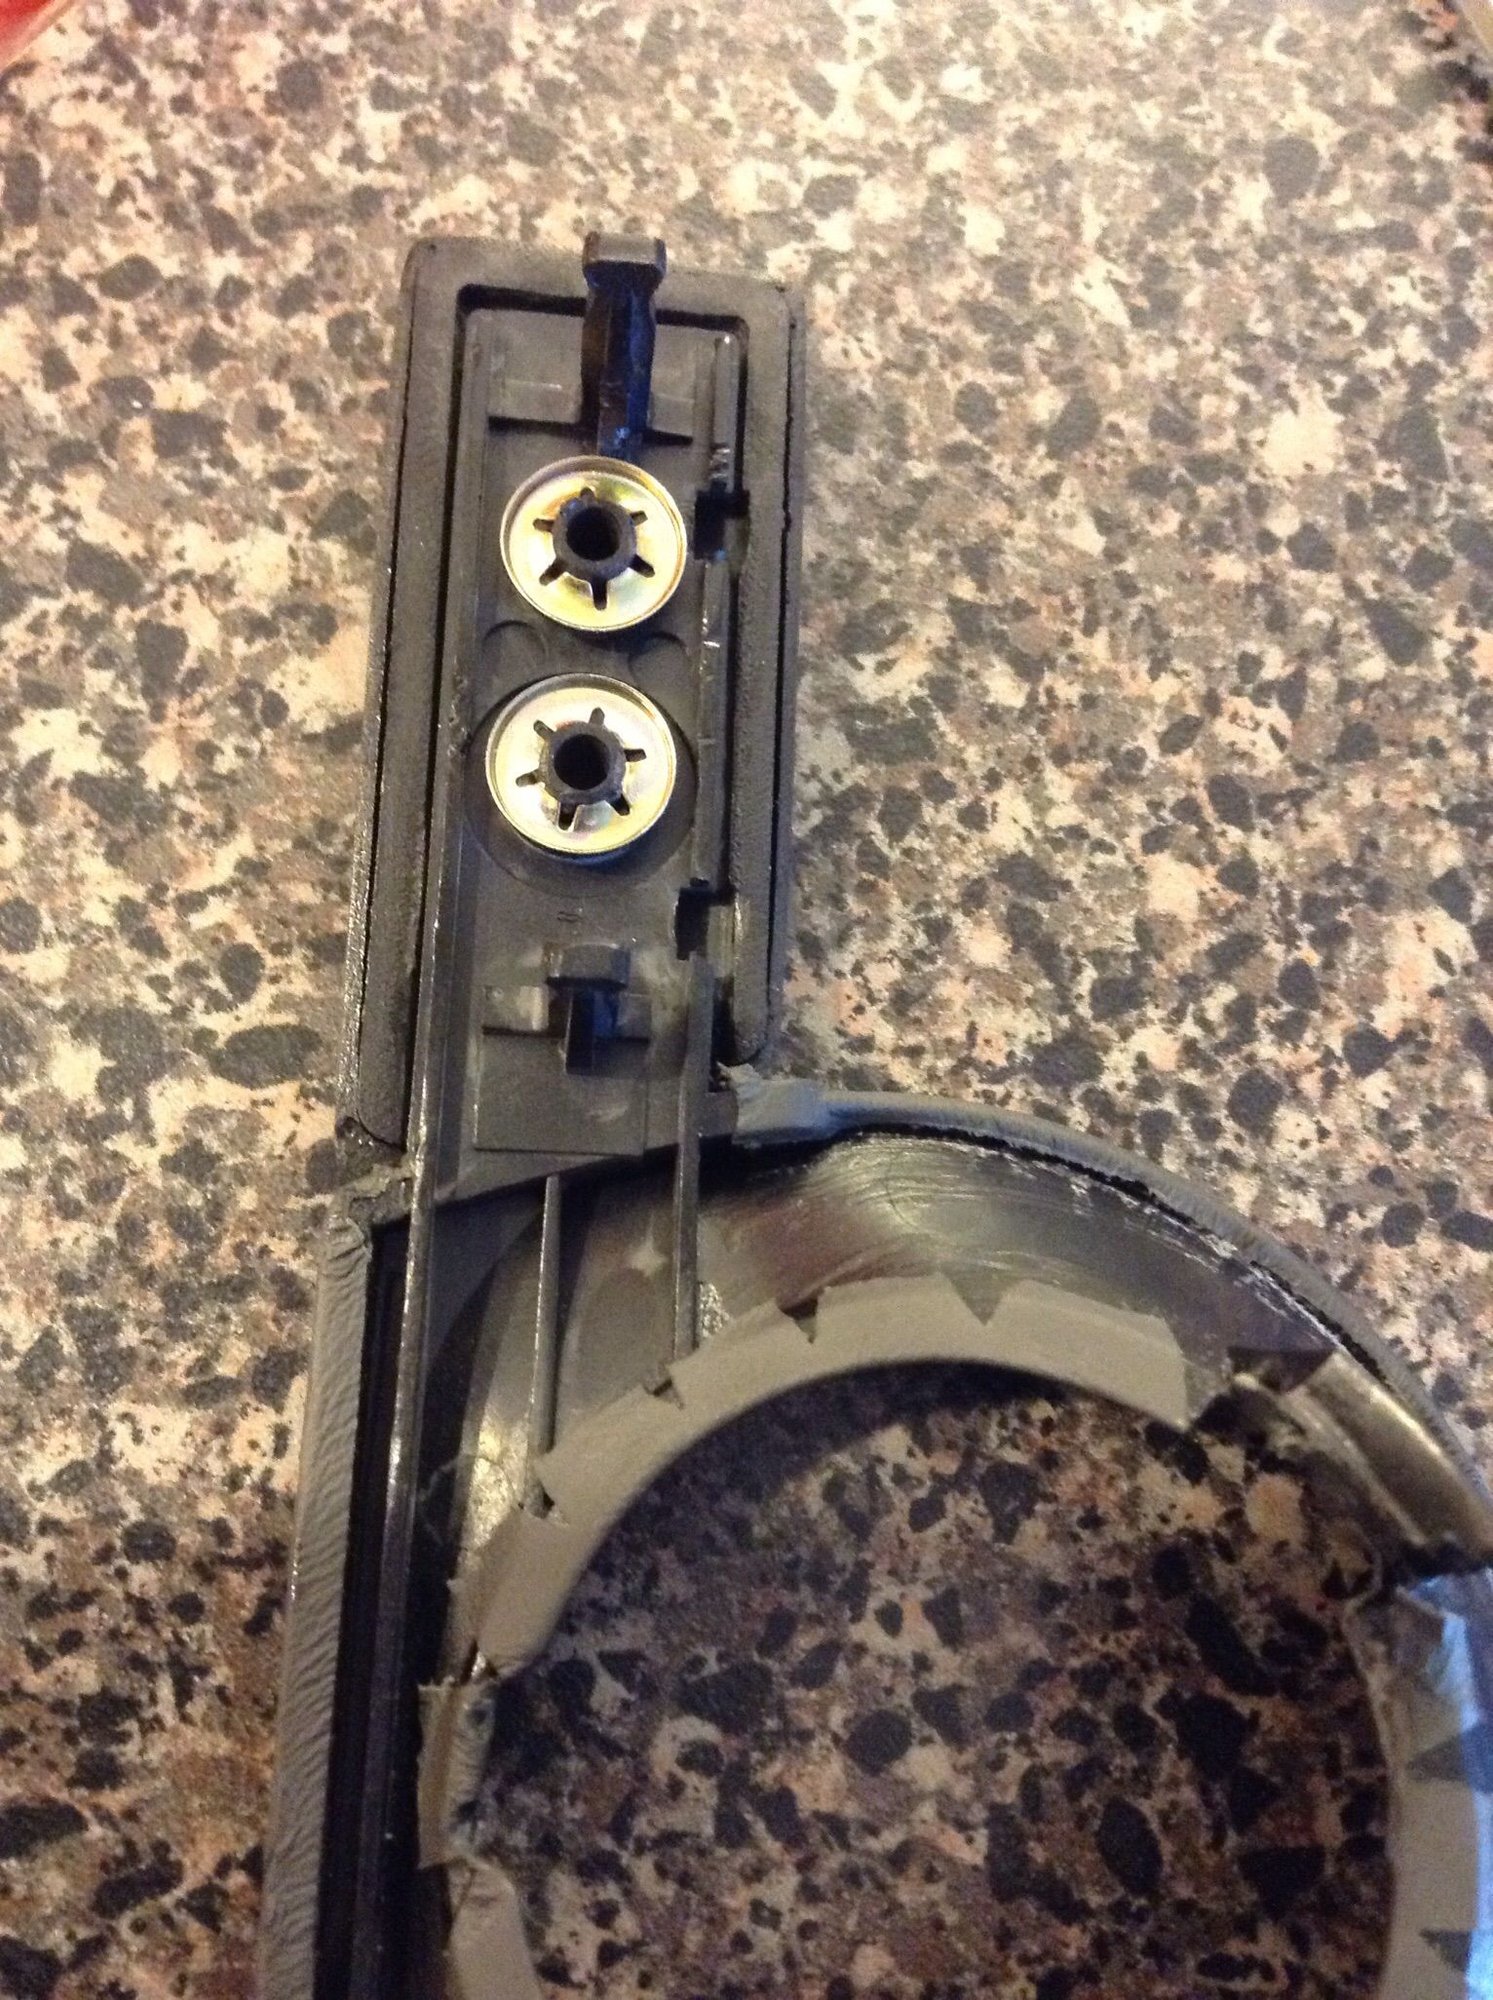
My current project is CF trim...some warping has caused separation and less-than-ideal fit.
The little metal spring washers lose grip on the pegs, and the plastic and CF piece get sloppy. Additionally, these CF pieces (db Carbon I believe) are CF bonded to a plastic backing piece. The backing piece is held onto the main bracket with the pegs and washers. The CF itself starts peeling away from the plastic though, due to heat I guess. I'm going to try and separate then re glue them.
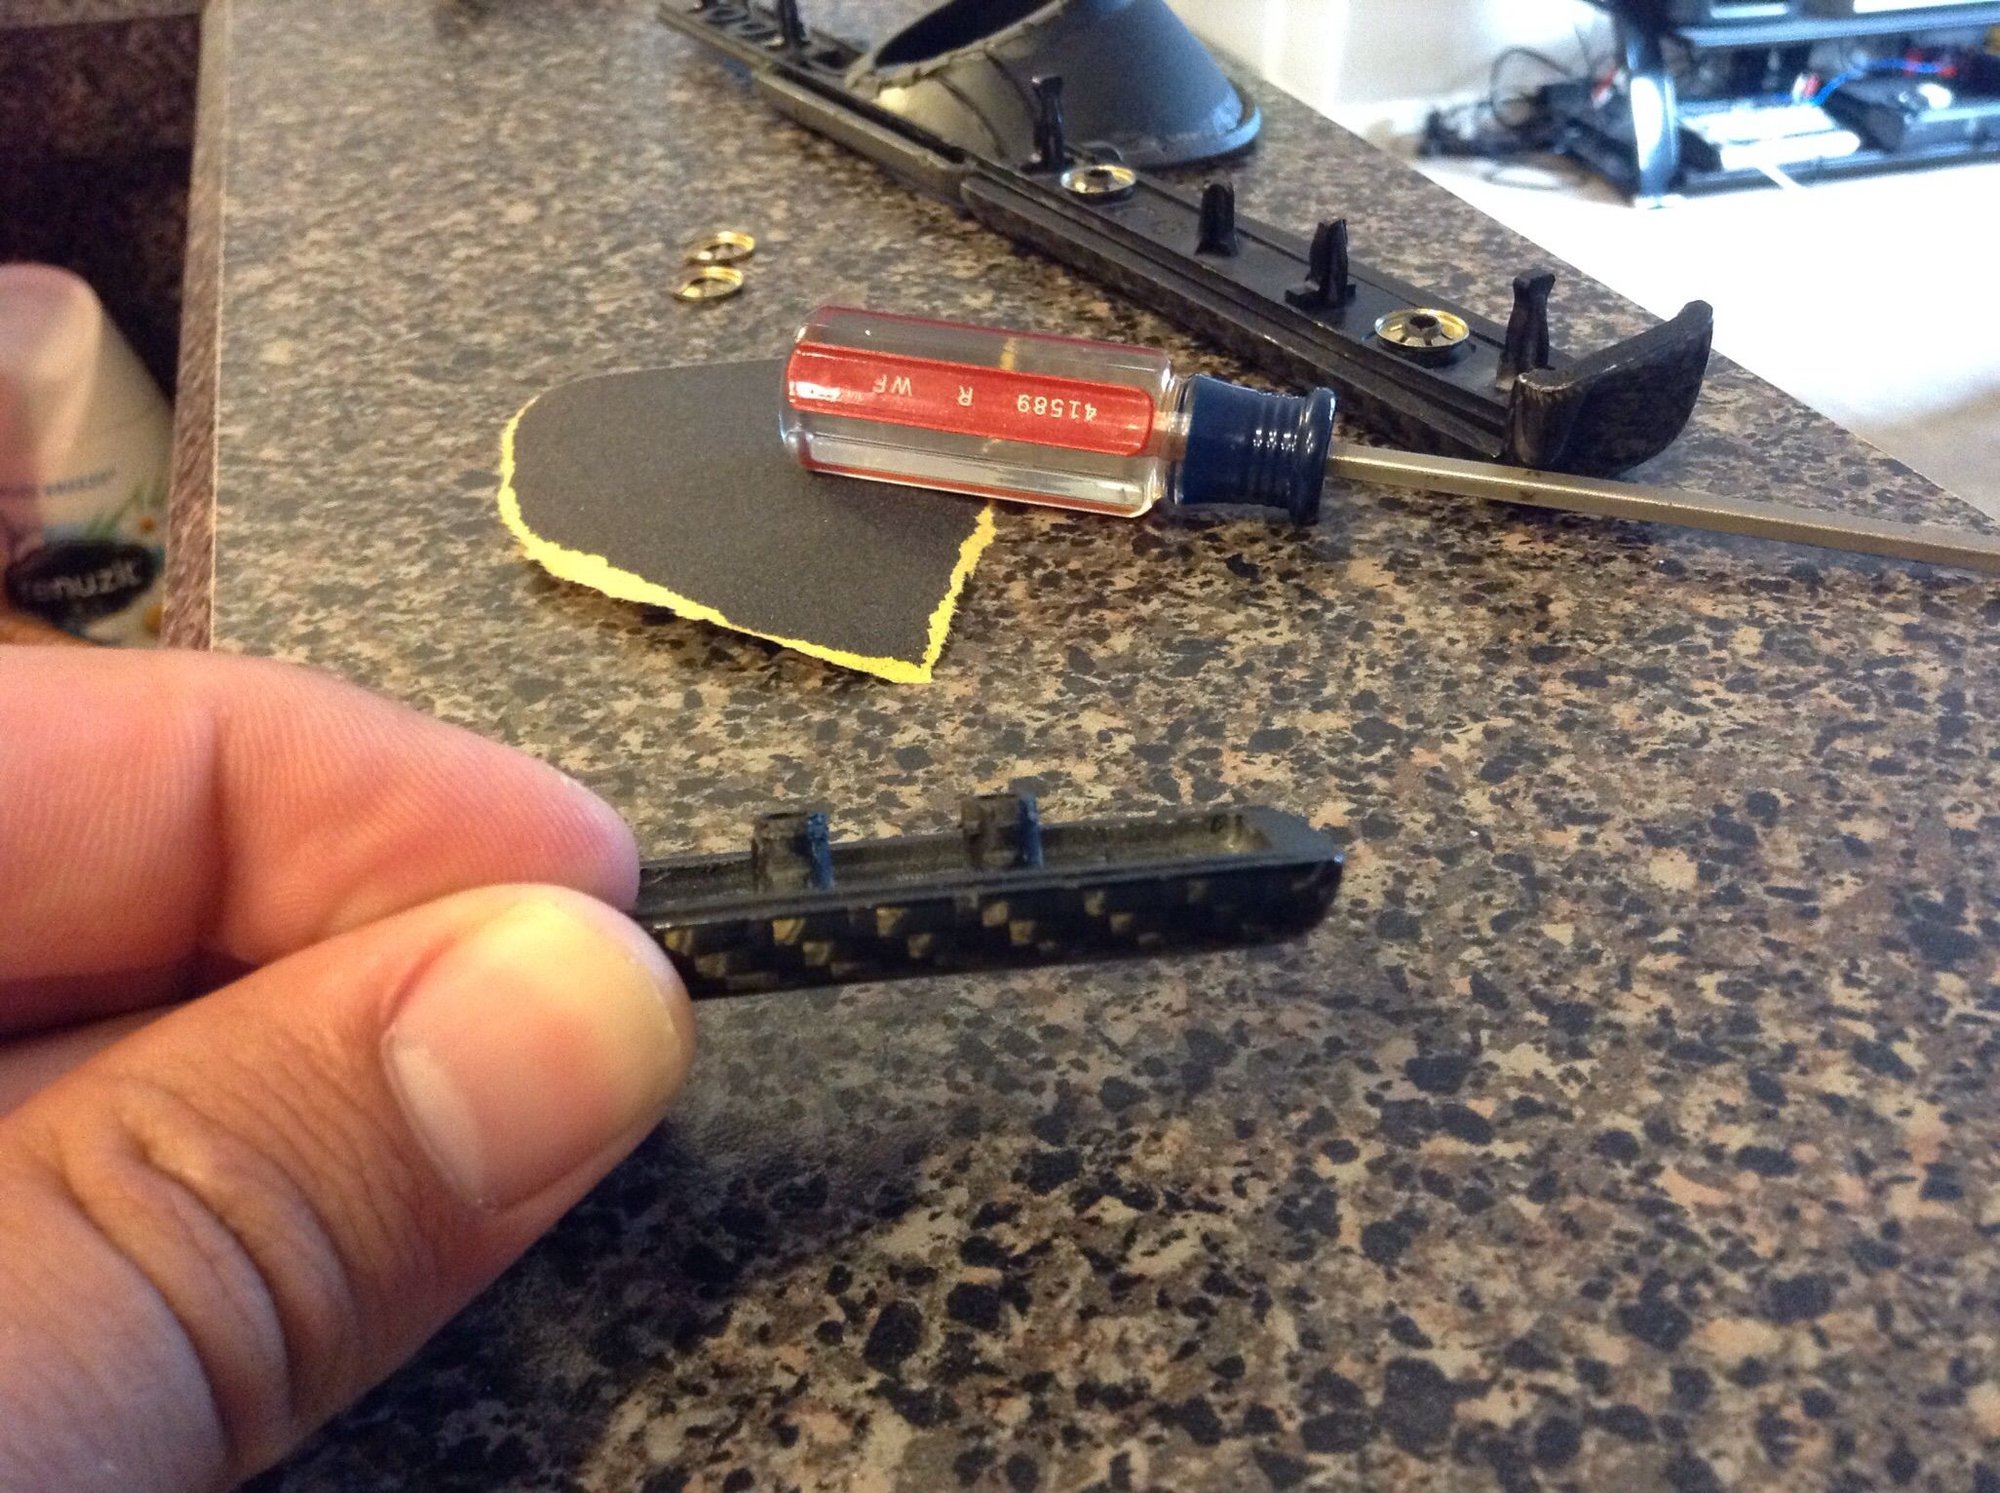
I removed the passenger front CF trim on the door. Using a schwaben interior tool kit from ECS, it was really easy to get it off the door. Separating the CF from the plastic was also really easy because it was mostly separated already. A light pull and it all popped apart.
Using some Xenit by Stoner (this stuff is amazing - looking at you 944 rock guards), and some 800 grit sandpaper, I removed all old adhesive, then rinsed with water and dawn. Once dry, I wiped down with isopropyl alcohol, applied some "flexible plastic adhesive" I got at Lowe's, and used painter's tape and two of the cutest c-clamps in the world to hold it all together.
Unfortunately, before I got it all glued and clamped, I noticed that the plastic and CF are indeed quite warped, as was my other CF piece near the ignition. Playing around with it, I caused a loud "snap" in the CF and now there is a line in the clear coat. It's still all holding together...I didn't mess with it any more; I just glued it up.
Word to the wise: CF doesn't bend (duh).
Center vent changeout was a pain because the connector to the wiring harness was buried down in the dash and I had to fish it out with needle nose pliers and a screwdriver. Again, the interior trim tools were mandatory here.
I spent at least an hour and 1/3 to a half a bottle of sonax full effect cleaning up my "new" 18" wheels. I think they may be from a 2011 model; one of them had a date from 2011 printed on the outside of the barrel. Are they different than the 955 turbo stock wheels? Major embedded brake dust on all of them. A couple I still couldn't get them all the way clean.
Center vent changeout was a pain because the connector to the wiring harness was buried down in the dash and I had to fish it out with needle nose pliers and a screwdriver. Again, the interior trim tools were mandatory here.
I really enjoy following this thread and watching all of the work you do.
My 2004 CTT has an option on it for painting the air vents the same color as the exterior of the car: it was a $1,740 option!!! I guess they found the air vents to be just as big of a pain to remove as you did!
Thanks! A lot more crazy people like me are going to start buying dirt-cheap cayennes and need some guidance on these things. About a year from now I should have all these nagging issues sorted out and a nice documentary on how to do it for the next guy.
What wiring harness did you have to fish out when working on the vent nozzle? I have to eventually replace the passenger side nozzle and the rear center nozzle and it sounds like I should invest in some tools before parts for that task.
MA carbon has a good YouTube video on it; that's the best way to explain it. The front side vents are easier because the fuse panel covers come off. I don't know about the rear.
Don't bother attempting without the trim tools. They make it so much easier.


 06-15-2015, 02:02 PM