When you click on links to various merchants on this site and make a purchase, this can result in this site earning a commission. Affiliate programs and affiliations include, but are not limited to, the eBay Partner Network.
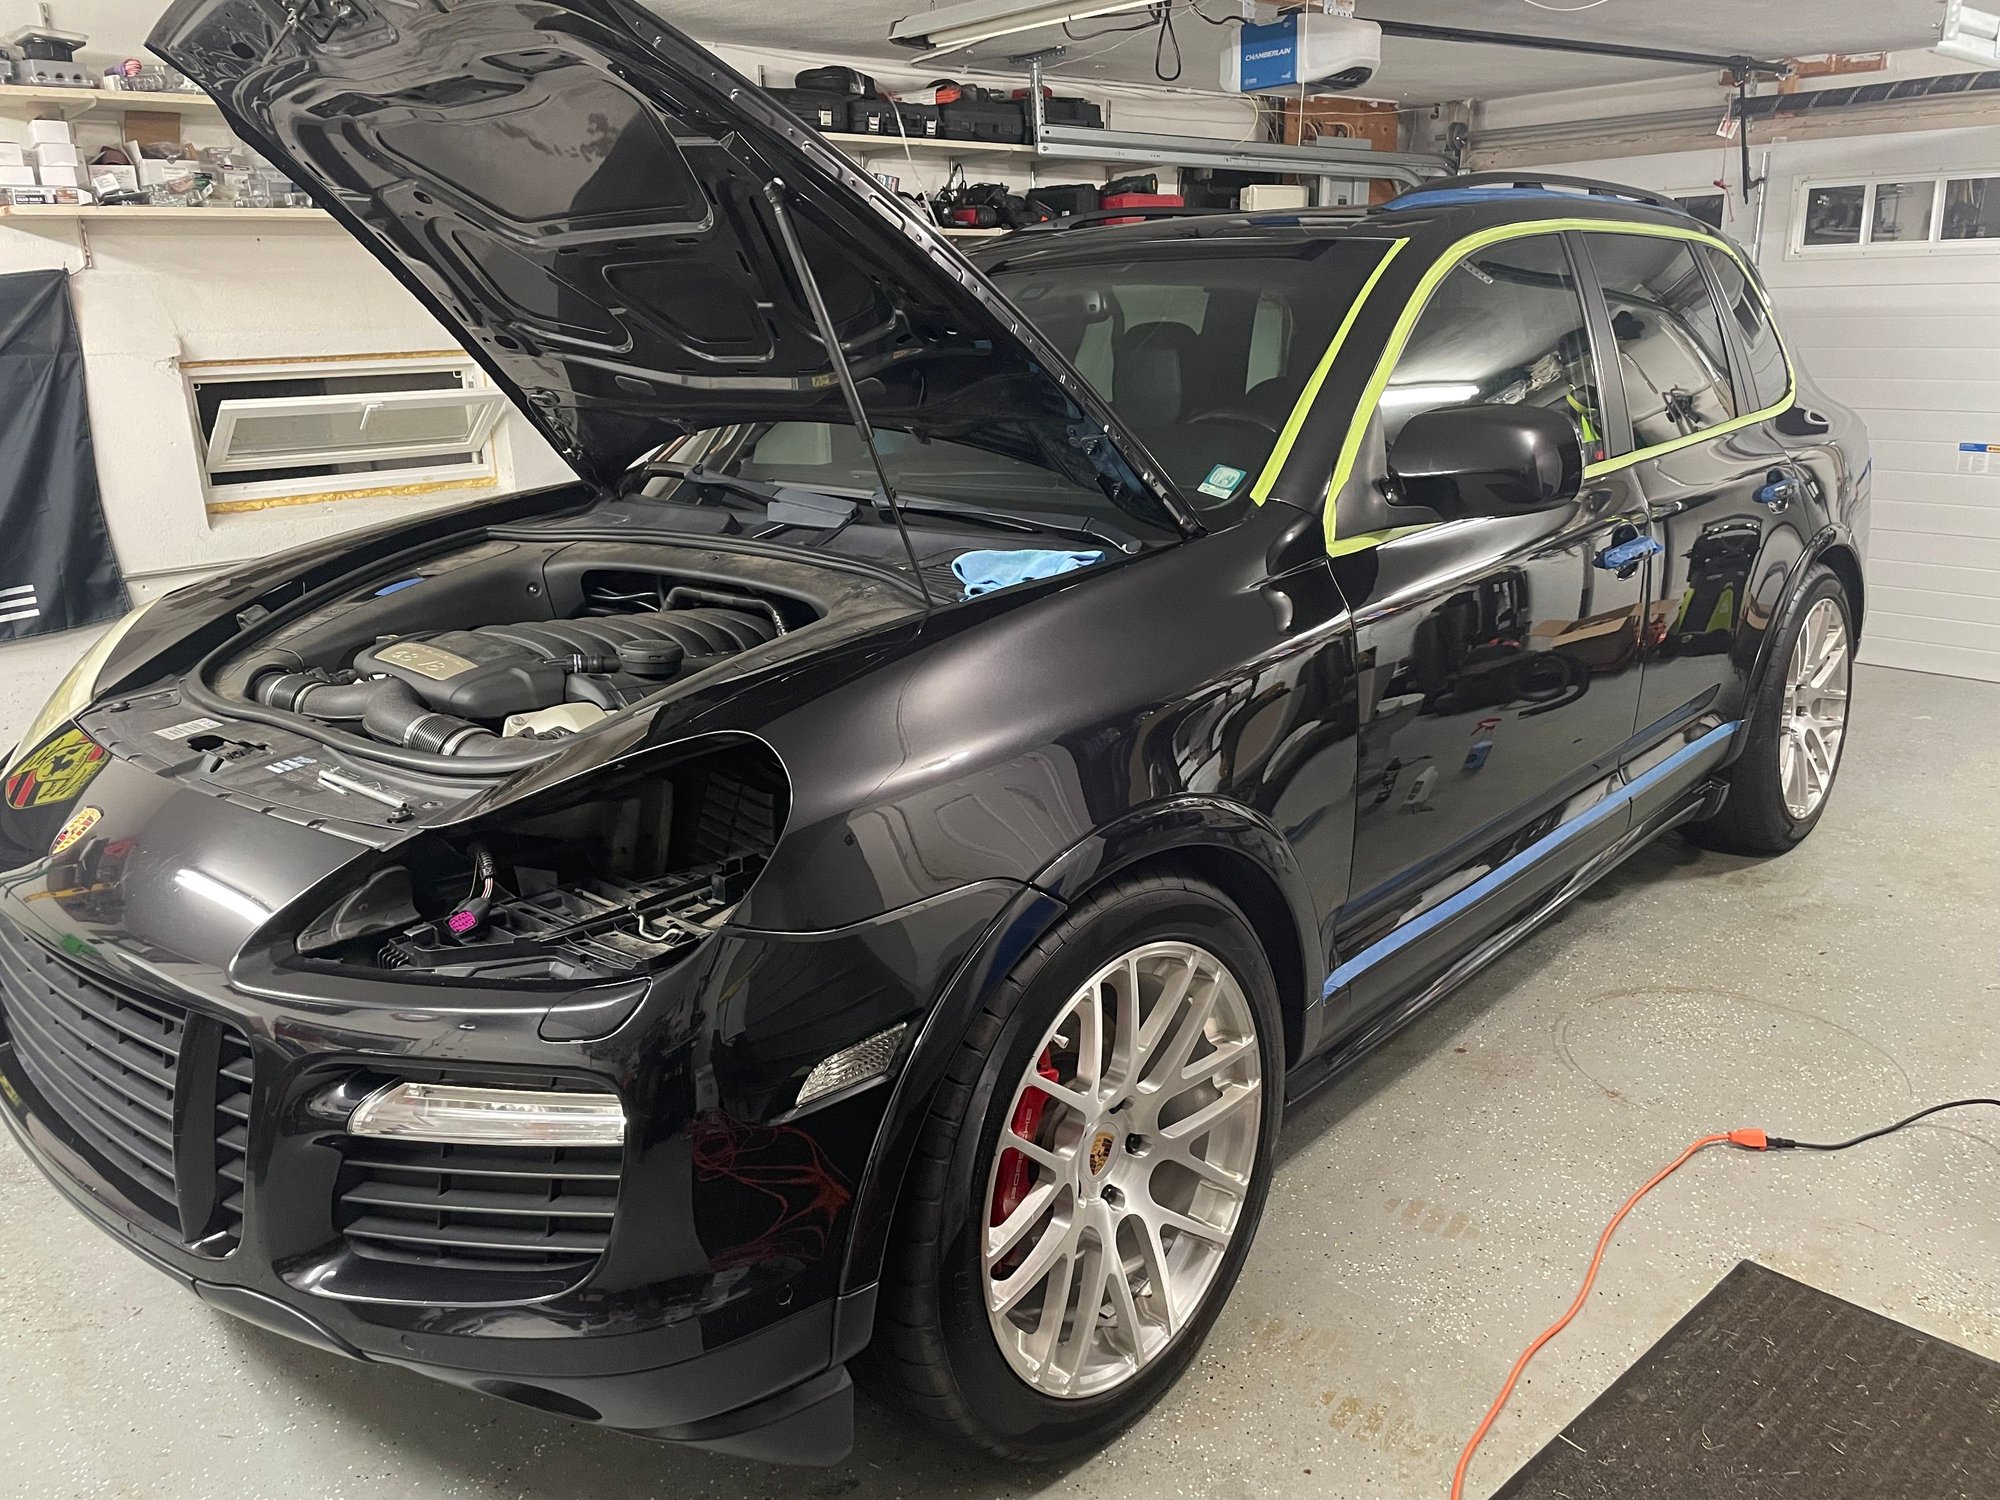
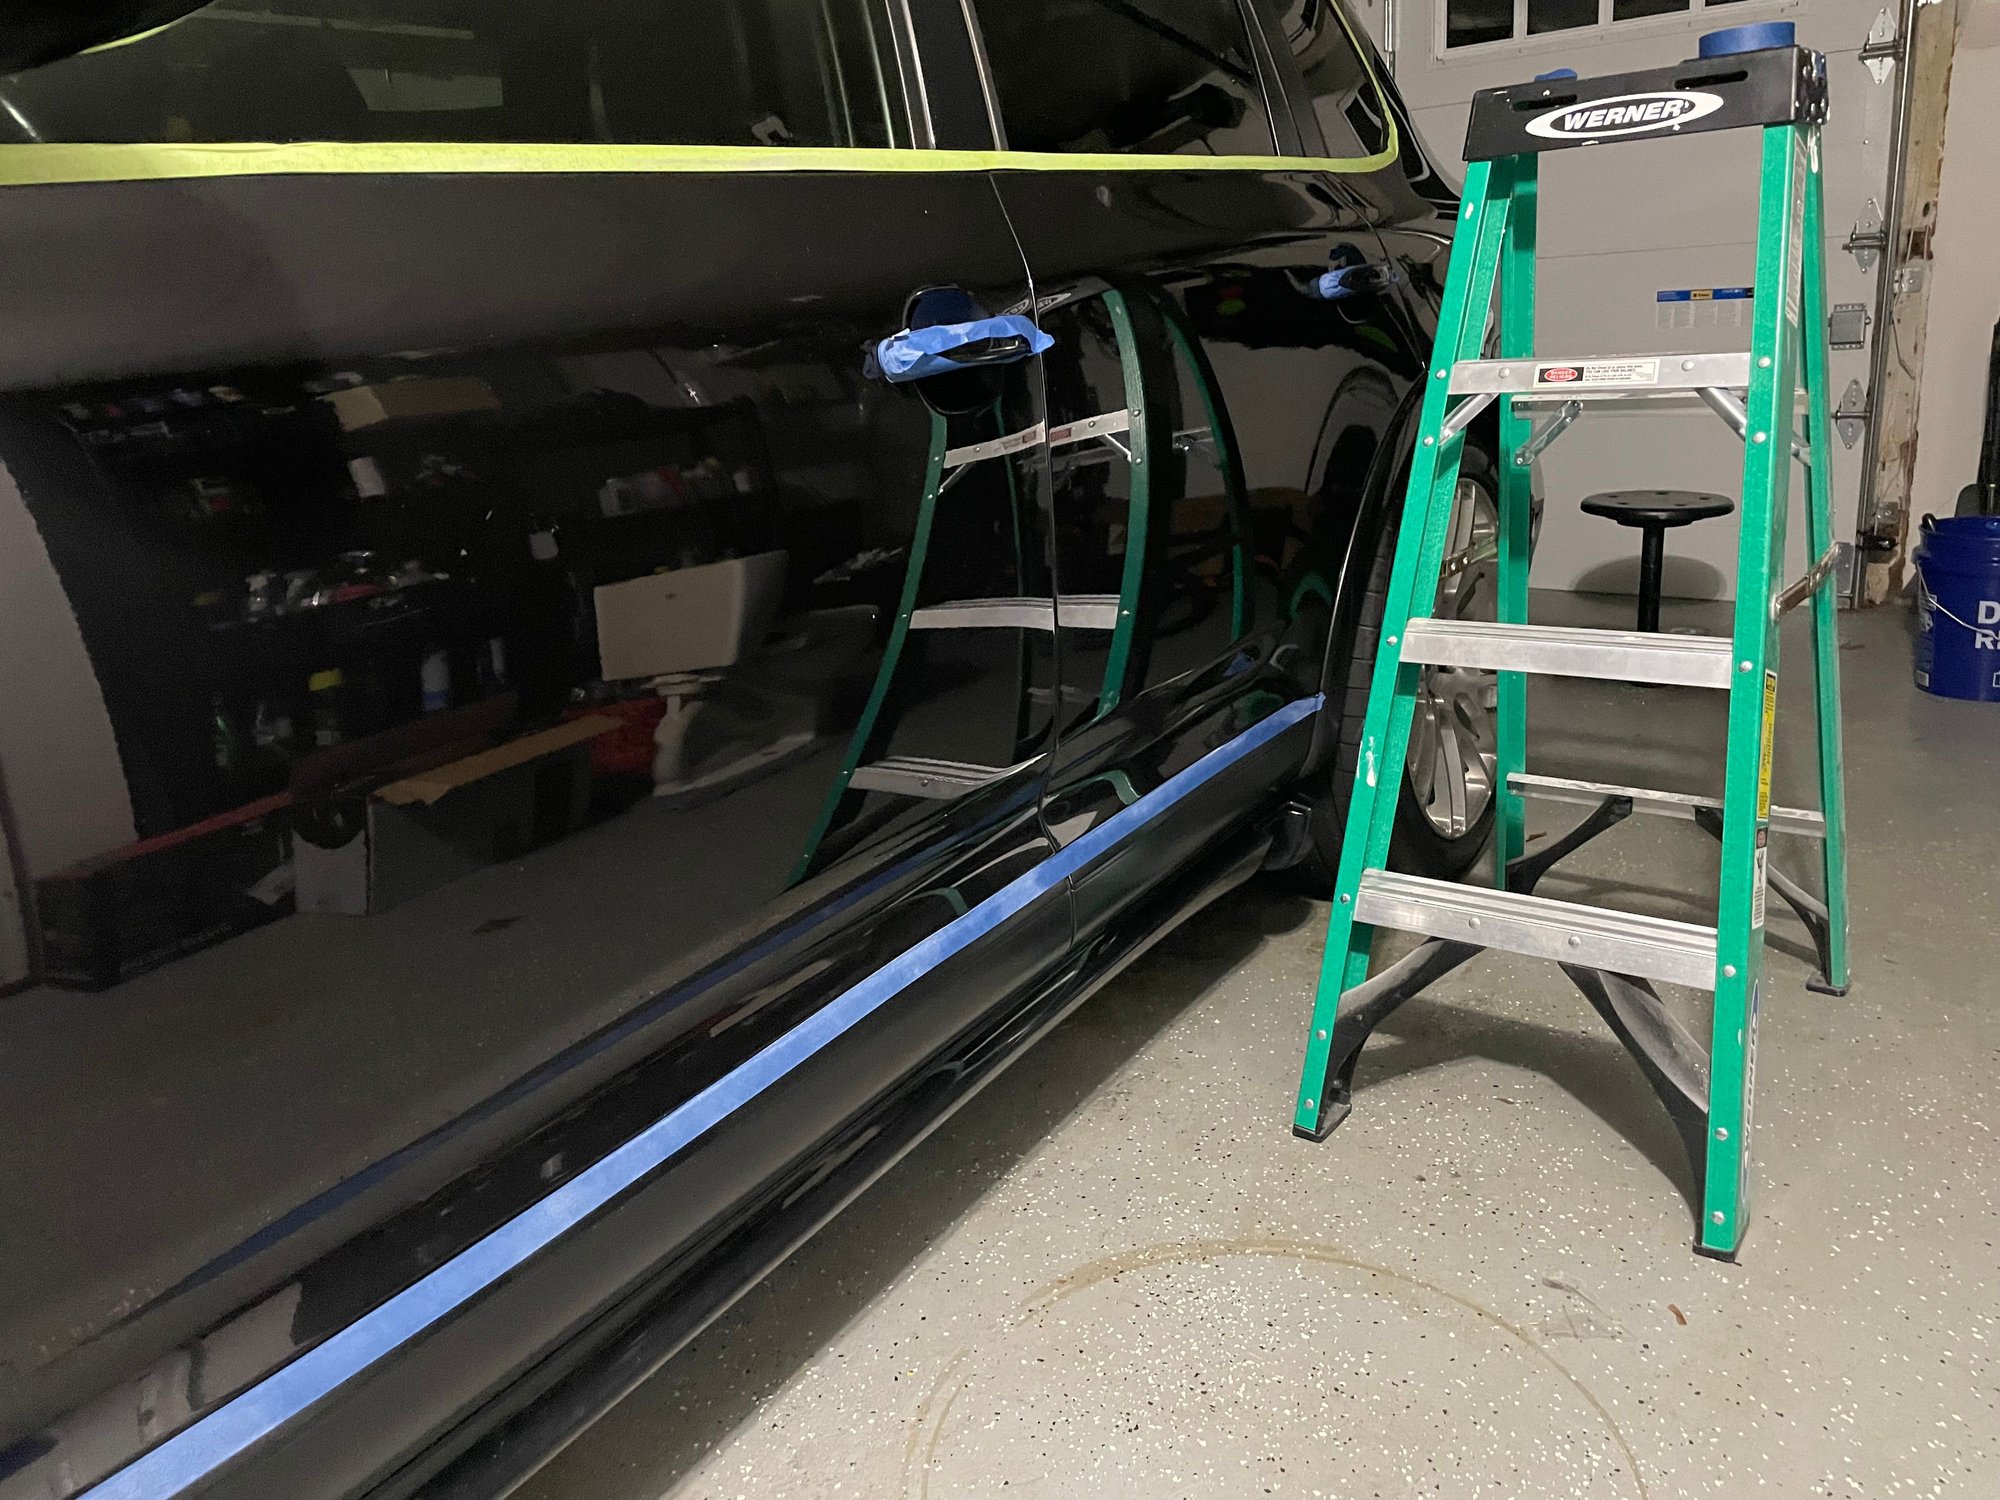
Just finished paint correction and ceramic coating. I had some oxidation developing on the roof, so decided to spent a few days getting her all shiny again. It came out pretty well, despite this being my first time working with ceramic coatings. It should last for the next 2-3 years (if I even keep the pig that long)!
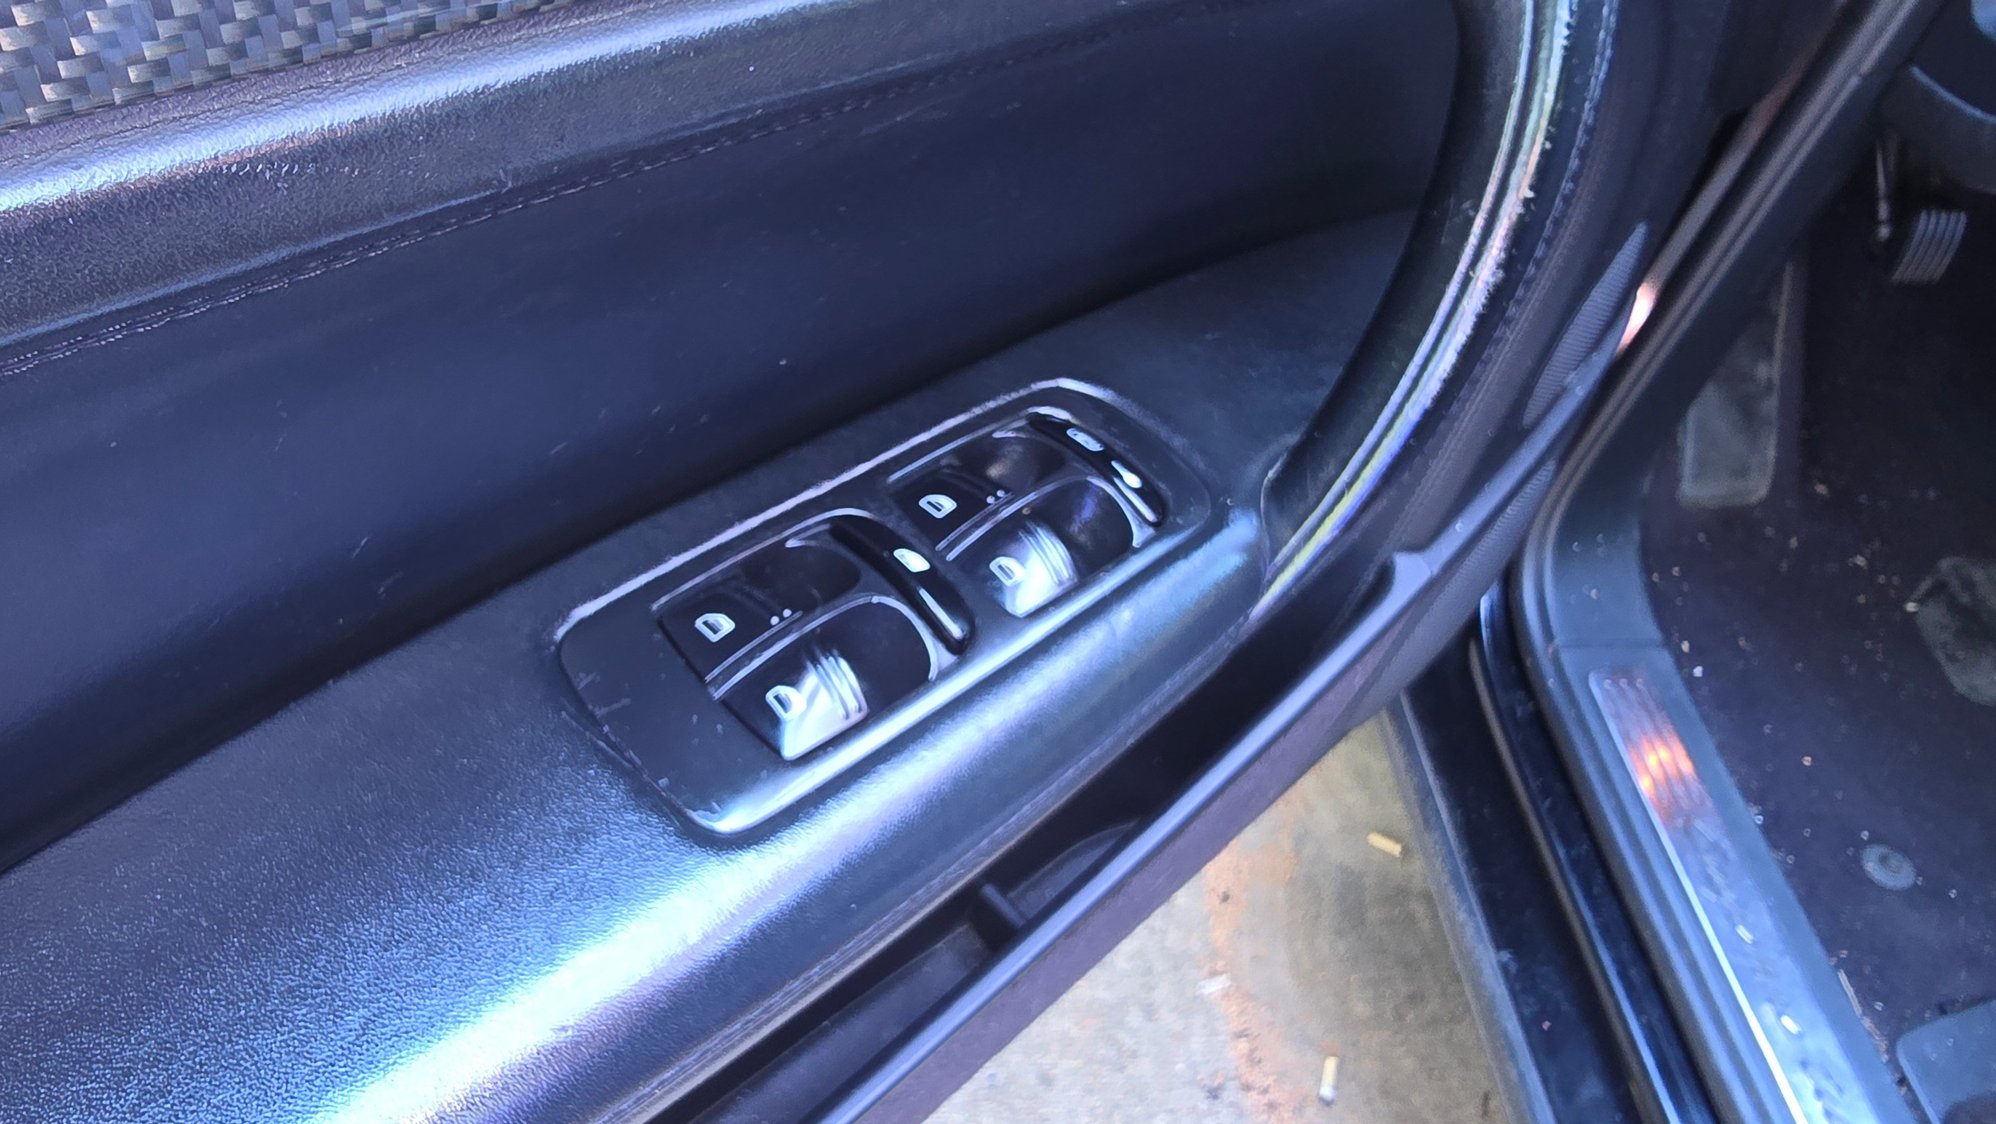
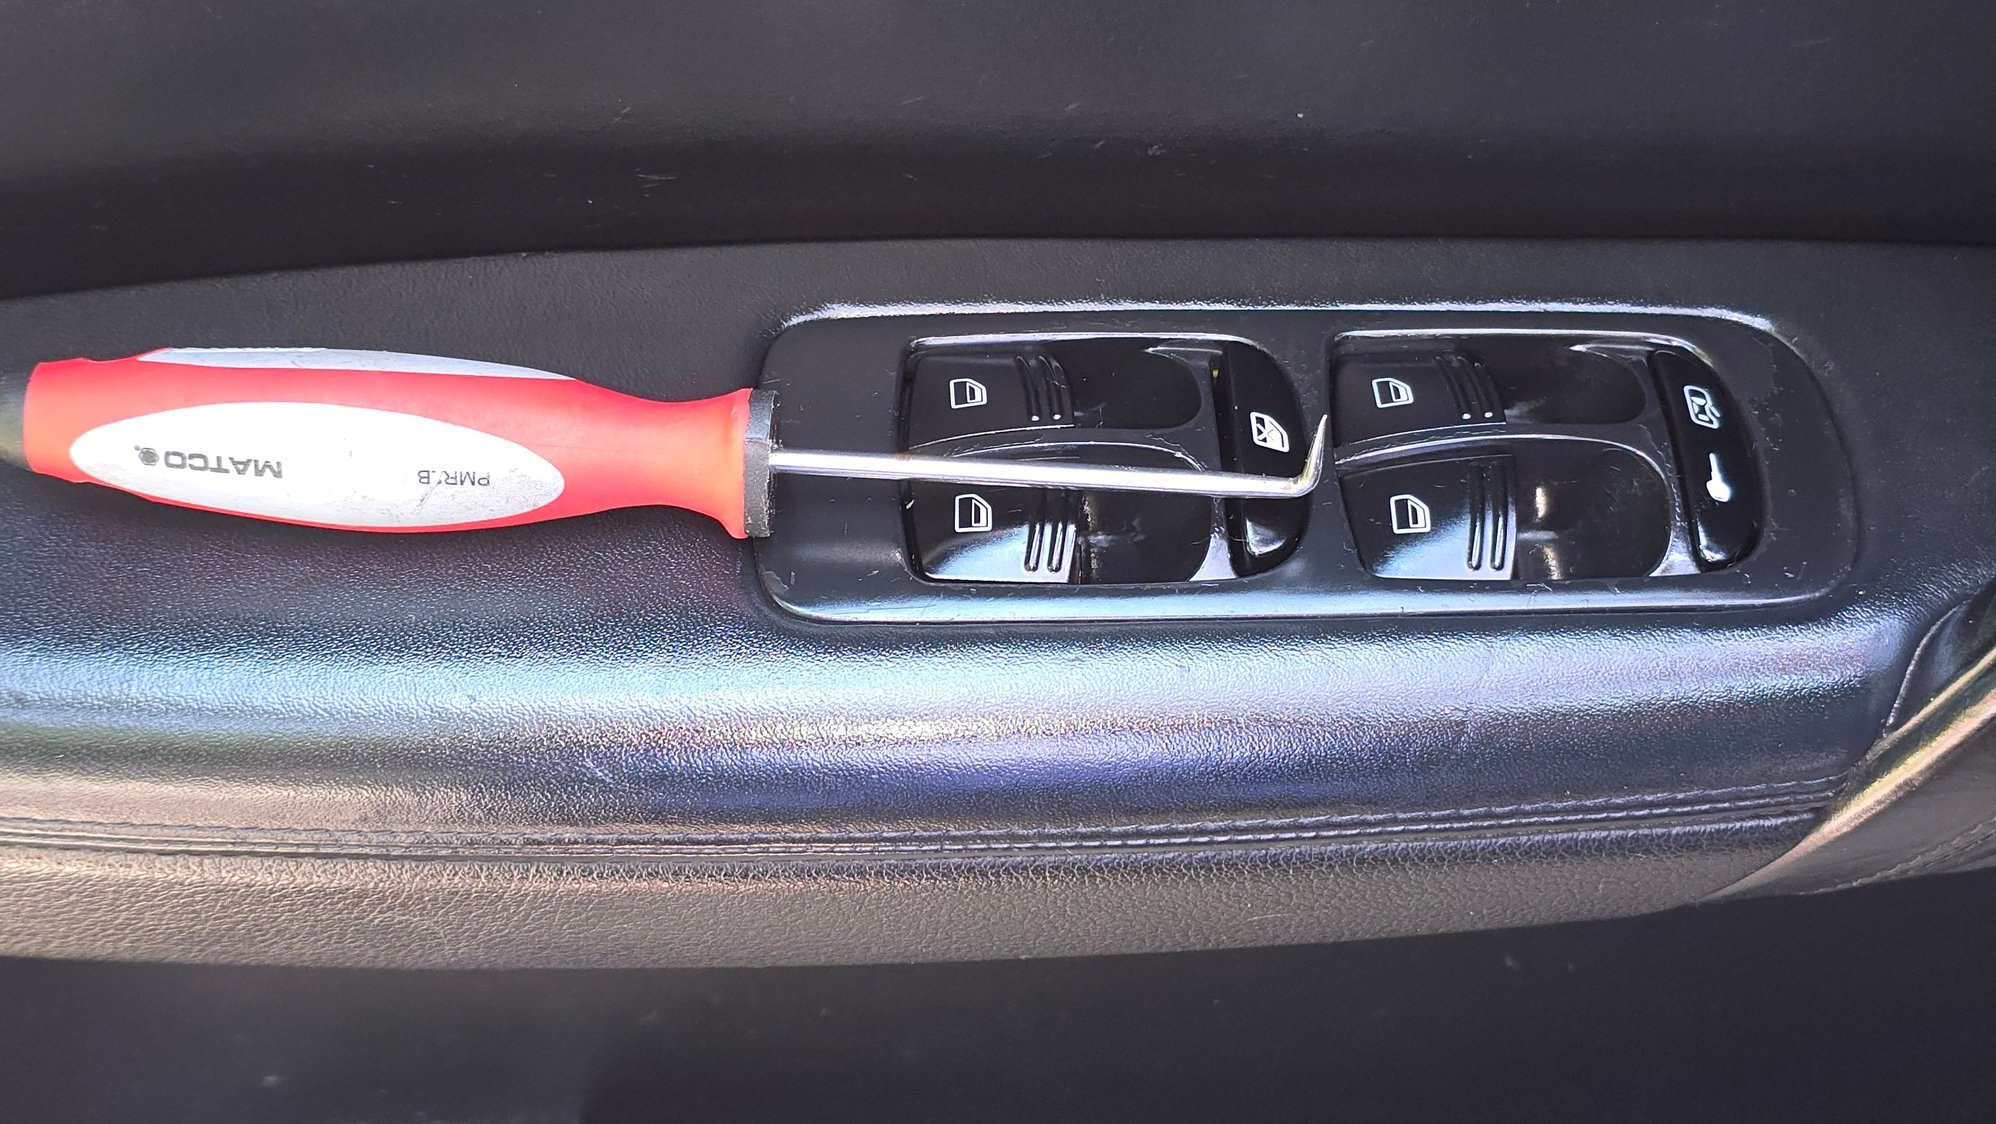
Pukled the master window switch and gave it a complete teardown and cleaning. I recommend using a 90� pick between the finger recess and switch to pull the swich vs. Prying from the outer edge. The rest is pretty straight forward. So much better!
(When I have more time, I will refinish all the failing rubberized trim coating.)
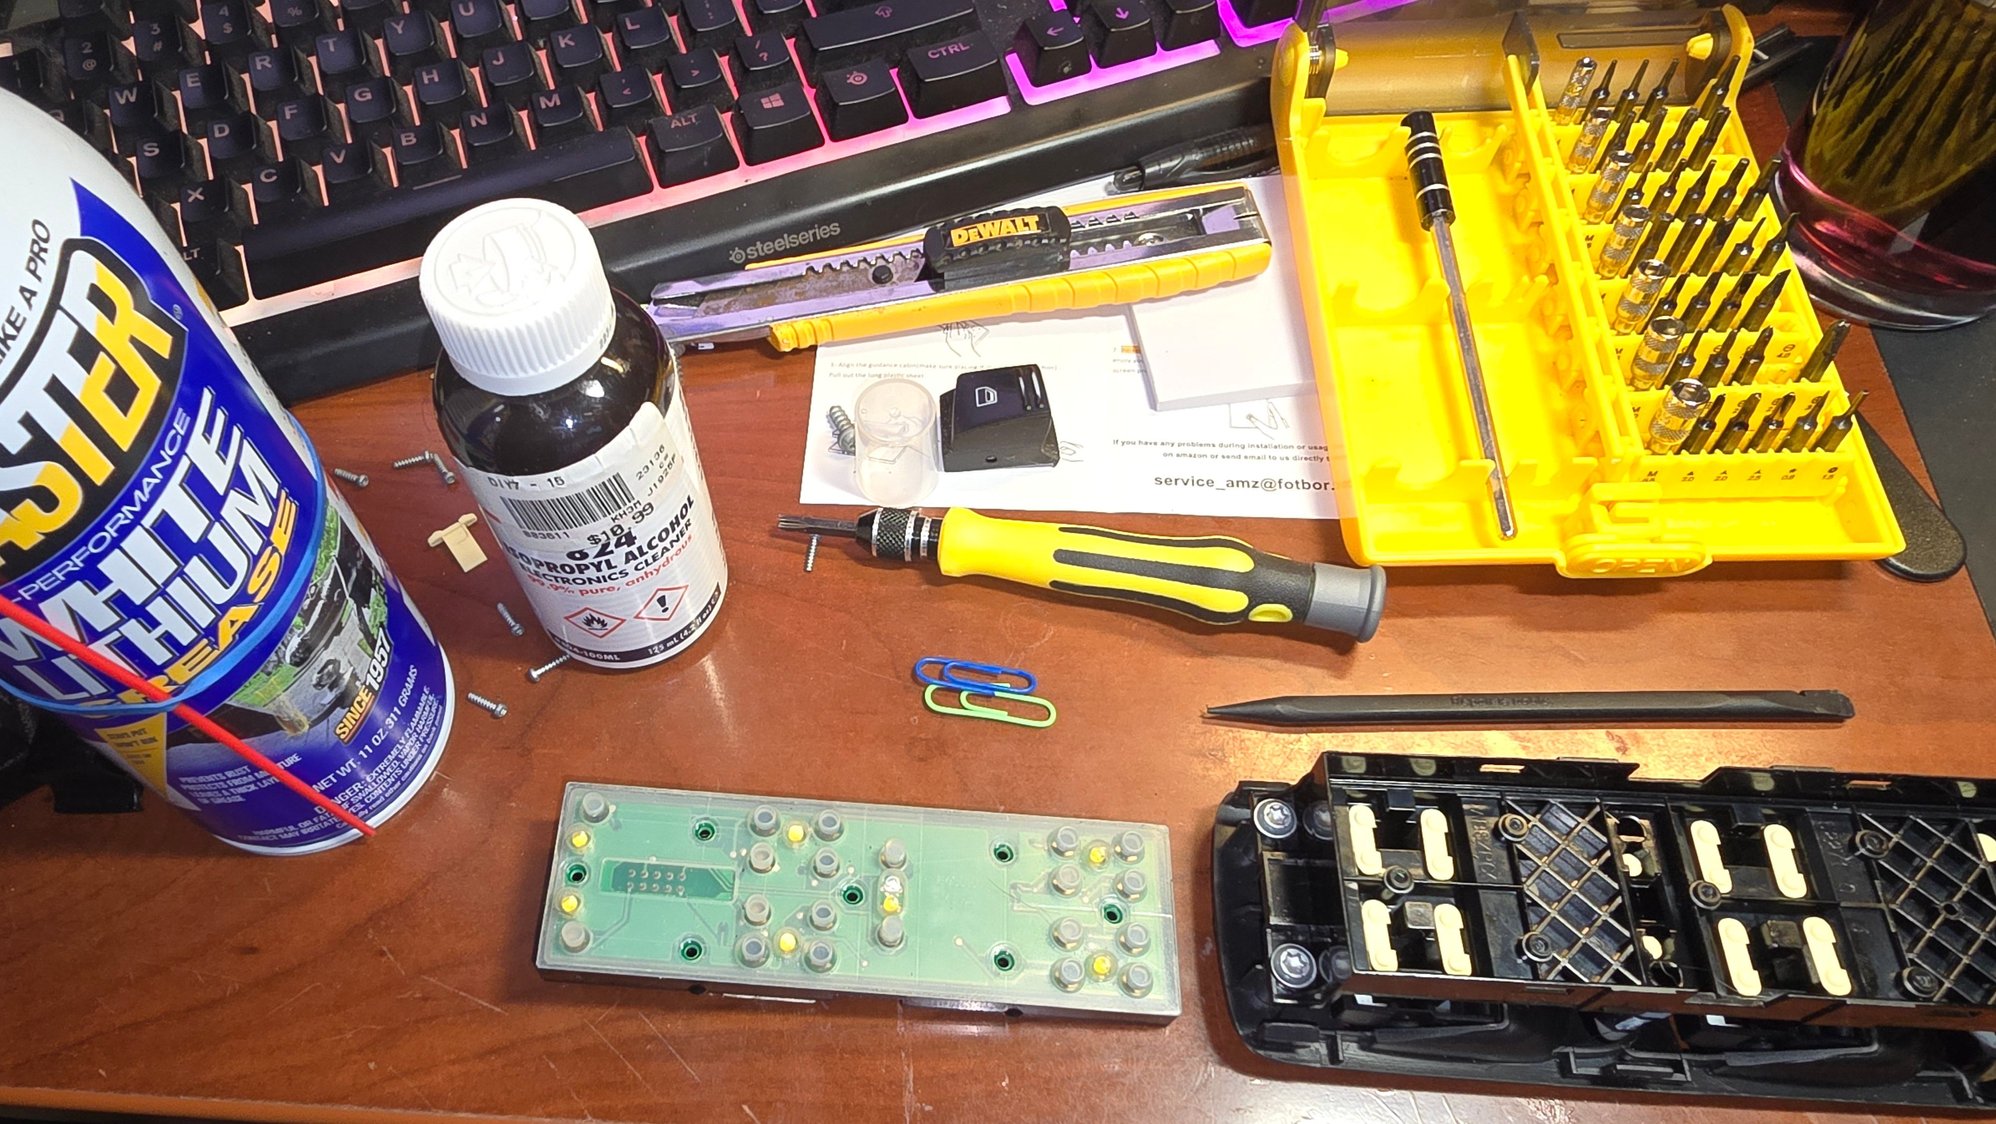
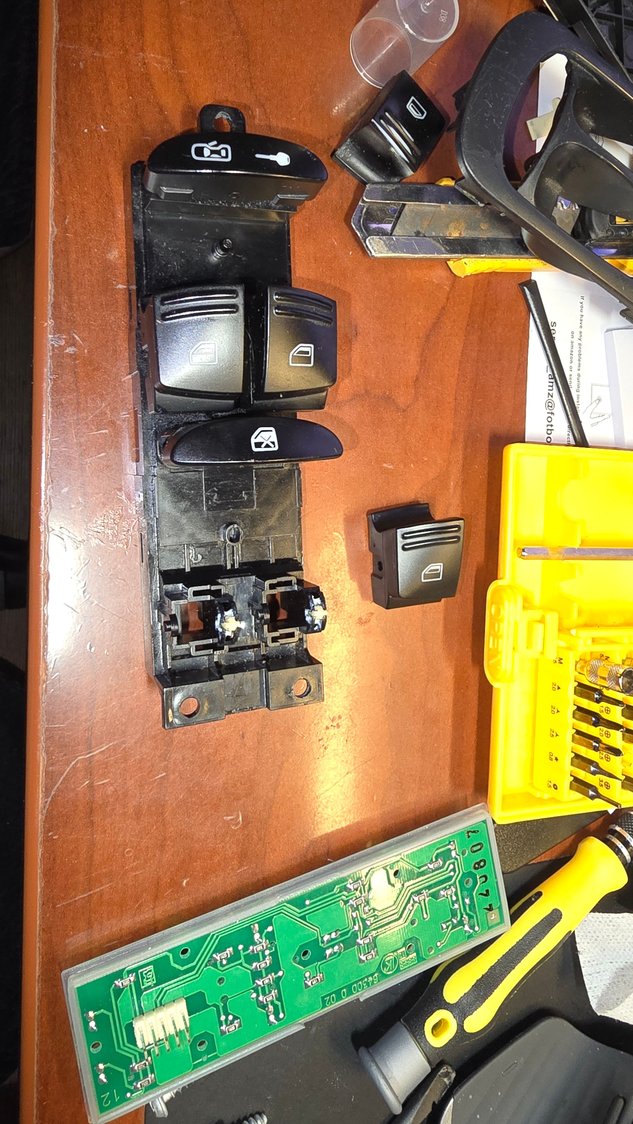
Voila, good as new Best tool to remove, doesn't stress the leather. All but the cloths. Simple tools and a little time, used mini microfiber cloths for alcohol on the board and general cleaning wipes with a spudger to get all the nooks and crannies. Put a fresh coat of white lithium on window lock button and on springs in driver/ pass. springs. Remove buttons by releasing center tab 1st.
Ohh interesting, didn't realise you could get it out without removing the door card. One of my switches (driver window) doesn't recognise a half push and only works when you fully press it down.
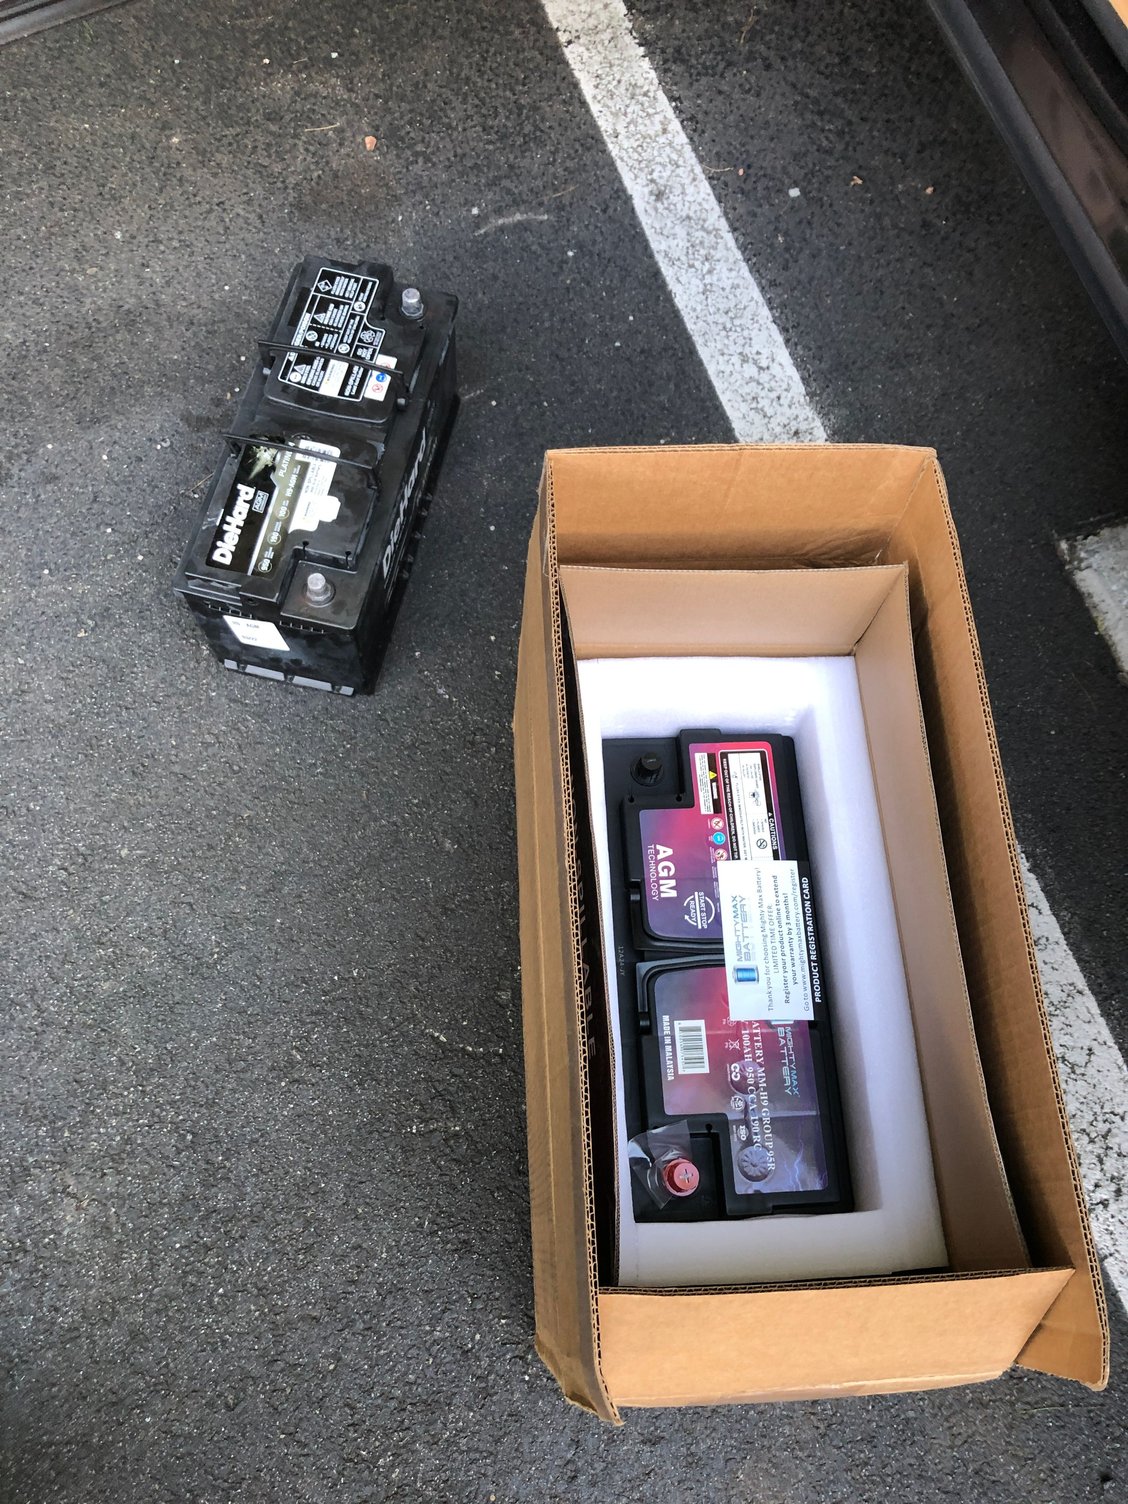
Saw this deal from a certain large online retailer (starts with a Walmart)...
$200 and free next day shipping (since the warehouse was a town or so away from me). Oh and no core.
Started having that issue where when hot, after running into a store for example, the car would give it one brief shot and then quit.
Lucky for me I have the optional 2nd battery in the rear.
Before that started happening though I noticed a slightly longer crank time than usual. And in 85 degree weather first thing in the morning, that was a clue.
Then the no-start first try happened first thing in the morning cold yesterday.
So we'll see.
My memory is really shot because I searched and searched my records and old posts and I thought the last time I changed my battery was before 2020.
Turns out what I had in there was a 2-year old Die Hard Platinum. Hmmm.... Maybe I can get a free replacement.
Anyway we'll see if things improve. Fingers crossed.
Oh yeah, forgot to mention.
After replacing, got an error on the air leveling and the PSM was off with a fault.
Couldn't reset the PSM fault with my iCarSoft. Got a communication error actually.
Fussed around with the thing for a while and then remembered past trials... long story short, I had to reset some codes for the leveling and then do a steering wheel angle sensor recalibration.
All good now.
Reminds me of the time when I first bought the pig and the guy at Sears Auto wouldn't replace my battery.
He claimed he heard of some tech doing the job and then all the airbags deployed.
I remember saying to him that 'that sounds a bit far-fetched,' but now I see even if he misremembered the story, he was right not to do the job.
oh, last thing, I left my GPS on and I think my radar detector for a few days once a few years ago and came back to a completely dead battery.
That's probably what shortened the life.
As heavy as that gd battery is I'm never doing that again.
Bled/flush my brakes and also had plan on changing my rear pads and rotors. However after taking apart the first rotor (2 piece) came to realize the hardware from the hat would not fit the new rotor. What a pain - emailed the company and waiting to hear back from them.
edit: changing the fluid made a world of difference, should of done it years ago.
@thesteve
Great find, thanks for sharing. I just bought one immediately upon reading your post. I have used these batteries in different projects and I know they use virgin lead. Incredible price, do not even know the condition of my cars battery, but I will in a week!
Ohh interesting, didn't realise you could get it out without removing the door card. One of my switches (driver window) doesn't recognise a half push and only works when you fully press it down.
Yes that is what this fix was for, easy enough. Glad this helped.
For the record, the hot restart abort thing happened again once so far with the new battery.
Tried again without switching to the second rear battery and it started right up.
Not sure what to make of it. Hope the starter is ok. I replaced it preemptively as per recommendations when I redid my plastic coolant pipes a few years ago.
It's only happened once so far and it has been very hot so hopefully it's just a fluke.
Probably not though.
Vamos a ver, as they say. (we'll see)
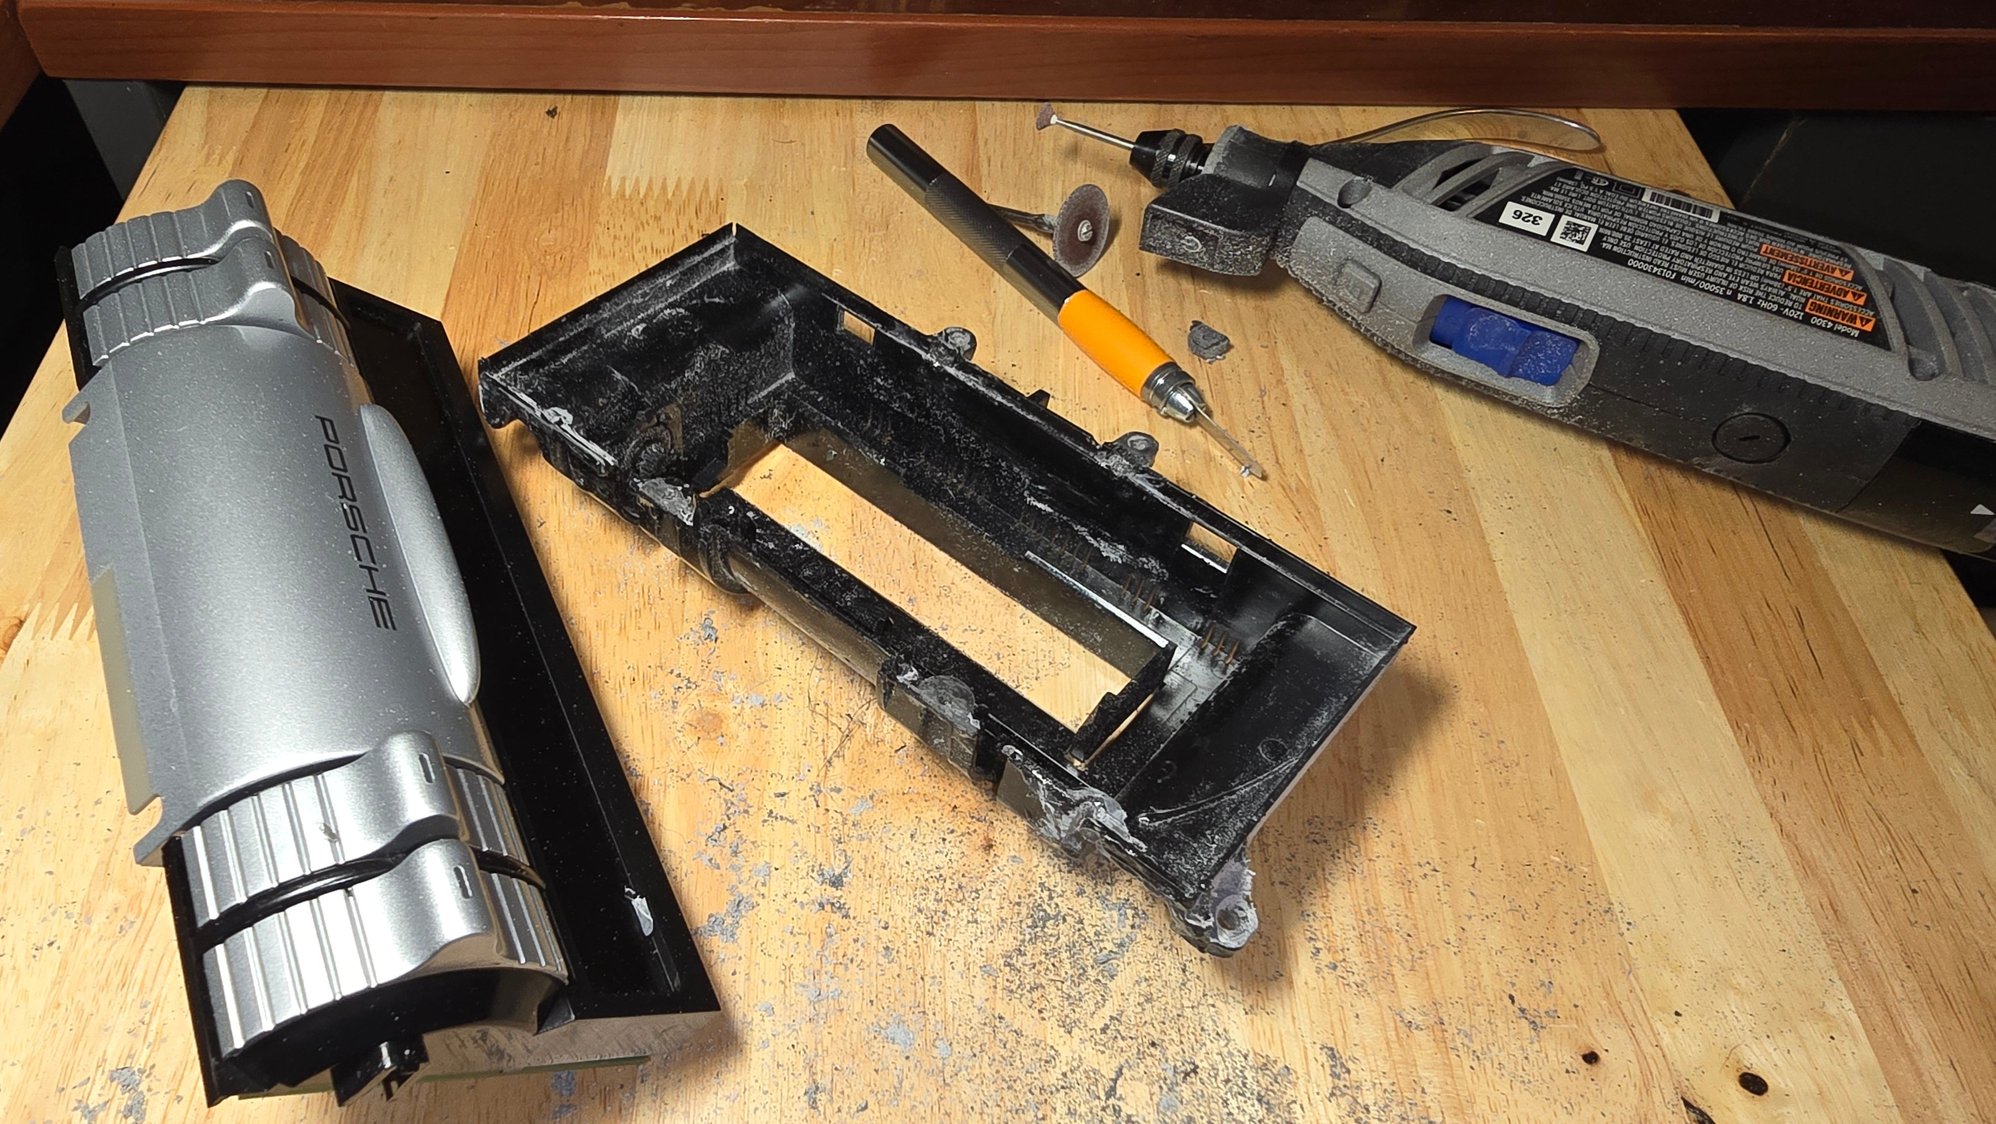
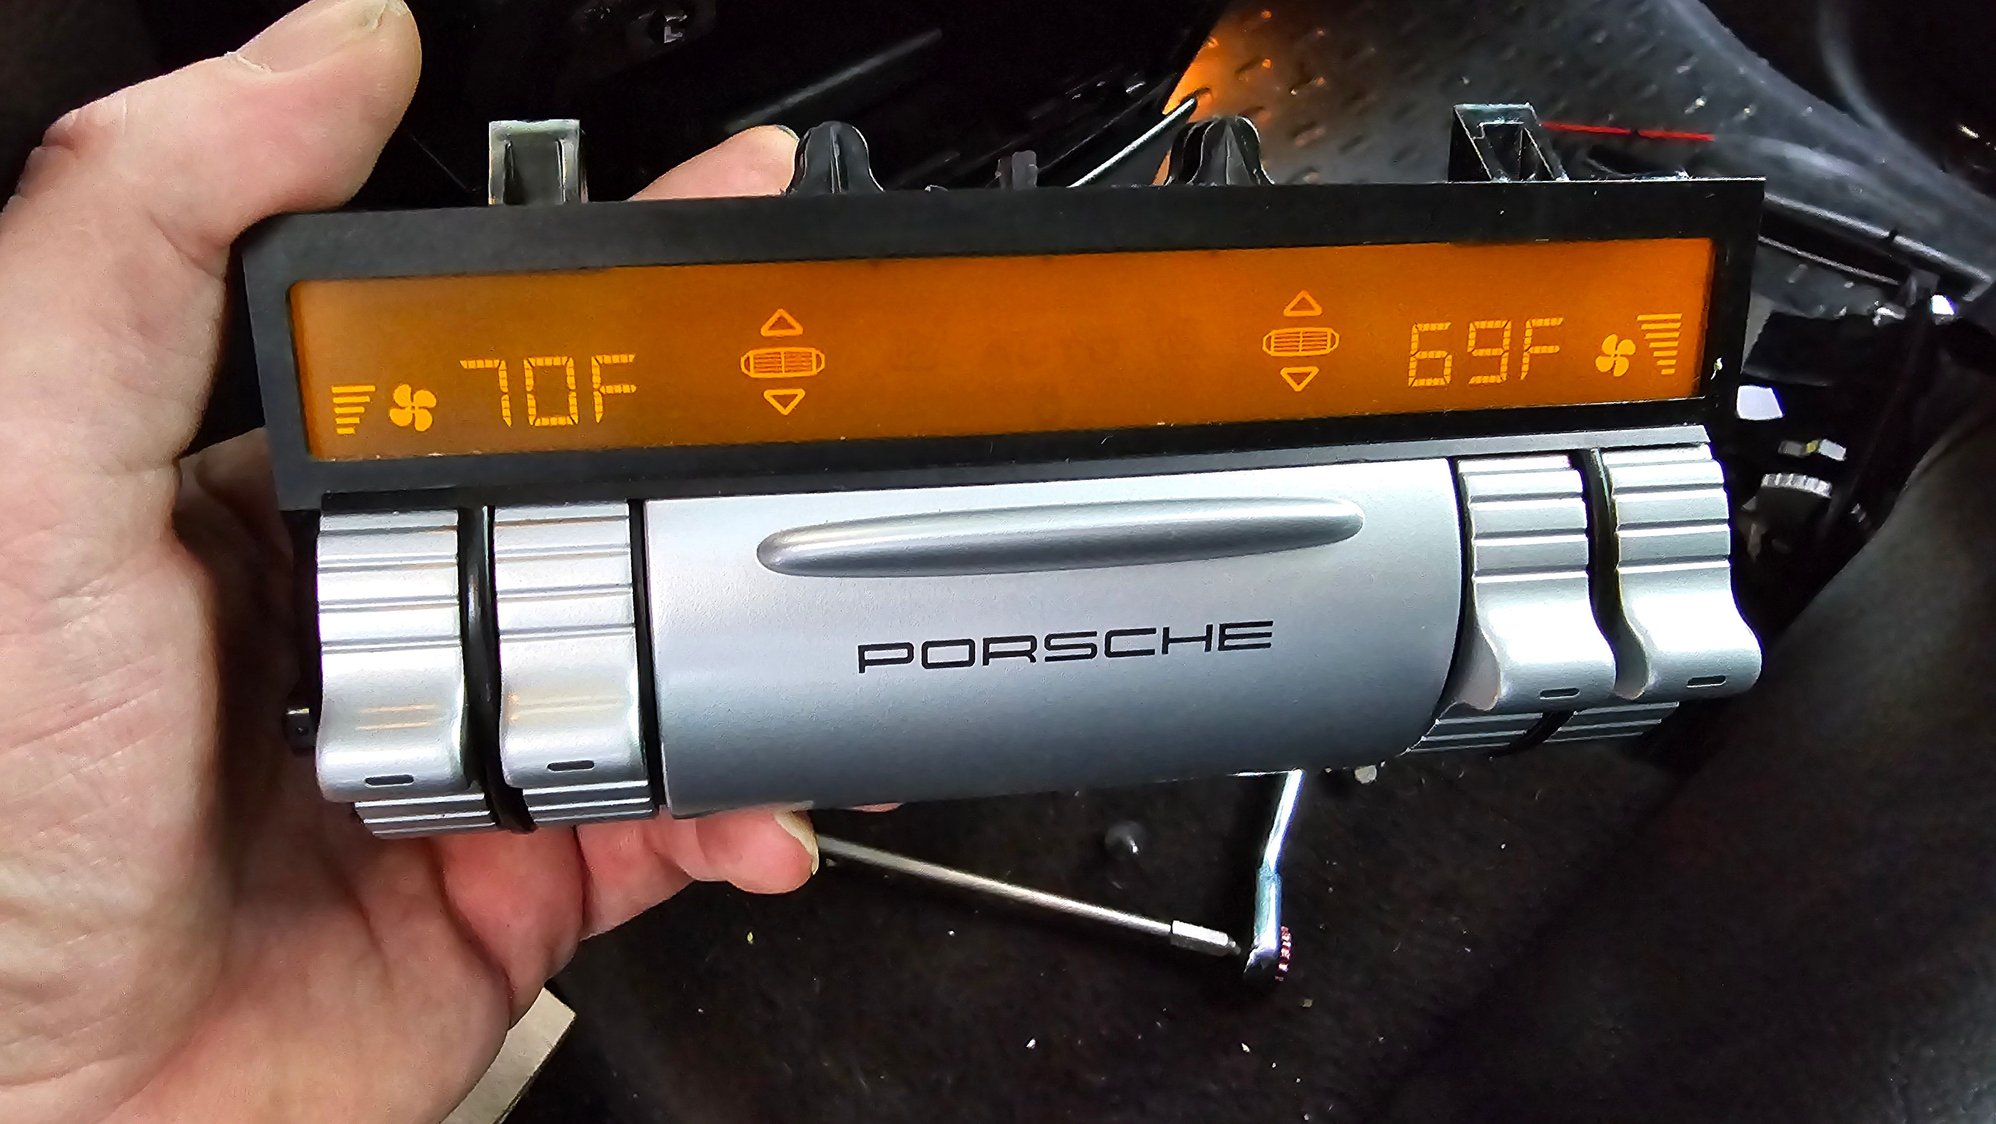
What a mess, but the rear climate control housing repaired... All the bits back here were cracked and banged up like a pissed toddler went on a rampage lol. The shattered backplate to the climate unit made it so the LCD didnt show up fully so took it completely apart cleaned and epoxy molded(adding excess where allowable to re-enforce) it back together. Armrest went pretty smoothly, fully cleaned and lubed pivot points and carefully reassembled applying a clean bead of black weatherstrip adhesive to all the pinch points. Now it is absolutely creak free!
LCD is a pressure connected interface, if the plastic housing fails it will look like the LCD has failed. To bond with JB Weld plastic epoxy, clean surface 90%+ alcohol, light sand surfaces, heat with heat gun/pen, re clean with 90% immediately. Allow to cool. Apply with tooth picks/popsicle sticks keeping in mind where excess can be used to further reinforce(external sufaces, non pinch/mating surfaces) nice project to save a few hundred bucks.
UPDATE: all good!
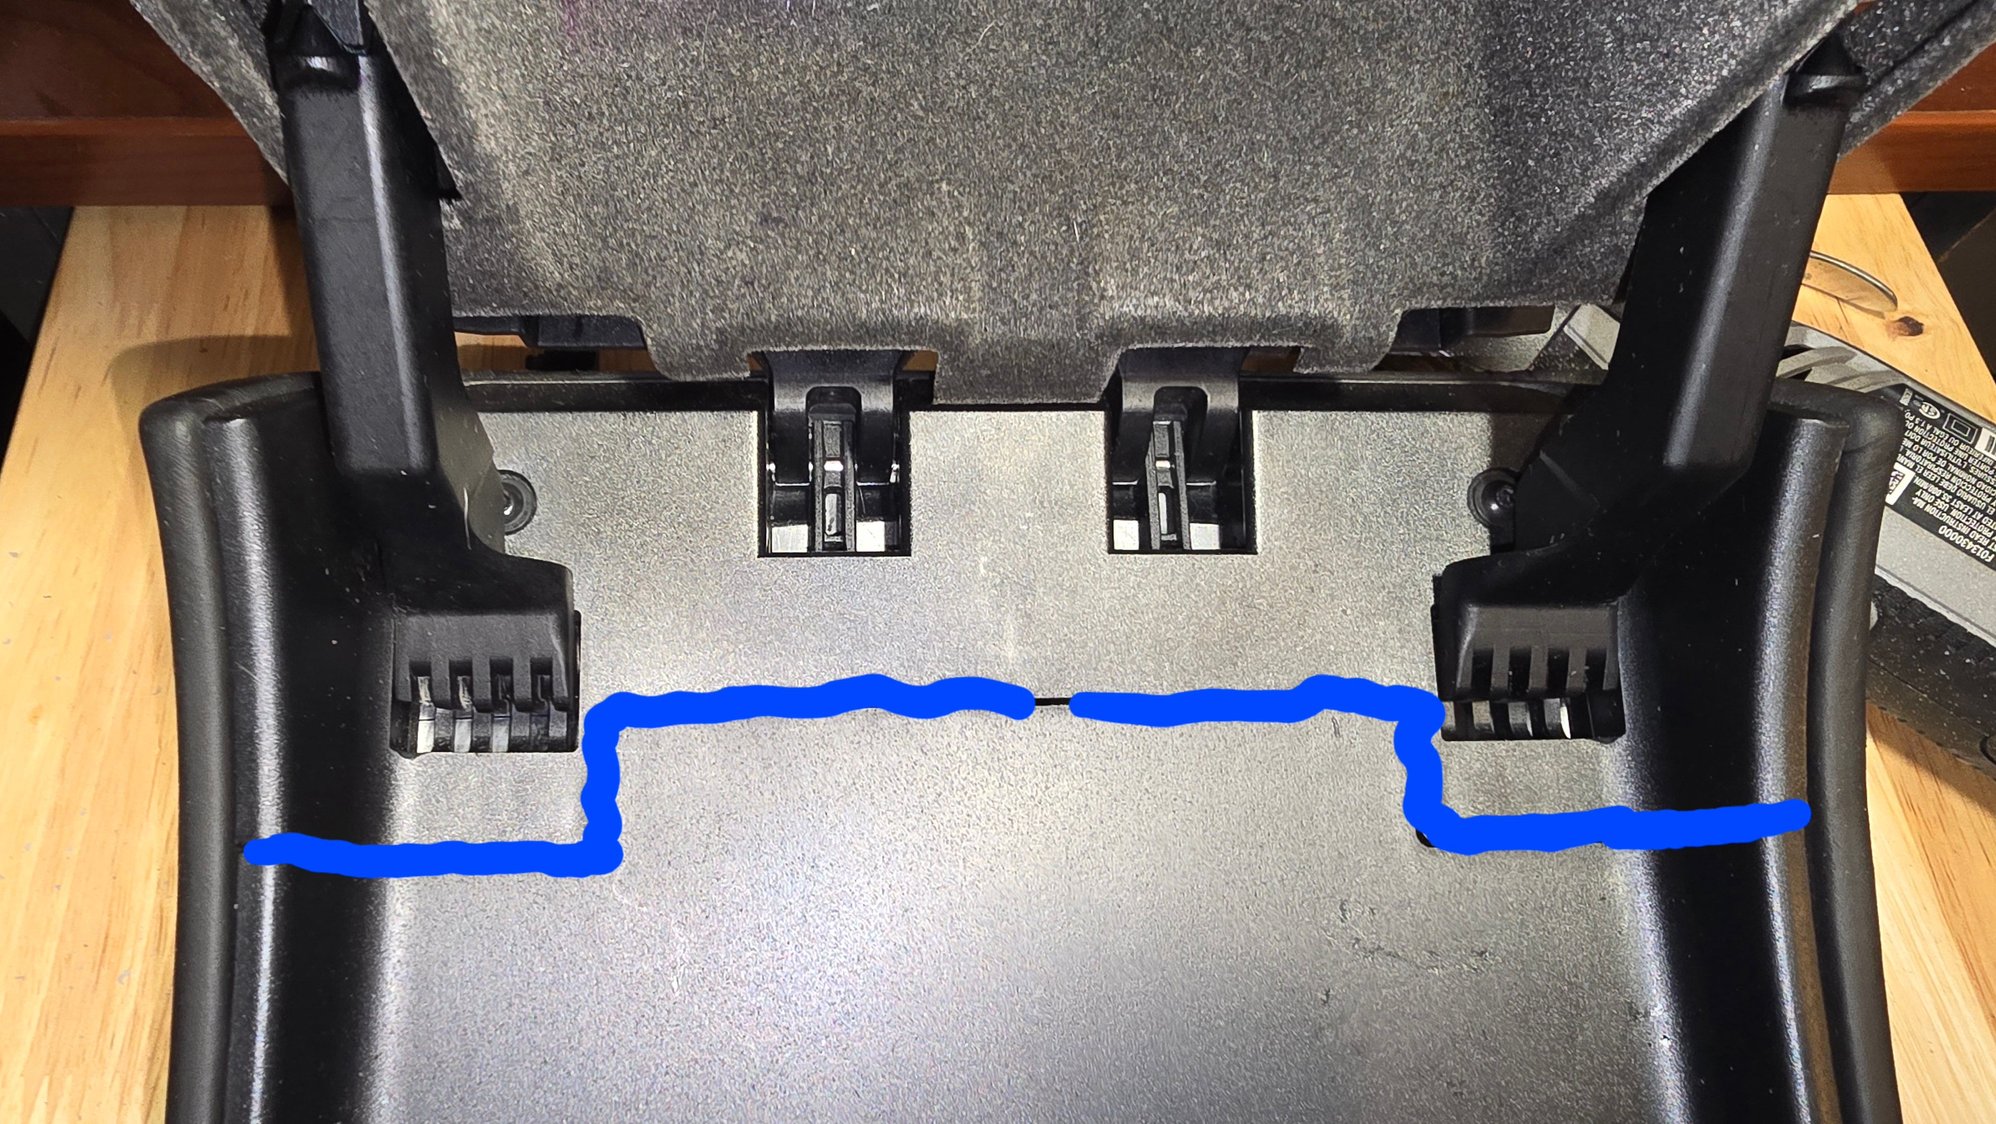
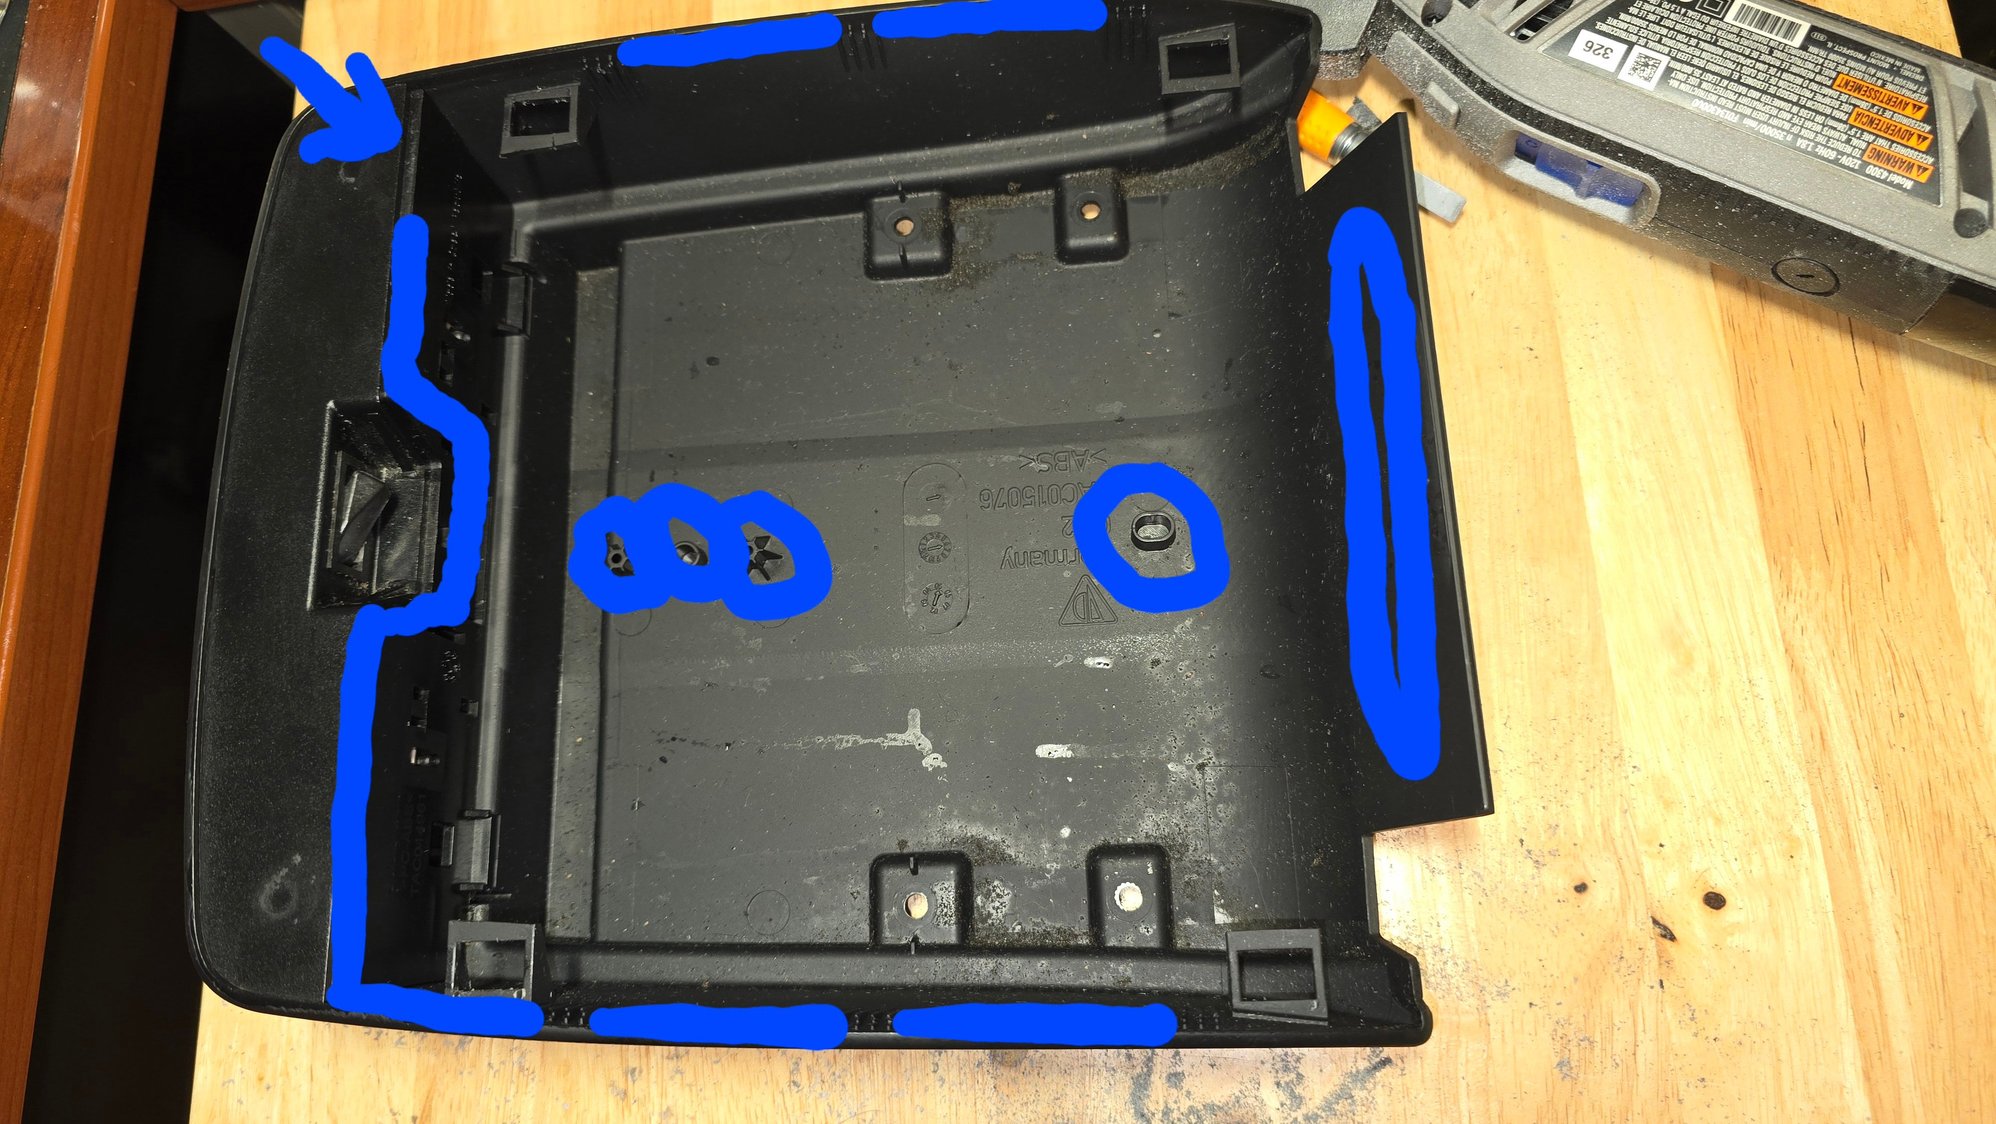
Extreme care should be taken to keep the adhesive on the pinch points only, so that it doesnt make a mess on the exterior/visible area. If a perfectionist clean exterior surface with 90%+ and use high grade painters tape to mask the exteior faces. Weather strip adhesive will marr the surface of plastic trim(could be cleaned up, but not easily...) Gaps left in adhesive marker lines for clarification purposes, The bead should cover these gaps. Pay close attention to the front edge where the tray pinches, there is a lip, the adhesive should be applied the the lower ridge so it does not touch the upper lip. This way the tray will pinch into the lip and push the adhesive down.
P.S. place armrest upside down to cure, this way the dallops/beads of adhesive will migrate from the initial surface to the mated suface and as it cures pull them together.
P.S.S. for the armrest, a silicone adhesive could be used in place of the weatherstrip adhesive. This would make it "possible" to disassemble in the future. I went with the I am never doing this again method...


 07-16-2024, 09:46 AM


 What a pain - emailed the company and waiting to hear back from them.