When you click on links to various merchants on this site and make a purchase, this can result in this site earning a commission. Affiliate programs and affiliations include, but are not limited to, the eBay Partner Network.
This is quite the project, thanks for documenting this for me and others to follow. I now have the confidence to tackle should an issue arise or at the next clutch replacement, until then AAA premier will get me home.
Thanks everyone for the input so far especially Ed who has been incredibly helpful as I pursue this fun little project. I am waiting for the BBI coolant fittings to come in and then I will take the housing pieces to a welding shop and ask about getting it welded properly.
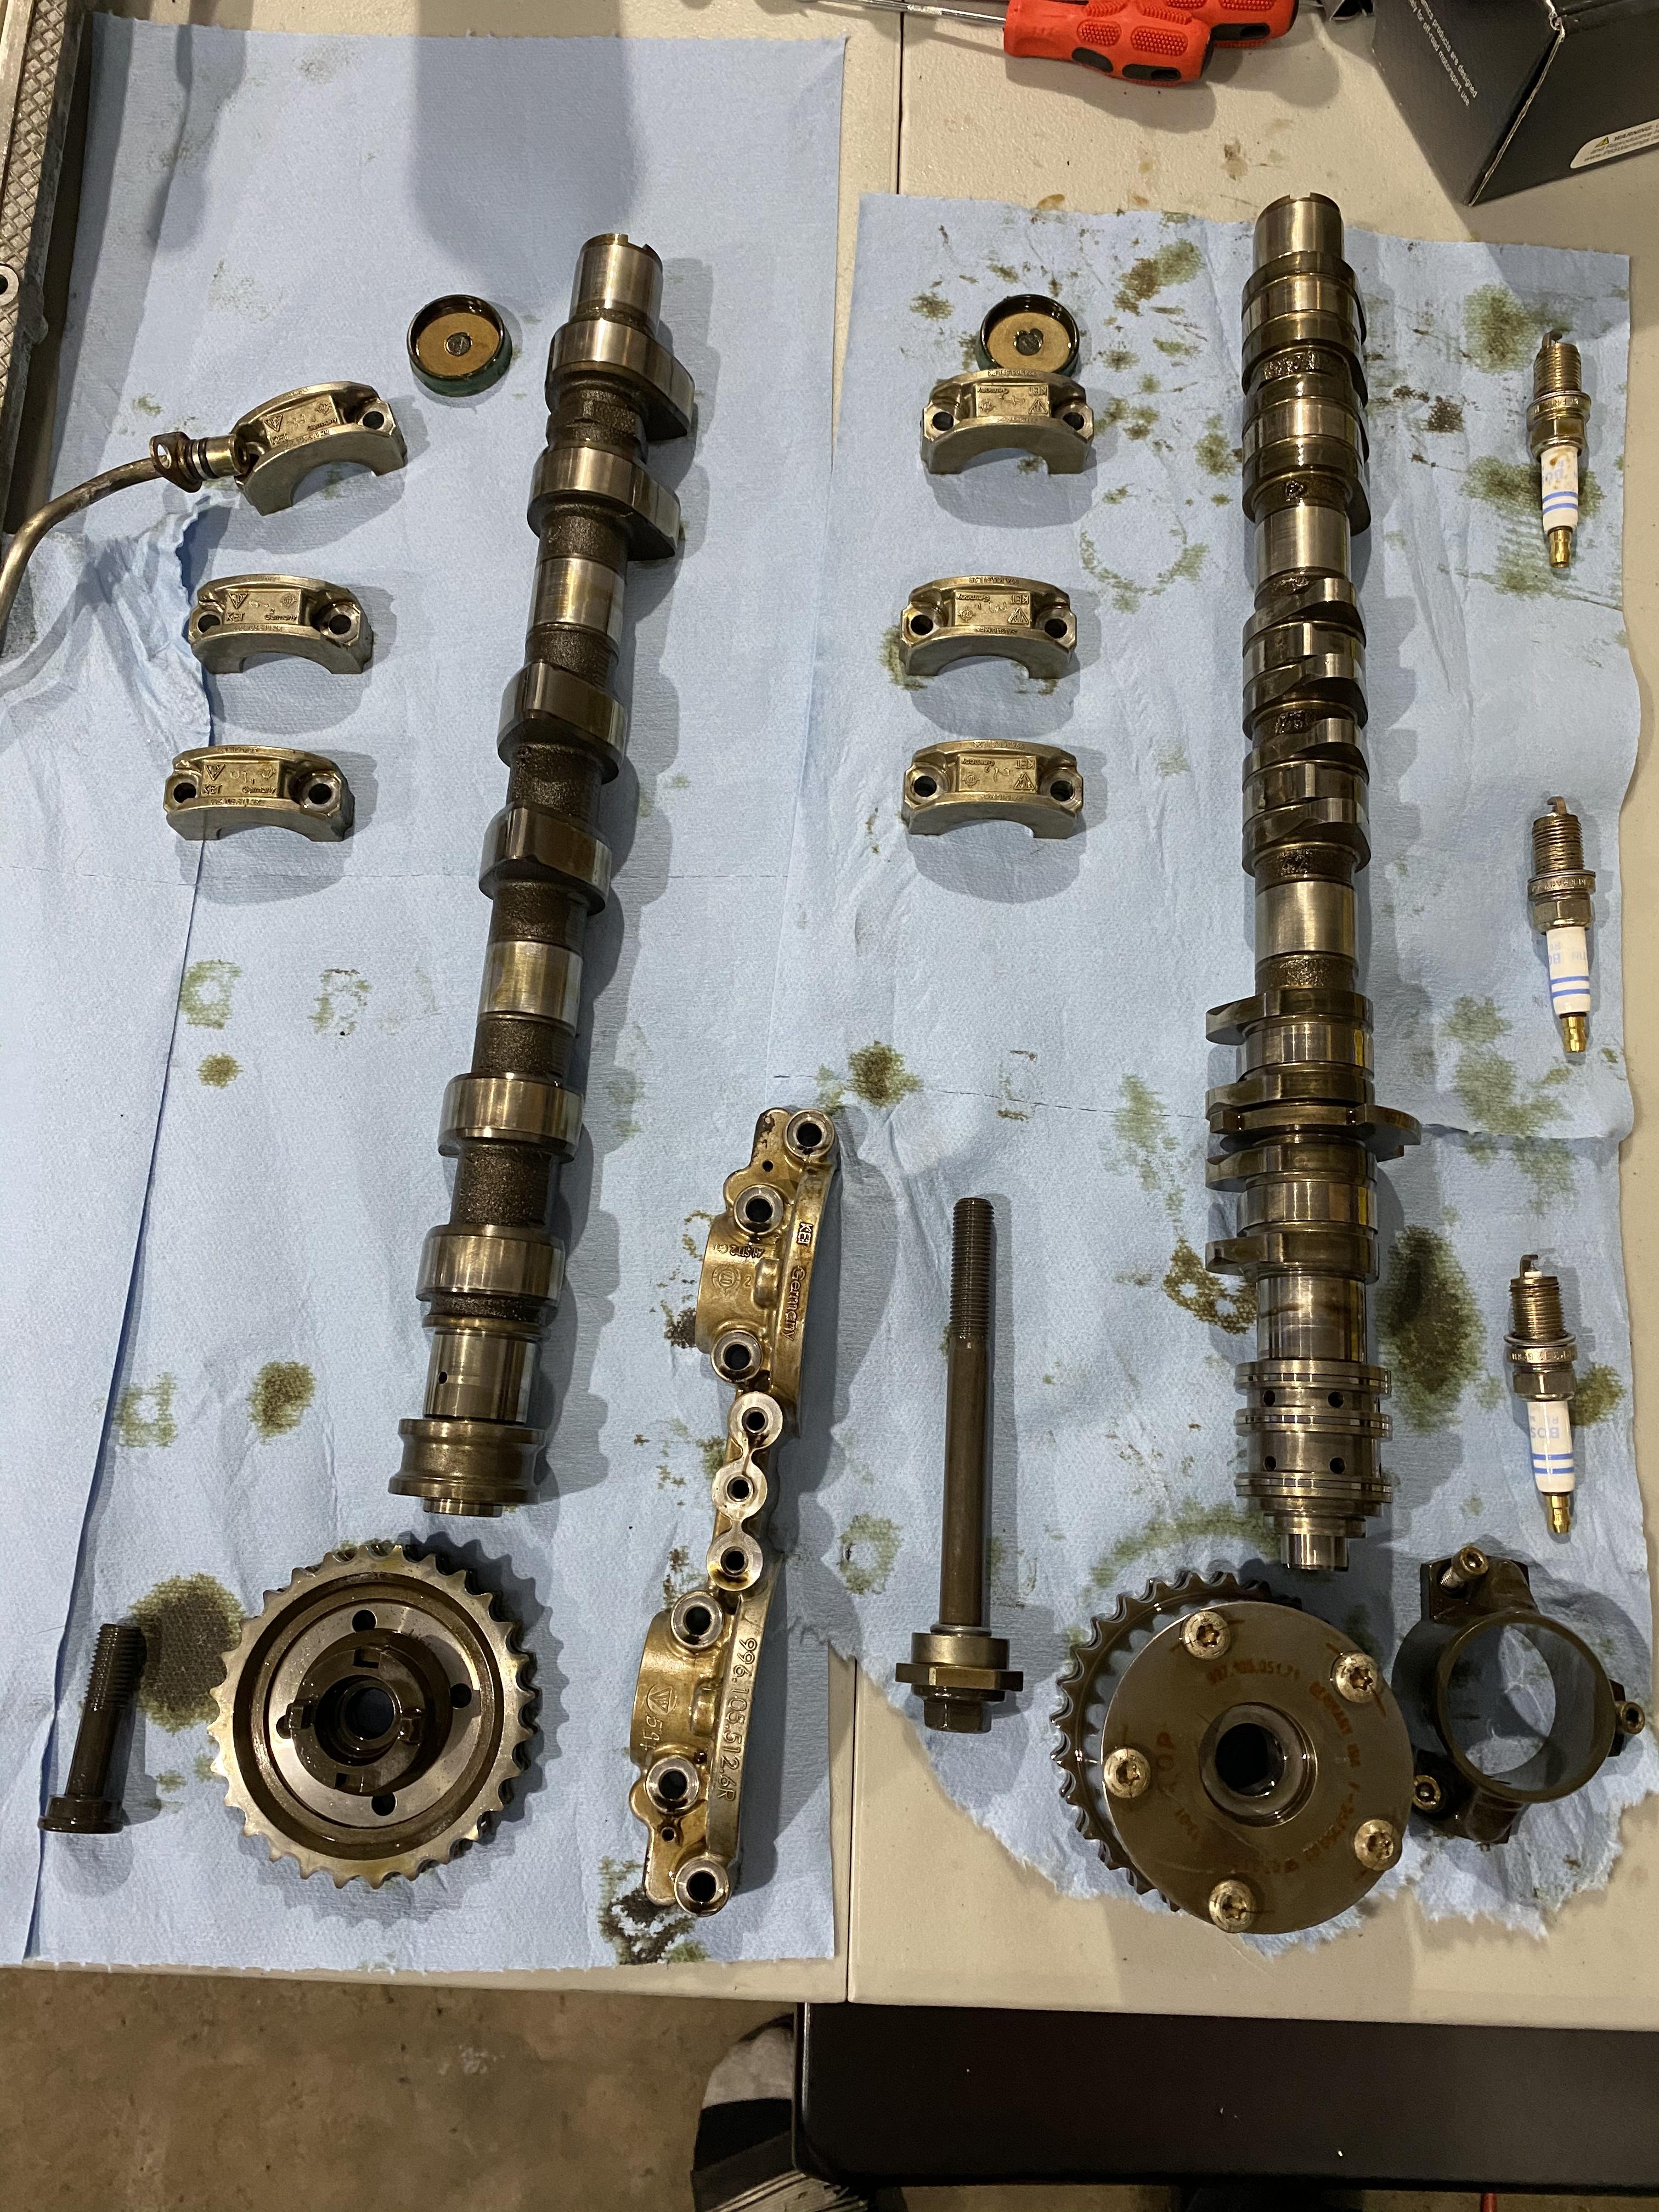
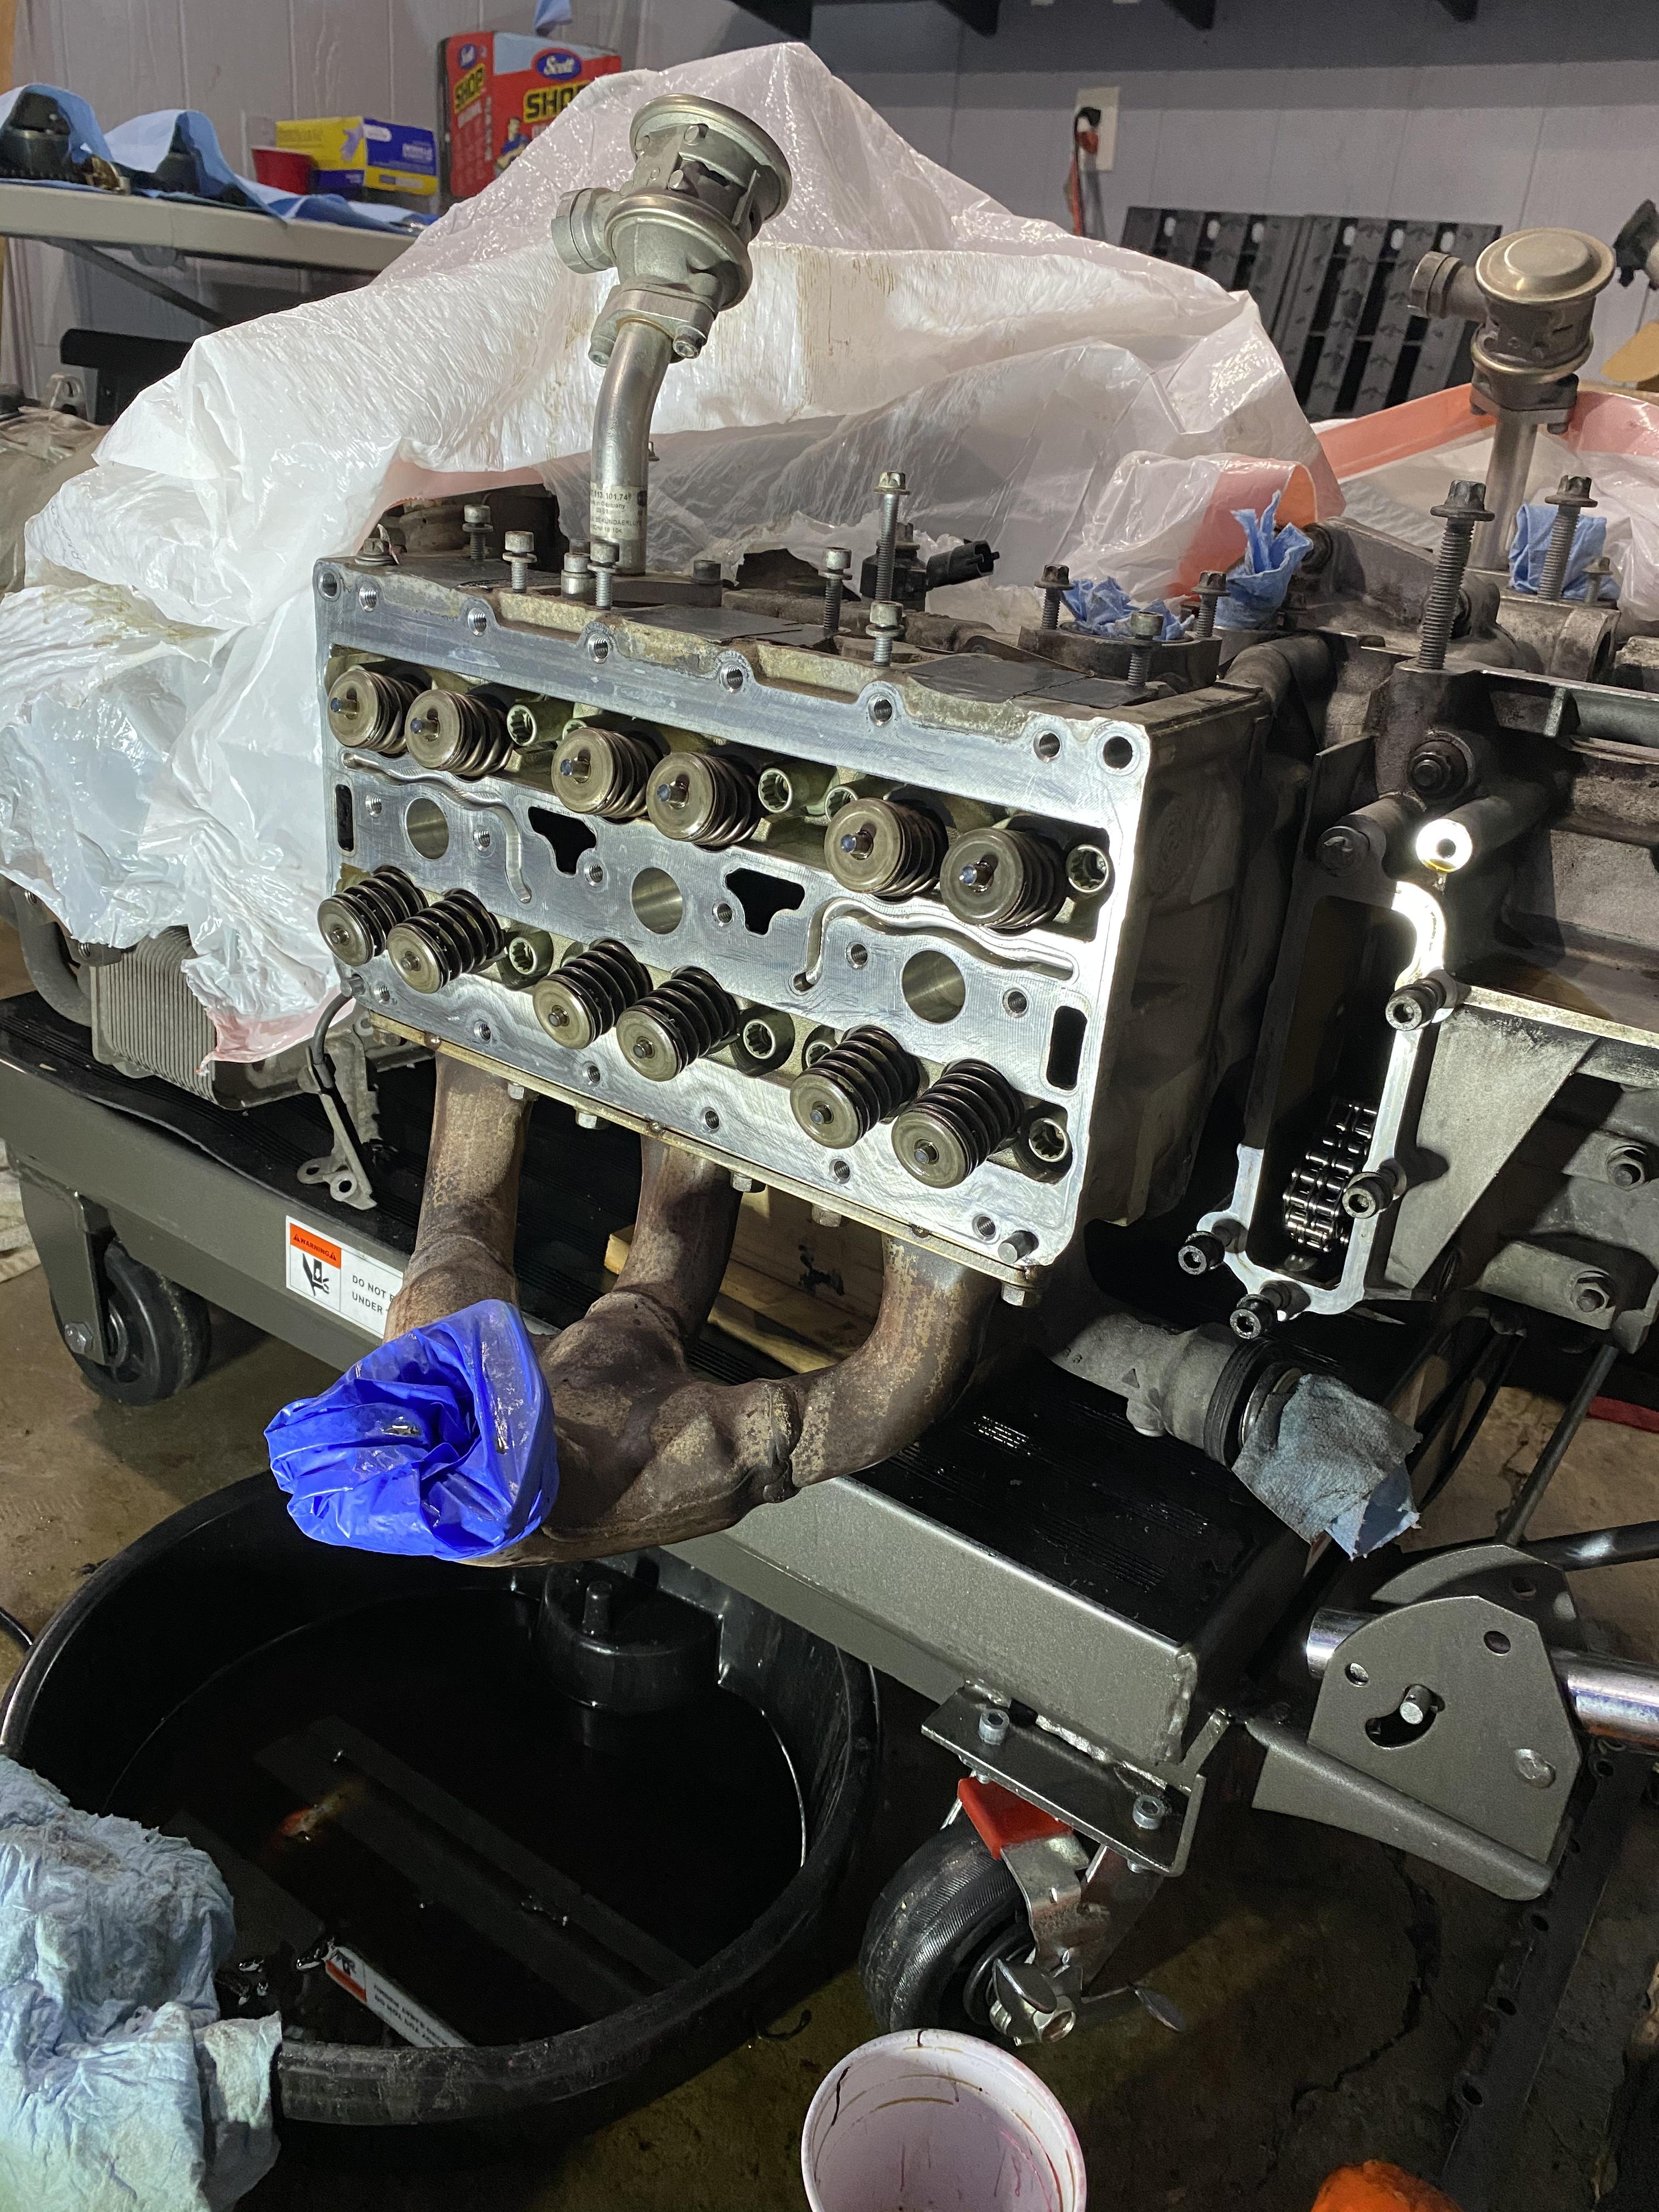
Meanwhile, I bought the Baum camshaft timing tool, so I removed the driver's side intake and exhaust cams. It was straightforward as per the WM. FYI, loosening the chain tensioner does indeed cause the chain to jump one or two teeth - I wasn't sure about this and there wasn't much info in the WM or on the google.
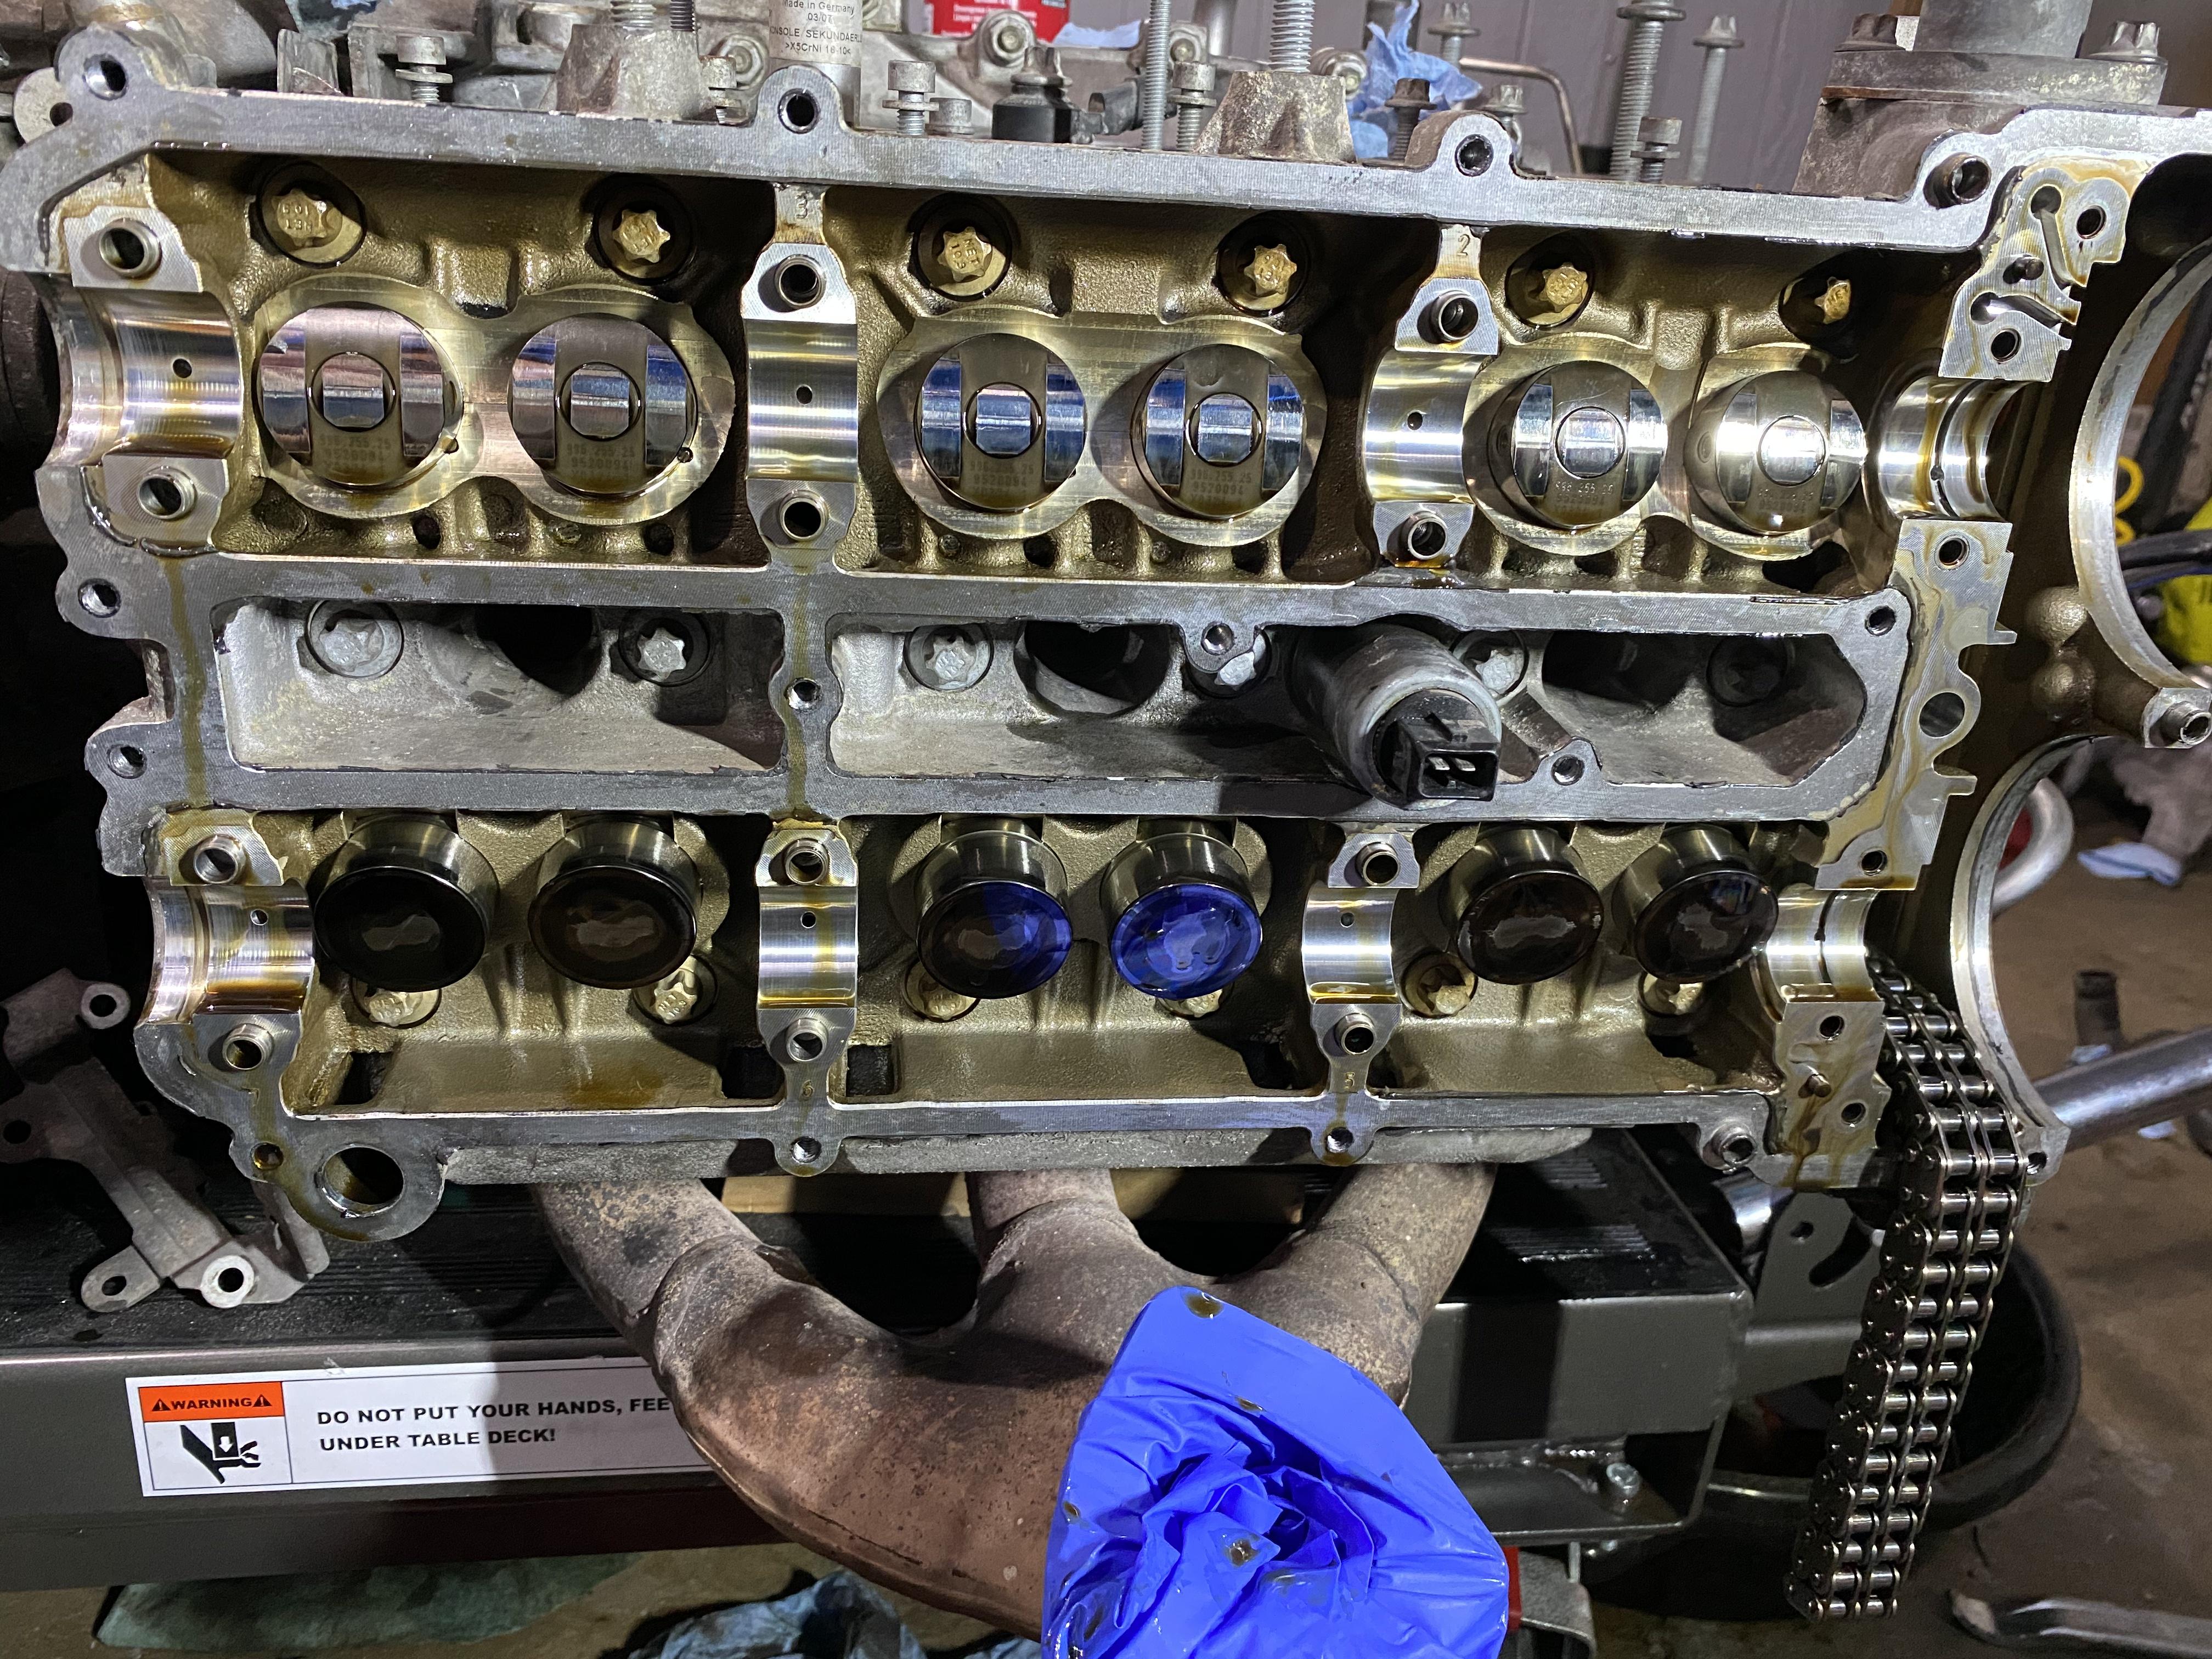
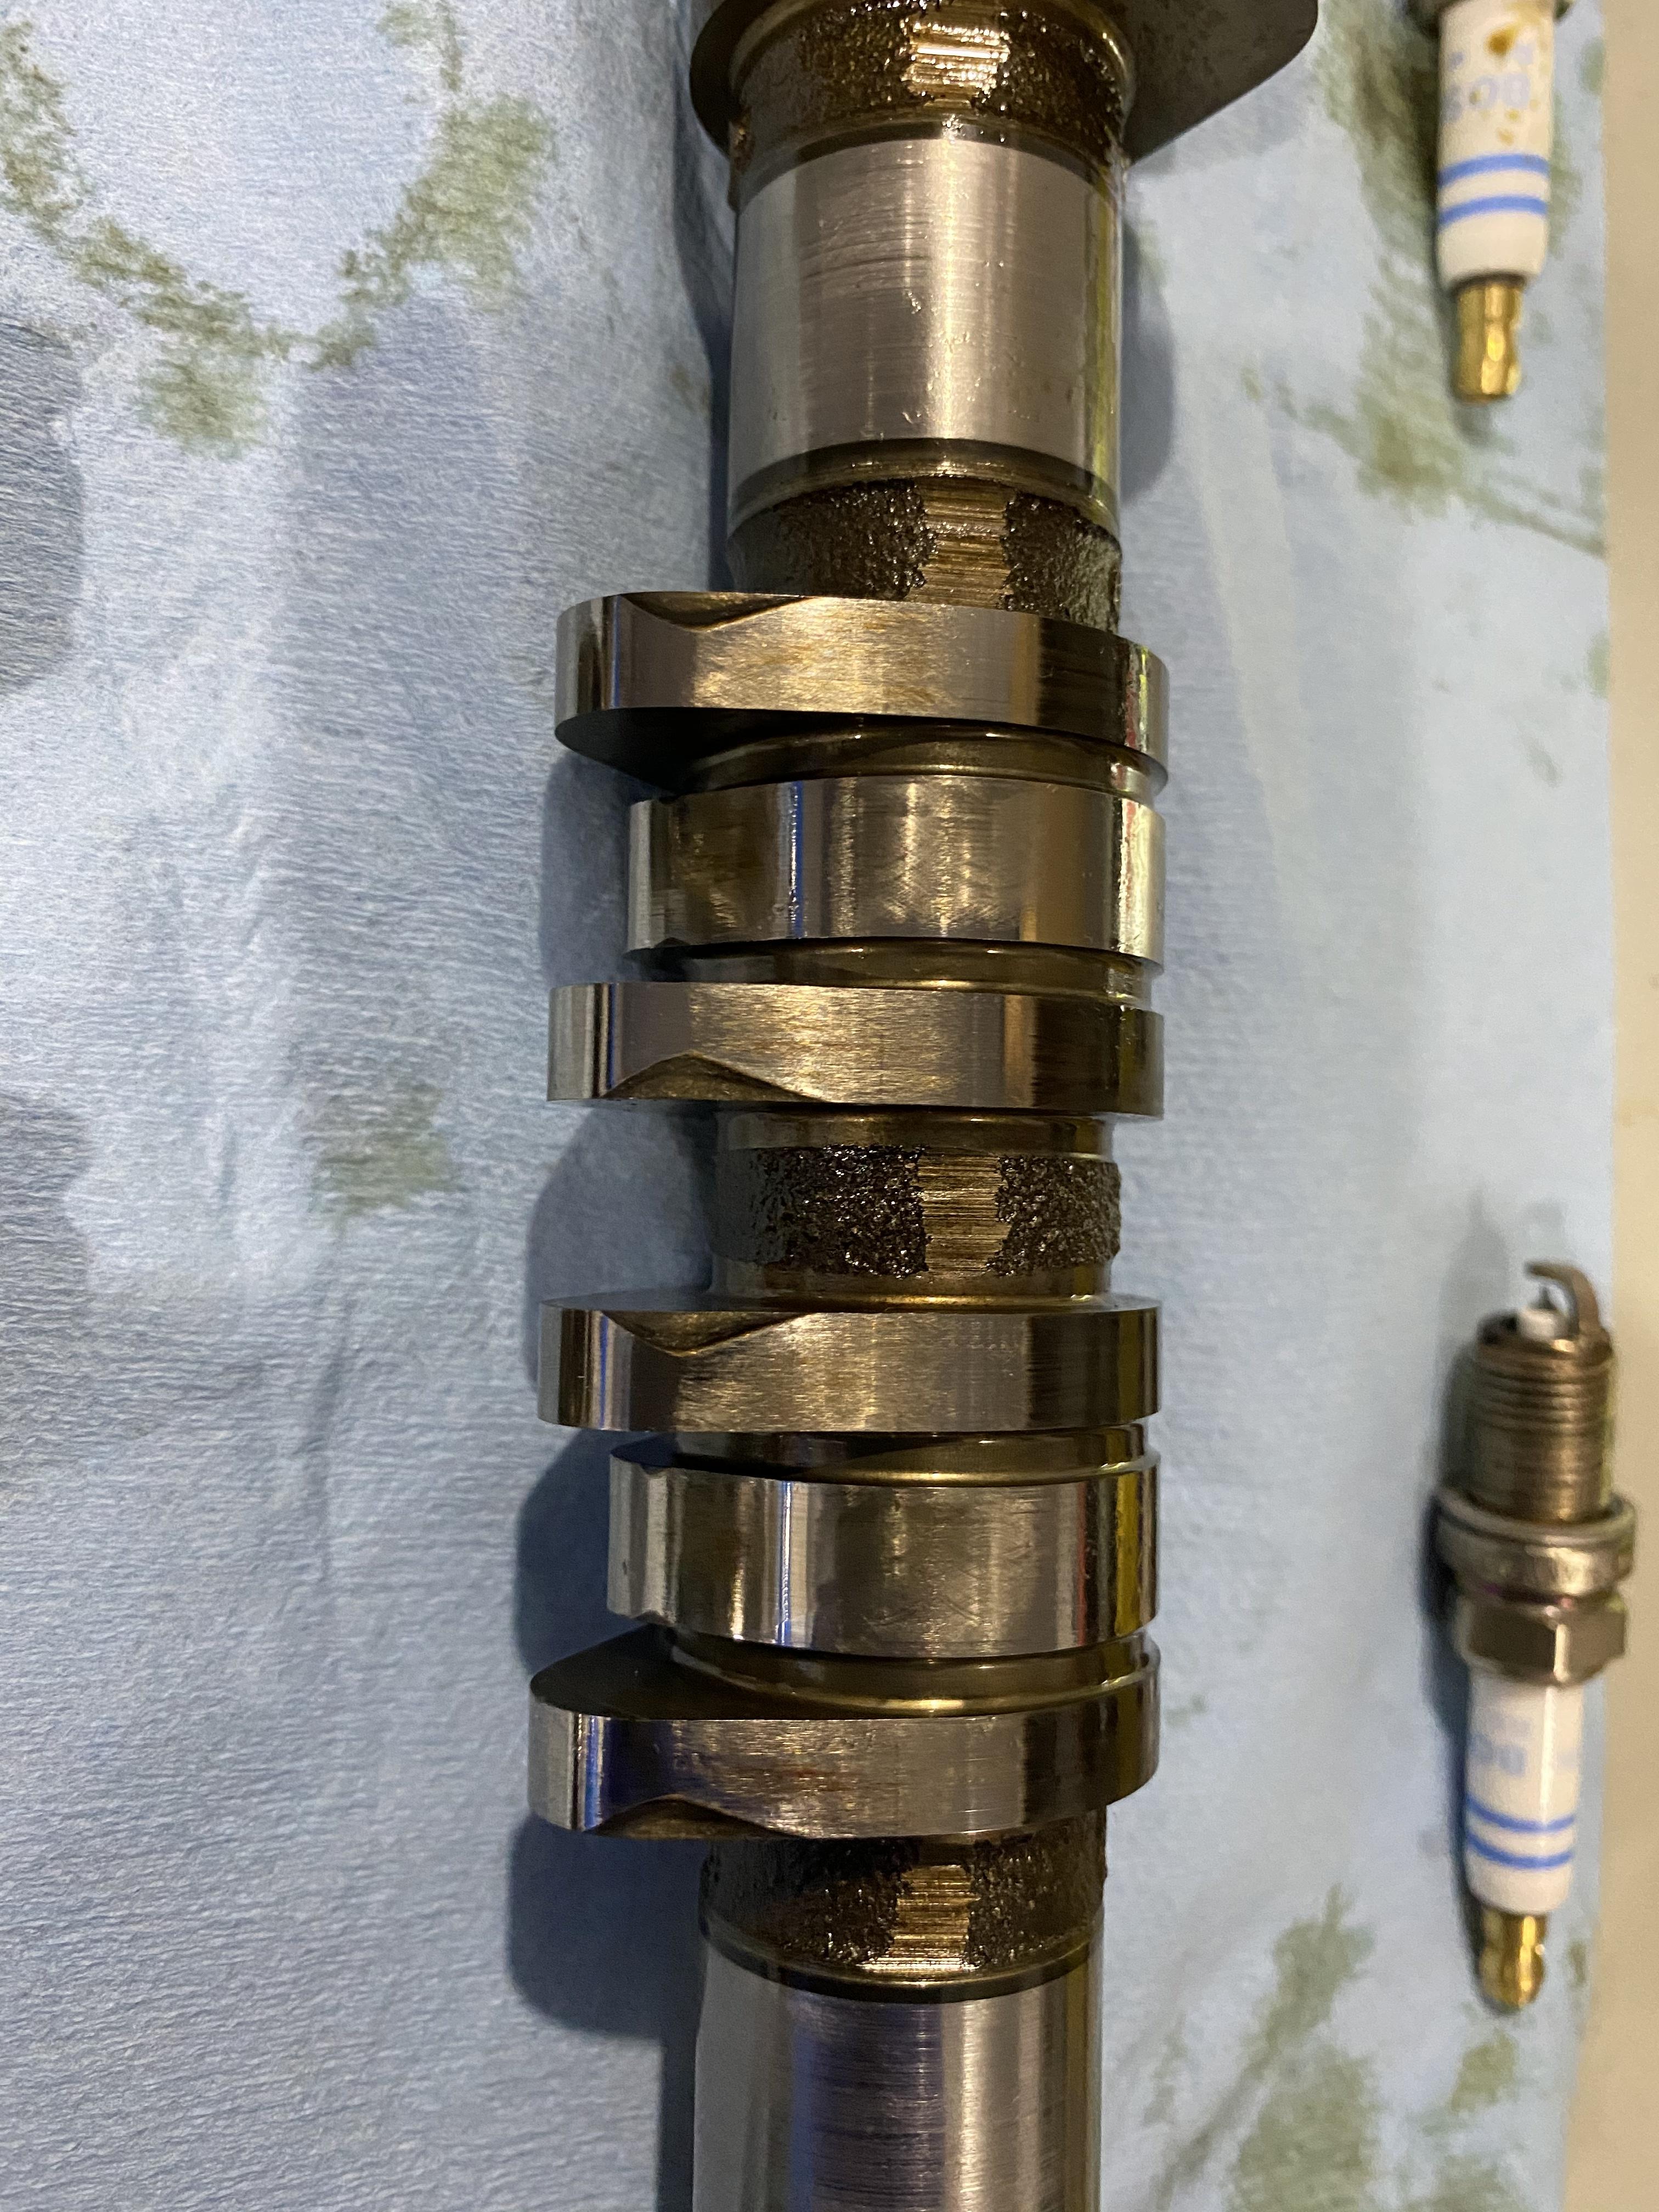
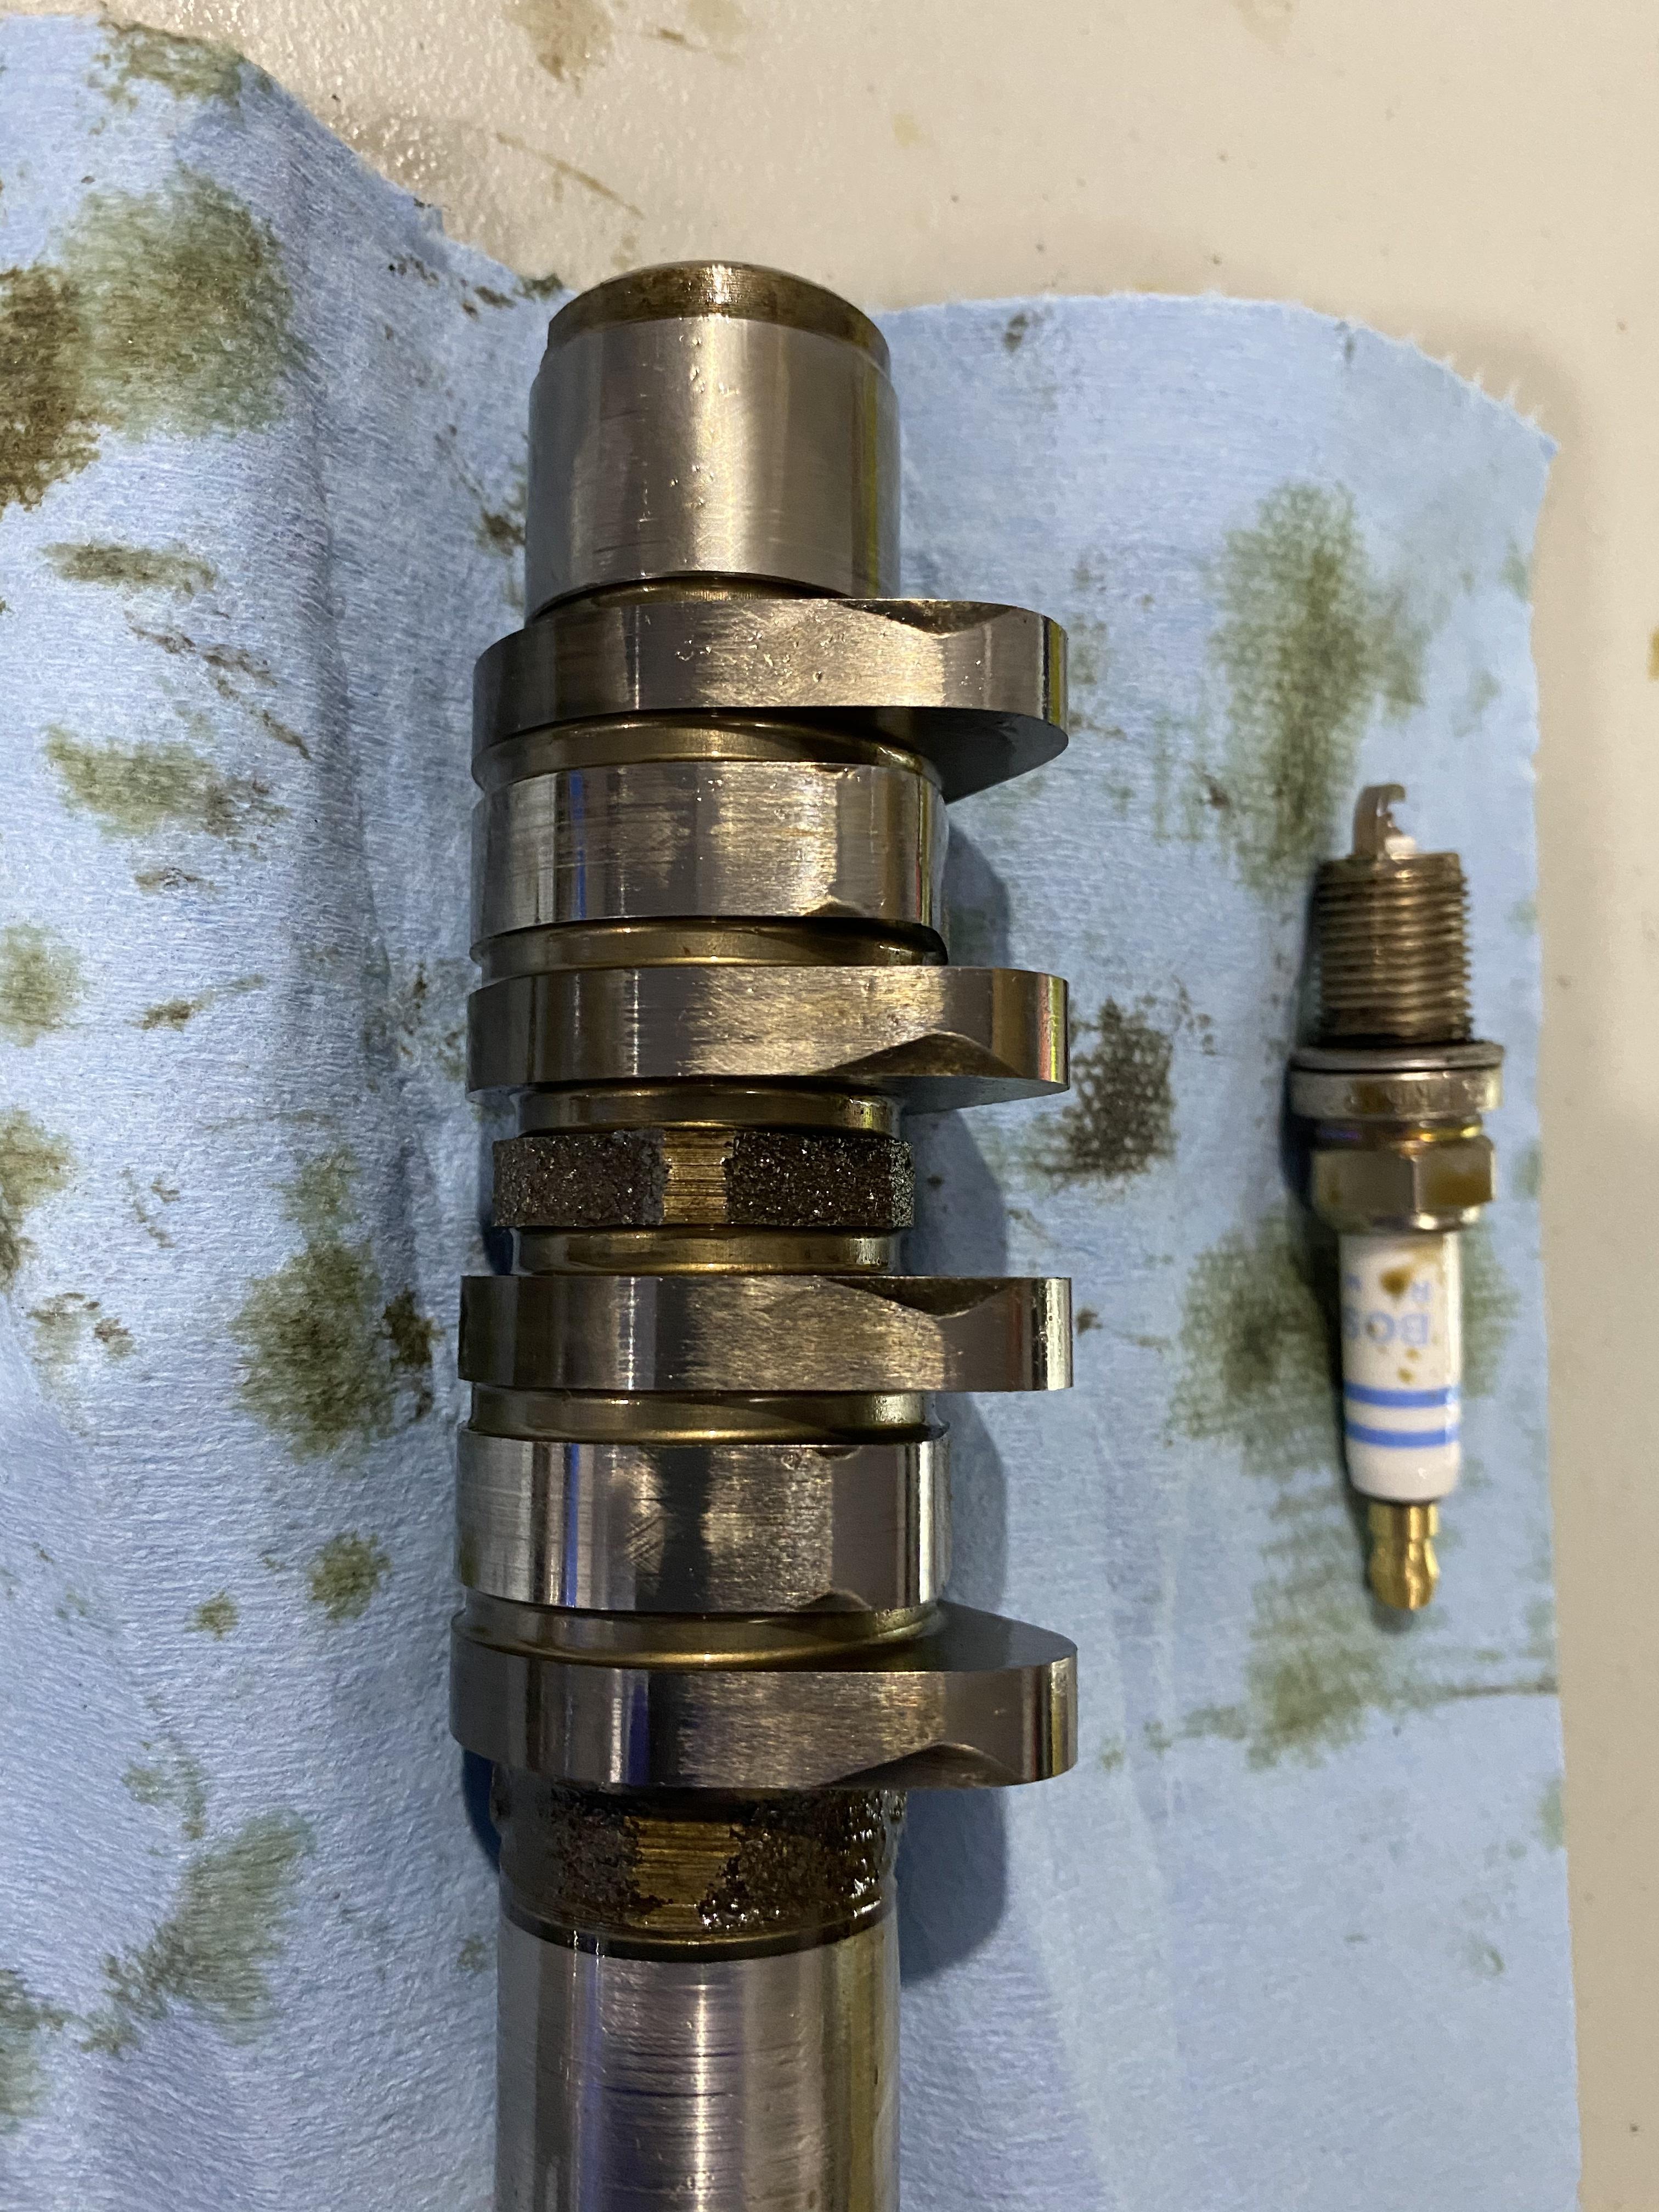
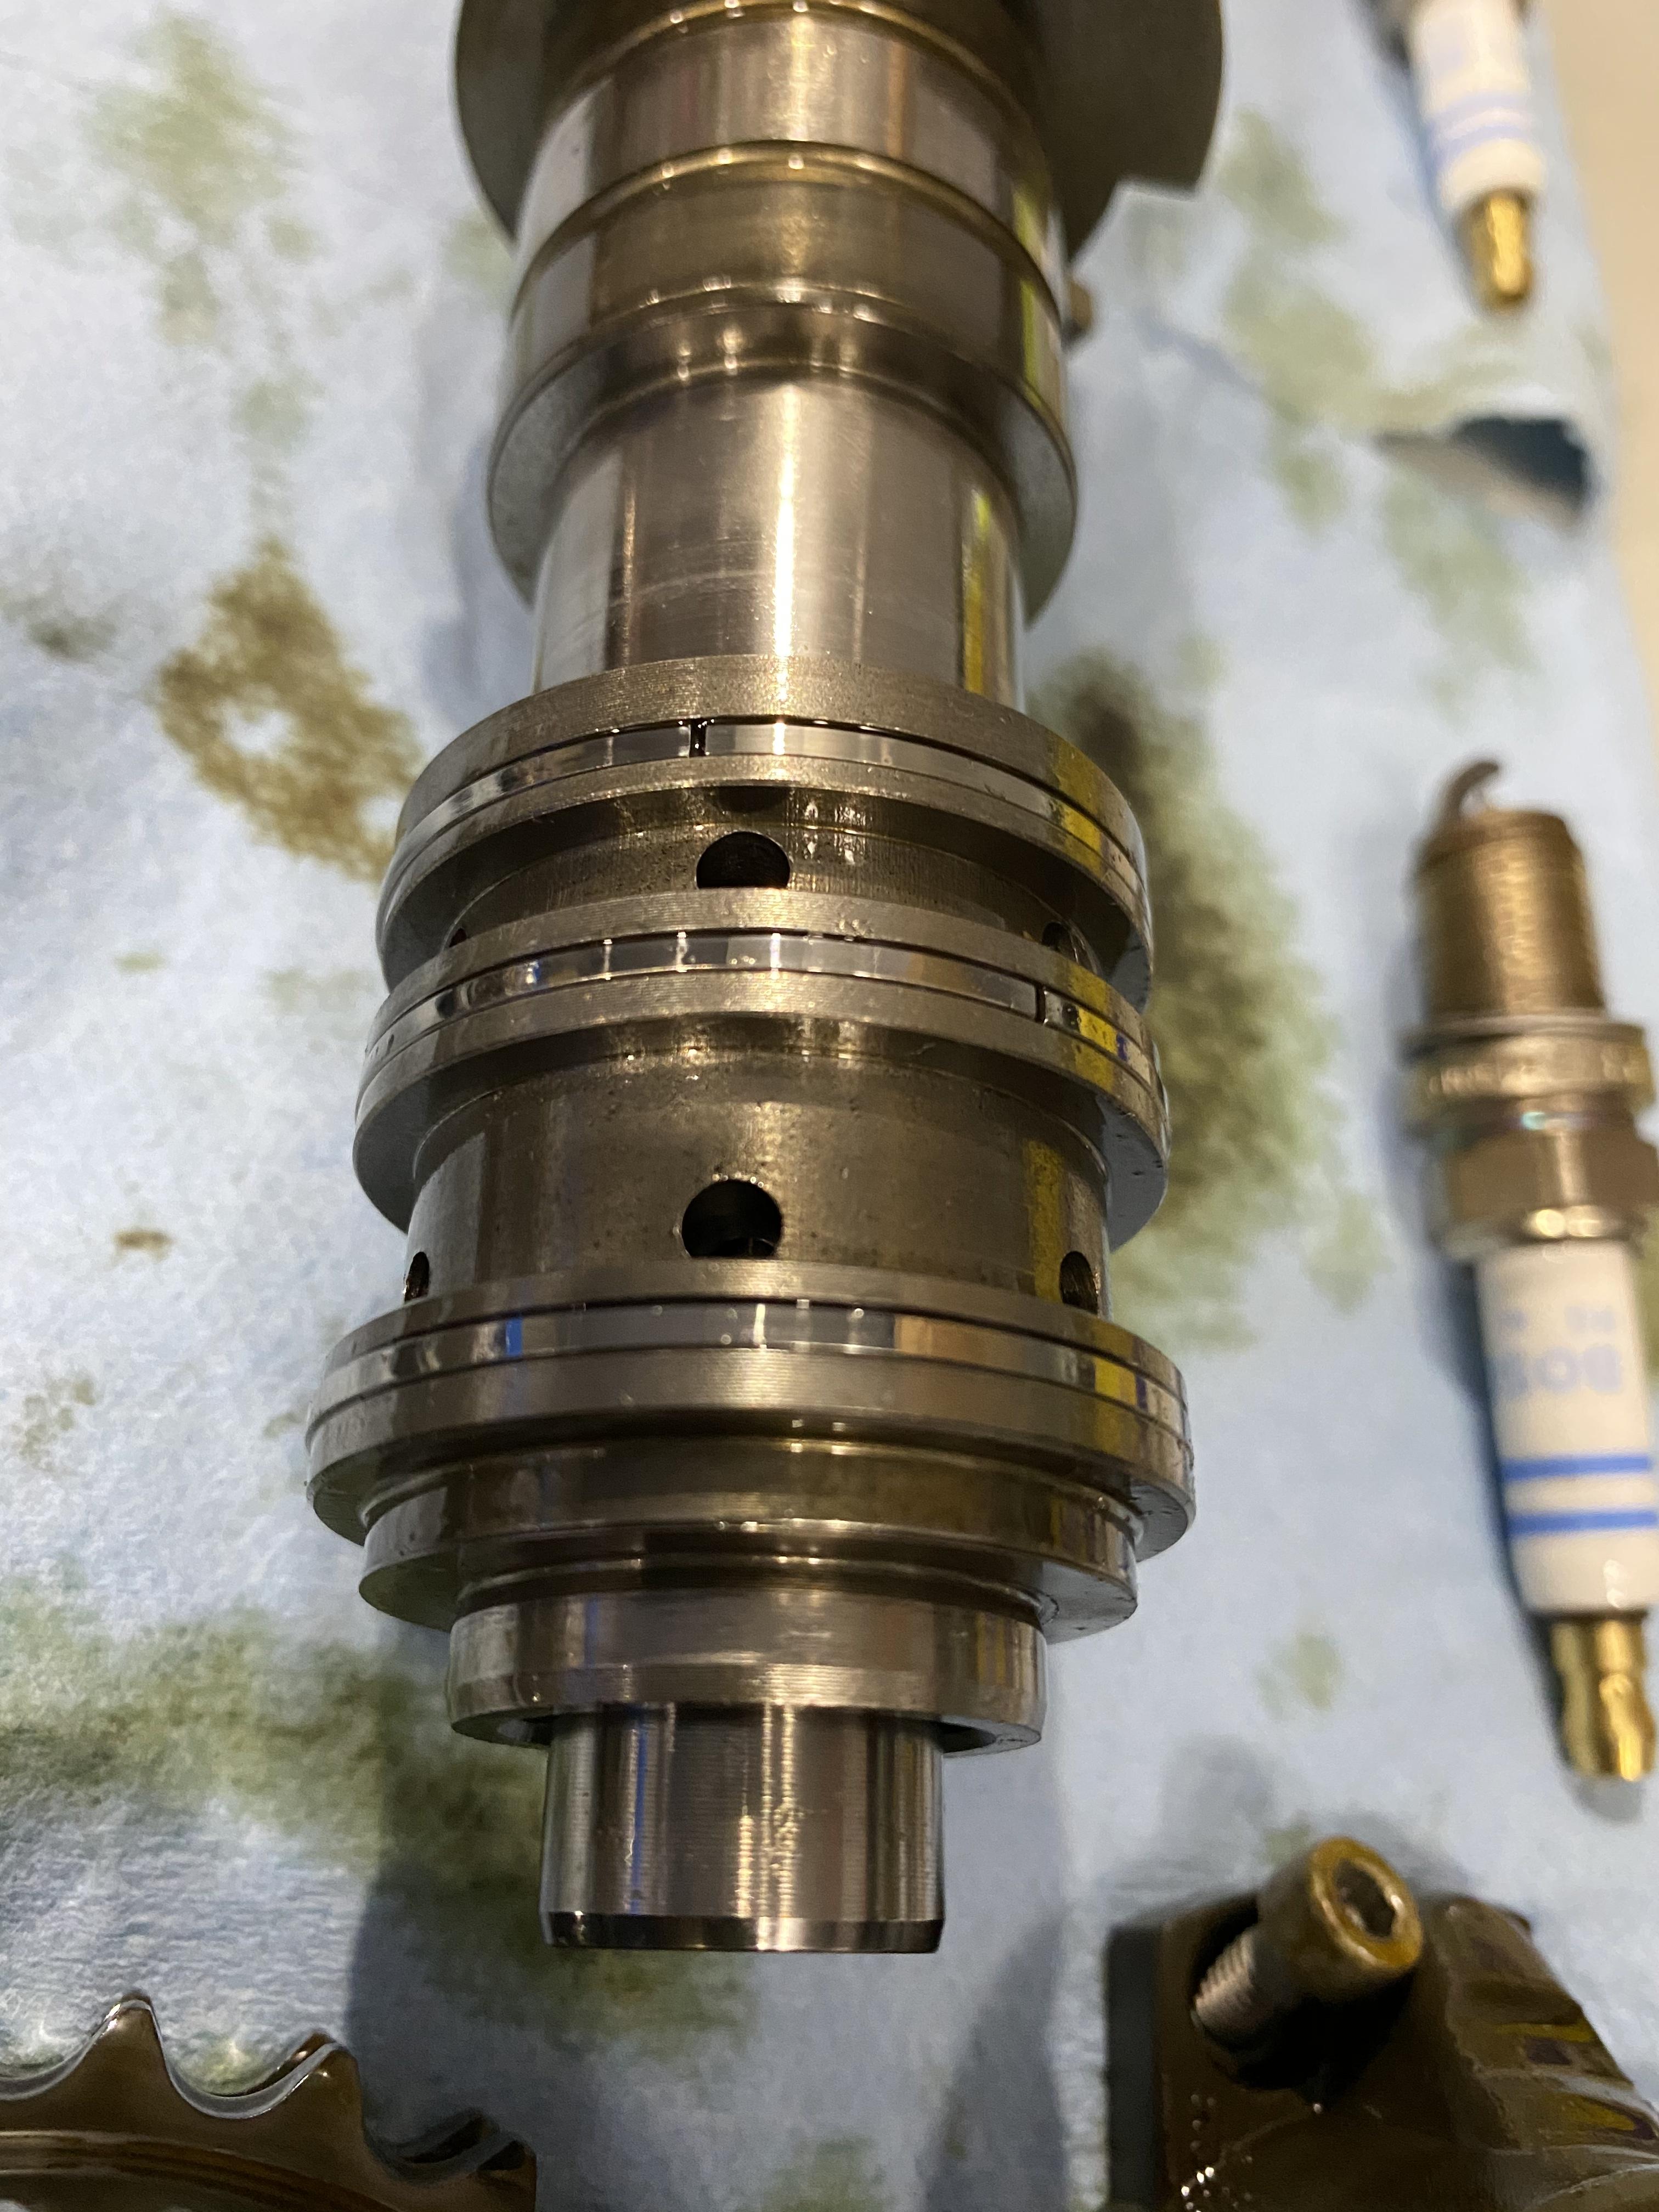
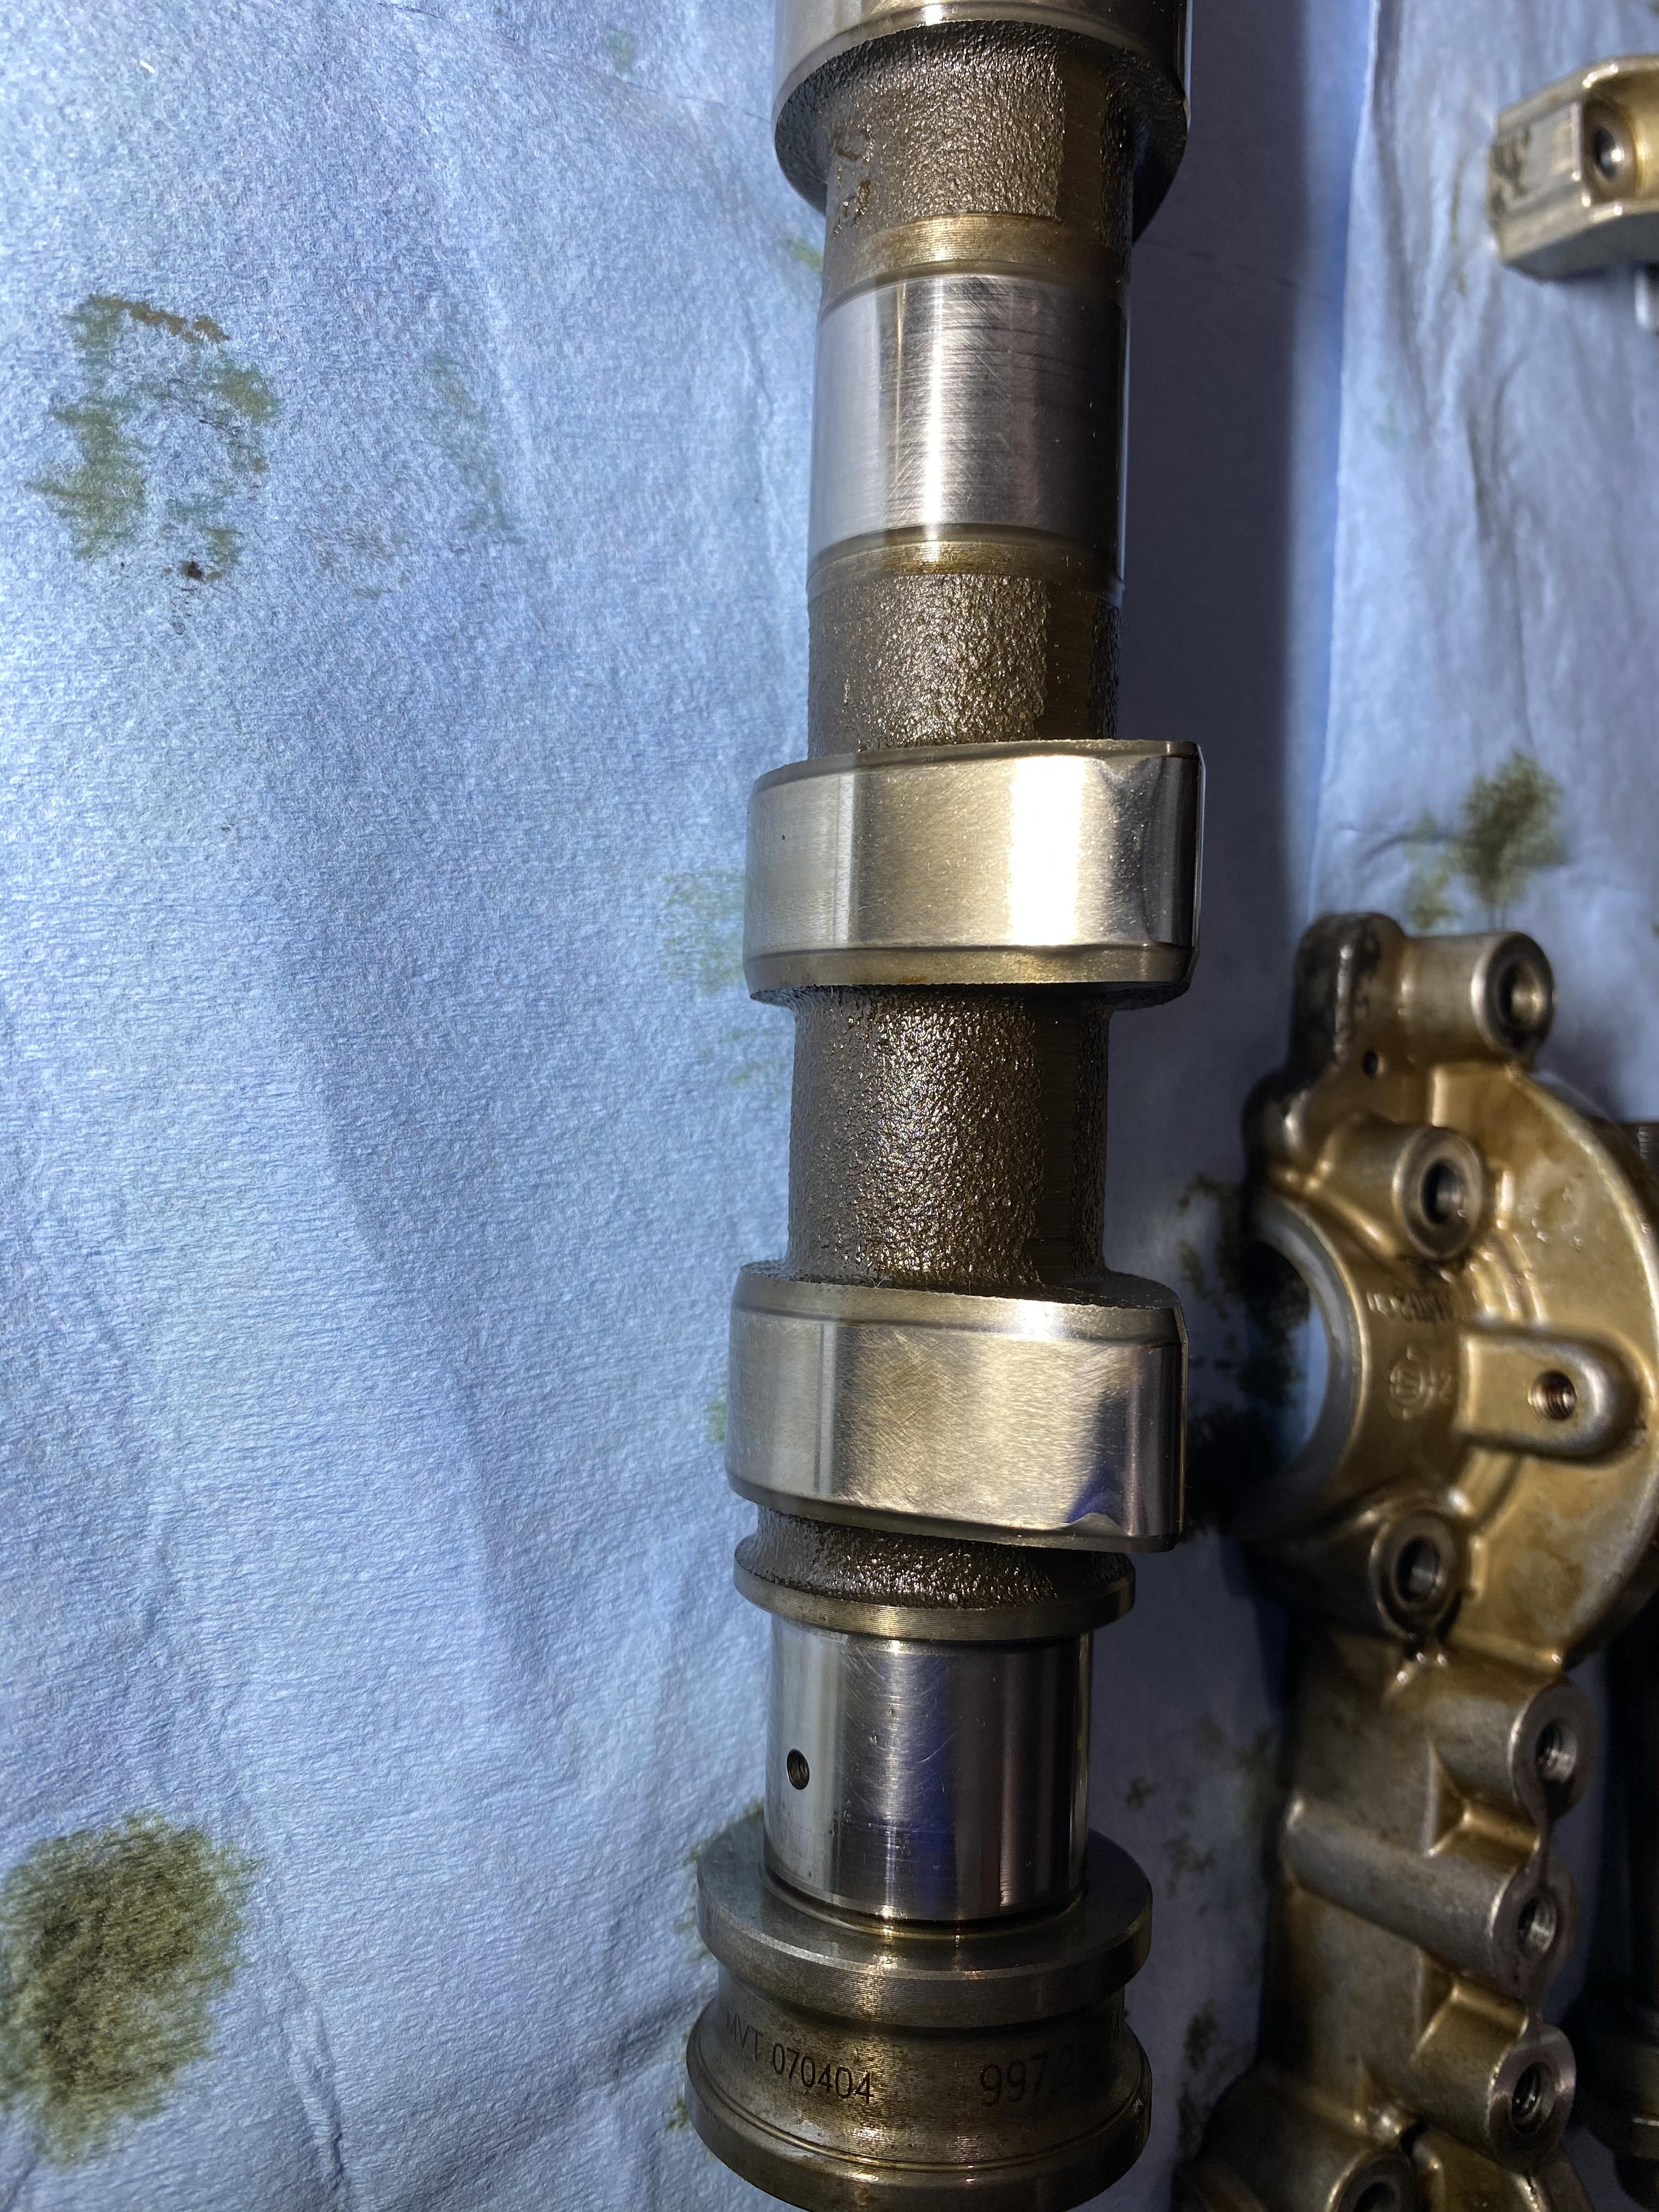
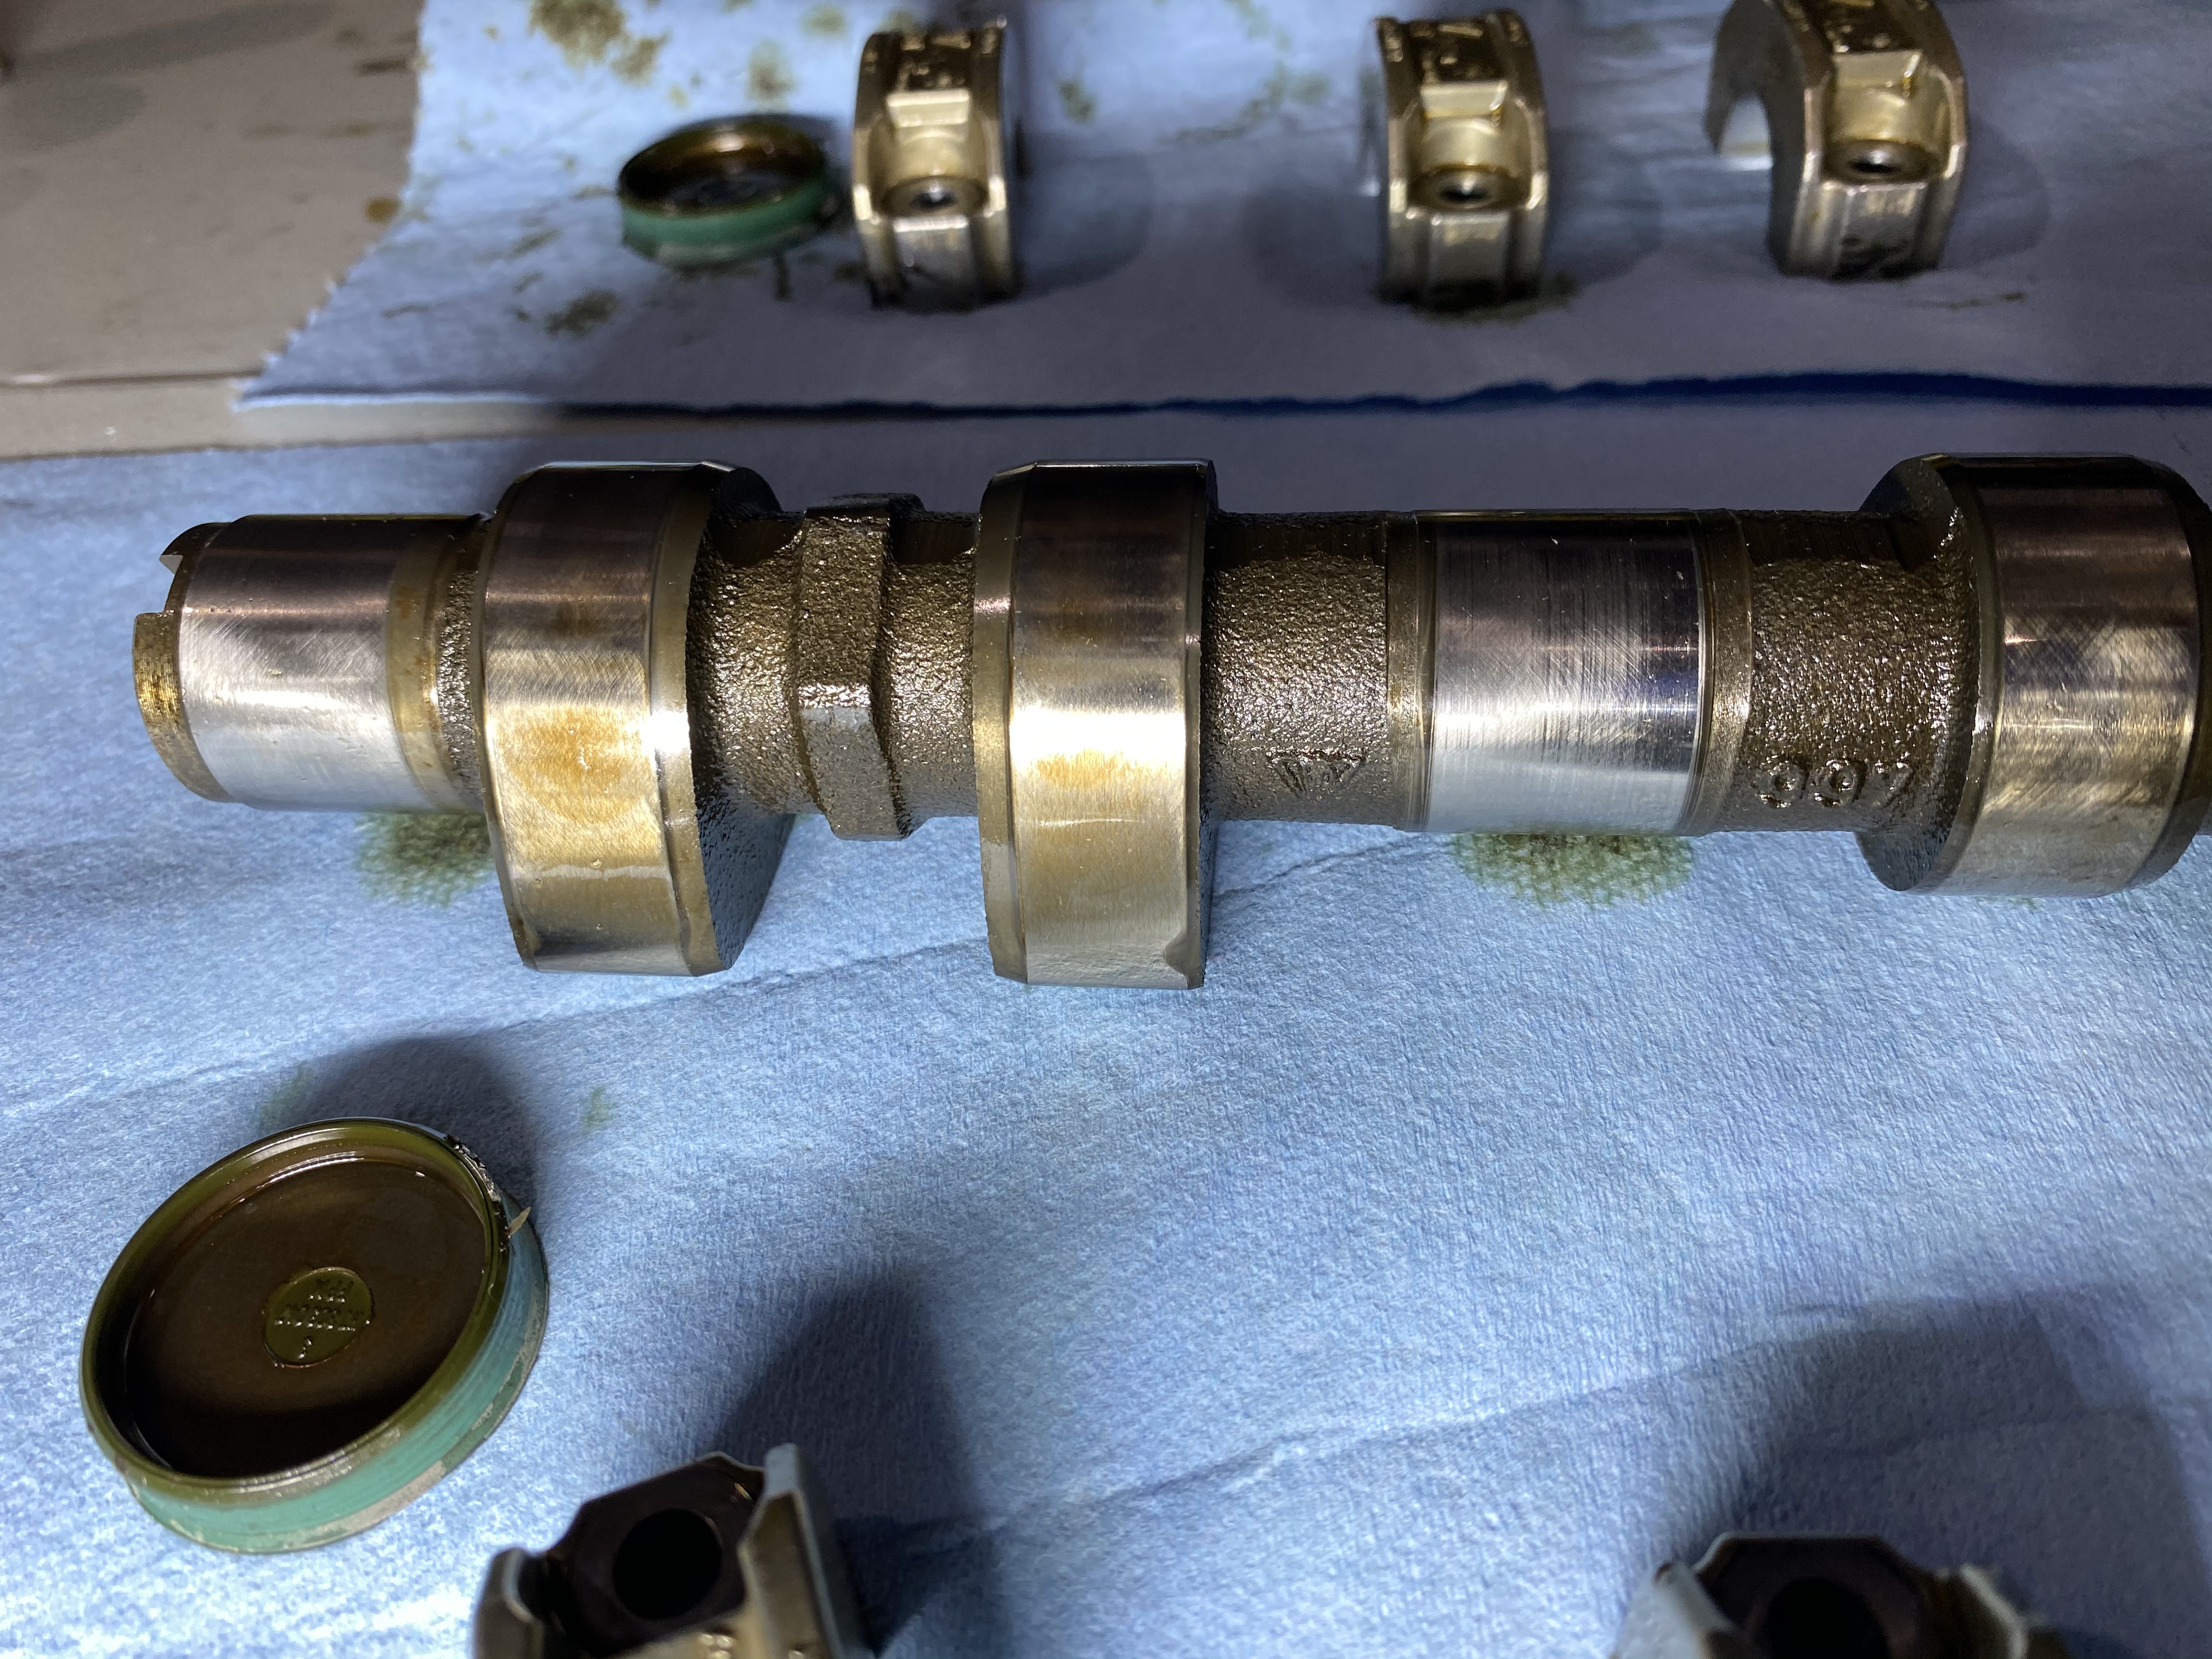
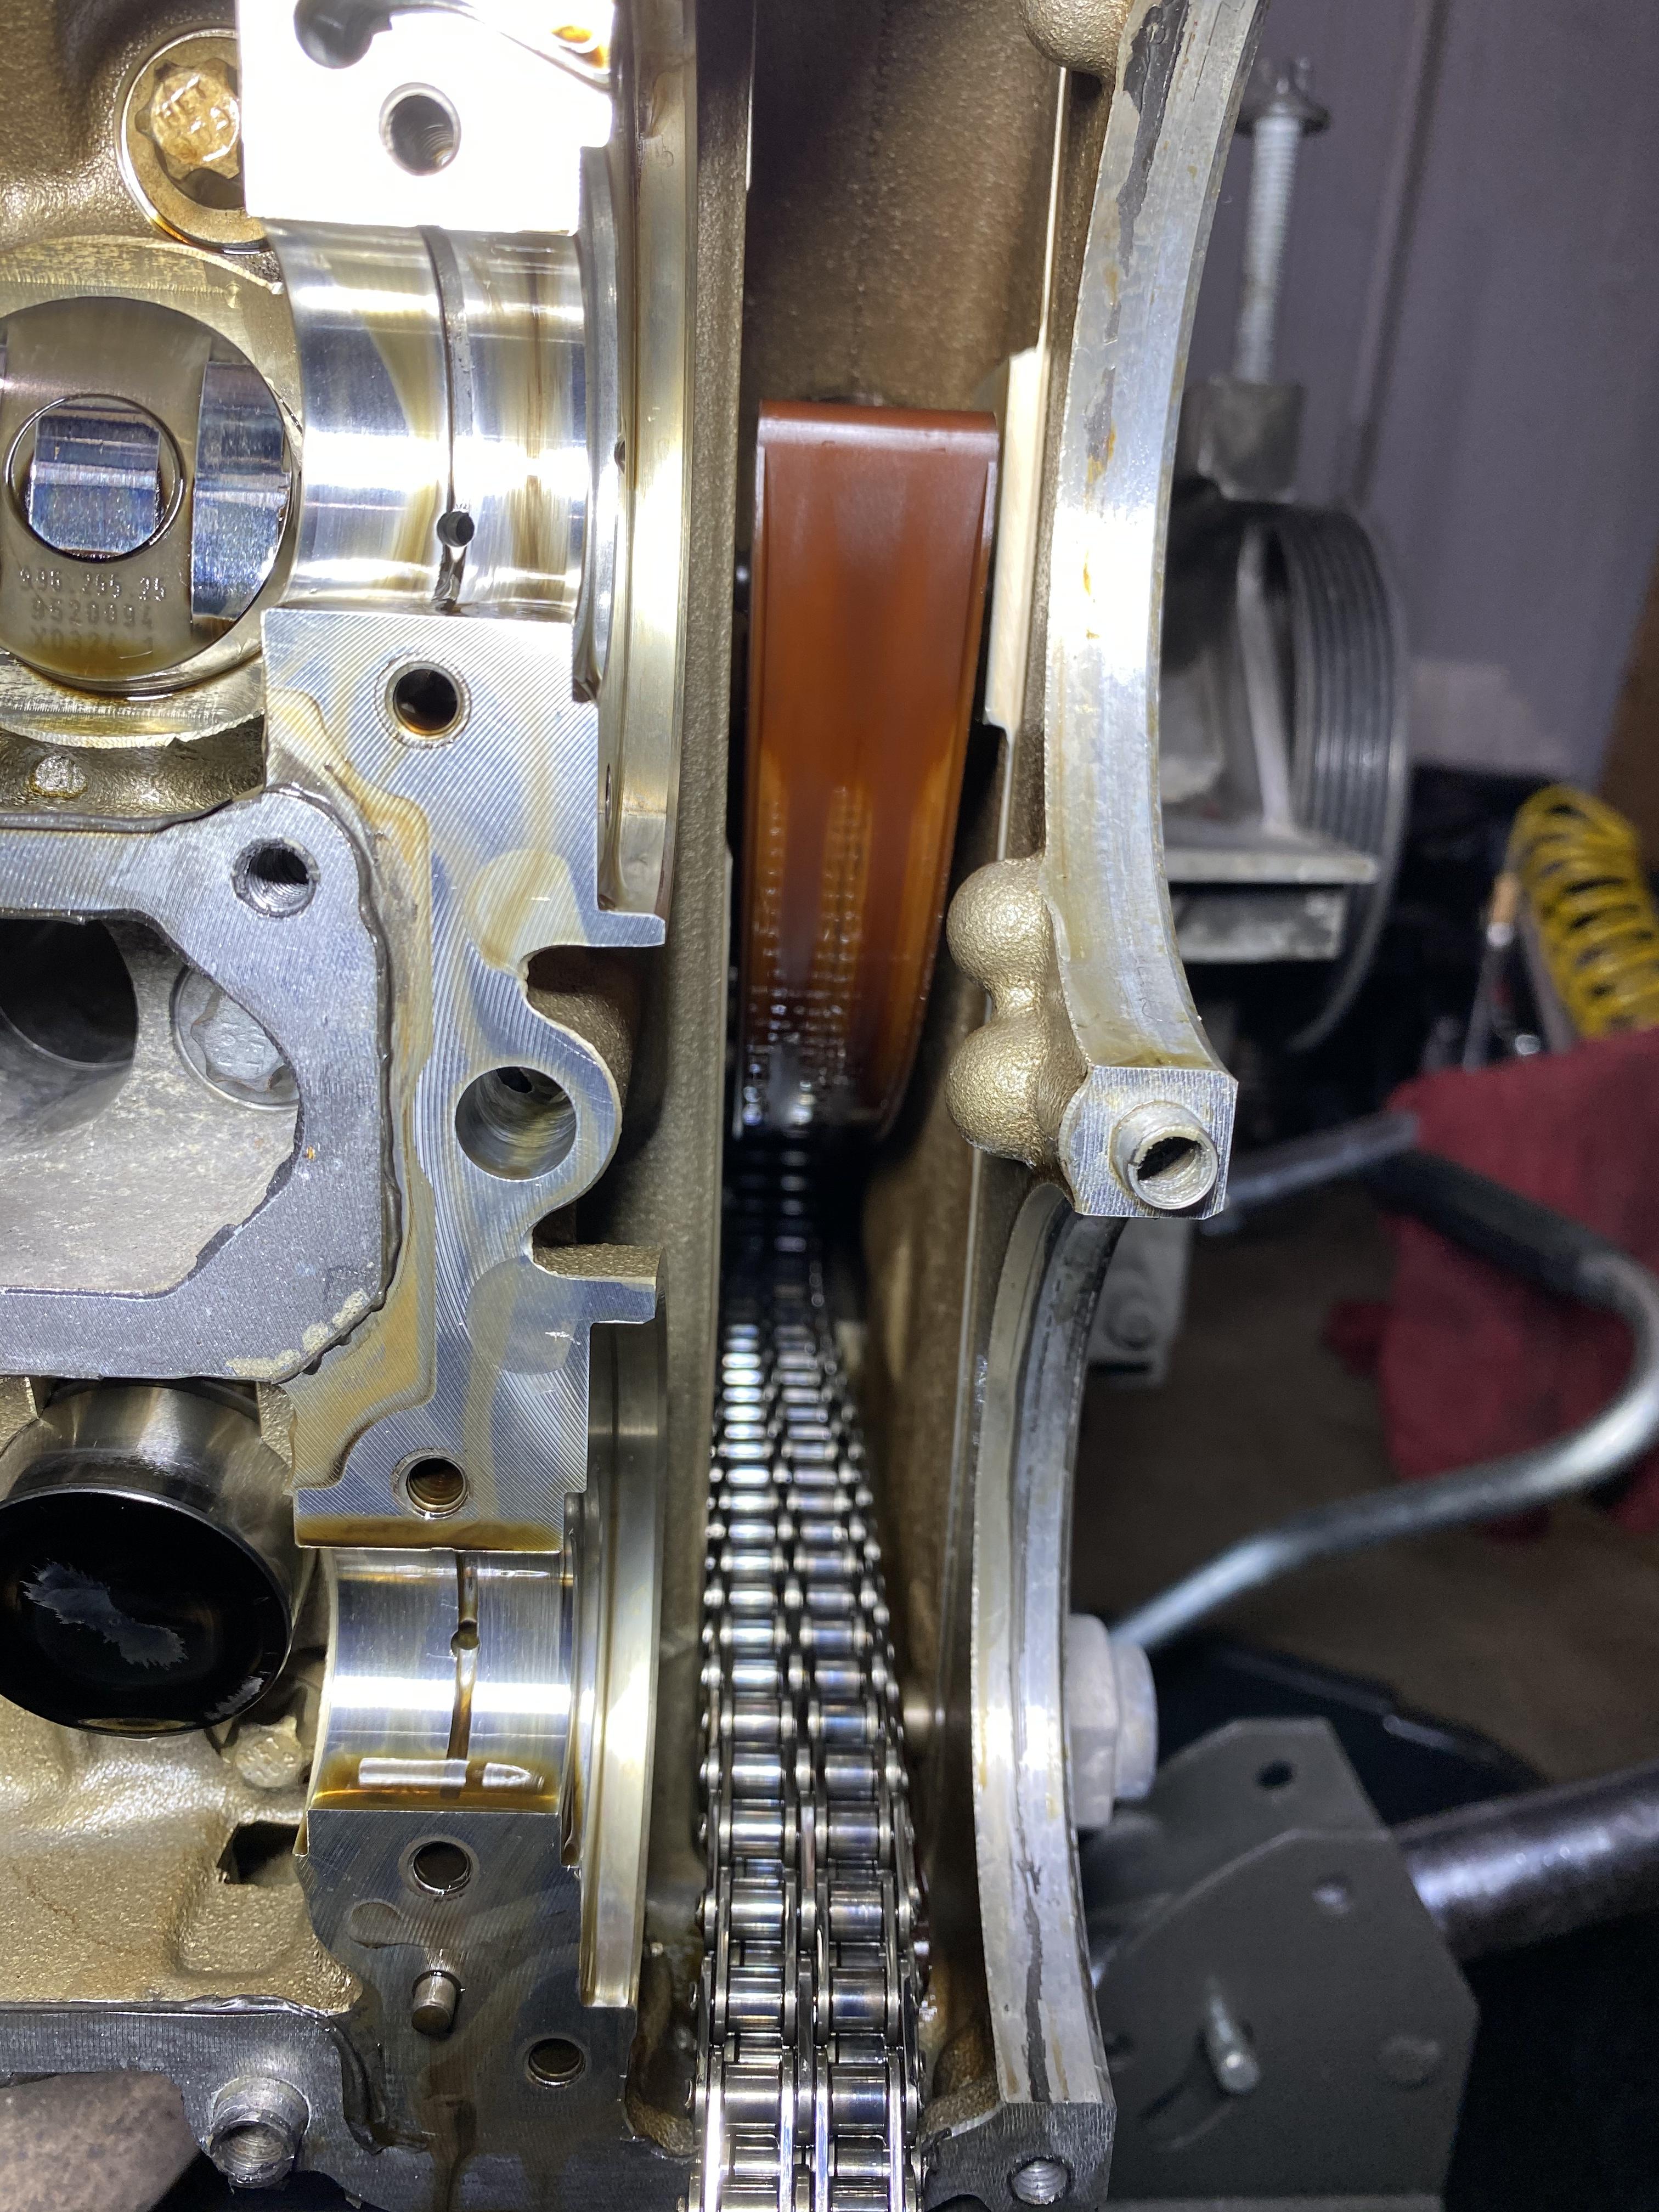
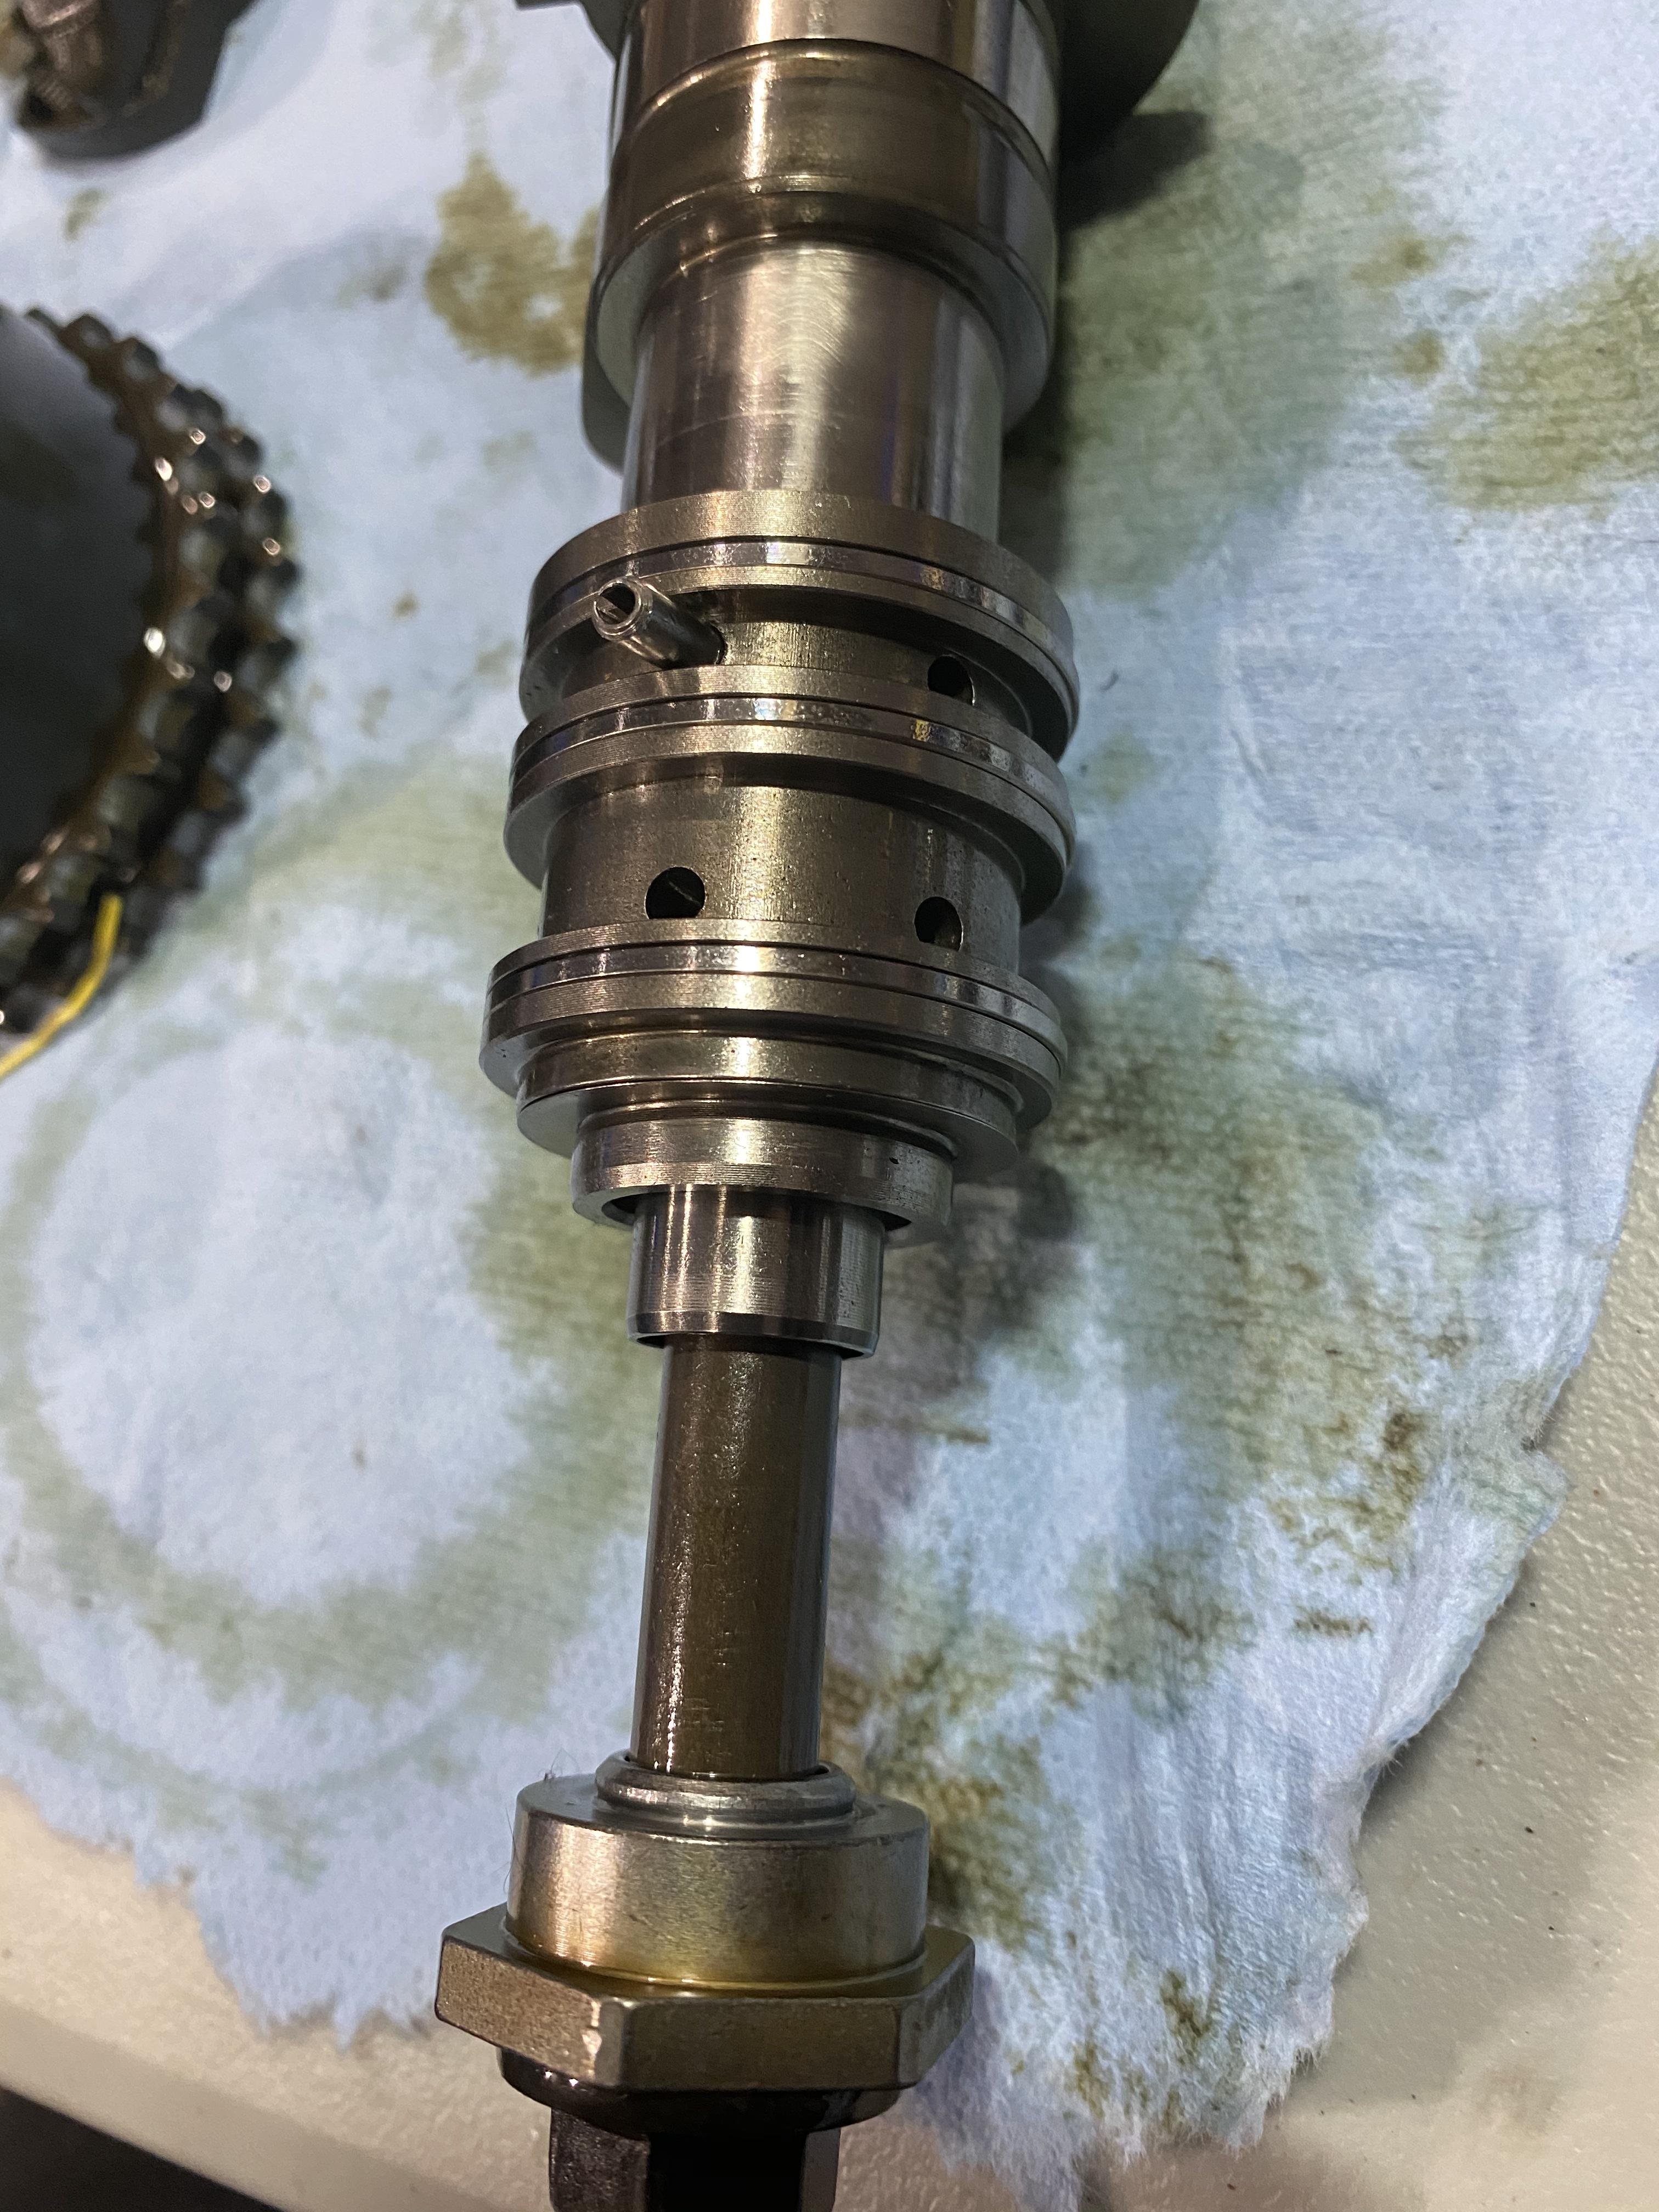
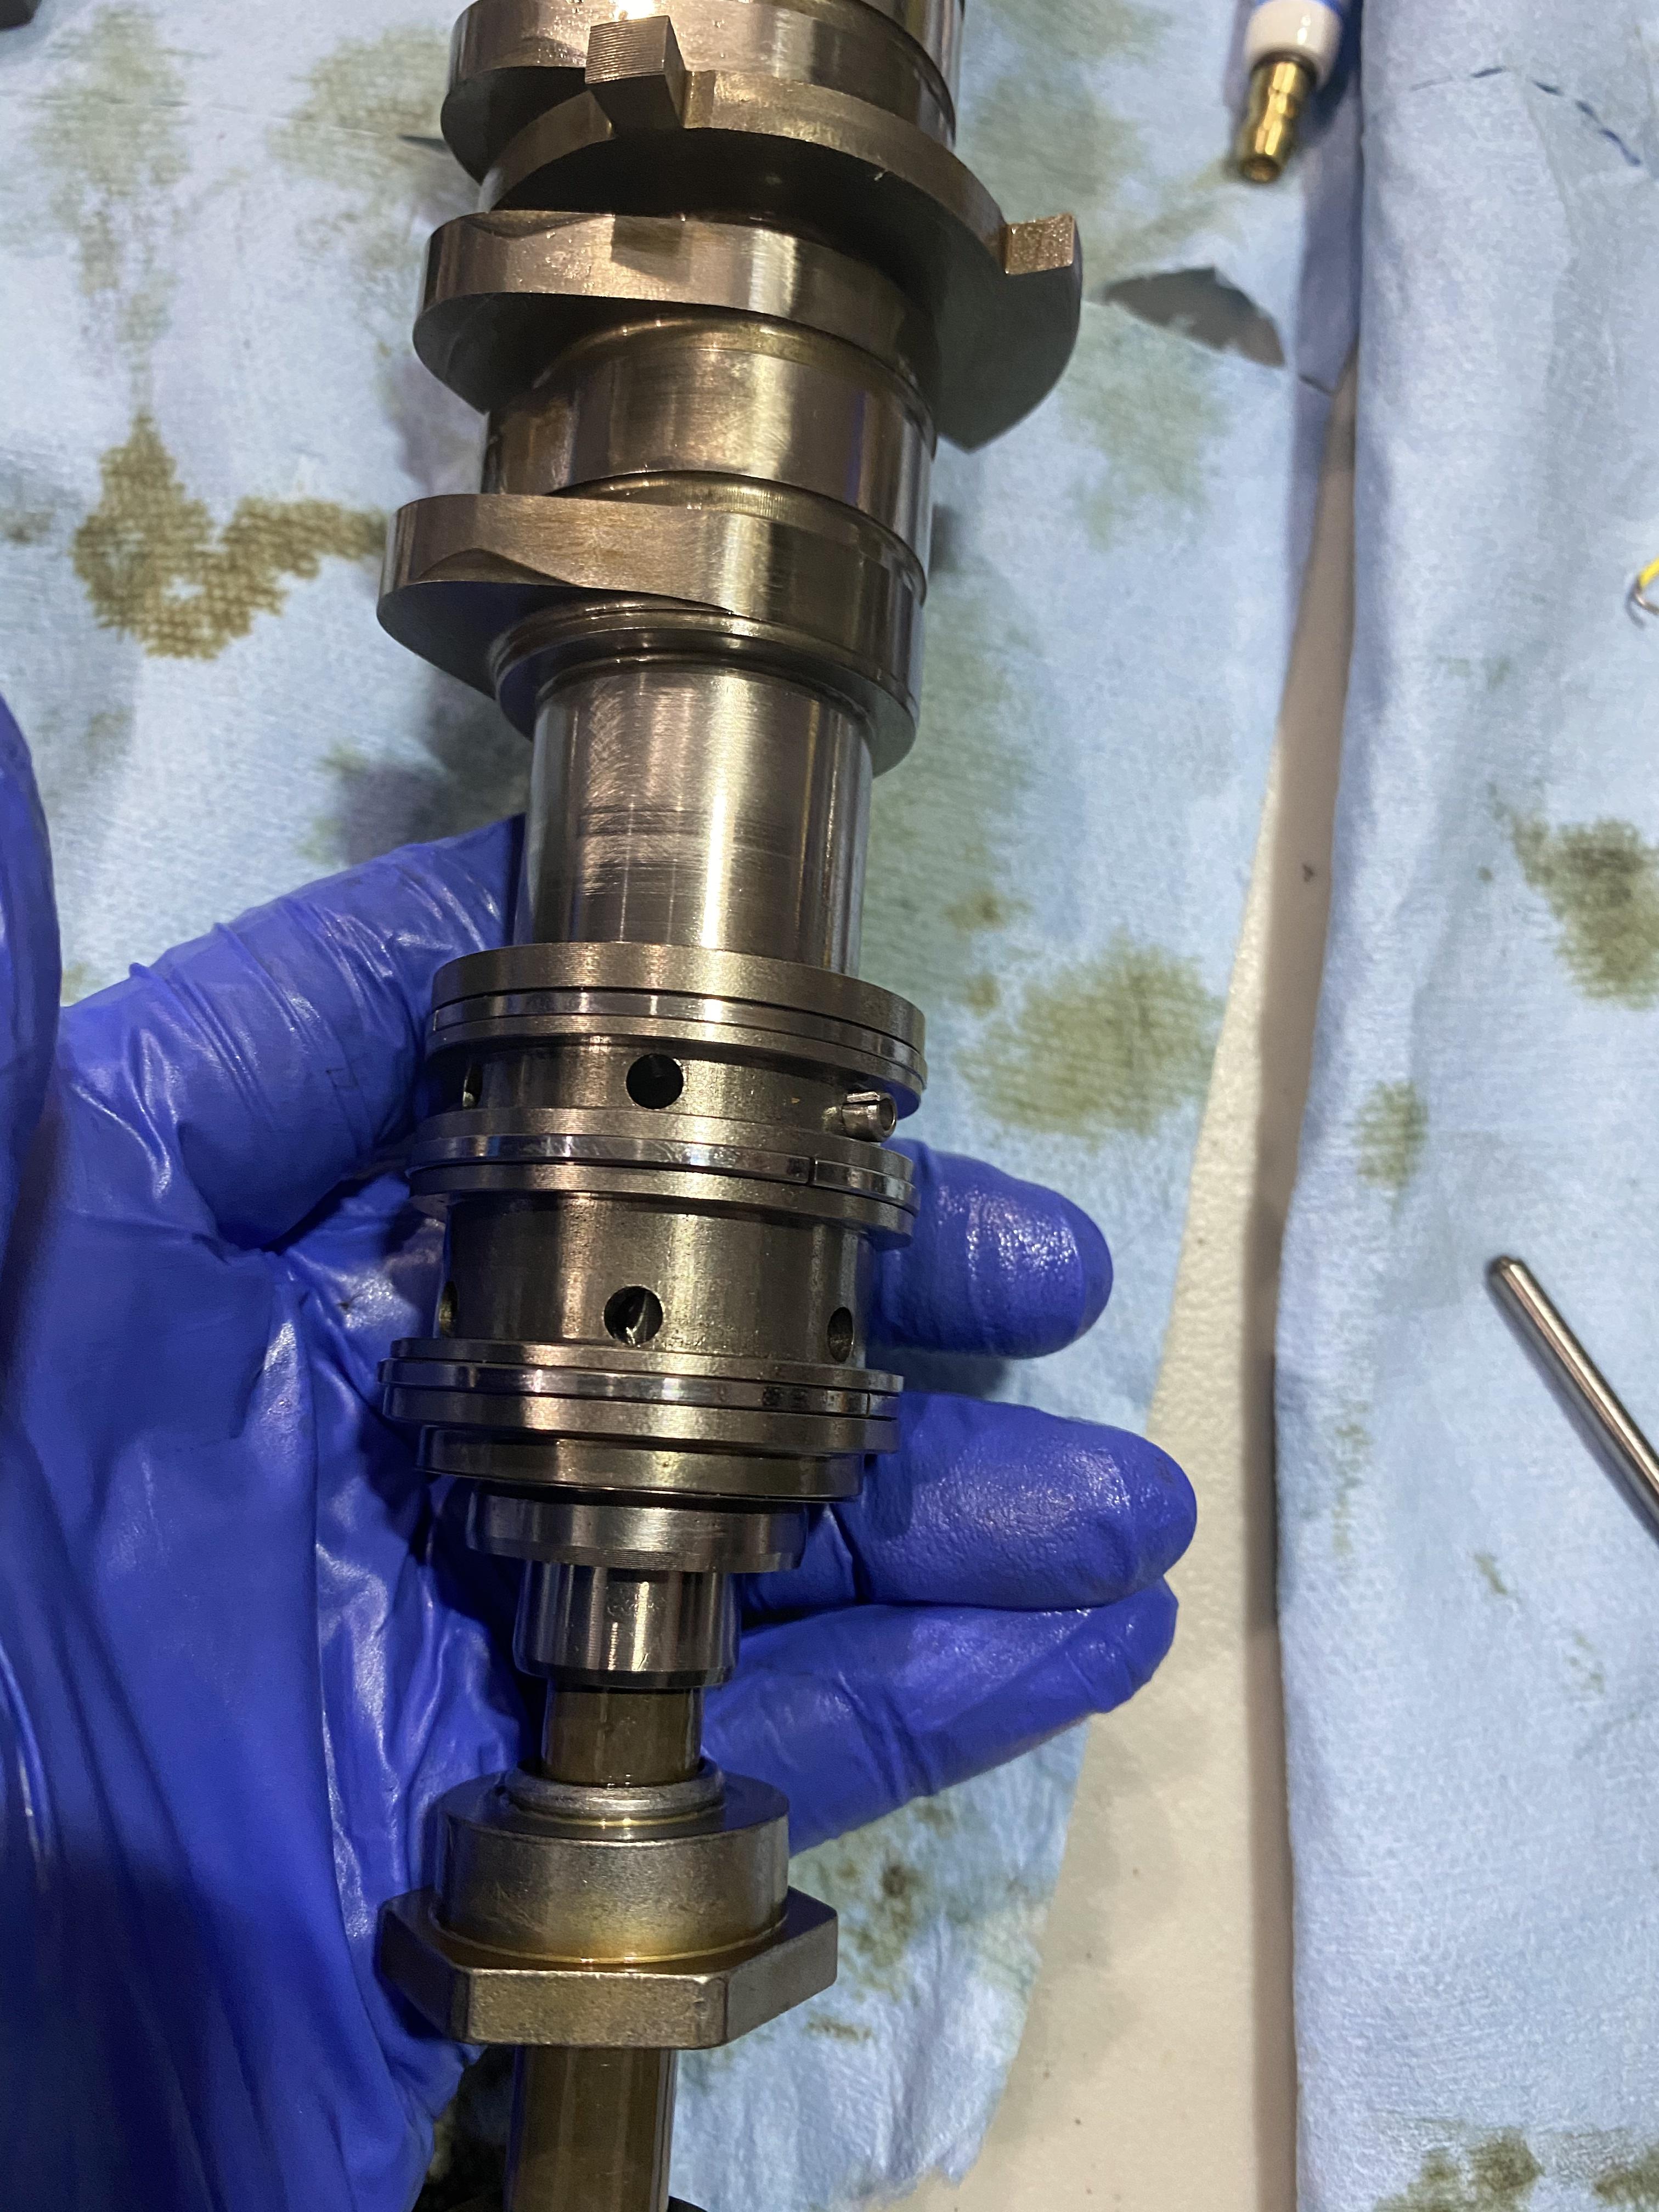
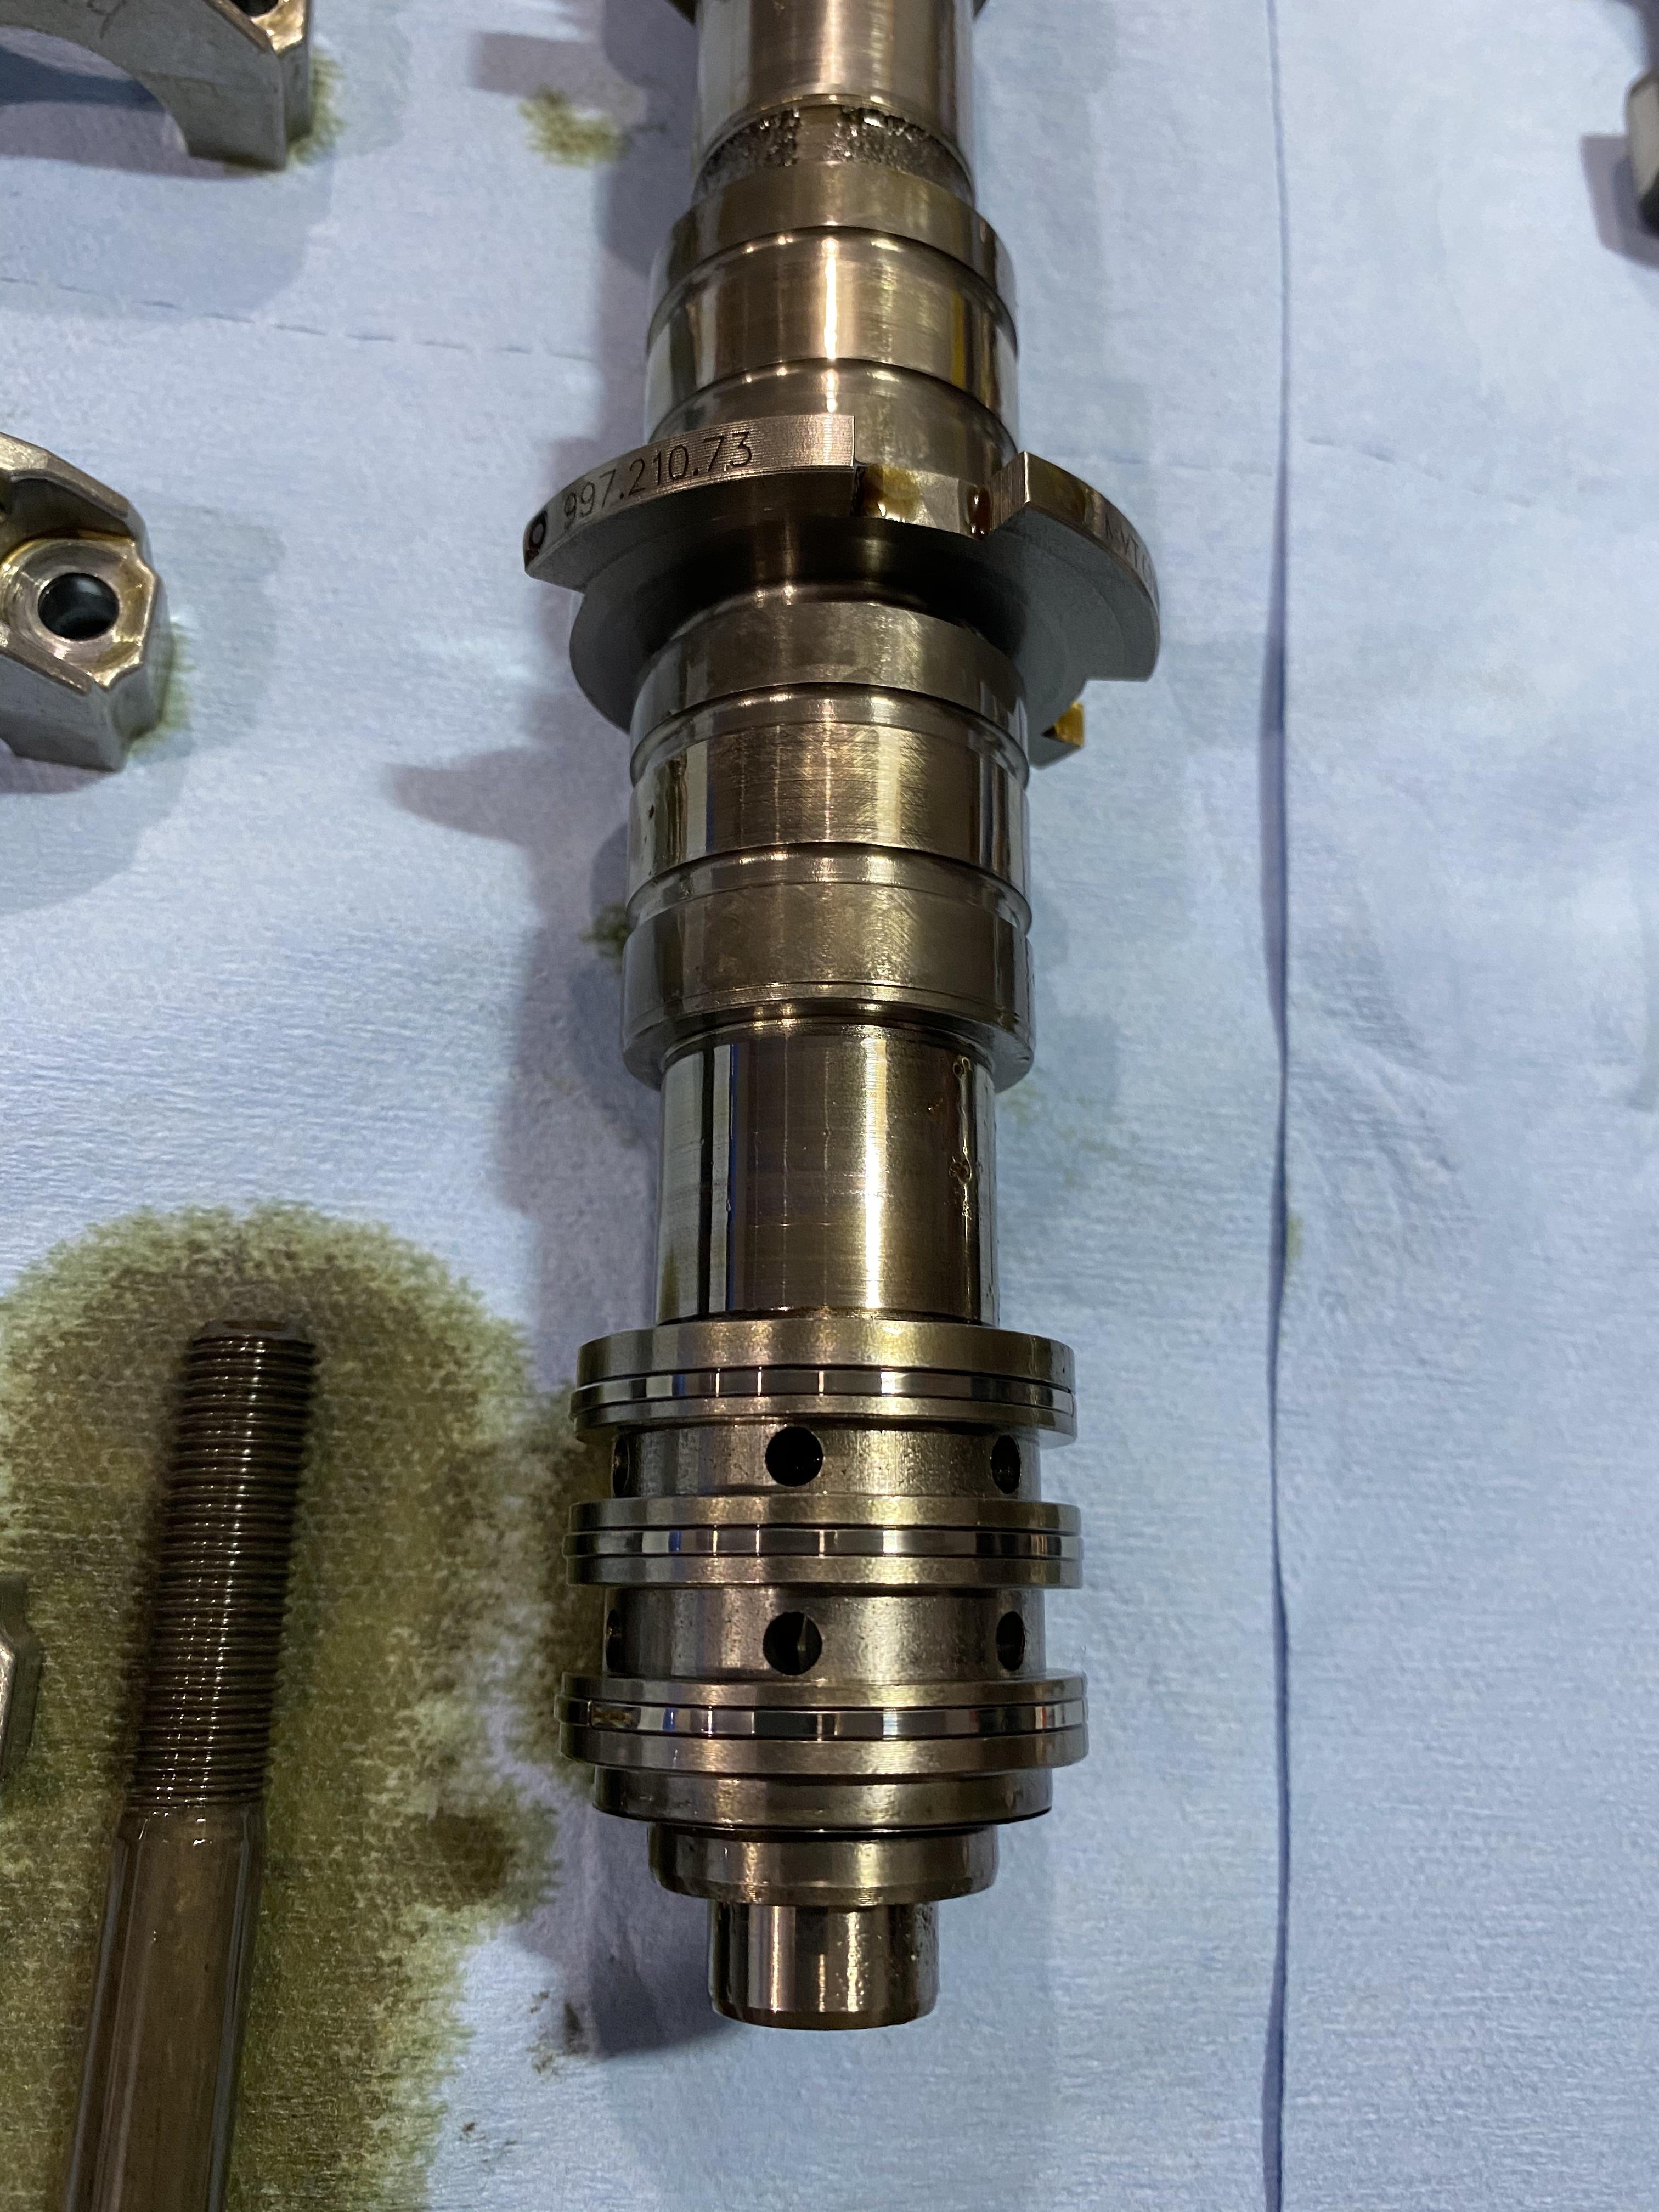
Would love input from the experts (and the amateurs) re: wear, and if anything ought to be replaced "while I'm in there." 120k miles.
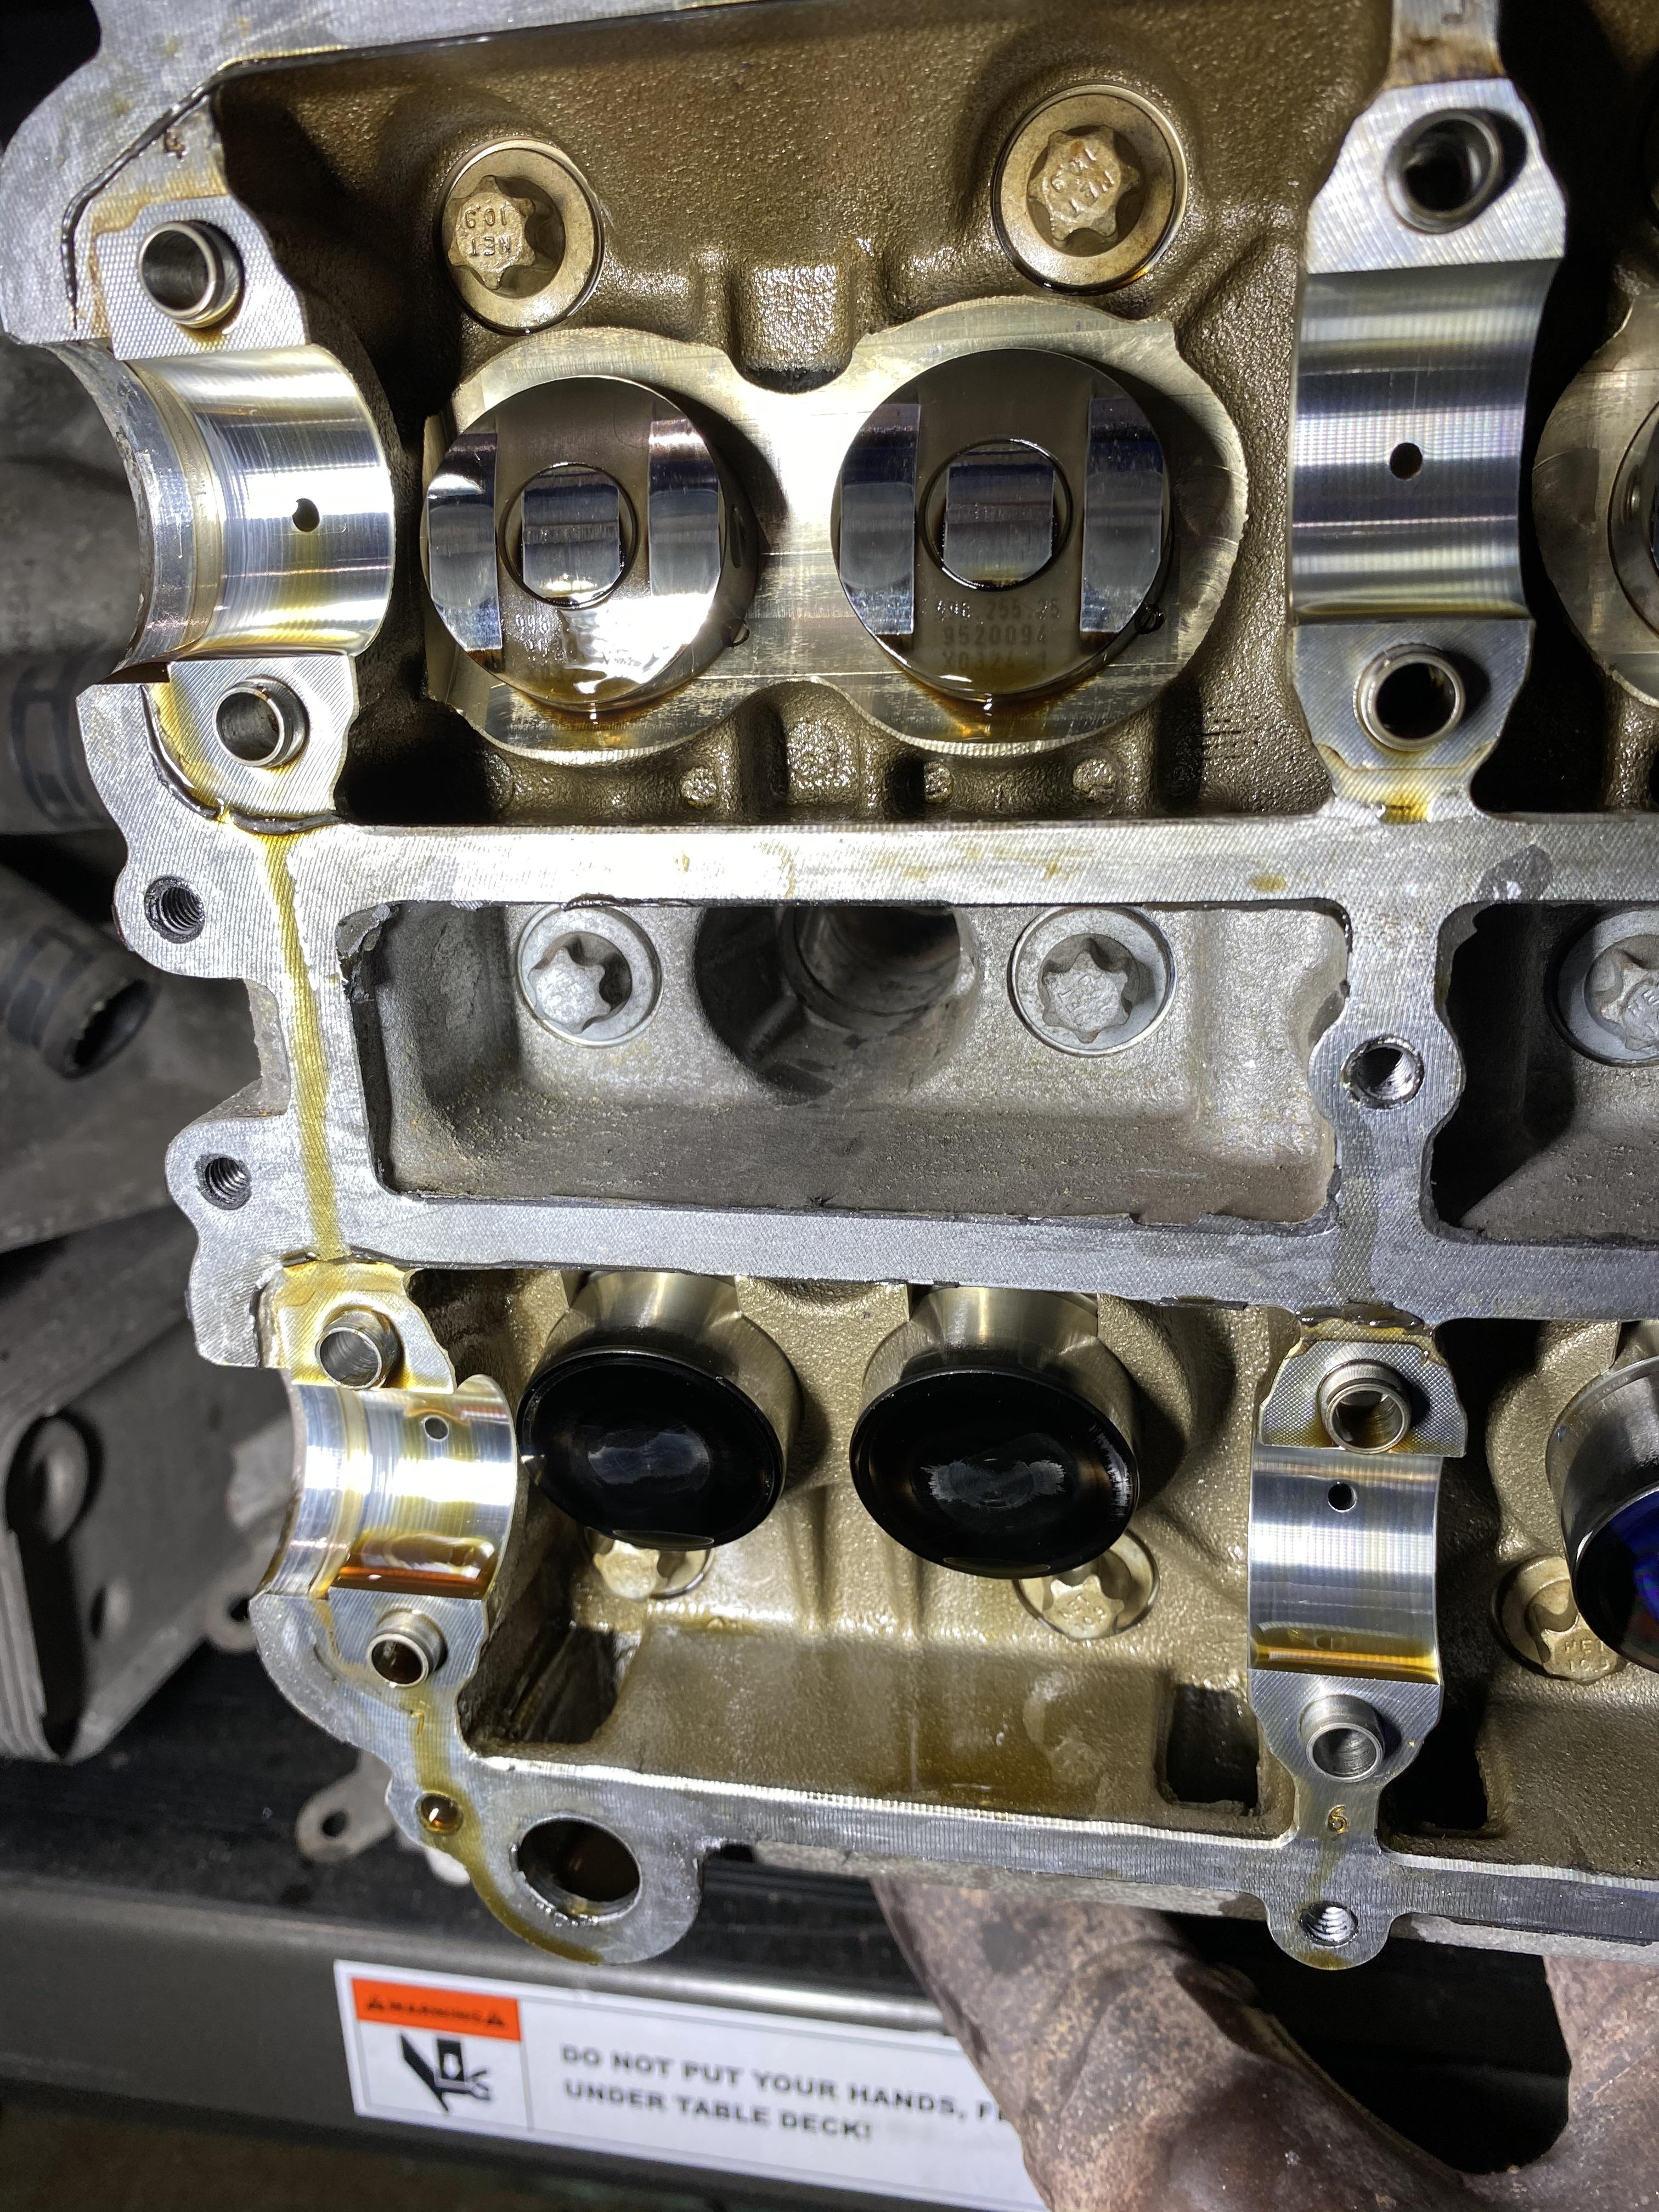
I can't speak t what the chain guides should look like (one of my unanswered questions during my work, though I did replace the tensioners) your valve train looks similar to the pics I have of mine. While I did not take as many close up photos of the cams, both the shots of the lobes and the lifters look very similar to what I have.
Perhaps others who have more exposure than 1 set of these can respond, but nothing is jumping out as an issue from what I can see. For the chain guides,as mentioned, I do not have any idea what is good and bad, though from what I recall yours look similar to mine. Unfortunately I did not do as good a job documenting them with photos.
Look inside the housings that cover the ends of the intake cams and see if there is any scoring from those rings at the very end of the cams, that was one thing that Kevin had mentioned to me, and when I posted my pics he felt (as I did) that there was no issue.
Thanks! Most of that stuff you can see in the above photos is actually dust. It cleaned off with a spray of brake cleaner and a wipe.
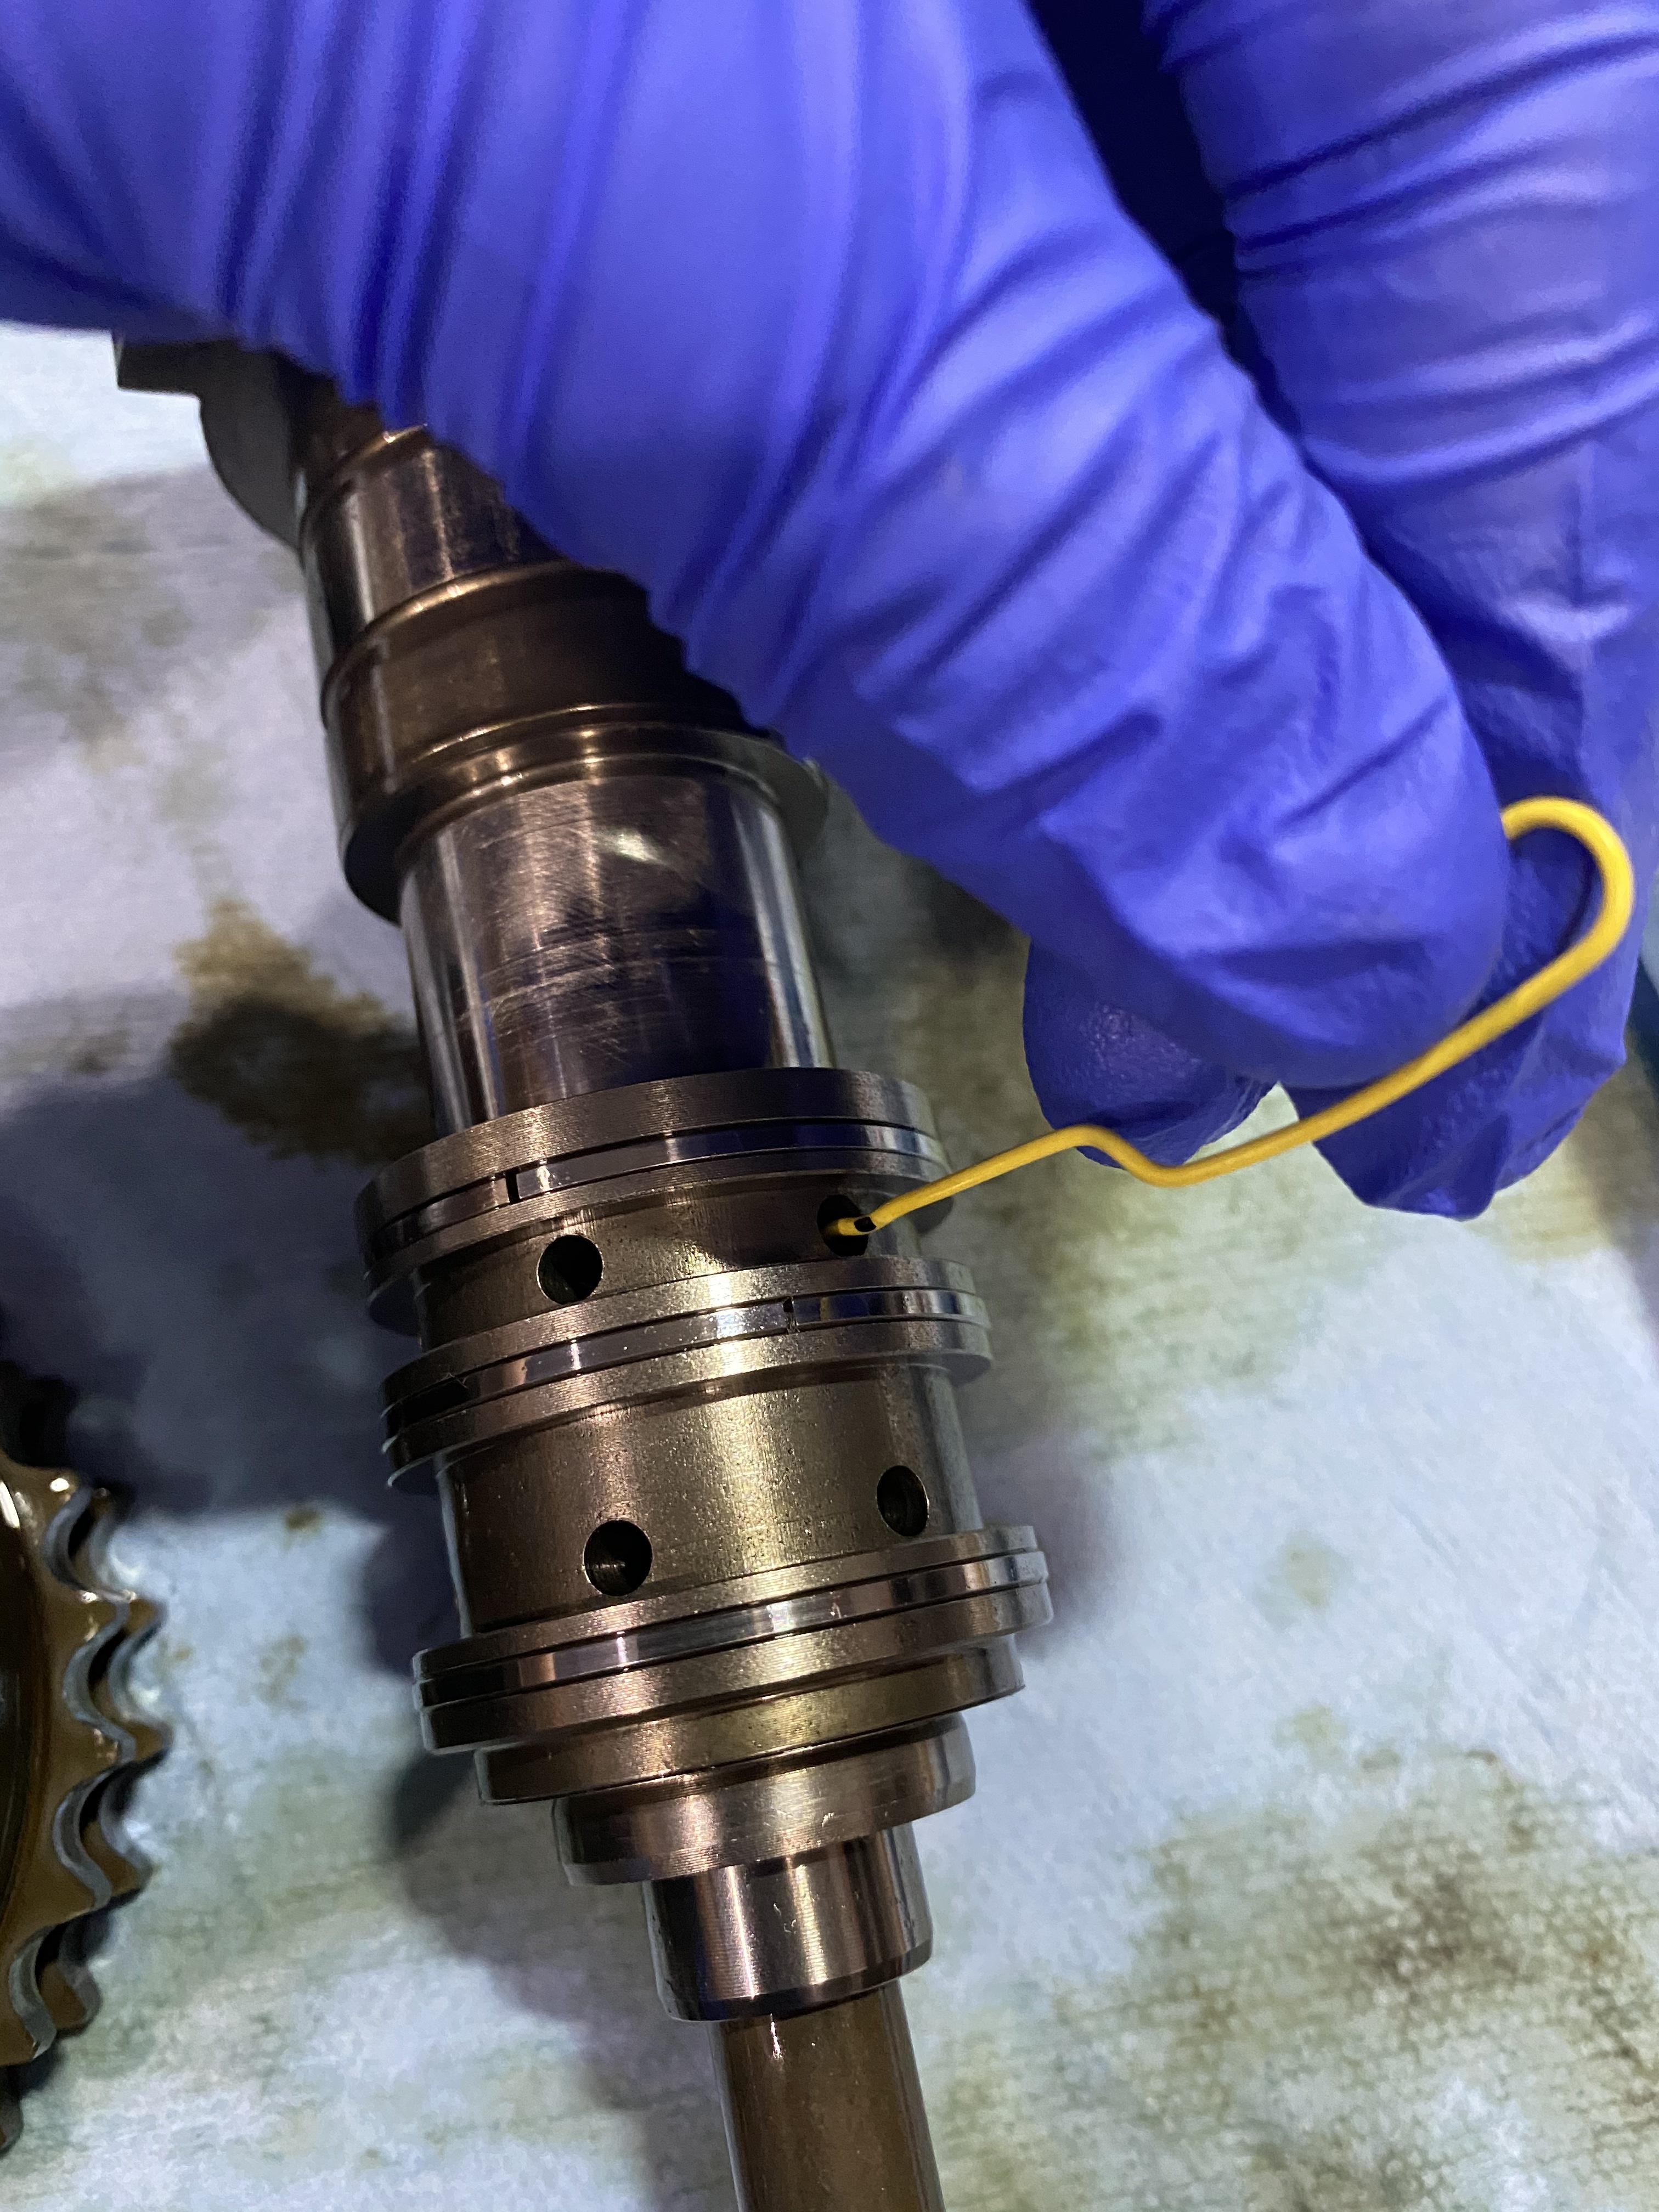
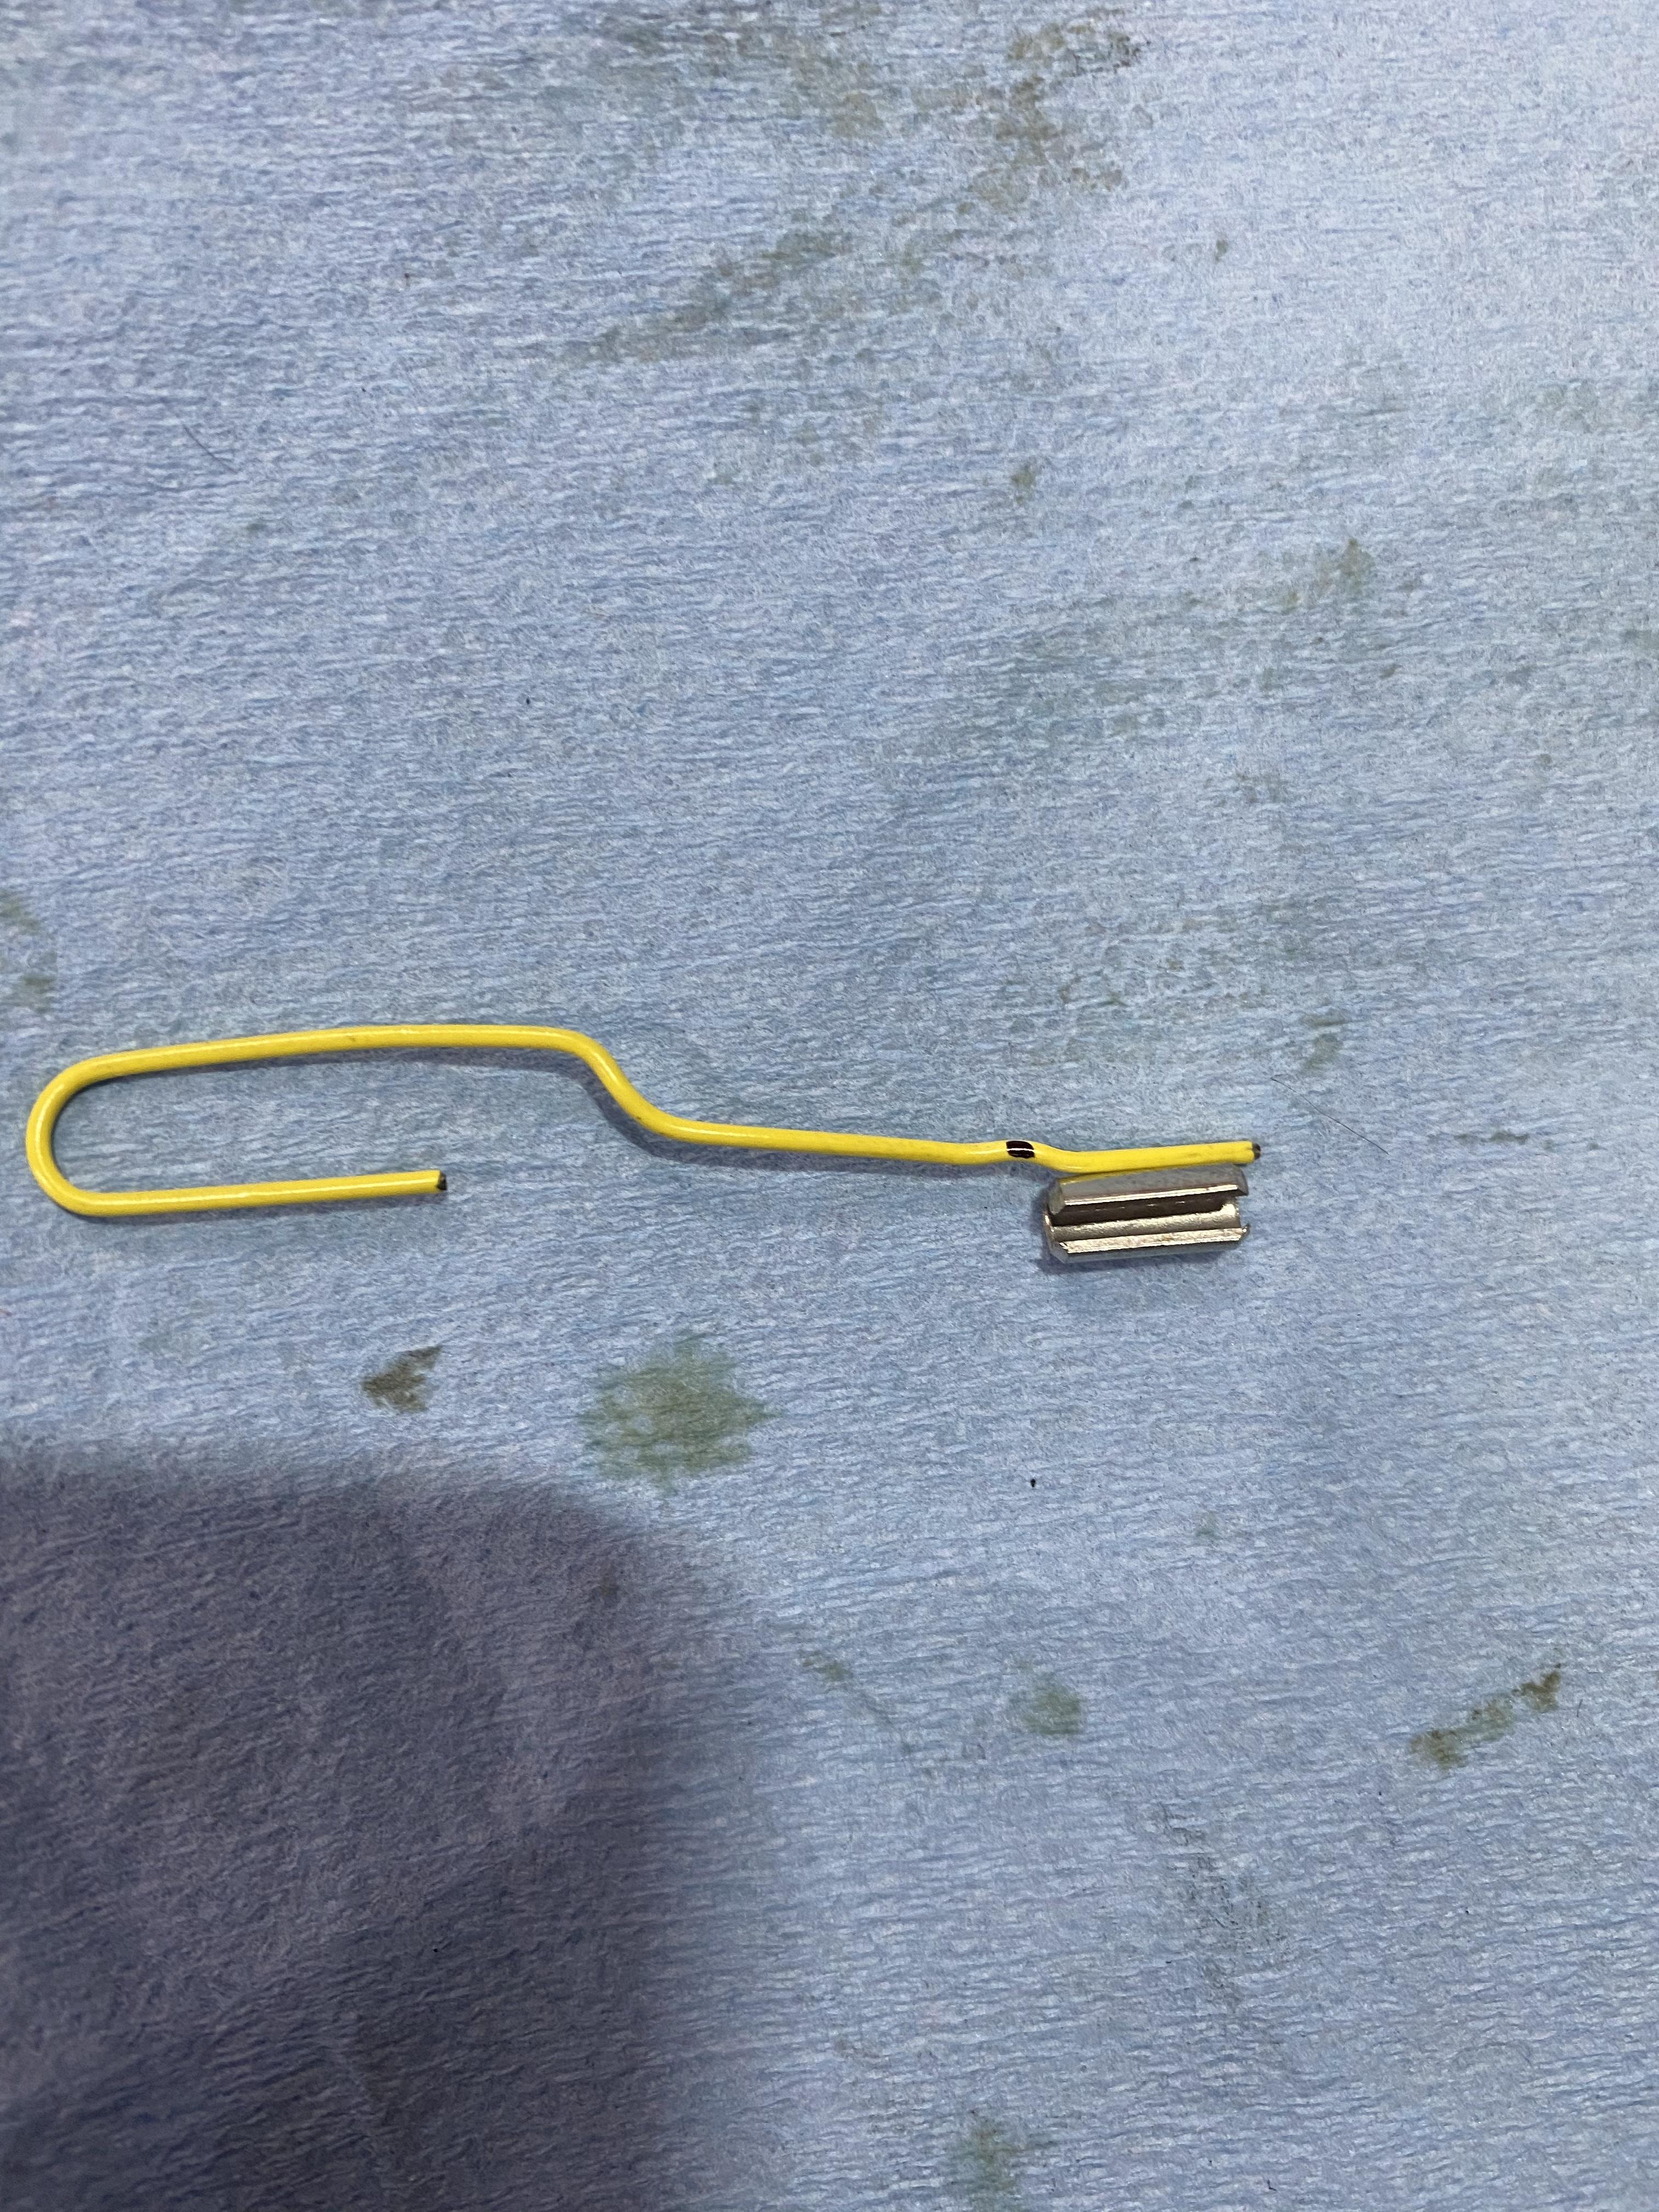
I used the slotted spring kit to pin the driver's side camshaft. M4 x 10 is the correct size, recommended by Ed and confirmed with my trust paper clip-turned-ruler.
I created a short video. If anyone has any comments or criticisms, let me know! Maybe this will help someone else in the future.
Nice job with the video. That's one thing I think I would suck at!
For me it was kind of disappointing pinning after all the work to get there. As log as you have the correct size spring clips, a hammer and a punch you are good to go. For such a secure feeling with avoiding that specific 997 issue though, it is worth the effort and more.
So pin cams, elbows, hoses, pin coolant pipes and other items, you are getting your bang for your buck for sure.
You can send your cams to a local camshaft grinder and get the cams polished.
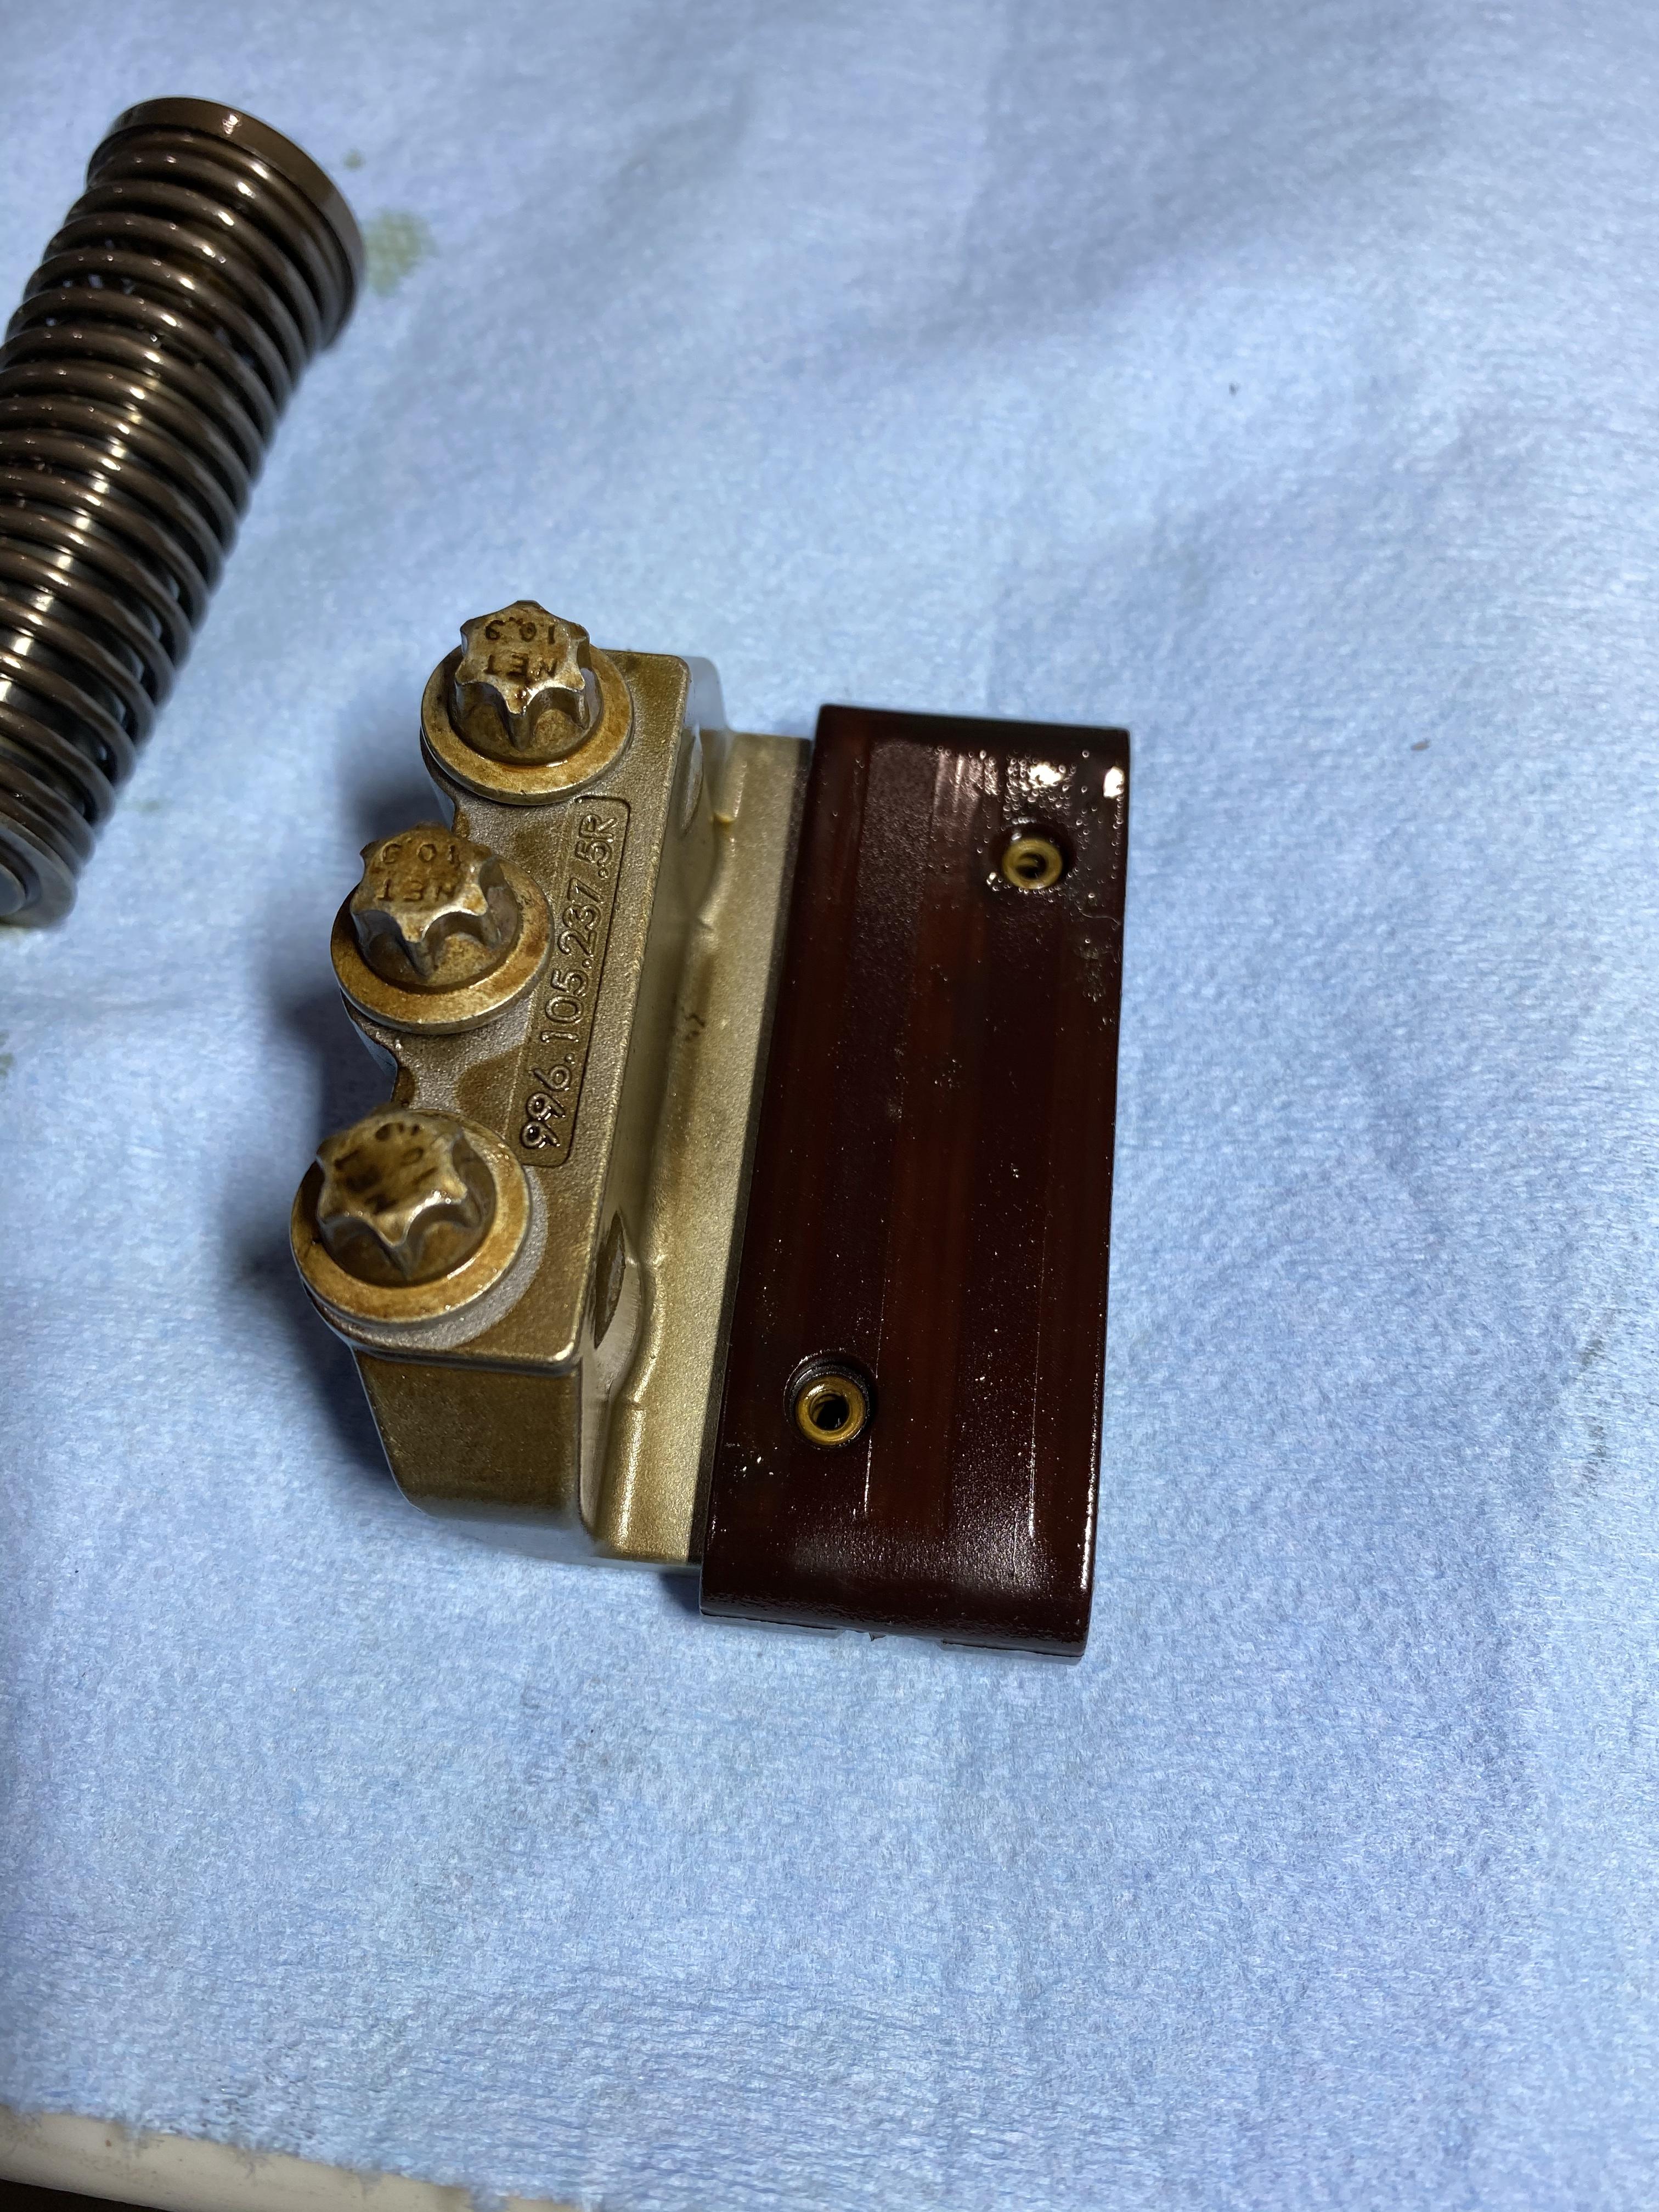
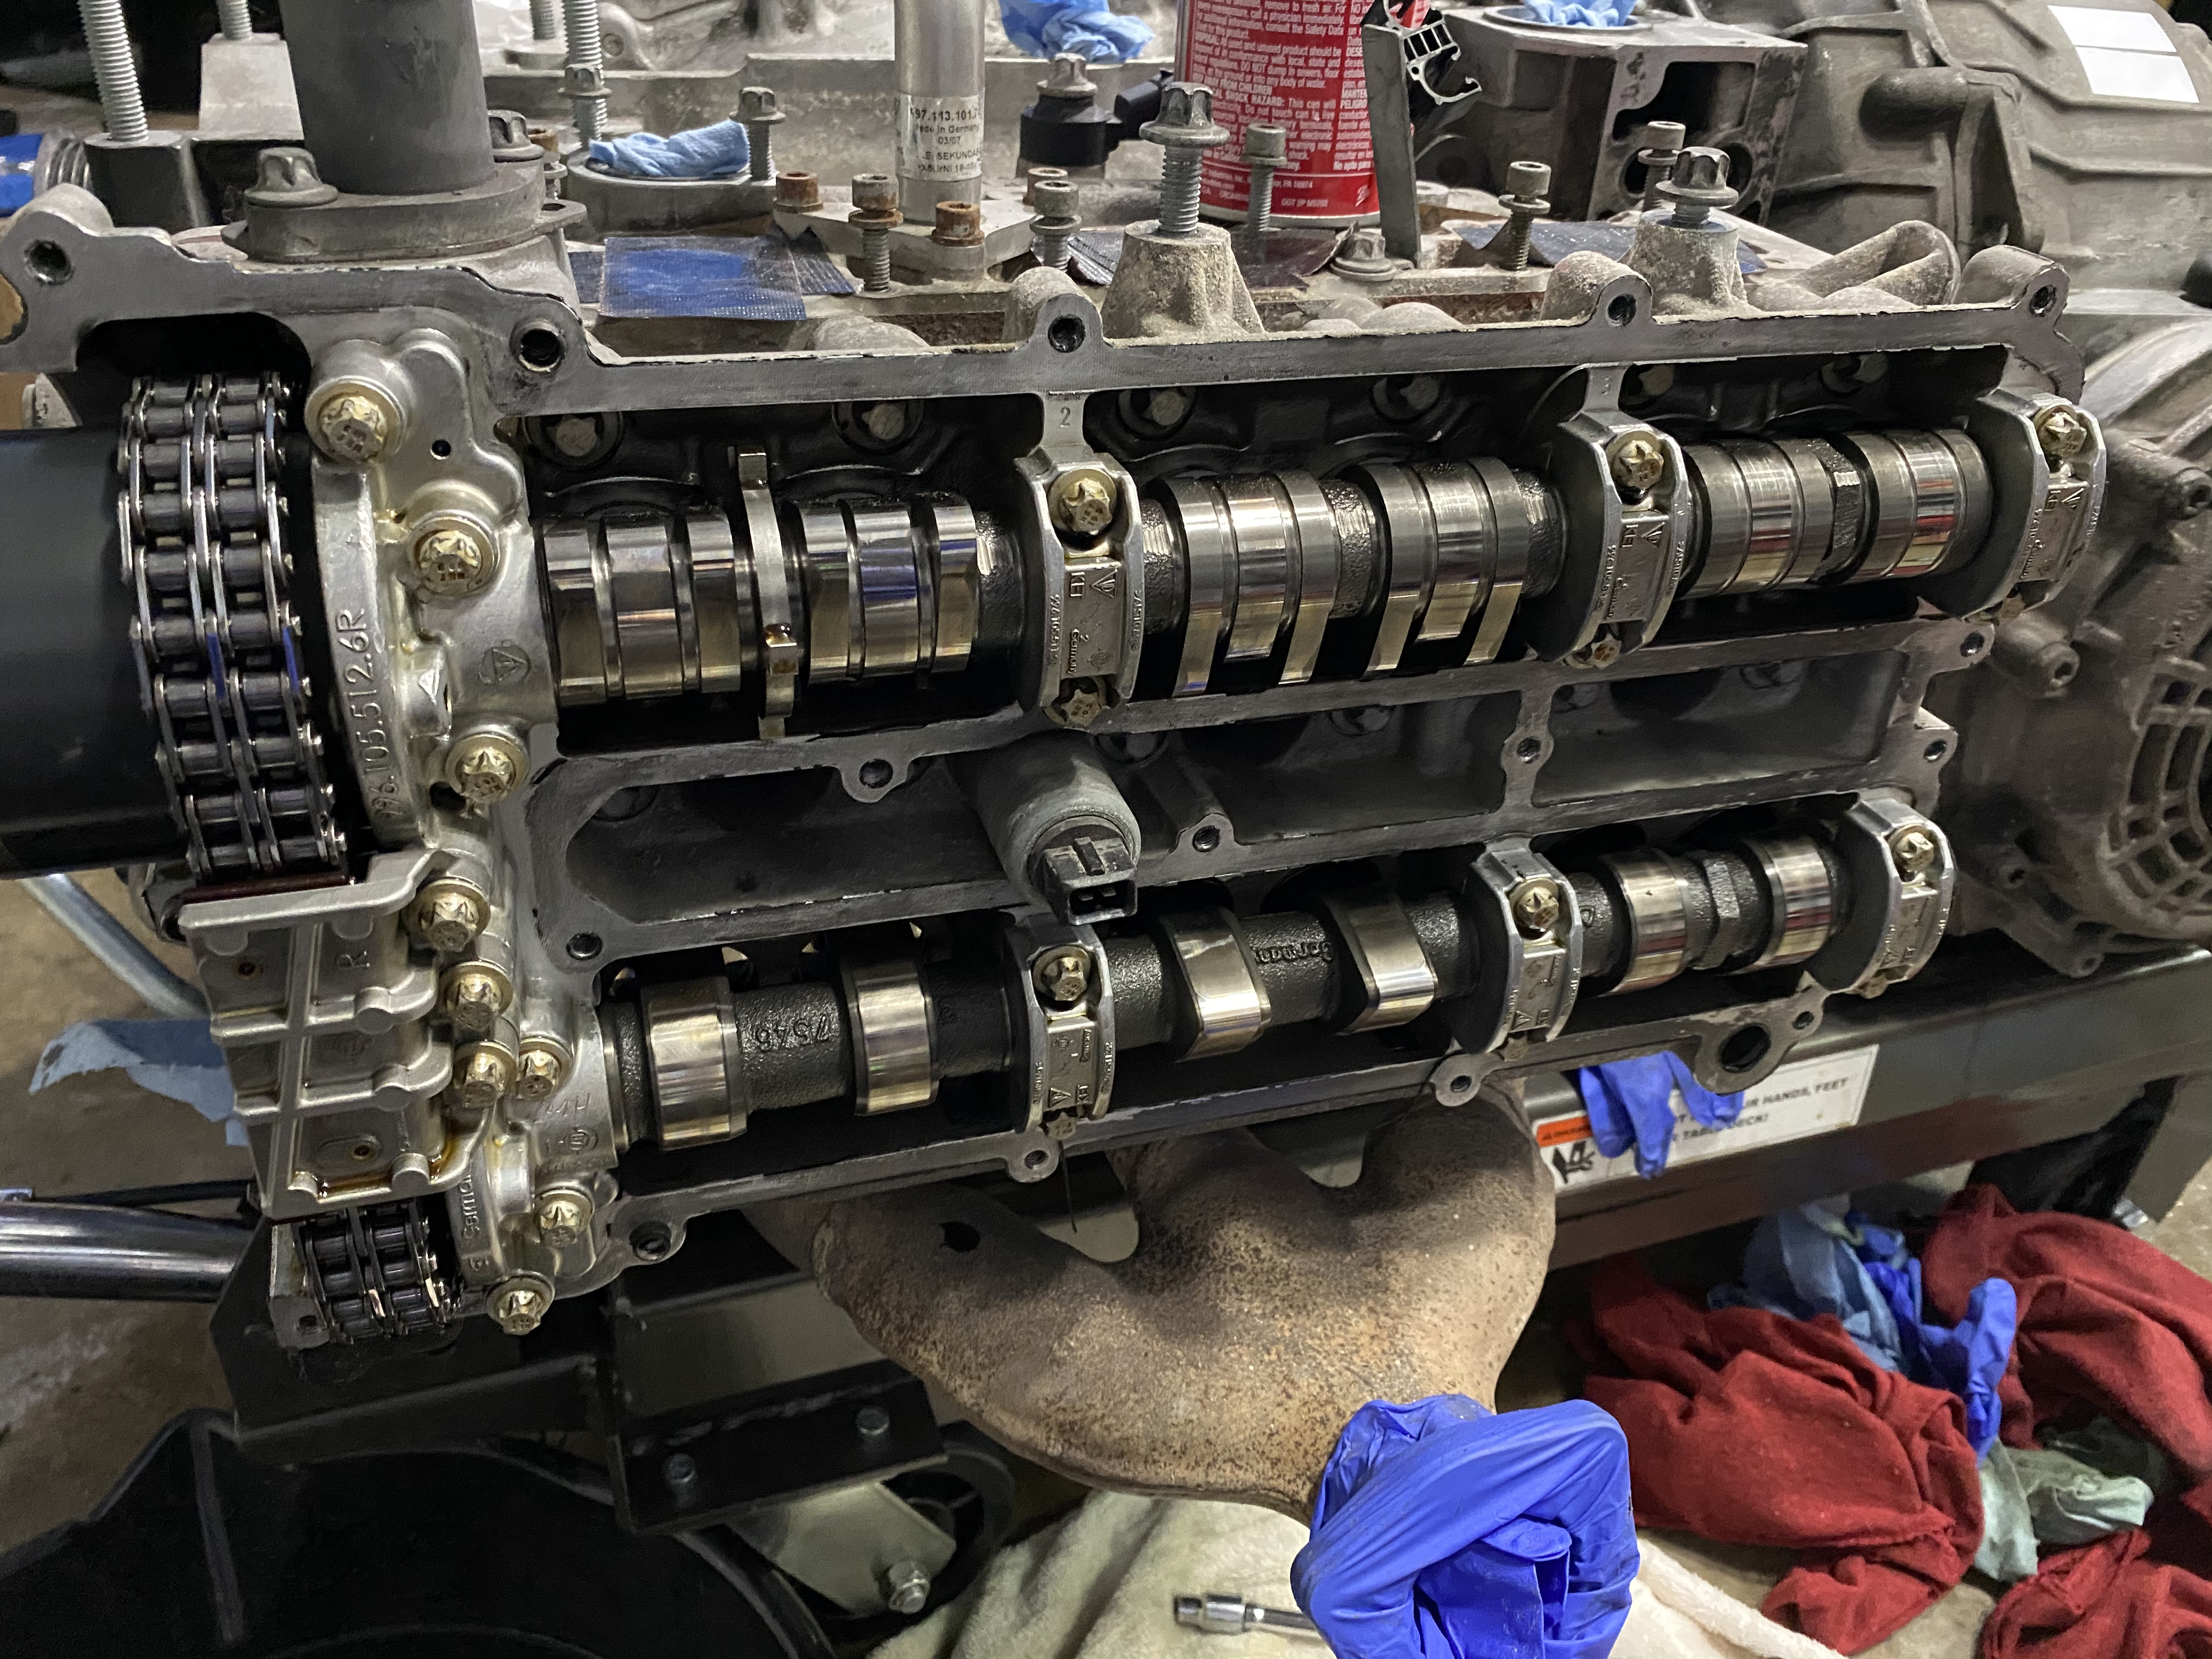
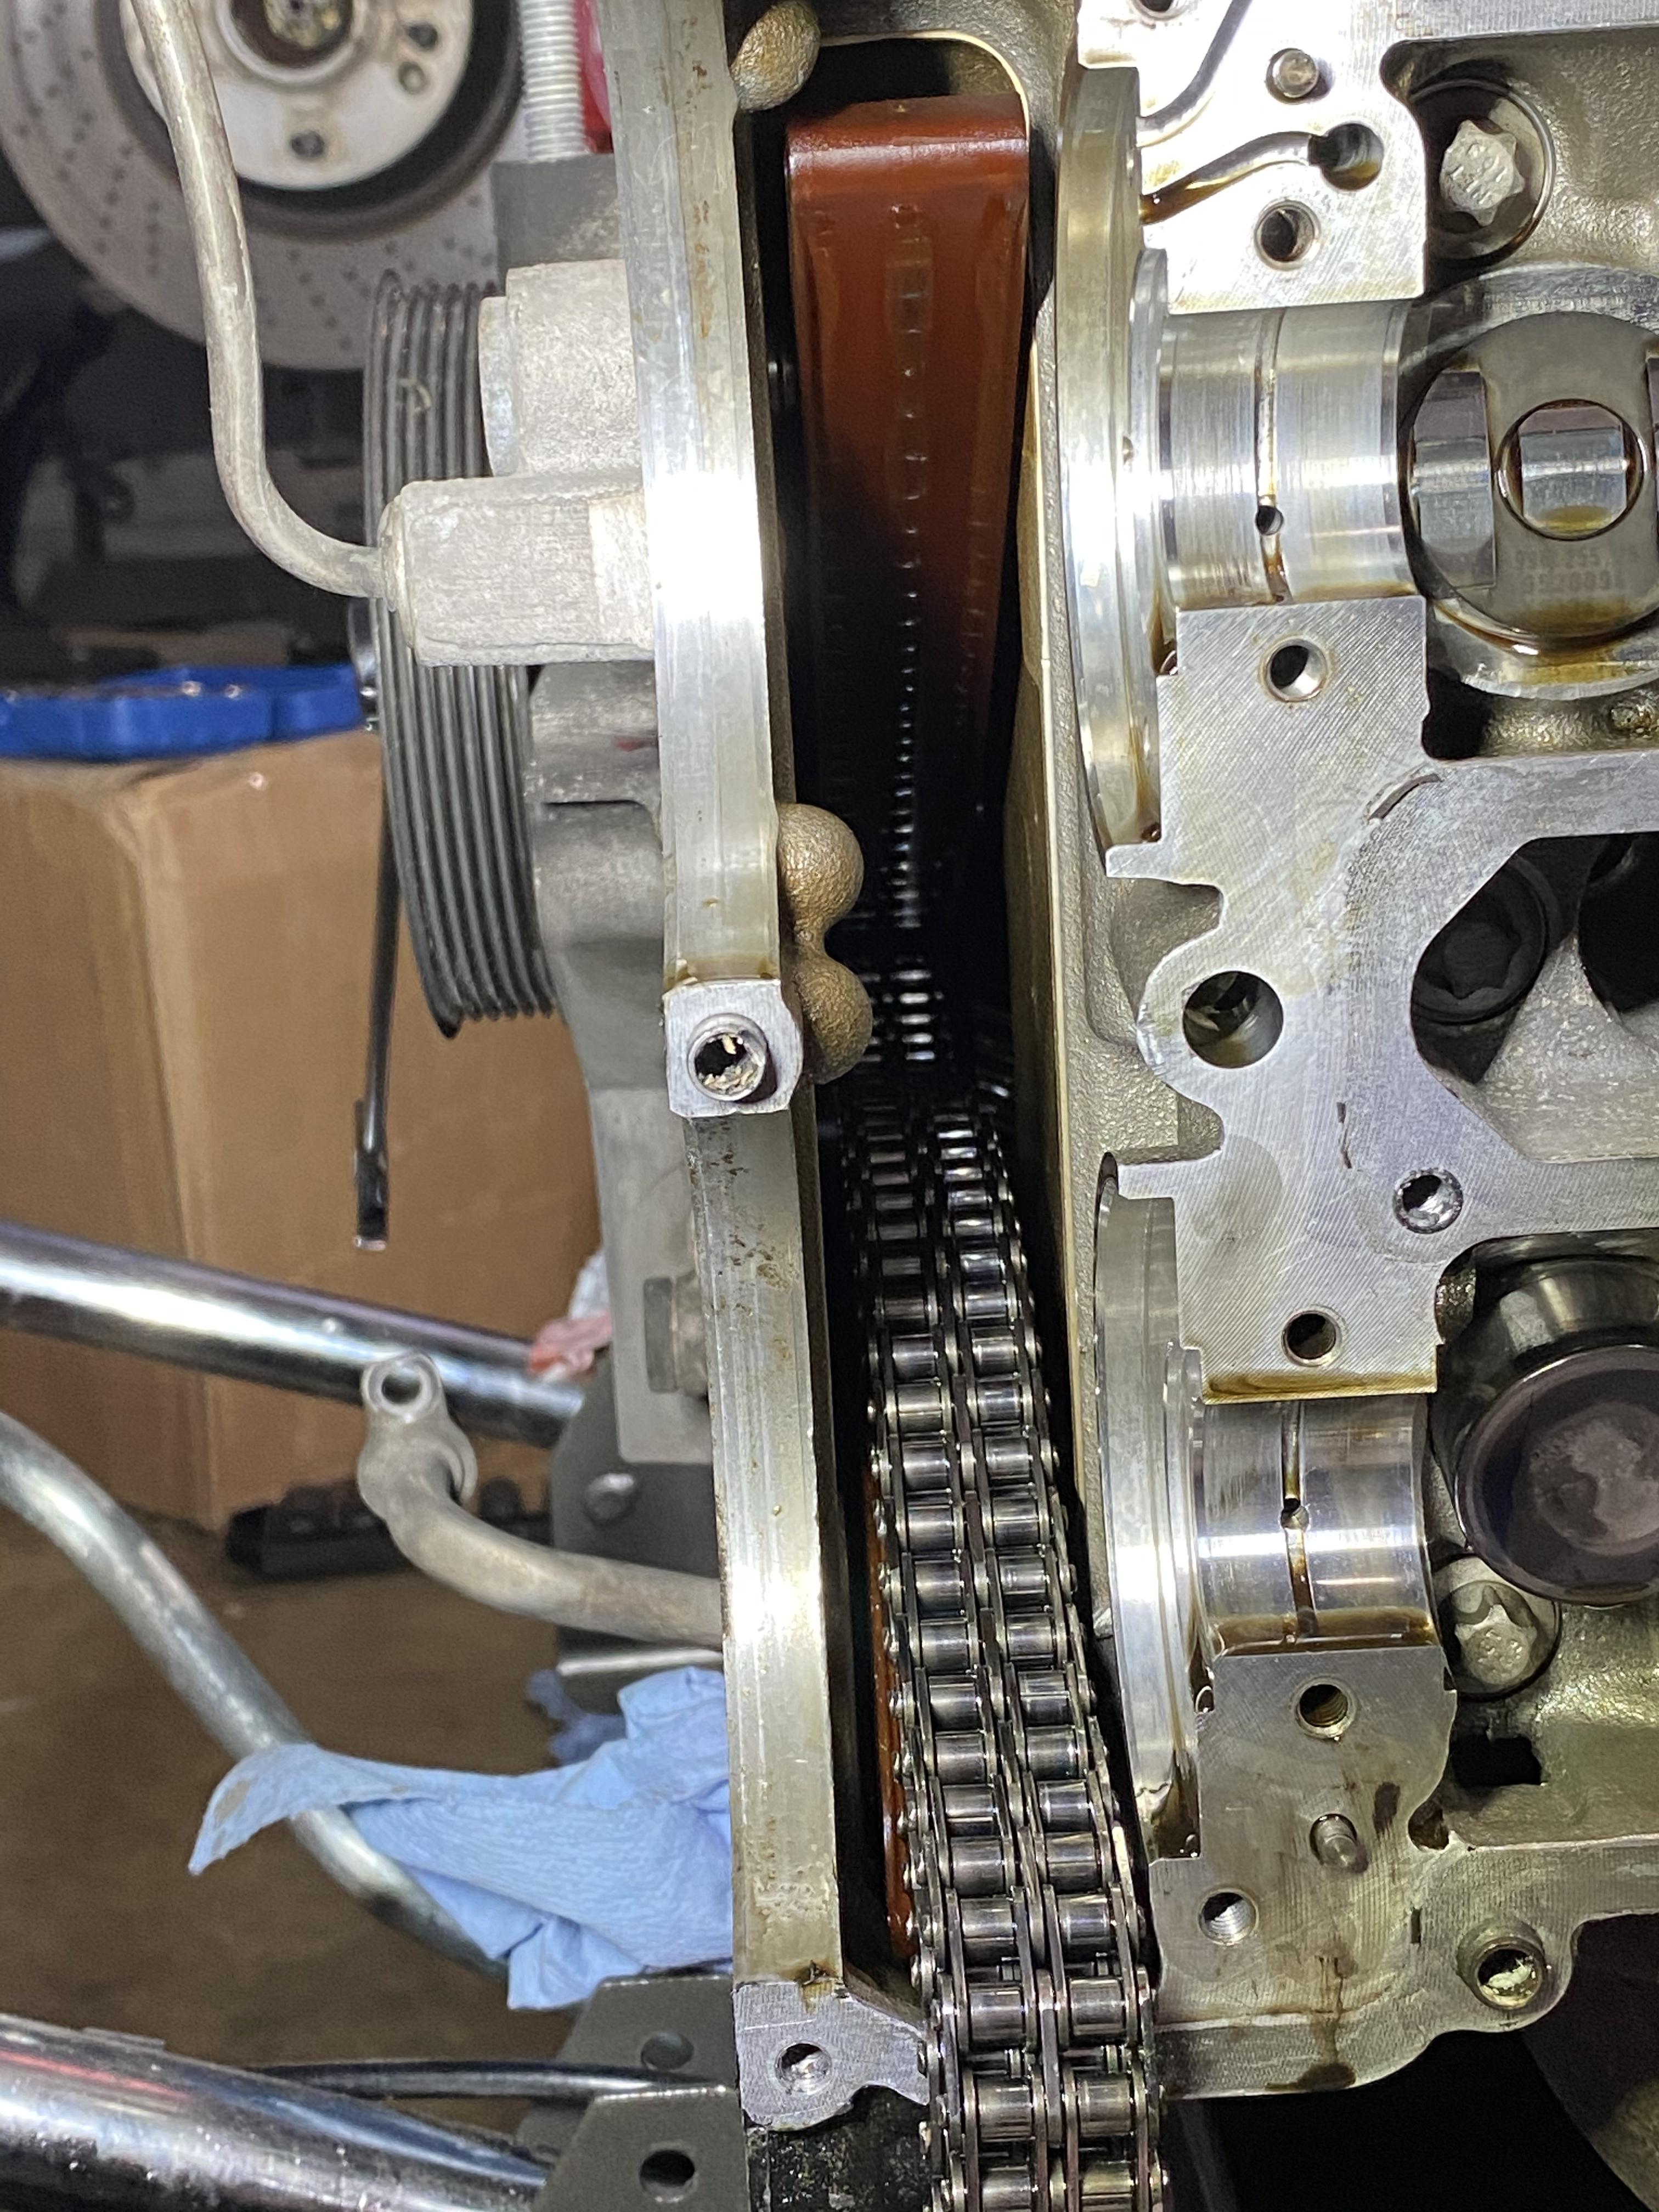
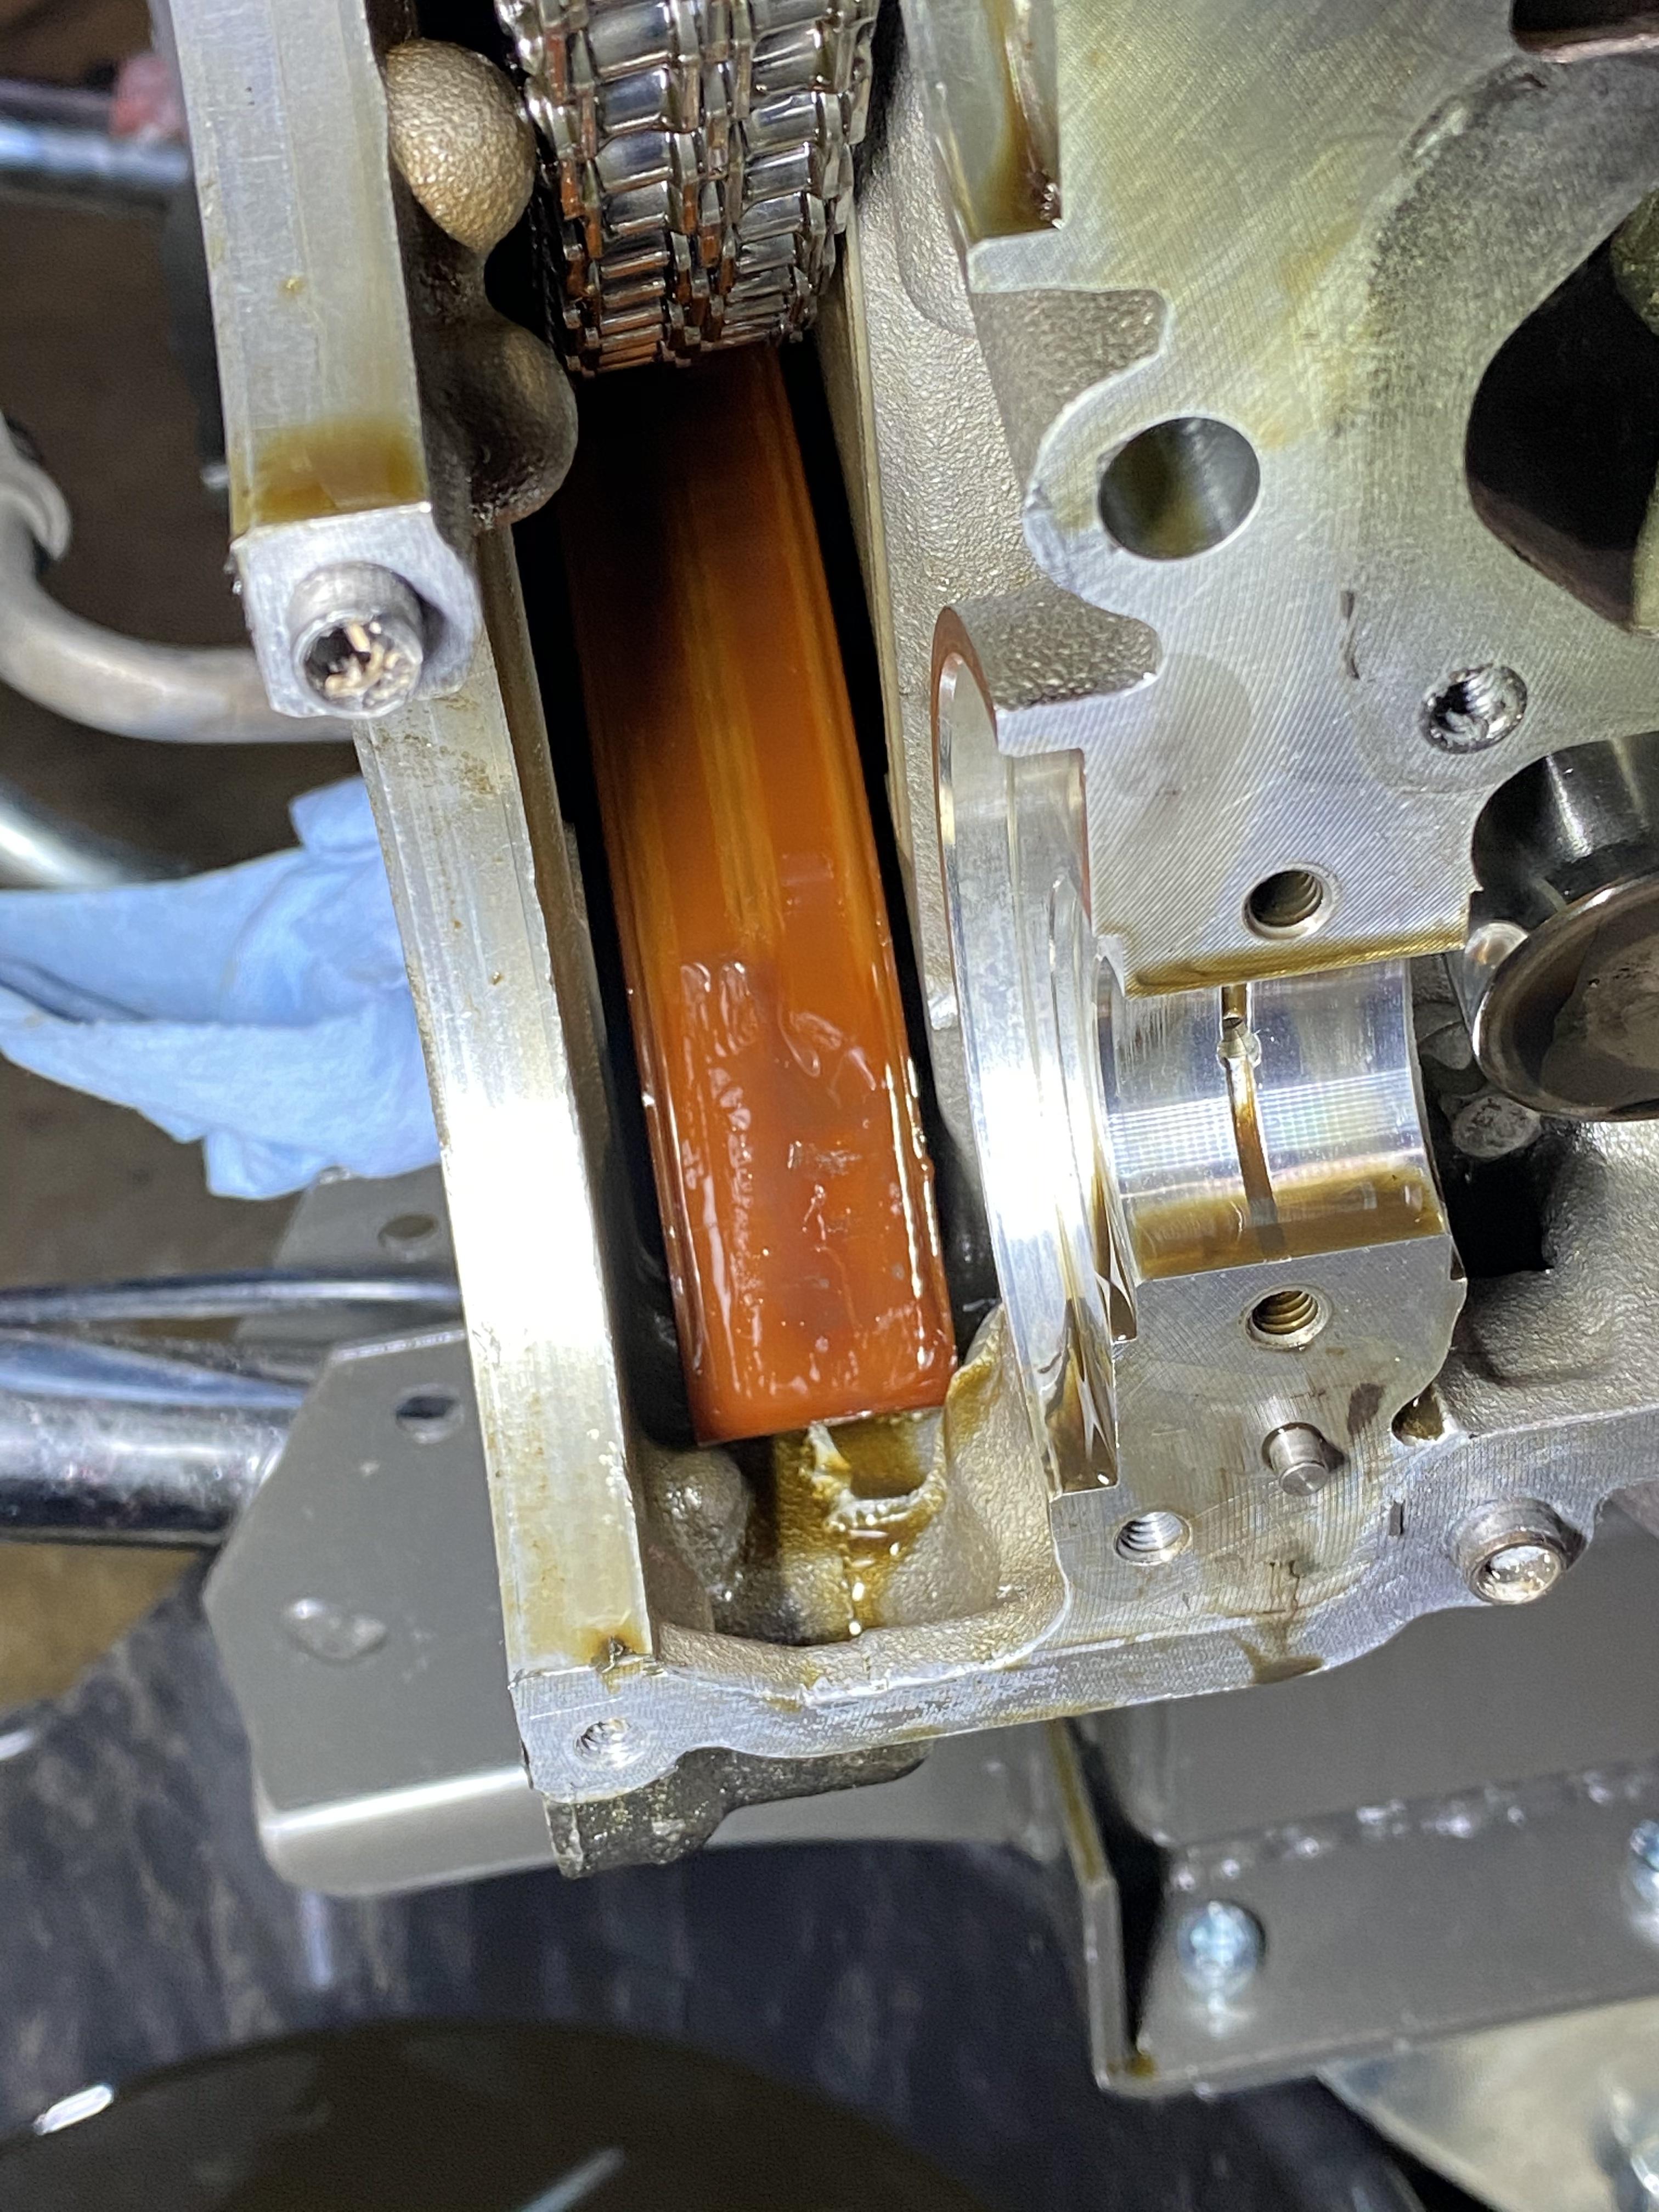
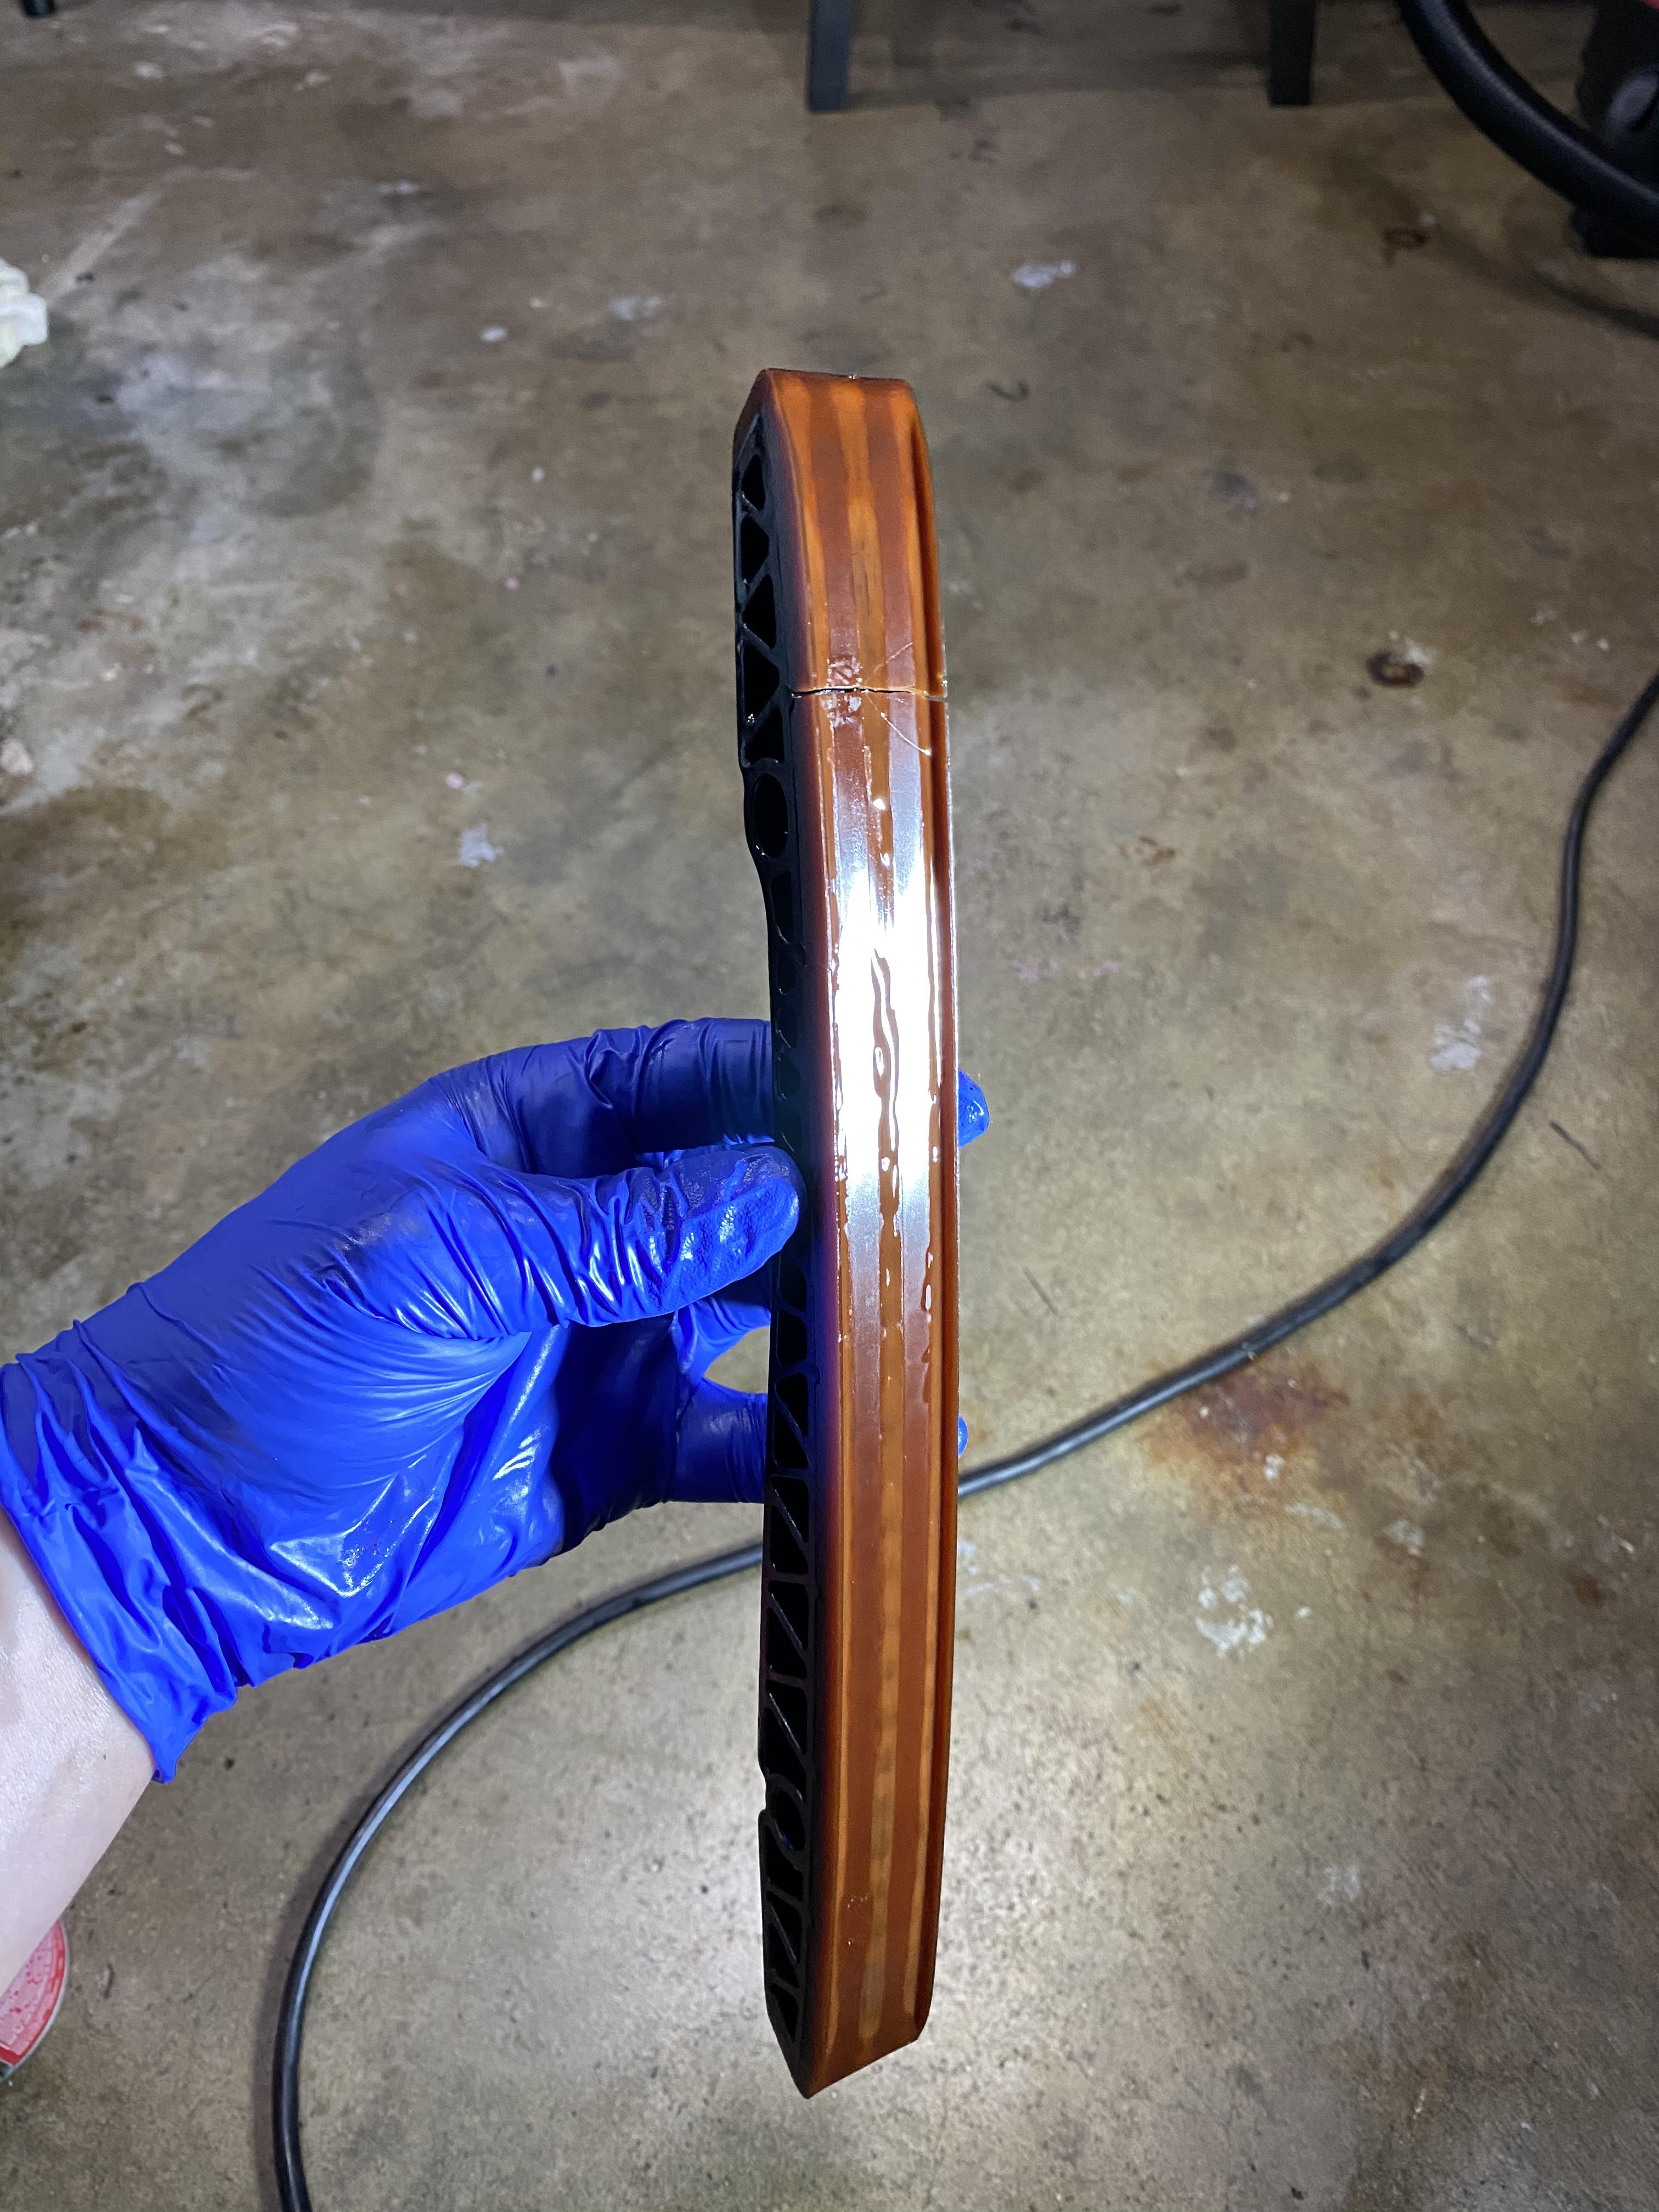
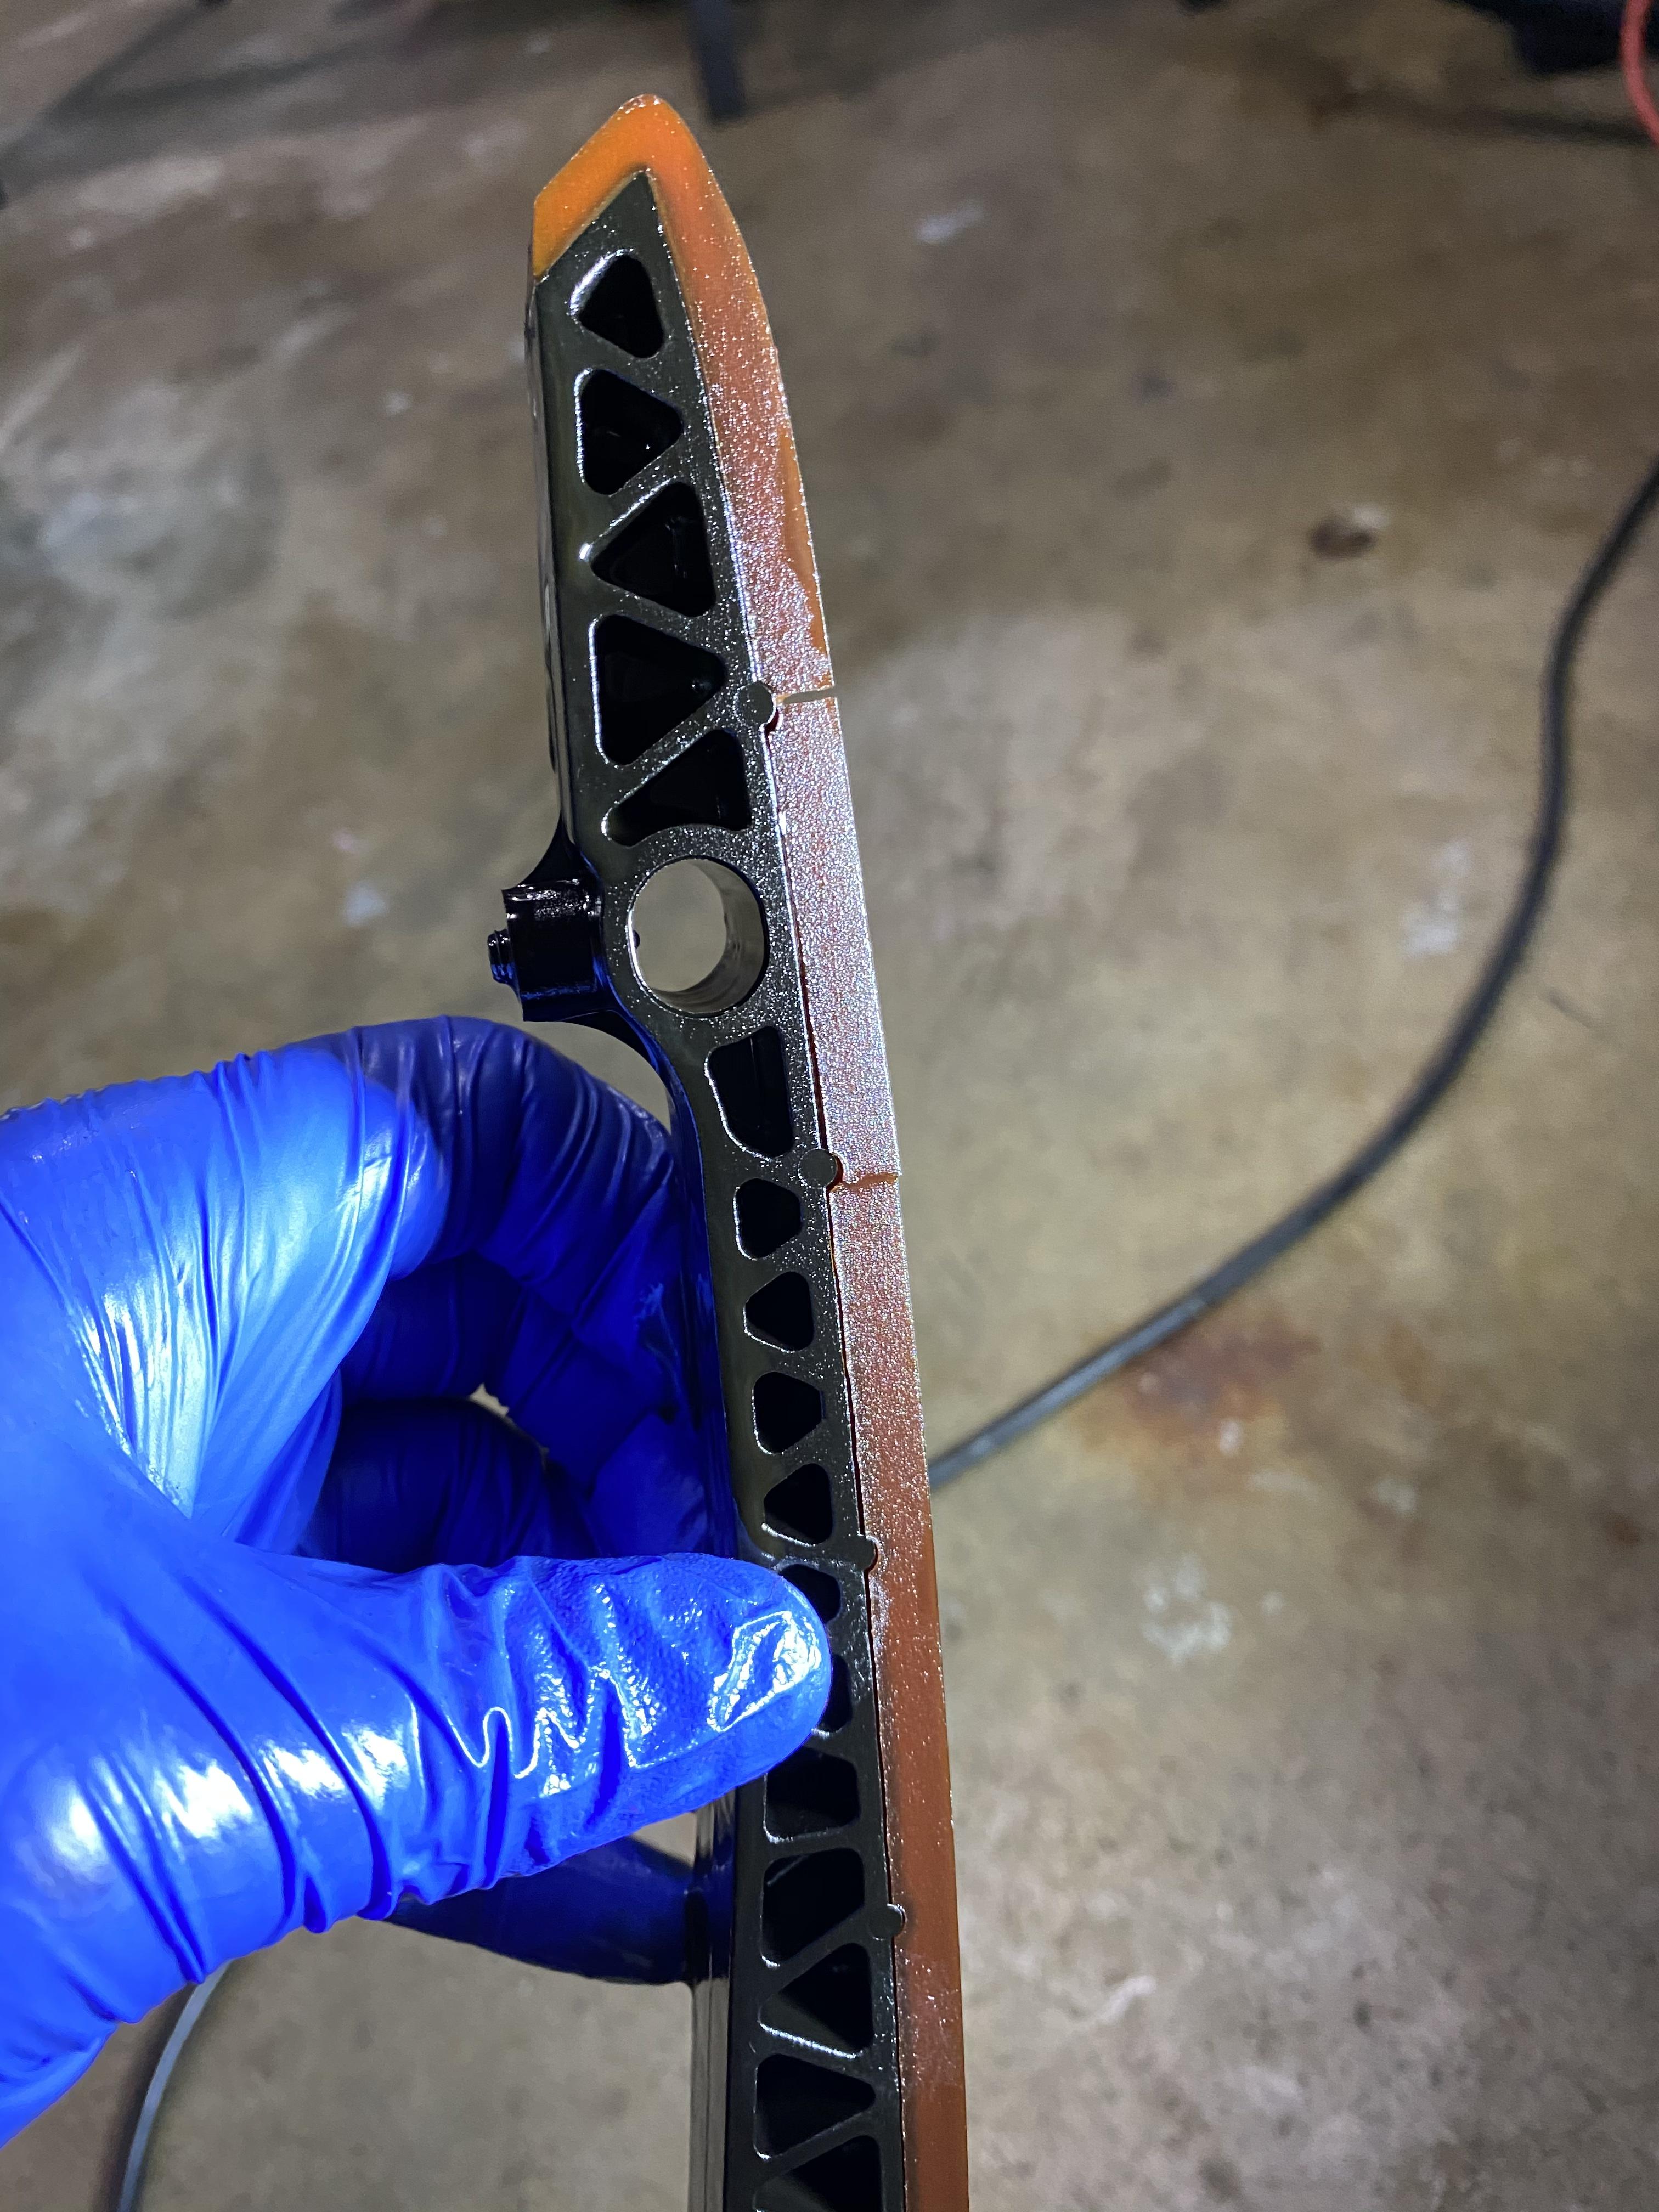
I'd also replace your chain rails and guides. From the picture it looks like the chains have worn into the secondary layer and maybe third layer..
Your chain rollers are also a little blue (color) showing the heat from rail wear/tension slop.
Replacing the oil control sealing rings is also a good idea.
I may also replace the valve covers and the chain housing gaskets. This engine is like peeling an onion... one mysterious layer after the other.
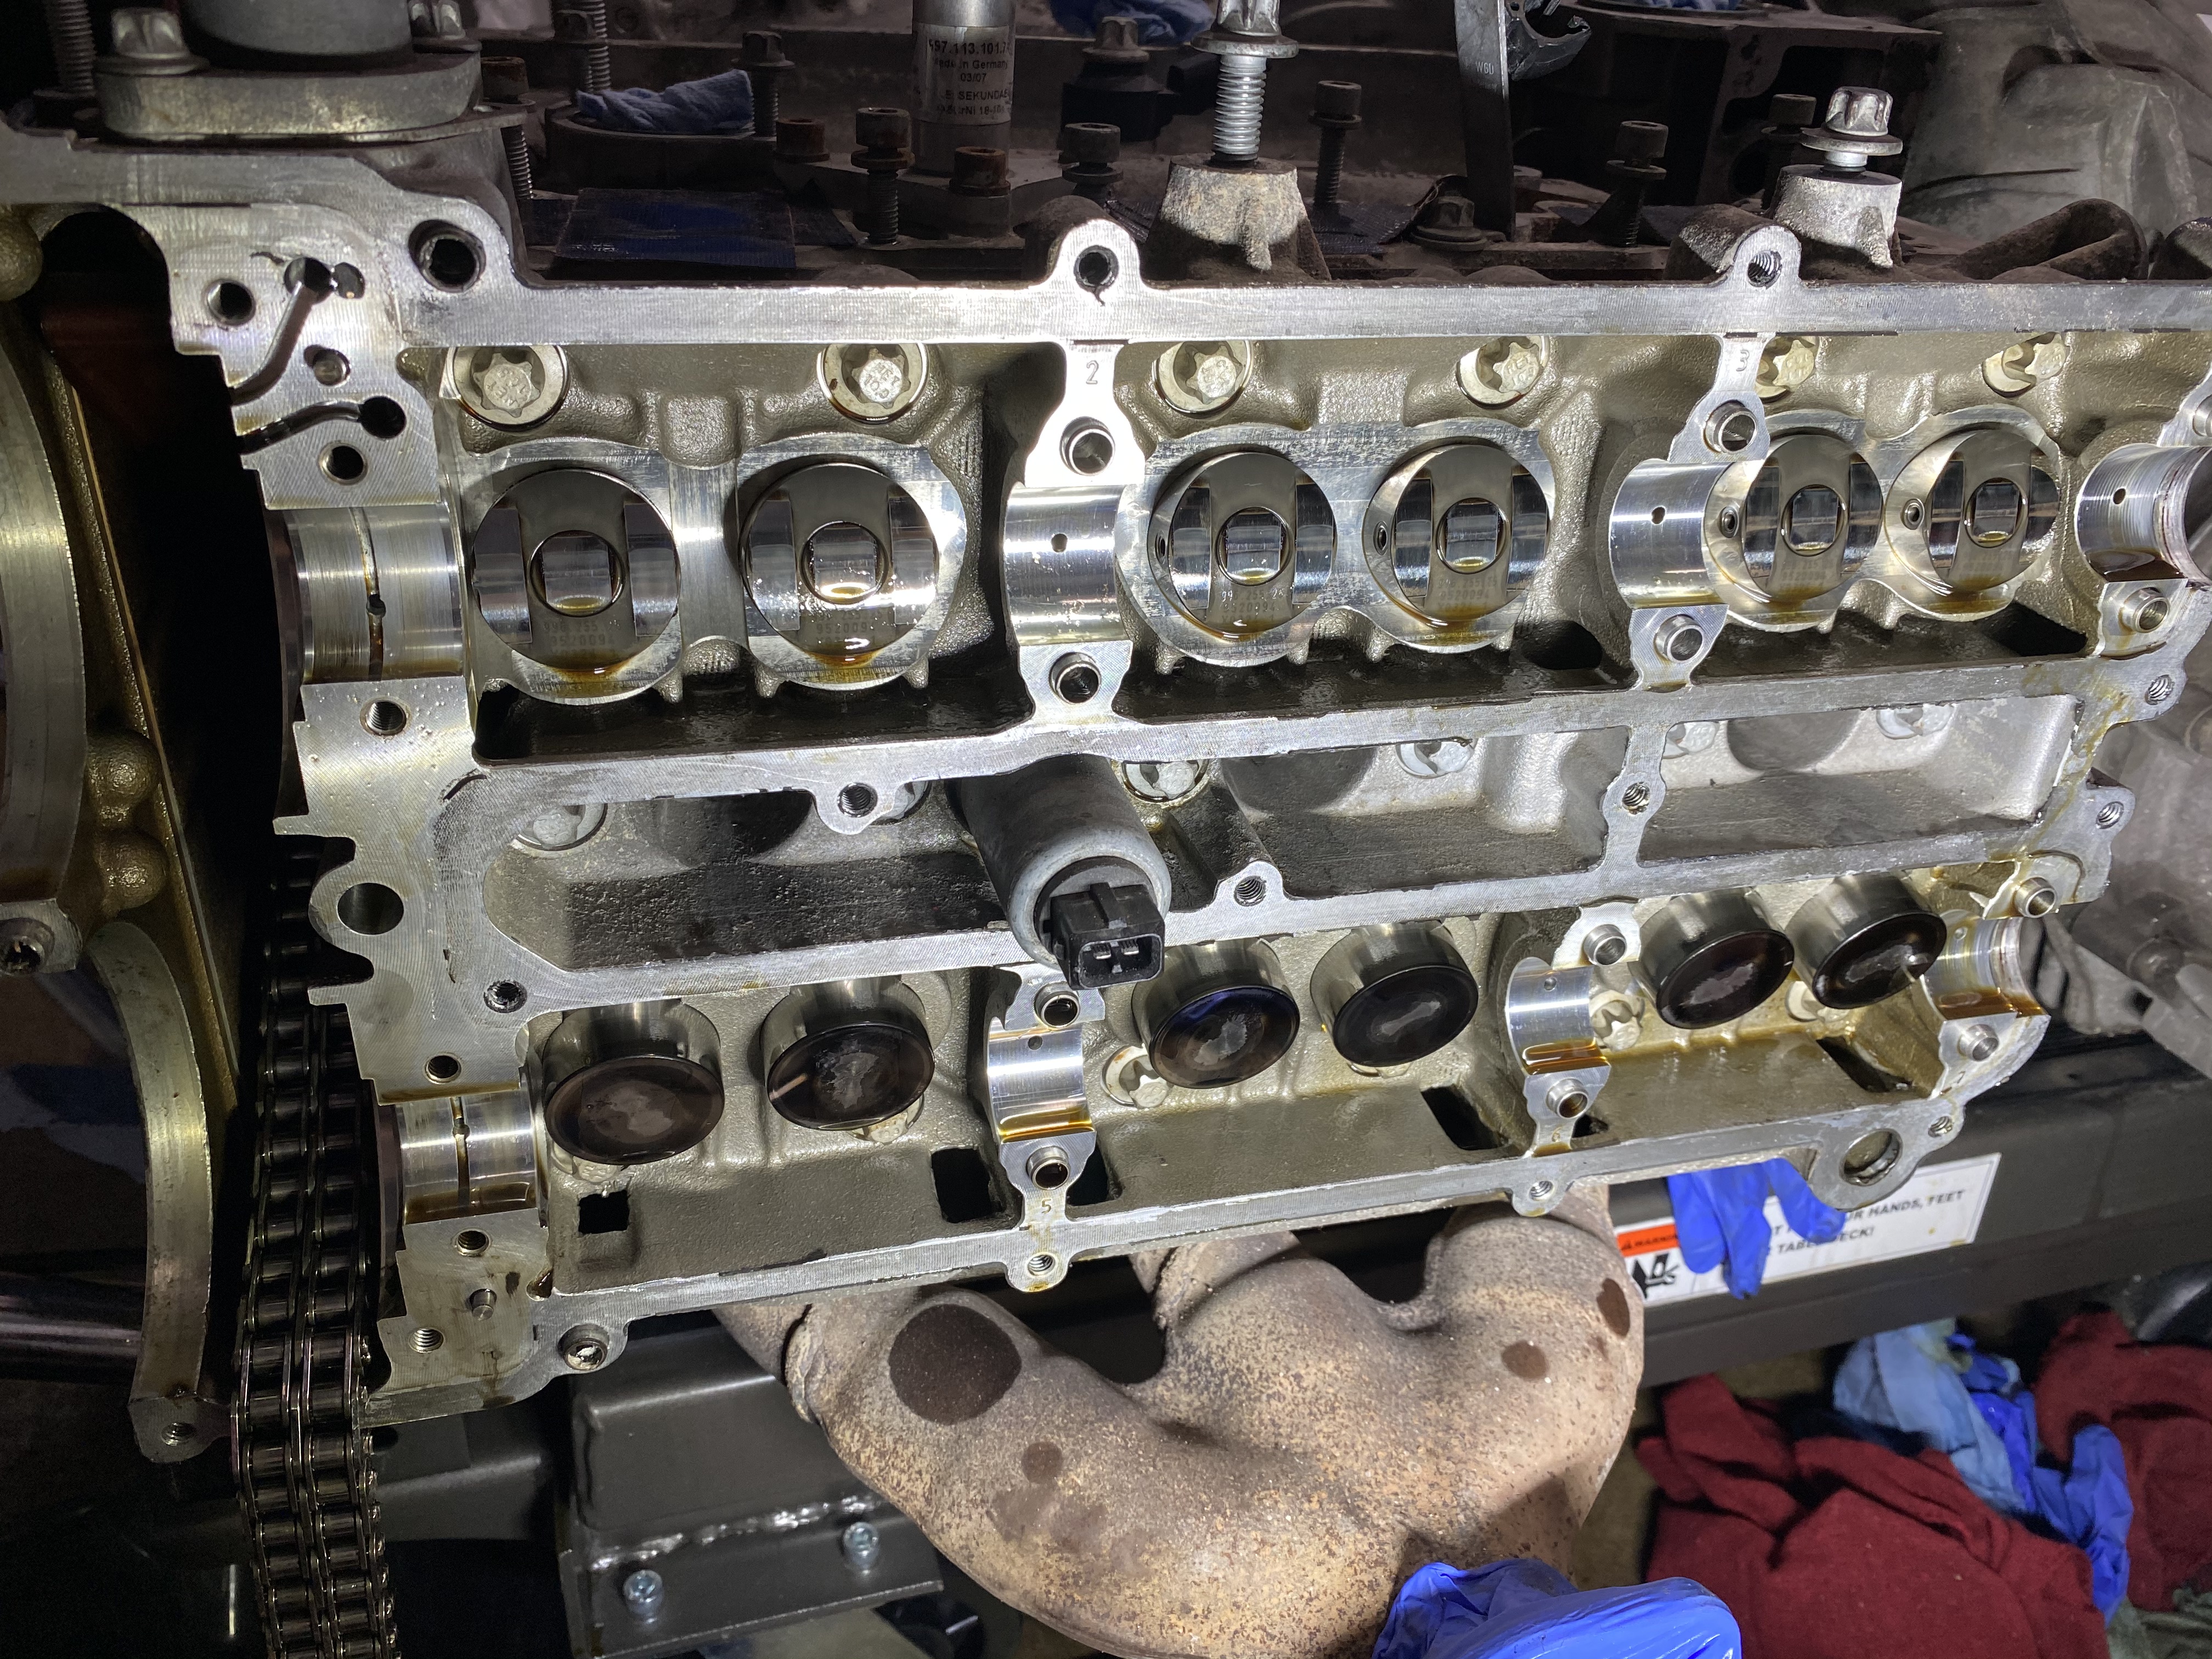
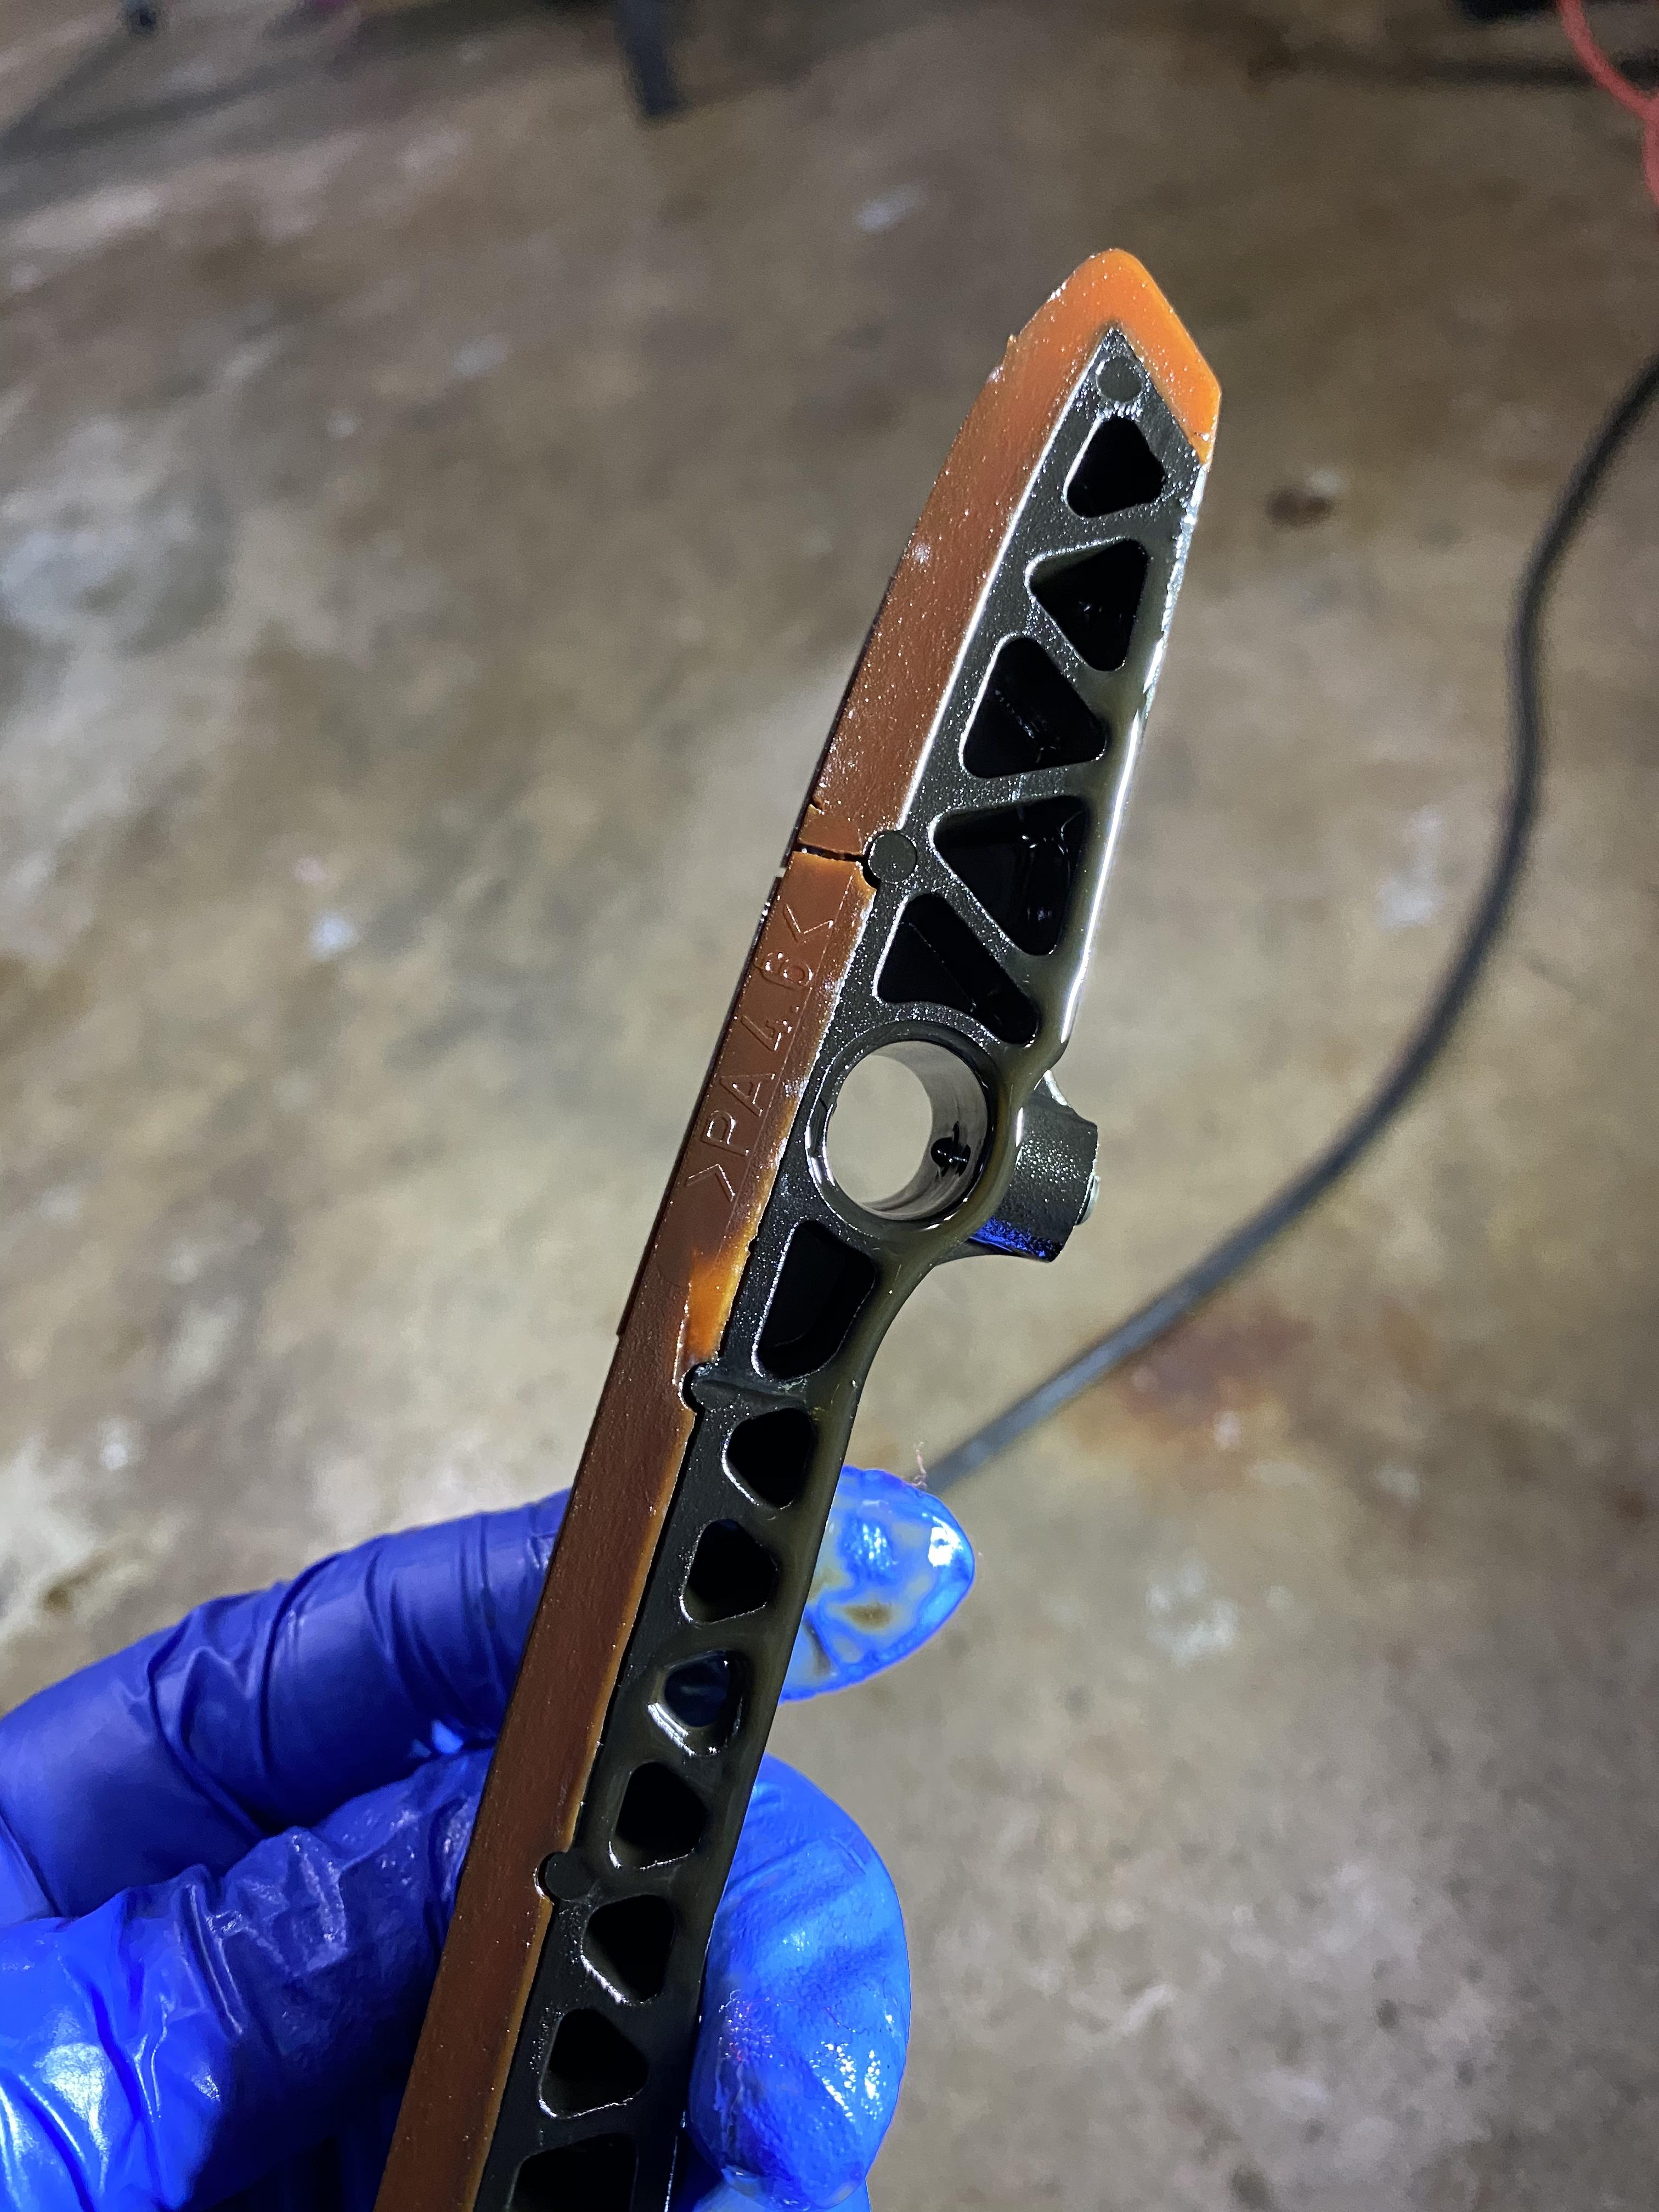
I popped open 4-6 and it looks much cleaner in there - at least the camshaft housing. The cams might even be new(er)? Someone was definitely in there before as all the cam housing bolts had loctite on then. The paddles look the same or worse on this side, though, especially the lower one. It has some pitting.
I owe Kevin a beer. I took off the guide rails and blades, and the guide rail on the driver's side was cracked in two places. Glad that I will be replacing these parts.
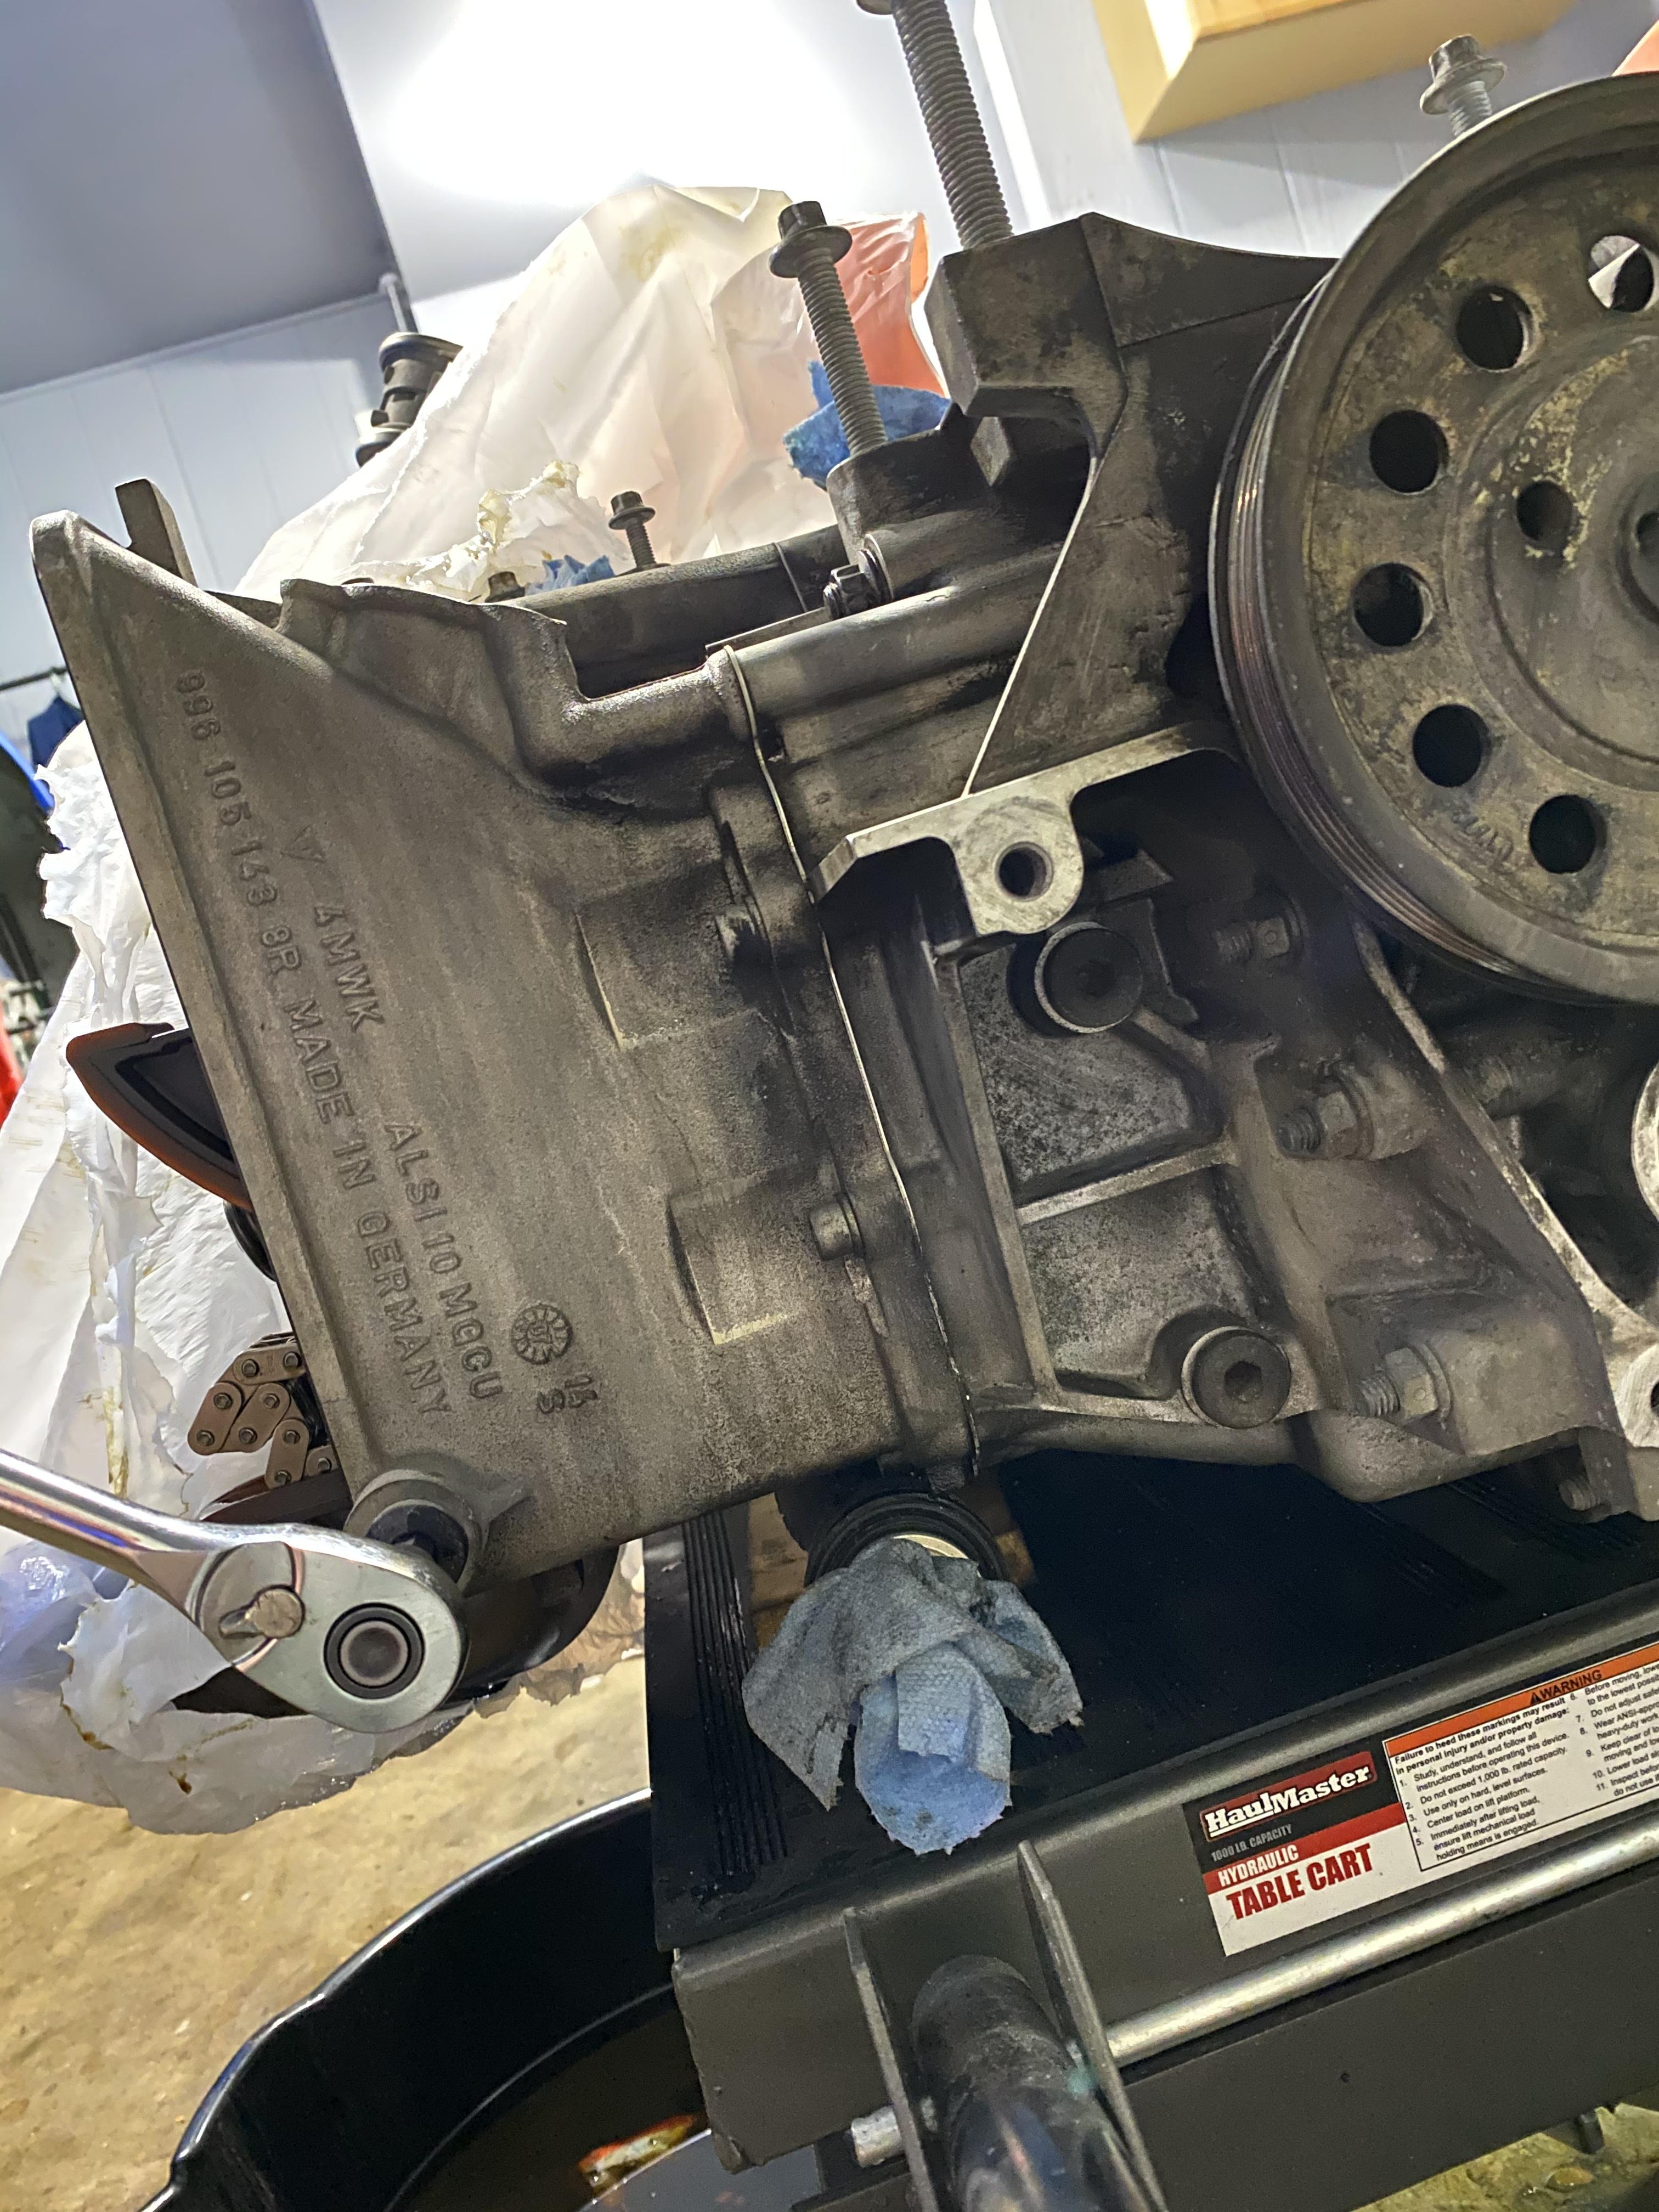
I took off the camshaft housing and cleaned up the valve springs as well as the gasket residue. I *briefly* thought about going deeper, but this is how far I will take it for now. A rebuild can always occur down the road...
New parts have started to trickle in slowly. Hope to begin putting it back together soon.
Wow, what a catch Kevin. Like I said the chain guide stuff is the one area I did not do a good job on when I did my work. I did check back through my pictures and did not see any bluing on the chains, so maybe that is an indication I have less wear. Unfortunately I do not have any good pictures of the blades themselves or even the piece that sits on top of the chain.
Man that had to make you happy when you found that cracked piece (meaning able to get it handled now - not that it happened).
Did the casings around the guides have to come off to get the blades out? It looks like the upper was removed from the pic on the driver side. I see the water housing on the driver side was off, anything off on the passenger side? My plan will be when I upgrade the clutch I will go back in for this task, unless I see signs of a problem earlier. I wonder if there is a way to get a camera in there to see what's up without dropping the engine?
Again, great catch by Kevin and great work by you recognizing the action to take based on that. Working on these engines is exactly like peeling an onion!
Thanks Ed! No need to remove the chain housing - I removed it to replace the gaskets since it was just a few bolts, and I wanted to get a better look at some of the bearings in the crank. The blades can come out once you remove the camshaft cover.
I removed the WP housing and the power steering pump. Nothing else had to come off the passenger side.
I�m going to snake my USB endoscope in there and see what I can find. I don�t know if there�s a way to get in the chain housing laparoscopically without open surgery.
Definitely felt relieved getting that broken chain guide out of there.
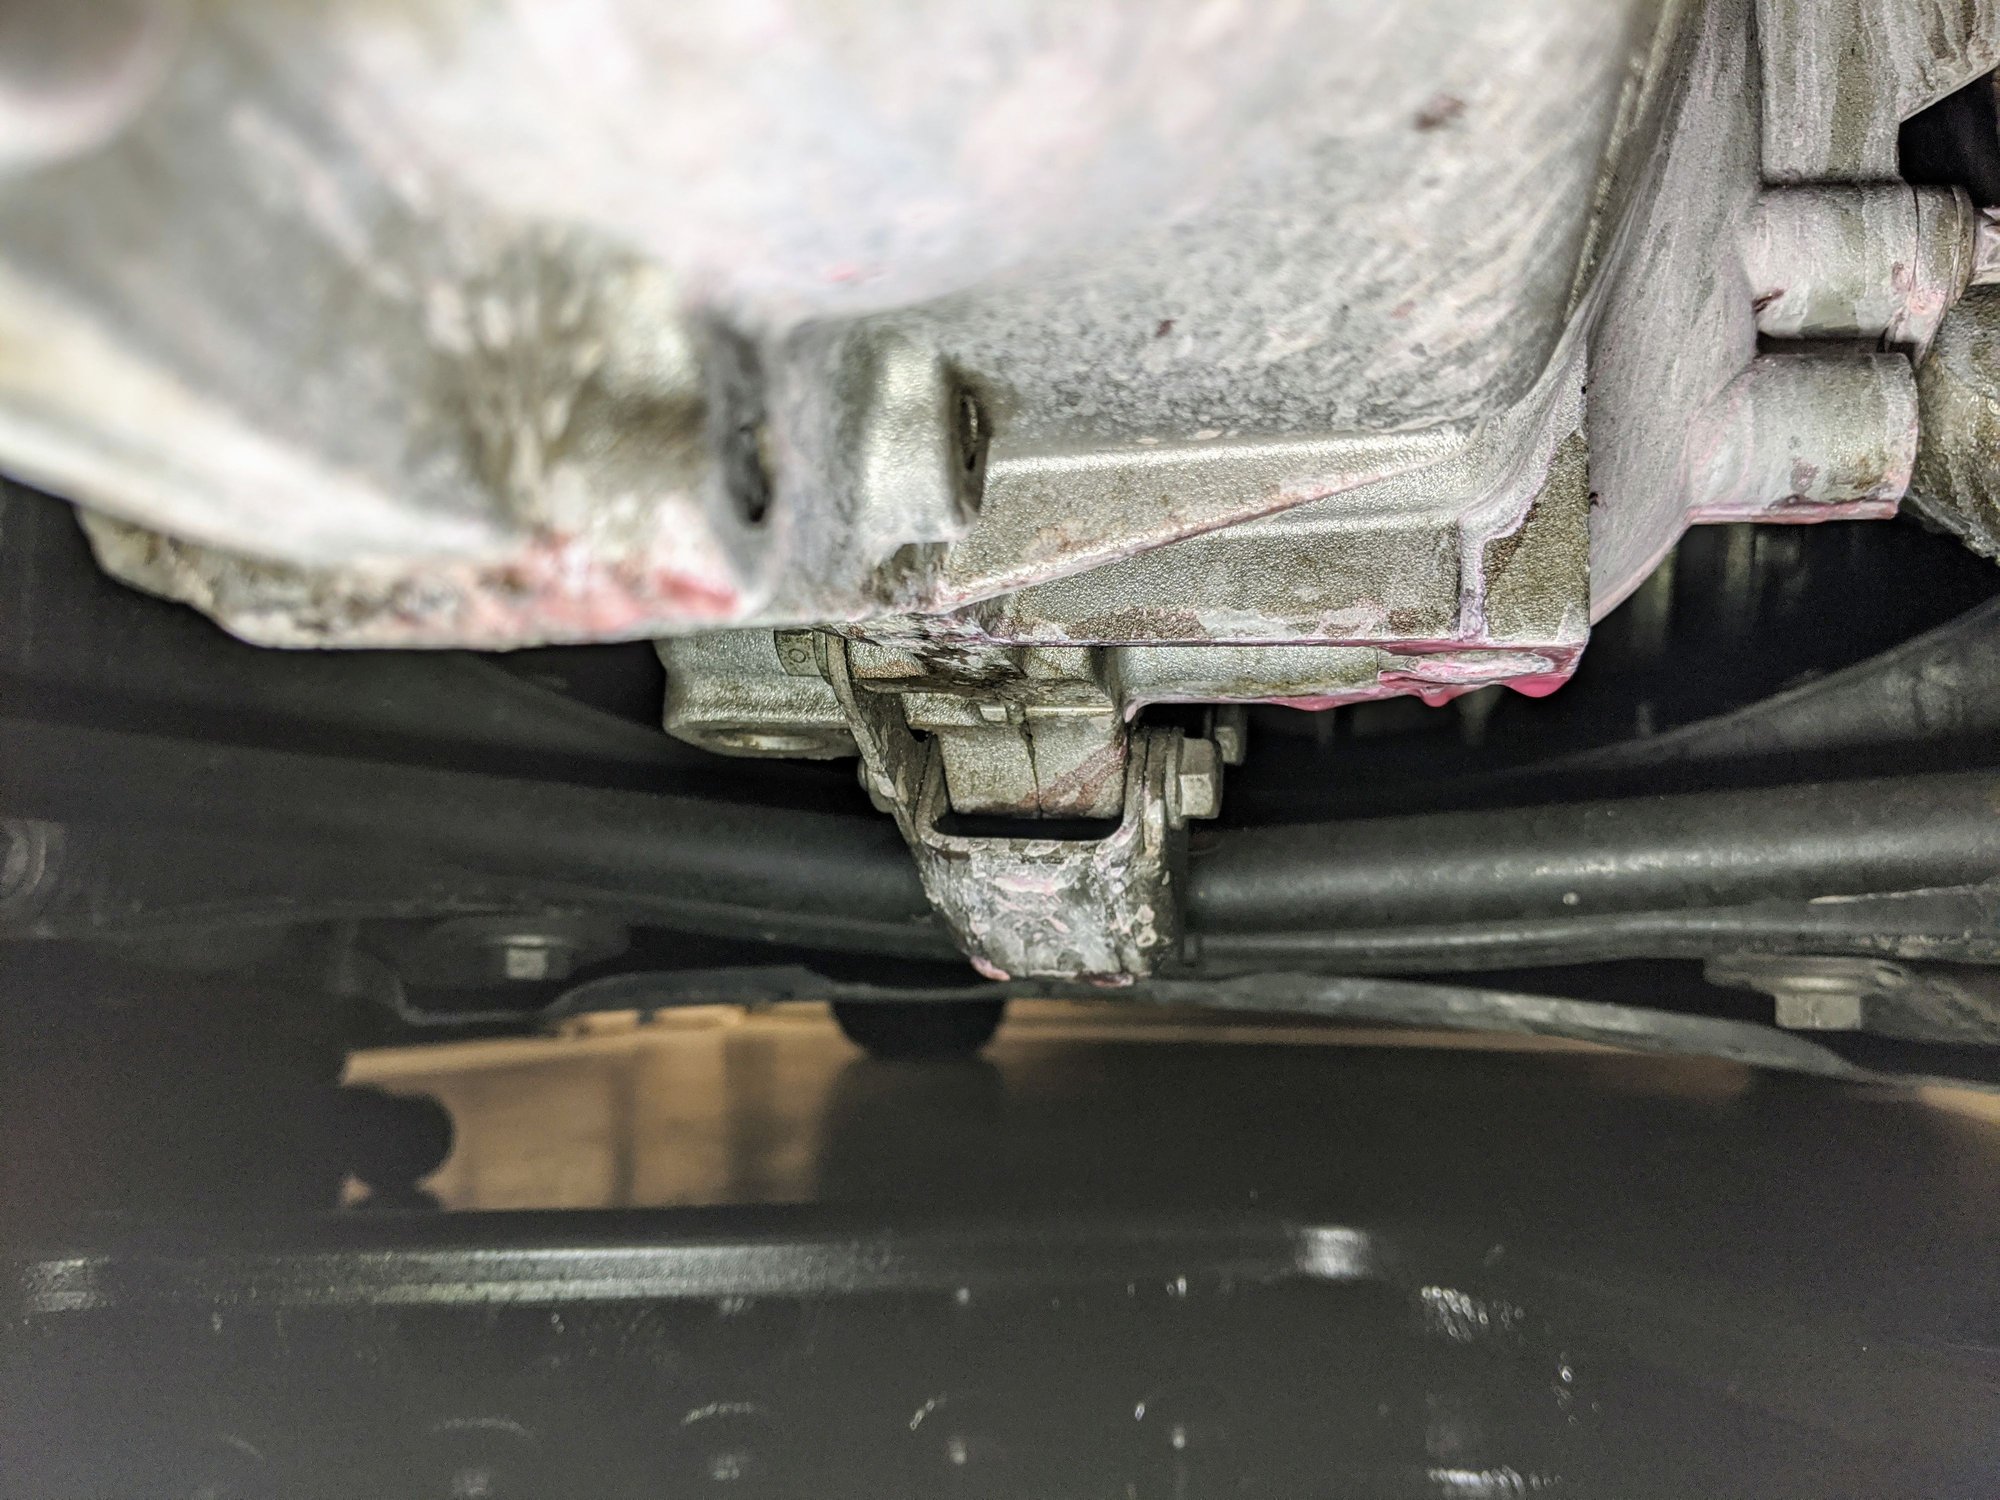
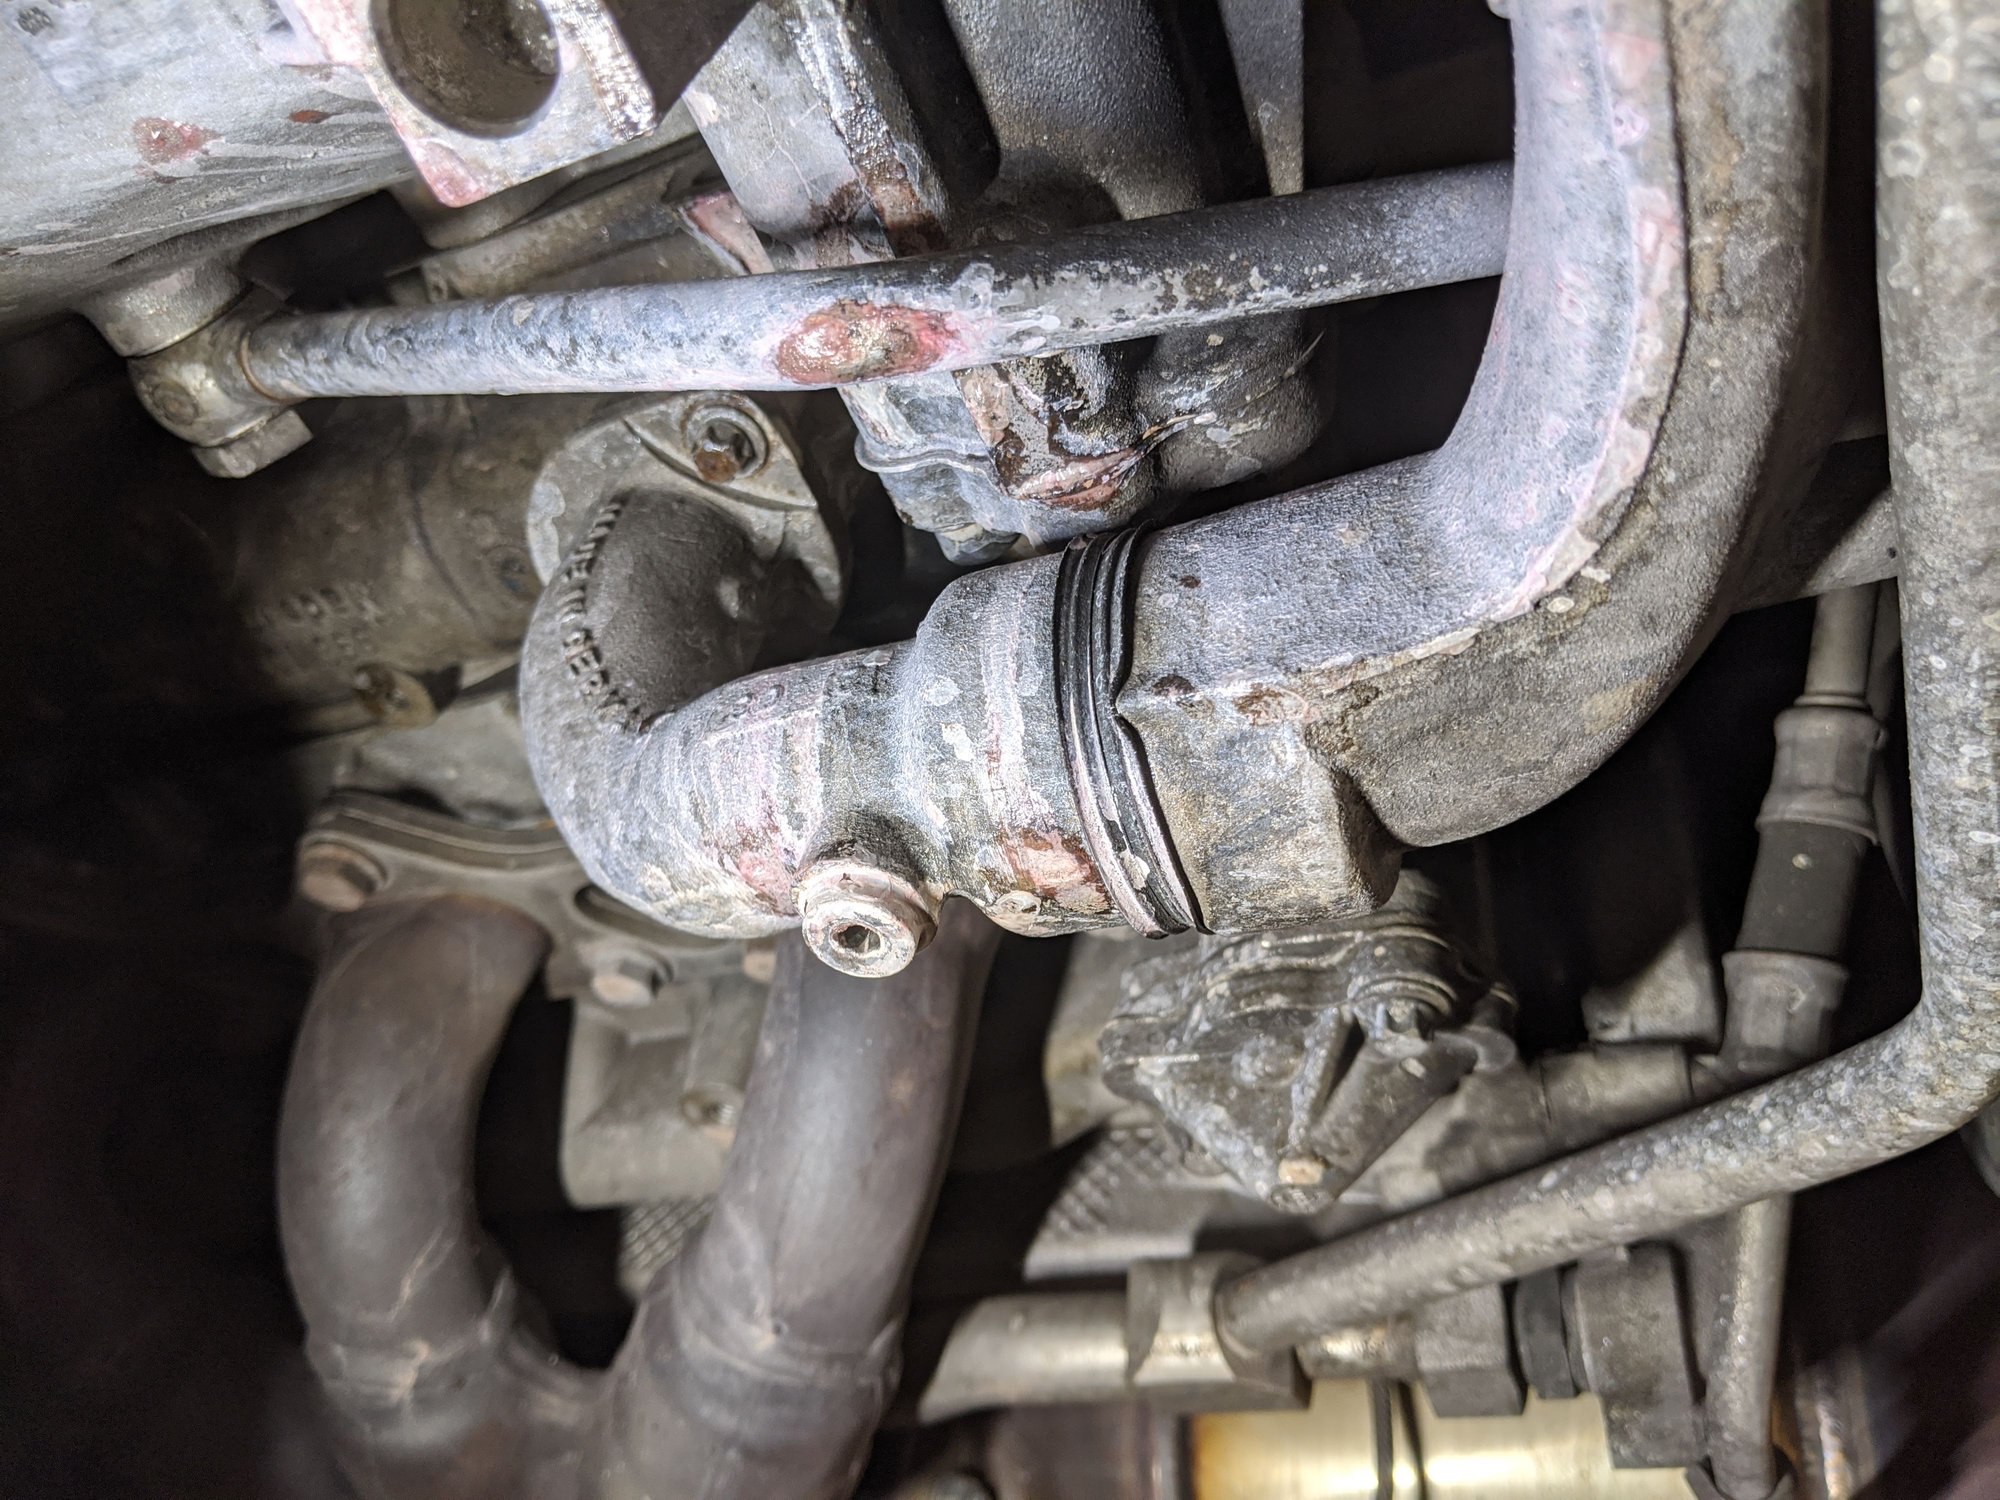
If that's coming from the top on the passenger side you can look at the rubber piece at the end of the turbo coolant line, or the plastic elbow on that side. A lighted mirror or an endoscope would work I think. Your car is almost a teenager, time for some angst. I thought mine was the elbow, instead it was the rubber.
If that's coming from the top on the passenger side you can look at the rubber piece at the end of the turbo coolant line, or the plastic elbow on that side. A lighted mirror or an endoscope would work I think. Your car is almost a teenager, time for some angst. I thought mine was the elbow, instead it was the rubber.
Ed
Thanks Ed will be reading your post on this getting the parts on the excel doc/PDF then doing the work.I also have to pick a clutch too.
Will start my own post not to trying to steal Alex's thunder.


 03-04-2020, 07:41 PM