When you click on links to various merchants on this site and make a purchase, this can result in this site earning a commission. Affiliate programs and affiliations include, but are not limited to, the eBay Partner Network.
Cams? We used to do that with disk drives that were flaking out back in the day. Sometimes it would bring them back long enough to get the data off. This is well before USB sticks, Cloud backups and in the dark ages before networks.
Ed, you might also want to replace the 6 each camshaft sealing rings. The factory manual actually advises to replace them>>and inspect the sealing ring "cap" for heavy polishing.
As far as your clutch disk wear> it's rarely a worn disk>it's the clutch pressure plate diaphragm that loses tension over the miles and years. I'd recommend the Sachs 764 pressure plate with the GT2 clutch disk.
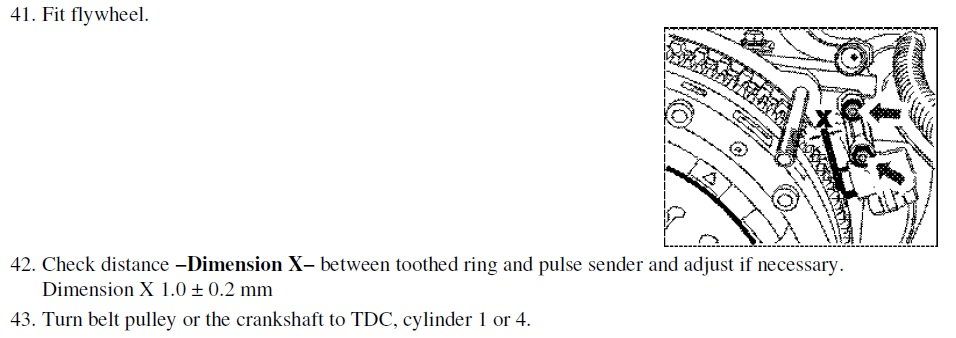
Also, don�t forget to set the flywheel pulse sender to 1.2 or 1.4mm gap, mine was at .8 mm as found. You don�t want that 4K overshoot on startup!
Can you please tell me more? When cold, my car roars to life upon startup - - maybe 3000 rpm or so before retuening to idle. Is the crank sensor distance potentially responsible for this? Can this be adjusted without dropping the trans or engine?
Once the engine is warm, it actually starts very softly - cranks straight to idle without rpm overshoot.
So I am guessing there is no way to tell if the splines are weak? I will pull the trans, check the clutch friction plate thickness to determine (potentially) how old the clutch is and then decide on R&R'ing at that time.
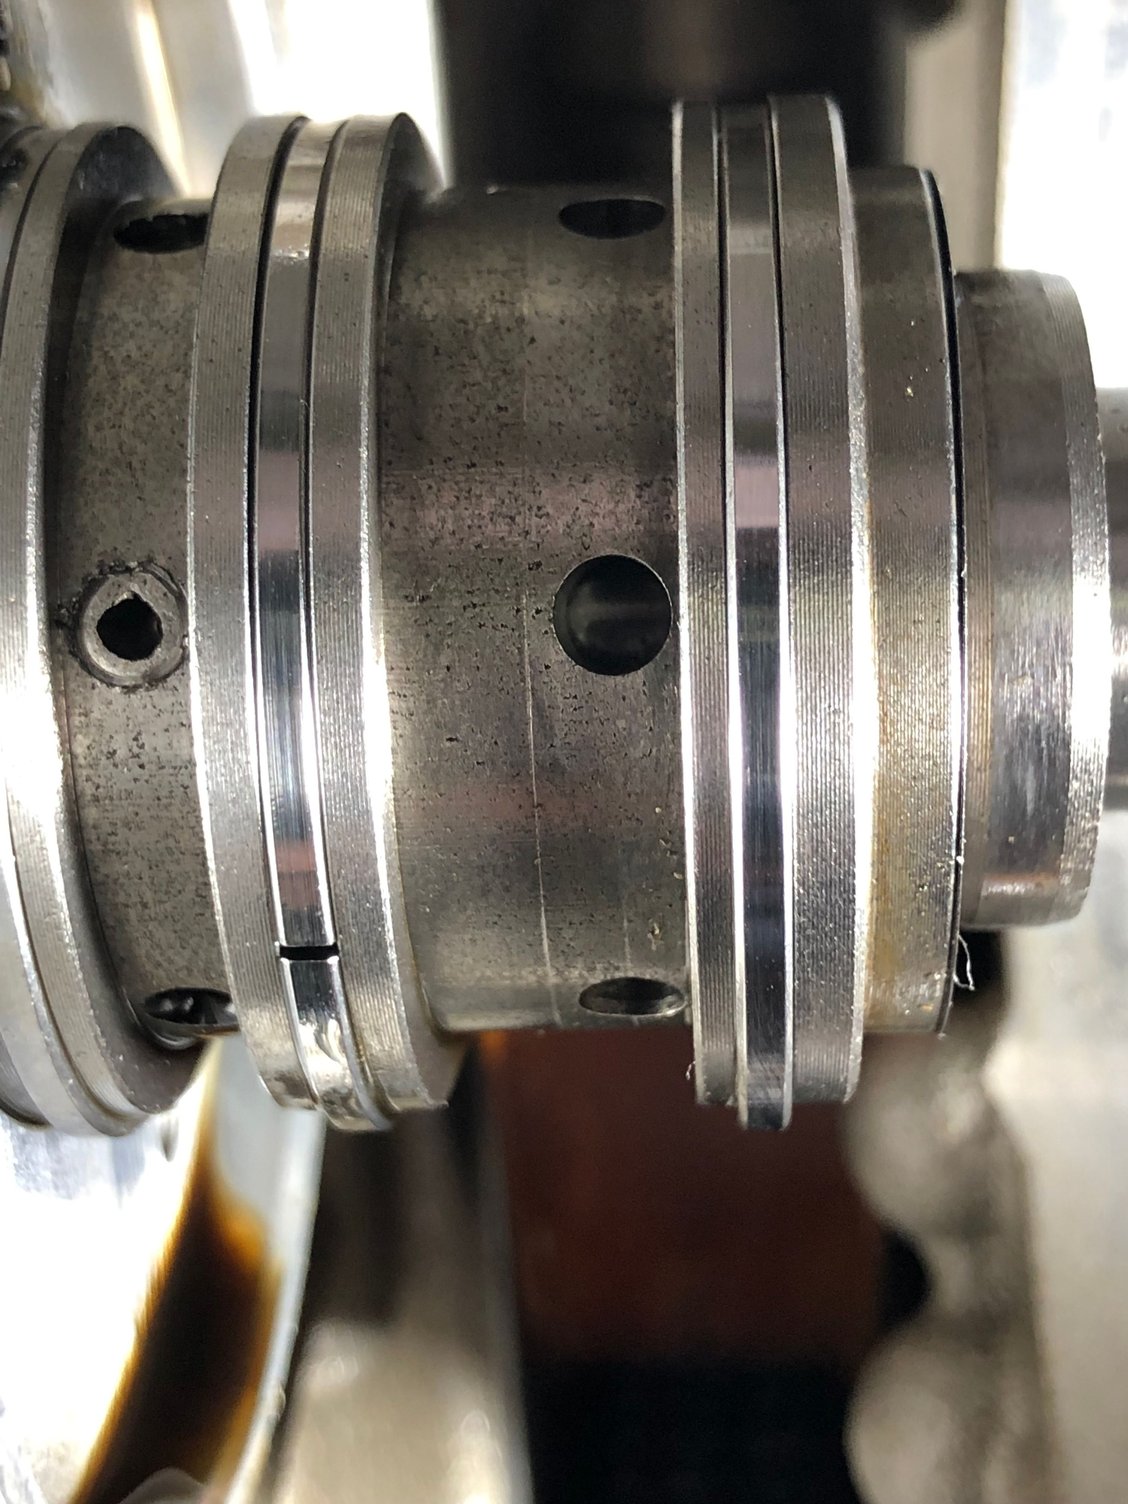
I read the line about checking the metal rectangular rings on install in the WM, they seem good (cylinder 1-3):
There is a shiny ring where one of the rectangular rings touches the housing (but not the others - maybe just the hint of one other):
What do you think? R&R the rings and the housings? Car has 40K on it.
I did some looking and I like your combo for the clutch. I have seen some chatter about the RS series parts, but other than a future mild tune, I am not looking to build a race car, so I think what you said matches what I want to do with the vehicle for power. I am not looking to dump the DMFW yet. I did that on my UrS6 and didn't like the noises I was getting at certain RPM's.
ATC, since the car is not over revving on start, I will measure where the sensor is now and replicate that (assuming I can measure it easily. Once I find out the measurement, I will post it for reference.
My guy got back to me and said I could pick up the timing tool whenever I wanted, so I will wait until I have the 4 bolts that hold the sprockets to the cams before getting it (and maybe until after I get the rings and the housings).
Thanks to everyone for all the comments and suggestions!
Albert, you can't dispute the Bulletin with the 1.2mm recommendation. With the 3.6 liter air cooled we have always set the air gap to .08mm It has been increased to 1.0mm for the water-cooled. I could see 1.2mm as the extreme. !.4mm like you mentioned in your post might be too wide..
Interesting "fact" >>when moving to a steel single mass flywheel the 1.0mm air gap is "solid" I attribute that to less mass and more precise machined 60-2 trigger "teeth"
Got it, not sure I have anything like that in my tool kit, I just need something smaller than the diameter of the hole, but graded so it gets larger and pushes the edges of the pin out, correct? Or is it more of a screwdriver deal with a flat end that creases the pin?
Albert, you can't dispute the Bulletin with the 1.2mm recommendation. With the 3.6 liter air cooled we have always set the air gap to .08mm It has been increased to 1.0mm for the water-cooled. I could see 1.2mm as the extreme. !.4mm like you mentioned in your post might be too wide..
Interesting "fact" >>when moving to a steel single mass flywheel the 1.0mm air gap is "solid" I attribute that to less mass and more precise machined 60-2 trigger "teeth"
I set mine to 1.2mm. 1.4 was a typo that was 3 years ago. I know friends that have taken their cars to �other places� and it wasn�t done after an engine out. Sad.
We want to distort and move the camshaft metal and lock the roll pin. A fine sharp pin punch placed between the edge of the camshaft (OD circumference) and roll pin. Mechanical lock to keep the roll pin in place.
Albert, you are correct>>many techs have missed the air gap adjustment after a clutch install. Let alone cleaning the magnetic fuzz off the sensor.
Waiting on some bolts to head out and get the timing tool to button up the cams, so I am removing cooling items (also waiting on the assembly lube for the coolant fittings) and figuring out how I am going to approach things. I decided that both coolant housings are going to stay in place. I see no reason to disturb something that doesn't need to be since everything else is out of the way. For the coolant pinning, I can reach all 7 fittings pretty easily, and I have some items coming (longer drill bits) to help cut the threads and pin the pipes. The pipes that are rock solid are going to stay in place and will be pinned. I will glue the fitting that fell out. Porsche parts said they do not have a glue for this, so I believe I read that a marine grade loctite epoxy was good for the job, I have seen the fitting that dropped into my hand in several threads about coolant pipes, so I am guessing it's location causes a repeatable failure.
I didn't hear any opinions on the guide blades and to get to them would mean pulling the front water manifold, so they will stay on, I am replacing the tensioners.
I hit my first really unexpected result. I pulled the elbow on the passenger side and I did not see any evidence of failure. However the location of the steam, the pool of coolant once I got everything out of the way and looking at where the stains were and what they said about where they came from was that elbow. Maybe they fail around the O ring seals? I checked the hose that connects the elbow to one of the pipes that need to be pinned and didn't see any problems. There's really nothing else near there and the only other sign of anything where it shouldn't be is some black from oil near one of the oil coolers. I hate not seeing the evidence of the problem, but there literally is no cooling pipe/fitting/hose/whatever that won't be replaced so I am not going to get too hung up about it.
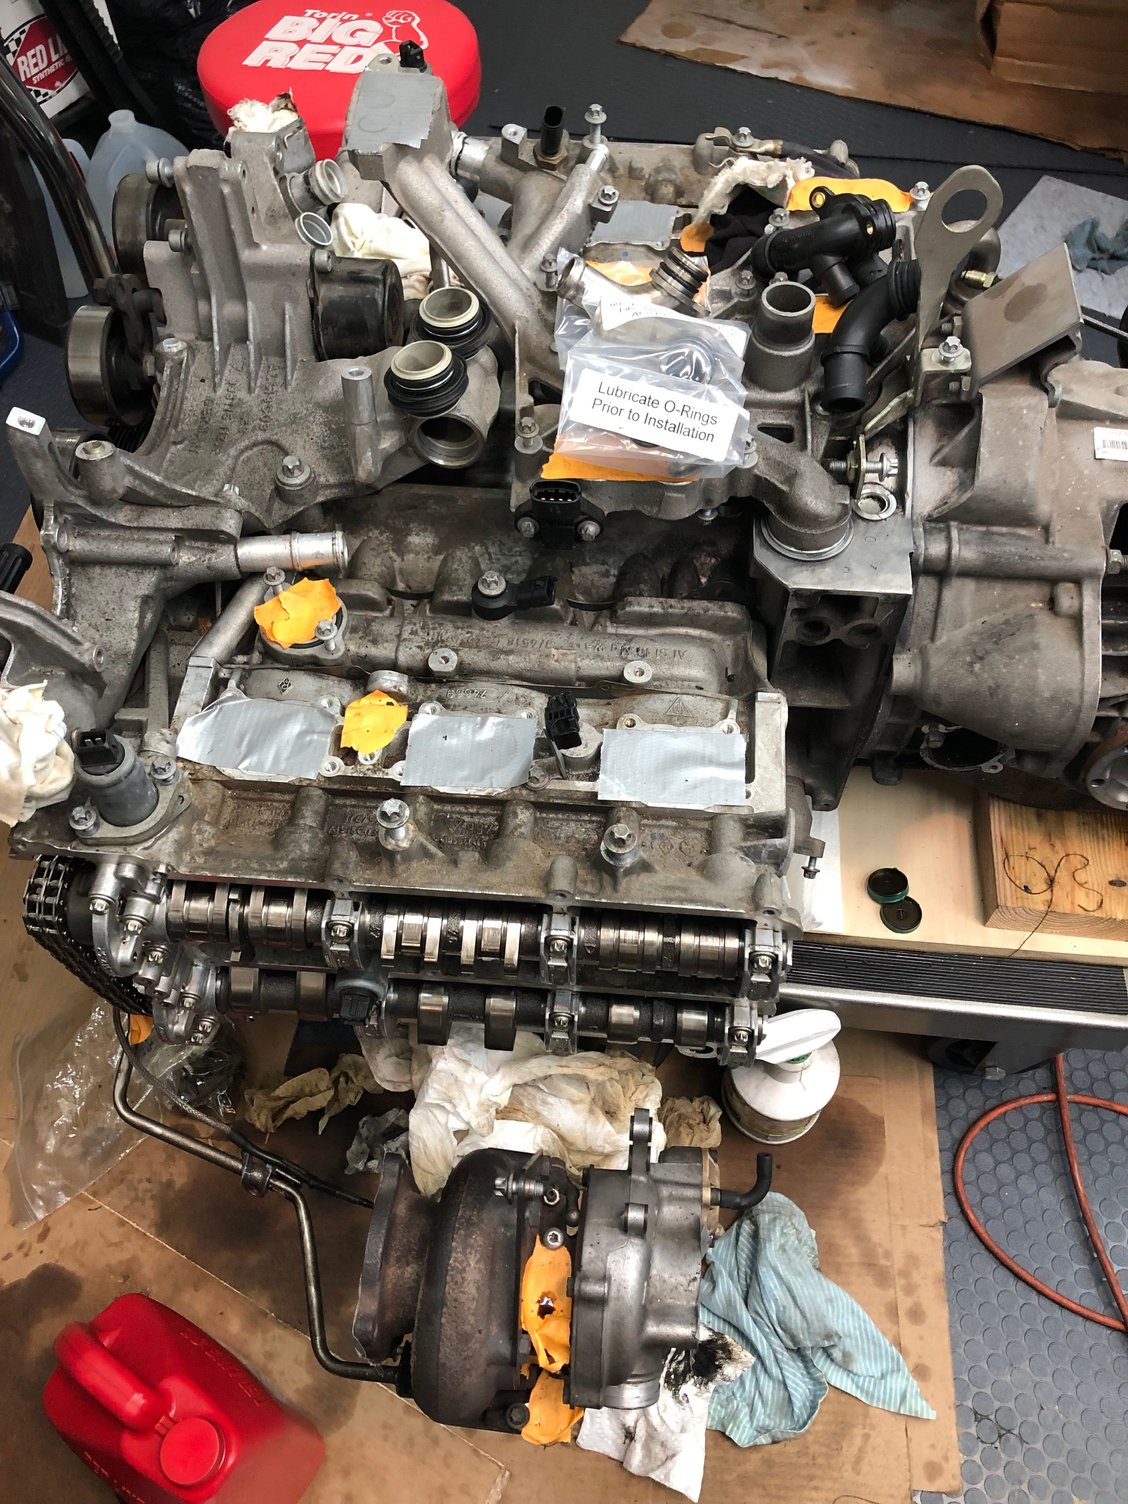
Current engine situation (pinned cams back in, more cooling items off, ready for coolant lines to be pinned):
I think I am close to the apex of the project, other than pulling the trans for the clutch (and probably replacing it) and clutch hydraulics work, I don't think anything else is coming off the engine and the next steps will really start things moving to putting it all back. Porsche's Easton, PA facility flooded so all the stuff has to come from Atlanta, that means it might be Friday before I time the cams, not happy about it, but unavoidable.

 07-08-2019, 06:51 PM