When you click on links to various merchants on this site and make a purchase, this can result in this site earning a commission. Affiliate programs and affiliations include, but are not limited to, the eBay Partner Network.
Tom: Thanks so much for posting all this! It's super educational. The pictures really are worth a thousand words each.
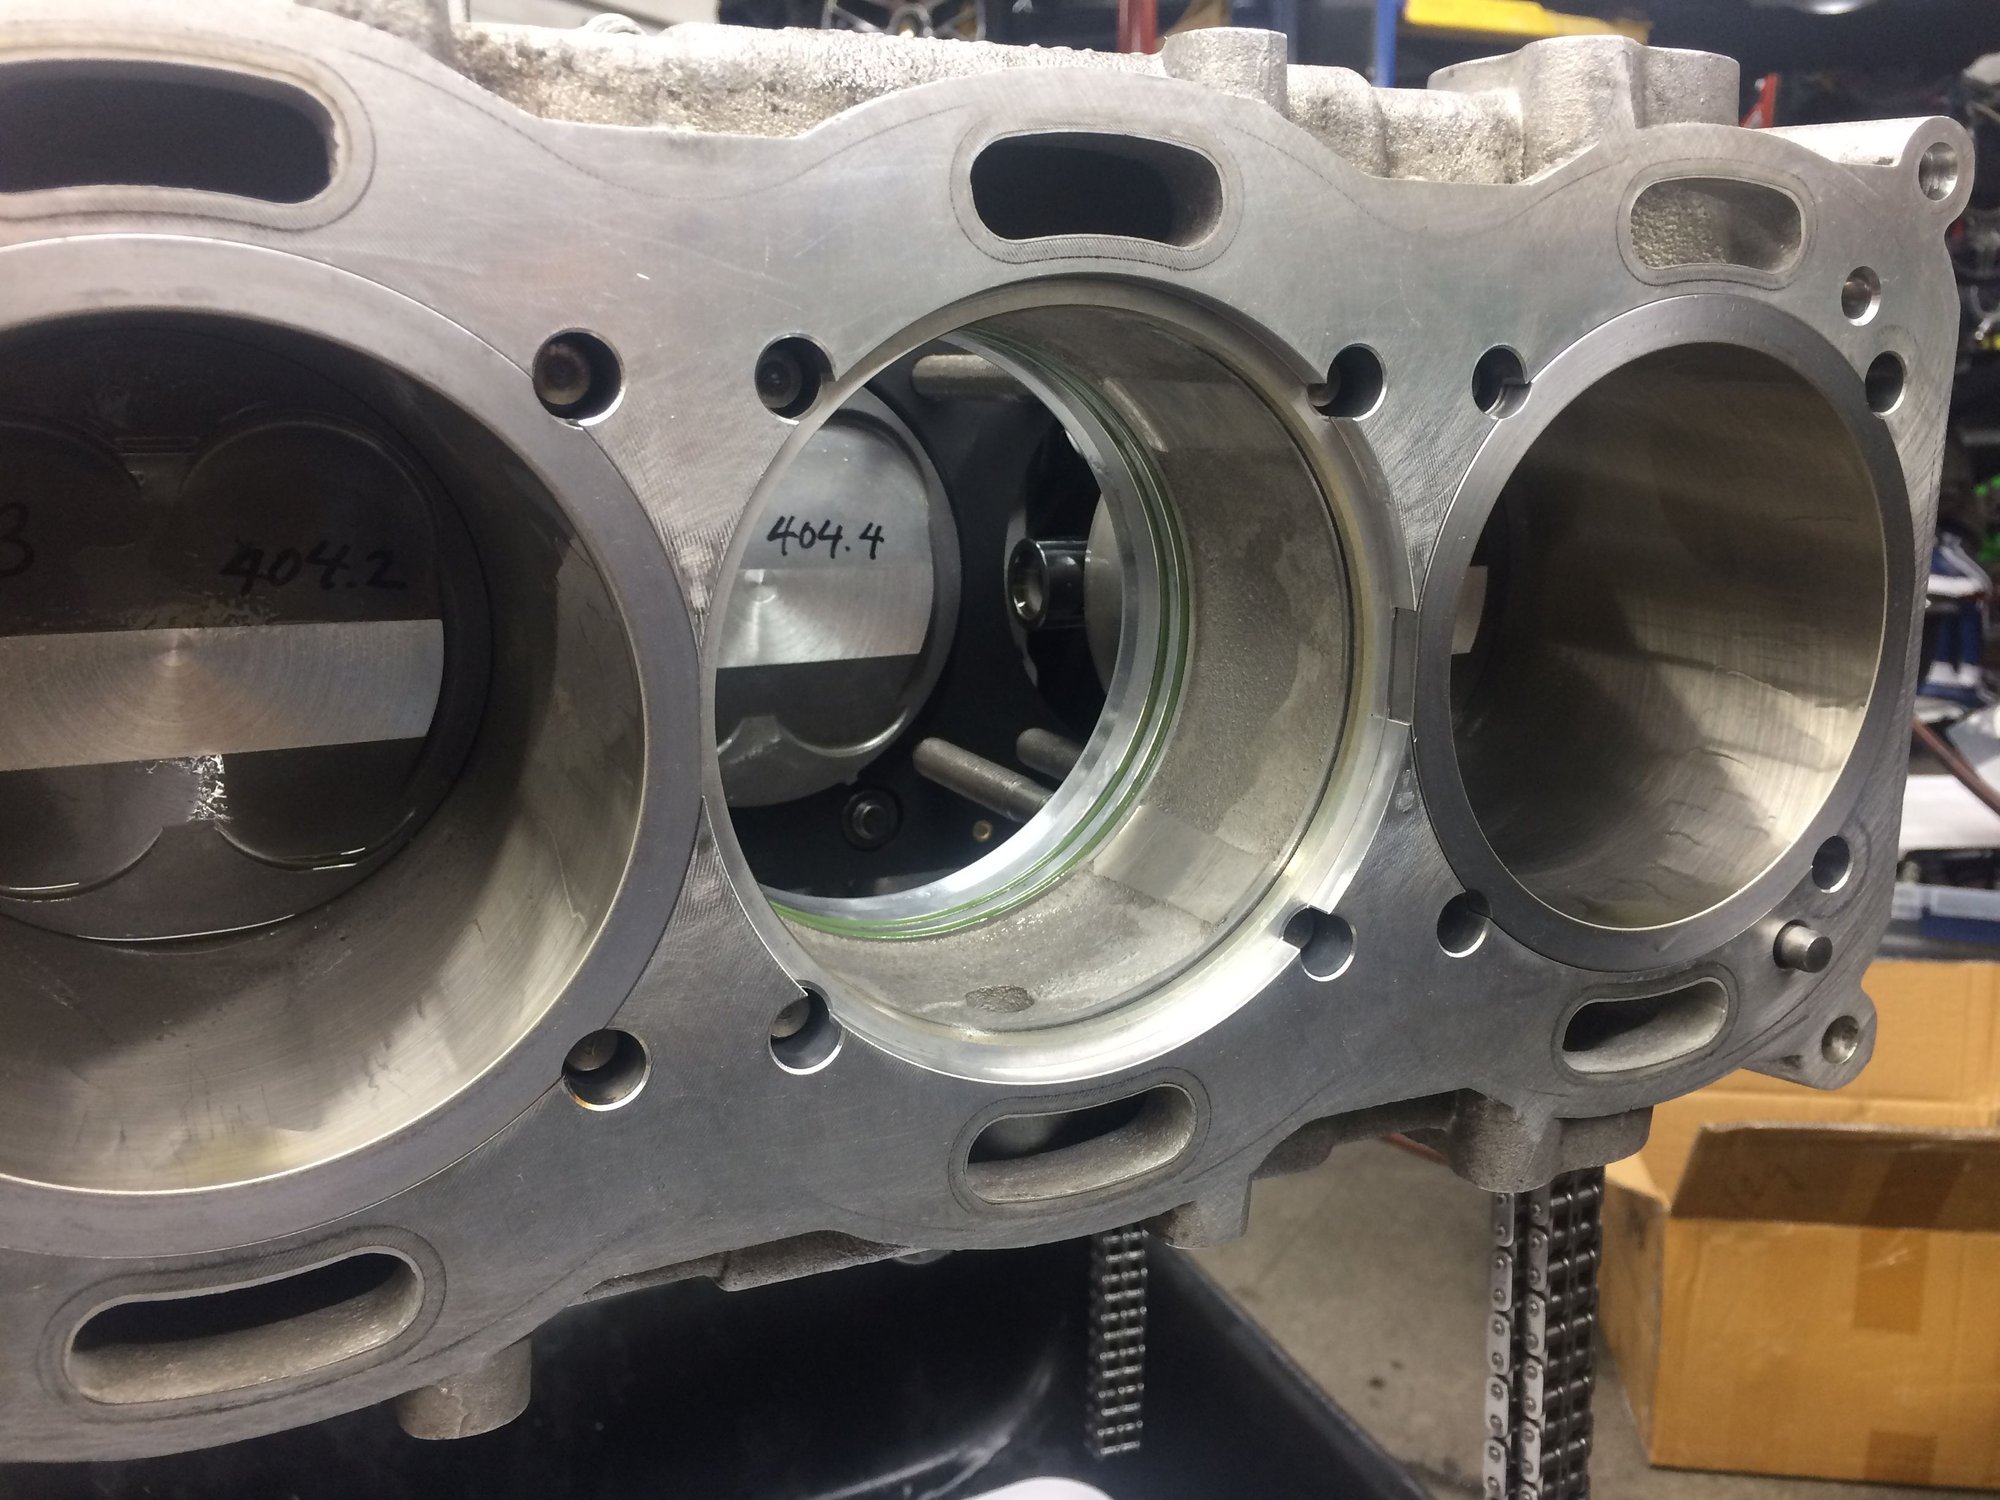
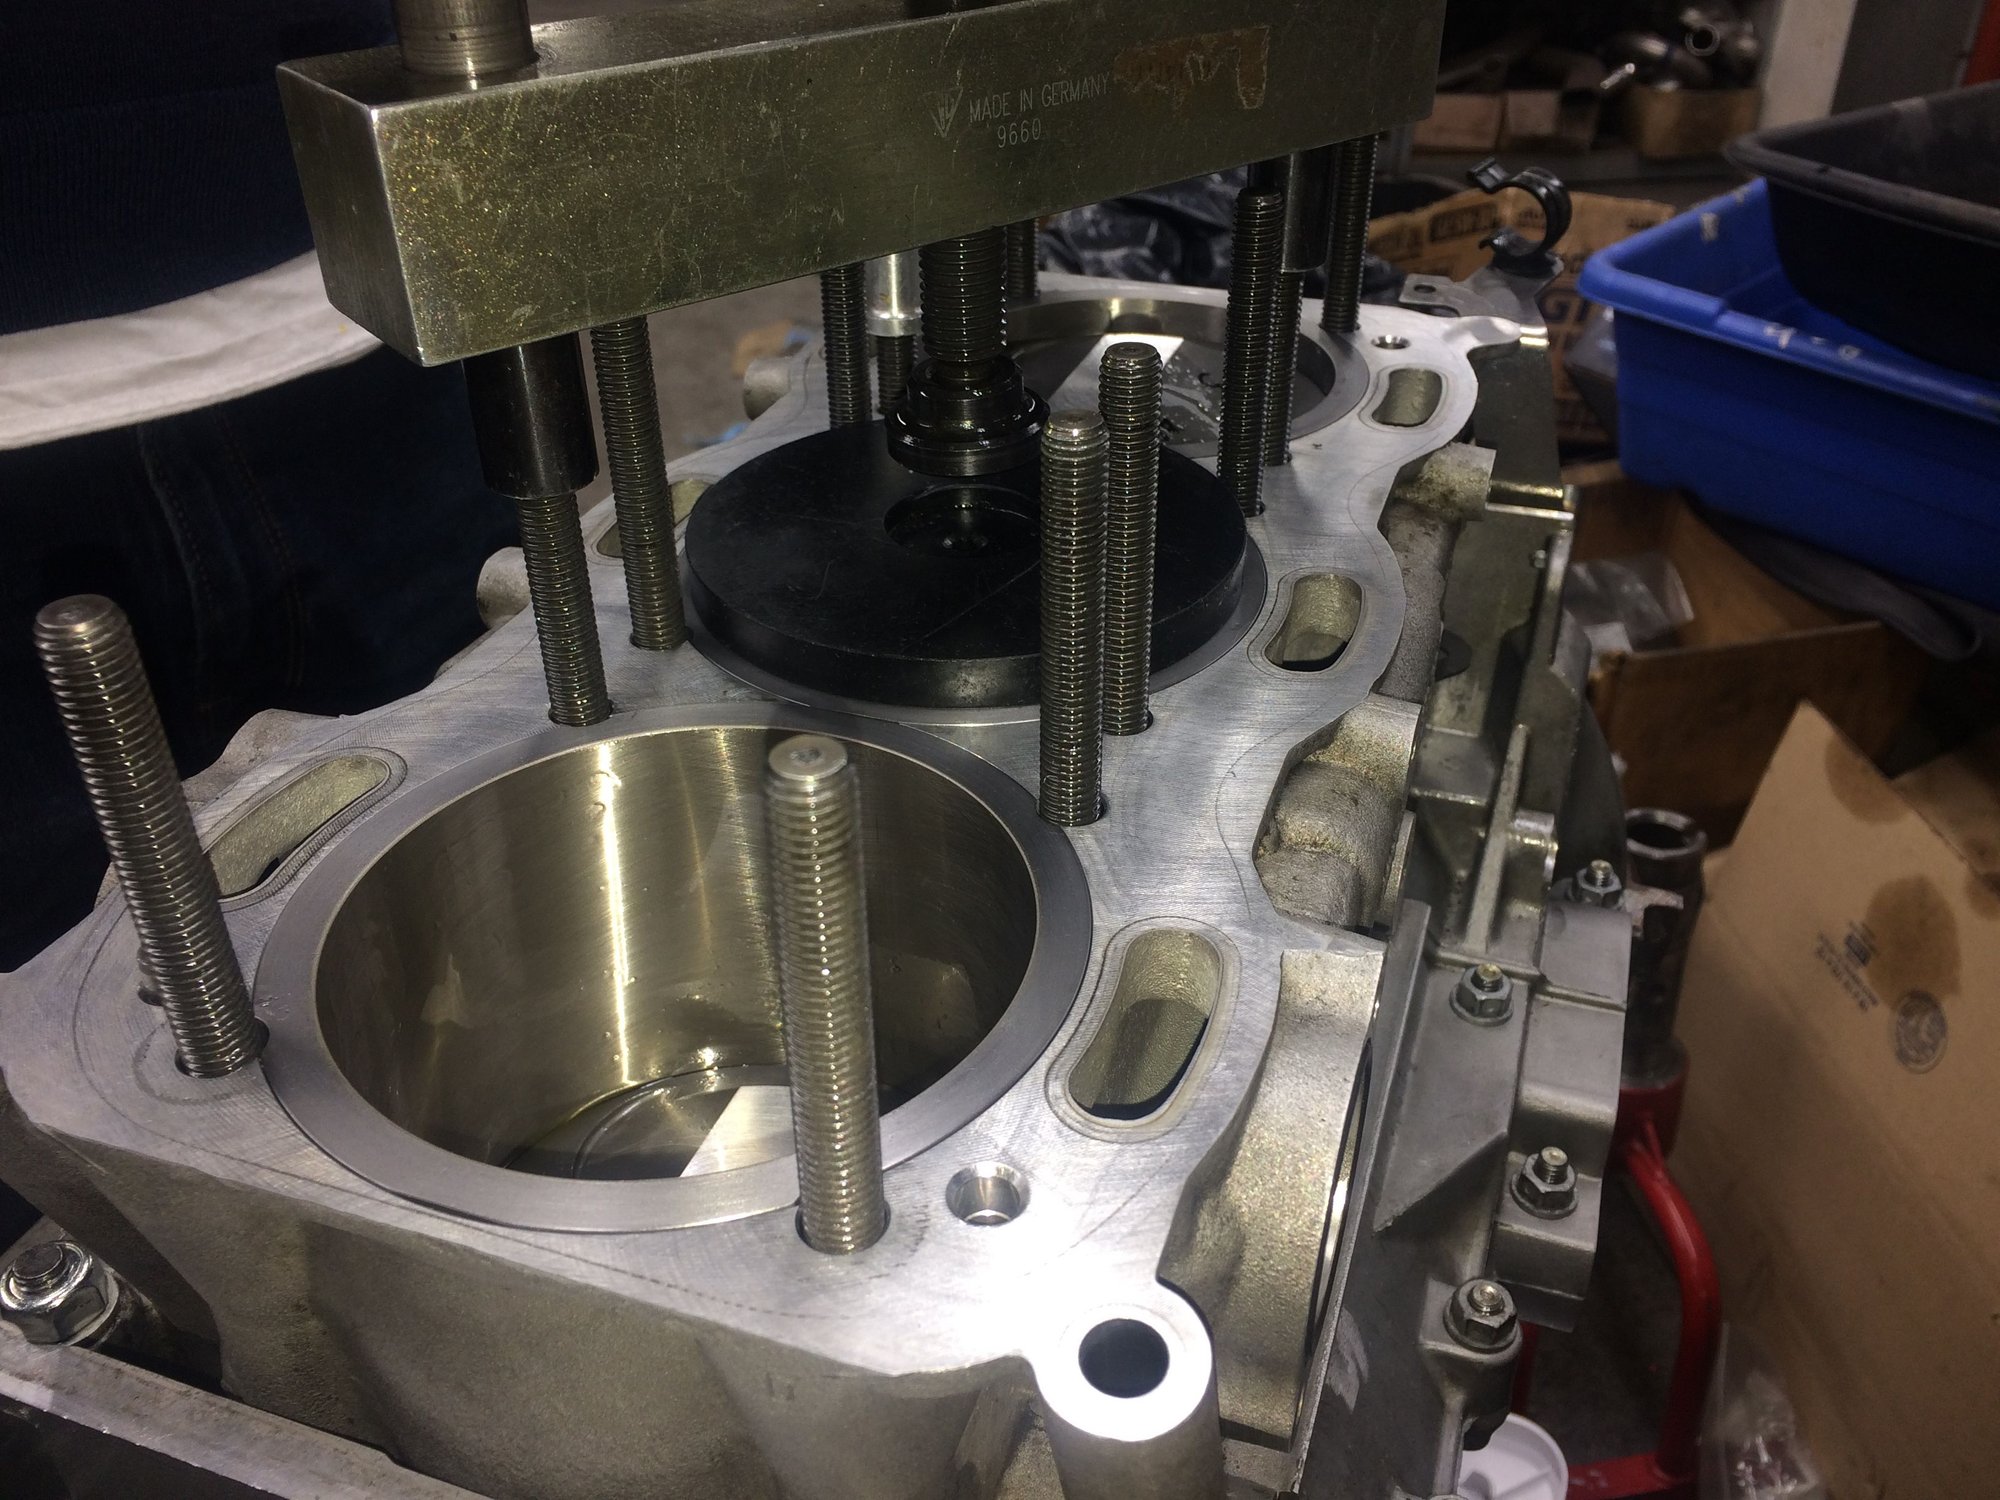
So I think I may have answered my question, but here goes: In factory Step 33, when you're pressing in the middle cylinder, I'm assuming that you've reclocked the crank to get the middle piston in position to slide into the liner? And I'm assuming the liner pushes the band down as the rings enter the liner? How hard is that and what happens to the band?
I see that the band is actually split in on of the pictures -- Are you able to unhook the band and fish it out between the block and the cylinders before you push the cylinders all the way home? Seems very precarious.... Can you add any details?
Tom: Thanks so much for posting all this! It's super educational. The pictures really are worth a thousand words each.
Welcome.
Originally Posted by Brainz
So I think I may have answered my question, but here goes: In factory Step 33, when you're pressing in the middle cylinder, I'm assuming that you've reclocked the crank to get the middle piston in position to slide into the liner? And I'm assuming the liner pushes the band down as the rings enter the liner?
Yes, I turned the crankshaft to the bring the middle piston closer to the cylinder housing but without the outter pistons coming out of their bore. As one piston goes up, another goes down. Its a balancing act.
Originally Posted by Brainz
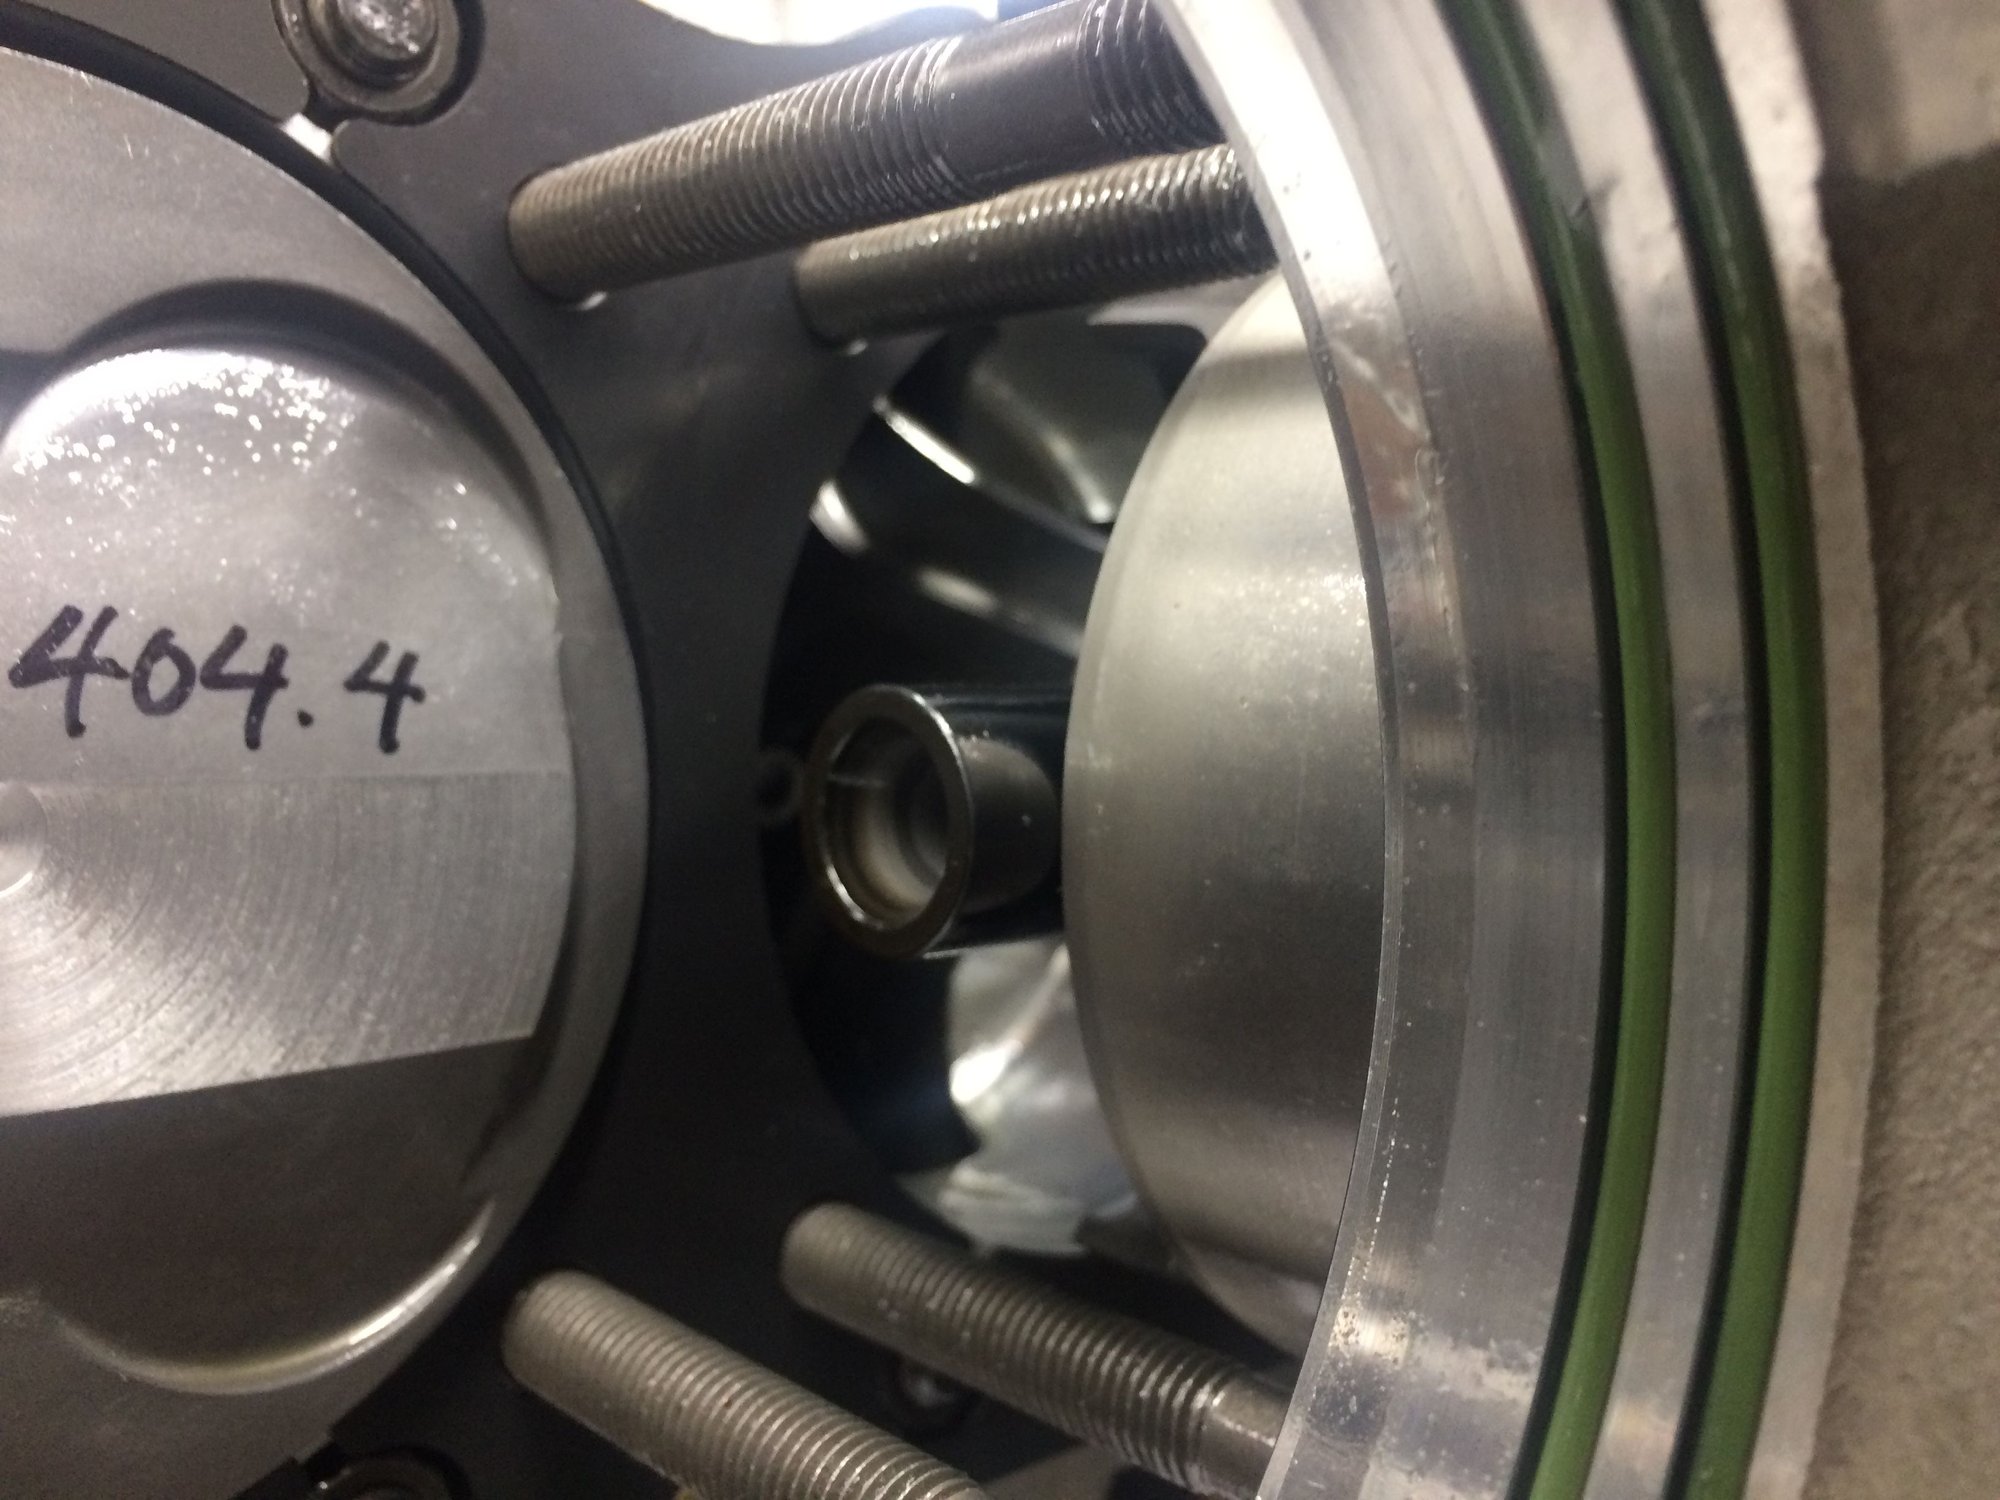
And I'm assuming the liner pushes the band down as the rings enter the liner?
Yes, the sleeve will push the band off the piston very shortly after the sleeve go pass the last ring.
Originally Posted by Brainz
How hard is that and what happens to the band?
As long as the rings went in the band properly using the factory handwheel tool wasn't hard. At that moment all I can do is hope for the best. Had the handwheel doesn't feel smooth or completely binds then I would have stop and come to realize that a ring is binding and had to redo all the cylinders. Thankfully the handwheel turned smoothly all the way. Once the sleeve is pressed in far enough to go pass the rings the sleeve pushed the band off the skirt of the piston.
Originally Posted by Brainz
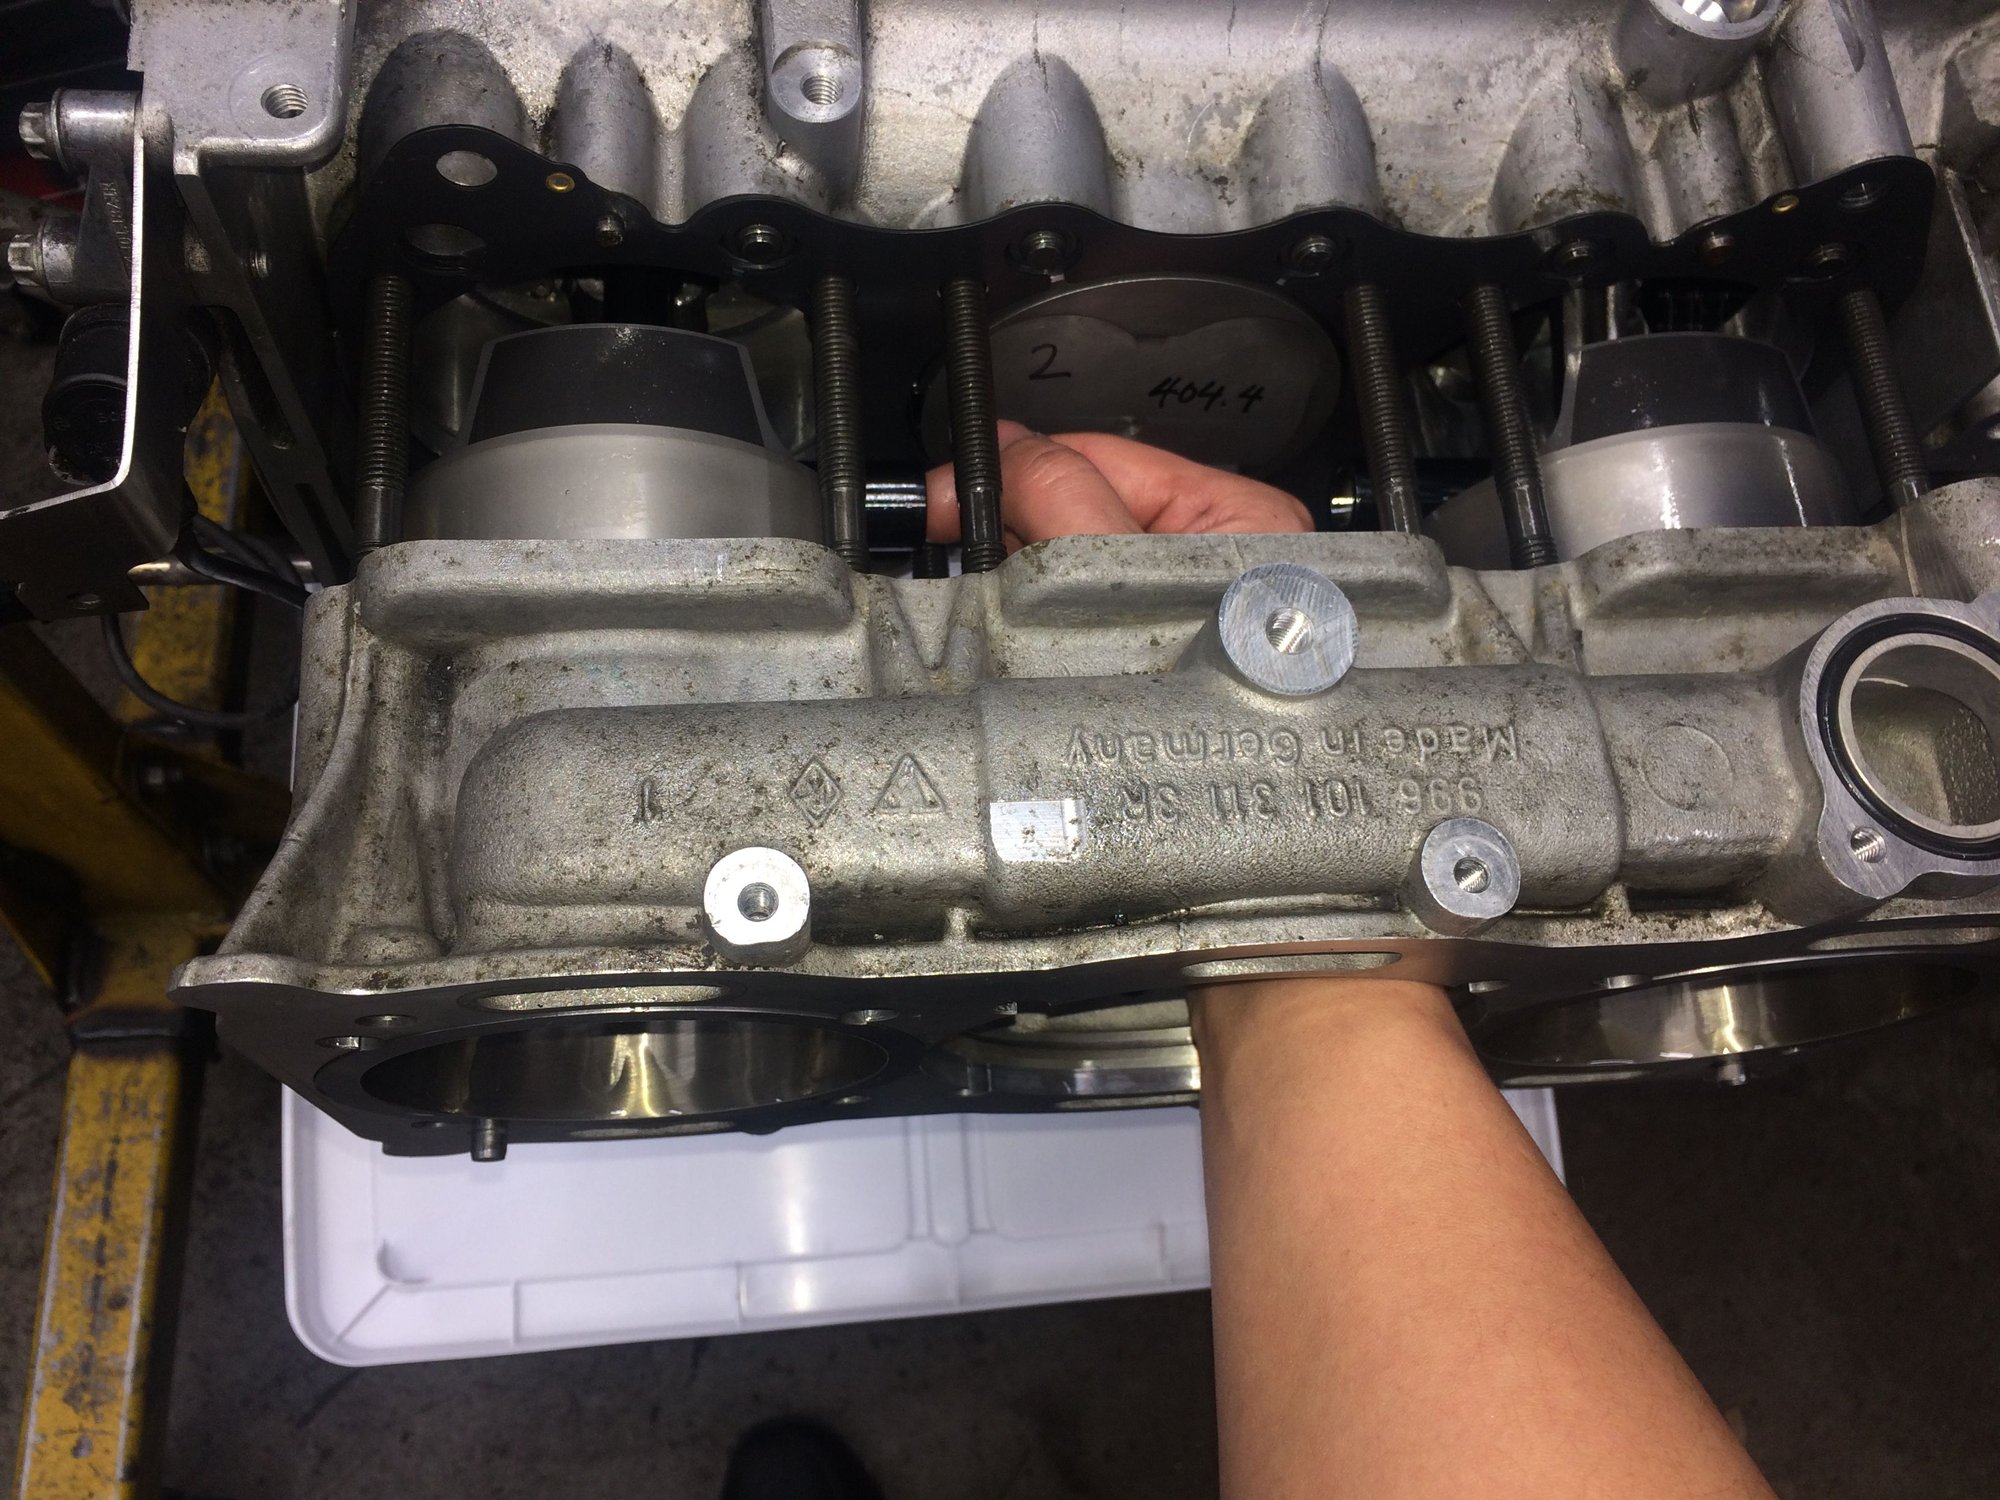
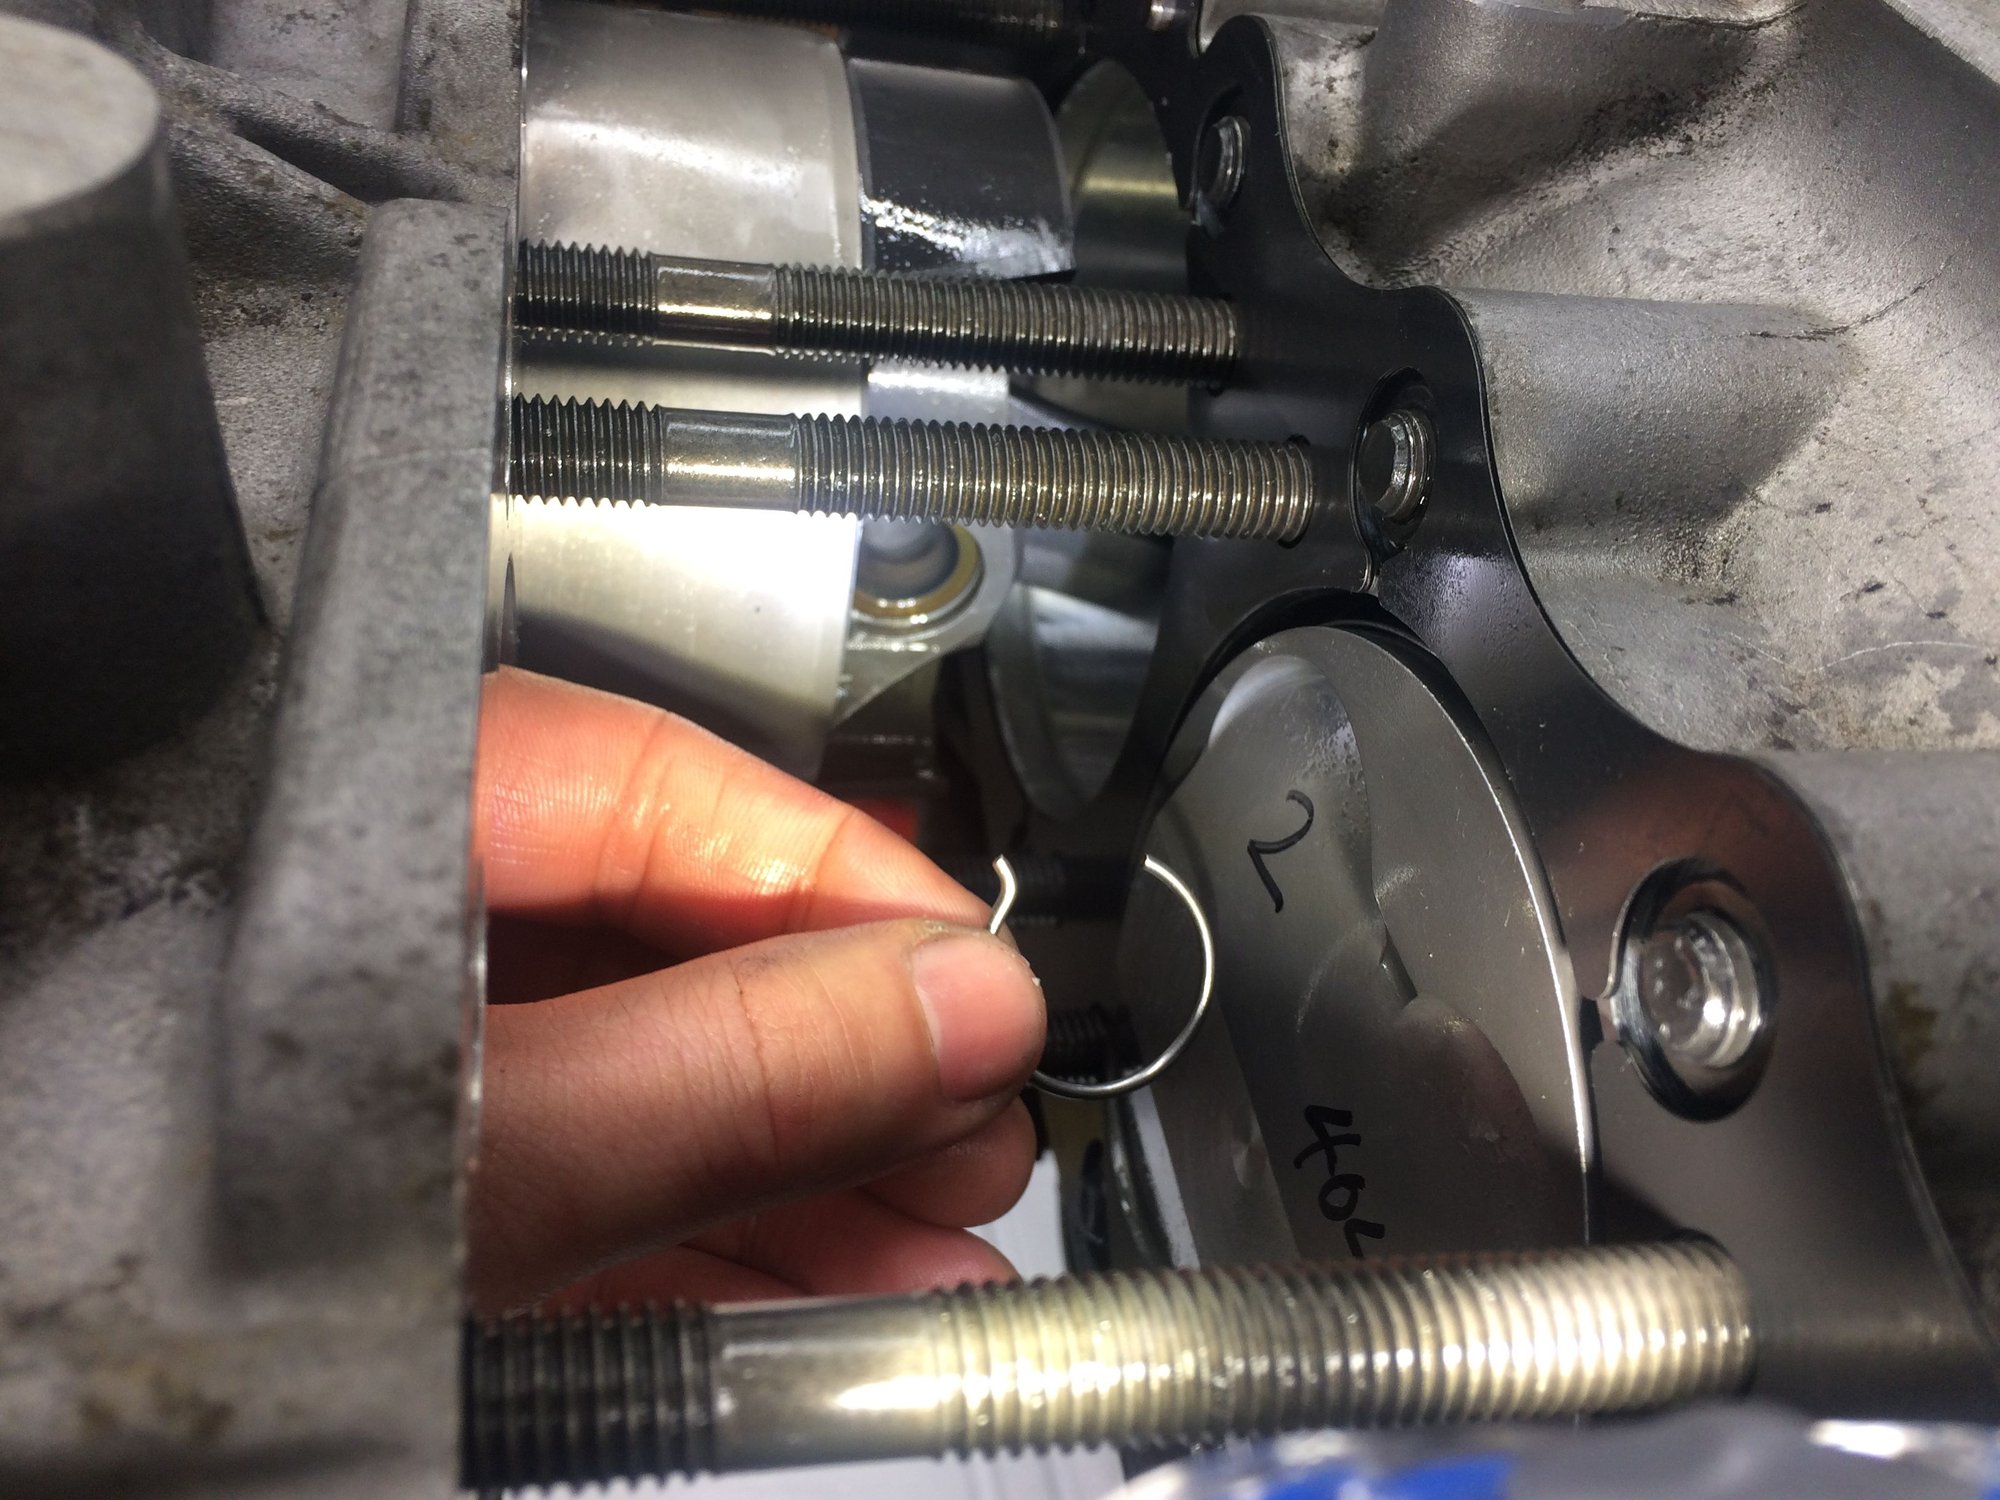
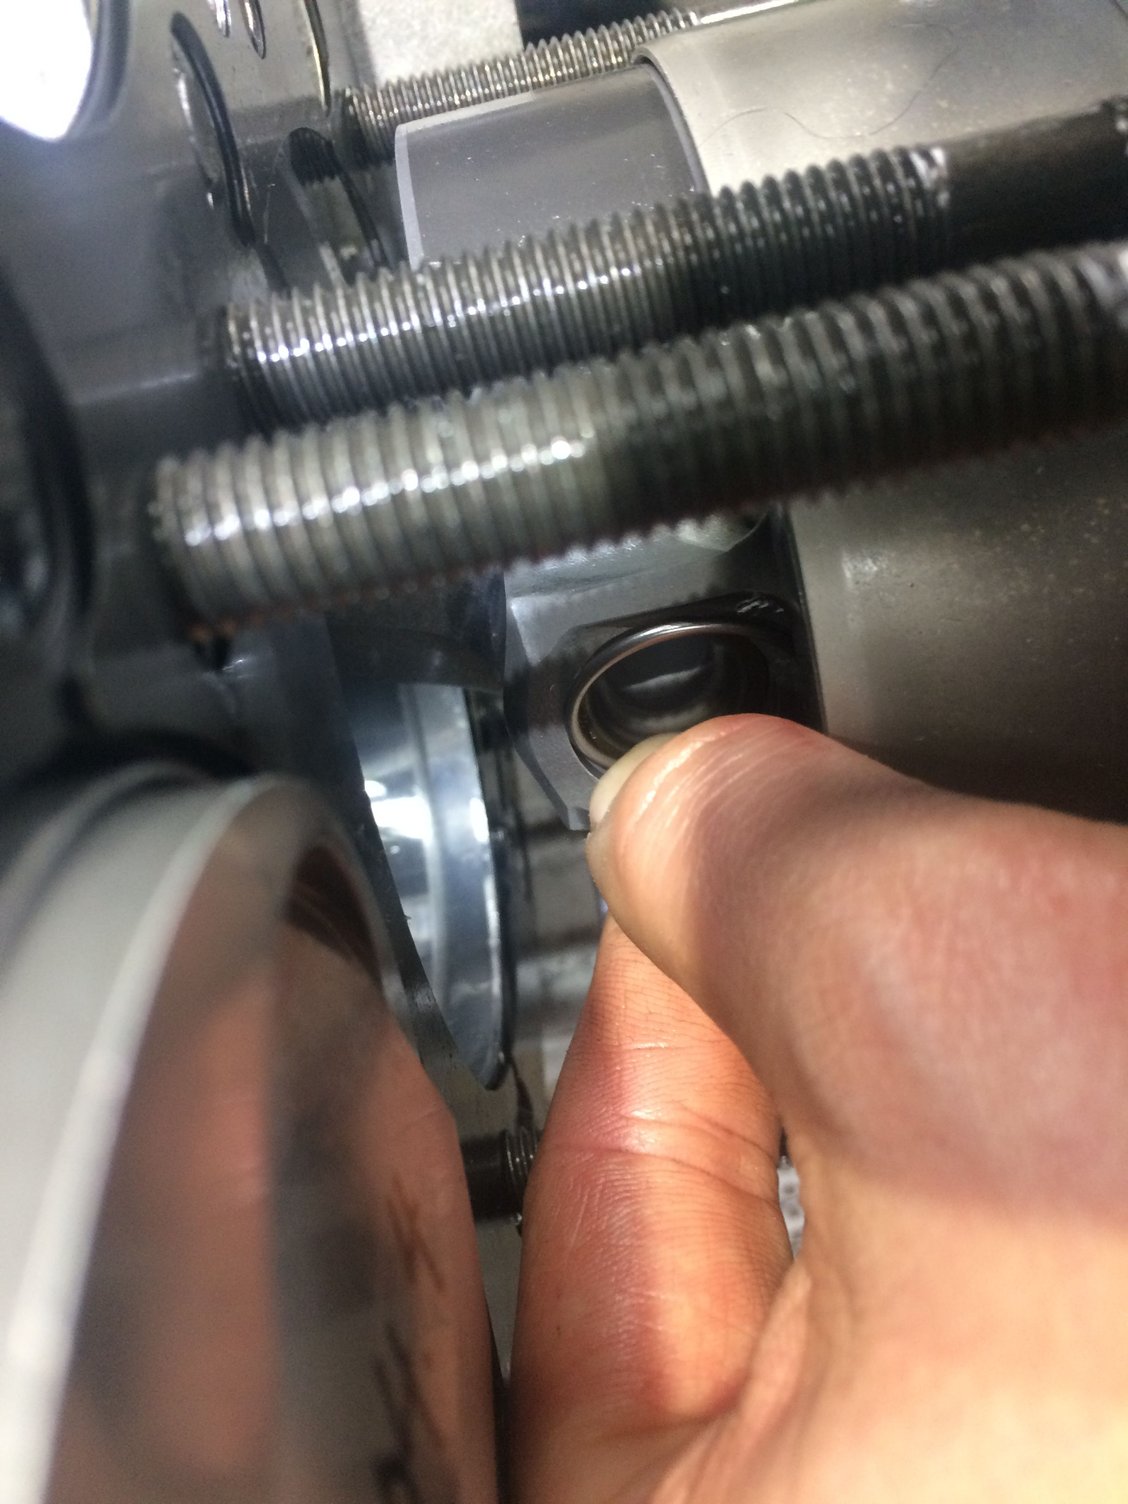
I see that the band is actually split in on of the pictures -- Are you able to unhook the band and fish it out between the block and the cylinders before you push the cylinders all the way home? Seems very precarious.... Can you add any details?
Yes, the band does split. There's about a one inch gap left between the cylinder housing and the block at that point. This gap is enough to unhook the band with fingers. Unhooking the band took some patience. After unhooking the band then the middle sleeve can be pressed in all the way.
__________________
PCA National Instructor
TPC Racing stats:
2023 Porsche Sprint Challenge 992 Cup Am Champion
2023 Porsche Sprint Challenge GT4 Pro-Am Team Champion
2022 Porsche Sprint Challenge 992 Cup & 991 Cup Champion
2020 IMSA GT3 Cup Challenge 2nd Championship
2018 IMSA GT3 Cup Challenge 2nd Championship
2016 IMSA GT3 Cup Challenge Champion
2013 IMSA GT3 Cup Challenge Champion
2006 Rolex-24 @ Daytona GT Champion
2004 Grand-Am SGS Class Champion
Last edited by Tom@TPC Racing; 03-13-2018 at 07:13 PM.
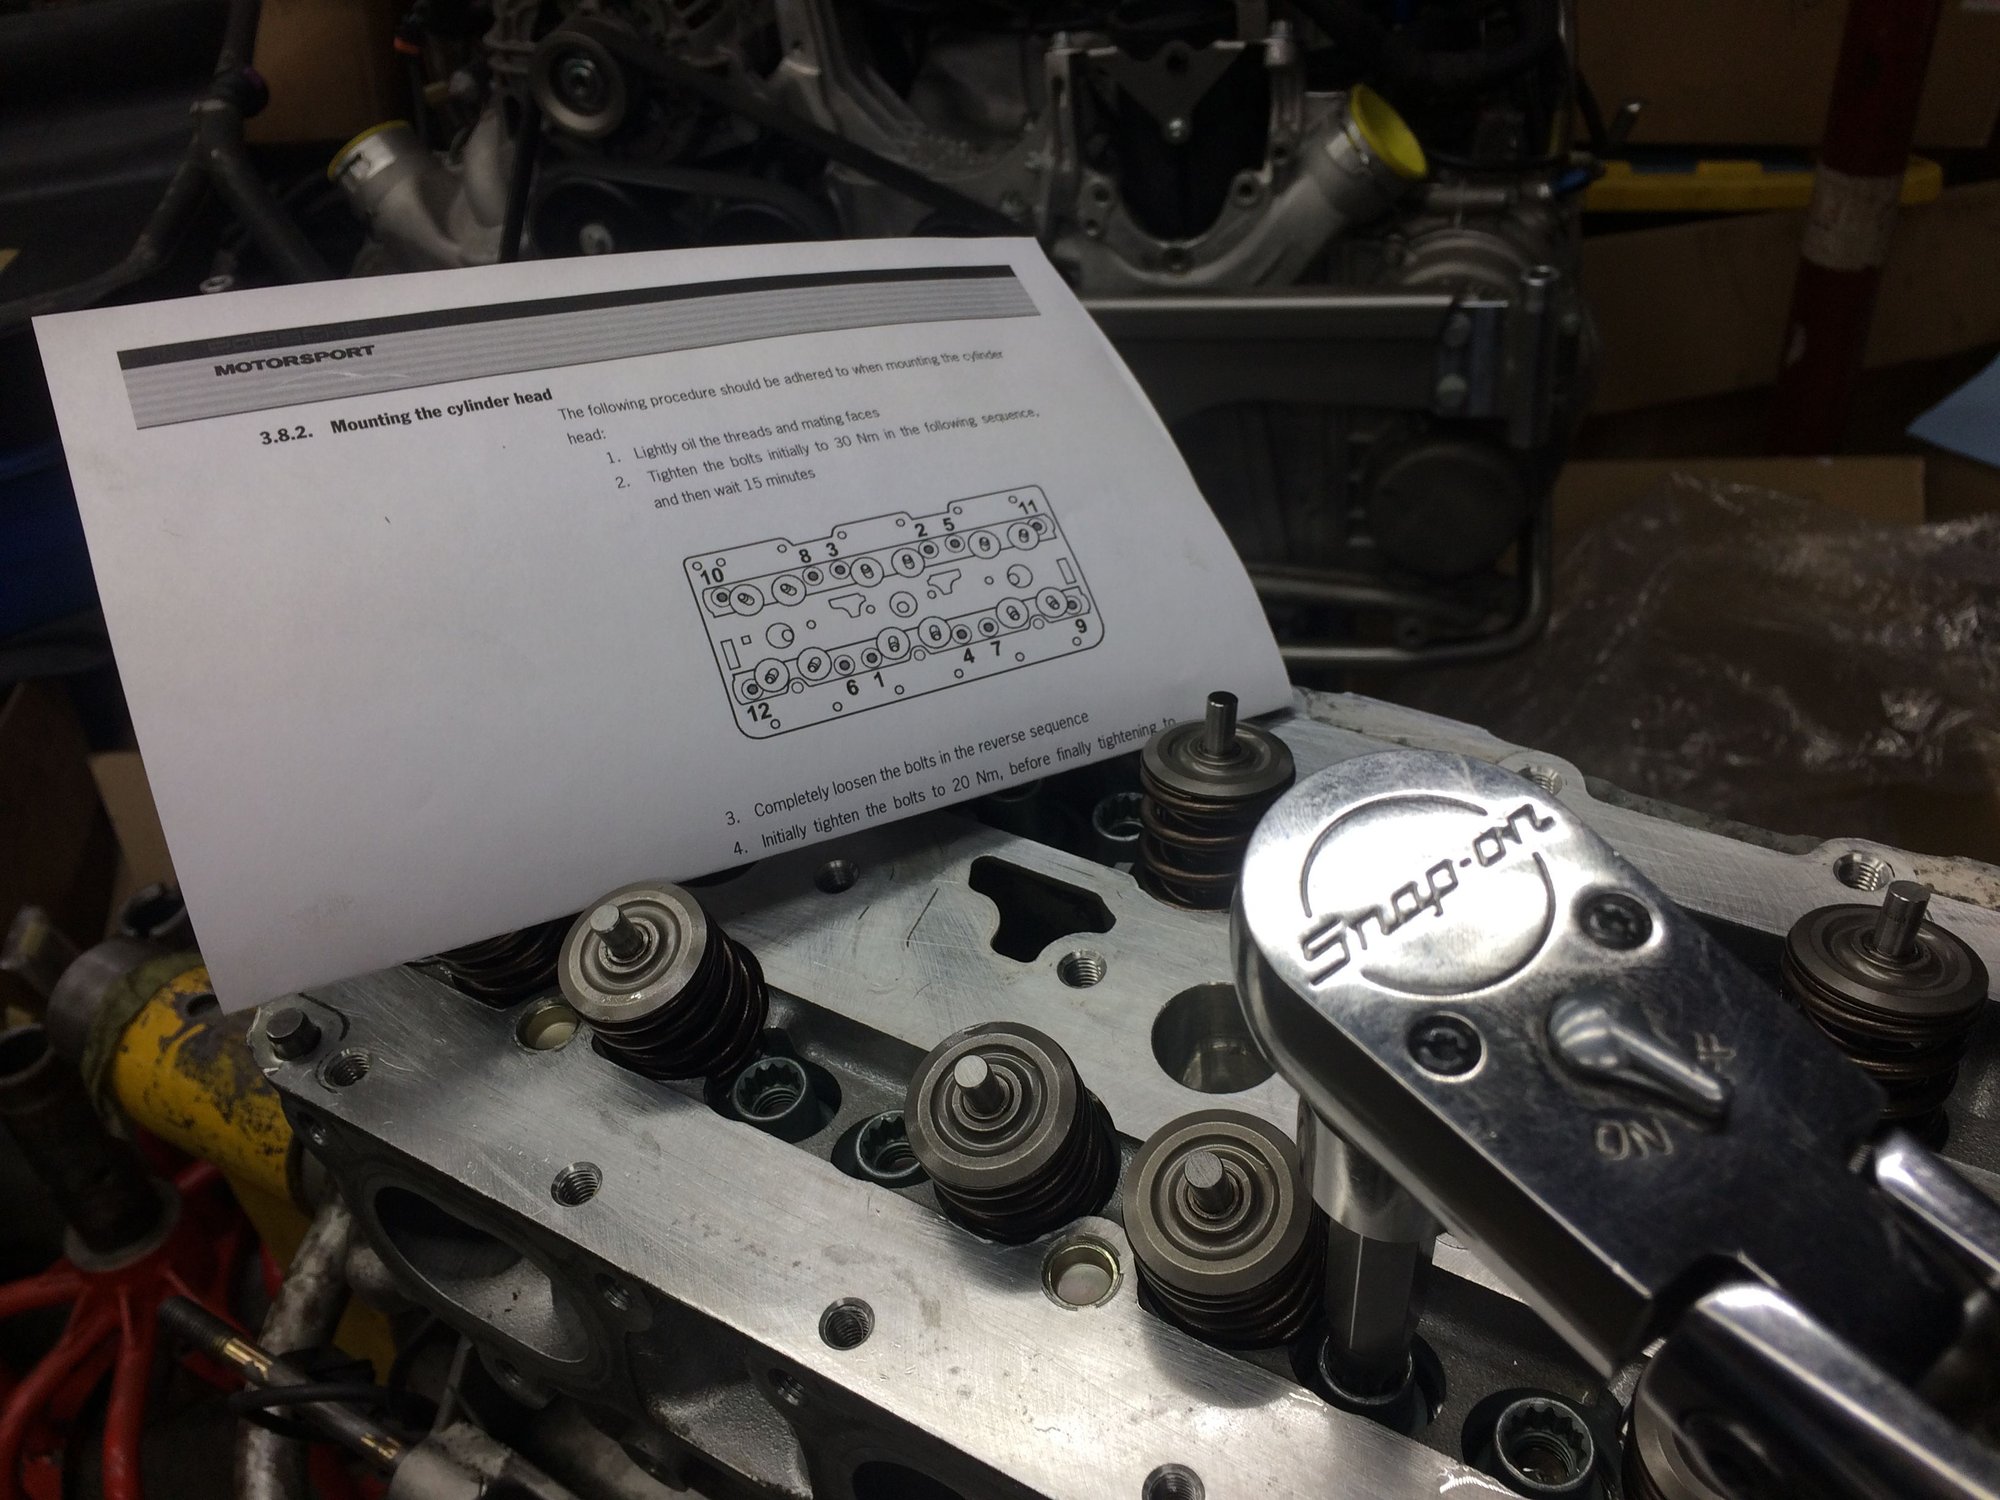
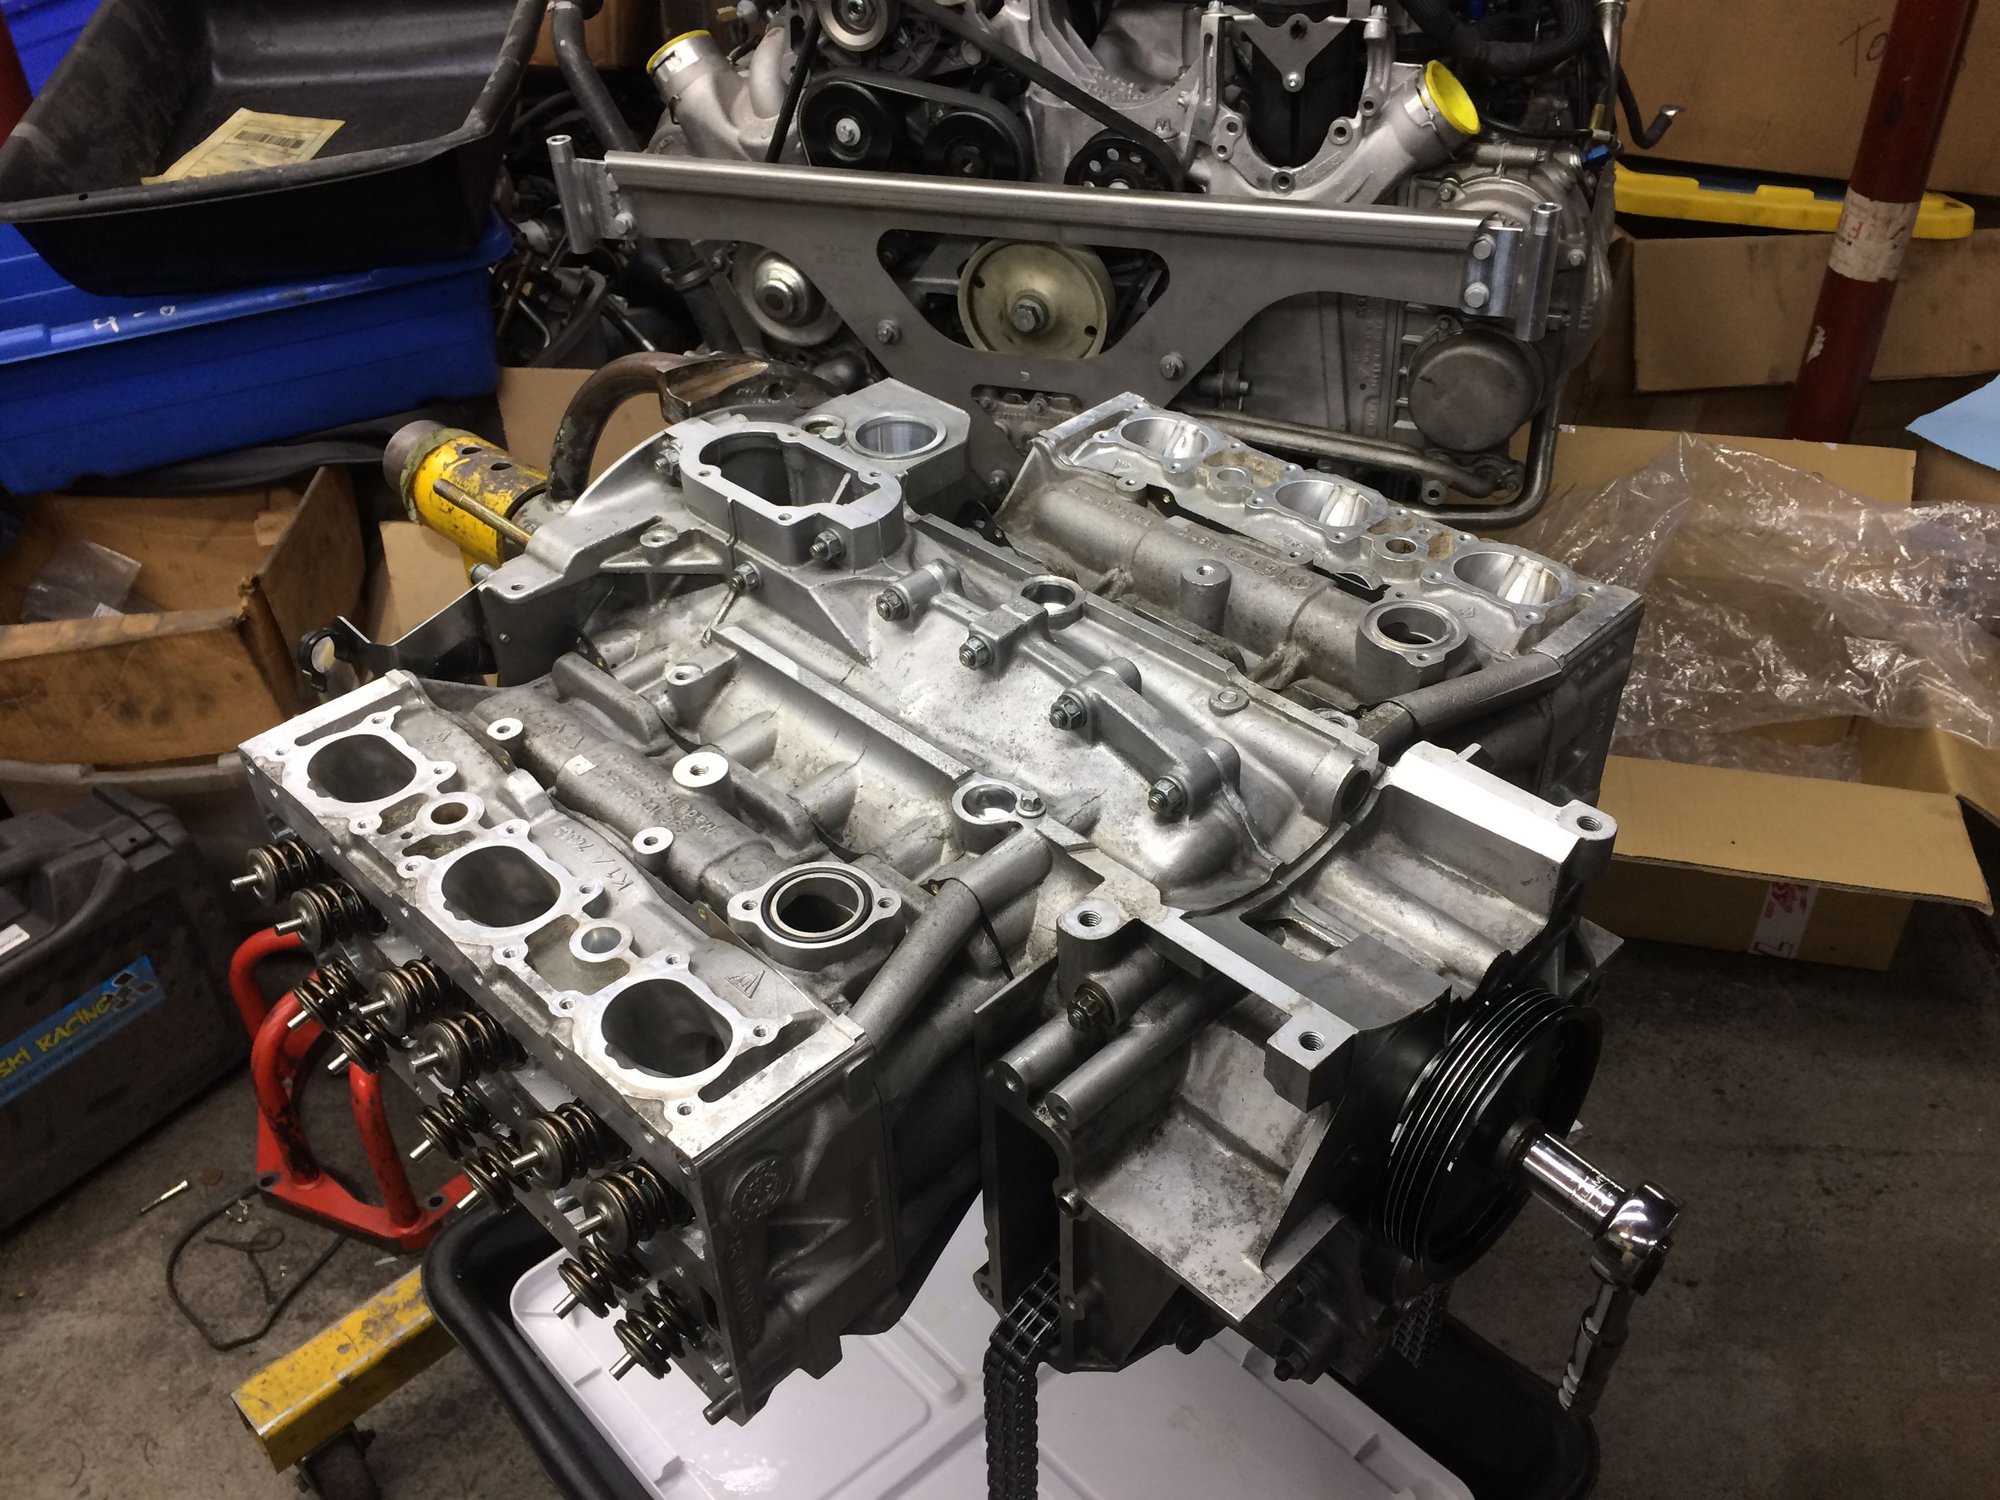
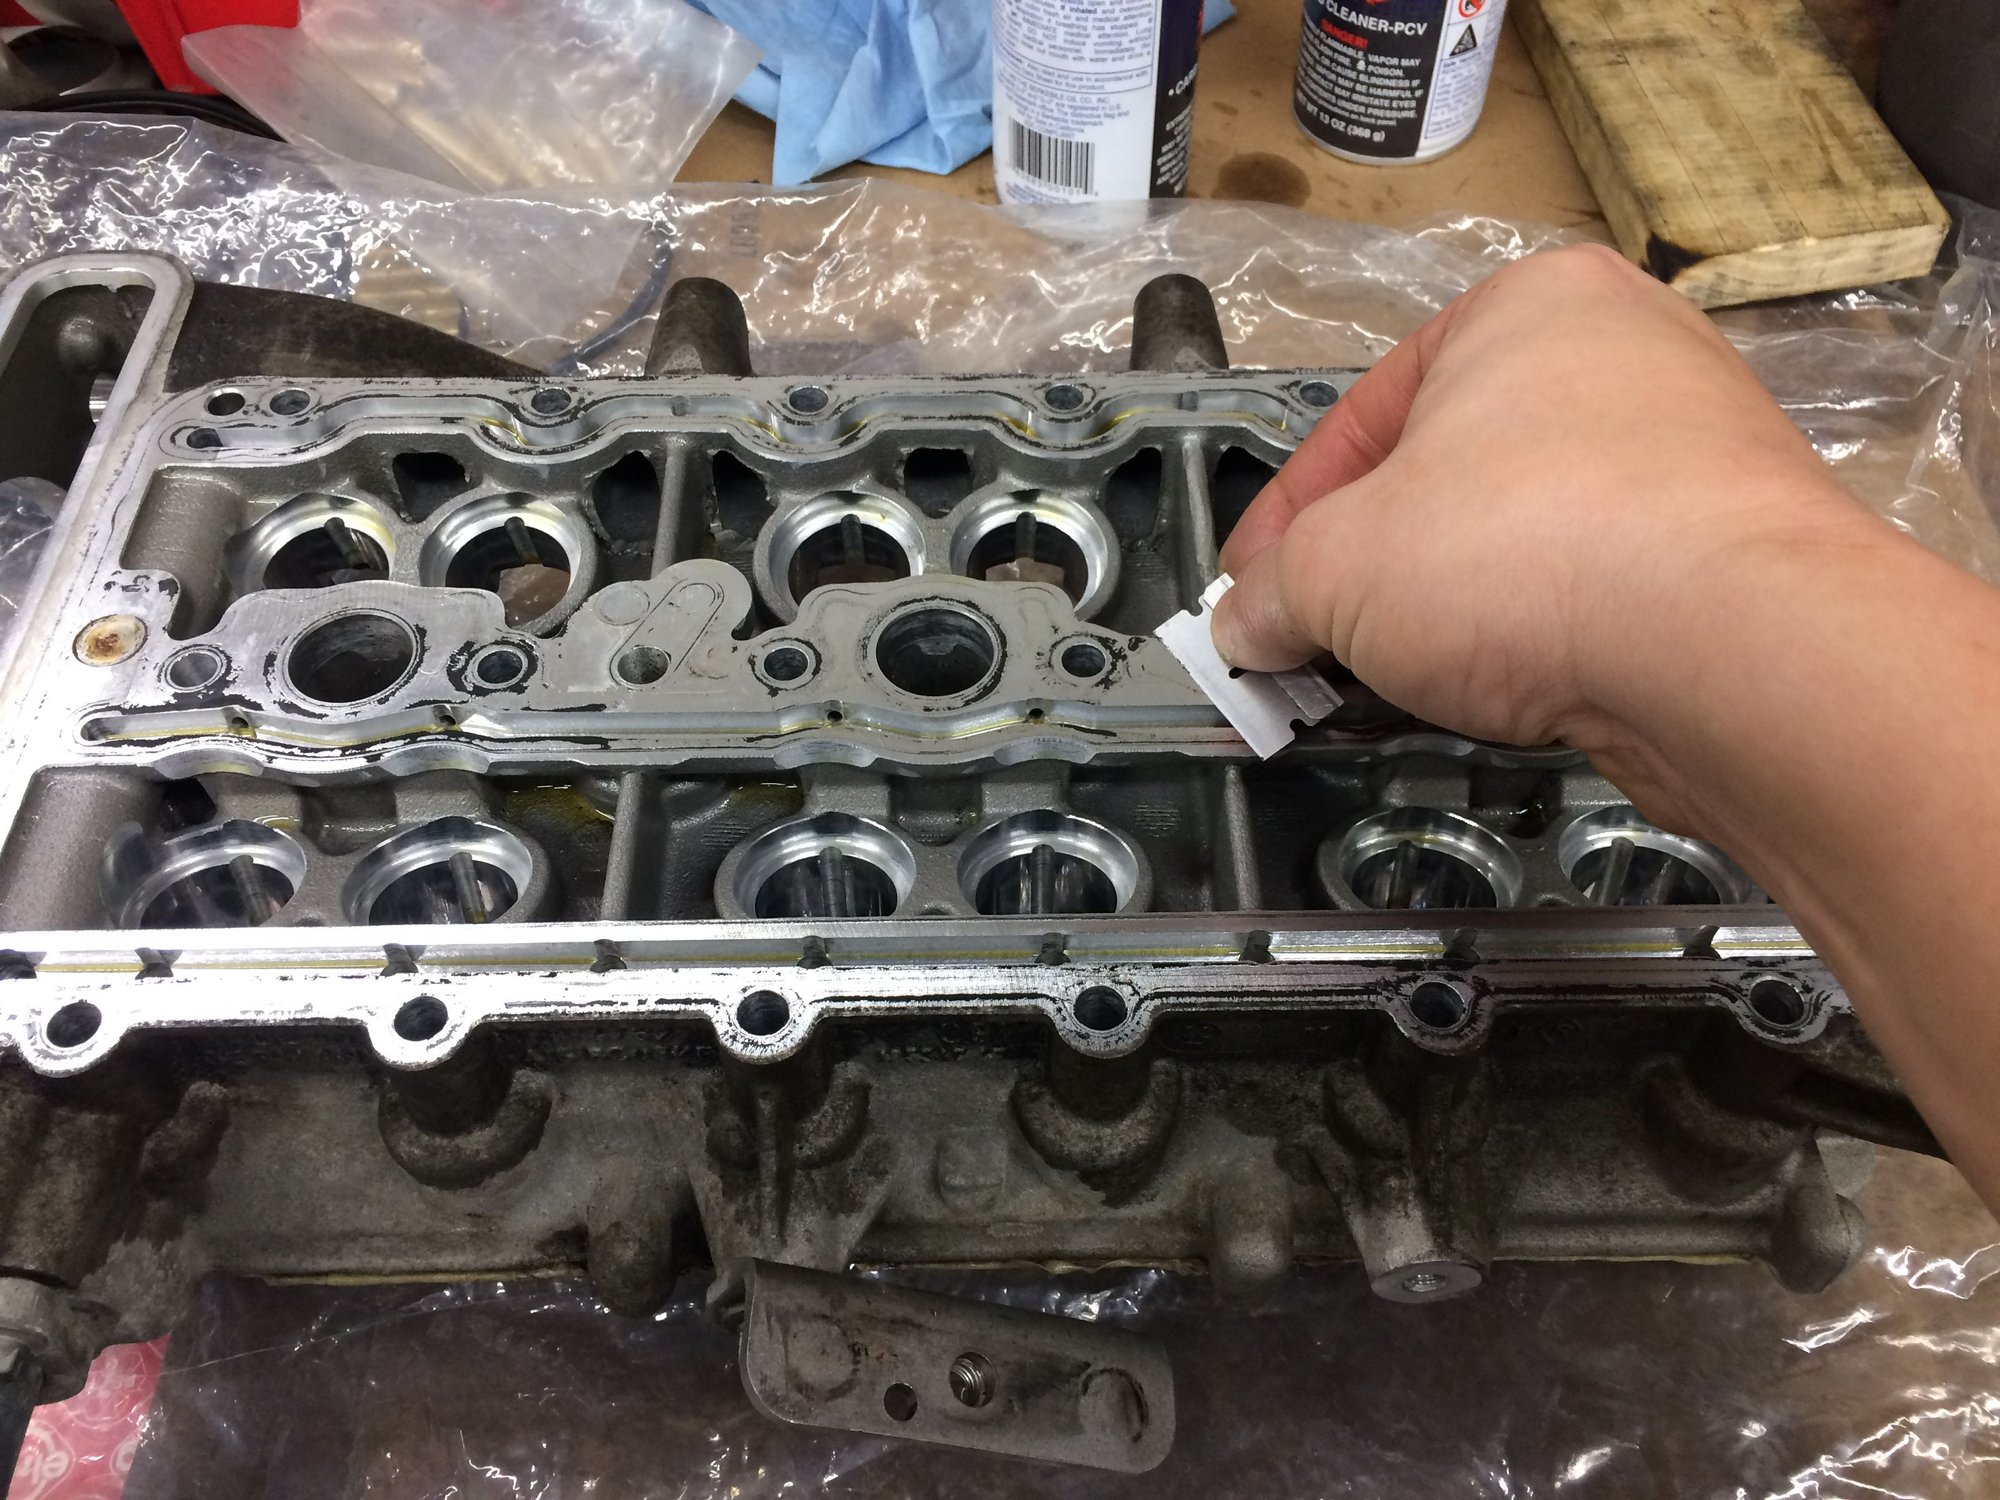
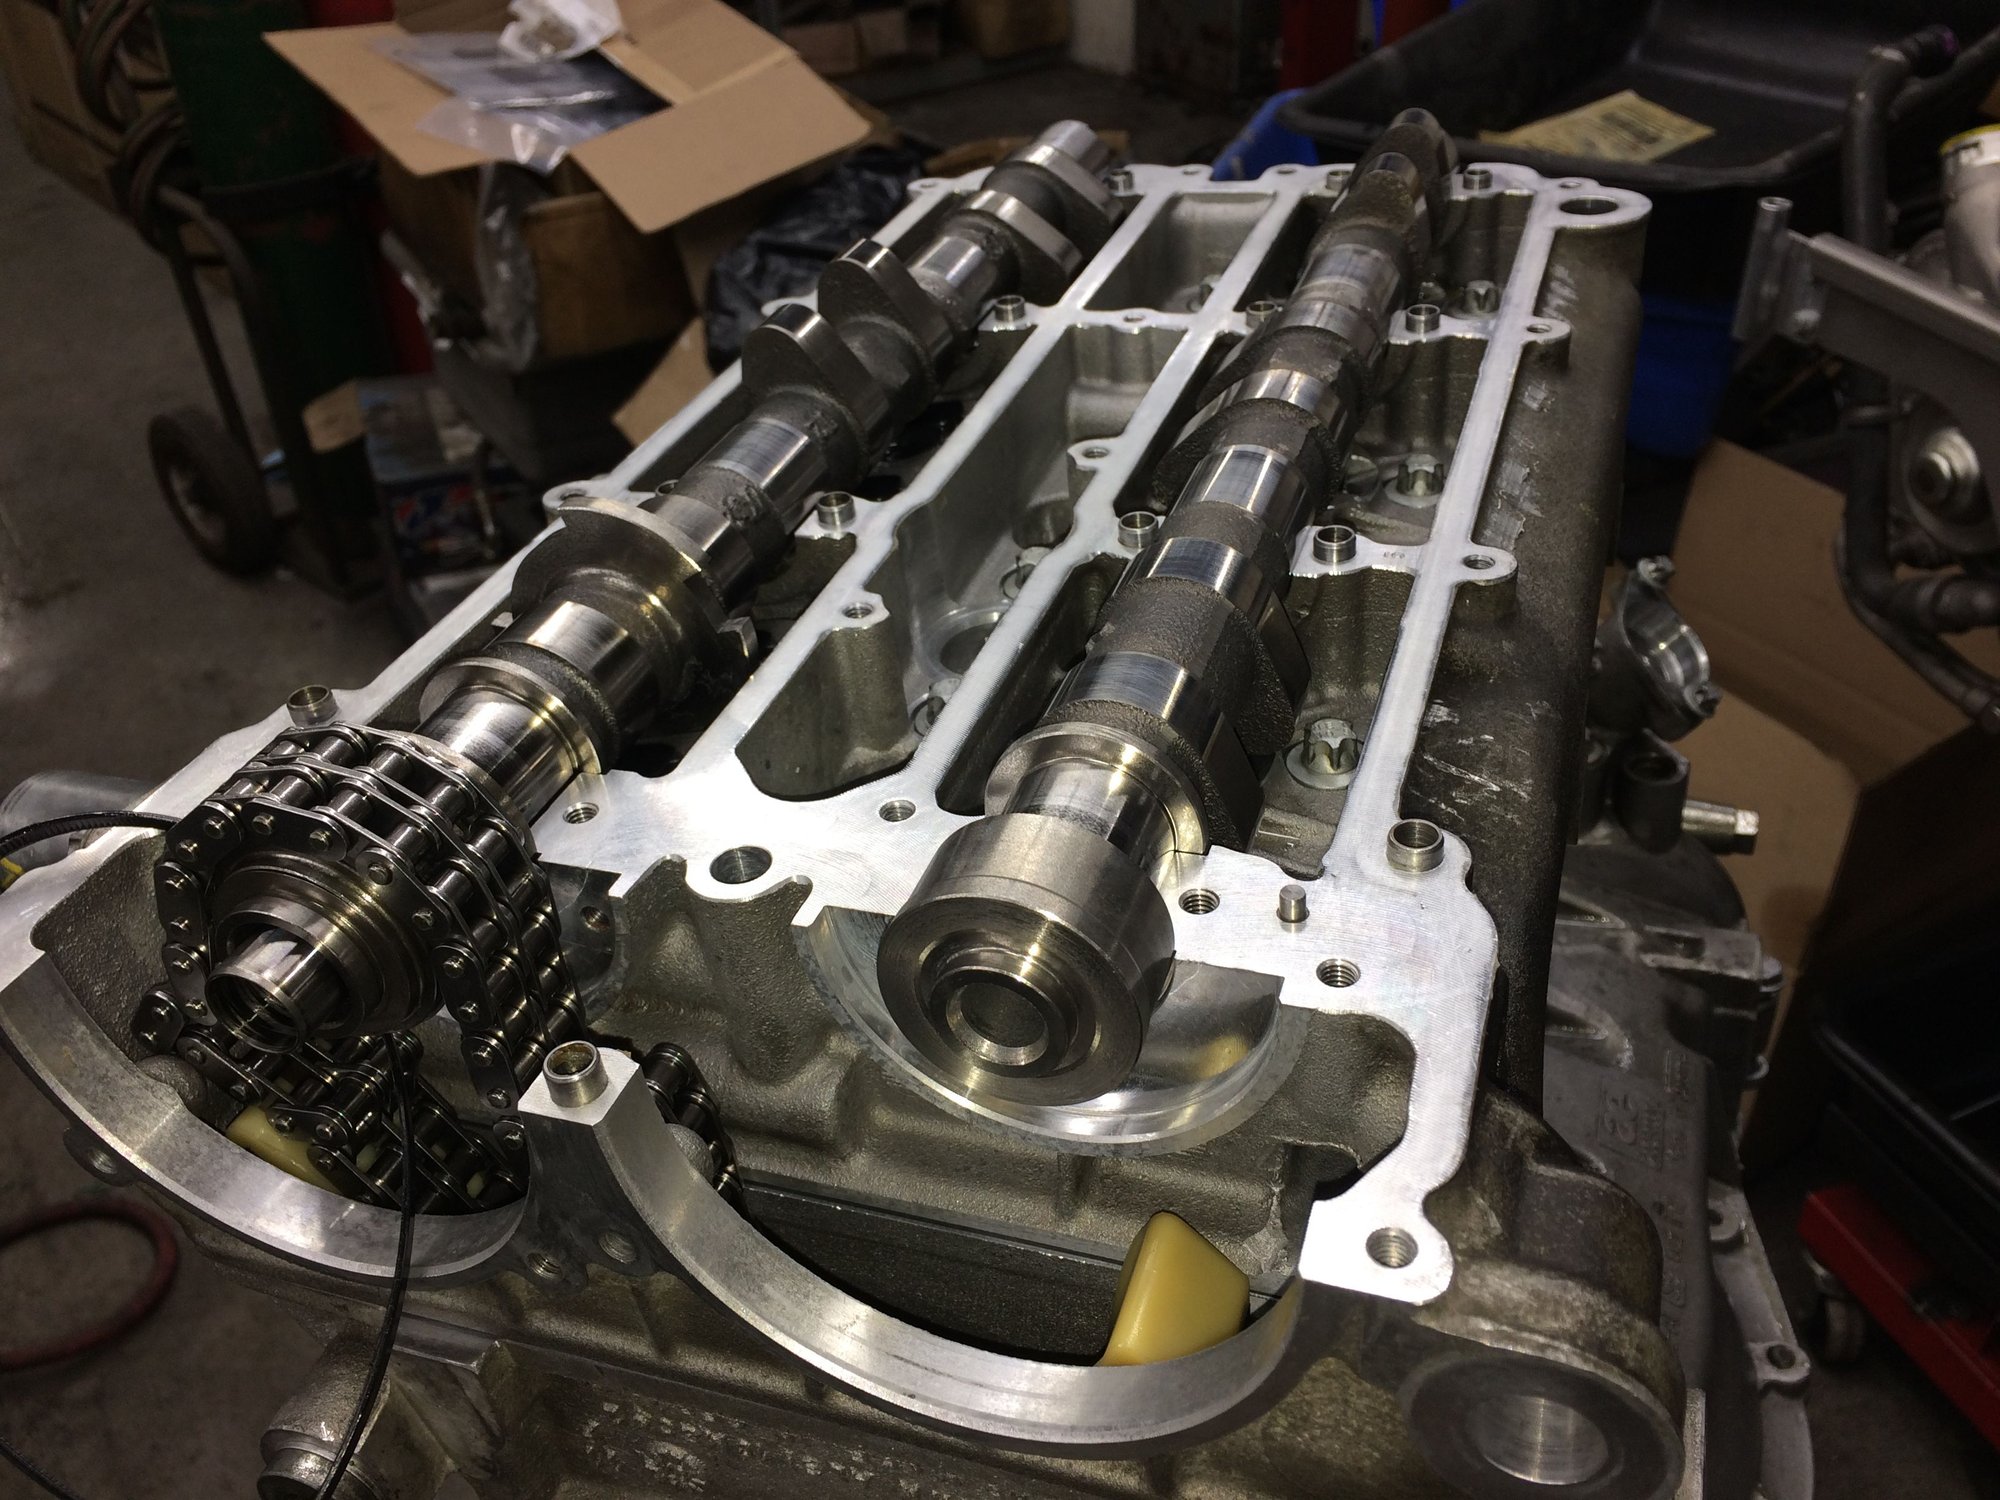
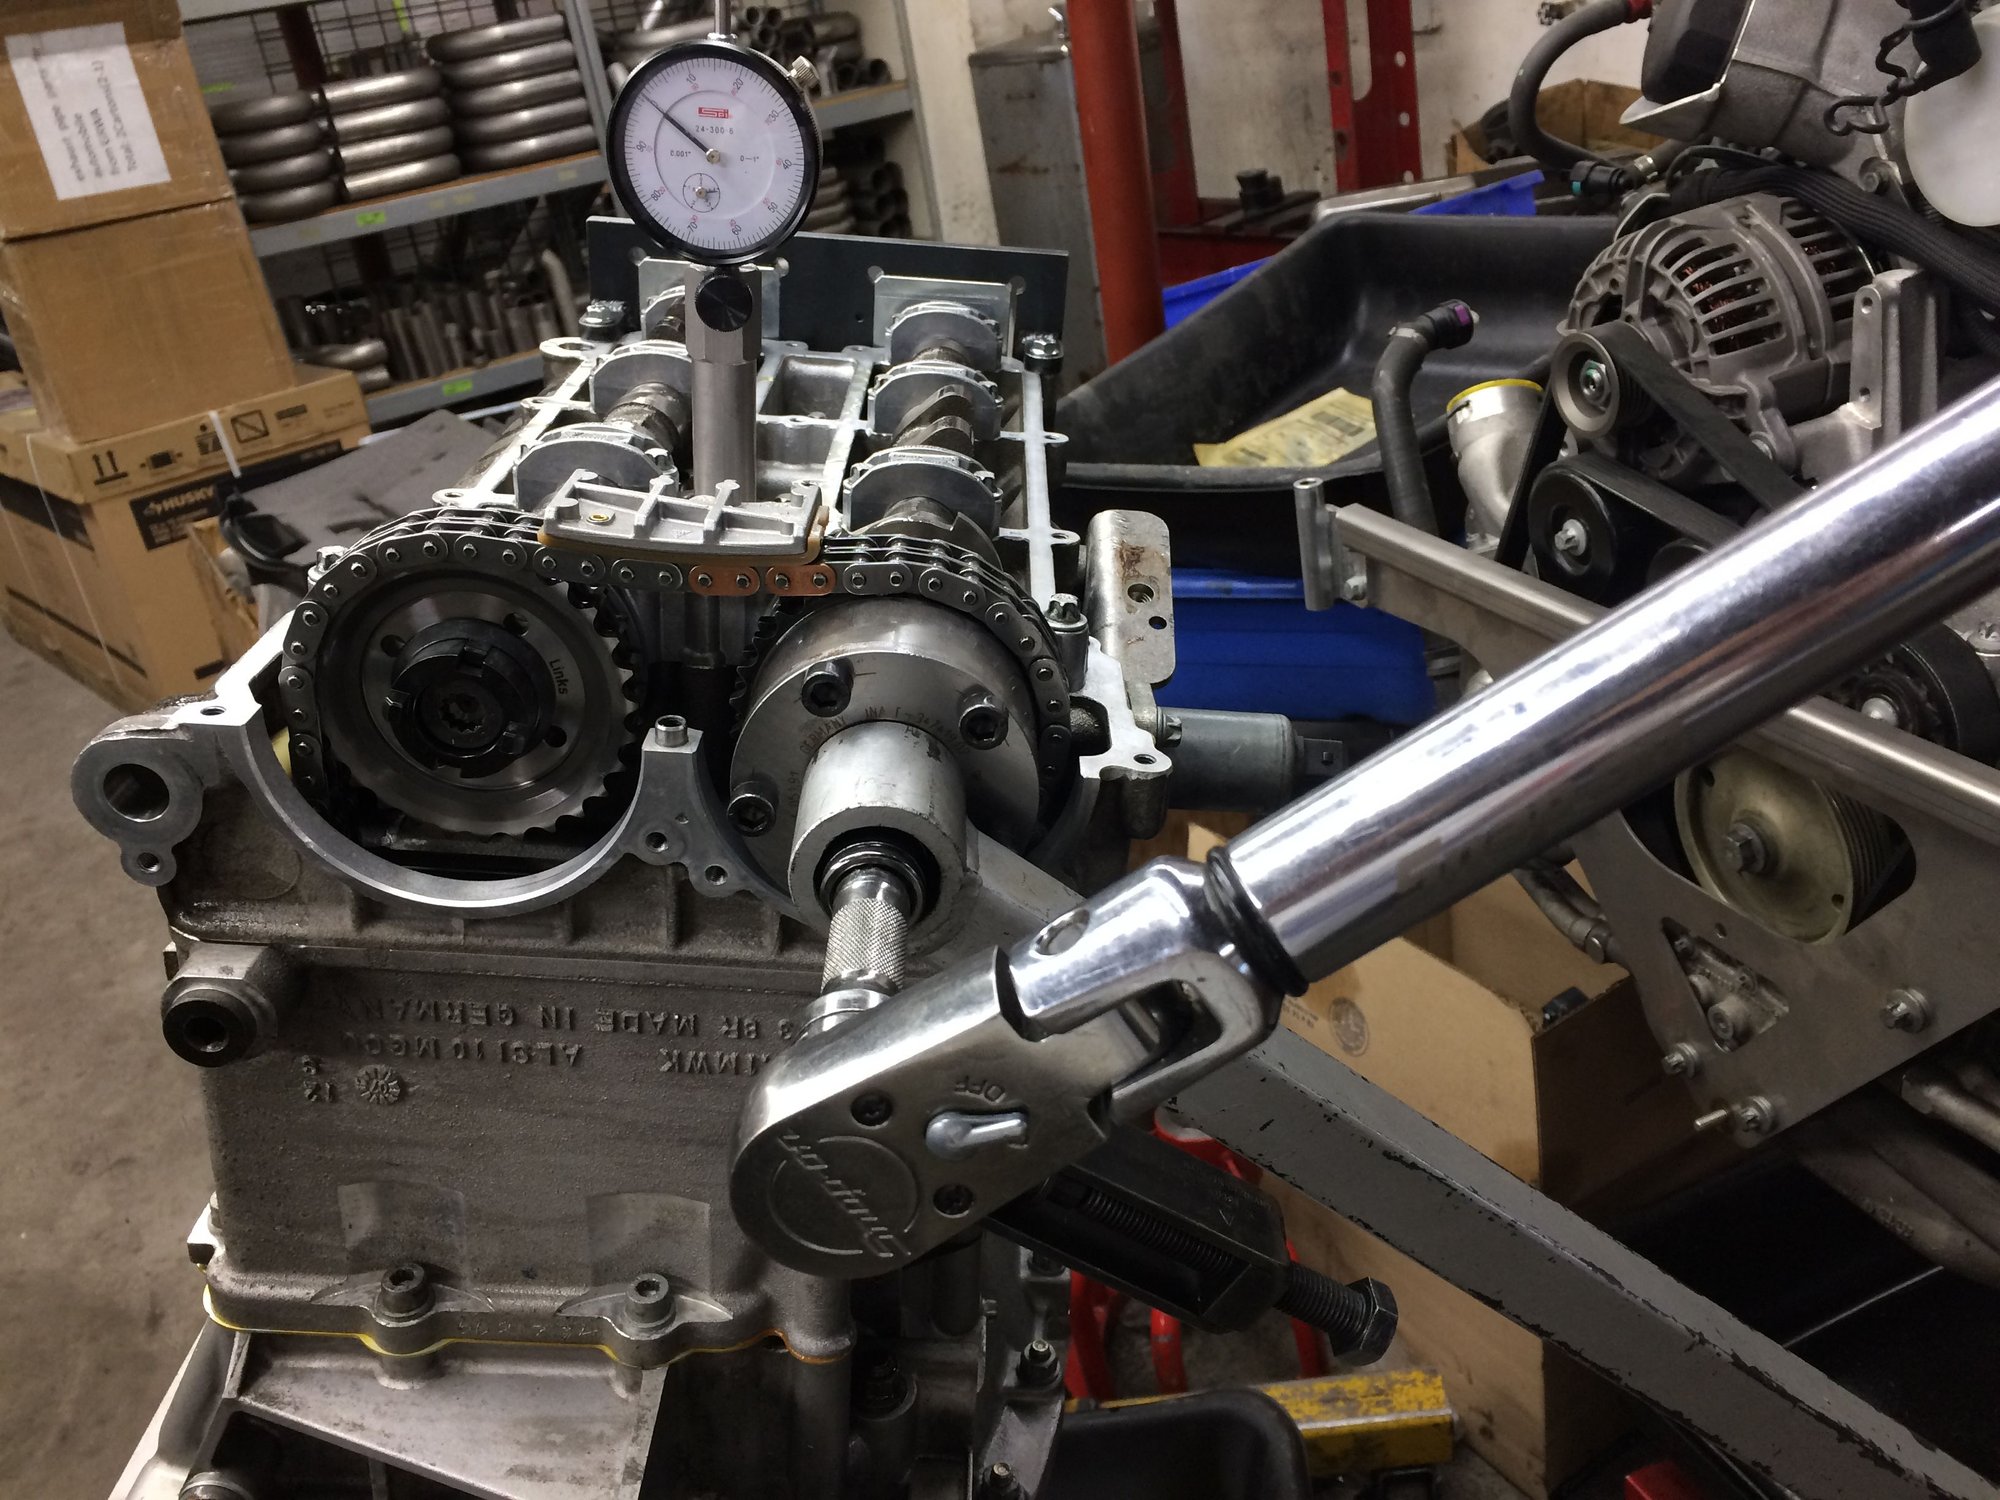
Moving on to the upper end. Should be smooth sailing from here. A little "Twerking" never hurts anyone.
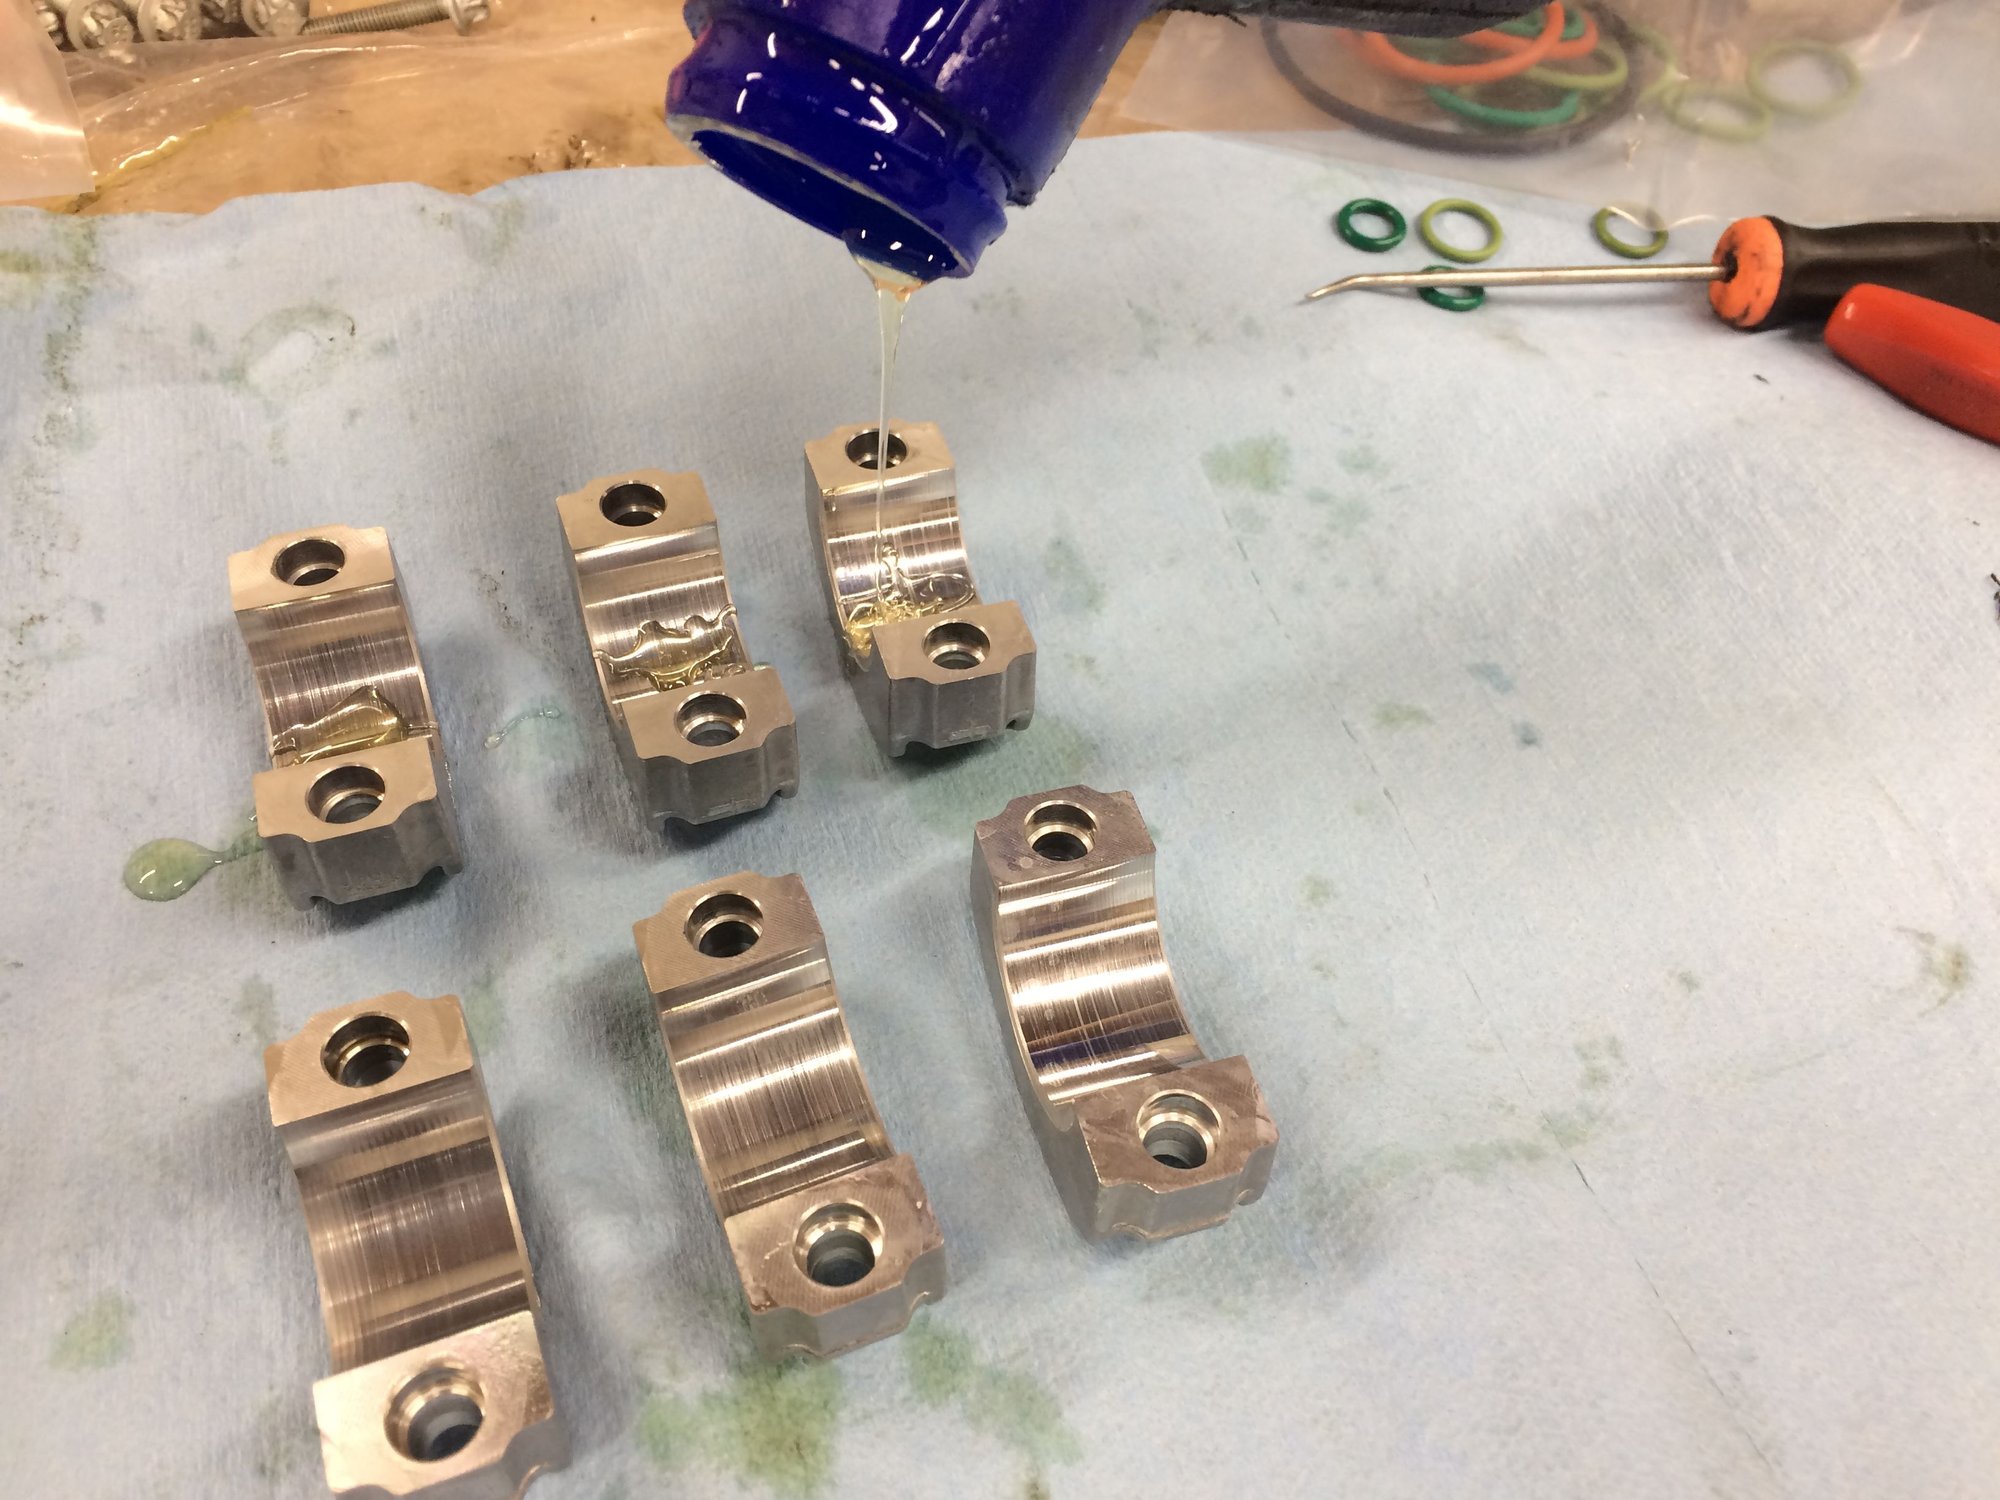
Like any dance, there's a sequence, this one is 30Nm, wait 15 minutes, loosen, 20Nm, add 120 degrees.
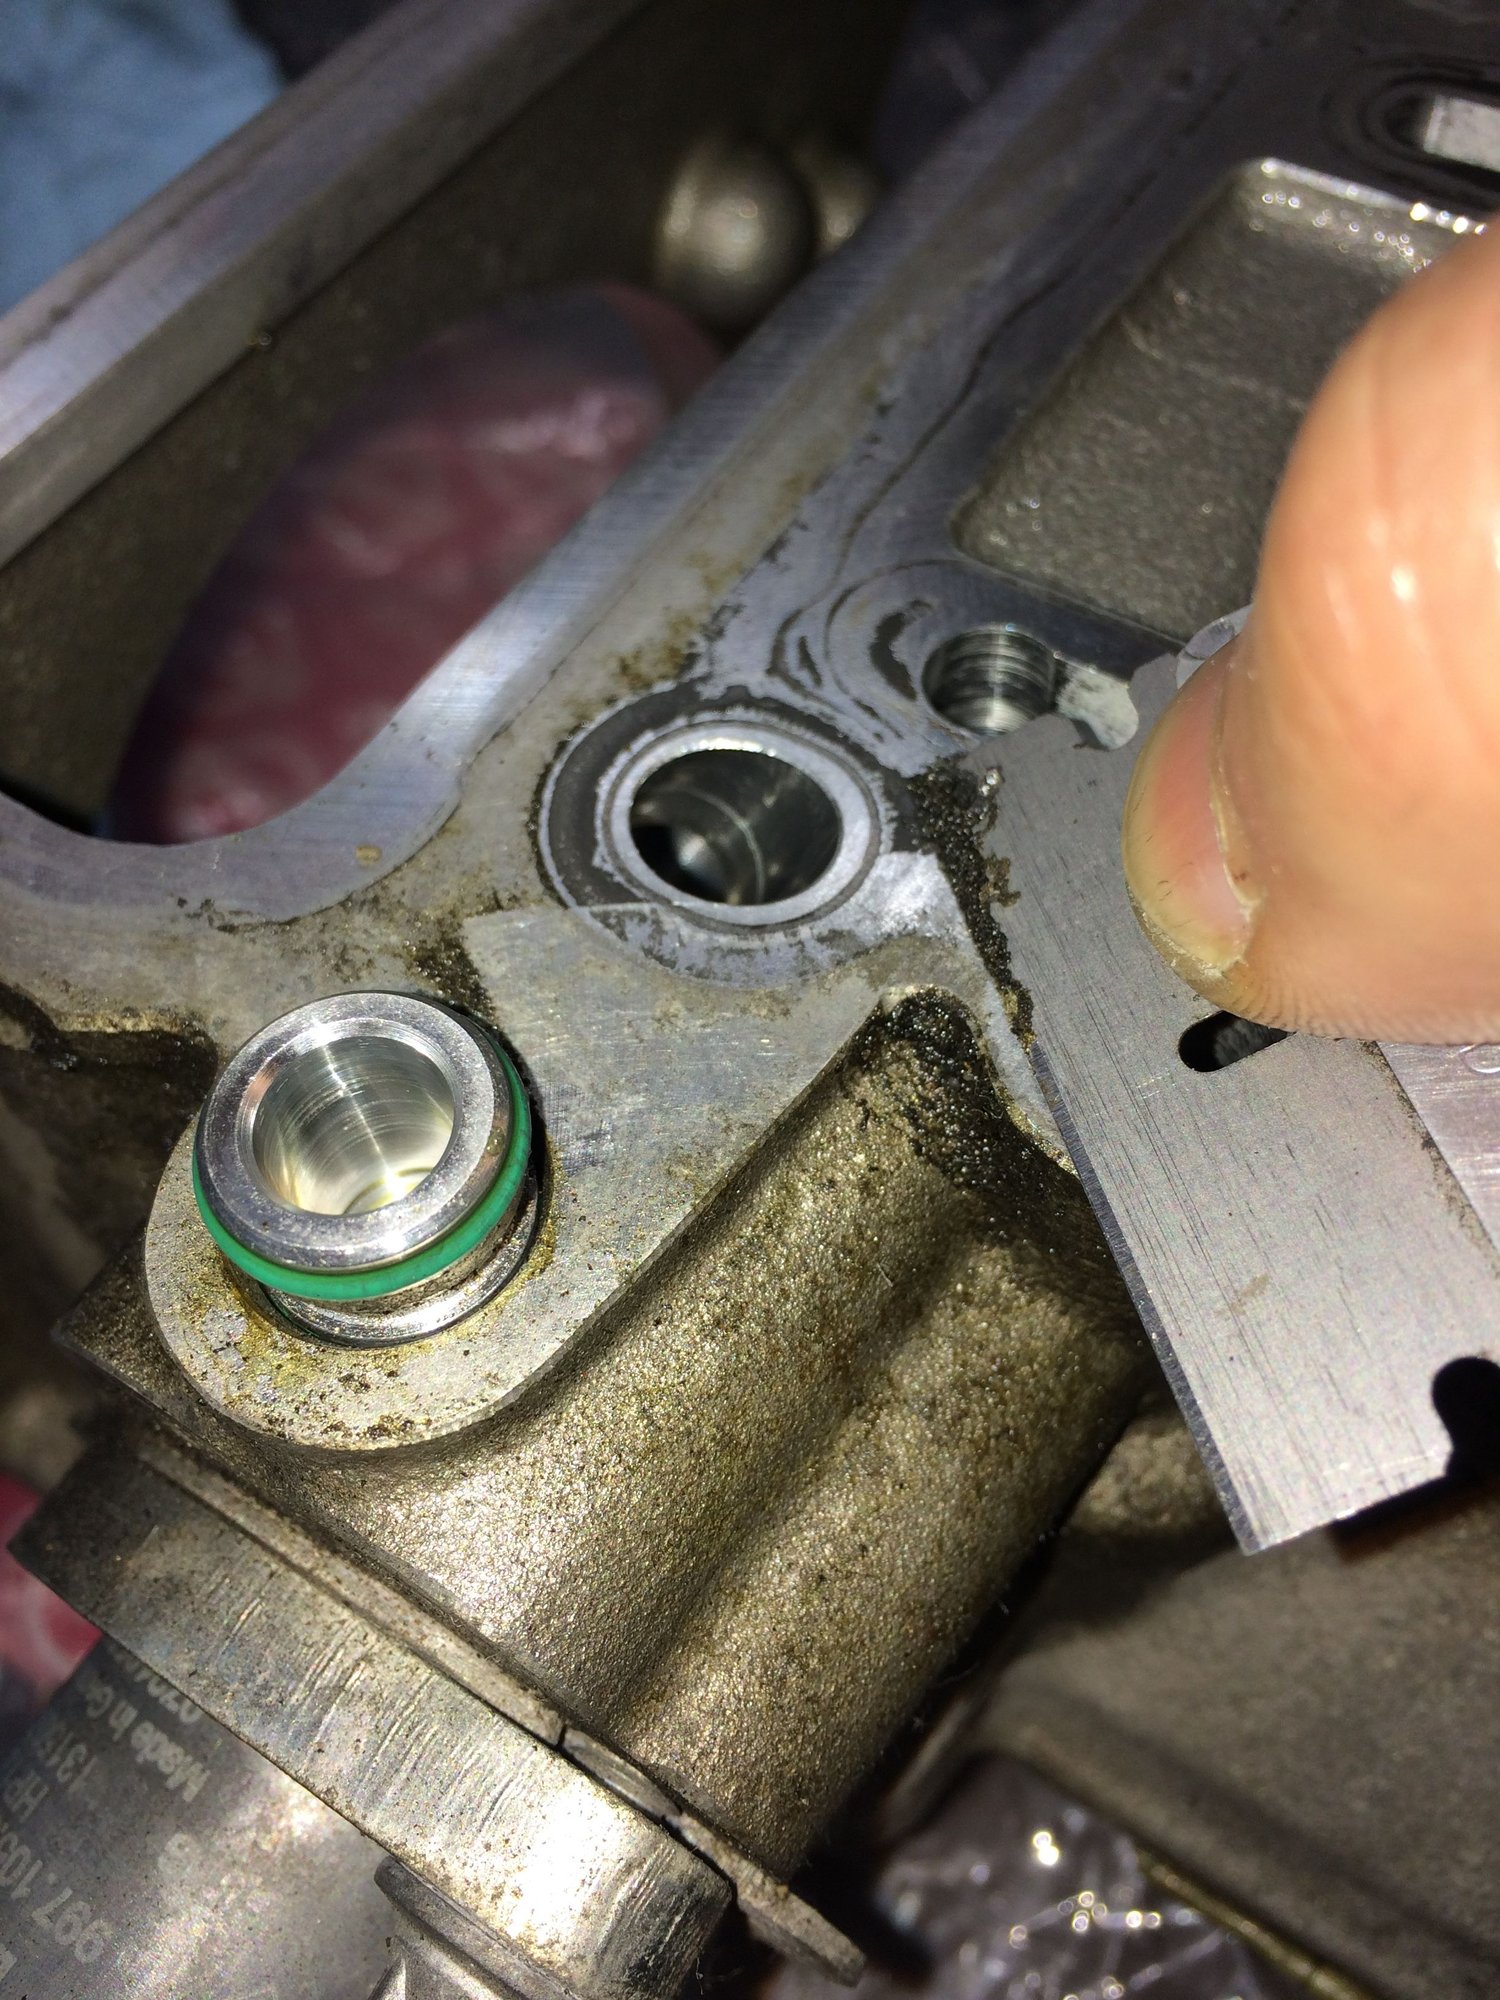
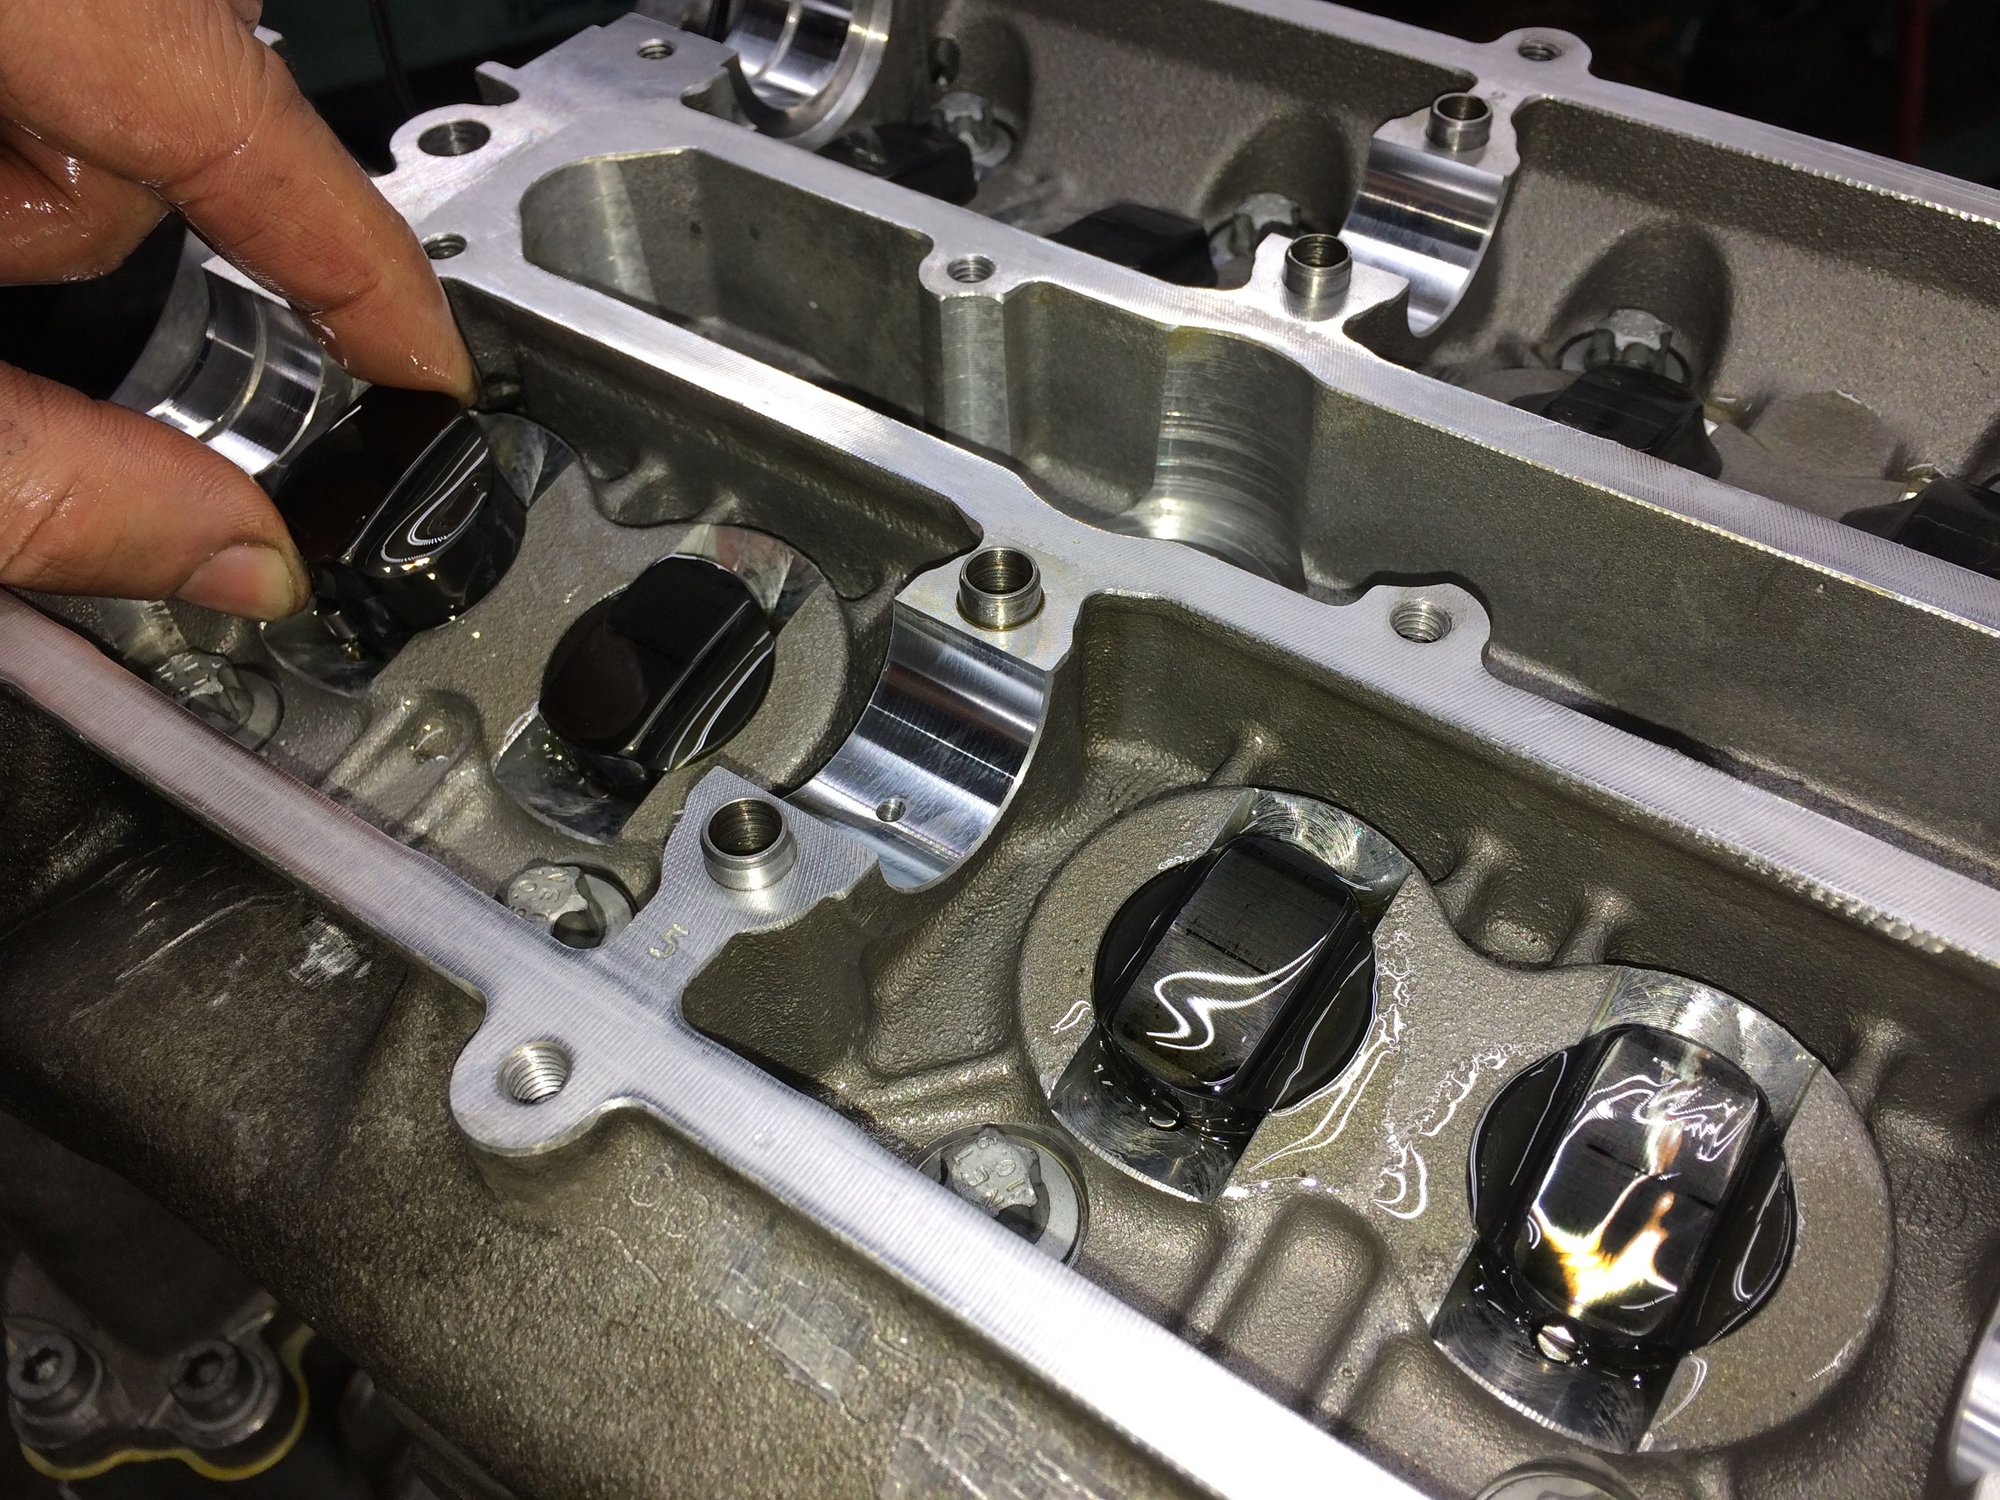
Get a little nervous scraping debris near the oil ports. All I can do is be carefully and stay sharp at 2am. Coffee helps.
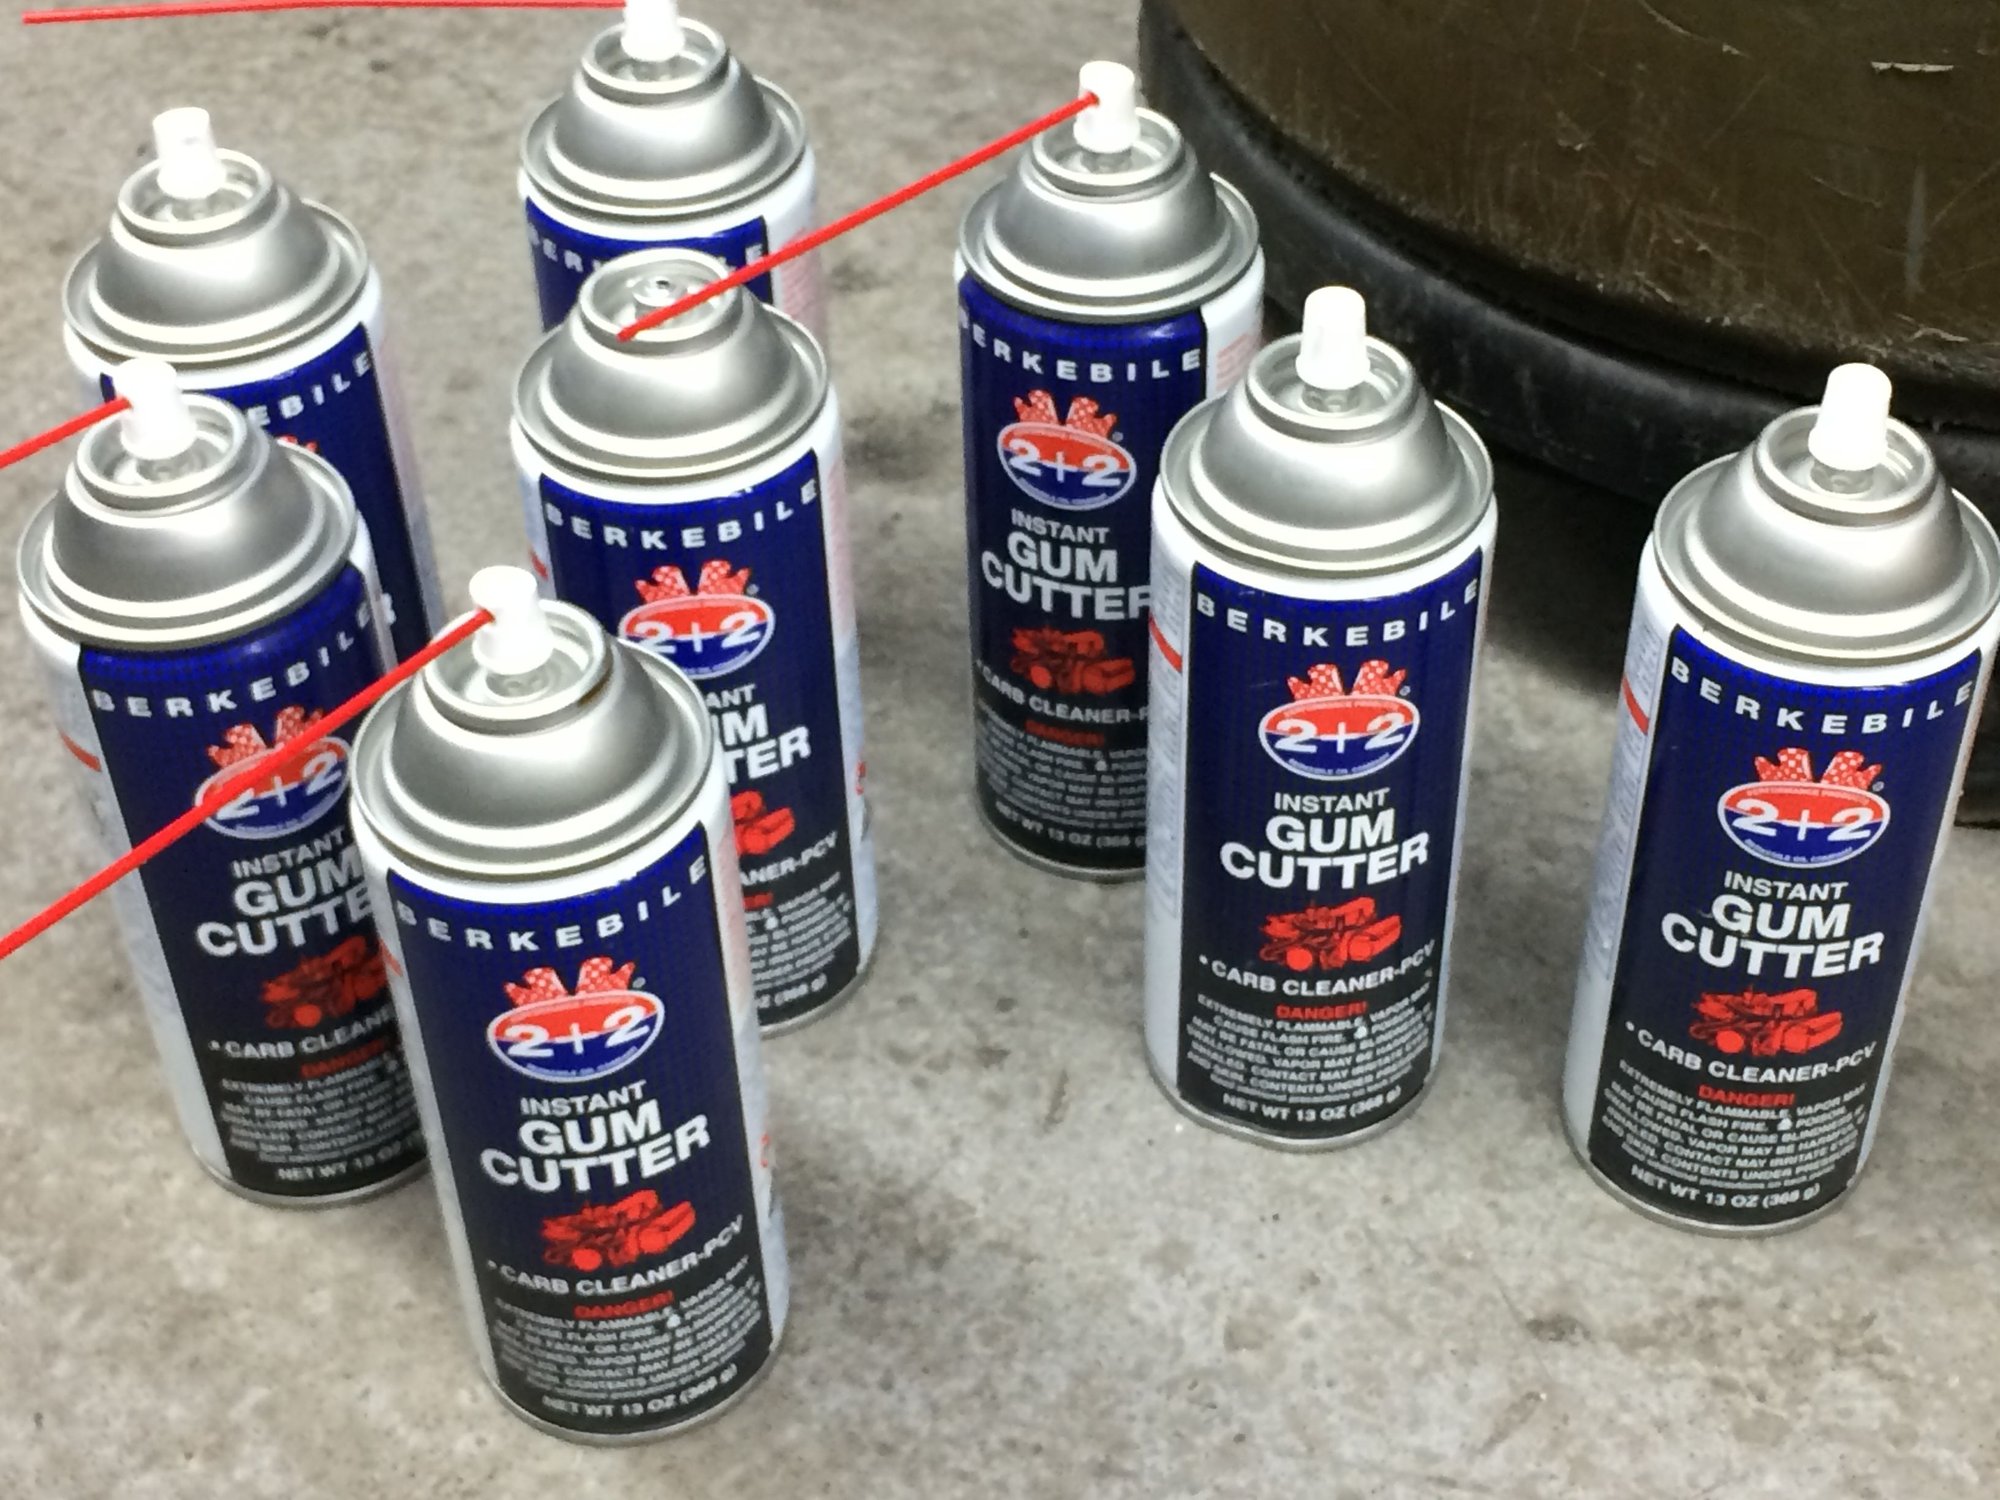
I used 3 cases of cleaner so far. Not 3 bottles, 3 cases of 12 bottles. When shops charge couple hundred bucks for shop supplies to the invoices, its this kind of stuff.
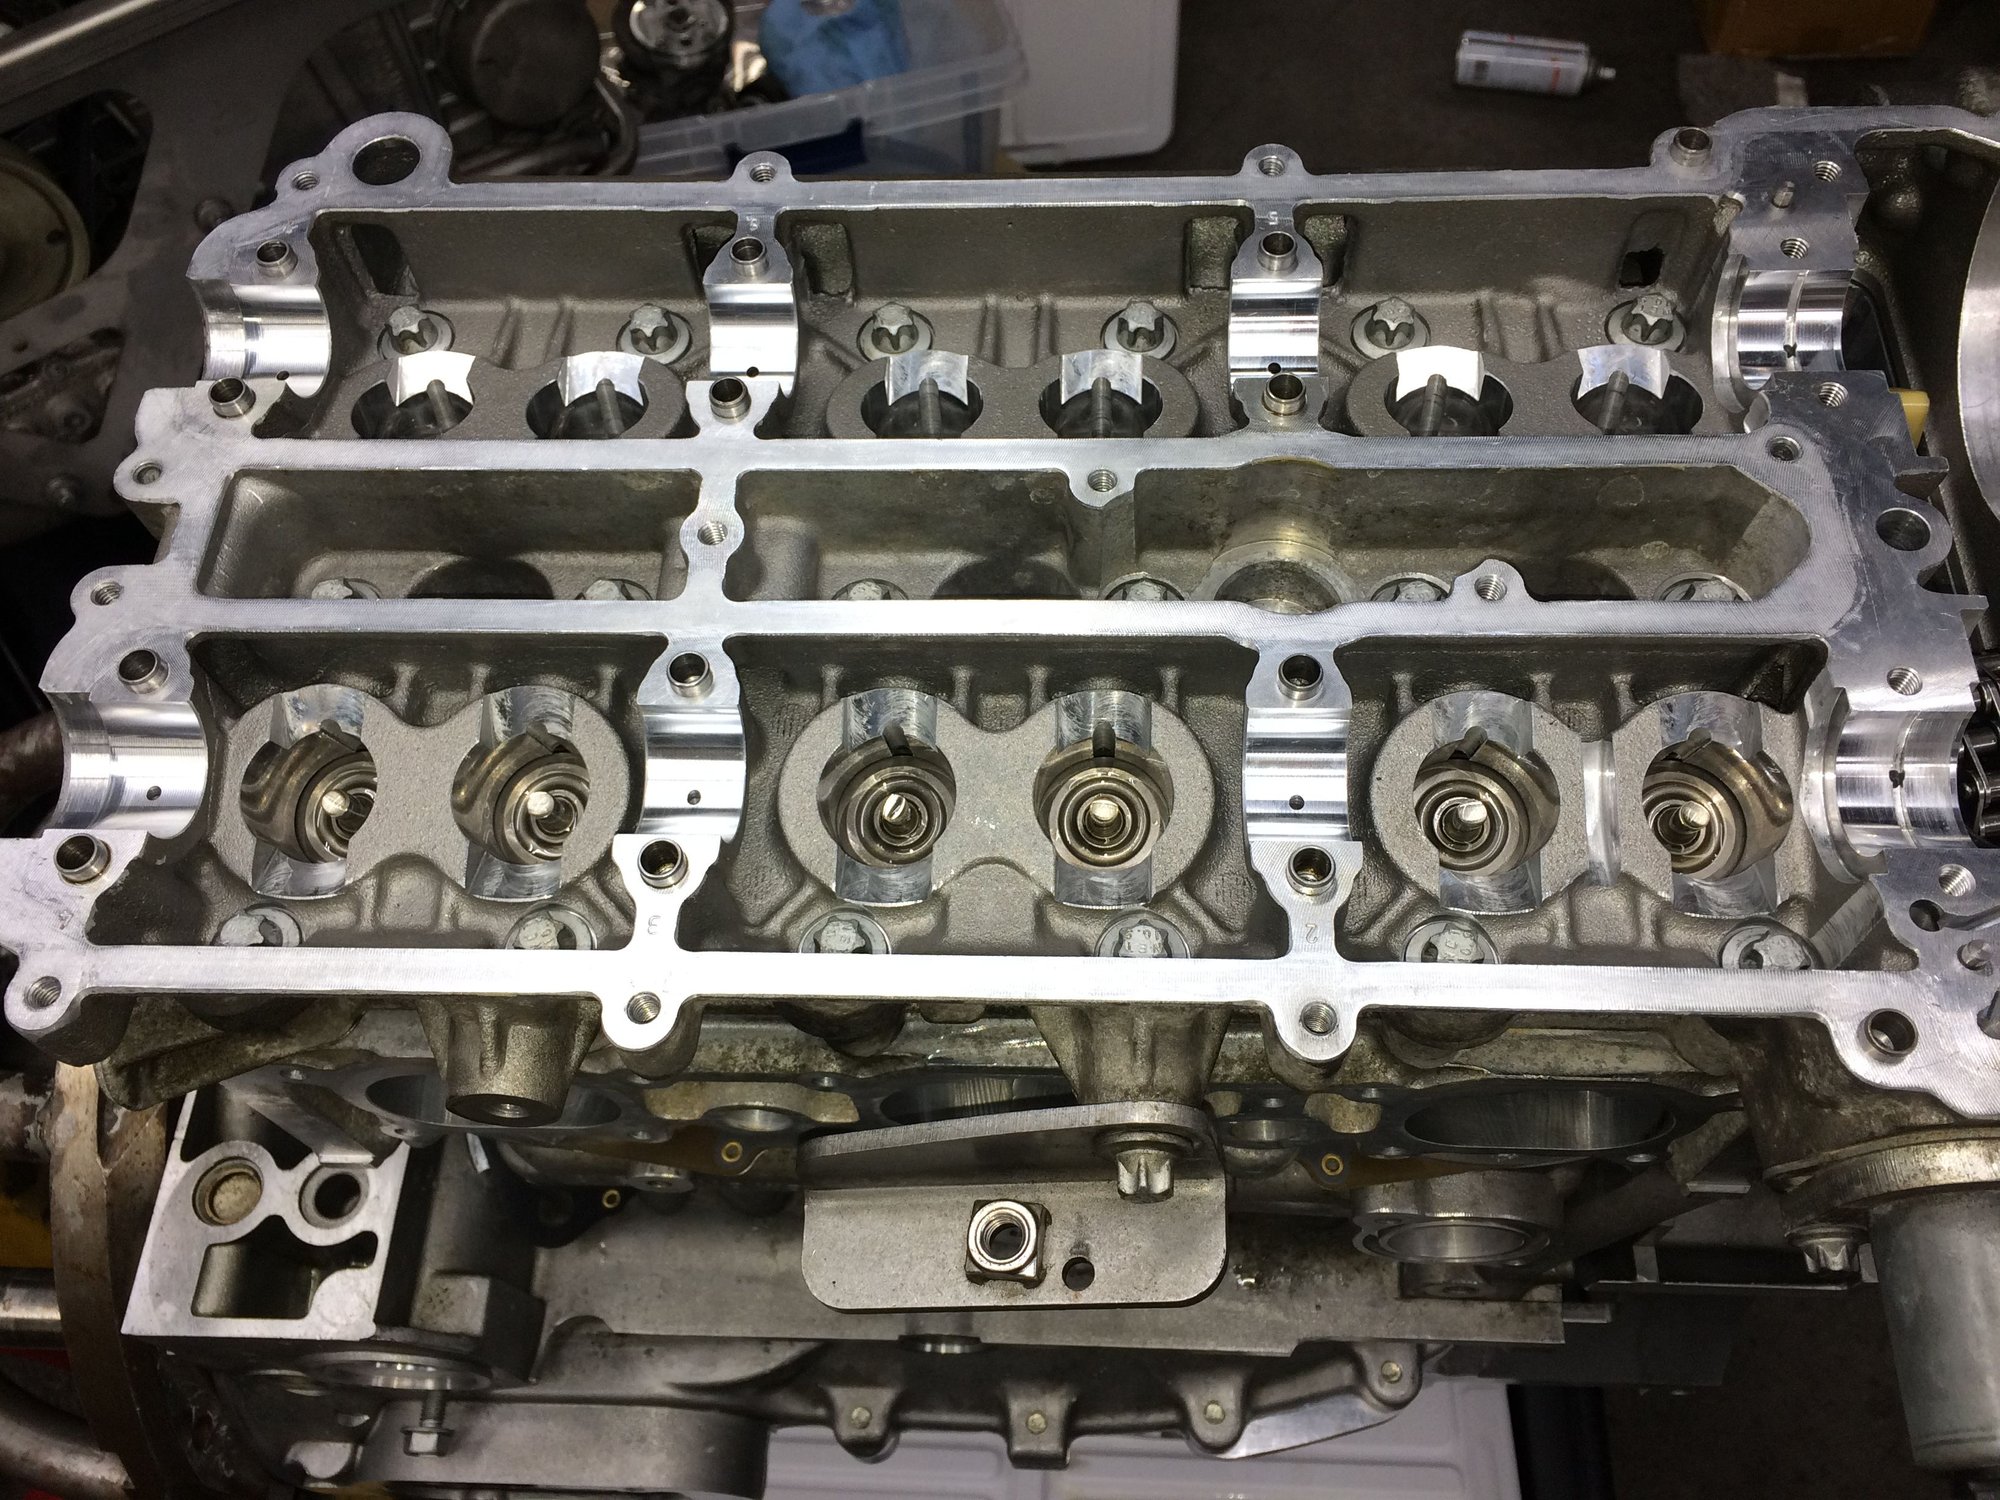
Cam housings are clean as a whistle. And I am high as a kite from the aerosol.
Hydraulic tappets. Squeeze tested and lubed all 24 tappets.
Camshafts. In American muscle car hot rodding phase they are known as Bumpsticks.
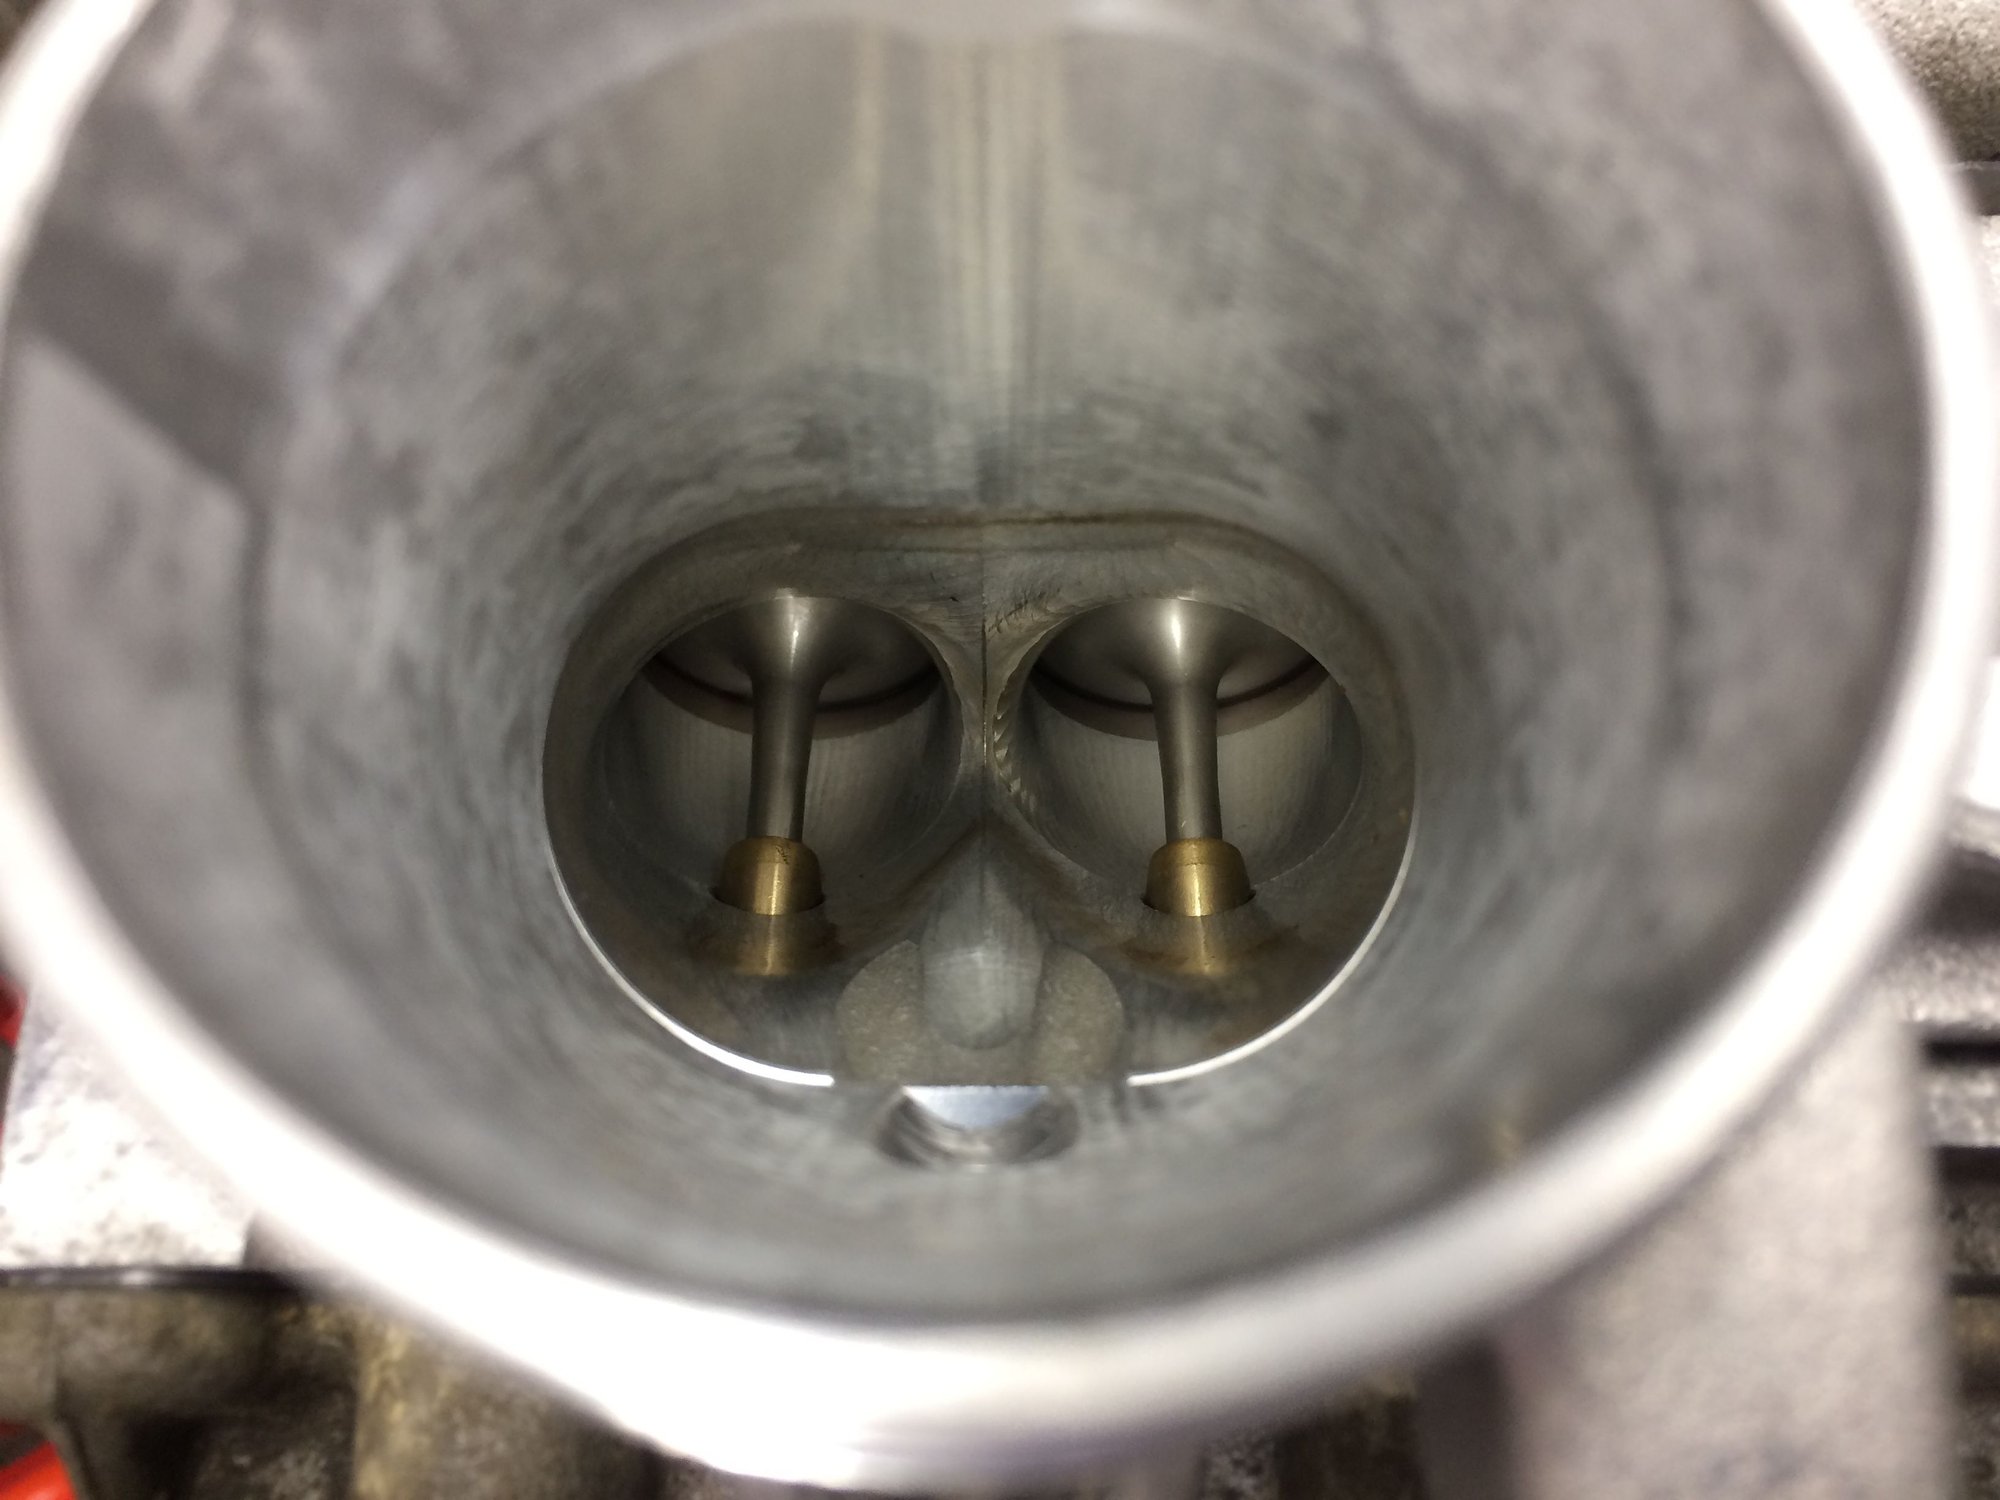
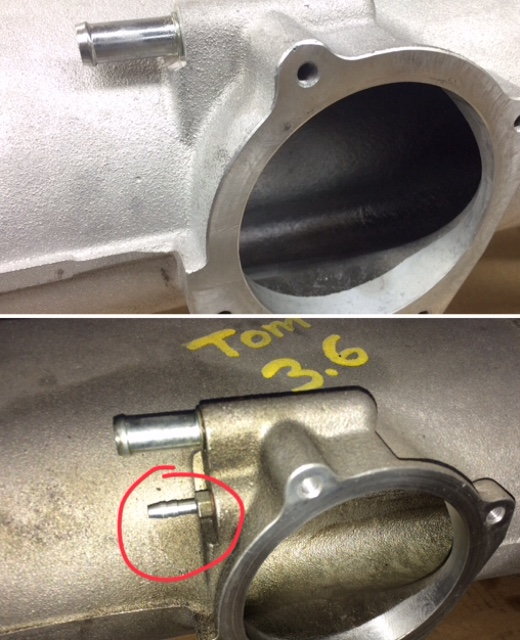
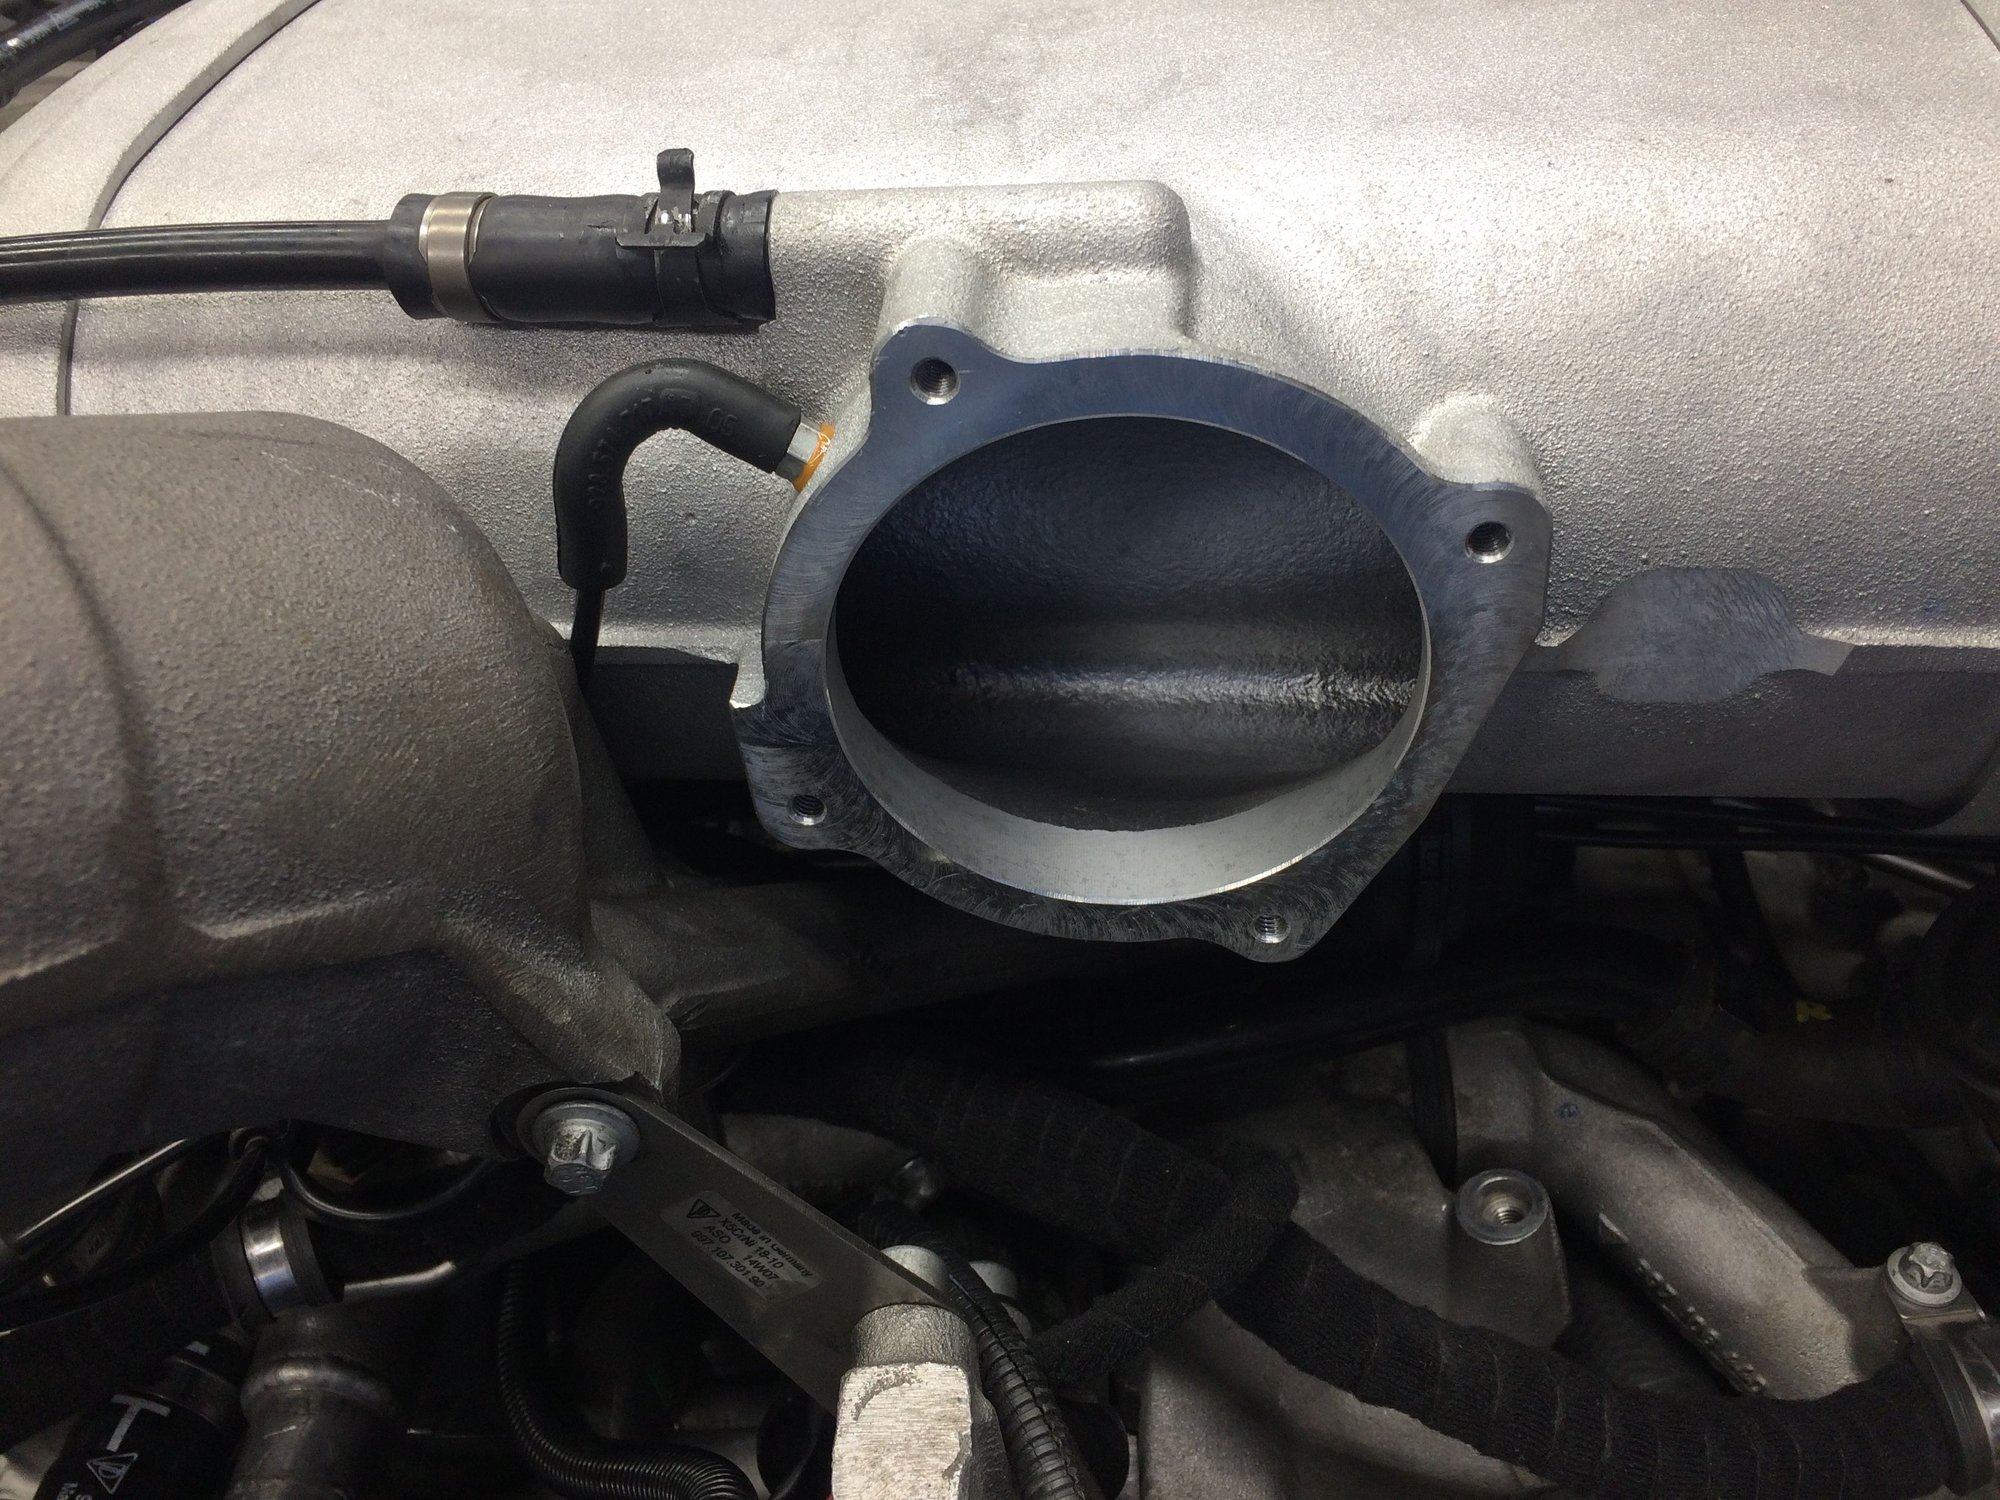
In this photo it appears that the port is not an exact match. In reality the overhang is only a fraction(one-third) of what is shown due to lighting angle and the 4.0 flange is chamfered. The bolts of the flange allows for a slight adjustment in any direction. And I suppose the bolt holes can be enlarged by 1mm if additional adjustment range is absolutely necessary....not worth it to me.
Regardless, it is a beautiful sight to me.
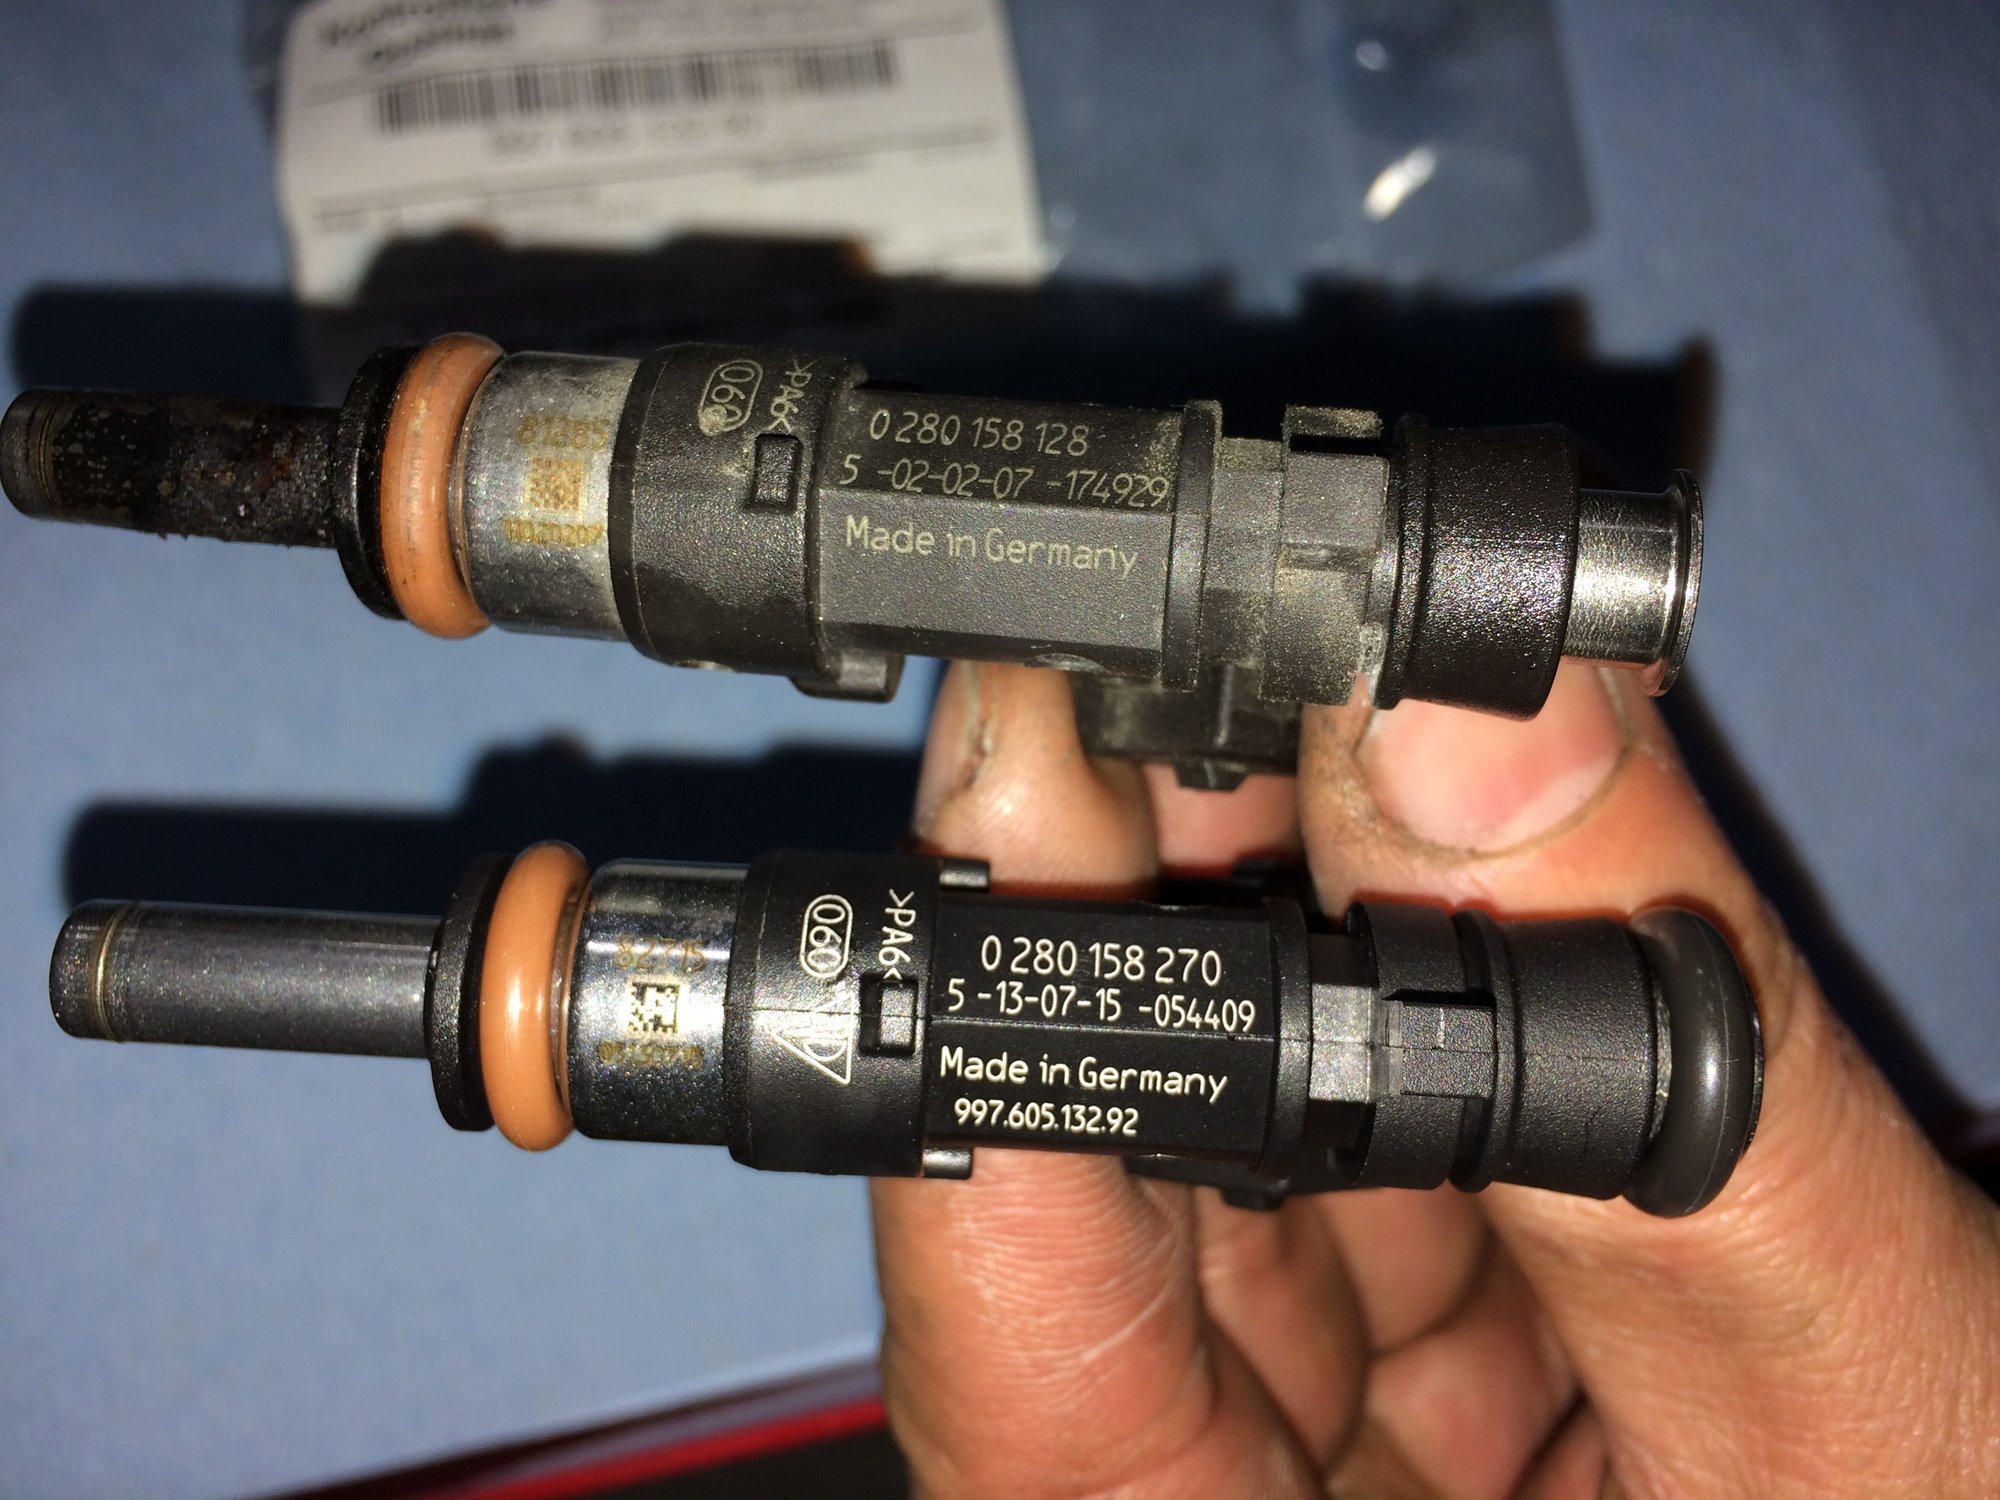
I replaced the fuel injectors with the superseded "92" part number. The 3.6 and 4.0 fuel injector has superseded to the same part number. I don't know what the difference is between the original "91" and the current "92". If anyone does please let me know.
Externally are the same Bosch EV14 type.
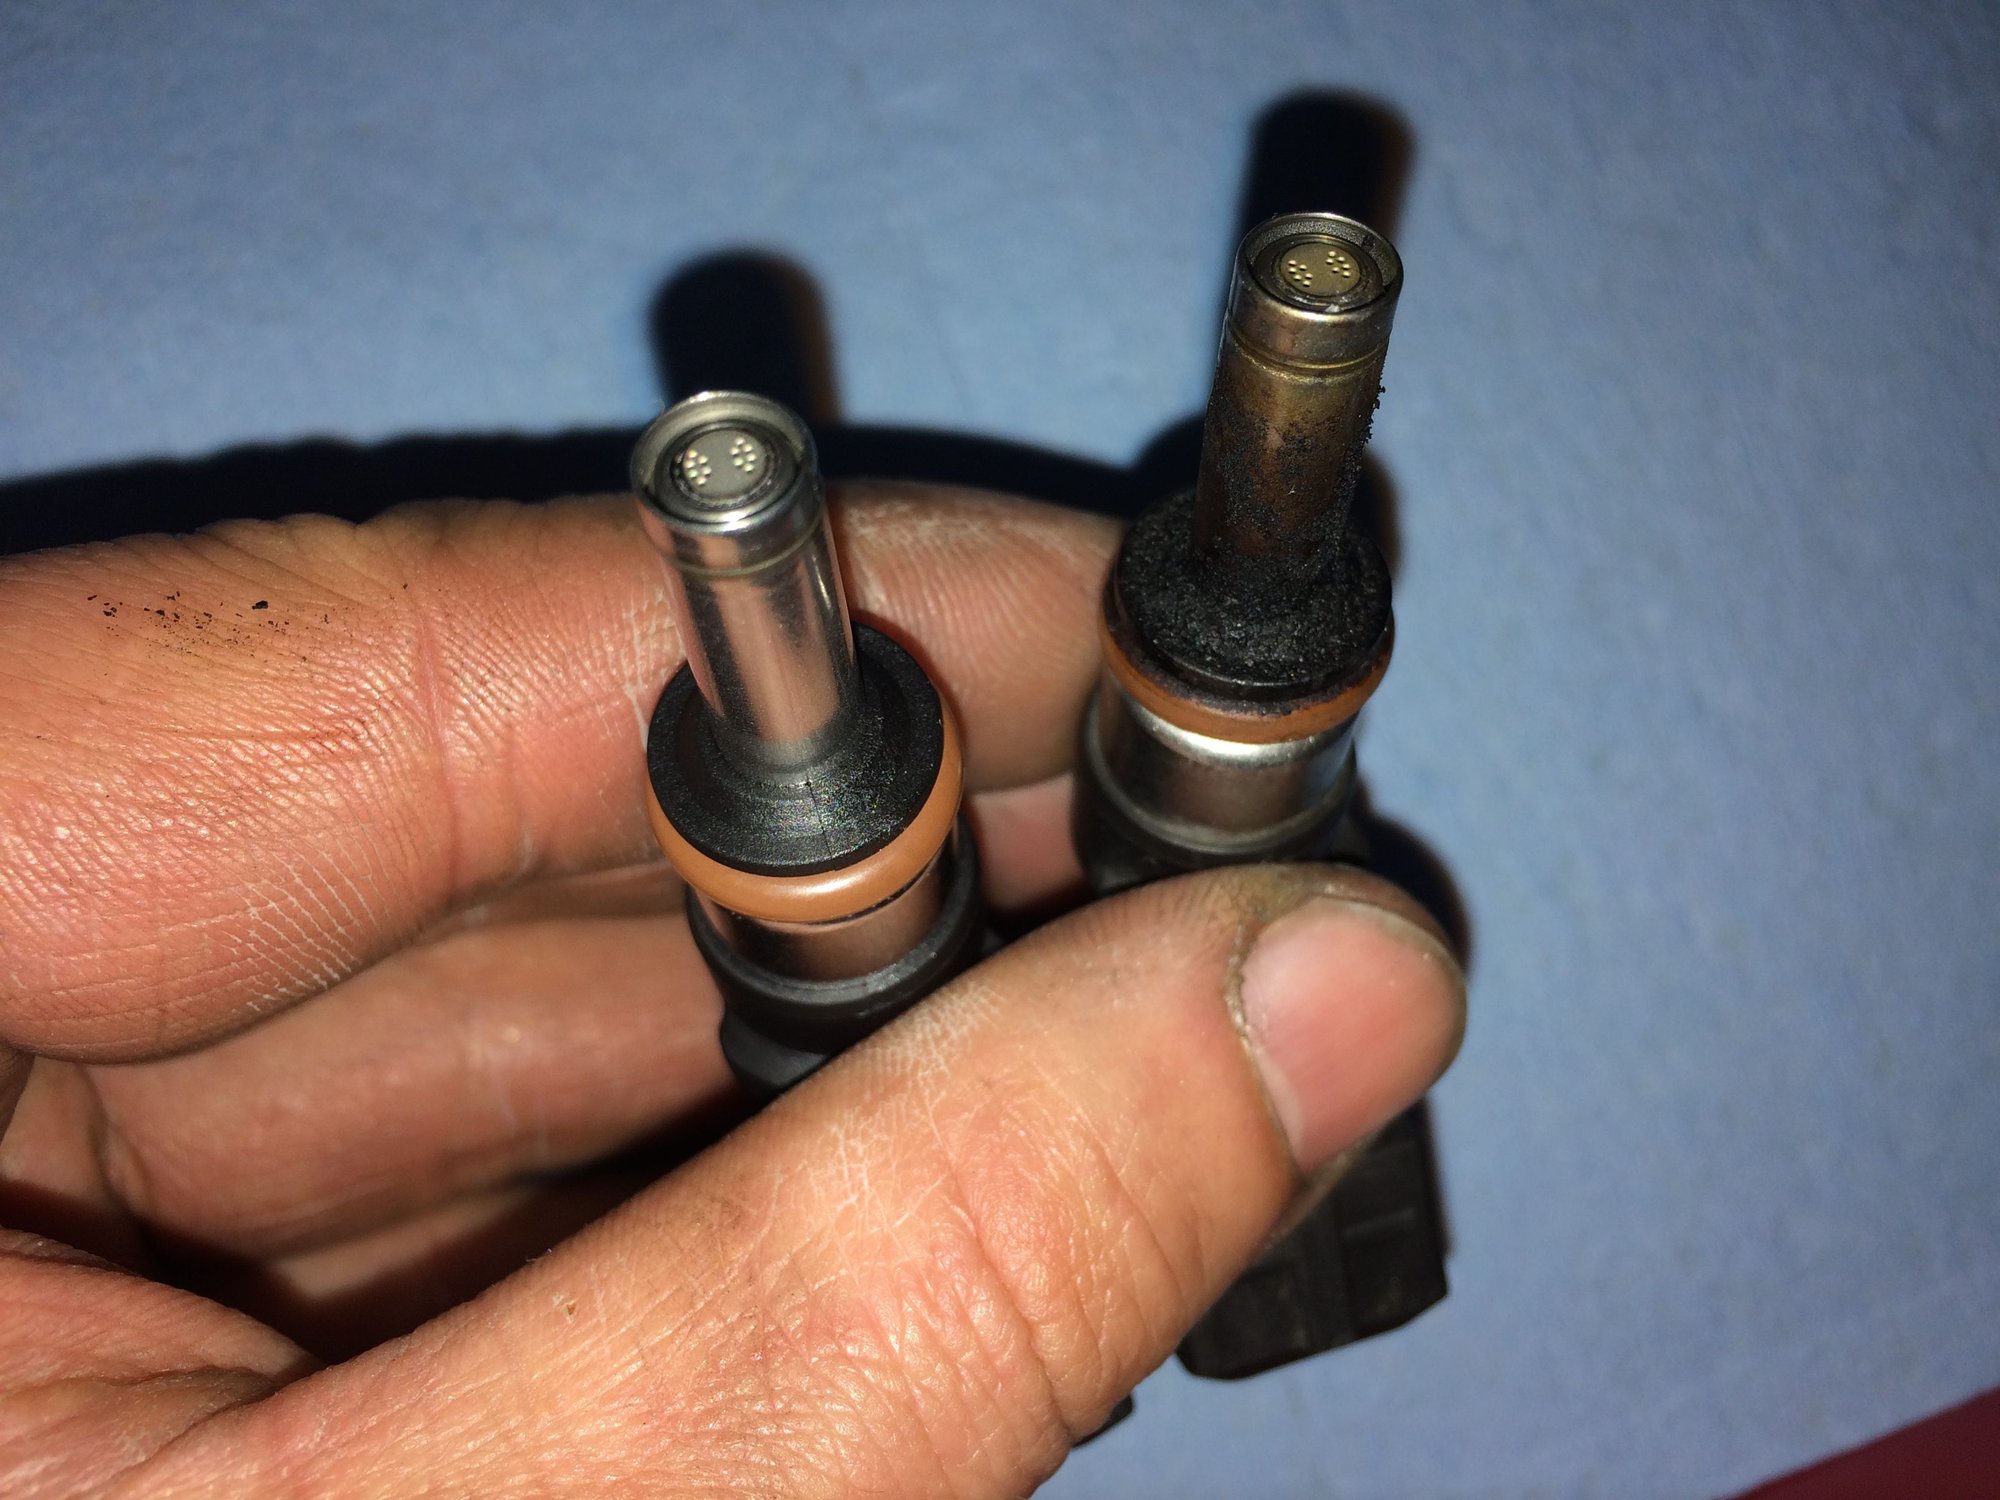
The nozzle also look the same.
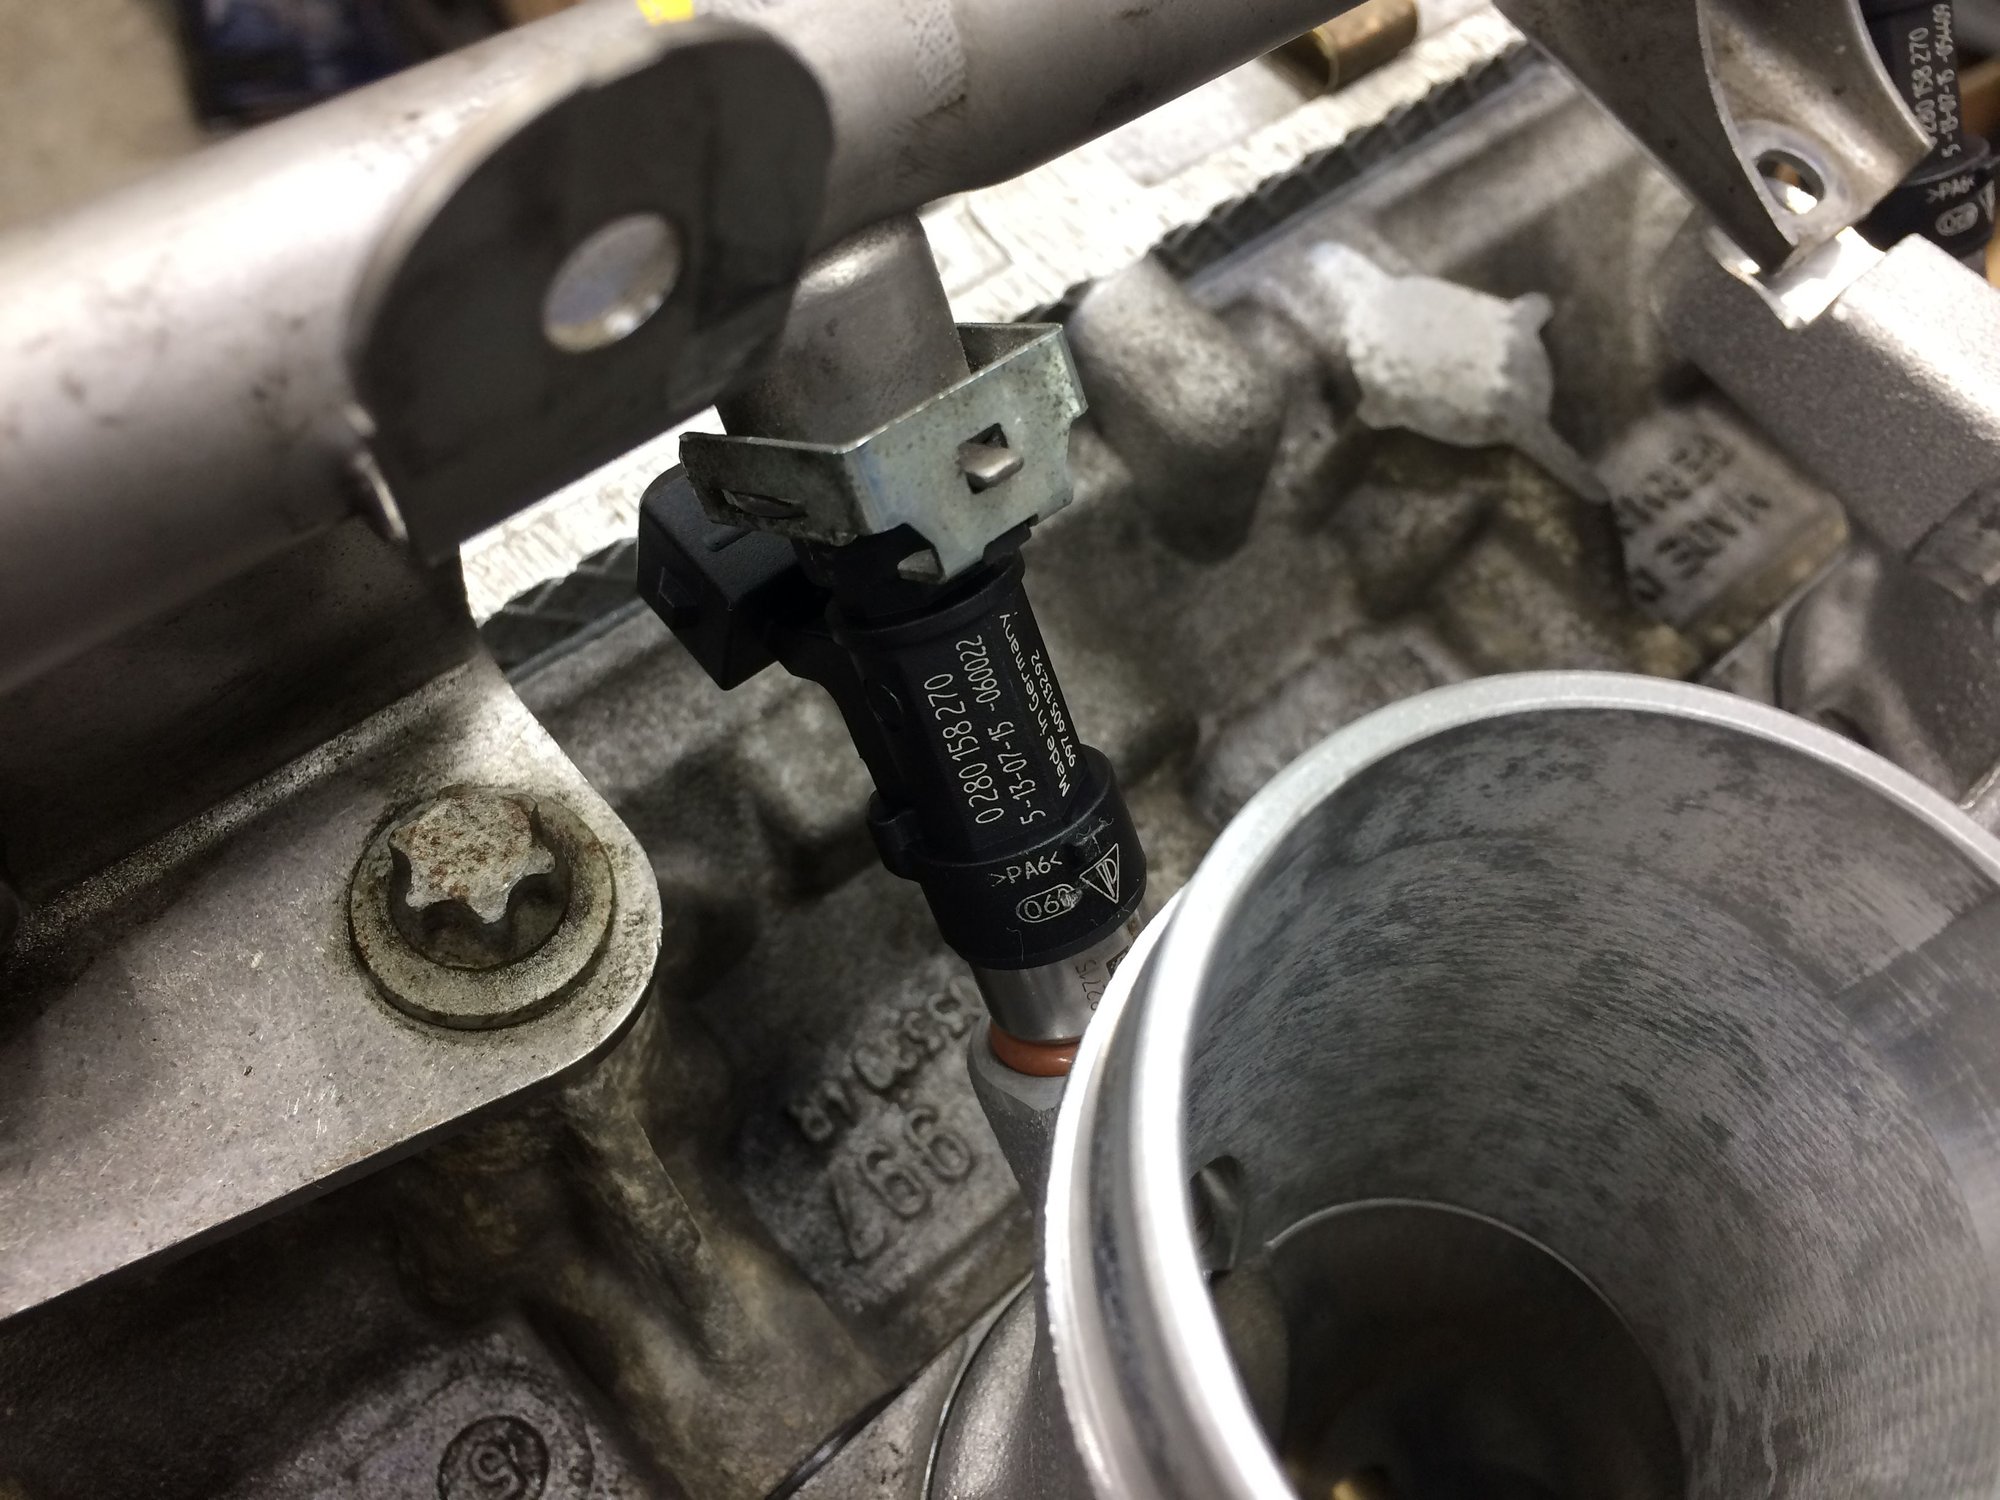
New injector looking pretty getting ready to be inserted into the bore.
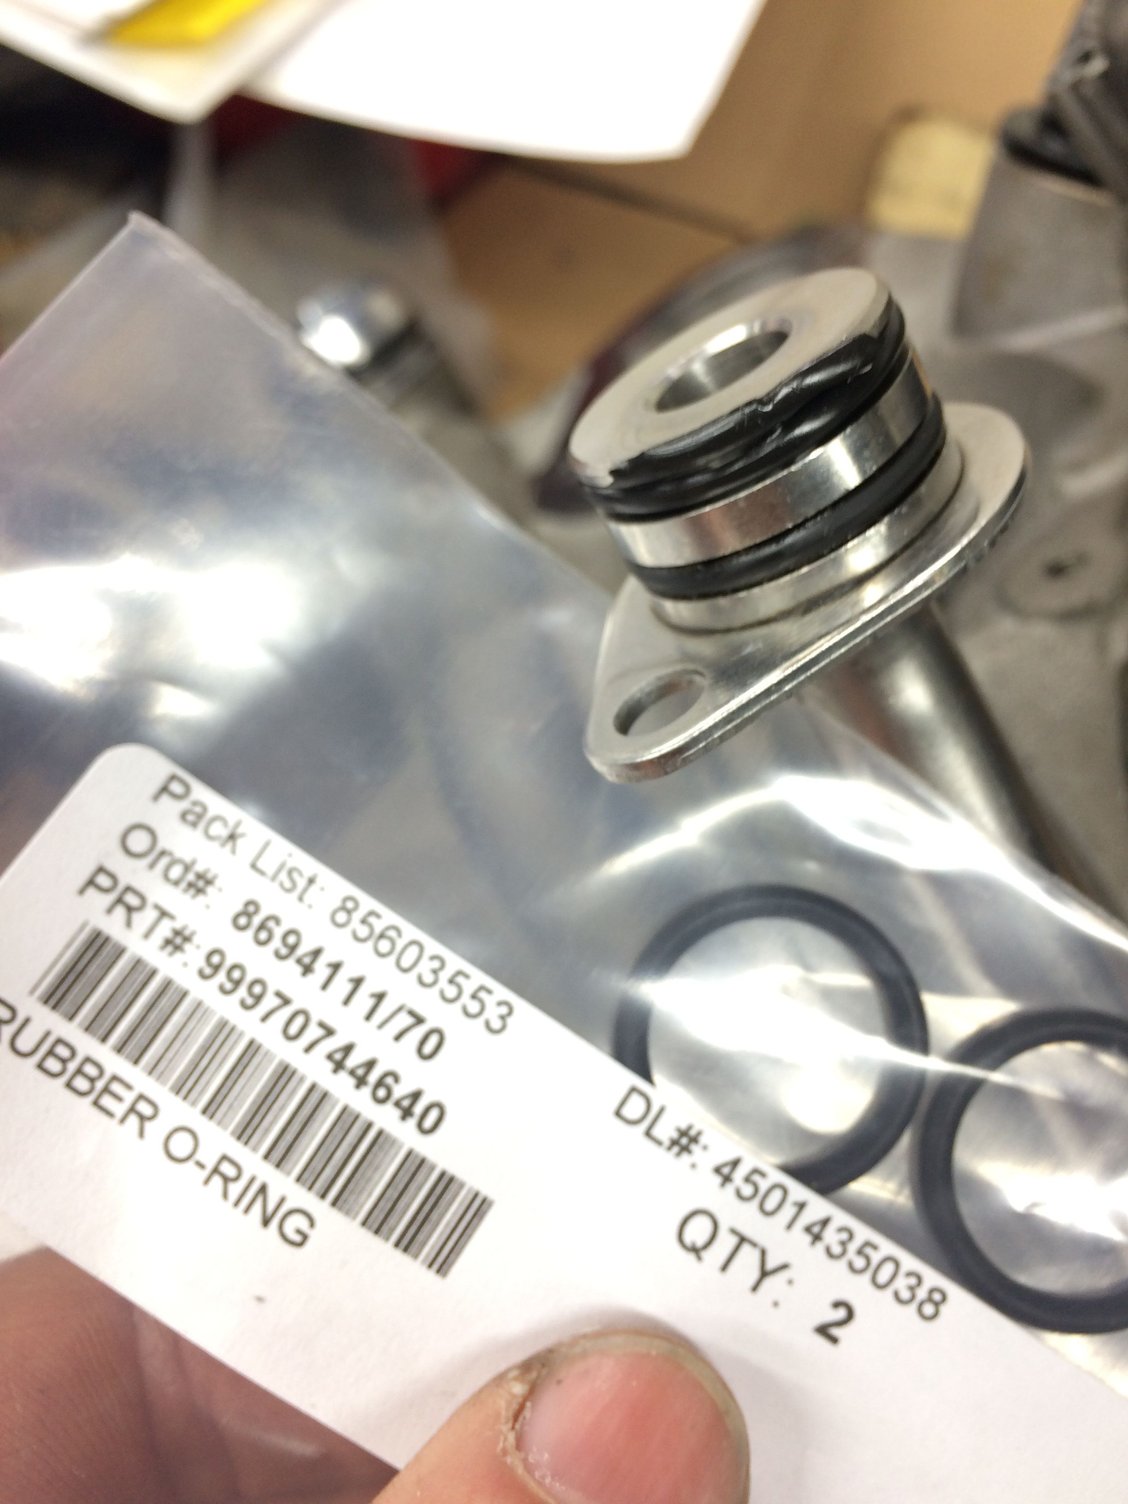
Taking this opportunity to replace 11-year old worn O-ring at the bottom of oil filter drain tube.
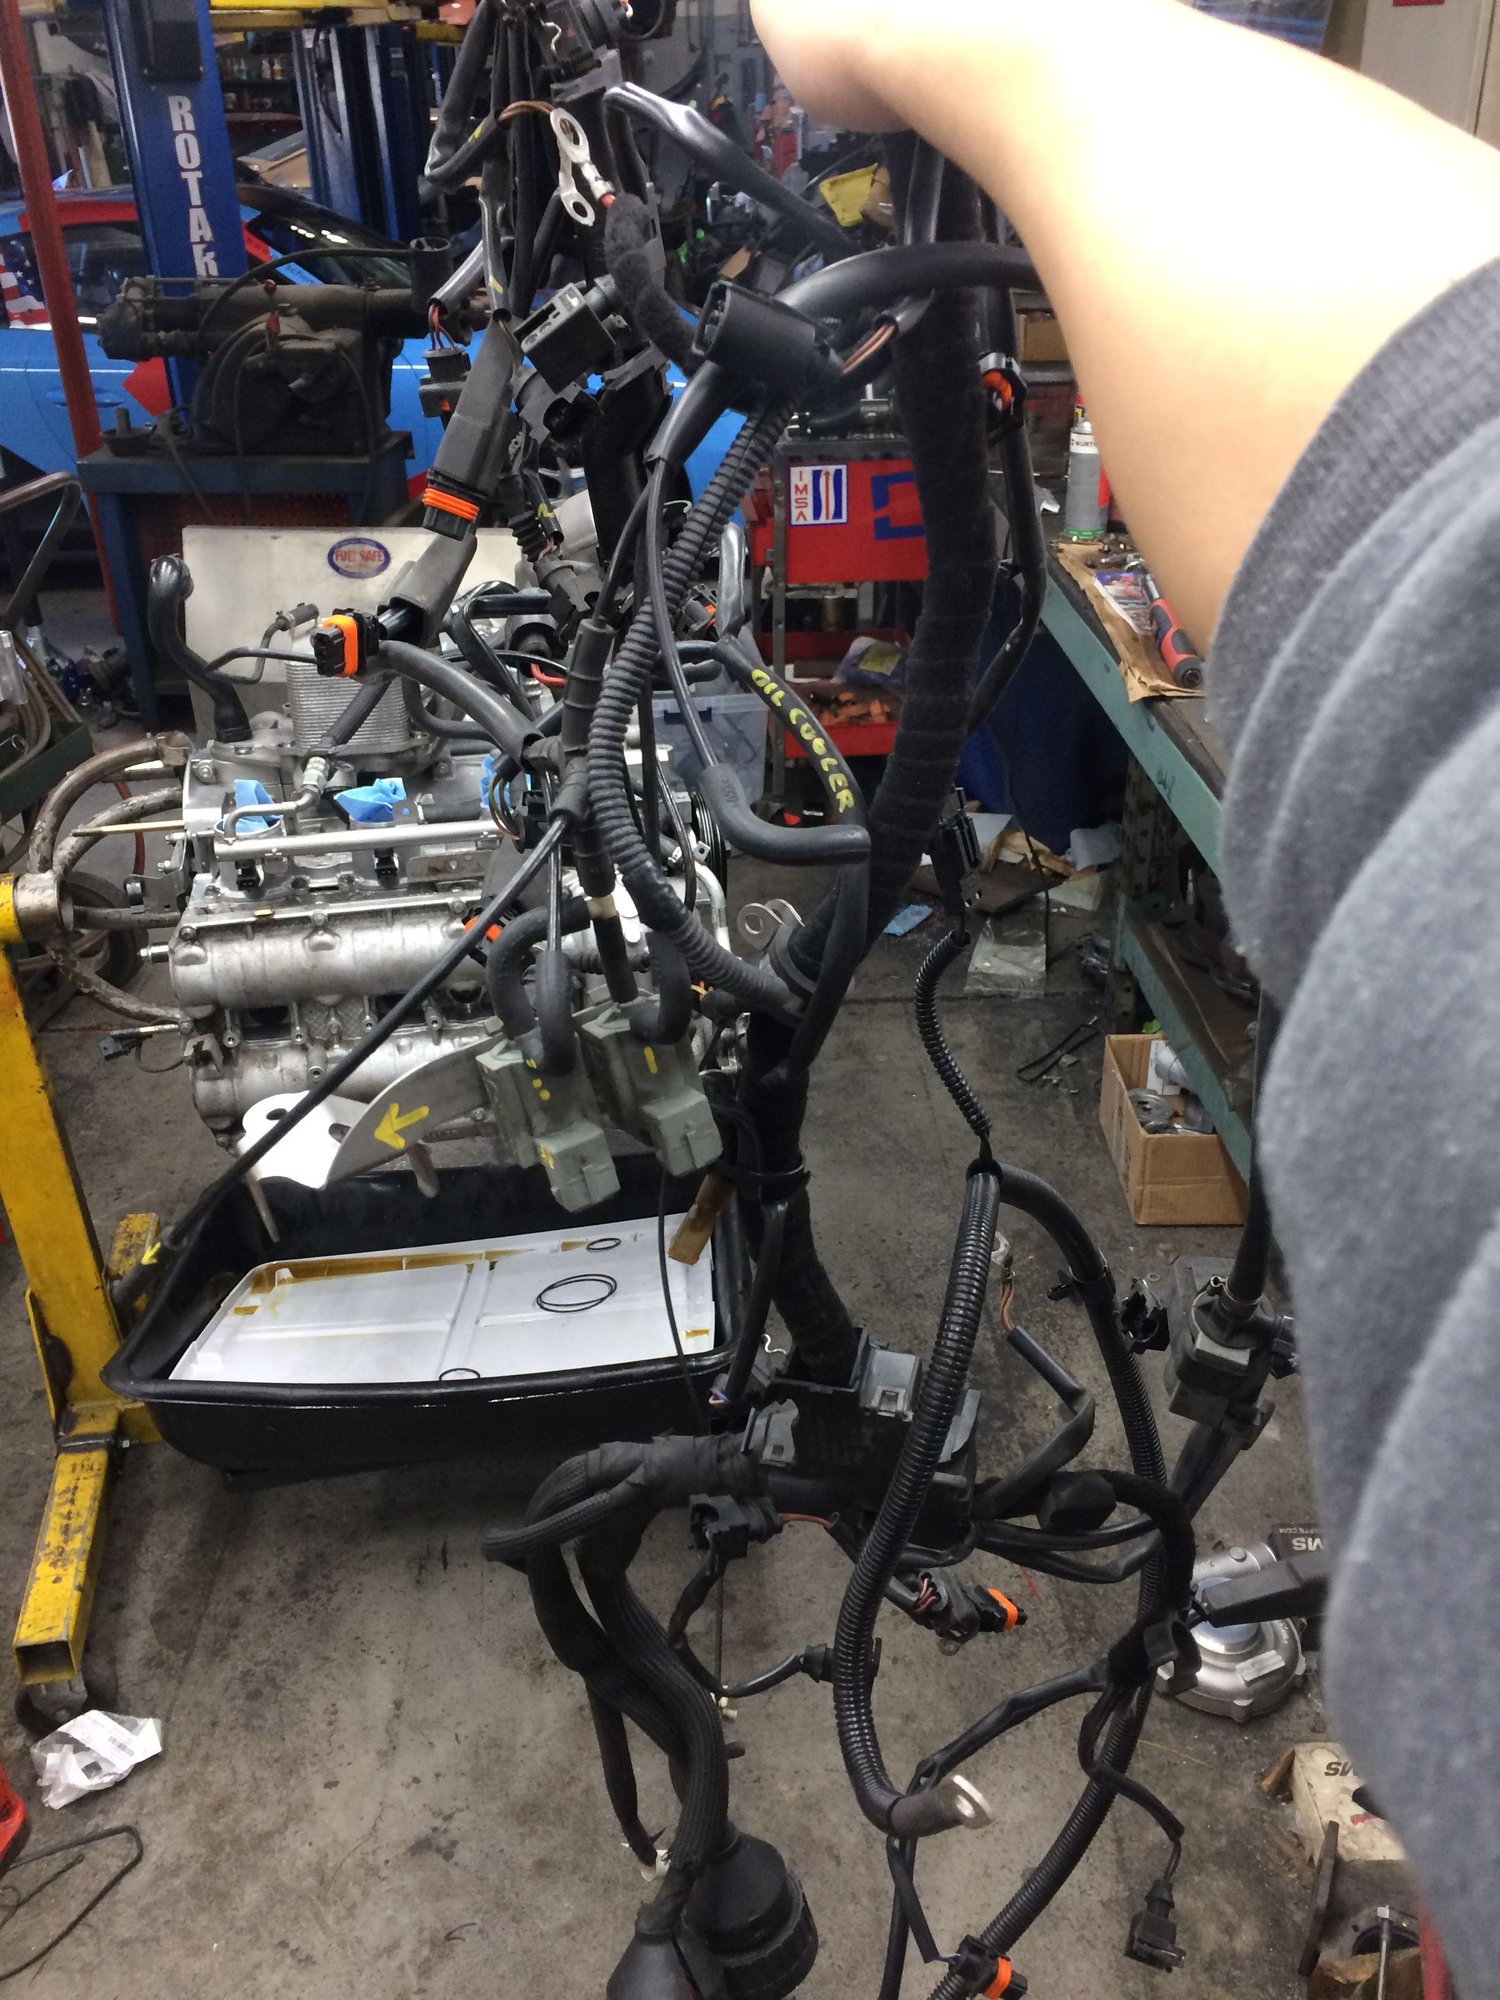
Wiring harness mess. Good thing I labelled "some" of the connectors.
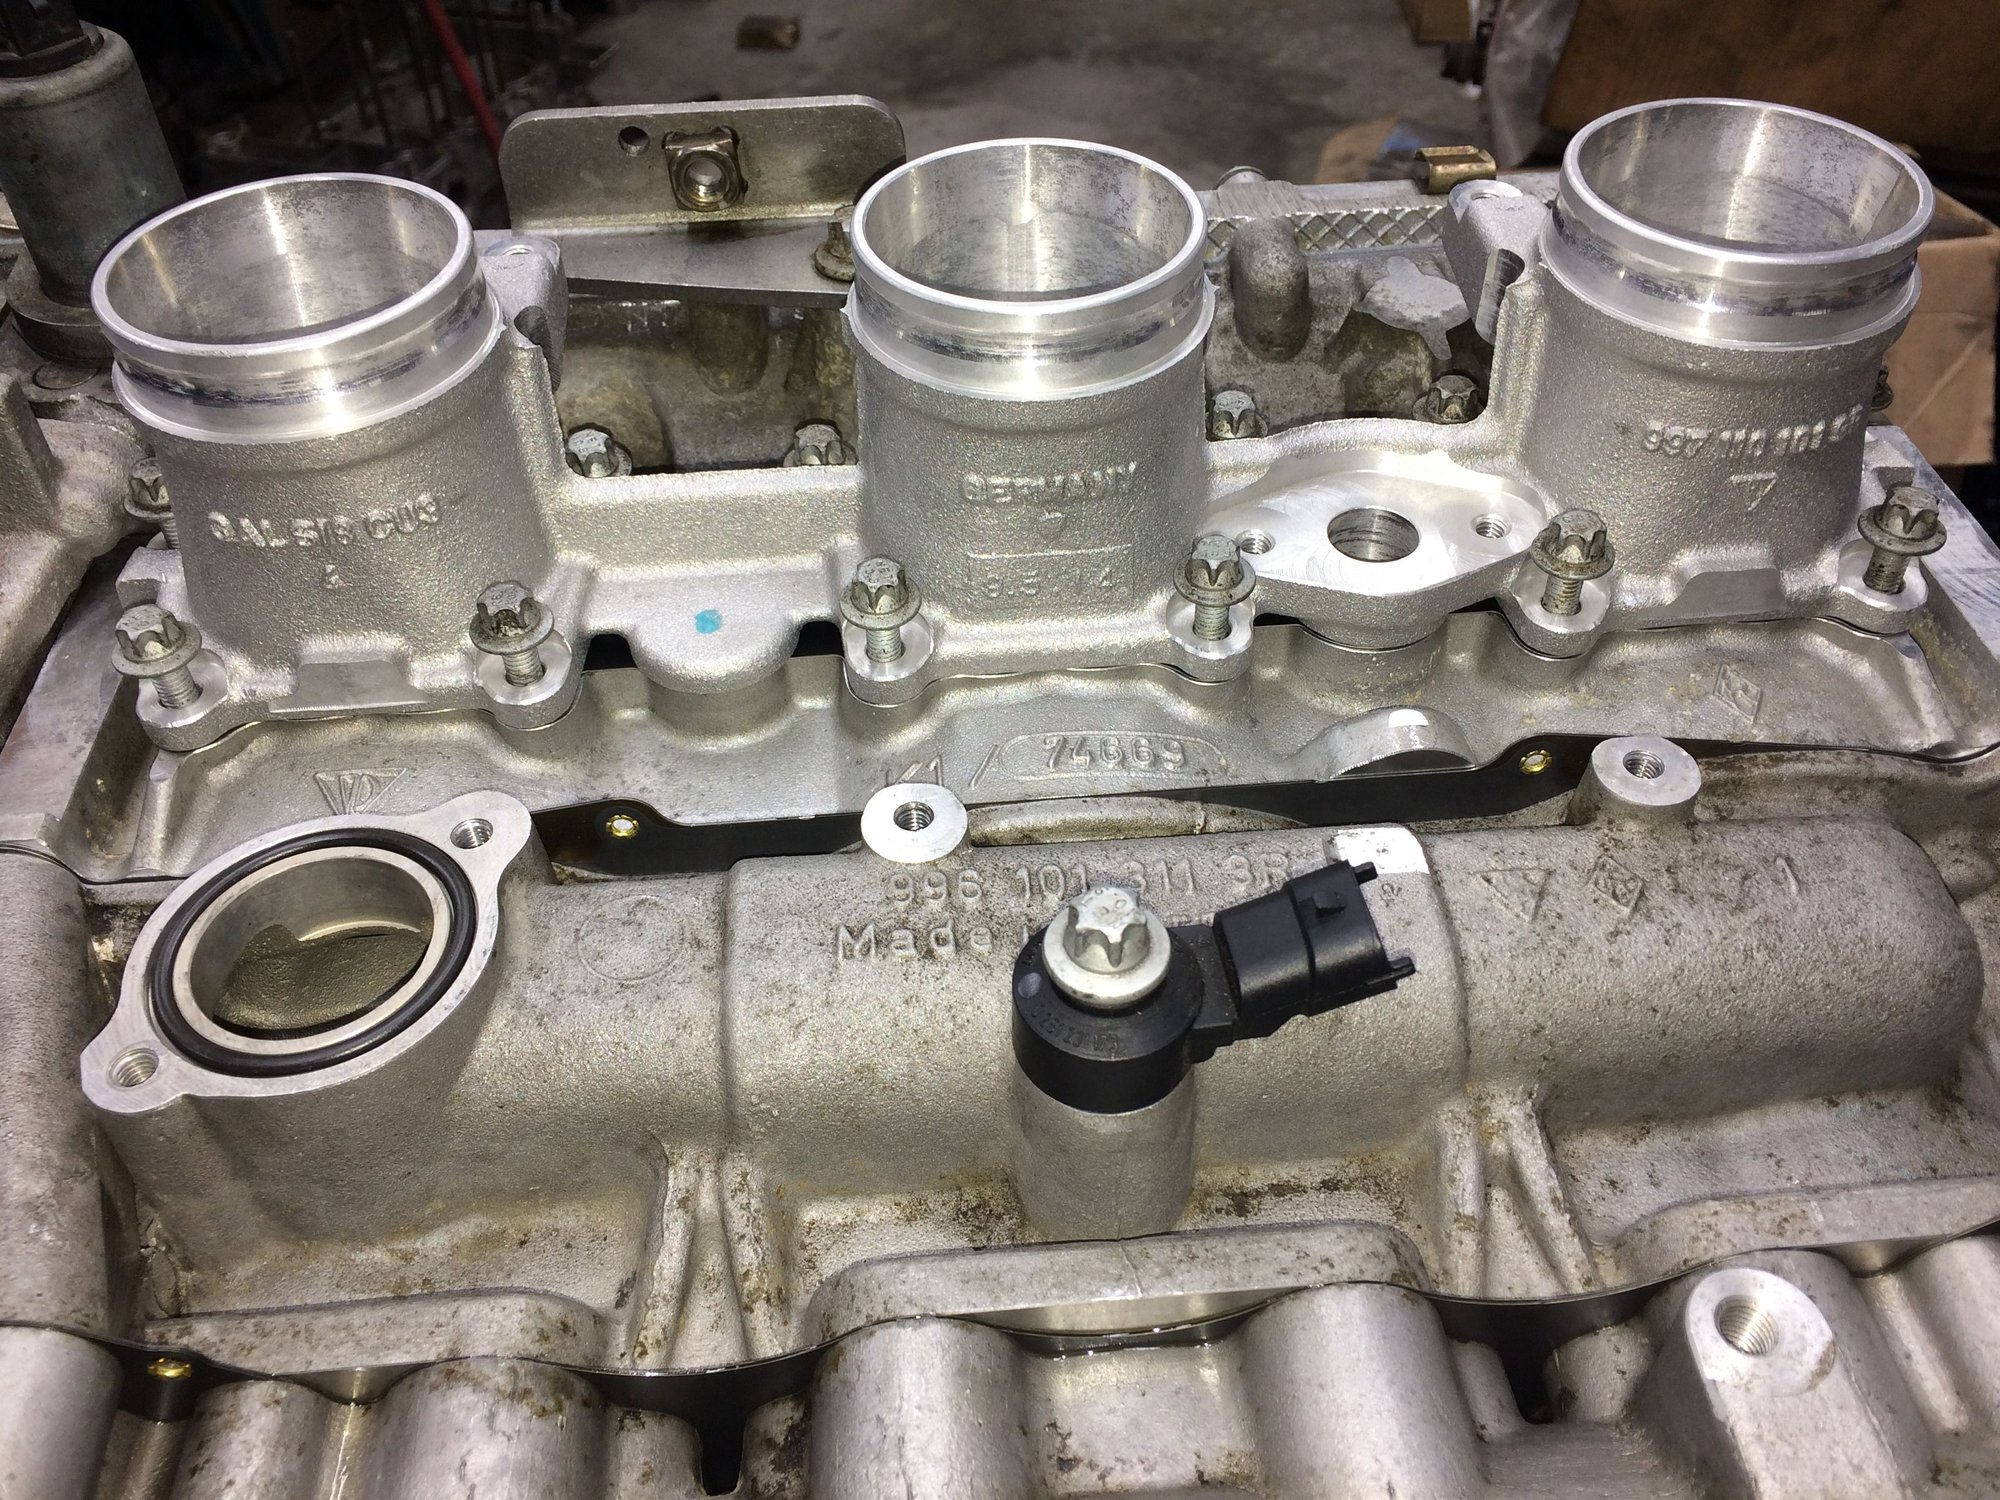
There it is, the 4.0 intake manifold assembly.
4.0 side runner(top of image) compared to 3.6/3.8/Cup side runner(bottom of image).
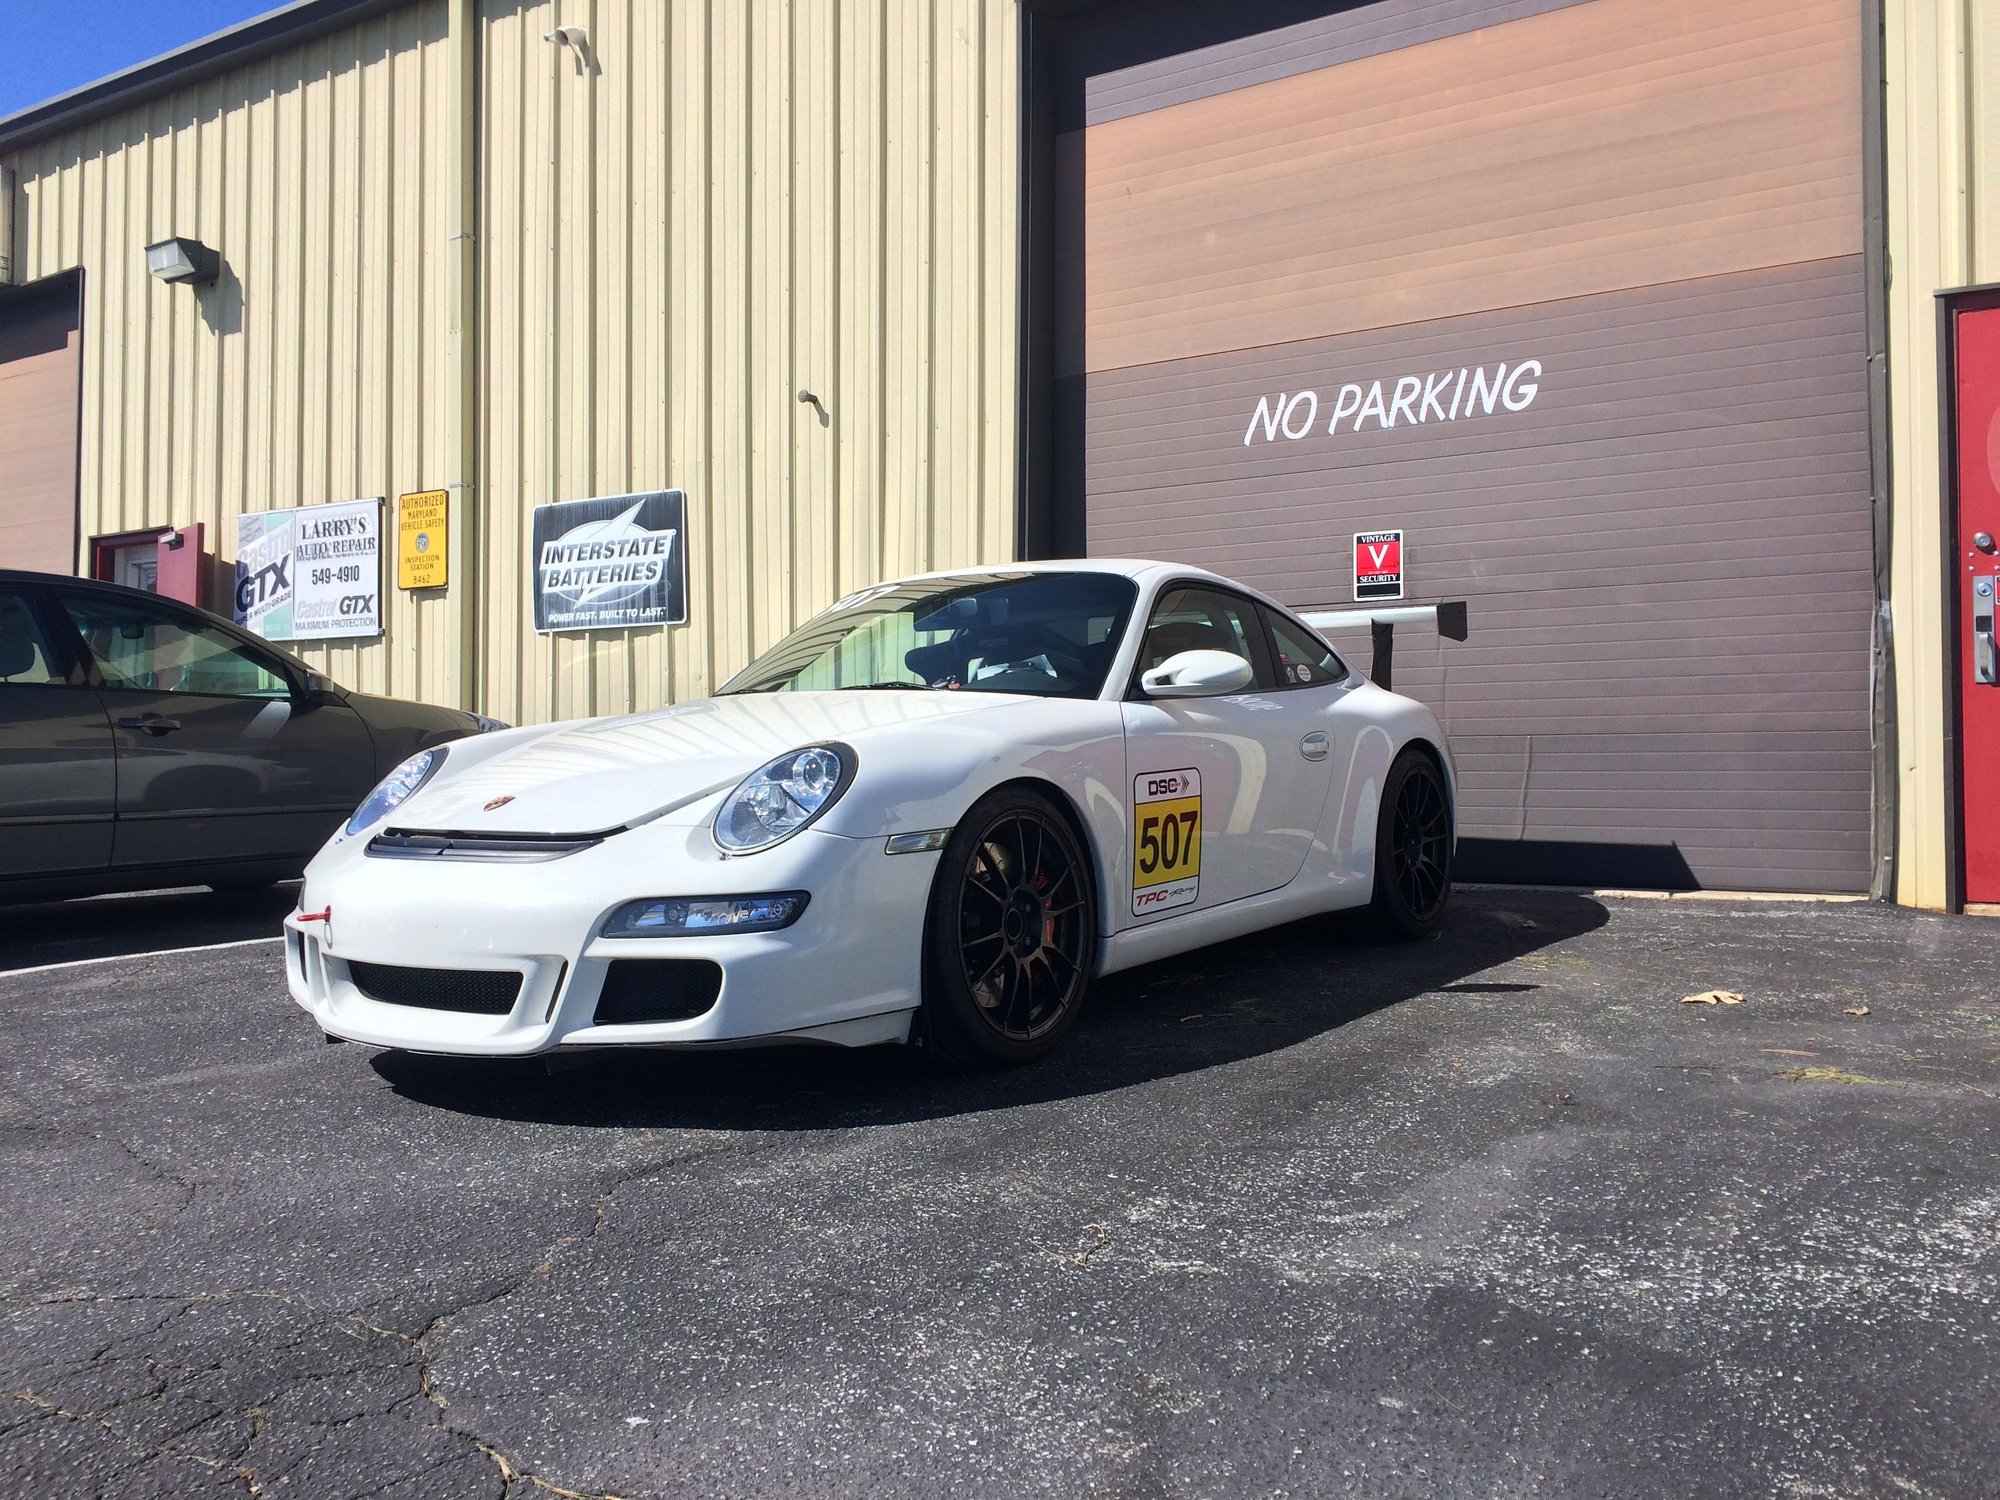
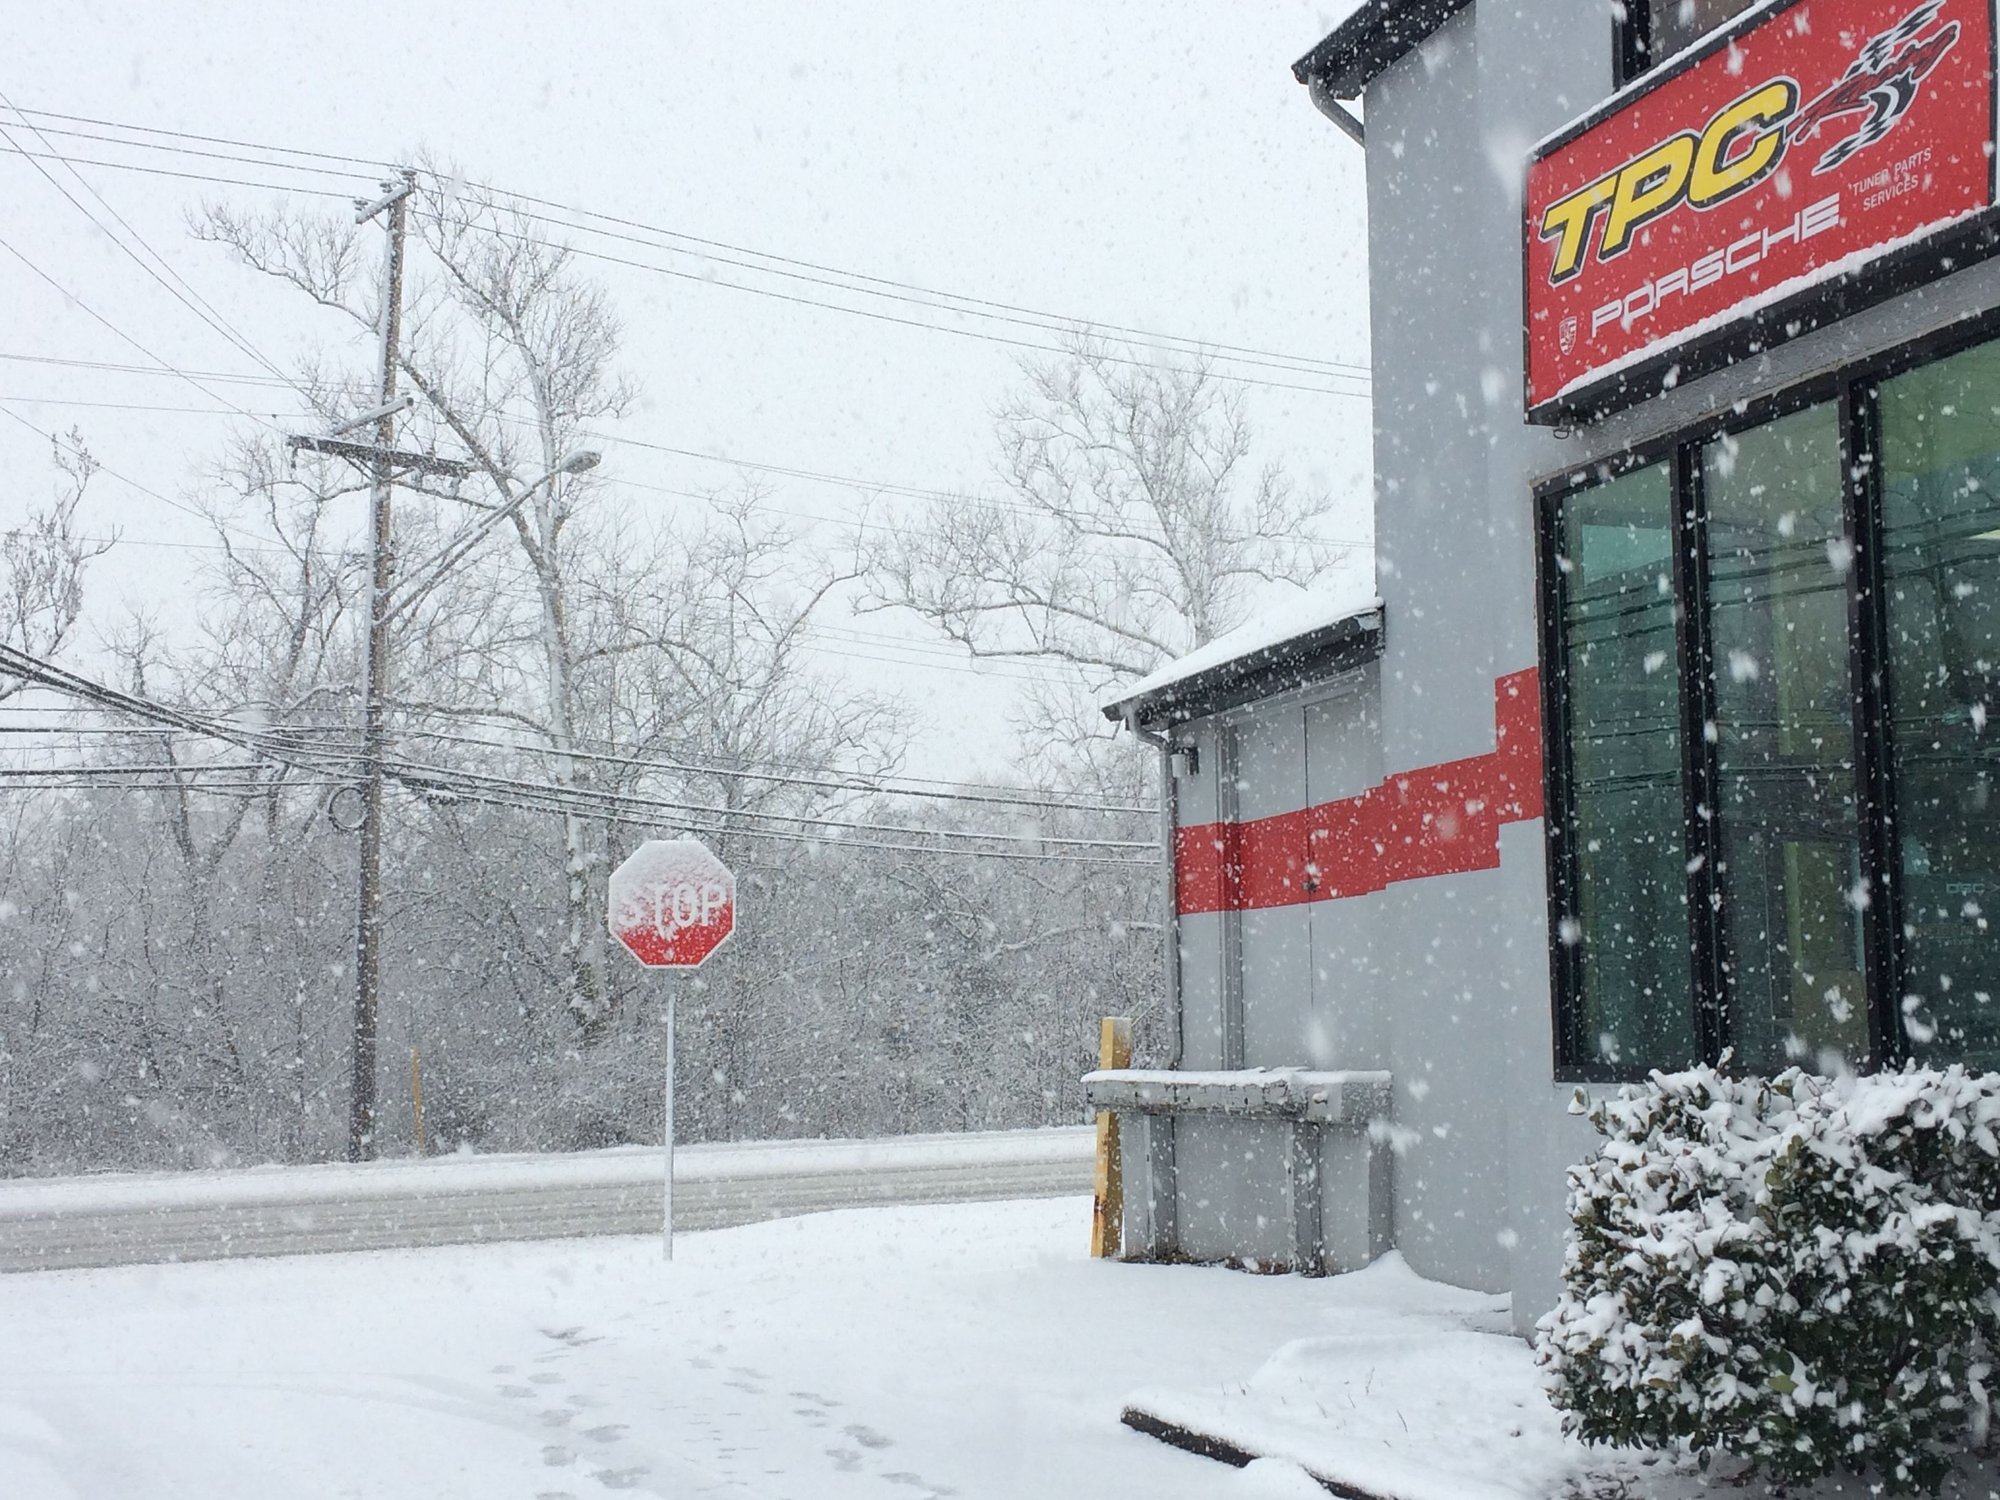
I put my car(in roller form) in a storage garage while the engine is being build because TPC has a full house of customers cars, so now that the engine is almost completed I'm scrambling to get the roller back to the shop. Good thing I fetched the car before the series of snow storms.
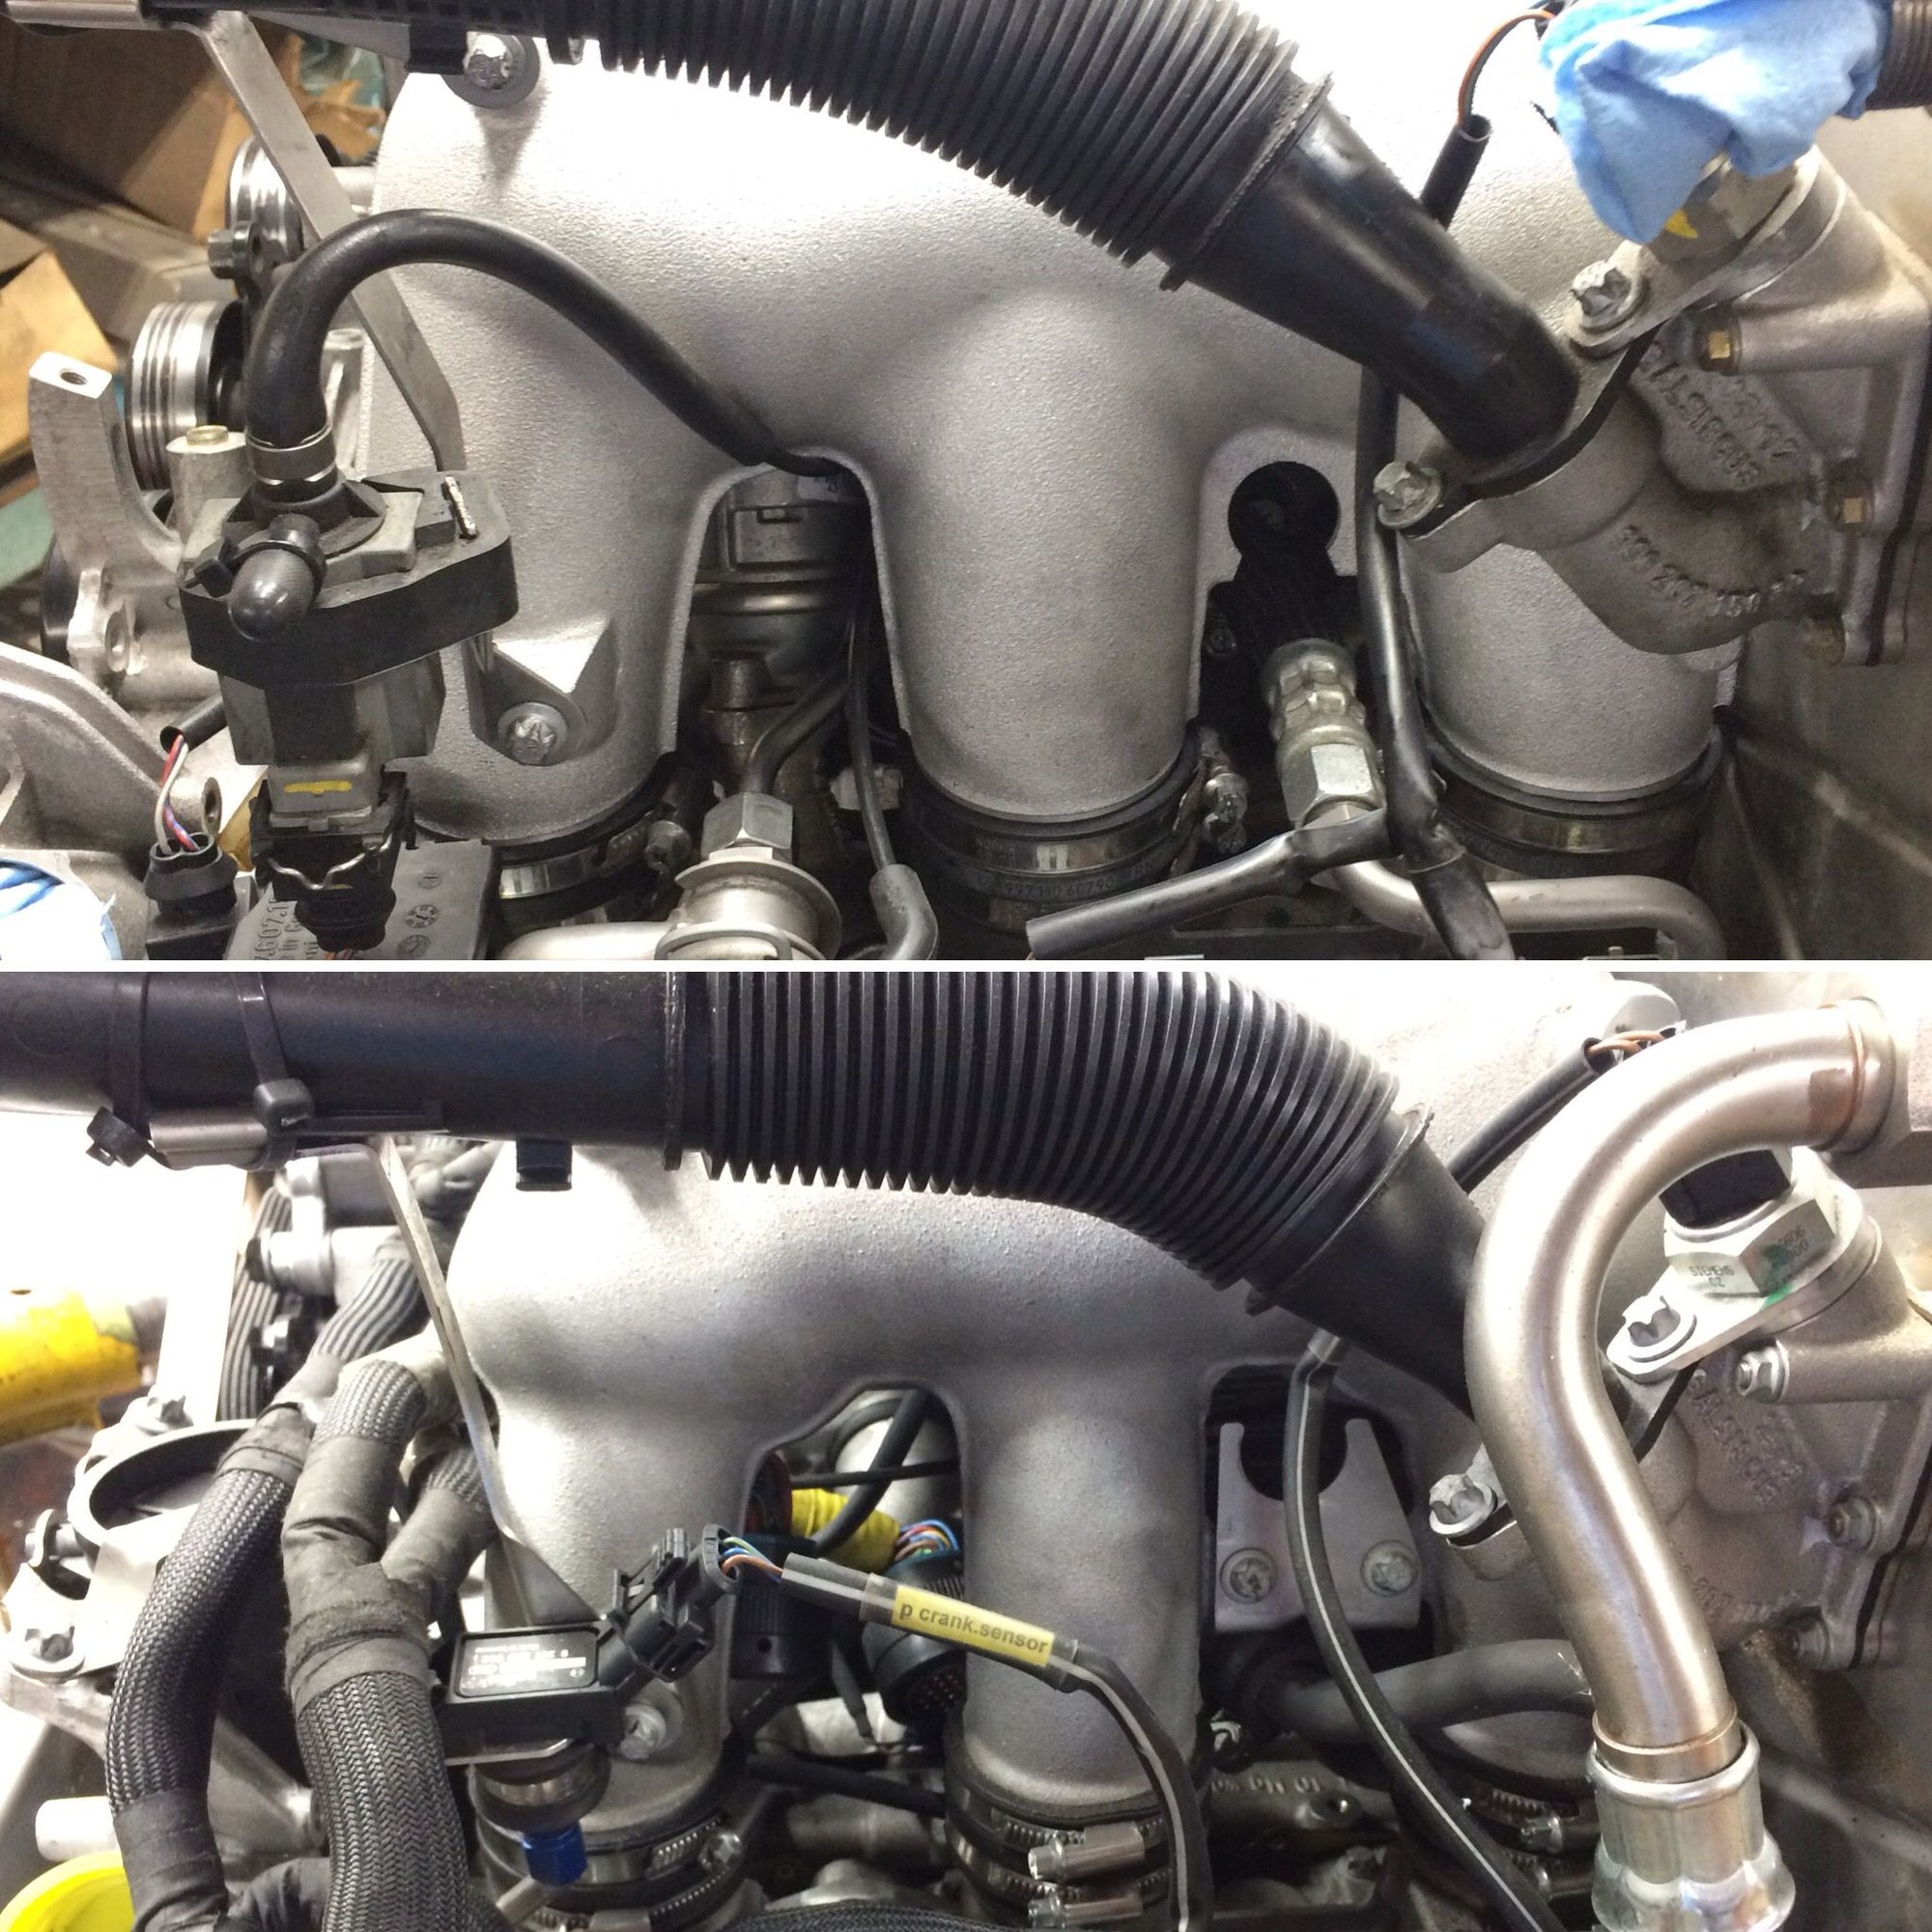
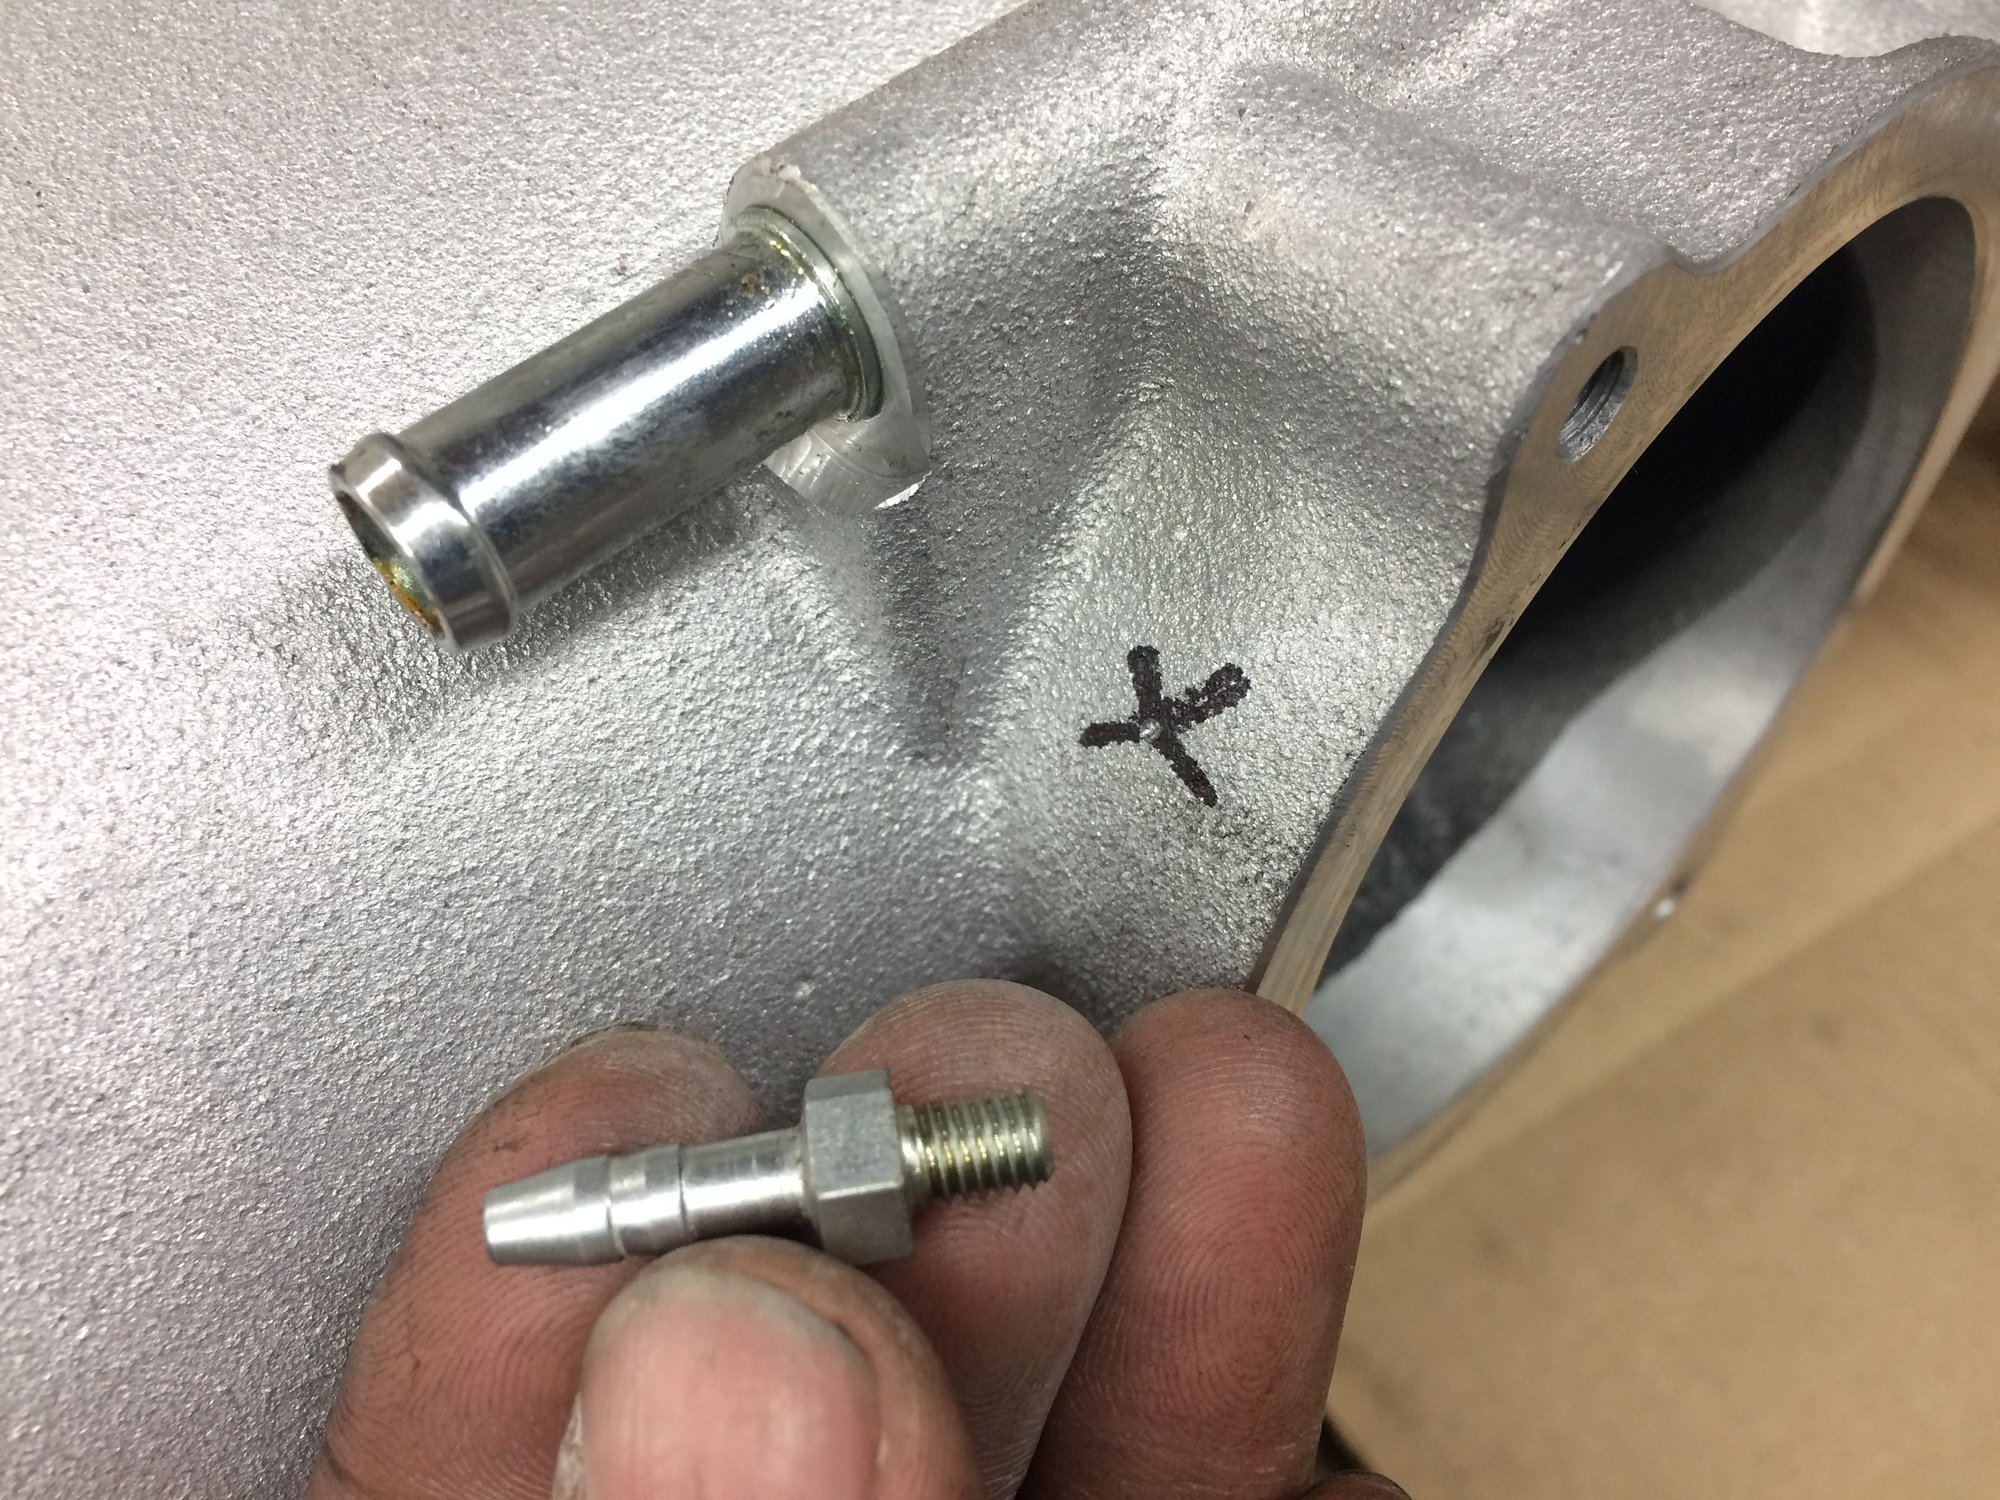
In the midst of scrambling to get the car, I installed the 4.0 intake manifold without noticing the the 4.0 version doesn't have the vacuum port for the fuel pressure regulator that the 3.6 version have.
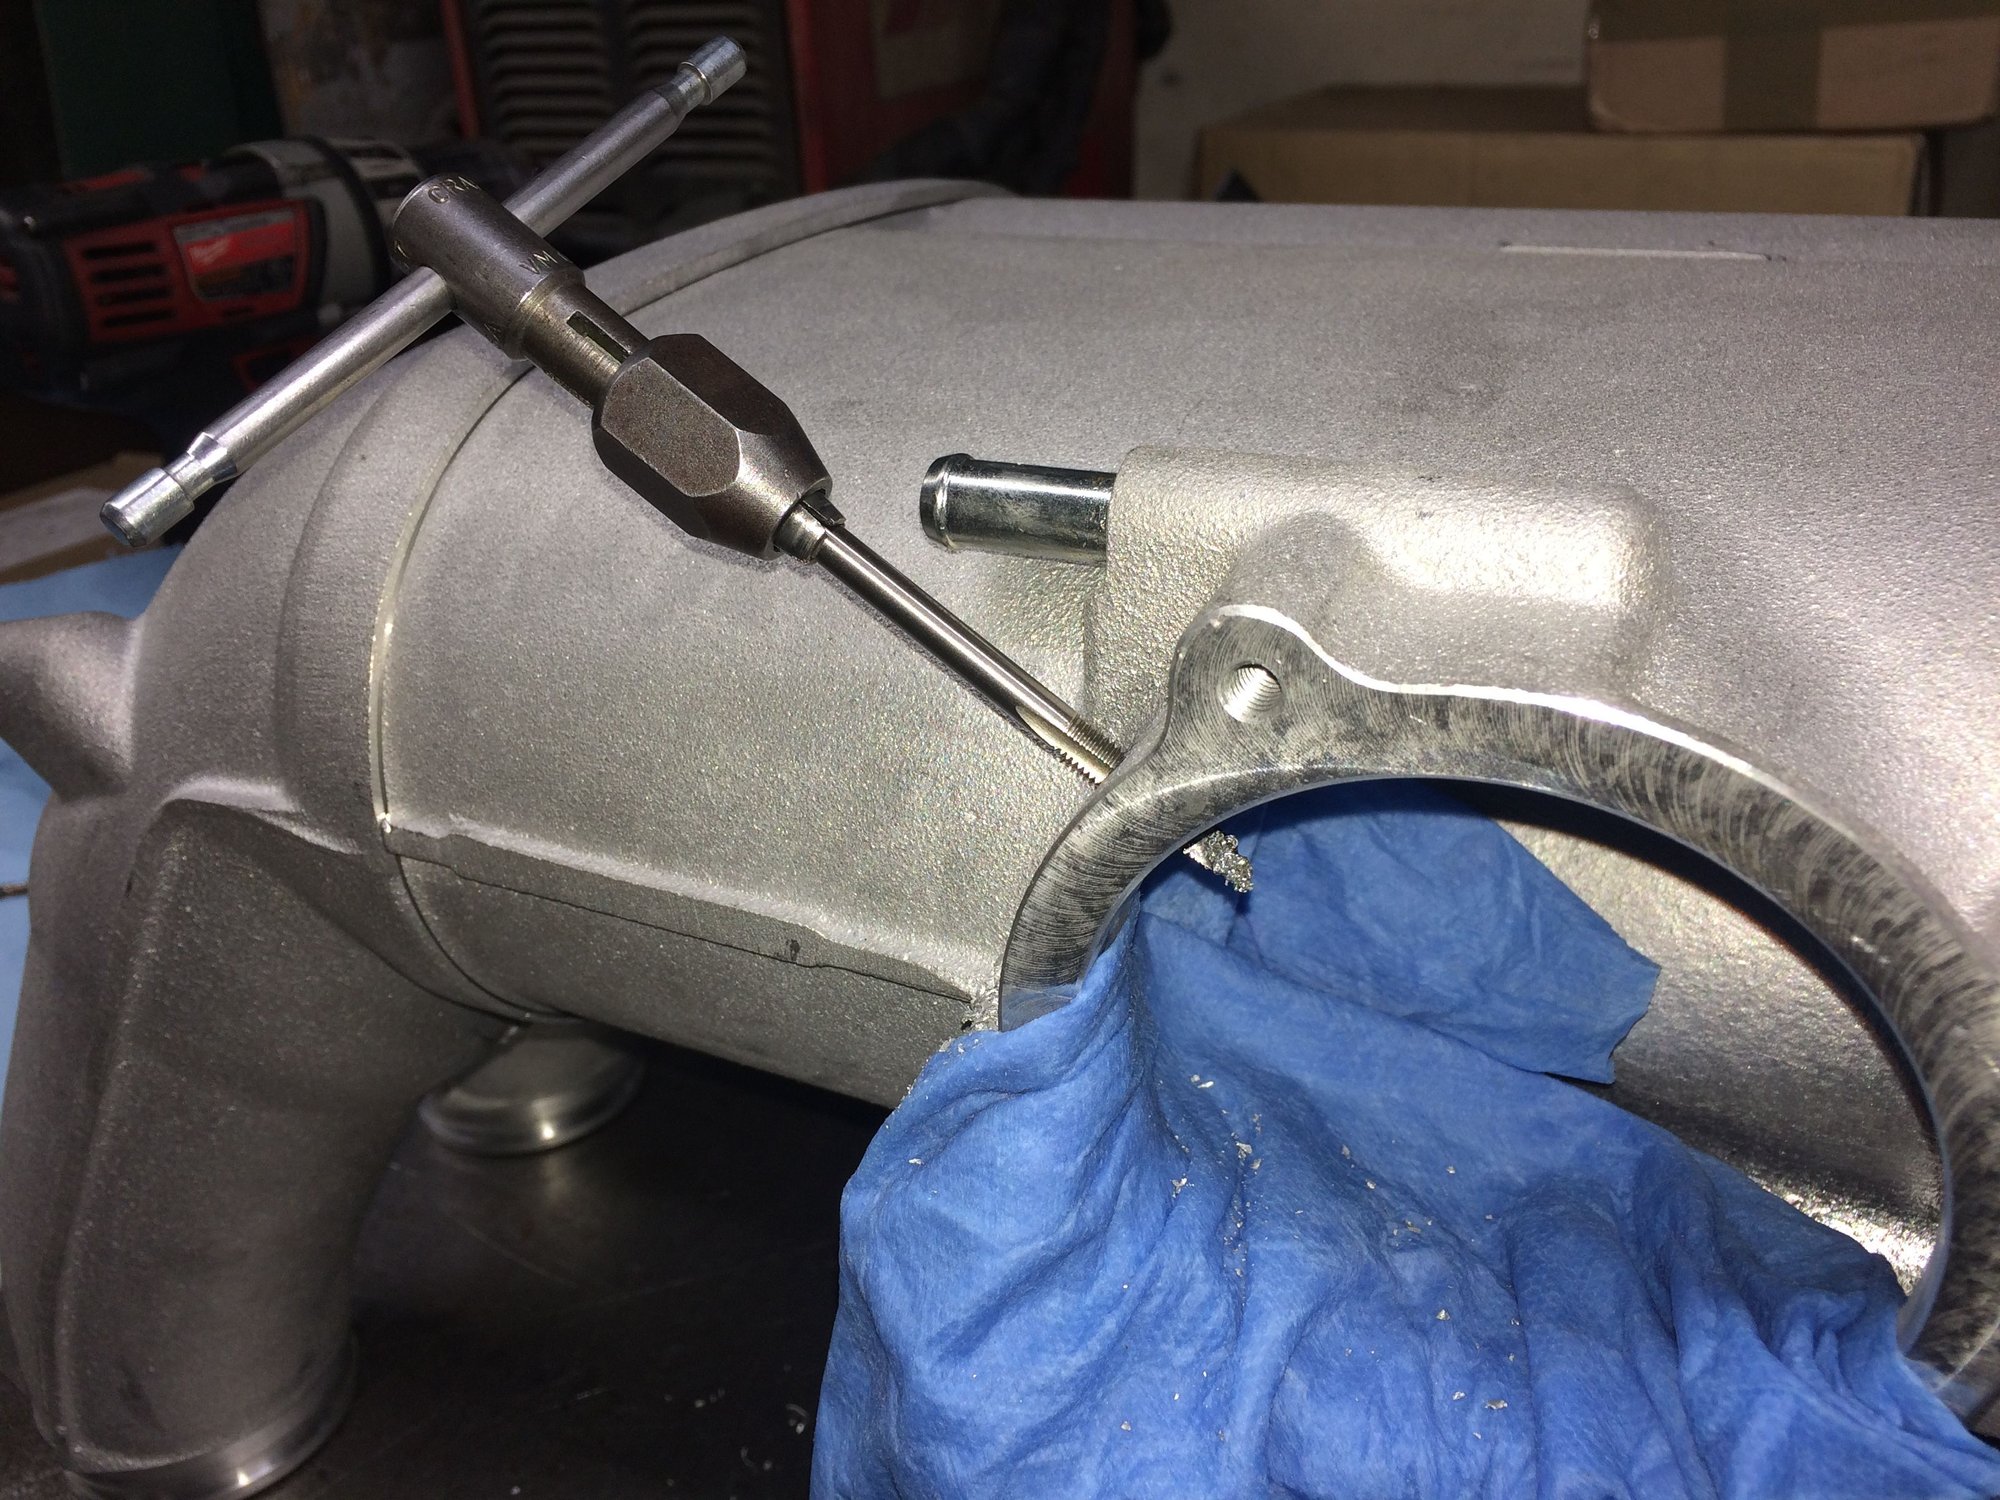
I could have drilled and tapped it without removing the intake manifold but why take the chance with a fresh engine when down to the home stretch? An extra 10 minutes to remove the intake manifold to drill and tap it on the workbench is a much more sensible thing to do. On the workbench I can use compressed air to blow off any debris in unsuspecting places inside the assembly. Wait! I am becoming sensible??
Wet towel to contain the metal shavings.
Yep. Much better doing this not on a fresh engine.
That took more than 10 minutes...carrying on.
Put Loctite 574 on the threads to seal the deal.
Spent the night dressing the engine up.
Recap on exhaust- I've been running 997.2Cup 100-cell exhaust manifolds, side bypass, and 991GT3 street car muffler since 2016. The manifolds and muffler were used parts that I've acquired from rennlist classifieds. They have been working fine thus far.
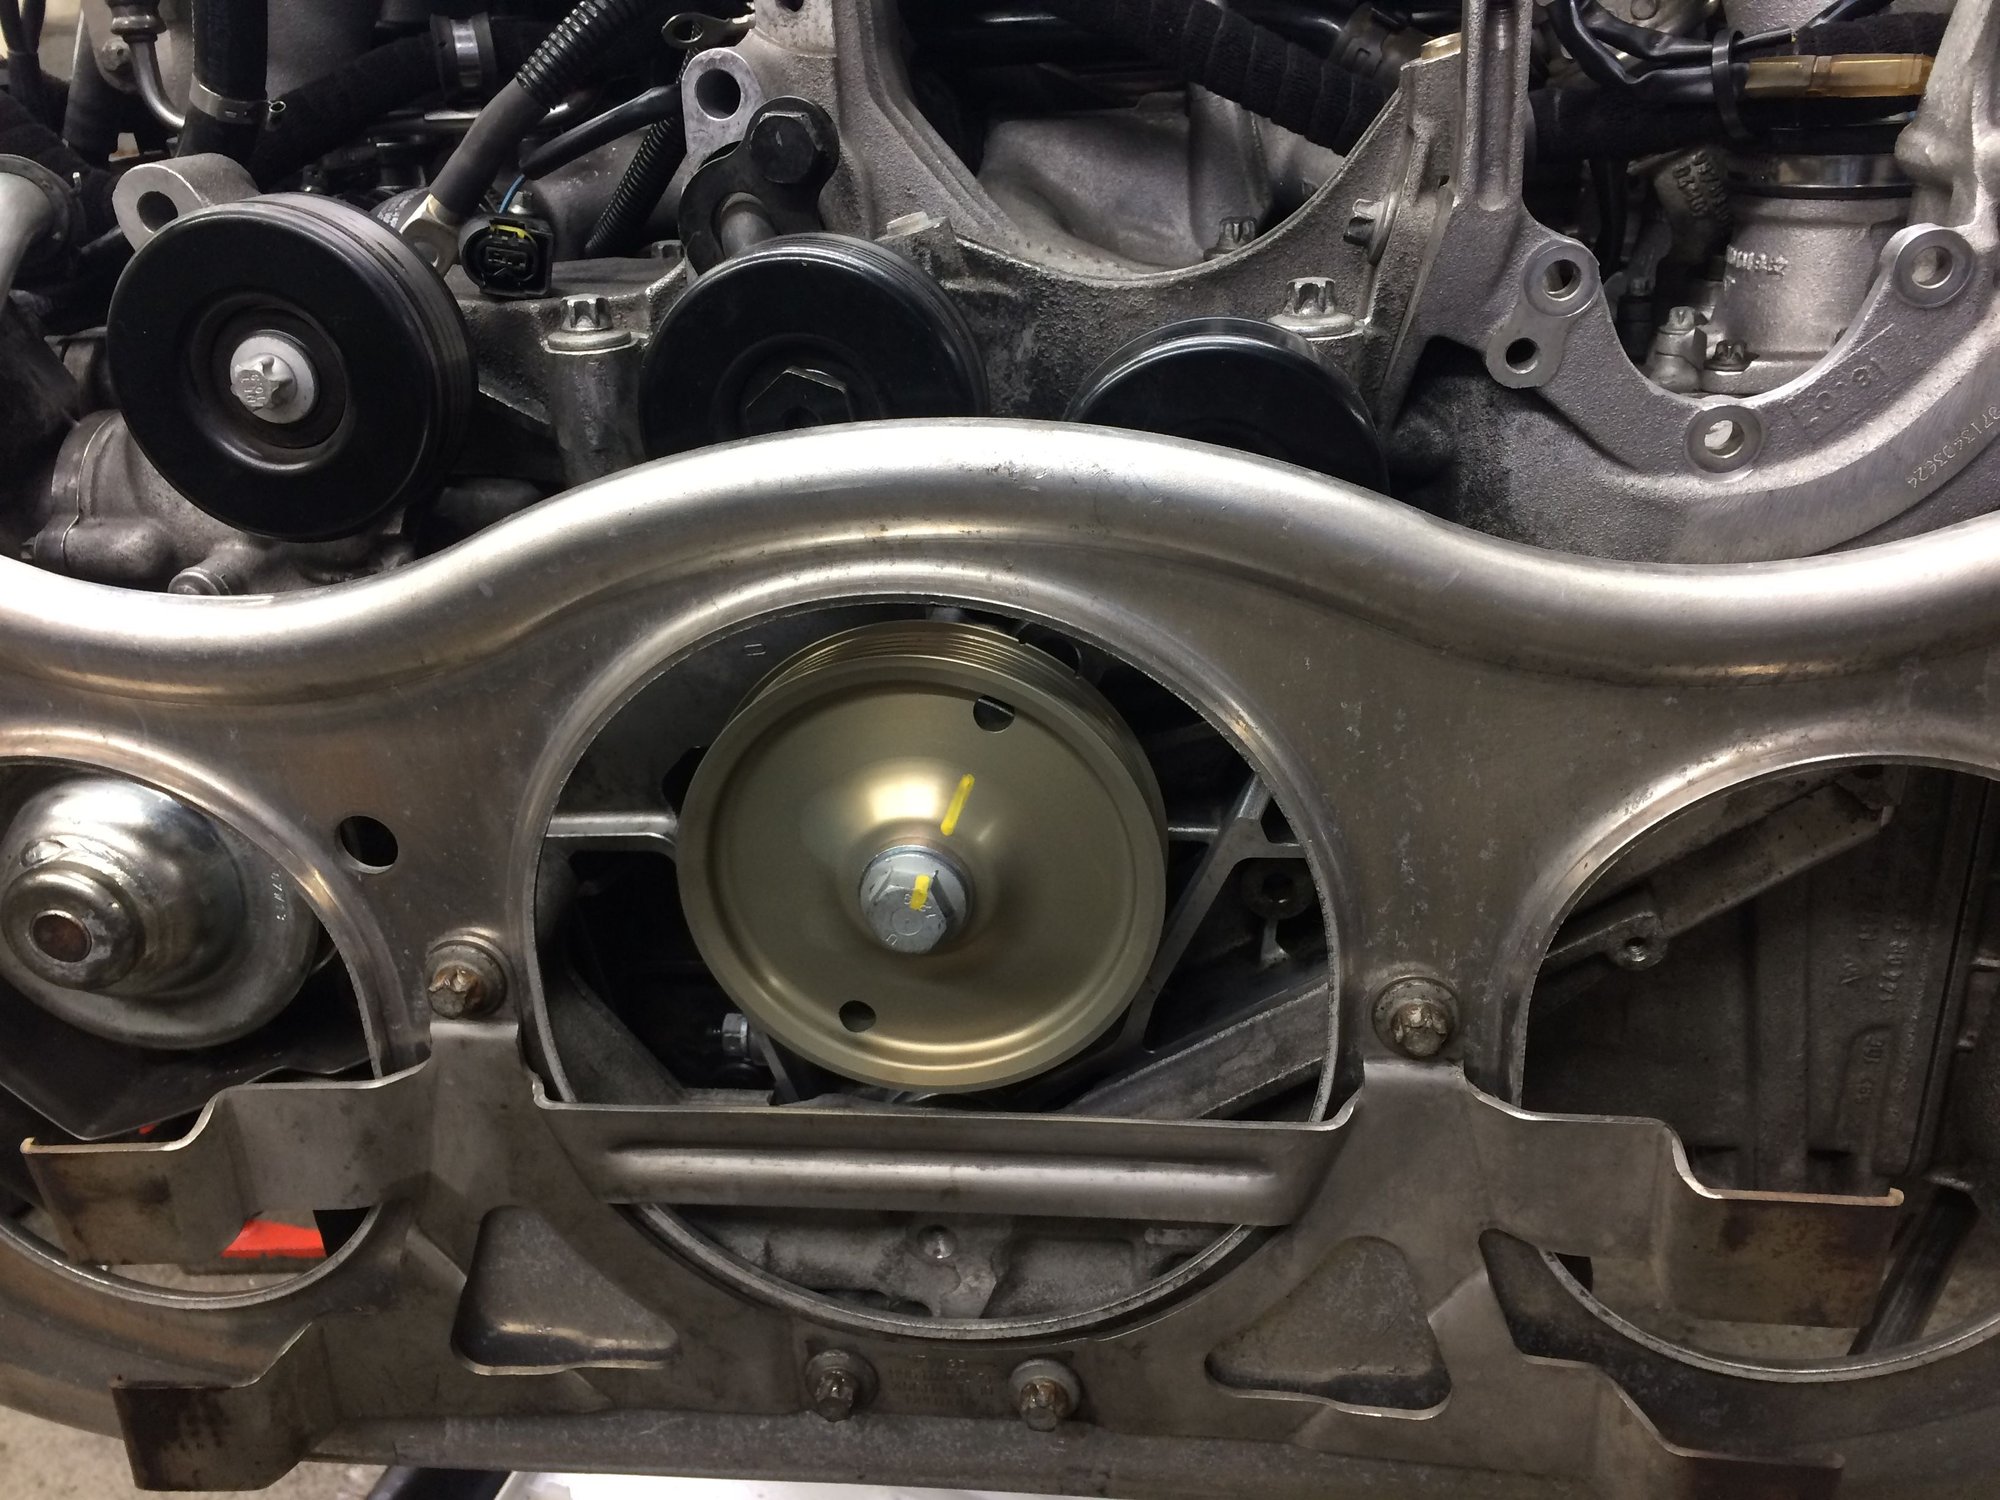
I opt to go with the 3% underdrive 997.2Cup crank pulley just because it looks cool. Besides the cool factory it has zero real world performance advantage. And I have to play with different belt length again since this pulley is smaller diameter than the 3.6RS pulley.
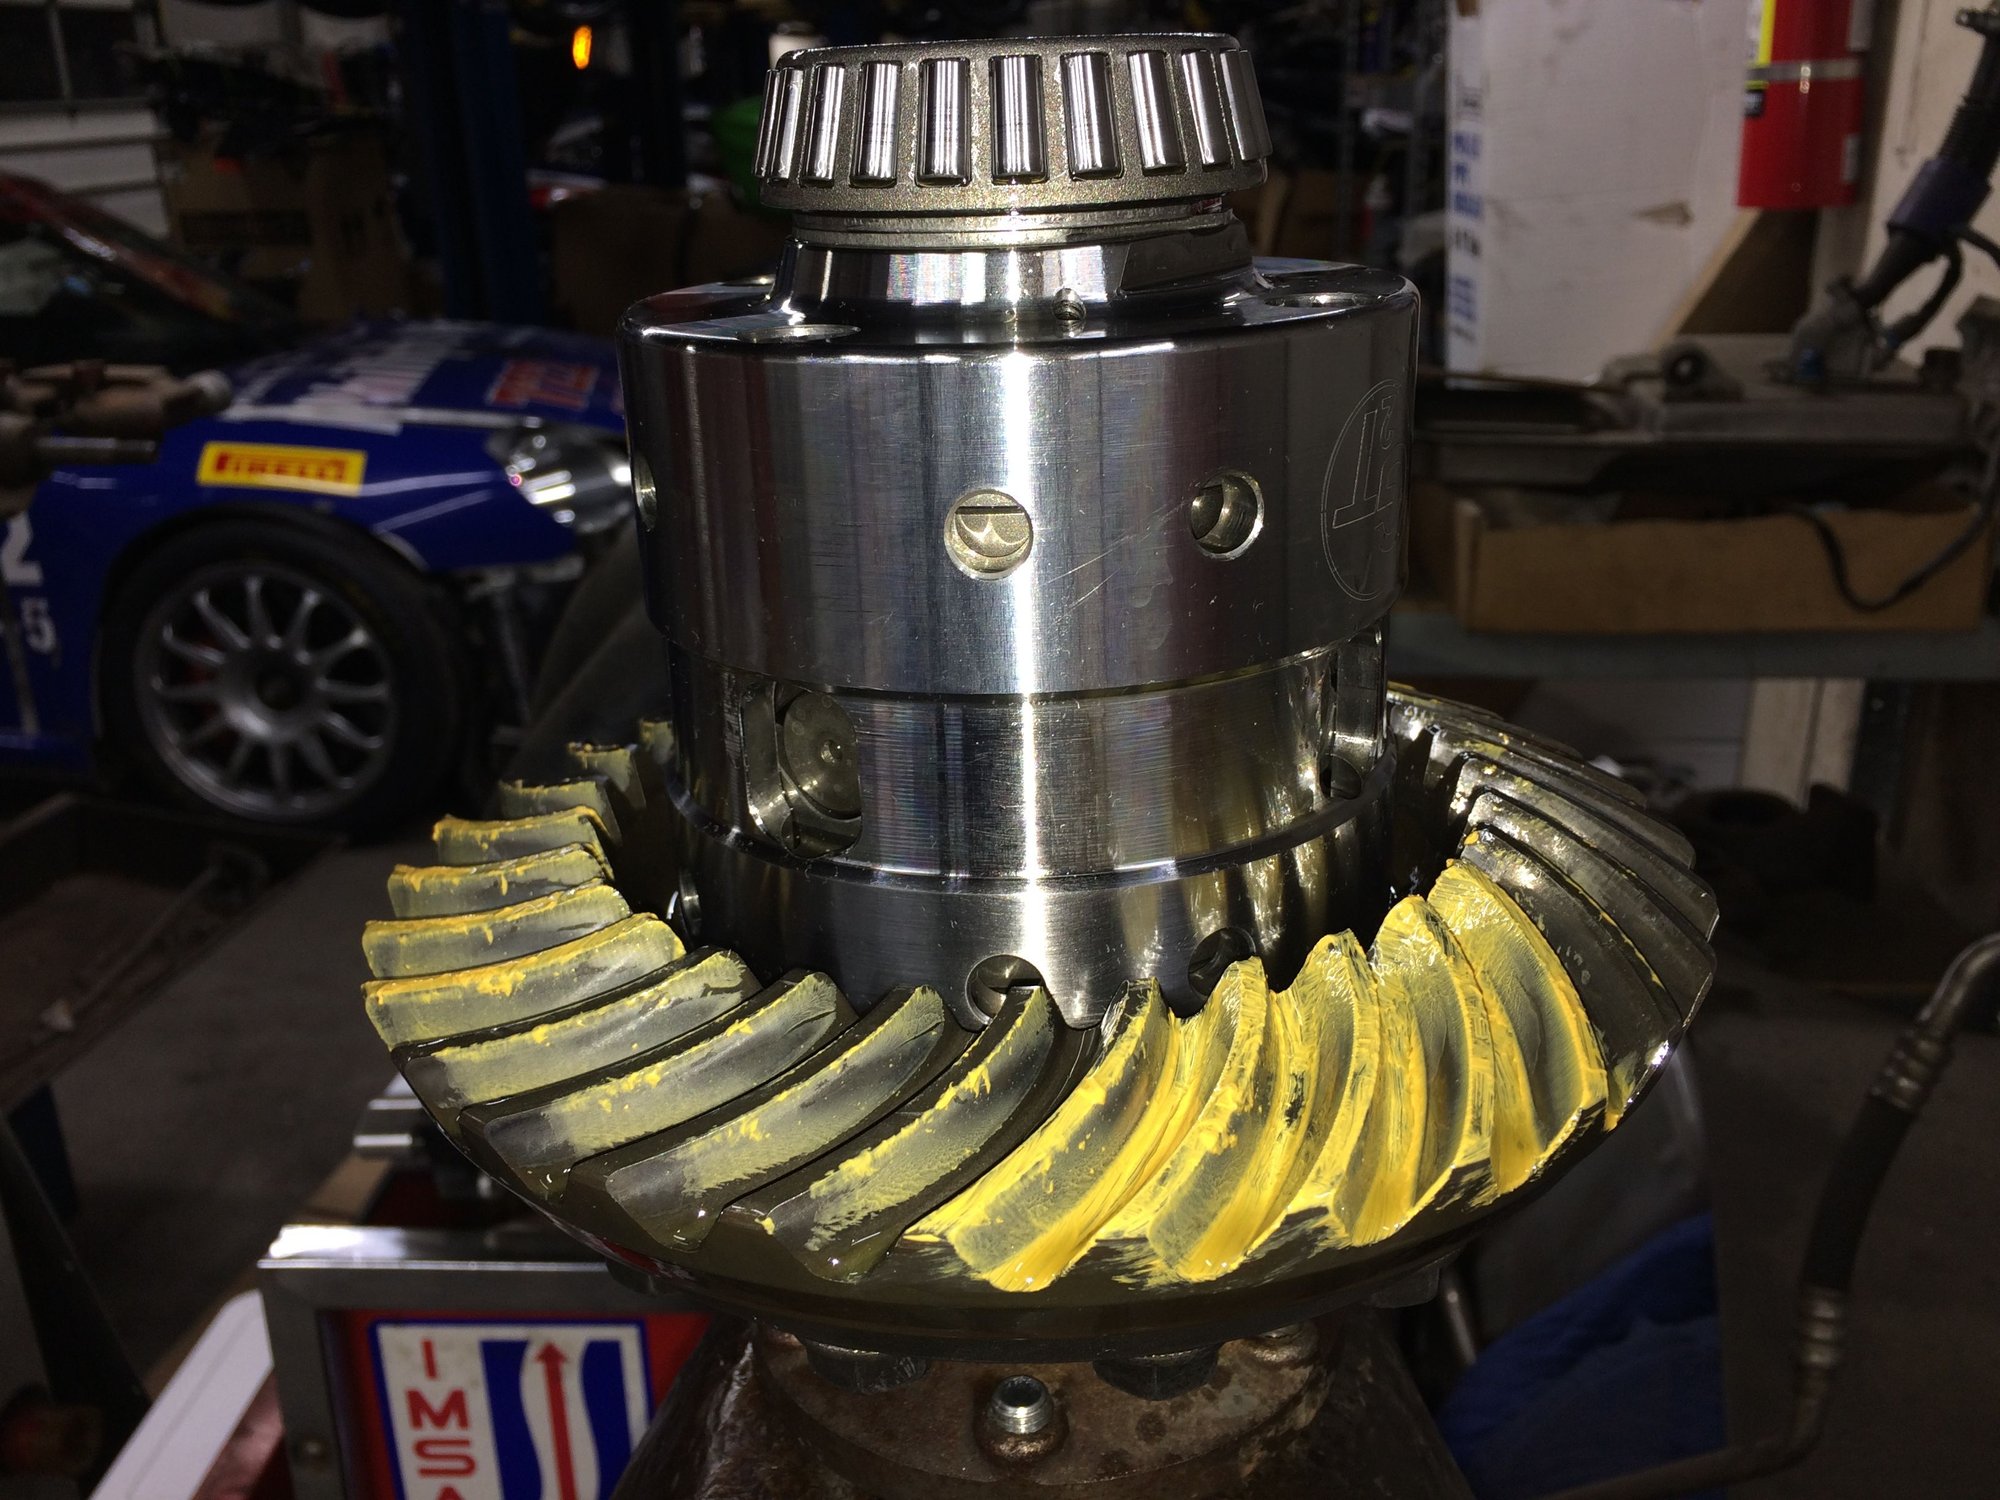
Before connecting the gearbox to the engine I decided to do a ring gear paint pattern test since its much easier to do this with the gearbox on the floor.


 03-13-2018, 04:54 PM