When you click on links to various merchants on this site and make a purchase, this can result in this site earning a commission. Affiliate programs and affiliations include, but are not limited to, the eBay Partner Network.
I removed my seats prior to roll bar install and I was shocked how heavy the stock seats were. Damn near strained my back. Just thought I would share. GT3 seat upgrade???
It just shows what Porsche values these days... not good for those who want to own and drive a "sports car".
The seats in my 2000 Boxster S, the same seats Porsche made for years and years, were way more comfortable and all manual than these crazy adjustable seats in my 2000 C2S that I can never get right.
I have a 996 GT3 seat that I swap in for DE season. It's crazy the difference in weight. Getting the power seat out by myself is doable and I've done it enough to have a syste down at this point but lifting the GT3 seat in is breeze.
Hey guys, anybody has a resistor hack document for disabling airbag warning when swapping for non-airbag GT3 seats? It did work on a driver seat but not on passenger for some reason.
Trying to help a friend to avoid paying for PIWIS service.
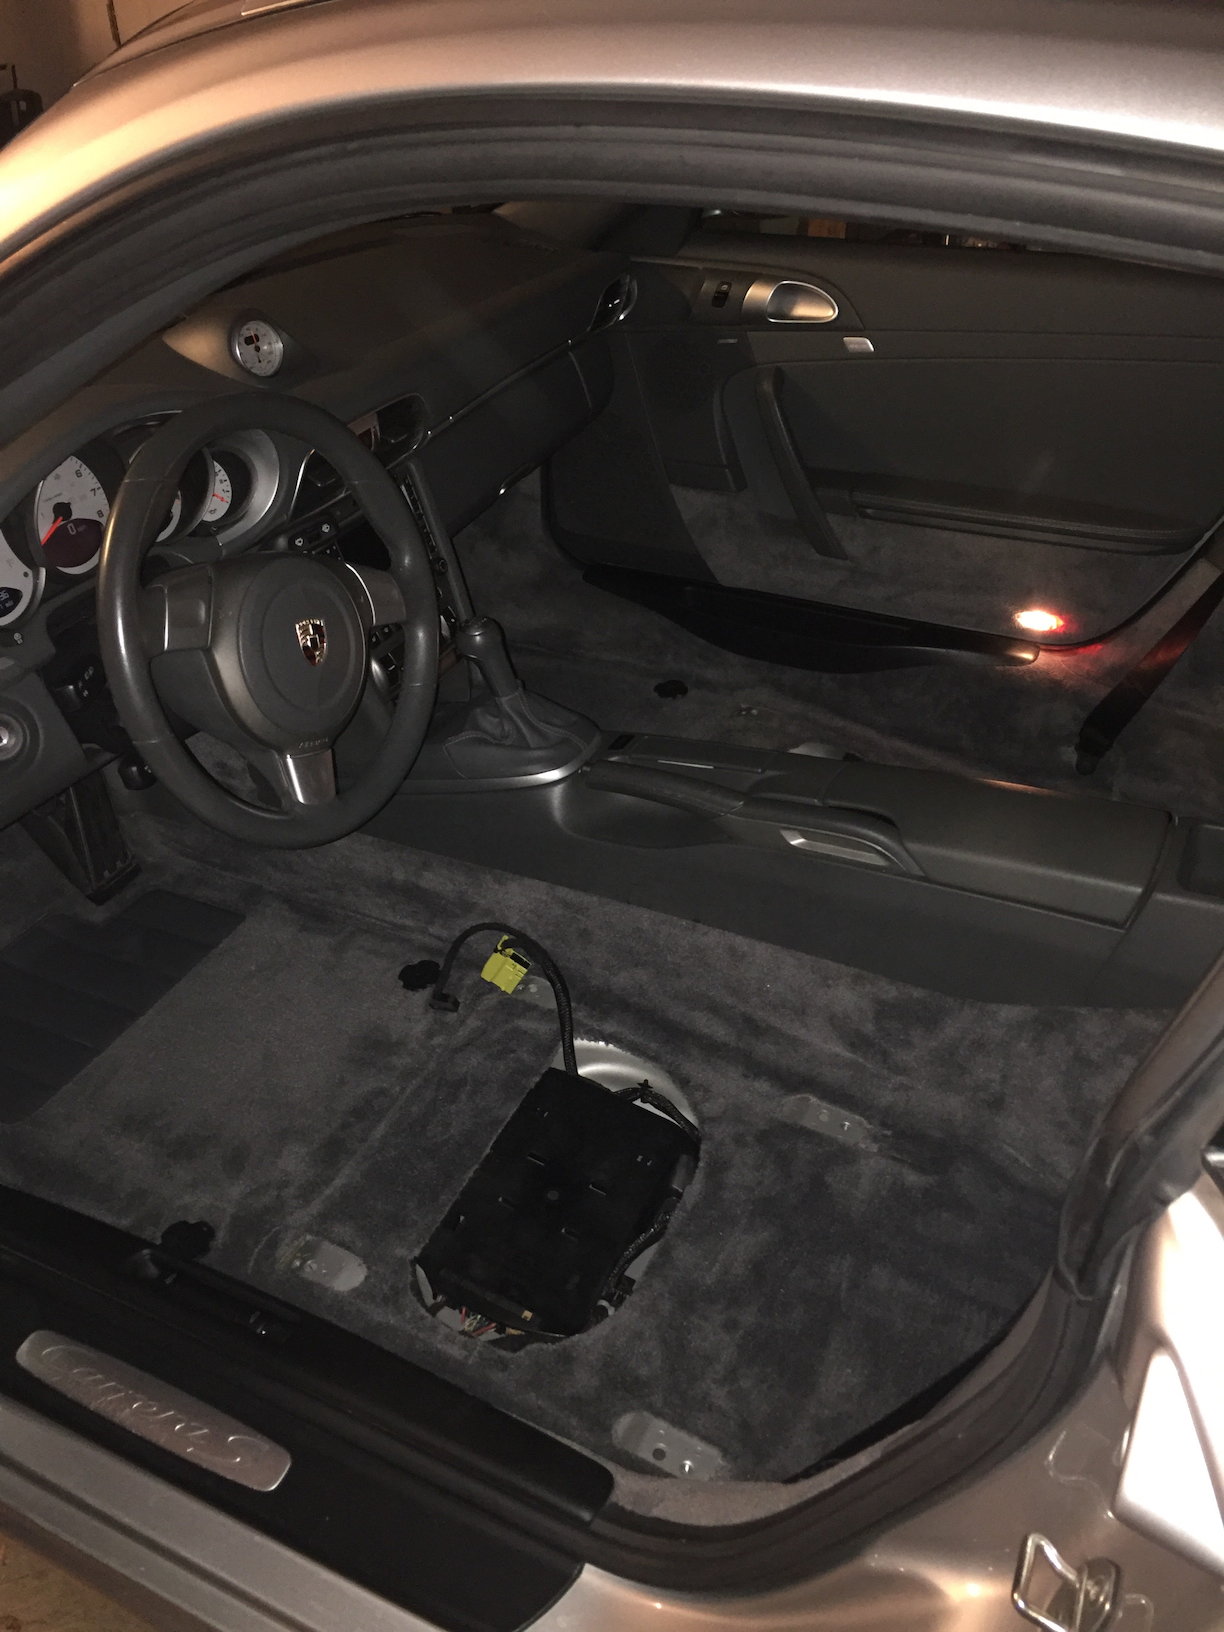
I removed my seats prior to roll bar install and I was shocked how heavy the stock seats were. Damn near strained my back. Just thought I would share. GT3 seat upgrade???
2006 997.1 Seats removed.
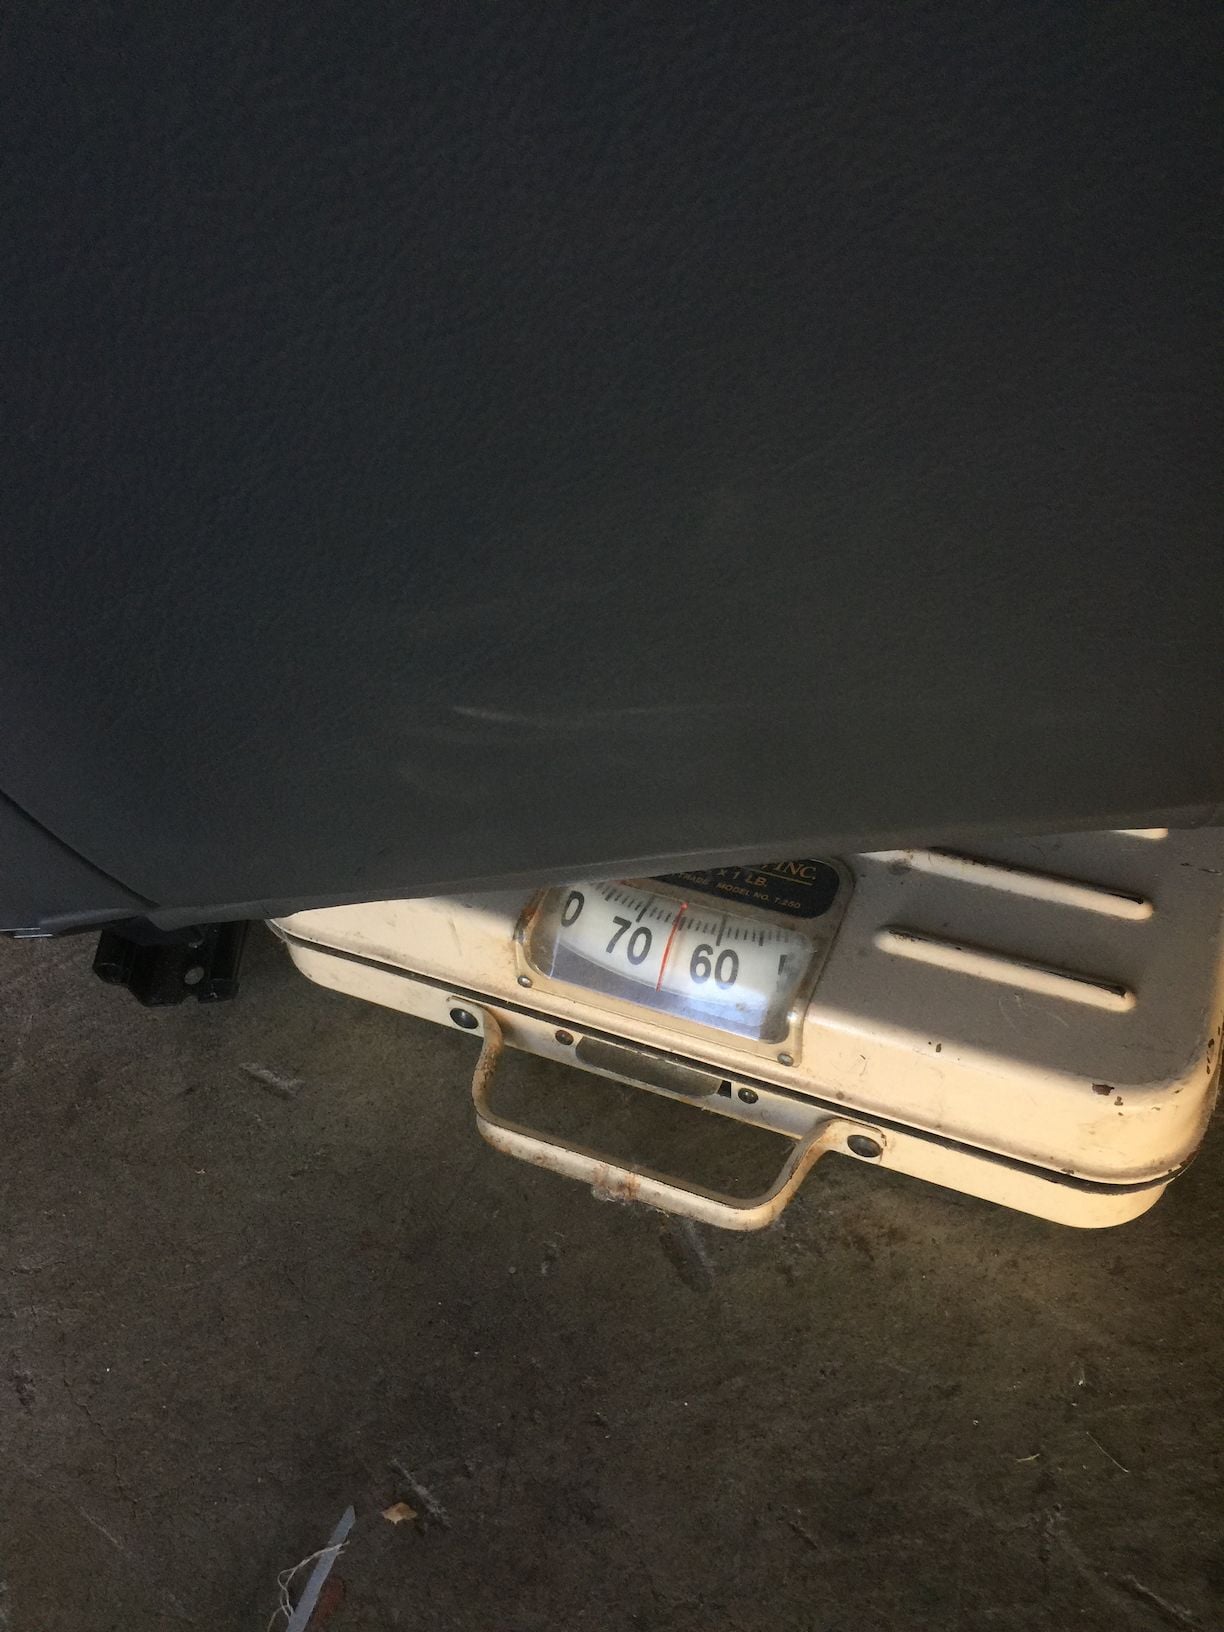
Drivers Seat weight
Passengers Seat weight
Is it just those 4 bolts and electrical to remove? How long does it take and is there any anomalies you have to share from the process?
Is it just those 4 bolts and electrical to remove? How long does it take and is there any anomalies you have to share from the process?
what he said above also...
I am doing a roll bar as well, just came in from Germany and having dealer install in a few weeks. Was quoted 3hrs. Which one did you go with and please post updated pics..
I did the tequipment with NO diagonal bar to mount to seat belt mounts... also adding the rennline fire extinguisher kit as that is also a seat out install .....so mine as well when the seats are out add it.
Driver side:
Remove front plastic seat rail covers. Remove front two and rear two bolts. Disconnect yellow airbag connector. (Optional: disconnect heated and powered seat connector) Remove seat.
Passenger side:
Remove front plastic seat rail covers. Remove front two and rear two bolts. Disconnect yellow airbag connector. Disconnect weight sensor connector (Optional: disconnect heated and powered seat connector) Remove seat.
So, really the only difference is the passenger side has the weight sensor connector.
Put pads EVERYWHERE. Dash, doors, sills, steering wheel, center console.
Those seat rails just love to stick out and scrape or scratch things. Also keep your hands clear of the slide release handle for obvious reasons.
It's take 30-45 minutes to remove both seats alone.
And in keeping in RL fashion for a sidetrack.....I'm looking at a set of sport seats. My seats are heated. How do I know that the sport seats are heated? Is there a special plug that identifies heated seats?
And in keeping in RL fashion for a sidetrack.....I'm looking at a set of sport seats. My seats are heated. How do I know that the sport seats are heated? Is there a special plug that identifies heated seats?
I'd assume so, my fellow cheesehead friend, but I went from heated sport seats to GT2 buckets. So, that wasn't a concern for me. I'm sure someone else here will know.
I am doing a roll bar as well, just came in from Germany and having dealer install in a few weeks. Was quoted 3hrs. Which one did you go with and please post updated pics..
I did the tequipment with NO diagonal bar to mount to seat belt mounts... also adding the rennline fire extinguisher kit as that is also a seat out install .....so mine as well when the seats are out add it.
I put 997 manual sport seats into my 928 Spyder and added the Rennline mount, but wanted it on the Passenger Seat to not impact my leg room, since I'm always in the car driving, and a Passenger isn't. Details and photos are below the line for anyone interested.
------------------------------------
I created three new holes in the steel under-seat metal that lined up with the holes in the Rennline bracket (4th would've been on an odd raised circle so I skipped that one and used a square of foam trim tape to anchor that one).
I drilled out some aluminum spacers one size so I could use larger 6mm stainless bolts I have on-hand and then fished 3 flange nuts up beneath the black seat metal and lined them up with my holes - the seat foam holds them in place nicely. The spacers optimize the angle of the mount to keep it away from the passenger's legs, close to the floor, but still allow for full seat travel fore & aft.
I had to remove one of the 3 mounting arms for the seat control box since the extinguisher bracket now resides where it went, then just gently started all 3 bolts until they engaged with the flange nuts, and all three are tight, and the mount rock solid.
Anywhere there was risk of contact that could result in a noise or vibration, I stuck a piece of fuzzy velcro as an isolator.
It turned out really good - the curved edge is on the side of the manual fore/aft release handle and the small HalGuard extinguisher is well located relative to the seat and partially tucked under to not interfere with the passenger's legs. I also wrapped the back of the seat in CF vinyl to protect it from the kids feet and make it go with the rest of the interior.
Porsche's Top 5 Most Questionable Naming Decisions
Slideshow: For a company obsessed with engineering precision, Porsche has occasionally named its cars in ways that left even loyal enthusiasts scratching their heads.
Pogea Racing's 964 Porsche 911 Reimagination Stands Out in a Crowded Field
Slideshow: Pogea Racing's latest Porsche 964 project blends carbon-fiber construction, modern chassis upgrades, and up to 500 horsepower while keeping the air-cooled 911 experience firmly analog.
Talos Takes Your 991 Porsche 911 GT3 to the Next Level for a Cool $1.13 Million
Slideshow: Talos Vehicles has transformed the Porsche 911 GT3 RS into a carbon-bodied, race-inspired machine that costs well over $1 million before the donor car is even included.
9 Vehicles Porsche Helped Engineer that Aren't Porsches
Slideshow: Long before engineering consulting became trendy, Porsche was quietly helping other automakers build everything from supercars to economy hatchbacks.
9 Features and Characteristics That Only Porsche People Understand
Slideshow: Some brands build cars. Porsche builds traditions, obsessions, and a few habits that stopped making sense decades ago but somehow became part of the charm.