When you click on links to various merchants on this site and make a purchase, this can result in this site earning a commission. Affiliate programs and affiliations include, but are not limited to, the eBay Partner Network.
The Bruce's 15min Guide to Replacing your 997.1 Oil Pressure Sender
Hey all - I noticed my oil pressure gauge was giving faulty readings when turning the ignition to accessory mode, even though it still seemed to be working when the car was running. It didnt seem like a big deal but then I started getting a little paranoid I wouldn't get a CEL if my oil pressure was actually too low. So I replaced it over lunch. Super easy project that took 15 mins once I had the proper tools. I would recommend to everyone for peace of mind. Like every car project, it takes 1/10th the effort when you know all the details and tricks to it.
The Issue
If your oil pressure gauge is reading a non-zero value when the ignition is in accessory mode, ie the car isn't started, then it's faulty. If the oil pump isn't running the pressure should be 0 bar but mine would show 2 bar. While the car was running it would react logically, reading 5 bars on cold start, 1.5 bars at hot at idle and 5 bars whenever I was on the throttle. I believe the manual says something like oil pressure should read at least 3-4 bars when the engine is running >4k rpm. My worry was if the sensor was overstating pressure by 2 bar could I ever be in a situation where it didn't detect a low pressure situation and trigger a CEL? (In my boat I have an oil pressure alarm that works separately from the gauge but folks here said the 997 doesnt work that way. So seems like it's best to change it out if ever in doubt).
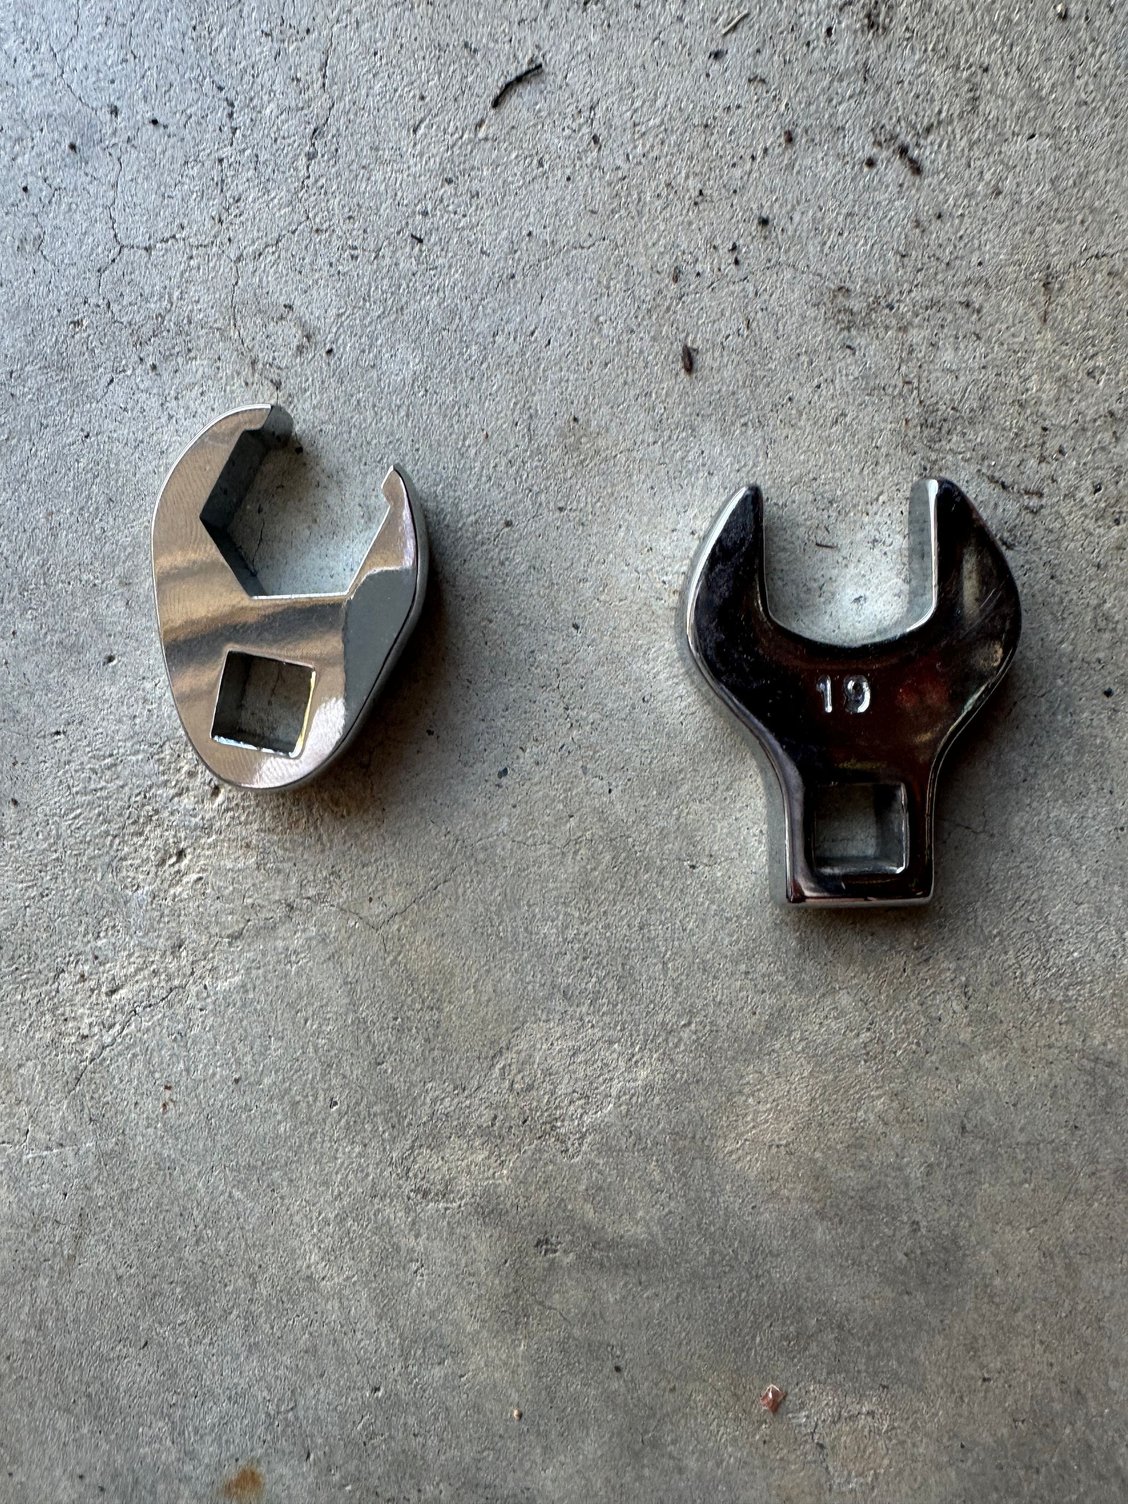
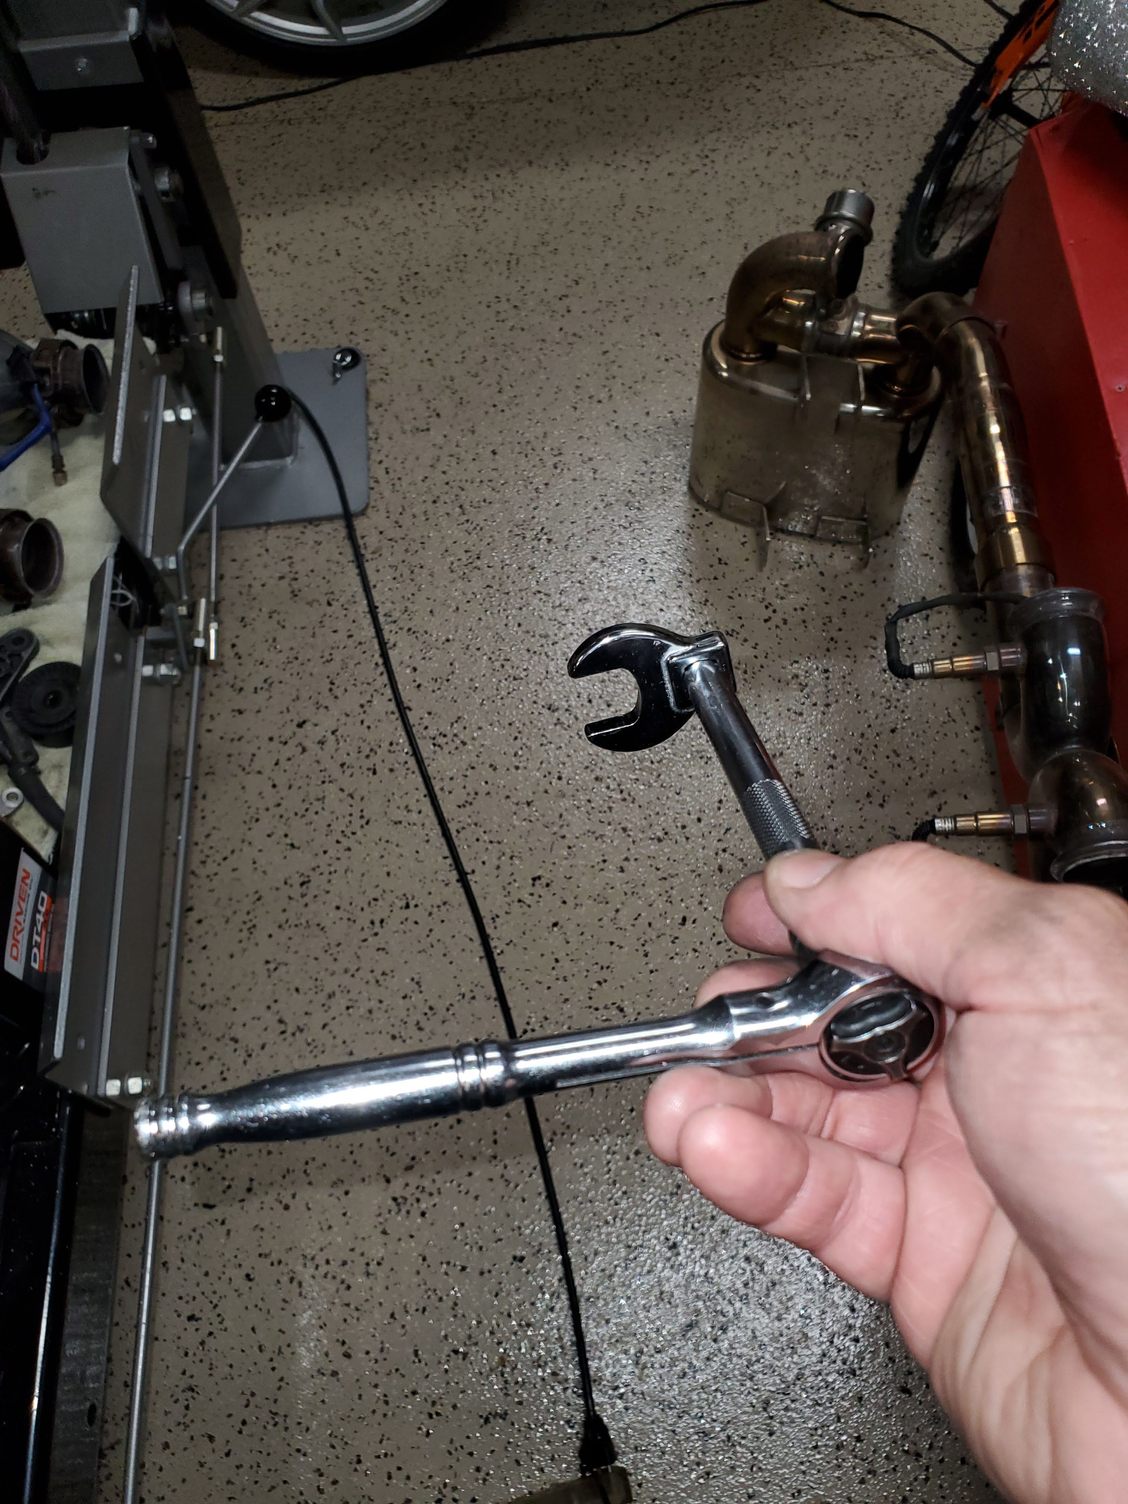
- 19mm Crowfoot wrench. It's crucial you get a straight Crowfoot and not the "flare" kind because there is no way to slide it on the nut from the side if you get the flared type. You need the straight one on the right, not the flared type on the left.
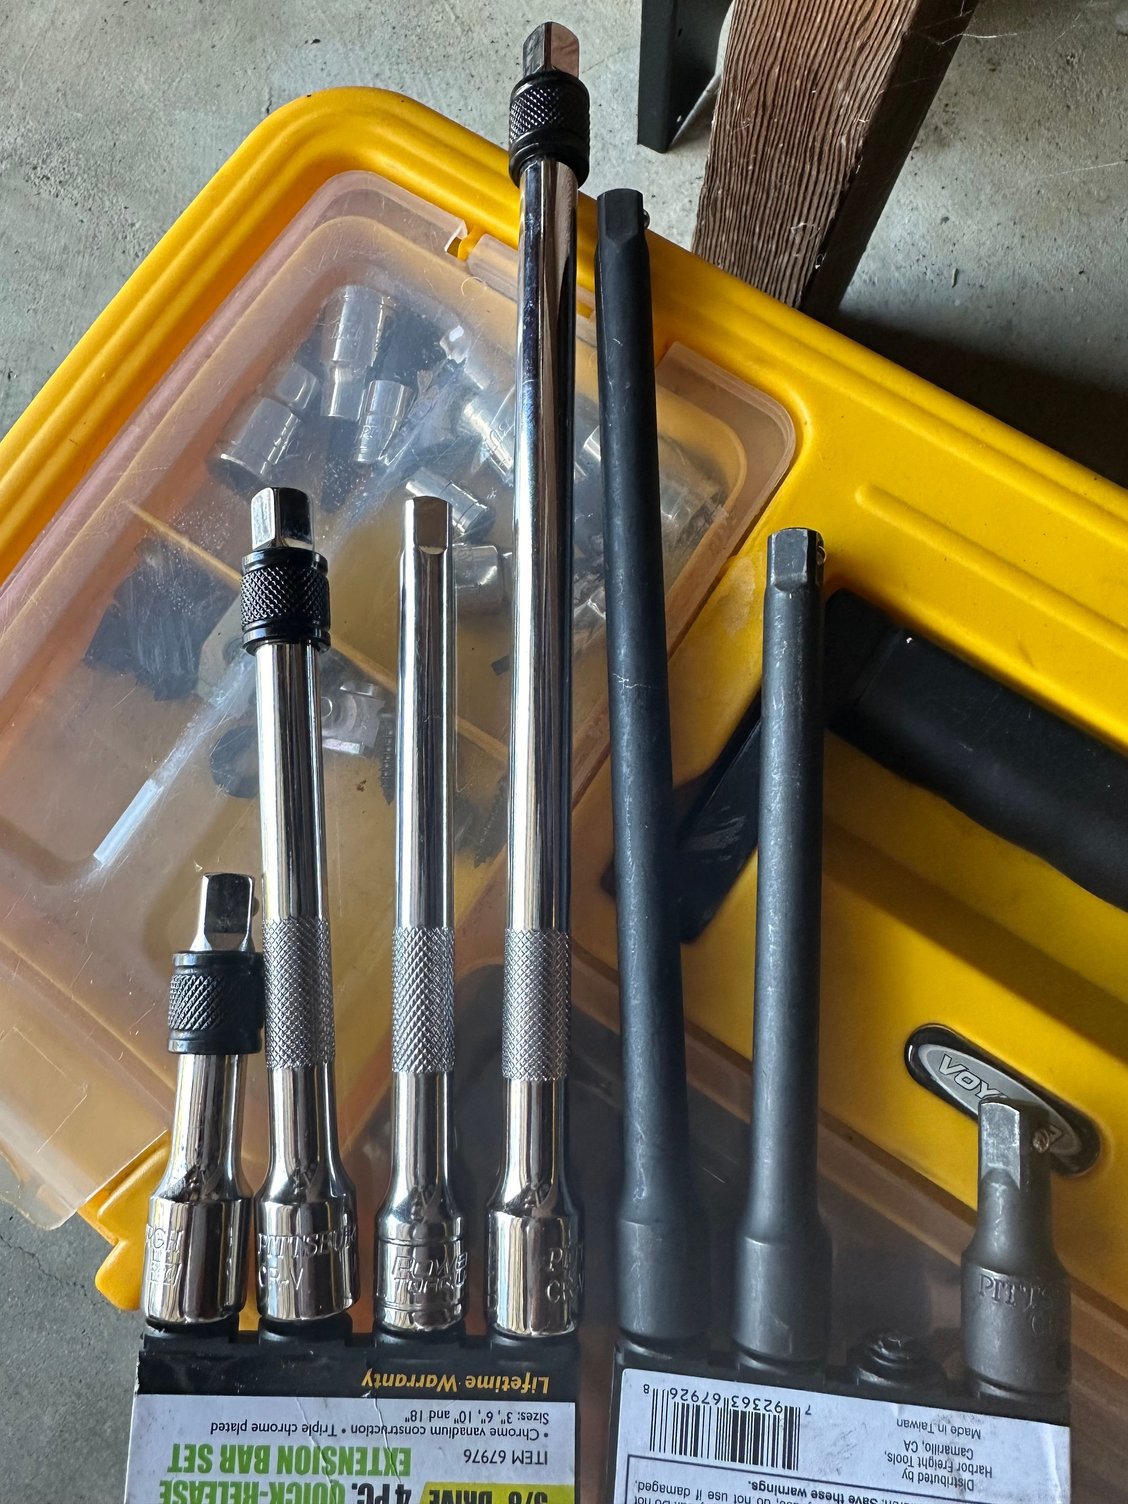
- A ~6" extension and small ratchet. You dont have much room back there. A 3" extension was too short and ran into the intake. An 8" was too tall and hit the top of the engine compartment. That long 6"'ish black extension was the only one to fit. I tried 3 others before finding that one
The Procedure
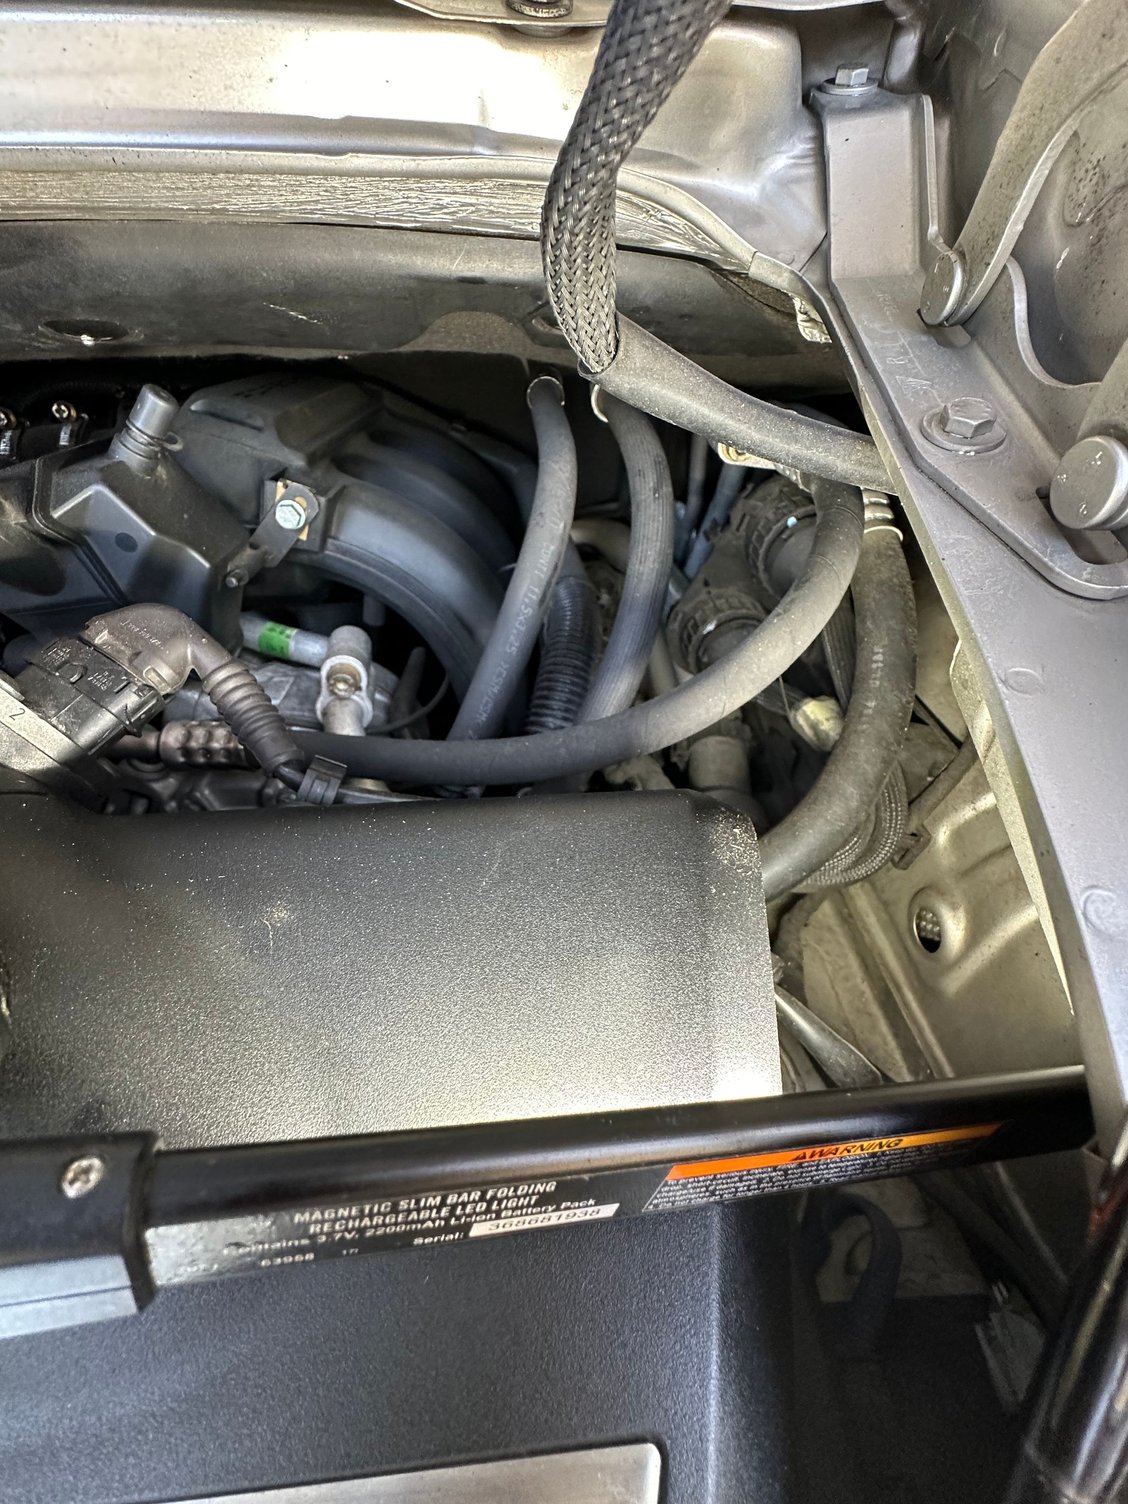
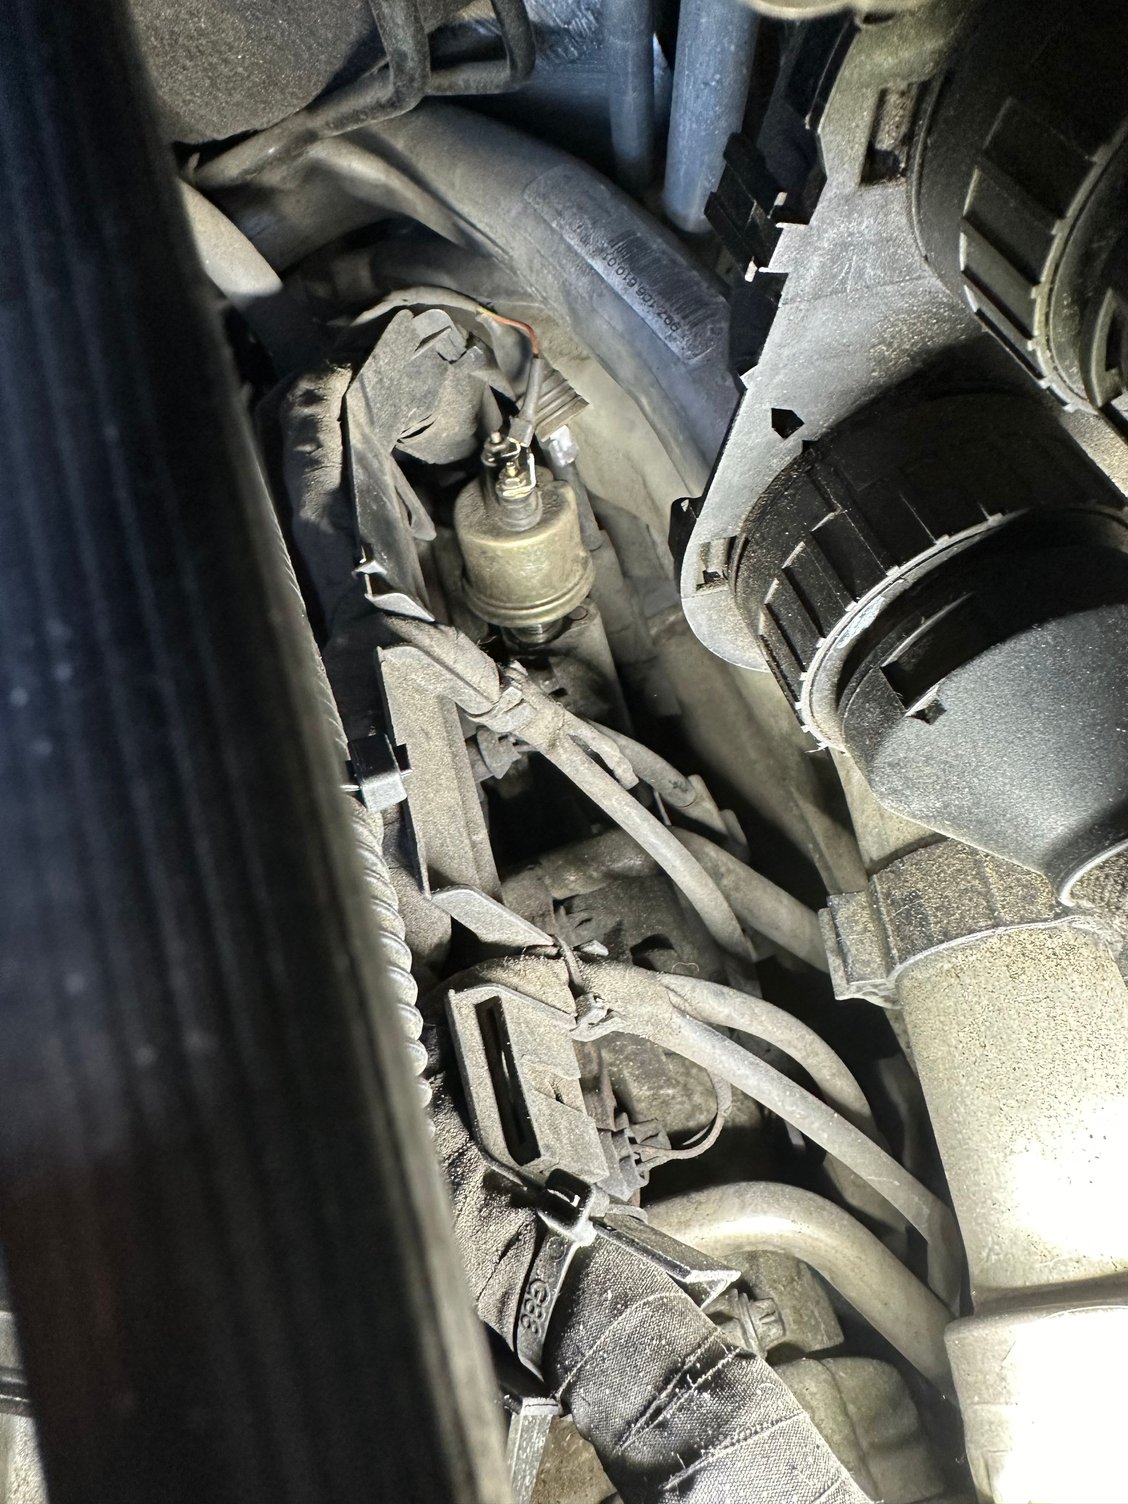
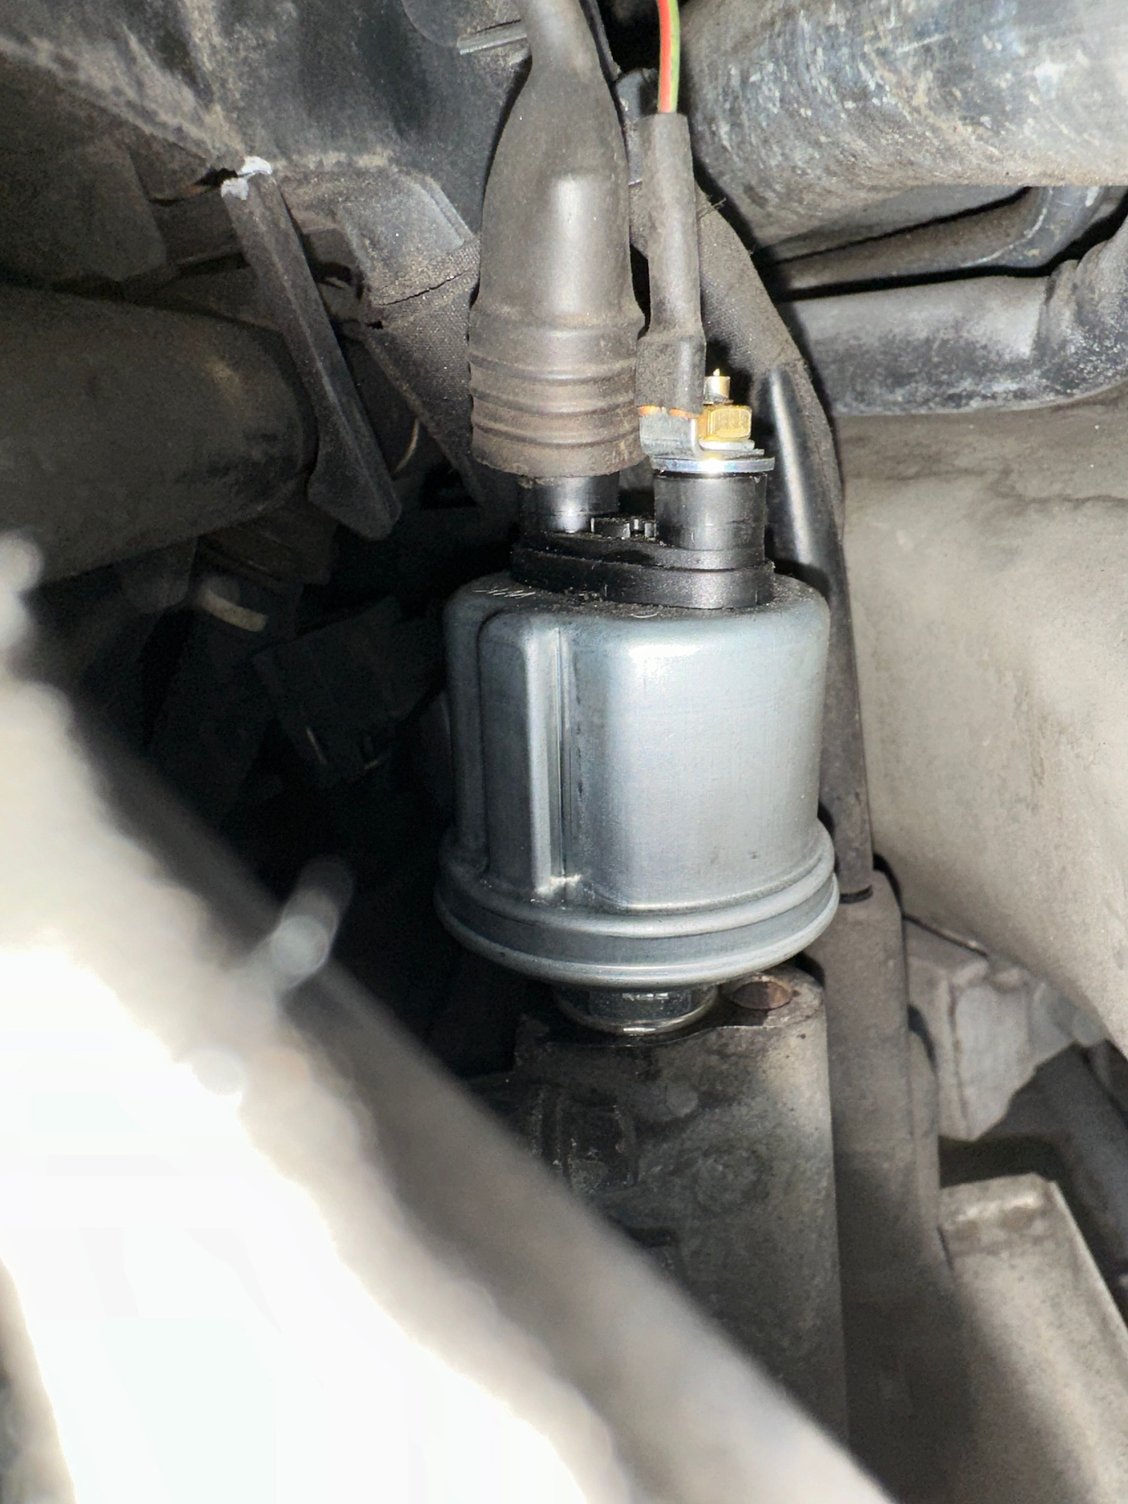
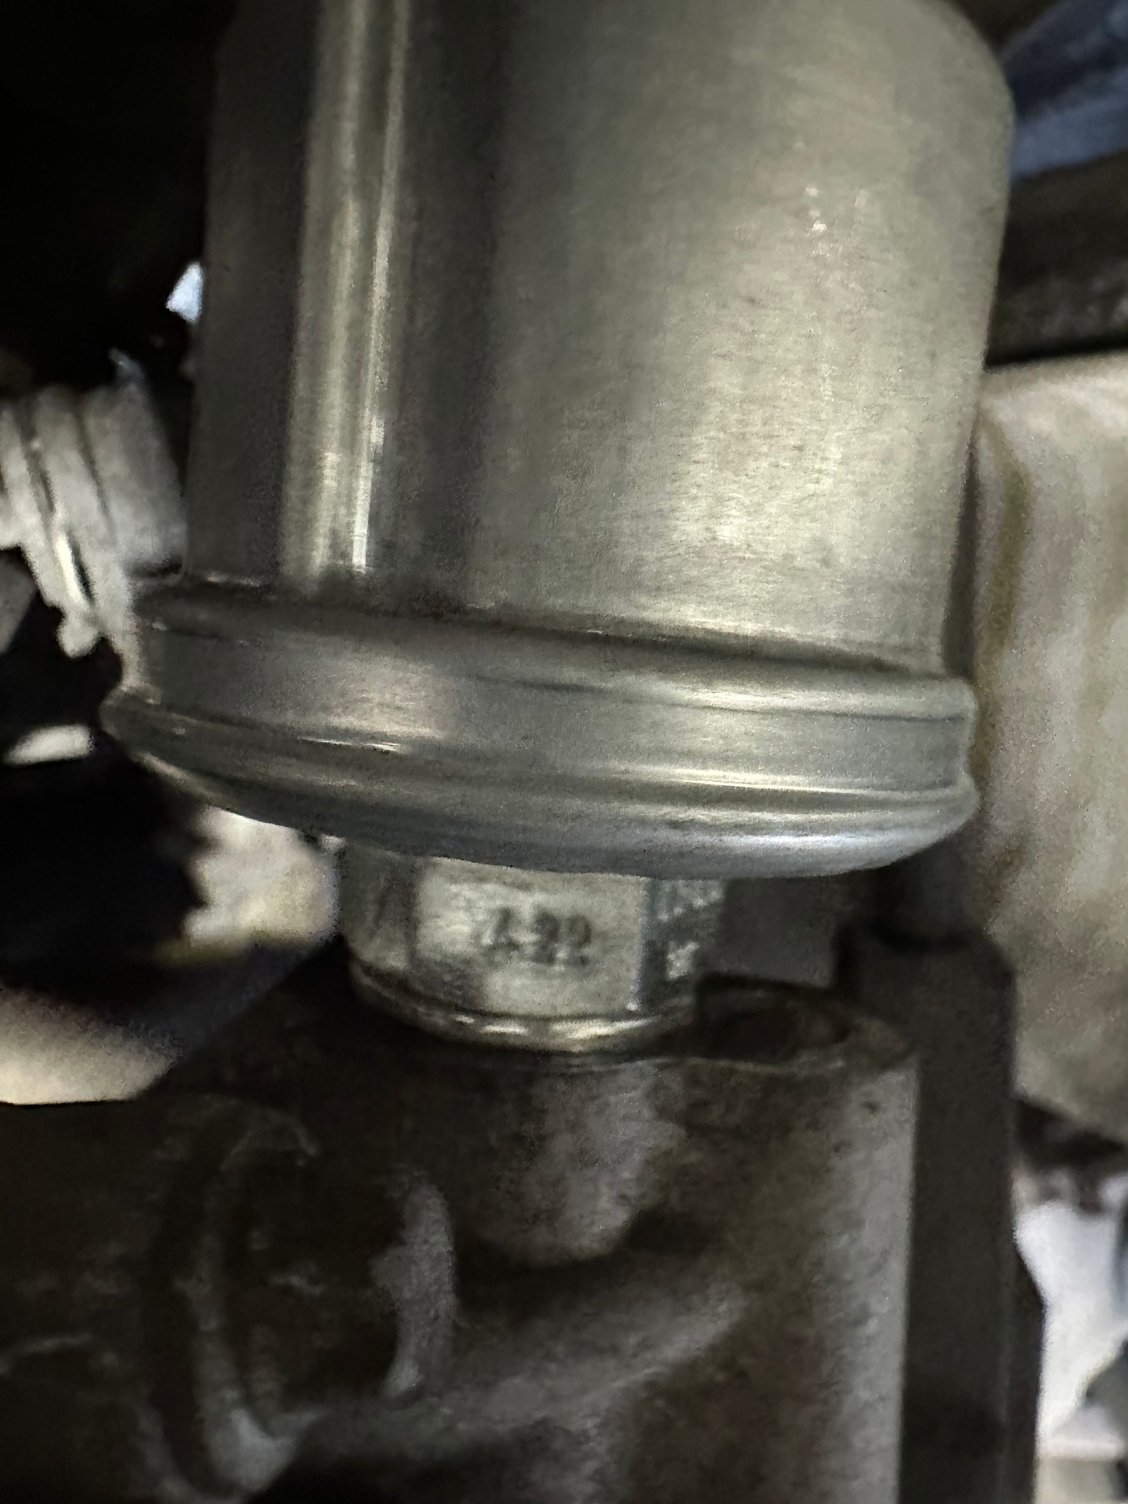
1. Locate the sensor. Look in from the top of the engine bay on the passenger side about 2/3 the way back near the two big round wiring harness connectors. There are two wires coming from the top. The workshop manual says to remove from below, but if you dont have a lift it's just as easy to remove from above. You just need to orient yourself because you cant see what you are doing much of the time. You just need to feel around for things because your arm is way back there.
2. Remove the two spade clips. There is an exposed wire that just pulls straight up. The other is under a rubber boot. There is only one way to attach them since one spade is larger than the other so dont worry about which is which.
3. Tape your crowfoot to the extension. Trust me. Tape it well!!! I read you were supposed to do that and put some tape on it but it still pulled off and I nearly dropped it way back in the engine. I had to very, very gingerly slide it off the nut by feel alone.
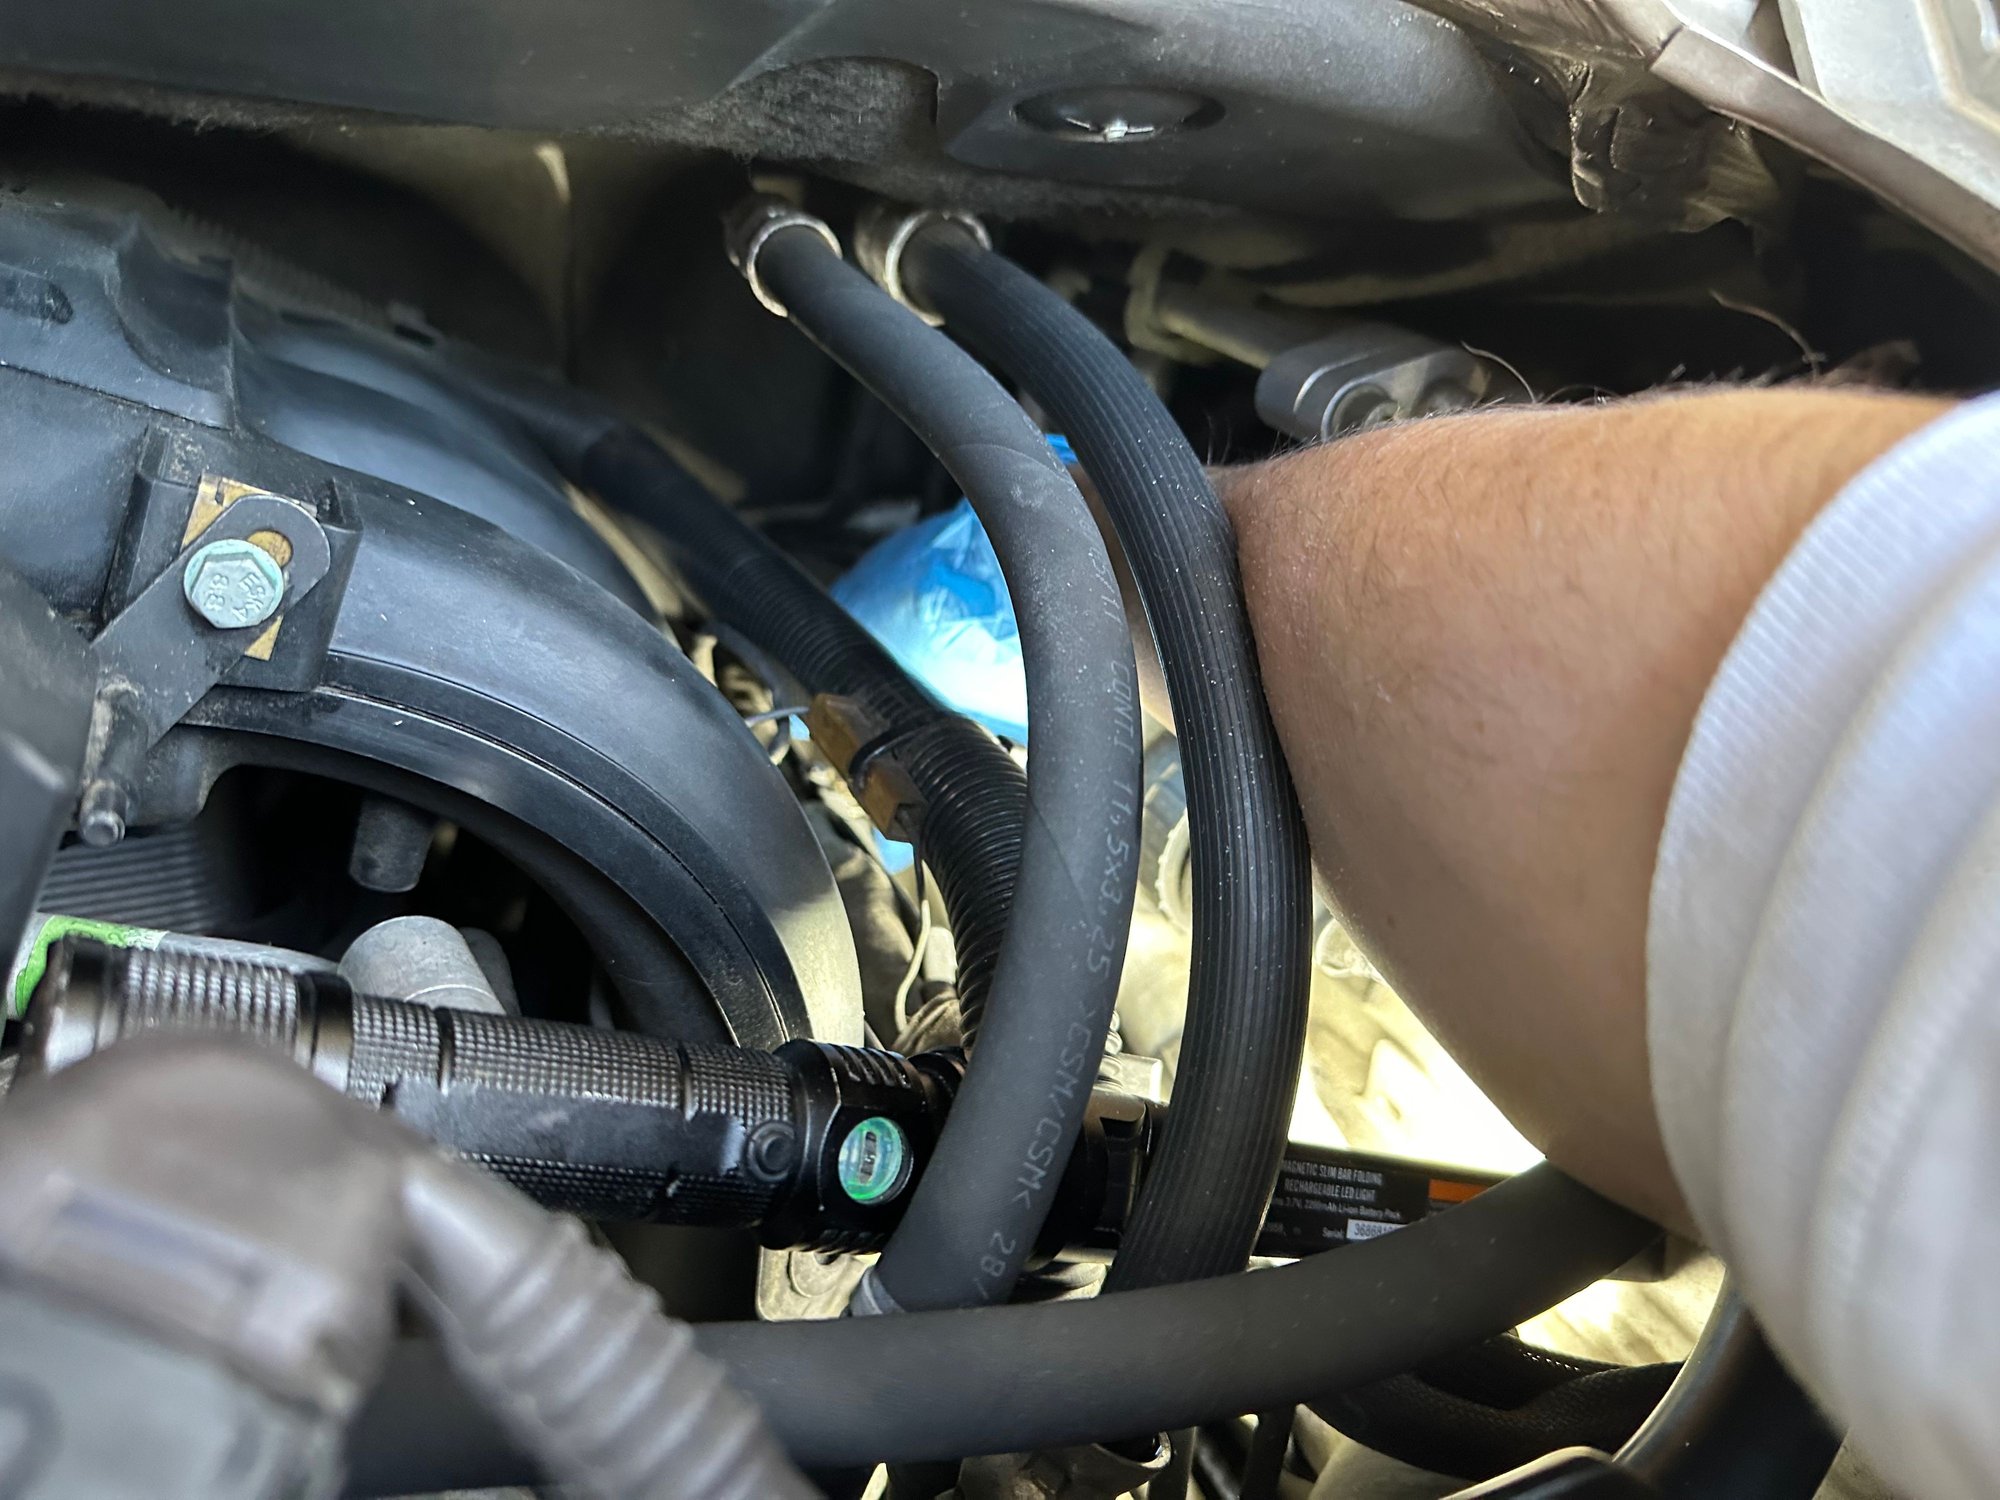
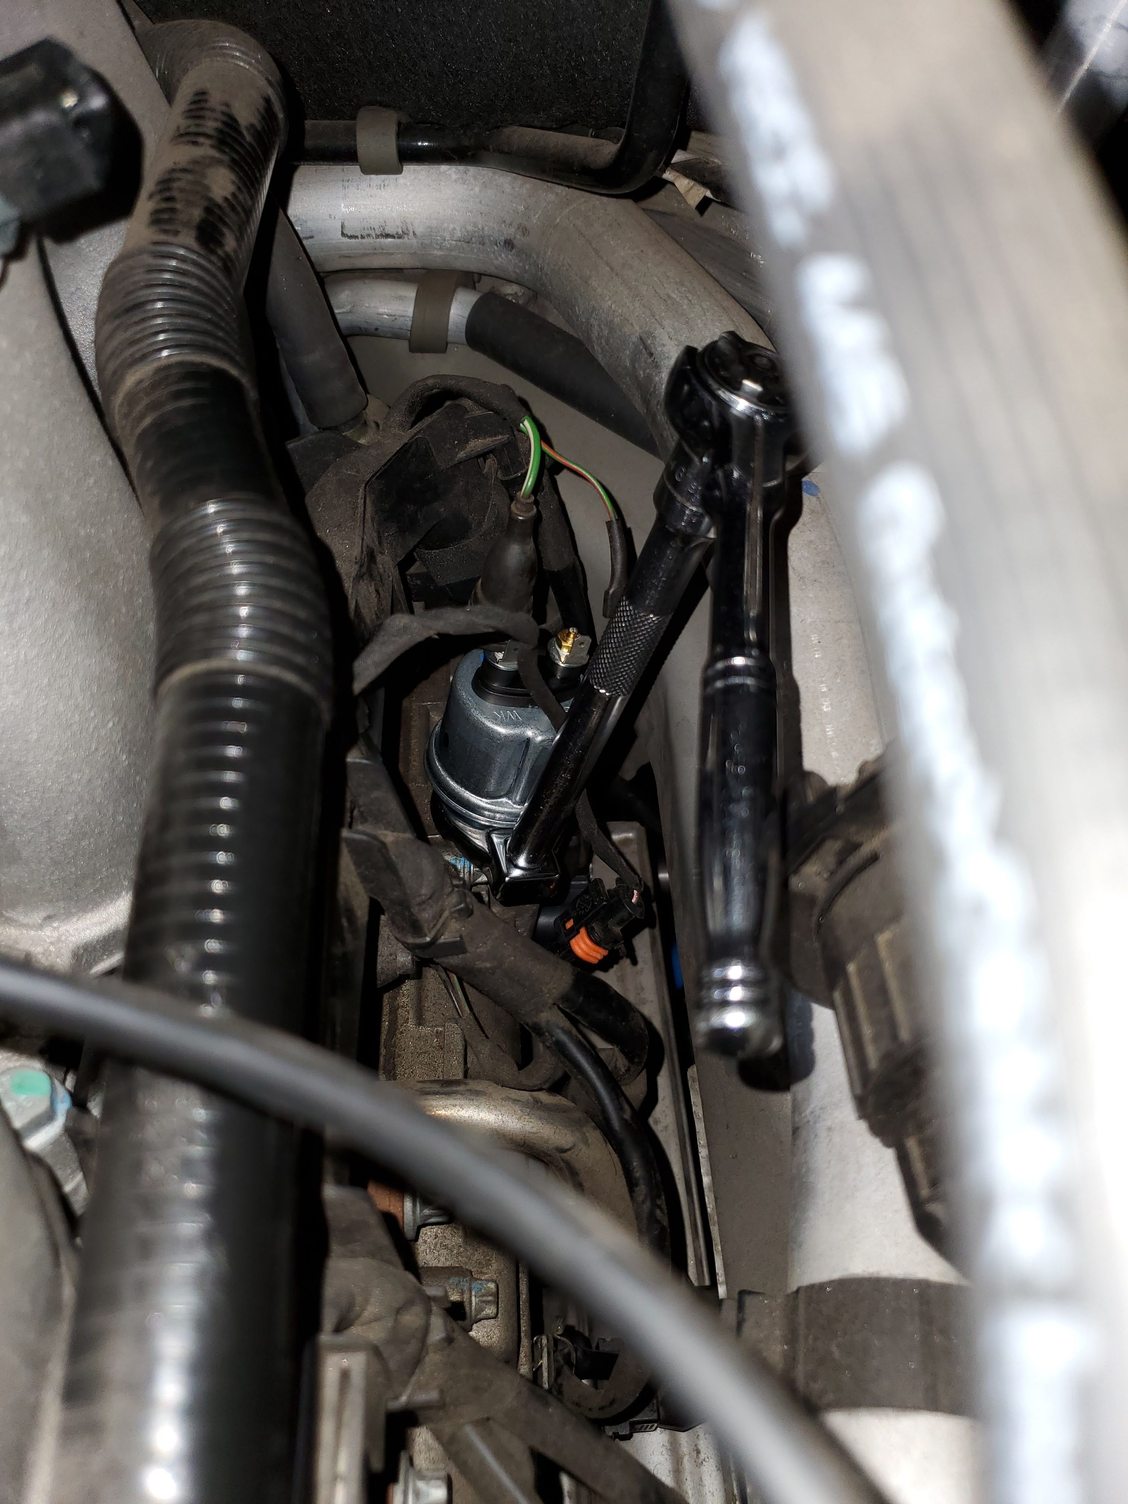
4. Slide the crowfoot and extension into place - without the ratchet. It's much easier to get it into place without the ratchet on. You really just have to feel the shape of the sensor and then slide the crowfoot around the nut. Then put the ratchet on when you have it secure. Note: The picture below makes it look like you have plenty of space and visibility. Not! That picture was taken with the camera perfectly aligned. You cant see what you are doing most of the time
7. Remove the sender. Its just held on with 30lbs of torque so only required a bit of force to break it free. As soon as it broke free I could unscrew it by hand the rest of the way. Make sure you double check your righty tighty, lefty loosey. I used my finger nail to double check the new unit which way the threads turned before I yanked on it. Stripping the threads would be disastrous. Dont worry about oil leaking. There was none on the sender and oil a little bit around the lip.
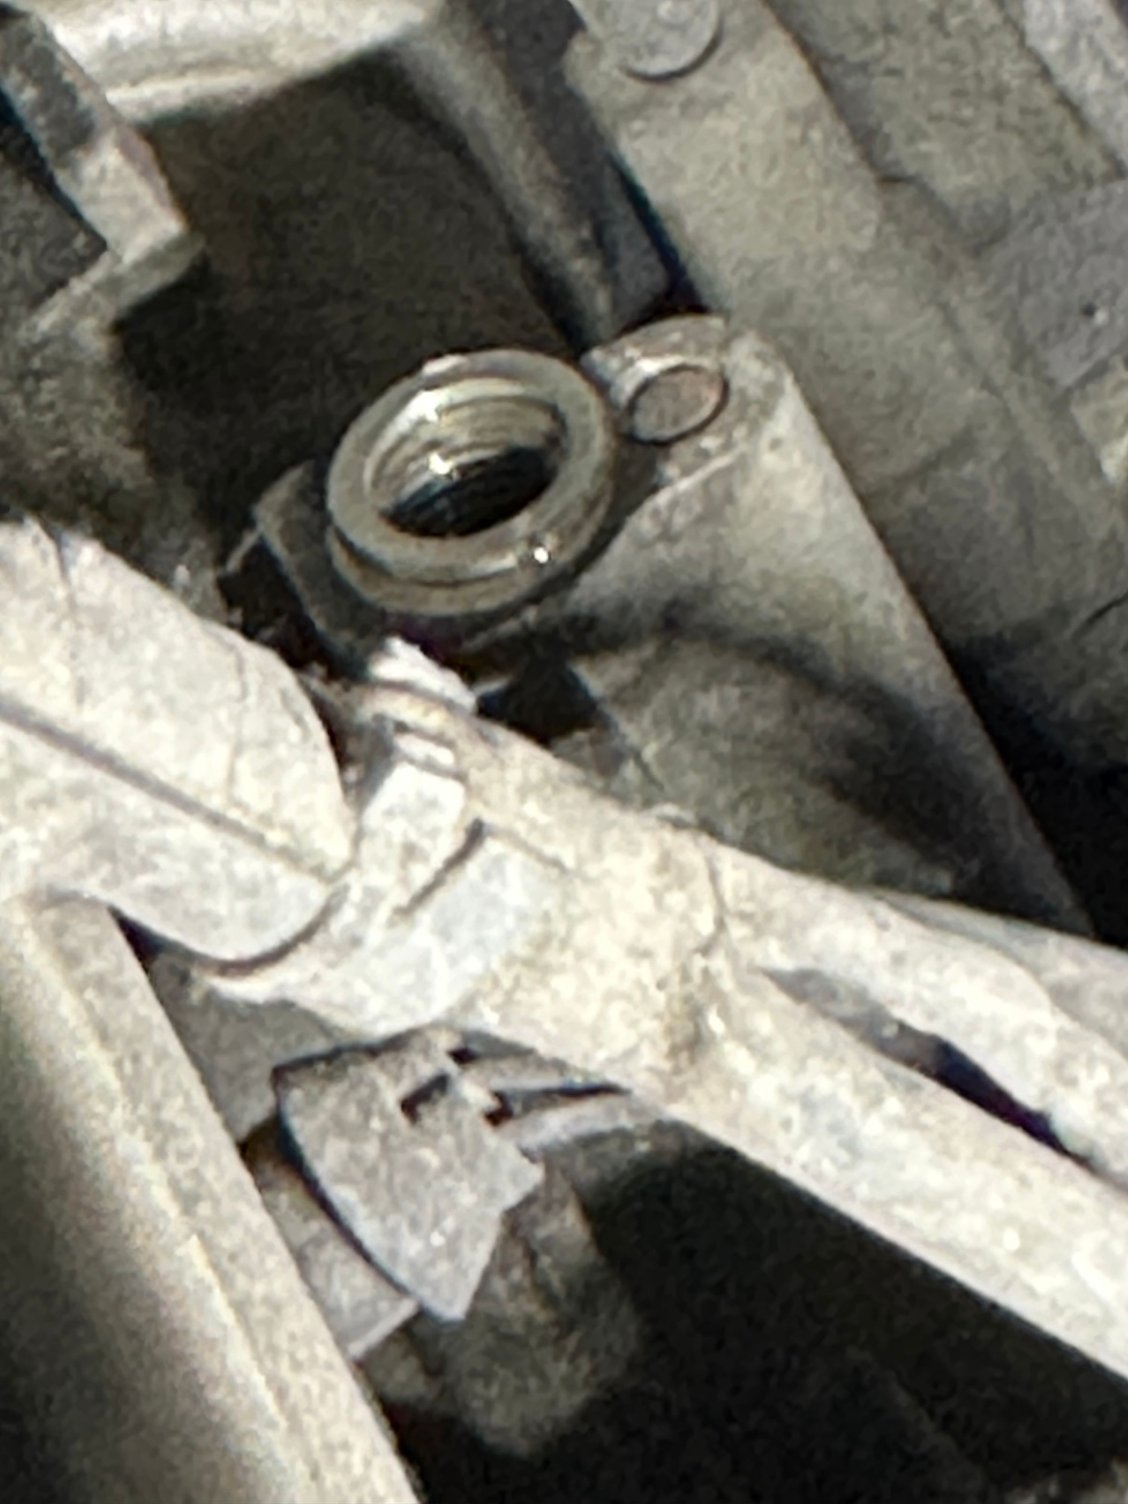
8. MAJOR IMPORTANCE - DONT FORGET TO REMOVE THE CRUSH WASHER! Your new sender will come with a crush washer. When I pulled mine out I didnt see the washer on the old one. If I hadnt doubled checked I could have placed the new unit with double washers, or dropped the old washer down into the engine. I had to very carefully feel my way around to get it. I dont know whats below there, but it seems like dropping the washer or crowfoot could turn the 15 min job into the 2hr job...
See the washer still down there. You have to remove that without dropping it into the engine bay...
9. Screw the new unit in. Be very careful to ensure it's threaded correctly. It will screw on by hand until the last 1/2 turn. The manual says torque it to 30lbs, but there was no way I could get my torque wrench in there. So I just remember the positioning of the unit and ratcheted to that.
10. Attach the spade connectors. They only go in one way so cant screw it up.
11. Double check its seated properly. I stuffed my phone down there to see the washer and threads.
Turn the ignition to accessory mode and you should have a zero reading. Start it up and you should be a 5 bar on a cold start.
Thats it. 15 mins start to finish if you know the procedure.
Nice job as usual I've replaced this in both my 997s. The fail and show pressure wit the engine not running and then read incorrect pressure by the amount shown with the engine off. If your oil pressure gauge is pegged at 5 all the time when running when hot or cold, it's not accurate anymore.
In addition to my 997, I do 95% of the maintenance on our 2007 BMW 335i, 2012 Yukon Denali, 2014 Cayenne and 2017 Mercedes E350. It's a lot to keep up with. The freaking BMW nearly killed me last weekend with a new radiator, oil filter housing gasket replacement and complete brake job. It took two days before I could stand upright. The good news is that I have two teenage boys who are great help and starting to lead on these projects.
Guys like Bruce and Pete set the bar much higher with their more complex projects and documentating the DIY for everyone else's benefit.
Great write up and I go this done over the weekend. A little longer than 15mins!
A tip from my experience. My crowfoot wrenches had shoulder on one side. This shoulder should be pointing upwards so that the crowfoot will slide in. This took me 15mins to figure out
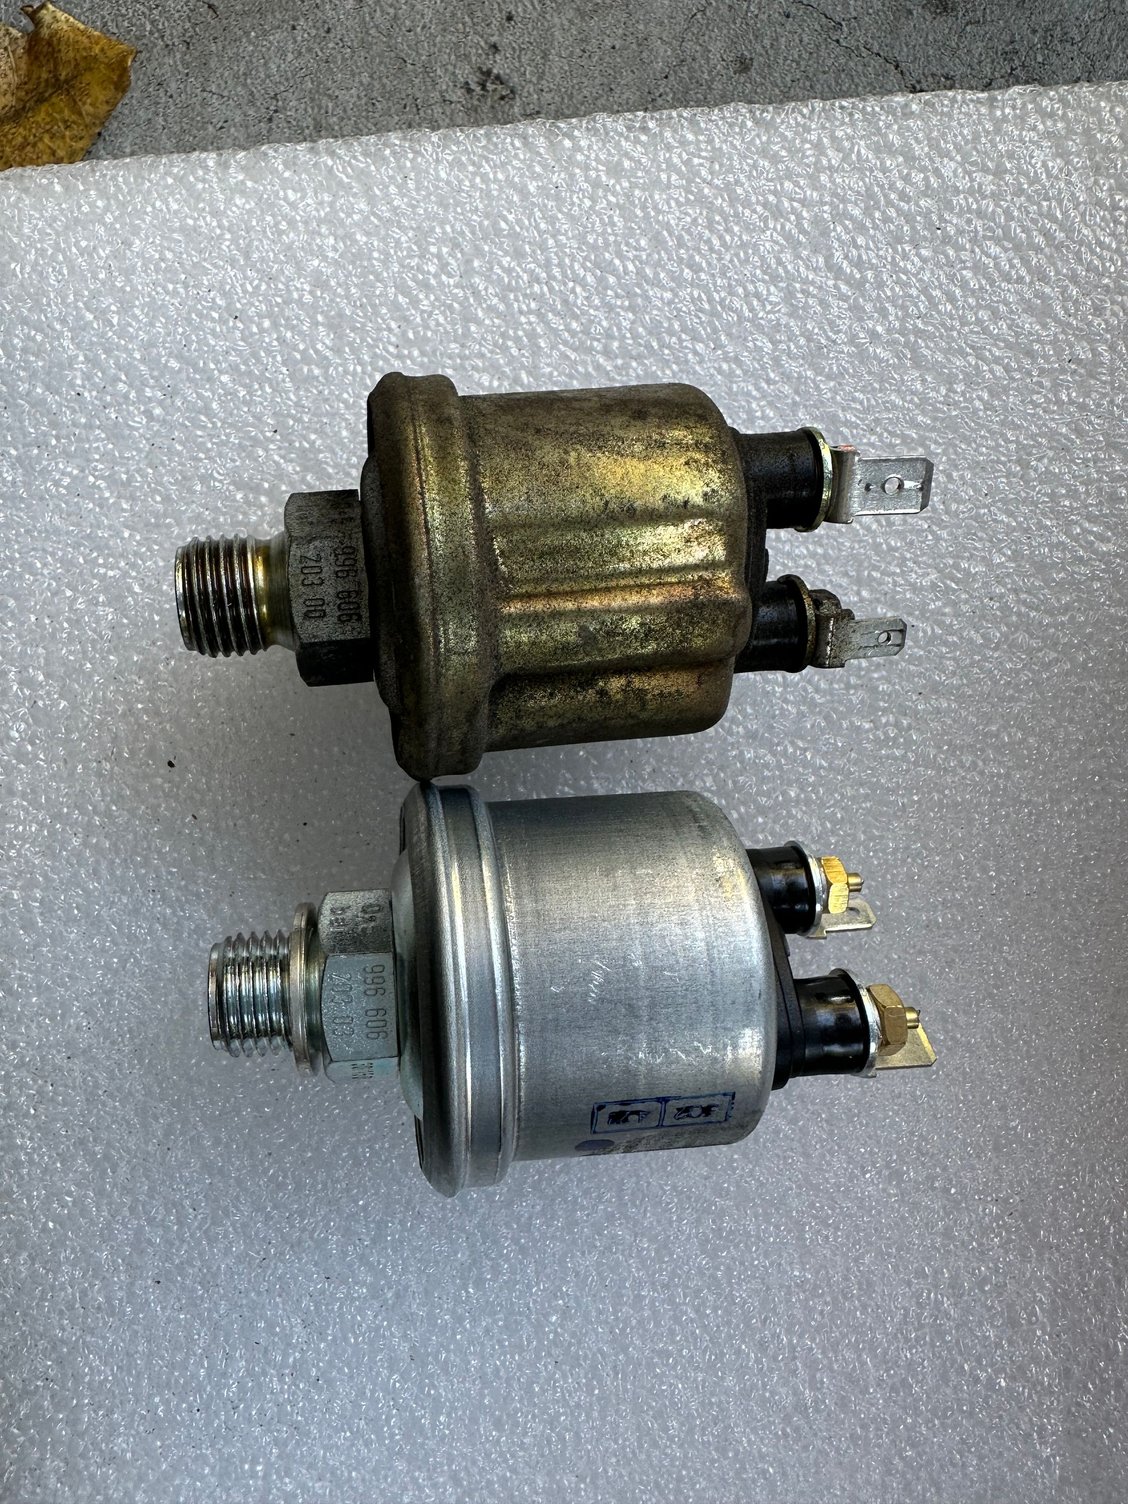
BTW, my 2007 had a 996-606-203-01, which seems to have been made by VDO. The new one I installed was 996-606-203-02 by URO. While the 03 is the latest, 02 version was the easiest for me to source.


 09-25-2023, 08:12 PM