When you click on links to various merchants on this site and make a purchase, this can result in this site earning a commission. Affiliate programs and affiliations include, but are not limited to, the eBay Partner Network.
Yes, the top mount that holds the shock to the car with the 3 bolts that the suck piston also passes through.
Replacing them on the Porsche won't be any different than what you're planning to do on the mini.
If your car is an S with the Bose deck subwoofer, you'll have to remove that to gain access to the shock top mount bolts. Not hard really, just a bit of a pain working in the cramped back seat.
Once you have access to the top nuts, BEFORE LOOSENING THEM, circle around the nut flanges or washers so you can put the top mounts back in the same place, as there play in this holes I believe and it will effect your alignment / suspension geometry.
Have someone hold the shock from next to the car as you remove the 3 nuts from inside the car so it doesn't swing down and hit the fender. Once you get the 3 top mount nuts off you should be able to rock the whole shock assembly down far enough to clear the fender and not have to take the bottom loose. Put your spring compressors on it and tighten them alternating one side and then the other until the spring is no longer pressing on the underside of the top mount (no tension for when you take the shock top nut off). Then use one of those Max Axxess socket sets where the sockets are driven by perimeter gears leaving a hole in the center (Lowe's, Craftsman, etc) This let's you use the socket on the shock nut while holding the center of the shock Piston with an Allen or torx wrench (don't recall which it is) and that keeps you from spinning the shock piston, which isn't good for the seals. Never try to hold the shock piston with vice grips or pliers to get the top nut off. Any burr you put on the polished piston will ruin the shock seal if it goes past it under compression.
Get the top nut off, remember the order and orientation of the washers and top mount, replace the old one with the new one, put it back together and try to get the top nut torque close to the spec using the ratchet by feel while holding the shock piston with the Allen wrench again so it doesn't rotate.
Hey Petza - I'm making progress but stuck and checking to see if you're around to answer. Calling Dr Bombay!
I can't get the coilover out...
So I have the subwoofer out - long overdue - it's staying out - was disconnected years ago when aftermarket radio went in. Have the wheel off, car jacked up, marked the washers for the 3 bolts, disconnected PASM wire, and took off the 3 bolts. The shock is still spring into the top of the fender. I can't rock it out, but I can try compressing by hand to the point where the three bolts clear their holes and can maybe get the top of it into the fender-well. But it's not really working. I'm thinking that I'm missing a step or doing something wrong. Or - maybe I disconnect the bottom - even though you clearly state that I shouldn't need to do that... Any ideas?
You can disconnect the lower mounting bolt. Might be helpful to put the spring compressors on the spring and tension them to be able to compress the shock a little bit without the spring tension on it.
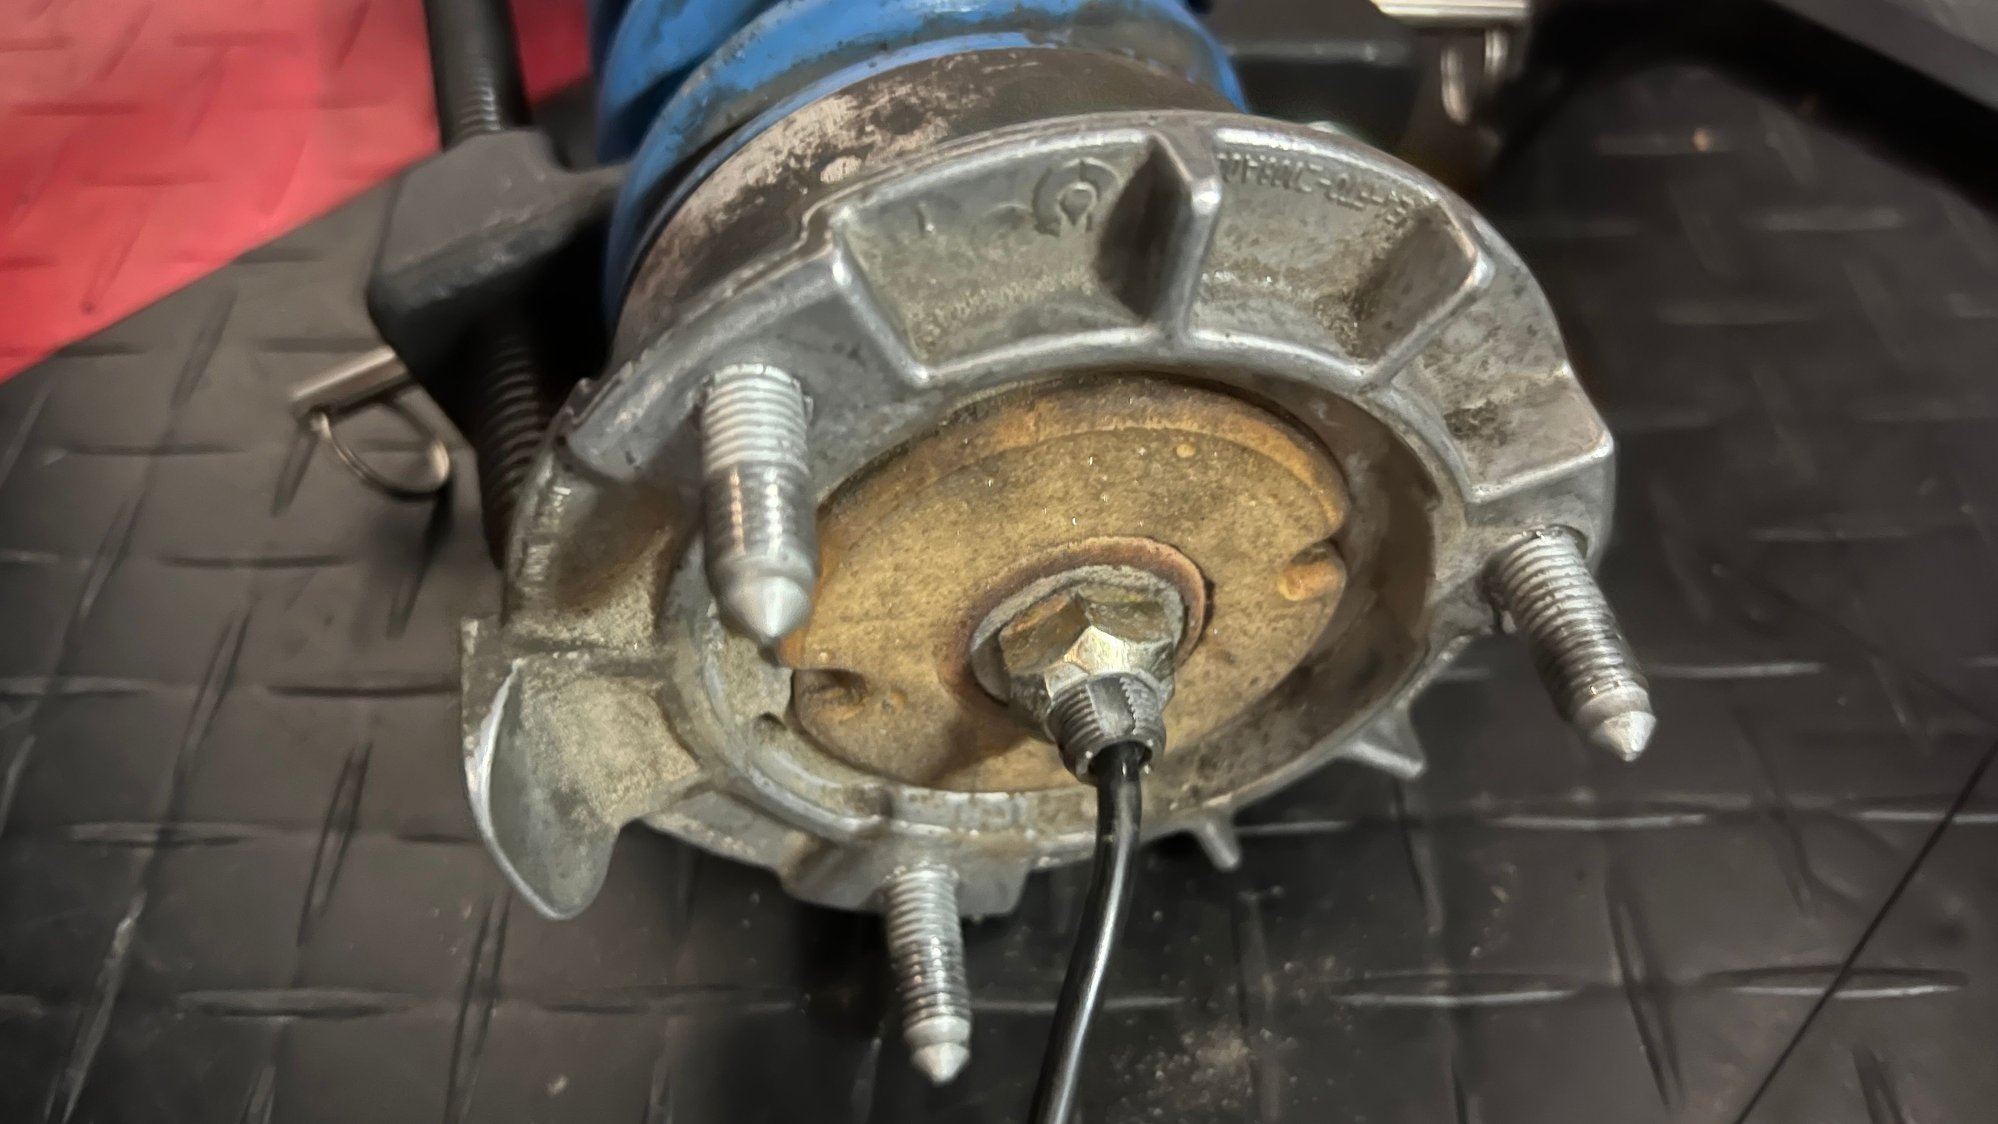
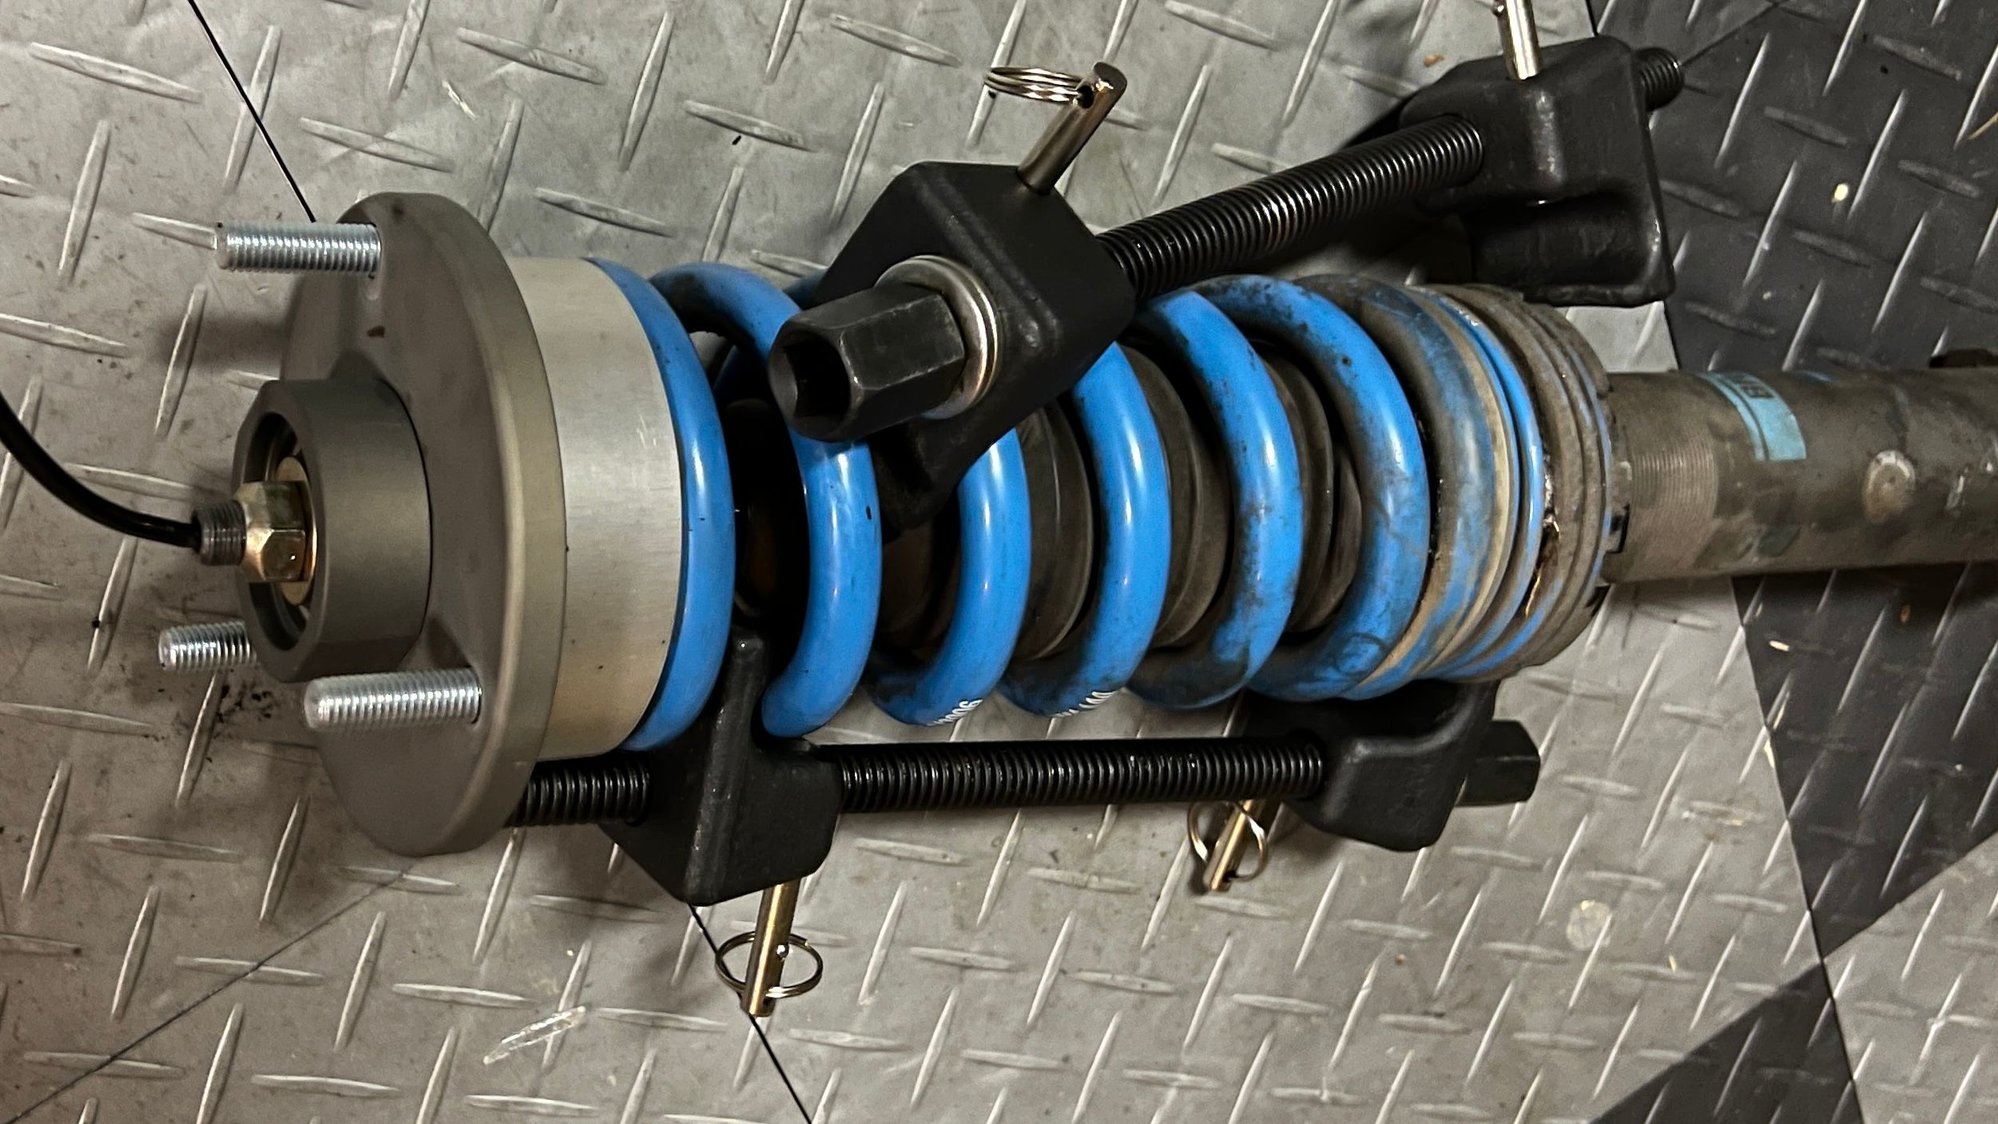
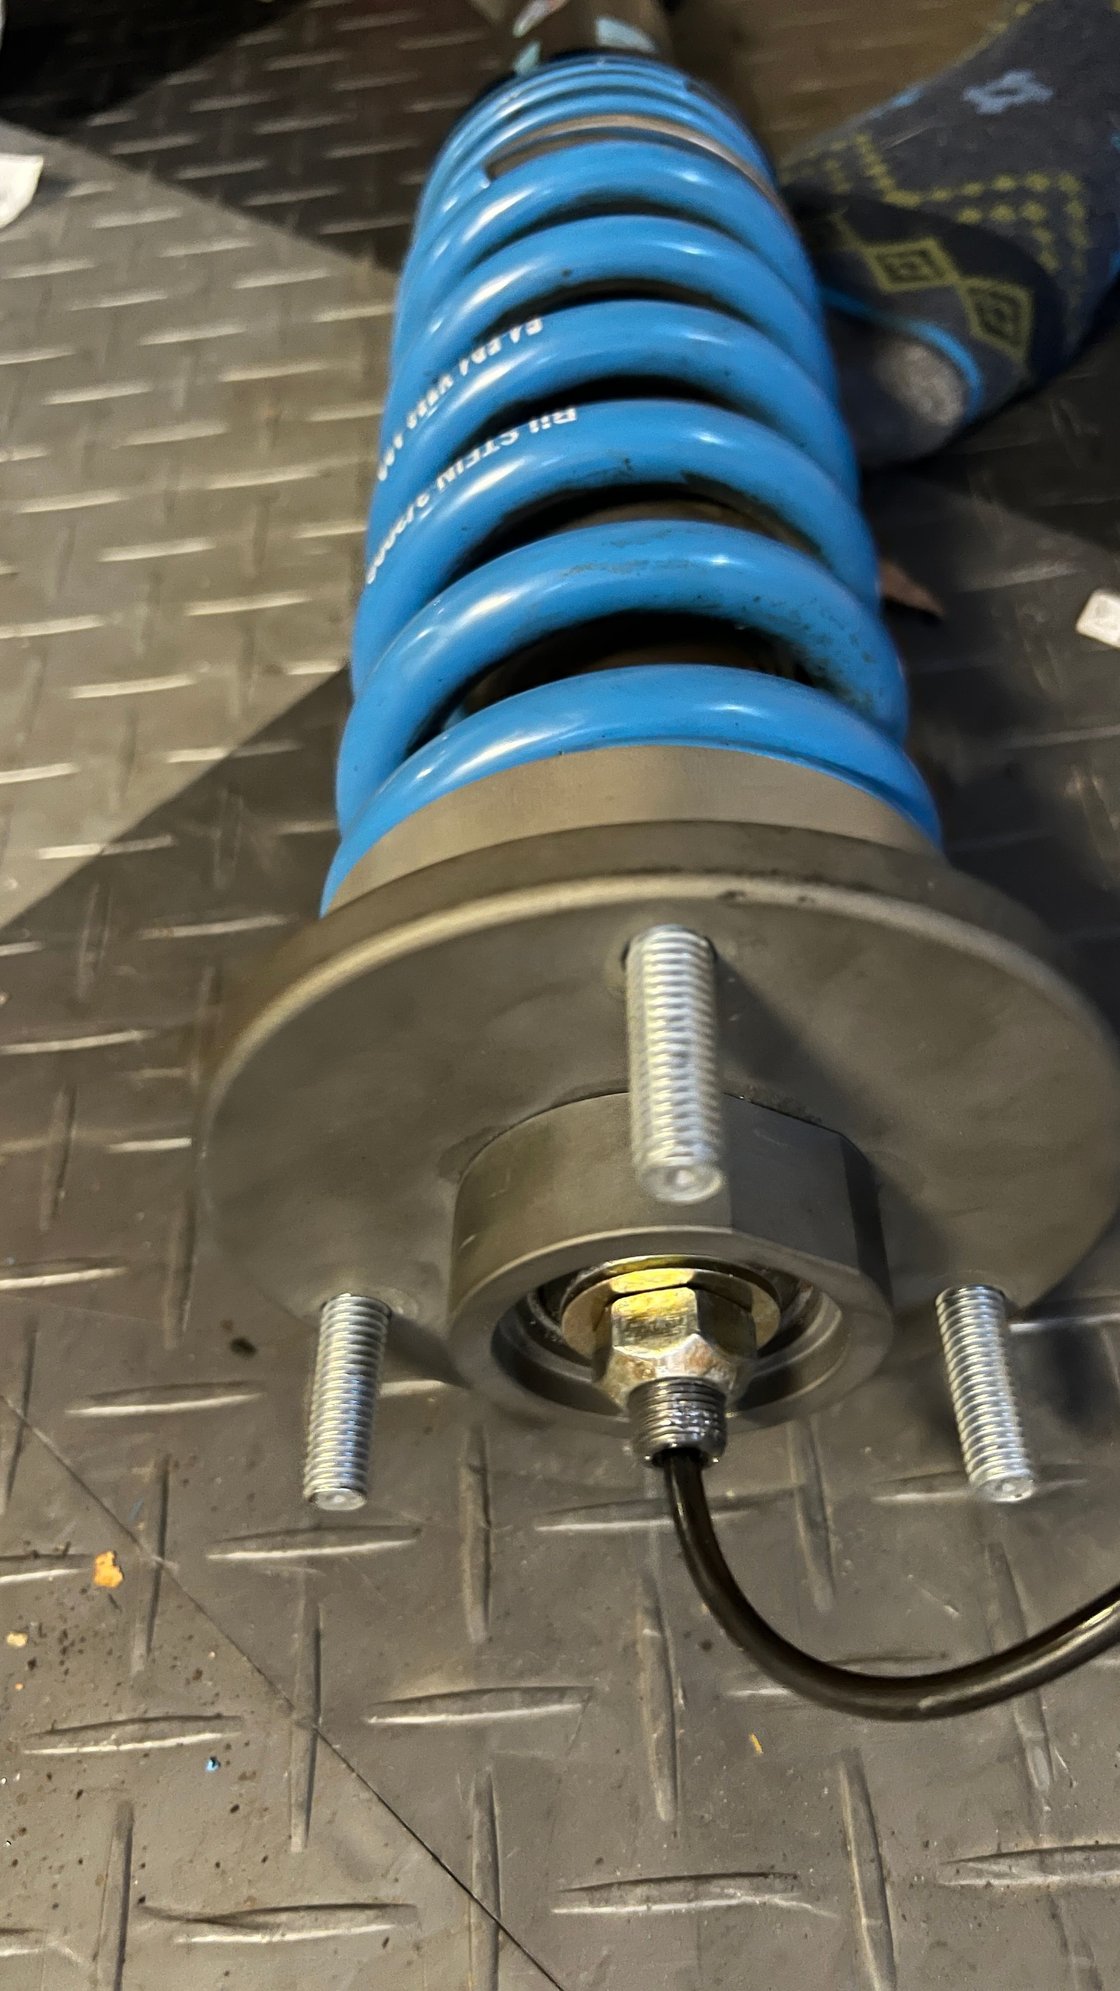
Making progress. I disconnected the sway bar, removed the two sway bar bushing bolts, and removed the lower shock bolt, and removed the coilover. Used the spring compressors to relieve the tension in the assembly, removed the top nut, took it all apart, and now have it all back together. My current concern is that I (stupidly?) didn't measure anything on the coilover assembly. I think it would have been wise to measure from the bottom of the assembly to the top of the new shock mount. I imagine that the new height is going to be determined by the amount of exposed threads on the main shock bolt at the top of the piston. (Or, more typically, by adjusting the lower end with the Bilstein spanner tools.) And - if the two mounts (stock and Elephant) have the same specs, and equal amount of threading, then the overall length should be equal / fine, but if the specs are off, then an equal amount of threading would result in a different overall coilover length. Should I be concerned about this?
I have the passenger side out and the driver side is still untouched. My plan was to re-attach the passenger side: coilover, sway bar, wheel, etc, and then move to the driver side. I suppose I could go and remove the driver side and measure that coilover - with the assumption (?) that they'd be the same length? When they were originally installed, the shop corner-balanced the car so each side may be different. Another idea would be to work the driver side, measure everything, dis-assemble and re-assemble, measure again, and note the difference (if any) between the specs of the stock vs Elephant kit. So if and equal amount of threading on that top nut results in a 5mm longer overall length, then I need to tighten down so that there's 5mm of extra exposed threading on each side - or - leave the top threading and adjust the bottom of the coilover with the Bilstein spanner tools.
Left on my own, I suppose I'd do that - and I guess I'd call over to Elephant after those left-coasters open up shop, but curious about thoughts from others - if I'm on track or there's an easier way.
The top nut has to be all the way tight. You should hold the side grooves with some needle nose pliers or something (don't grab the threads) to prevent the shock piston from rotating as you tighten the top lock nut. The bottom spring perch is how you adjust the ride height of the car and do corner balancing. Final ride height adjustment will need to be done after assembly and you've driven the car 50-100 miles or so to settle the suspension. Make the one that's out match the one you haven't yet removed and then take the car in for a a new corner balancing and alignment.
I got the job mostly done - still need to re-visit ride height. Not far off now but I'll get closer to what I think it should be.
There's a pretty big difference between the sizes of the rear shock mounts - the Elephant pieces result in an overall length increase of about 15mm compared to the stock assembly, as far as I can tell. But the change in ride height is not that much. Need to drive more and let it settle.
First impressions - I don't think this fixes my issue. My '06 C2S has 113k miles and still has original LCAs, so maybe they should be swapped out next, and I think I'd do the caster arms as well. I'll probably just buy OWM-ish stuff from Elephant. Something is still clunky or rattle-y over uneven pavement. I'll keep at it - thx for all the advice and support cool socks, huh?
I decided to revisit the engine mount thing... I wrote this in the original post in this thread: "Another thing - more noticeable on the driver side when installing the new OEM mounts - but would apply to any mount install - when I was torquing the 18MM lower bolt, I was surprised at how flimsy the chassis point seemed to be. Not sure if that's an issue for me, or more of a typical thing. The lower mounting point for the engine mount seems to be a thin piece of metal squared off with a fair amount of give to it. Is that a design 'feature' to allow for some engineered flex?"
I just decided to take a video of the situation - there's very little torque being applied here, so this is what I meant by it seeming flimsy. Any thoughts on this - is it normal??? It's not so bad on the passenger side, so there's that
I haven't seen that kind of flex on any of the motor mounts I've replaced. I'm doing this job again and will look for it. But my recollection is that the bent metal U bar anchors to the frame on each end.
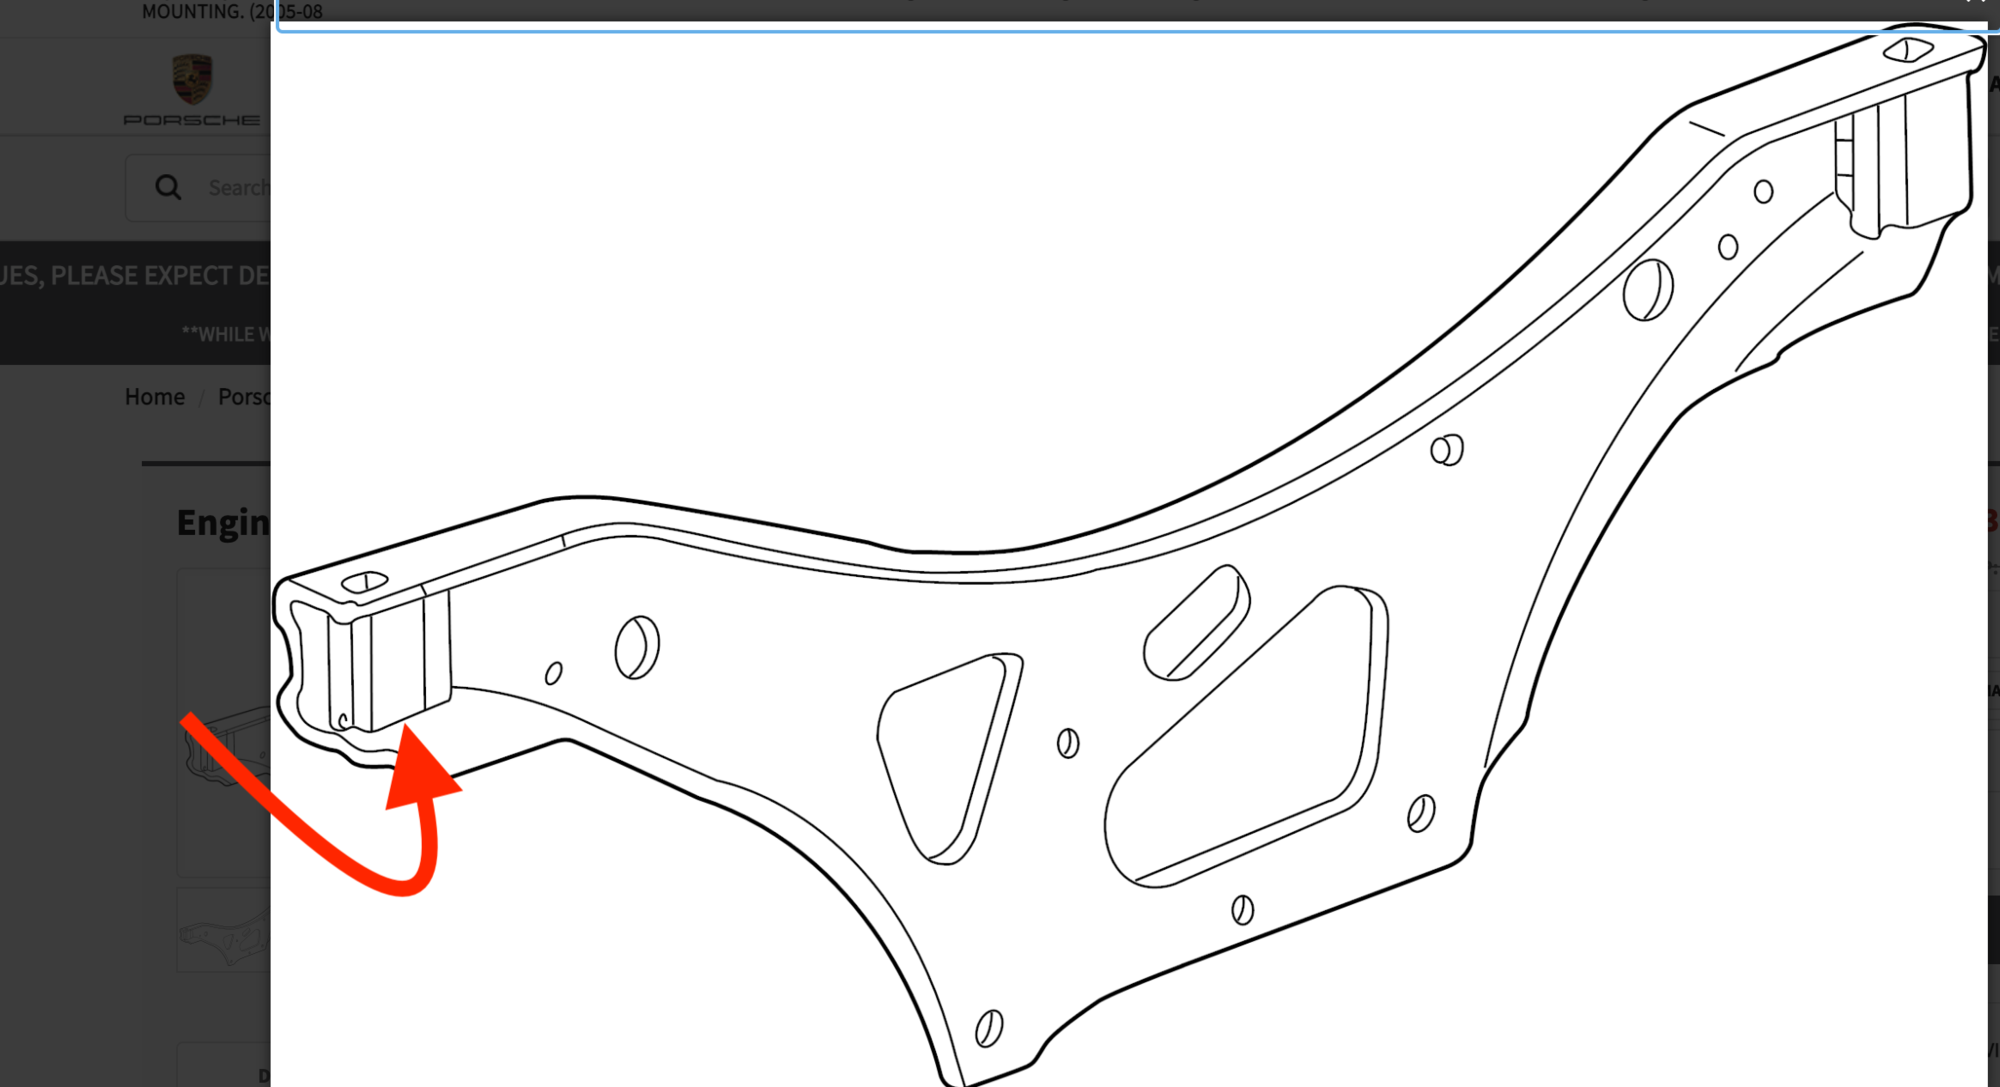
I found the part - called Engine Carrier and also found some photos and drawings and I'm wondering if the problem might be - if the reenforcement block that's highlighted with the red arrow is somehow missing. Or maybe there's a bolt missing on the driver side, securing the carrier and that might be causing the flex. I'll check on all that, but there is something fishy with the flimsiness of the driver side. My passenger side is significantly sturdier, but not rock solid.
That seems like a lot of motion, but my most recent experience is with RSS mounts. I know they didn't deflect like that. Not sure if the OEM mounts are so soft that maybe they do.
That seems like a lot of motion, but my most recent experience is with RSS mounts. I know they didn't deflect like that. Not sure if the OEM mounts are so soft that maybe they do.
that could be, good point about stock mounts - those are brand new. But I'm seeing much more motion on the driver's vs passenger side so I'm thinking something is amiss. I'll get it up on jacks again sometime this weekend.
that could be, good point about stock mounts - those are brand new. But I'm seeing much more motion on the driver's vs passenger side so I'm thinking something is amiss. I'll get it up on jacks again sometime this weekend.
Agree that both sides should have the same amount of motion or play. If that one side has much more, there's something wrong with that mount and it won't do a very good job of securing the motor.
Well I still have these weird rattles in the rear, but only over rough patches of road - like where the asphalt is cracked but not to the point of potholes. It is a bit harsh over things like the tiniest of speed bumps, even when going slow. For small speed bumps and anything larger, I practically come to a stop and then crawl over.
So far, I've changed rear sway bar bushings, rear shock mounts, swapped in brand new OEM engine mounts, and added the function first tranny insert. I've sprayed the whole thing with white lithium grease and that seems to help for 3-6 weeks or so
I haven't been back to the dealer or the indy, although both looked at it previously and said all was fine. I may try again. Any other ideas?


 01-11-2022, 08:02 PM