When you click on links to various merchants on this site and make a purchase, this can result in this site earning a commission. Affiliate programs and affiliations include, but are not limited to, the eBay Partner Network.
Hello all, I need help.
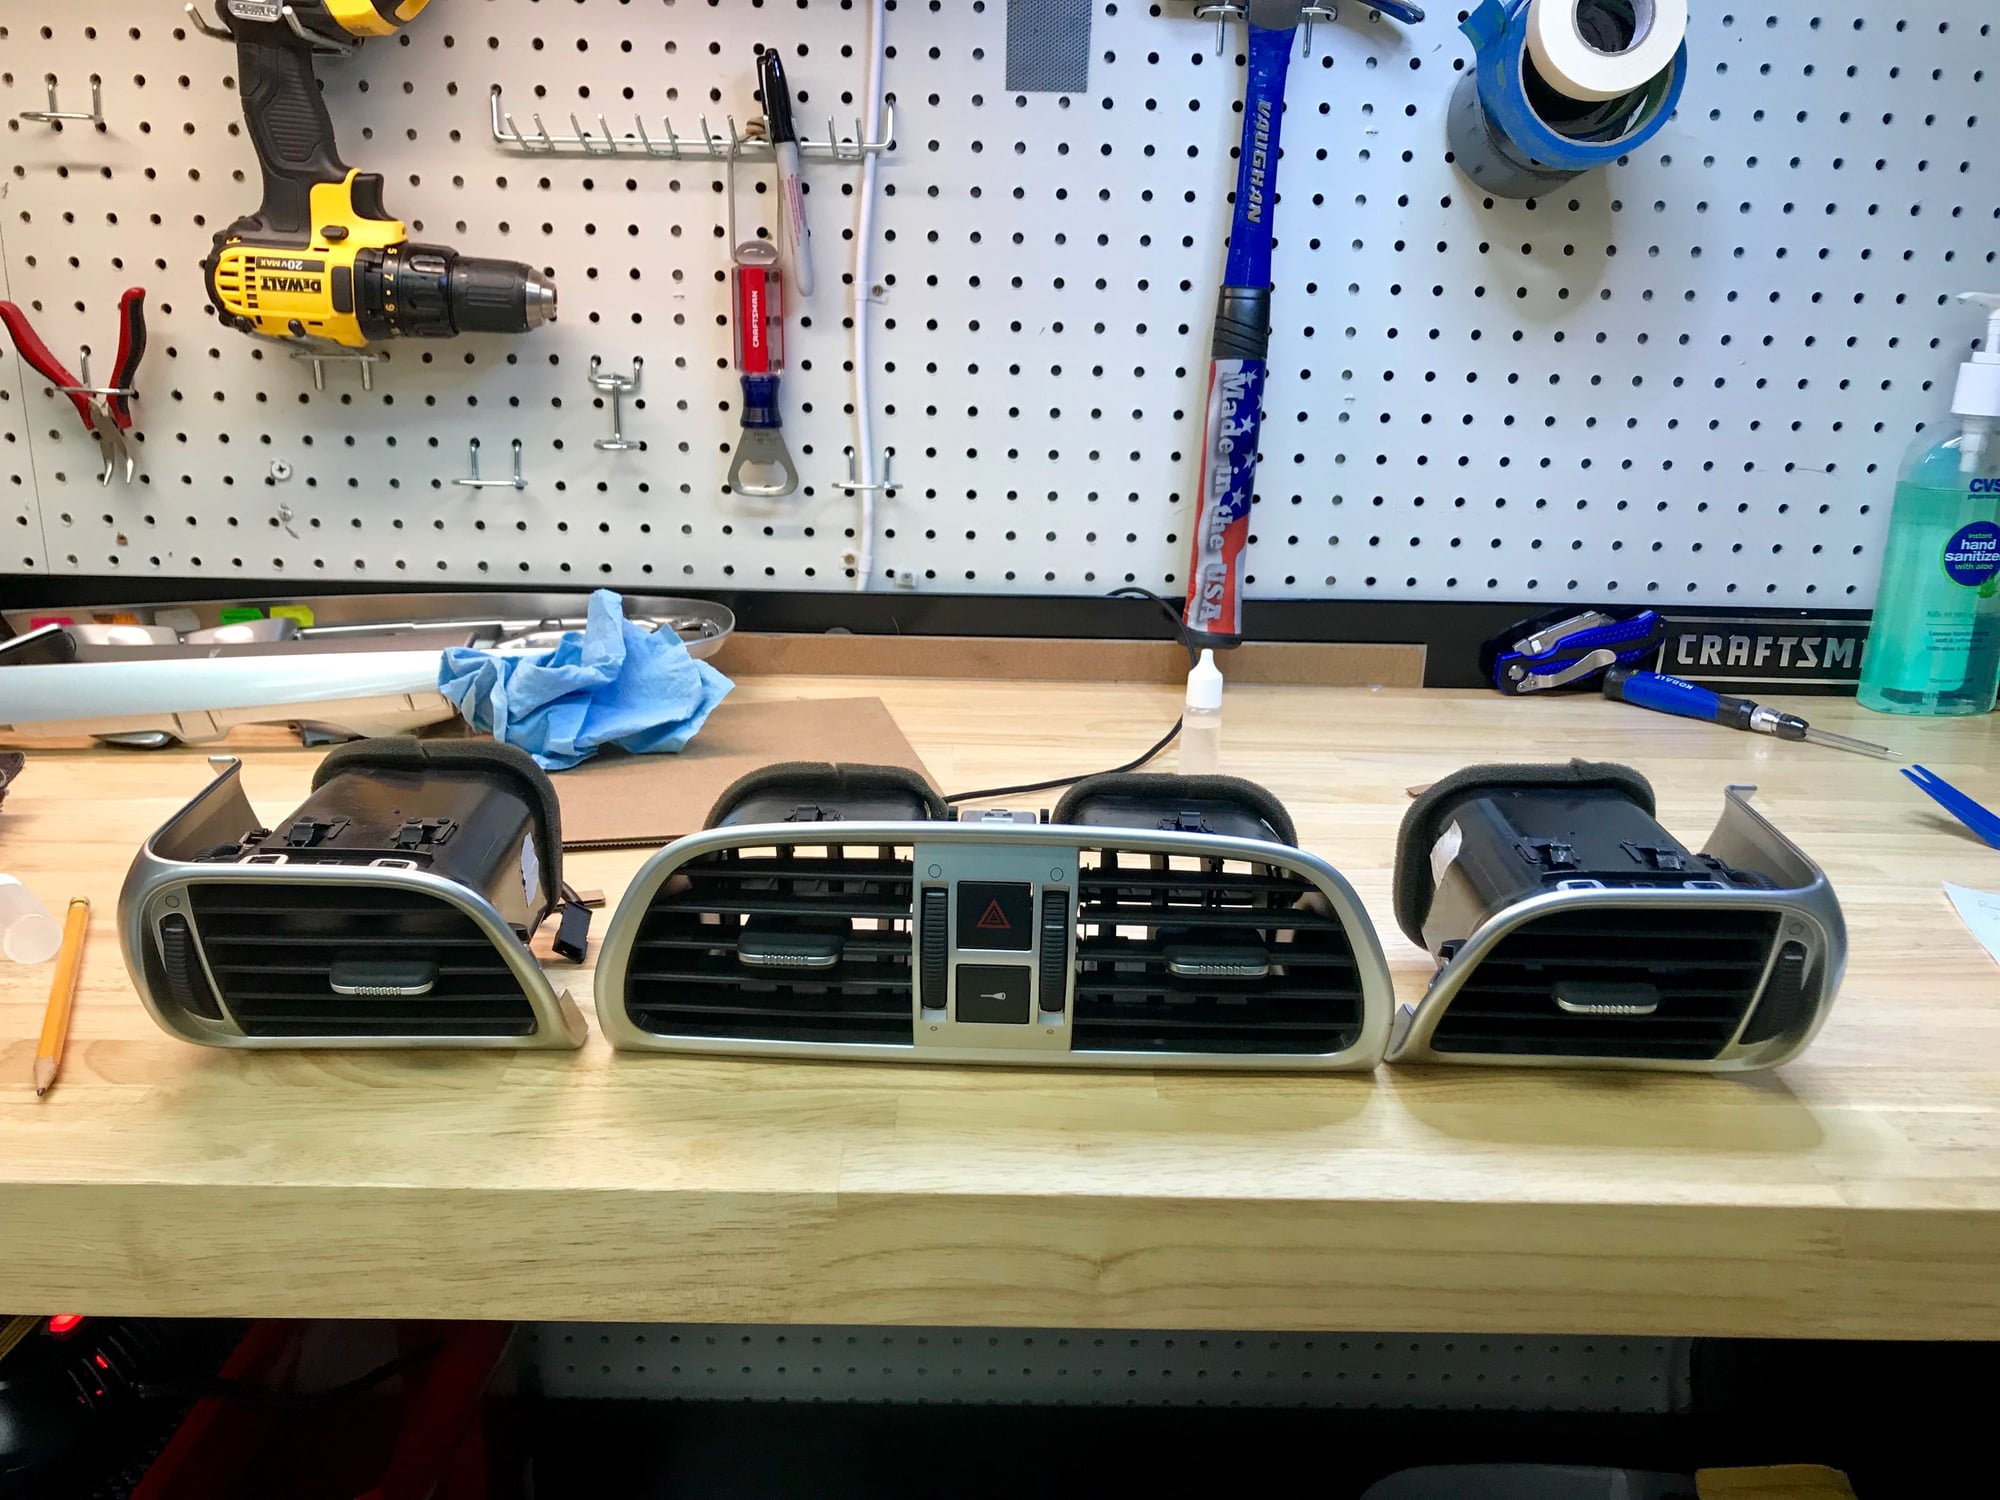
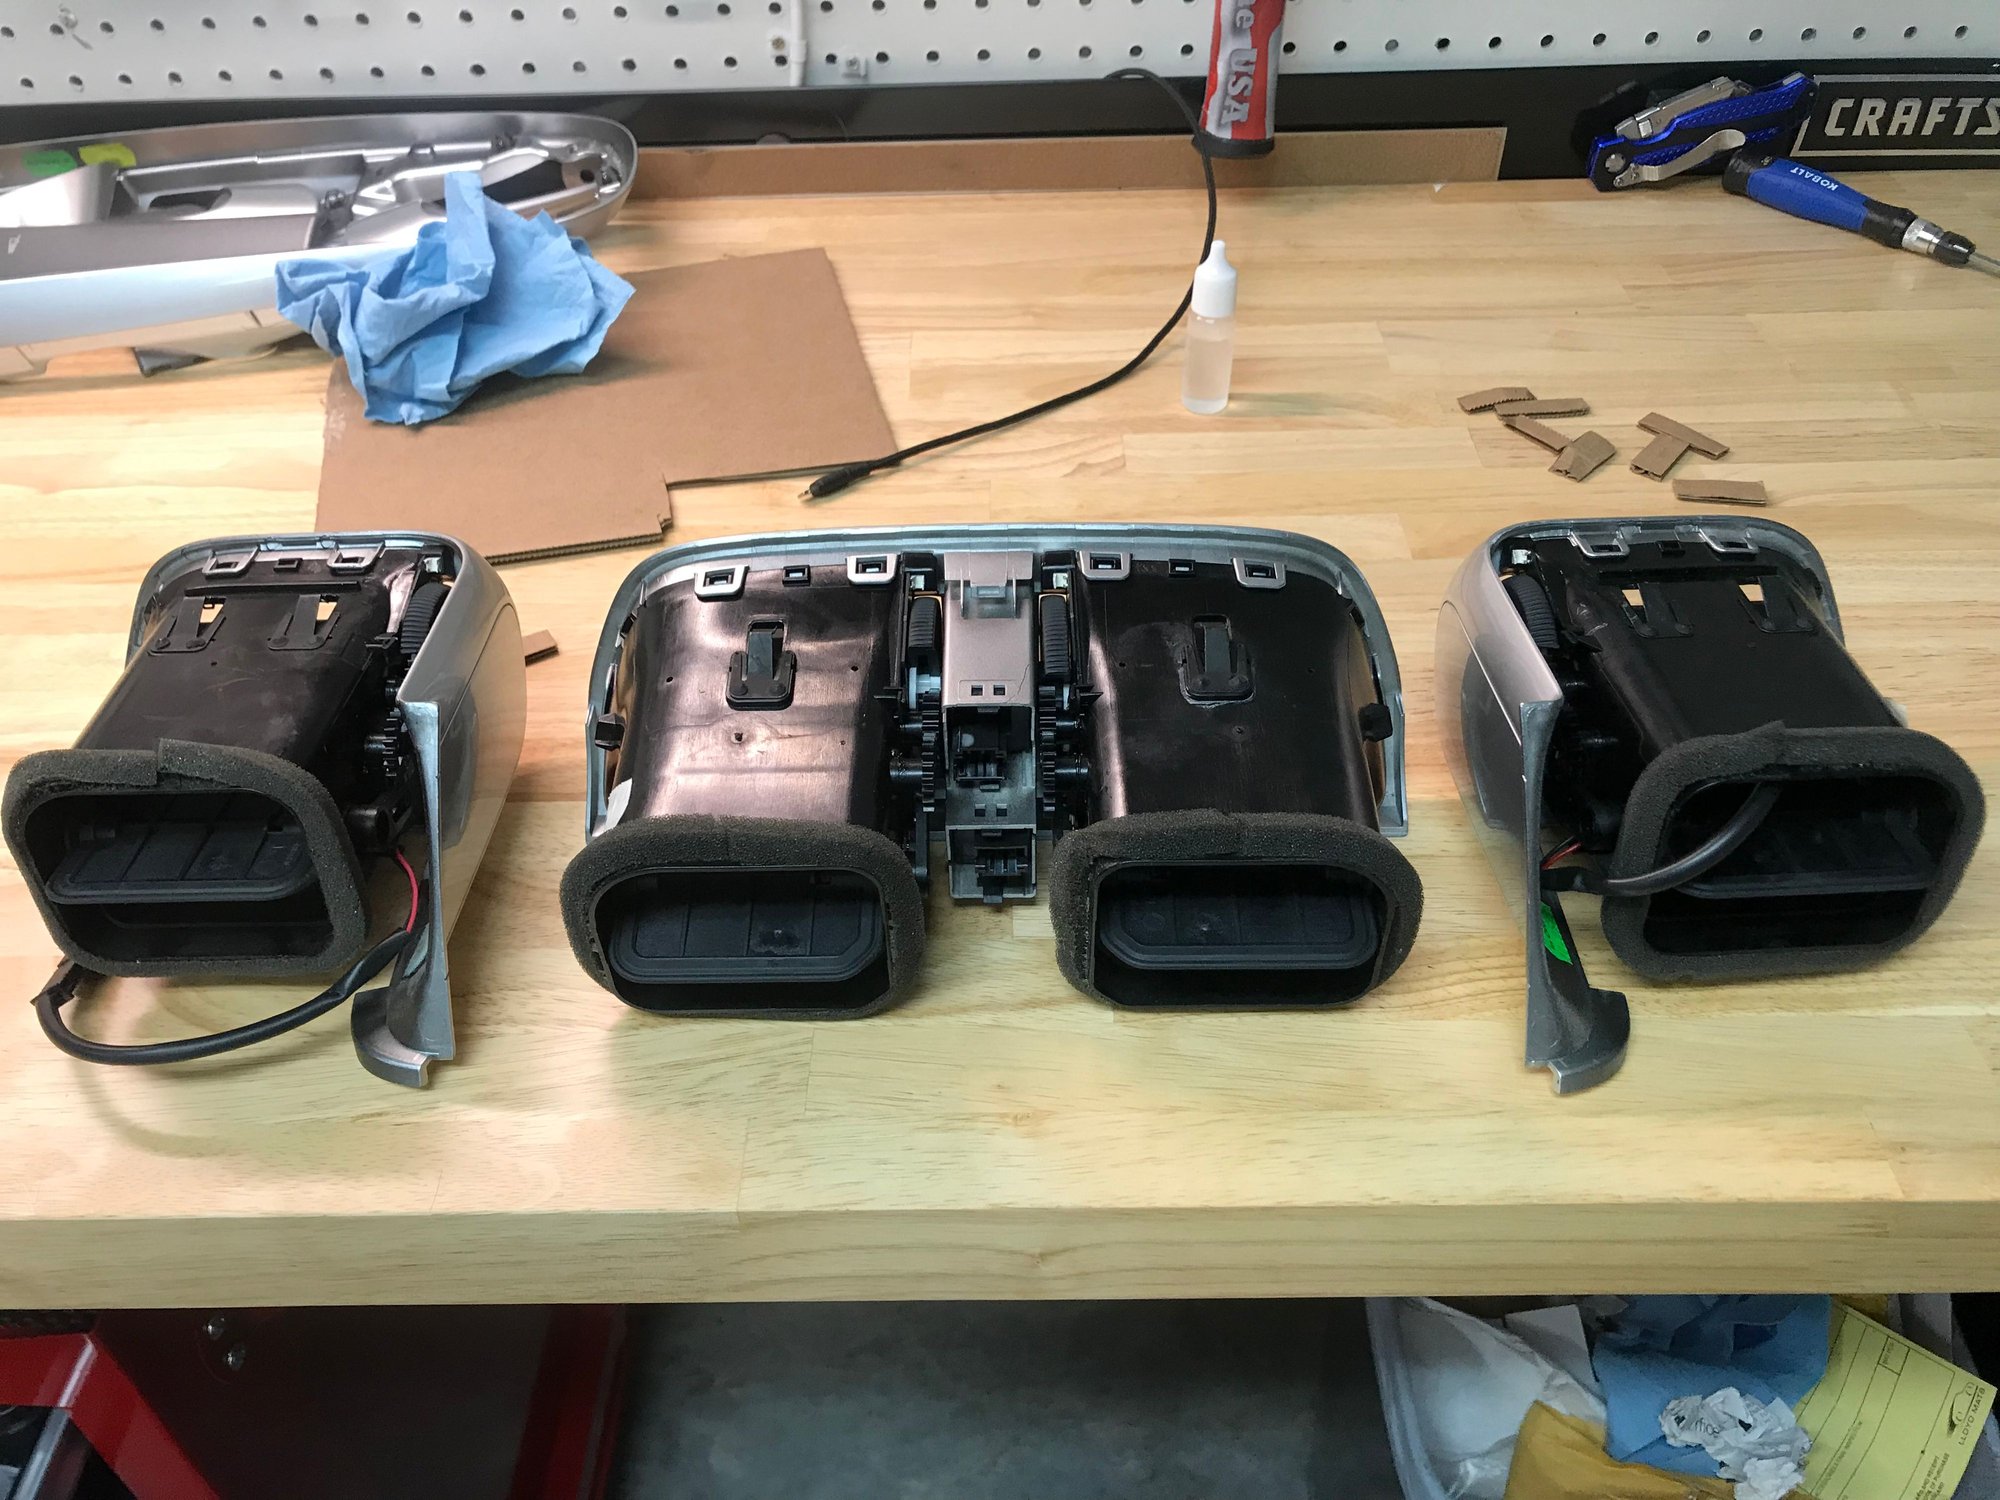
I am in the process of working with Eric at BumperPlugs to paint some of the interior trim of my car.
Everything was fine until I addressed the air vents. BumperPlugs wants the trim entirely off the vents. Everything needs to be removed, the controlling wheels, the buttons, even the slats.
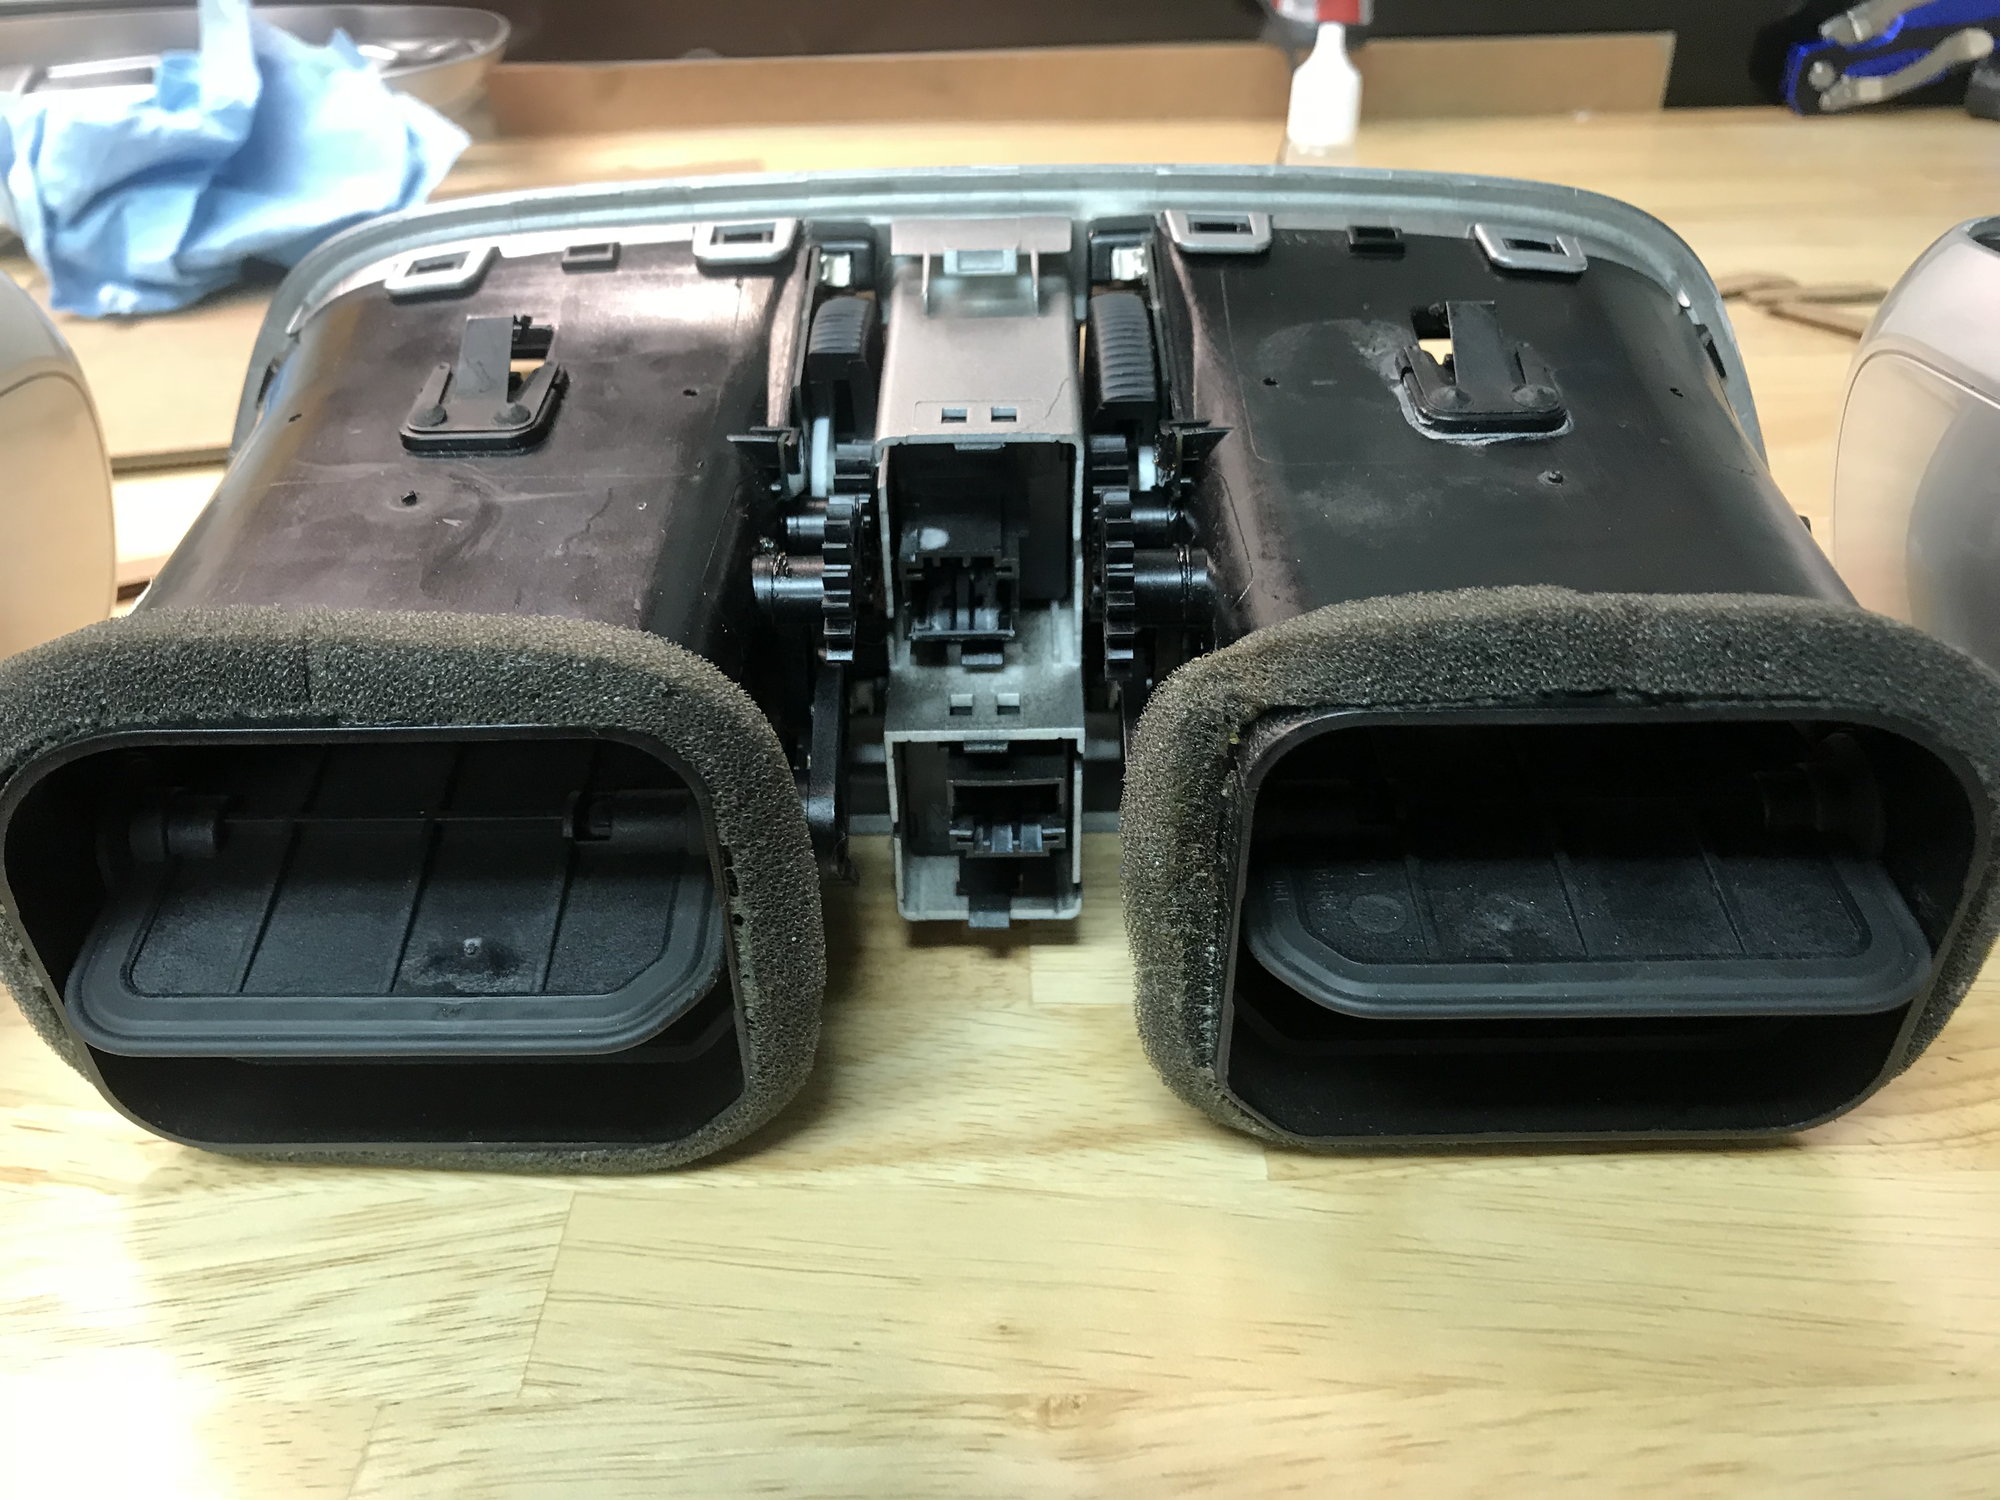
I am looking for pics/how to that will show me how to do this. I have stared and probed to no avail... i am not sure i can do this without essentially destroying the vents. Everything seems to be held by plastic tabs and snaps that wont forgive any prying of any kind.
I hope to be wrong and find some kind soul who can show me how to do it. Allu searches here and on Google have shown either the final product or "how to" remove the vents which I do not need.
I looked at that thread. Although he describes removing the slats it was only on one vent to help access to the metal clip. Also he does not remove, or let me correct myself, he does not describe how to remove the silver trim off the vent. I went back and try to find where he did but couldnt find it.
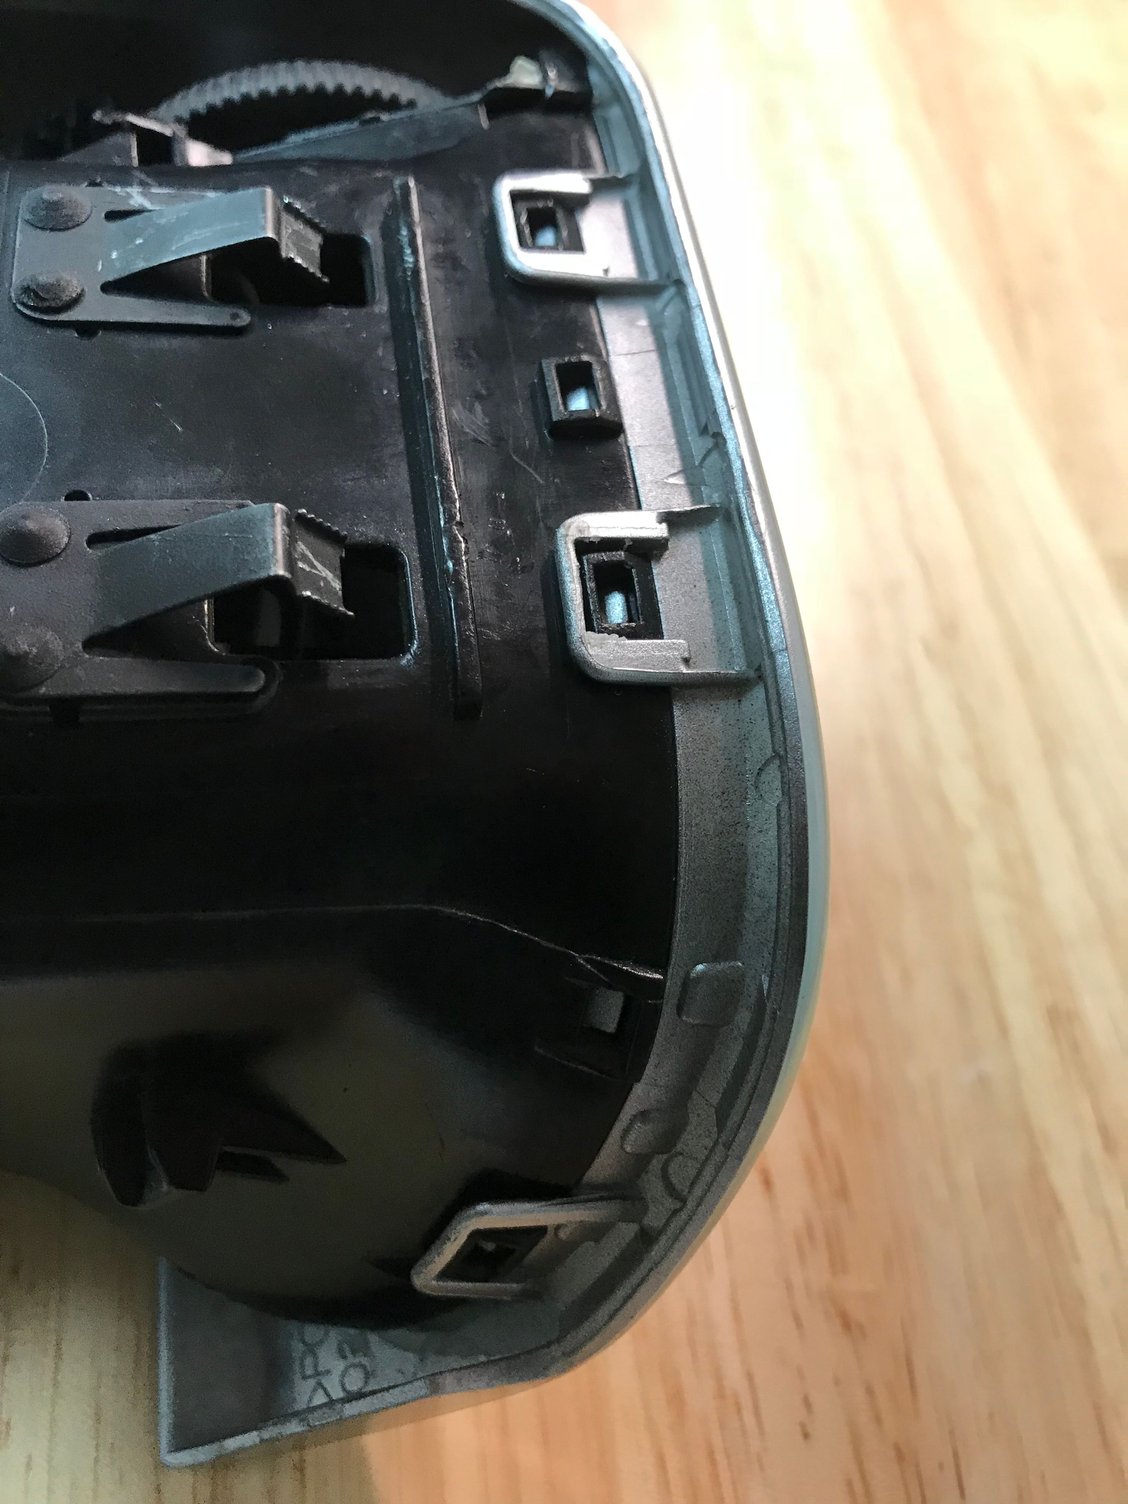
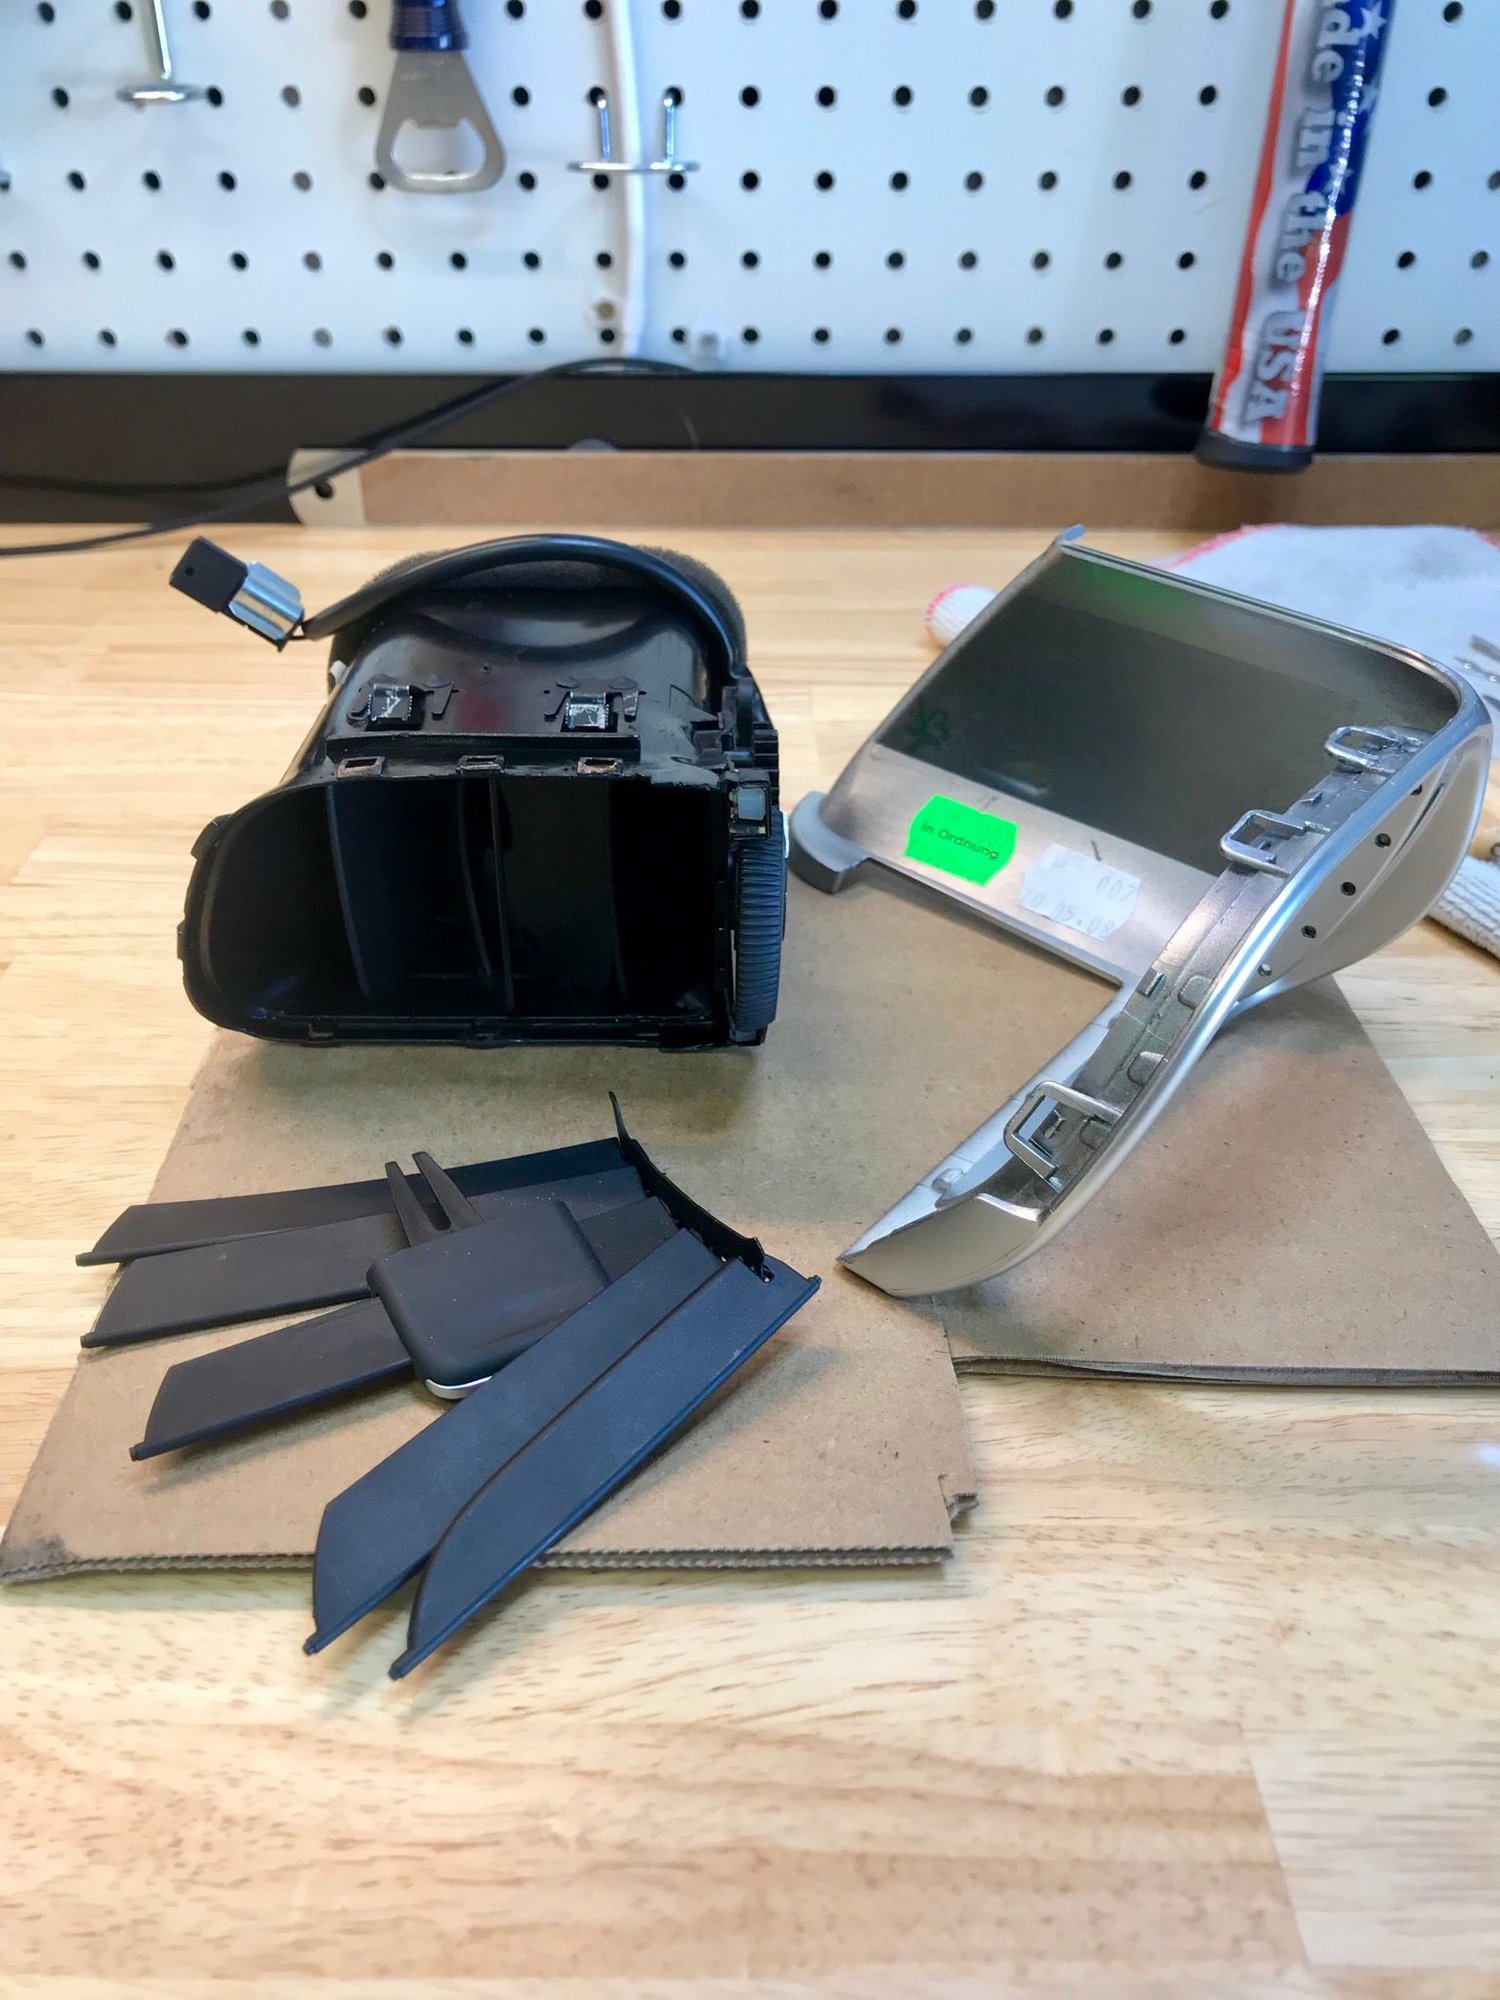
the main problem is how to deal with these plastic tabs/snaps:
There 3, 6, and 3 of them respectively and in my vents they dont budge, and threaten to break at the lightest pry.
See if you can find the instructions or video from p3cars on their Cayenne vent gauge. I had to take mine apart in order to install the gauge in the vent and if I recall, the vent assembly looks like yours.
Also, the MAcarbon website usually has very good instructions for installing their carbon fiber products and I know they make vents so check them out too.
Yes you can remove the front covers, it is just an exercise in patience and caution. There are 2 types of tabs. The first type is a simple detent you can see through the hole in the black main vent body. You push on the silver detent in the hole to release the vent face. The other type is a set of tabs on the top and bottom of the face plate. You need to lift the tabs on the outside using a very thin tool as well as push in through the hole in the tab to release a detent underneath. You can just start to ease the vent face off once you have released both set of tabs. You then move to the next tab location and do it again. Just a little movement away from the vent main body at a time, working your way all around the face until you have all sets of tabs free. It will then pull off the main body. You will probably break some of the outside tabs but that is ok, this thing is way over-engineered.
Good morning,
i sat down a couple of hours ago ago and met my challenge.
Before i read your post above, I indeed conquered the challenge myself. You are right its only an exercise in patience, nothing more.
This units were designed for a one time only application and therefore you brake one you buy one.
I think the key to my approach was the heat gun. I warmed up each crucial part before handling. Next key was my set of hobby instruments and small tools. Poke here, pry there, push here, pull there.
MAKE SURE THERE ARE NO SUDDEN ABRUPT ROUGHT MOVEMENTS. Be gentle and patient.
One down 2 to go (3 really, as the center piece is essentially a double one with double the parts).
Thank you everyone who contributed. If I get inspired enough I may take multiple pictures, but it is hard to male the moves you need and take simultaneous pictures or videos by yourself. i guess this is why there is no good reference out there.
I was just thiking that, or maybe taking it to my local paint shop. It has to be a breeze to just spray and be done, since it took all my free hours of three days to do this.
I am assuming putting things back together will be quicker, but even if not, will be more fun because they will be painted and feel like "new toys"....
Well, im done for today but i managed to remove the slats off the trim on the first try
Is there a trick to reinstall those slats? Noticed 2 were unclipped from the metal hanger that makes them move and can't get it back for the life of me.
Is there a trick to reinstall those slats? Noticed 2 were unclipped from the metal hanger that makes them move and can't get it back for the life of me.
getting the slats into the shell is harder than getting the metal clip on the slats. The metal clip, iirc, you get one end in then align all the slats vertically. Press down making sure they don�t wiggle out. Takes about 20 tries.
getting the slats into the shell is harder than getting the metal clip on the slats. The metal clip, iirc, you get one end in then align all the slats vertically. Press down making sure they don�t wiggle out. Takes about 20 tries.
So you need to install the slats before the metal clip?


 09-24-2018, 07:13 PM