When you click on links to various merchants on this site and make a purchase, this can result in this site earning a commission. Affiliate programs and affiliations include, but are not limited to, the eBay Partner Network.
v2 Update.
I have updated the pictures at the start of the thread to reflect the minor changes (for manufacturability) described in the previous post.
Kits will be available to ship again starting end of this week in limited quantities ($239 per kit including the Trim-Lok and free priority mail shipping to continental US only).
Please email or PM with any questions.
I have one more kit available from the latest batch. Next batch will be available around the middle of Sept (please see beginning of thread for all details)
Took me around 40 rookie mins to install it. It would be faster if I read this thread as I was too lazy to move as I have a deadspot on the driveway so I couldnt pull out this thread and just relied on photos i previously downloaded.
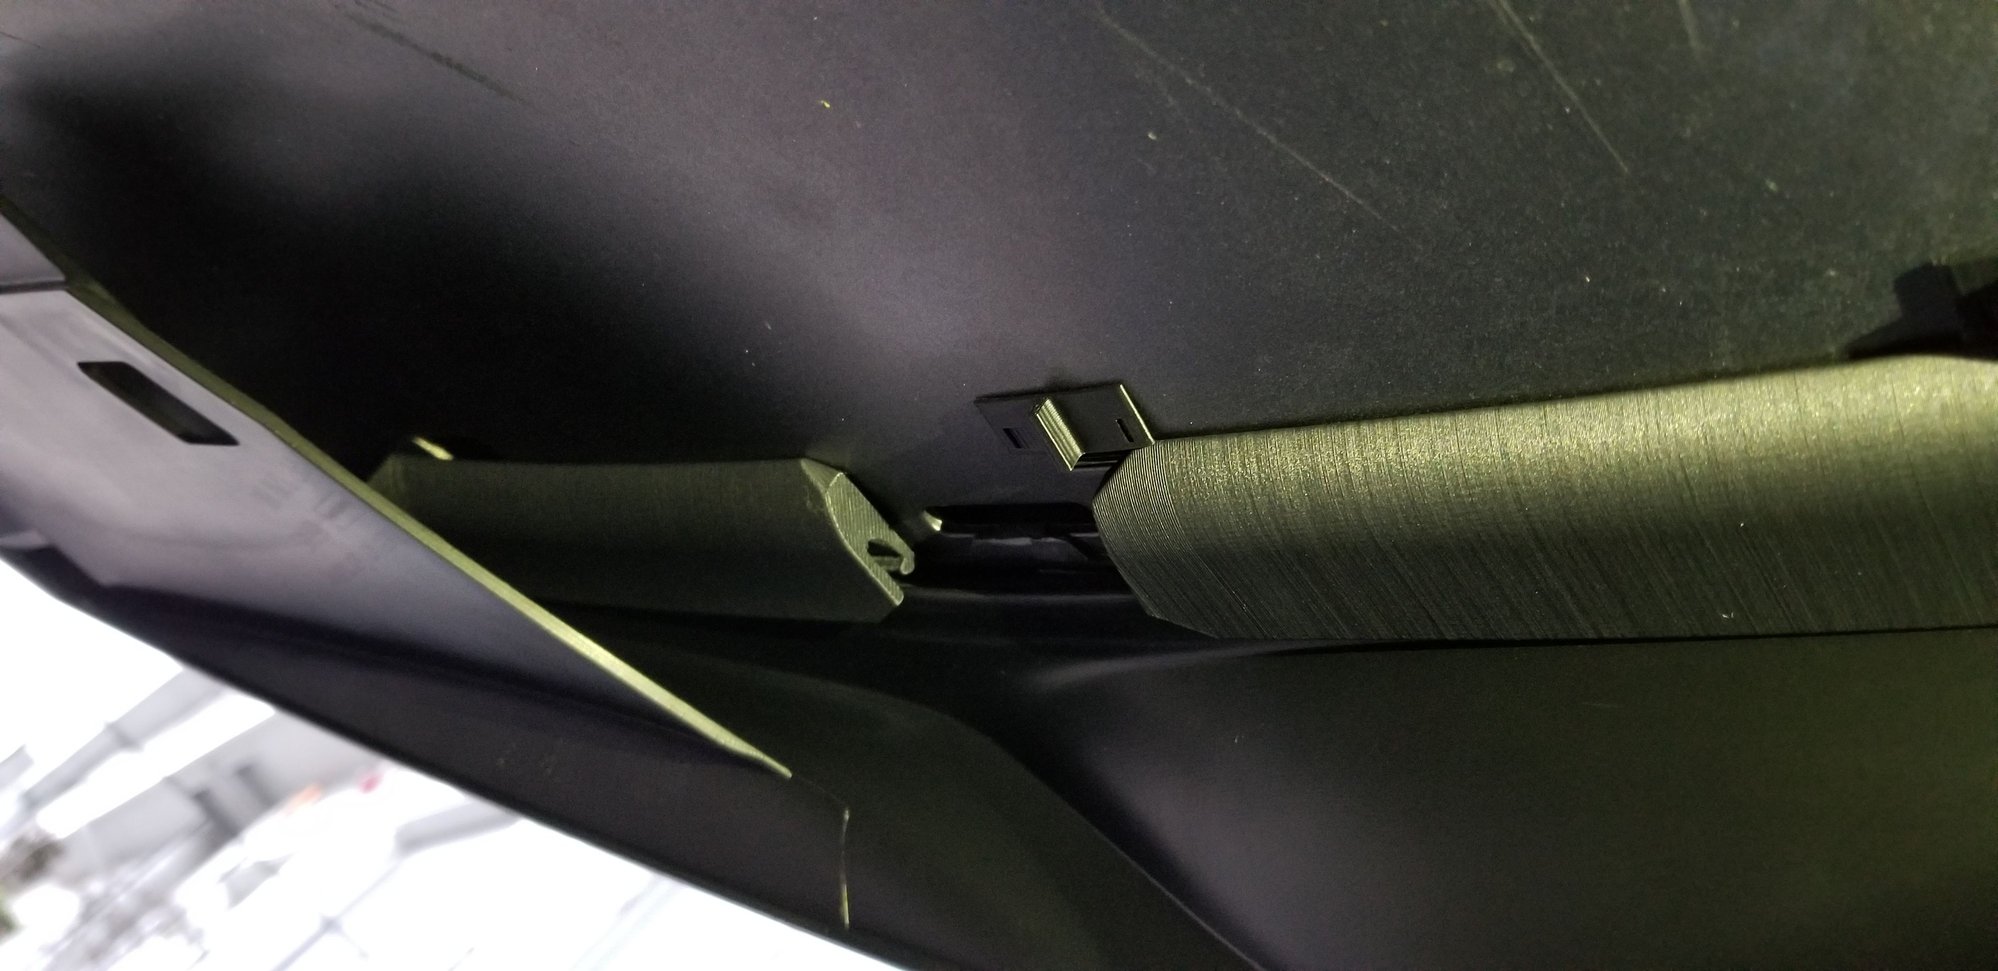
anyway here are the photos I took while doing the assembly. I figured out the rubber moulding when in between the bumper and the front lip spoiler so mounted it on top of the lip spoiler before installing it.
my rented garage has a steep driveway, so the end locking part that has double adhesive dismounted at the driver side end. I re attached it but looks like im doing more permanent on the ends as my right height would destroy that part.
Props to EMC2 for this nice adapter set.
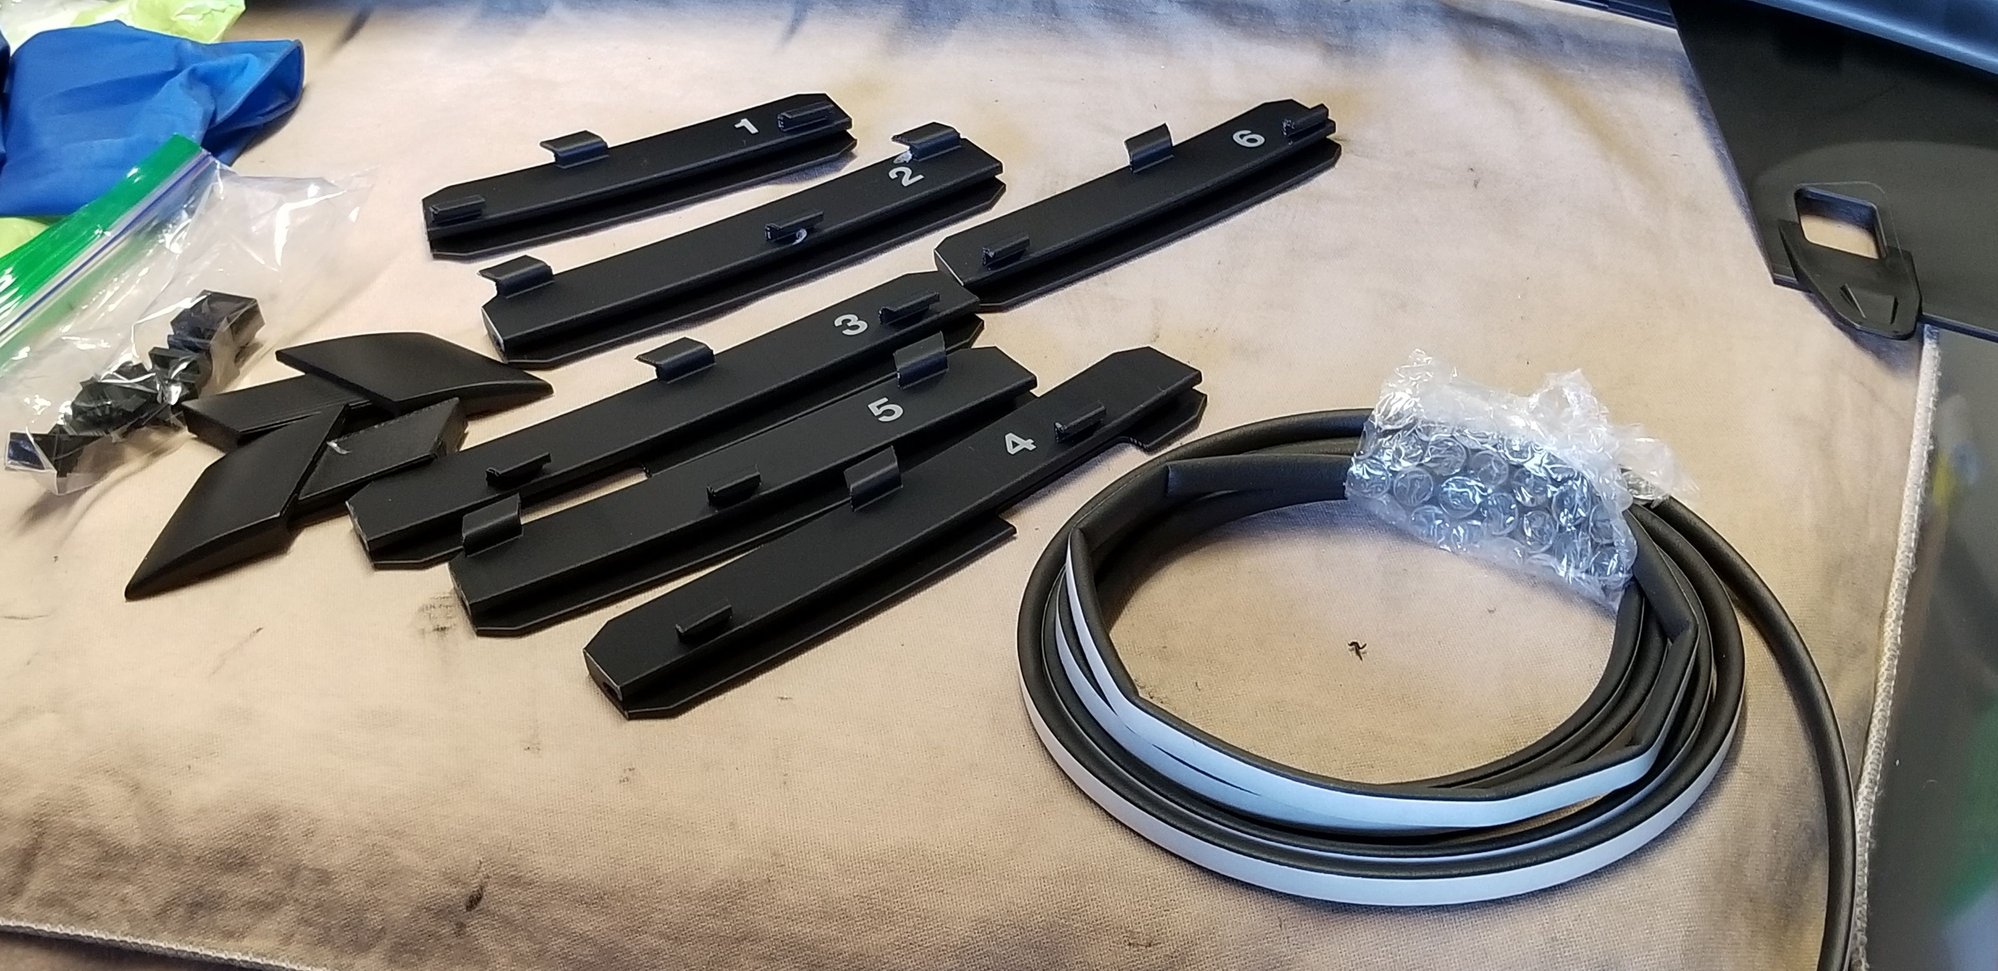
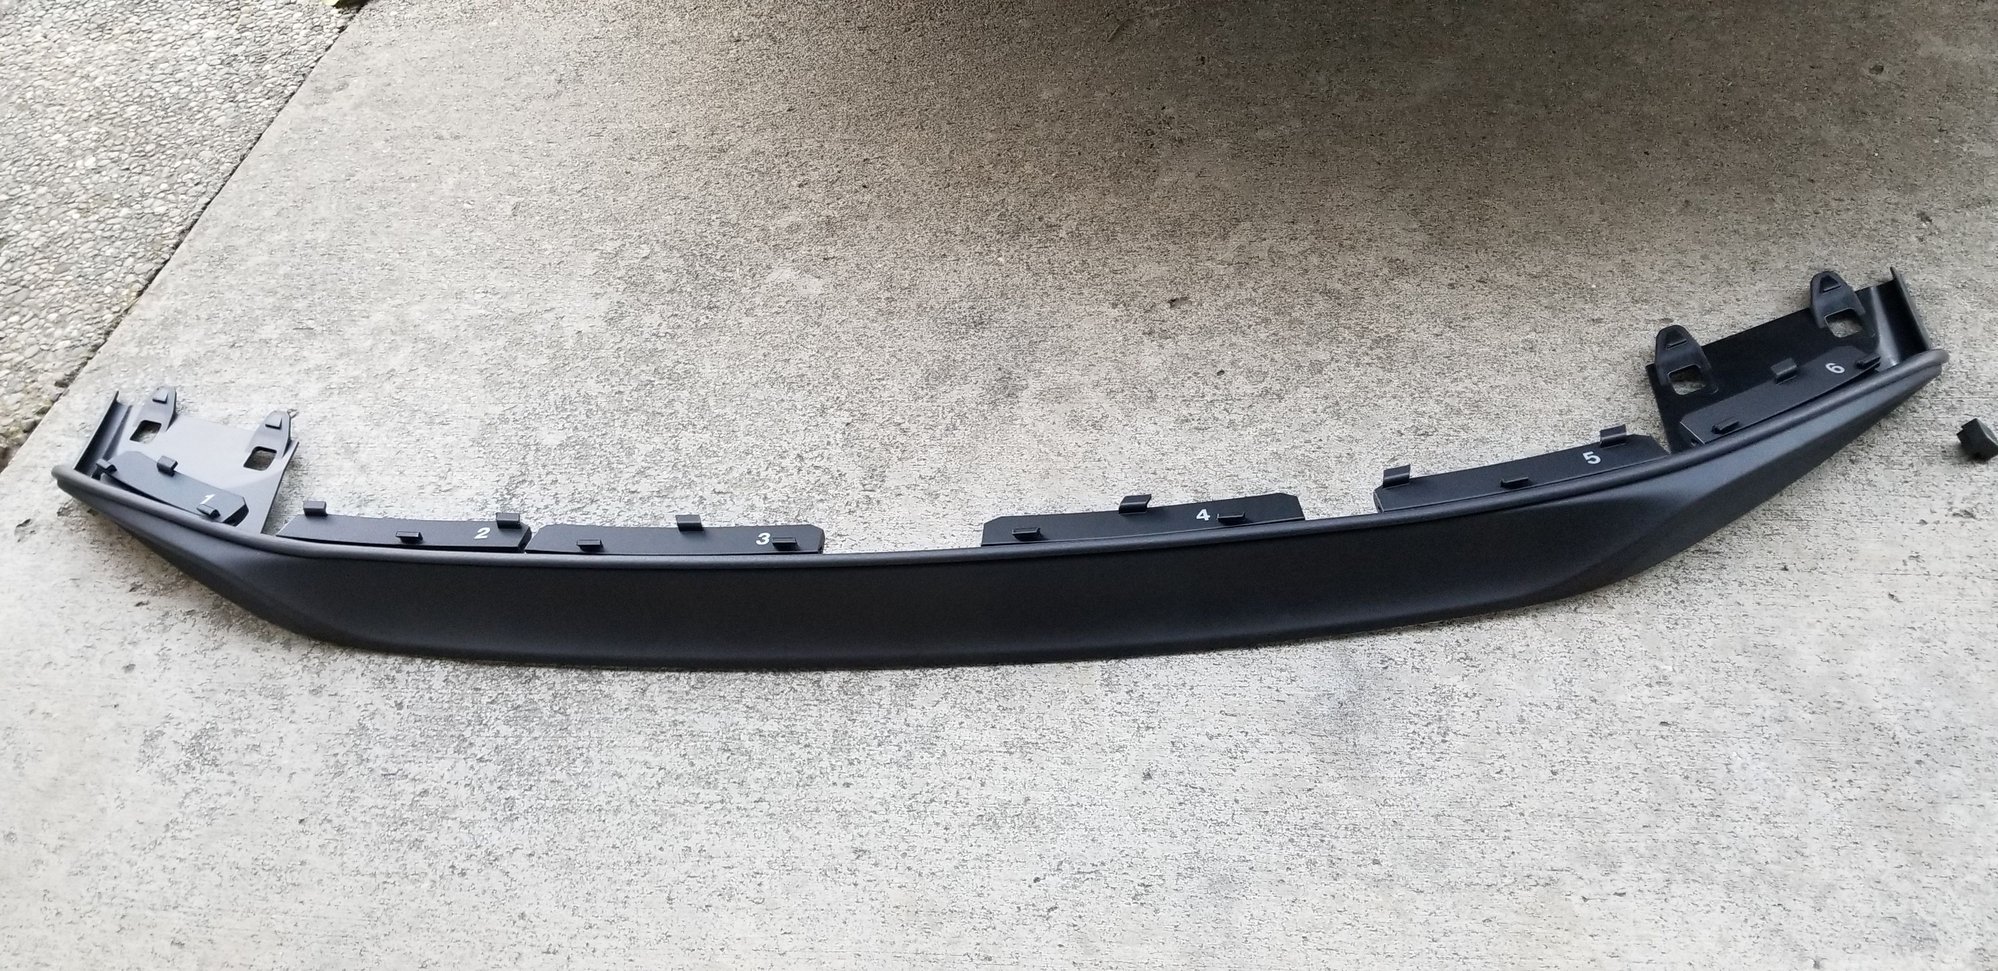
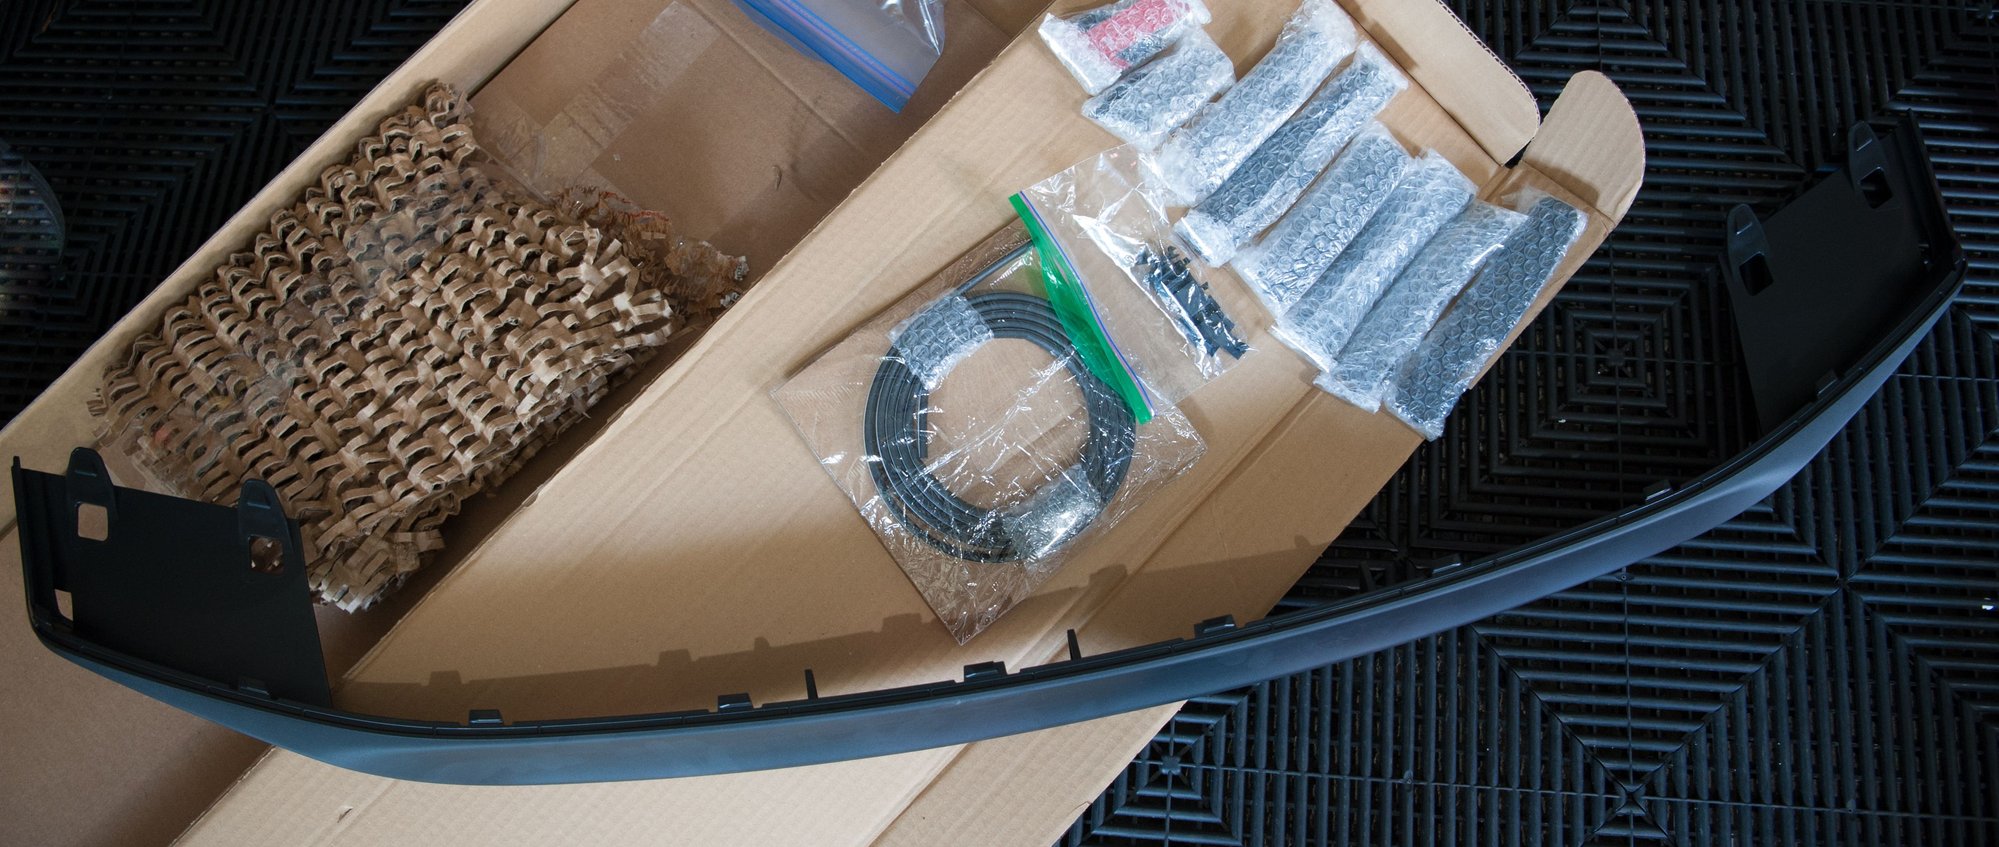
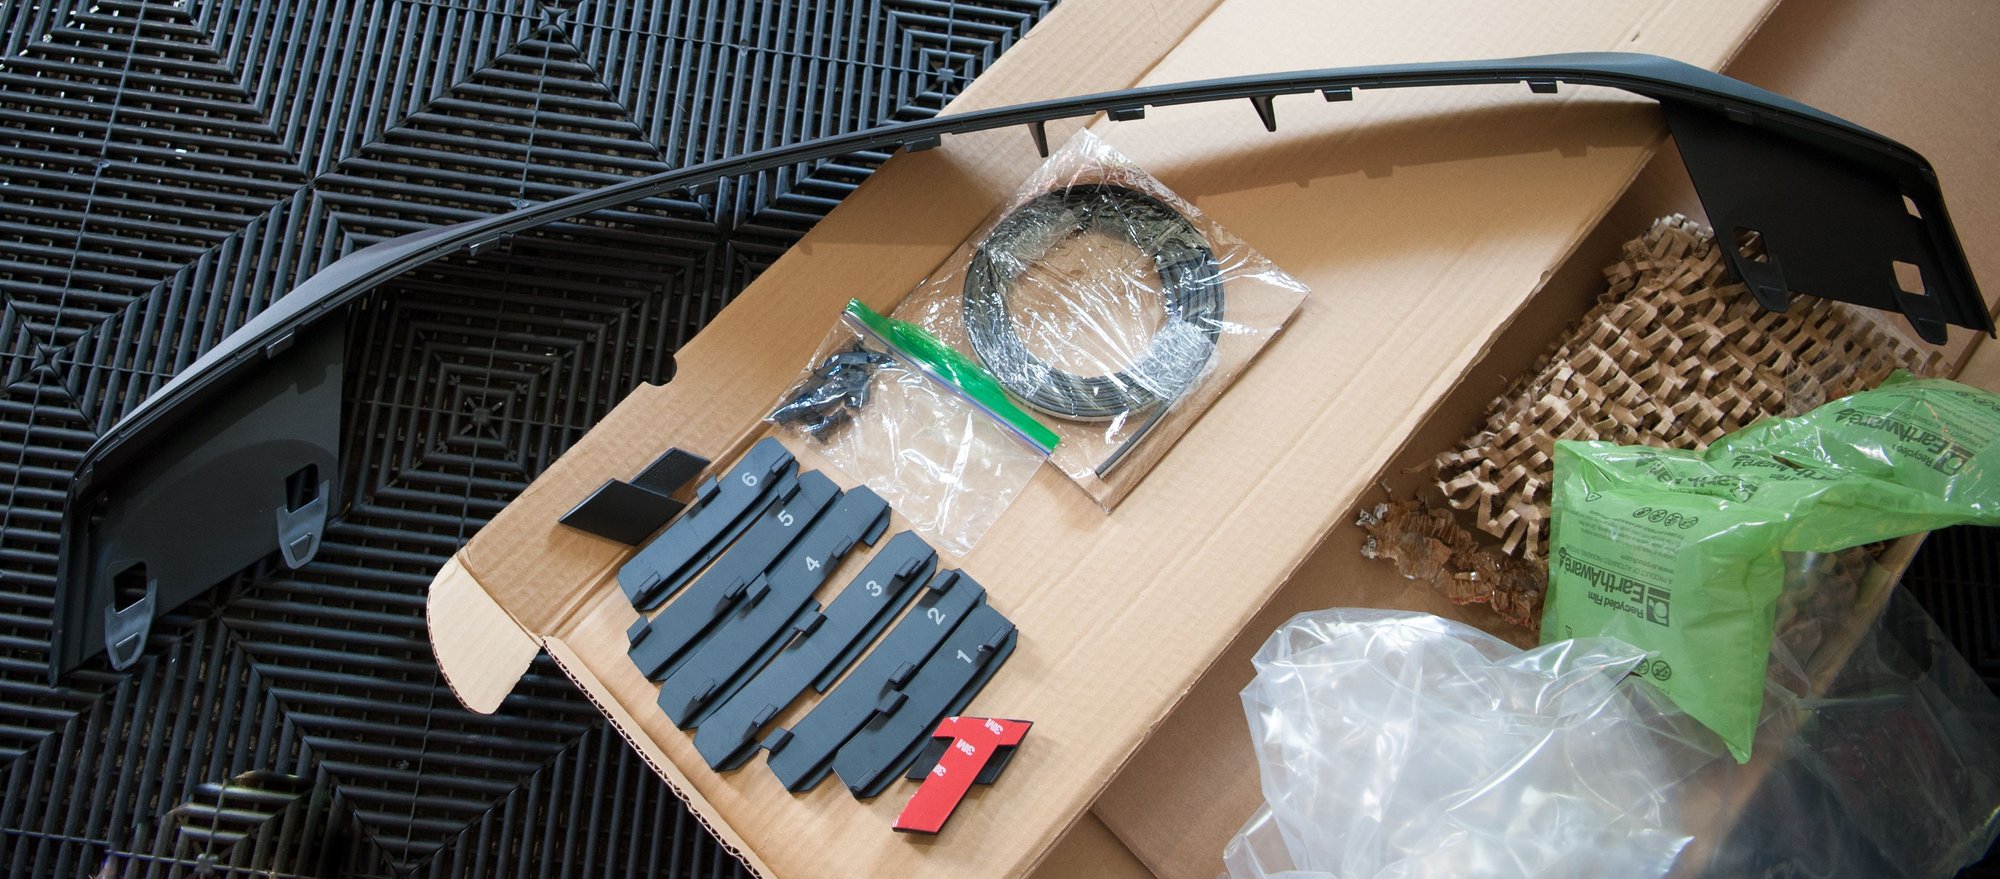
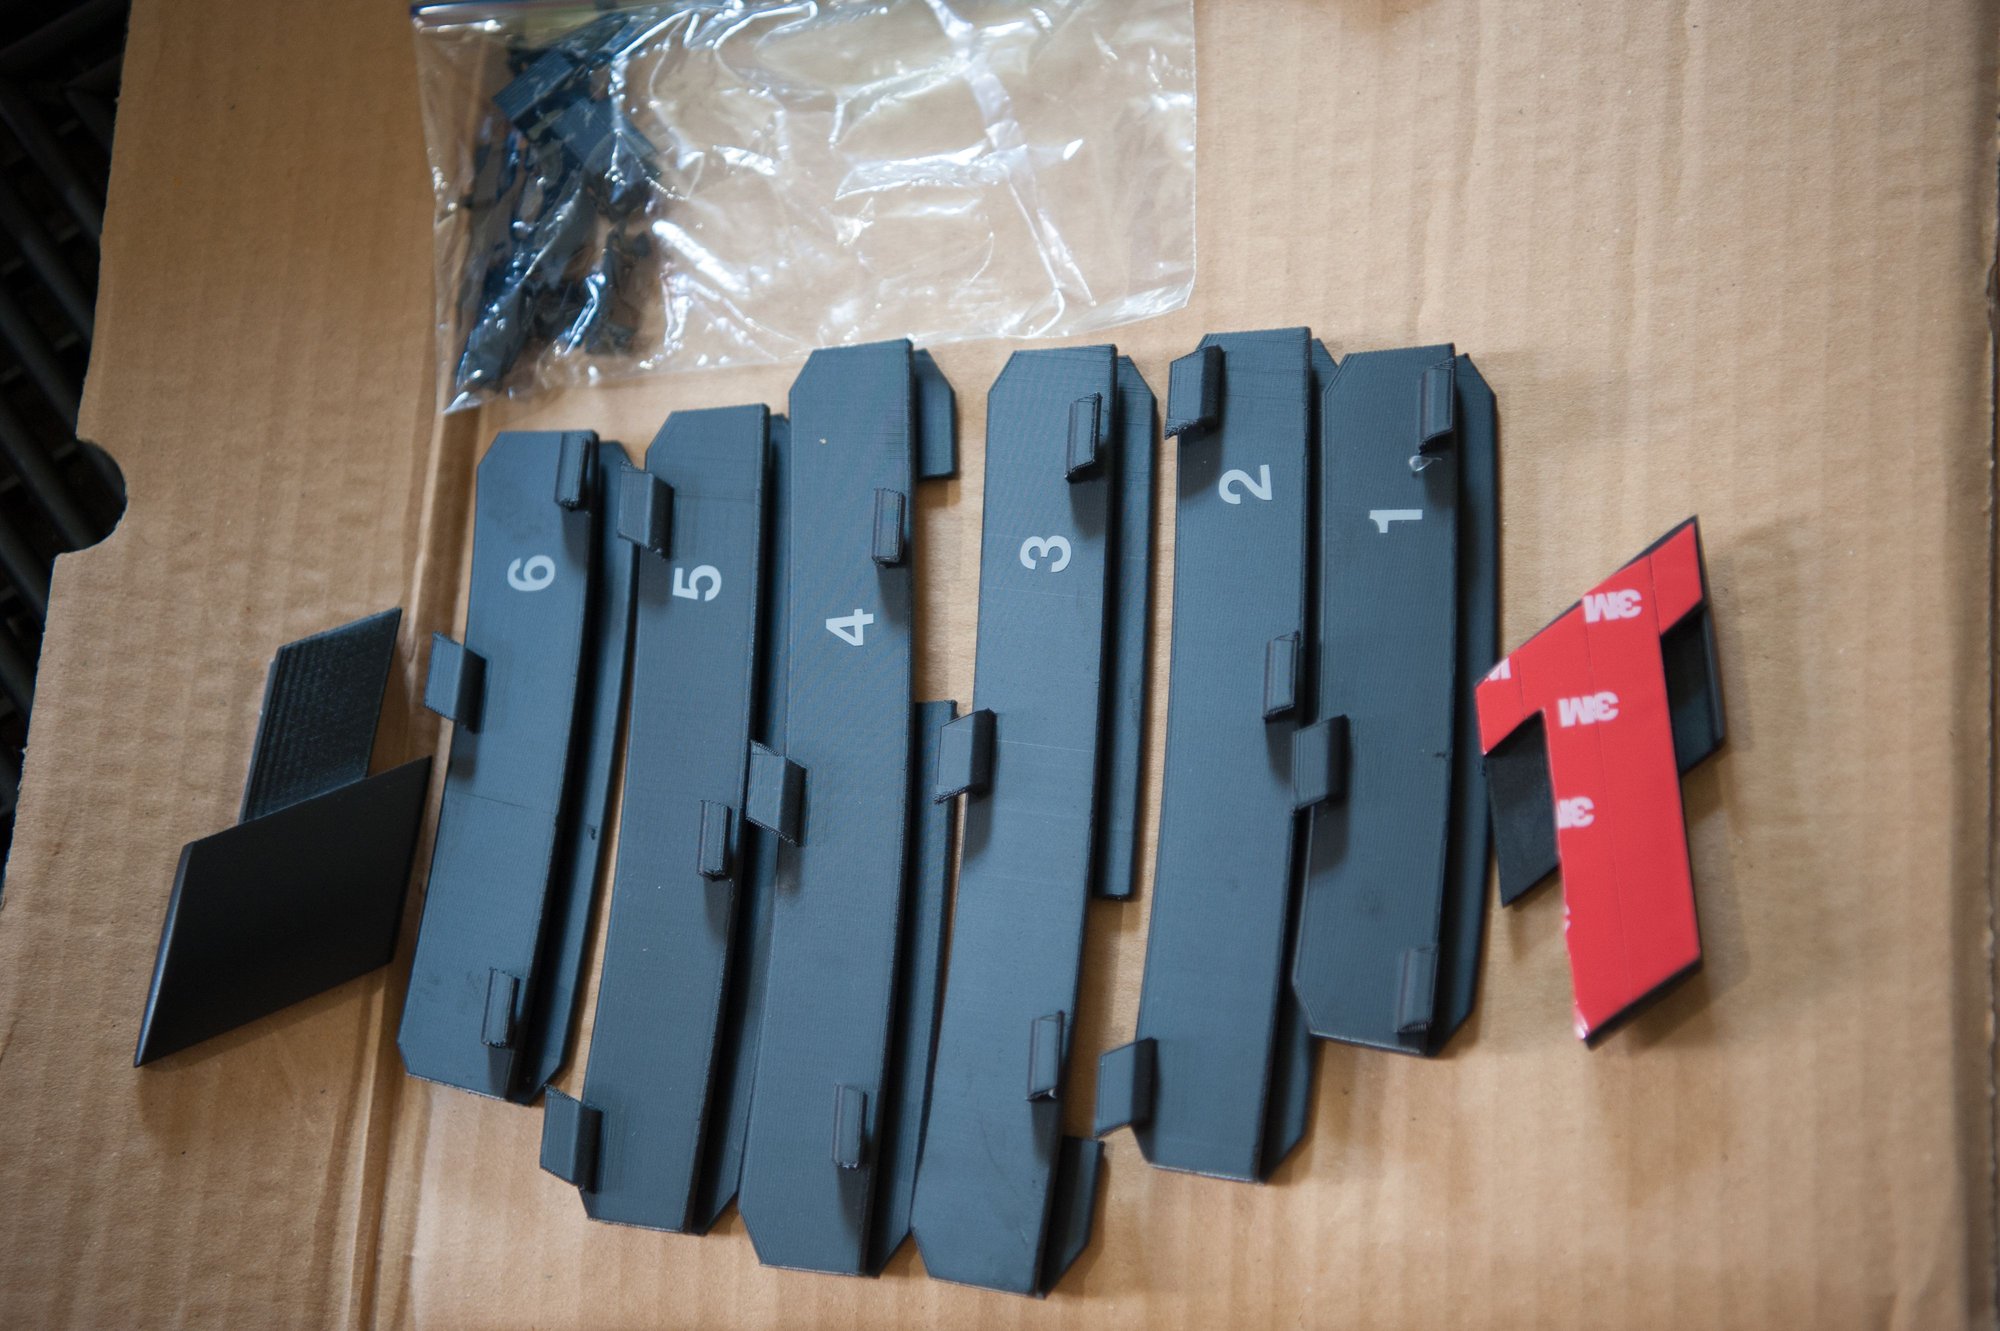
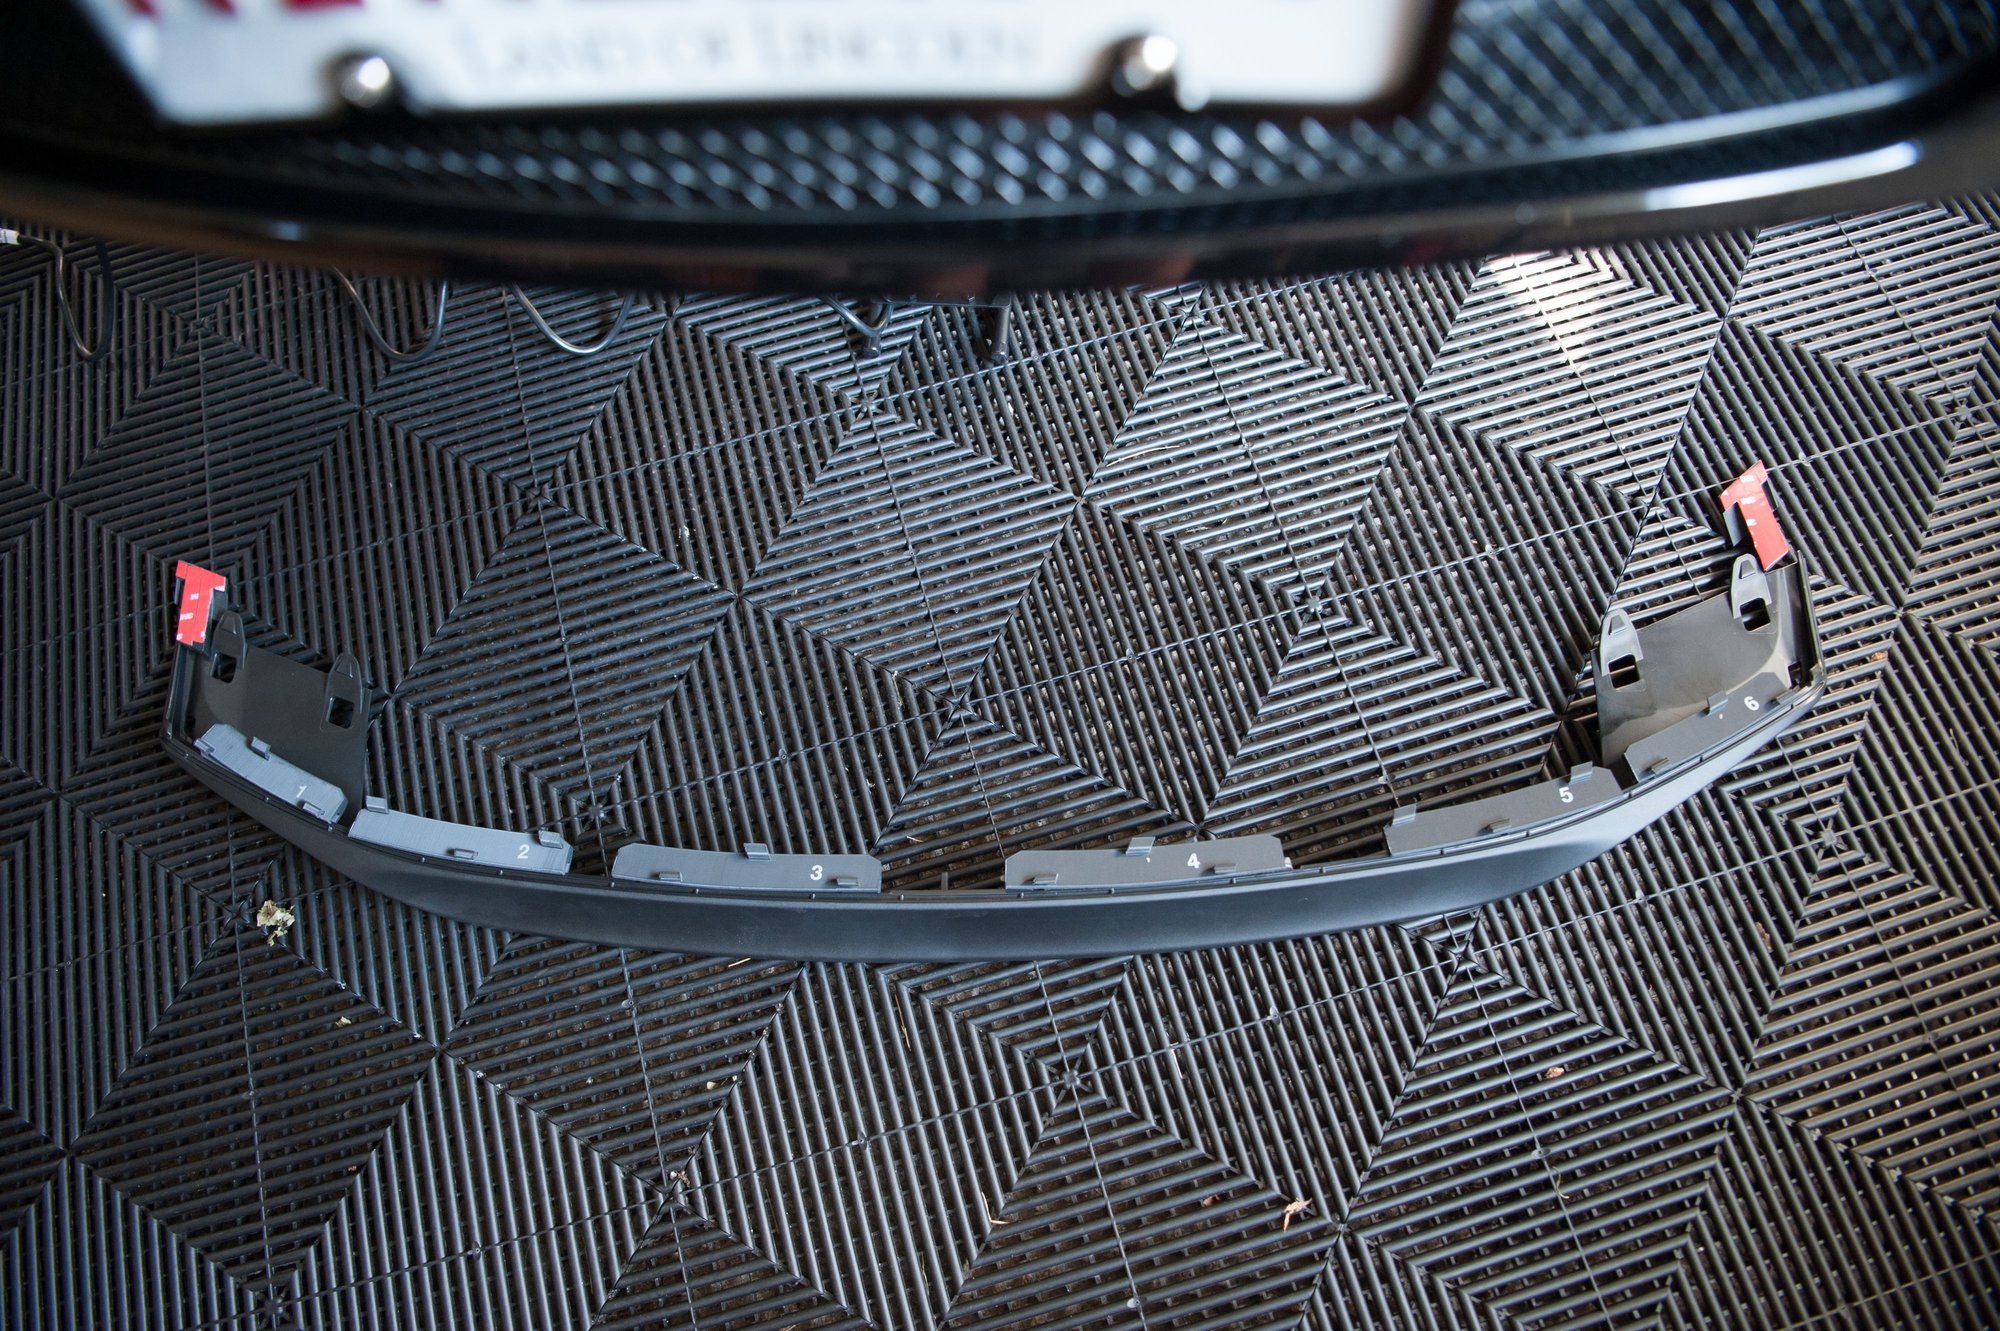
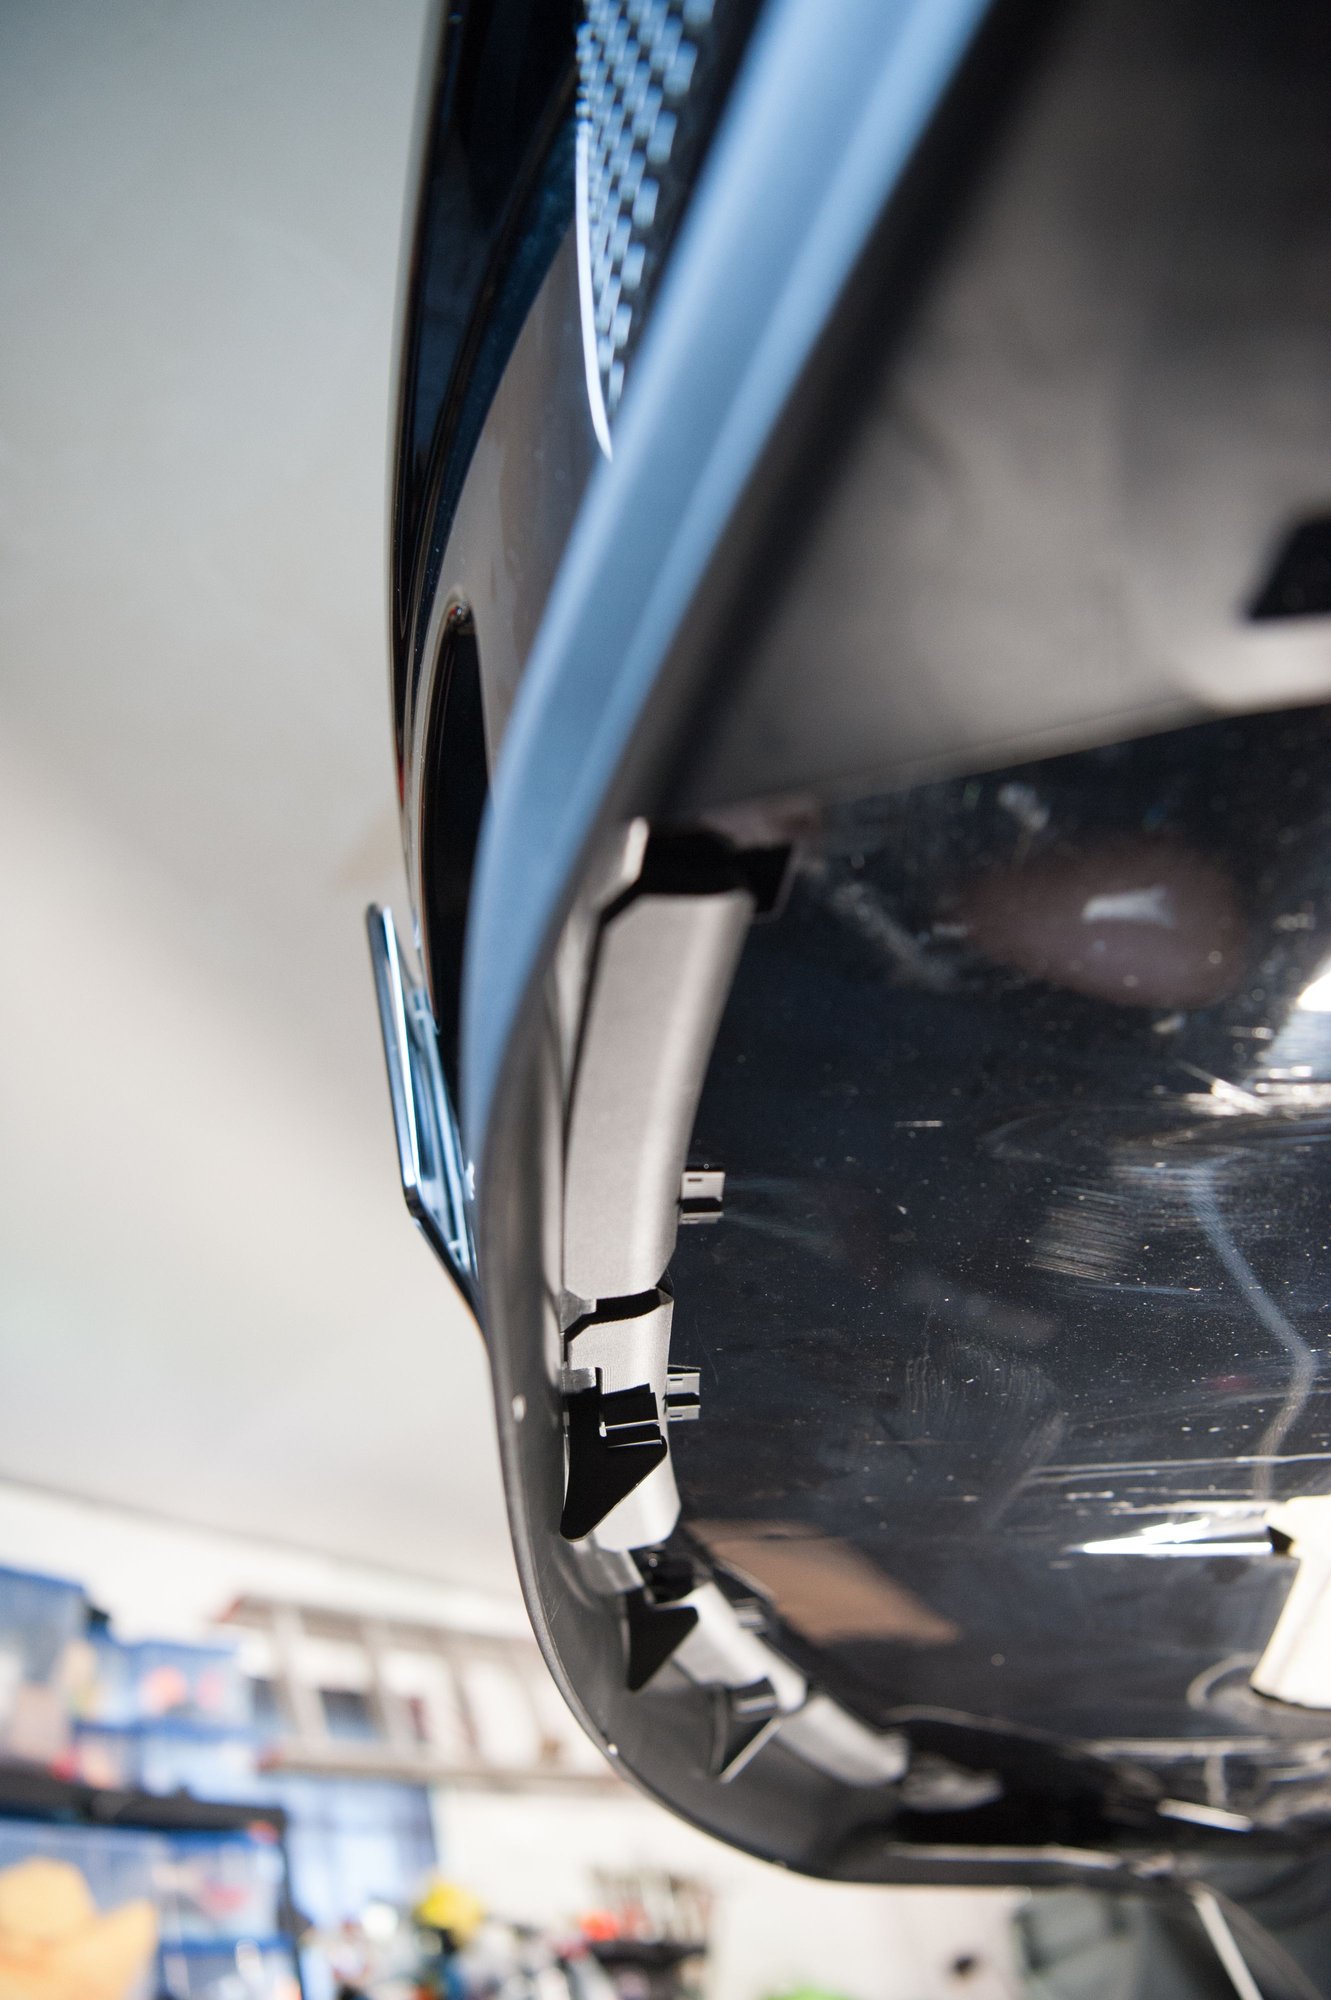
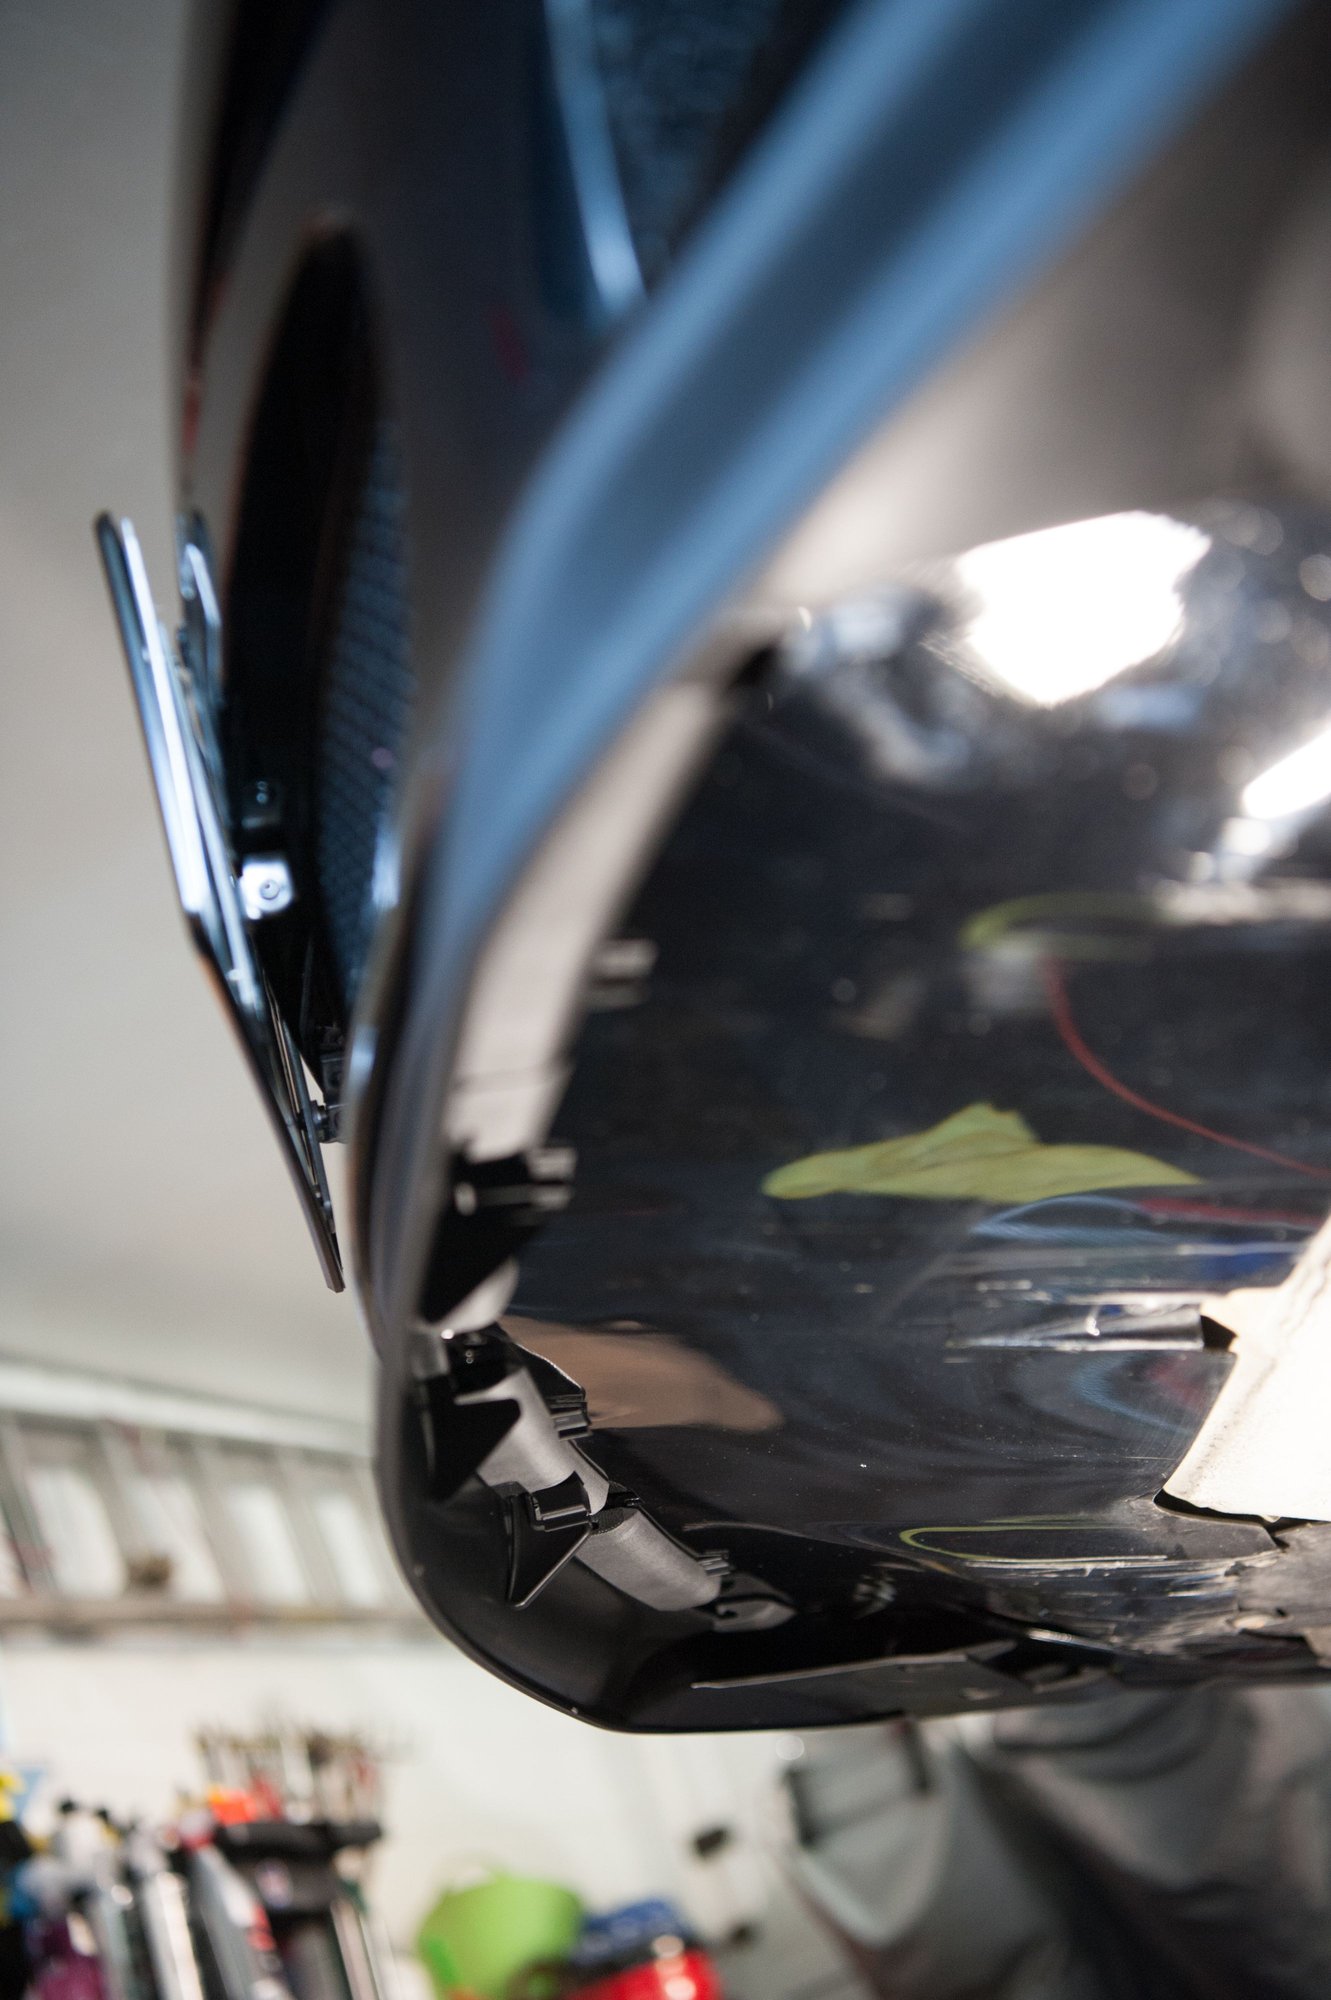
Unboxing the adapters, locks and moulding Mocking up with the rubber moulding Locking clips underneath once it was installed More undershot photos of locking clips Mounted 1 Side profile mounted Driver side profile mounted Passenger side
Where does the rubber moulding go? I am currently installing the adapters?
JQ -thanks for sharing the pics. Looks great
FYI I emailed you the detailed install guide on Sat 5th Sept @ 7:58pm EST. Let me know if you can't find it and I'll gladly resend.
Unfortunately I can't post it on this thread as the file is too large.
Even though it is mostly self explanatory, I'd suggest cross checking the document just to make sure everything is installed correctly.
Looks great, JQ! Out of curiosity, what suspension are you running?
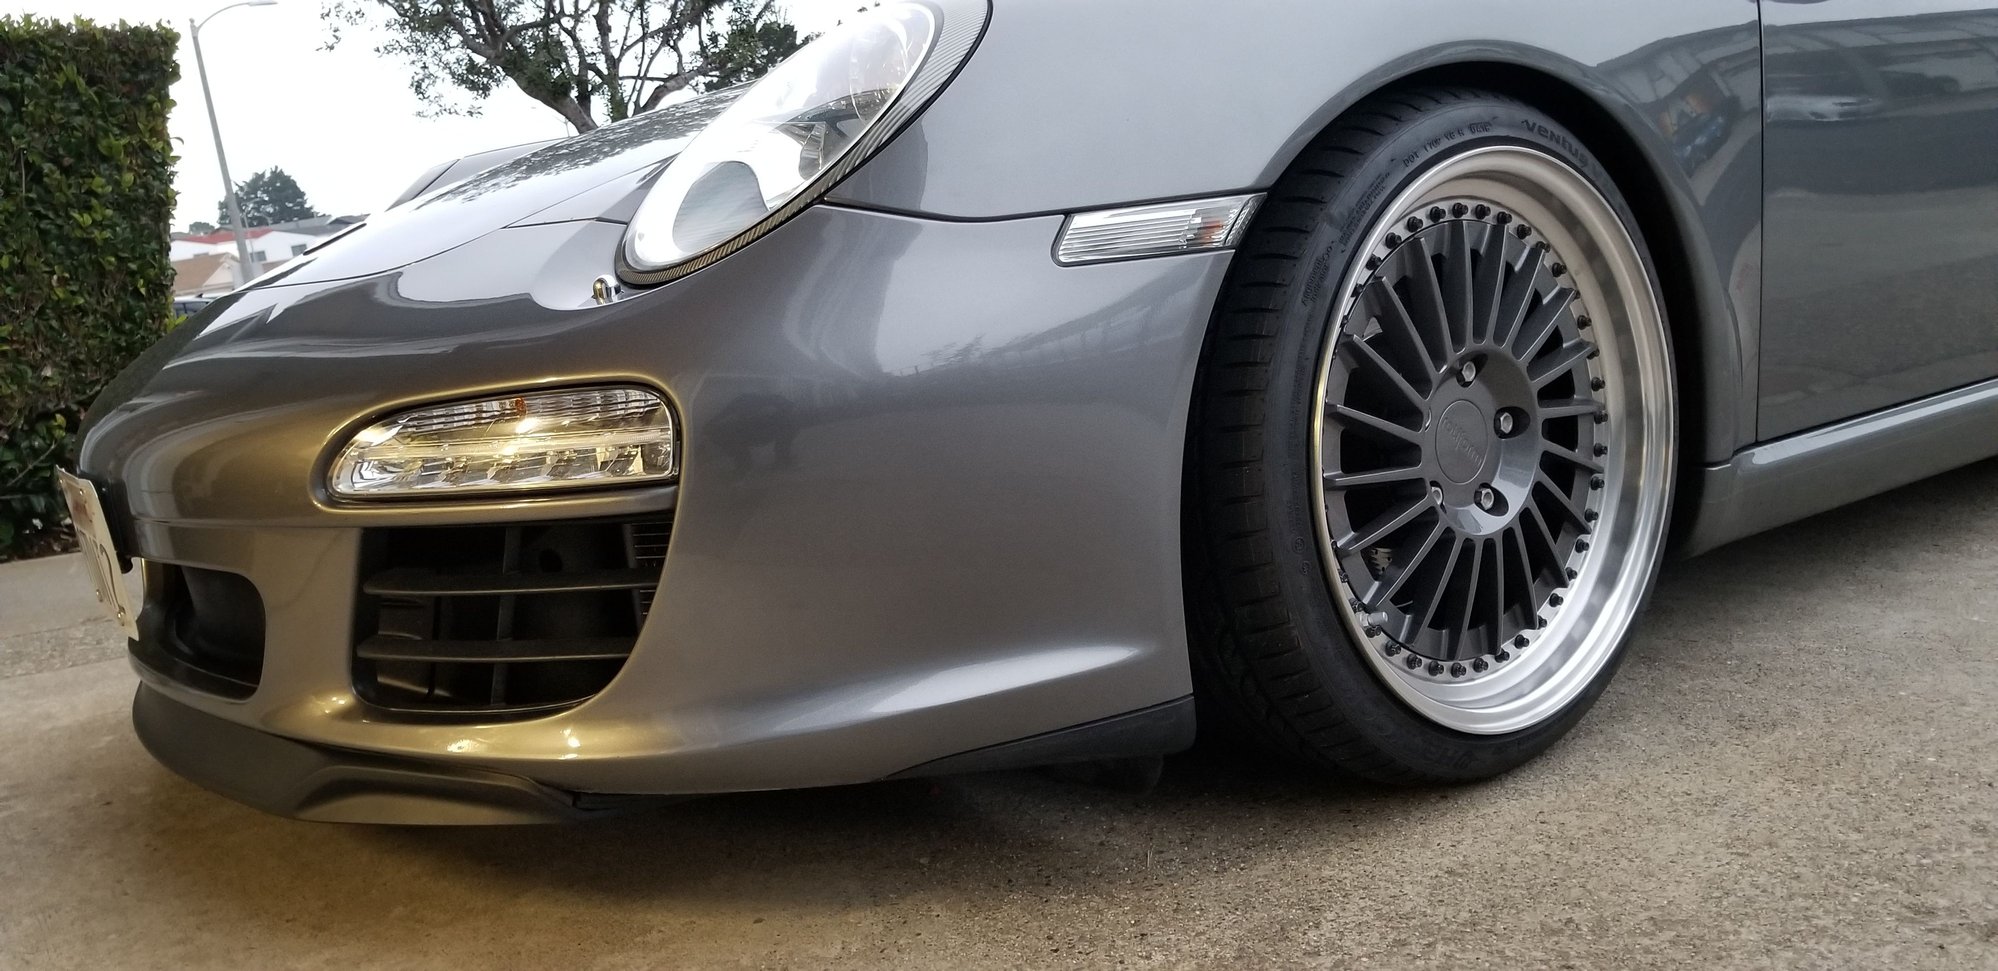
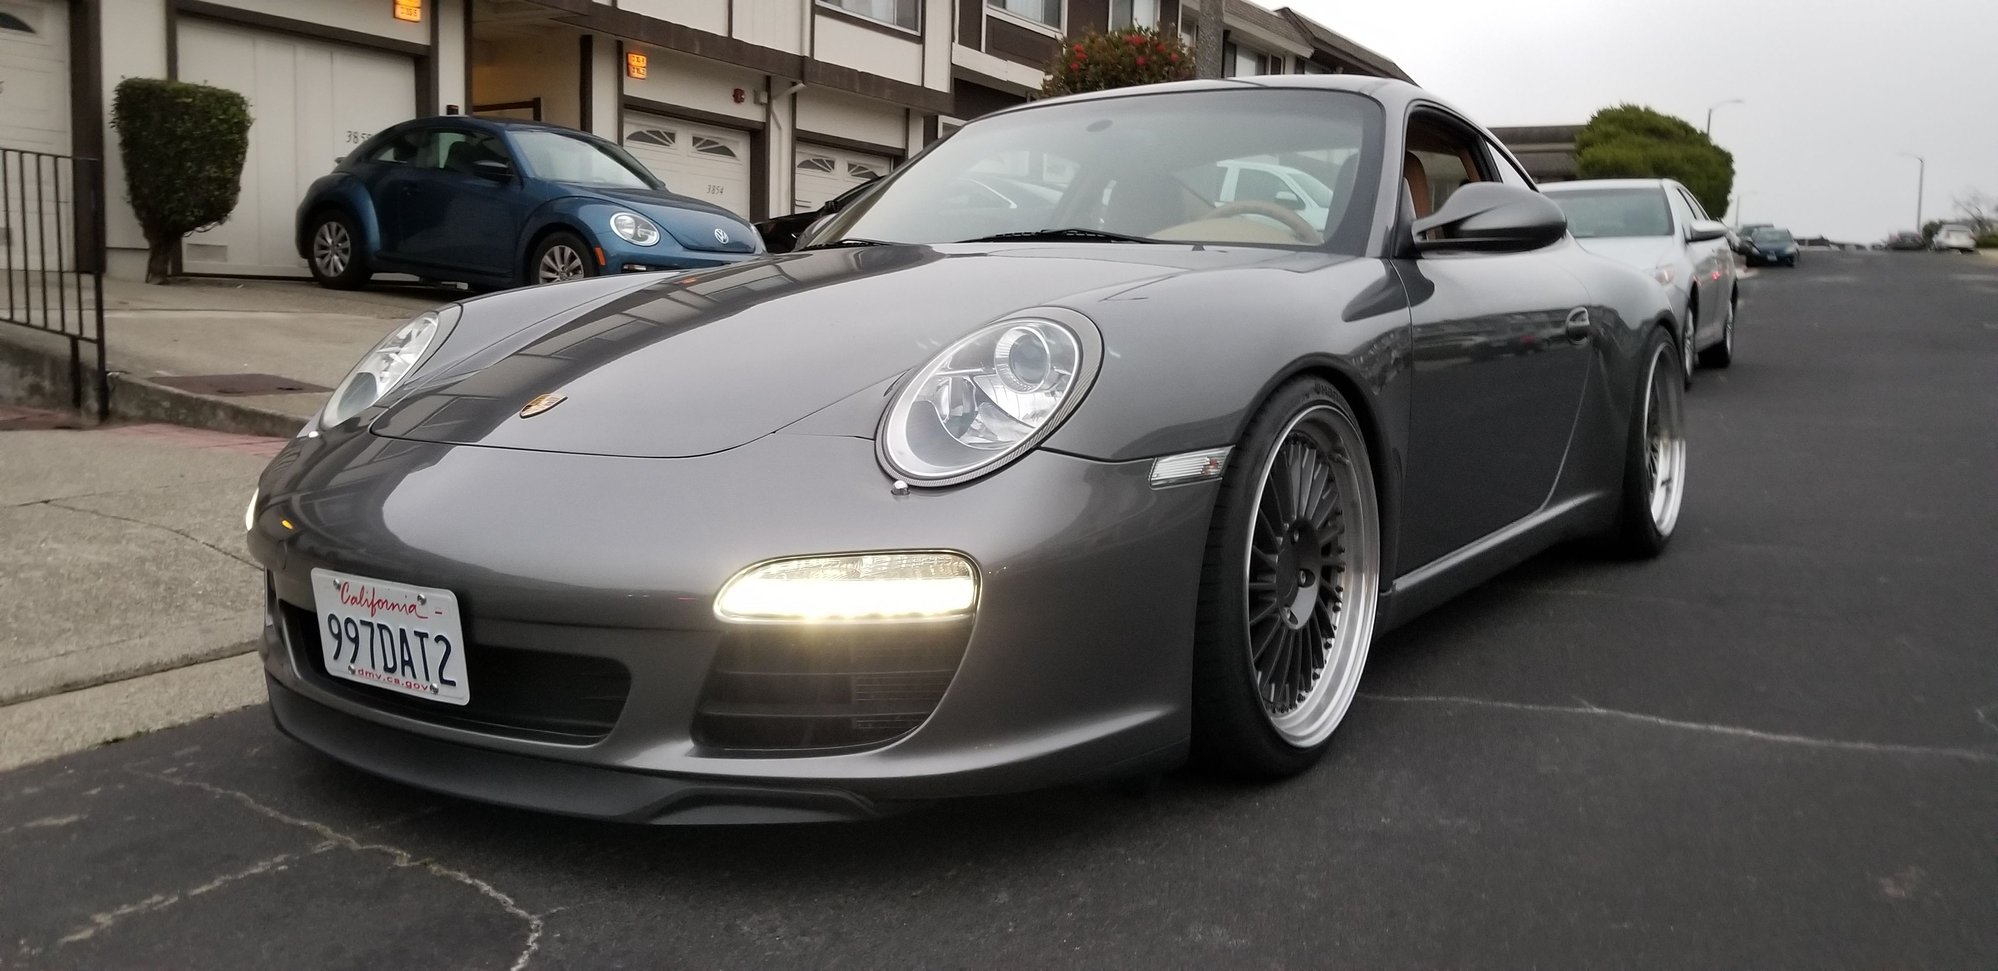
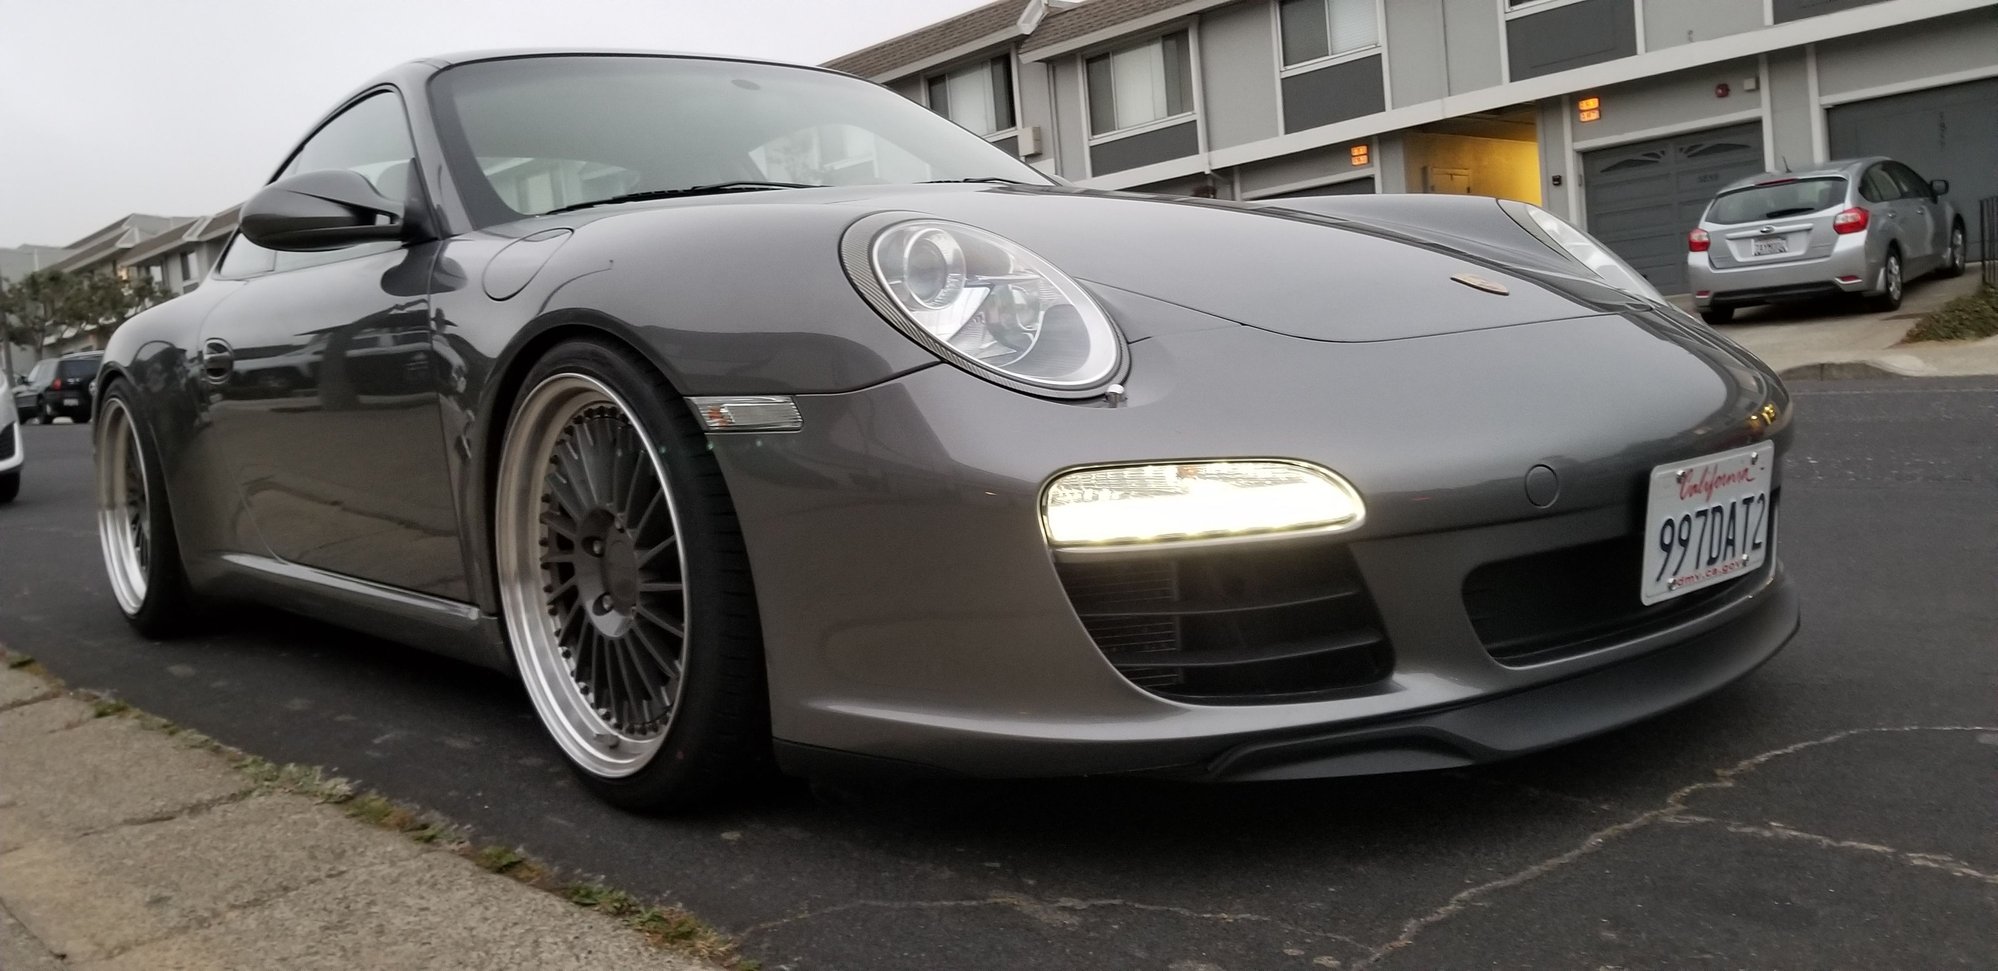
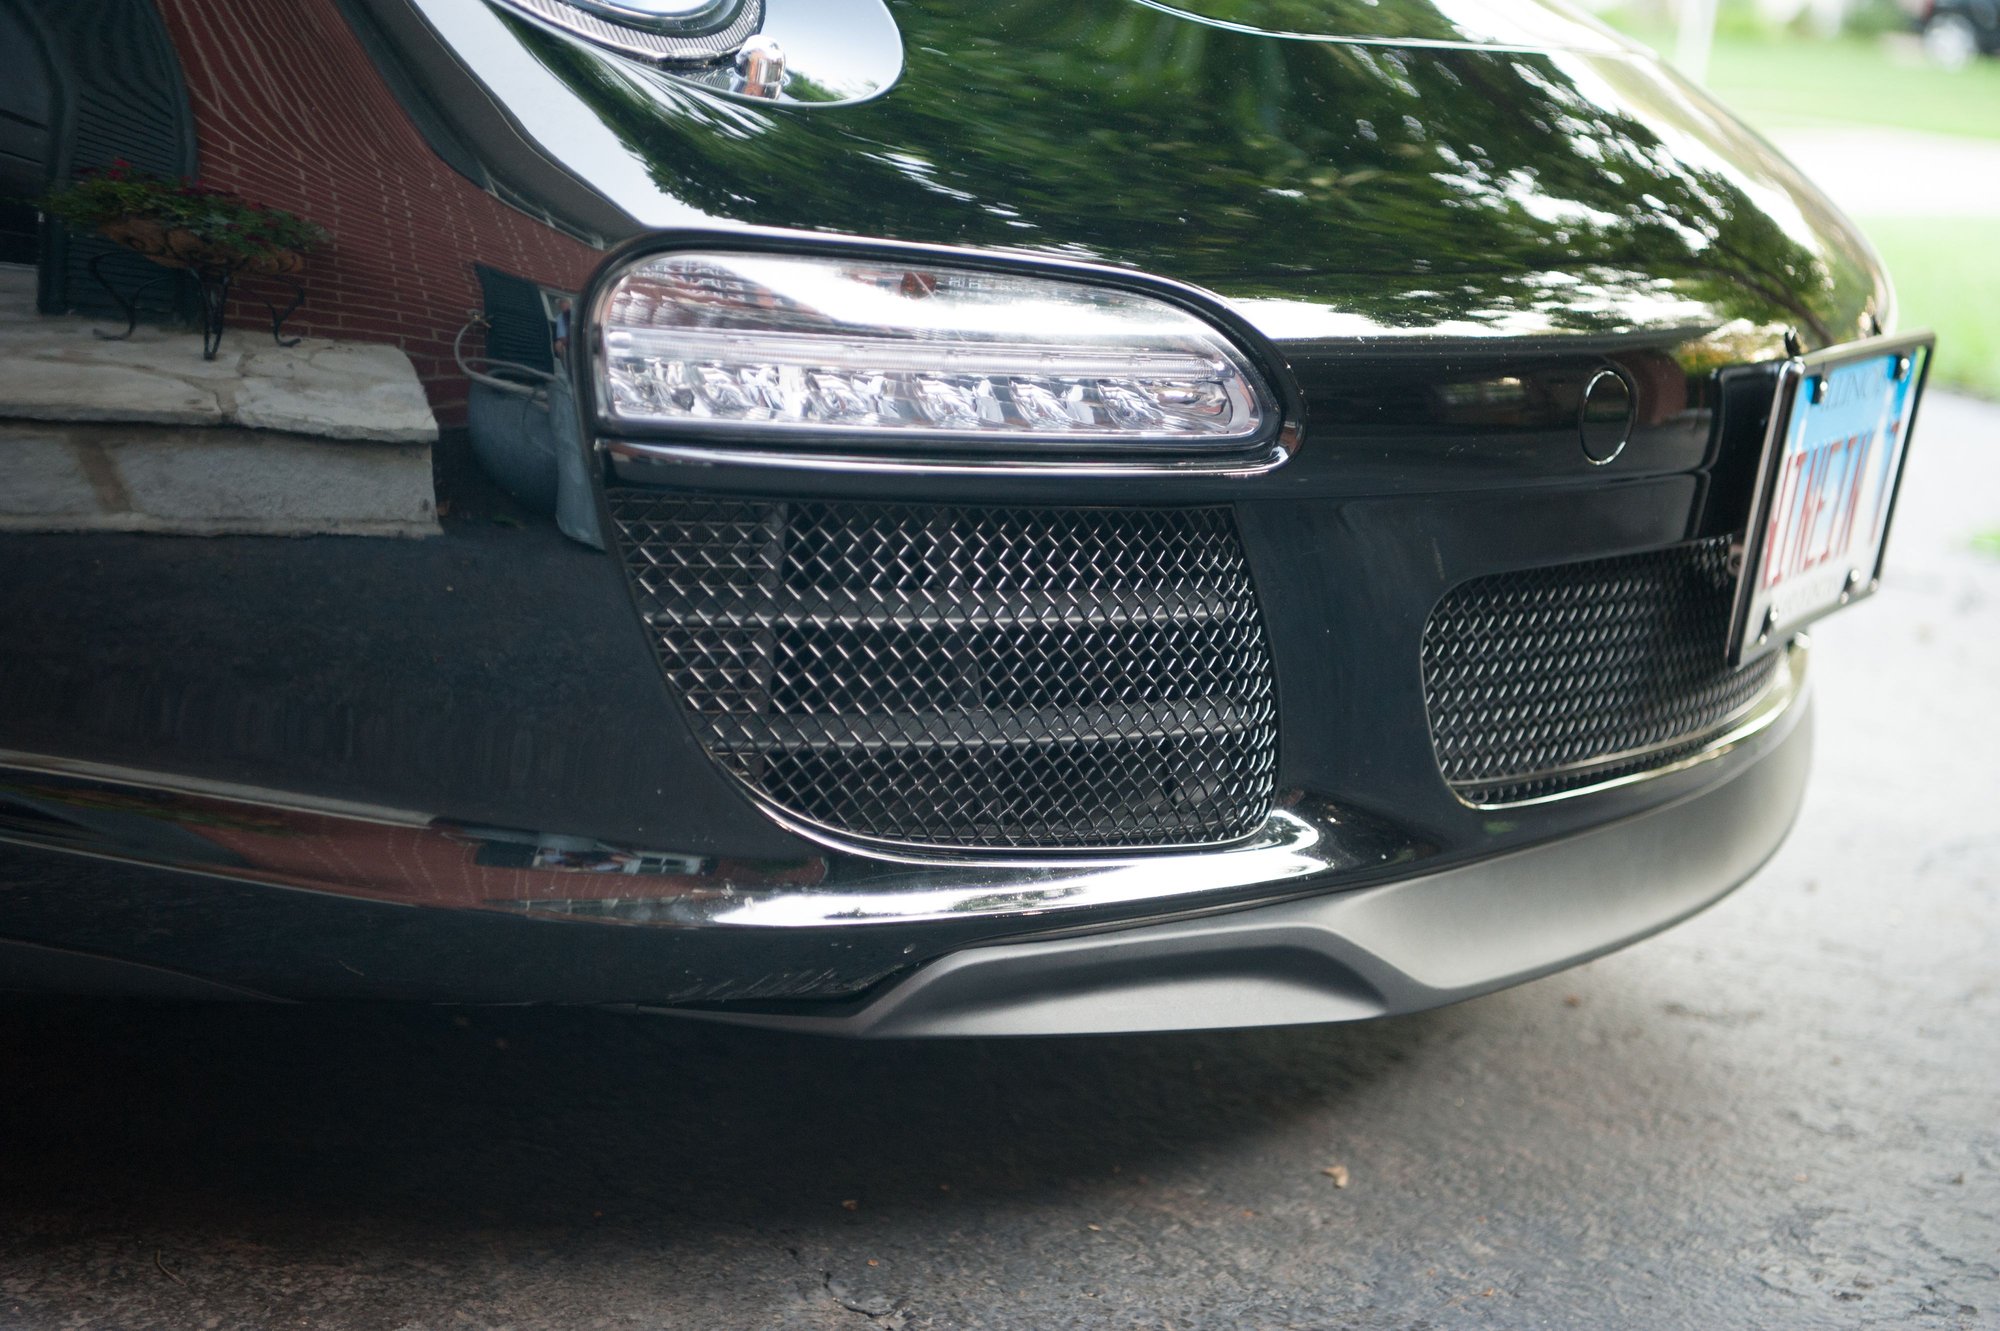
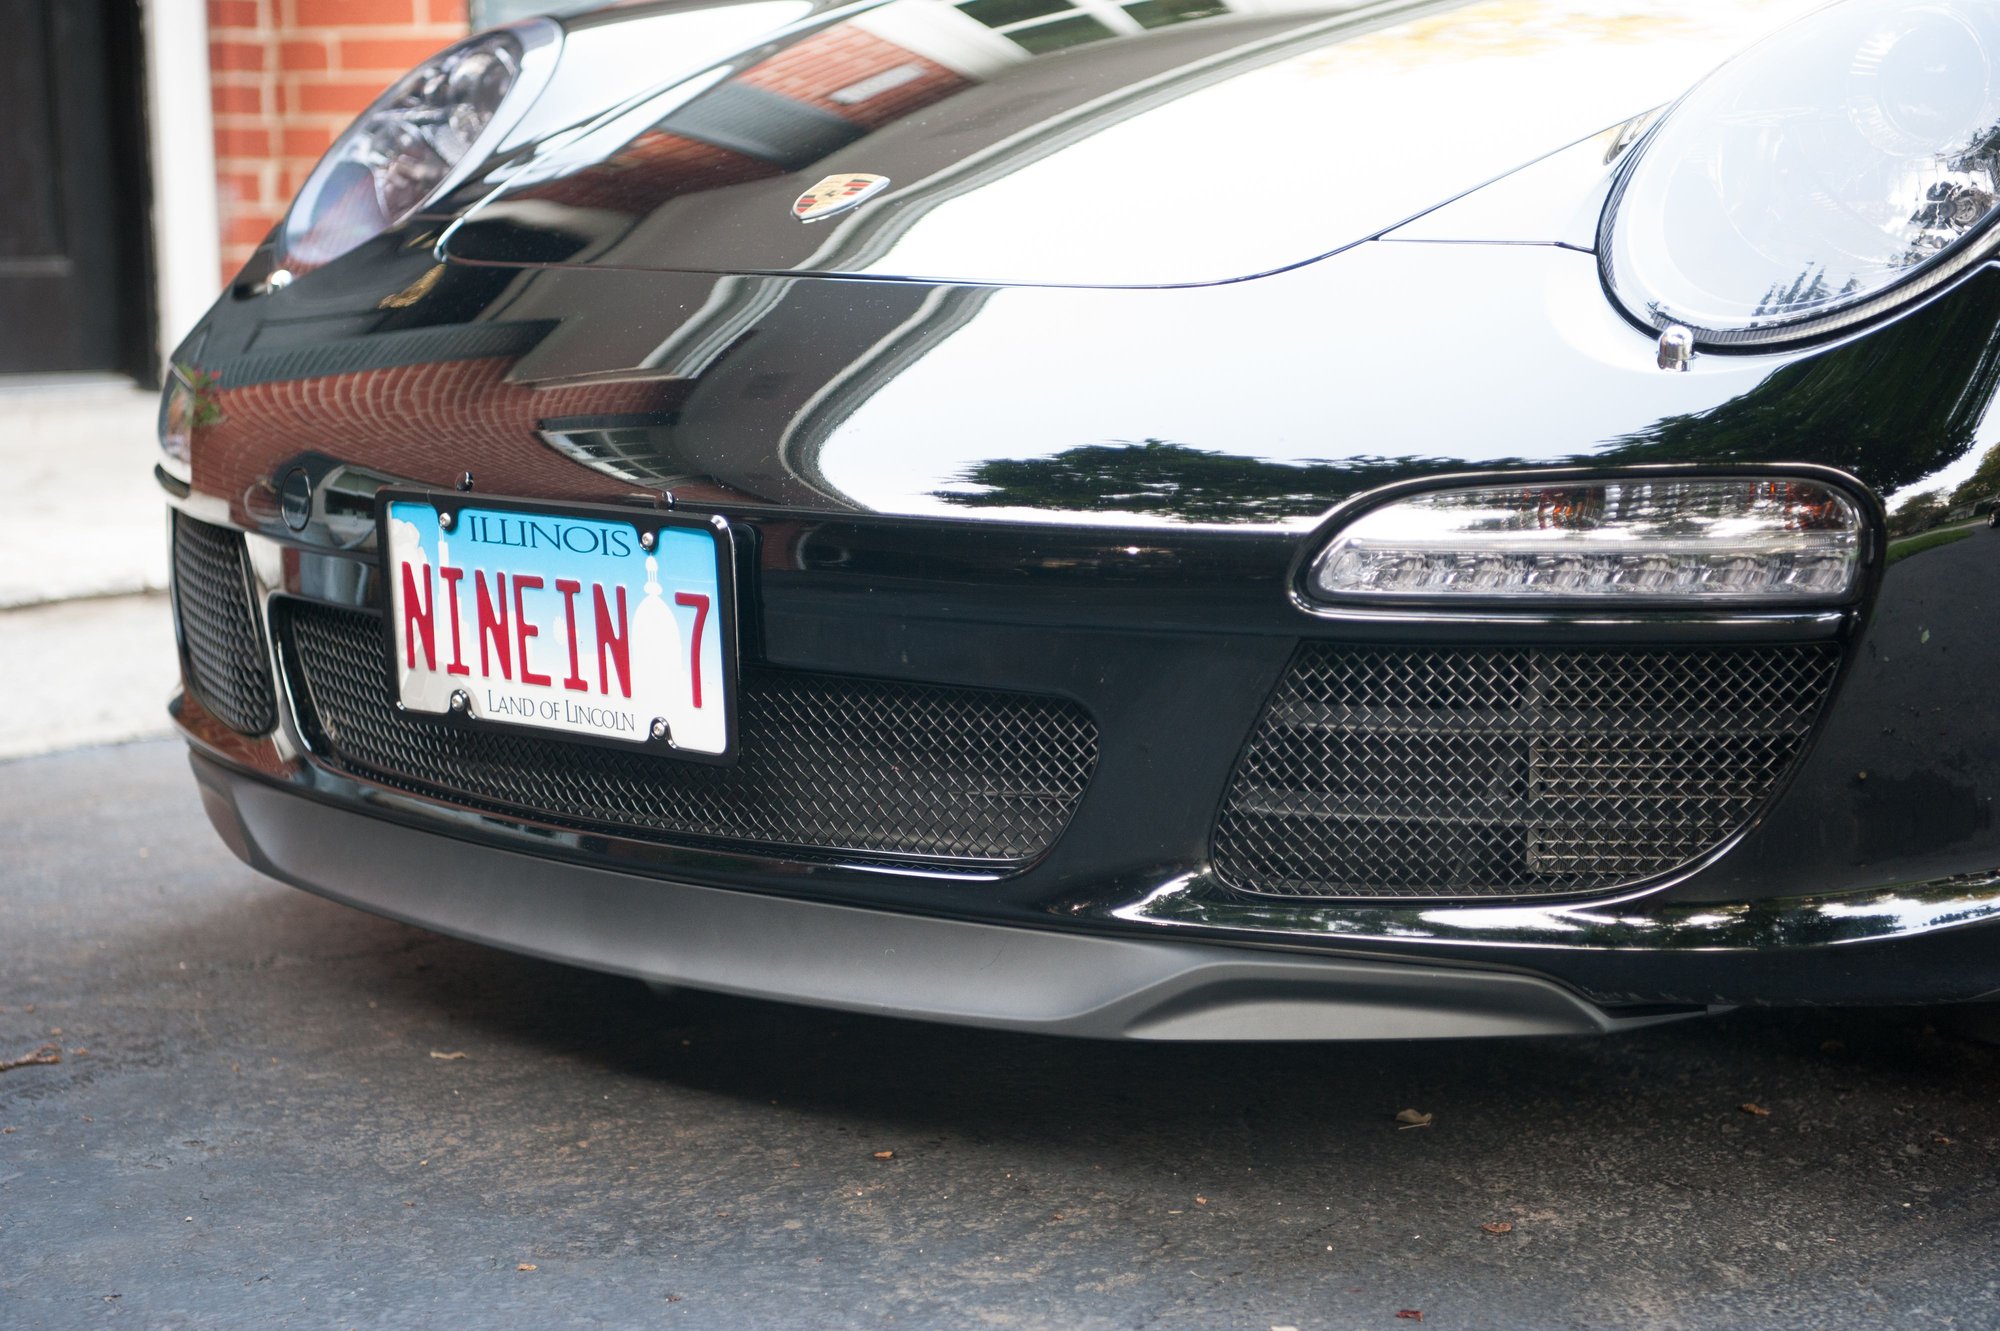
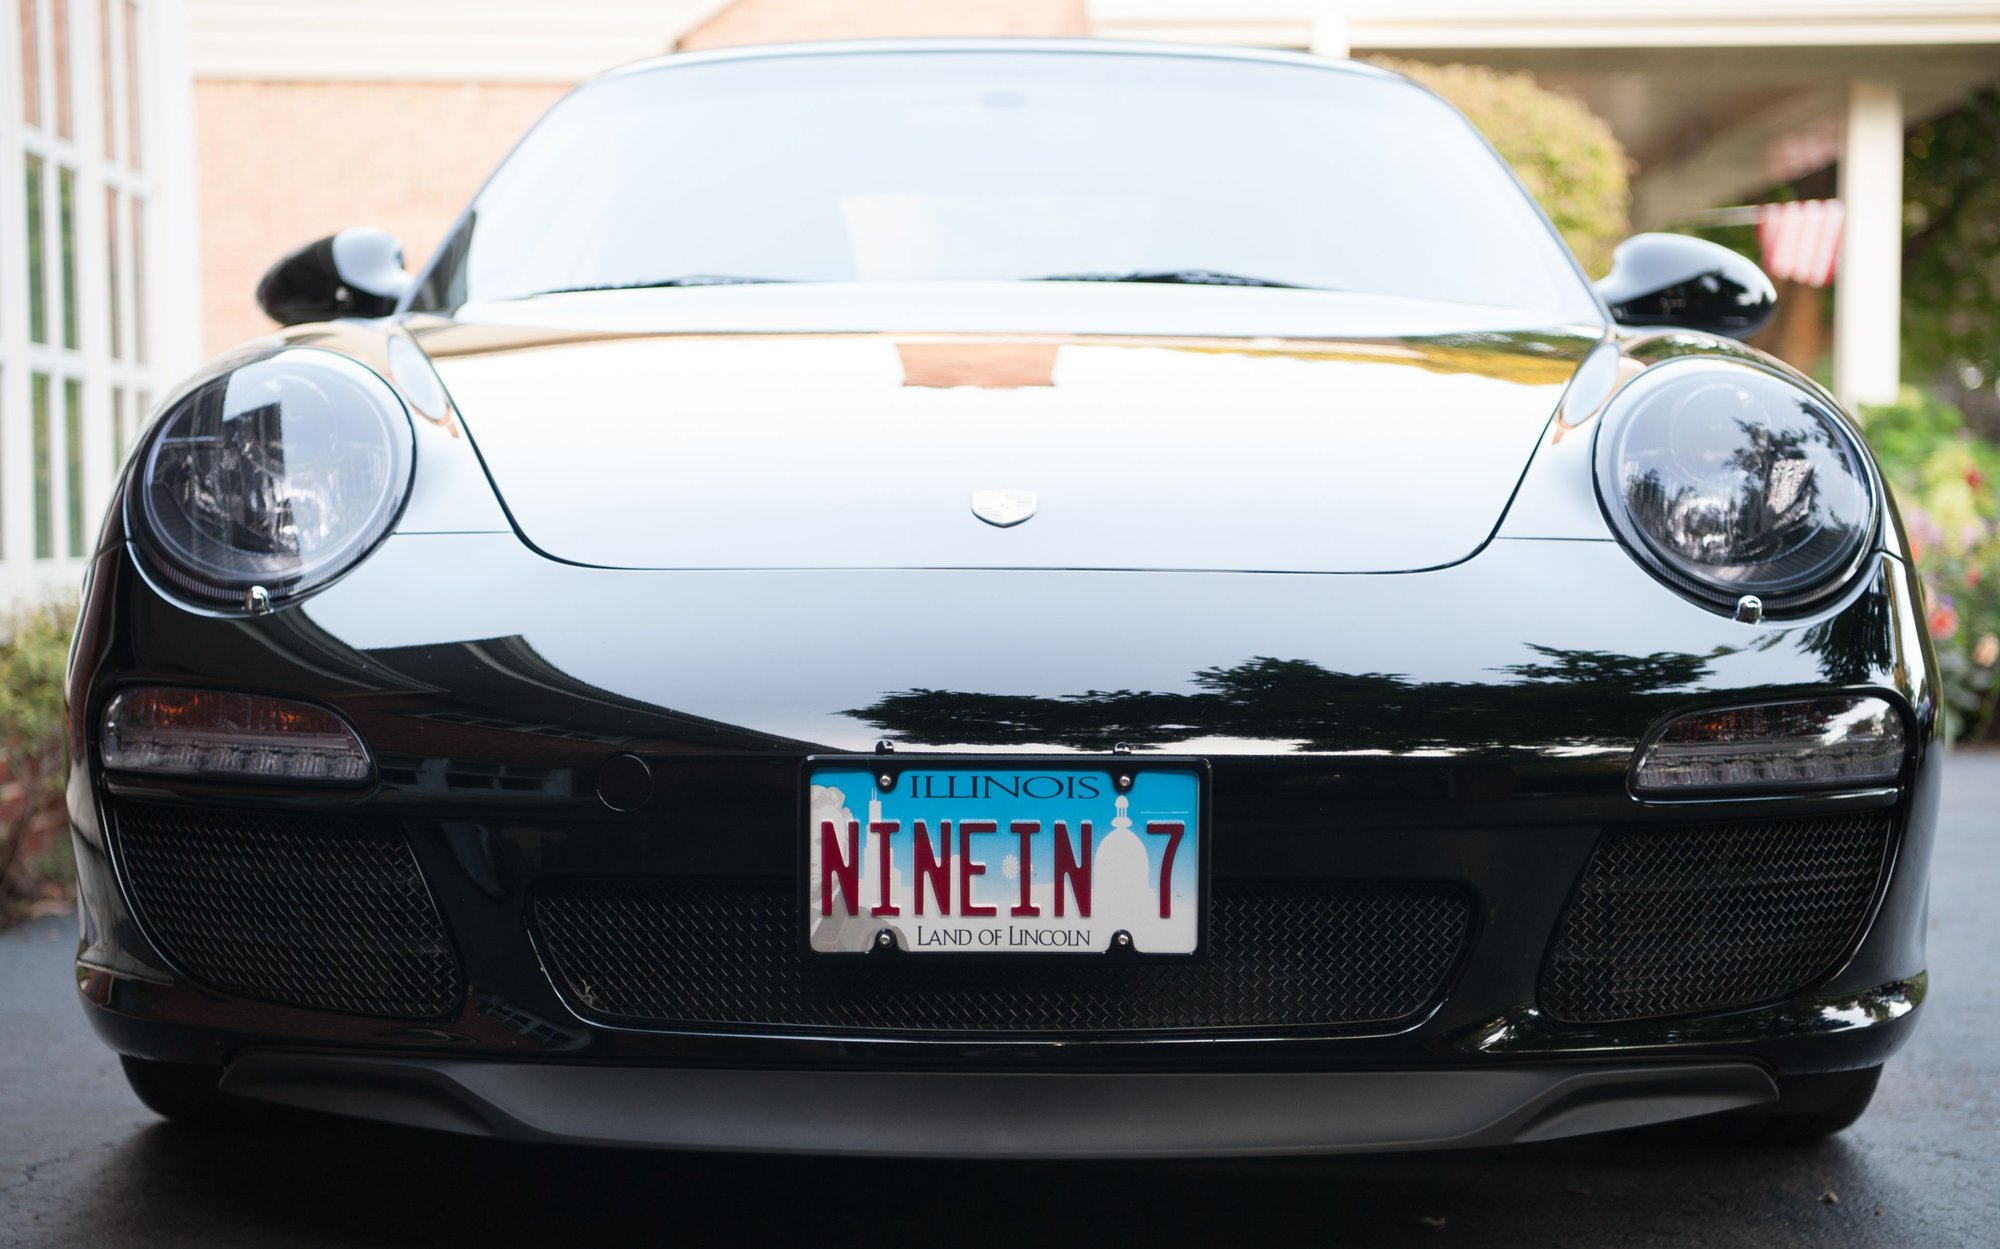
thanks im running BC coilovers and my setting is on the low side. I already scraped the lip spoiler into the driveway.
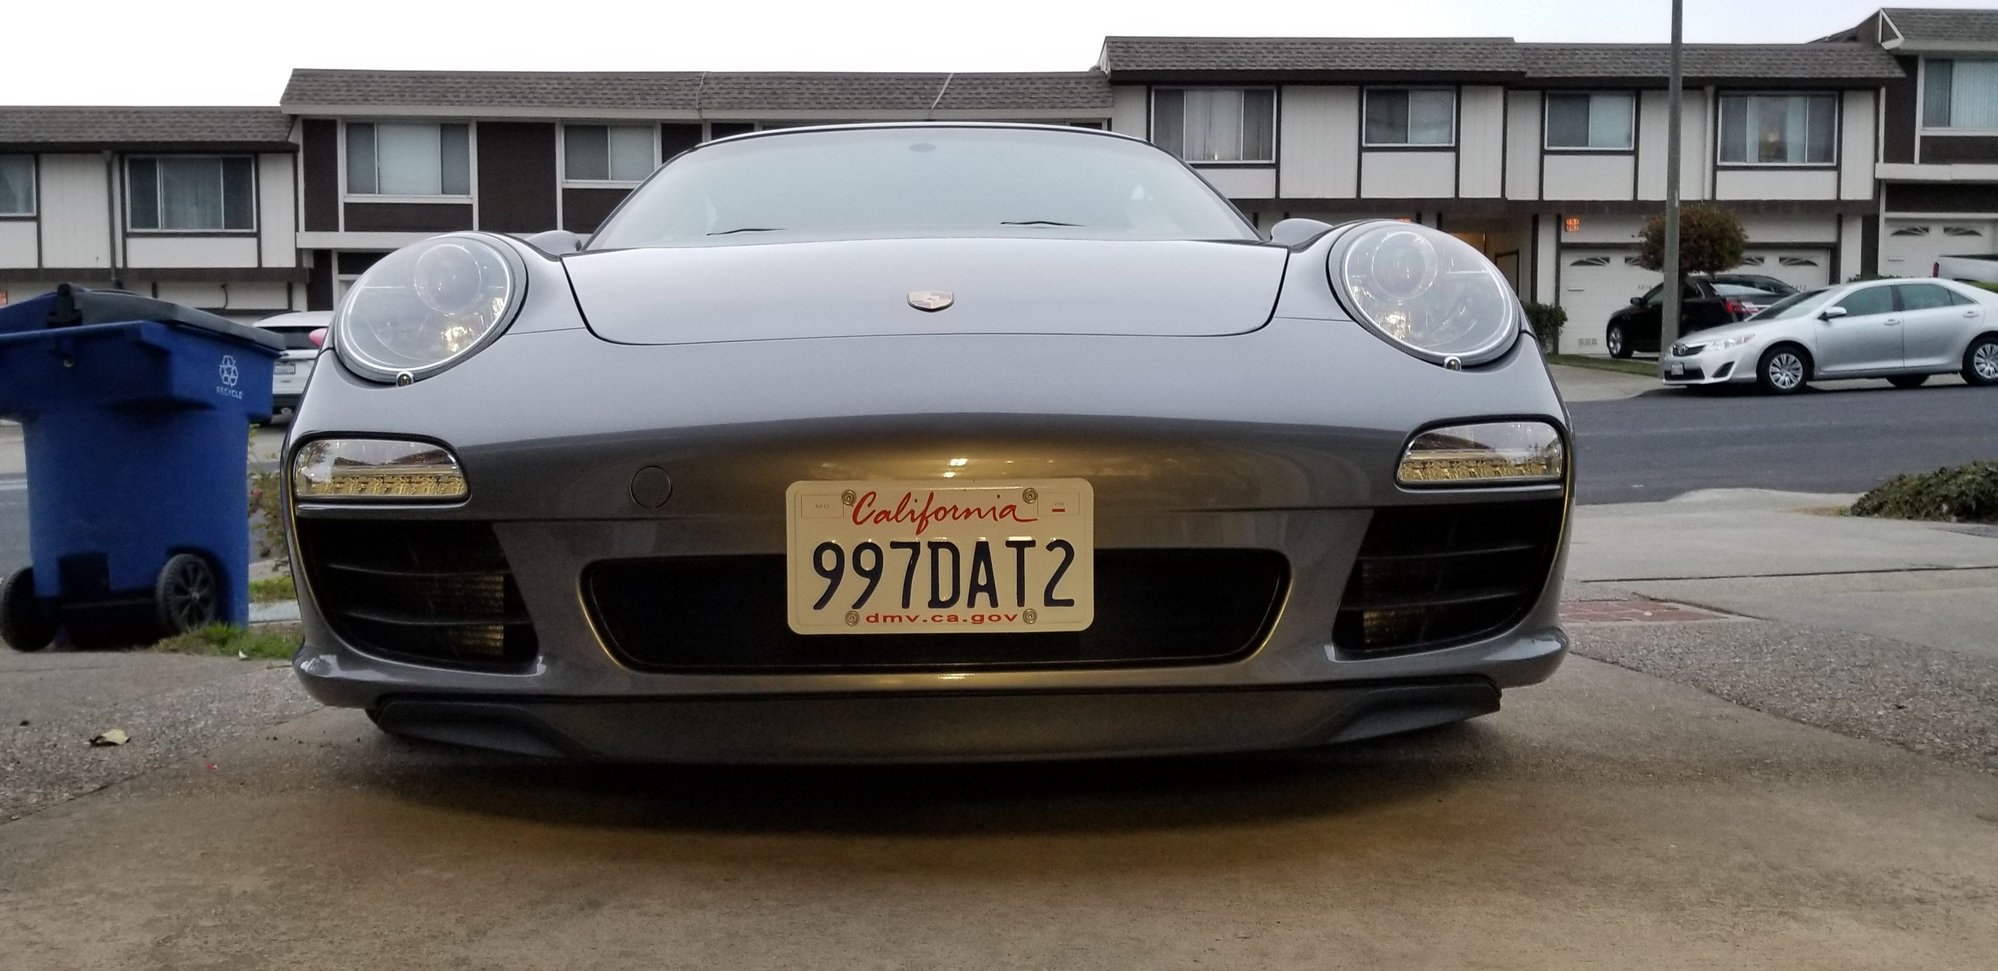
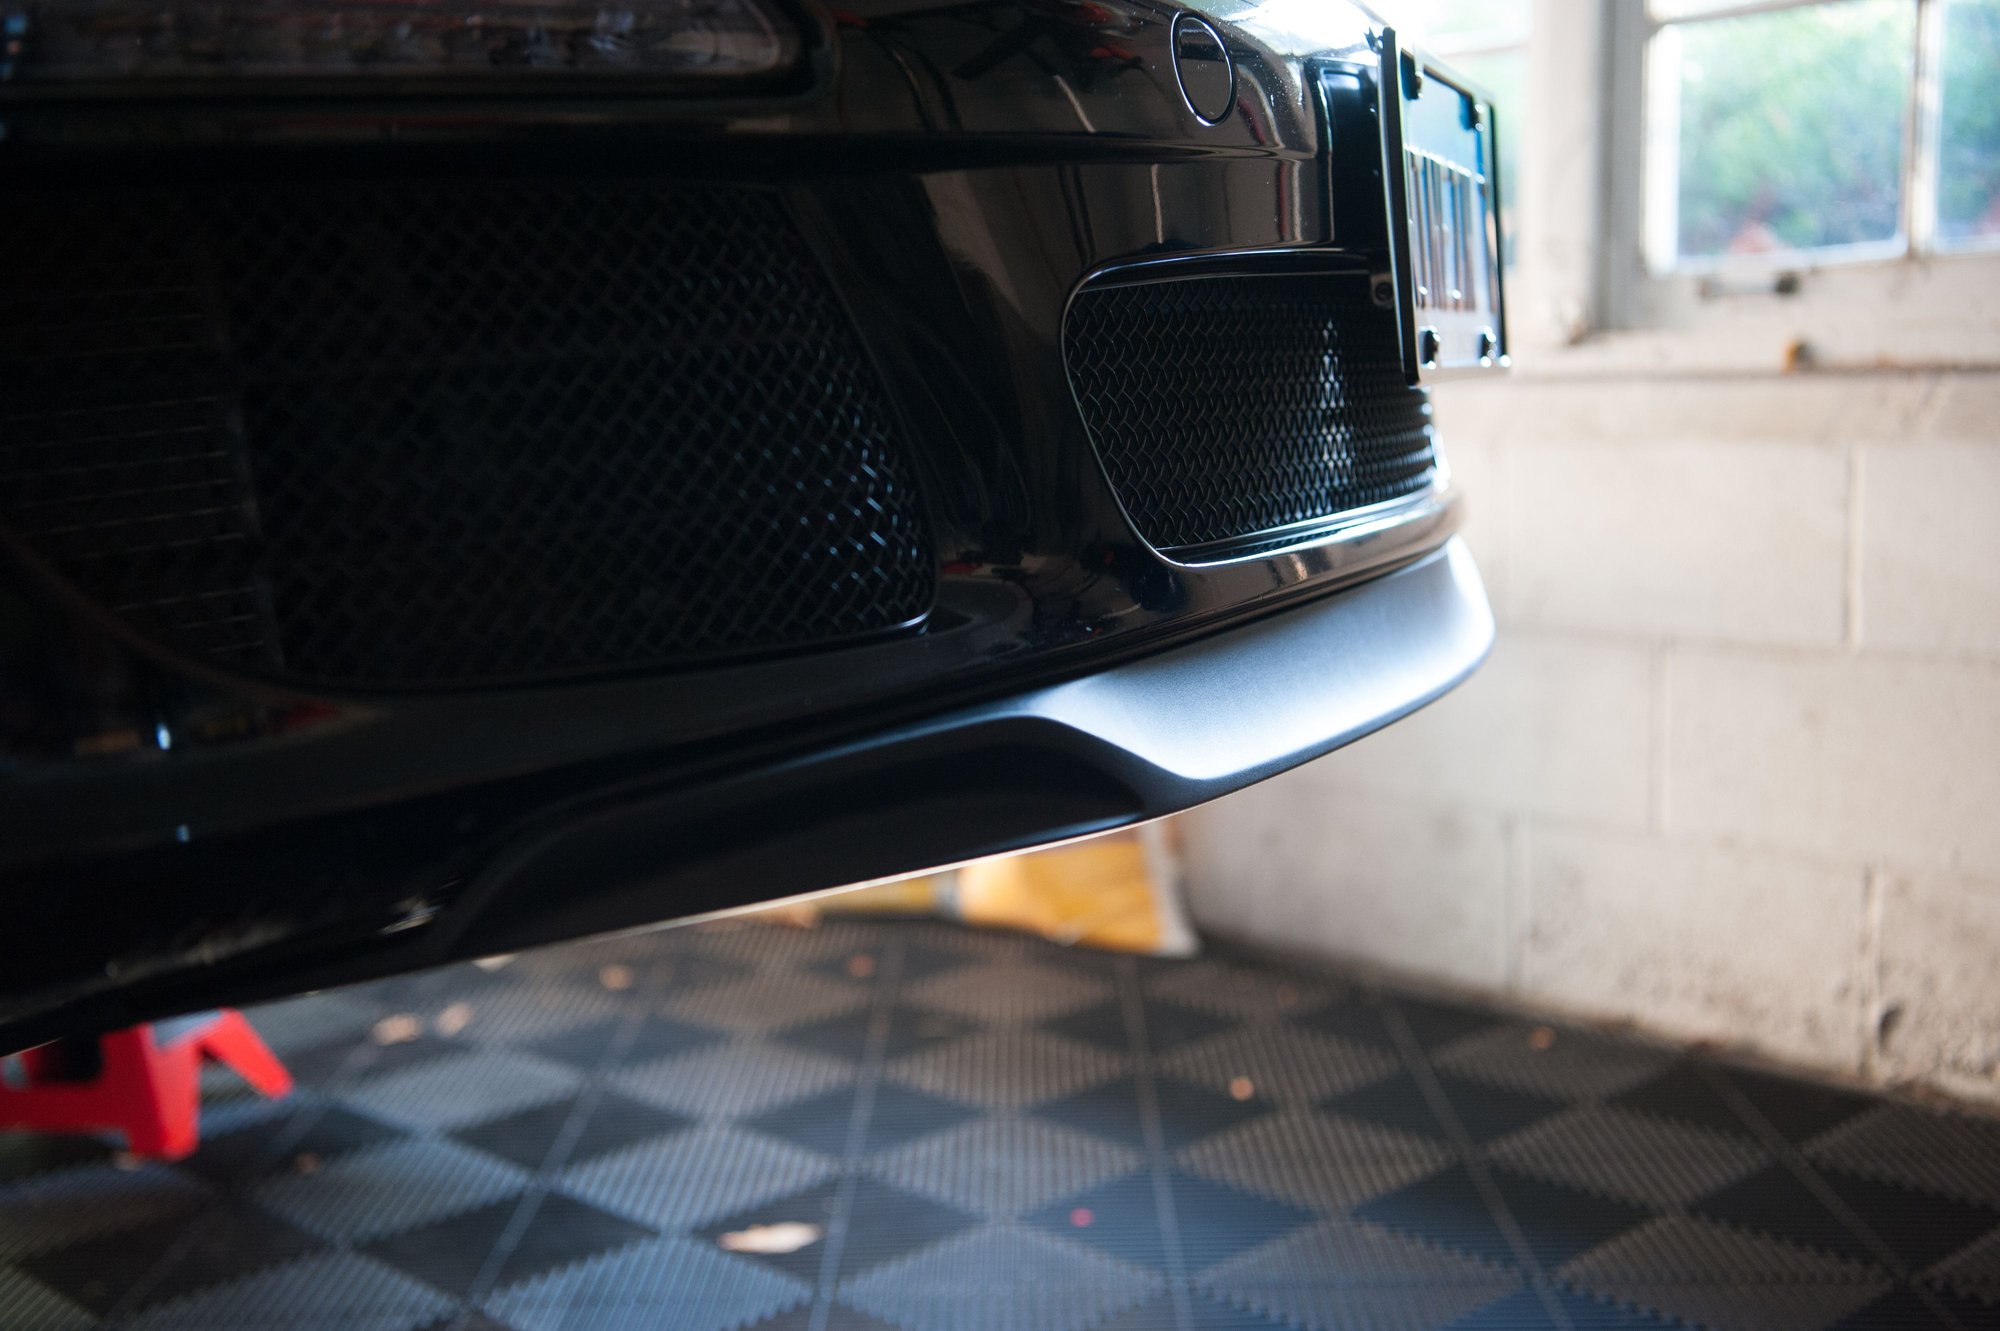
Here is a better photo as we ended up installing with minimum natural light last night. Im having my windshield repaired at the moment so i have natural light so you can see the profile of the lip spoiler.
JQ -thanks for sharing the pics. Looks great
FYI I emailed you the detailed install guide on Sat 5th Sept @ 7:58pm EST. Let me know if you can't find it and I'll gladly resend.
Unfortunately I can't post it on this thread as the file is too large.
Even though it is mostly self explanatory, I'd suggest cross checking the document just to make sure everything is installed correctly.
oh i almost forgot that email. Let me check if I got the locking clips correctly fastened. Great product i scraped ajd it held well.
I just finished installing the EMC2 991 Sport Lip Installation kit on my 2010 Carrera S Cab. It went pretty smooth. The kit was well packaged and the instructions were a breeze to follow. I put my CS up on jack stands, proceeded to remove the OEM lip, clean with degreaser and use Gyeon prep to prepare the bumper. Below is a sequence of the installation. The kit is absolutely fabulous. If anyone is considering this mod, it is definitely worth getting the EMC2 Adapter Kit. Well designed, well made and makes the entire process a breeze. Thanks! Sport Lip and Adapter kit, as packaged. Sport Lip and Adapter Kit ready for installation Adapter Kit unpackaged ready to begin installation Sport Lip with adapater kit attached, under bumper prior to installation Lip installed with clips in place View of Kit installed on bumper Side View of lip installation, still on jackstands Close up side view of final installation Front/ Side view of final installation Finished product, Completed Installation
Thank you sir. Was just curious about your suspension set up as I noticed you were pretty low! I've got H&R on my .2; I don't think I am quite as low as yours, but I am very glad to hear that the lip can hold up to some abuse! Largely in part, I suspect, thanks to EMC's solid engineering on his adaptor clips!
Thank you sir. Was just curious about your suspension set up as I noticed you were pretty low! I've got H&R on my .2; I don't think I am quite as low as yours, but I am very glad to hear that the lip can hold up to some abuse! Largely in part, I suspect, thanks to EMC's solid engineering on his adaptor clips!
Yes, this product really holds up the abuse. On its 2nd day, it looks like it has gone a lot through its life.
I just finished installing the EMC2 991 Sport Lip Installation kit on my 2010 Carrera S Cab. It went pretty smooth. The kit was well packaged and the instructions were a breeze to follow. I put my CS up on jack stands, proceeded to remove the OEM lip, clean with degreaser and use Gyeon prep to prepare the bumper. Below is a sequence of the installation. The kit is absolutely fabulous. If anyone is considering this mod, it is definitely worth getting the EMC2 Adapter Kit. Well designed, well made and makes the entire process a breeze. Thanks! Sport Lip and Adapter kit, as packaged. Sport Lip and Adapter Kit ready for installation Adapter Kit unpackaged ready to begin installation Sport Lip with adapater kit attached, under bumper prior to installation Lip installed with clips in place View of Kit installed on bumper Side View of lip installation, still on jackstands Close up side view of final installation Front/ Side view of final installation Finished product, Completed Installation


 08-29-2018, 10:18 PM