When you click on links to various merchants on this site and make a purchase, this can result in this site earning a commission. Affiliate programs and affiliations include, but are not limited to, the eBay Partner Network.
Boost pressure testing on our turbos is pretty critical to maintaining performance. Not uncommon at all to have some small and medium size leaks and not know it. It won't throw a CEL, and you'll often still make peak boost if stock or lightly tuned, just not as quickly and with the turbo working harder. It can make a dramatic difference when you get all your leaks buttoned up!
Here's a simplified procedure for TESTING for boost leaks. Finding the actual leaks and fixing them can come later in this thread...
Test:
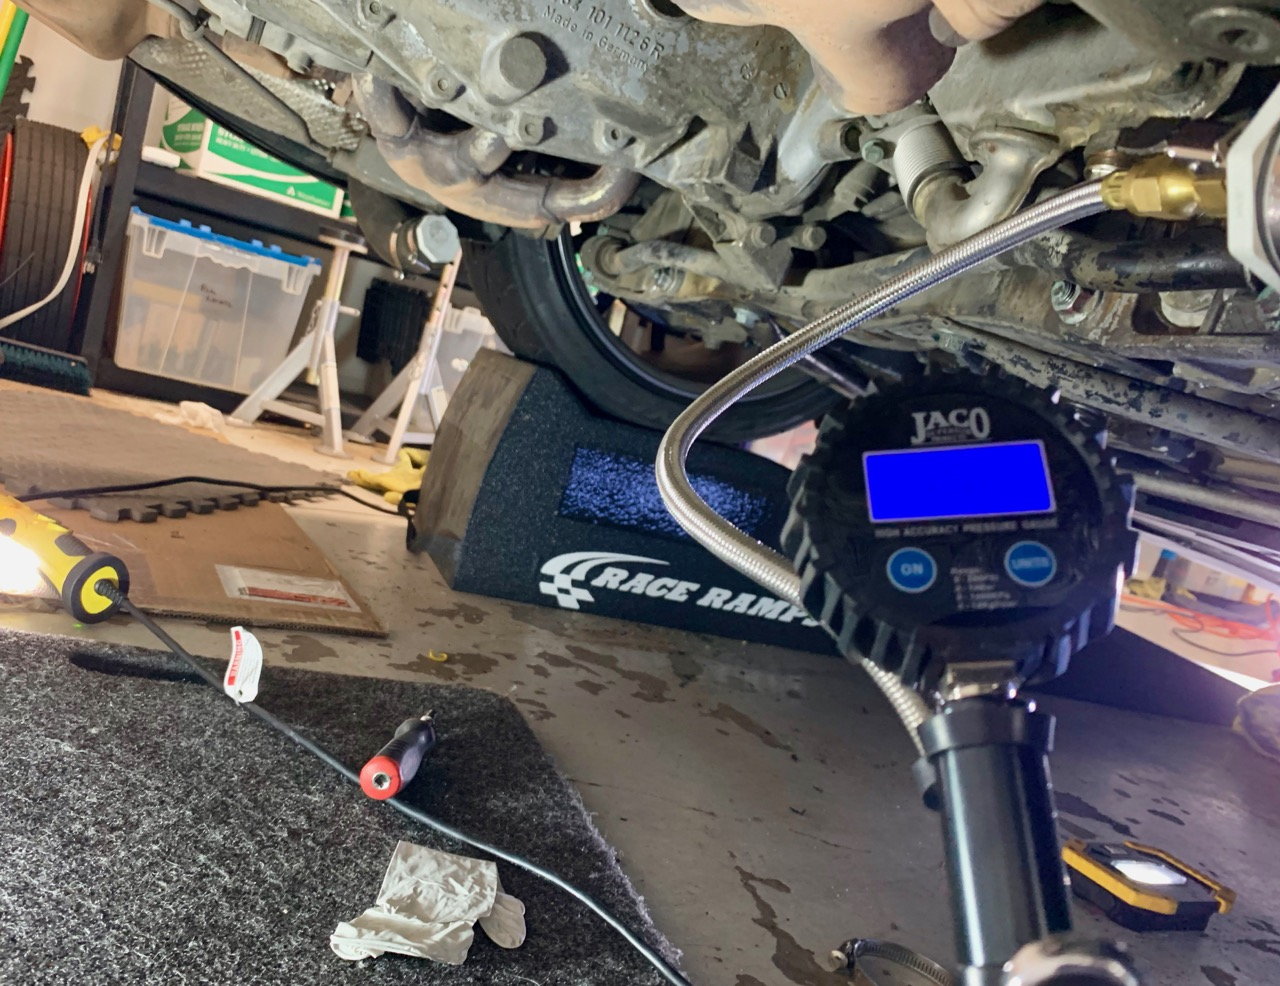
Get a bit more clearance under the car. You don't need a lift, but need to get under the rear of the car. Ramps, jack and jack-stands, or a lift if you're lucky enough to have one.
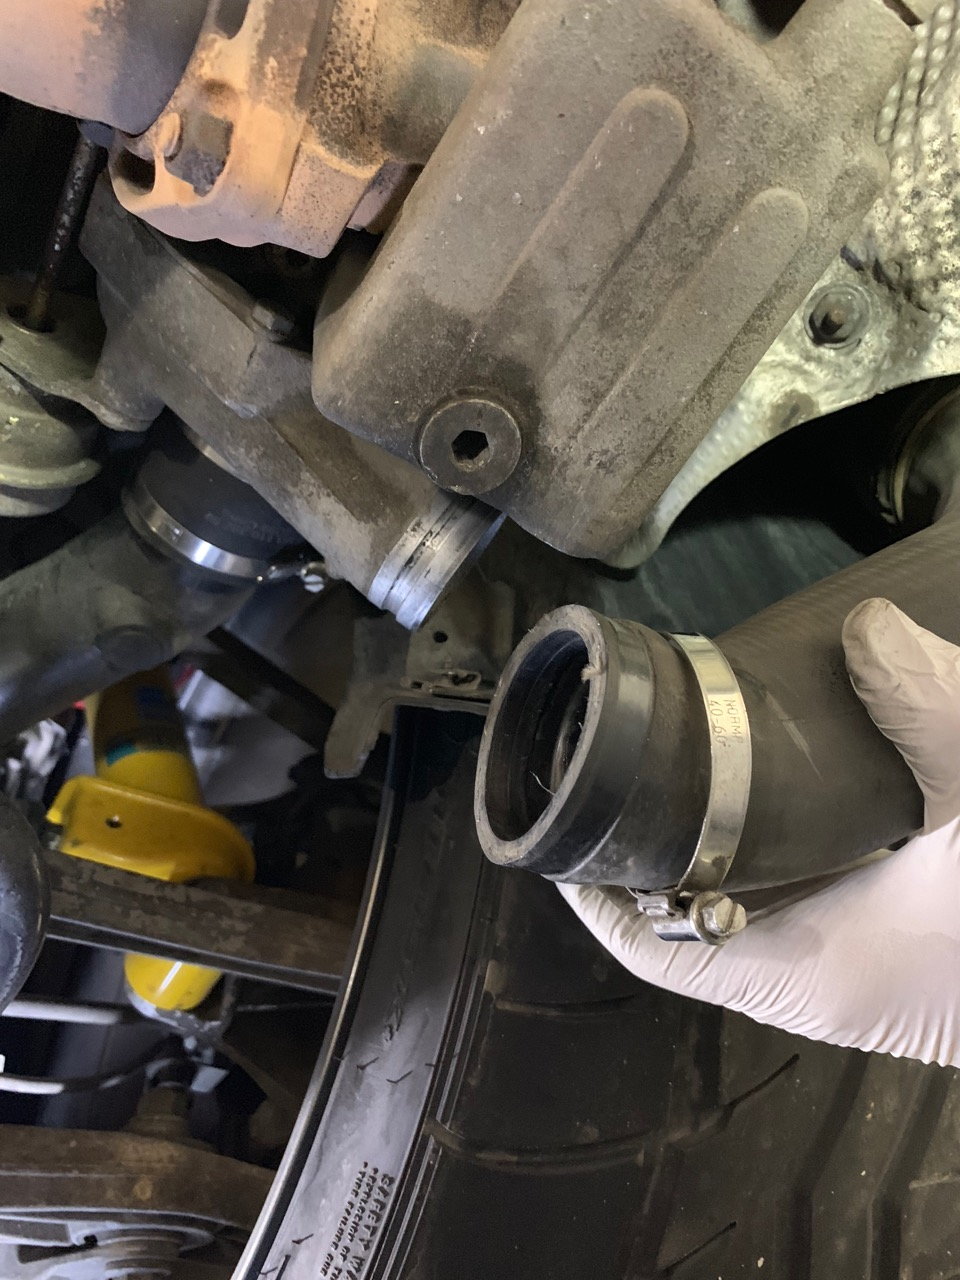
Disconnect the output pressure hose from the Turbocharger, both sides. Loosen the hose clamp (7mm nut driver works well) and pull the hose off the turbo.
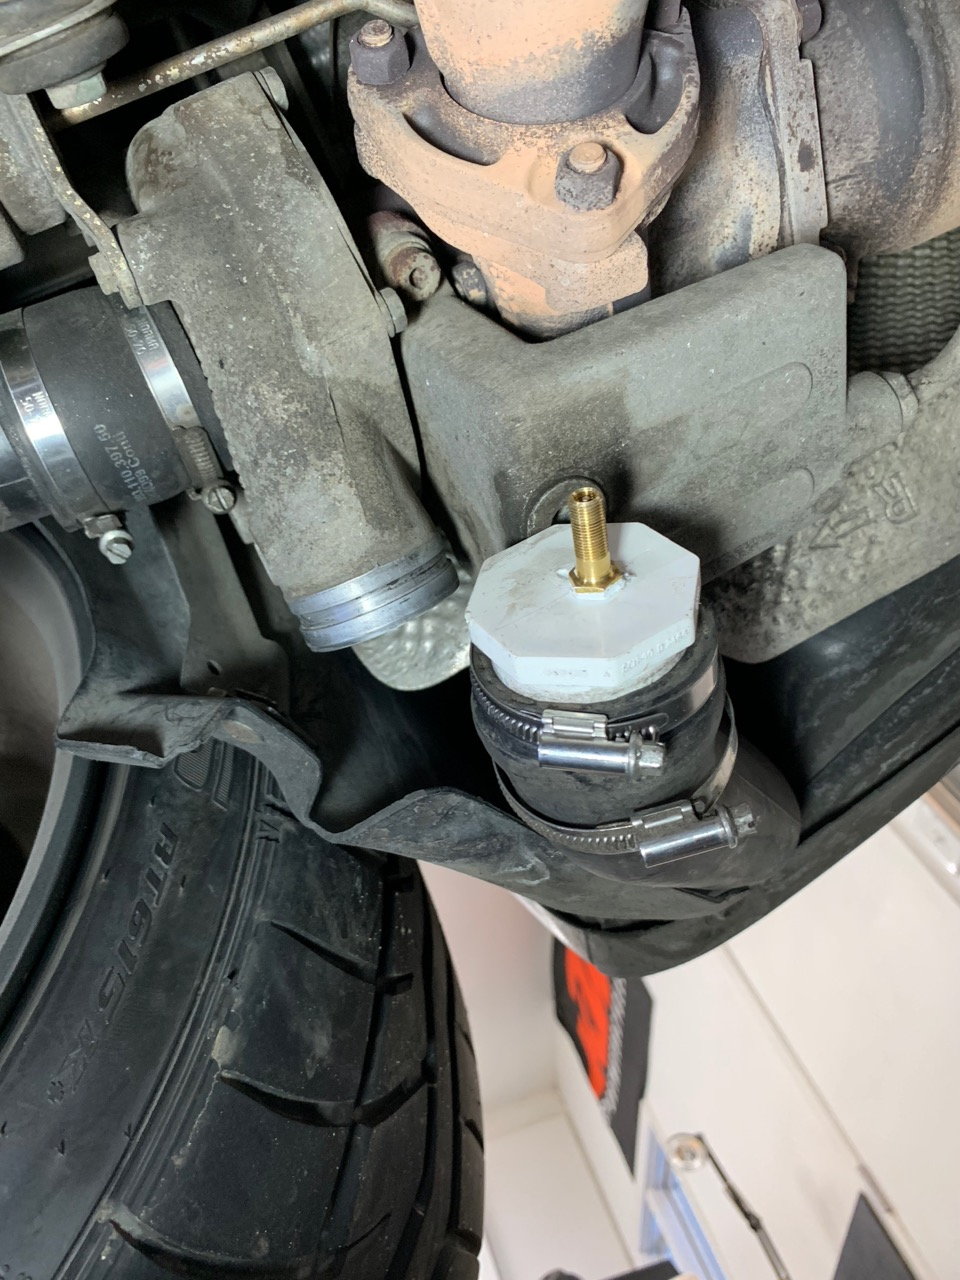
Insert test plugs into hoses, tighten with hose clamp, both sides. (See below for how to easily make test plugs)
Begin to pressurize system. Use a compressor and an air hose. If you have some significant leaks, you might have trouble building any pressure at all with a relatively low volume air compressor hose and will start to find leaks right away. Don't expect to build pressure until you have any fairly significant leaks (like #16 check valve or split F-pipe) squared away...
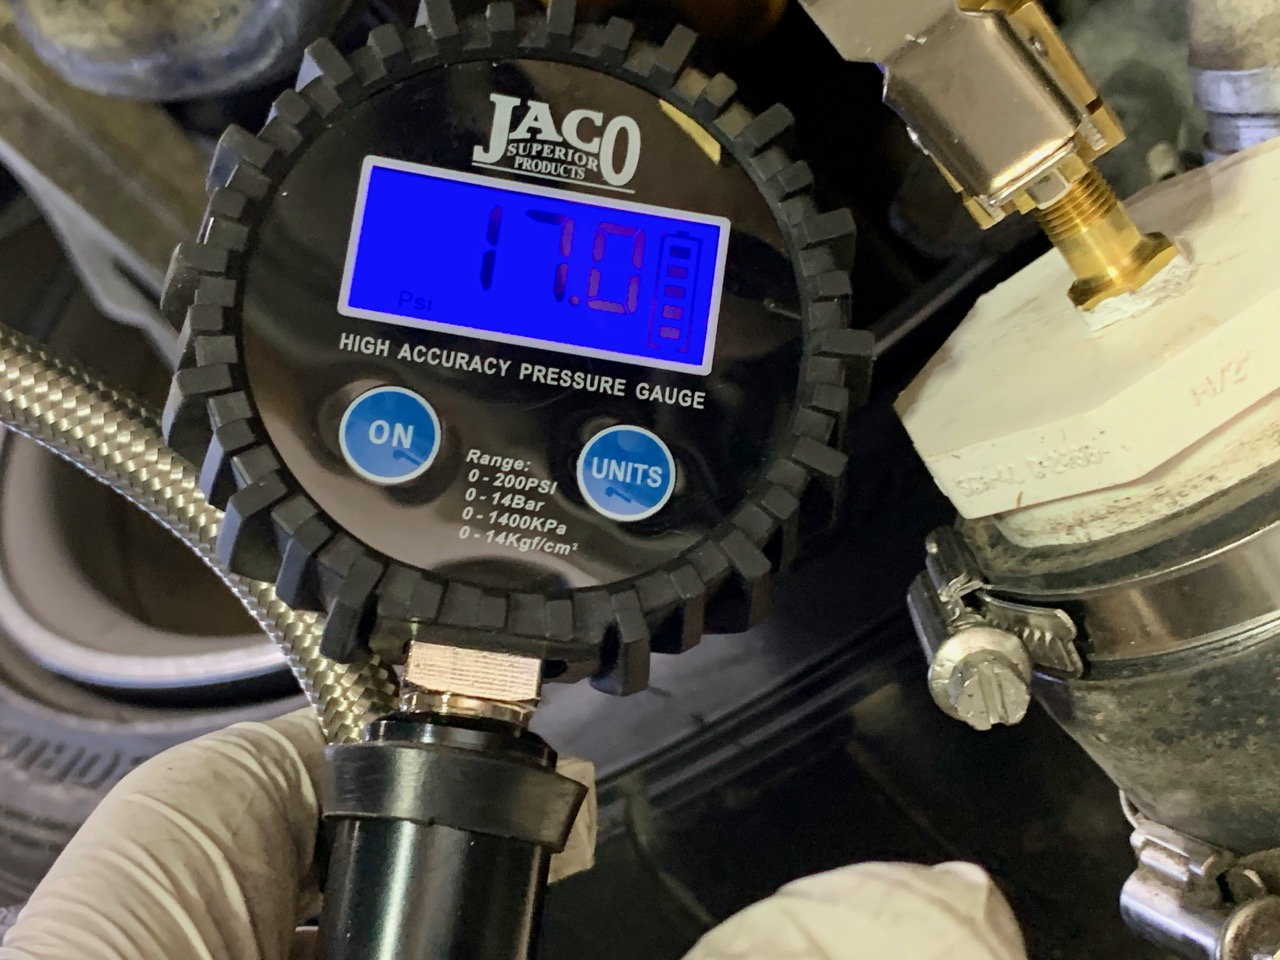
Pressurize and measure leak-down time/pressure. Opinions vary on how much to pressurize and how long the pressure will hold. I personally used 17 PSI and wanted to see less than a pound or two in sixty seconds. Some tuners recommend 20 PSI and less than 2 pounds in 20 seconds, My experience was that I found my leaks WAY before getting anywhere near these pressures. Warning: If you don't fasten your plugs securely, the can pop out with some pretty decent force! Keep your face away from the plugs and be careful!
Assuming pressure holds, release pressure, remove plugs, re-install hoses to turbos, and torque hose clamps.*don't over-torque your hose clamps*!
Test Plugs. A few are available for sale from tuners and online. I'm sure they are better than my home-made ones, but I mostly didn't want to wait.
Parts:
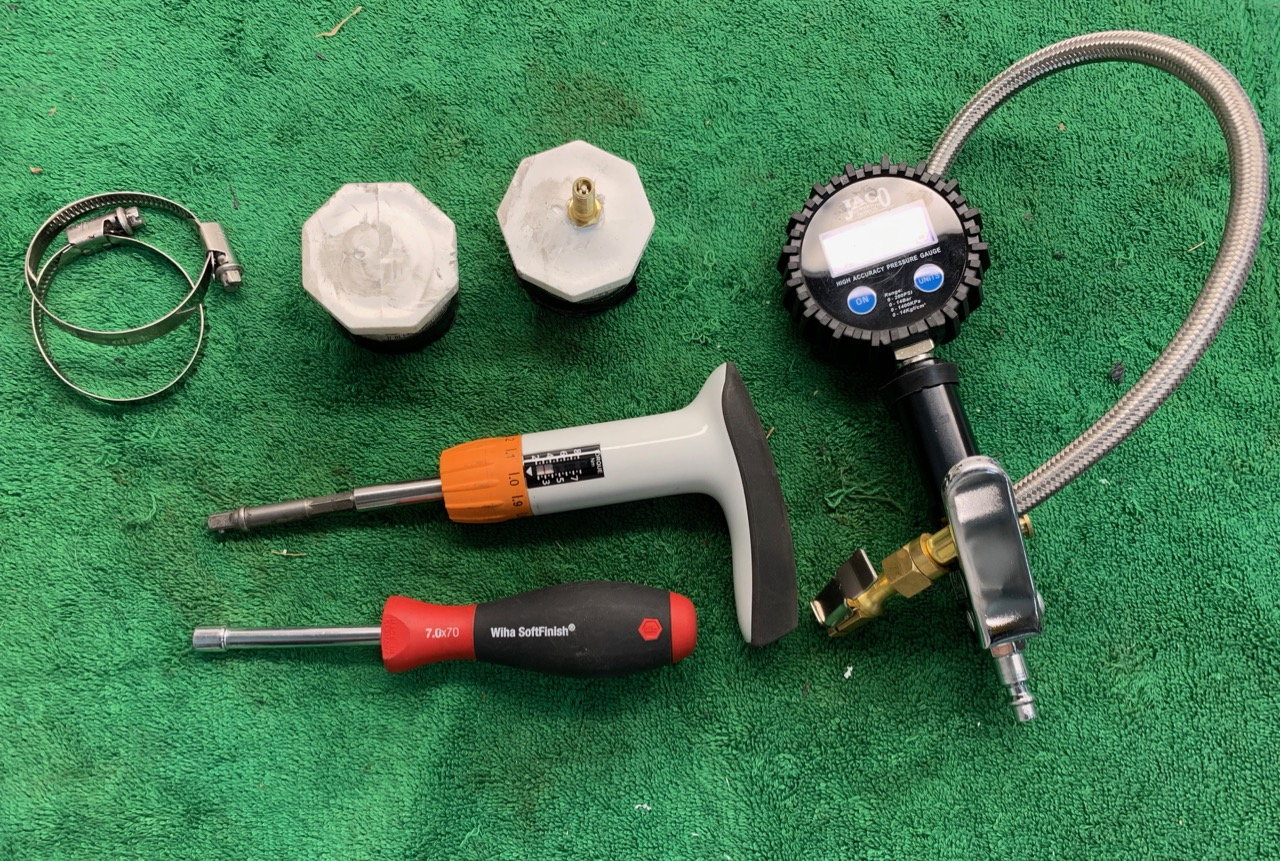
(2) 1-1/2" Schedule 40 PVC plug. Note that these aren't super easy to find... It's a bit of an uncommon size for a plug. Home Depot has them online and in some stores, but not in my local store. Same with Lowes. My local Ace Hardware had them in stock. Don't buy threaded plugs! You want the smooth kind, intended to be cemented in when used for actual plumbing....
1/8" NPT Tank valve. This is basically a simple Schrader valve (like on your tires) with a 1/8" National Pipe Thread on the other side.
1/8" NPT Tap, Drill bit for tap, teflon sealing tape. (most of this you probably already have or is optional)
Heavy duct tape, sandpaper (again, if you don't have a scrap of sandpaper and duct tape lying around, you should probably just buy your test plugs)
All of this stuff should cost less than $10, except for the NPT tap. I used a tap, but I bet the PVC plug is soft enough that you could simply thread the tank valve into it without tapping it.
Build:
Drill, optionally tap, and thread the tank valve into one plug. Maybe use some teflon tape. The other side doesn't get drilled/tapped.
Scuff/sand the sides of the test plugs to make them less slick and less likely to pop out. Put a wrap or two of some heavy tape on the sides for the same reason.
Drink a beer, because you are done making the plugs and now ready to test.
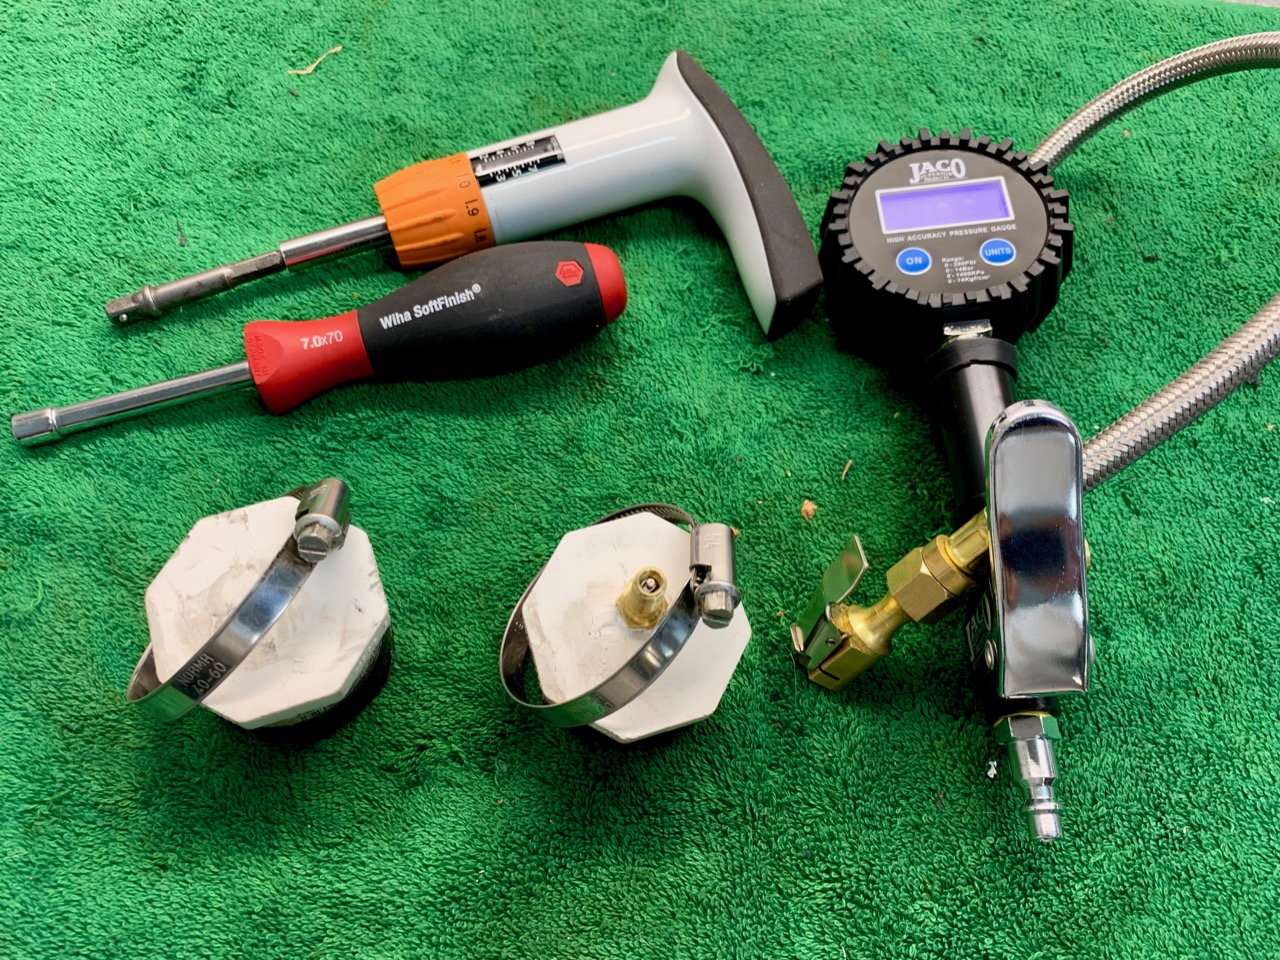
Pictures below: Test plug for one side. 1-1/2" SCH-40 PVC with Tank Valve
I like to use a small very-low torque screwdriver for setting my hose clamps. Thats what that black/gray/orange tool is in the pictures above.
Hose clamps typically tighten to a much lower torque than you might expect, and if you over-tighten them, they can strip/pop and actually hold less tension. Norma 40-60mm hose clamps have a torque spec of 3 NM. This is less than you can get with just a really tight screwdriver grip, and FAR less than you will get if you try and put any kind of ratchet, even a 1/4" ratchet on it.
Likewise, under-torquing the hose clamps is no good either, as you'll likely blow off the hose once you build all your new-found boost (ask me how I know this...)
If you replace your hose clamps, use TOP QUALITY clamps, OEM, Norma, etc. There are a lot of crappy hose clamps out there.
Part numbers, links:
These links will probably go bad over time, and there are lots of different sources, but heres some to get you started.
If your not holding pressure when testing, now comes the more difficult task of finding (and fixing) your boost leaks...
I should point out that most of what I know about finding leaks I've learned from other forum contributors and sponsor tuners... The credit goes to them, not me. I'm simply repeating what I've gleaned...
To find boost leaks, Read, Listen, Look
Read: Look at parts diagrams to fully understand the boost plumbing of the turbo, and read the plethora of threads discussing components and hoses that are the usual suspects. Know what/where your #16 check valve is. What an N75 valve does and where it's located. Where the wonderfully named "sucking jet valve" is. Where you F-pipe is, etc.
Listen: Boost leaks usually hiss... Use your ears, or a piece of hose held up to your ear and moved around various components to try and pinpoint the area the leak is coming from.
Look: Spray soapy water around the boost plumbing areas and look for bubbles. Some will be super easy to find if you have leaks! Others, not so much.
Nice write-up Paul! Thanks!
have you ever tried to test from the intake side of the turbos?
Yes... I initially tested that way some six months ago when I first tested/found/fixed some boost leaks I had.
Testing on the intake side of the turbo works ok for finding bigger leaks, but not really effective for doing a "hold pressure" leakdown test. Pressurizing the intake side (which normally does NOT see pressure) can cause some phantom leaks through the oiling system of the turbo and into the crank-case, and your never going to find or fix those leaks. As soon as I moved to the output side/intercooler hose, I held pressure and realized I was done.
Same problem as testing from where the air filter box connects.
Should the turbos leak air pressure into the oiling system when pressurized from the intake side? I'm not sure, but I believe it's a fairly common issue.
I should also note that the factory service manual instructs boost checks to be done from where the airbox connects, exactly the method I am saying (and many others agree) is NOT effective for doing a timed leak-down test.
Yes, I l know better than Porsche. Just kidding. But not really....
start at the turbos themselves not the piping. this way you see if the seals and /or clamps on the turbos themselves may be leaking.
look into the torque solution boost testers. they are billet aluminum with scrader valves already threaded in. they are very strong and i tapped a q/d into one so i can just plug my compressor hose and regulate from my compressor. they can be found on ebay for about 40$ shipped. they WONT pop off
lastly test to about 25 psi if your not heavily modded. leaks show up above 20 p[si that you dont typically see
I'll pass on some info I saw posted from very reputable shop/engine builder- don't test from the turbo inlets, test from the IC piping as pfbz demonstrates.
Also don't test higher than 2 bar- you run risk of popping out front or rear main seal. There was a big thread in the 997TT section about this a couple of years ago.
For those that have MAF's installed and don't run MAFLESS tunes.. It is important to test at the side intake THRU the turbochargers. Test at 1 bar.. If these connections aren't tight and sealed you will have fueling issues.
You have 11 possible failure points.
Seven inlet piping hose clamps loose or missing
holes, crack and scuffs from suspension components rubbing on the side inlet piping/plastic.
Two hose clamps on main oil sump tank vent hose (rubber) to side intake plenum (usually loose with clamp not around the connection at the side intake plenum.
Hose clamp missing or loose at the upper rear intake plenum aluminum to plastic crossover pipe to passenger side turbocharger.
The metal gasket between the side intake plenum and rear intake has been misplaced, removed, installed with only 2 bolts which allows for outside air ingress (from Webster the seal prevents ingress of moisture or air

 02-01-2019 | 10:48 PM