When you click on links to various merchants on this site and make a purchase, this can result in this site earning a commission. Affiliate programs and affiliations include, but are not limited to, the eBay Partner Network.
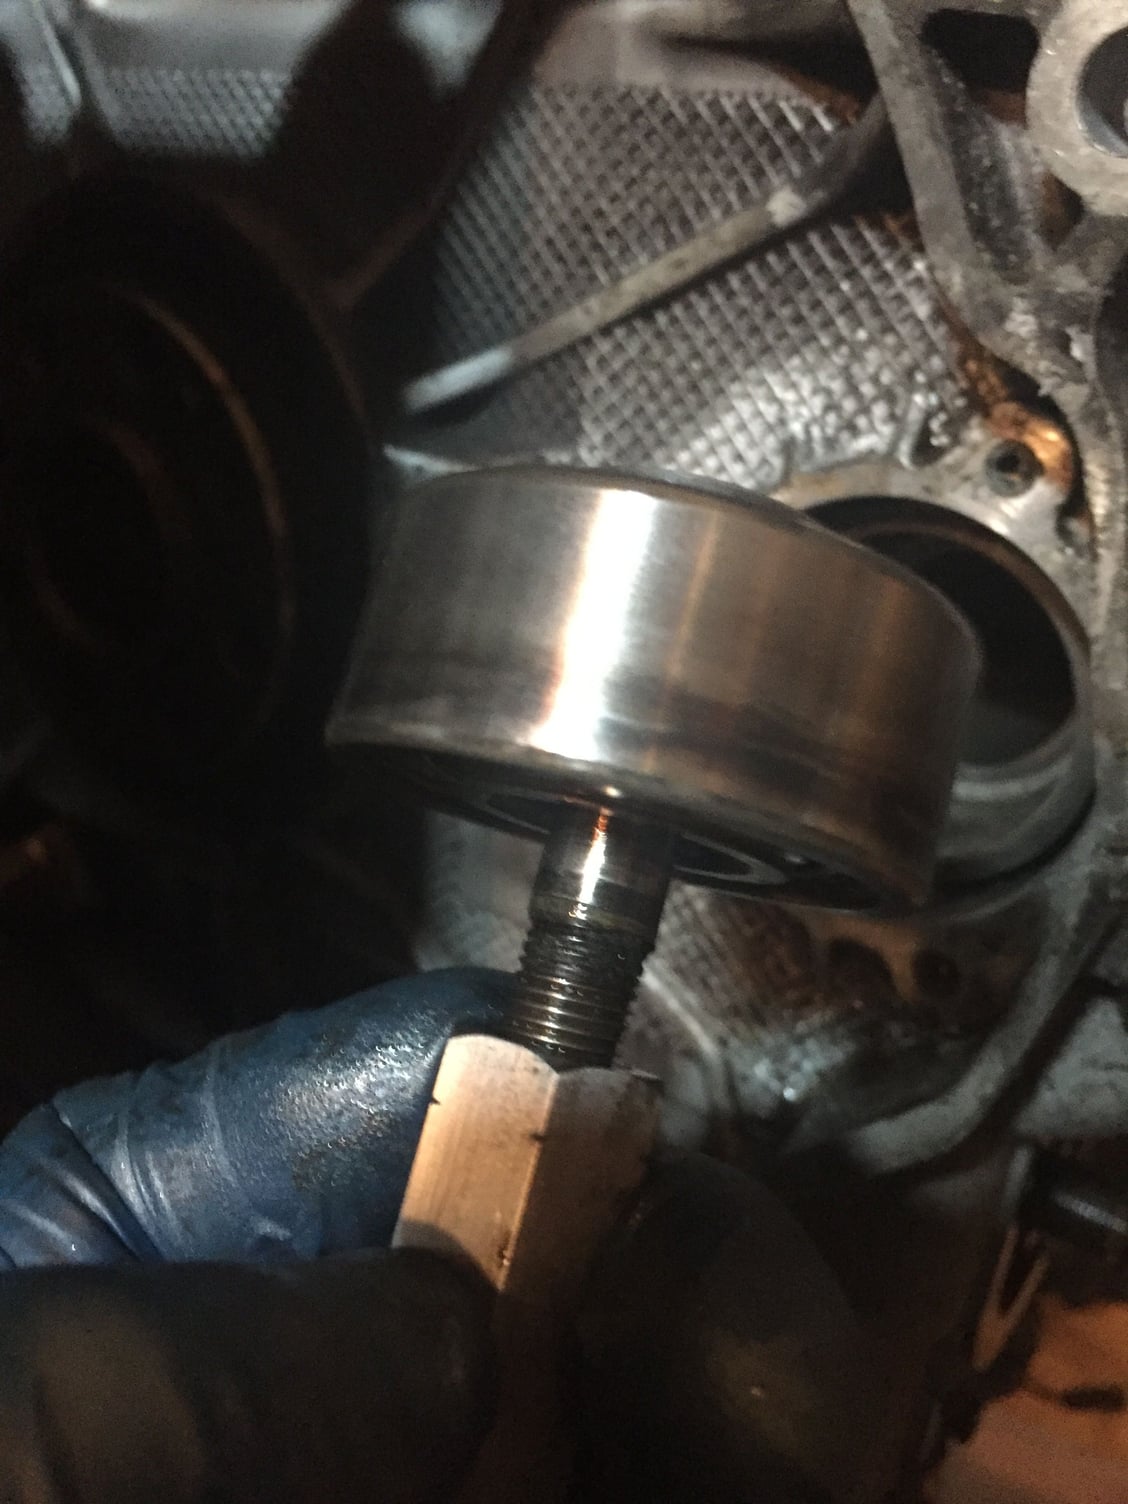
A sliding hammer puller with 3 built-in heel bars...nice. I think it also took me some effort to remove the IMSB flange on my '02 996. I used those mini heel bars as well.
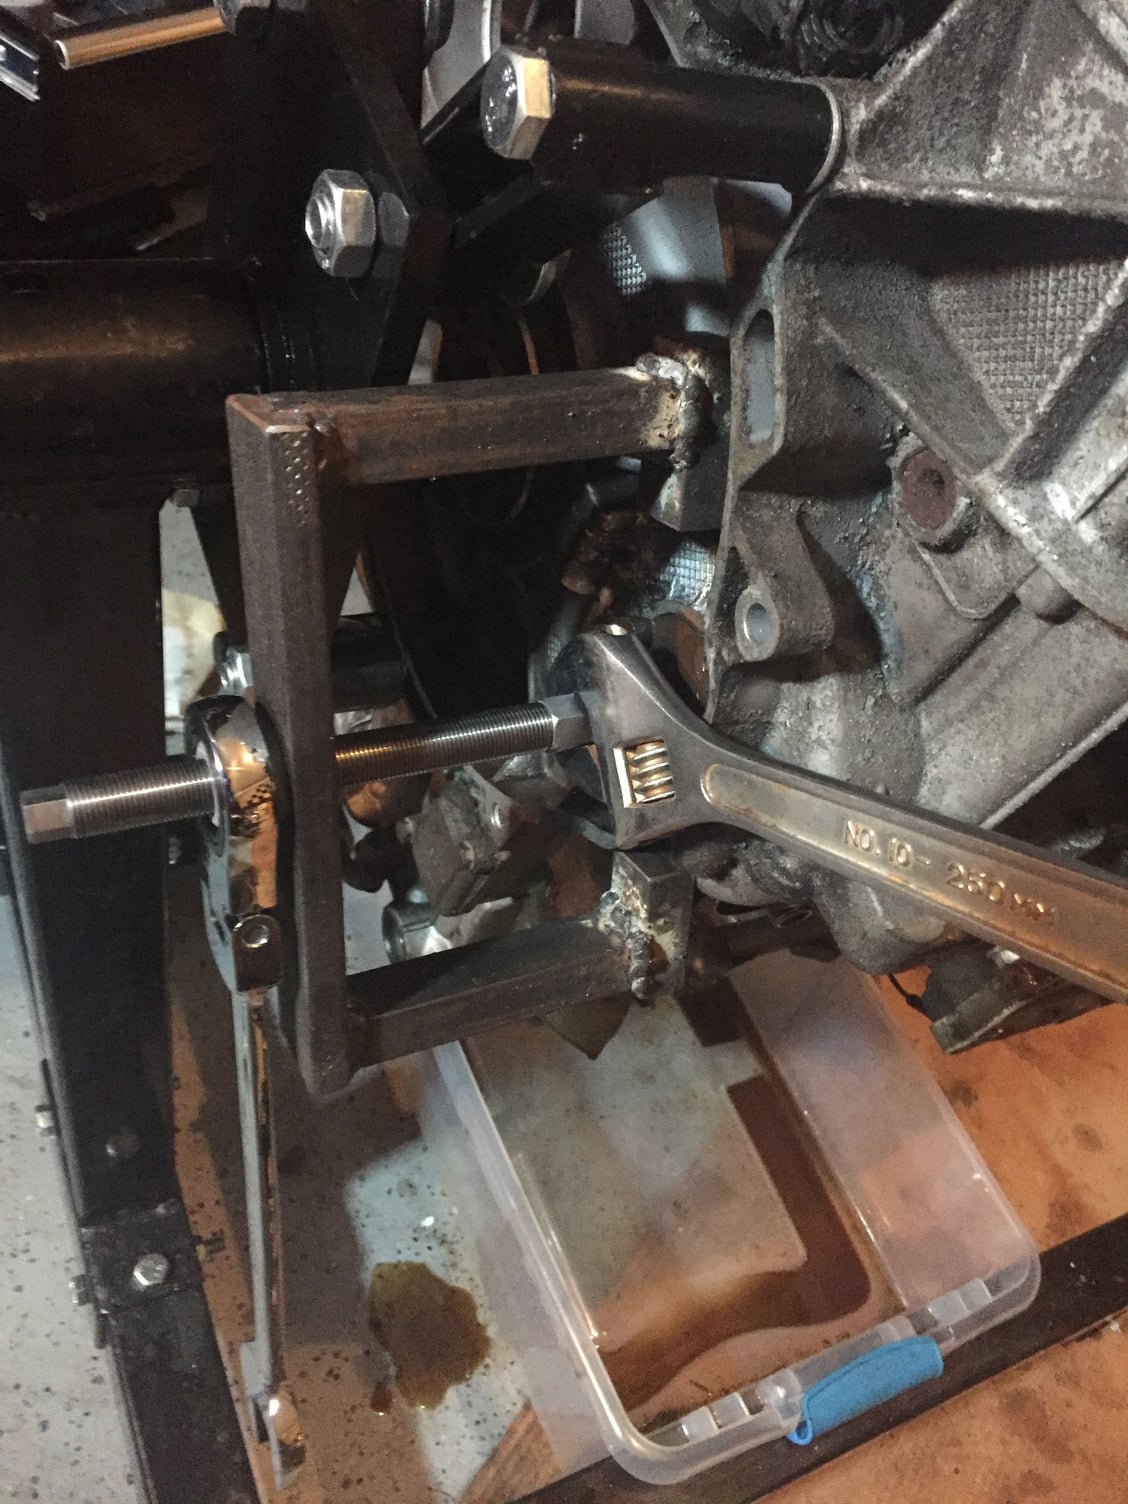
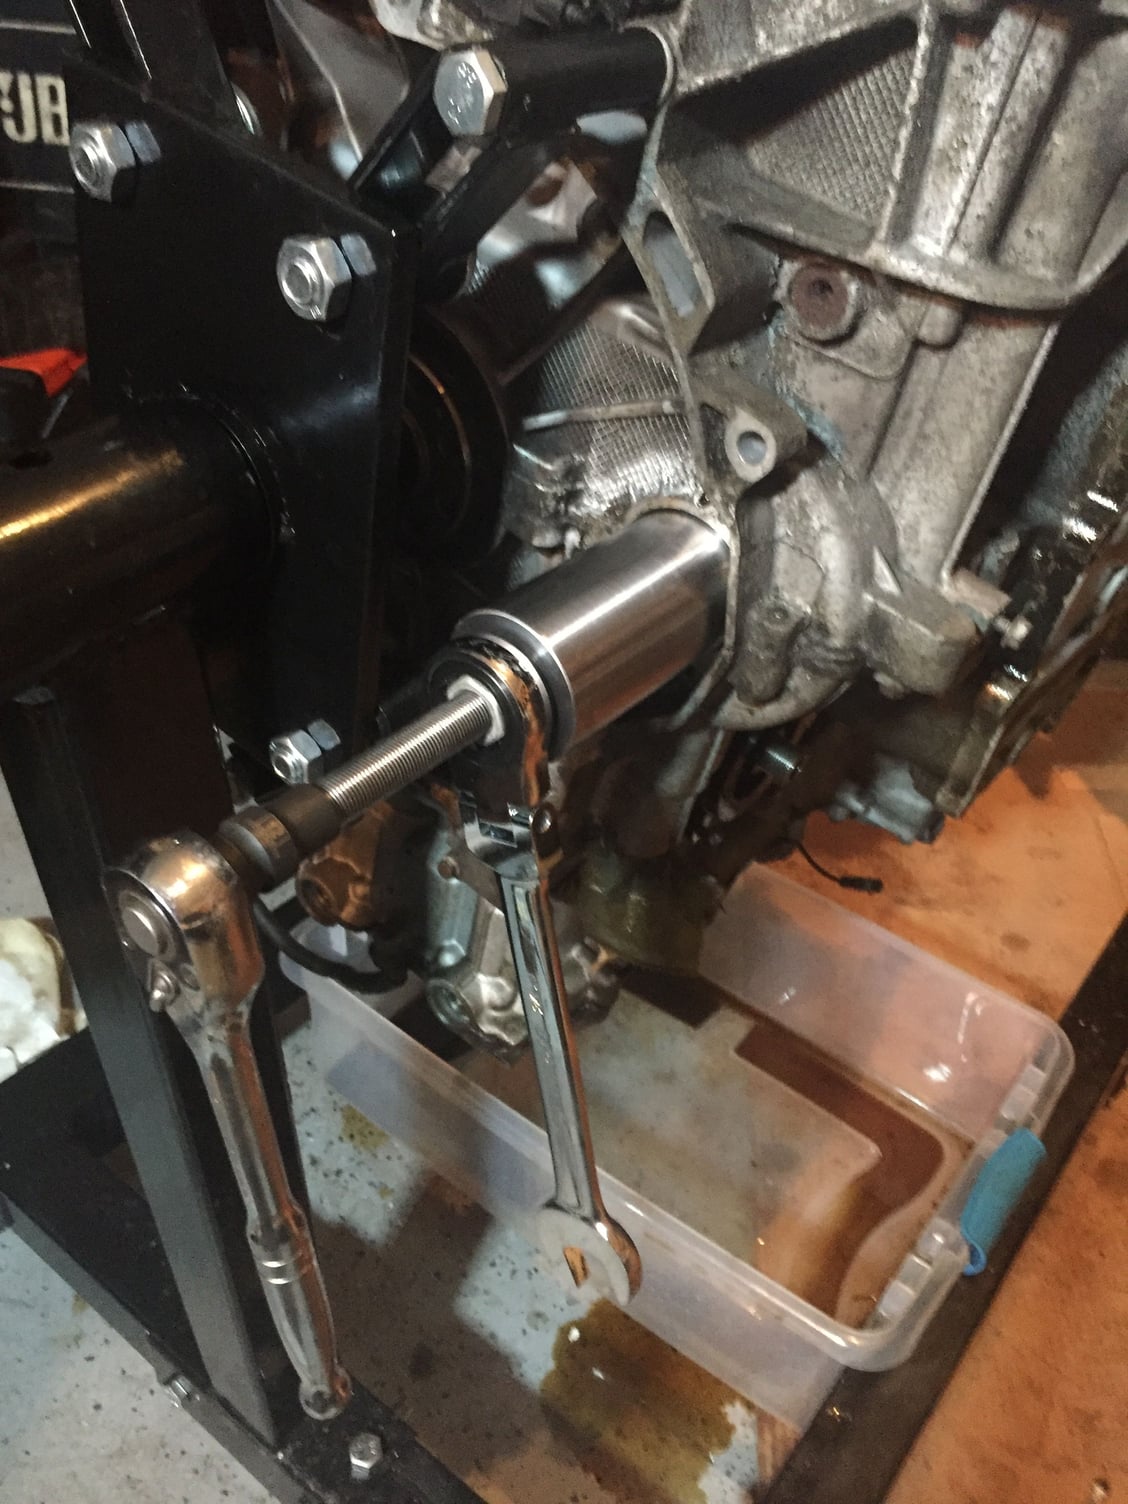
A few tools and things came in today so I couldn't wait for my lady's foot prybars... For one I got my thermostat gasket (why it doesn't come with the water pump is beyond me) so I put that on... then I couldn't leave well enough alone so I started massing with the ims flange... that's when it hit me that I might be able to use the ims puller tool with my wheel bearing "bridge" to pull the flange... it worked
I'll get deeper into the explanation in the morning...
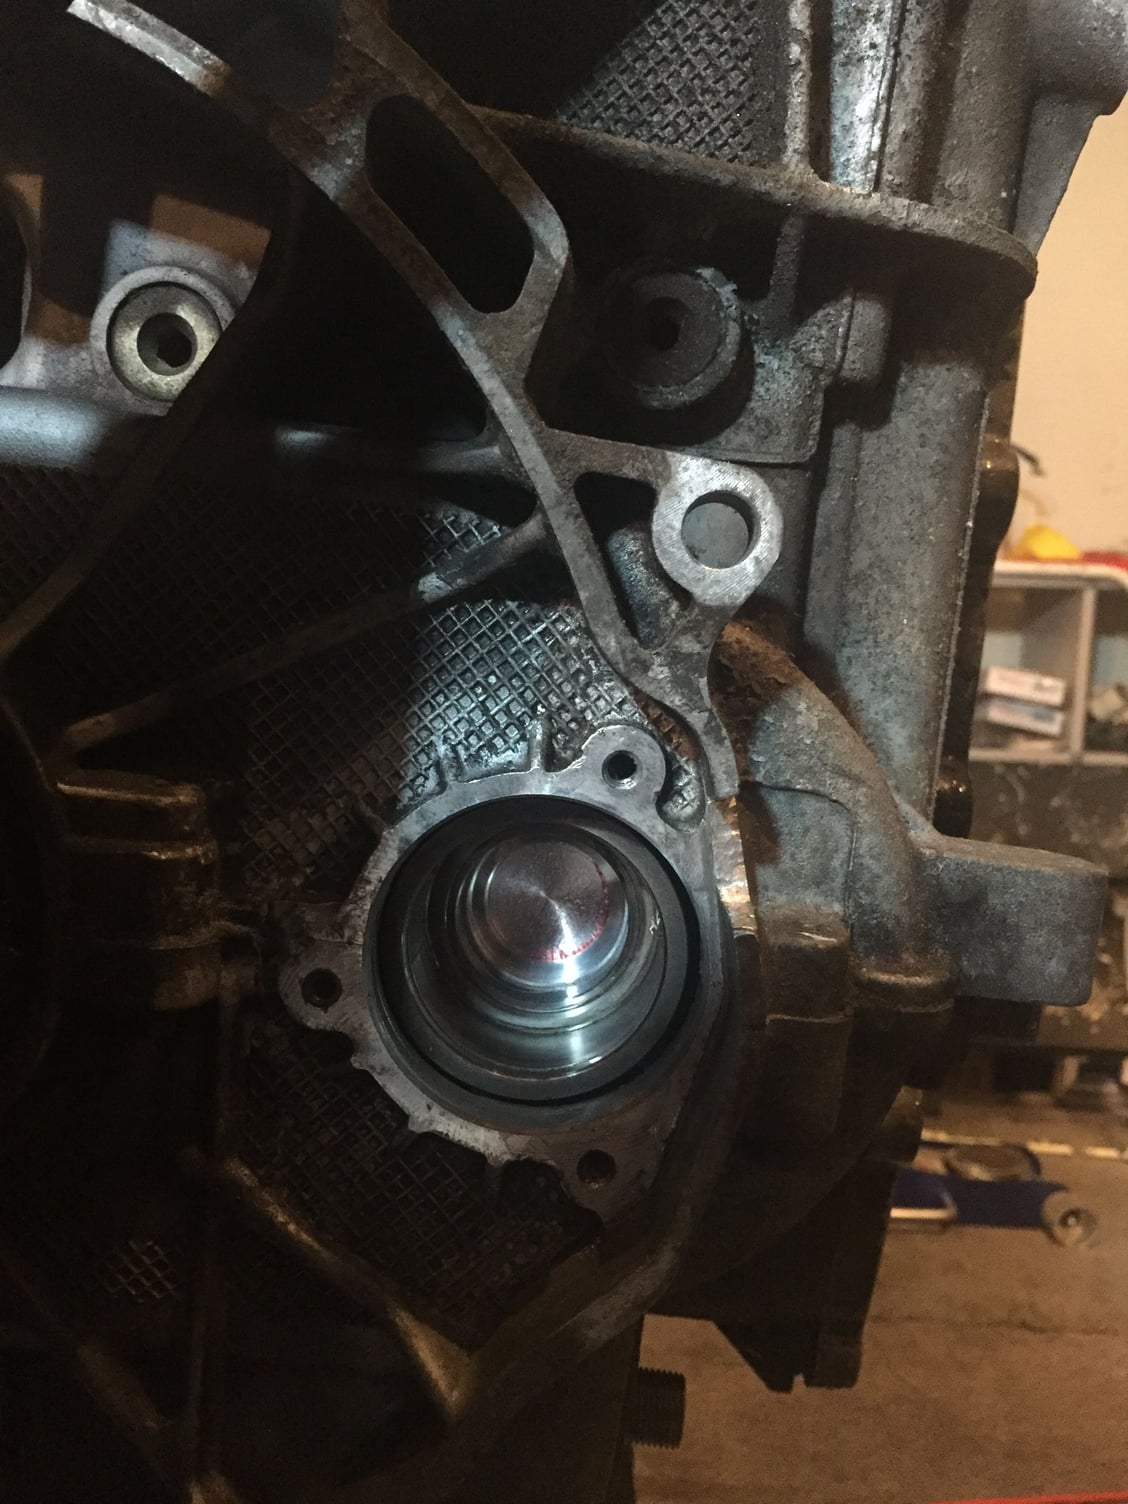
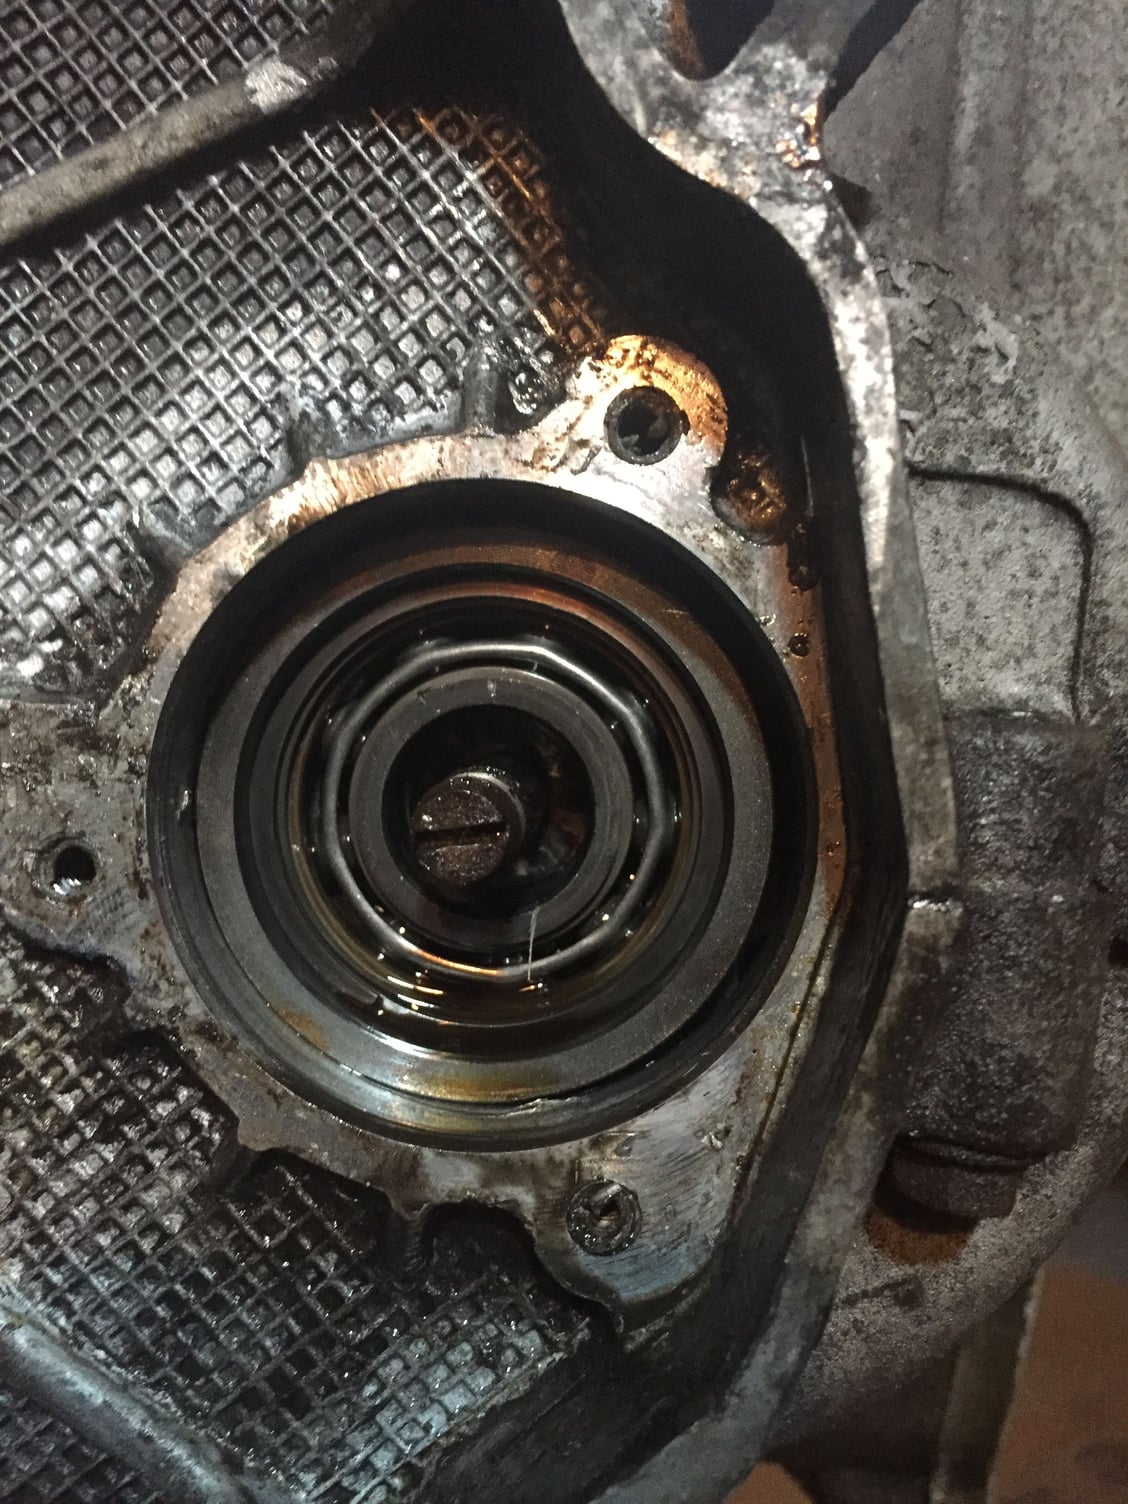
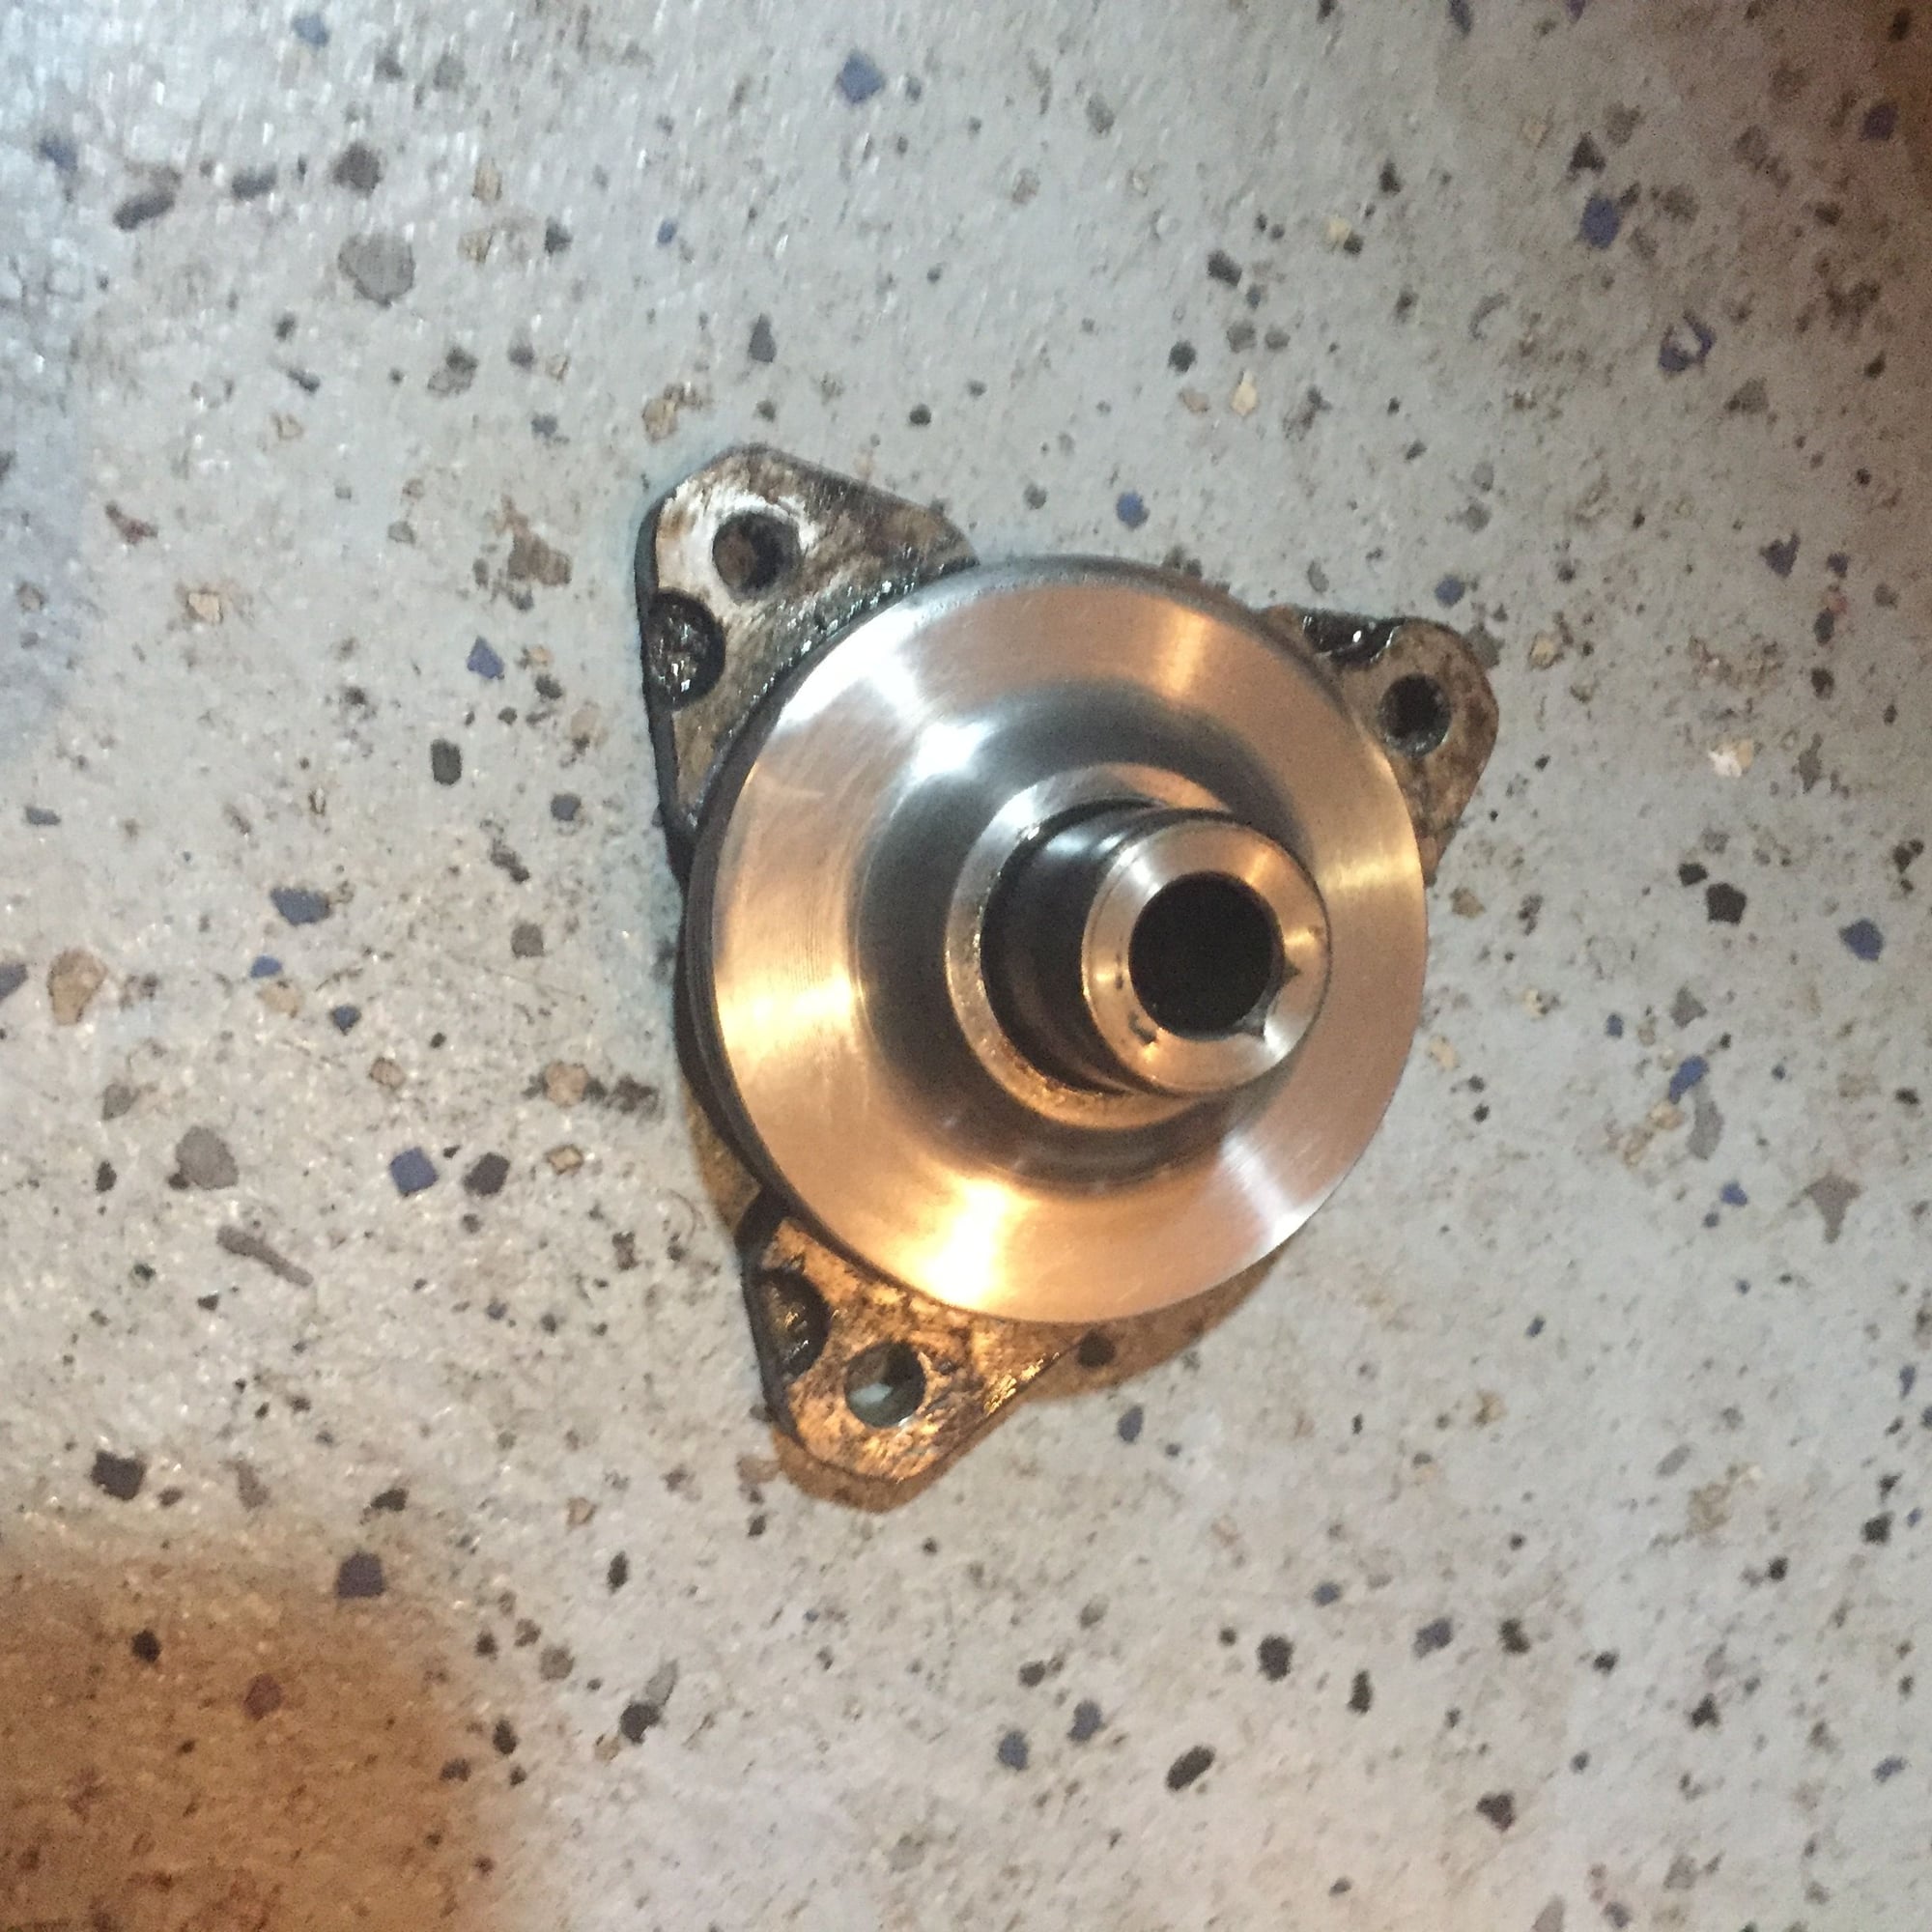
As you can see in the photos above and below, I've got a dual row bearing. The problem for me is that I can't tell if it's a true "dual row"(I think it is) or a single row pro - does anyone have the dimensions of the dual row bearing? It's a little perplexing to me because my engine is a M96-04 (manufactured in 2000) so it's from the period when they were using both types of bearings. They bearing seems to be in great shape - the cages are totally intact as are the ***** that I can see (I haven't removed the rear seal yet). The oil in the front of the bearing was super clean, and there was no oil to speak of in the shaft.
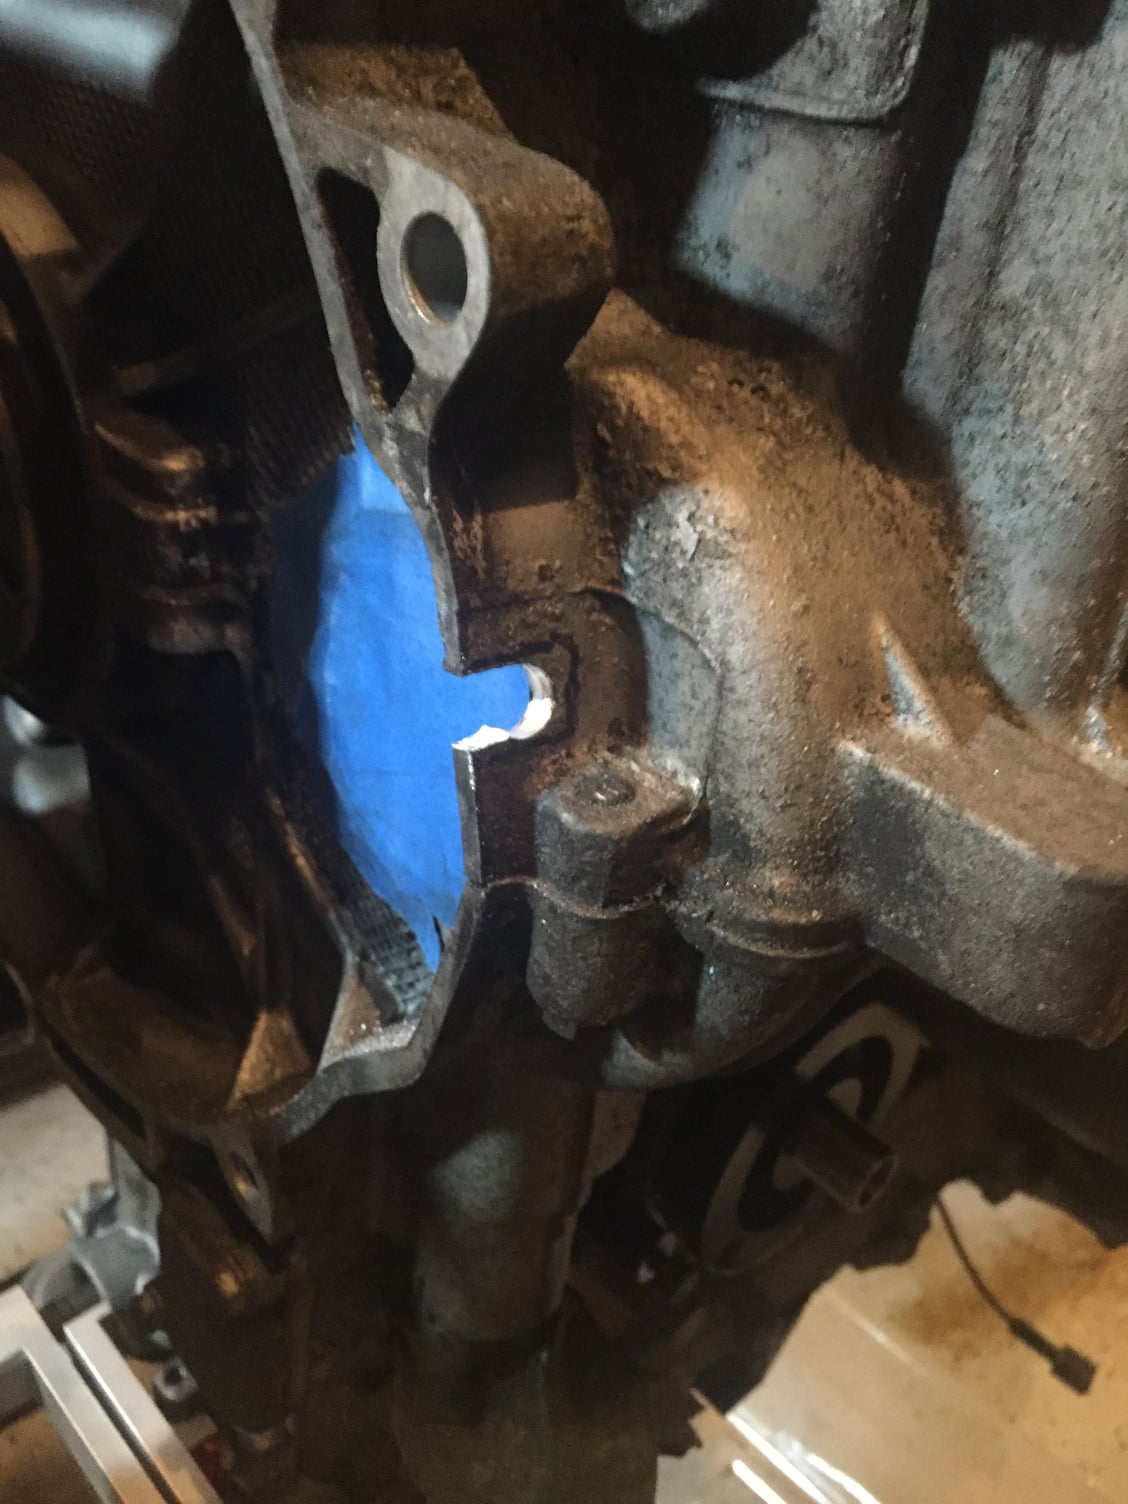
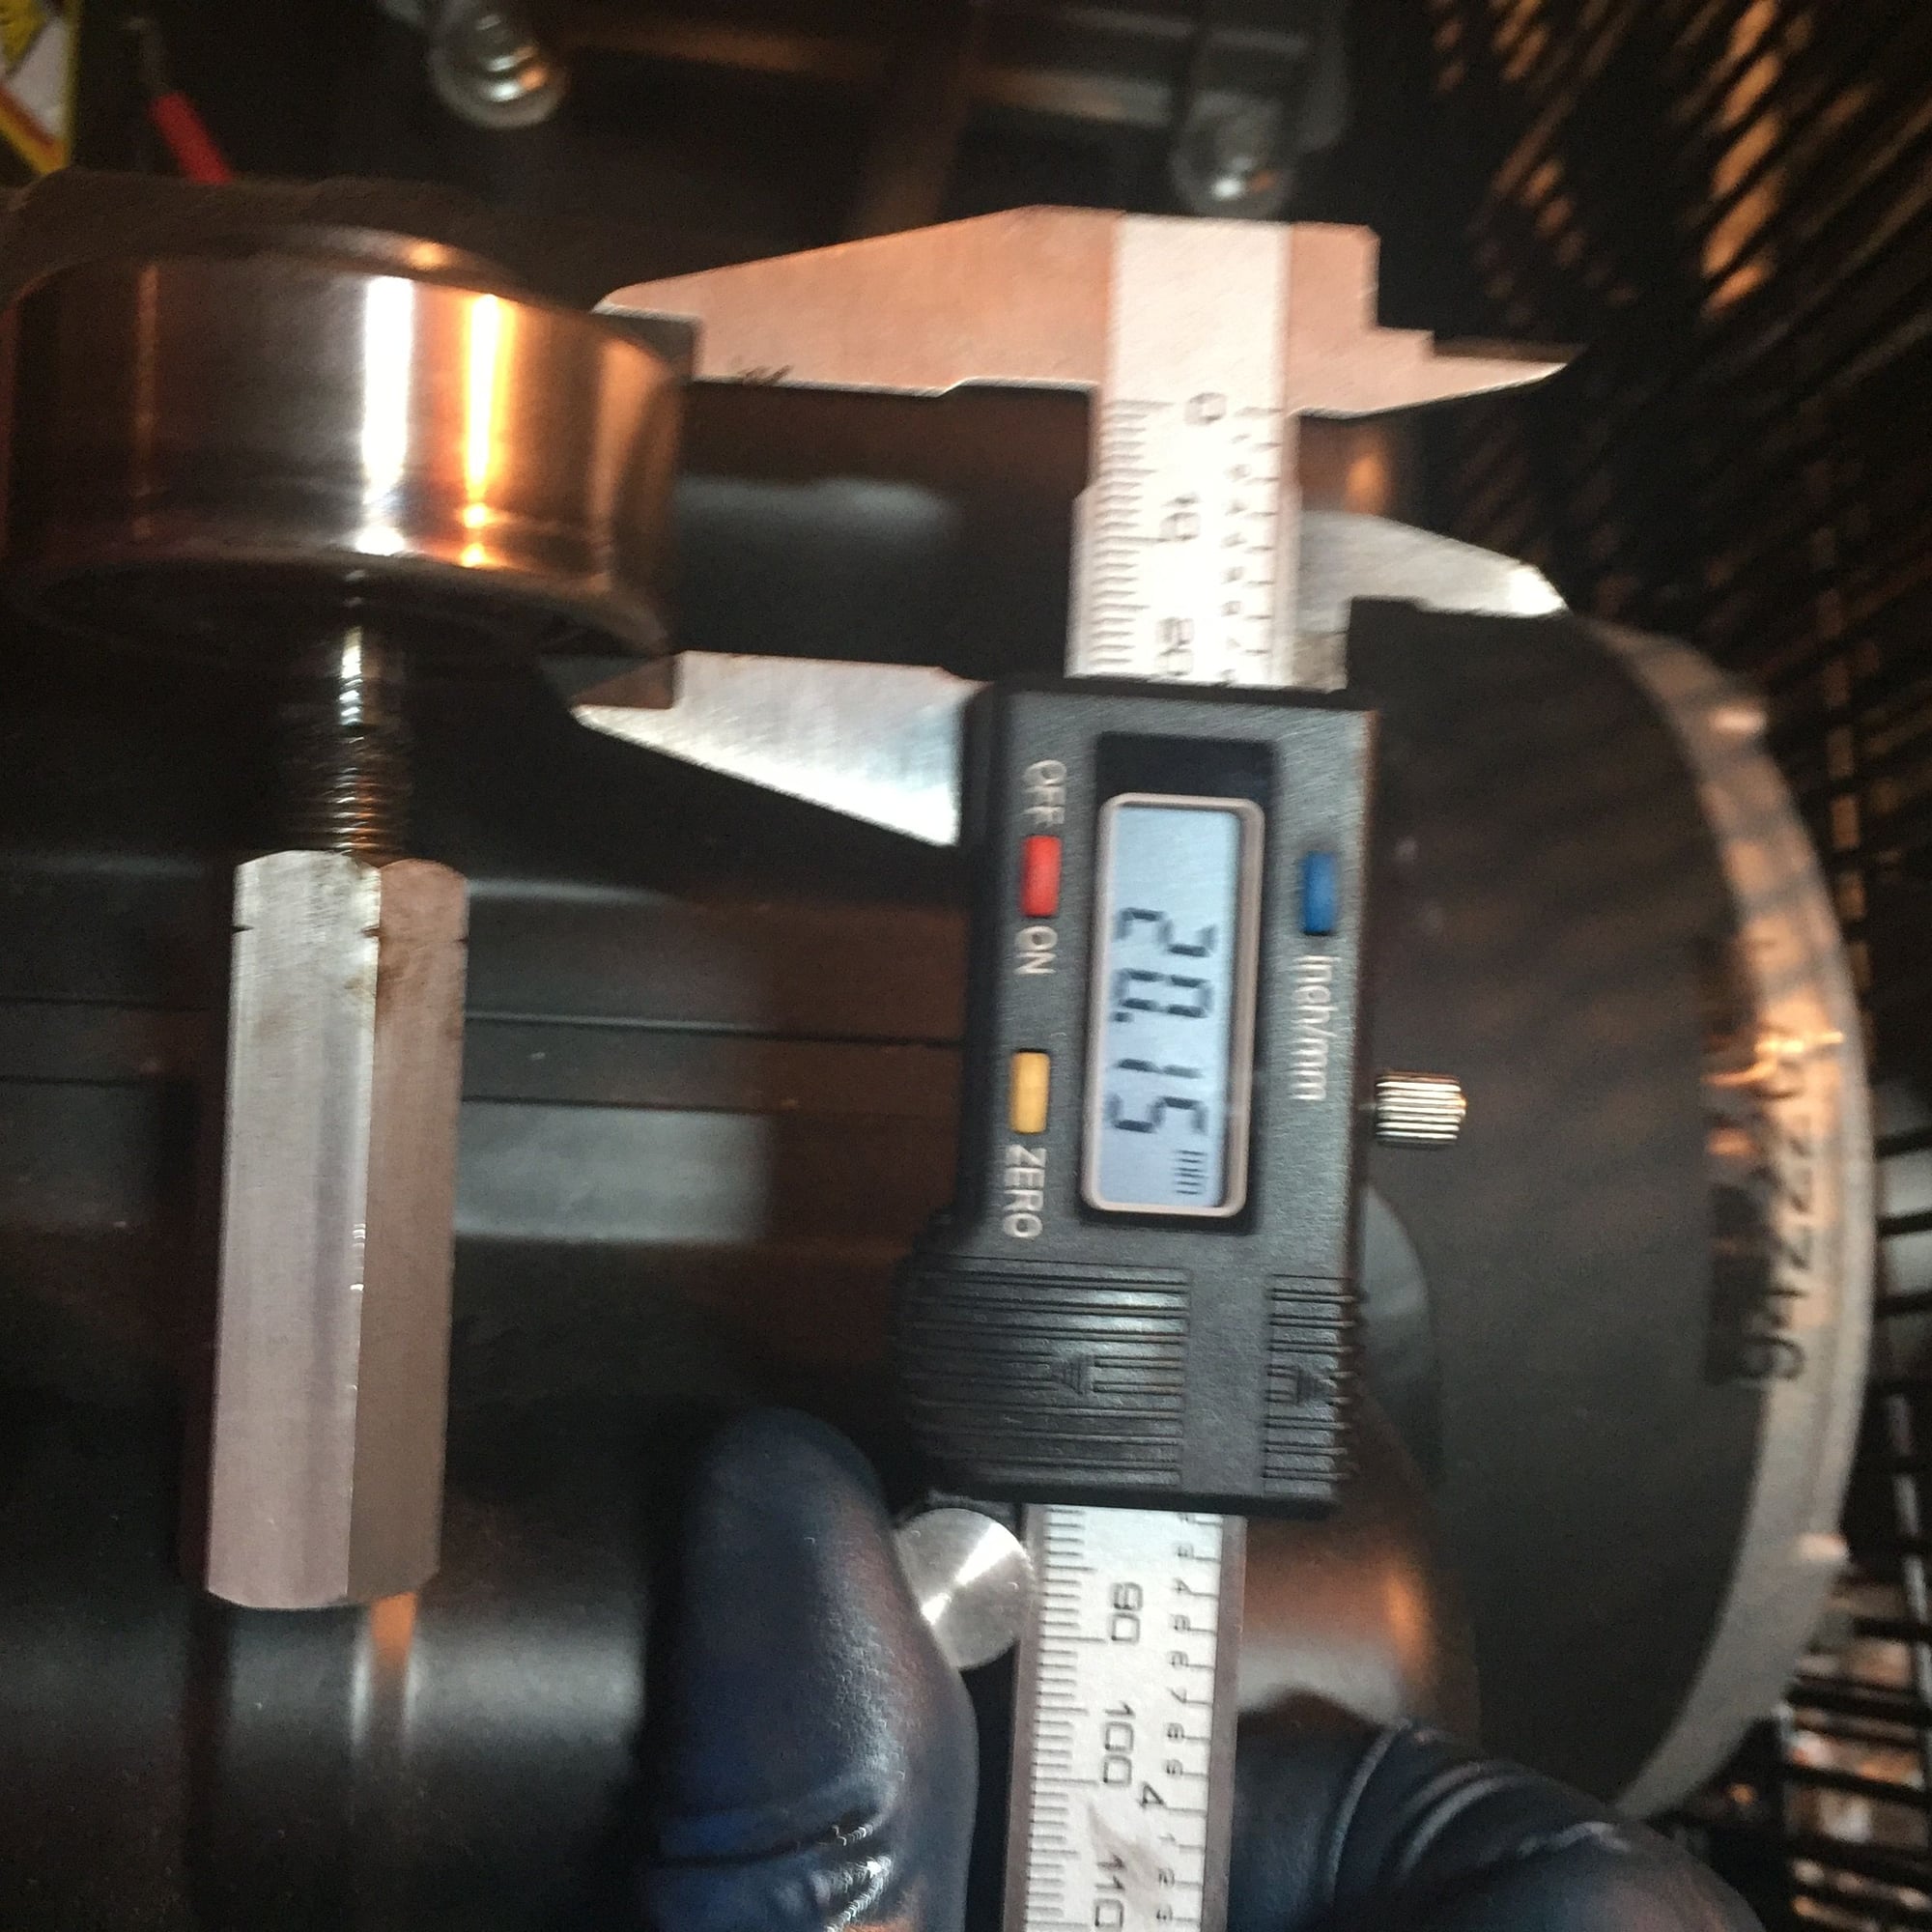
Bearing depth 20.15mm You can see a little galling on the bottom of the bore You can see the edge of the flange is bent(upper edge in photo- is actually the lower edge of the flange)
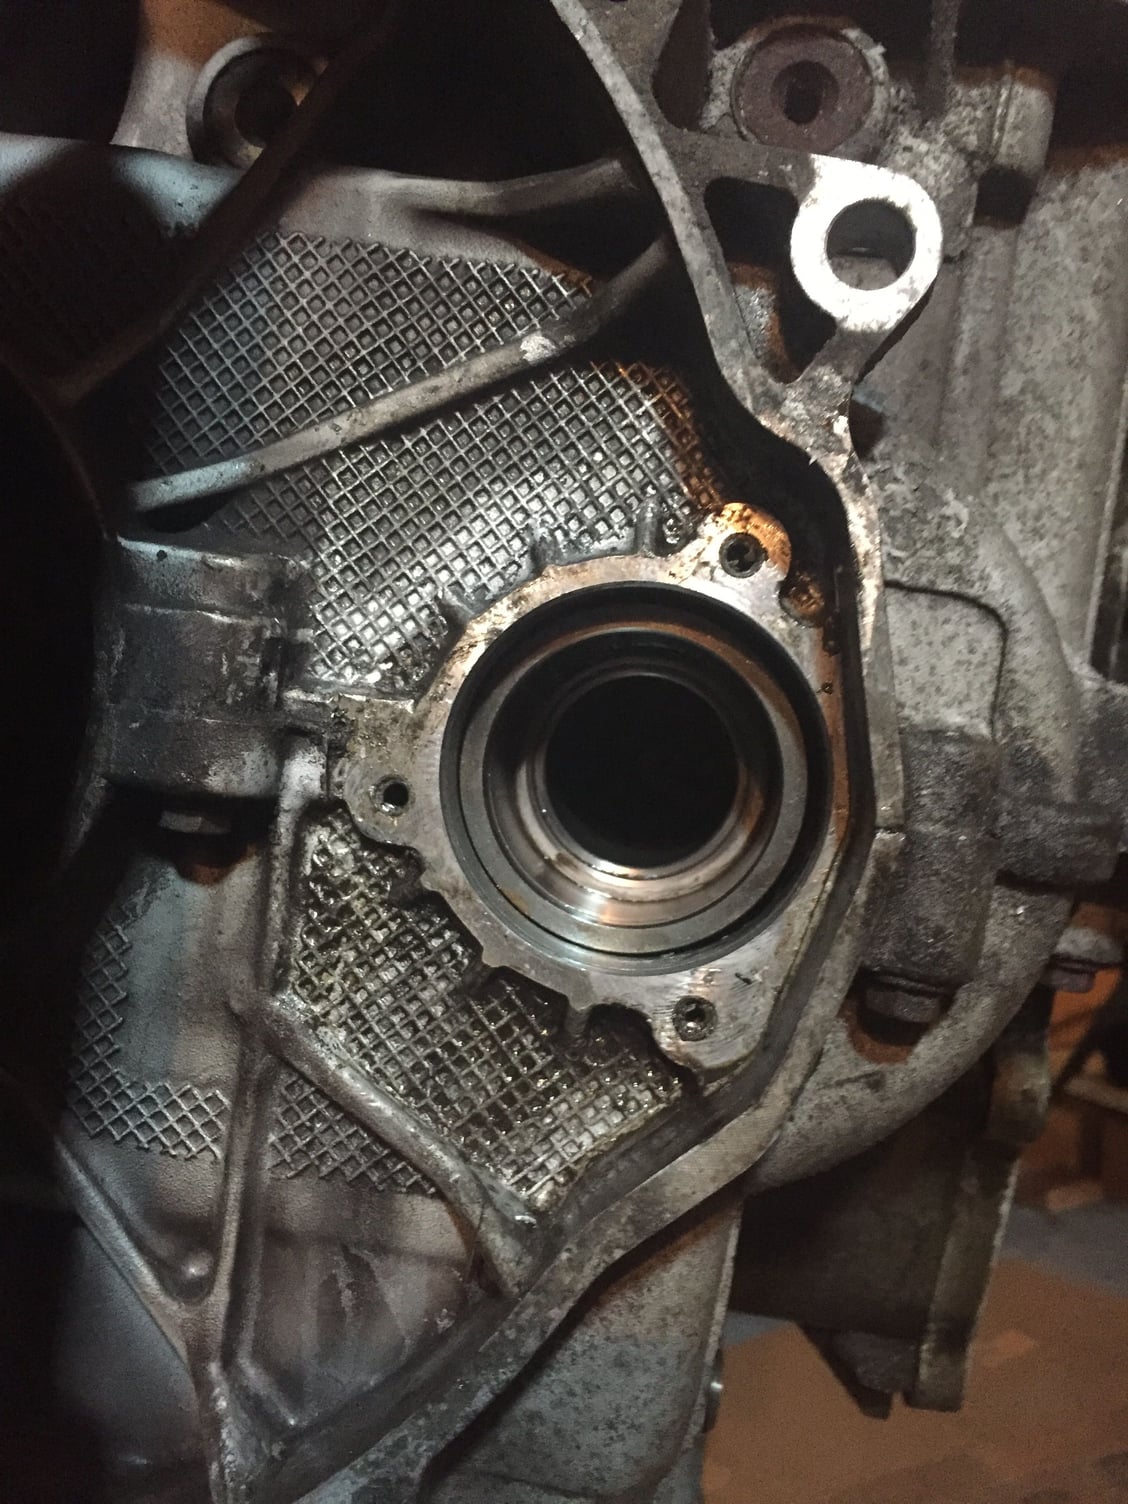
So, it's pretty obvious that whoever did the last retrofit jammed the flange in crooked and caused that galling and the bent edge of the flange. No wonder it was so difficult to get it out The question now is how to deal with the bore. I'm thinking I'm just going to try to burnish the little ridge that's there and then just use a little sealant when I install the flange. Sound feasible? Any other ideas?
The factory dual row is 23.8mm thick (proprietary to Porsche) , the single row is 14mm thick. The available dual row aftermarket bearings as yours 20.15 and require a spiral lock and also a spacer ( or custom thicker flange) to make up the difference.
^Yes^ thanks for the reply ! LN Engineering has acknowledged that it is their "classic dual row retrofit IMS bearing"... I've ordered the dual row Solution to replace it...
In the last week I got the IMS Solution and the two tool sets (IMS Pro and Supplemental) necessary to do the install. Last night I put a couple hours in and did the install. The actual installation of the IMS end plug and the bearing itself was a piece of cake - The flange, not so much. The fit of the flange to the bore was fine, but the positioning of the oil feed was much closer to the center-line of the case halves than in the instructions (sorry no photo's yet - it was late last night). The Dremel tool was my friend, and after many adjustments with the cutoff wheel I was able to get the oil line to clear the crank case. more photo's to come later. Notch in case started- I wound up having to go much lower or further toward the center-line where the case splits. Ims plug installed
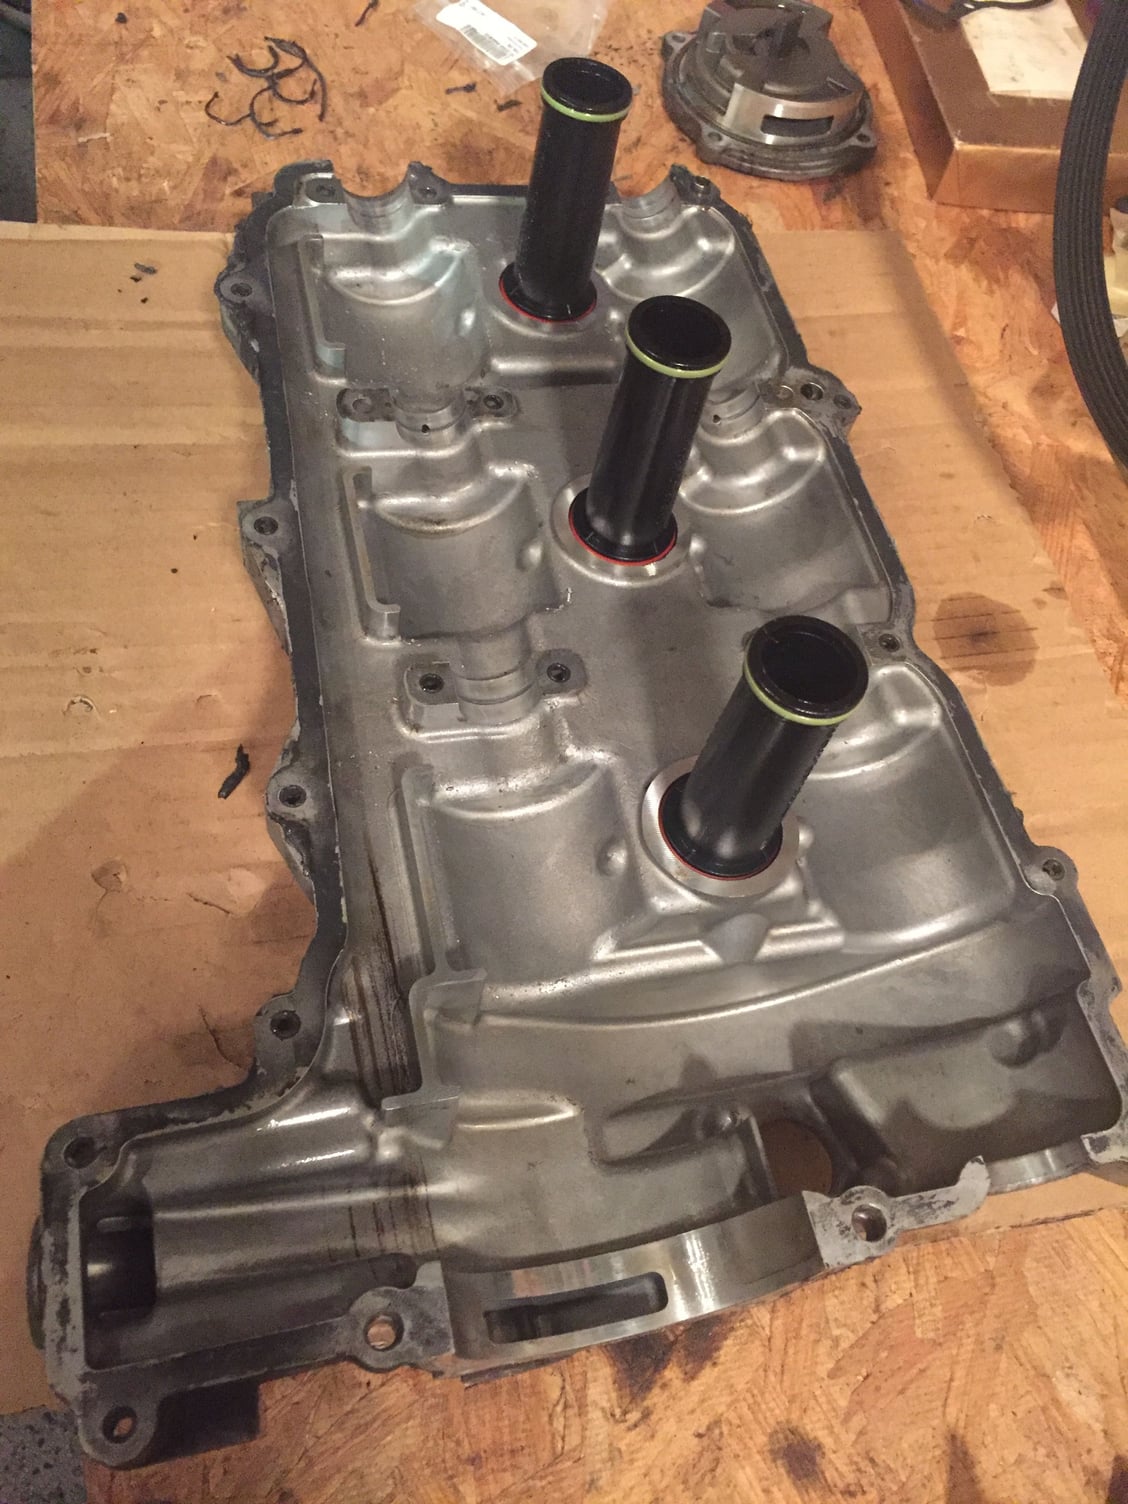
Ok, so I finally got to the cam cover after finishing the IMS Solution last night.
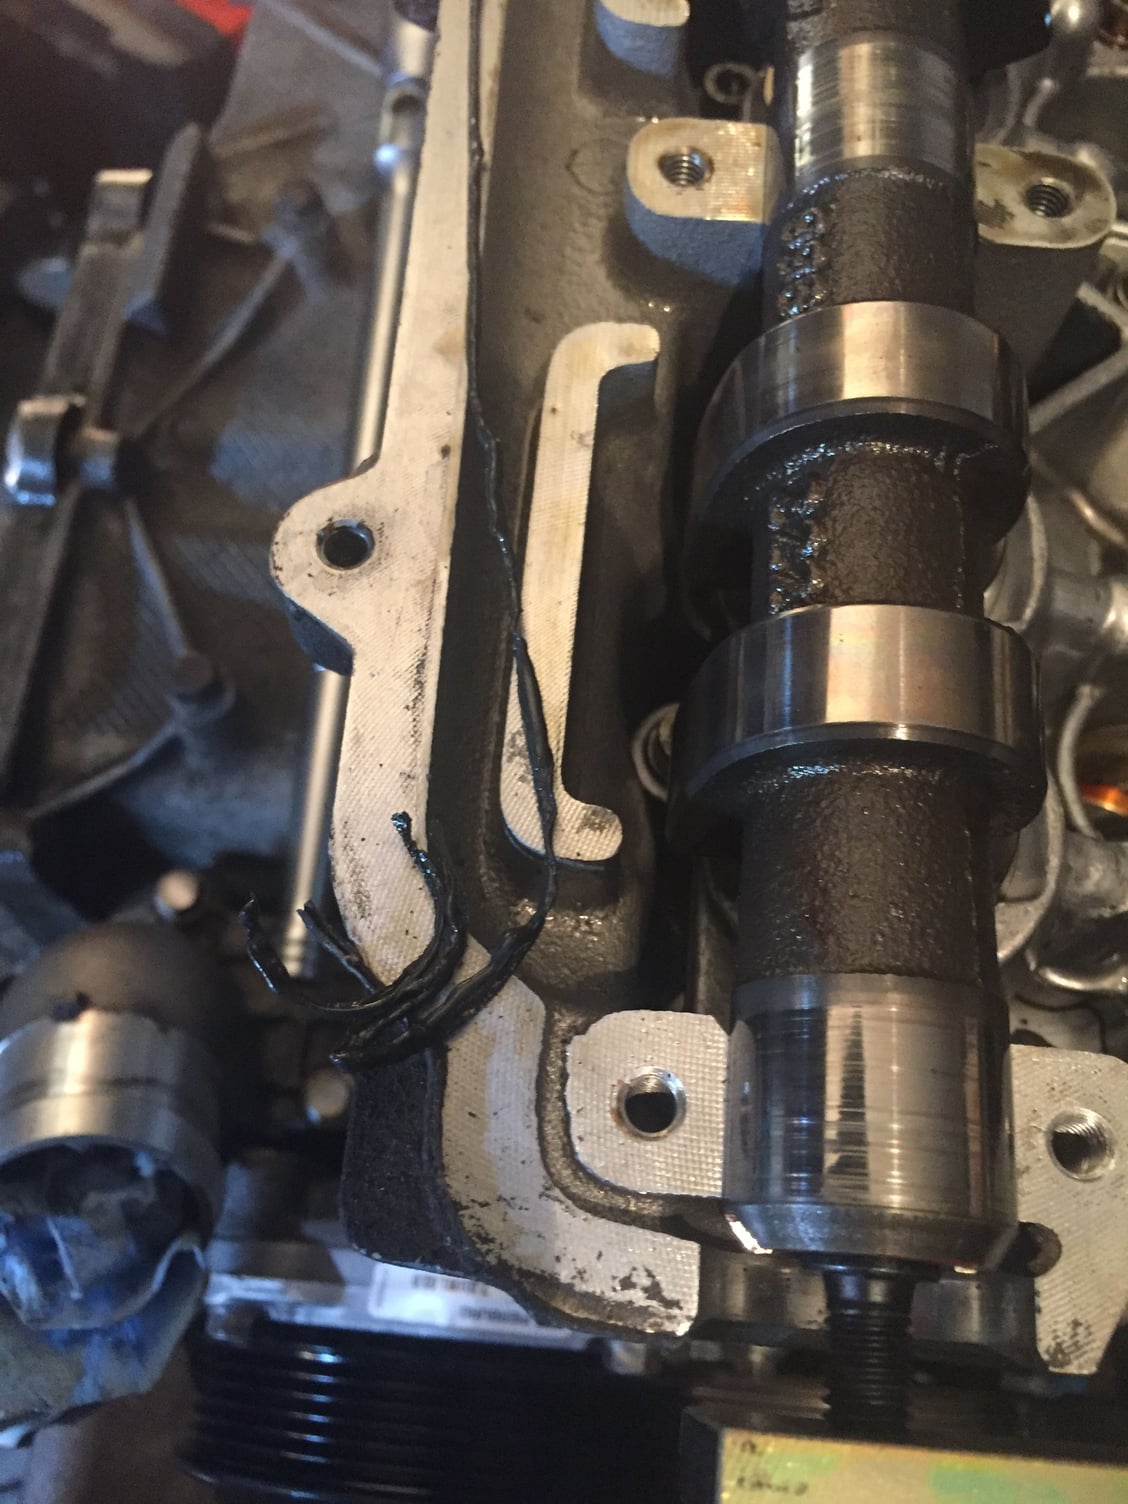
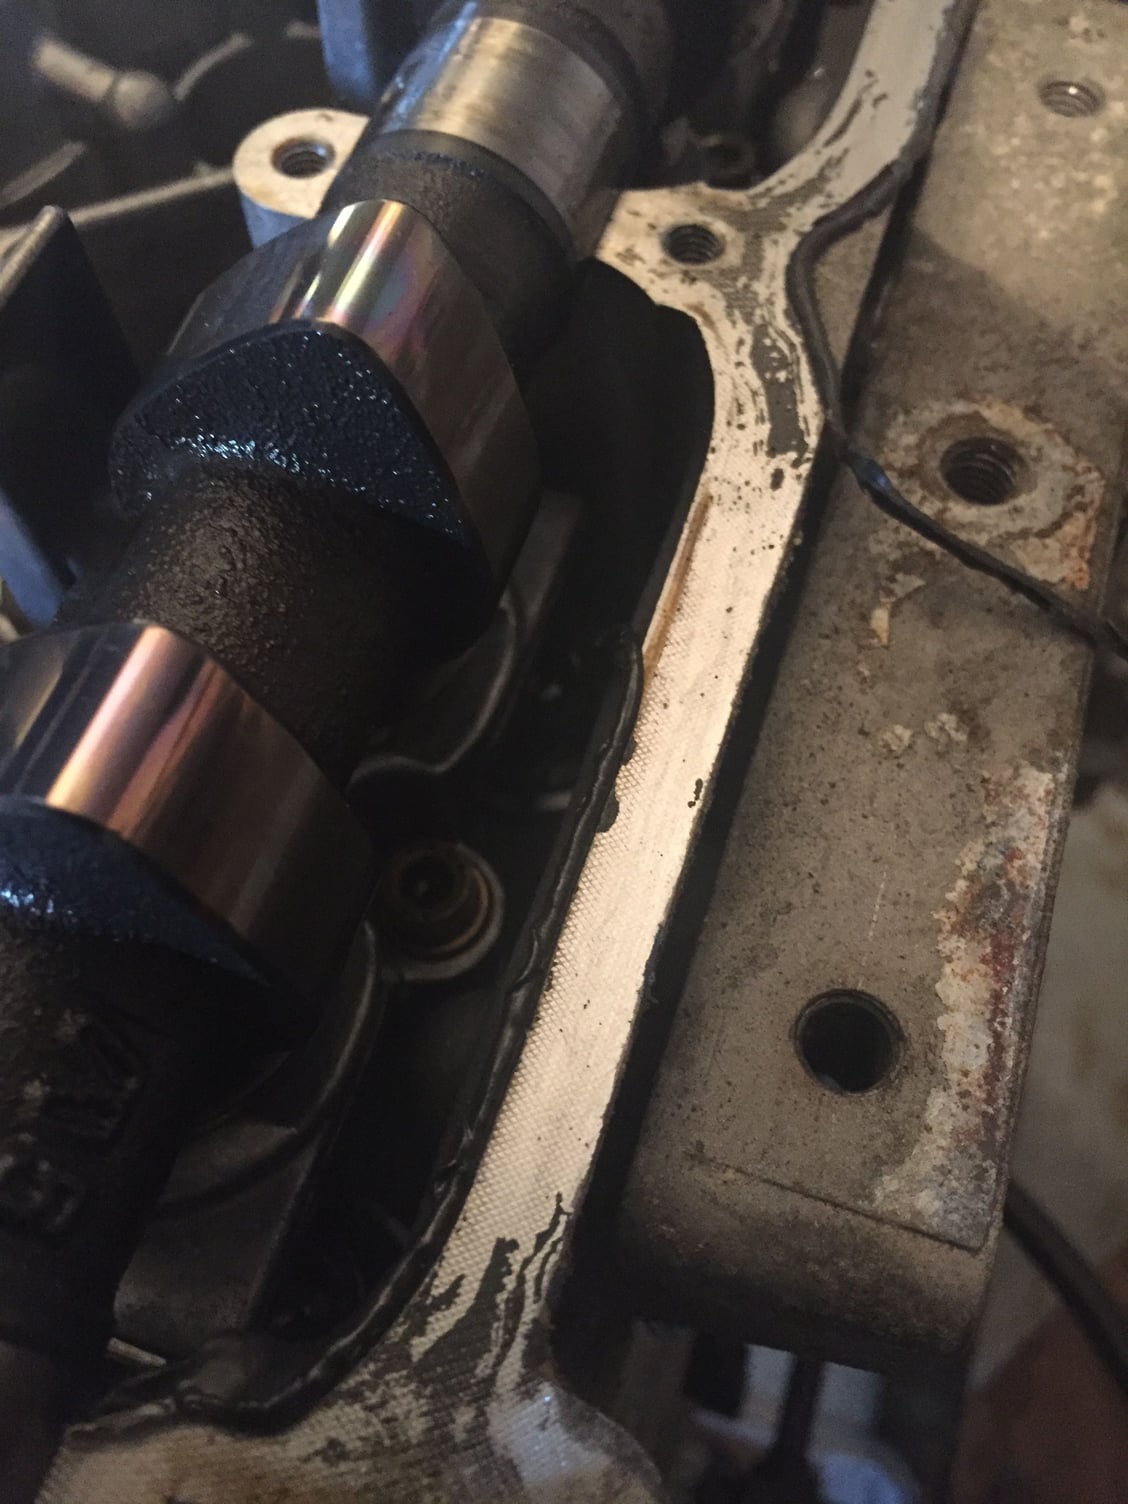
As you can see in the photo, whoever had this cover off last, used a crazy amount of sealant...Now I know that the black stuff in my oil pick up tube wasn't chain pad material... I think it's going to take me awhile to get this stuff cleaned up🙄
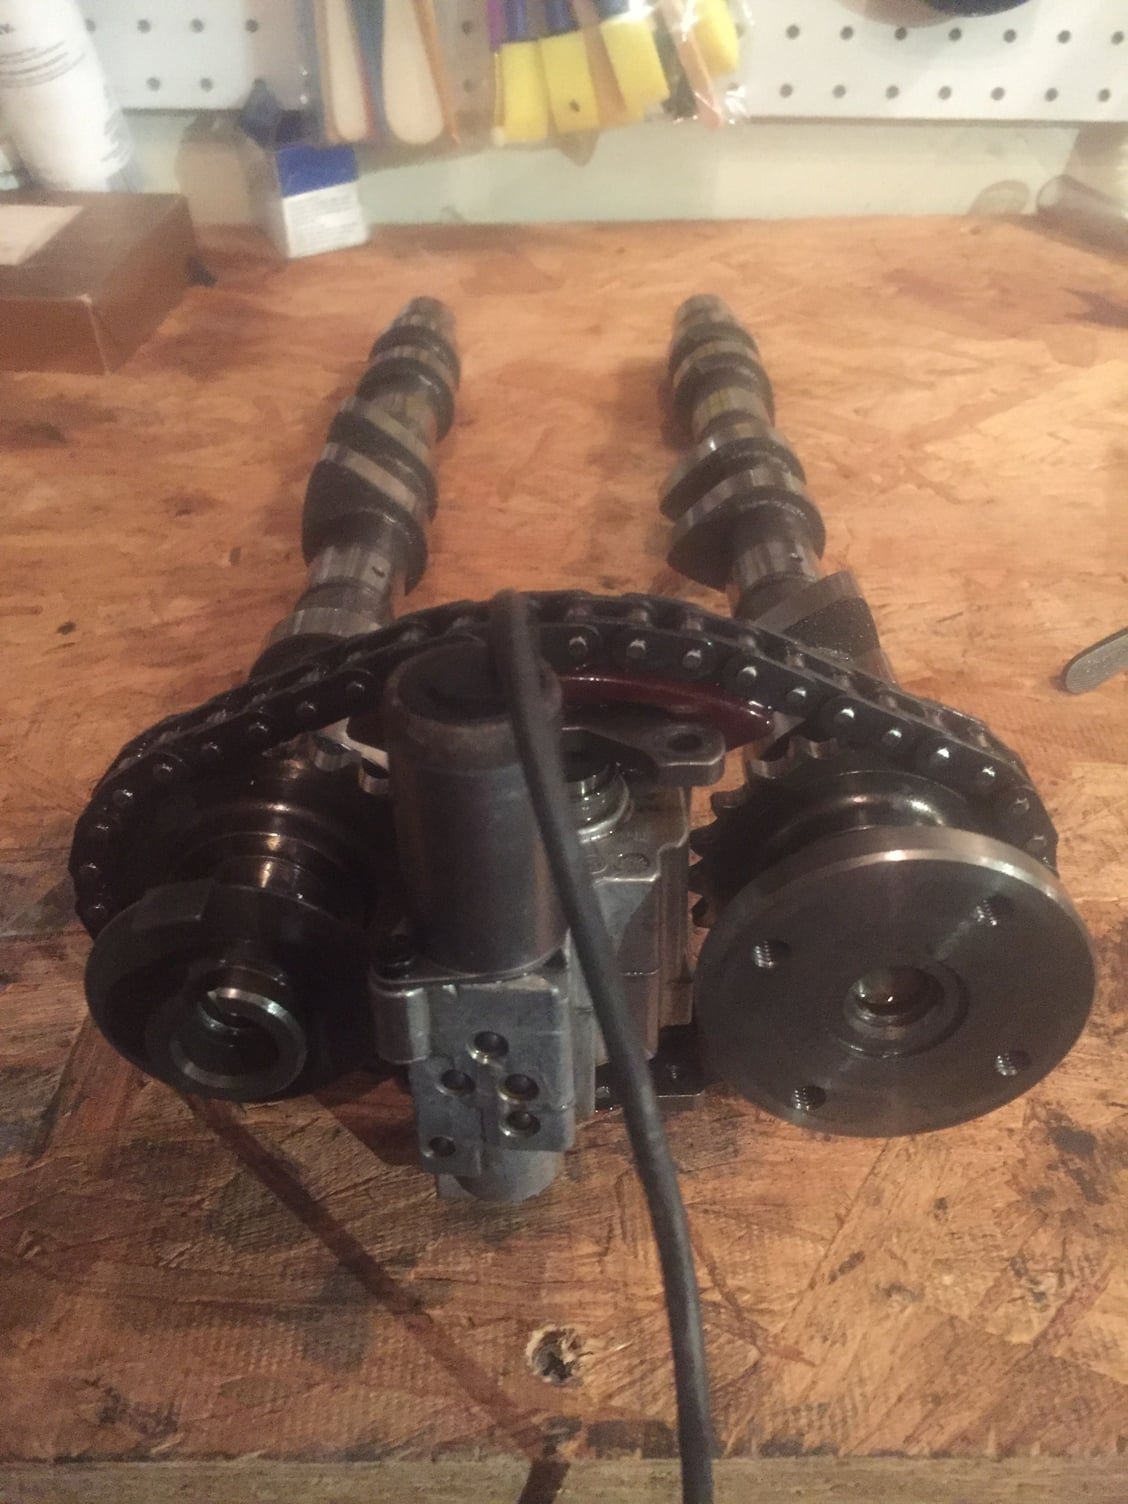
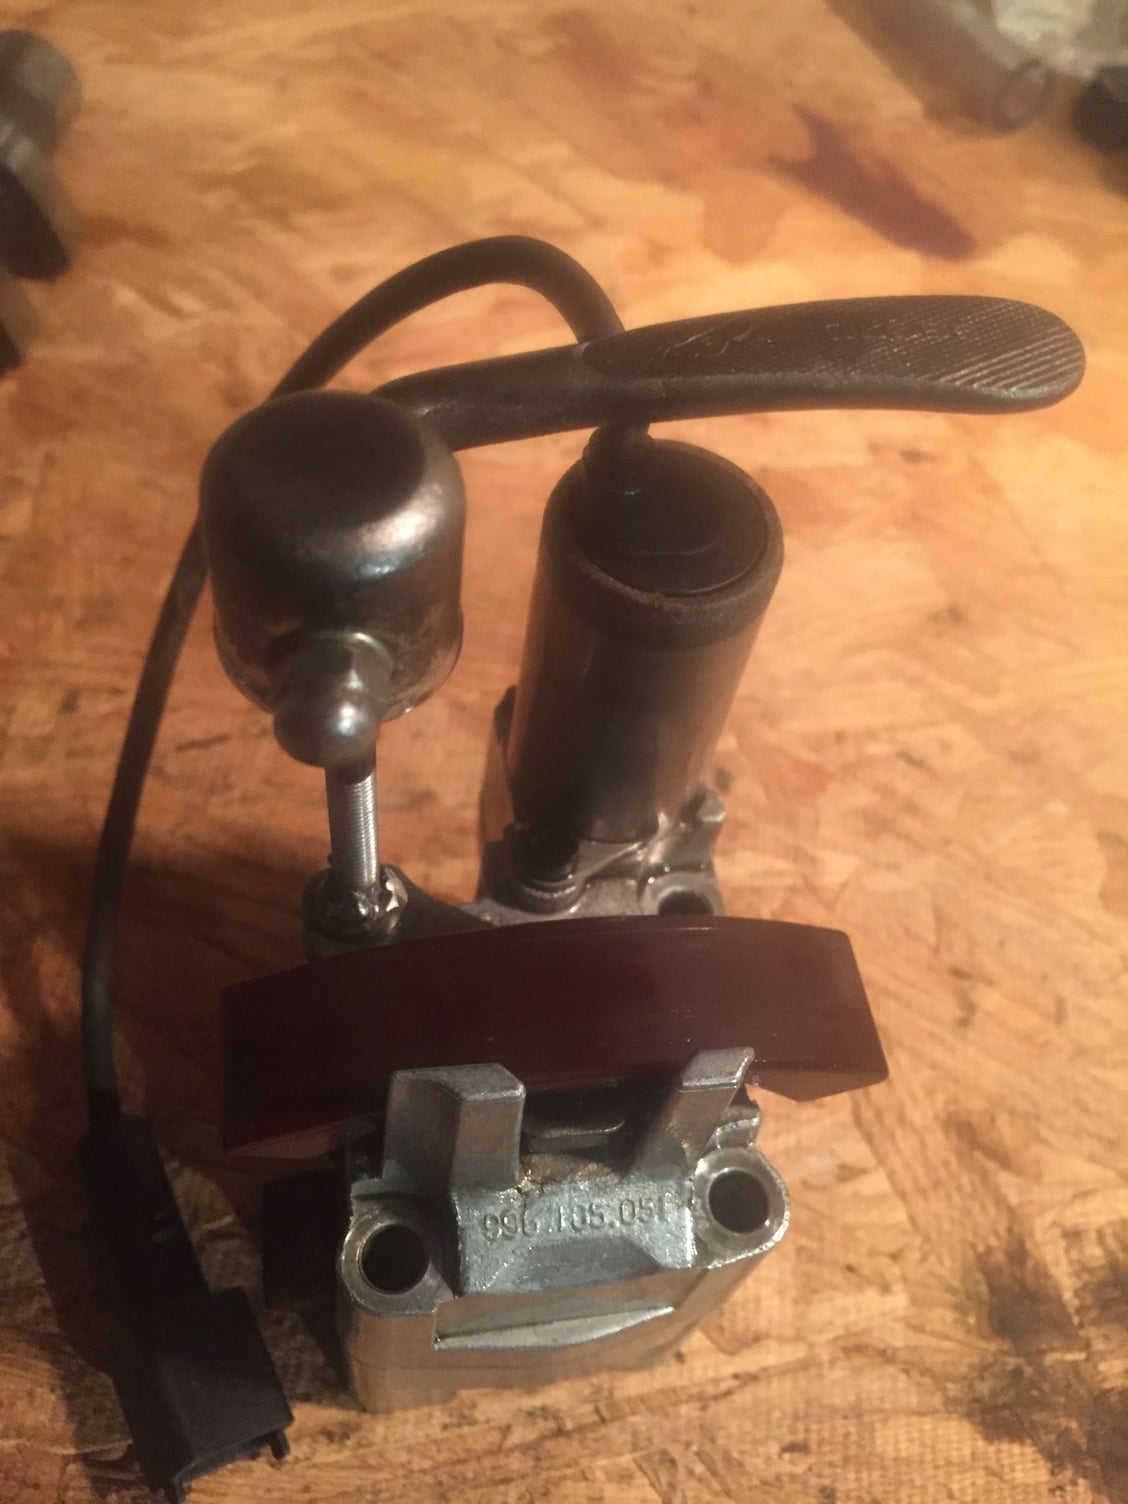
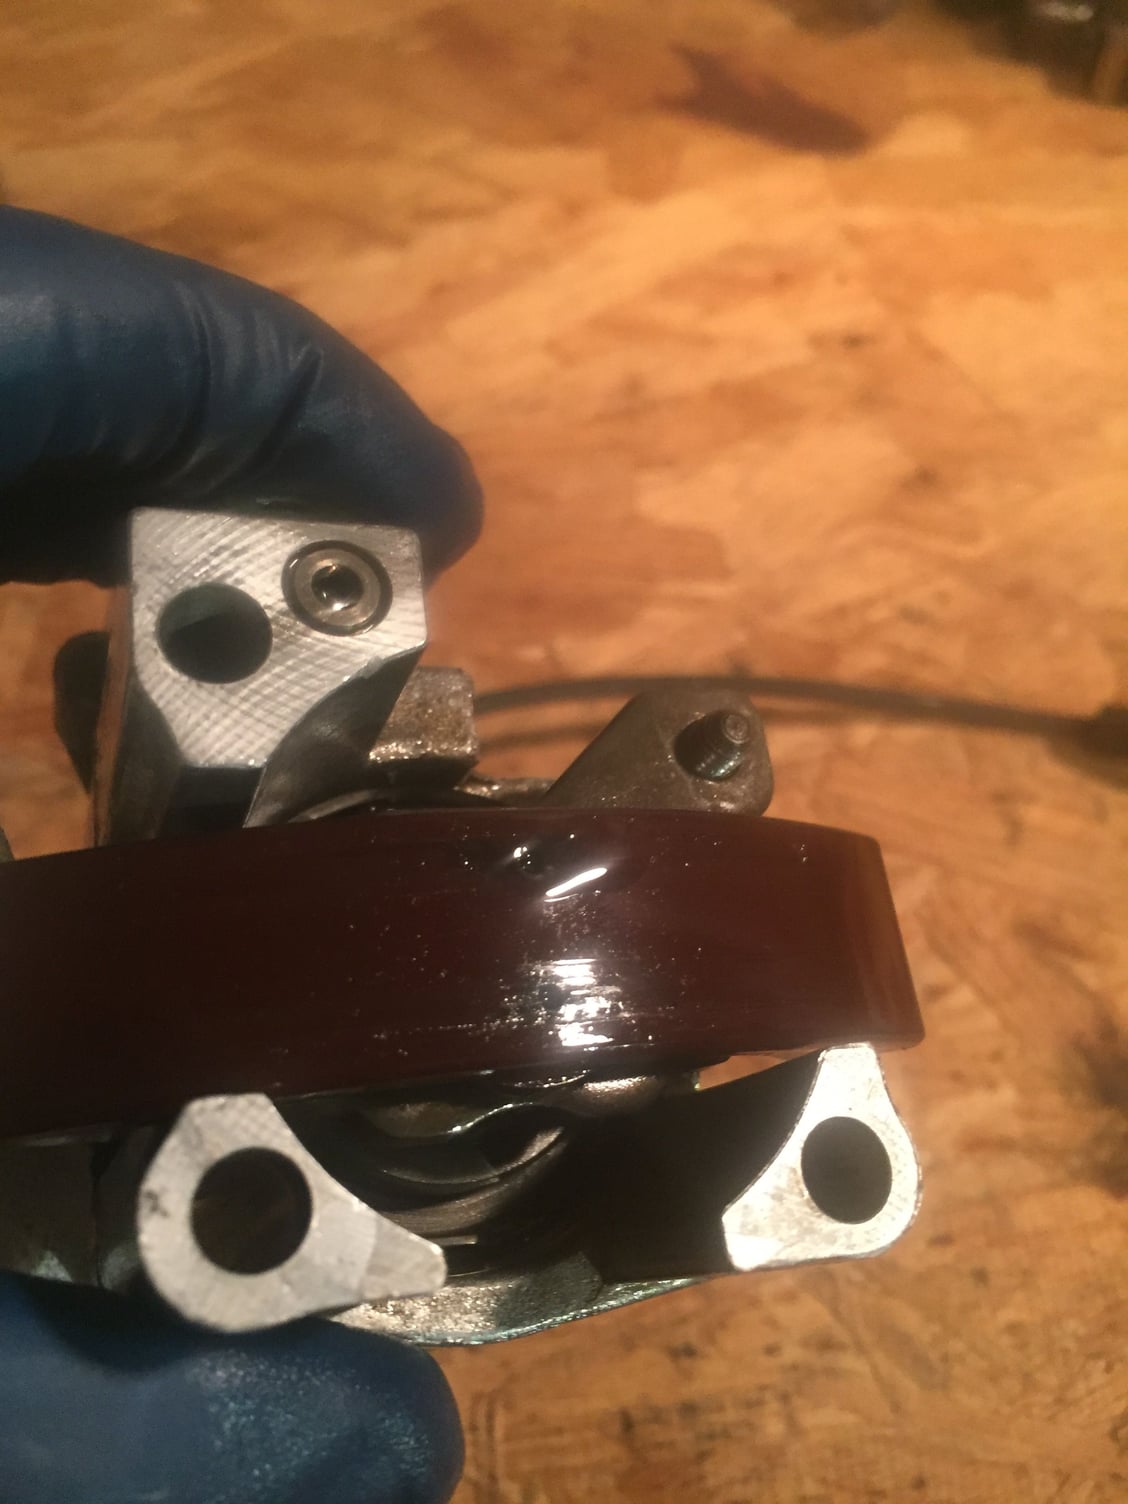
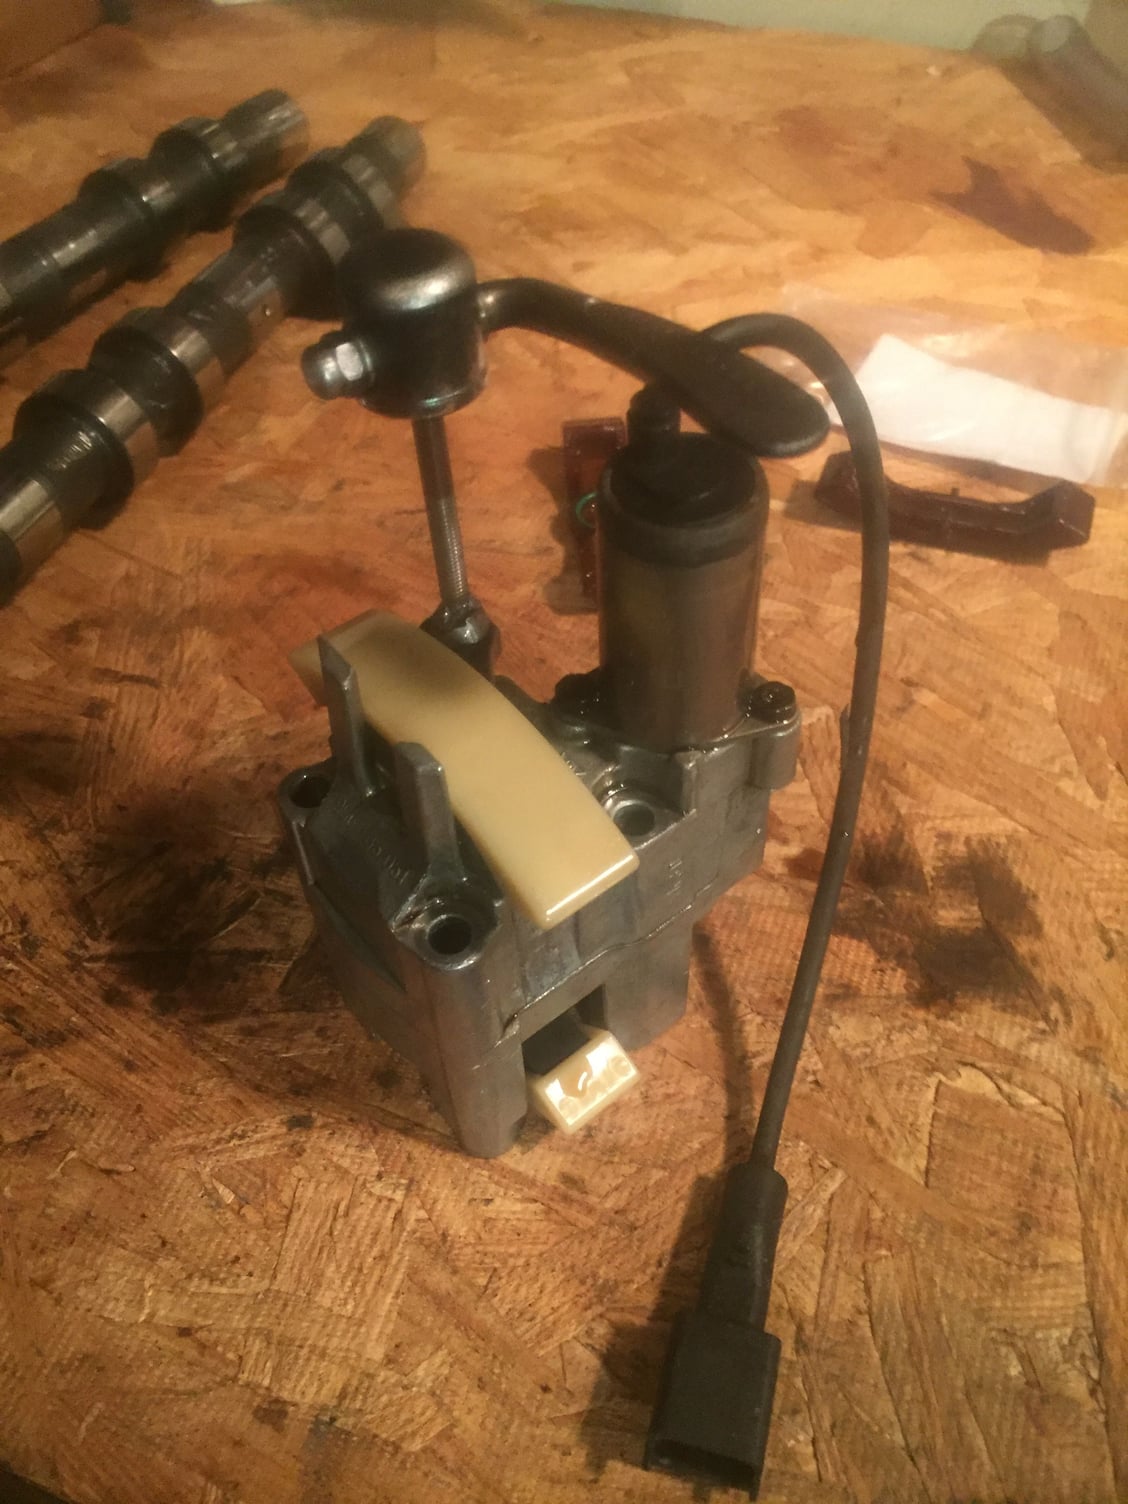
I got the vari-cam pads last night. All of 15 minutes to actually change them out...bank one is now done. The pads themselves were barely worn. I'm thinking maybe the actuator is bad? How can I check it?
*** for some reason my photos won't upload... I've tried twice now...😰
I'll try this one more time
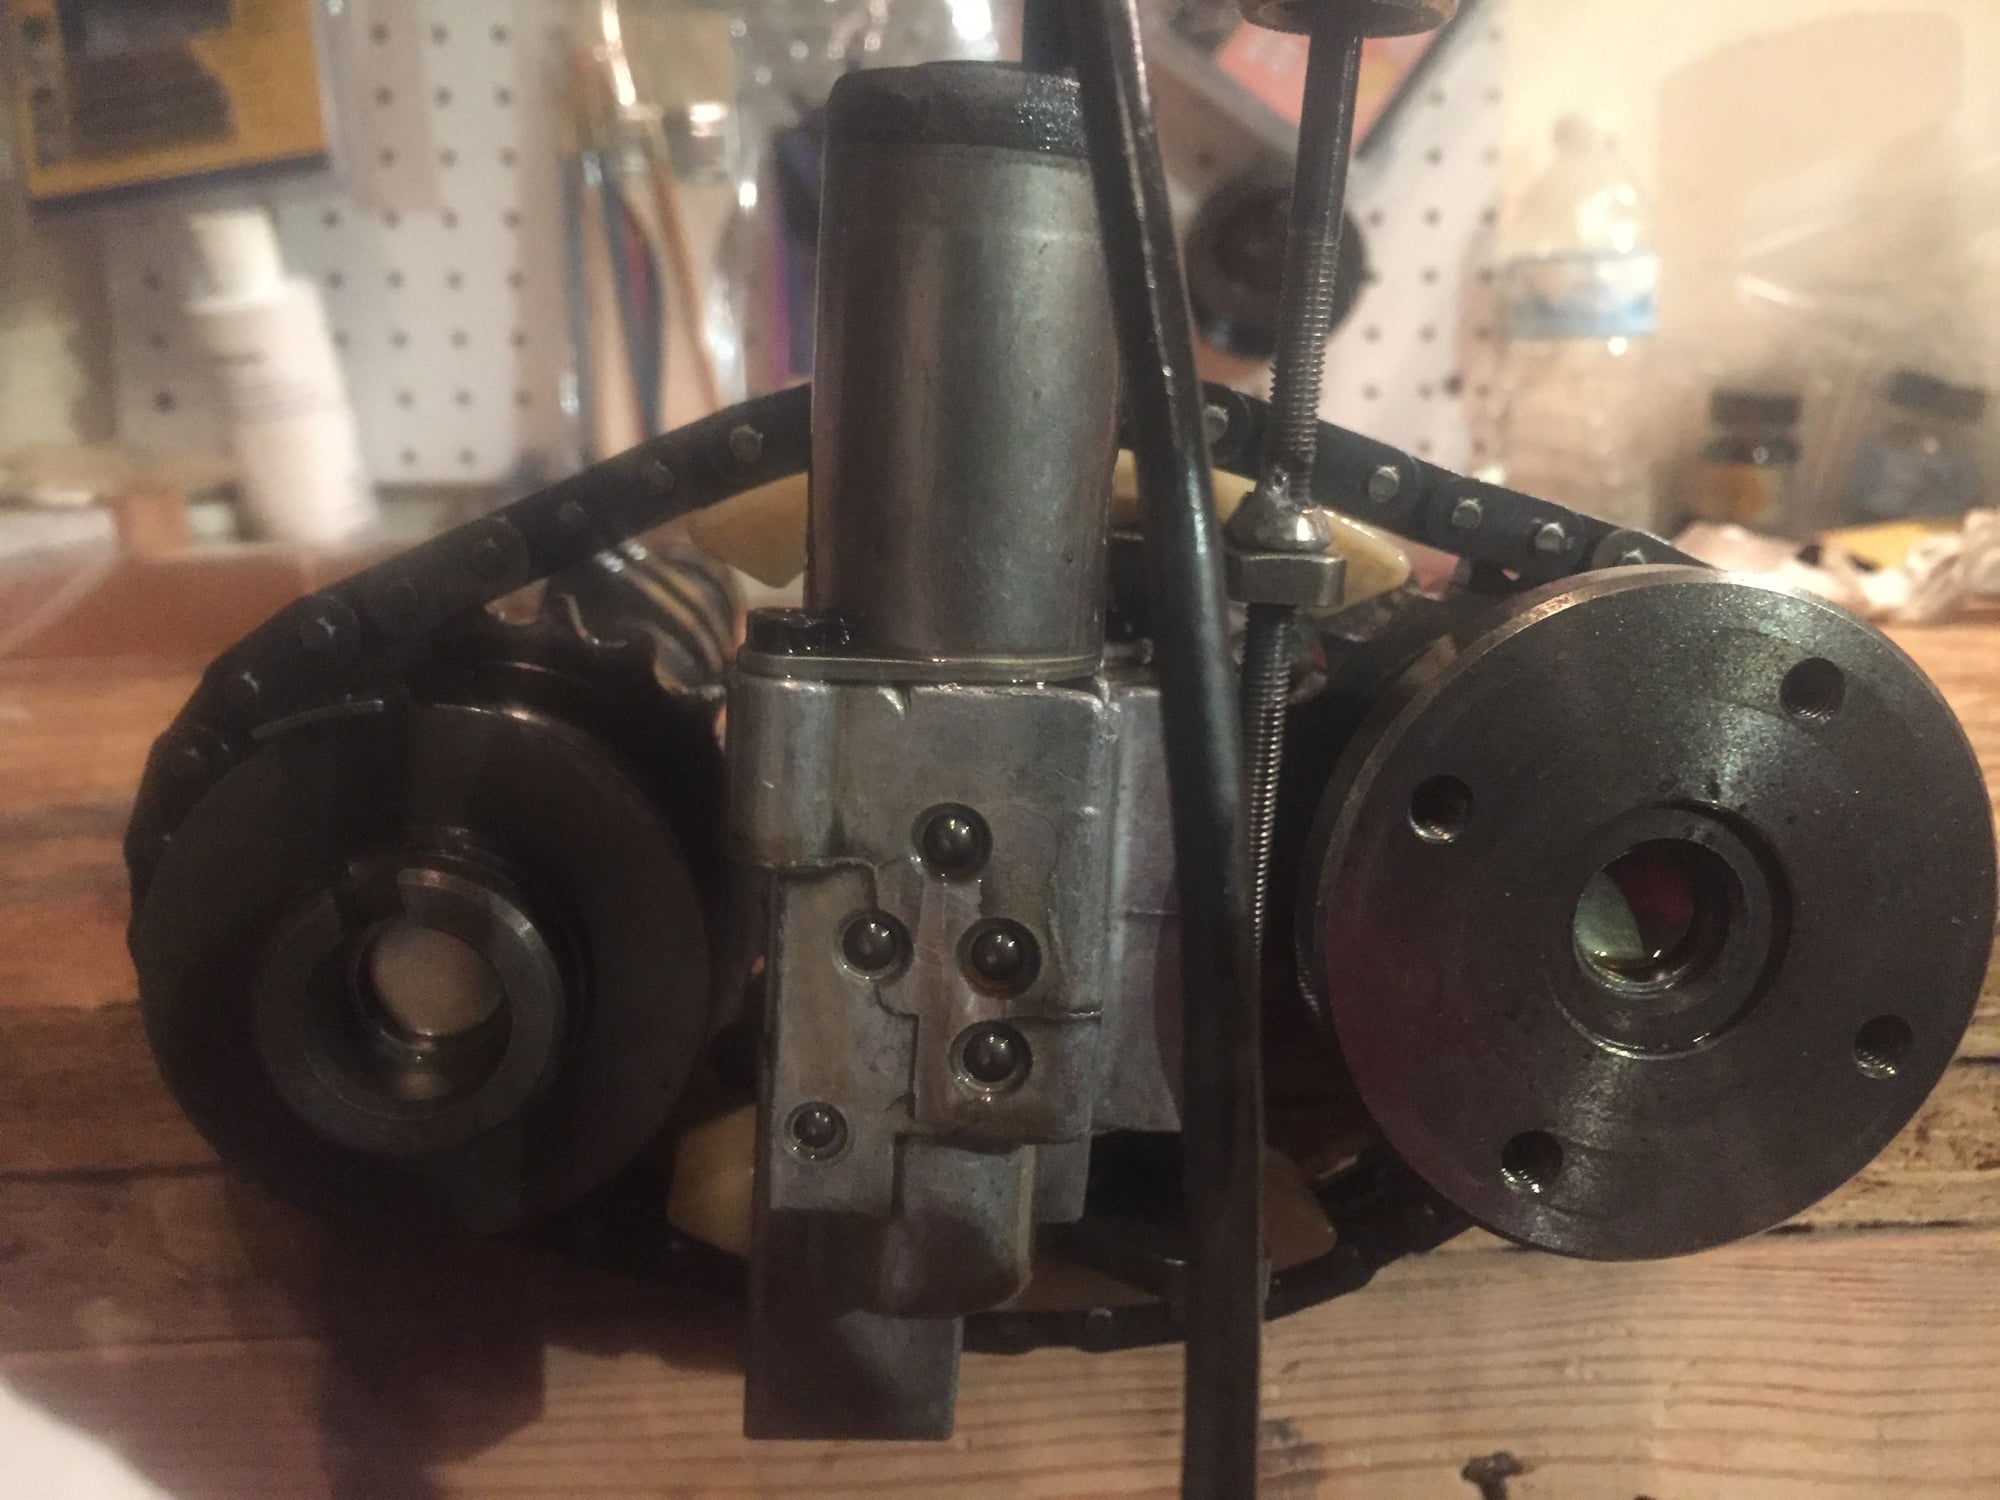
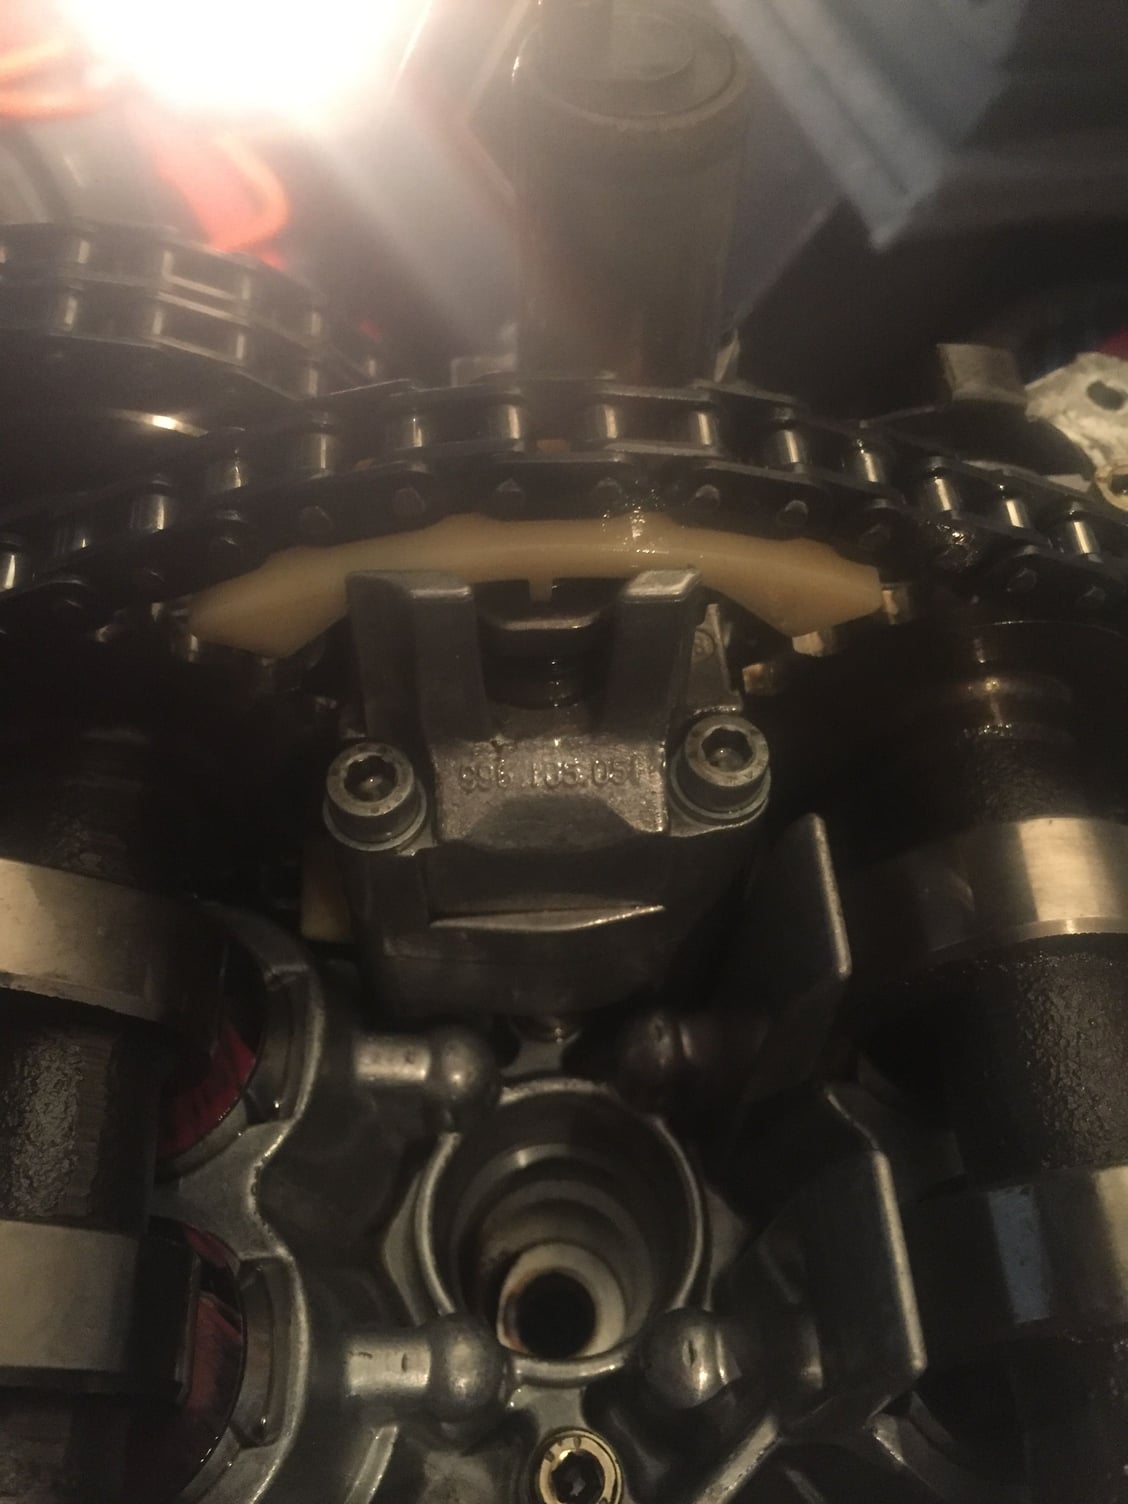
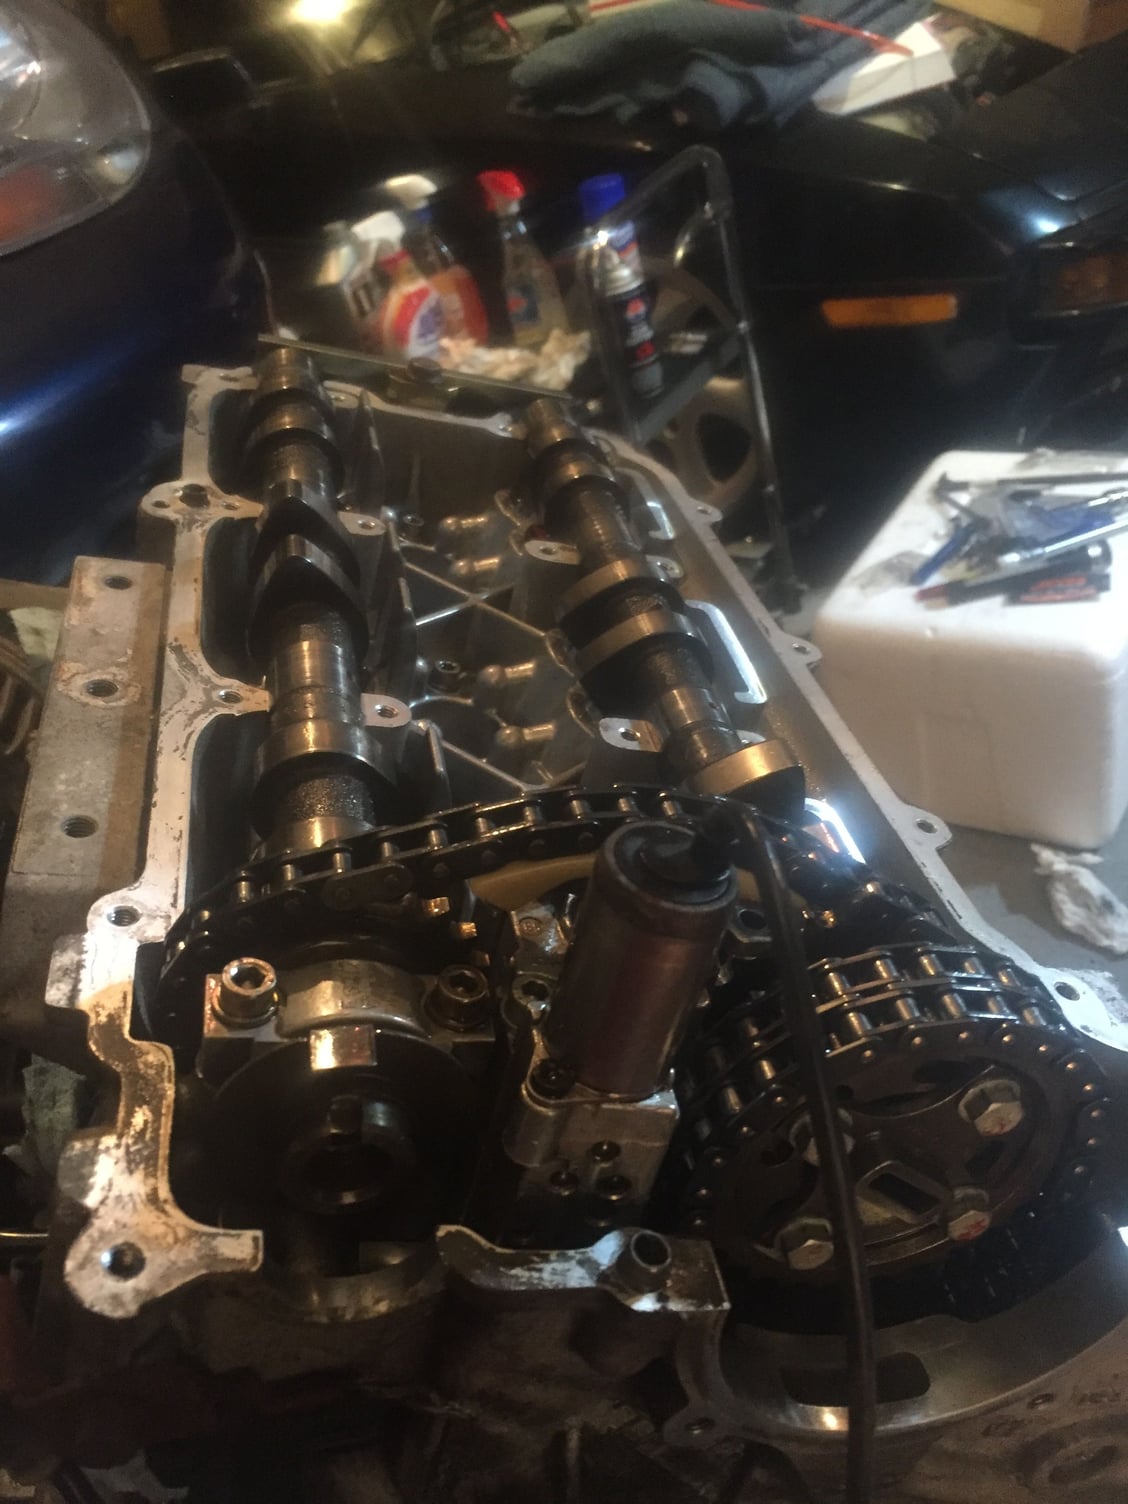
Bank 1 Cams out on the bench Actuator out. Top rail very little wear Bottom rail very little wear New rails installed Actuator back in. The trick to installation is to let the sprockets hang off the edge of the bench Back in the motor All back in with all bolts torqued.
Interesting that you did not find the pads worn. So what are you going to do? Put everything back together or troubleshoot the actuators while out of the car?
 05-25-2017, 06:44 PM

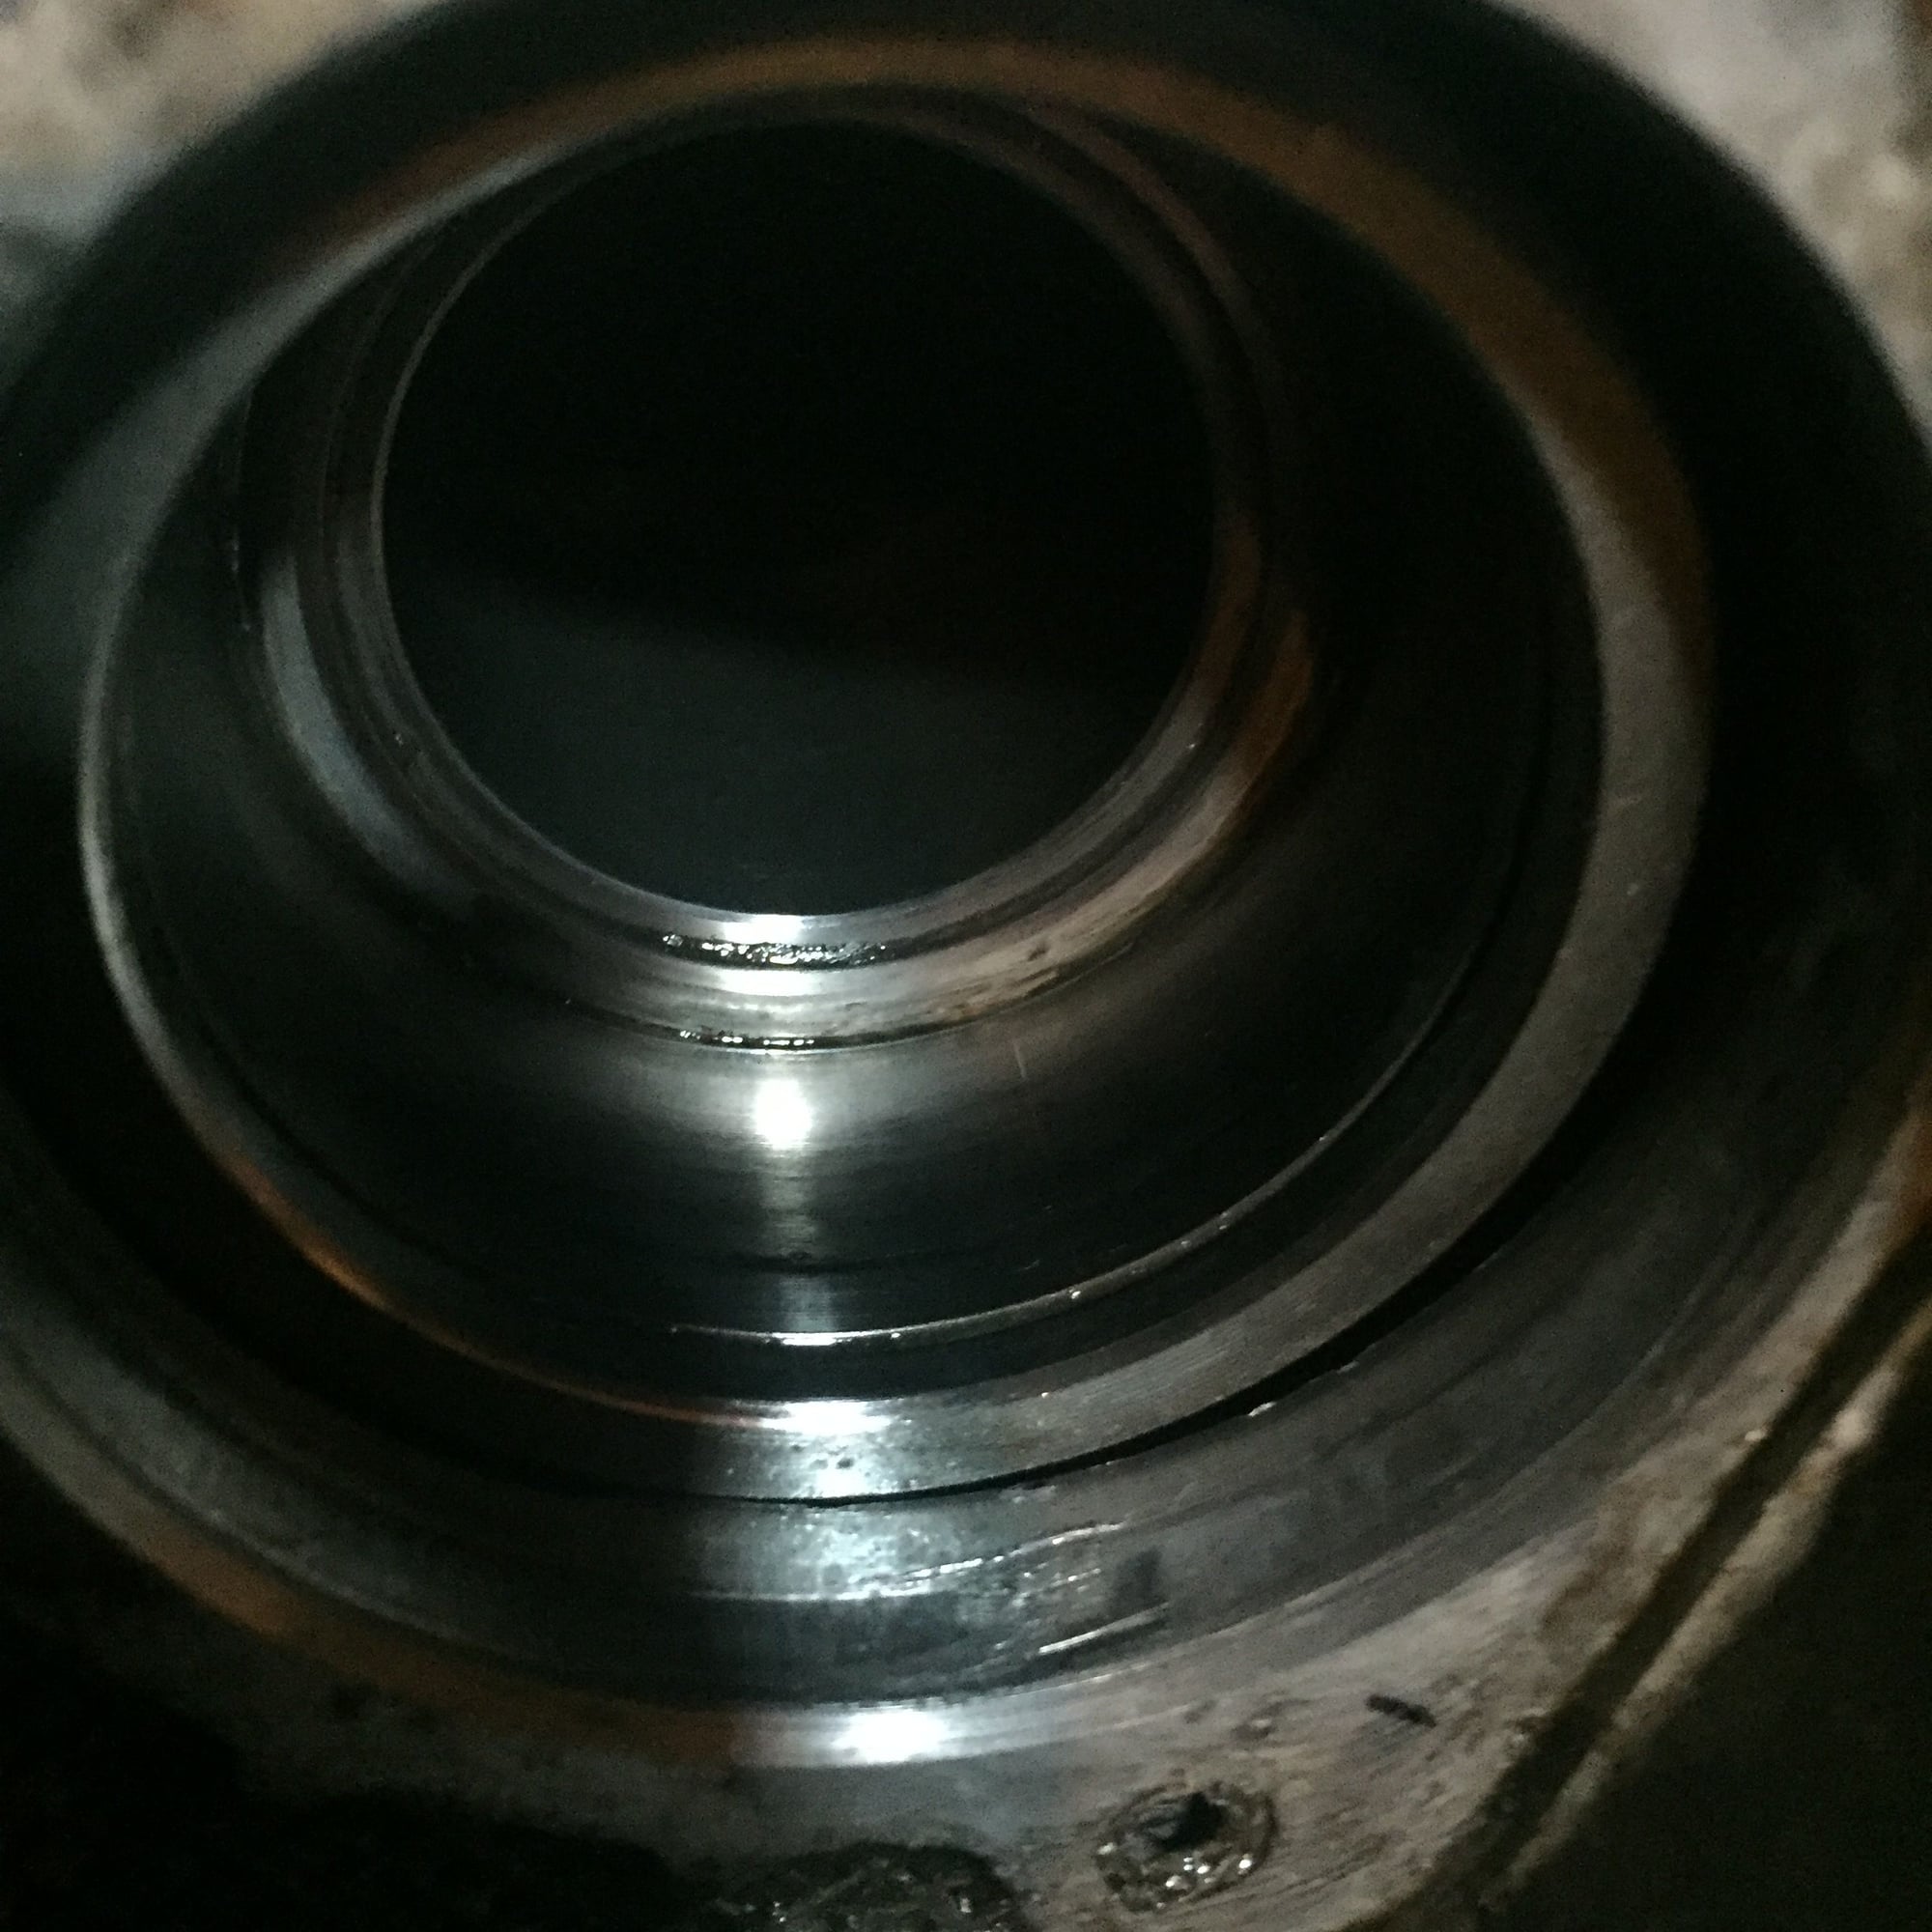


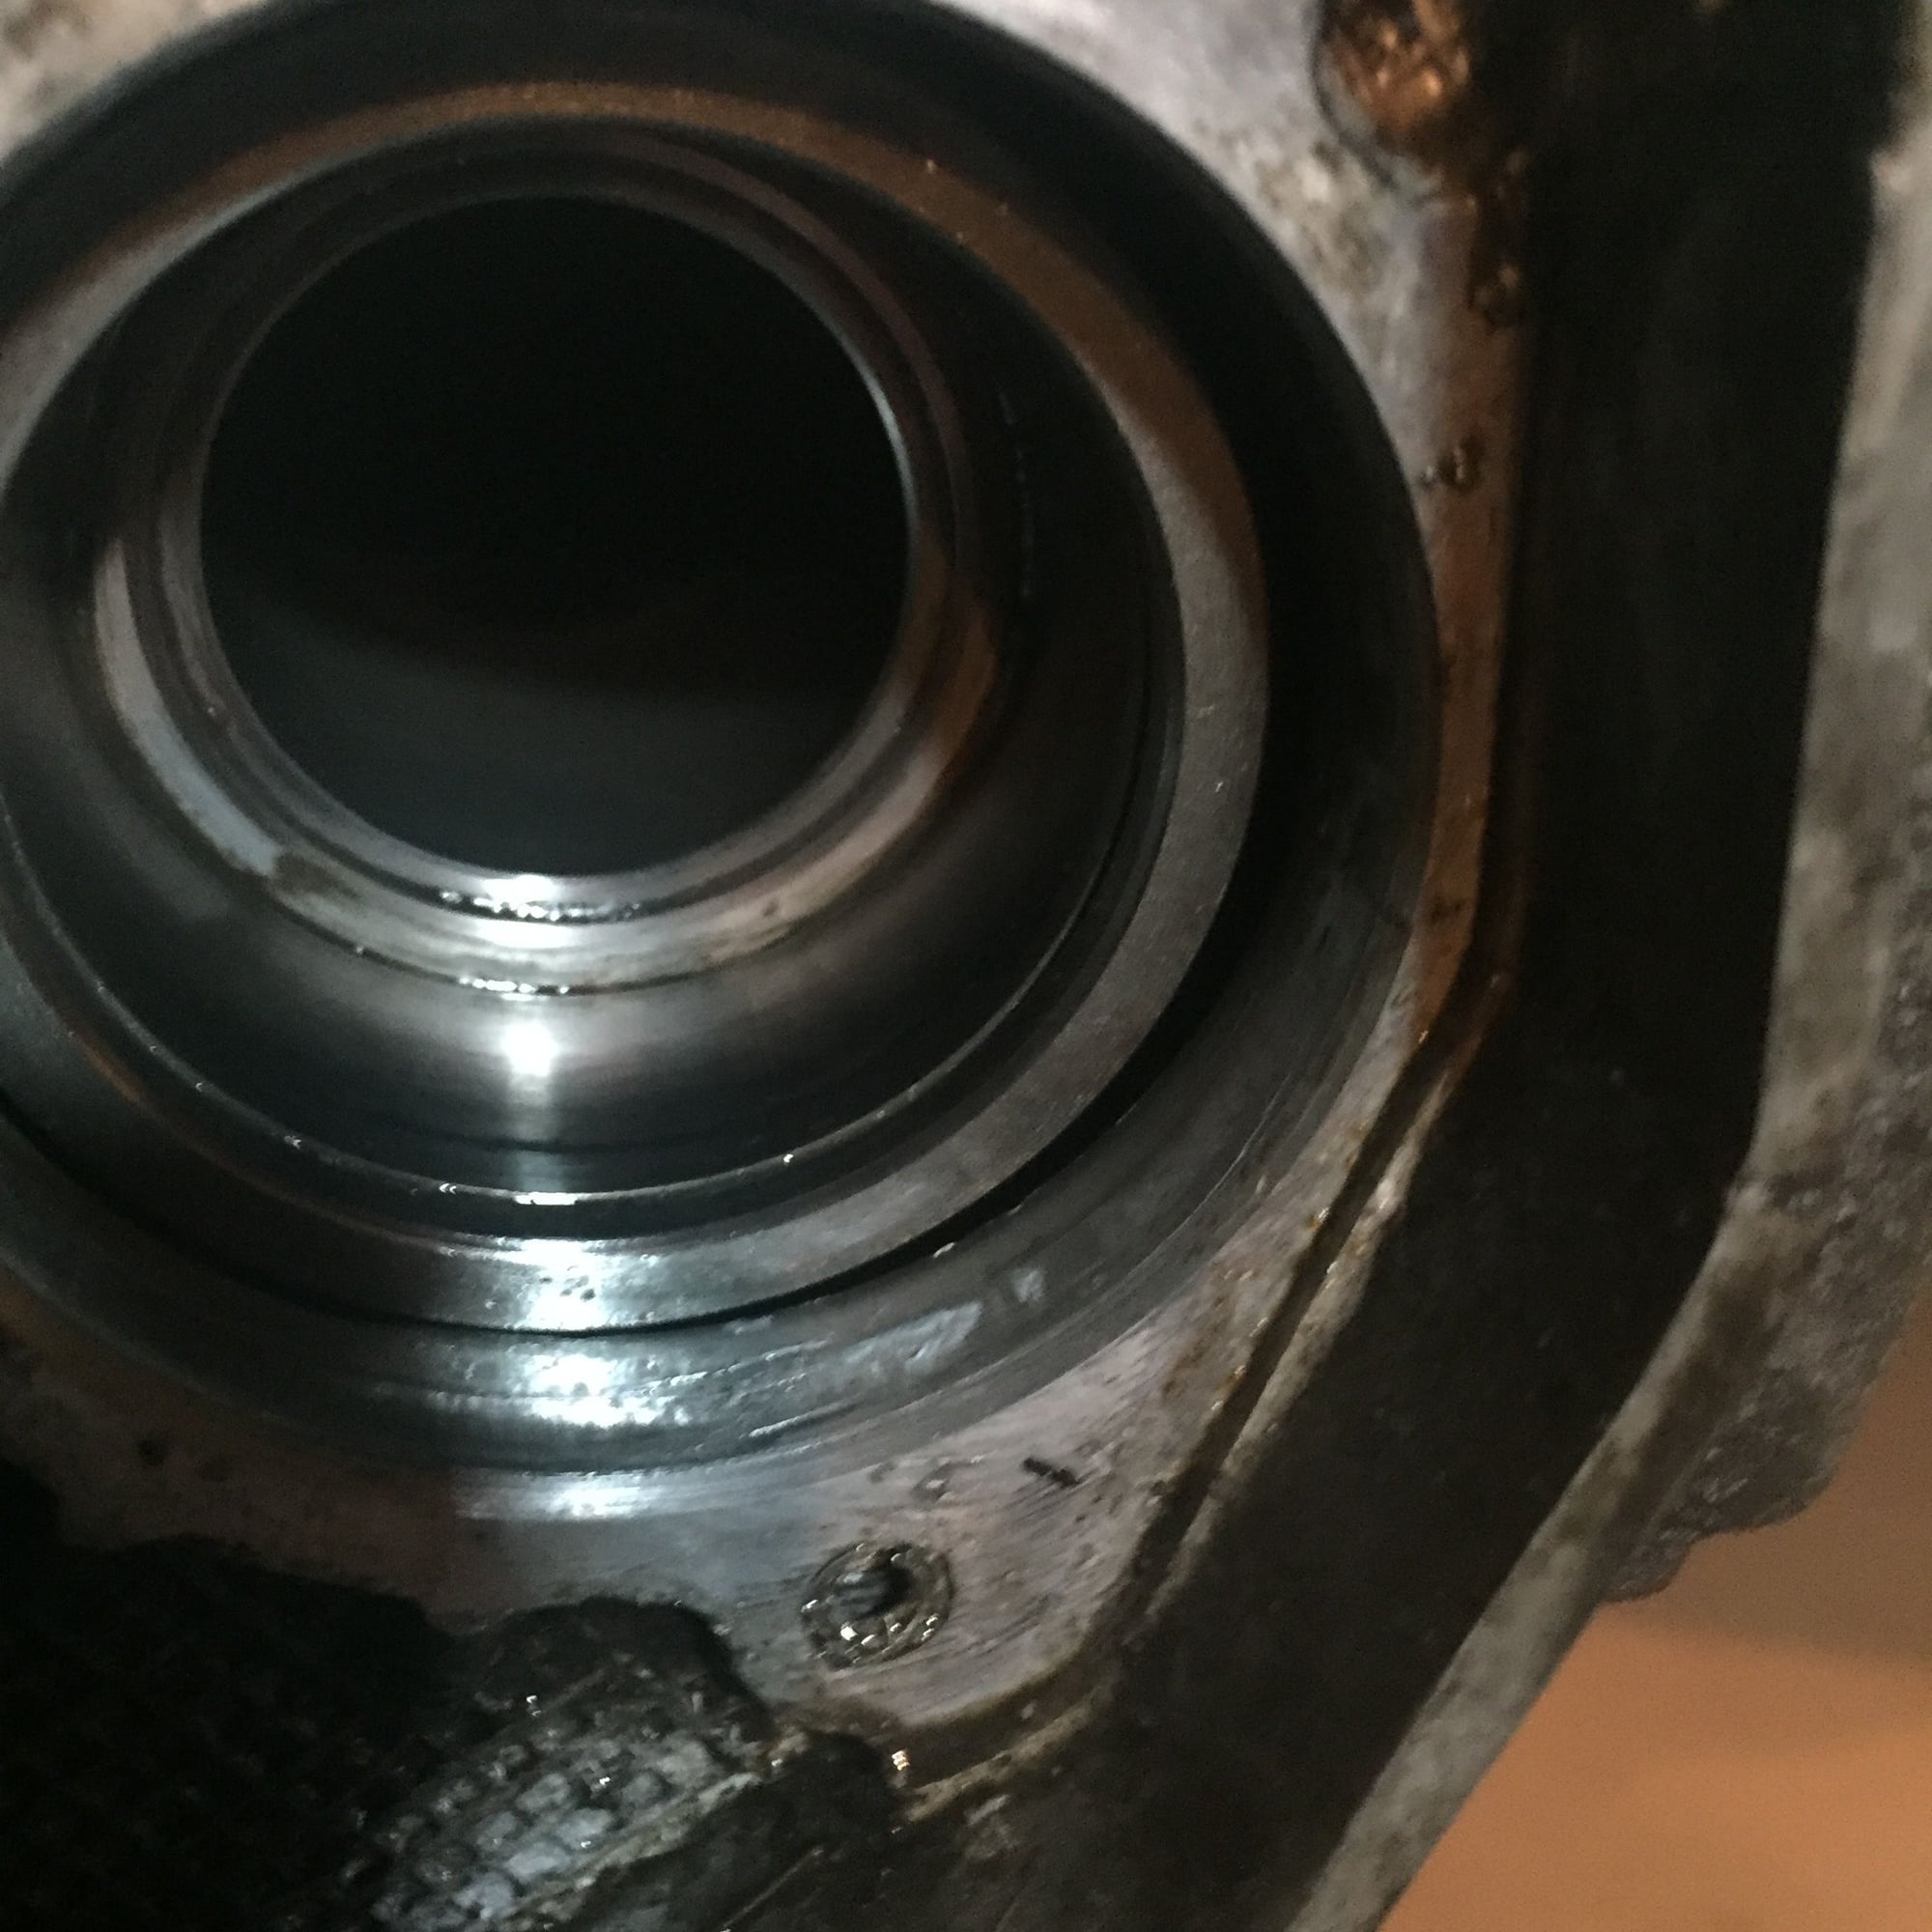
") The question now is how to deal with the bore. I'm thinking I'm just going to try to burnish the little ridge that's there and then just use a little sealant when I install the flange. Sound feasible? Any other ideas?
The question now is how to deal with the bore. I'm thinking I'm just going to try to burnish the little ridge that's there and then just use a little sealant when I install the flange. Sound feasible? Any other ideas?