
Complete Bose Stereo Overhaul Underway
 04-27-2014, 01:46 PM
#16
Rennlist Member
Thread Starter
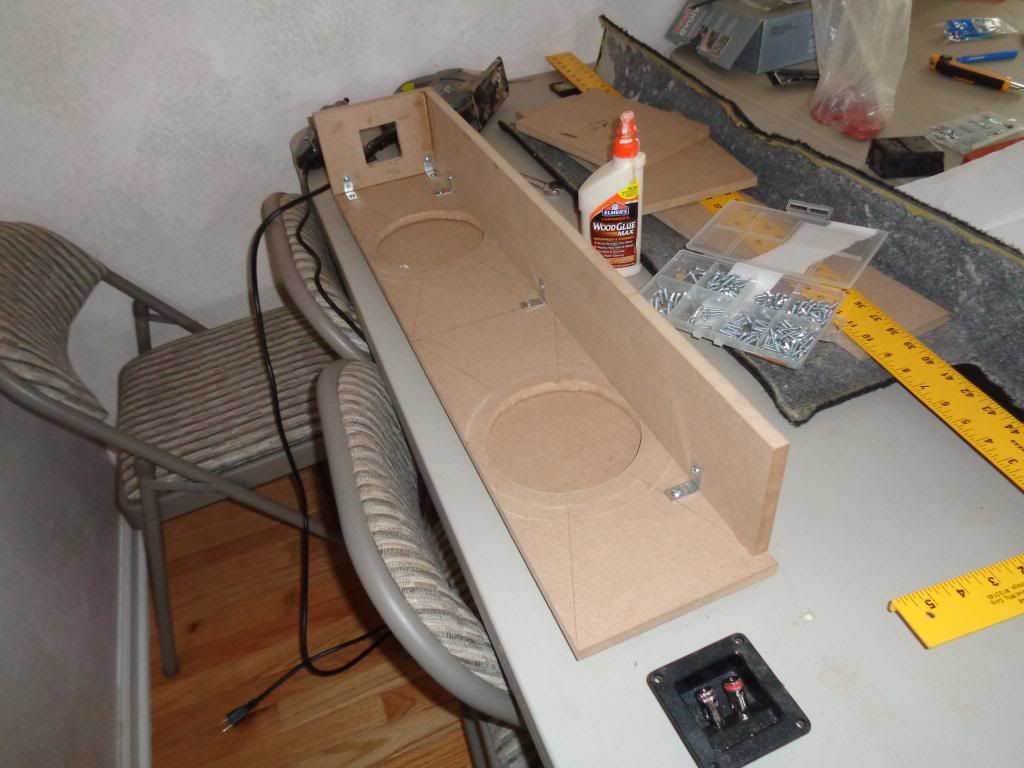
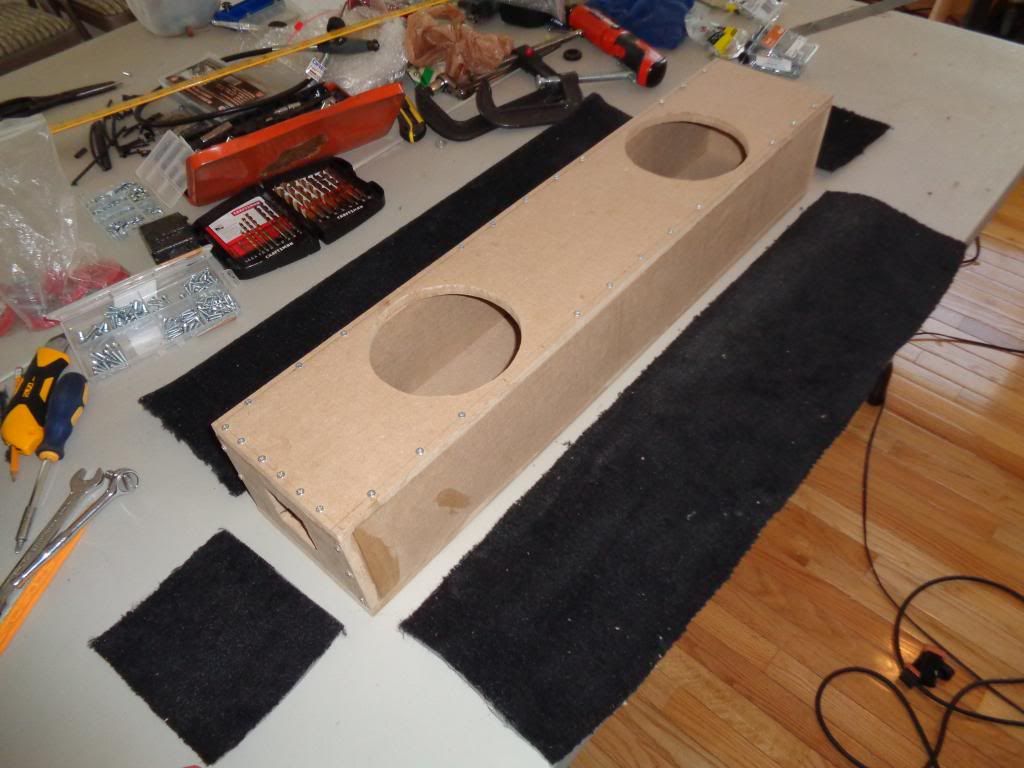
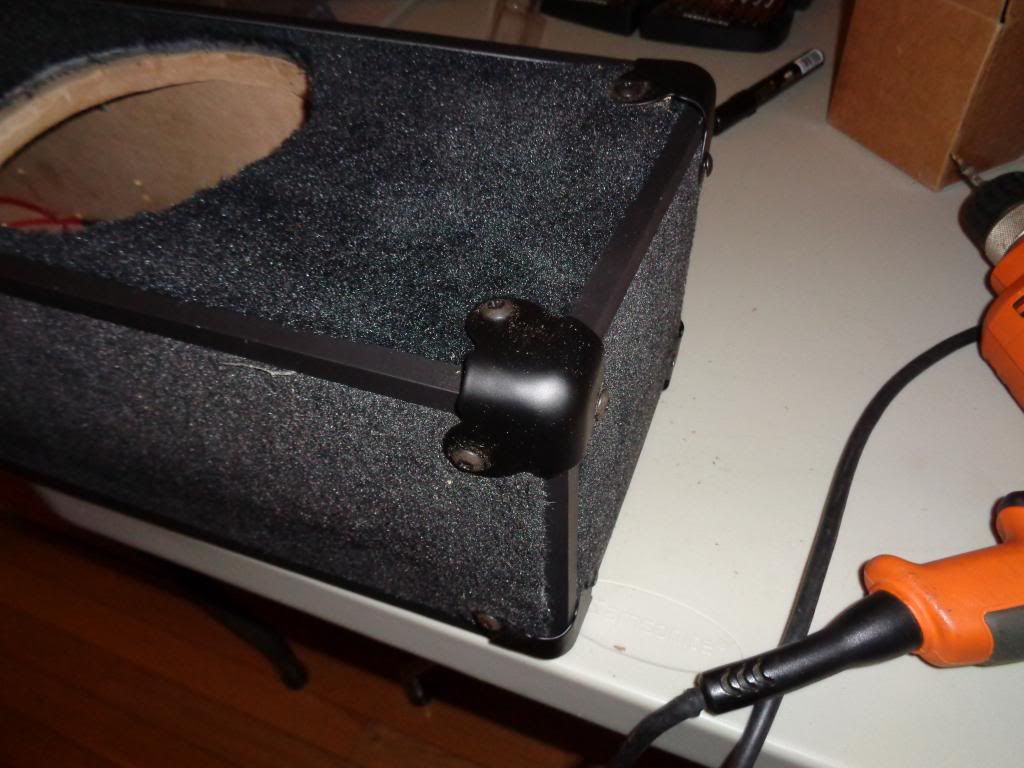
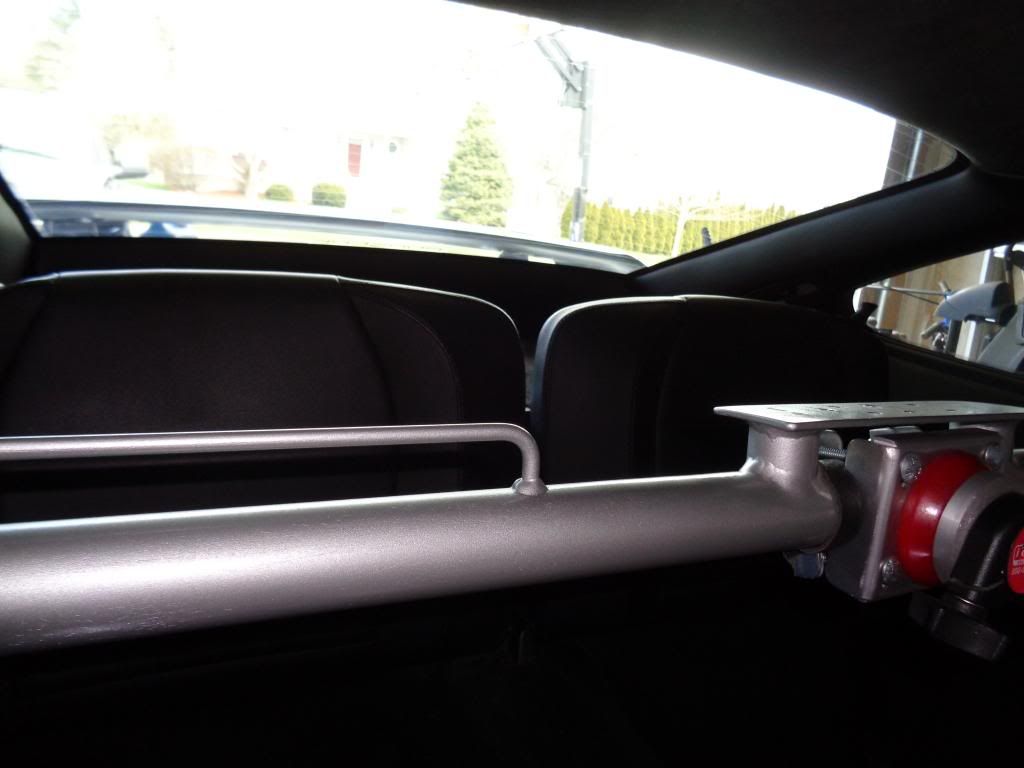
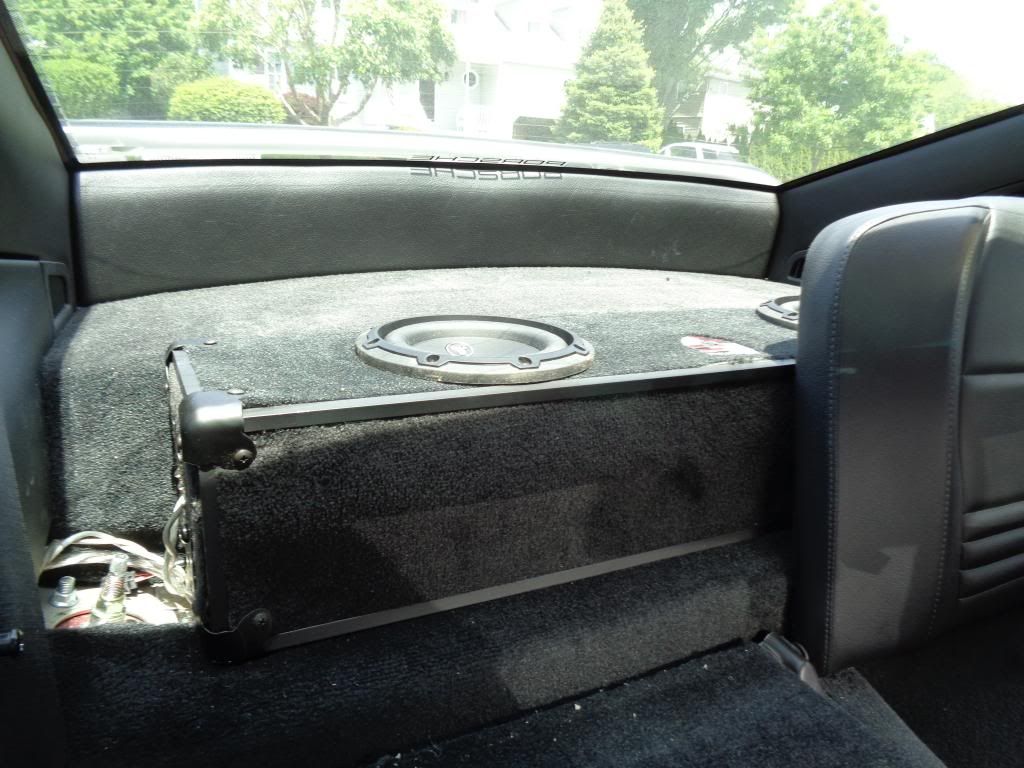
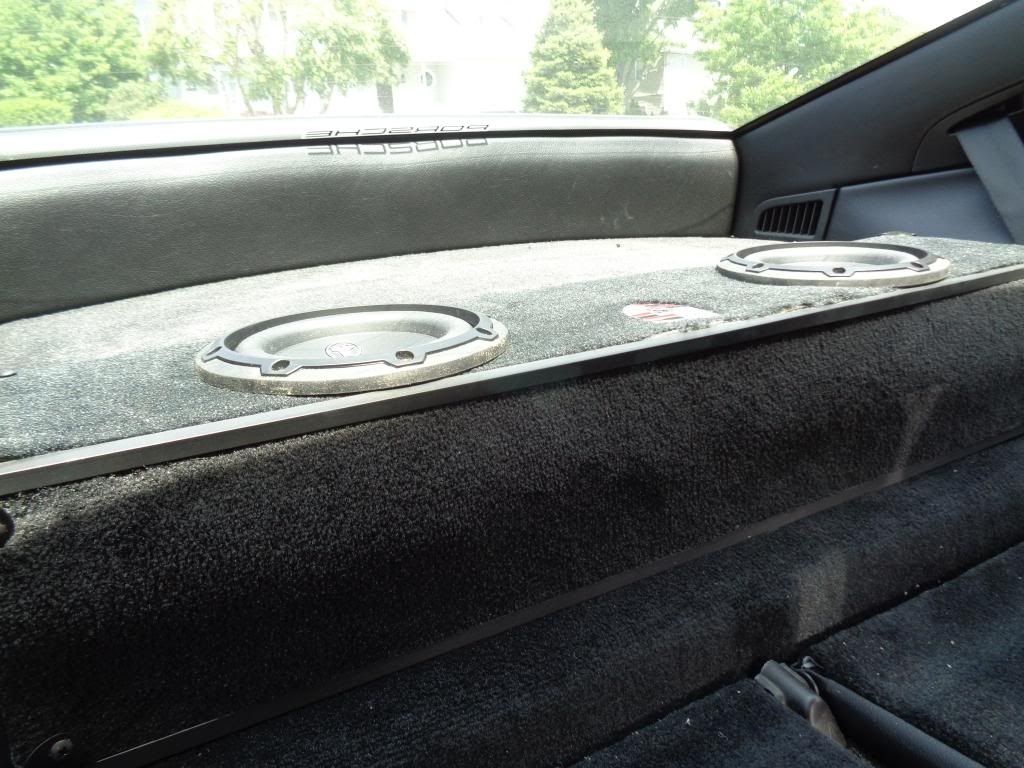
I installed the Alpine subwoofer but did not like the way it looked (too bulky) so I went back to my initial plan which was (2) JL 6W3v3-4 6.5" subwoofers. Now I needed to build a box which created a lot of extra effort. I built a 31"x 6 1/2" x 5 1/2" (LxWxH) box out of 1/2" MDF which fits with the rear seatbacks in the upright position and provides enough volume to support the subs.
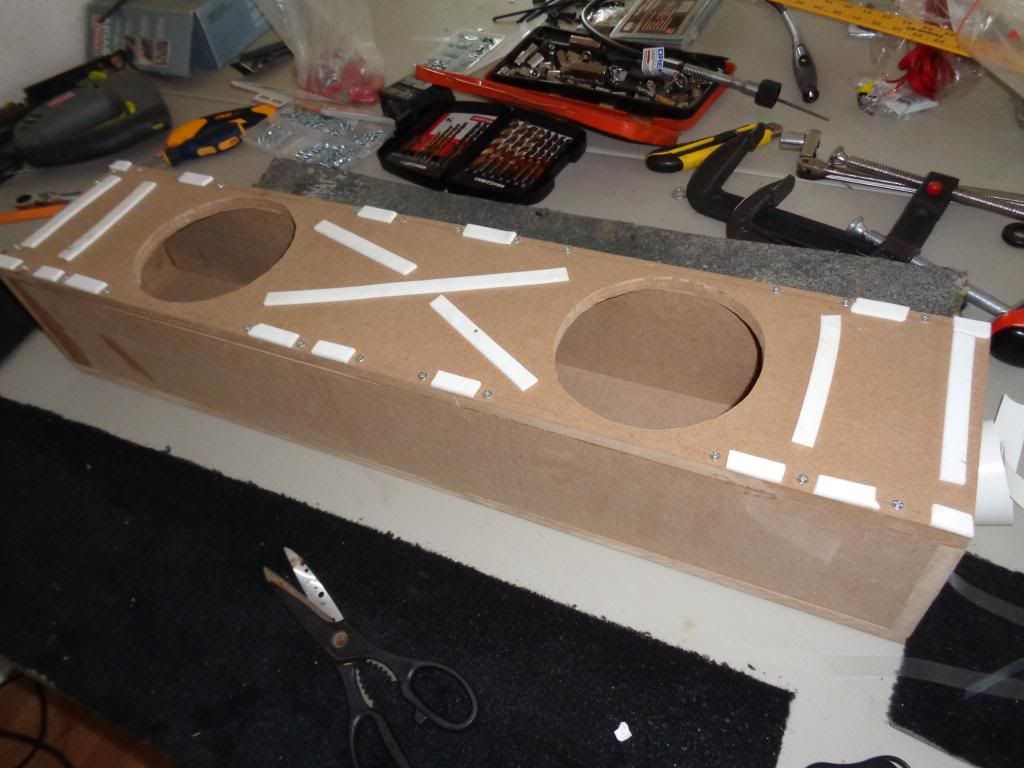
Building Box
I sourced a 996 upper rear deck carpet from LA Dismantlers and cut it to size
Double sided tape to secure the carpet
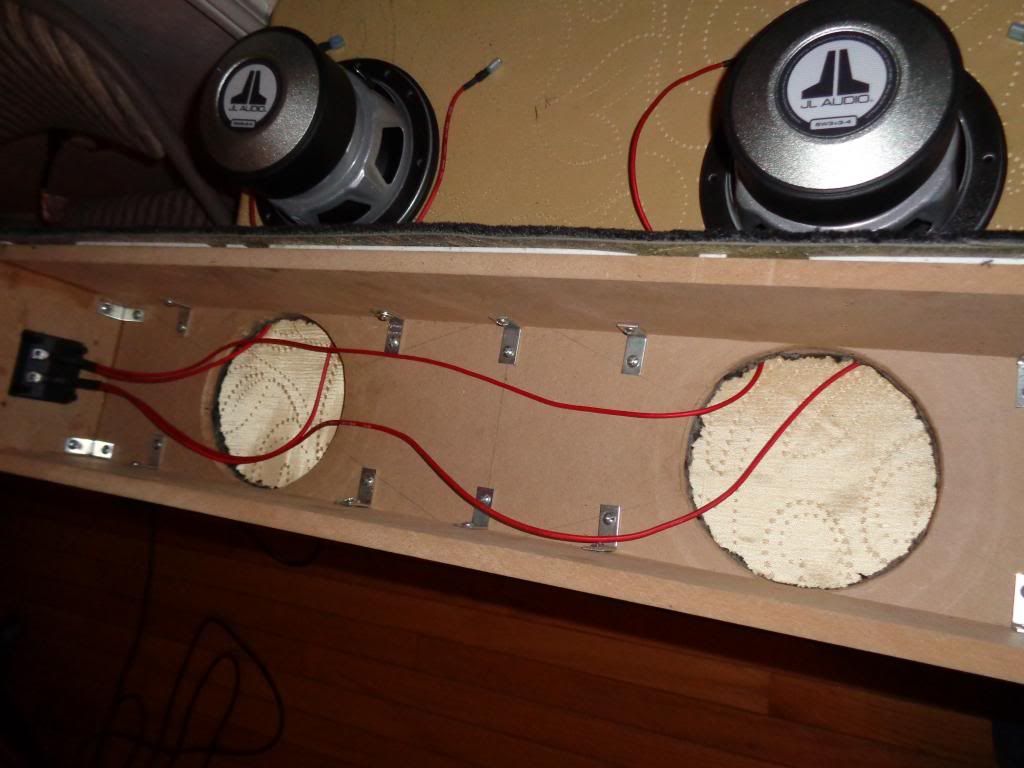
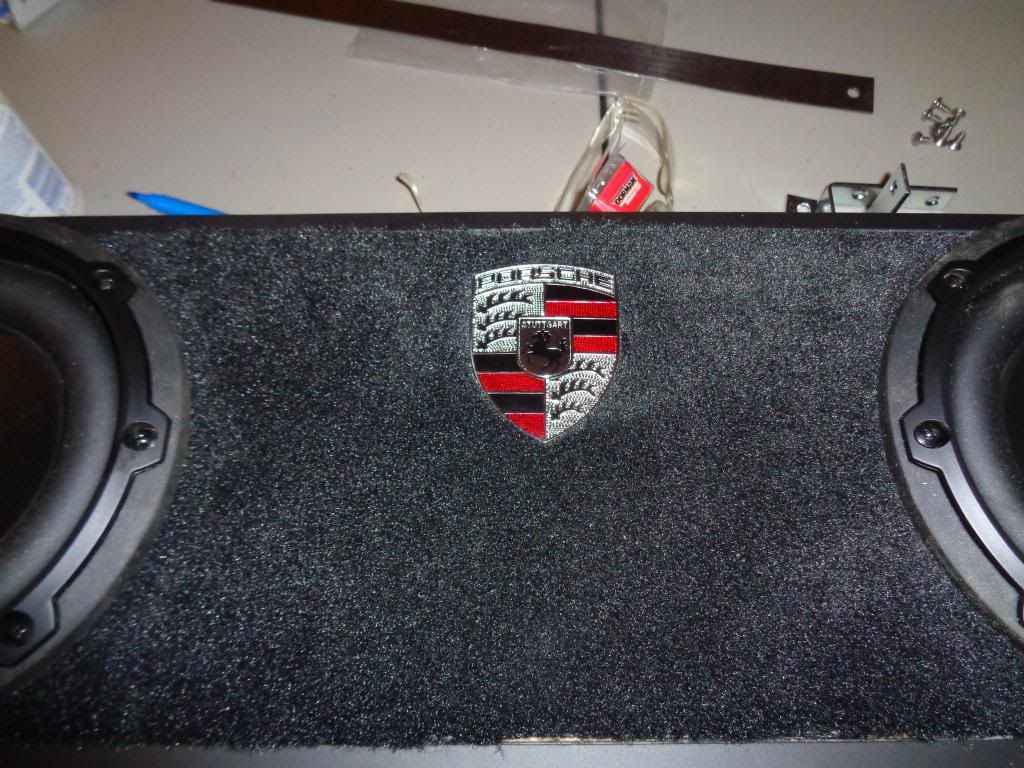
Subs wired in parallel (+ to +, - to -)
Trim pieces added (I used 3/8" aluminum angle trim...could have went a little larger to better cover up the edges)
Bling added
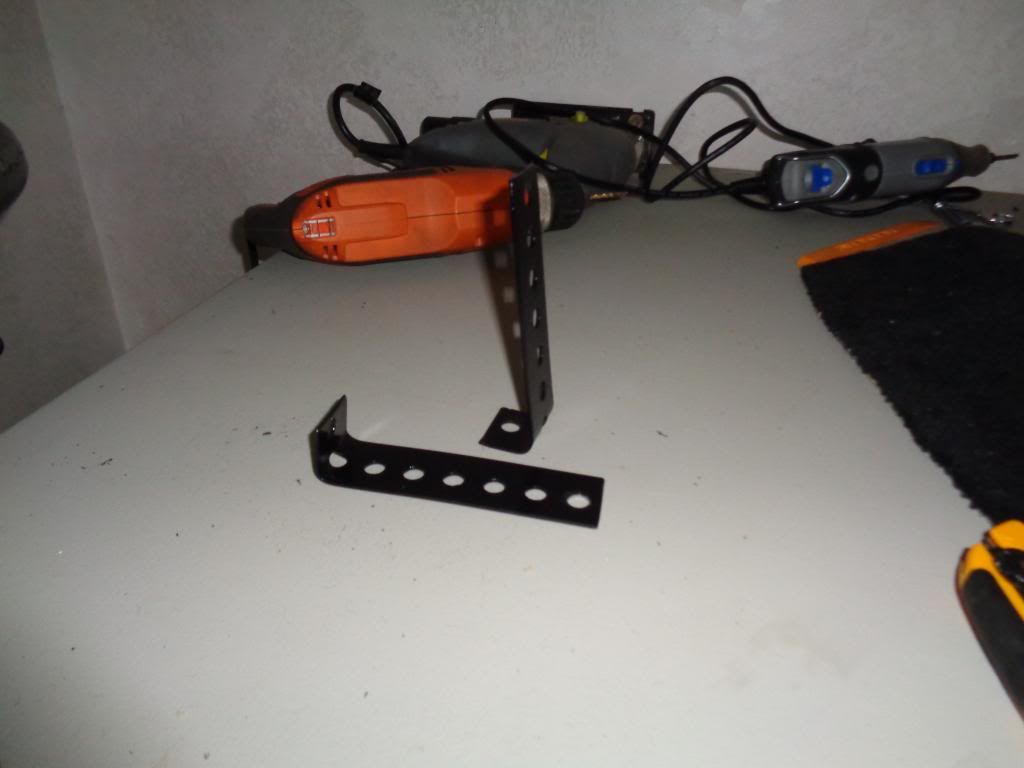
Custom (Home Depot) mounting brackets attached to the Bose mounting points

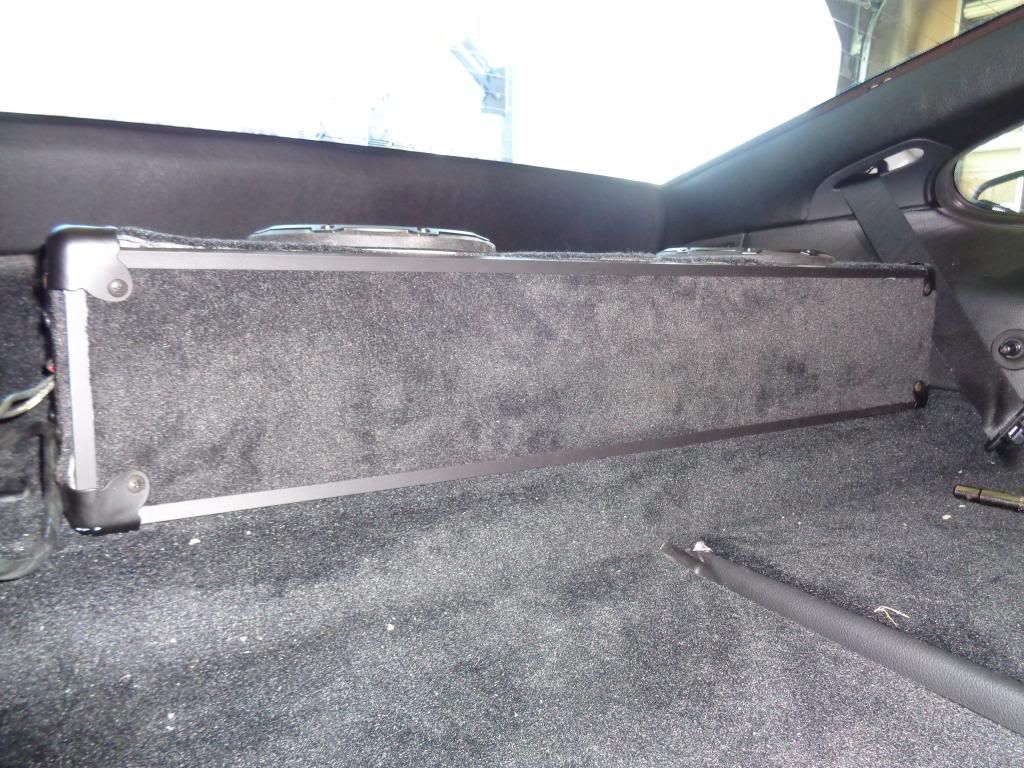
In the car, wired up and sounding very good!
Building Box

I sourced a 996 upper rear deck carpet from LA Dismantlers and cut it to size

Double sided tape to secure the carpet

Subs wired in parallel (+ to +, - to -)

Trim pieces added (I used 3/8" aluminum angle trim...could have went a little larger to better cover up the edges)

Bling added

Custom (Home Depot) mounting brackets attached to the Bose mounting points


In the car, wired up and sounding very good!


 04-28-2014, 07:40 AM
#18
Rennlist Member

Fly as usual very cool I recently upgraded my system as well and by the way don't forget fixup that battery tray!. little surprised LOL! ,okay good luck.
04-28-2014, 08:39 AM
#19
Rennlist Member
Thread Starter
What did you do with your system and good point on the battery tray�.
05-11-2014, 03:13 AM
#20
Rennlist Member
Thread Starter
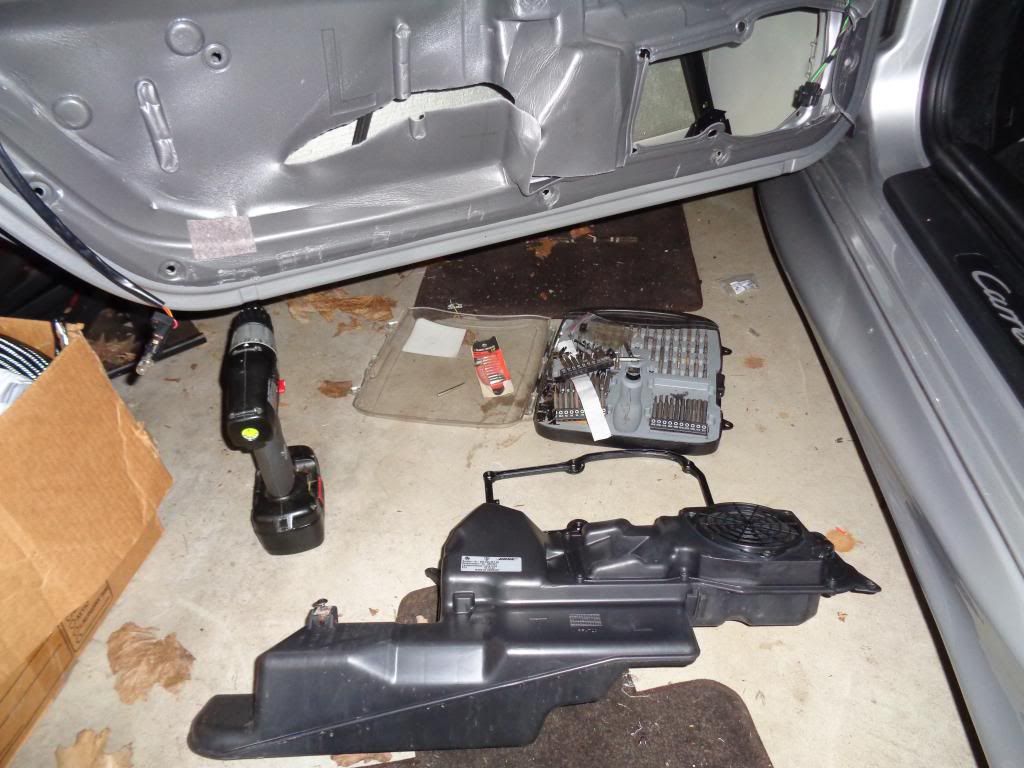
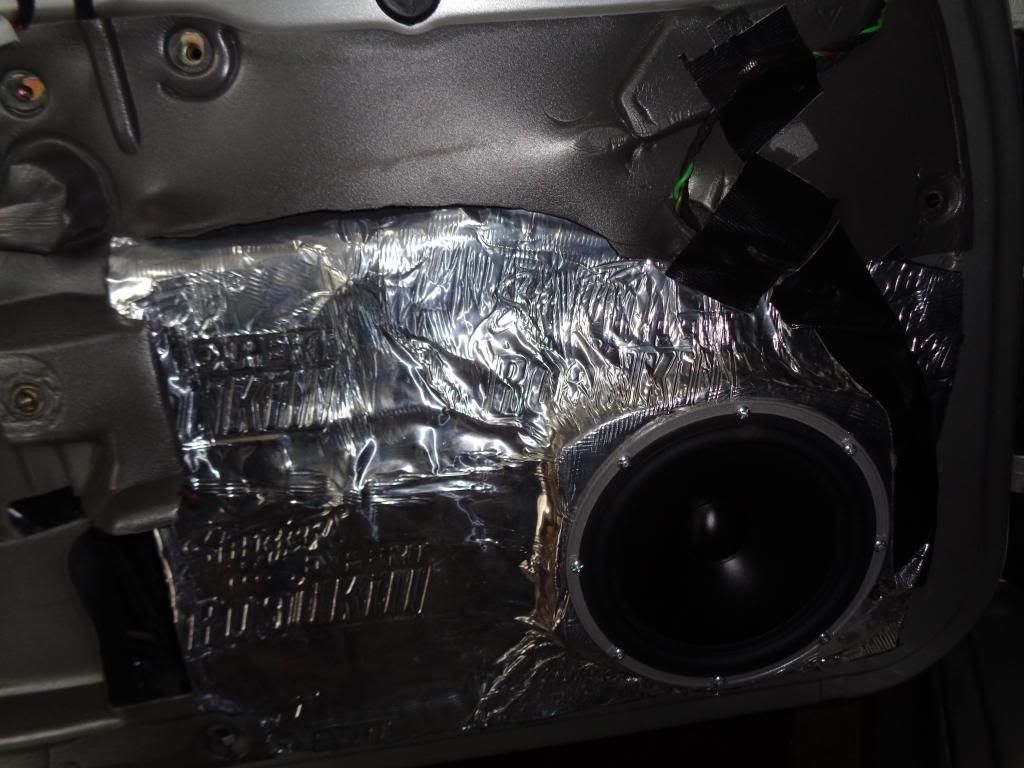
JL 6.5" Door Woofer installation. I used the Door Panel removal procedure detail by Rob in WA in order to remove the panel (see here for Rob's panel removal instructions) https://rennlist.com/forums/996-foru...-two-pics.html
Door Panel off:
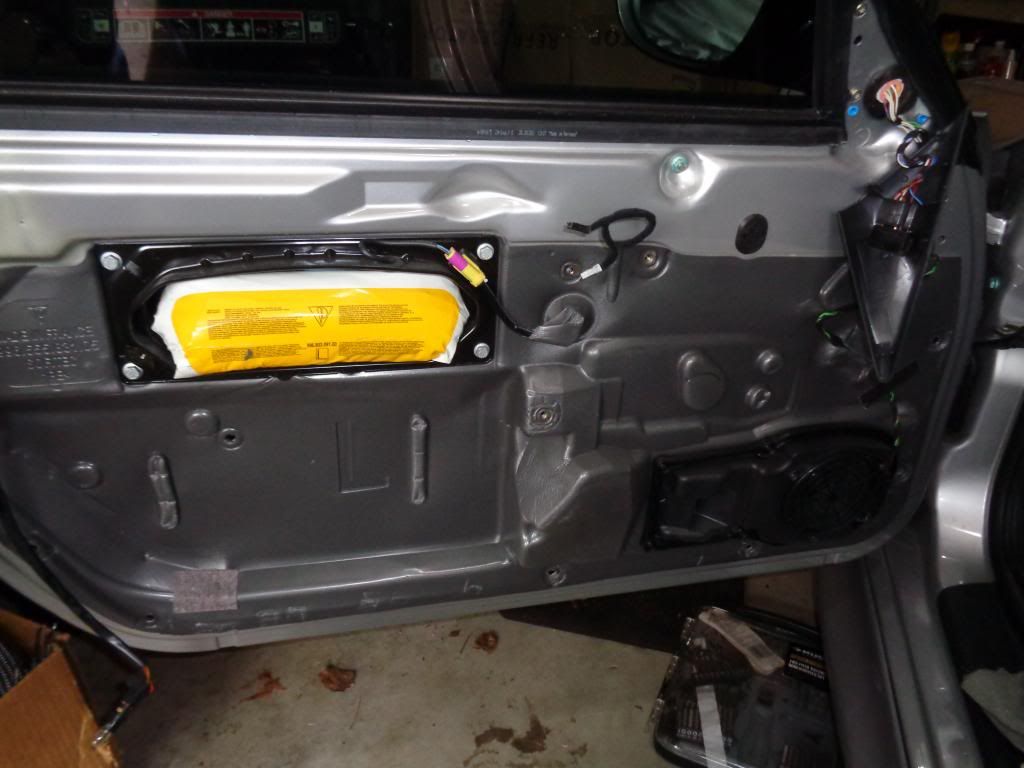
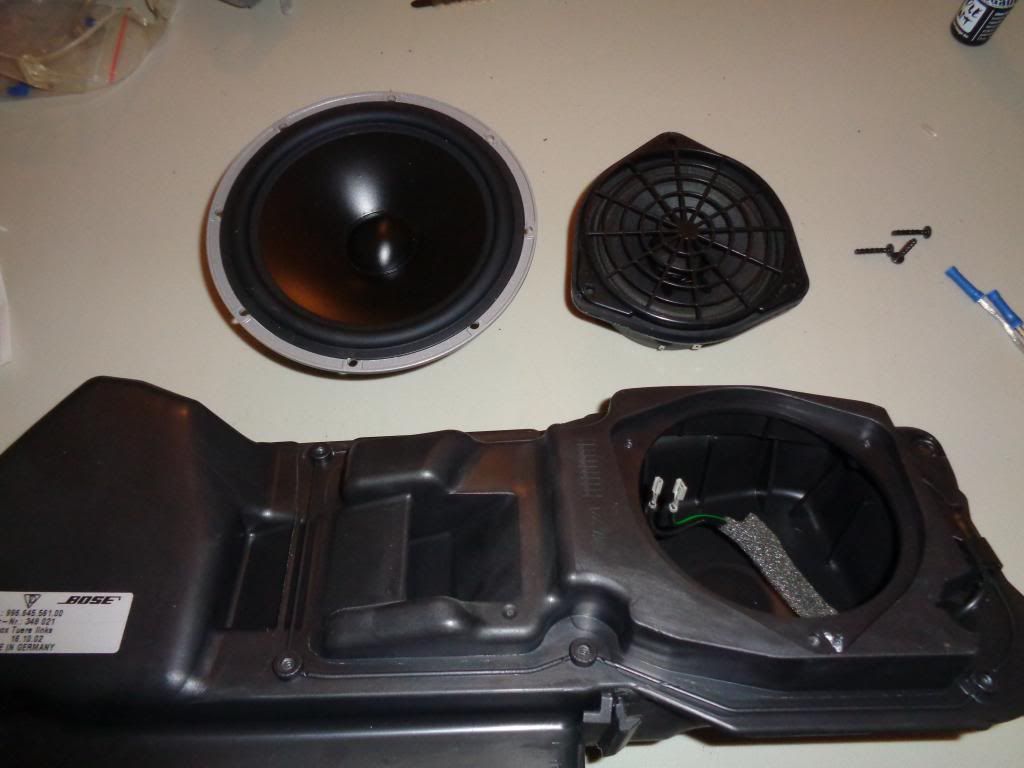
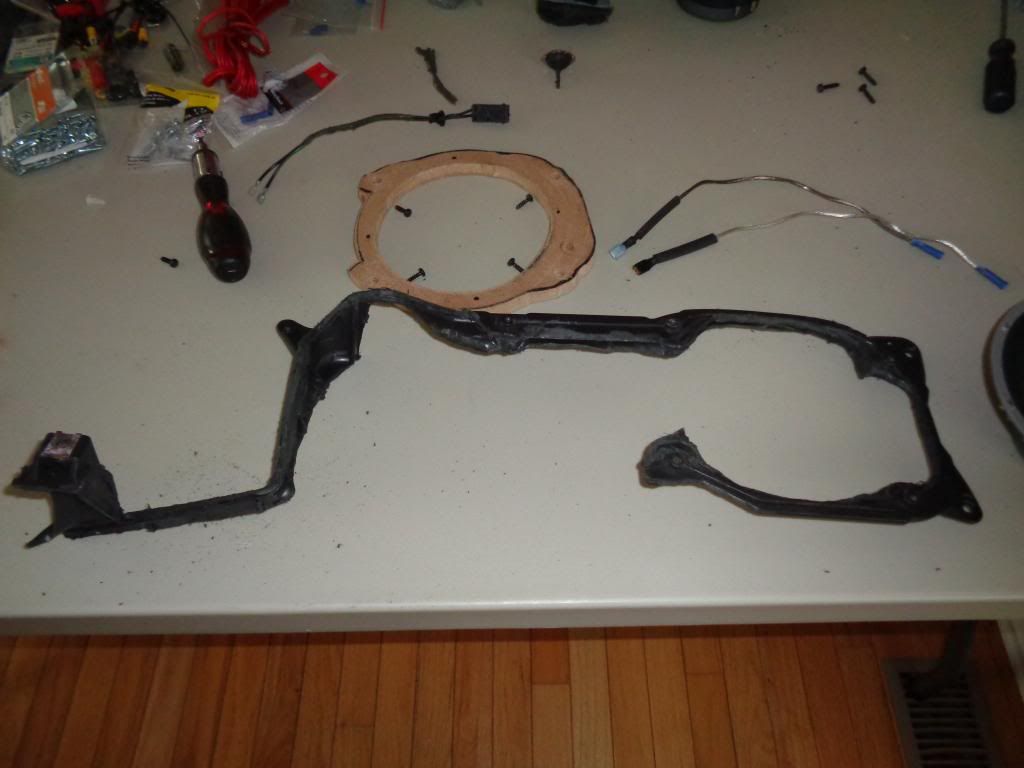
Bose Woofer enclosure close-up and removed: After removing (6) screws that hold the black retaining bracket, there are (4) screws that hold the enclosure in. (2) in the front, (1) in the middle and (1) toward the end. You have to cut the foam insulation in order to get to the screws and remove the enclosure.
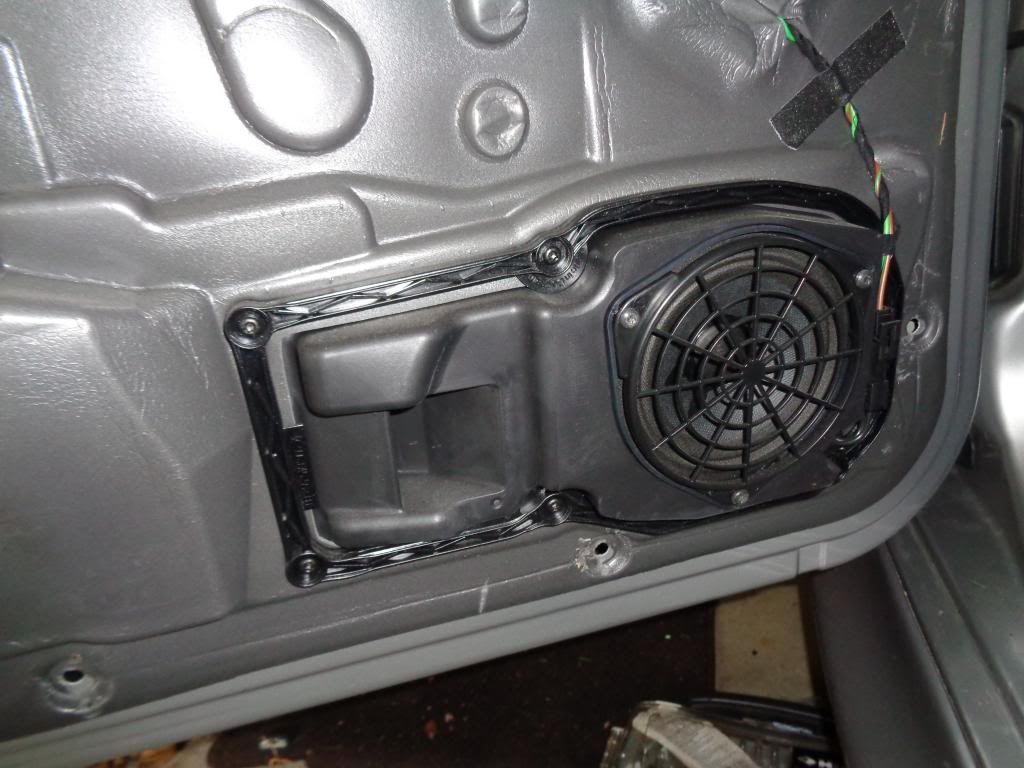
OEM Speaker Removed from Housing:
Retaining bracket used to trace a pattern needed for the 6.5" mounting ring which was made from 1/2" MDF.
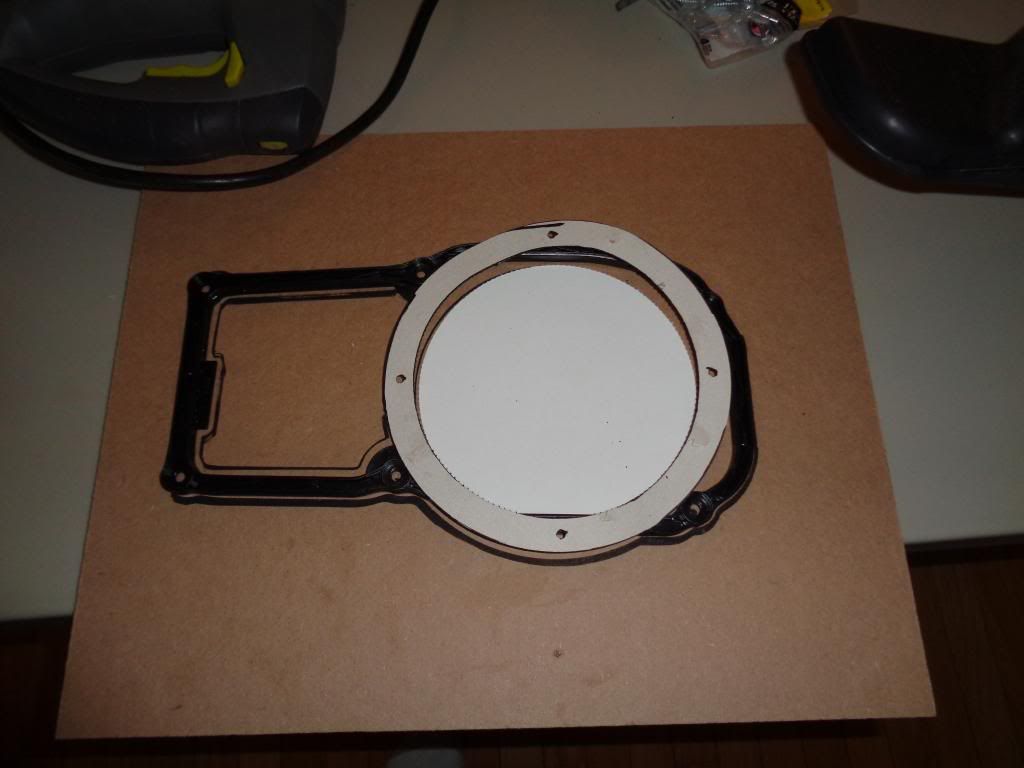
(4) screw holes drilled in the ring matching the pattern on the retaining bracket and a hole for the speaker wire:
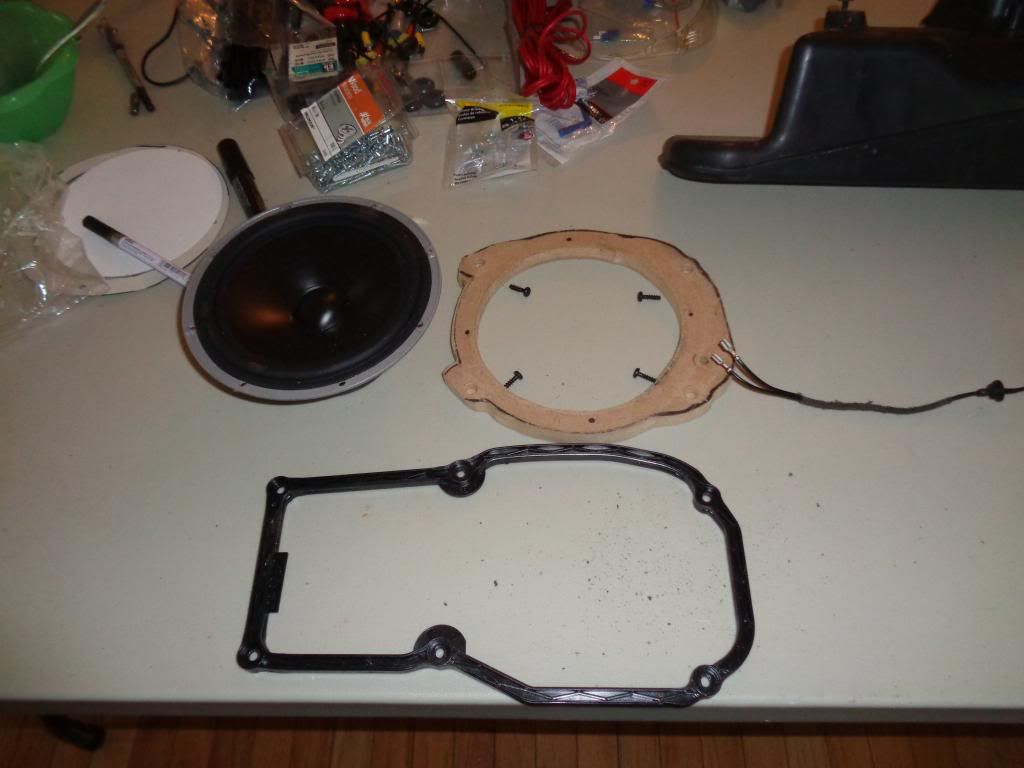
Housing Cut down....just needed the frame of the Housing in order to mount the ring:
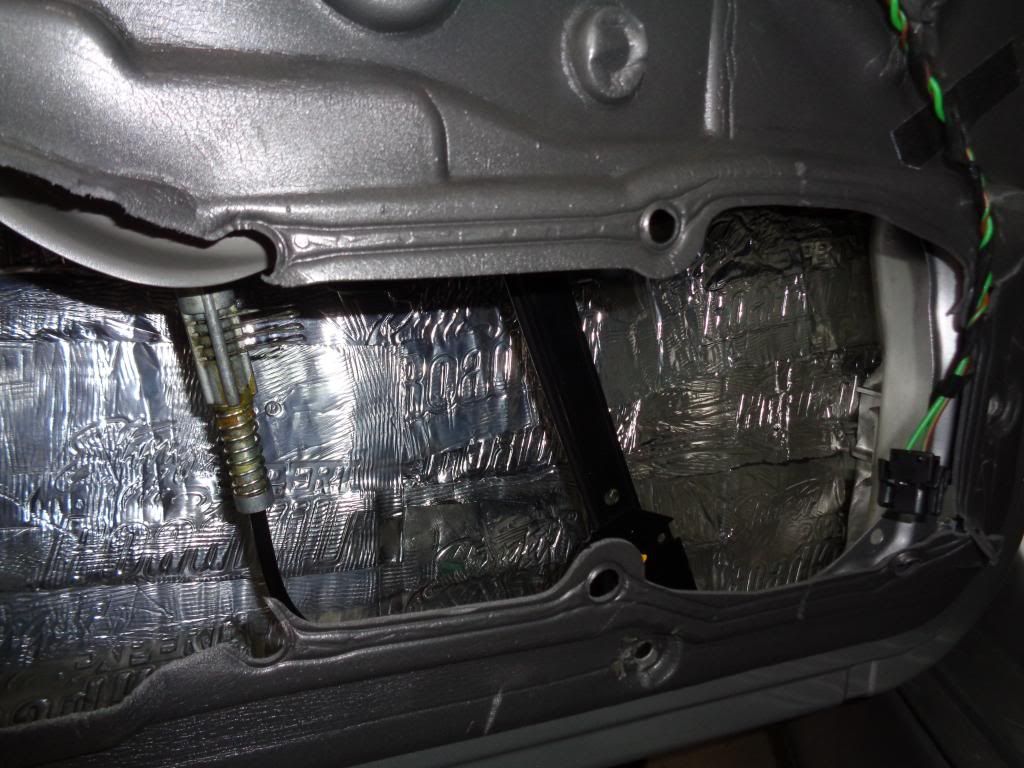
Stinger Roadkill Expert Sound Dampening installed on the internal door panel:
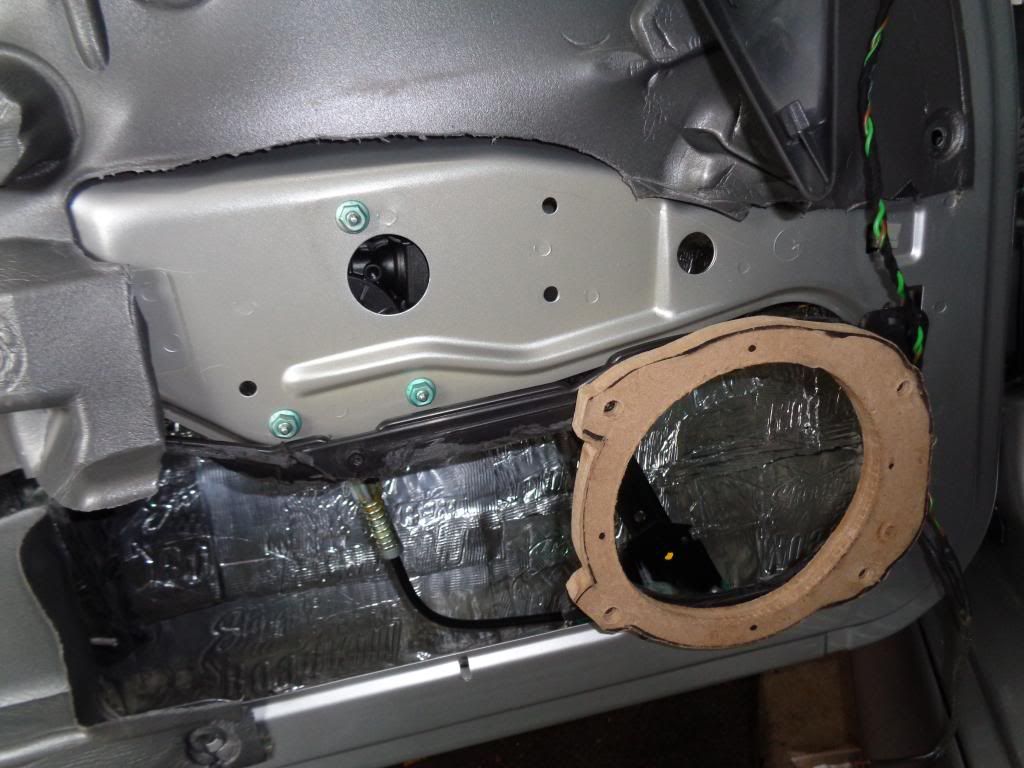
Housing Frame and Ring installed:
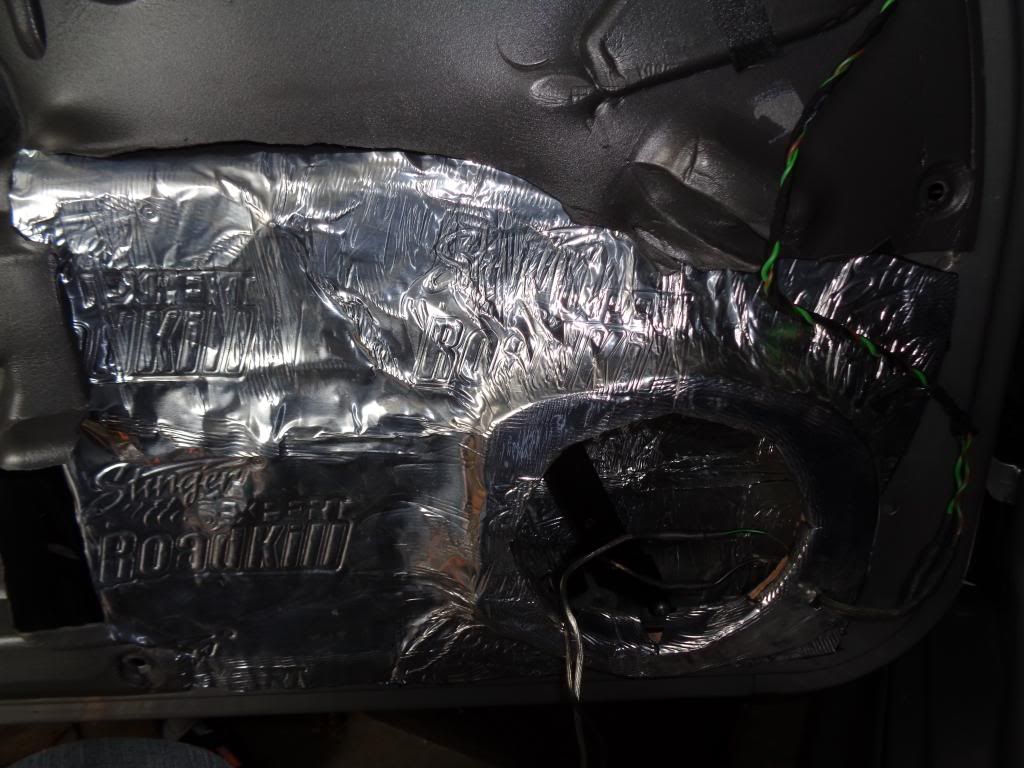
Roadkill installed on interior door panel:
Speaker installed and wired using the following wires off the Autoleads connector:
Left Door
Green +
Green/Black -
Right Door
Purple +
Purple/Black -
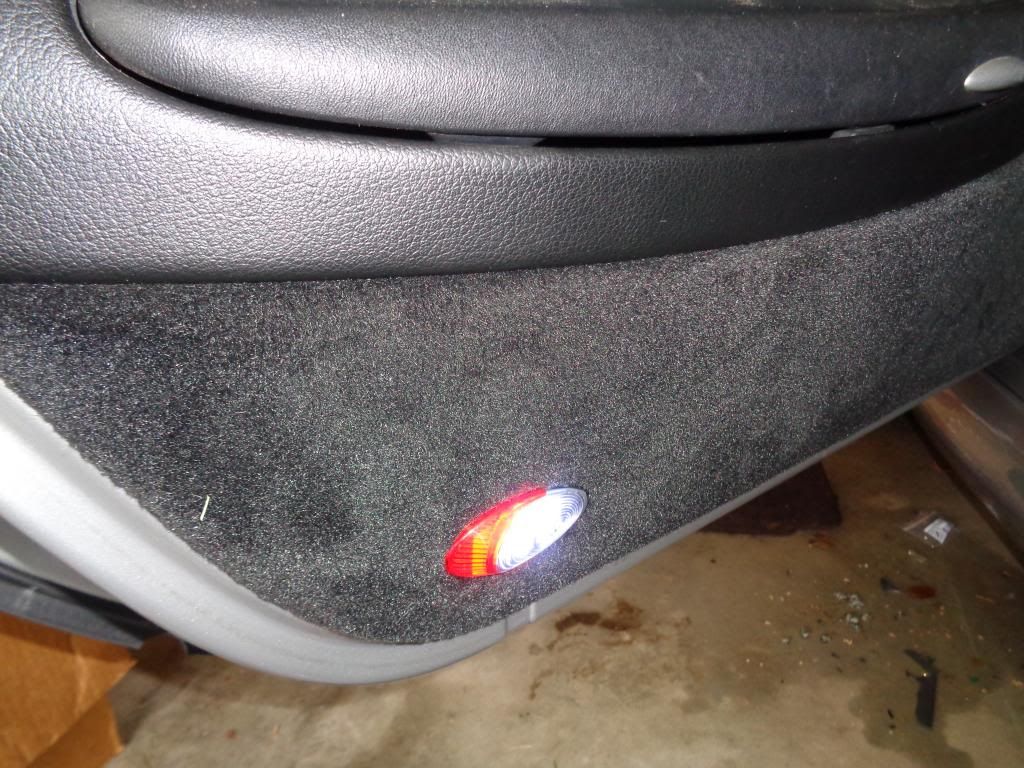
Door Panel re-installed:
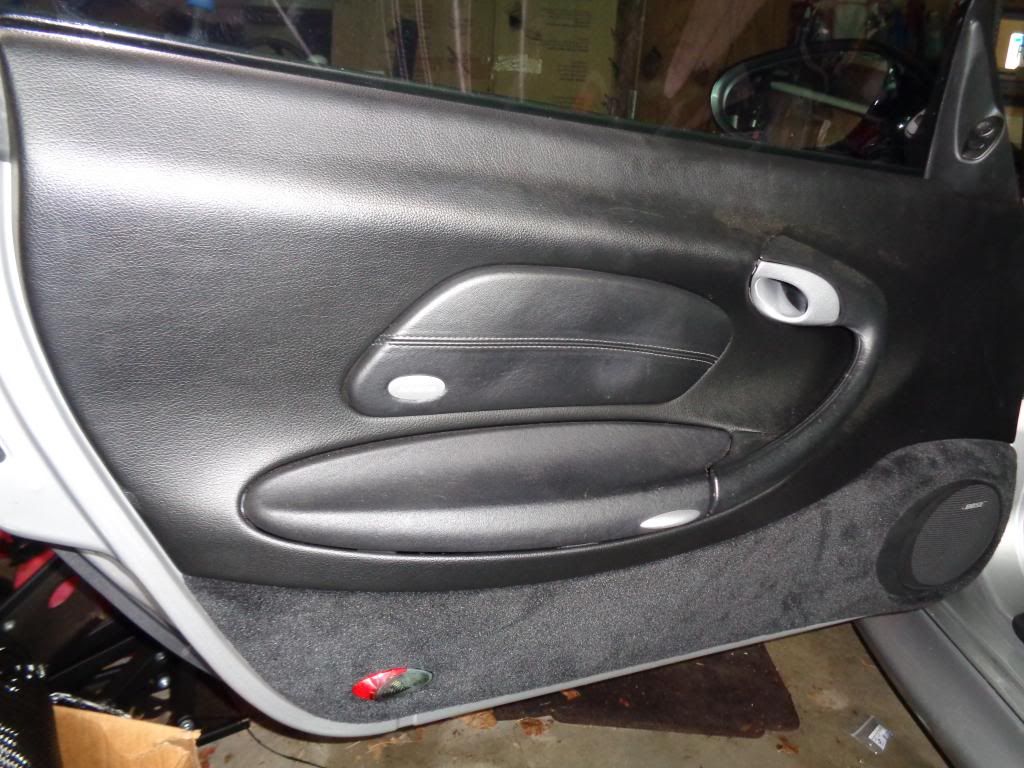
New LED Bulbs installed which do make a big difference:
Door Panel off:

Bose Woofer enclosure close-up and removed: After removing (6) screws that hold the black retaining bracket, there are (4) screws that hold the enclosure in. (2) in the front, (1) in the middle and (1) toward the end. You have to cut the foam insulation in order to get to the screws and remove the enclosure.


OEM Speaker Removed from Housing:

Retaining bracket used to trace a pattern needed for the 6.5" mounting ring which was made from 1/2" MDF.

(4) screw holes drilled in the ring matching the pattern on the retaining bracket and a hole for the speaker wire:

Housing Cut down....just needed the frame of the Housing in order to mount the ring:

Stinger Roadkill Expert Sound Dampening installed on the internal door panel:

Housing Frame and Ring installed:

Roadkill installed on interior door panel:

Speaker installed and wired using the following wires off the Autoleads connector:
Left Door
Green +
Green/Black -
Right Door
Purple +
Purple/Black -

Door Panel re-installed:

New LED Bulbs installed which do make a big difference:
 05-16-2014, 03:26 PM
#21
Rennlist Member
Thread Starter
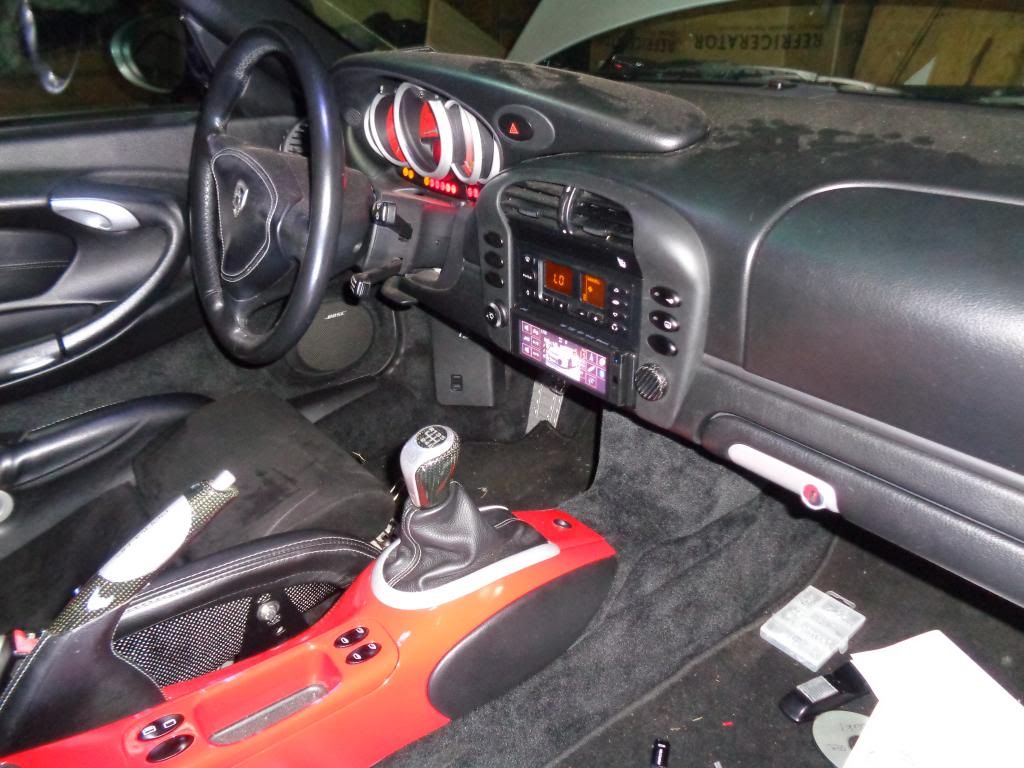
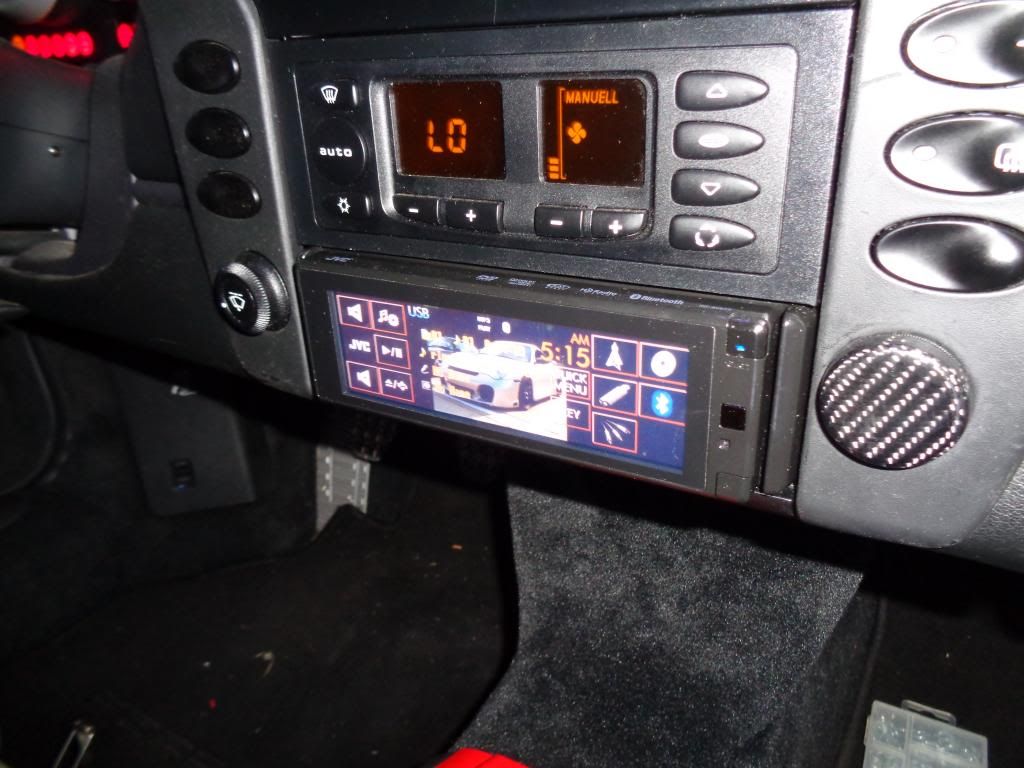
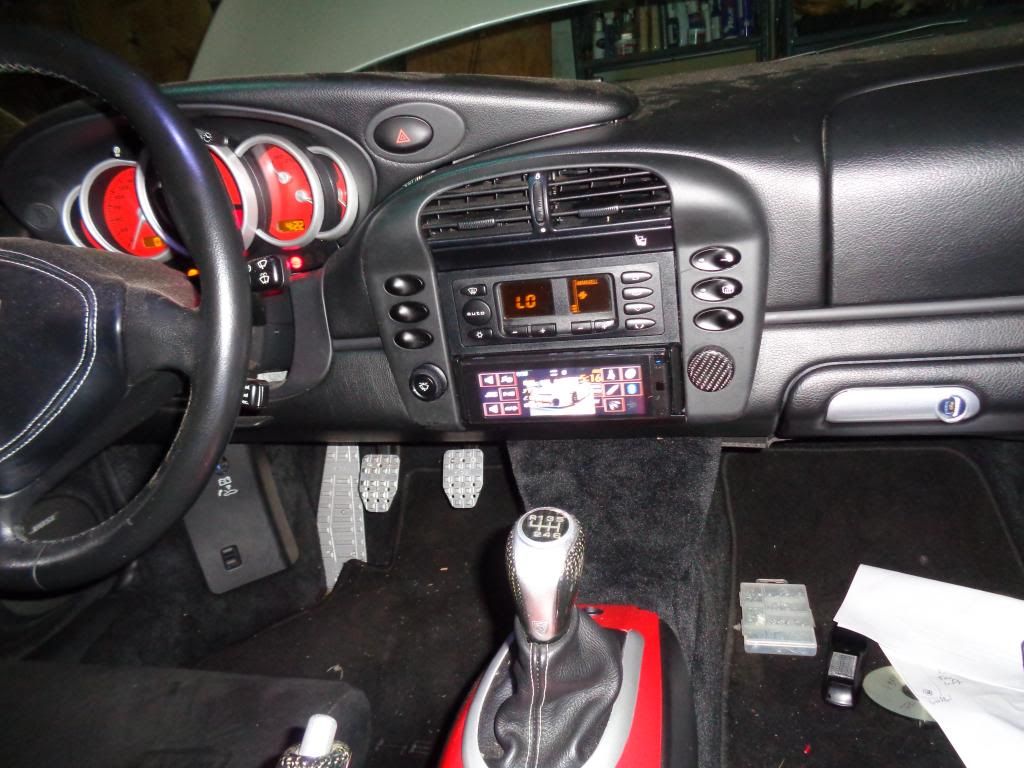
Installed JVC KD-AVX77 El Kameleon DVD/CD/USB Receiver. This has a 5.4" Touch Screen which is nice because there are no buttons to clutter the interior. It has a cool proximity feature which illuminates the screen when your hand approaches it. The other things I like about it are the 5.0 volt pre-outs which give a nice clean signal and USB connectivity. It has Bluetooth but I'm not setting that up.
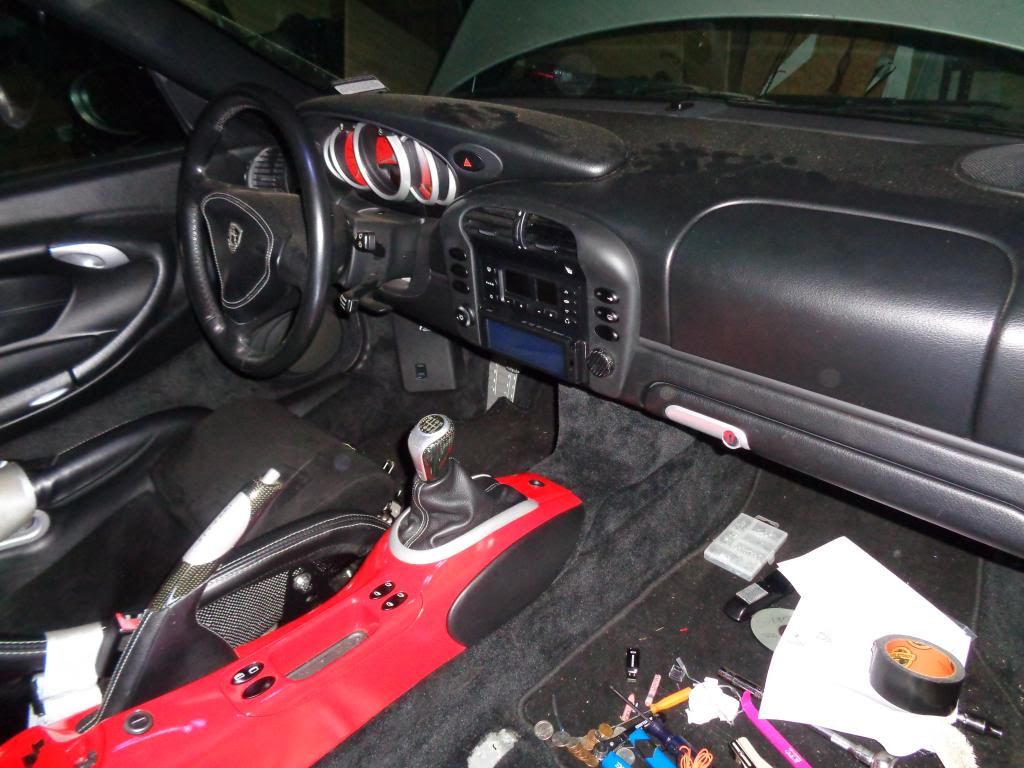
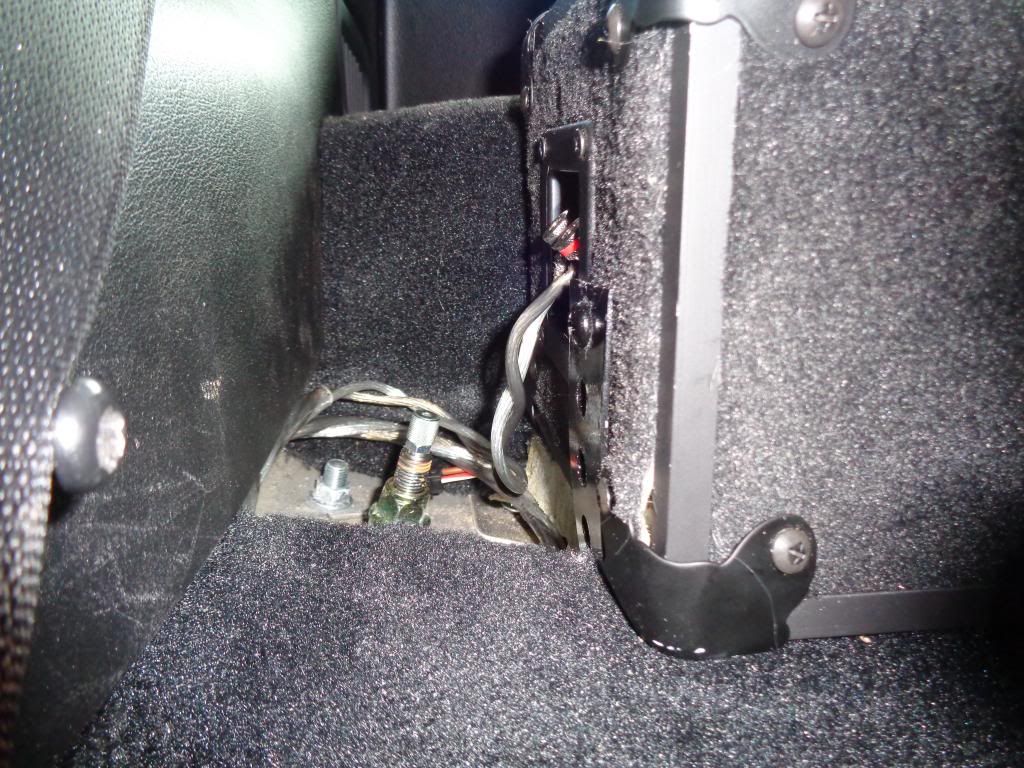
USB and Remote Bass Control installed in the rear center console:
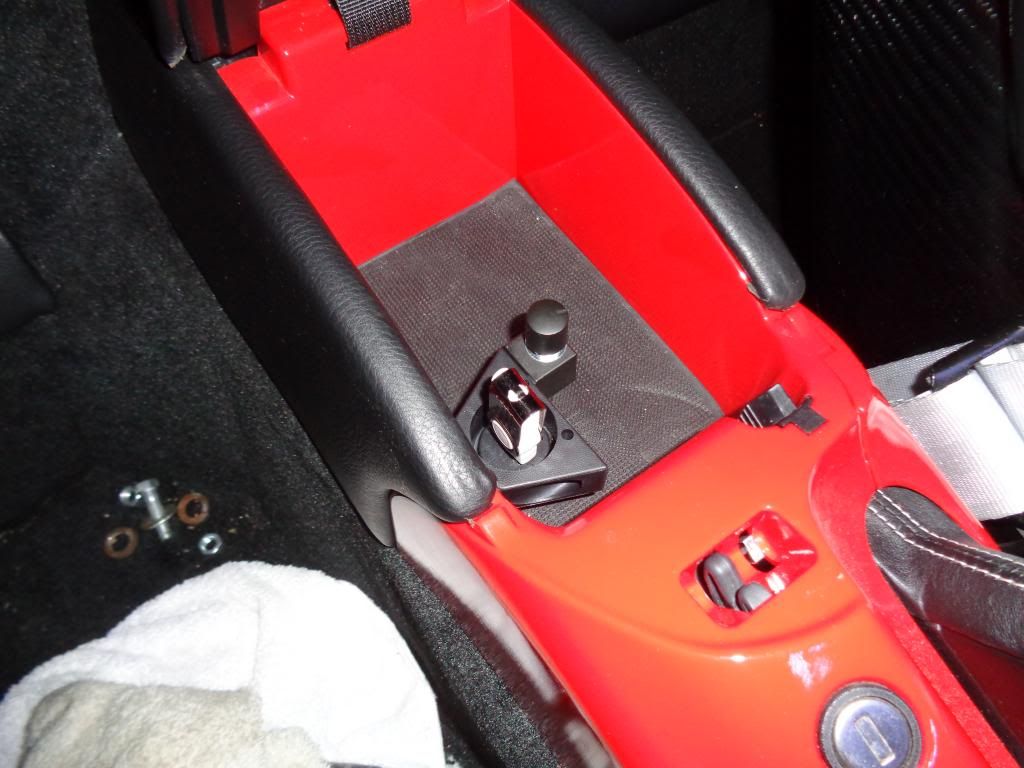
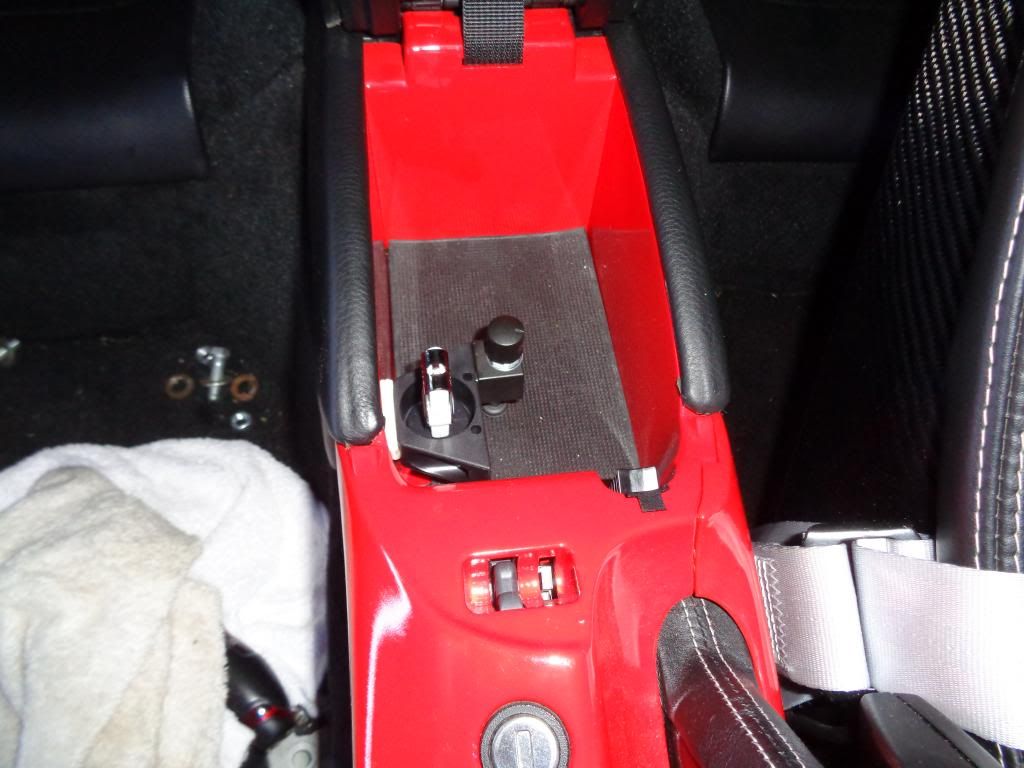


USB and Remote Bass Control installed in the rear center console:

 05-29-2014, 10:22 AM
#23
Rennlist Member
Thread Starter
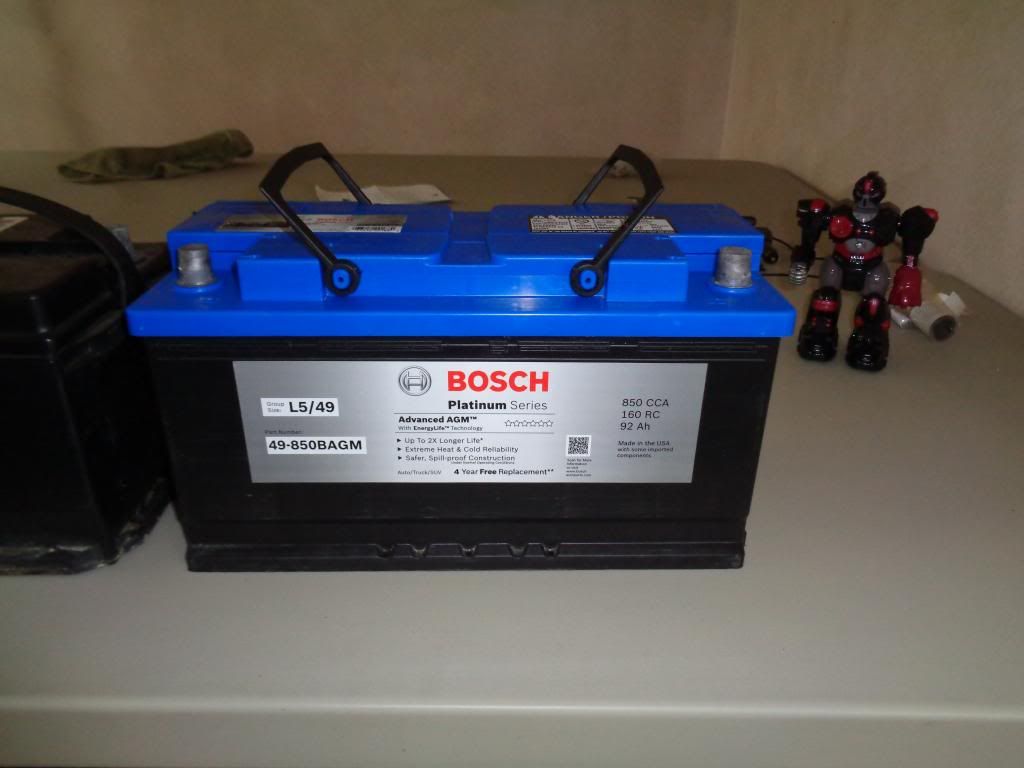
Now would be a good time to upgrade the battery and add reserve capacity.
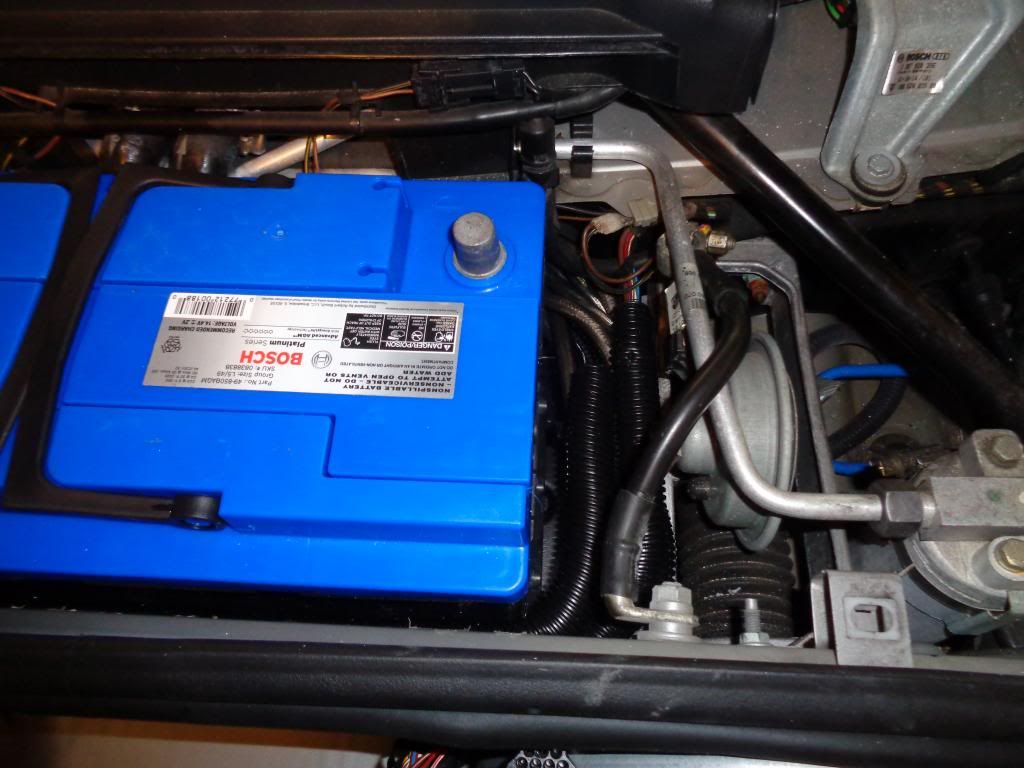
New Battery - Bosch Platinum Series AGM Battery Group Size 49 (good deal from Pep Boys online)
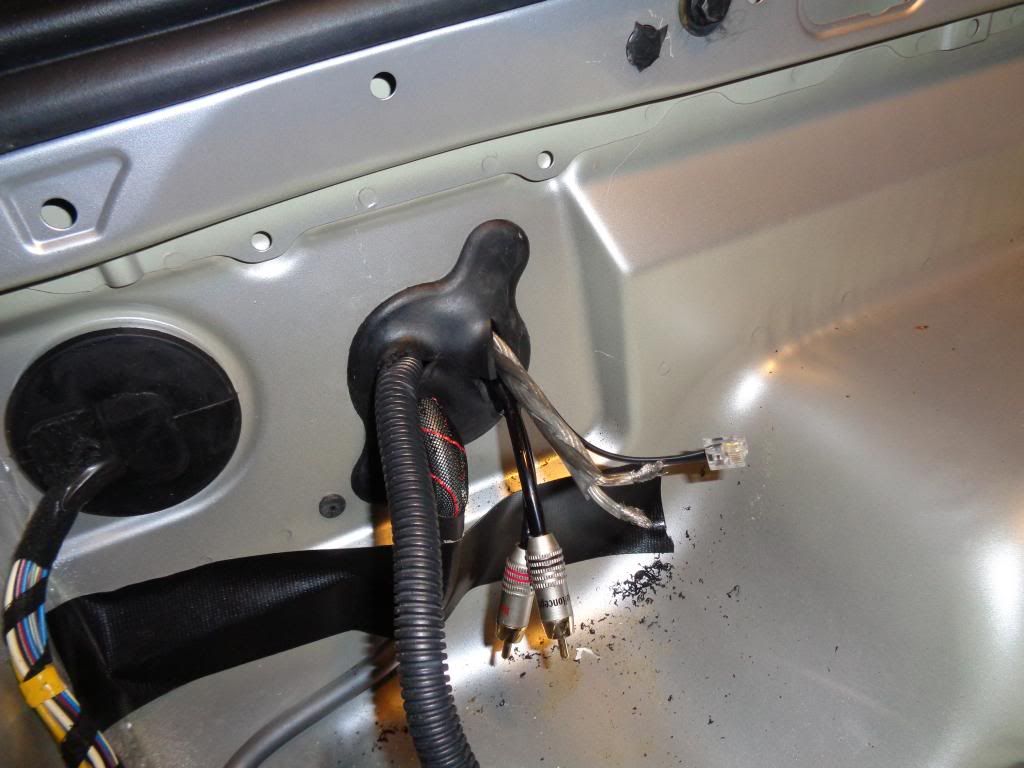
Separate wiring into 3 sets (Subwoofer, Rear and Front)
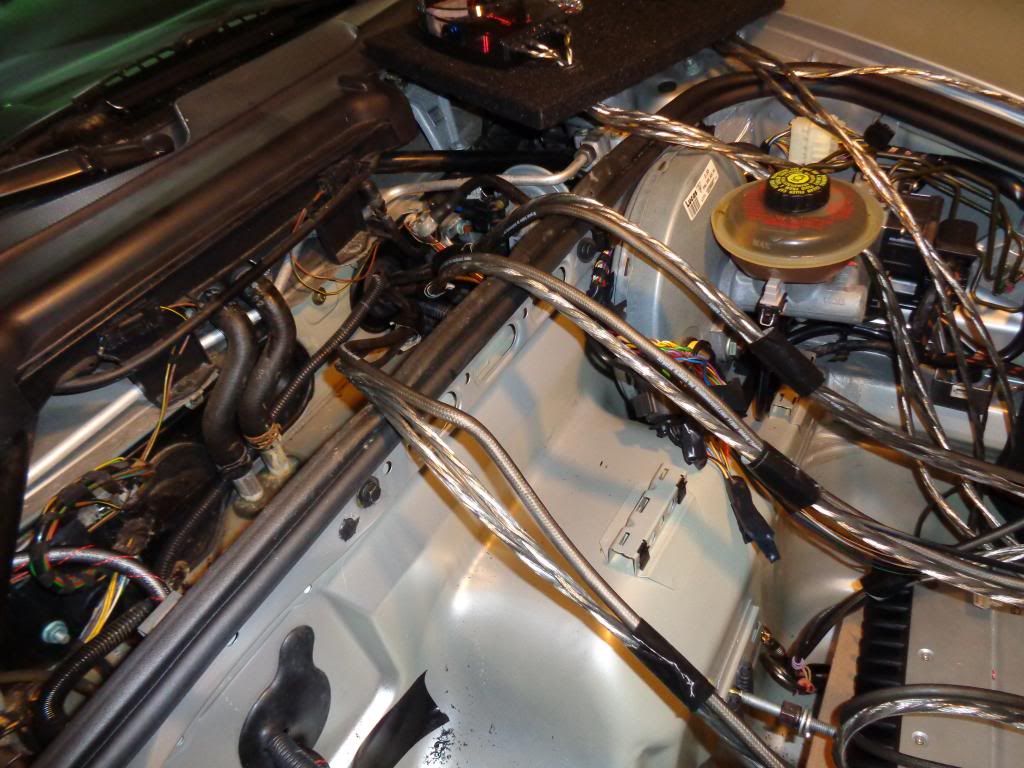
3/4" Split Loom to cover wiring
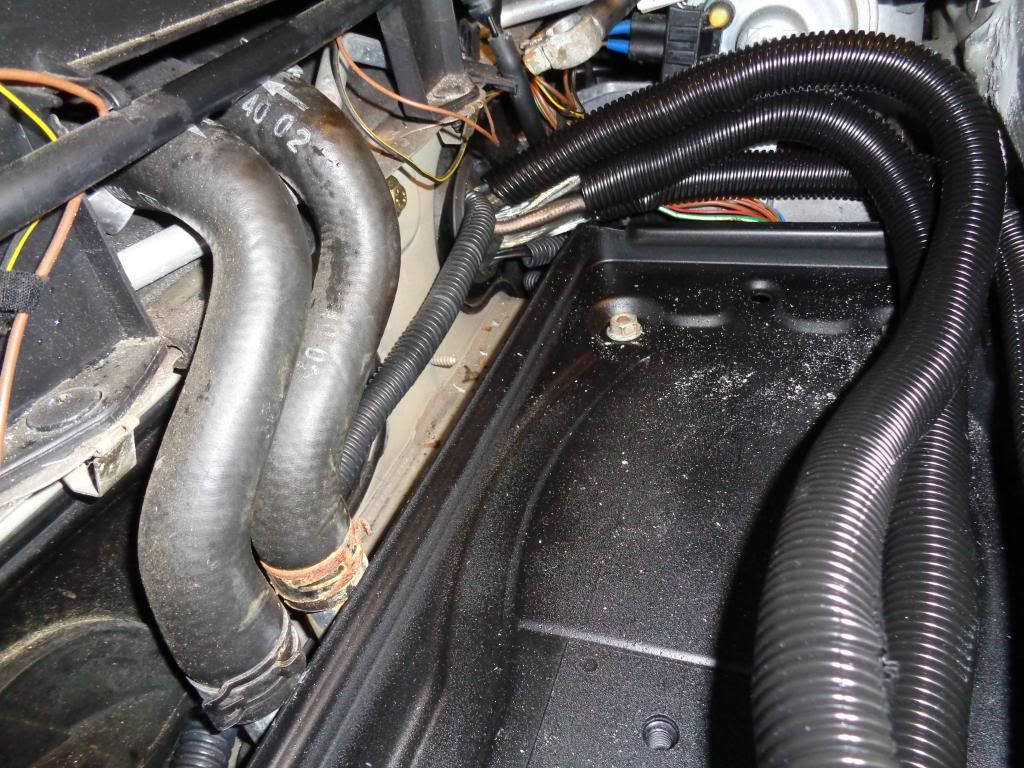
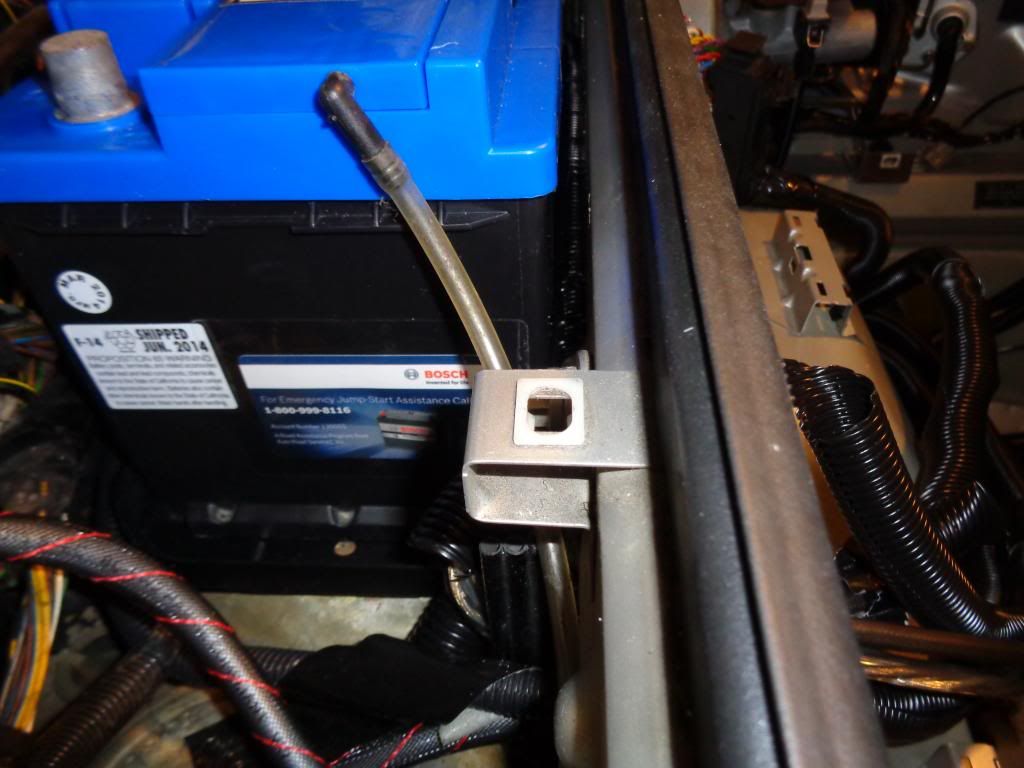
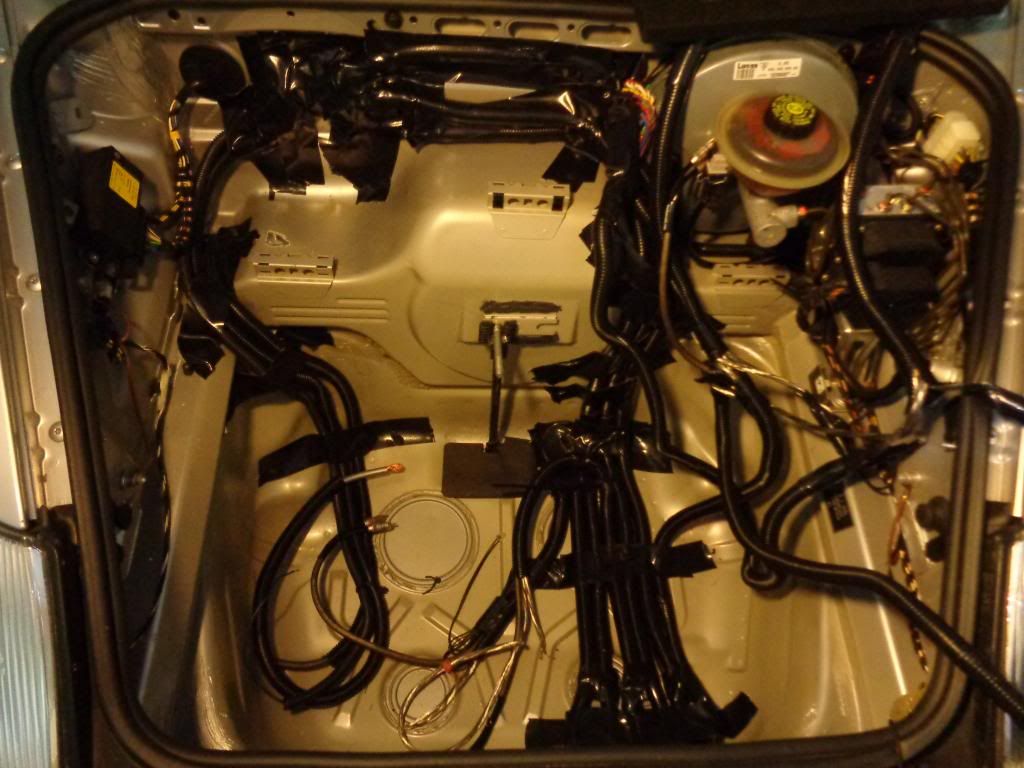
Battery in place
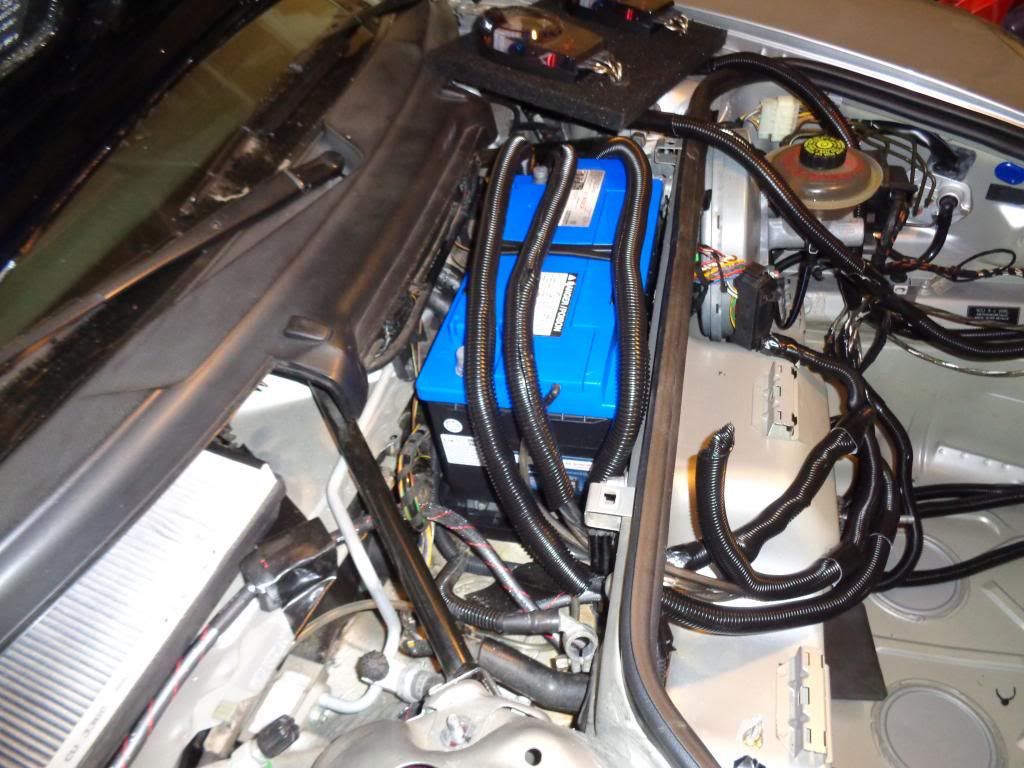
Angle battery backward and push wiring down into lower part of the firewall
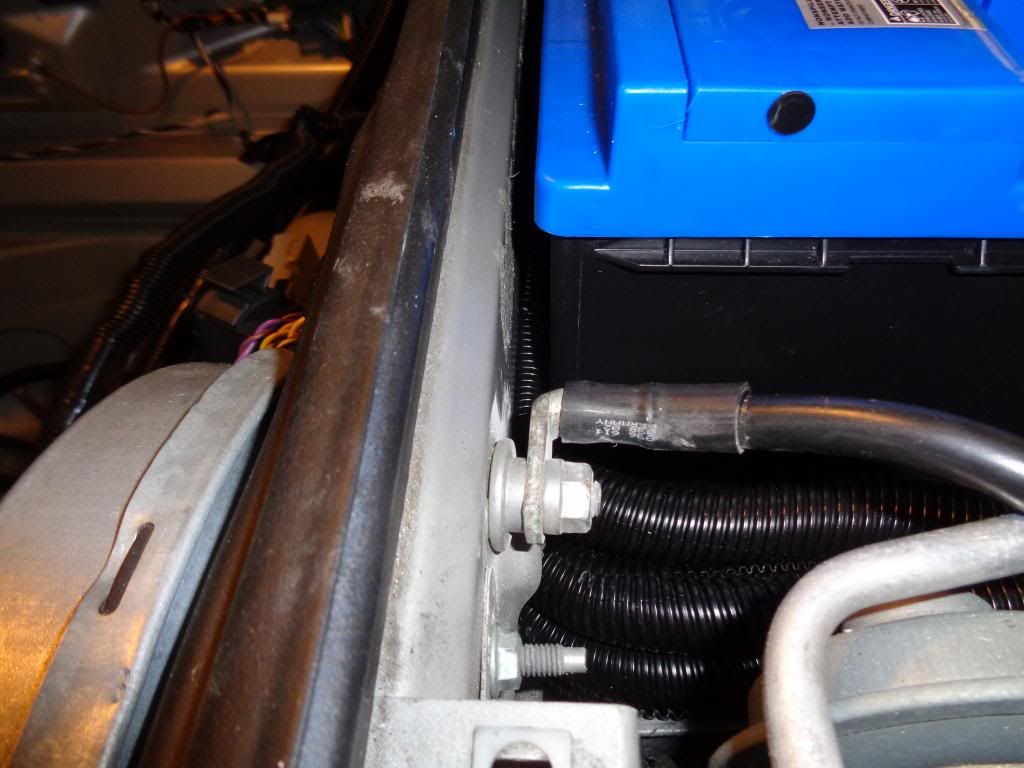
Other side of the firewall where the wiring comes into the frunk...audio wiring to the right...power to the left
Positive battery terminal connection and Front Strut Brace re-installed

New Battery - Bosch Platinum Series AGM Battery Group Size 49 (good deal from Pep Boys online)

Separate wiring into 3 sets (Subwoofer, Rear and Front)

3/4" Split Loom to cover wiring

Battery in place

Angle battery backward and push wiring down into lower part of the firewall


Other side of the firewall where the wiring comes into the frunk...audio wiring to the right...power to the left

Positive battery terminal connection and Front Strut Brace re-installed
 06-01-2014, 07:32 PM
#24
Rennlist Member
Thread Starter
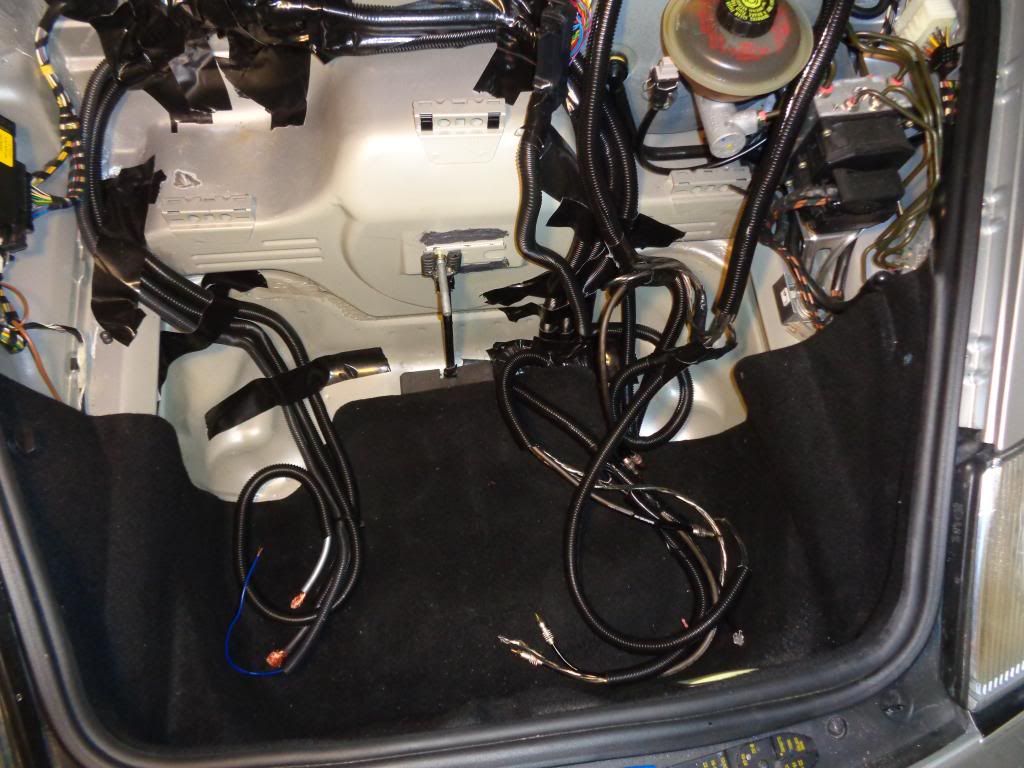
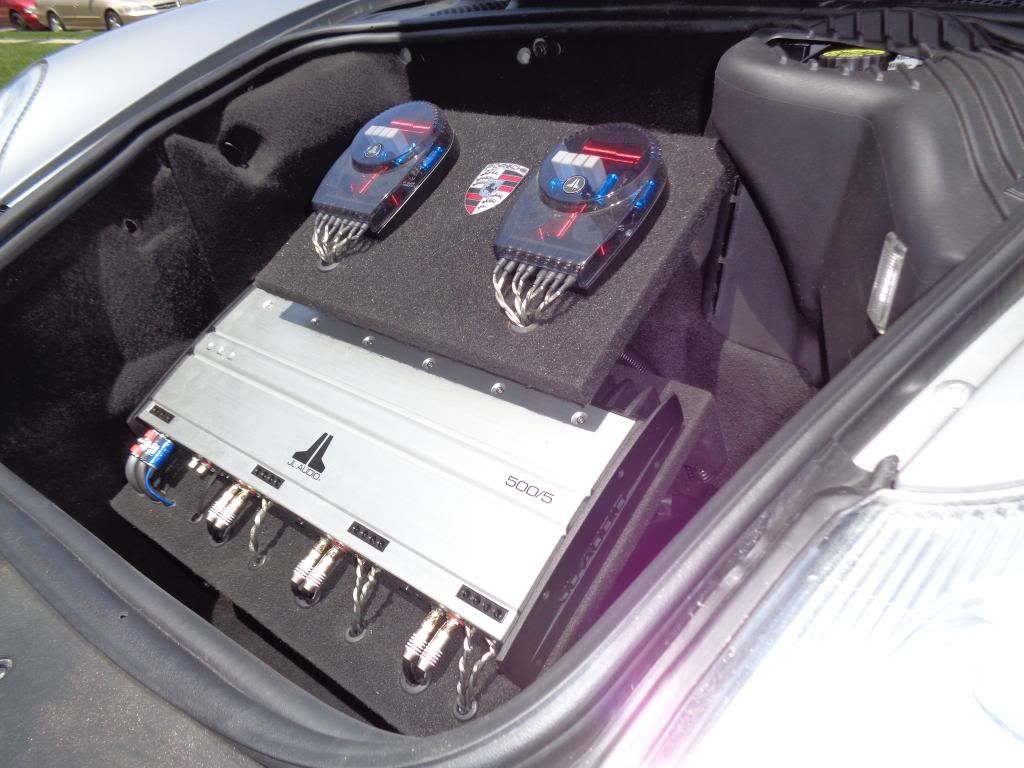
Organizing wiring in the frunk
Small Carbon Fiber Rods used to hold spare tire bolt in place. High strength epoxy used to reinforce spare tire mounting point
Installed AMP and Crossover Racks to a Triple LCD Monitor Desk Mount Stand.
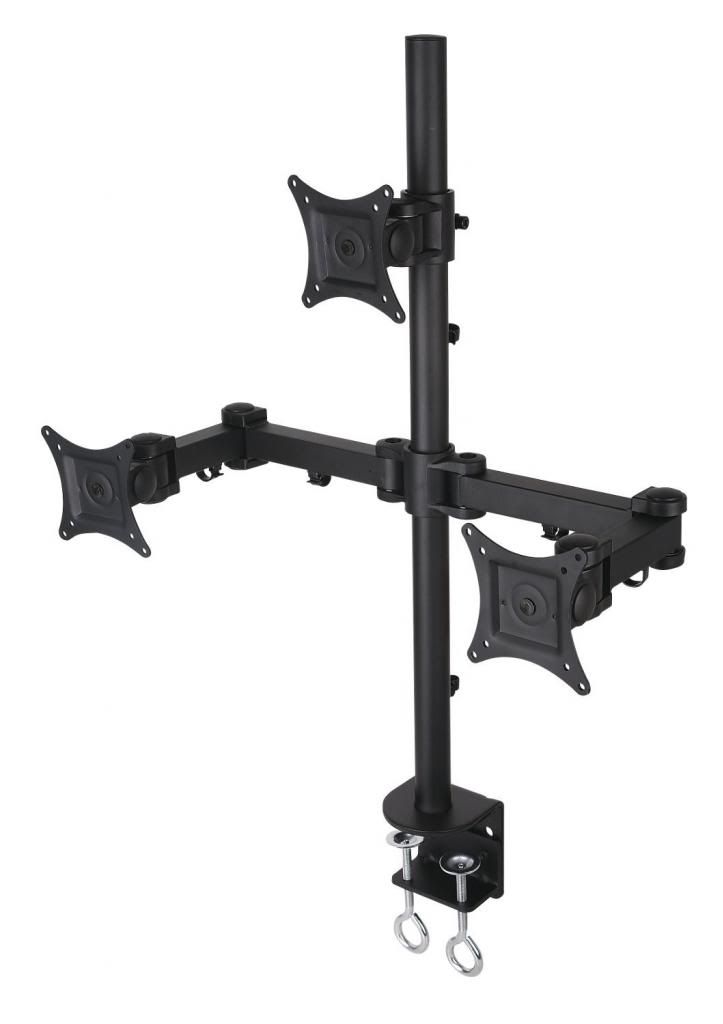
Stand was trimmed to fit and mounted to the spare tire mounting point.
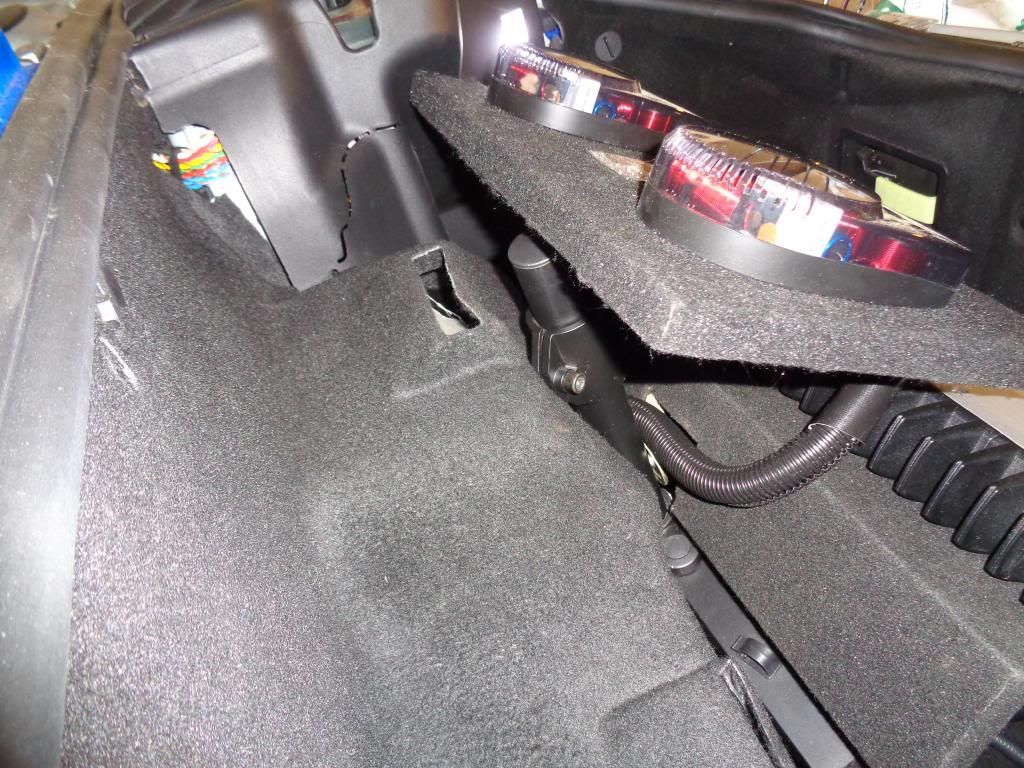
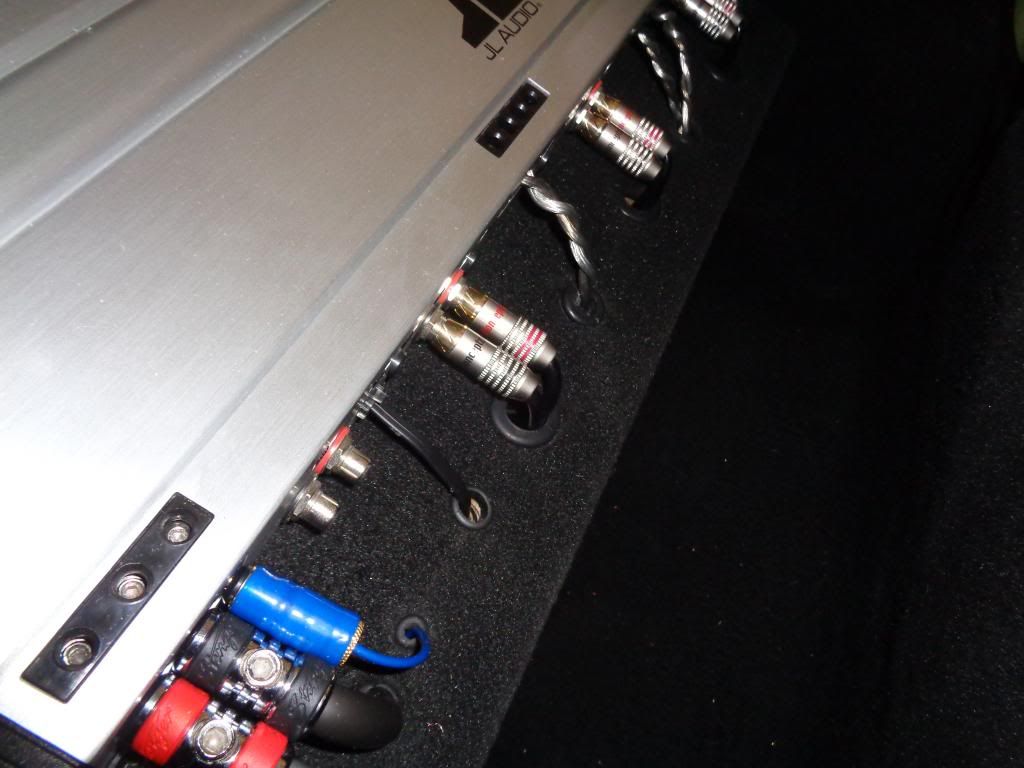
Crossovers and Amp (need to replace a few if the plastic carpet plugs that broke/missing)
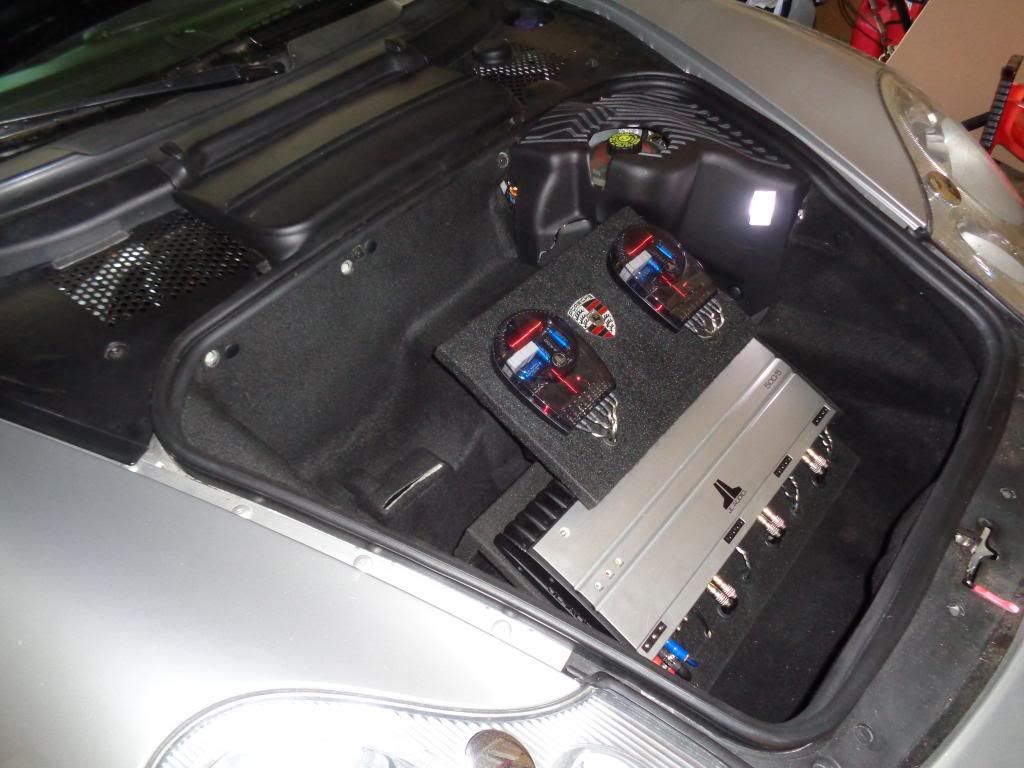
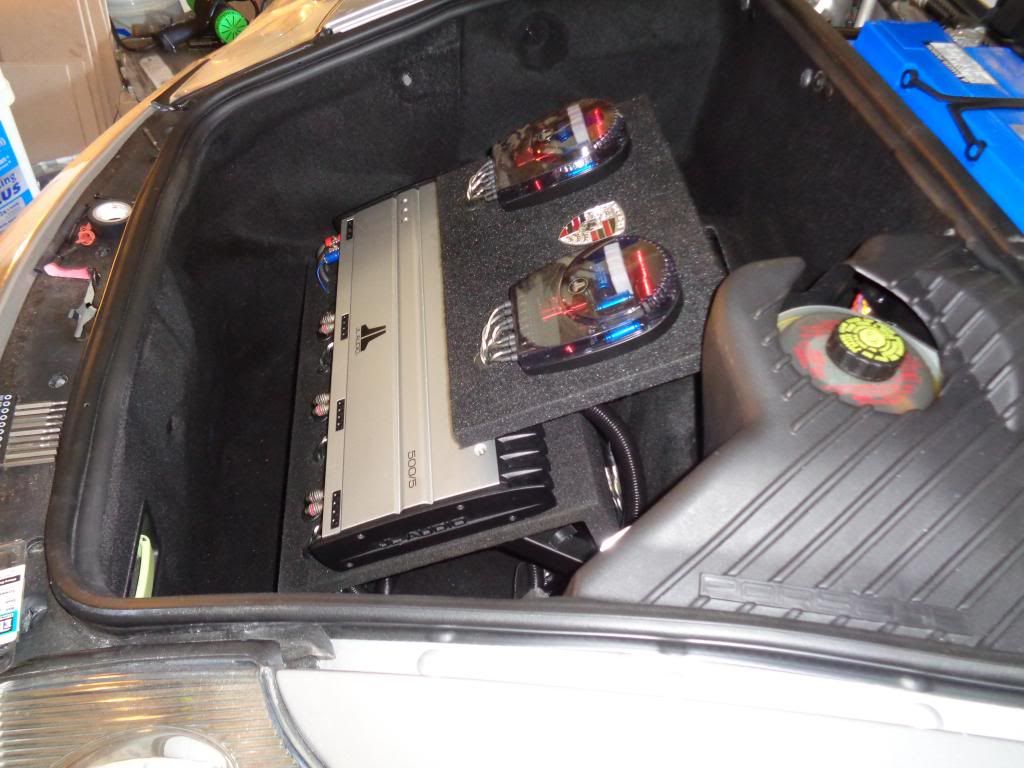
Test drive completed...no alternator whine detected. Real pleased with JVC/JL system!
More Pic's...finally out of the garage...
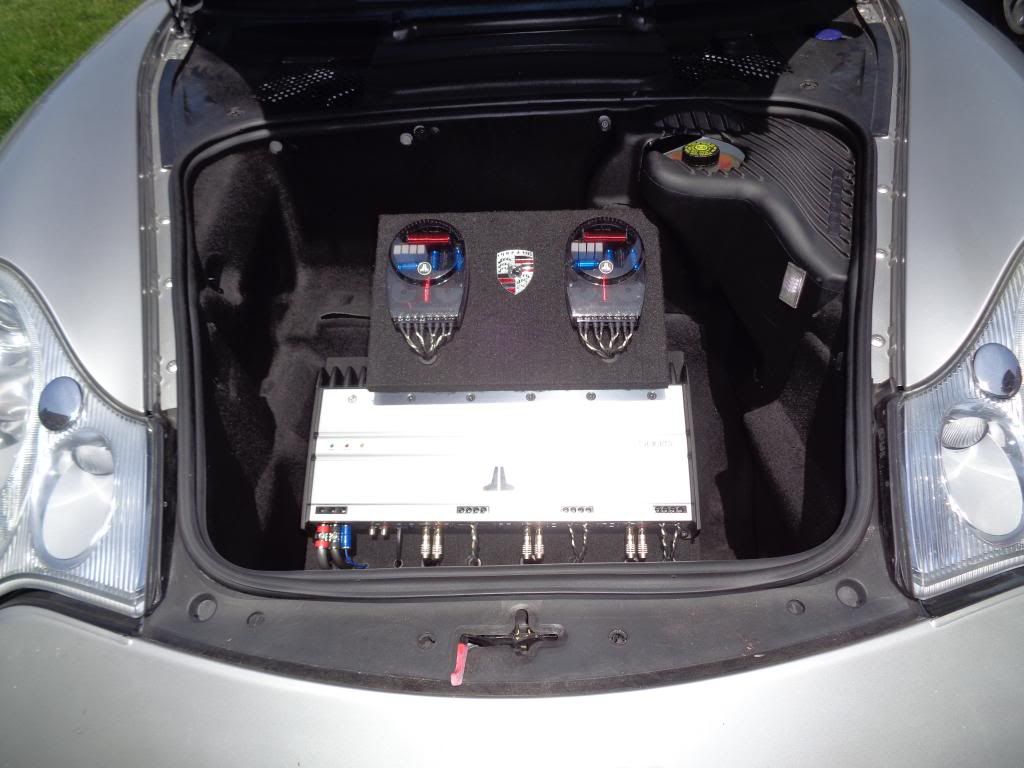
Will need to fixup trim on the Sub box someday...

Small Carbon Fiber Rods used to hold spare tire bolt in place. High strength epoxy used to reinforce spare tire mounting point

Installed AMP and Crossover Racks to a Triple LCD Monitor Desk Mount Stand.

Stand was trimmed to fit and mounted to the spare tire mounting point.

Crossovers and Amp (need to replace a few if the plastic carpet plugs that broke/missing)


Test drive completed...no alternator whine detected. Real pleased with JVC/JL system!
More Pic's...finally out of the garage...


Will need to fixup trim on the Sub box someday...

 04-02-2016, 10:21 PM
#25
7th Gear

Join Date: Mar 2016
Posts: 7
Likes: 0
Received 0 Likes
on
0 Posts
Very nice looking setup. It looks like it was a tremendous amount of work. Roughly how long did it take to complete? When the car is parked in a parking lot, do you cover the subs - I realize that may be a silly question since the car itself is worth so much, but i'm still curious.
Congratulations!
Congratulations!
04-02-2016, 11:23 PM
#26
Rennlist Member
i got a lot of respect for someone who digs into their car like that - nice job!
04-03-2016, 09:00 AM
#27
Race Car

I remember when I used to be that into car audio! Put a full JL Audio setup in my old Mercedes myself, won't be doing it in the 996 but you've done an awesome job.
Tipping my hat to you for using JL Audio.
Tipping my hat to you for using JL Audio.