
Complete Bose Stereo Overhaul Underway
 03-31-2014, 01:48 PM
#1
Rennlist Member
Thread Starter
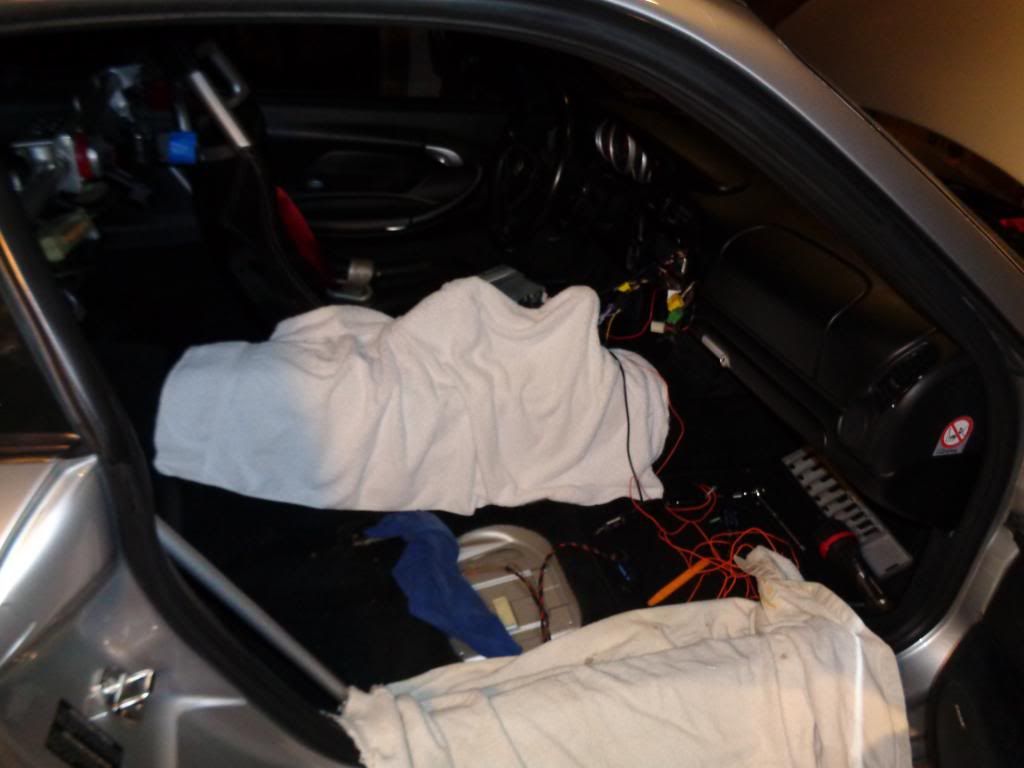
I recently started a major project to completely overhaul my '03 Bose sound system. New HU, Amp, Speakers and Sub. It's something that I'm working on mostly during the weekends and will take a few more weeks to complete. I'll post progress pic's as I go along...
Passenger Seat Out:
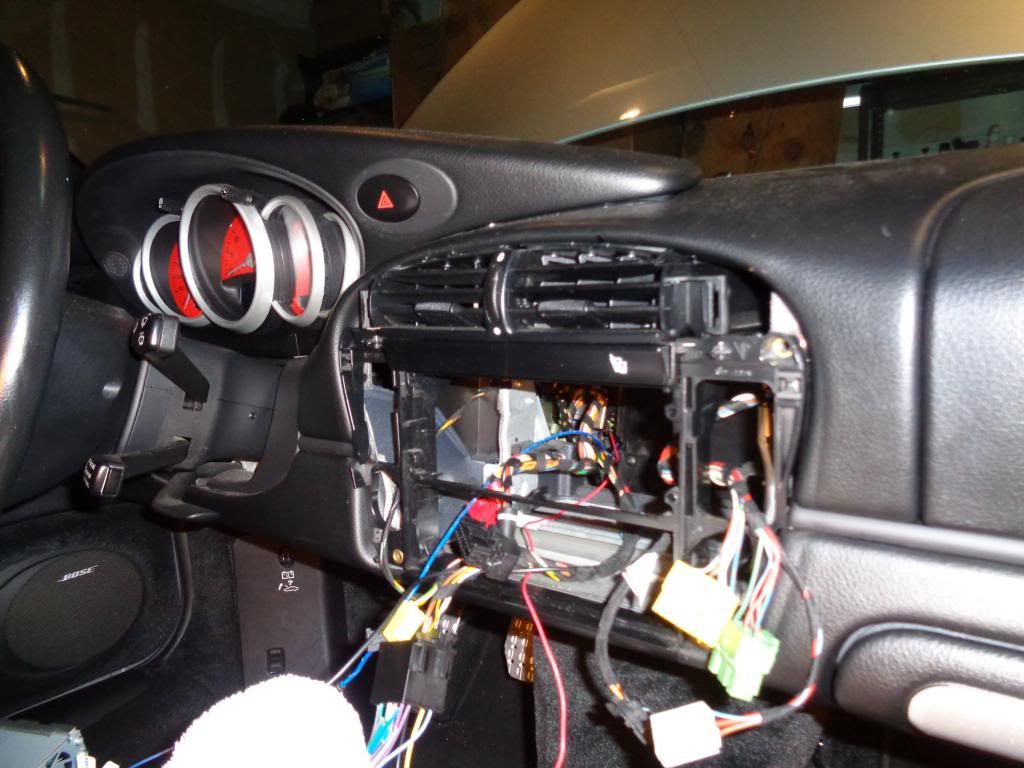
Head Unit, A/C Controls and Horseshoe Out:
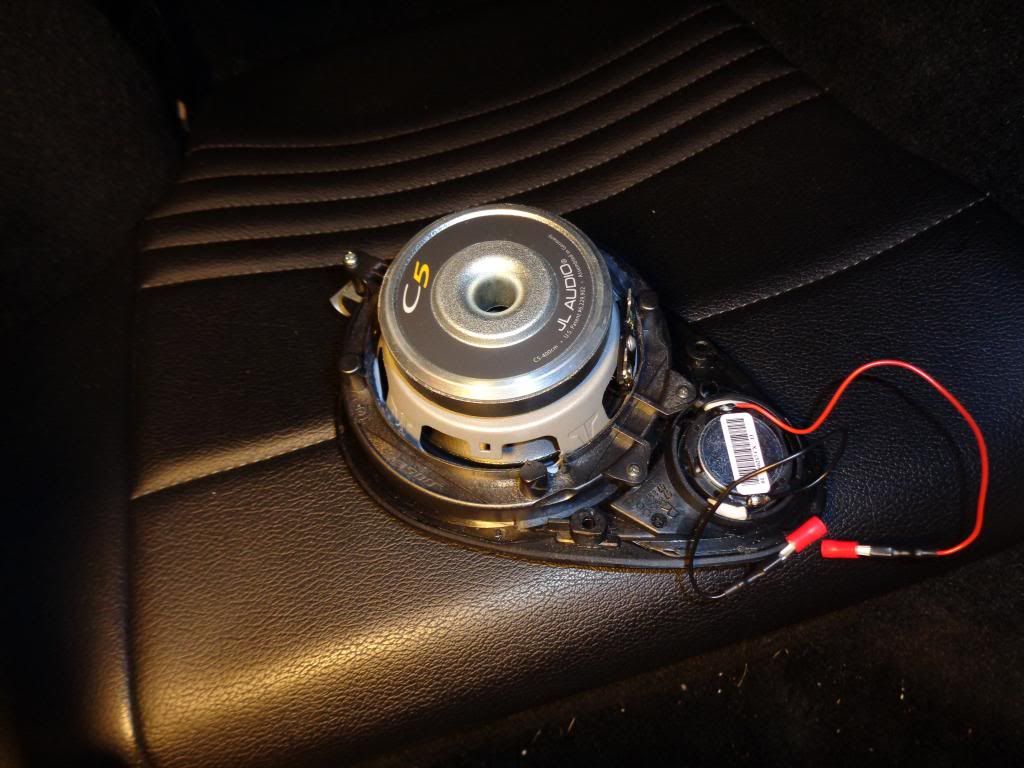
Replacement JL Front Speakers Mounted (I had to grind out the OEM Bracket to fit):
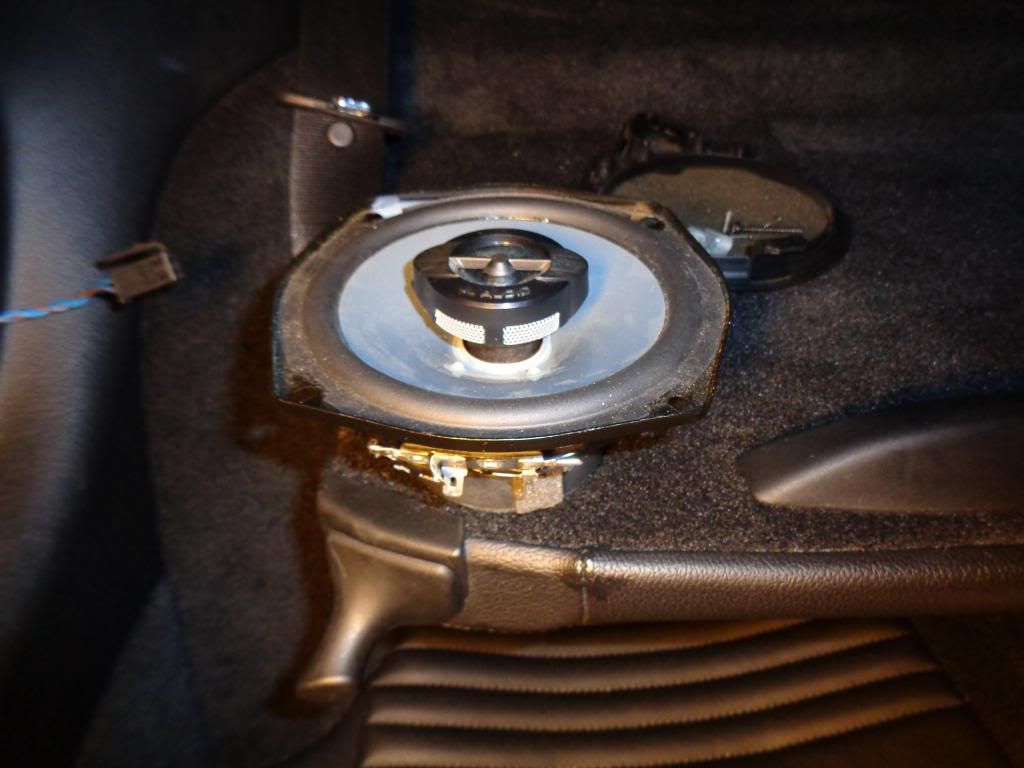
Replacement JL Rear Speaker TR525 CXi (will be a tight fit but looks like I can just make it):
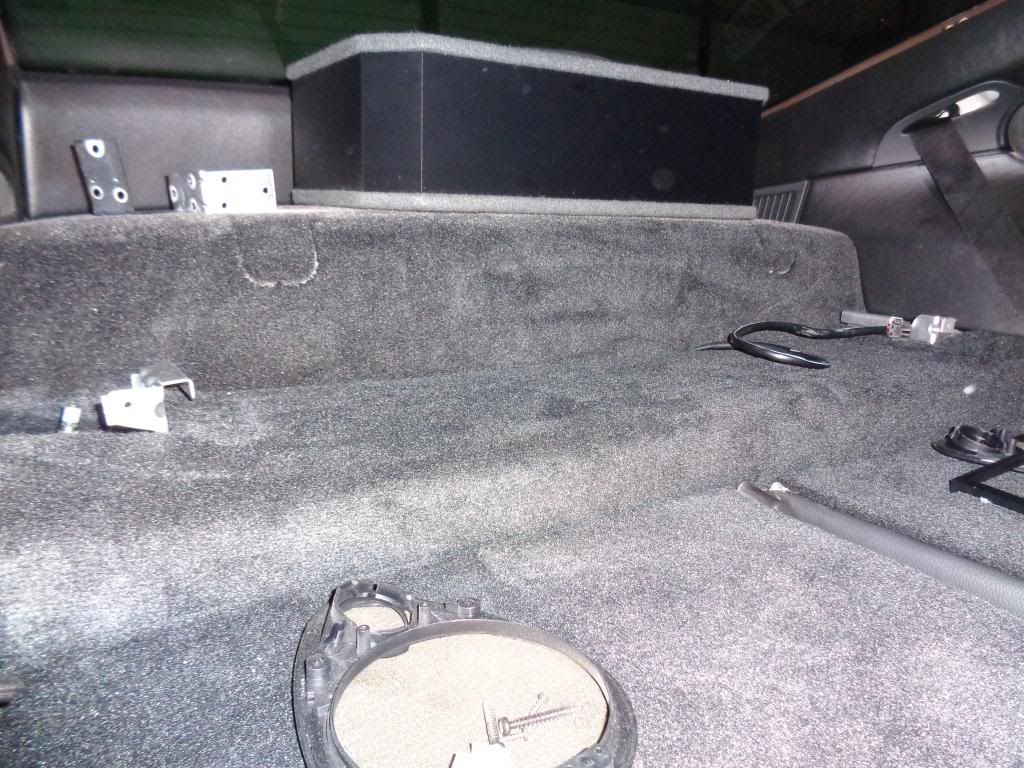
Bose Sub Box Out - Replacement Alpine Type R Sub. I will build a "fake" Bose Sub Box and mount the Alpine to it:
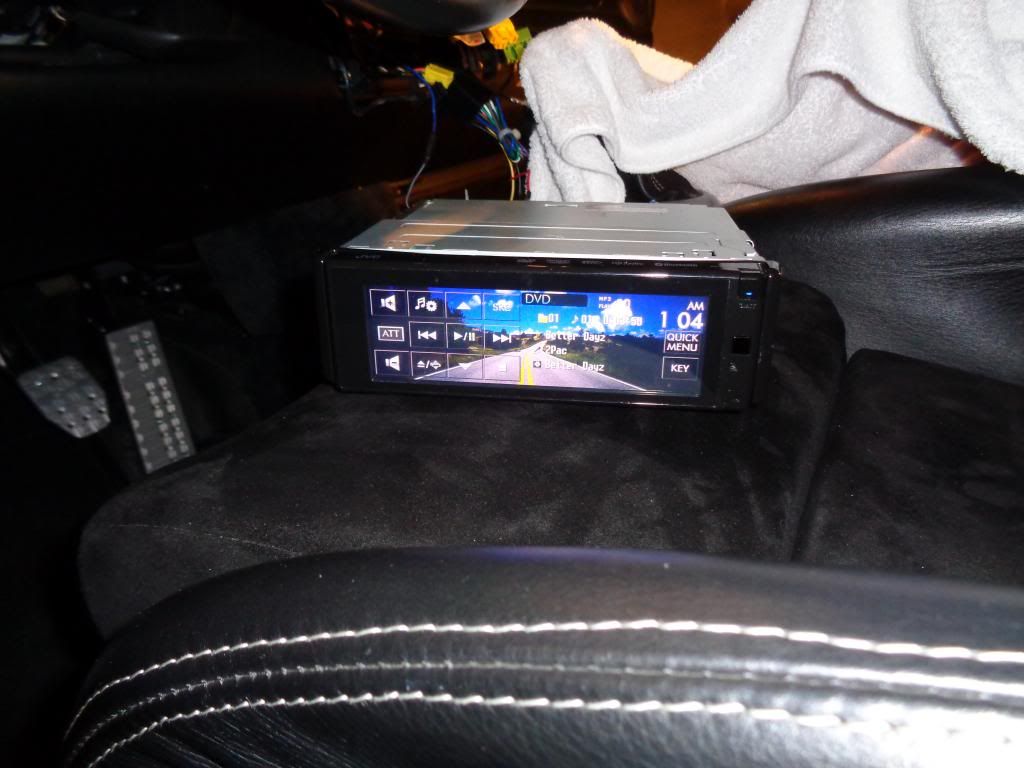
Head Unit (JVC Single Din 5.4" Touch Screen) (Discontinued but luckily I found one on Craigslist):
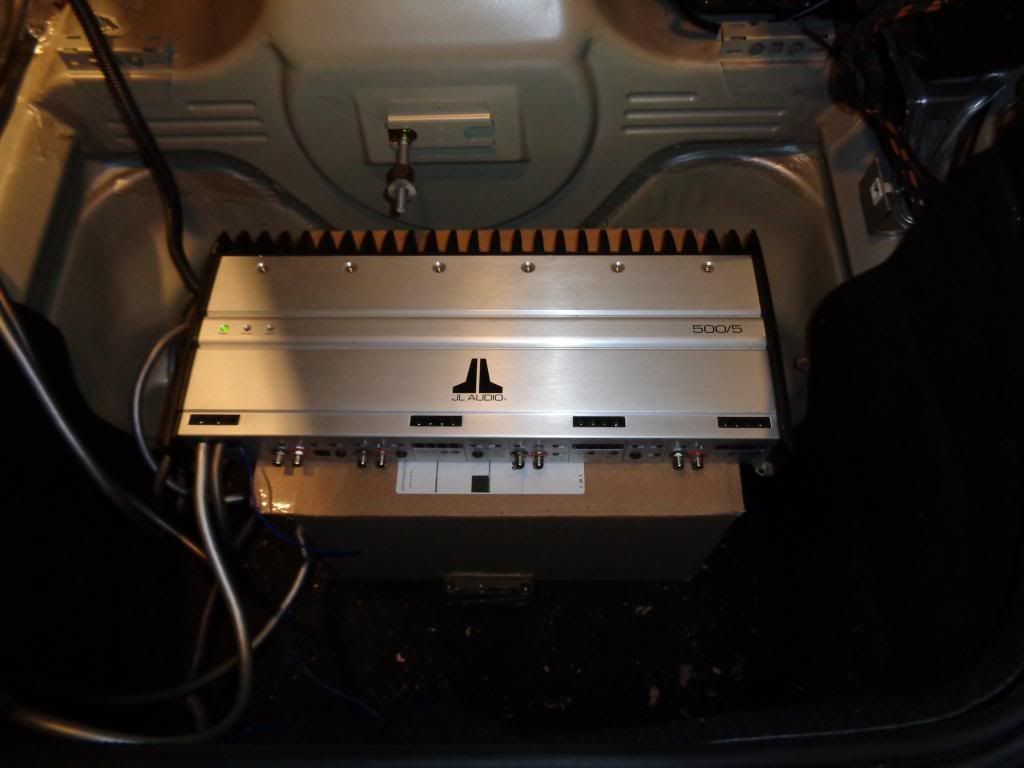
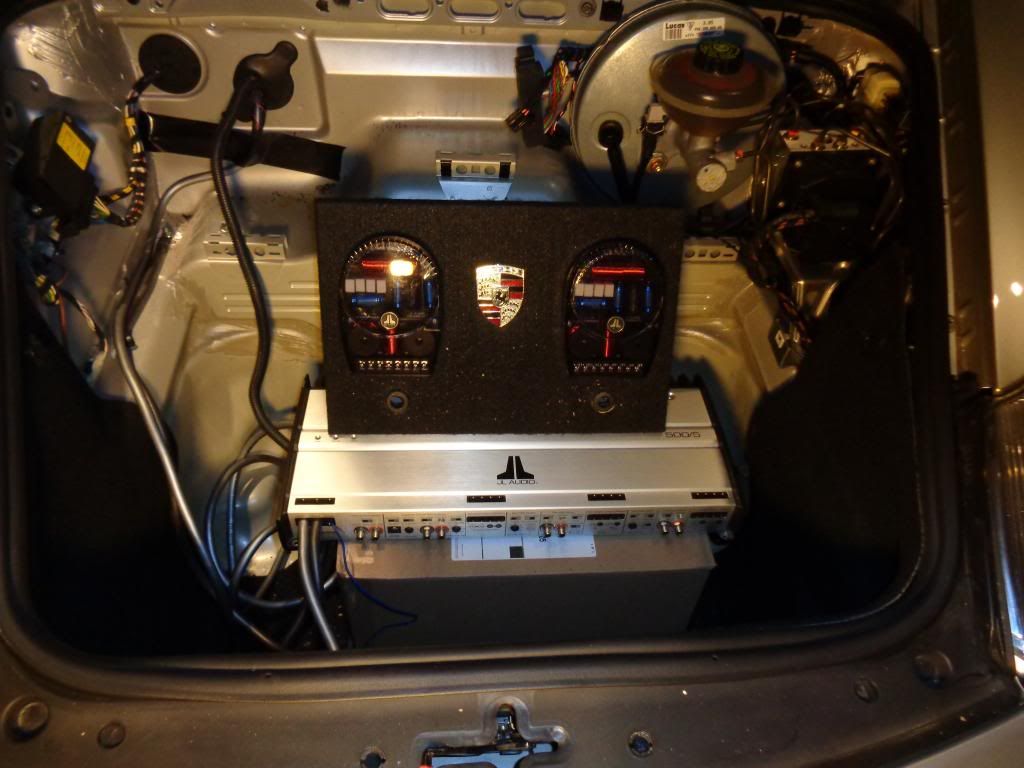
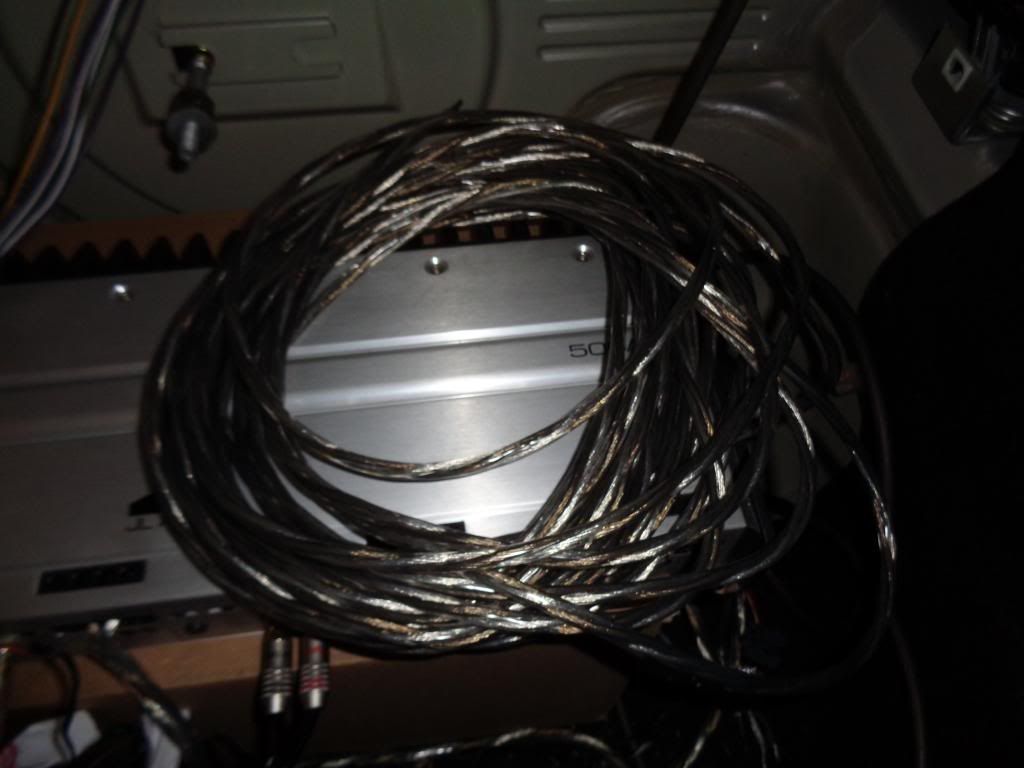
JL 500/5 Amp (Not the latest JL model but I always liked the look)
T-Spec v12 4 AWG AMP Ground and Power:
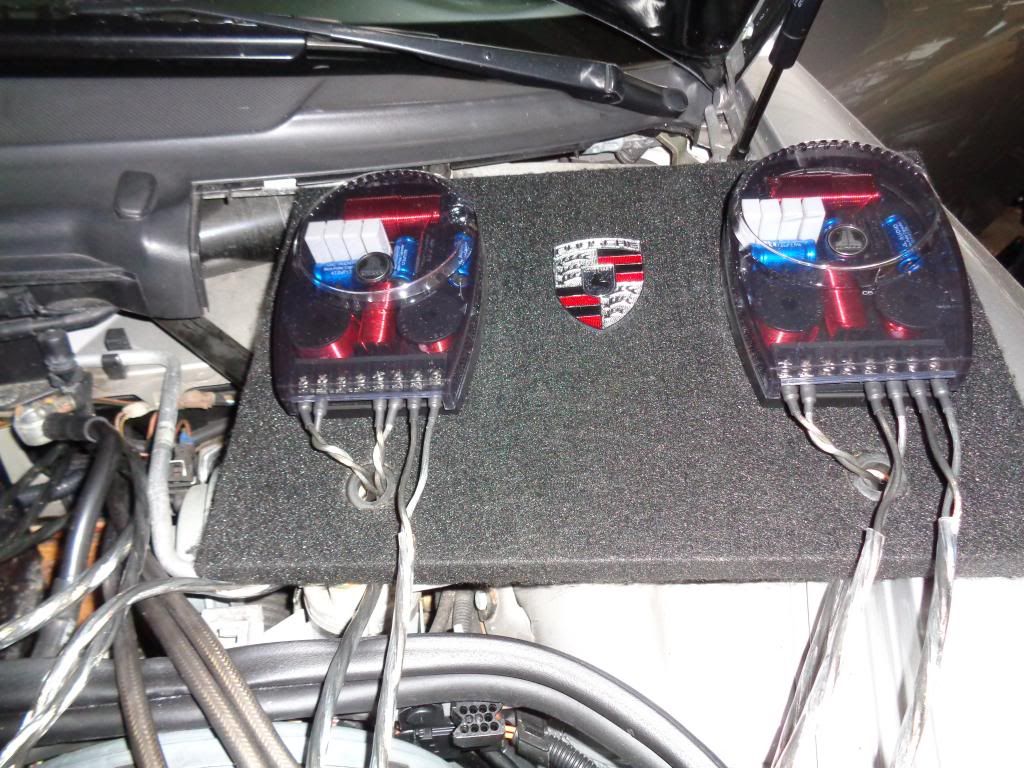
JL Crossovers Mounted (needs clean-up):
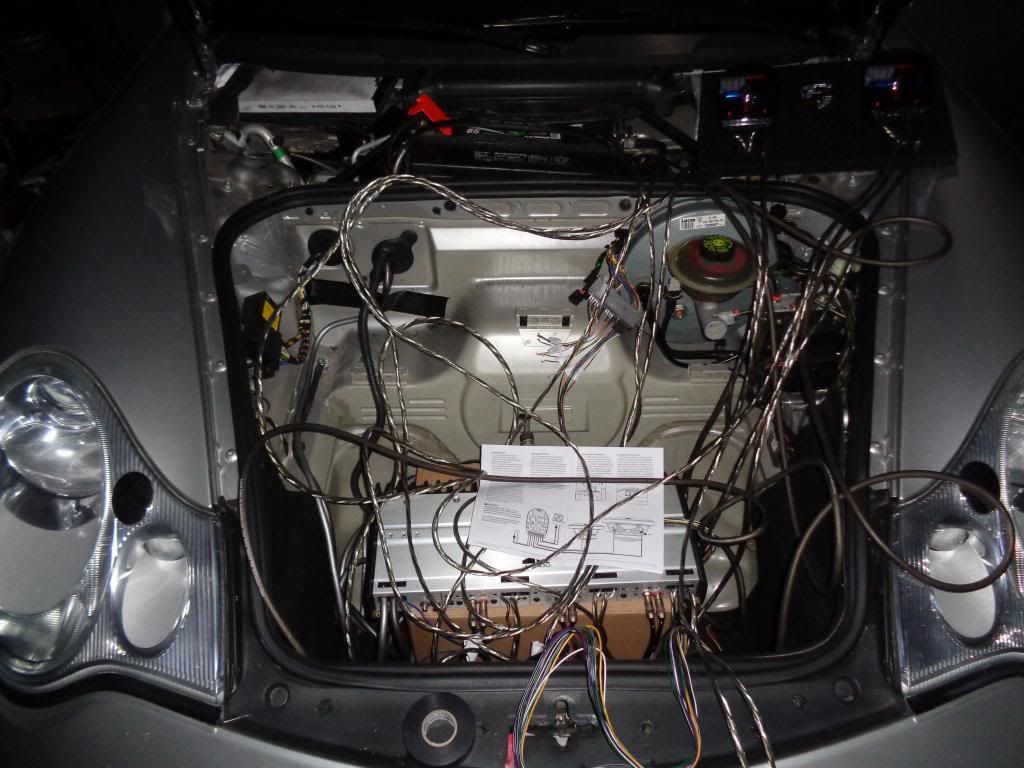
Amp Rack (needs major clean-up):

Passenger Seat Out:

Head Unit, A/C Controls and Horseshoe Out:

Replacement JL Front Speakers Mounted (I had to grind out the OEM Bracket to fit):

Replacement JL Rear Speaker TR525 CXi (will be a tight fit but looks like I can just make it):

Bose Sub Box Out - Replacement Alpine Type R Sub. I will build a "fake" Bose Sub Box and mount the Alpine to it:

Head Unit (JVC Single Din 5.4" Touch Screen) (Discontinued but luckily I found one on Craigslist):

JL 500/5 Amp (Not the latest JL model but I always liked the look)

T-Spec v12 4 AWG AMP Ground and Power:


JL Crossovers Mounted (needs clean-up):

Amp Rack (needs major clean-up):

 03-31-2014, 04:36 PM
#3
Burning Brakes
Wow looks like a very complete job.
Question about your instrument cluster. Did you do those gauge red faces yourself ? I'm looking for a shop to do just the center tach red.
Question about your instrument cluster. Did you do those gauge red faces yourself ? I'm looking for a shop to do just the center tach red.
03-31-2014, 05:13 PM
#4
Rennlist Member
Thread Starter
Yes, I did the gauges myself a few years ago. About a 6/10 on the difficulty scale as I recall. I think there's a DIY on here or renntech. One thing I recall doing was taking pictures of the needle placements prior to pulling the needles off....was helpful to insure they went back in the same places.
03-31-2014, 05:15 PM
#5
Rocky Mountain High
Rennlist Member
Rennlist Member
I've thought about that too. I've considered a yellow tach because I feel like it might be easier to read than a red one.
 03-31-2014, 10:19 PM
#7
Rennlist Member
Thread Starter
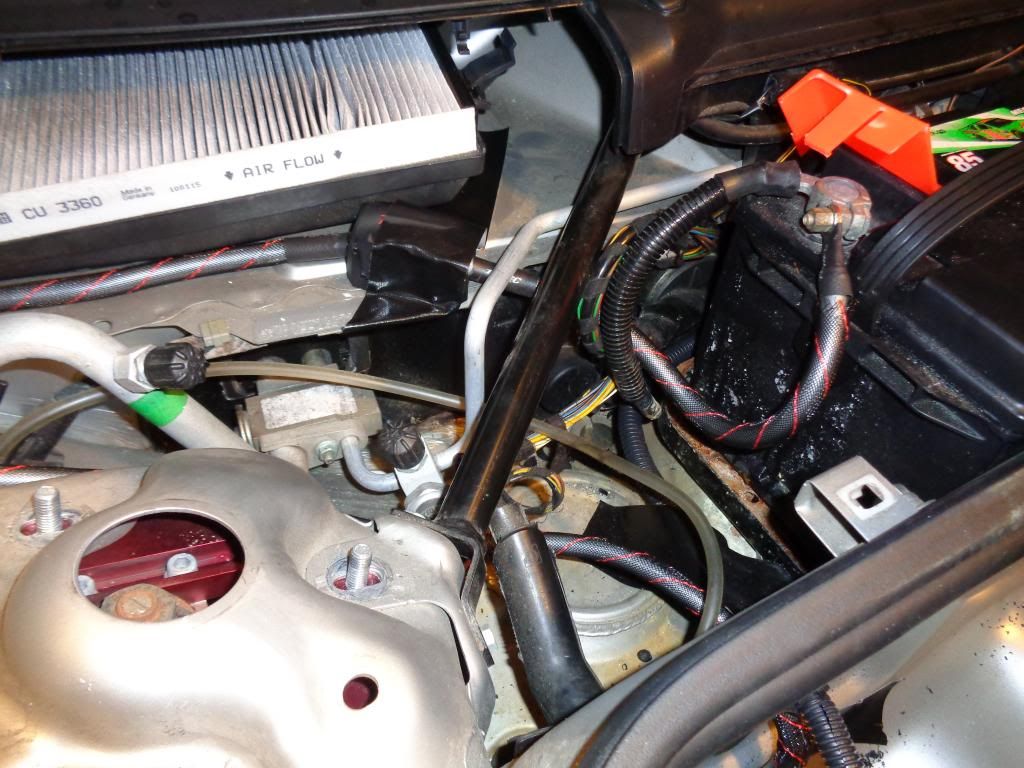
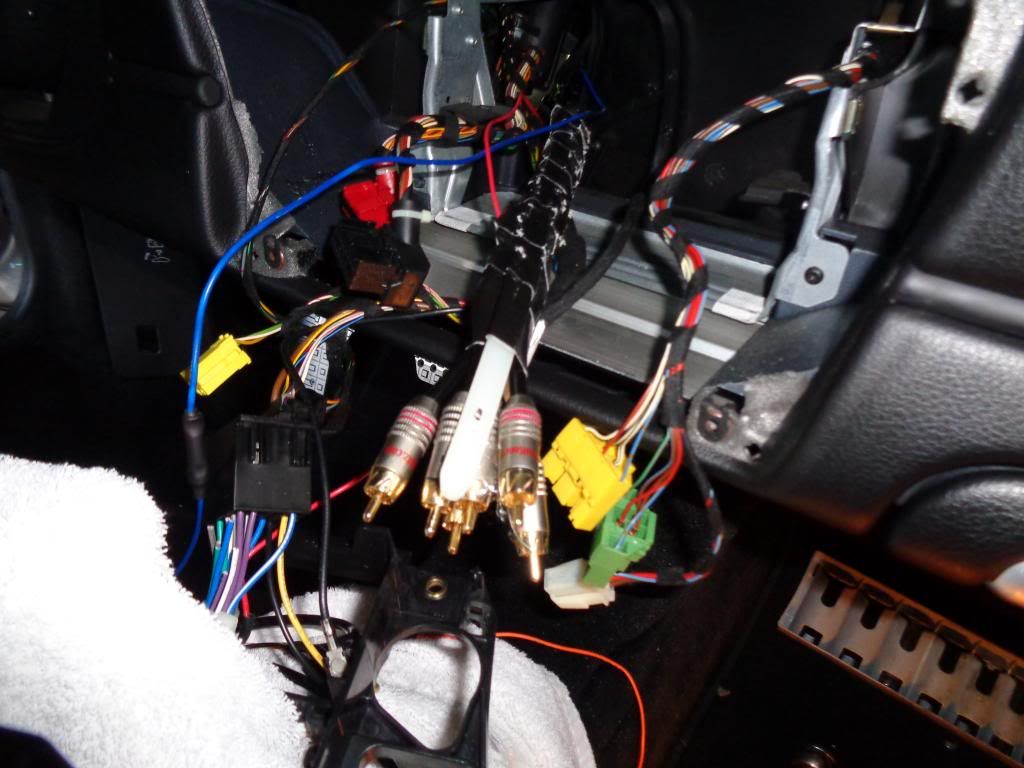
RCA cables into the cabin....
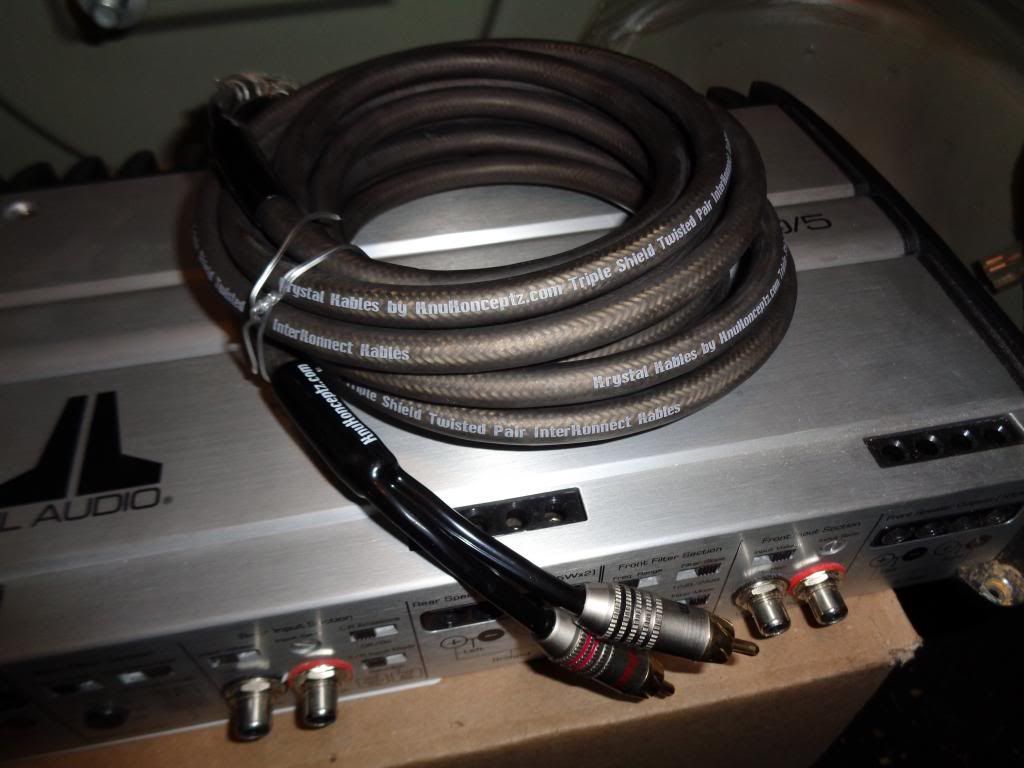
Knukonceptzs Krystal Kable - Triple Shielded RCA Cables. Hopefully this will shield any noise/interference from the Amp power cable which will be close by.
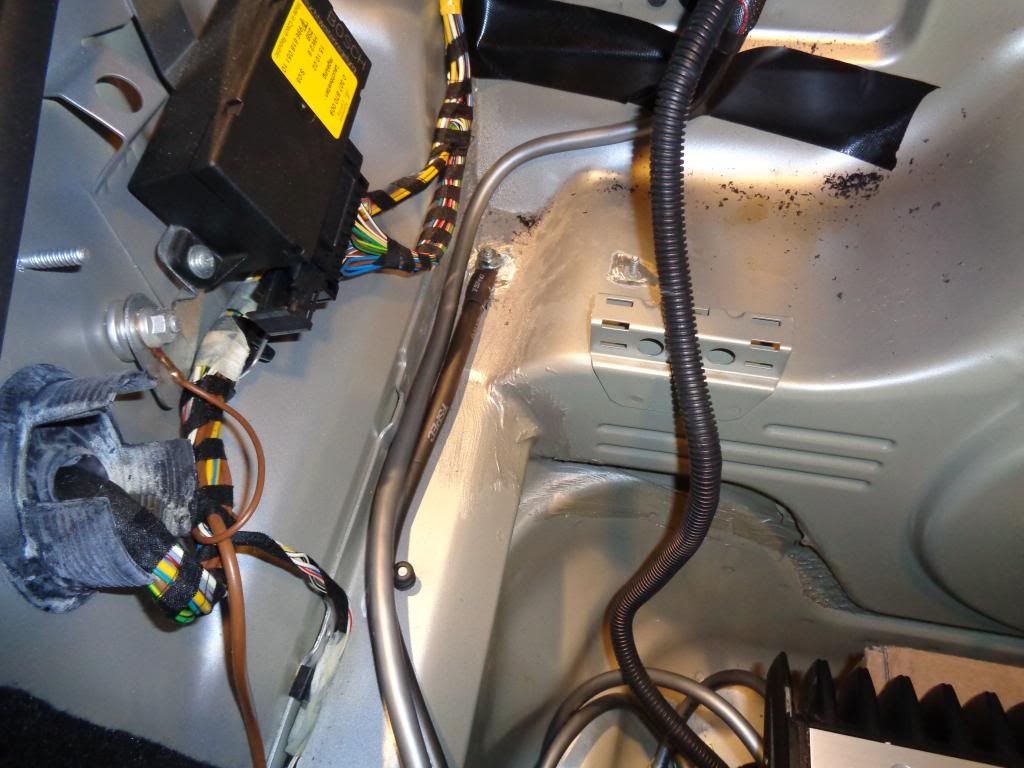
Firewall grommet behind the battery...you can see a little of the blue HU to Amp remote turn on wire. I also have my laser jammer cable run into the cabin from here.
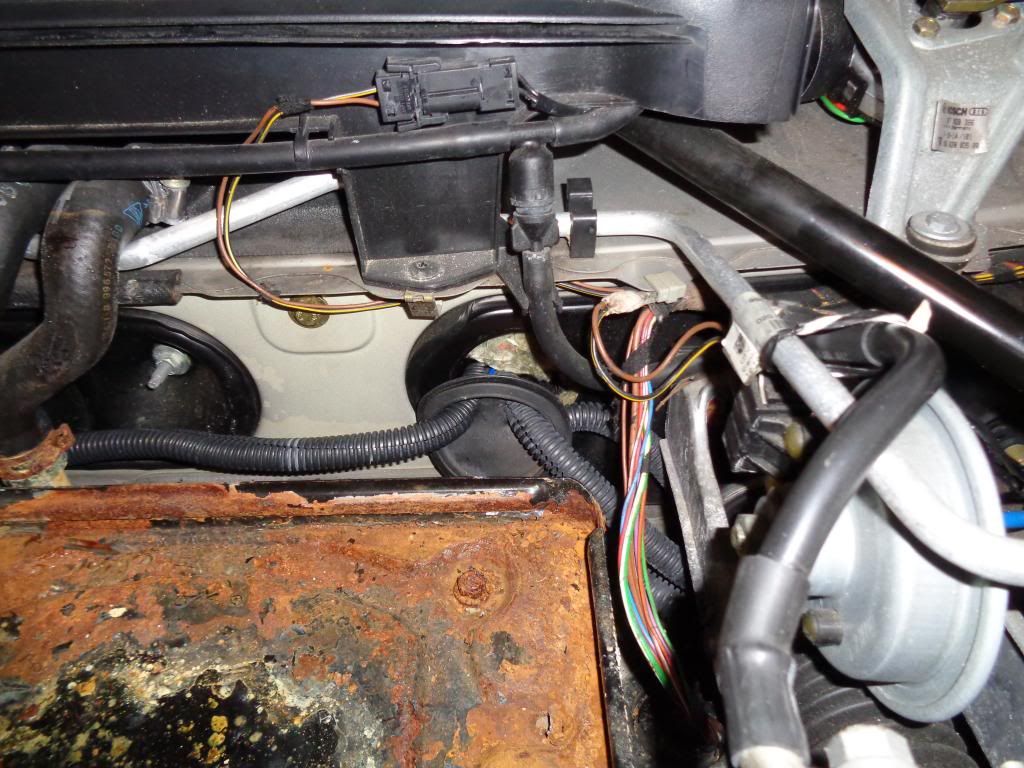
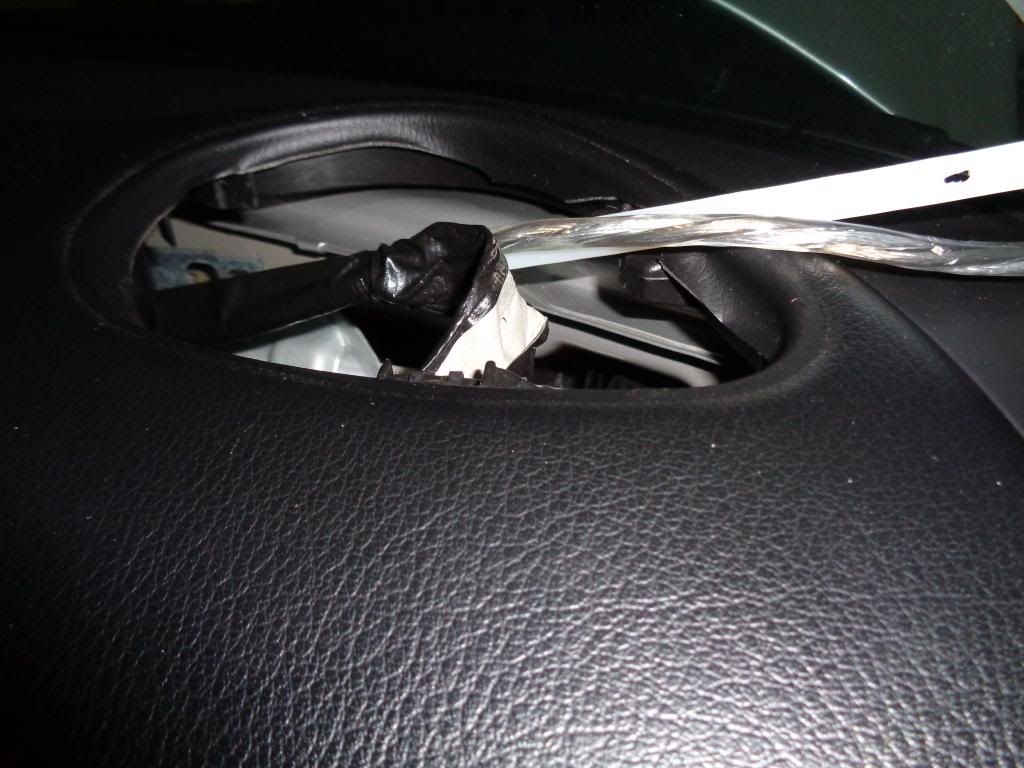
(3) sets of RCA's thru (taped to the white Pro.Fit Wire Worm from Crutchfield which is indispensable for this job) I had to completely remove the upper center console to get this done:
Knukonceptzs Krystal Kable - Triple Shielded RCA Cables. Hopefully this will shield any noise/interference from the Amp power cable which will be close by.

Firewall grommet behind the battery...you can see a little of the blue HU to Amp remote turn on wire. I also have my laser jammer cable run into the cabin from here.

(3) sets of RCA's thru (taped to the white Pro.Fit Wire Worm from Crutchfield which is indispensable for this job) I had to completely remove the upper center console to get this done:

Trending Topics
04-11-2014, 01:33 AM
#8
Rennlist Member
Thread Starter
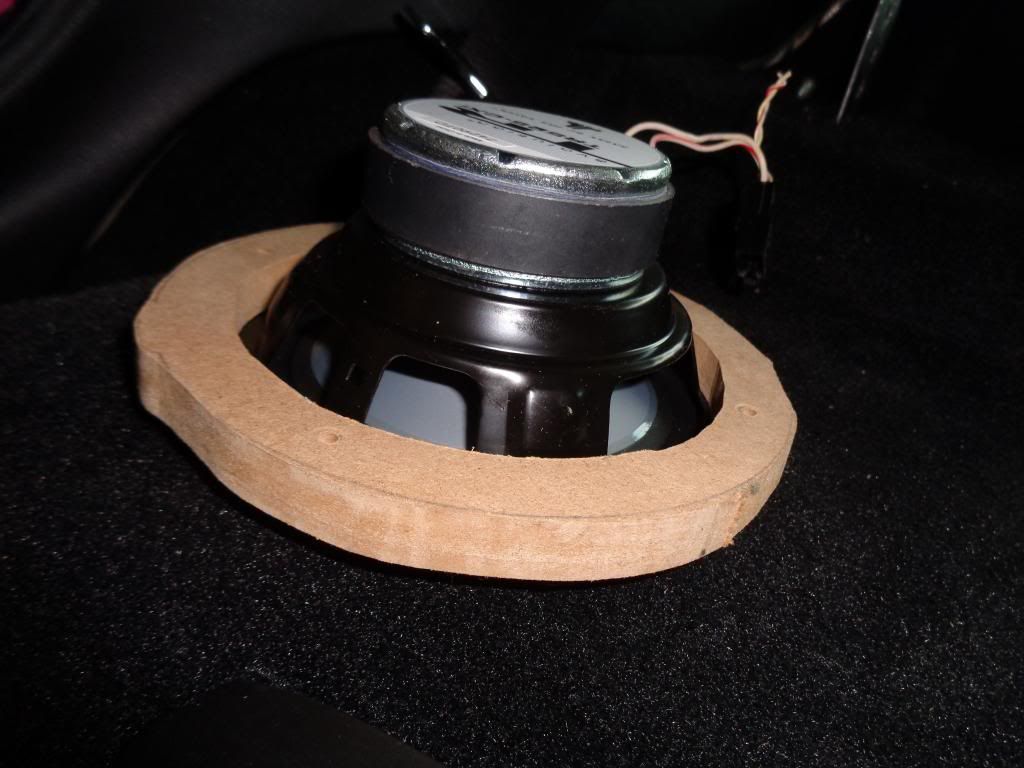
Installed JL TR525 CXi Rear speakers
I loosen the rear interior side panel to provide room for the rear speaker and wiring installation (removed the B Pillar clip and the one B Pillar screw that secures the panel).
Pushed back foam insulation and cleaned area with denatured alcohol. Then applied 3M 4959 Very High Bond Double Sided tape around the opening (once cured, this stuff has amazing bonding ability):
1/2" MDF cut for the mounting ring with (4) screw wholes drilled
Mounting ring connected to Double Sided Tape (I used small C clamps for 24 hours to provide pressure):
I could not figure out wiring to the rears (or Subwoofer) using the Autoleads wiring adapter so I installed my own wiring to the Rears and Sub (KnuKonceptz Karma Kable 16 Gauge for the rears and 12 gauge for the Sub)
Speaker wired and installed to mounting ring:
OEM Speaker Grill re-installed and rear panel reattached (I had to cut down the length of the two mounting screws due the the increased width of the new speaker install:
I loosen the rear interior side panel to provide room for the rear speaker and wiring installation (removed the B Pillar clip and the one B Pillar screw that secures the panel).
Pushed back foam insulation and cleaned area with denatured alcohol. Then applied 3M 4959 Very High Bond Double Sided tape around the opening (once cured, this stuff has amazing bonding ability):

1/2" MDF cut for the mounting ring with (4) screw wholes drilled

Mounting ring connected to Double Sided Tape (I used small C clamps for 24 hours to provide pressure):

I could not figure out wiring to the rears (or Subwoofer) using the Autoleads wiring adapter so I installed my own wiring to the Rears and Sub (KnuKonceptz Karma Kable 16 Gauge for the rears and 12 gauge for the Sub)

Speaker wired and installed to mounting ring:

OEM Speaker Grill re-installed and rear panel reattached (I had to cut down the length of the two mounting screws due the the increased width of the new speaker install:
 04-17-2014, 11:47 PM
#9
Rennlist Member
Thread Starter
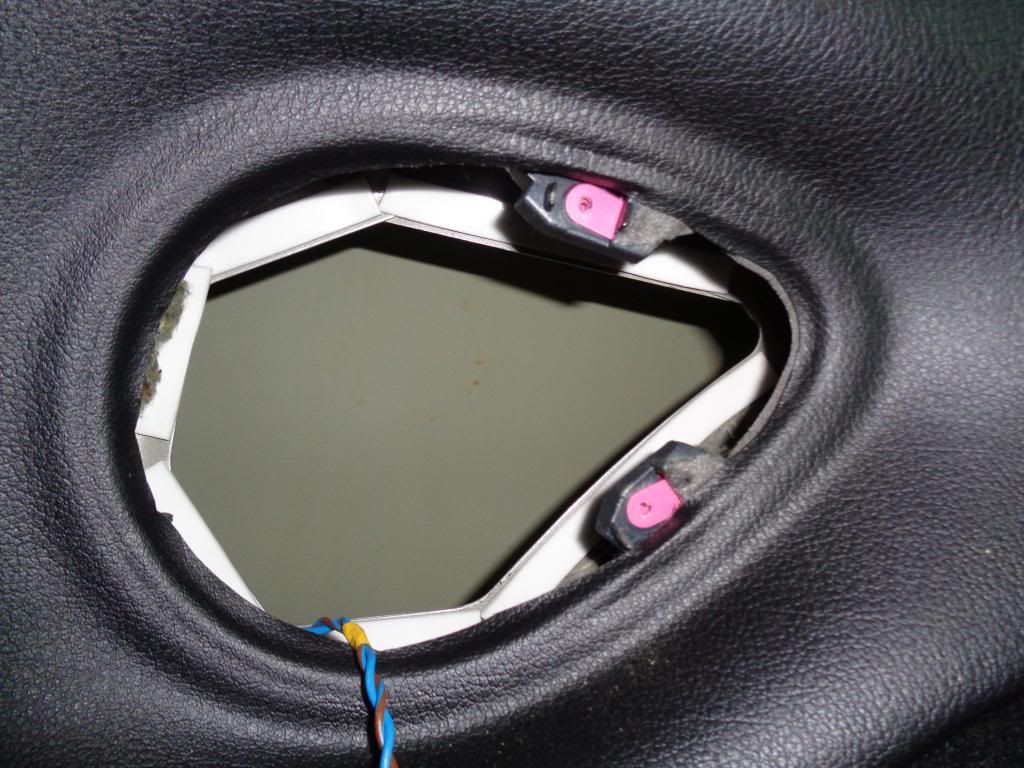
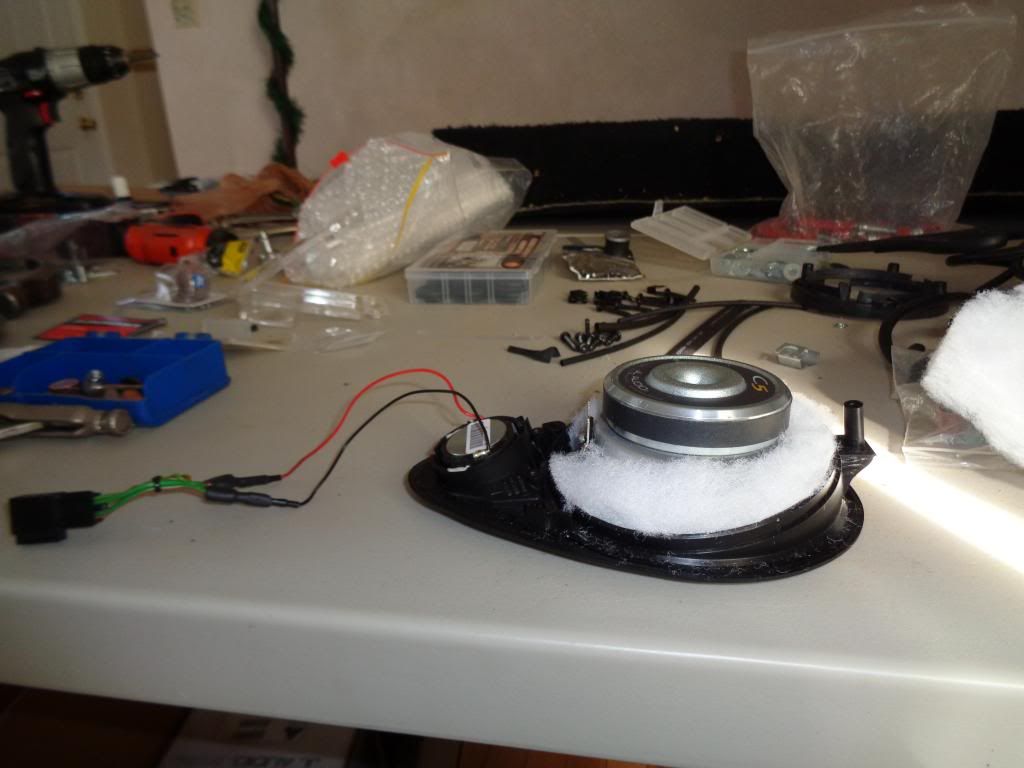
I'm installing the JL C5-653 3-way system (Mid Range and Tweeter in the dash and Mid Base in the door). In order to connect the JL Mid Range I need to pull a wiring run to each dash location. I'll use the the existing dash wiring to connect the JL tweeter. That existing wire is connected to the Bose wiring harness. I'll use the Autoleads wiring harness adapter to gain access to the tweeter wiring therefore I will not have to splice the Bose harness wiring.
KnuKonceptz Karma Cable 16 Gauge cable pulled to the dash location using the Wire Worm
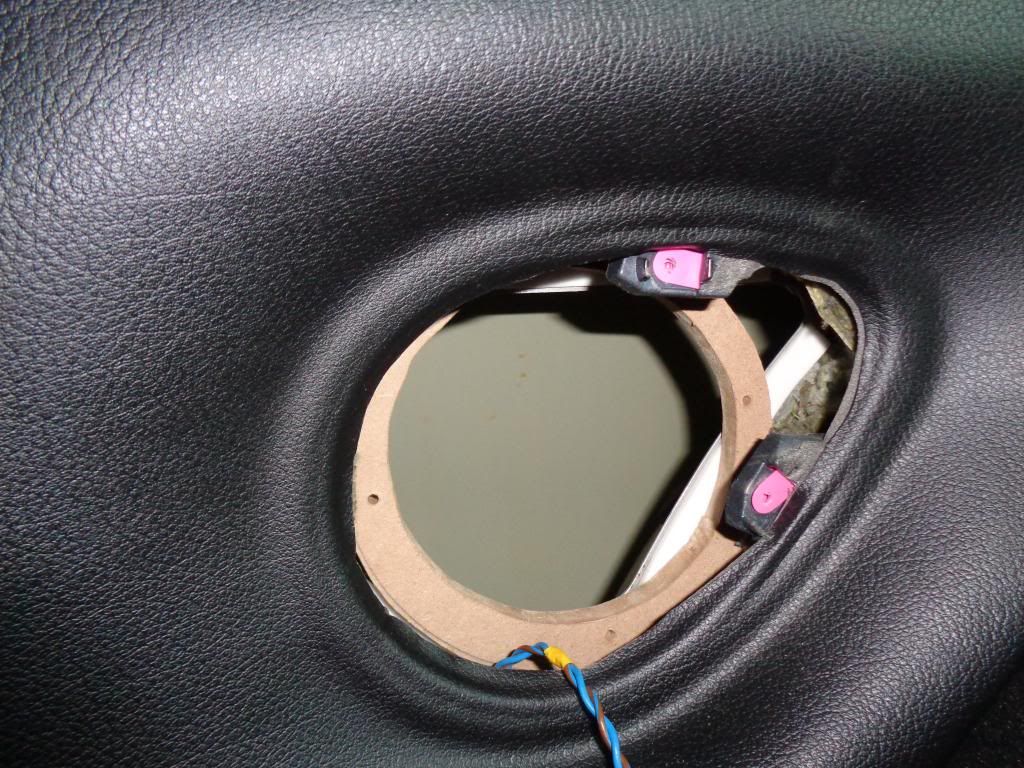
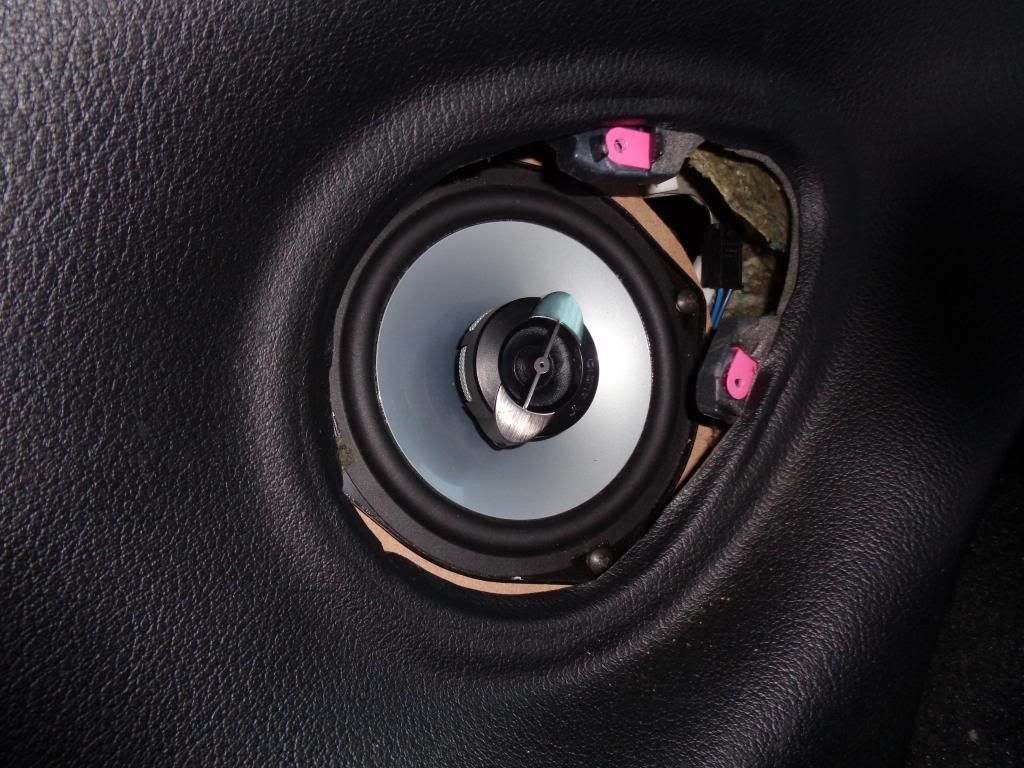
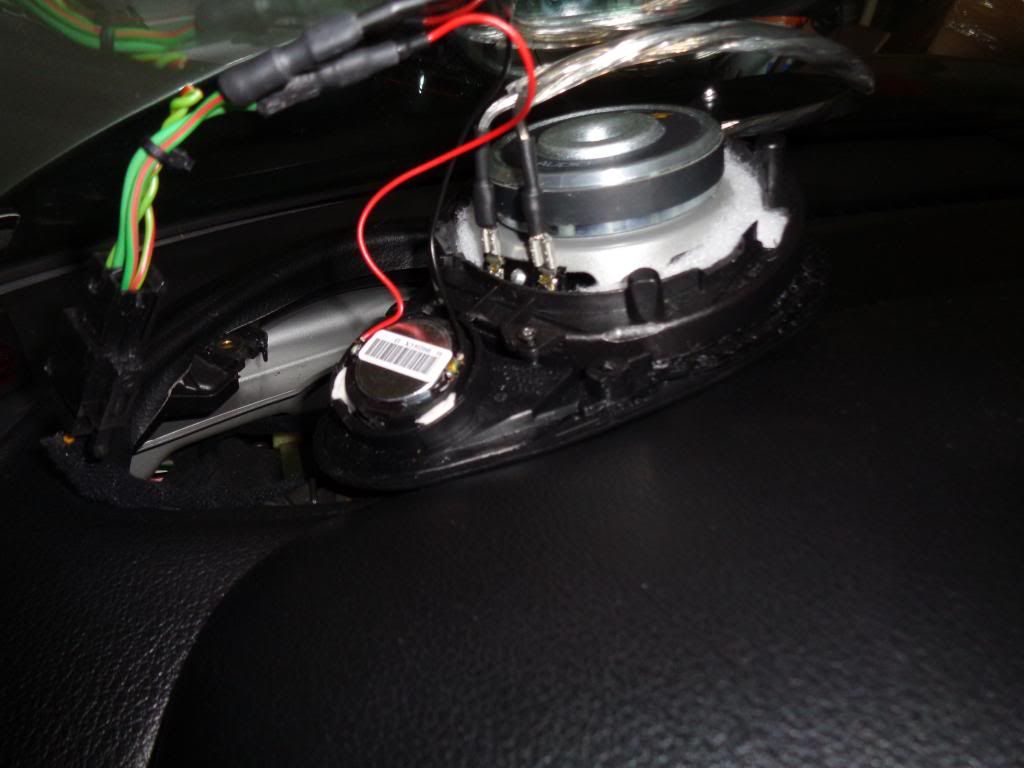
JL Mid Range and Tweeter installed in the OEM speaker Housing. I used 3m double sided foam tape, poly fil and the OEM speaker housing to hold the Mid Range in place.You see the OEM wire connector now attached to the JL Tweeter.
Mid Range and Tweeter wires connected
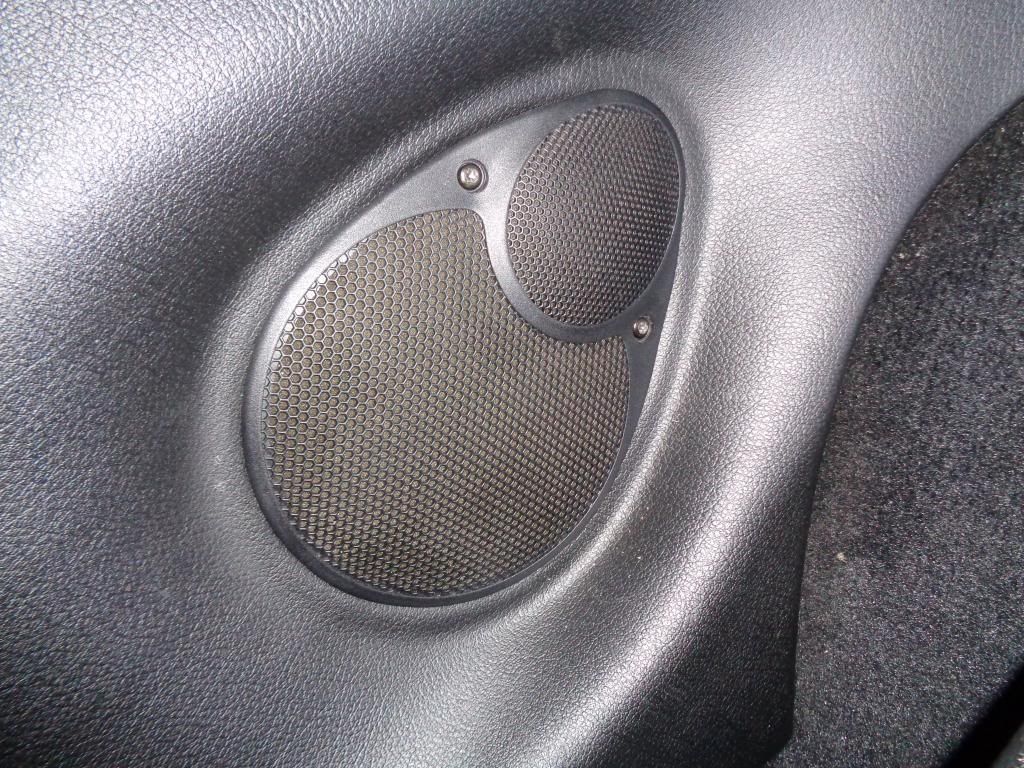
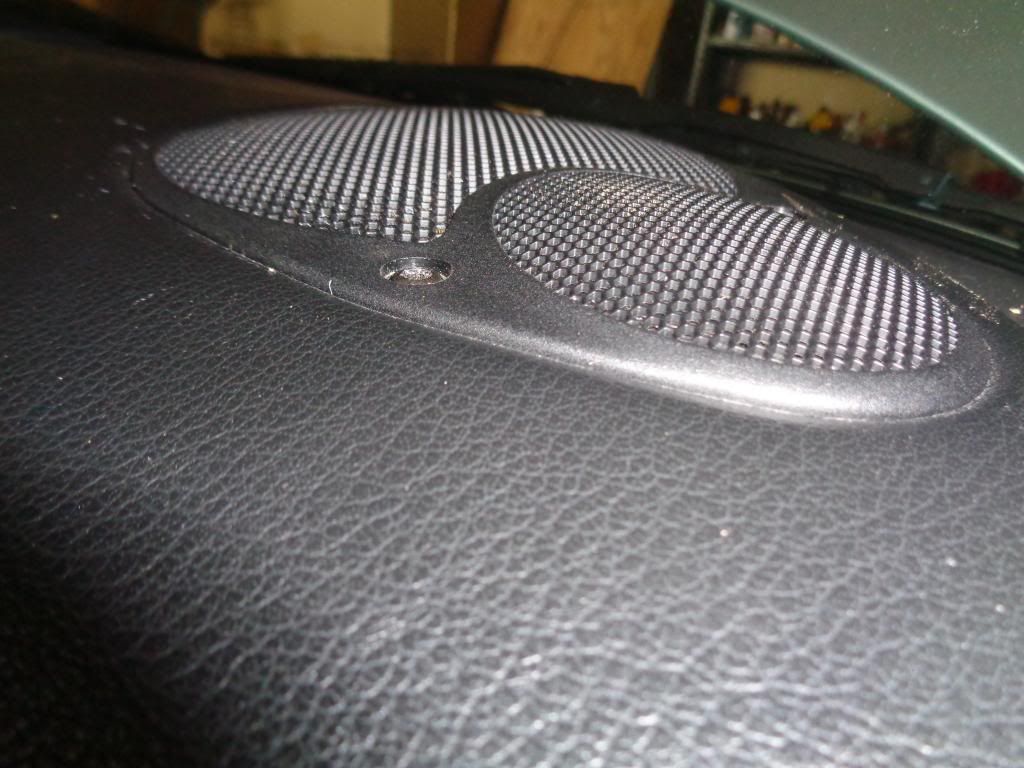
Speakers installed (looks OEM)
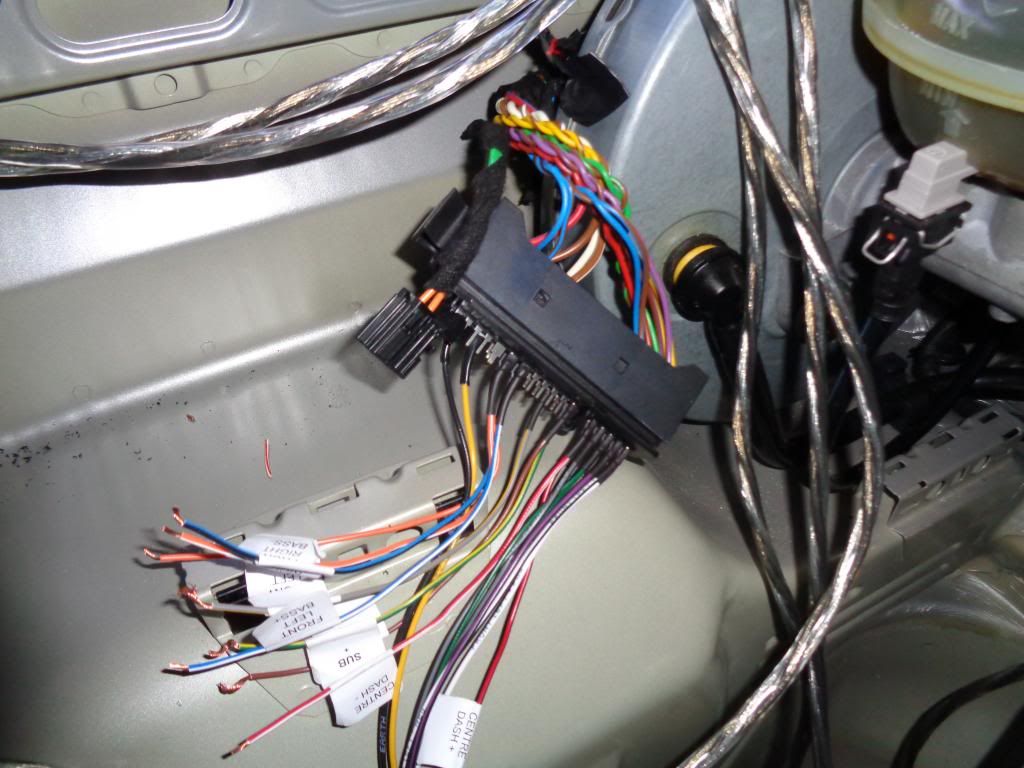
Bose Wiring Harness
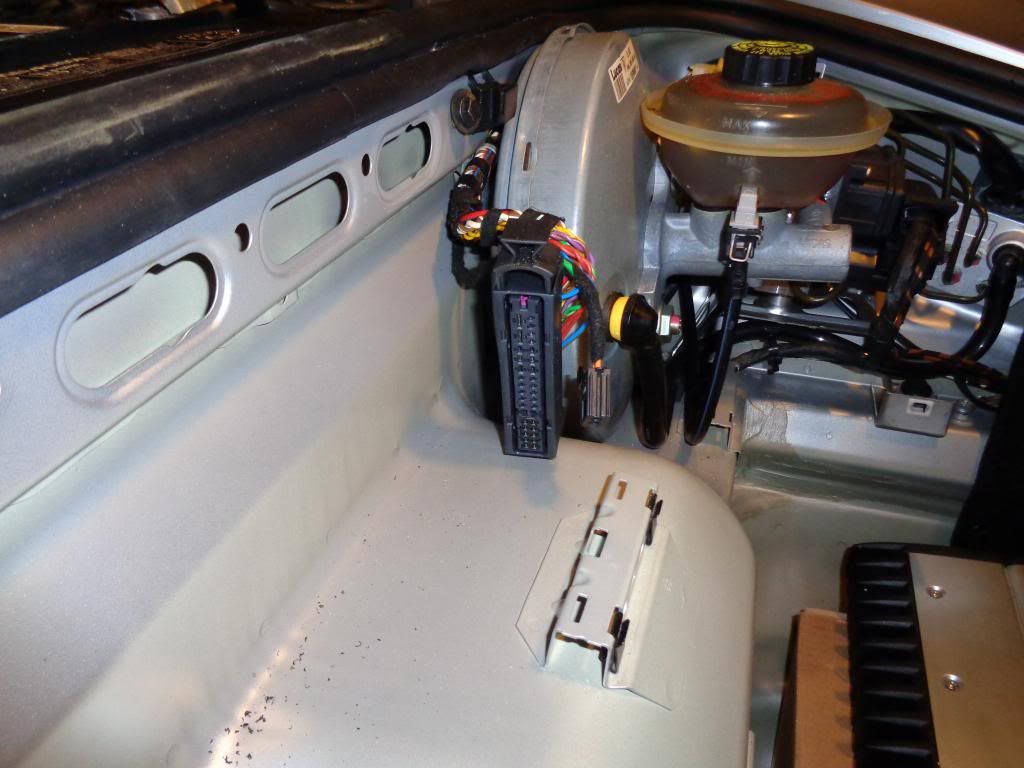
Bose Wiring Harness with Autoleads connected. I used the following wires on the Autoleads to connect the tweeters:
White - Front Left +
White/Black - Front Left -
Grey - Front Right +
Grey/Black Front Right -
Crossover Connections
Connections to AMP
KnuKonceptz Karma Cable 16 Gauge cable pulled to the dash location using the Wire Worm

JL Mid Range and Tweeter installed in the OEM speaker Housing. I used 3m double sided foam tape, poly fil and the OEM speaker housing to hold the Mid Range in place.You see the OEM wire connector now attached to the JL Tweeter.

Mid Range and Tweeter wires connected

Speakers installed (looks OEM)

Bose Wiring Harness

Bose Wiring Harness with Autoleads connected. I used the following wires on the Autoleads to connect the tweeters:
White - Front Left +
White/Black - Front Left -
Grey - Front Right +
Grey/Black Front Right -

Crossover Connections

Connections to AMP
 04-18-2014, 12:41 AM
#10
Instructor

Join Date: Aug 2013
Location: Carlsbad, CA
Posts: 128
Likes: 0
Received 0 Likes
on
0 Posts
Looks very well thought out. If I may make one suggestion: before cutting and trimming the auto leads cable, consider locating the chunky Bose connector with the Autoleads counterpart in the corner on the right hand side ("right side" based on your last pic of your frunk) between the break cylinder and the frunk wall. That is what I did and it removes the unsightly connector from view.
04-18-2014, 11:58 AM
#11
Rennlist Member
Thread Starter
Looks very well thought out. If I may make one suggestion: before cutting and trimming the auto leads cable, consider locating the chunky Bose connector with the Autoleads counterpart in the corner on the right hand side ("right side" based on your last pic of your frunk) between the break cylinder and the frunk wall. That is what I did and it removes the unsightly connector from view.
04-18-2014, 04:04 PM
#14
Rennlist Member
Thread Starter
Unfortunately I already had the Airbag code which stemmed from the initial seat installation...need to get that reset when all said and done. I've been doing testing as each component goes in....so far, so good...
