When you click on links to various merchants on this site and make a purchase, this can result in this site earning a commission. Affiliate programs and affiliations include, but are not limited to, the eBay Partner Network.
Hiya Frisbee..... I have the same issue with my '01. I tried the link to your original PDF, but the link didn't work. Would you still happen to have your original PDF?
I put a new top on my Boxster myself, with no previous experience with anything remotely similar, and it turned out great..... But I have no desire to repeat the experience.... lol.
Originally Posted by frisbee91
Update: August 2016.
This repair is now almost 6 years old. Still going strong. No leaks, tears, etc.
The plastic window is starting to look pretty worn and scratched, so I'll probably do a plastic polish with PlastX or a similar plastic polish. But, no plans for an expensive convertible top replacement at this point.
Hiya Frisbee..... I have the same issue with my '01. I tried the link to your original PDF, but the link didn't work. Would you still happen to have your original PDF?
I put a new top on my Boxster myself, with no previous experience with anything remotely similar, and it turned out great..... But I have no desire to repeat the experience.... lol.
Hmm. Not sure what happened to the PDF link.
I will try to attach it here. (see below)
FWIW, almost 7 years later, the repair is still holding strong. No leaks, no issues.
my corners have came a little lose, I wish i had the patience to do this myself because otherwise mine is perfect... I might need to grow a set and do it lol
maybe I could just glue the corners back that would probably work, will that glue hold without the stitching?
my corners have came a little lose, I wish i had the patience to do this myself because otherwise mine is perfect... I might need to grow a set and do it lol
maybe I could just glue the corners back that would probably work, will that glue hold without the stitching?
The E-6000 (or 6800) will probably hold if you clamp it well. But, if the corners are going, the rest of the seam will probably give out soon, especially in the heat of the summer.
Thank you, fris! PDF opened up fine. Looking at mine tonight, my window seems to have shrunken maybe.... It is VERY hard to get the edges to meet to the point where the seam previously joined, even with the top in service position. I'm wondering how tough it would be to loosen the top from the bottom of the frame to gain some slack. Dunno how tough that would be.
I just joined Rennlist, and this thread is why. It's fantastic to see the followups all these years later. Thank you! I may reconsider putting in a bid on a 996 cab I've been following.
... It's fantastic to see the followups all these years later...
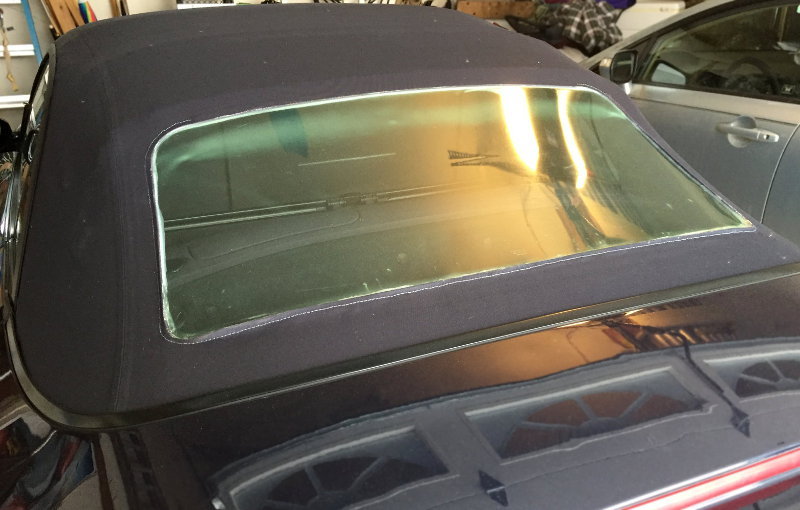
Haha. This repair is going on it's 8th year. Still holding strong, even though the window is getting pretty worn. I still polish it a bit every spring. The repair was time consuming, but it has sure held up. Another 3 years, and it will have lasted longer than the original factory seam!
Haha. This repair is going on it's 8th year. Still holding strong, even though the window is getting pretty worn. I still polish it a bit every spring. The repair was time consuming, but it has sure held up. Another 3 years, and it will have lasted longer than the original factory seam!
Took this photo today...
It almost makes you wonder why they didn't reinforce the seams with a similar adhesive from the factory...
Hey folks, I guess I have a question on what is the best kind of polish for the top? I usually have the hard top on with glass window so I don't worry about it. However I'm planning on removing the hard top for long periods soon and my window is quite cloudy, what is the best way to polish it and clear it up?
Hey folks, I guess I have a question on what is the best kind of polish for the top? I usually have the hard top on with glass window so I don't worry about it. However I'm planning on removing the hard top for long periods soon and my window is quite cloudy, what is the best way to polish it and clear it up?
There are several commercially available polishes for plastic windows. I've found the multi-step versions (like Novus) to be better than the single step like PlastX.
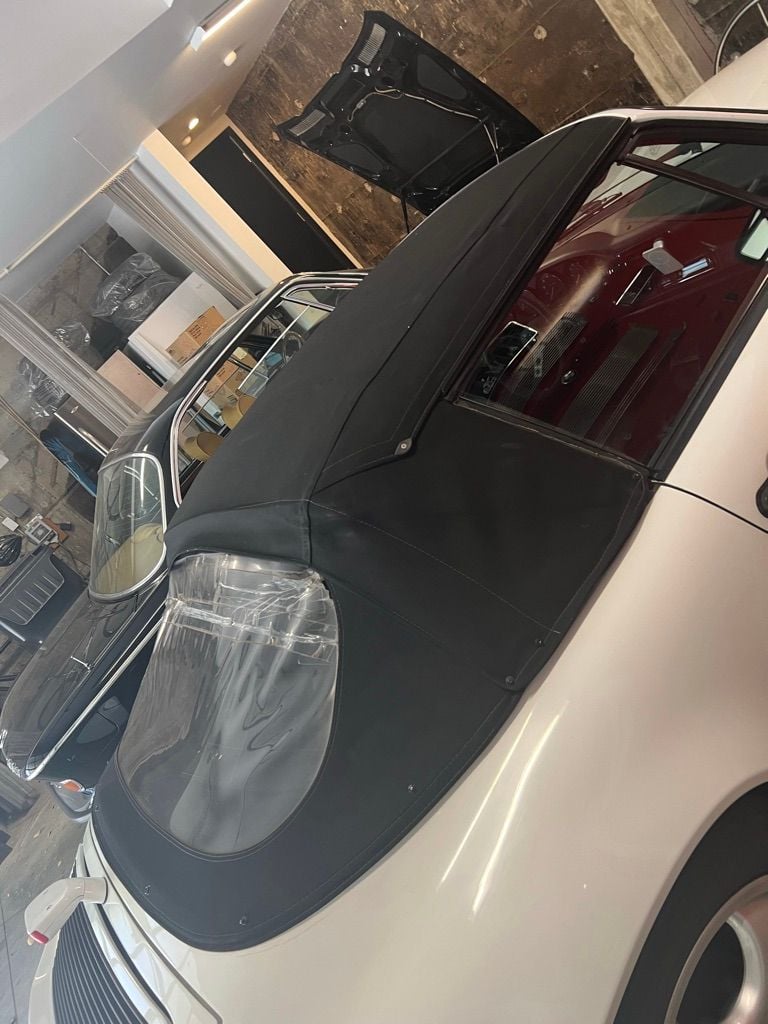
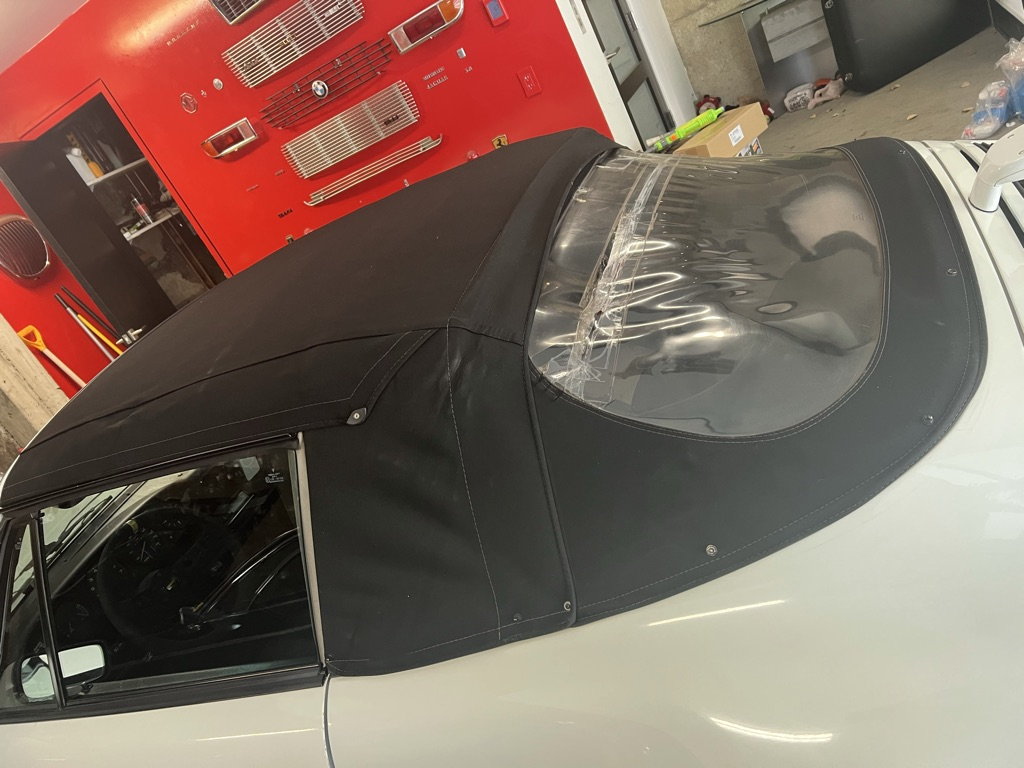
OMG. I wish I found this sooner. I have a 1990 964 Cab, but the rear window looks like crap with many holes in it, but rest of the top looks fine, see pictures. I was told that replacing just the plastic was NOT an option, so I purchased a COMPLETE top with all the bits and pieces, including motors, etc. from someone doing a conversion from Cab to Targa. But I just discovered that you can "simply" replace the plastic per https://www.carparts.com/convertible...indow?&vehicle[year]=1990&vehicle[make]=Porsche&vehicle[model]=911&vehicle[submodel]=Carrera_2&vehicle[cylinders]=6&vehicle[liter]=3%2E6.
Am I missing something? The only questions I have then are:
is it possible to remove old plastic and replace with new without removing top
should I work with an upholstery shop?
how difficult might it be to get my motor working again to pull top up/down? A shop tried to adjust this a decade ago and couldn't figure it out, so I just told him to simply un-attach and I do it manually.
assuming this works, who wants to buy a complete top with ALL the bits and pieces.
Thanks much for providing the scaffolding and validation so that those of us who follow with the inevitable rear vinyl window delamination may have a better view!
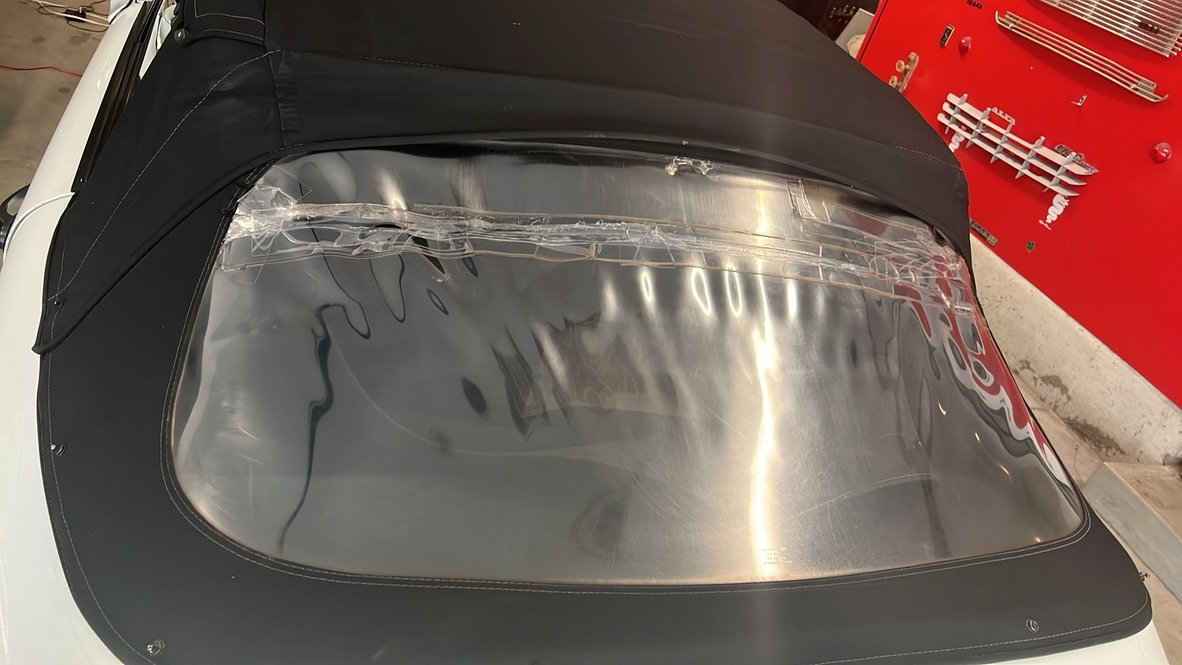
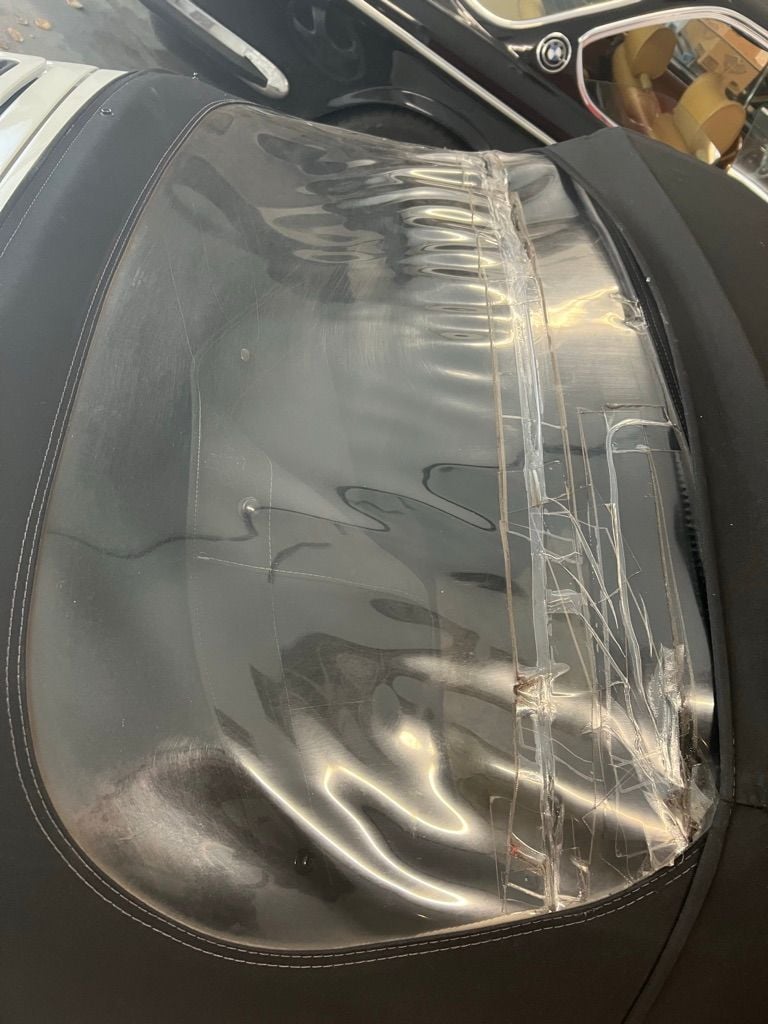
While I spent 3 months pondering canopy repair-or-replace options (as the corners started to delaminate), the entire bottom seam has delaminated. This happened very quickly as has been reported by others. Initially the seam will start to peel back from the window and the vinyl will slacken with visible creases when the canopy is closed... You have <6 months for action. Once a corner opens, you likely have 1-14 days before the whole bottom seam will fail (for me, it was a week, and that was without driving with the canopy up to avoid the pressure).
I am electing the 'Frisbee repair' route (with minor mods). Here's the decision tree and planned mods (with justification) from my research/procrastination:
Is the canopy in excellent shape, vinyl window delaminating?:
\YES
\ is the vinyl window in good condition?
\YES: then proceed with stitching repair
\NO: Then replace entire canopy with a professional upholstery shop. Justification: The bulk of the repair cost is in the 10-hour labor to remove/reinstall a 996 cabriolet canopy in order to replace the window. Consensus among those who've done it is that they wish they'd installed a complete new canopy for ~$400 more than the cost of the replacement window. Labor cost is roughly the same. With few exceptions (mostly those who never returned/sold the car) those who made it a DIY install typically say "never again!"
I'm resolved to stitch in situ with the following mods/additional thoughts:
I'm a sailor. A well made bimini or dodger (with vinyl windows) will see more sun and greater water than my Porsche will experience in SOCAL. Granted, it won't travel at 126MPH with a grinning captain at the helm, however, it will also see significant wind pressure and often without the streamline profile of hte rear window of a Porsche. Marine vinyl windows are double row stitched with basting tape to waterproof the seams. Therefore I will adopt this approach.
Vinyl is a bit like a postage stamp. It will tear very neatly along the perforations ...which is likely why Porsche didn't sew the seams... a glue that has bonded for 22 years of outdoor use on a sports car has probably exceeded the engineering specs for obsolescence - so I take my hat off to them (course that may change after 10 hours of hand-stitching). To overcome this perforation/tearing risk, use a #4 needle (smaller perforation in the vinyl) with V-90 thread, and a long stitch length (I plan on 10mm stitch length). The #4 needle doesn't come standard with the speedy stitcher, it has to be ordered separately.
Many of the 996 repairs I've seen (professional and DIY) have altered the alignment of the canopy/put creases in the vinyl window (yours looks awesome BTW). To avoid this, it is paramount that the window is firmly held in place with the correct tension at the place where you are stitching. When hand stitching sails, this is done with an anchoring line that you pull the seam against while stitching. Not really possible when sewing a 996 canopy in situ. I plan to use two KREG 6" Wood Project Clamps at either end of a new stitch section to hold the vinyl/basting tape/canopy sandwich in tis correct alignment. A lot of attention will be put on correct tension at the canopy corners. I have considered using a glue to set up the initial bond and then reinforcing with stitches, but my thesis is that the stitches provide the holding and the basting tape provides the waterproof bond. Hopefully the result will avoid the risks of glue messing up the finish.
I'm waiting for the clamps to arrive to start the project. I will post the results and help blaze the trail or erect the 'do not enter' signs for others facing this problem. Bottom line (as you have established) 10 hours of hand stitching with $40 in materials (less the clamps) versus 10 hours of removing/reinstalling a canopy with the associated risks of canopy function or aesthetic issues - its a no brainer. If it doesn't solve the problem, buy a new canopy and get it professionally installed. It is ultimately a consumable on a rag-top - we're all just trying to buy time without upsetting the form and function of a beautiful car!
For what it's worth, my repair lasted 12 years with no issues. But, this past spring, my vinyl window developed a crack. During those 12 years, the top had also faded quite a bit. So, rather than invest time in sewing a new vinyl window in an old, faded canvas top, I decided to replace the whole thing. I went with the smaller glass window version from GAHH and all new canvas.
Awesome insights - thanks!
Do you recall if the crack emanated from around the stitching, or was it a fold crease exacerbated by UV? If my 'Frisbee repair' works without looking too DIY, then I will start a regimen of UV protection on that vinyl window at each wash... I'll be happy if I get 3 more years life.
I am considering the GAHH canopy for the final solution. I will likely stick with the vinyl window as I like to have maximum rear view when reversing to apologize to that air-cooled Porsche driver I just overtook
 03-28-2017, 10:16 PM


")