When you click on links to various merchants on this site and make a purchase, this can result in this site earning a commission. Affiliate programs and affiliations include, but are not limited to, the eBay Partner Network.
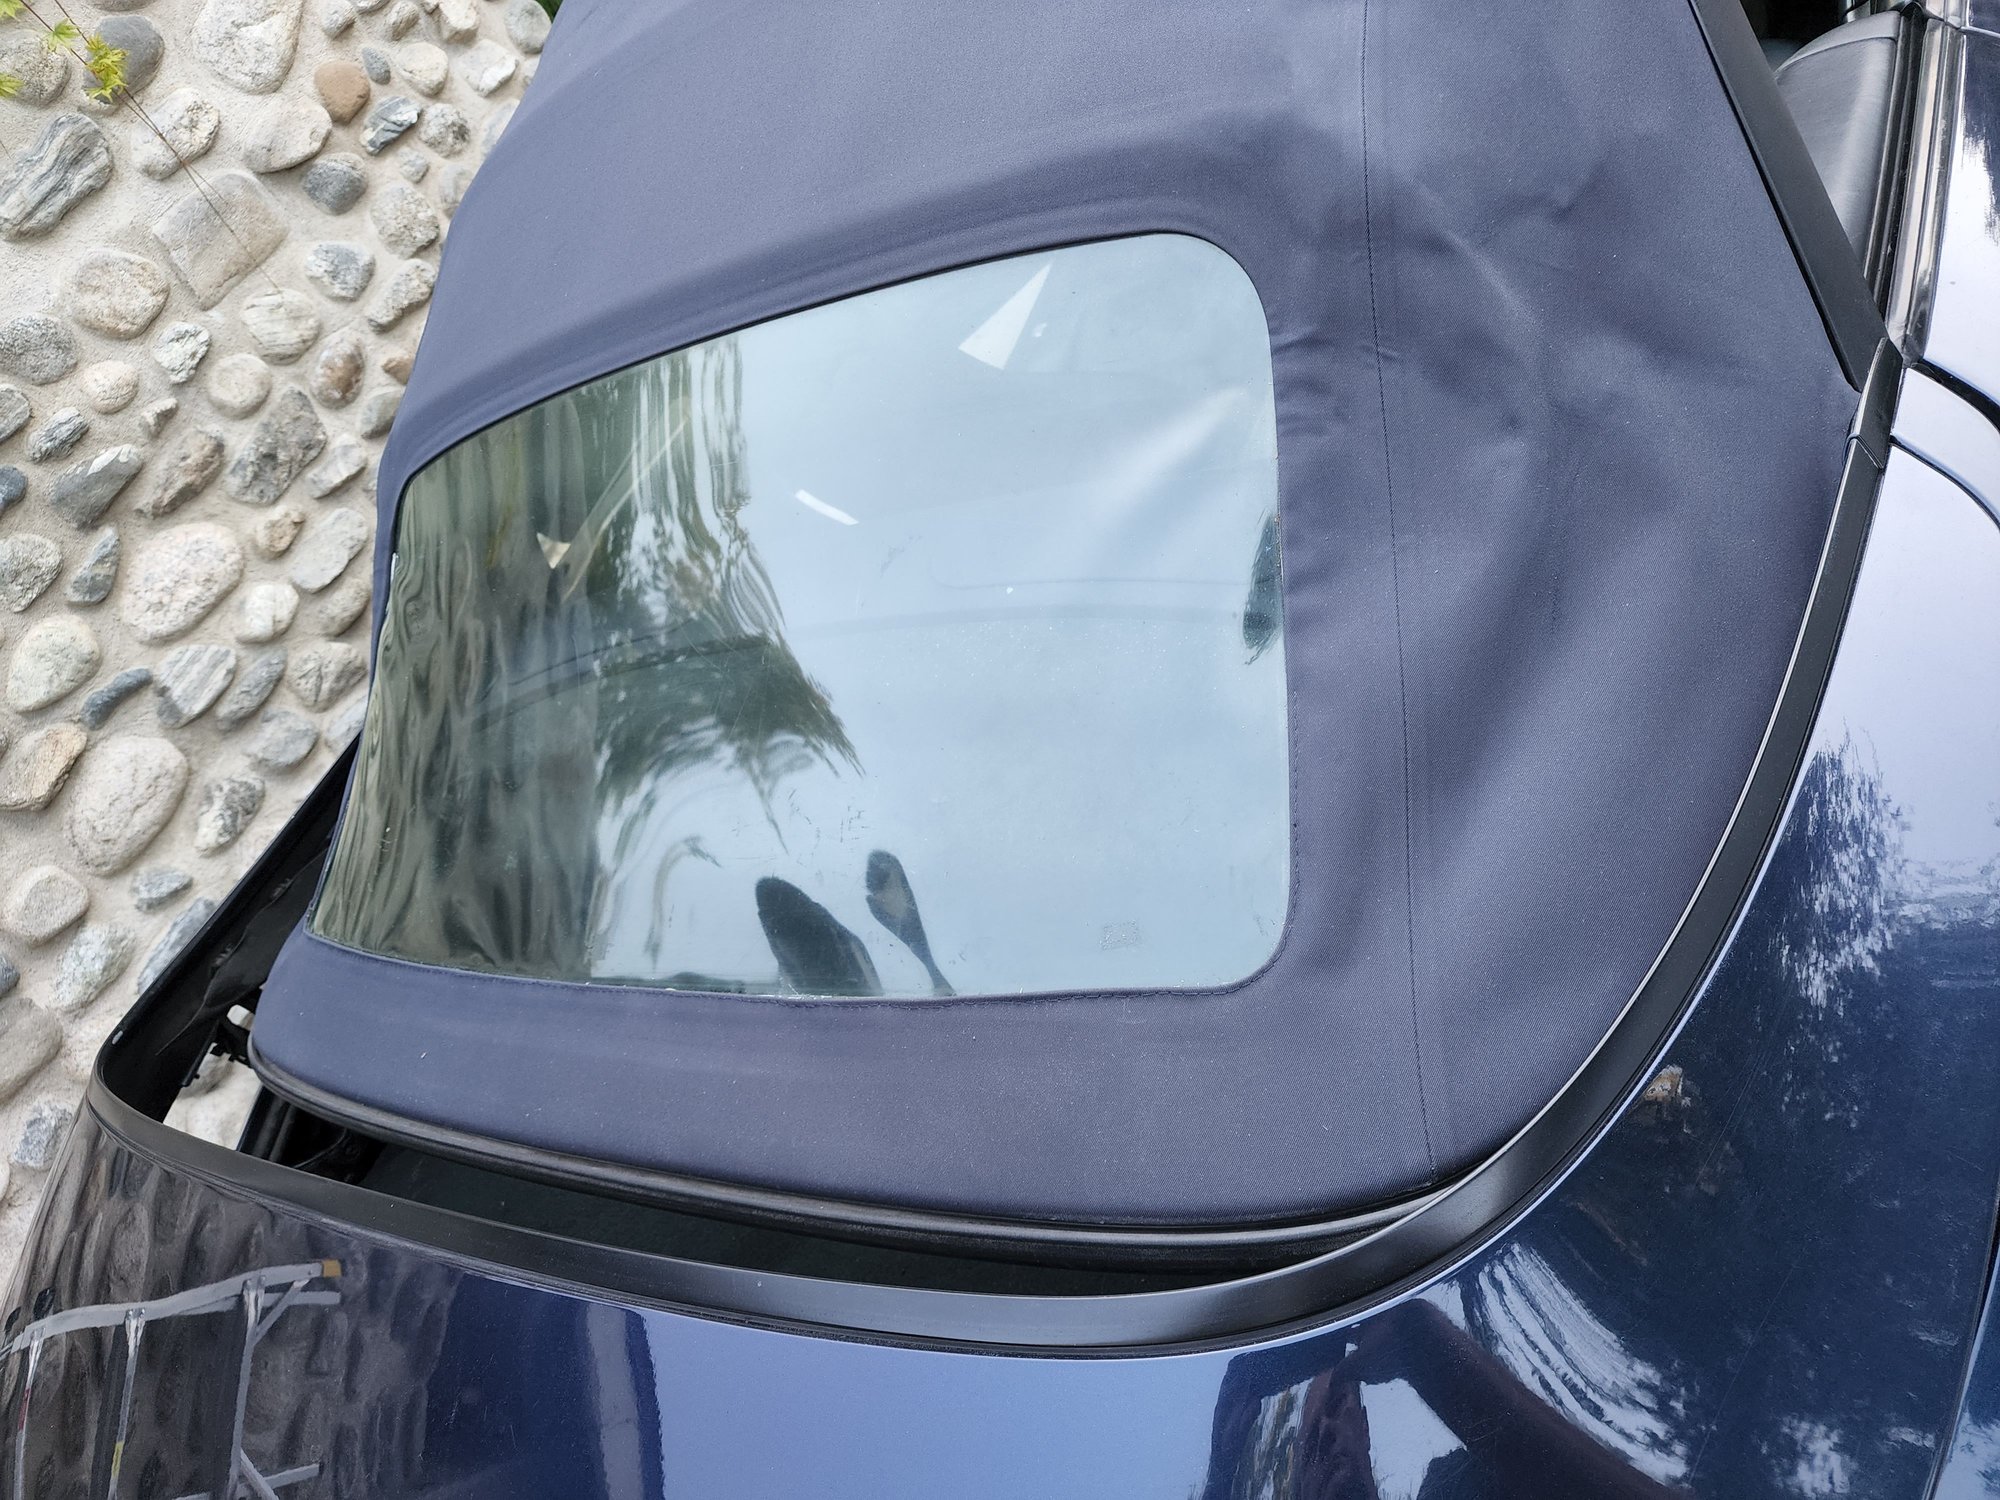
For what it's worth, my repair lasted 12 years with no issues. But, this past spring, my vinyl window developed a crack. During those 12 years, the top had also faded quite a bit. So, rather than invest time in sewing a new vinyl window in an old, faded canvas top, I decided to replace the whole thing. I went with the smaller glass window version from GAHH and all new canvas.
For my money, 12 years wasn't a bad run.
how do you like the glass window? It looks quite a bit smaller.
The glass window is definitely smaller, but still functional. I think it looks much better, and won't go cloudy on me over time, so it's worth the minor distraction of a smaller rear field of view. But, when the top is down, the field of view is excellent!
The 'Frisbee Fix' for Delaminated Vinyl Rear Canopy Window - Great Option (So Far)
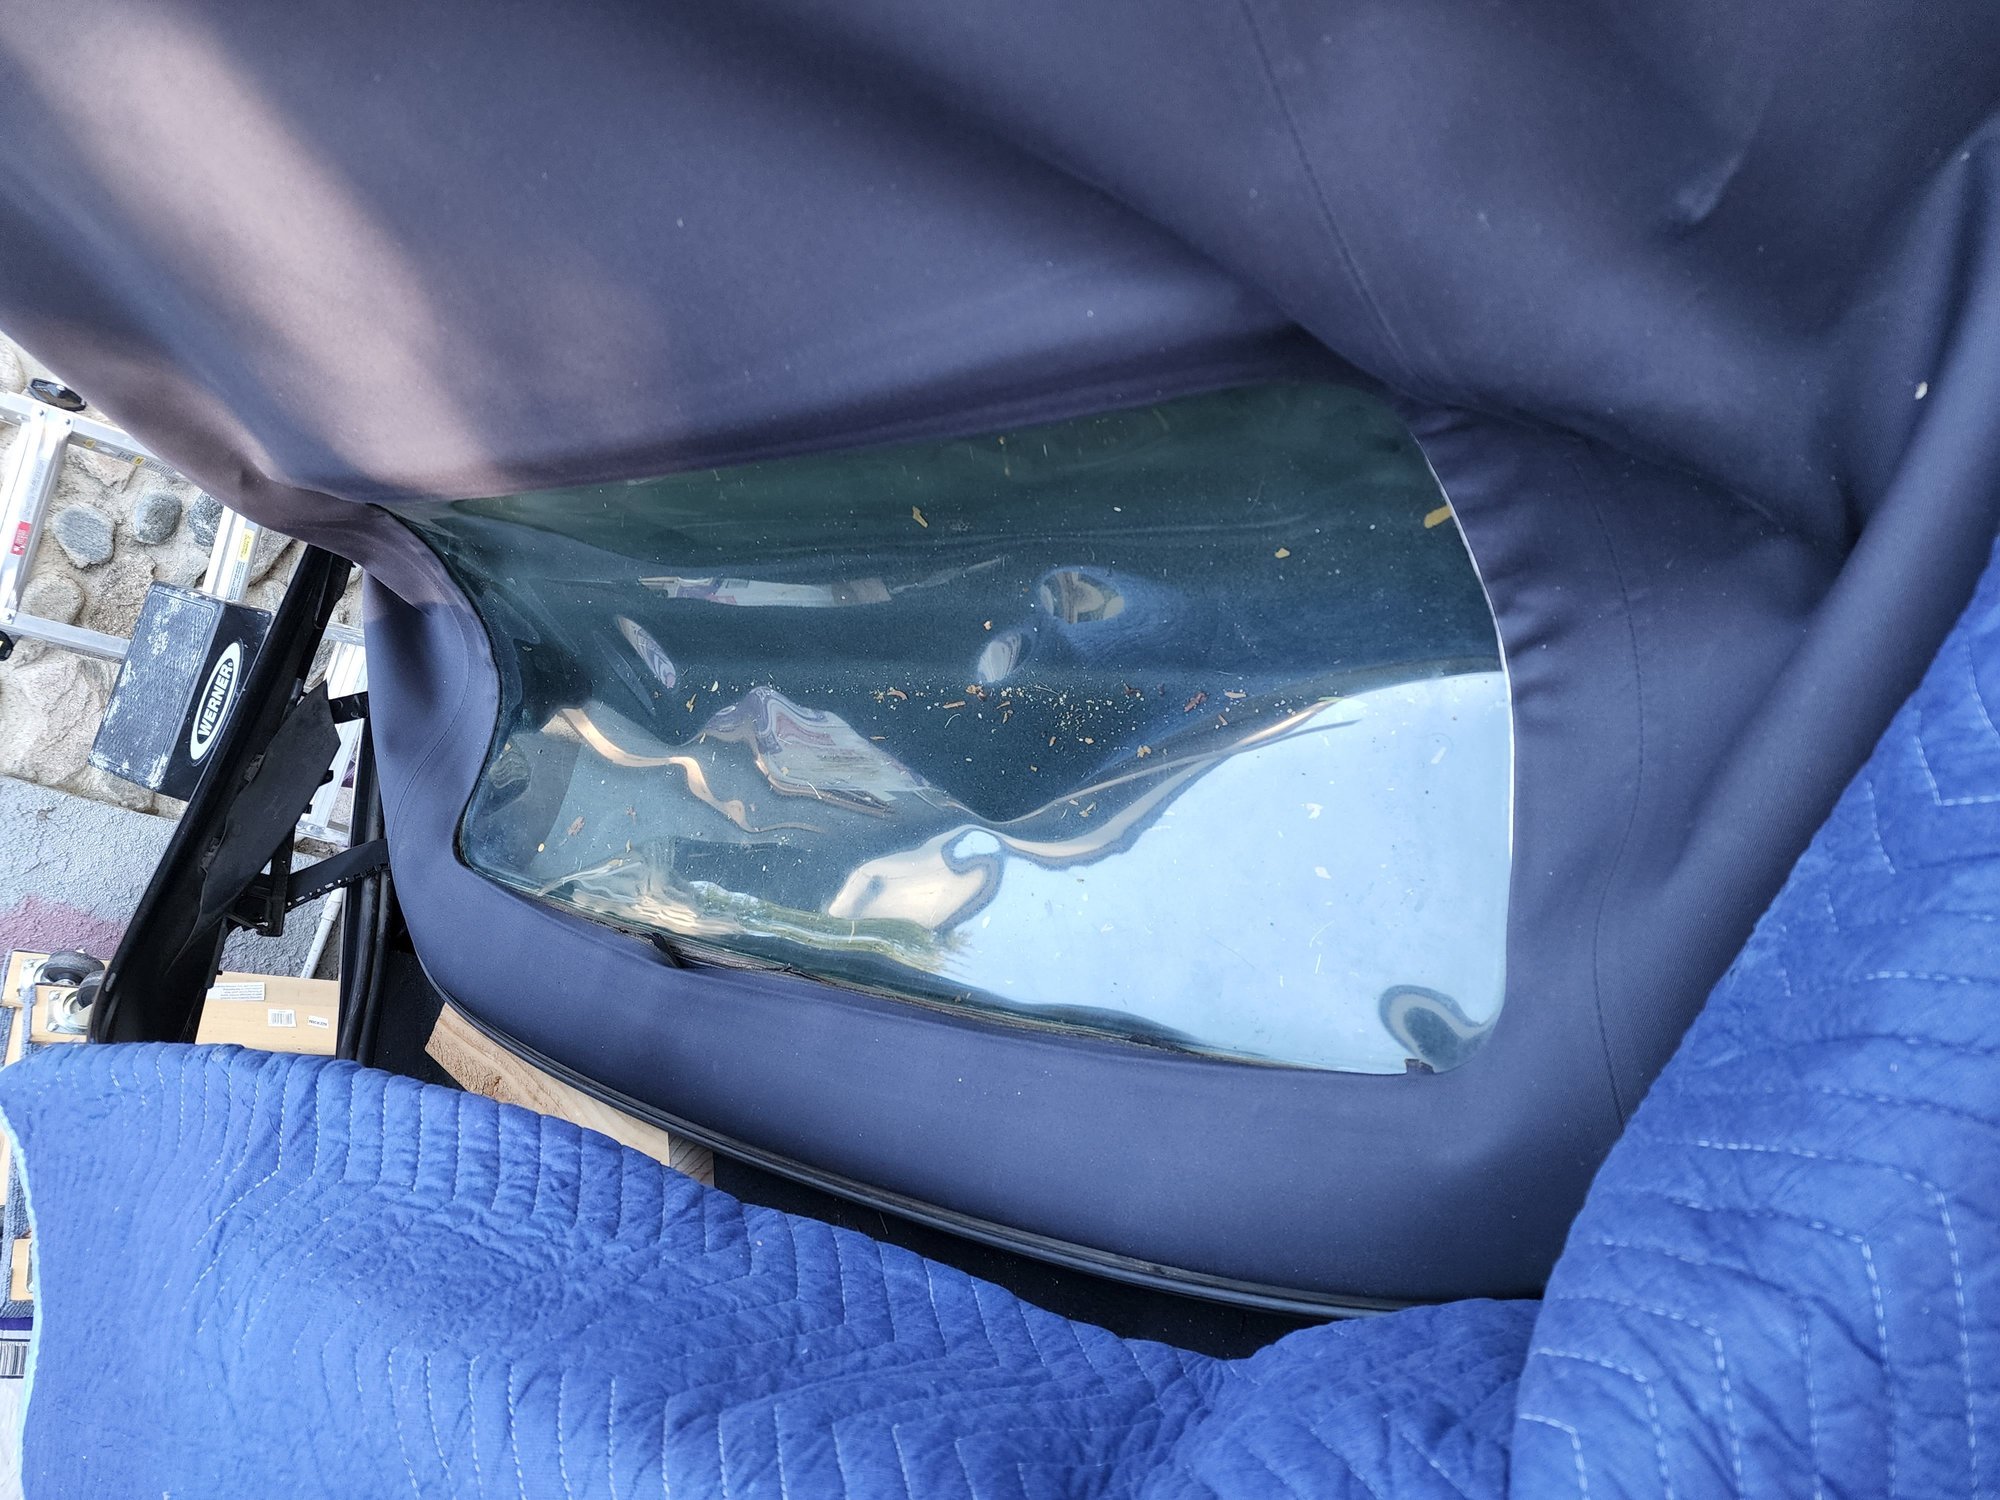
Pretty happy with the 'Frisbee Fix' thus far (first row of stitches completed to re-bind the delaminated window)! 5-6 hours work for a serviceable canopy that looks pretty good and up to 12 years of extended life. Better investment than an IMS bearing fix!
I have not put the canopy under full tension yet as I want to get the 2nd row of stitches in place to halve the strain on each stitch and prevent elongation of the penetrations through the vinyl. This window hasn't been fully stretched for over a year (when the delamination started and the window began to sag).
The window also hasn't been cleaned of residue from my 'handiwork' or polished yet. The white strips in the photo are leftover pieces of the Seamstick basting tape adhesive cover that had not yet been fully peeled off. The basting tape seems a good choice at this early point in the repair. The real test will be after the second row of stitching is laid, the canopy is fully deployed, and I verify the watertight seams.
A couple of 'manly sailmaker' tips that really helped. Obviously trying to dodge any potential seamstress labels here. I have photos if desired (of the tips, not my machismo):
Make sure you re-attach the bottom edge of the headliner to the back shell before you start stitching - the rubber strip will probably have popped off the metal lip when the window delaminated. Its fairly easy to re-seat, just line it up and press down firmly, running your finger along the strip and you will feel it drop home as you go. It is not easily removed once on, so make sure you line it up properly laterally. I'm not sure that this can be done without many expletives (if at all) once you've stitched up the window.
Use 1/4" Seamstick basting tape under the seams where the window has only partially delaminated and use 1/2" (or 3/4") where it is completely delaminated
Load the 'Speedy Stitcher' bobbin with V92 (color-matched to your canopy) and use the #4 needle (sold separately). For the Metropol Blue canopy, I used V-92 Navy UV Bonded Polyester Thread (part # 100073 at Sailrite.com) - I went through 4 different shades of blue before I got a good match.
When you load the bobbin (I used a drill), make sure the thread peels off the top of the spool to avoid winding up the thread - if the thread has any rotation it will cause the free thread to form knots as you stitch which will slow you down (best case) or form a knot that weakens the thread and causes filaments to break, at which point, you will have to cut it and backstitch over that area to form a strong bond as you start sttching again from the break.
As you load the bobbin, run the thread over sailmakers wax. I may be just superstitions here with the V92 thread, but it does seem to help prevent abrasion of the thread as you stitch, which also makes the thread (and the needle) run more smoothly through the canopy.
If you have access to a leather sharpening wheel on a tool sharpener (I have a Tormak wet grinding wheel), use this to hone the factory point on the #4 needle before you start stitching. If the needle starts to get difficult to push through the canopy, hone it again. I did it twice and it made a big difference to the speed and effort required.
Run with 7 mm stitches... 4 mm back from the seam edge nearest the vinyl
Mark this out carefully with a soapstone pencil in batches (I went with 70 mm batches on the straights and slowed down to 7-14 mm batches on the corners). This might sound tedious, but its actually pretty quick and makes a huge difference to the finish.
Clamp about 100mm ahead of your active stitching section initially... once you hit the straight, you can open this up
On the bottom line of stitching, tie a figure eight knot in the end of the tail, this will make it much easier and faster to pass through the loop made by the Speedy Stitcher, and it will also prevent the thread from unravelling.
If you F@#$ up a stitch, don't just box on and hope that it will hold - it won't! And that stitch will haunt your best race track dreams. Just undo the work and re-do it. Frisbee got 12 extra years out of his canopy � what's another hour's cussing on that return. This job is definitely worth doing properly!
And that brings me to my final point. I completed the closure of the window in four sessions totaling 5 hours - I really don't know why I waited a year 'researching' the best solution. I wish I'd done this before the complete delamination happened. It would have been far simpler and far more accurately followed the line of the original window seam.
Will follow up with the completed job once done, and the window is at full strain/tested for waterproof, and polished to Frisbee standard.
Sailrite.com provided most of my materials (other than #4 needles and soapstone pencil that I found on Amazon). They also have some excellent instructional videos on the Speedy Stitcher and on putting vinyl windows in dodgers and Biminis (albeit with a sewing machine in a sailmakers loft) that will help understand the basics After: First row of stitches are completed (window 100% sealed) and canopy at ~80% strain Before: Vinyl window completely delaminated along the base and both bottom corners, partial delamination half way up both sides. Window good (needs a polish); Canopy excellent.

 06-25-2022, 12:14 AM