Notices
996 Forum 1999-2005
Sponsored by:

C4S Engine Project

Thread Tools
 
Search this Thread
 
Old 10-13-2021, 04:23 PM
  #16  
theprf
Race Car
 
theprf's Avatar
 
Join Date: Aug 2017
Location: Central MA
Posts: 3,503
Received 1,656 Likes on 1,053 Posts
Default

Very nice. Mine was a plain jane secretary's ride with a big block swap which was all the rage then. I sold it in 1987 long before the LS or the restomod movement existed.
Old 10-13-2021, 05:06 PM
  #17  
Mike Murphy
Rennlist Member
 
Mike Murphy's Avatar
 
Join Date: Aug 2006
Location: Chicago, IL
Posts: 8,755
Received 1,595 Likes on 998 Posts
Default

Originally Posted by amargari;[url=tel:17723012
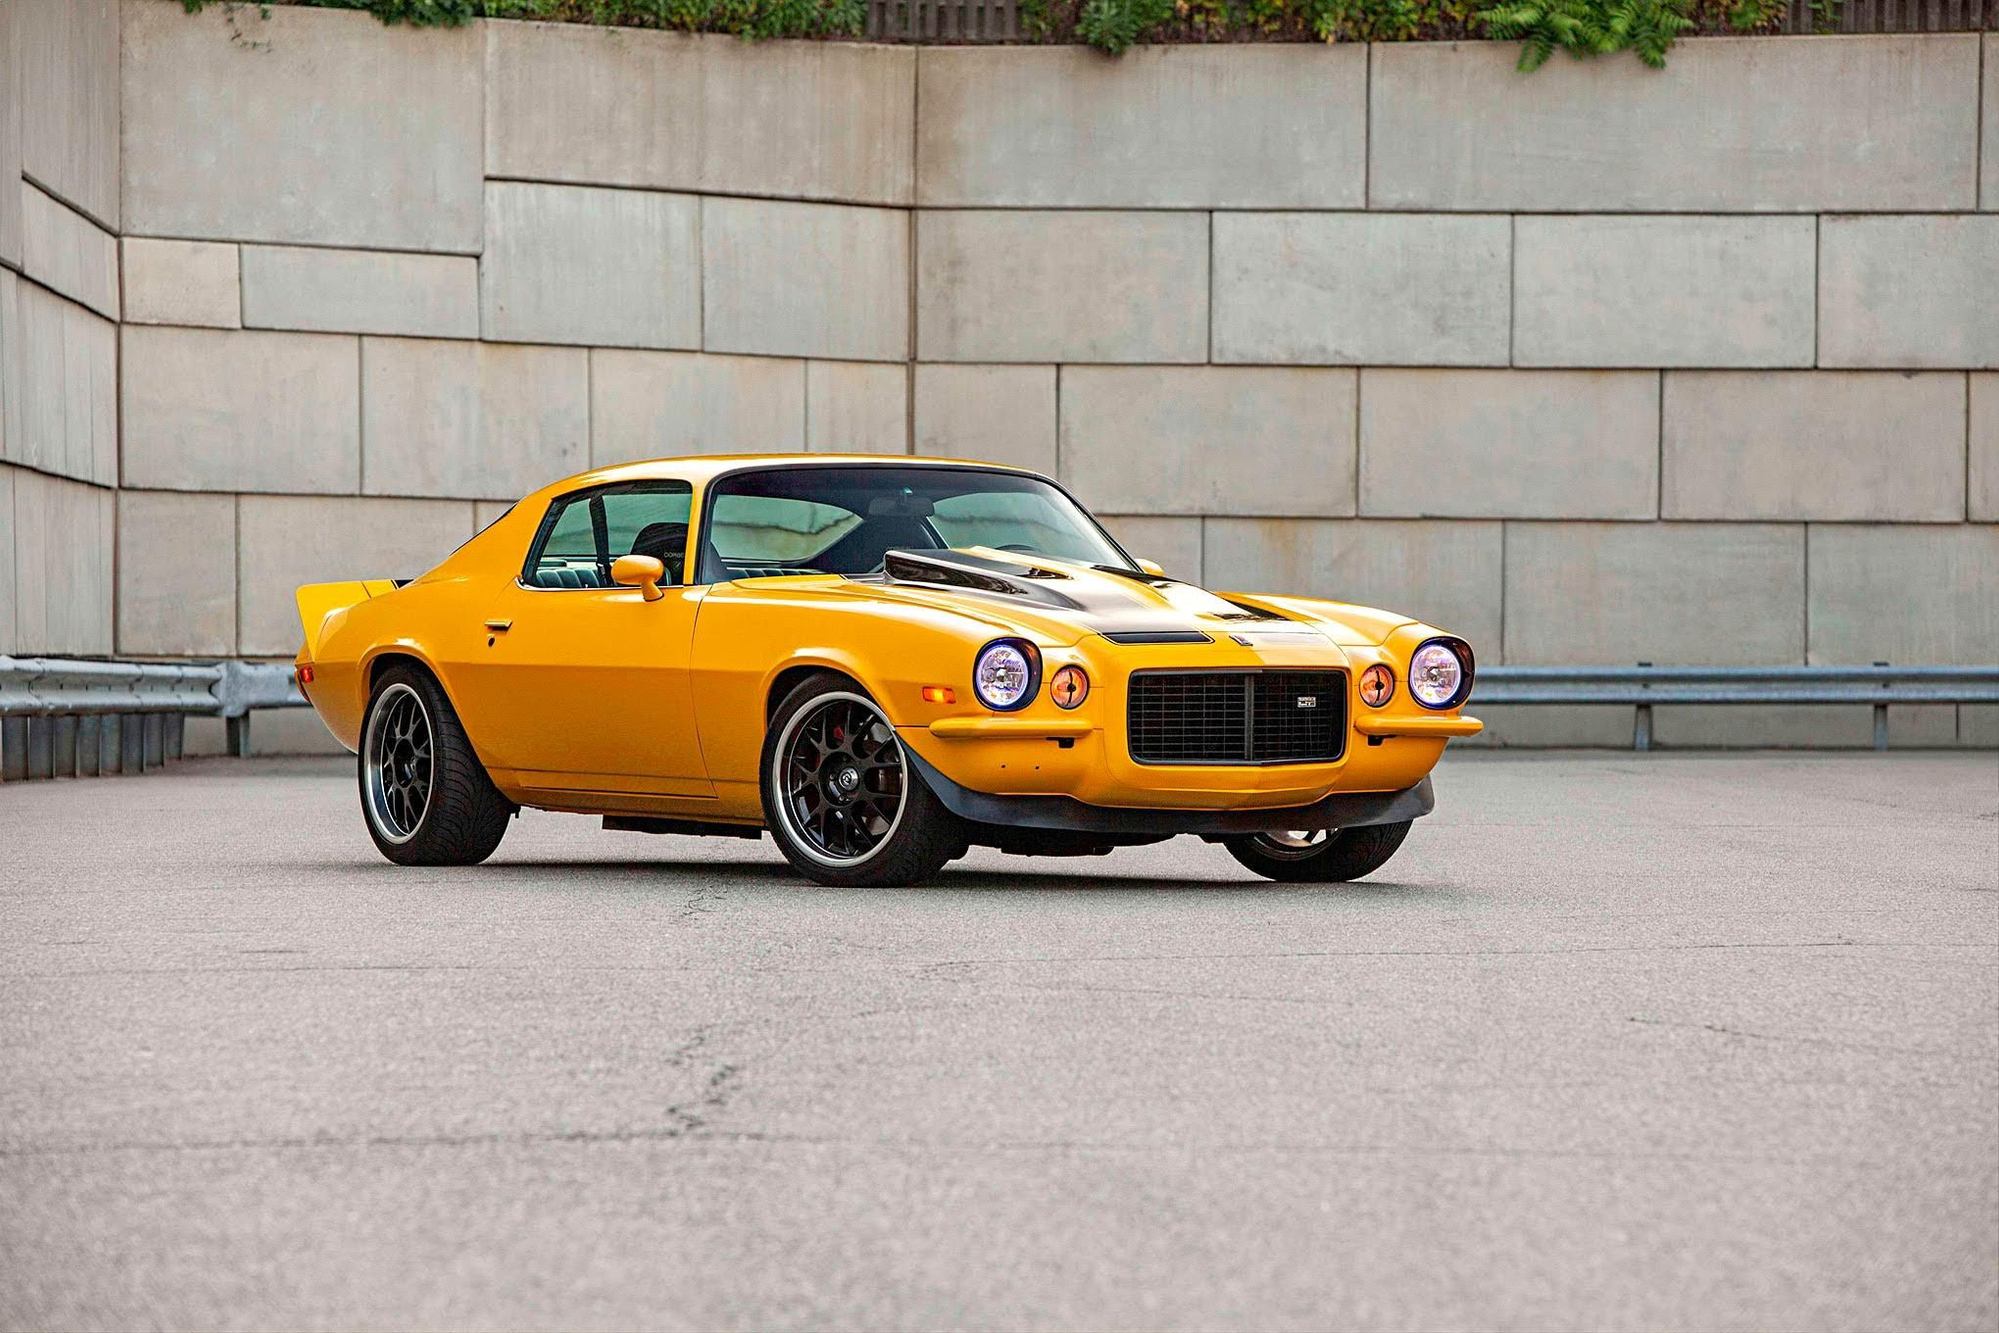
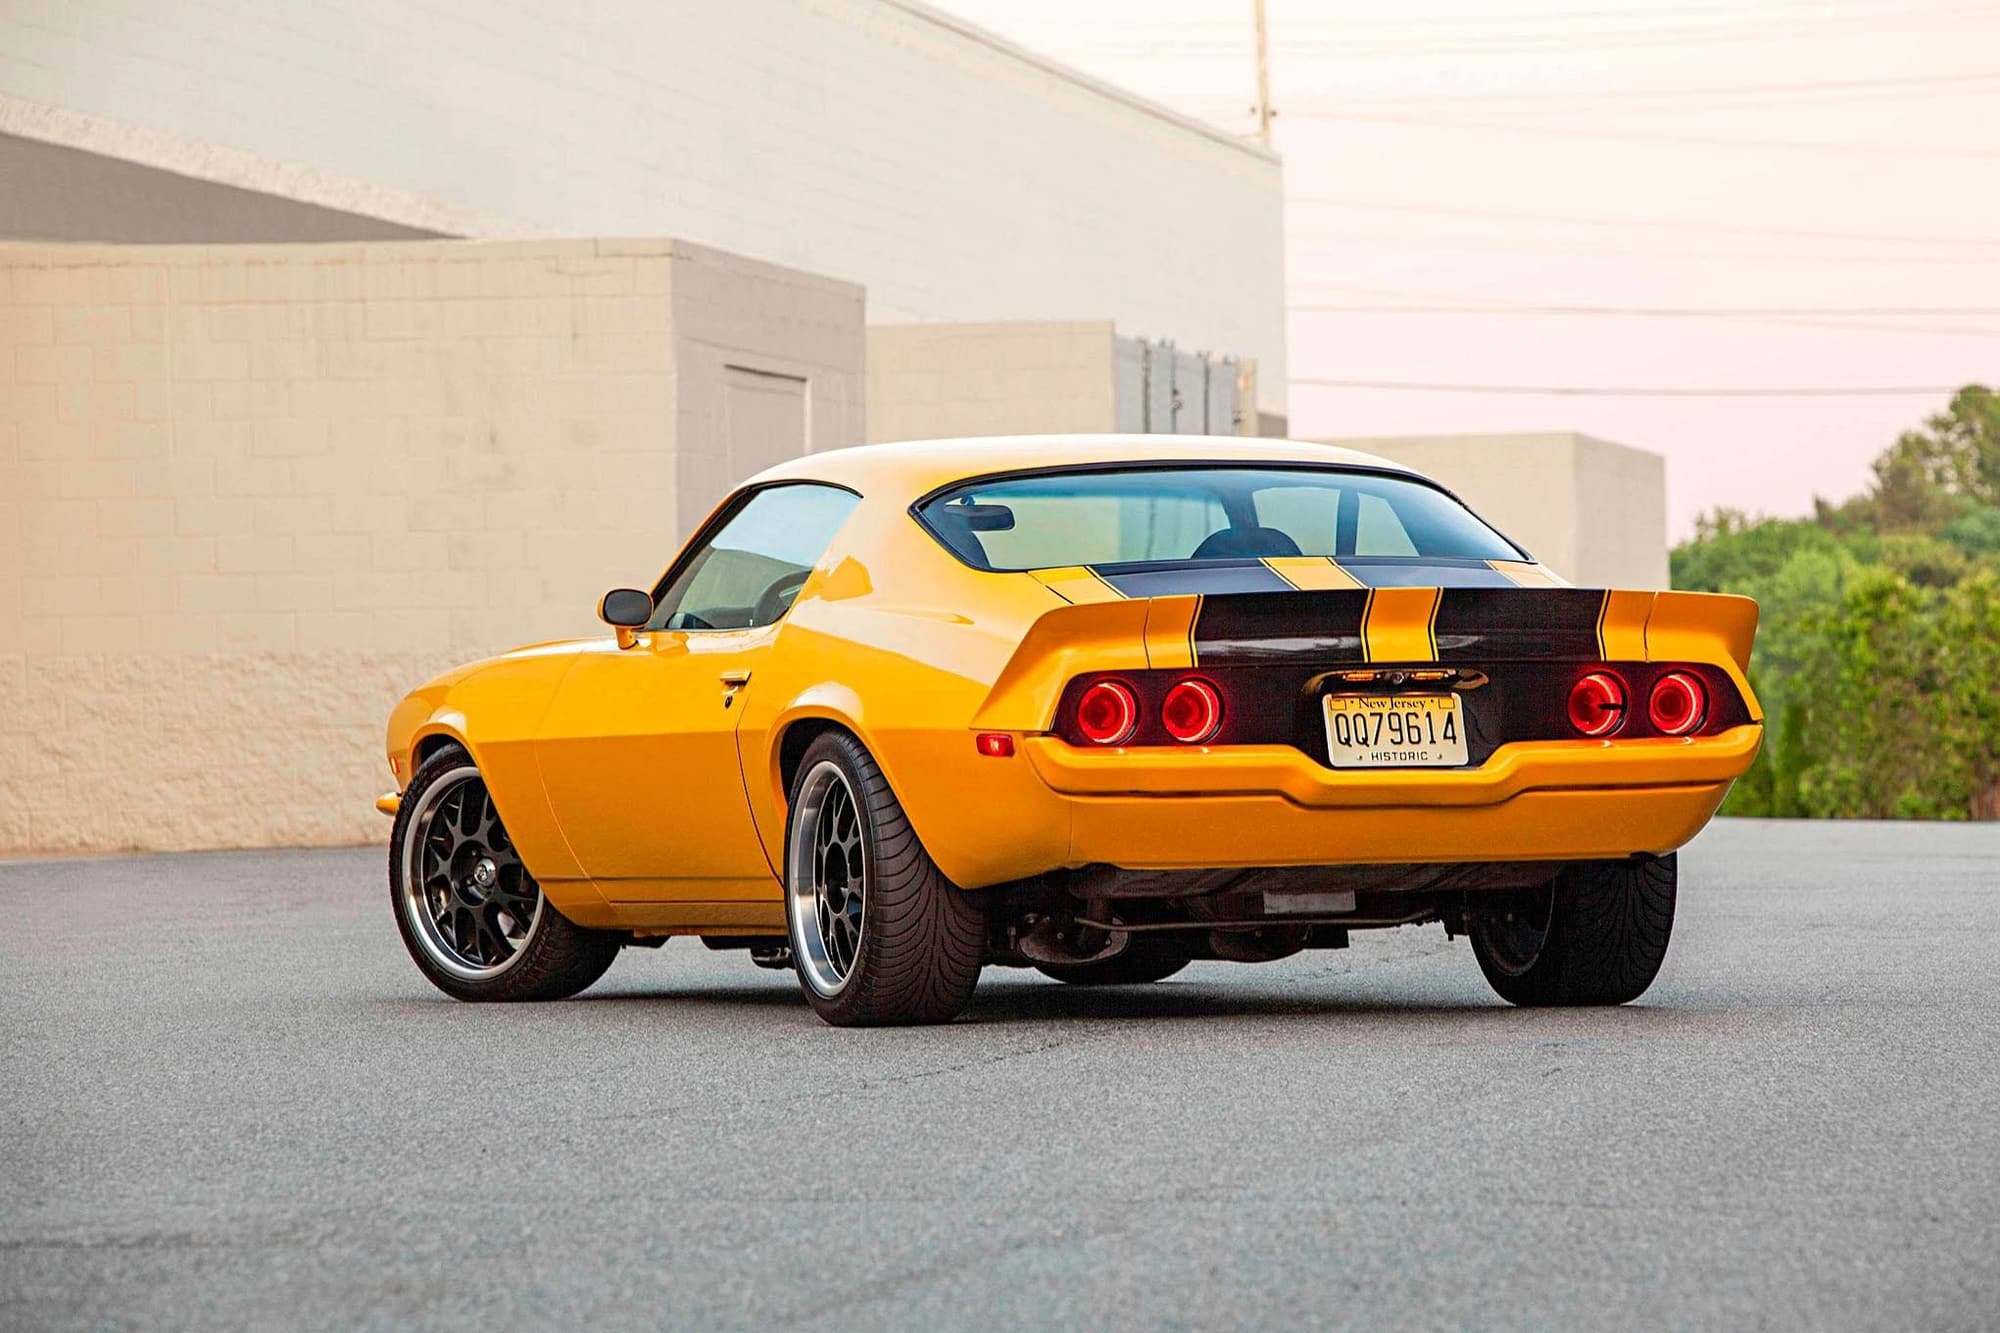
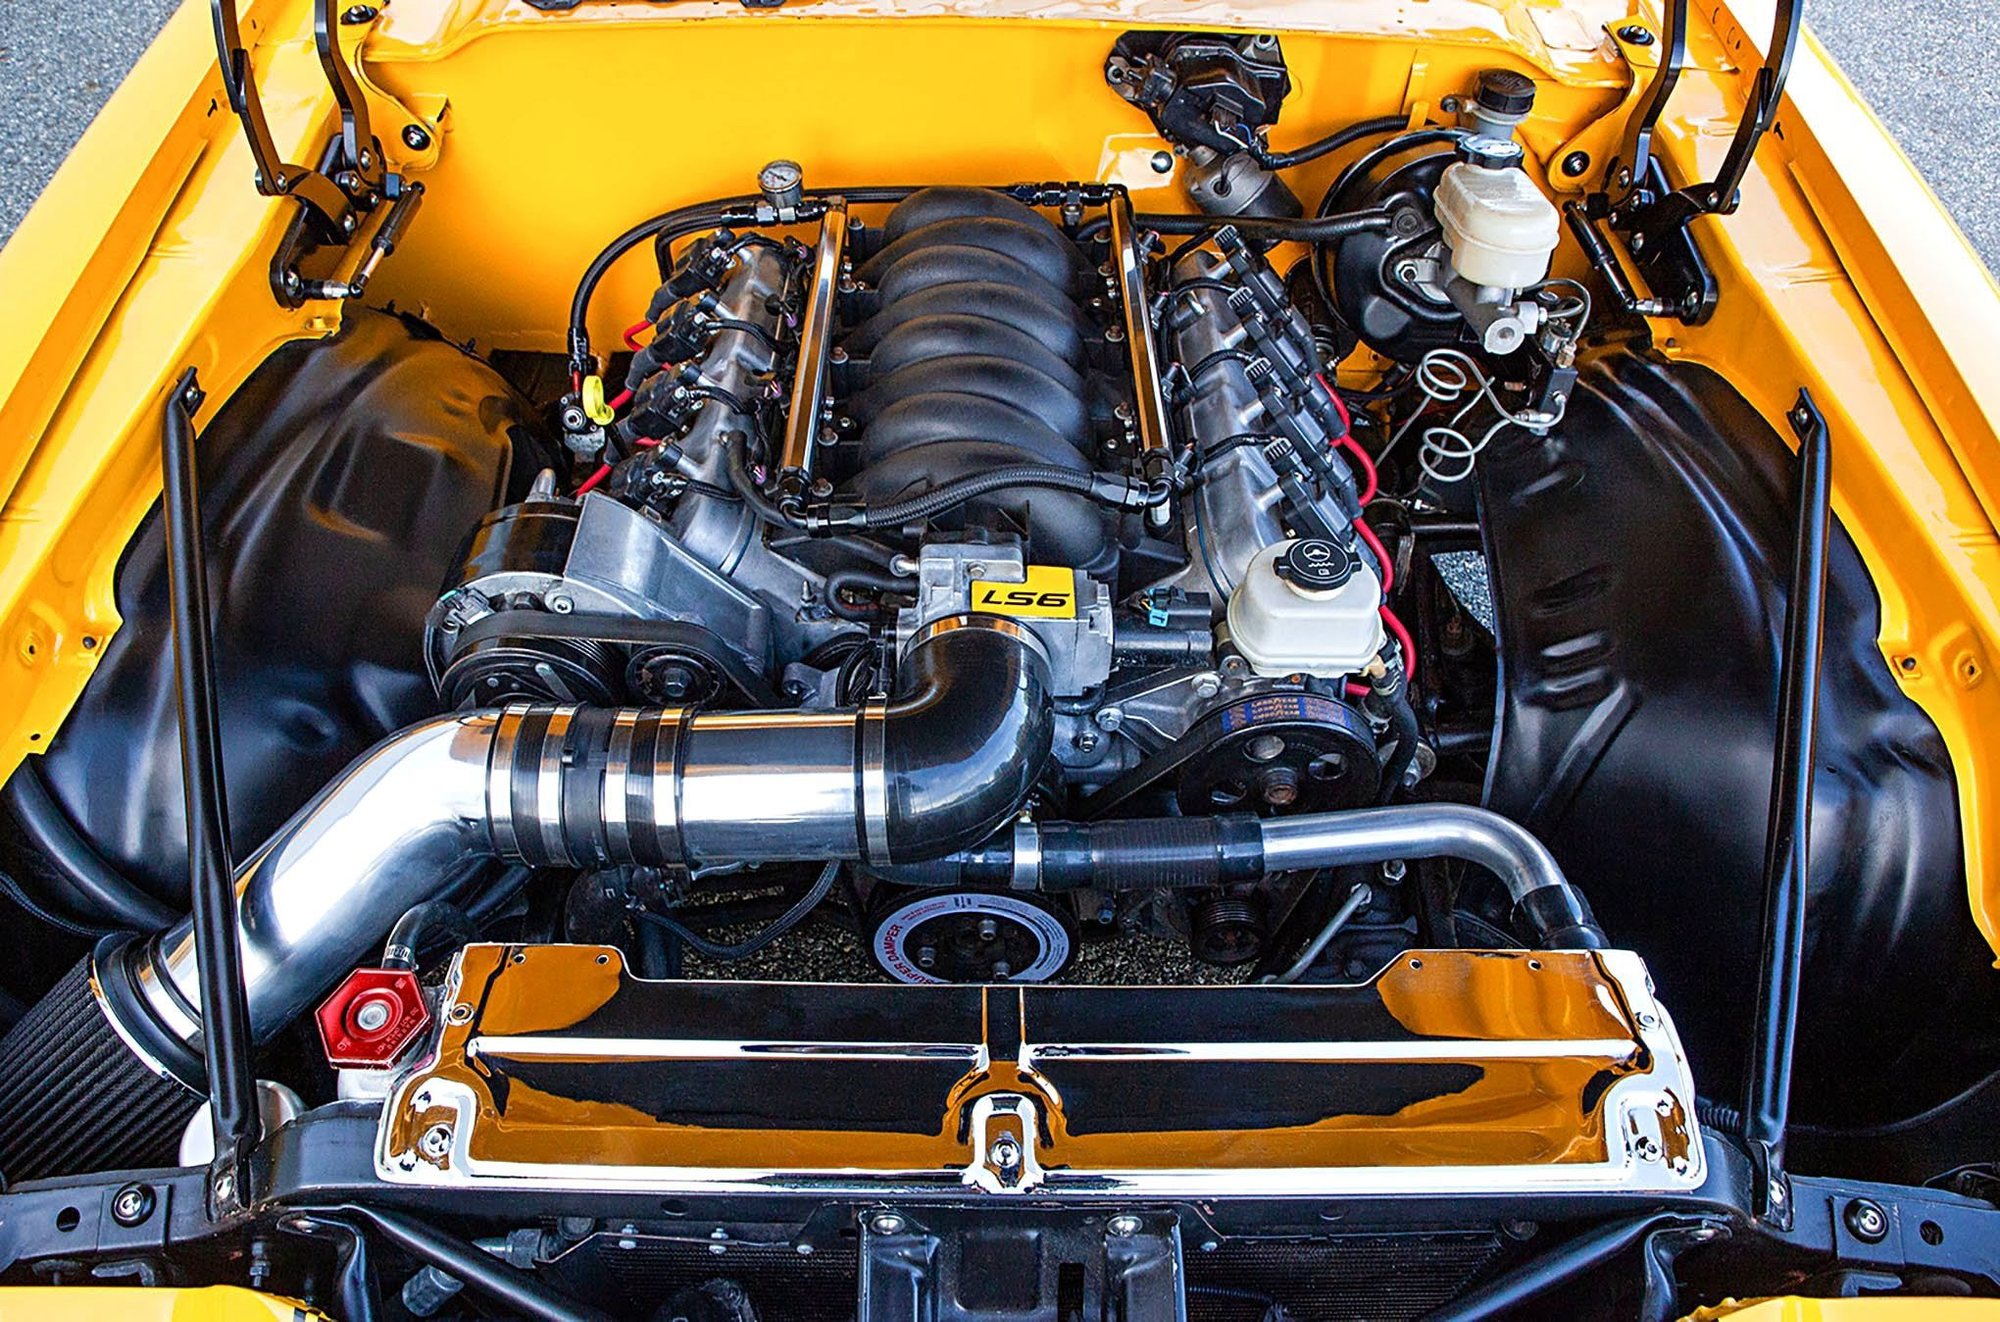
17723012[/url]]It's a 73 RS Type LT. I built a Pro Touring car out of it. It has an LS6 and T56 from a 2055 CTS-V. I also have a lowered suspension and C5 Corvette disc brakes all around. Here are a pair of pictures from the photo shoot a few years ago.


Sweet ride!
The following 3 users liked this post by Mike Murphy:
amargari (10-13-2021), EVOMMM (10-14-2021), JohnCA58 (11-11-2021)
Old 10-14-2021, 07:05 PM
  #18  
work_truck
Rennlist Member
 
work_truck's Avatar
 
Join Date: Jul 2021
Posts: 819
Received 658 Likes on 337 Posts
Default

That is sick!
The following users liked this post:
amargari (10-14-2021)
Old 10-14-2021, 09:04 PM
  #19  
amargari
Rennlist Member
Thread Starter
 
amargari's Avatar
 
Join Date: Jul 2018
Location: Morristown, NJ
Posts: 479
Received 400 Likes on 154 Posts
Default

Originally Posted by work_truck
That is sick!
Thanks. The build took me 6 years to get it on the road. Then another 5 or so to get it basically to this point. I documented the whole build on my website.
http://www.apiem.com/camaro
Old 10-14-2021, 09:48 PM
  #20  
work_truck
Rennlist Member
 
work_truck's Avatar
 
Join Date: Jul 2021
Posts: 819
Received 658 Likes on 337 Posts
Default

I will check that out. Love the rear/taillights

took me a long time to appreciate split bumpers
Old 10-17-2021, 06:11 PM
  #21  
e30rapidic
Rennlist Member
 
e30rapidic's Avatar
 
Join Date: Mar 2017
Location: Raleigh, North Carolina
Posts: 726
Received 477 Likes on 251 Posts
Default

Love this, Good luck!!

I just went through the exact same build in my garage a few months ago. The 4.0 is an absolute blast. Let me know if you have any questions!
The following users liked this post:
amargari (10-17-2021)
Old 10-22-2021, 11:05 AM
  #22  
amargari
Rennlist Member
Thread Starter
 
amargari's Avatar
 
Join Date: Jul 2018
Location: Morristown, NJ
Posts: 479
Received 400 Likes on 154 Posts
Default

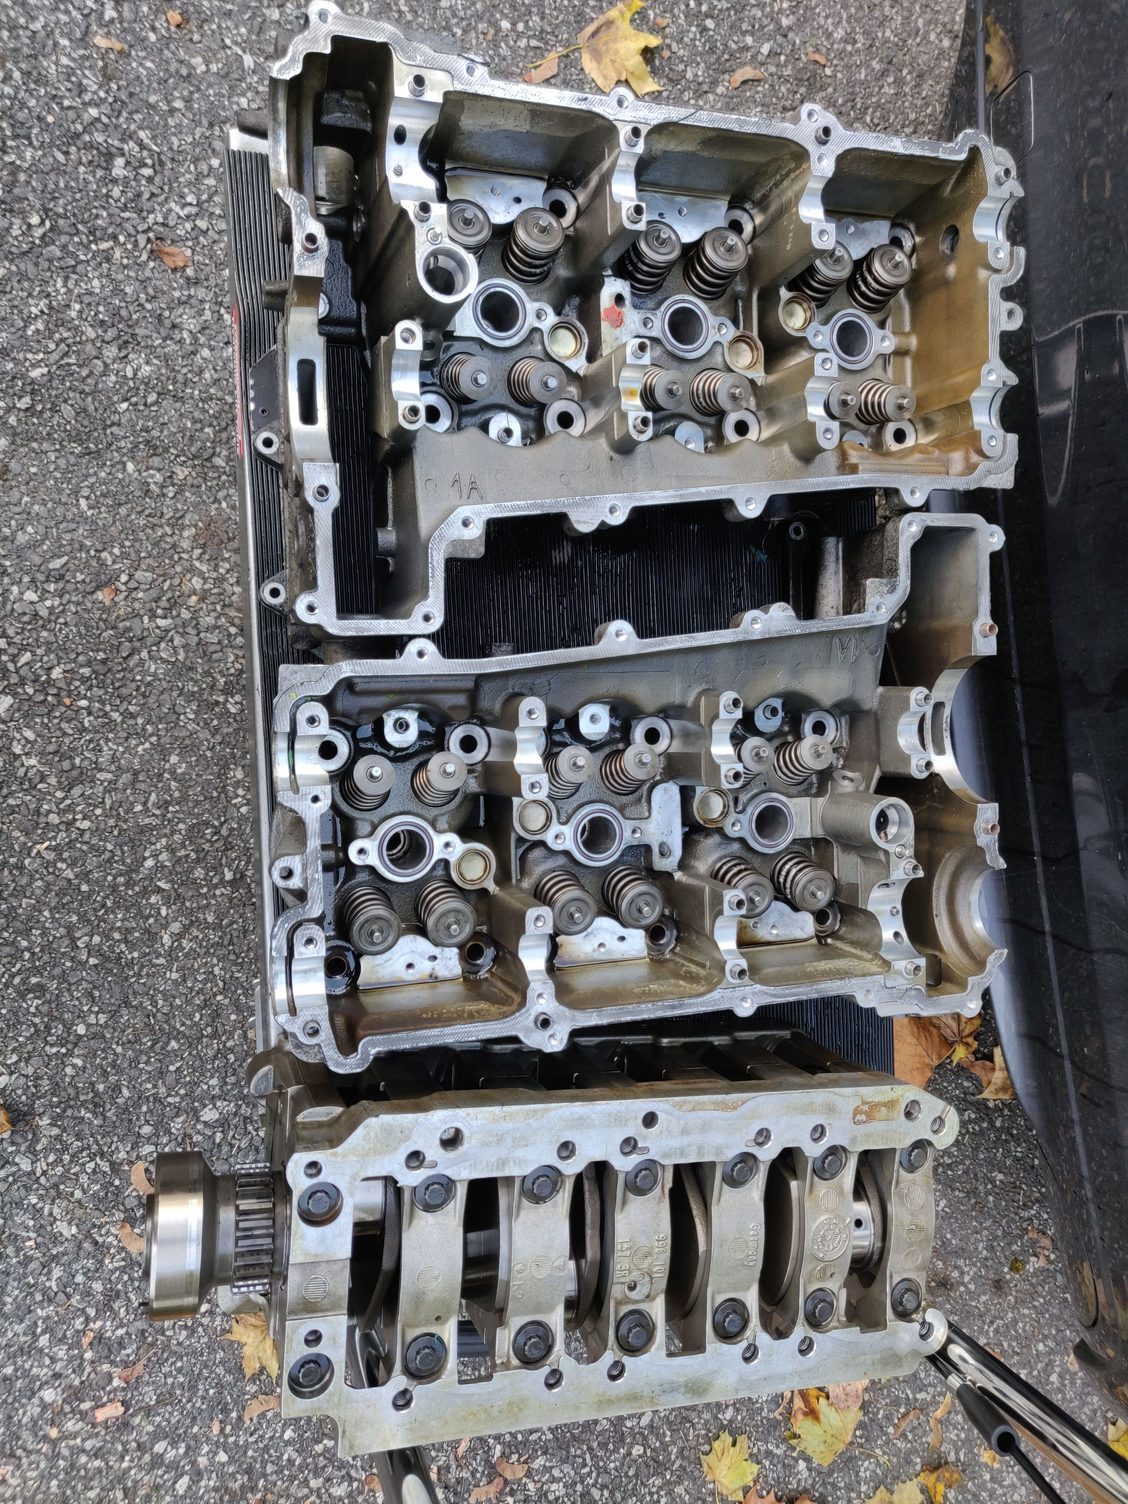
Quick update. Last week, I brought my heads, crank, crankcase, rods, and new bearings to my machine shop. After speaking with my machinist, I have decided to upgrade to the K1 rods for some peace of mind. Here is a picture of some of the parts before they were loaded and brought to the shop. The waiting on the block is killing me.


Old 10-22-2021, 11:57 AM
  #23  
dporto
Rennlist Member
 
dporto's Avatar
 
Join Date: Oct 2014
Location: L.I. NY
Posts: 6,784
Received 1,154 Likes on 791 Posts
Default

“The waiting on the block is killing me.”
It’ll all be worthwhile! Good things take time...
The following users liked this post:
amargari (10-22-2021)
Old 10-31-2021, 04:08 PM
  #24  
amargari
Rennlist Member
Thread Starter
 
amargari's Avatar
 
Join Date: Jul 2018
Location: Morristown, NJ
Posts: 479
Received 400 Likes on 154 Posts
Default

Since the engine was out and the car would be off the road for a while, I took the opportunity to paint the backs of the hard back seats body color. I had some 2K primer, 2K clear and have a compressor and Harbor Freight HVLP gun from other jobs in the past. I used the following post as a guide, https://www.6speedonline.com/forums/...k-removal.html

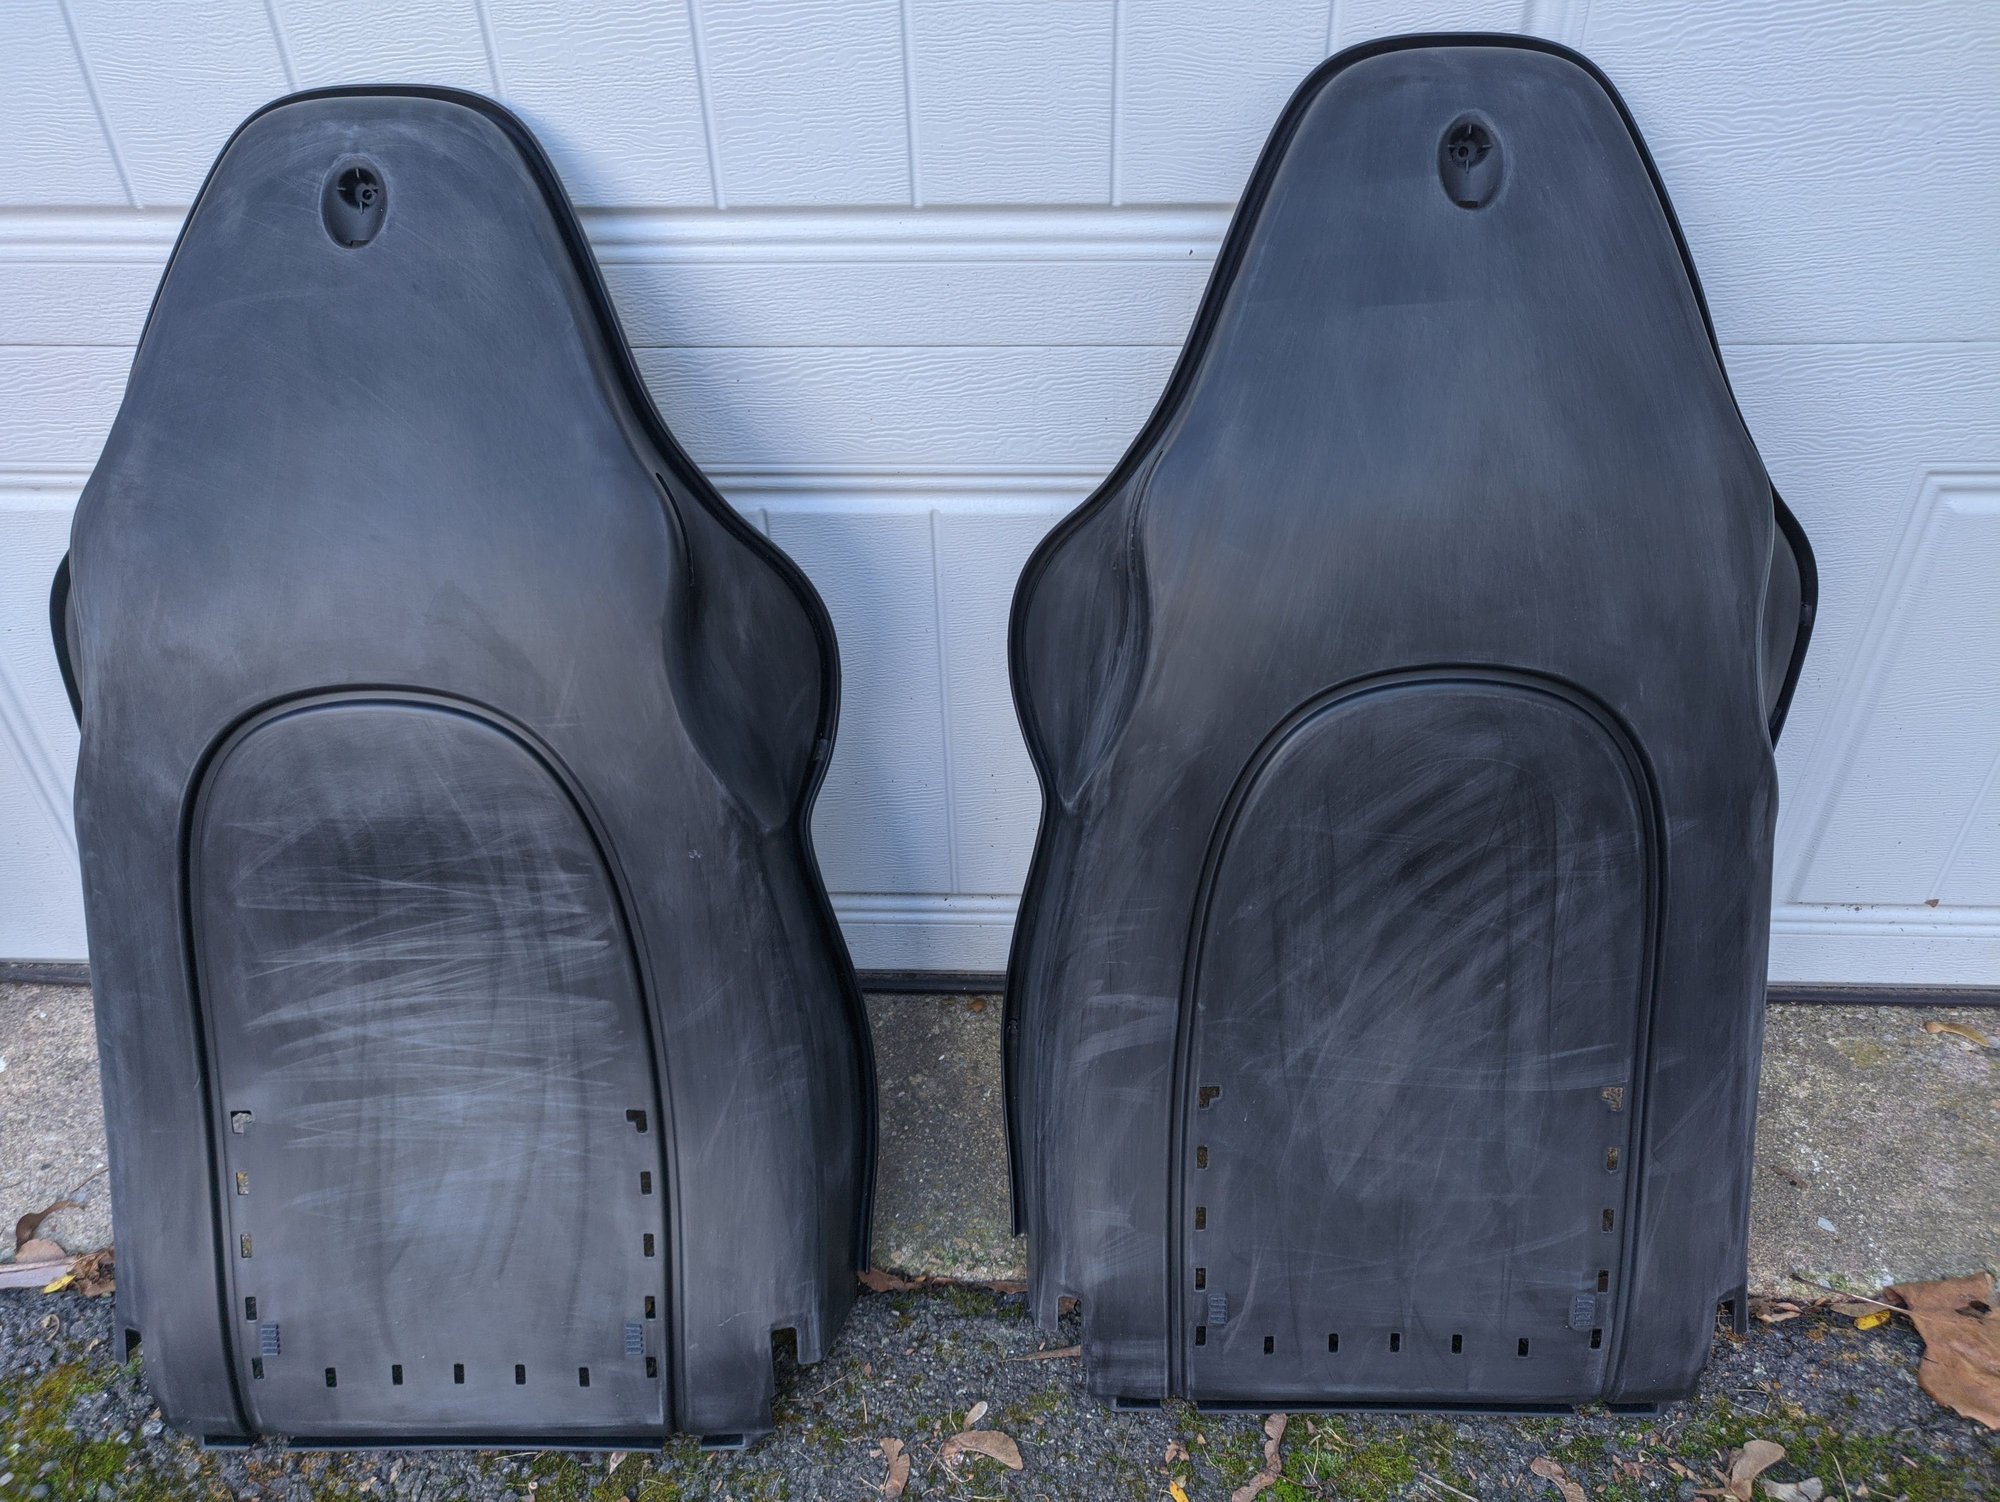
1. The first step is to remove the rubberized coating once the seats a disassembled. I used a grey scotch brite pad and alcohol to remove the coating.

2. The next step was to use a wax and grease remover over the entire seat back and scuff the whole seat using 320 grit paper. If I did this again, I would use 600 grit paper since they are made of plastic. Here is a picture before shooting primer


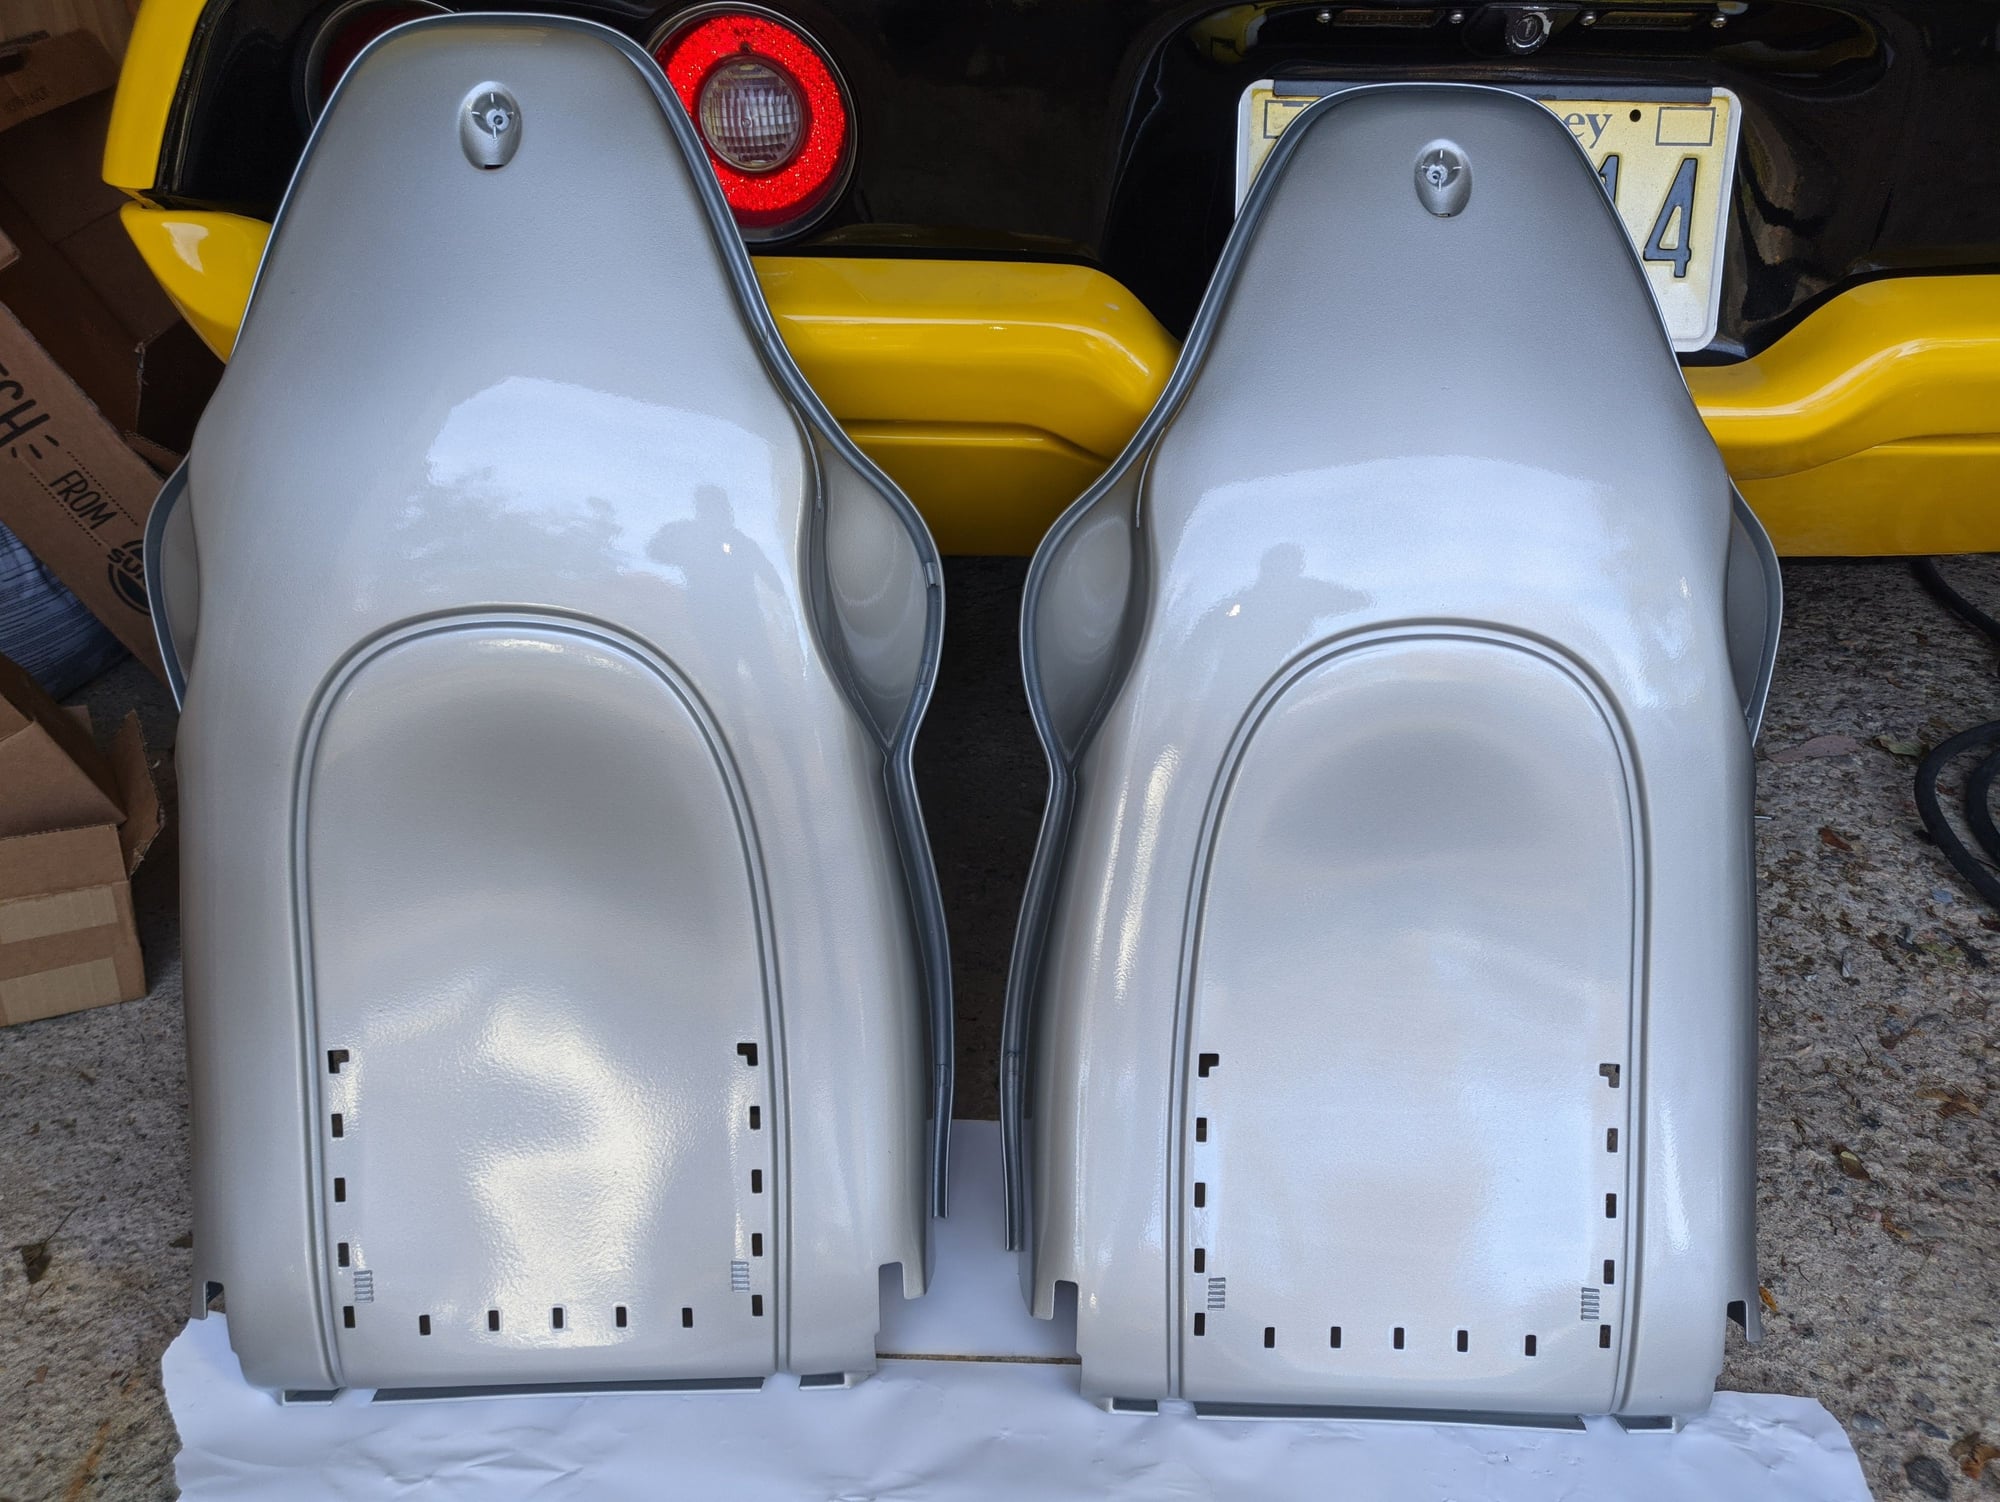
3. The next step was to shoot the 2K primer.


4. I then wet sanded the primer with 600 grit paper and filled any small imperfections with spot primer.

5. I then shot the seats with paint from https://www.automotivetouchup.com/. However; there were issues as the paint wrinkled in a few spots.


Old 10-31-2021, 04:17 PM
  #25  
amargari
Rennlist Member
Thread Starter
 
amargari's Avatar
 
Join Date: Jul 2018
Location: Morristown, NJ
Posts: 479
Received 400 Likes on 154 Posts
Default

Seat Backs Continued

5. The wrinkles were some sort of reaction from the paint to the seat plastic. I sanded most of the paint off with 600 grit paint. Oddly, the wrinkles were raised ridges comprised of seat plastic. So that had to be sanded down flat.

6. I don't have pictures but, once I finished sanding off most of the old paint and wrinkles, I primed everything again with the 2K primer.

7. I wet sanded the primer and then sprayed on the body color paint and then 2K clear coat paint. No wrinkles this time!


8. The next day after the clear coat was cured, I wet sanded with 1500, 2000, 5000, and 3000 grit paper, then buffed them out.

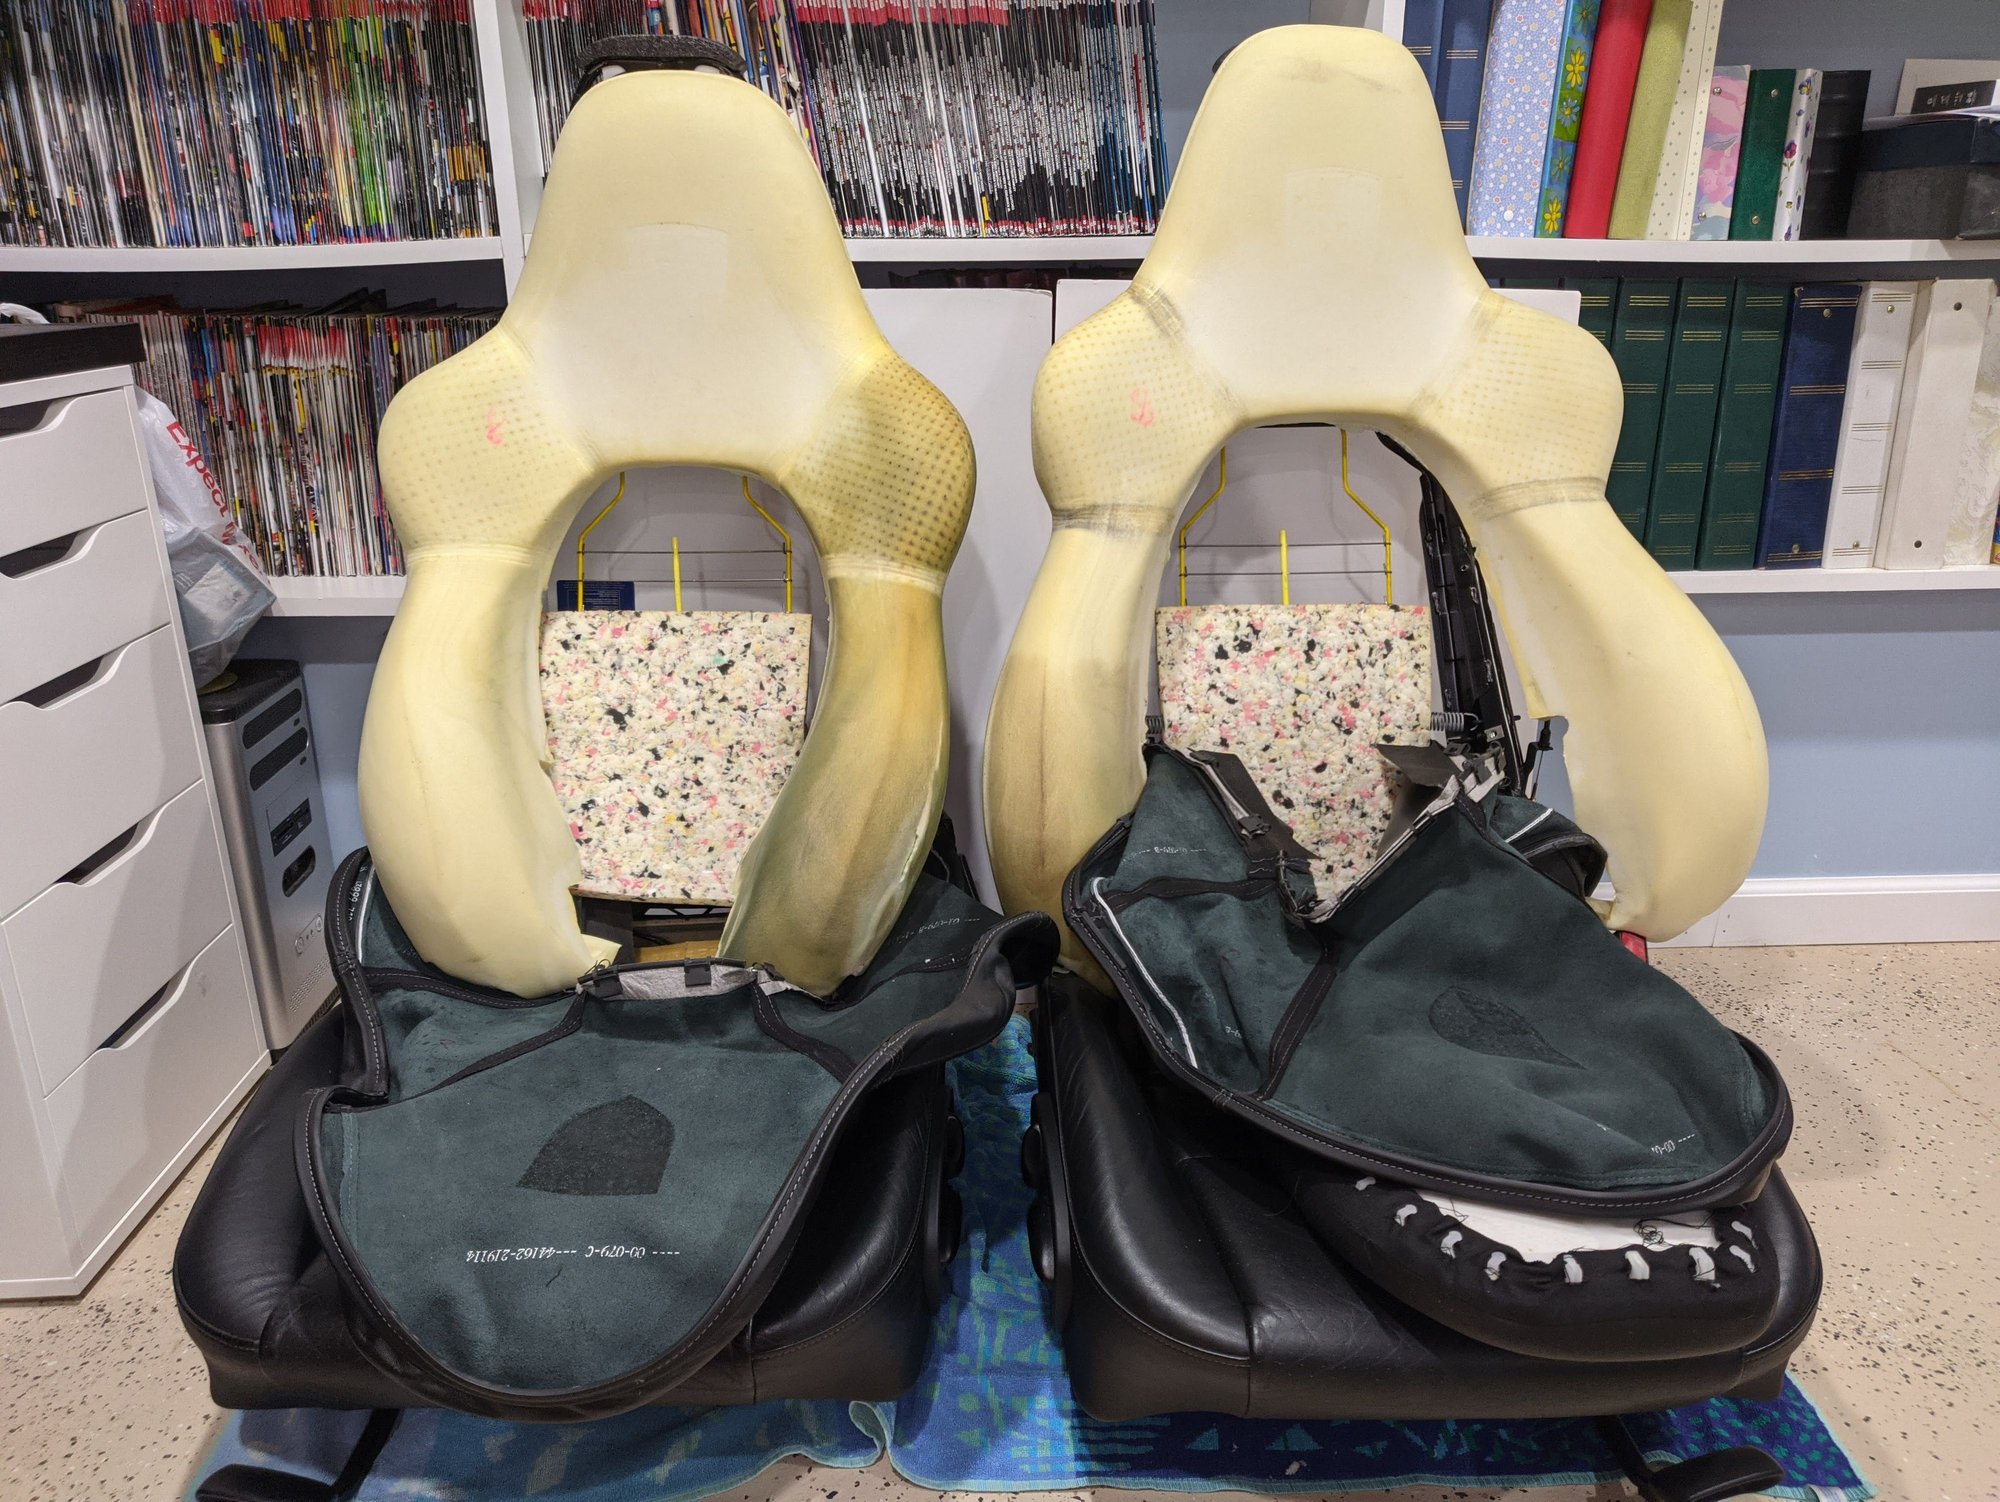
9. Here are the seats disassembled.


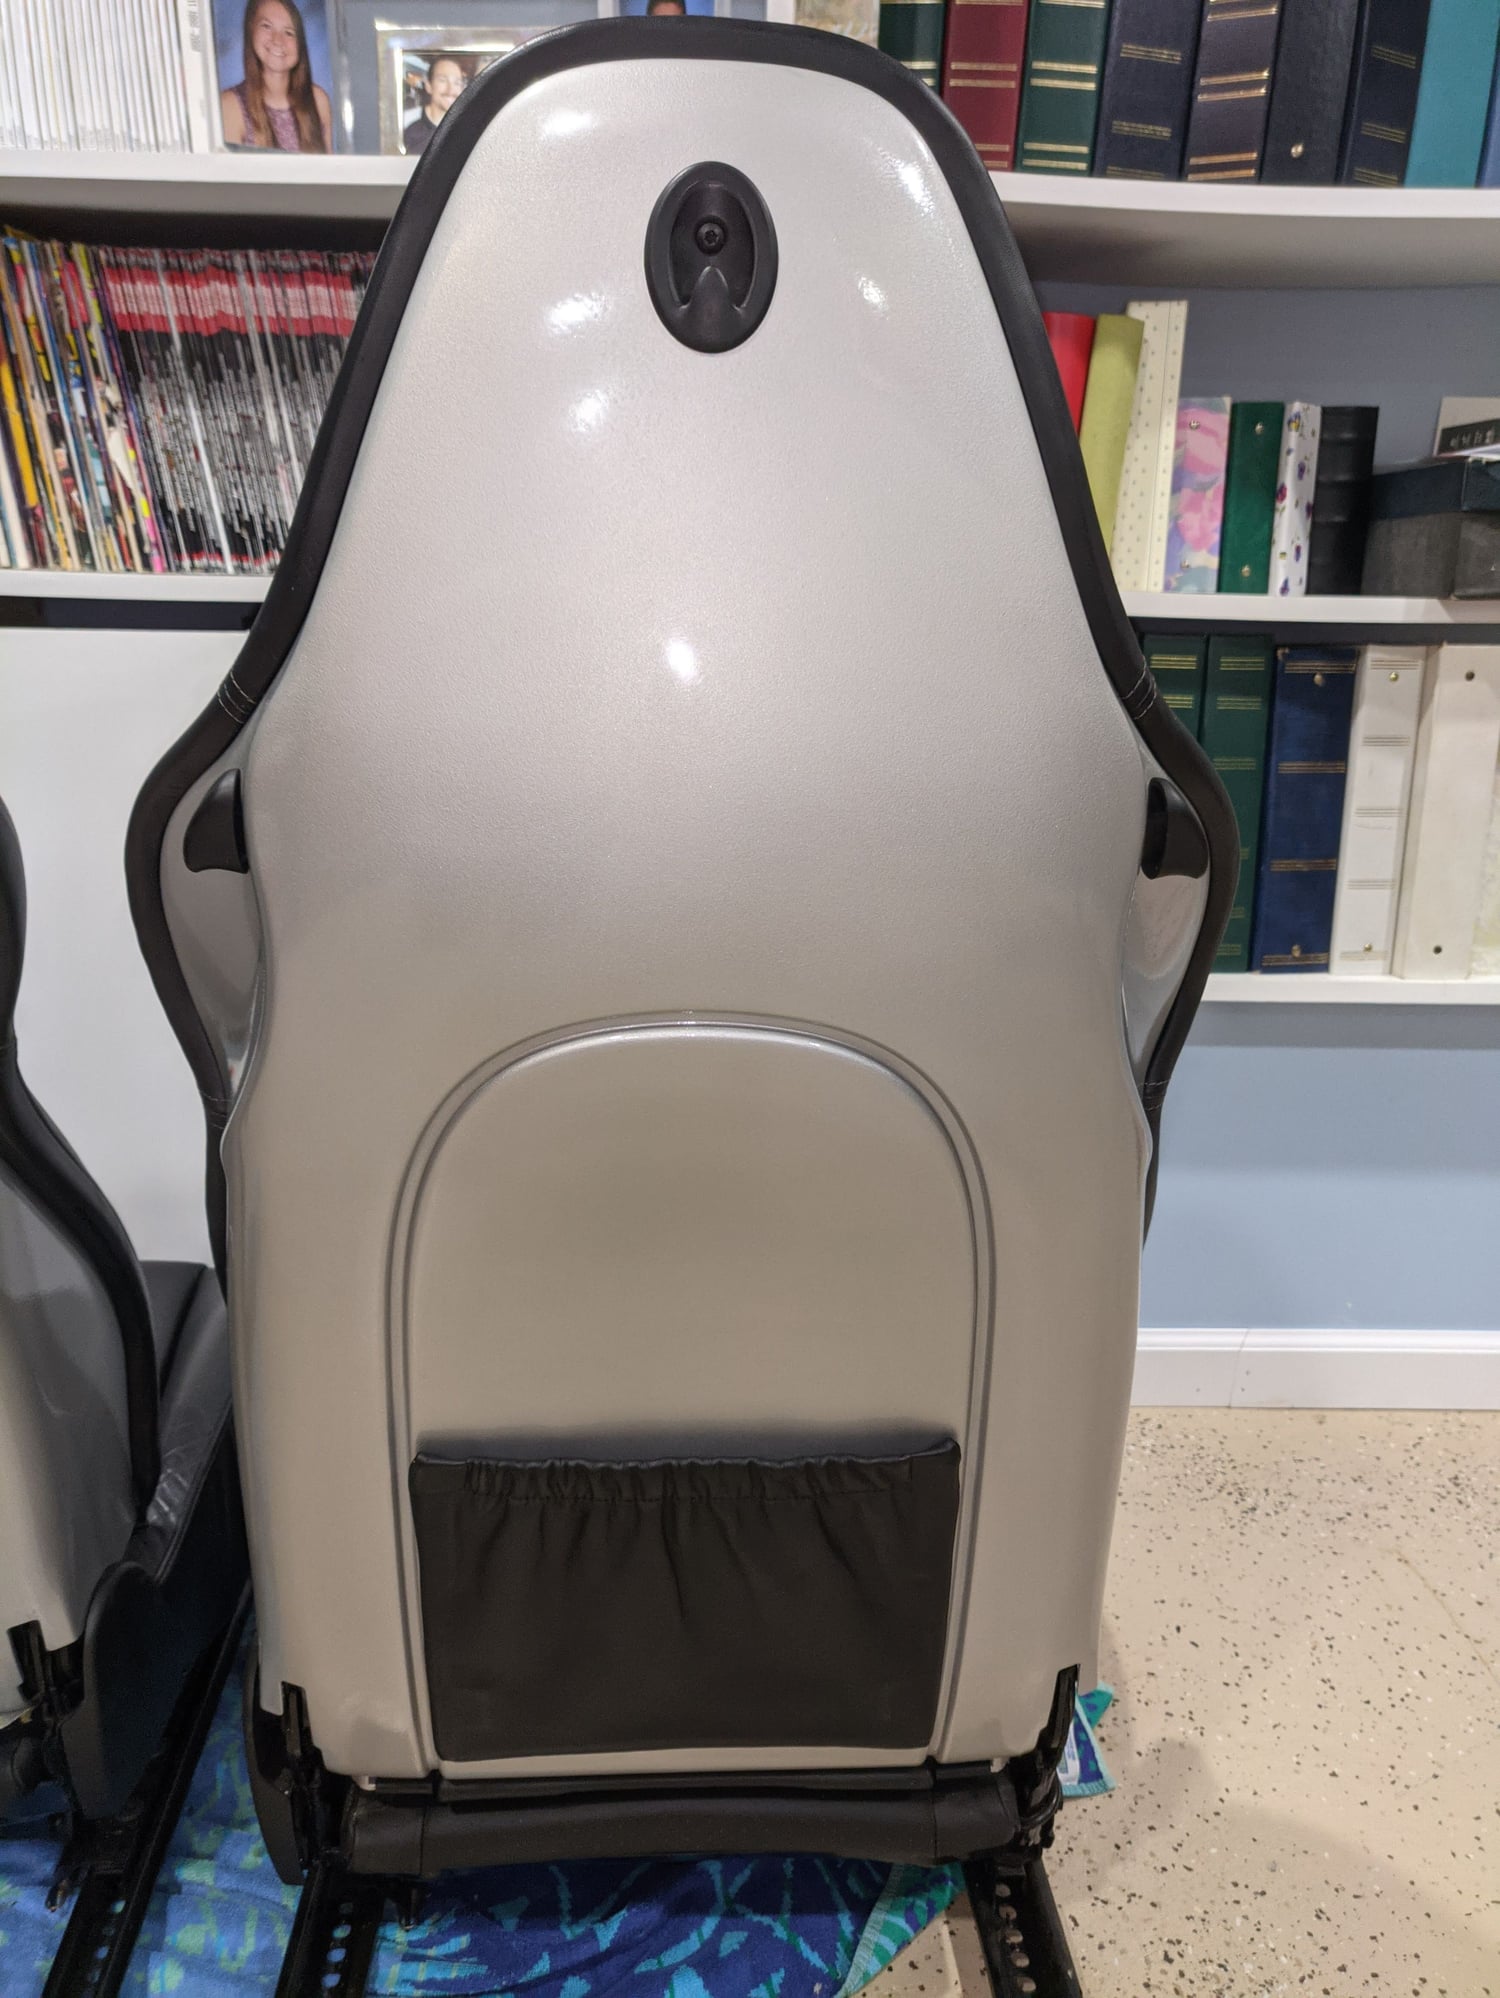
10. Lastly, I installed the seat backs onto the seats. The leather clips onto the center section first. Then you push the edges back into the seat back starting at the top and working you way down the sides.


Overall, this wasn't too hard of a project and would be much easier the next time as there was a learning curve for disassembling and assembling the seats. I can't wait to see what they look like in the car, with the top down.
The following 3 users liked this post by amargari:
EVOMMM (10-31-2021), Mike Murphy (11-01-2021), SoCalDan (01-19-2022)
Old 10-31-2021, 05:14 PM
  #26  
GC996
Rennlist Member
 
GC996's Avatar
 
Join Date: Dec 2019
Location: Illinois
Posts: 5,228
Received 3,521 Likes on 2,029 Posts
Default

Woah...

Nice work! Looking forward to the details on the engine and what you had your machinist do!
Old 10-31-2021, 06:11 PM
  #27  
amargari
Rennlist Member
Thread Starter
 
amargari's Avatar
 
Join Date: Jul 2018
Location: Morristown, NJ
Posts: 479
Received 400 Likes on 154 Posts
Default

Originally Posted by GC996
Woah...

Nice work! Looking forward to the details on the engine and what you had your machinist do!
Machinist is just doing basic head work and checking crank clearances. Crank main journals were in spec. Rods just arrived to him this week. Waiting to see how the clearances are with the K1 rods.
Old 10-31-2021, 06:12 PM
  #28  
RGS
Basic Sponsor
Rennlist
Site Sponsor

 
RGS's Avatar
 
Join Date: Feb 2019
Posts: 1,036
Received 338 Likes on 216 Posts
Default

Nice work! Nice camaro! I have had paint reactions like that when I had lacquer and enamel paint layers.
__________________

RGS
- Radiator Grille Store

OEM Look, Economical Protection
www.radiatorgrillestore.com


Old 10-31-2021, 06:17 PM
  #29  
amargari
Rennlist Member
Thread Starter
 
amargari's Avatar
 
Join Date: Jul 2018
Location: Morristown, NJ
Posts: 479
Received 400 Likes on 154 Posts
Default

Originally Posted by RGS
Nice work! Nice camaro! I have had paint reactions like that when I had lacquer and enamel paint layers.
I’ve had that happen as well. This was strange as the seat plastic became textured. When I started to sand, the wrinkles were black once I removed the light coat of paint on them.
Old 10-31-2021, 09:27 PM
  #30  
EVOMMM
Rennlist Member
 
EVOMMM's Avatar
 
Join Date: Oct 2004
Location: NY NY
Posts: 4,008
Received 1,570 Likes on 924 Posts
Default

Amargari who are you using to do your work I’m trying to get some advice for the future
Mike


Quick Reply: C4S Engine Project


All times are GMT -3. The time now is 03:48 PM.