When you click on links to various merchants on this site and make a purchase, this can result in this site earning a commission. Affiliate programs and affiliations include, but are not limited to, the eBay Partner Network.
Do you know if that valve cover is original to the engine? Bc they are machined as a set to the heads from the factory. If they were swapped out you can have that clearance issue happen.
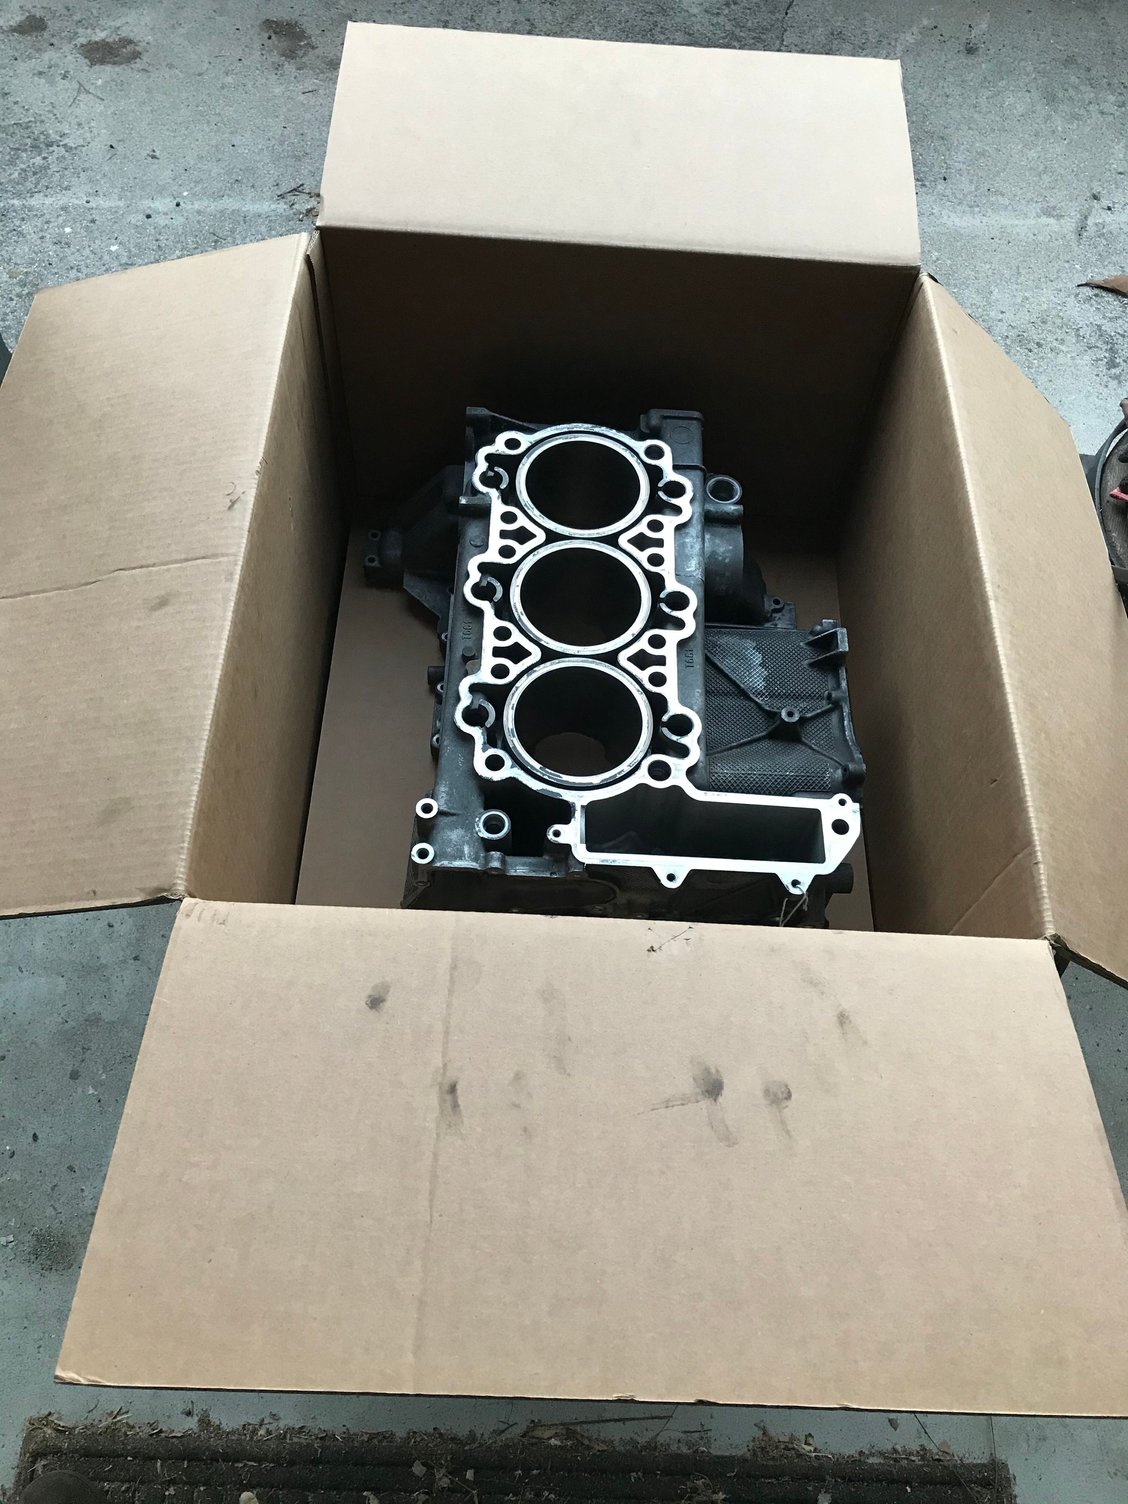
Hi - no I don't, but, I have a complete book of all receipts and can't find any mention of new covers. However, it seems more like this is related to the valve seat issue I had since the location of the scoring is directly opposite the valves for the affected cylinder.
Could have been a factory quality modification, maybe a protrusion on the cast or something, looks machines more than a wear mark, maybe it's always been there?
Could have been a factory quality modification, maybe a protrusion on the cast or something, looks machines more than a wear mark, maybe it's always been there?
That was my second thought. First is to look for corresponding witness marking on the cam that runs in that area. Unless there is something on the cam or debris being spun by the cam, it looks more like a "clean-up" step at the factory (as you suggest)
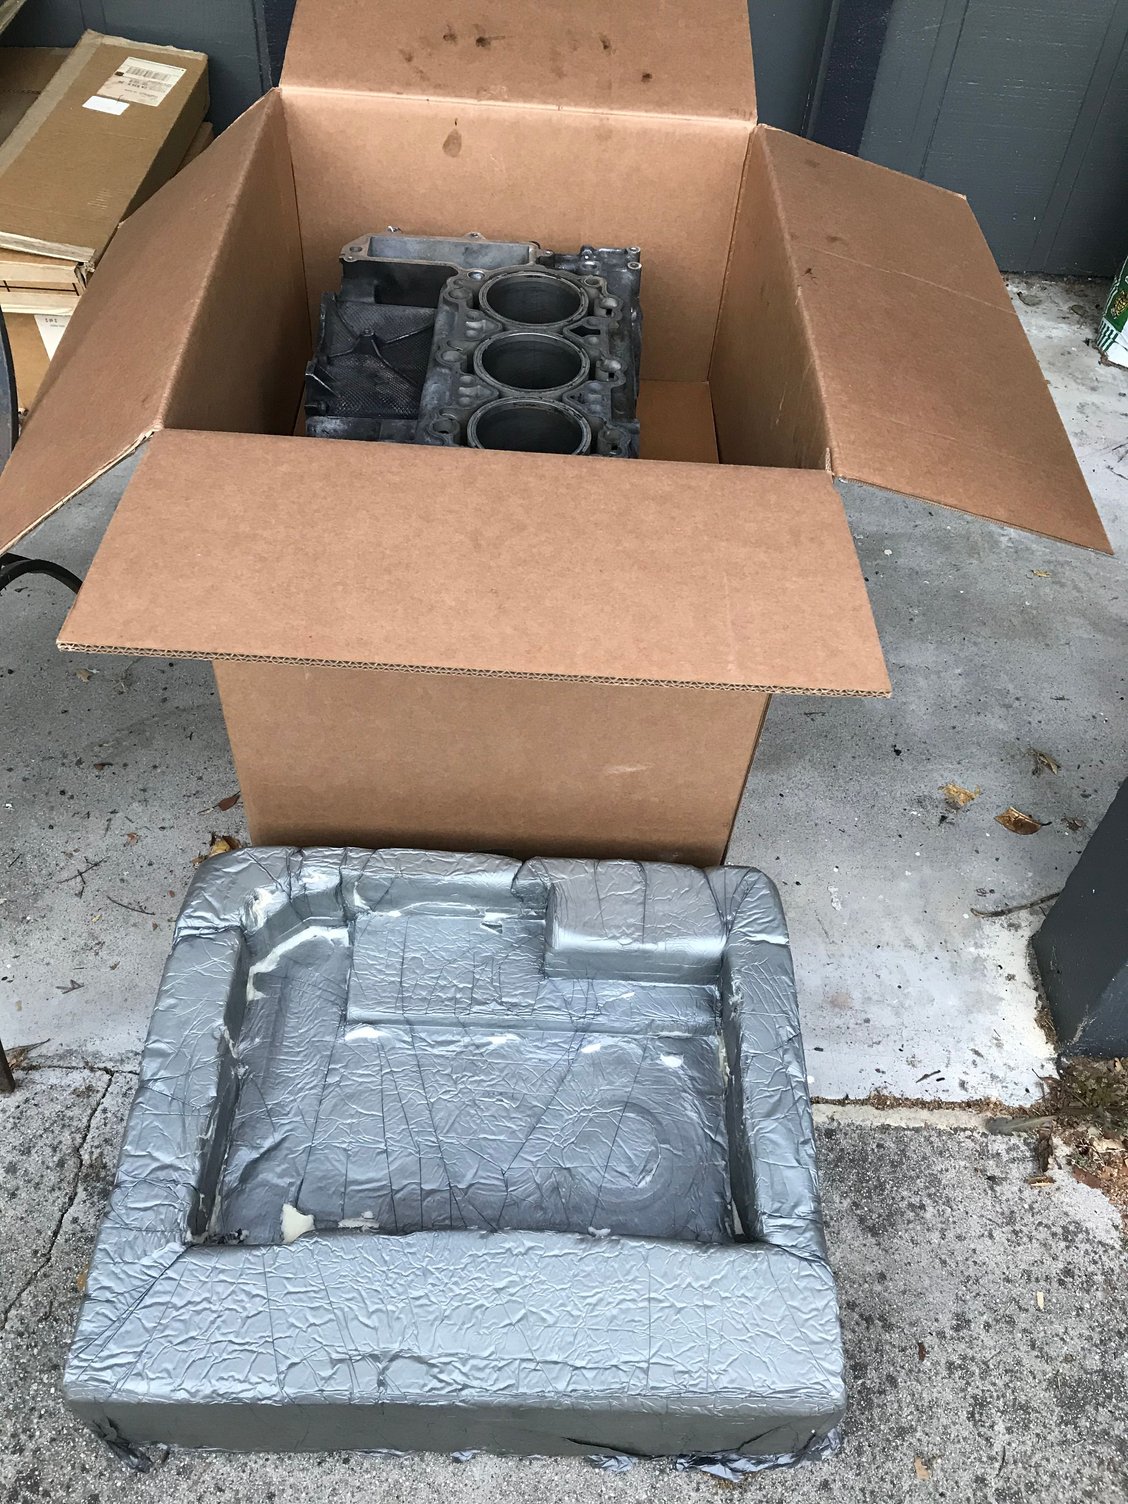
So LN Engineering has been super helpful and responsive. I decided to use their shipping option which sends you a professionally manufactured shipping box and then uses their bulk rate for pickup and return back to you.
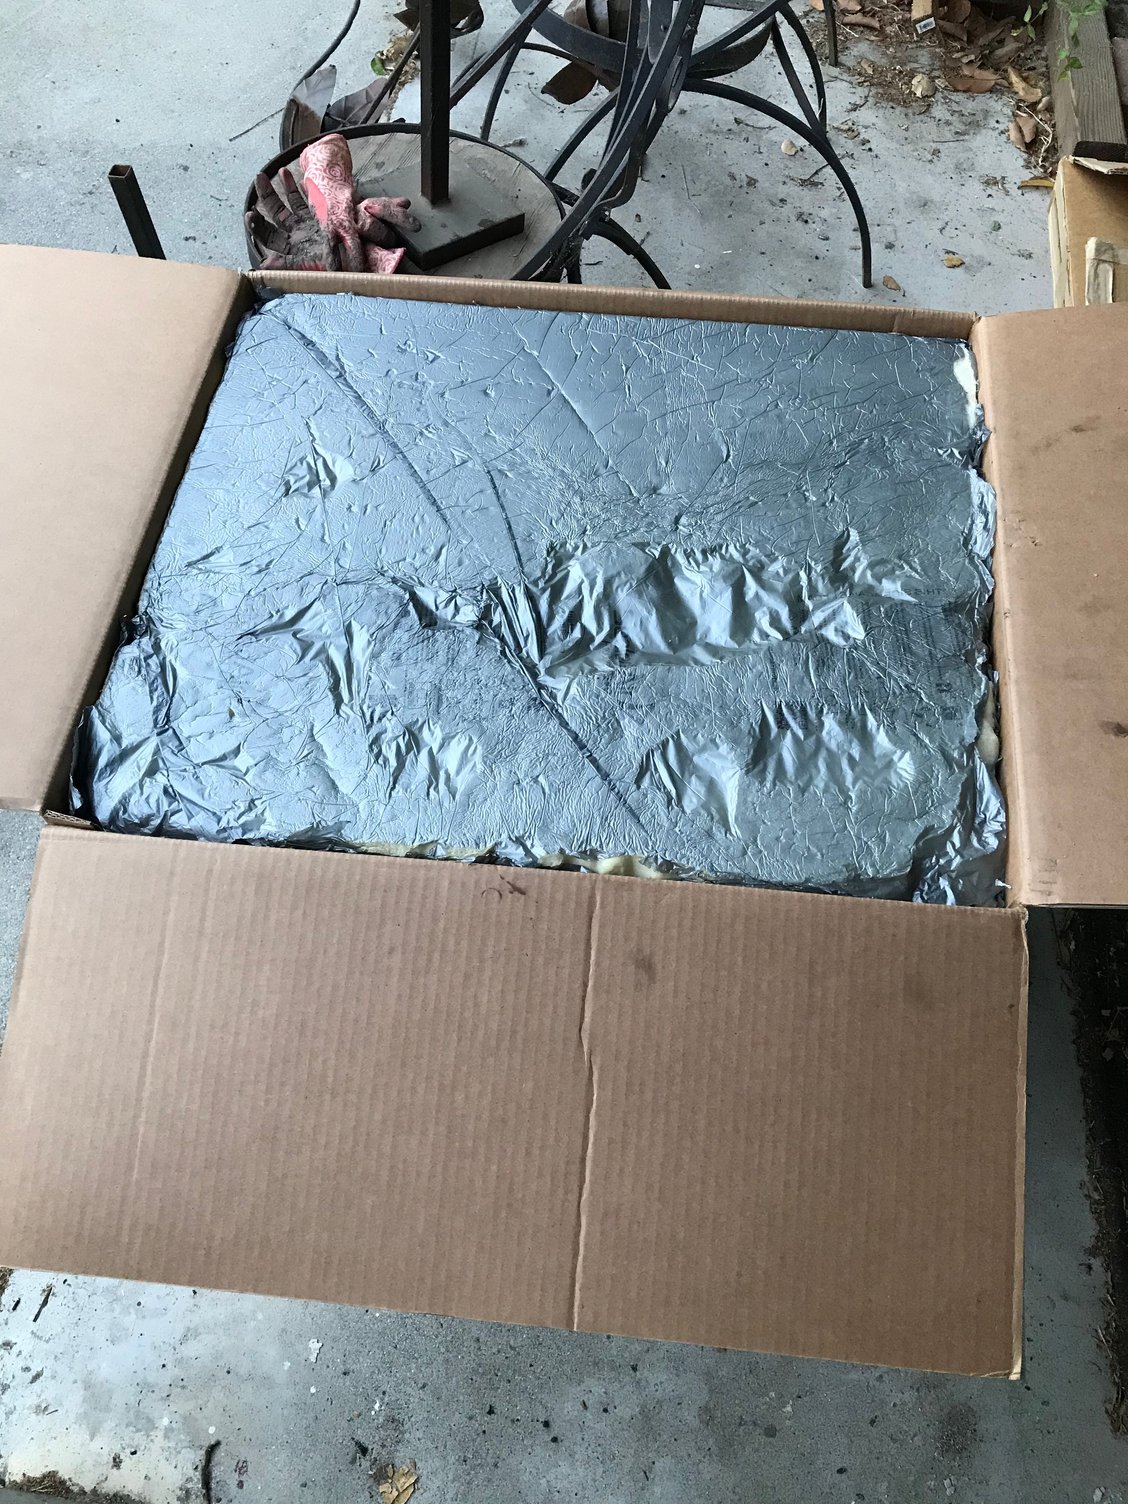
You clean up your cases (or get charged an extra cleaning fee) and then put them in this nice, double walled cardboard box with preformed foam inserts. The case halves fit snug and this method has had zero failures since they started offering it. Seems like a great option to me.
Now my fingers are crossed that they can just hone the Bank 1 case and do minimal work to fix the Bank 2 case with the damage.
Those boxes were the best thing that we've came up with.. Blocks used to get damaged all the time, it's been years since we had any damage using these boxes. Typically we ship 4 blocks at once on a pallet to LN via truck freight. UPS and Fed Ex, murder individual blocks if they aren't in these boxes.
So LN Engineering is starting the repair work on the block. The one badly damaged sleeve will need to be replaced. Luckily, the other half of the case seemed to check out ok and will just be honed. They say it should take about 4 weeks.
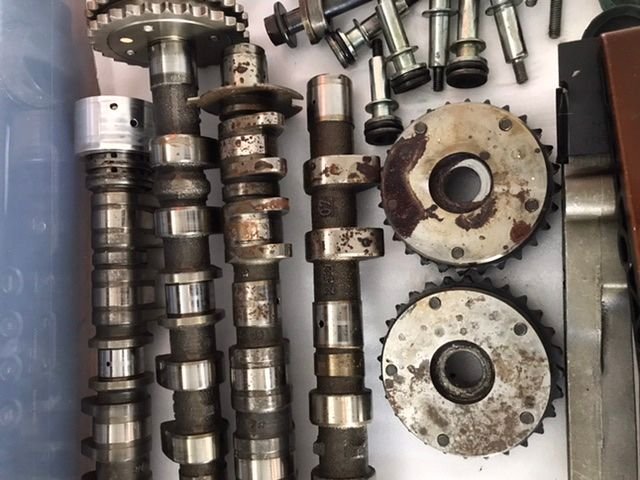
Oh, and BTW- here�s what cat pee can do to your camshafts. Looks like I�ve got some scotchbrite cleaning in my future.
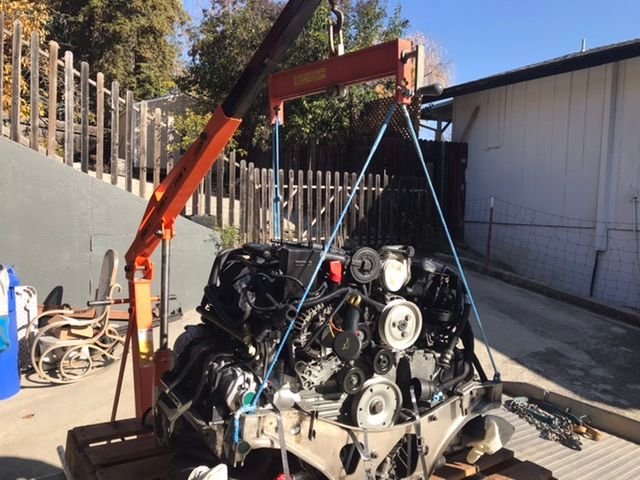
So we are almost back in action. The engine arrived from EBS Racing and the plan is to tackle the install over the weekend. A big shout out to Don at EBS who built the motor for me and fielded all my numerous questions, and to LN Engineering who re-sleeved the damaged cylinder.
To help address a few of the points of failure I went with the UAOS, got the IMS Solution, used a 160 degree thermostat, deep sump pan, new injectors, new valve lifters, replaced heat exchanger, new coolant tank, water pump, replaced the MAF, and rebuilt the heads with new valve seats and springs.
Fingers crossed.
BTW - When we had to pick the engine up off of the tow truck I couldn�t believe that these blue steel ropes could be used. Apparently each one of these skinny little things can hold about 3000 pounds. No need for chains.
As I last posted, I decided to wait until the recommended break-in oil arrived. Little did I know that there were other issues to hold me back.
Because I�m putting in a fresh engine I decided to put in a fresh transmission mount. I�m glad I did as the original mount�s rubber just crumbled when removing it. Next though was the collar. Getting this out was relatively easy - just a few seconds with a sawzall. However, getting the new one in without the install tool may be a challenge. Anyone have any tricks? I�m going to have to search the forum.
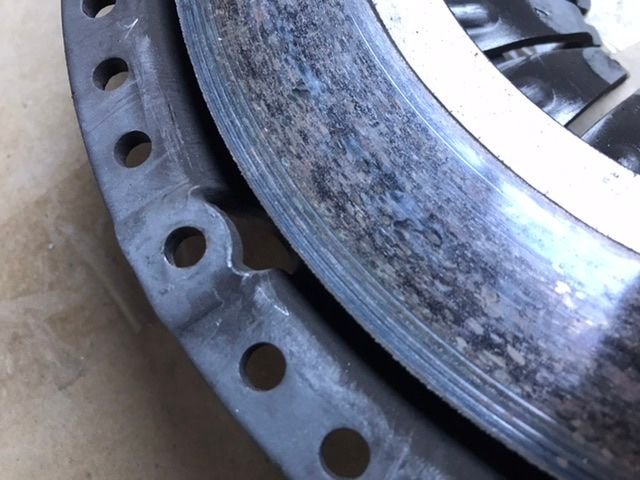
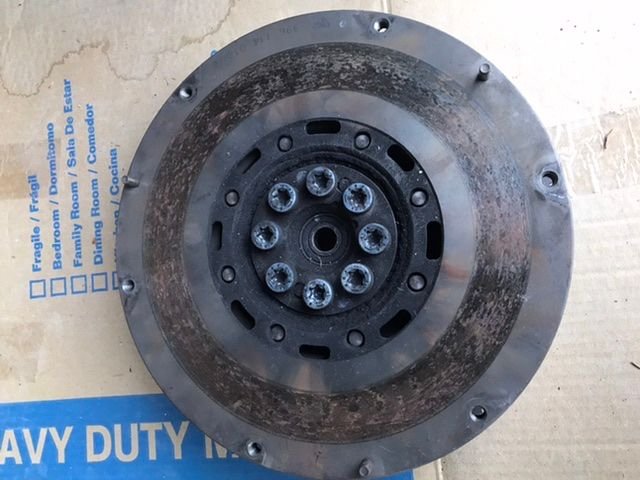
The second challenge was the clutch. While the clutch disc itself looked good to me, measured out within spec and only had 20k on it, my friend pointed out that the pressure plate had grooves in about 1/4 of its clamping surface. Combine that with a unmachinable DMF and I was paused once again.
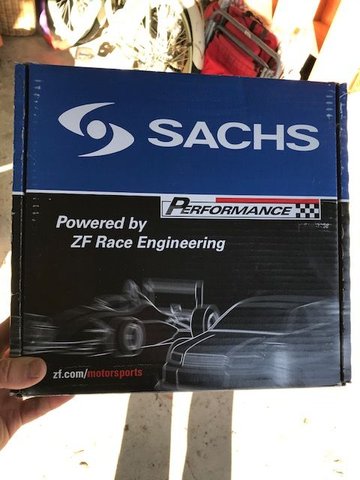
So, upon the recommendation of a friend and a couple here on the forum, I decided to get a new DMF (Luk), a stock pressure plate (Sachs) and a high performance disc (Sachs).
Just waiting for the DMF to arrive and then I can finish the install. Fingers crossed.
Since u have a few days just borrow/rent the tool from dporto or someone else in the board. Took me about 15 min to install so it was deff worth the money.
Since u have a few days just borrow/rent the tool from dporto or someone else in the board. Took me about 15 min to install so it was deff worth the money.
Hi - yes. Might do that. Just sent out a PM to another member asking where he lives. Drporto is on nthe opposite coast, to hoping to find someone closer.
I also rented the tool from dporto. That made it straightforward. I'd be a bit worried about cracking the transmission housing if I tried to be too creative.
OK - so the clutch and flywheel are in. Decided to go with a stock flywheel by LUK, pressure plate by SACHS and upon the advice of PorscheTech3 and another mechanic friend I opted for the high performance SACHS disc that is a bit of an upgrade for our cars and can handle more HP.
Tip #1: I'm happy to say that I was able to line everything up and install it with a plastic alignment tool purchased for about $5 at O'reilly. I forget the part number, but if you search the forum, you can find that it's a cross referenced part for an early Ford focus or sommething like that.
 06-19-2020, 04:01 PM