When you click on links to various merchants on this site and make a purchase, this can result in this site earning a commission. Affiliate programs and affiliations include, but are not limited to, the eBay Partner Network.
Thanks for chiming in, Gert. You've earned a reputation for nothing but great customer service around here.
Hopefully no one reads my above comments as a knock on Gert at Carnewal. He's one of a handful of world class specialized vendors we have.
Overall, I'm trying to keep retailers out of this, as I don't see this as their problem to solve. The problem needs to be fixed at Bilstein, not absorbed and masked by retailers.
In other news - We have a lead on getting the actual part (fingers crossed until I have it in my hand). I've also been able to confirm the part number: E4-XG2-Z004A00. 78mm ID, 100mm OD, 5mm height. Still no ETA, but one step closer.
Also, I've been researching industrial gasket companies in my area (didn't even know such a thing existed until MikeJ mentioned it above). If all else fails, I'll remove and disassemble the installed shock to remove the good part and get one of these gasket companies reproduce it locally.
Send me a PM w your address, I have one you can use to get your car back together.
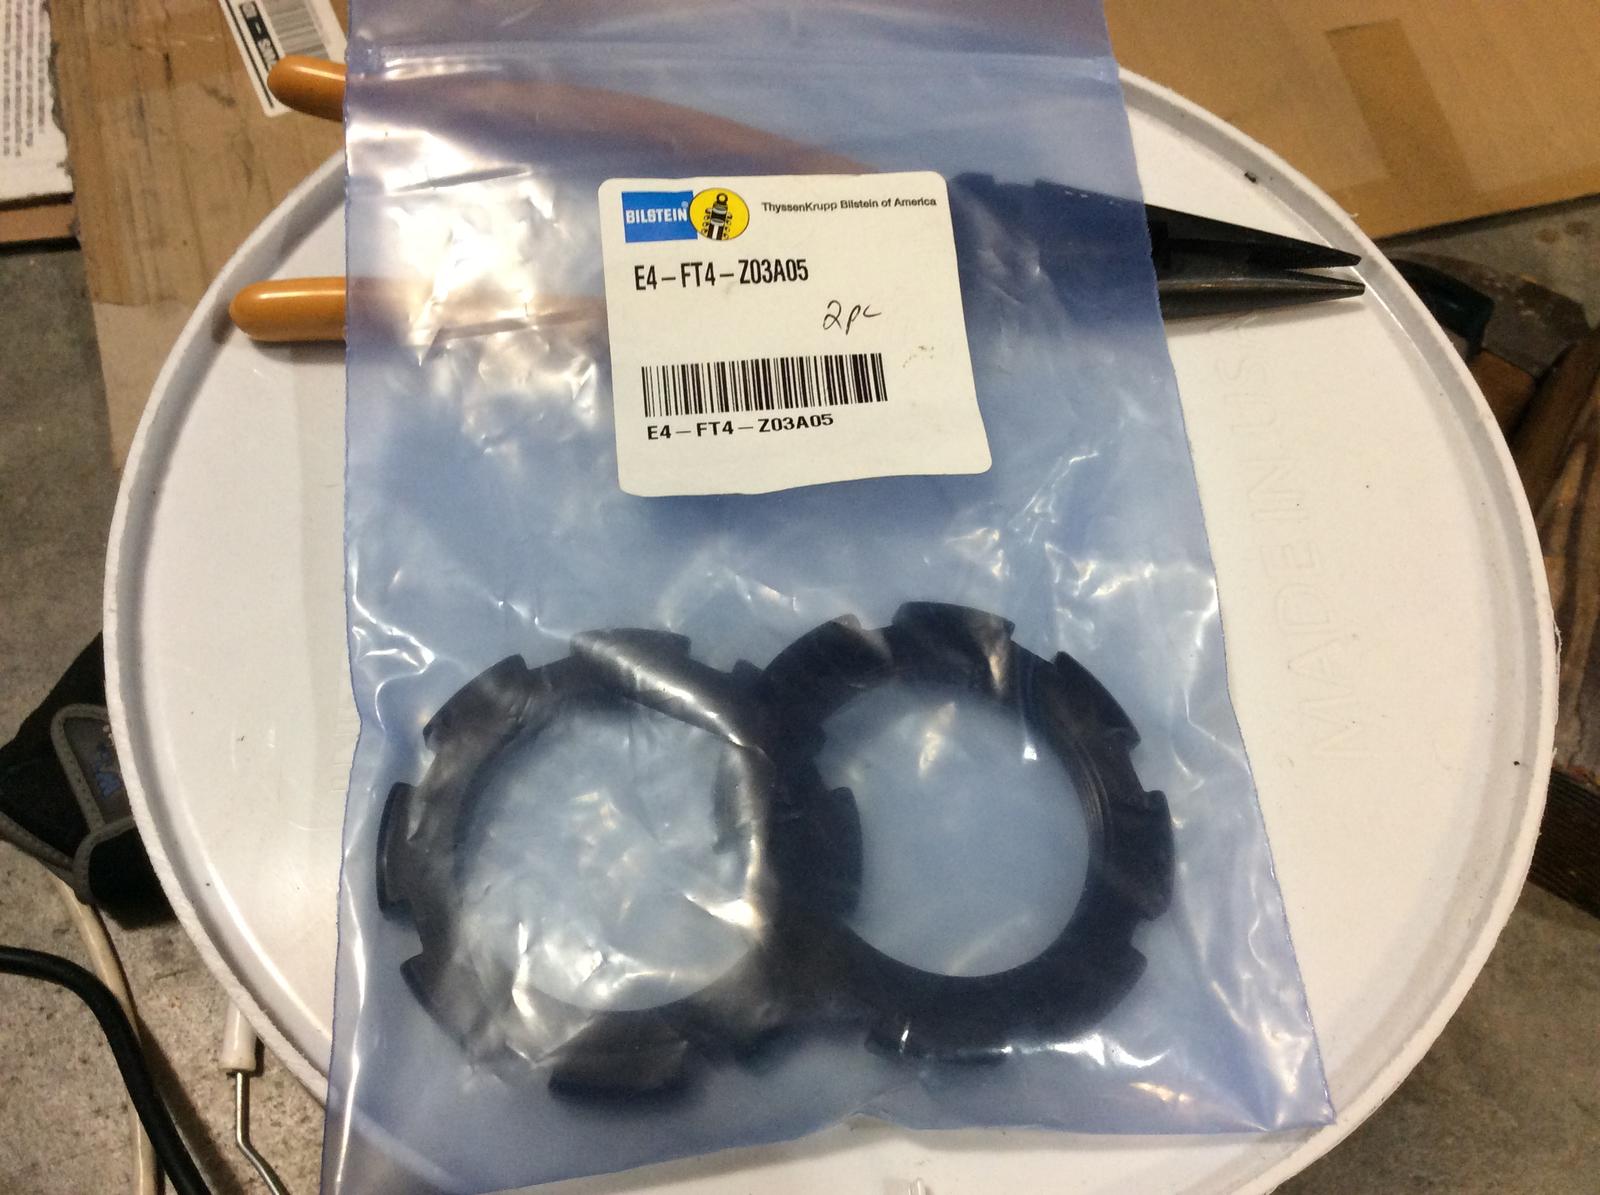
Does anyone following this thread have a recommendation on a specific dealer that wouldn't mind ordering me two of the locking rings to go under the drop link mount, E4-FT4-Z03A05? Can't find a straightforward source without calling random Bilstein dealers.
Does anyone following this thread have a recommendation on a specific dealer that wouldn't mind ordering me two of the locking rings to go under the drop link mount, E4-FT4-Z03A05? Can't find a straightforward source without calling random Bilstein dealers.
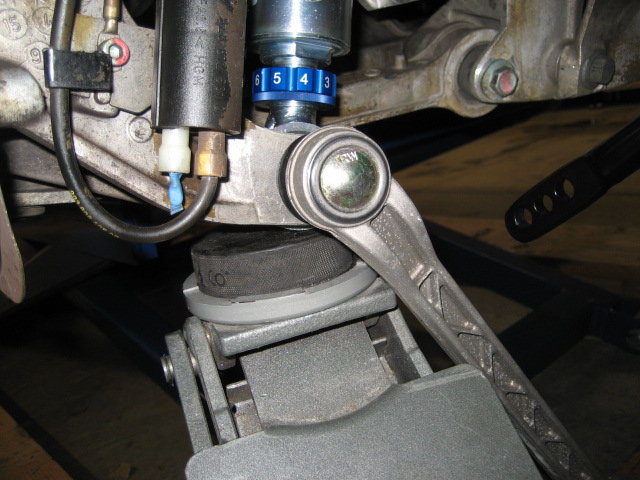
Shouldn't need the extra collars as long as the ones provided are sufficiently tight. Here's another tip:
Tighten the right rear shock sway bar bracket off the car or before installing the toe arm - the clearance around the suspension makes this side difficult to tighten in situ. It needs to be _TIGHT_ to prevent loosening later & busting the drop link, or worse.
Adjust the left side to eliminate any preload on the sway bar once the ride height is set.
Depending on who's doing alignment & setup consider leaving the rear sway bar off & driving for a couple days to let things settle. Once you have the car back (after alignment or corner weights are set), adjust the left rear mount so that the sway bar isn't preloaded & tighten everything up.
Shouldn't need the extra collars as long as the ones provided are sufficiently tight.
That seems to be the case from what I've read too, but enough people are convinced that it's necessary that I'd rather spend the $40 as a) insurance on it loosening and b) being sure that a potential buyer down the line won't think I did it "wrong."
One note. I believe that the shock top nut should be torqued to spec with the weight on the wheel, either the car down off the jacks or the wheel jacked up to normal location. Since the shock top mount is a rubber part, you would use this technique as you do on any rubber suspension bushing.
I could be wrong, so let me know if I'm misunderstanding something.
The primary concern with tightening rubber bushings, is them binding in their casing, since they were torqued while at a droop. Without being able to rotate when lowered, the rubber is then in a constant twist. Great way to shorten its lifespan. Top mount gaskets, won't really move from where they are installed (with suspension unweighted), as the car should come straight down on them. I hope that make sense.
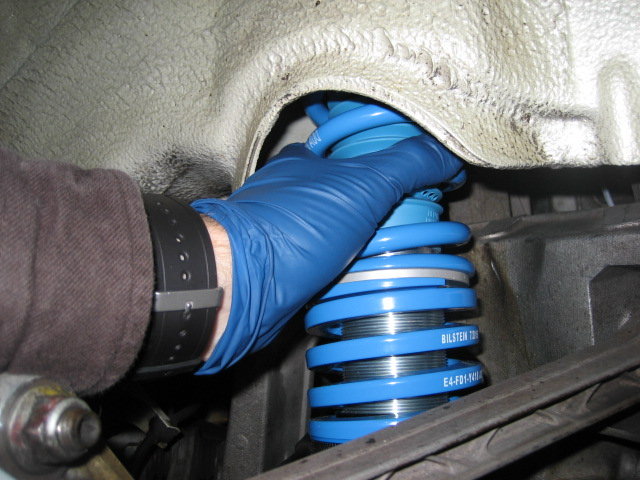
Well, my shiny used set of PSS10s is unfortunately missing both the same rubber rings for the rear, and also the large washers that go up front. Guess I'm going to be embarking on the same quest, so please keep me posted on how it goes.
Hi Mike - thanks for digging these out of your shop. At this point, I think I'm all set. Knock on wood, but I should have at least one of these things arriving later this week.
Mikes pics lead me to believe, you could source a better item elsewhere, than the Bilstein rubber. The fiber encased rubber material would surely be as good (or exceed) OEM.
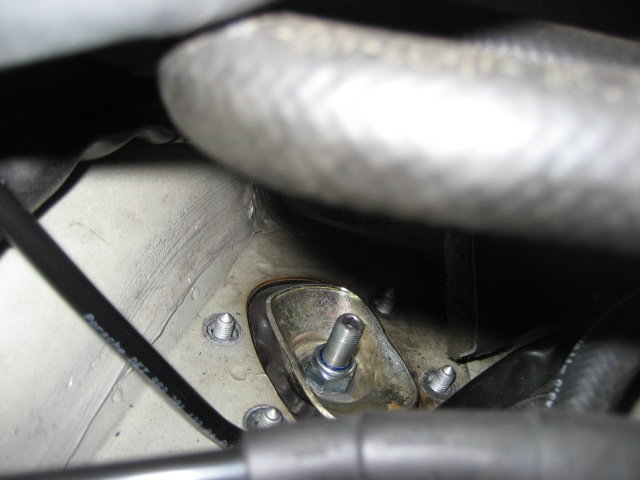
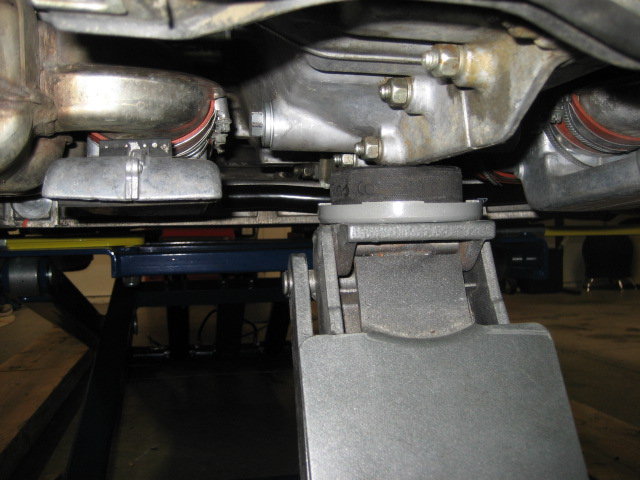
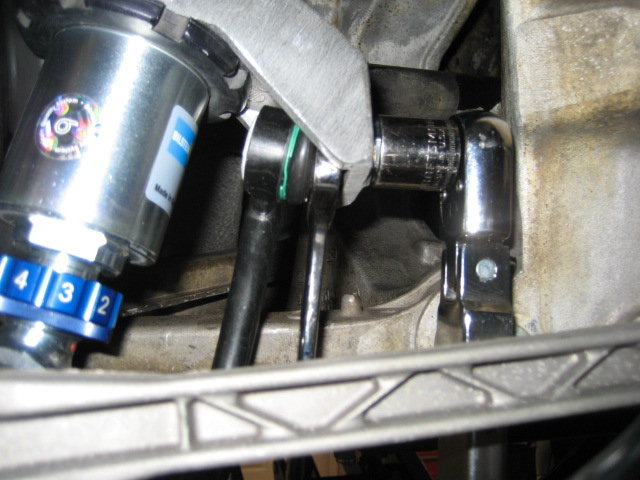
Part arrived last week and I was able to complete the job starting with installing the left rear strut.
After assembling it, I set it roughly in place then secured it with my new toe link. I went ahead and used a jack like before to slightly lift the strut in order to position the top mount.
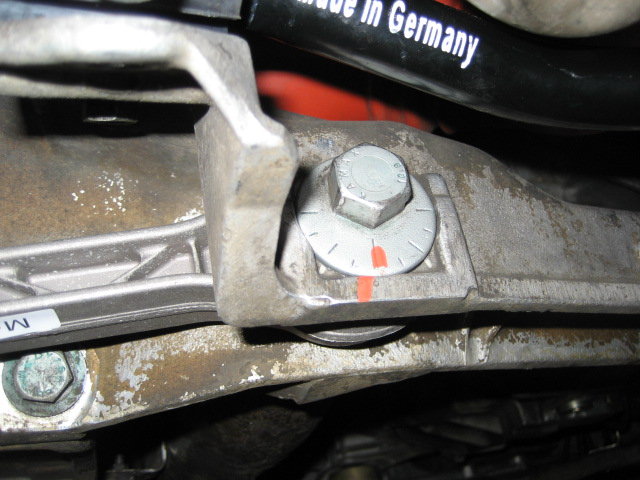
The top mount was not at all aligned this time, so I just twisted the upper spring enough to get the top mount in position.
Using the jack, I slowly raised the strut into position ensuring that the mount fit in all the holes cleanly.
As expected, my torque wrench was too big to use on this side, so I had to resort to tightening these by feel using a standard ratchet.
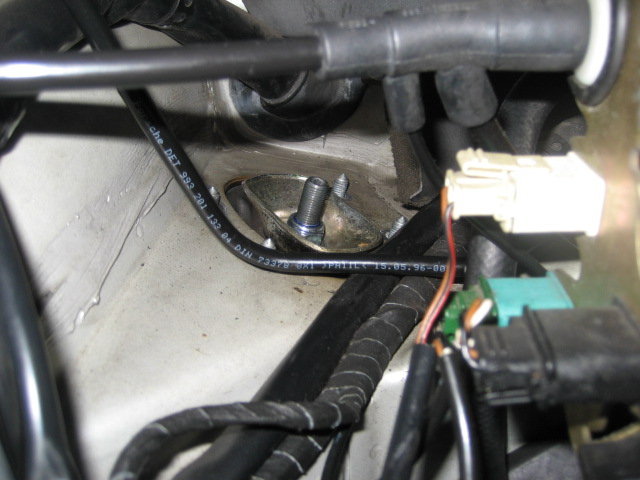
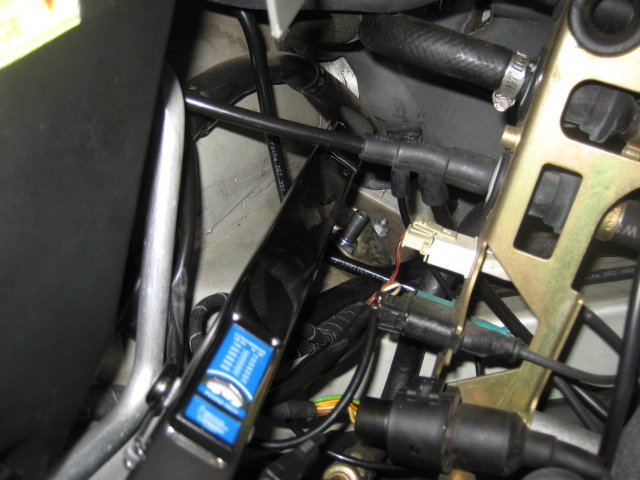
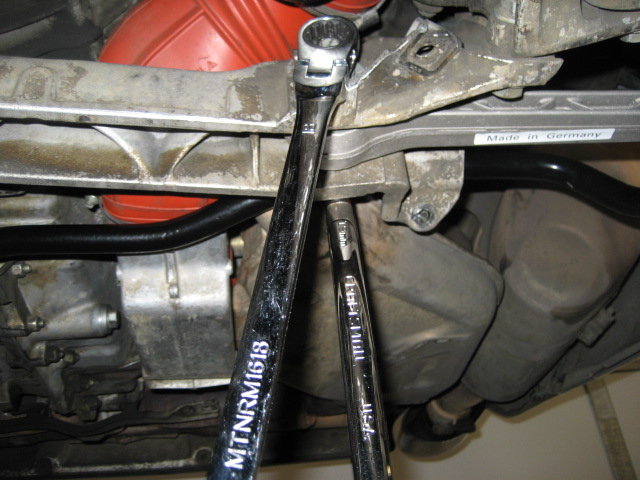
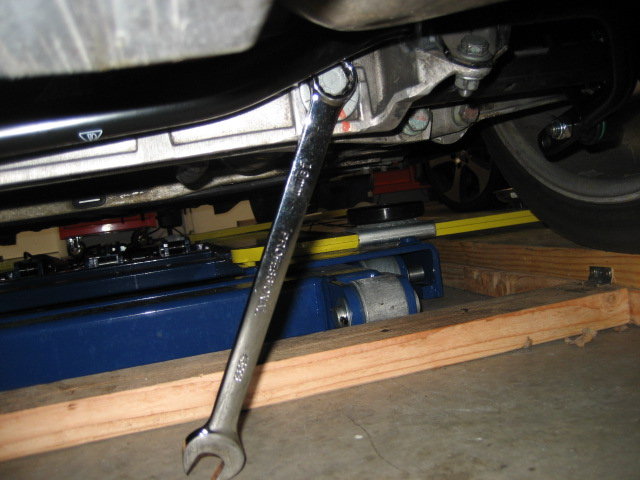
With the top of the strut secure, I tapped the toe link into position with my hand, released the floor jack and positioned it under the engine.
After applying a bit of lift to the engine, I was able to easily insert the toe eccentric bolt into position.
I just snugged up the nut on this fastener since final torque would wait until the car was on the ground.
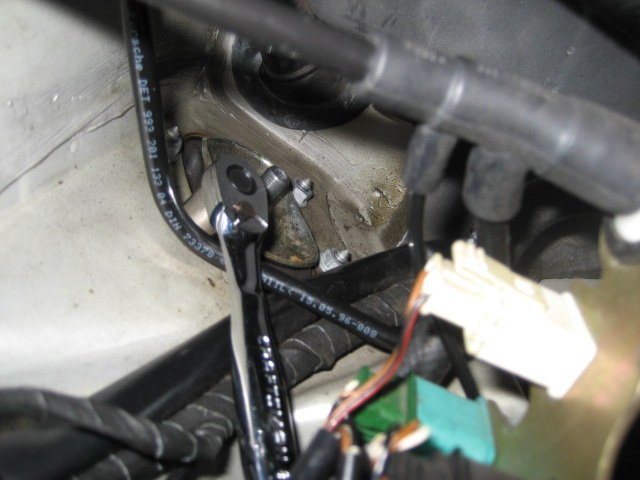
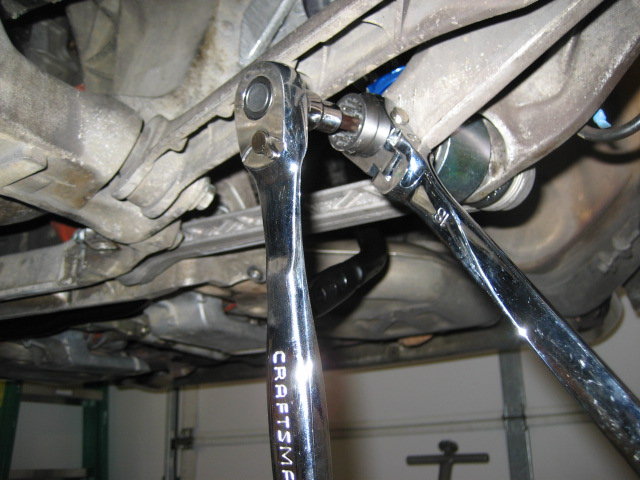
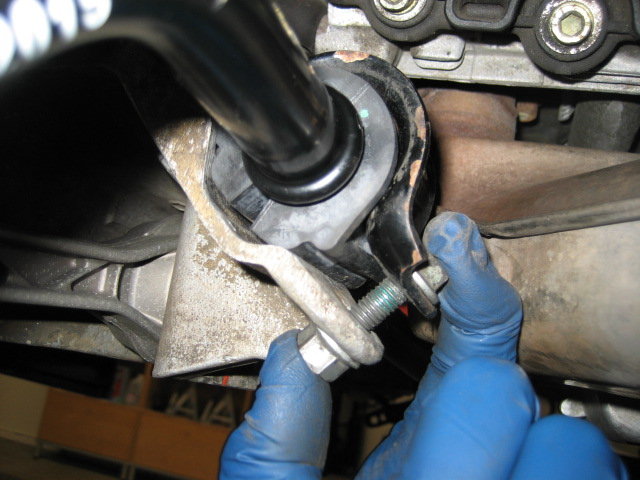
Moving to the other end of the toe link, I secured it with a new nut and torqued it to spec.
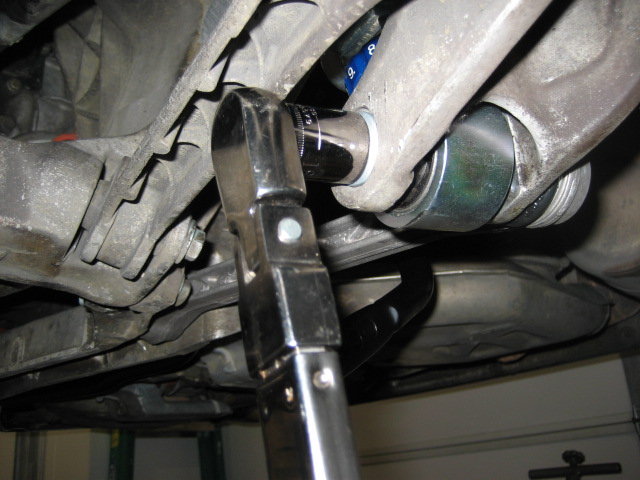
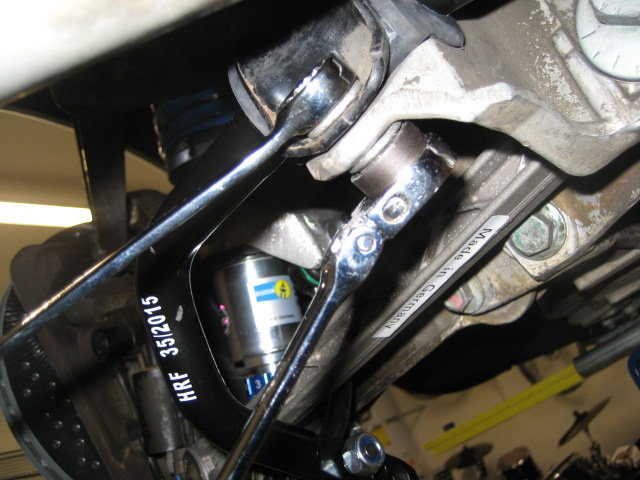
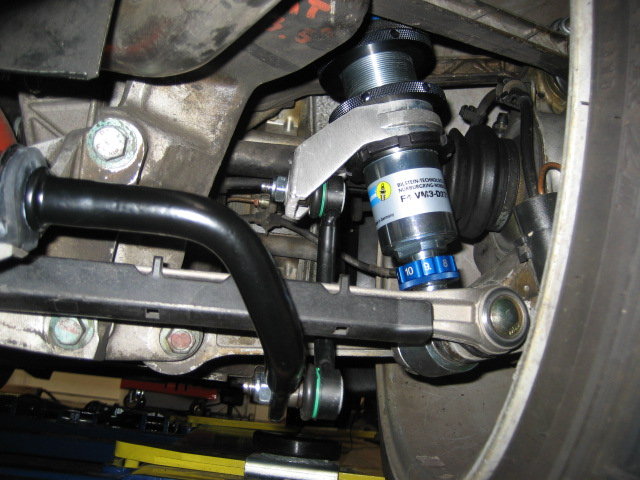
Since I completely replaced my anti-roll bar, now came time to bolt it back to the car and torque to spec.
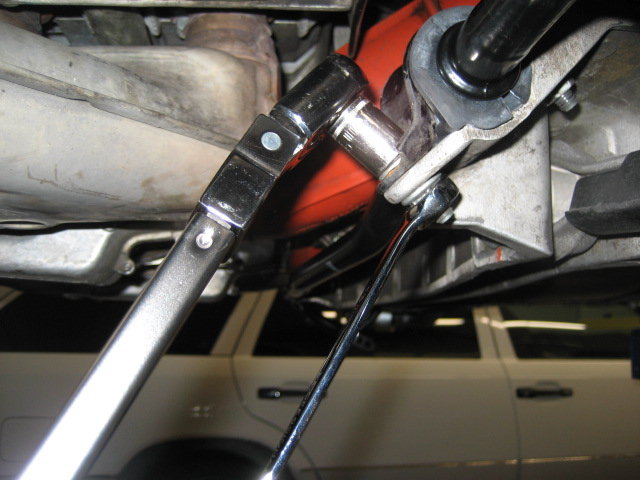
And then I installed and torqued my new RS drop links.
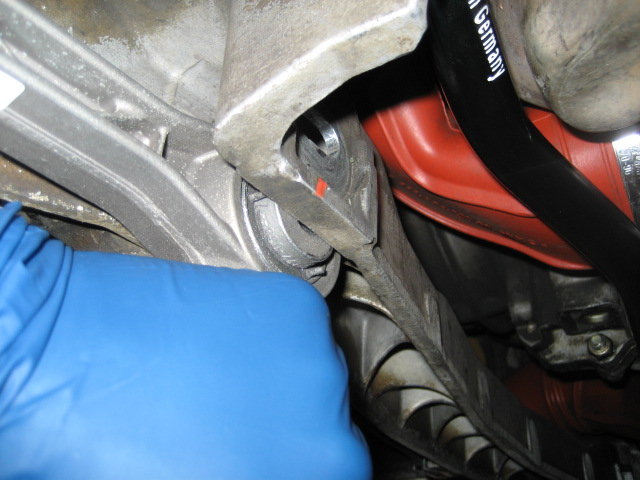
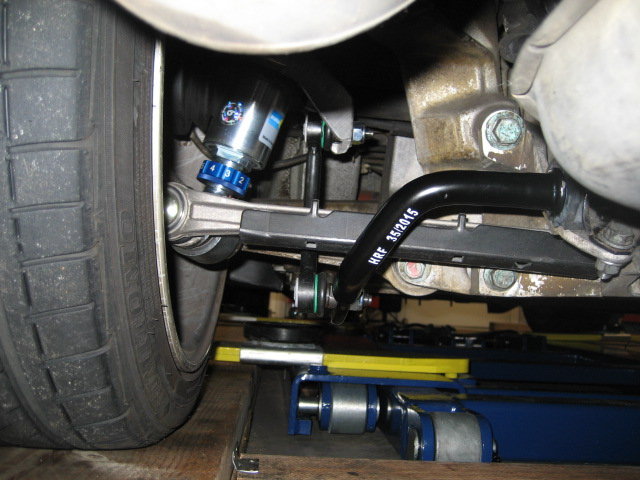
All that was left on the suspension at this point was to tighten both toe adjustments. I tried to line up the marks on the bolts then tighten them the best I could while under the car. Not a lot of room down there. I'm not too worried about the exact torque here since the alignment shop will be responsible for final torque of this fastener.
While the car was on the ground, I did a quick visual check of the alignment of the drop link mount to ensure it was in the same plane as the ARB. It looked good. Note - I later used a punch on both the top and bottom rings to really snug them up, but guess I forgot to take a pic of that.
With that all four corners were in. All that was left was to reinstall the aux fan then adjust ride height.

 01-06-2017, 11:55 AM