When you click on links to various merchants on this site and make a purchase, this can result in this site earning a commission. Affiliate programs and affiliations include, but are not limited to, the eBay Partner Network.
I think its worth adding the lower lock ring. I don't see any downside to doing so and it seems like it could avoid some heartbreak.
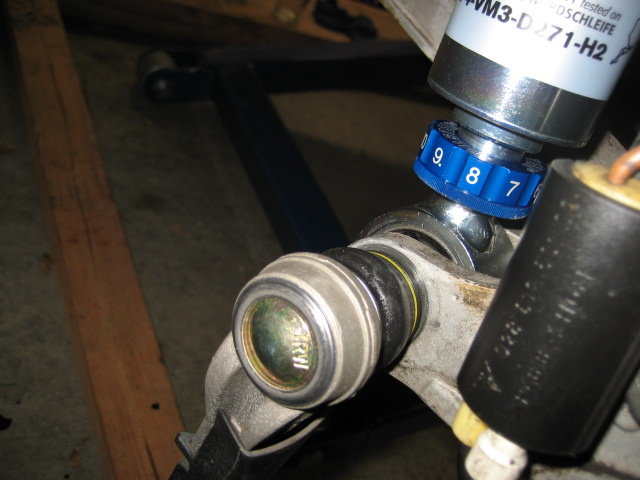
Yes, aware of this thread. I had a failed Bilstien rear drop link a few years back. The bottom perch turned a few degrees and snapped out the right side drop-link balljoint because it wasn't sufficiently locked down by the 3rd collar. Since installing a new drop link and properly tightening the perch and 3rd collar against each other, there has been zero movement or drama.
I think you're right, better safe than sorry. To me it's even more overkill if you have to disassemble your suspension to add these rings in and then reassemble. If this was a huge problem and an actual weak point of the design, a set of 4th locking collars would've been supplied in the original Bilstien kit.
I agree with you then. I wouldn't disassemble an existing suspension to do this, rather I'd make darn sure the ring is super tight against the perch. But when installing a new suspension, I think its wise to add this collar and reduce any uncertainties.
I think you're right, better safe than sorry. To me it's even more overkill if you have to disassemble your suspension to add these rings in and then reassemble. If this was a huge problem and an actual weak point of the design, a set of 4th locking collars would've been supplied in the original Bilstien kit.
I agree 911% Jakob.
Had I not been dead in the water waiting on a missing part for my PSS10 kit, I wouldn't have even messed with it.
While I'm waiting on that part, I might as well reinstall the one rear strut assembly that I can. I got lucky, and it was very easy.
While the assembly was on the bench, I tried to eyeball the orientation of the top mount so it would align with the shock tower on the car. I didn't take a picture of this as all I did was grab the top spring and rotate it until it "looked right."
From there, I held the strut with one hand while I inserted the new toe link into place.
I next had a look in the engine bay to see how I did on aligning the top mount. At this point, I thought it was pretty close, but was prepared to take it out again if needed.
Since I didn't have a helper, I grabbed a floor jack to gently lift the wheel carrier.
Here I get lucky. All the holes aligned the first time. No adjustment needed.
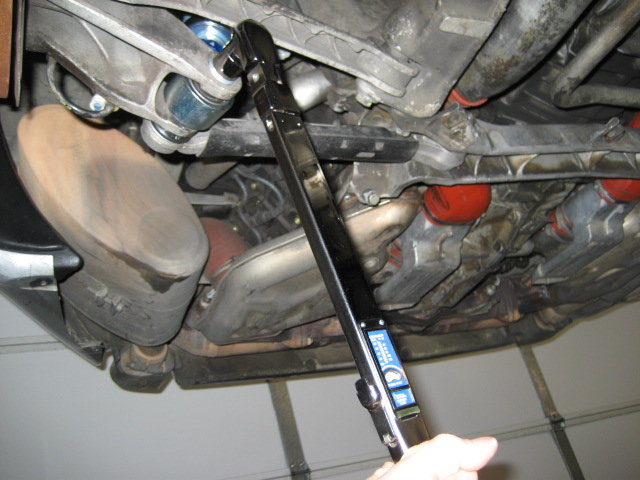
From there it was just a matter of adding the fasteners and tightening to spec. There was just enough room for the torque wrench to fit and swing enough. I don't think I'll have this luxury on the left side.
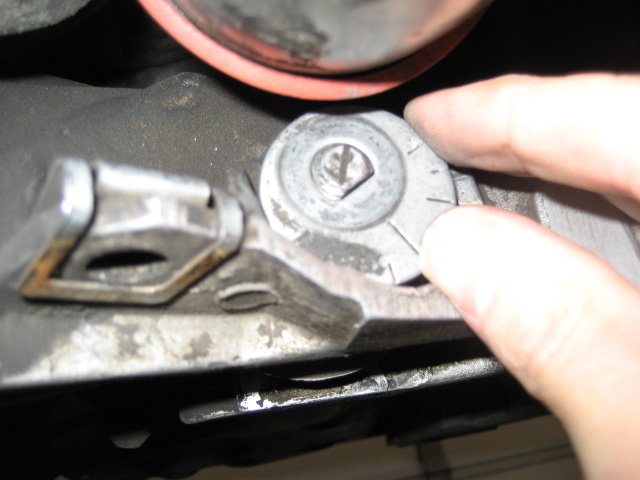
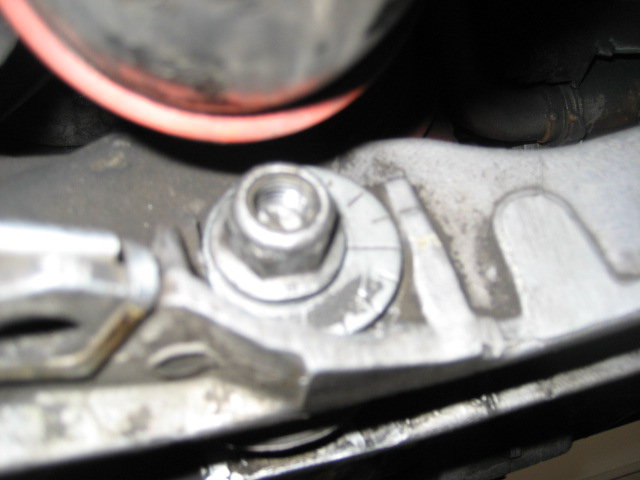
Back under the car, I lightly tapped one end of the toe link into place and fastened it with the eccentric fasteners. Final torque will wait until the car is on the ground for this one fastener.
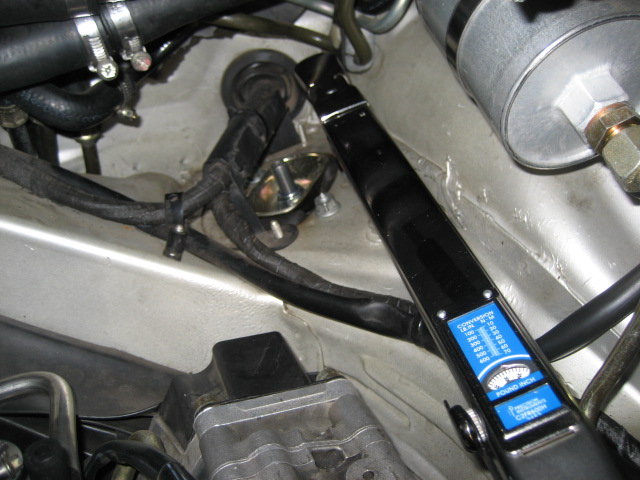
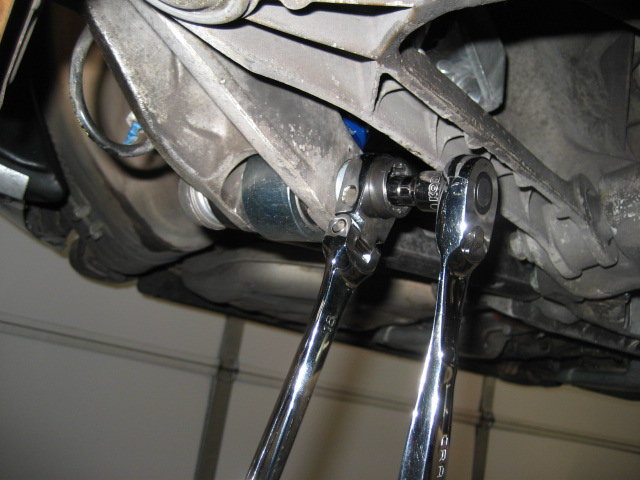
All that was left was to fasten and torque the wheel carrier end of the toe link. I found that once I got the nut good and tight, I no longer needed to counter hold the shaft with the torx bit. That made it trivial to torque to final spec with a regular socket and torque wrench.
Now if I can just get that last part to arrive, I can do the same thing on the left side of the car.
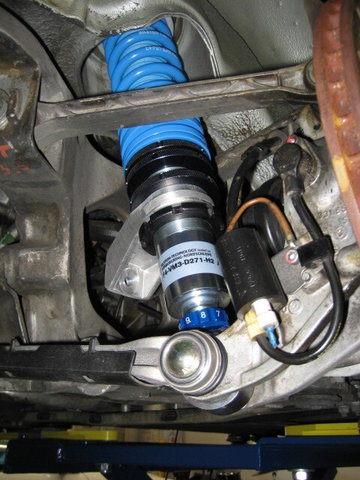
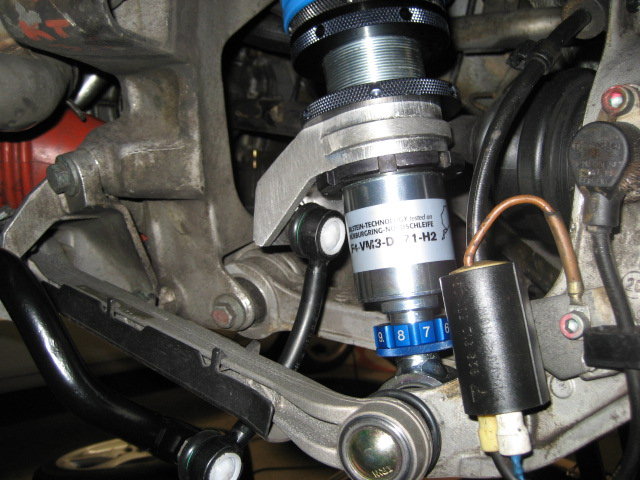
With the missing rubber ring on a UPS truck in the adjacent neighborhood, I decided to test fit the new rear RS ARB. I had a hunch it would throw a wrench in things and, well...
When mounted to first set of holes on the ARB, the drop link would hit the toe link when the suspension was unloaded.
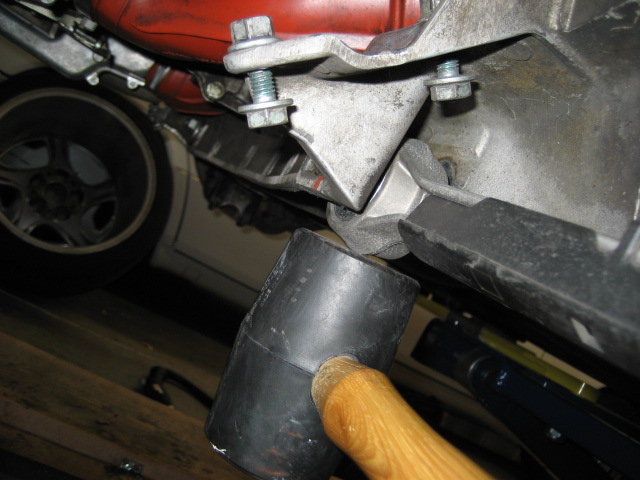
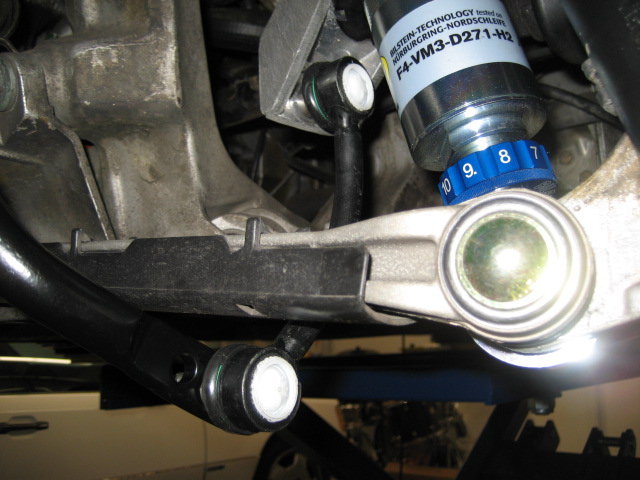
So, I needed to lower the drop link. I tried to simply disconnect the toe link the spin the entire shock body while in place (as I had done with my HDs), but it just didn't seem to want to spin without using more force than I was comfortable with.
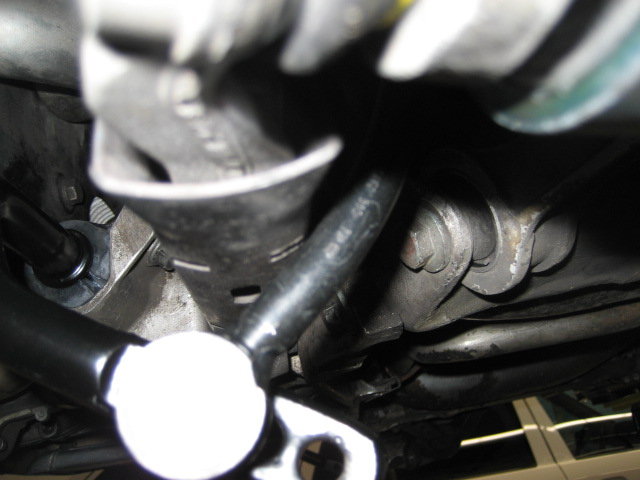
So, I removed the strut from the car and lowered the drop link as low as it would go.
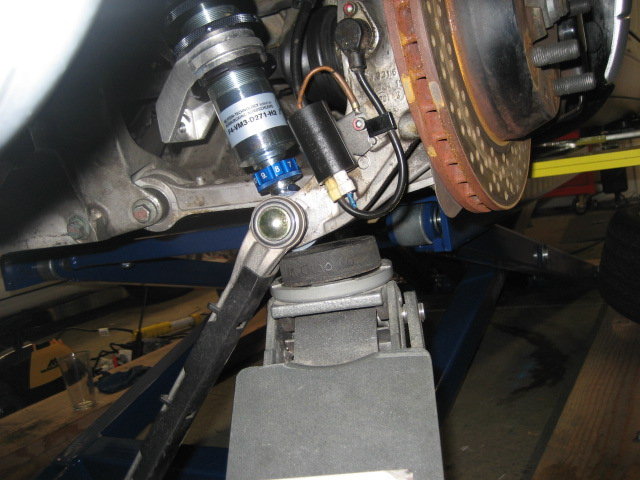
I reinstalled and verified it seems to fit correctly now.
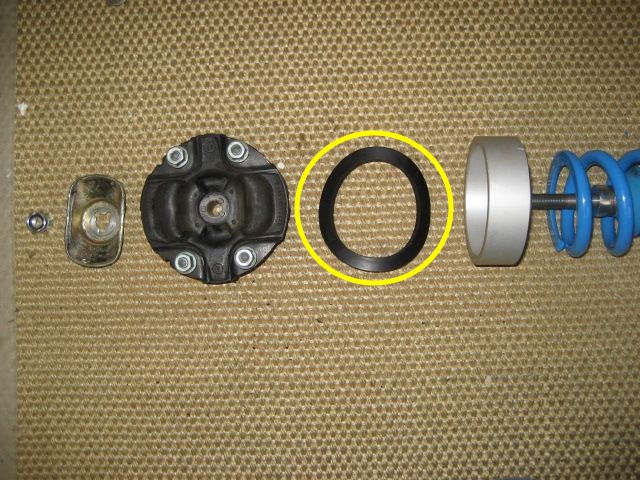
In other news, Bilstein shipped me the wrong part. So, the waiting game continues. If anyone has one of these circled items laying around, let me know.
I've just gone through the process of selecting all the nuts, bolts and other consumables required for a full suspension refresh. This is purely stock parts (no RS or RSR) and is a complete list, to my knowledge, of what should be replaced hardware-wise when redoing controls and shocks, front and rear:
- Upper Mount Gasket for front shocks.
- 993-341-511-01 x2
- The lock nuts that are used to secure the shock top hats both front and rear suspension. 16 nuts total.
Love the thorough approach, Tlaloc75, and there is certainly nothing wrong with getting new hardware while you're in there.
For just installing PSS10s, I would think most shops do not replace fasteners beyond what is in the kit unless one was incorrect or damaged.
On this particular project, in addition to the incorrect use of a nyloc on one of the strut towers, the nuts on the toe eccentric adjusters (999-084-445-01) were looking a bit rounded from 20yrs of past alignments, so I replaced them.
I think you are right that most do not, but according to the Bentley (and the workshop manual I'd assume) all these lock nuts should be replaced when refreshing the parts. So, I'd rather spend a little extra money and know I've got it all right.
While the waiting game continues, I thought I'd document one of the more annoying procedures on this car - reinstalling the air box. When I first started working on 993s, it would take me 20-30 minutes to do this (seriously). Now, I have it down to maybe 5 minutes.
To recap, I chose to remove the air box to make access to the right rear strut mount easier. With the strut back in the car, I could now reinstall the air box.
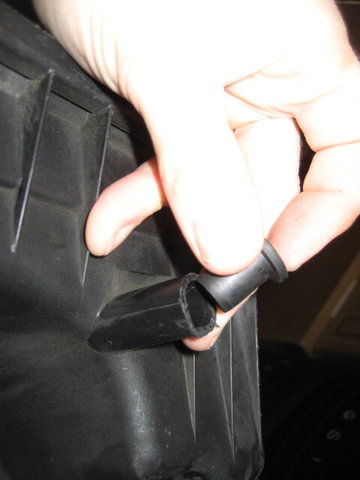
I started by making sure the two rubber plugs on the bottom of air box were removed and inserted on the mounting studs in the engine compartment. (They may still be in the car. If not, remove them from the air box and put them on the mounting studs.) Most probably don't do this, but it works for me.
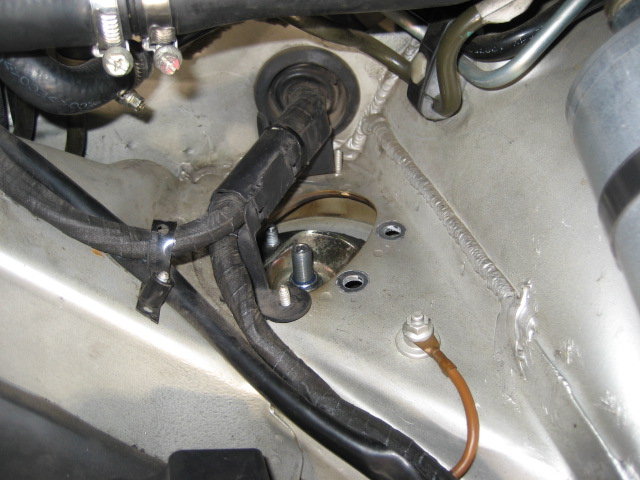
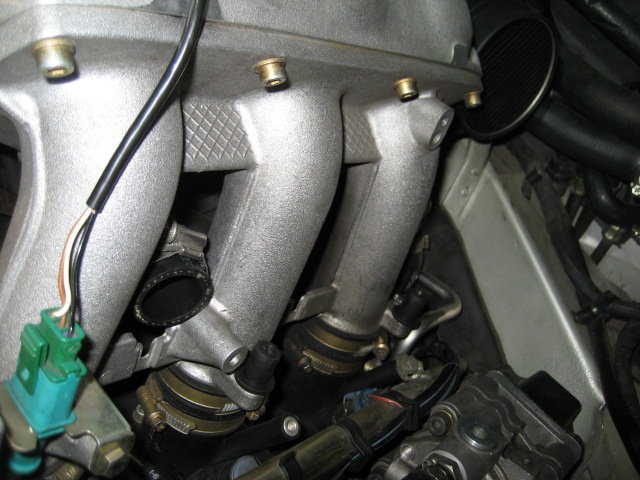
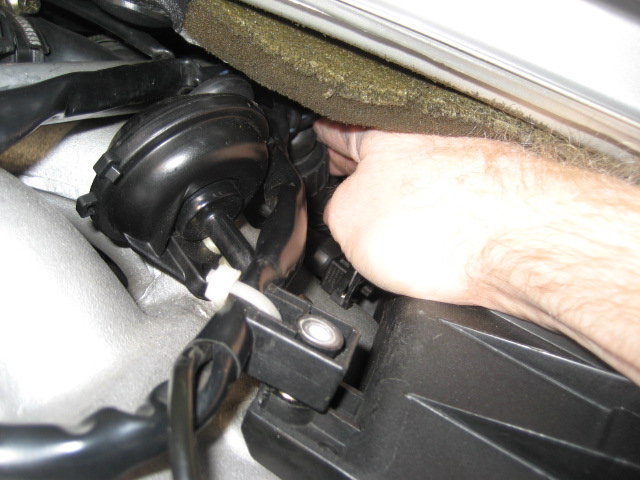
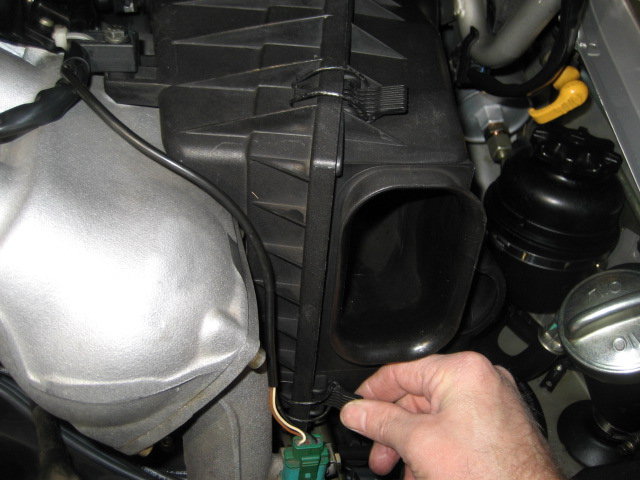
Here you can see the 4 attachment points to which the air box must mount. From left to right they are the SAI hose, rear mounting stud (with plug), front mounting stud (with plug), and MAF. Most of the annoyance comes from having to get all 4 of these attachments in place.
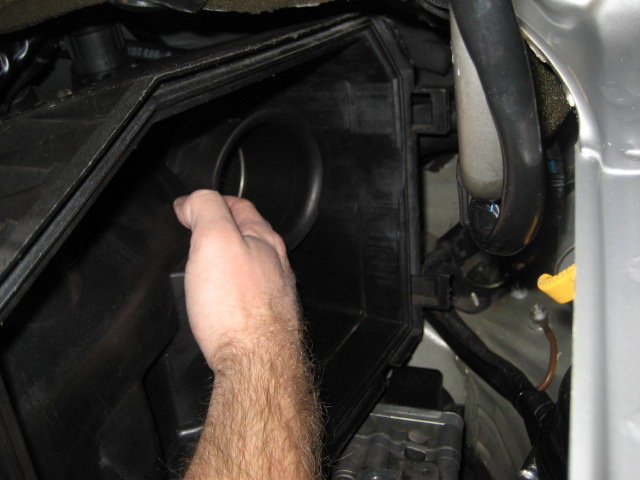
The rest of the annoyance comes from inserting the air box back into the car. It's a tight fit.
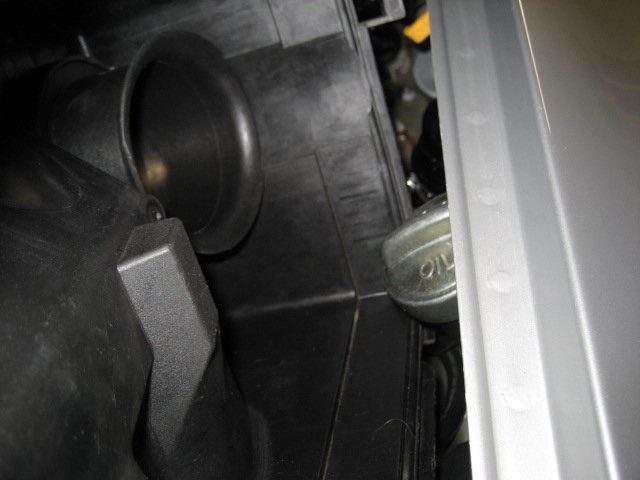
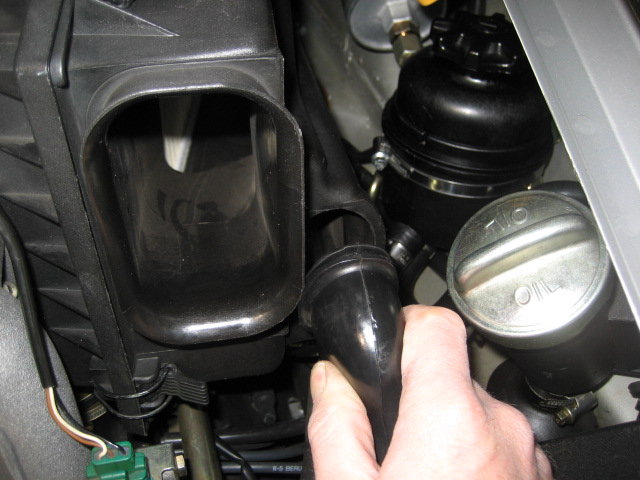
I started by inserting it just past the oil filler tube.
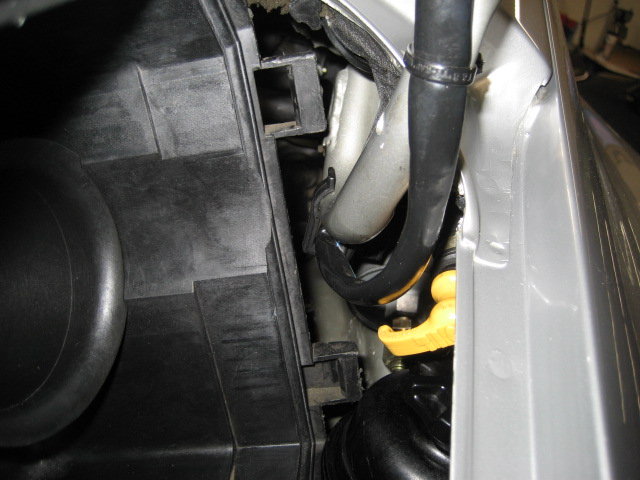
Next, I angled the front of the air box so the two cover mounting slots fit between the power steering reservoir and the deck lid hinge.
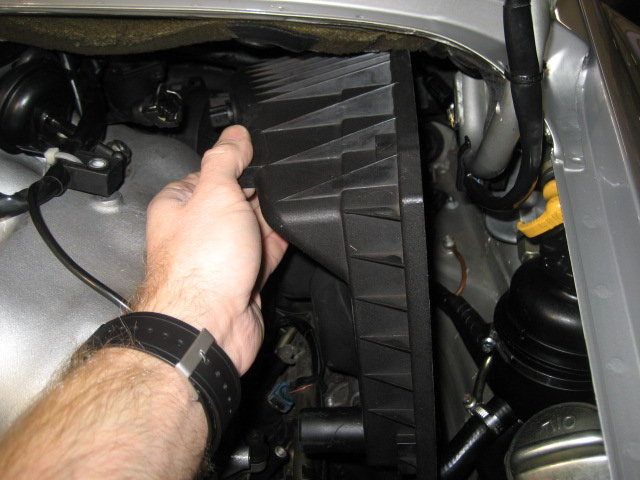
With just the right angle, I was able to slide the air box further back into the engine compartment. I knew it the angle was correct when the left side of the box just skimmed the Varioram, but still slid smoothly into position.
With all the obstacles cleared, I rested the box roughly into position. Attaching it to the 4 previously mentioned attachment points came next.
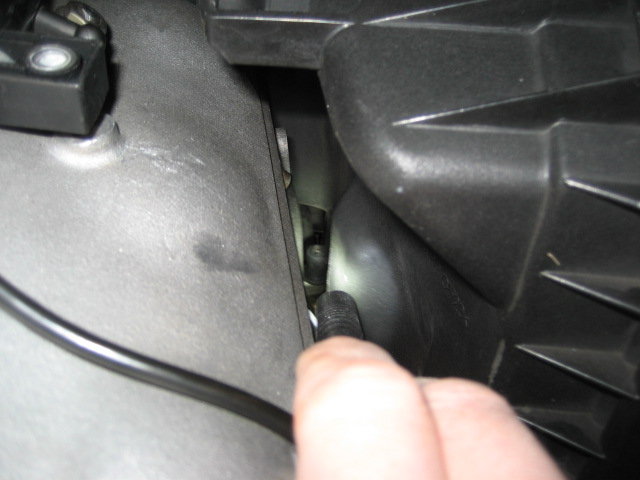
I started with the front most mounting stud/plug. I used my right hand to feel under the air box and and guide it onto the mounting stud. One down, three to go.
Next I attached the SAI hose by using my left hand to push the hose onto the air box. Then I tightened down the hose clamp to secure it. Two down, two do go.
Next was the front mounting stud. Similar to the back one, I used my right hand to ensure the air box was properly situated on the mounting stud.
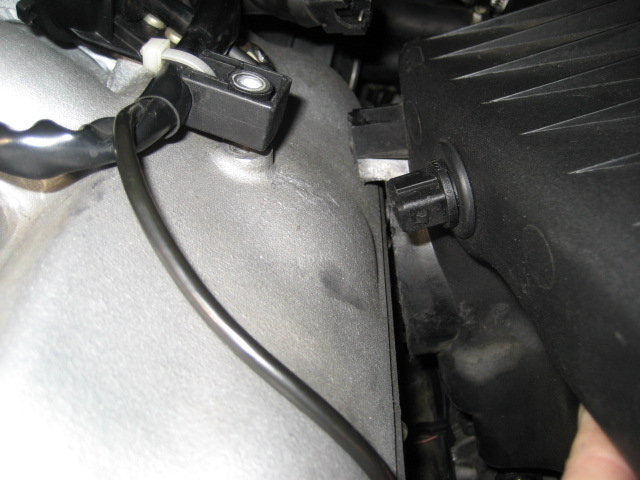
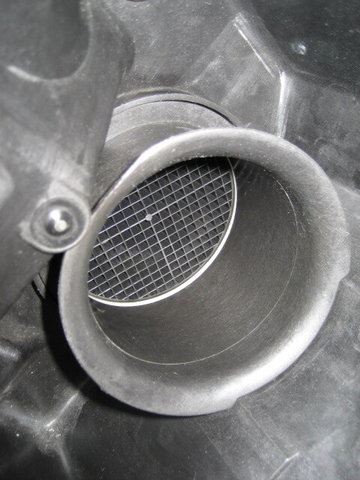
Last was the MAF. I've found that if I get the 3 mounting points above in their proper place, then the MAF should be already inserted. I like to verify with my right hand to feel that it has been fully inserted into the air box.
With the annoyances out of the way, the rest of the job was a cakewalk.
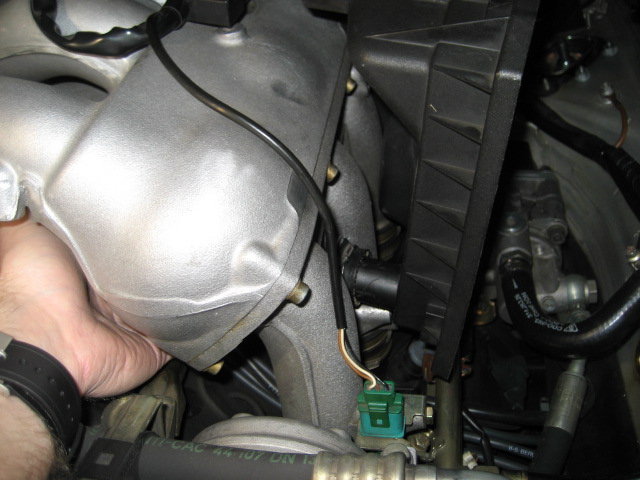
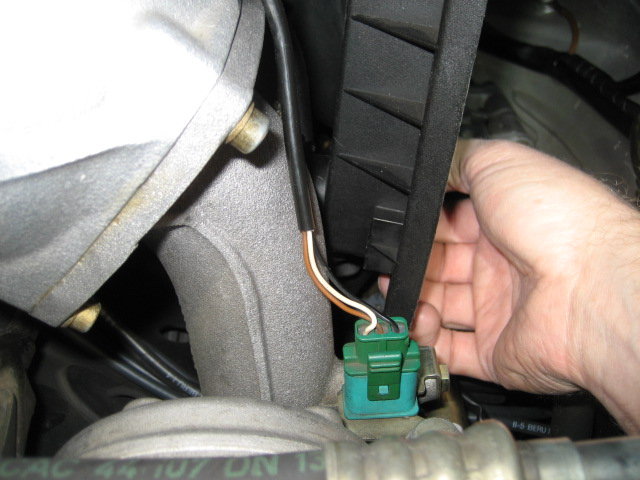
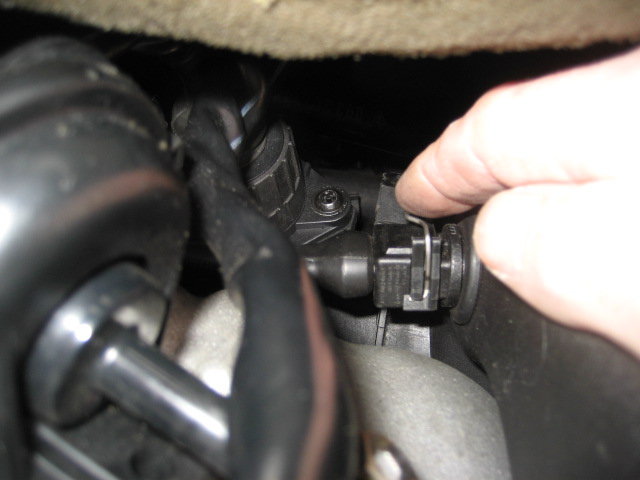
I rotated the MAF to lock it to the air box by pulling its connector toward the rear of the car.
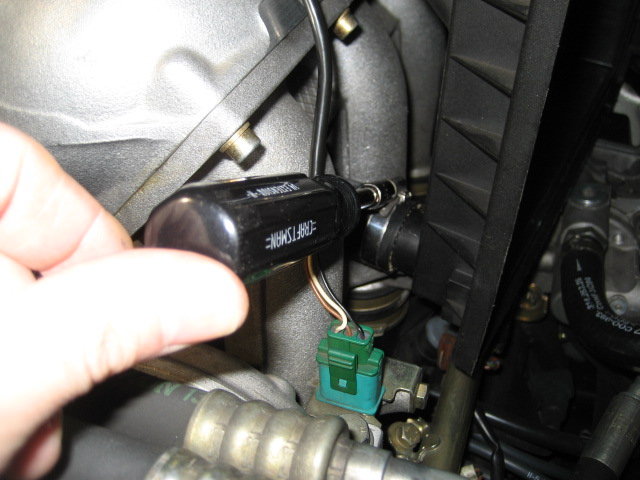
Then, I reconnected the temp sensor electrical plug and reinserted the single screw through the wiring harness, air box, and into the Varioram. I was careful not to over-tighten this and strip out the soft threads in the Varioram.
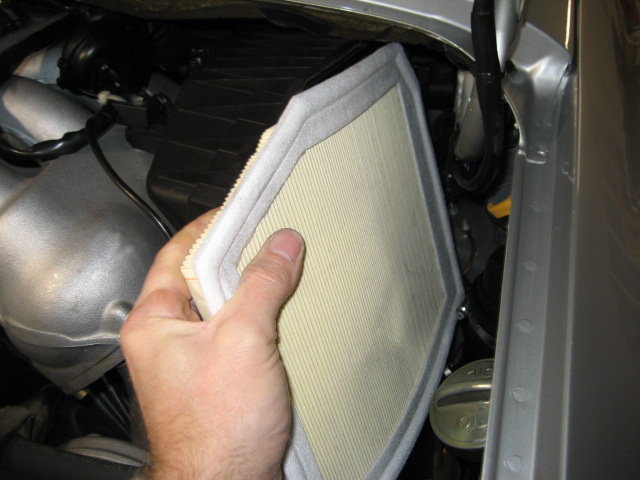
I then added back the air filter, air box cover, and reinserted the clutch vent hose.
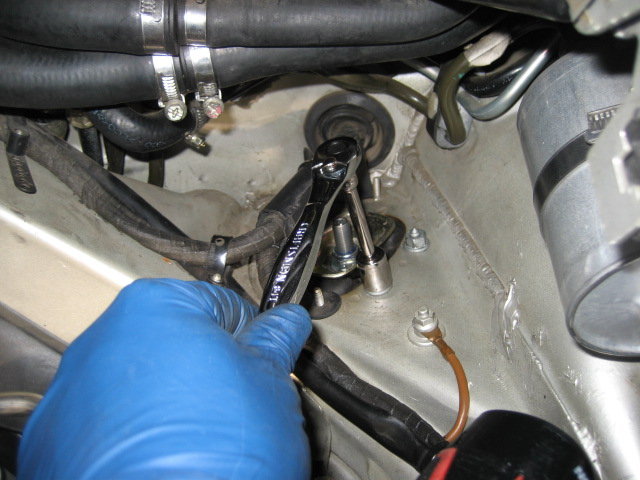
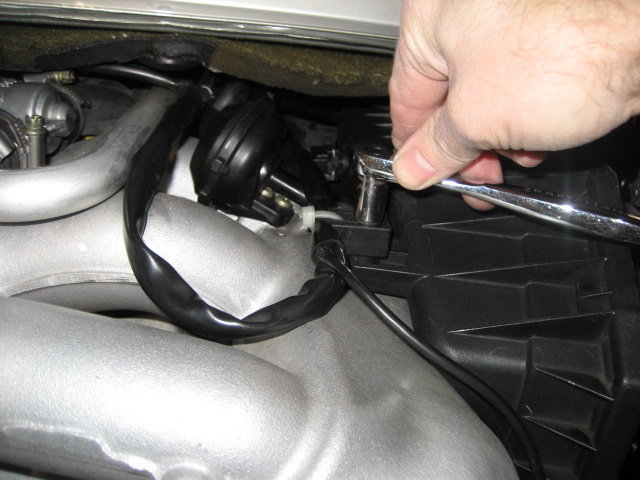
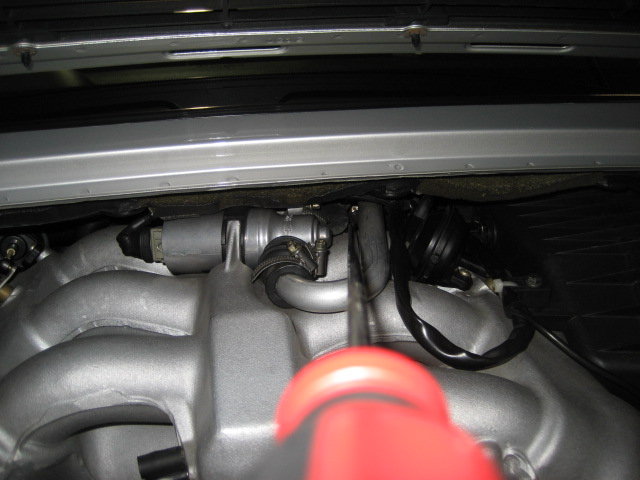
All that remained was tightening that hose clamp on the other end of the MAF with a very long screwdriver.


 12-21-2016, 03:55 PM