When you click on links to various merchants on this site and make a purchase, this can result in this site earning a commission. Affiliate programs and affiliations include, but are not limited to, the eBay Partner Network.
- To remove the plastic retaining clips on the front struts, you can use a hooked pick to push the plastic pins from the backside, therefore not needing to thread a screw into the pin
- I find the Bilstein shocks machined allen keyway on the top of the shocks is a pretty crappy purchase to hold the shock while torquing - which I do outside the car. I have been wrapping my allen key socket with tape before using it to make sure there is no slop - otherwise its way easy to strip out the allen keyway. Don't ask me how I know this.
- I usually do not break the brake lines apart - other than having to bleed out the system, that particular joint on some cars is really frozen. I instead use a zip cutter and cut a slot to allow the brake line to be inserted without breaking the line. Just make the slot slightly larger than the line.
- When torquing the top nut, I use as short of an allen key as possible. Allen keys tend to twist which throws off your torque settings.
I took the ARB off and do not plan on replacing it. There's an adjustable RS bar that will go in its place on reassembly.
With regards to replacing the droplinks - if you are using the RS adjustable bar at the rear, you will need the curved RS droplinks as the bar sits below the toe link. The droplinks in the photo above show the regular straight links.
With regards to replacing the droplinks - if you are using the RS adjustable bar at the rear, you will need the curved RS droplinks as the bar sits below the toe link. The droplinks in the photo above show the regular straight links.
- To remove the plastic retaining clips on the front struts, you can use a hooked pick to push the plastic pins from the backside, therefore not needing to thread a screw into the pin
- I find the Bilstein shocks machined allen keyway on the top of the shocks is a pretty crappy purchase to hold the shock while torquing - which I do outside the car. I have been wrapping my allen key socket with tape before using it to make sure there is no slop - otherwise its way easy to strip out the allen keyway. Don't ask me how I know this.
- I usually do not break the brake lines apart - other than having to bleed out the system, that particular joint on some cars is really frozen. I instead use a zip cutter and cut a slot to allow the brake line to be inserted without breaking the line. Just make the slot slightly larger than the line.
- When torquing the top nut, I use as short of an allen key as possible. Allen keys tend to twist which throws off your torque settings.
Have fun!
Cheers,
Mike
Thanks for the insights, Mike. You've probably forgotten more about PSS10 installation than I'll ever know!
I've noticed the scary loose tolerances on the allen keyway on the PSS10s. I'll put some tape on the socket just in case next time.
I went ahead and assembled one of the rear PSS10s. This was my first time doing this part of the project, so I learned a few things along the way.
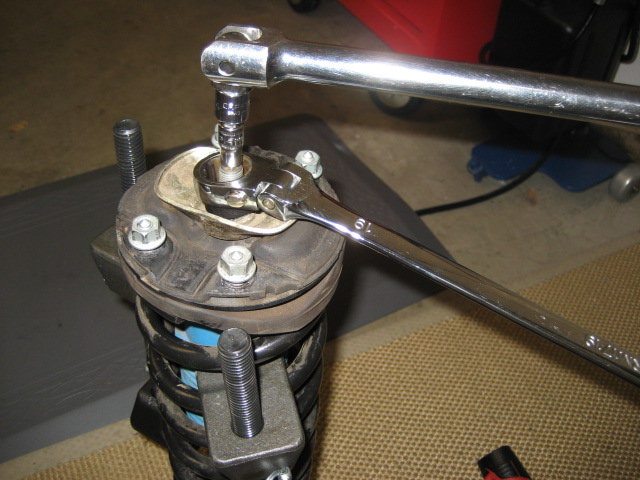
The old strut assembly seemed to be under a bit of spring pressure, so I compressed the spring until it separated from the bottom perch.
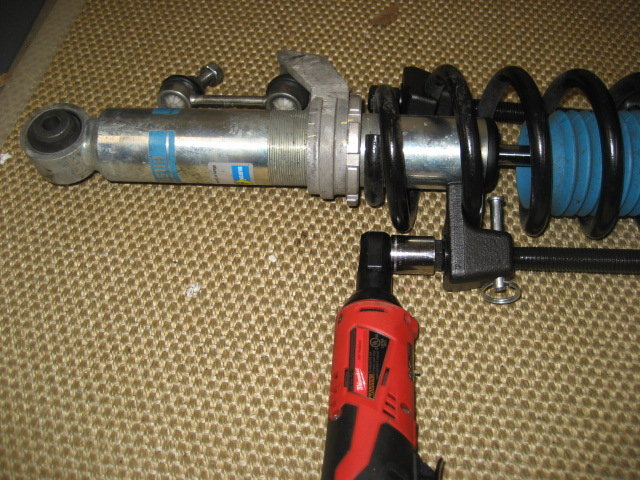
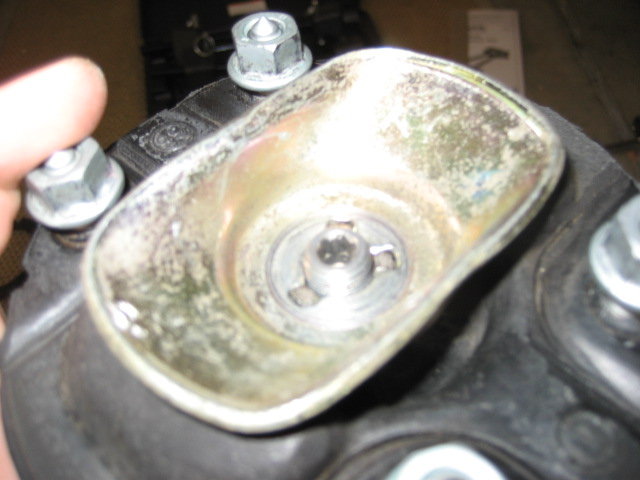
The top nut on the rear shocks is a different size than the fronts (19mm vs 21mm), so my 7/8" O2 socket wouldn't work. I had to improvise a bit. A ratcheting wrench was able to grip the bolt while I spun the strut shaft clockwise.
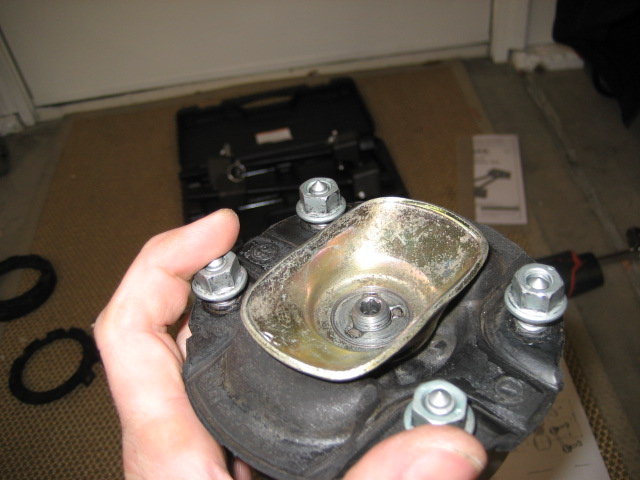
Here is the disassembled old rear strut.
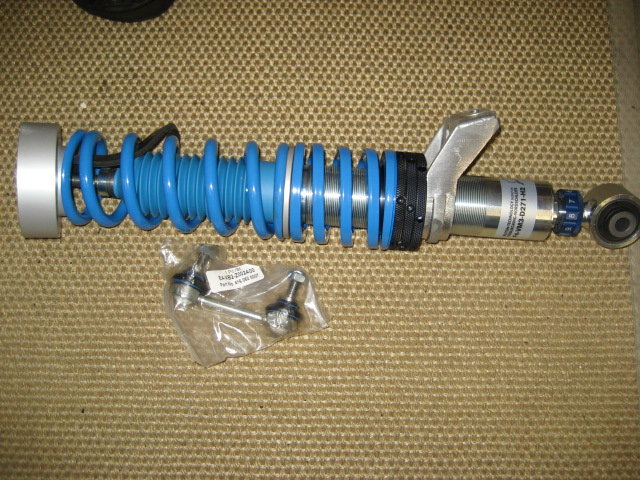
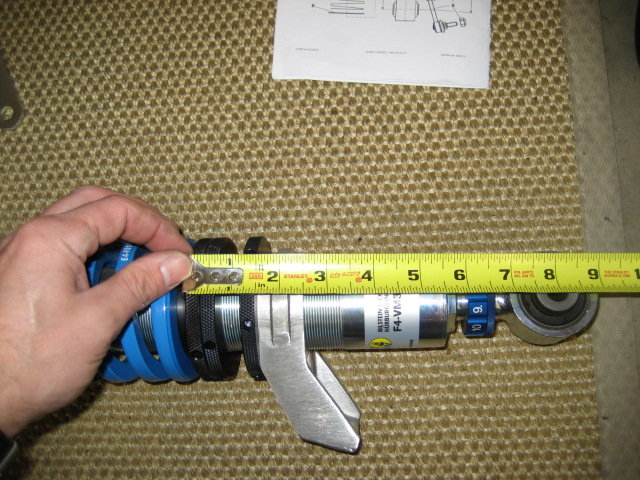
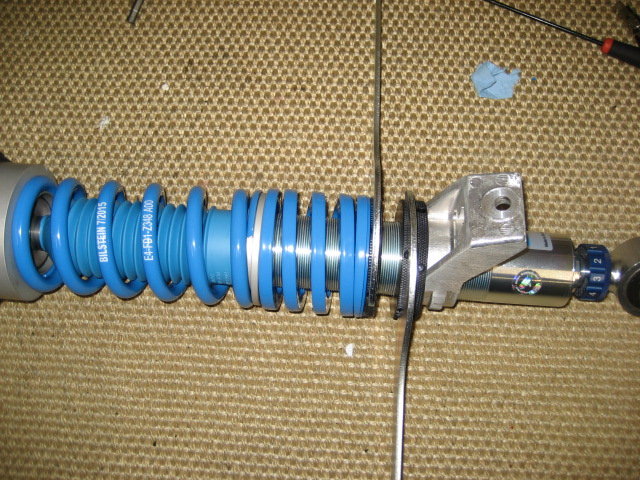
This is what the strut looks like when you remove it from the bubble wrap. Note the included drop link (which I will not be using) and rubber ring smashed up top.
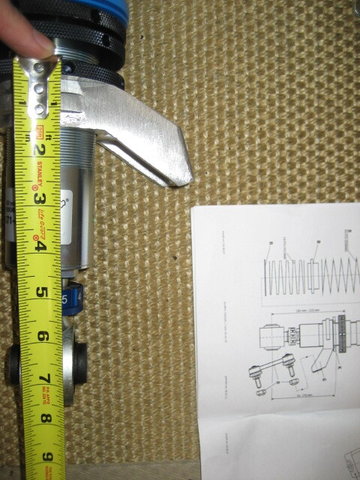
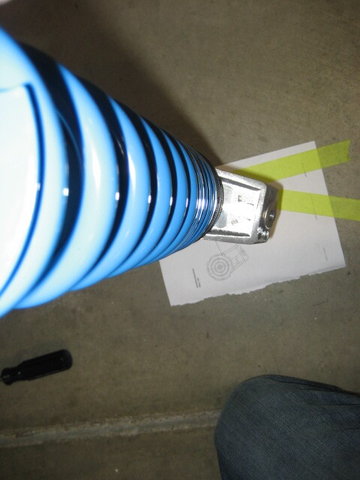
First, I separated the three collars using the included spanners so I could spin down the drop link mount to the spot indicated in the instructions. I'm sure I'll have to move this later, but had to start somewhere.
I next made a quick template on the floor to set the angle. Again, I'm sure I'll throw all of this out the window later, but wanted to start somewhere the first time.
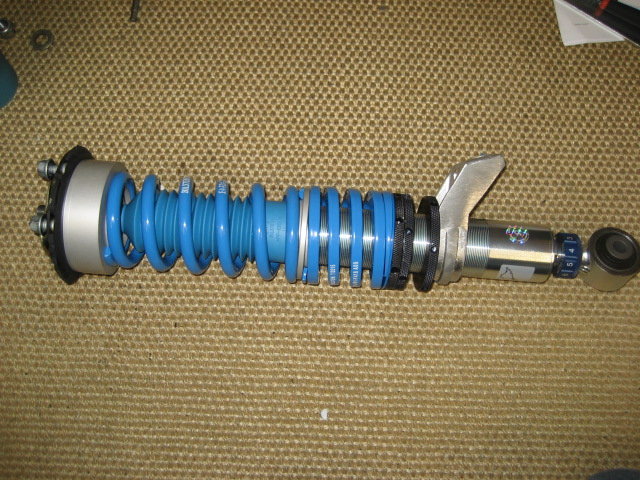
Since the top two collars were loose, and there was no tension on the spring, I decided to place these in the middle of the specified adjustment range.
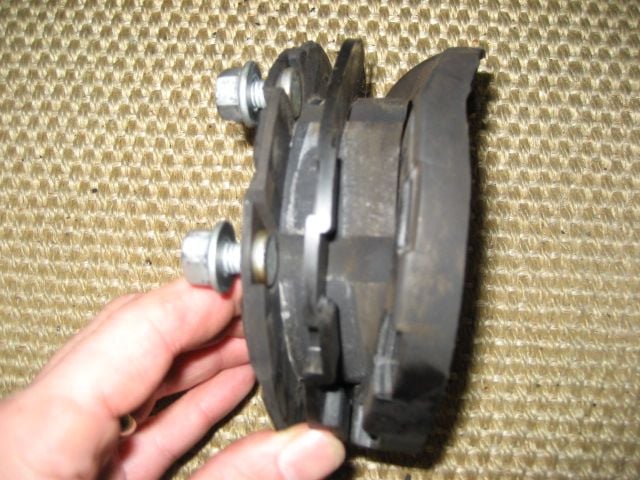
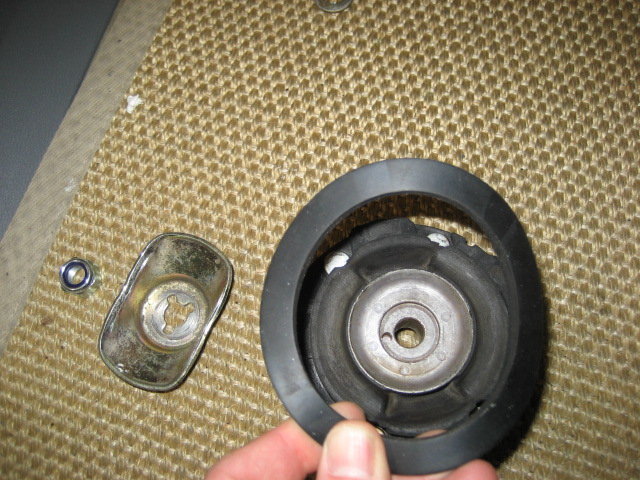
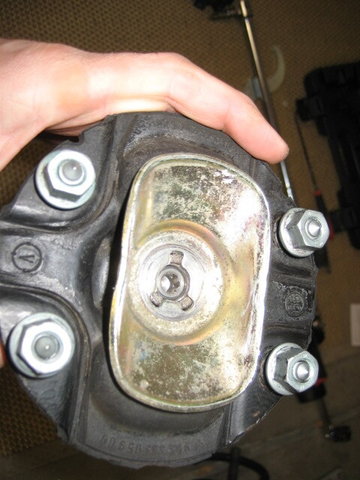
At this point, I noticed that the top mount off the old strut is actually three individual pieces. I separated the three pieces and used only the top piece per the Bilstein instructions.
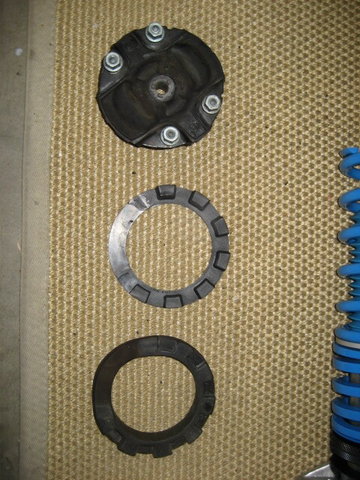
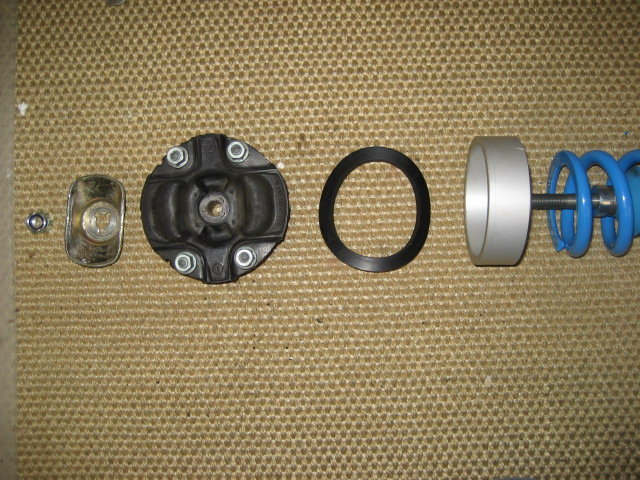
Here are the parts, in order, that will be joined to complete the new assembly.
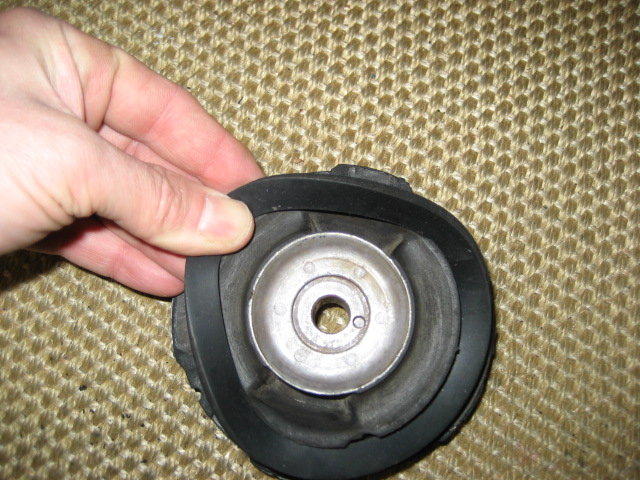
I started by pushing the new rubber ring over the bottom of the original top mount. It was a tight fit.
Once done, I just started placing the pieces on the shaft as instructed.
I noticed there was not quite enough threads for me to start the top nut by myself. Since I had no helper, I decided to lower the spring temporarily by lowering the top two collars. This ended up being a mistake (that I won't make again).
I then had plenty of room.
I used a spark plug socket to snug up the top nut this time, but it fit too lose for final torque, so I had to come up with another solution before I could finish assembly.
Once the top nut was snug (but not torqued to spec) I then had to very slowly walk the collars back into position. Next time, I'll just have a helper thread it on while I compress the springs with my hands.
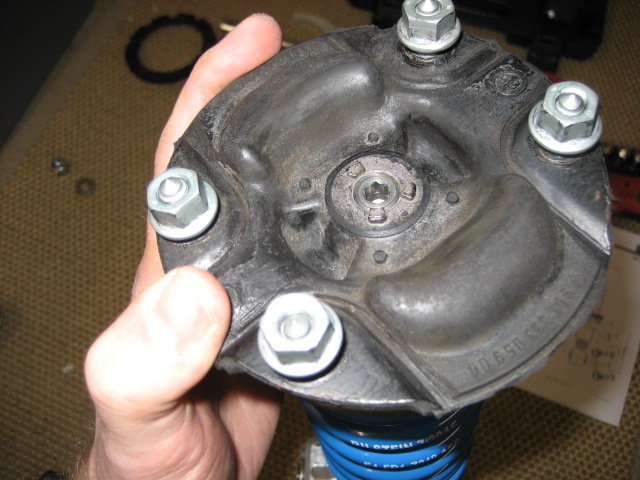
Now the assembly was complete except for final torquing.
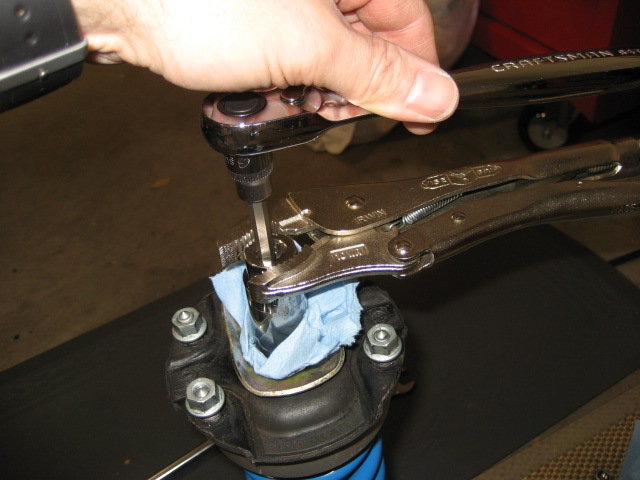
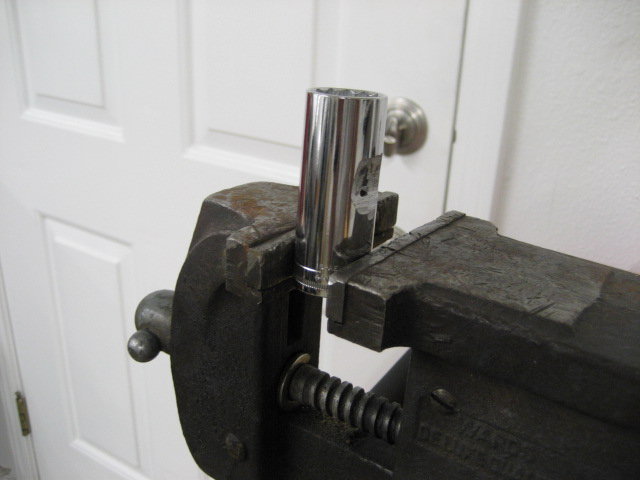
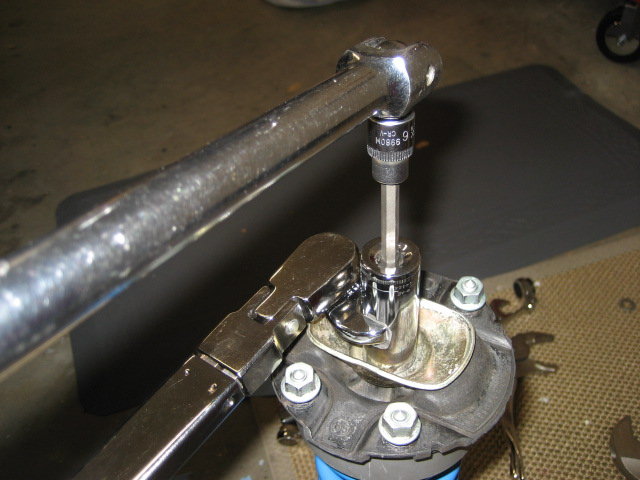
I resorted to a "shop made tool" here by using an angle grinder to cut slots in an old 19mm socket. This allowed me to use a 21mm crows foot to grip the socket. With my torque wrench at a 90 degree angle to the crows foot, I feel the torque setting was close enough.
What Mike said earlier definitely played out here. The allen keyway was sloppy and the hex socket had a lot of flex. Who knows if the final torque number is accurate. Regardless, I know it's definitely very tight.
+993. Thanks for taking the extra time to document this. These are the kind of threads that make RL so invaluable.
Thanks Paul and Foxman!
Unfortunately, the project will be on hold for a little bit. Bilstein forgot to include a part in the kit and will need to ship me another one of the rubber rings circled below.
Does Bilstein give you ballpark measurements to get you to RS or ROW ride height?
Great job doing this, I'm kicking around the idea of going PSS10 from HDs as well...
They do not. I'm planning on a little trial and error to get it somewhere between ROW M030 and RS. I'll be sure to document the process once I get there.
Regarding the drop link mount. Couldn't you leave it loose, and spin it where it needs be, once the top is in place? Spin it where it needs to be, then mount bottom of strut into carrier? Just a thought, great job and pics.

 12-16-2016, 01:34 PM