When you click on links to various merchants on this site and make a purchase, this can result in this site earning a commission. Affiliate programs and affiliations include, but are not limited to, the eBay Partner Network.
No photo by I did the same job yesterday, replaced the bearing in the spoiler motor, hardest part was separating the two plastic pieces that are glued together to get to the bearing,
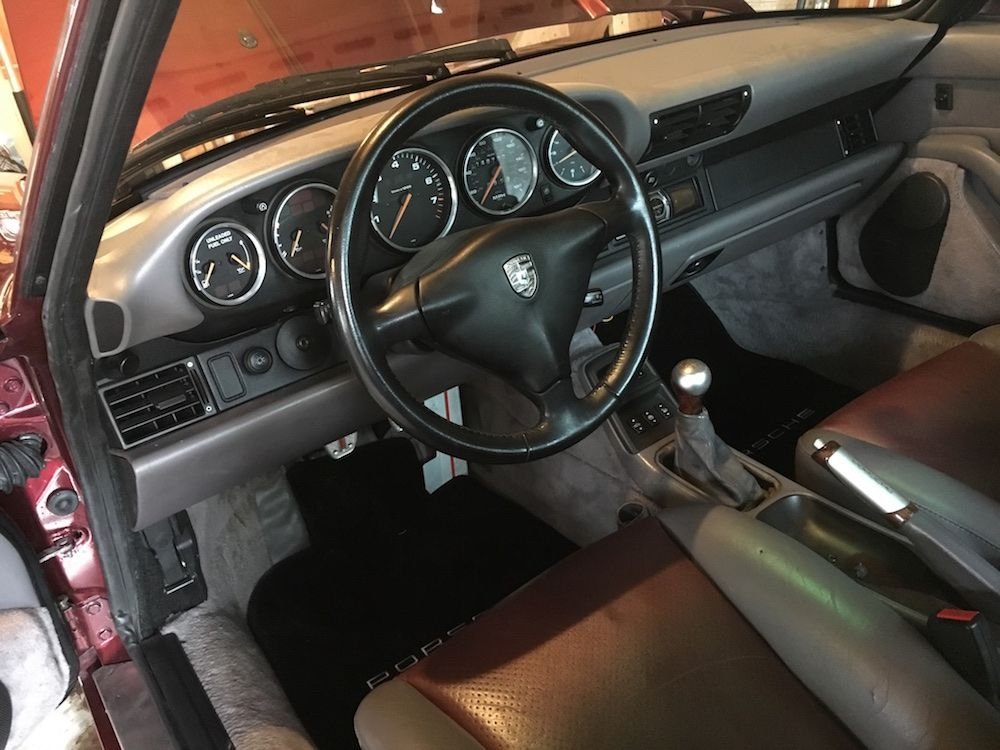
I recovered the steering wheel. I got the leather from http://www.custom-steering-wheels.com/
Color match is good, and leather seems to be quality, but I'm no expert.
Standard 993 4 spoke wheel.
I started by taking off the old leather and figuring out how it was tied. It wasn't. There was a knot on one end of each of the 4 threads, and it was just snugged against the foam wheel, under the airbag. The other end was just pulled through the foam. The leather is held in place with friction on the thread and glue on the leather (which at 20 years old, was still doing something).
I tried to line it up well, and used some locktite 100 spray adhesive. I anchored the thread the same way Porsche did and just went to town.
I just baseball stitched it all the way around, and snugged it up with a pick. There was some waviness and creases that I improved with a heat gun, but I was worried about burning the leather.
If I had to do it again, it would look way better, I'm sure. I would start in the dead center of each section, and work concurrently in both directions, then use the pick to advance the thread until the knot was seated against the foam, doing all of the spokes last.
Also, before starting, count how many holes are on each side, and figure out how you'll address the difference. The two sides will be different lengths, so evenly spaced perforations will leave different numbers of holes.
OK. I'll see how these go. I can't figure out how to embed the pics, so I'll just give an index
1-2: The reason I started this project.
3: Off the car, on a table.
4-5: removing the stitching
6: Fitting the new cover
7: A small space the new cover didn't cover on the back of one spoke
8: Baseball stitches
9: Finished product
Like I said, I'm going to give it some time in the summer heat to see how it continues to shrink. I give myself a 7/10. If I started over from scratch, I bet I could get to 9/10. I didn't fully account for the multiple curves involved. (Thus I'd start in the middle of each section, to sort of push them symmetrically.)
The condition of the original leather left me feeling I had nothing to lose.
I also have some high stakes sewing experience, though the tissue wasn't tanned when I used to do it.
I went to pick up my newly painted Cup2's. They looked like shyte so they are repainting them. All kinds of dust in the paint. I hope I didn't make a mistake choosing this particular shop.
I went to pick up my newly painted Cup2's. They looked like shyte so they are repainting them. All kinds of dust in the paint. I hope I didn't make a mistake choosing this particular shop.
It often seems "no body gives a rats A$$" anymore. To get things done right you sometimes have to do it yourself...but in an instance like this..no choice. Good luck ... people's work ethic just sucks!
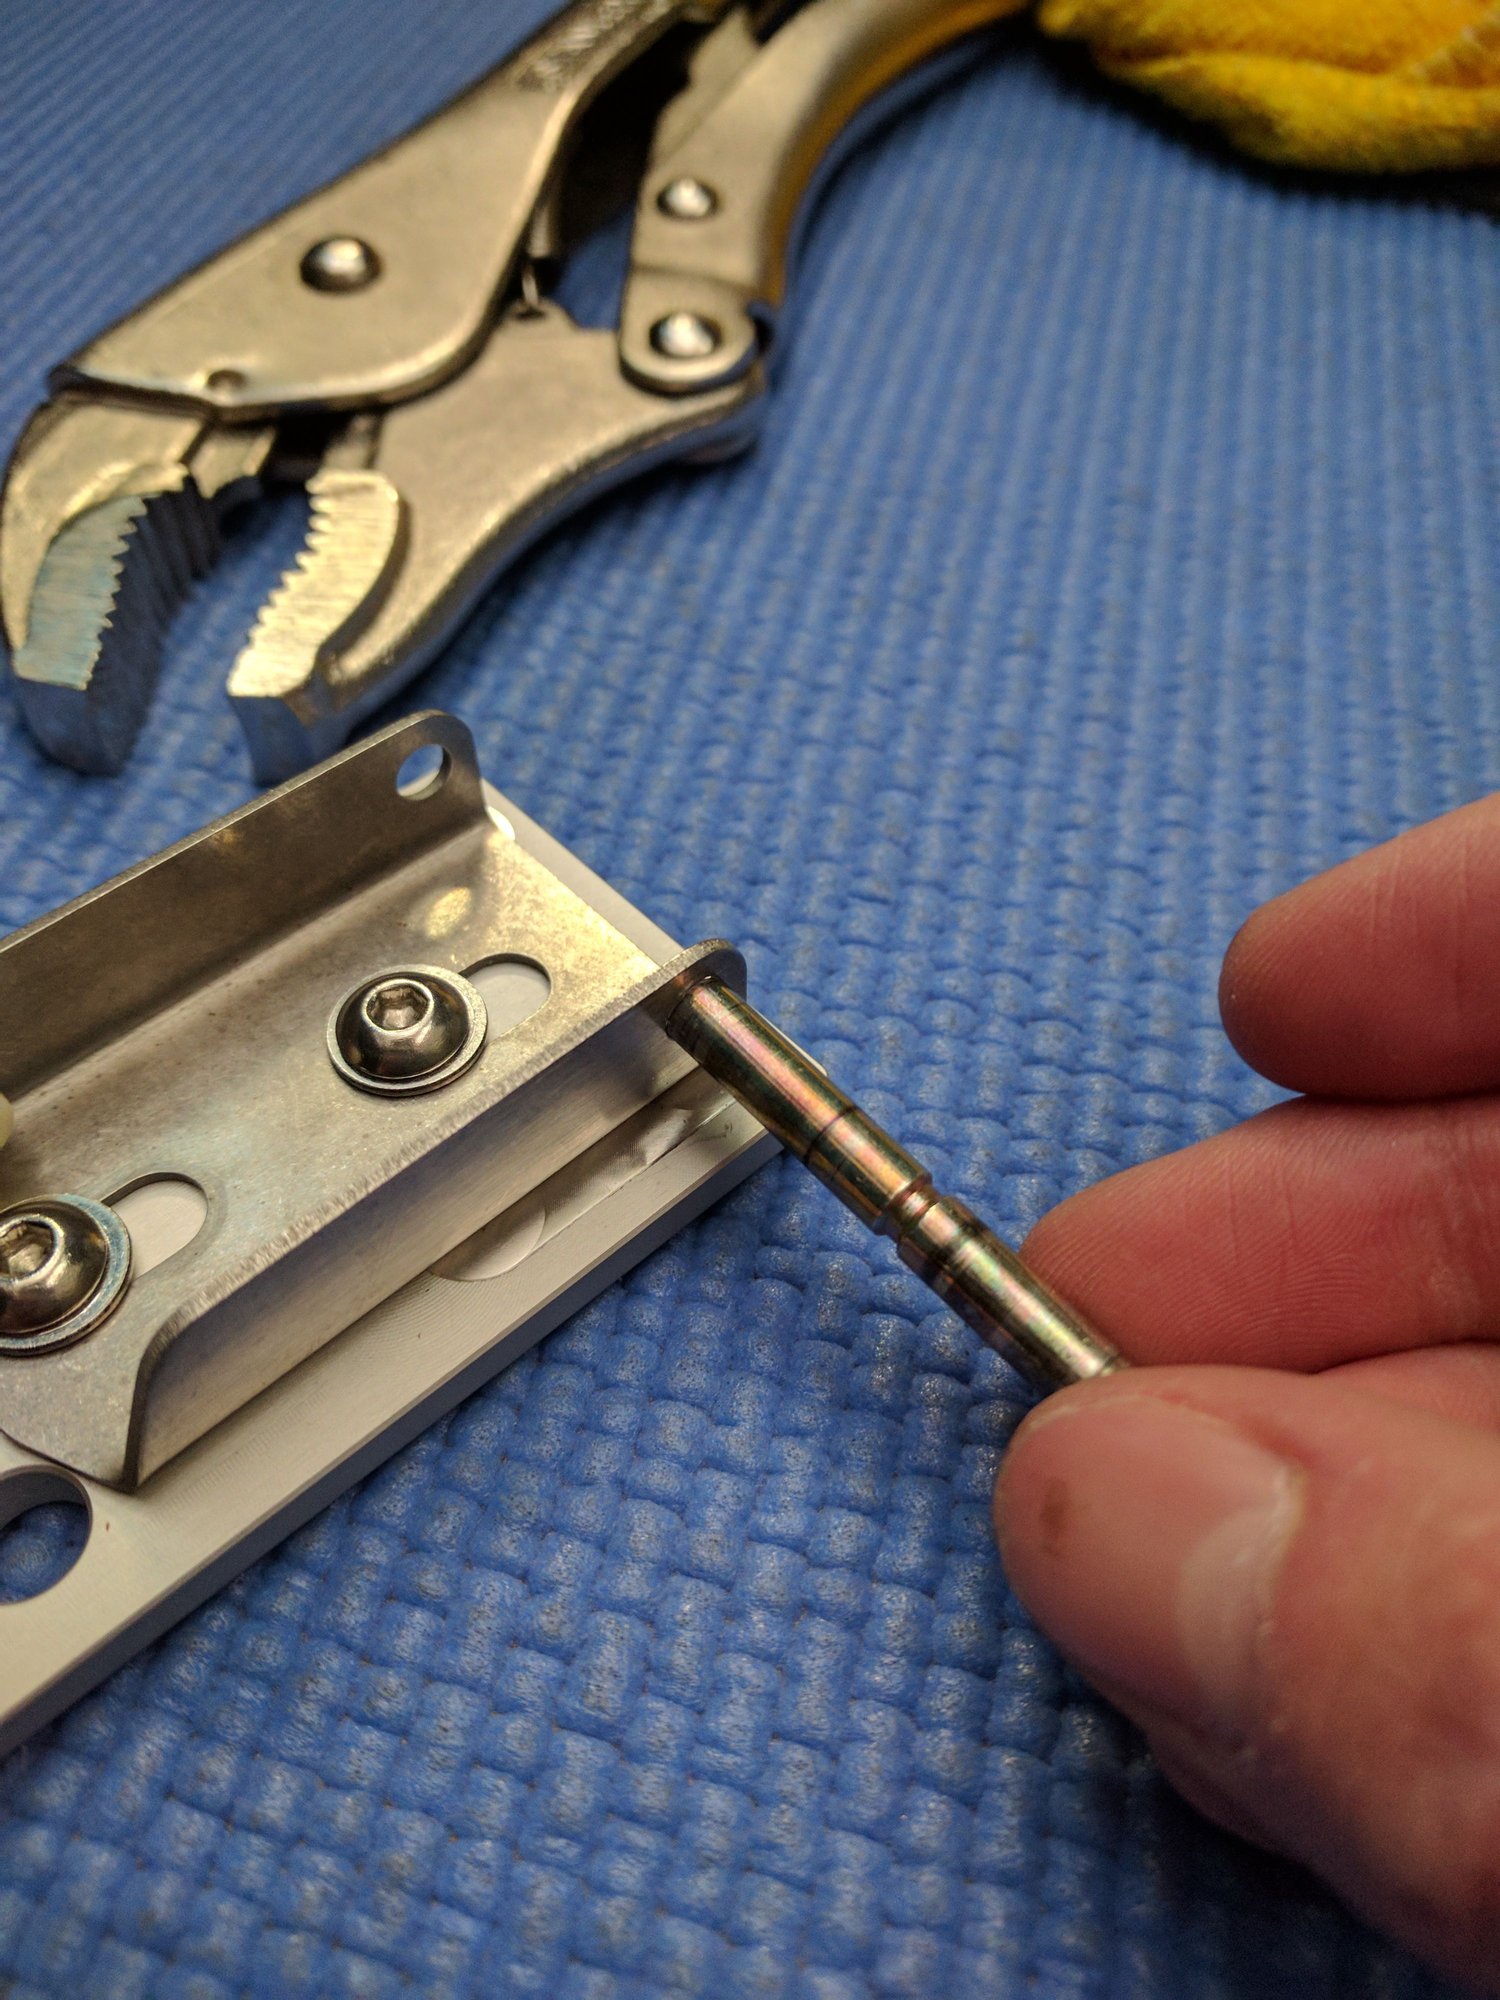
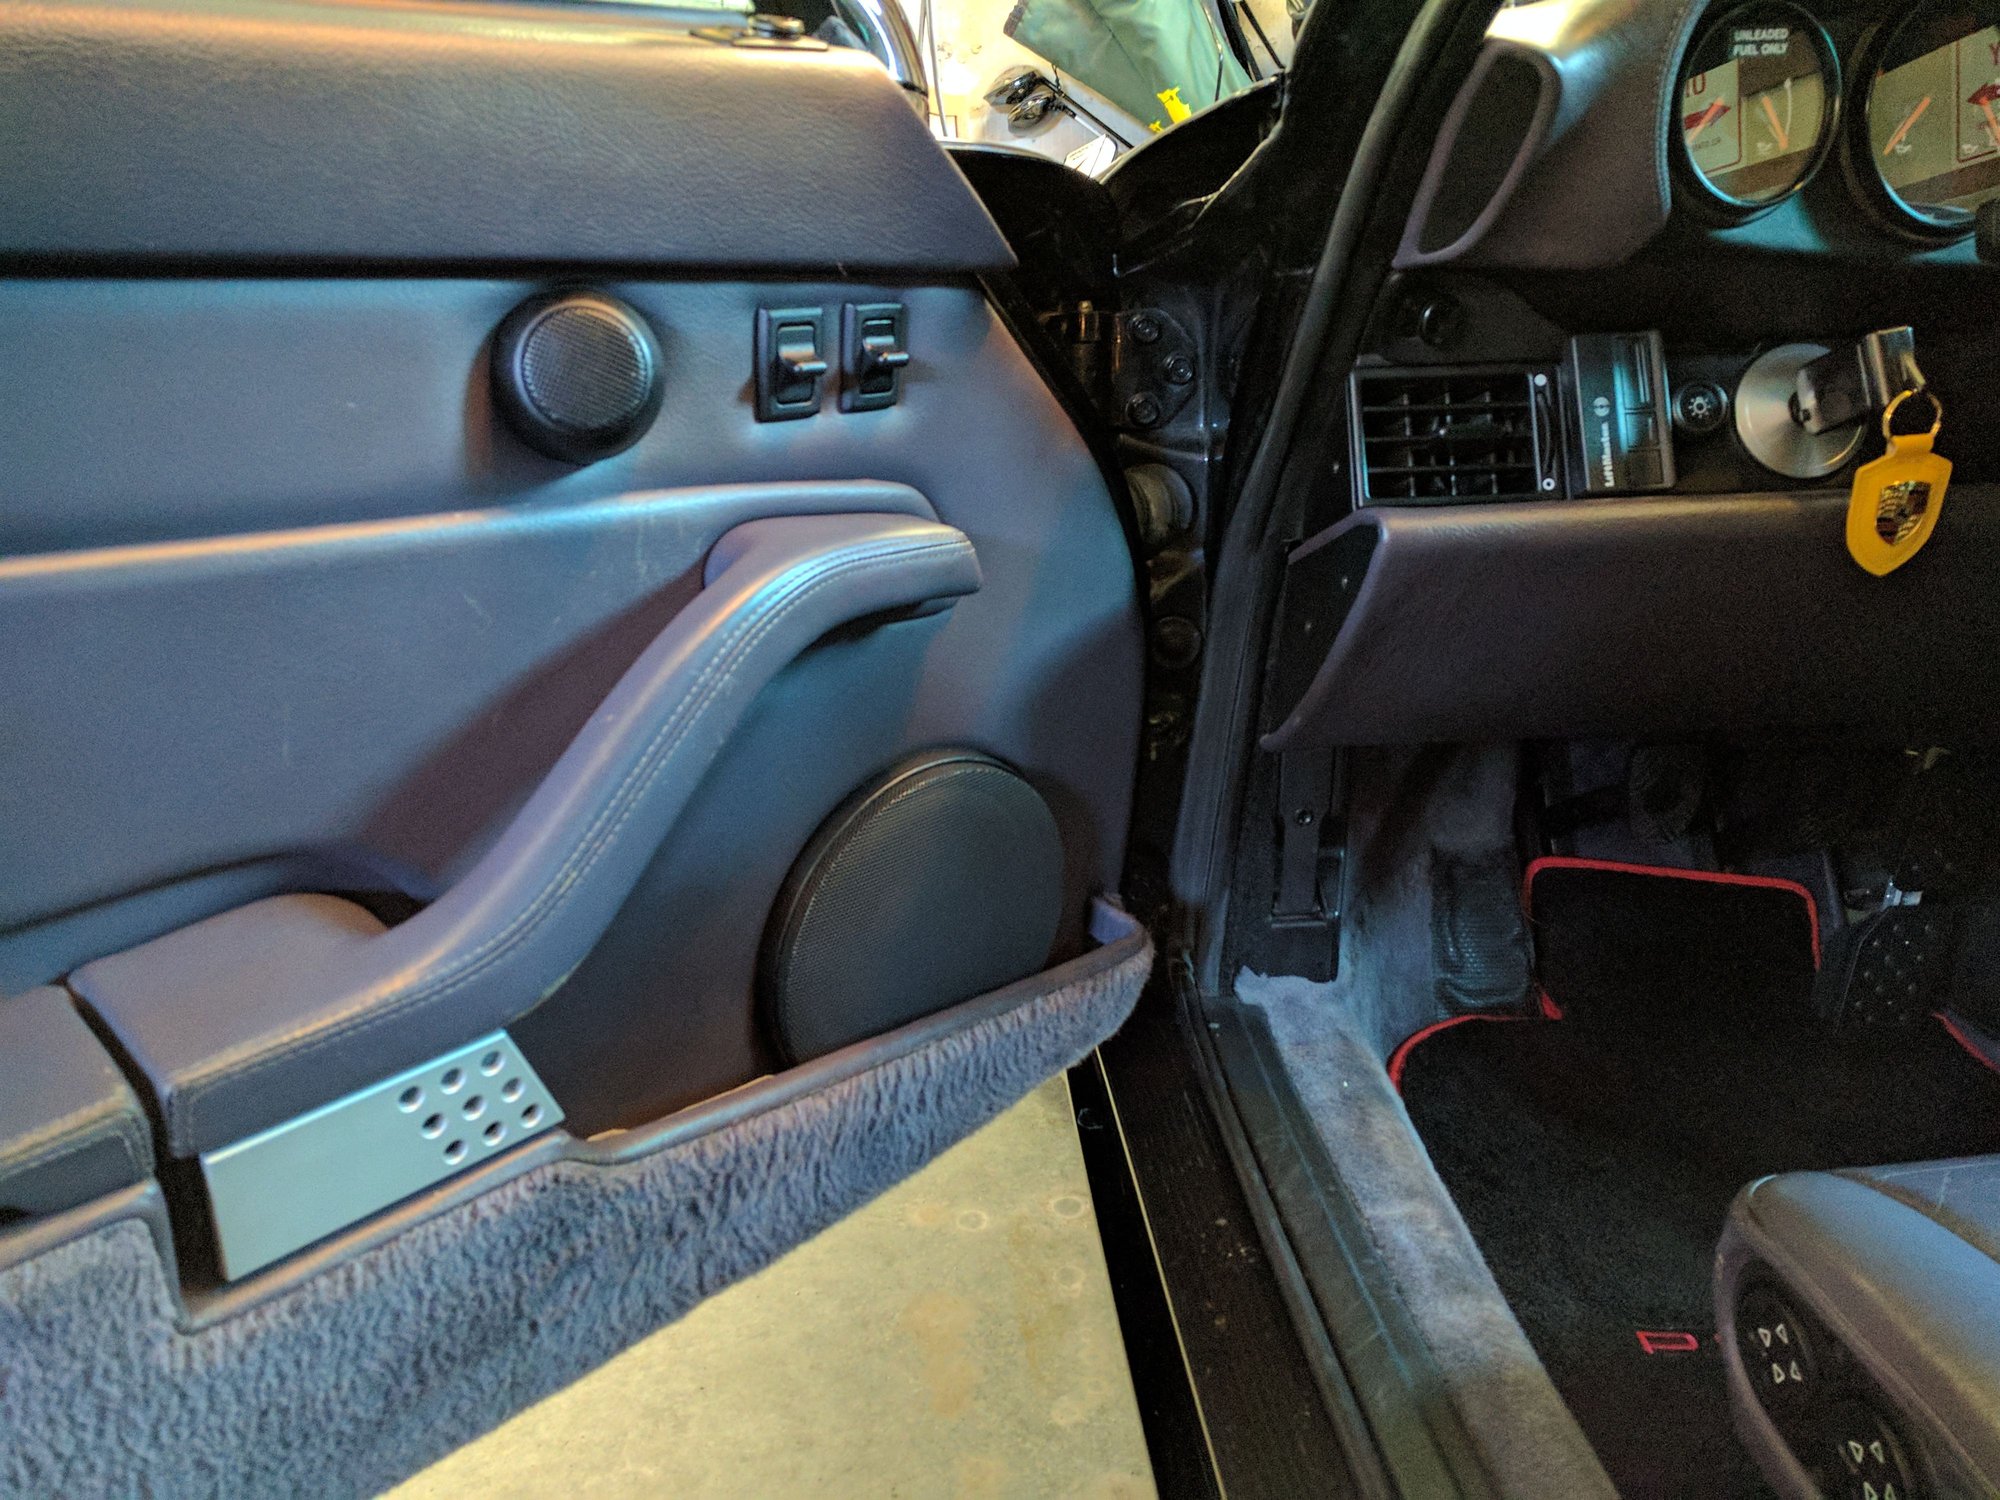
Installed the Rennline door handles and key cover I got for Christmas. Annoyingly the hole for the pin on the handles wasn't big enough so I had to drill it out to make it fit. Tomorrow I plain on heading over to my buddy's shop and spraying a new coat of clear coat on the calipers and install a new oil temp ballast resistor.
Another week and she'll all be put together. Stopped at Porsche today and spoke with the tech (heavy German accent) who explained how he was cleaning everything and prepping to put it back together. I have yet to drive the car but it will be worth the wait.


 01-09-2017, 10:57 AM